9. Input Devices
Nineth week and finally using sensors
With the PCB we did last week we have to connect a sensor of our choice so we have a type of Measurement.
Here you can see what we did in our group assignment. Group Assignment
For this assignment, I used a Seeed Studio Xiao RP2040 microcontroller to read temperature data from an LM35 temperature sensor.
Components Used
- Xiao RP2040
- LM35 Temperature Sensor
- Breadboard and Jumper Wires
Main Features of the LM35
- Measurement range: -55°C to 150°C
- Accuracy: ±0.5°C
- Analog output: 10 mV per °C
- Power supply: 4V to 30V
Testing the lm35
I created a code on Arduino IDLE for the sensor. It will sense the temperature and display it on the serial monitor
Connections
        LM35         →  Xiao RP2040
        ---------------------------
        VCC (5V)     →  3.3V (Xiao RP2040)
        GND          →  GND
        VOUT         →  A0
Code
Below is the Arduino code used to read the temperature from the LM35 sensor.
#define SENSOR_PIN A0

void setup() {
    Serial.begin(115200);
}

void loop() {
    int sensorValue = analogRead(SENSOR_PIN);
    float voltage = sensorValue * (3.3 / 1023.0);
    float temperature = voltage * 100; // LM35 gives 10mV per degree Celsius

    Serial.print("Temperature: ");
    Serial.print(temperature);
    Serial.println(" °C");

    delay(1000);
}
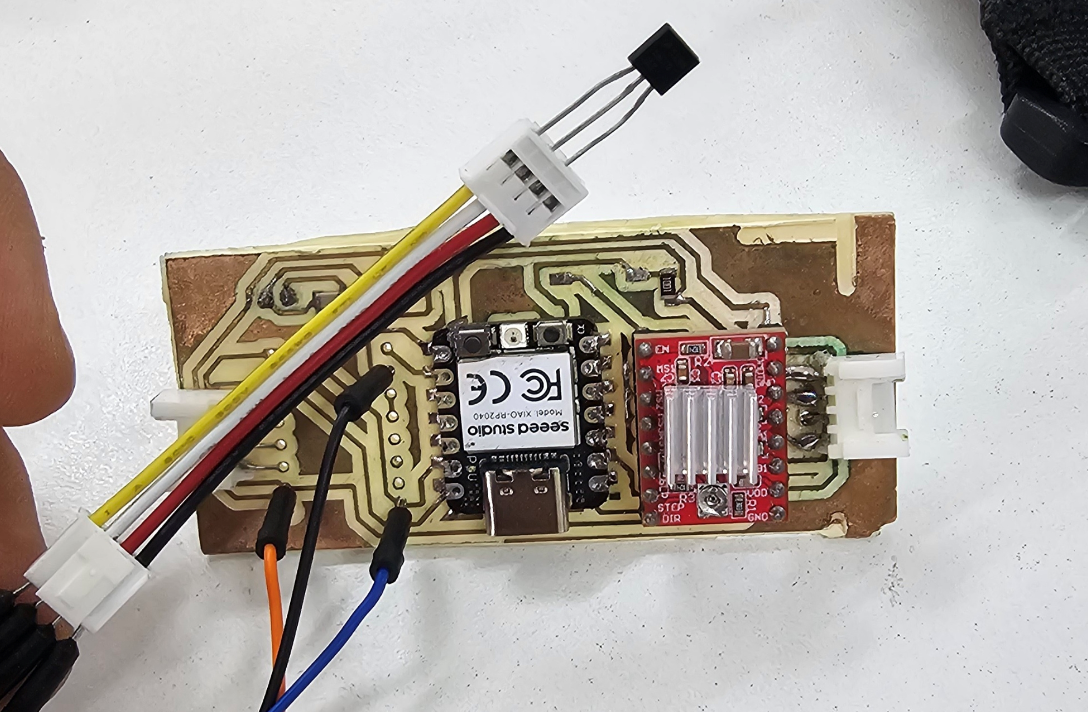
I conected 3 pin headers to my PCB and used 3 female to female conector to connect the lm35 to the 3 pin headers. I ended up using the port D3 to recieve the data from the lm35.
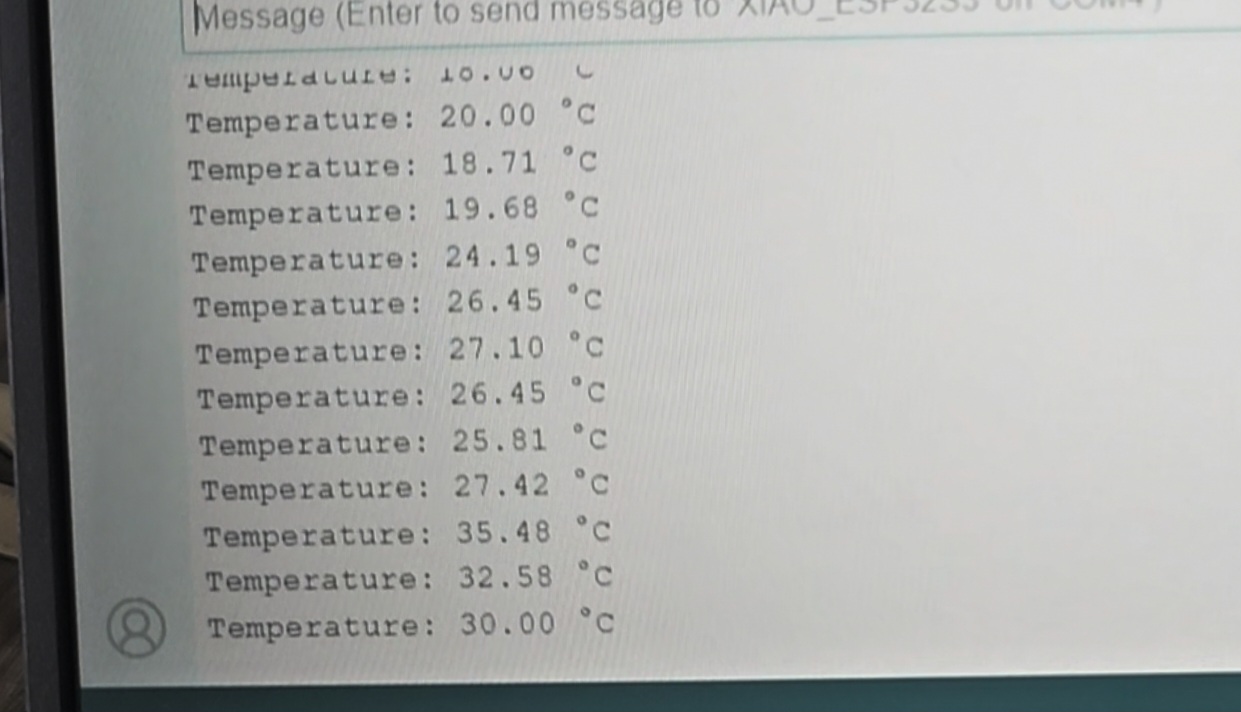
Here you can see the serial monitor reading the lm35 data


