7. Computer controlled machining
seventh week and cutting again
designing in SolidWorks
This week, a piece of furniture will be created using the CNC router, for which we will be given a 1.2m × 2.4m wooden board.
The first thing I did was design it in SolidWorks, although I took quite a while to come up with an idea for manufacturing. After a brainstorming session, I decided to make an organizer for my tools and electronic components.
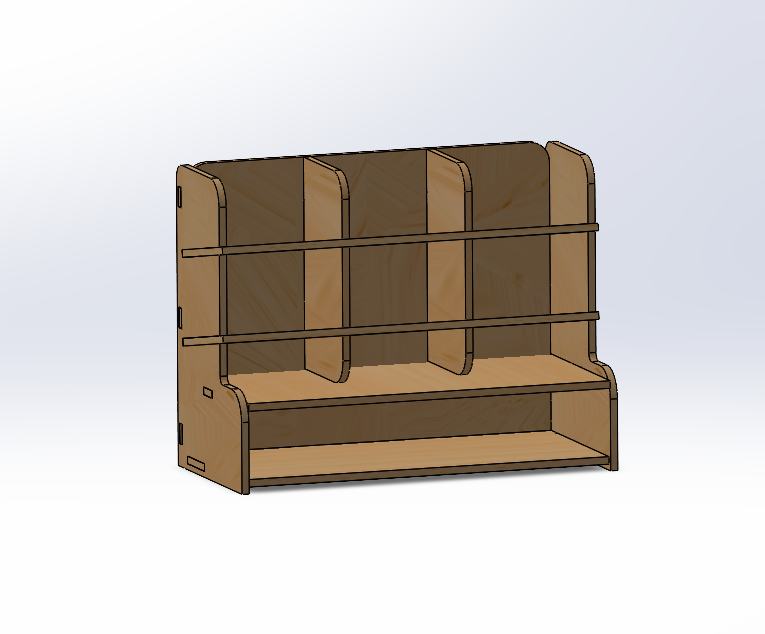
Once I settled on the design, I started modeling it in SolidWorks, trying to make the dimensions as large as possible to fit all the pieces within the board and minimize material waste. I took inspiration from the internet for my design, and in the end, it turned out like this:
V-Carve
Using this softwarte was easy, in the left we have our start menu in which we have to specify the dimentions of our table.
Then we have our main menu at our left
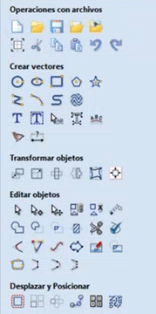
To import dxl files we have to click on file and search the import button, then select the file we want to import.
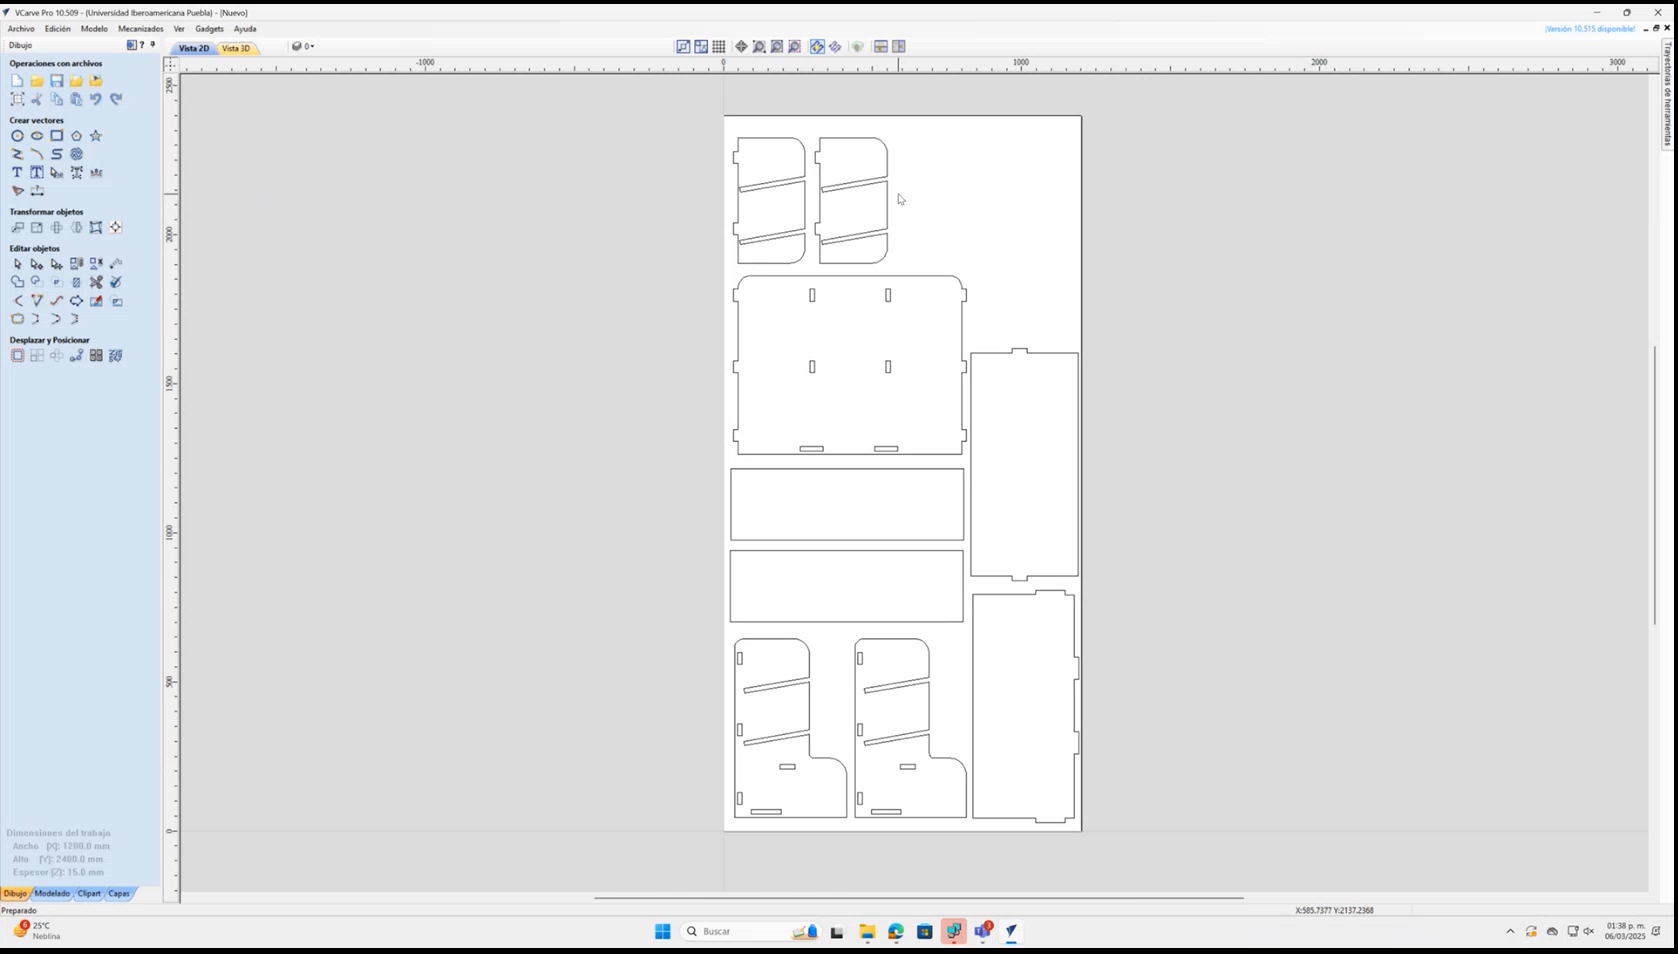
Chamfers
Since we are using a cylindrical end mill, we can't properly cut interior 90° cuts, we can solve this problem by adding round chamfers (you can find them as dogbones as well) in each interior corner, with the same radius as our tool.
Tools
- Select the vector(s) and choose the appropriate toolpath:
- Pocketing – for cutting recesses or holes inside a shape.
- Profiling – for cutting along the outline of a shape.
- Drilling – for making precise hole cuts.
- V-Carving – for engraving with a V-bit.
- Configure cutting parameters:
- Tool selection – Choose the correct bit from the tool database.
- Cut depth – Set the depth of the cut.
- Feed rate & spindle speed – Adjust based on the material type.
Parameters
To configure the tool, we have to input the exact same characteristics of our physical tool, we have to configure the rpm and travel speed of the spindle, the tool is a 1/4" two flute end mill, with a feed rate of 3.6" per second and 18000 rpm on the spindle.
Preview the Toolpath
- Click "Preview Toolpaths" to simulate the cutting process.
- Check for errors, collisions, or unwanted cuts.
CNC-Router
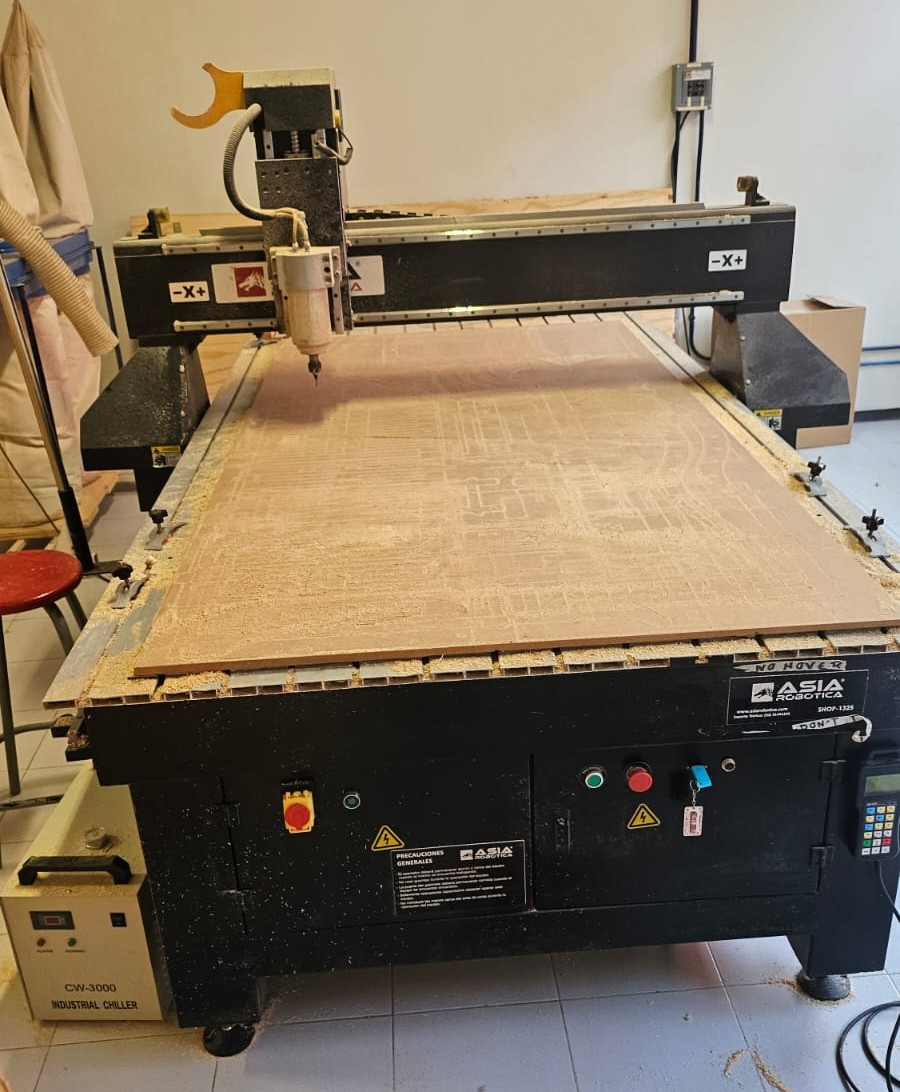
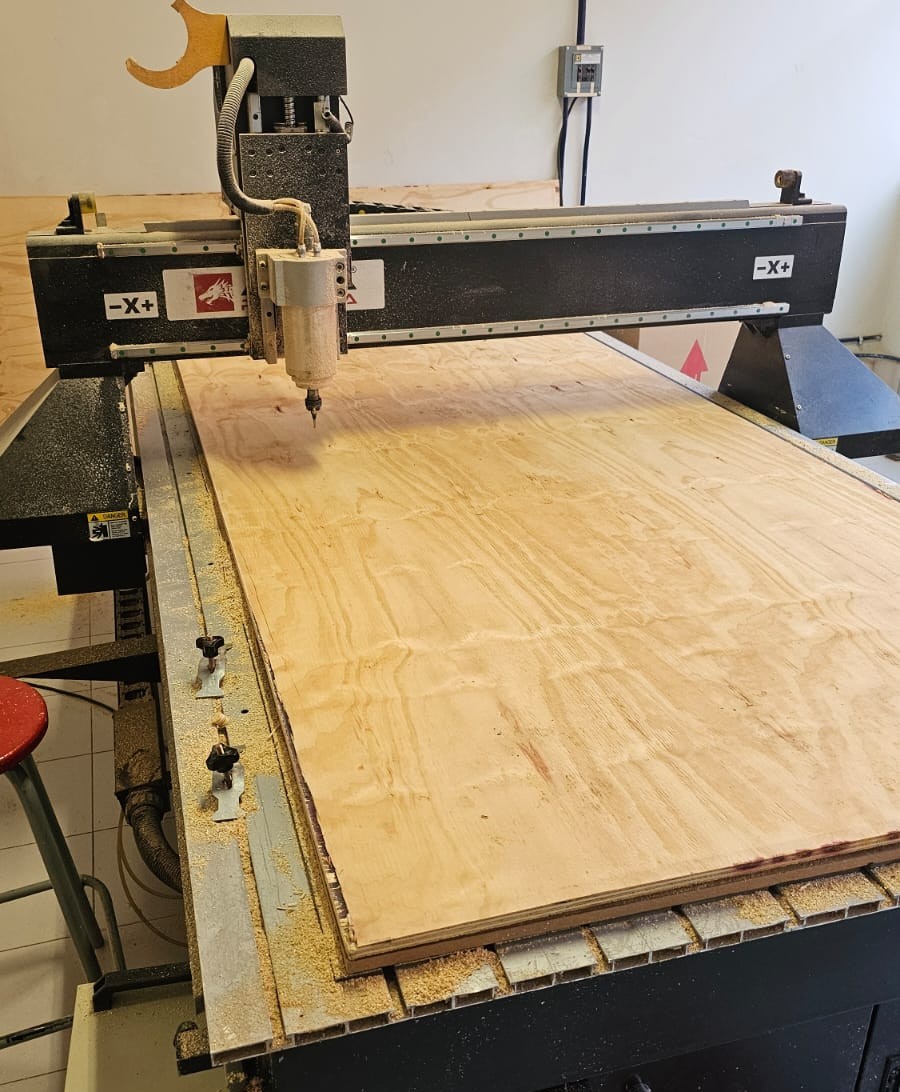
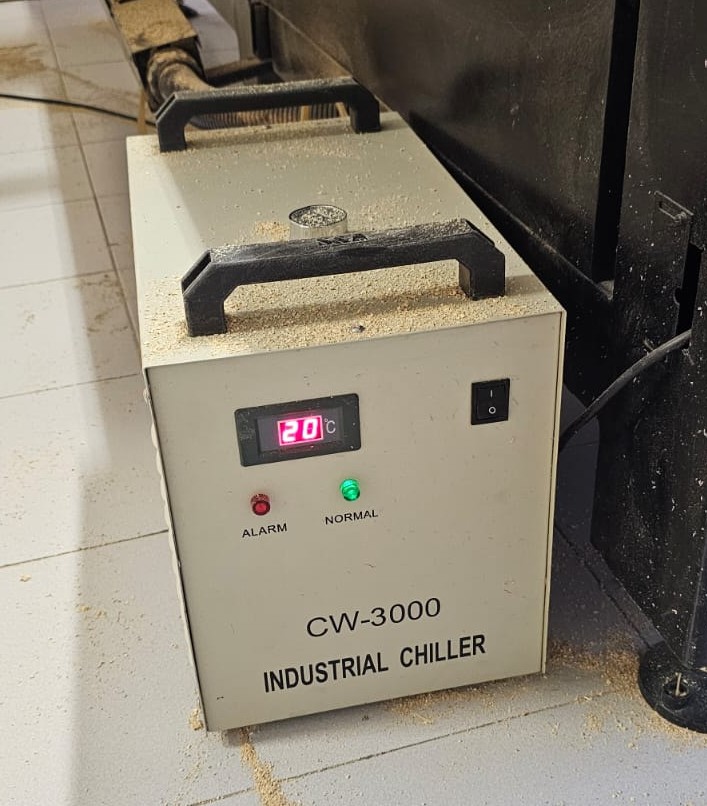
When using the CNC machine, we encountered a problem. We were halfway through cutting one of my classmate's pieces when suddenly, the chiller alarm started sounding. This could mean many things, but we weren’t sure what exactly. We called the supervisor, who told us it was possibly due to low water levels. However, the person in charge had already left, so we had to check it the next day.
The next morning, I arrived early with my classmate to finish the cutting process. I asked the person in charge, and he told me to add liquid to the chiller, as it might be low on water. After filling it completely, the alarm kept sounding. The supervisor wasn’t sure why, so I asked if I could try fixing it with his help and supervision, to which he agreed.
I tried moving and restarting the chiller, but it didn't work. Then, I disconnected the water outlet hose while the chiller was running to test it, and that’s when the alarm stopped sounding. I realized it could be a pressure issue or a blockage in the hose. So, I swapped the outlet hose with the inlet hose, and at that moment, the alarm stopped, and the red light turned green.
From there, the cutting process was smooth. The CNC machine we used was an Asia Robótica CNC Router Model 1325, which operates with a black controller that provides several options, such as manually moving the three axes, loading files, setting the zero point, and more.

To cut with the CNC machine, we first need to deactivate the emergency stop and press the green button.
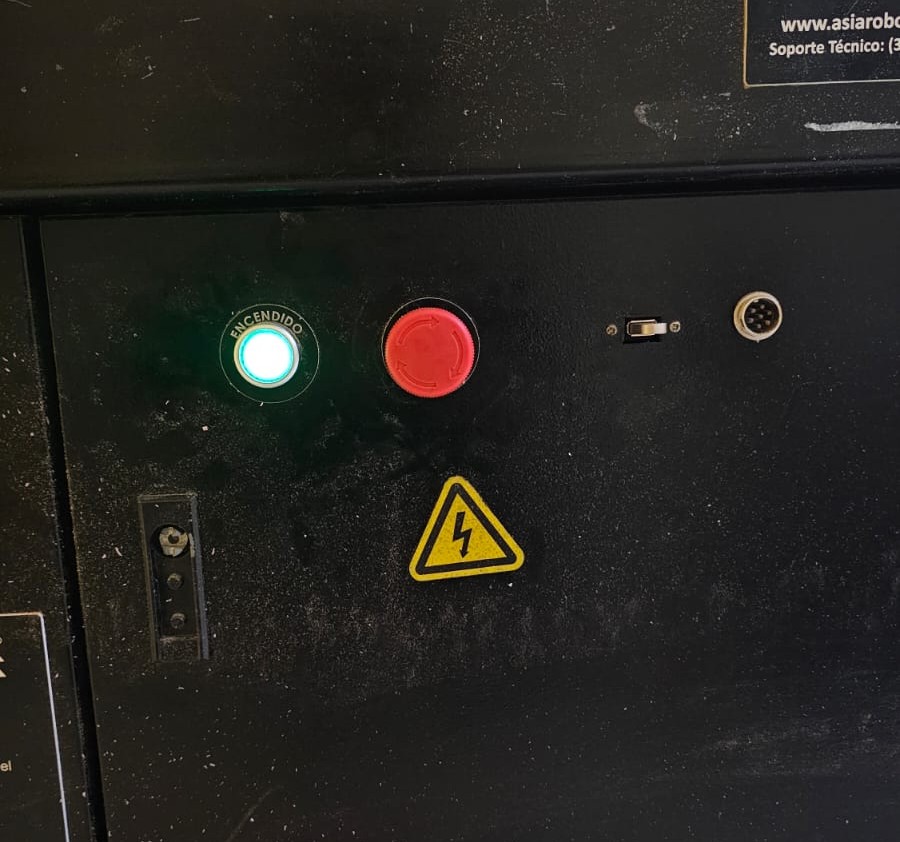
Once the machine is turned on, the CNC controller will prompt us to return to the home position. We select "yes" so that it recalibrates. Once it reaches the zero position, we insert the USB drive into the port, and the files will automatically be scanned. We then locate our file, load it by selecting "OK," and pressing the number 1 on the controller which is the blue onw with the wave draw.
After that, we assign a zero point for cutting, setting it for all three axis. For the z axis you have to press shift and "XY=0" at the same time. Once everything is ready, we press the start button to begin cutting.
Sanding and painting
After cutting, I removed the pieces from the CNC and began sanding each one to eliminate imperfections and achieve a smoother finish. I also used clamps to straighten any warped pieces, as that could cause issues during assembly.
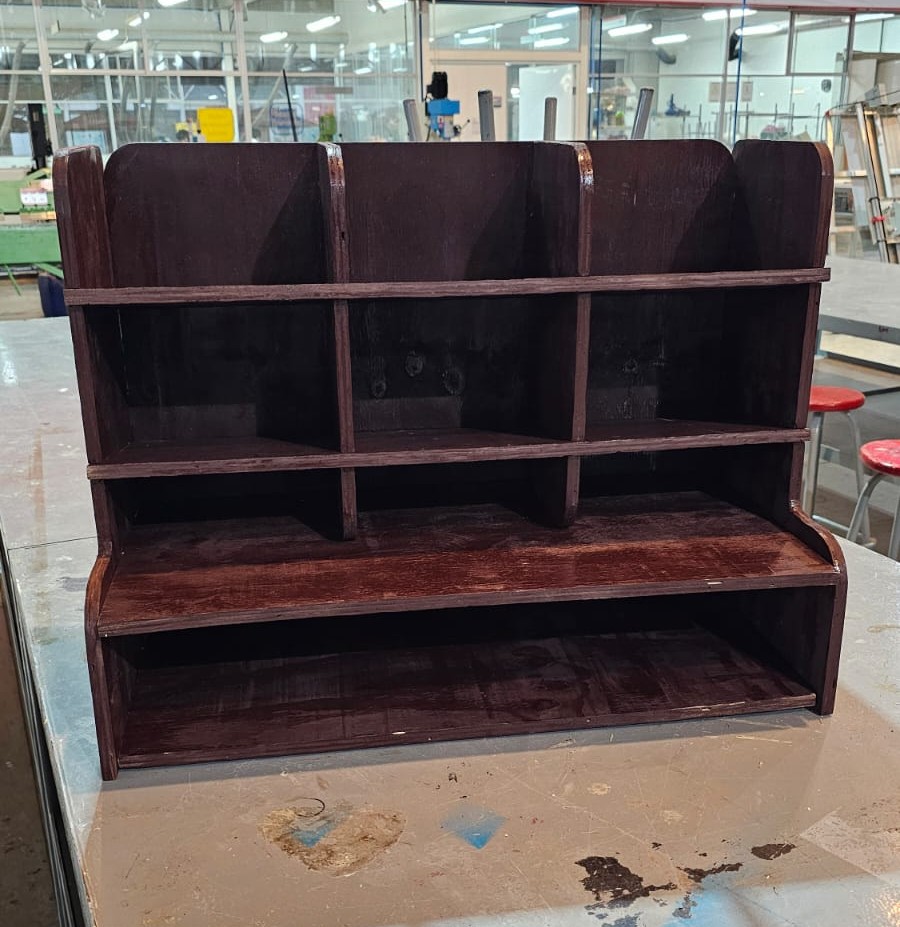
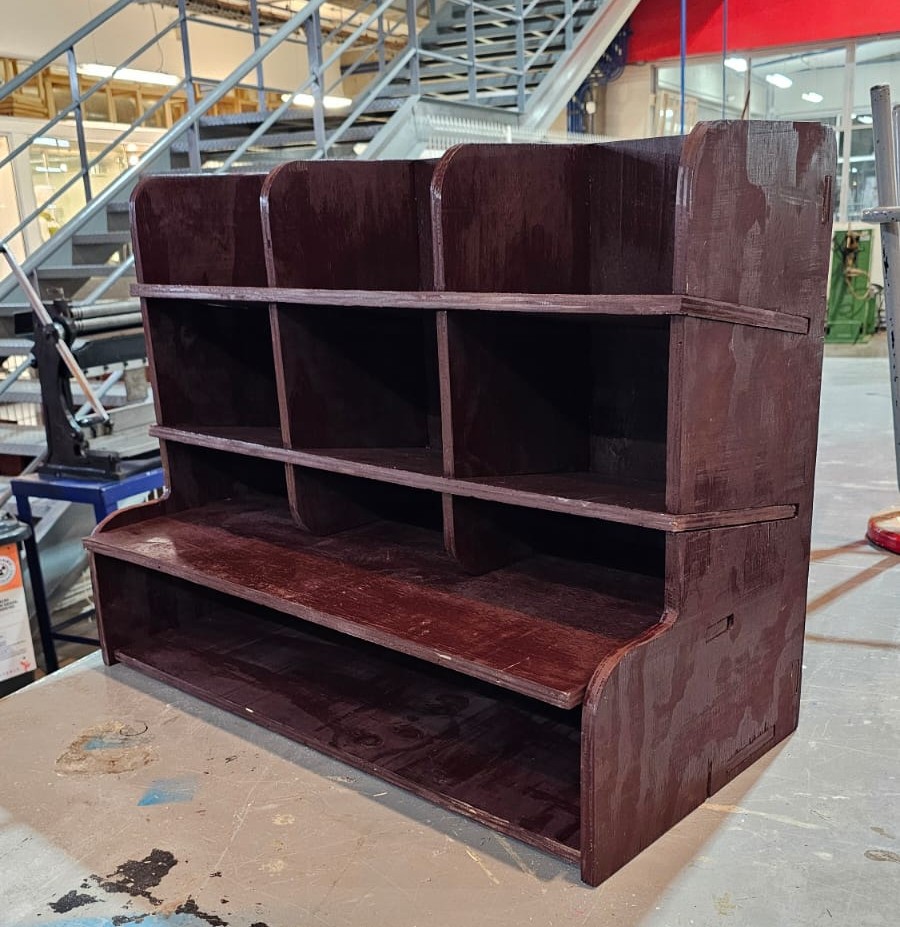
Once the sanding was complete, I proceeded to paint the furniture. I used two cans of paint that also contained a sealant to ensure better quality for my piece. I painted each part individually to ensure even coverage. After letting it dry overnight, this was the final result.
Here you can see the group assignment
This group assignment was about tolerances with the cnc router. Its really interesting the testing that was made for this week.
