5. Scanning and 3D printing
Fifth week and printing weird stuffs.
Group assignment Week 5This week's assignment was to 3D scan an object and optionally printed as well as to print a design part. So, this was very interesting. A lot of people scanned their faces and printed them, that had between cool and weird results. But I wanted to do something different although the idea of printing my face was appealing at first. I choose to scan my earbuds just because I can’t live without them. But due to size difficulties I had to change the idea. So, I scanned my mouse. The process at first was a little tricky. I used the Creality ferret scanner with the Creality software. Because it was my first time 3D scanning I had to get used to the interface and the process which it first was complicated.
To start I opened the software and conected the scanner to my Computer. The configuration is easy, because I scanned a body i selected the body option in object, with a medium size and that I used dots for better tracking, also enable Flat base because I scanned it on a table.
I had to use dots so the scann worked better for the mouse.
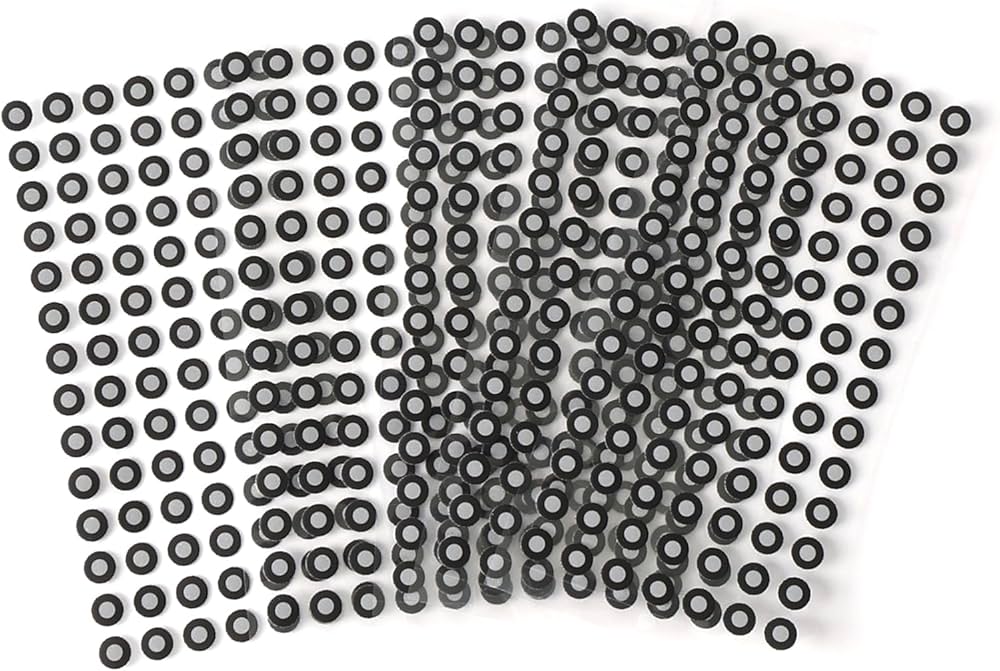
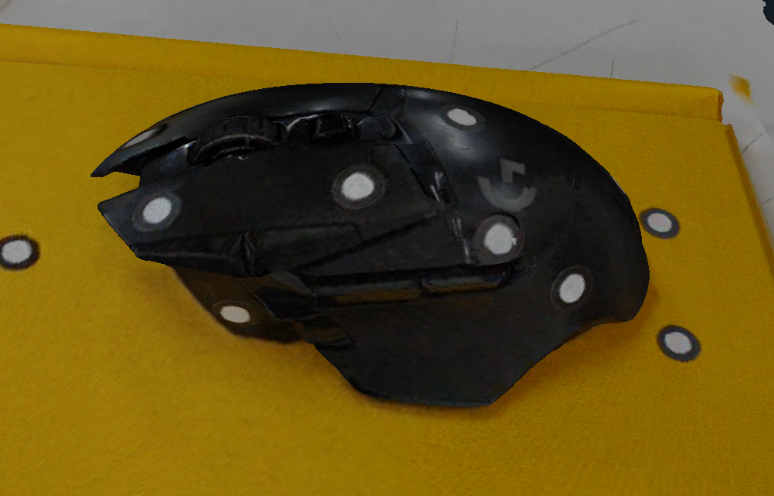
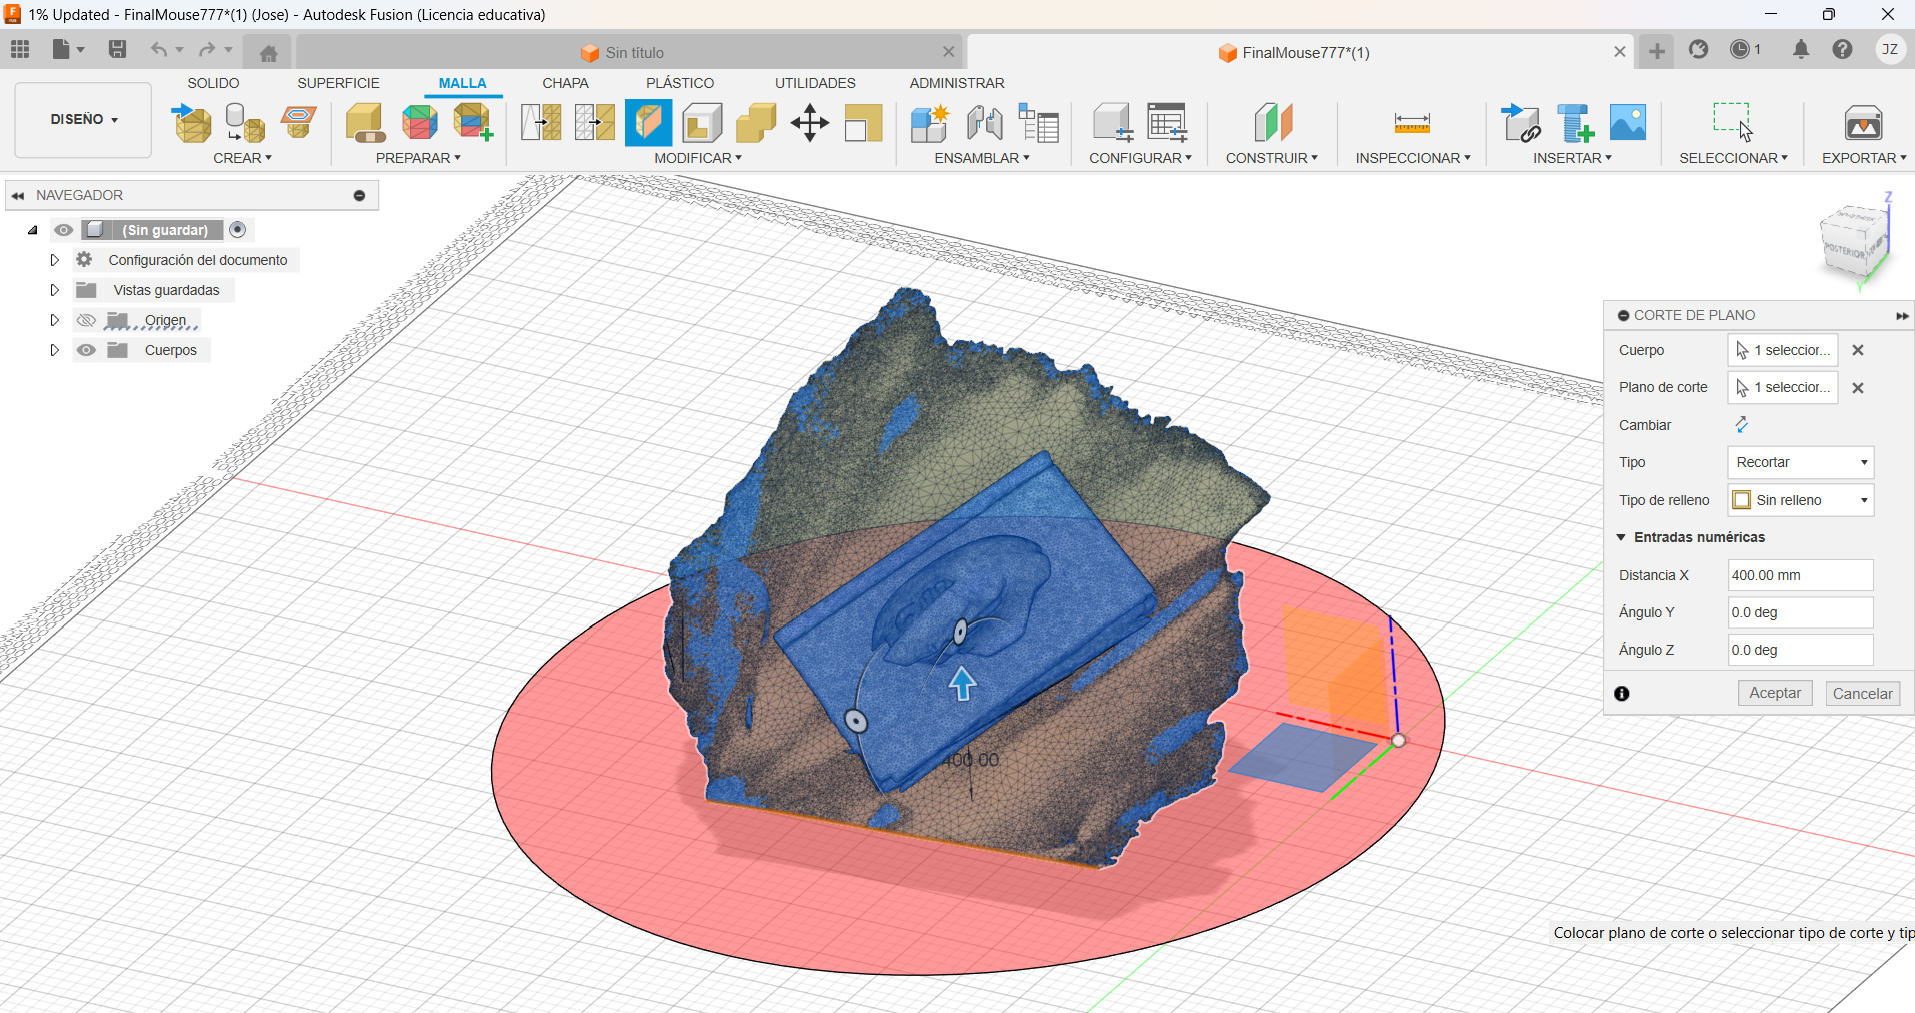
Now that the scann is complete we can polish the final result so it looks better. I used the software Fusion to clean the base that the mouse was scanned on.
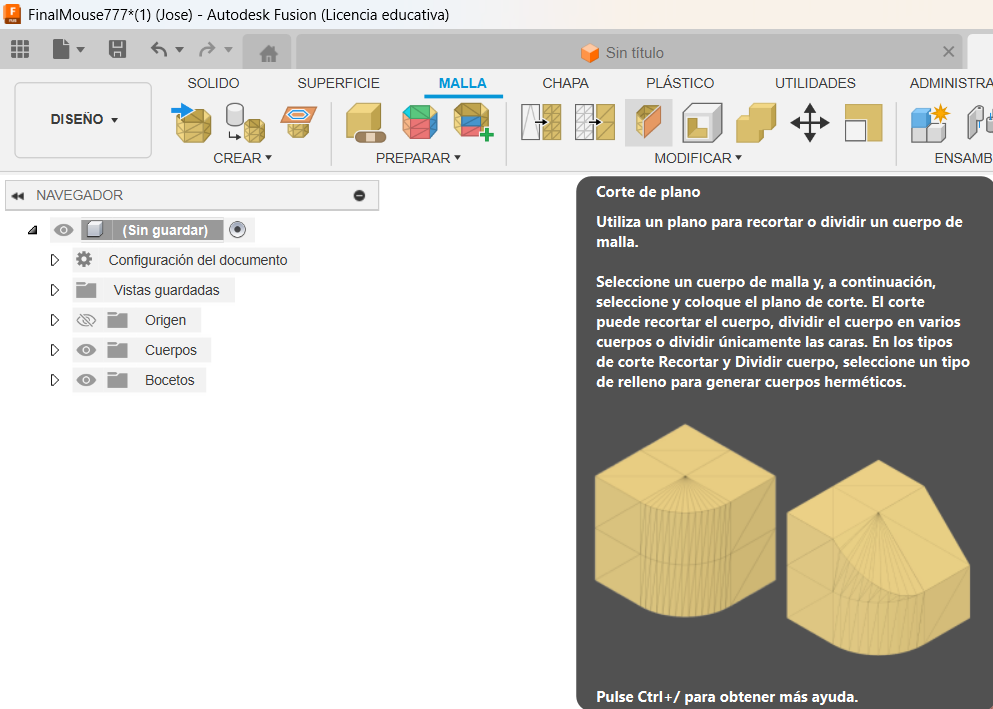
Once you have selected the tool 'PlaneCut', you select which plane you want to make the cute and then align the angle and distance so you cut only the excess parts
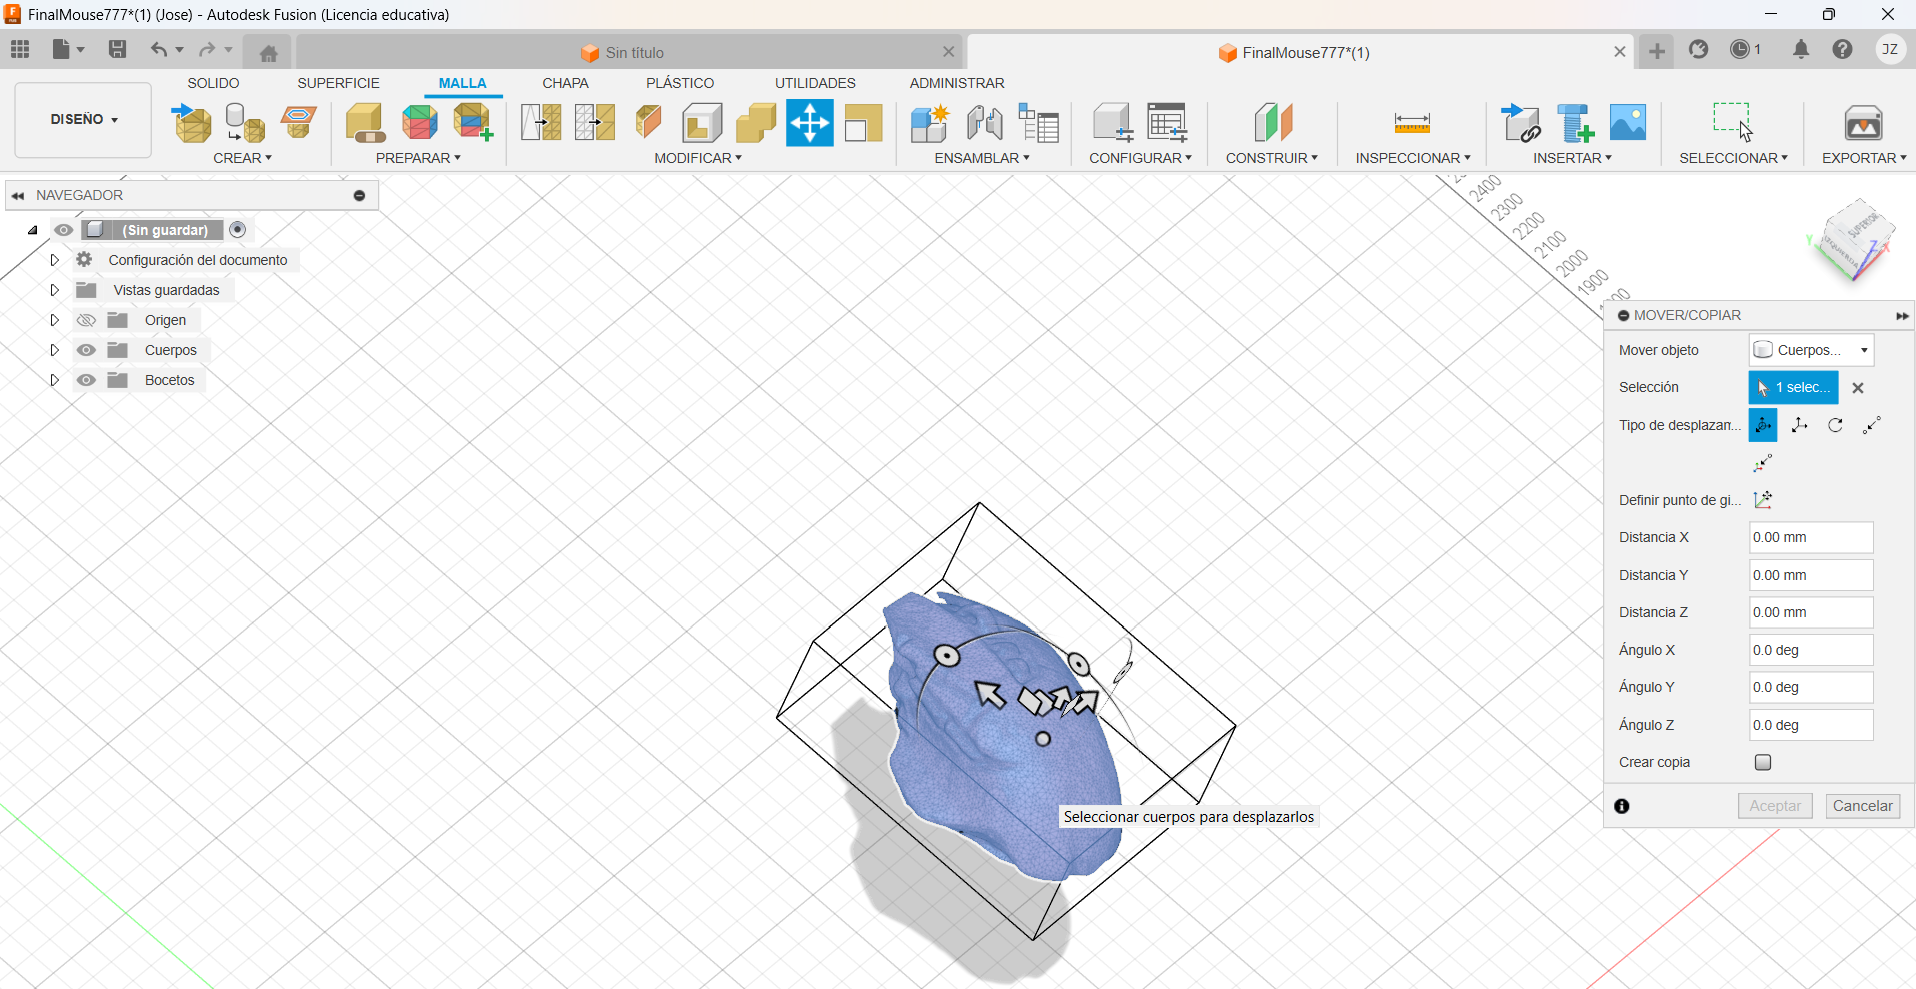
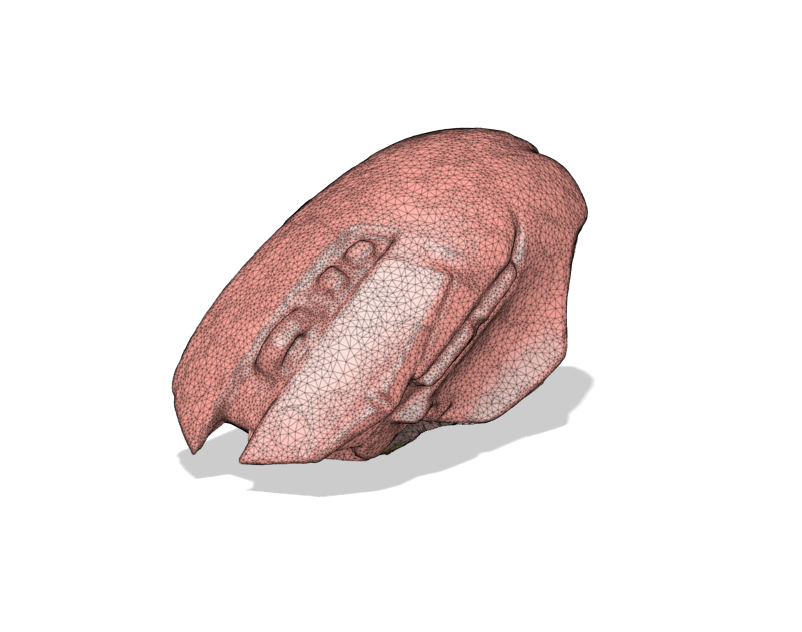
Once you finished cutting all the excess you have the final product. As seen in the picture, this is the final result of the scanned mouse!
3D printing
To start 3D printing you must know first which printer you'll be using and to know which type of filament you'll use. There are many types of filaments, and each one has its own application and that depends also on the piece you’ll be printing. Here’s a table about filaments
| Filament Type | Main Characteristics | Physical Properties | Common Applications |
|---|---|---|---|
| PLA (Polylactic Acid) | Easy to print, biodegradable, low thermal resistance, brittle. | Density: 1.24 g/cm³, Tensile Strength: 60 MPa, Glass Transition Temperature: 60°C. | Prototypes, models, decorative items. |
| ABS (Acrylonitrile Butadiene Styrene) | High mechanical strength, good thermal resistance, emits odors when printing. | Density: 1.04 g/cm³, Tensile Strength: 40-50 MPa, Maximum Use Temperature: 80-95°C. | Functional parts, housings, toys. |
| PETG (Polyethylene Terephthalate Glycol) | Strong, flexible, good layer adhesion, chemical resistant. | Density: 1.27 g/cm³, Tensile Strength: 50 MPa, Maximum Use Temperature: 70-80°C. | Bottles, containers, mechanical parts. |
| TPU (Thermoplastic Polyurethane) | Flexible, elastic, good wear resistance. | Density: 1.21 g/cm³, Tensile Strength: 30-50 MPa, Shore Hardness: 85-95A. | Flexible parts, phone cases, gaskets. |
| Nylon | High mechanical strength, flexible, abrasion resistant, absorbs moisture. | Density: 1.14 g/cm³, Tensile Strength: 70 MPa, Maximum Use Temperature: 120°C. | Mechanical parts, gears, industrial components. |
| HIPS (High Impact Polystyrene) | Similar to ABS, soluble in limonene, good mechanical strength. | Density: 1.03 g/cm³, Tensile Strength: 30-50 MPa, Maximum Use Temperature: 95°C. | Soluble supports, functional parts. |
| Carbon Fiber | High rigidity, lightweight, strong, can be abrasive to nozzles. | Density: 1.6 g/cm³, Tensile Strength: 700 MPa, Maximum Use Temperature: 150°C. | Structural parts, drones, automotive components. |
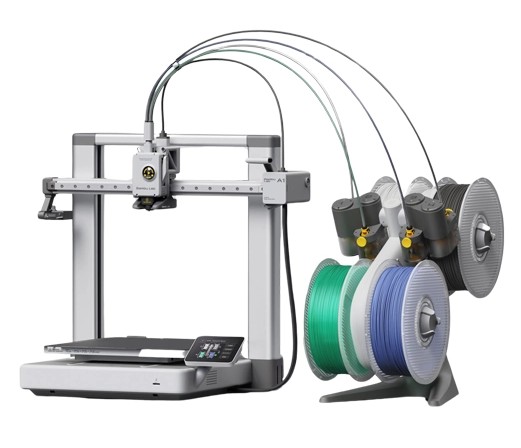
The 3D printing I'll be using is the Bambu lab A1. Here are the specs for the printer.
Bambu Lab A1 Specifications
| Specification | Details |
|---|---|
| Print Volume | 256 × 256 × 256 mm |
| Layer Resolution | 0.1 - 0.28 mm |
| Nozzle Diameter | 0.4 mm (default) |
| Max Print Speed | 500 mm/s |
| Filament Compatibility | PLA, PETG, TPU, ABS |
| Bed Leveling | Auto Bed Leveling |
| Connectivity | Wi-Fi, SD Card |
Lets start by designing the piece. The idea I had was to print a spere inside another spere. In the video below you can see my design process.
Now that the piece is finished we have to save the file as STL.
Because im using a bambulab 3D printer I'll be using it's software: Bambu Studio
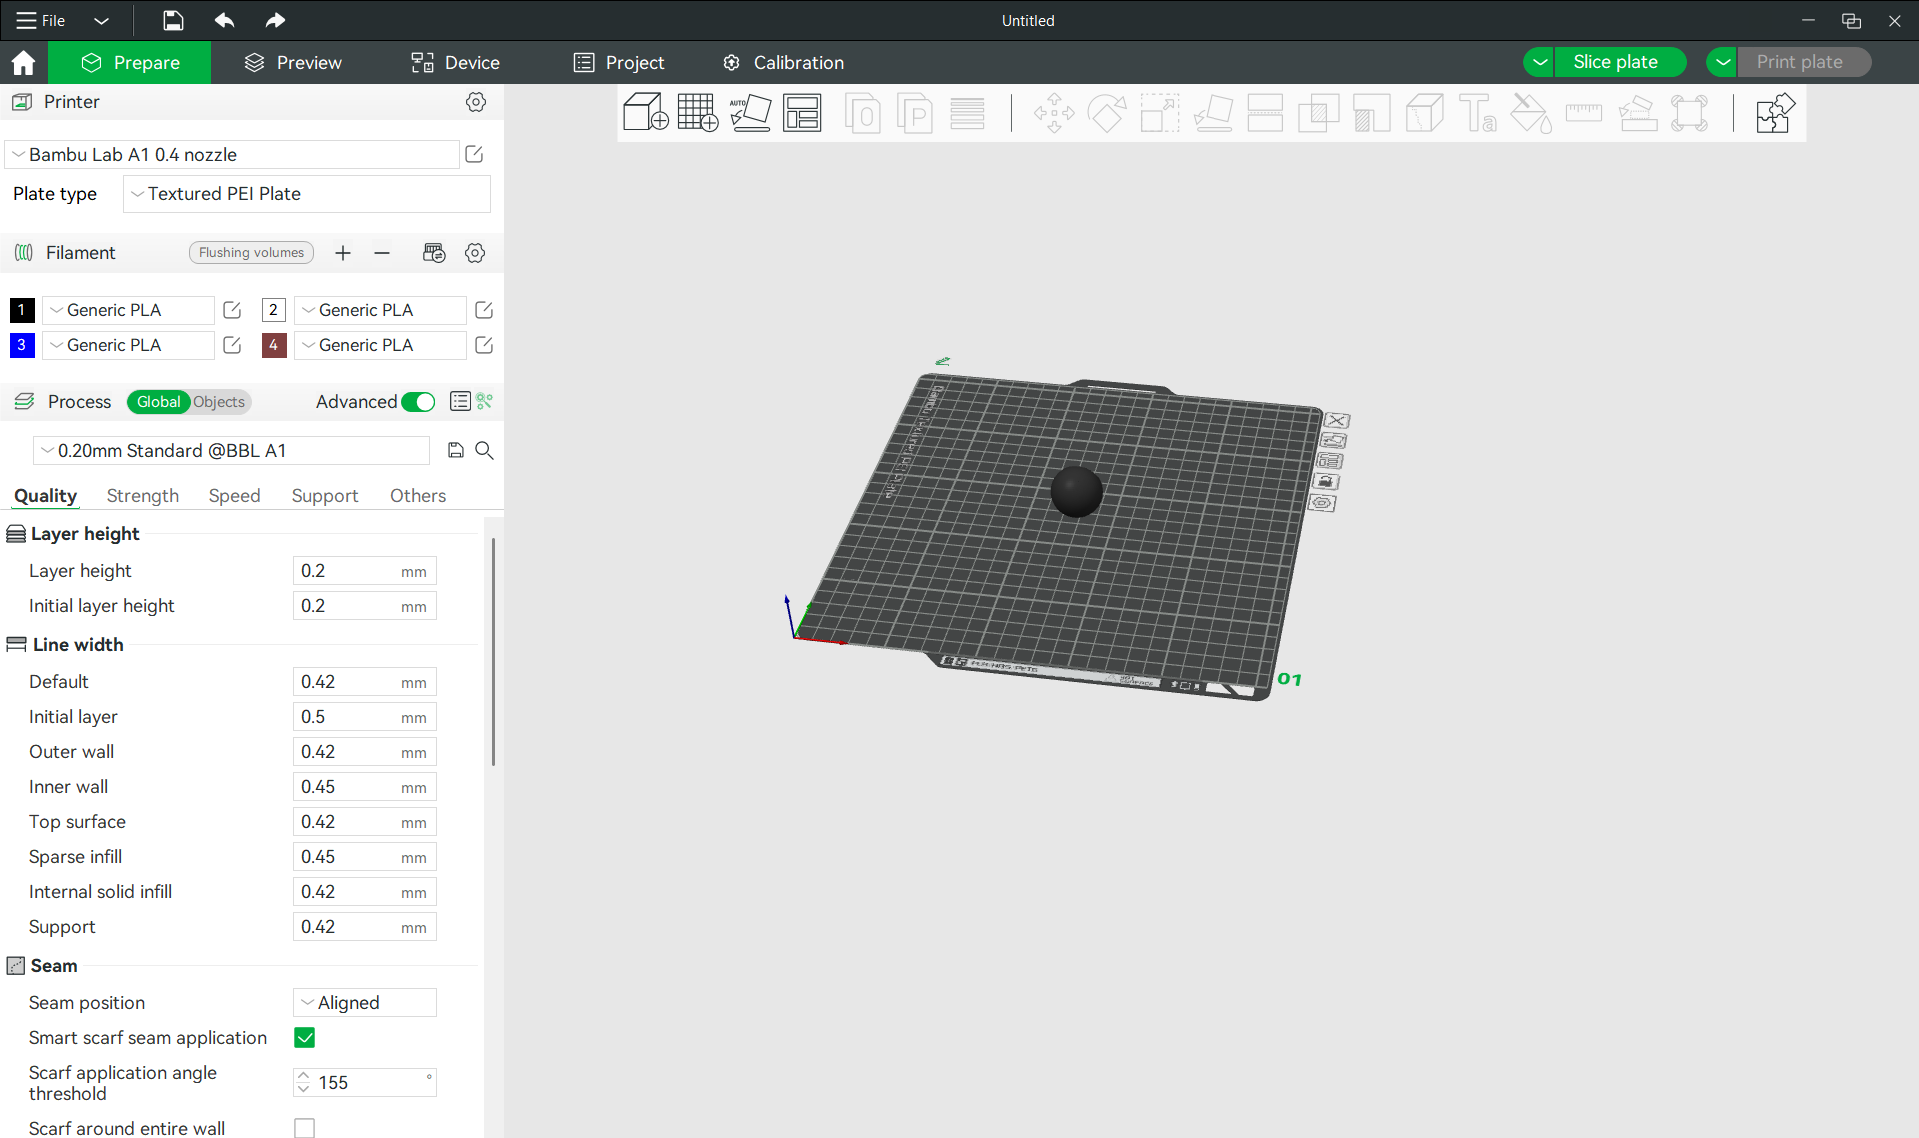
In the software we have a lot of options and customizations, like the toolbox in the top right we can move, adjust and add color to the piece so its fit's better on the bed

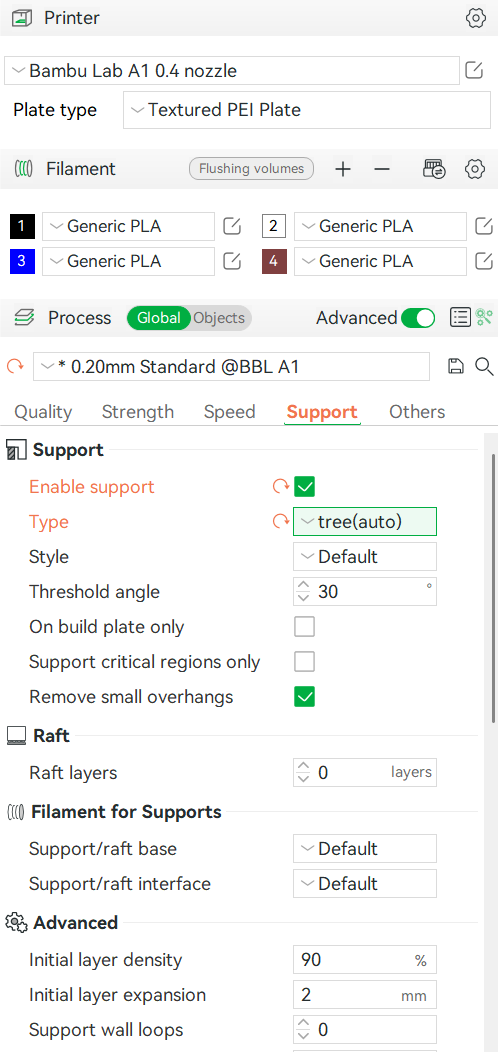
also in the left side we have a lot of printing options, tolerances, supports, etc. In my case I had to use support because of the spherical design. I just clicked the support box and enable the support, modified the type of support, instead of normal (auto) to tree (auto) and only use support for critical regions, that means that will only create supports on the needed parts like in the base, this allows me that inside the second sphere there are no unwanted support that prevent it from moving
Once its finished the customization we have to click the slice button so it creates the g-code and send the file to print
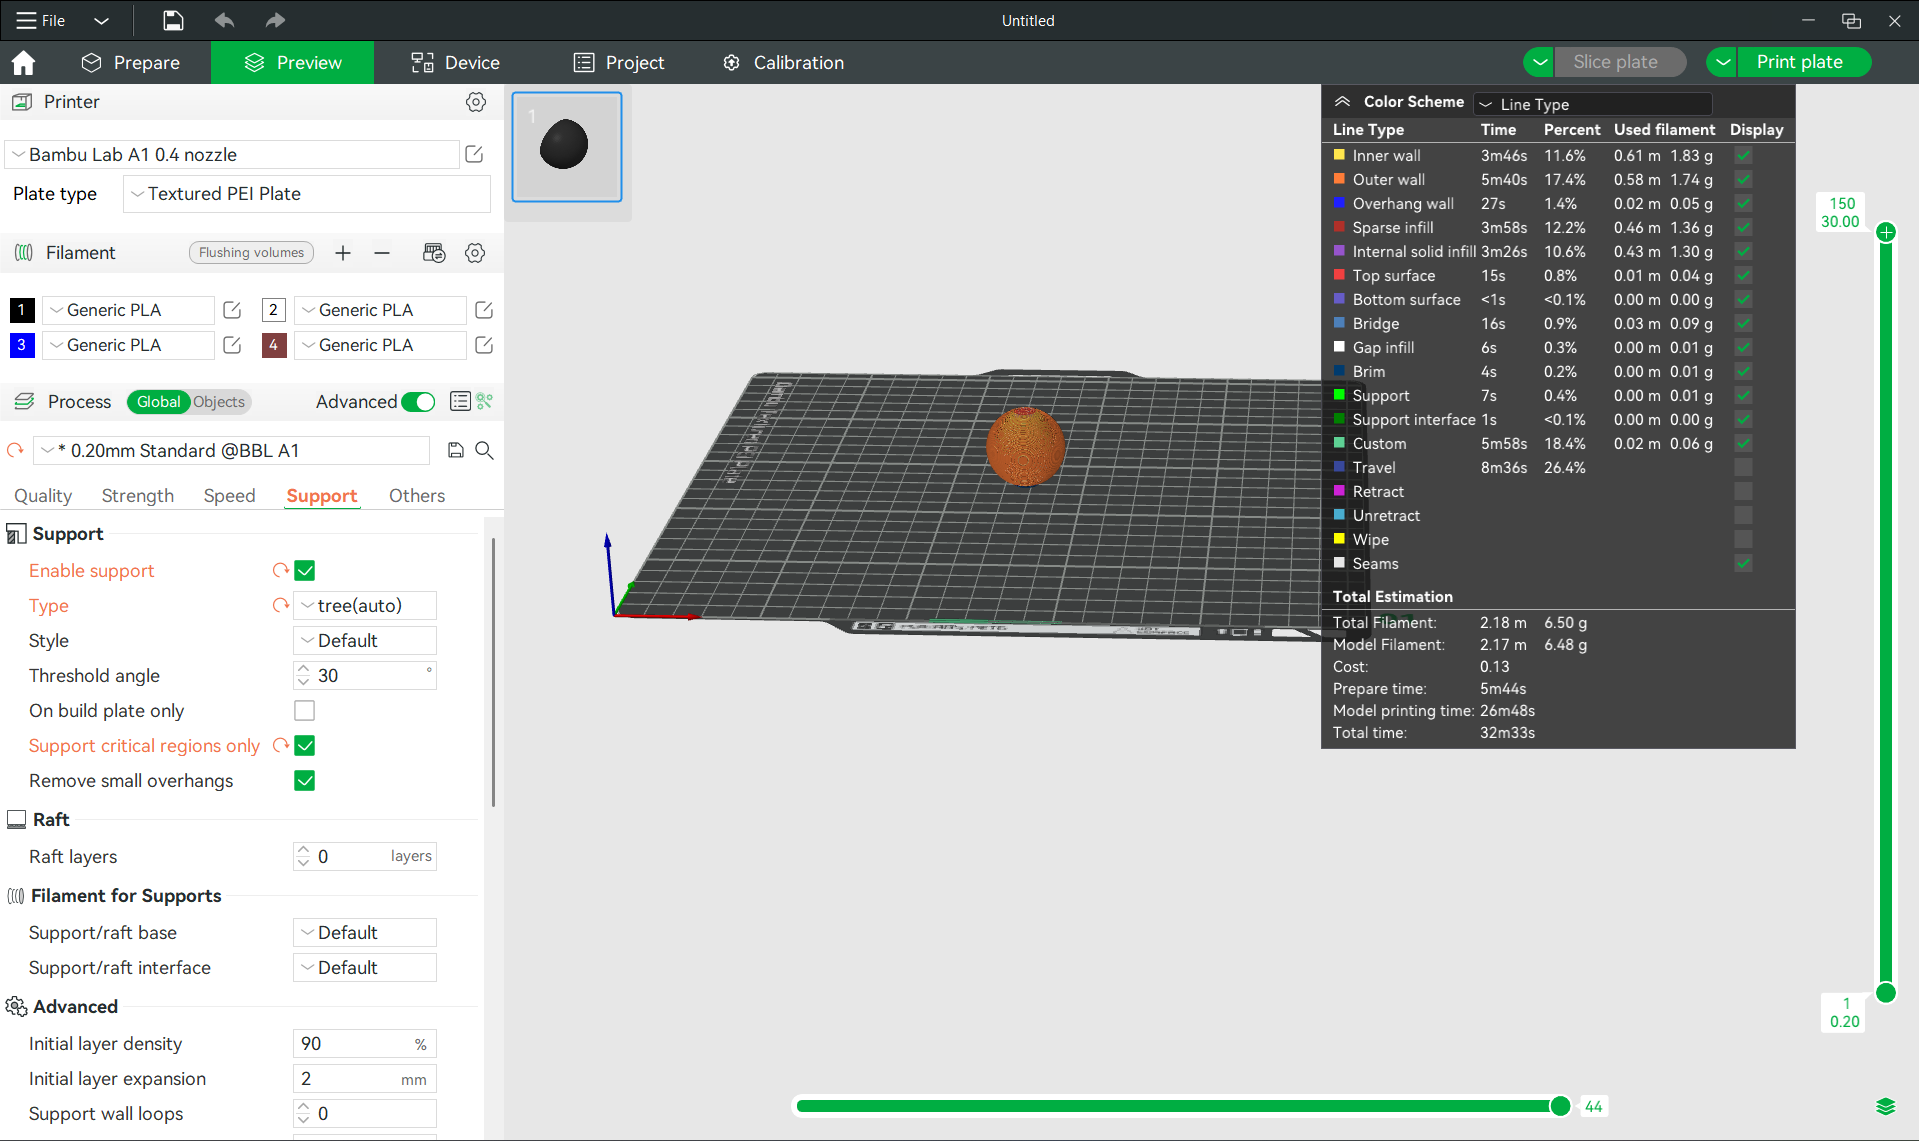
Printing...
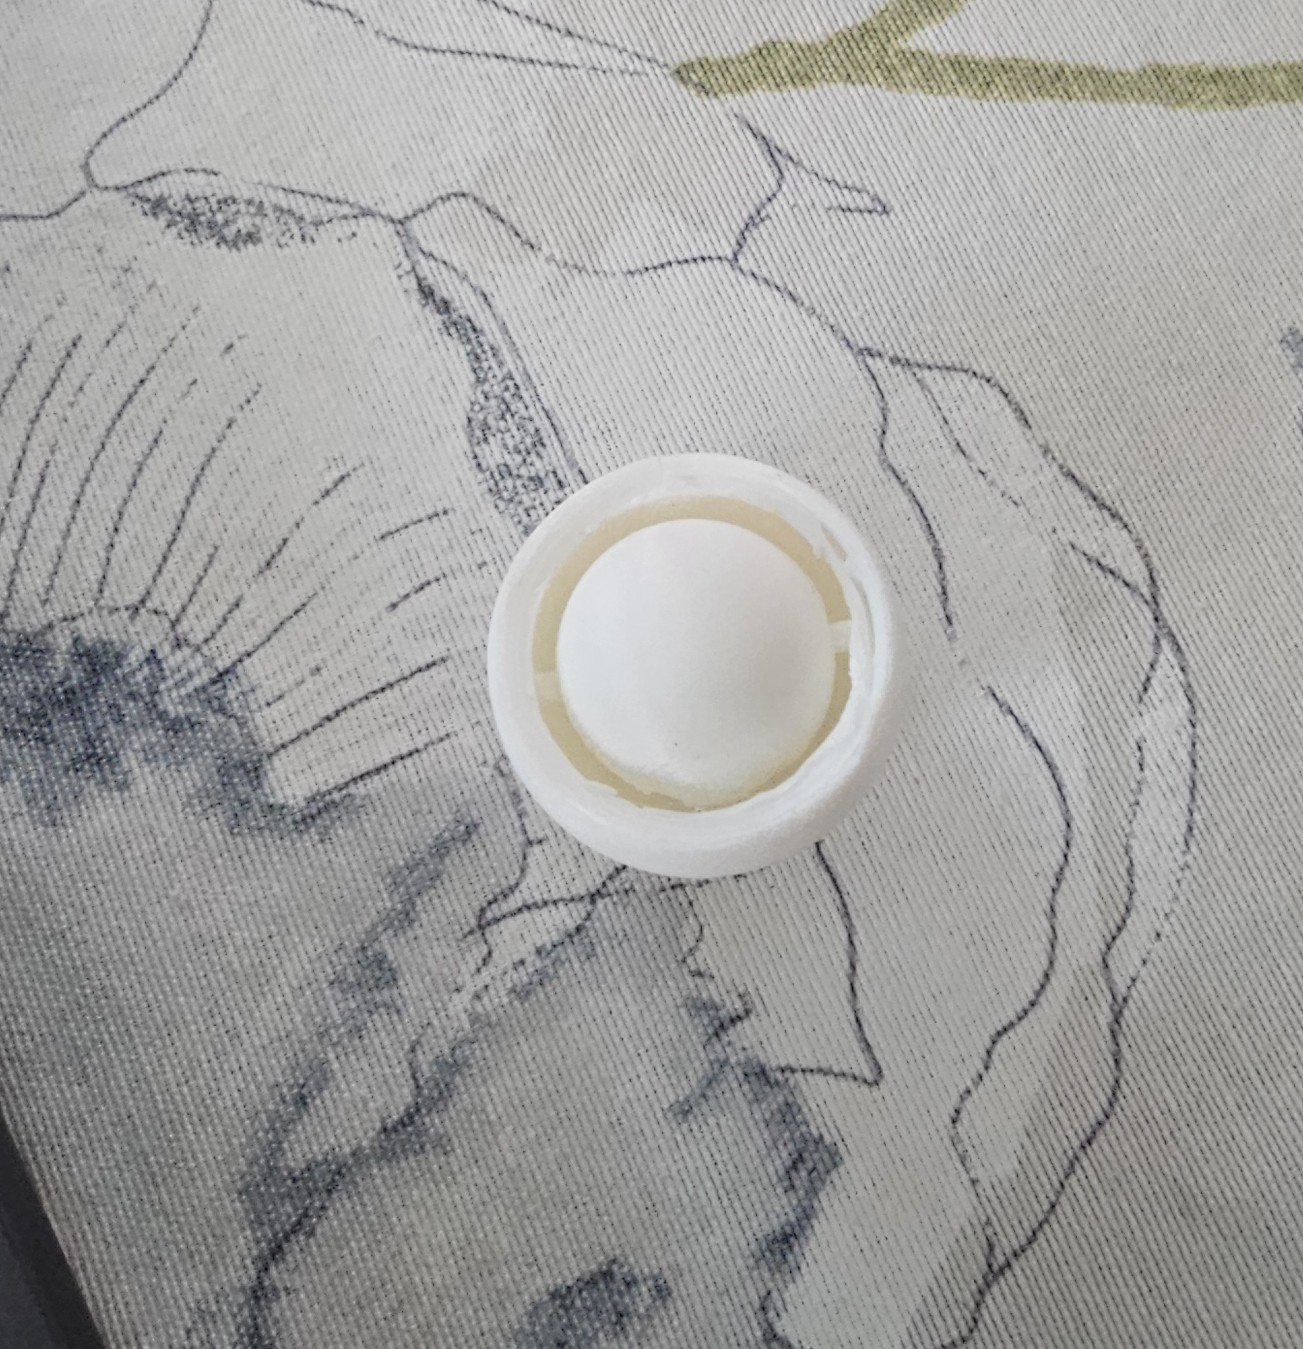
Final results!
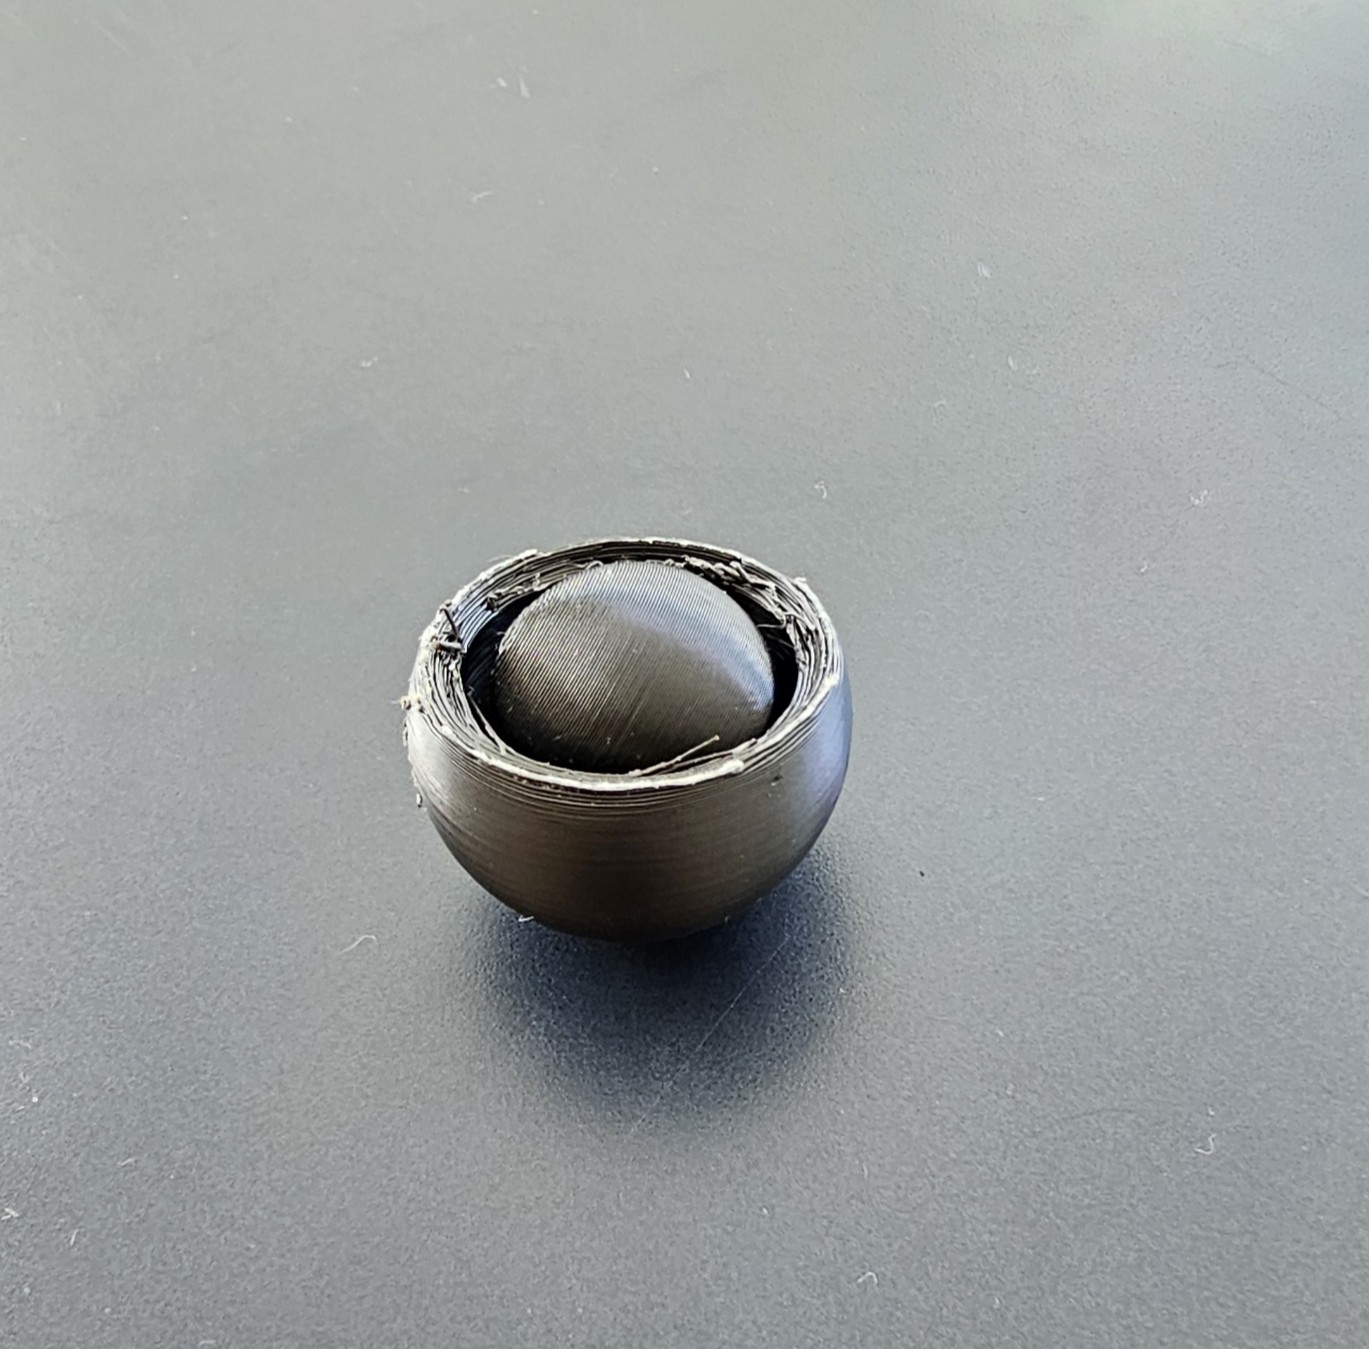
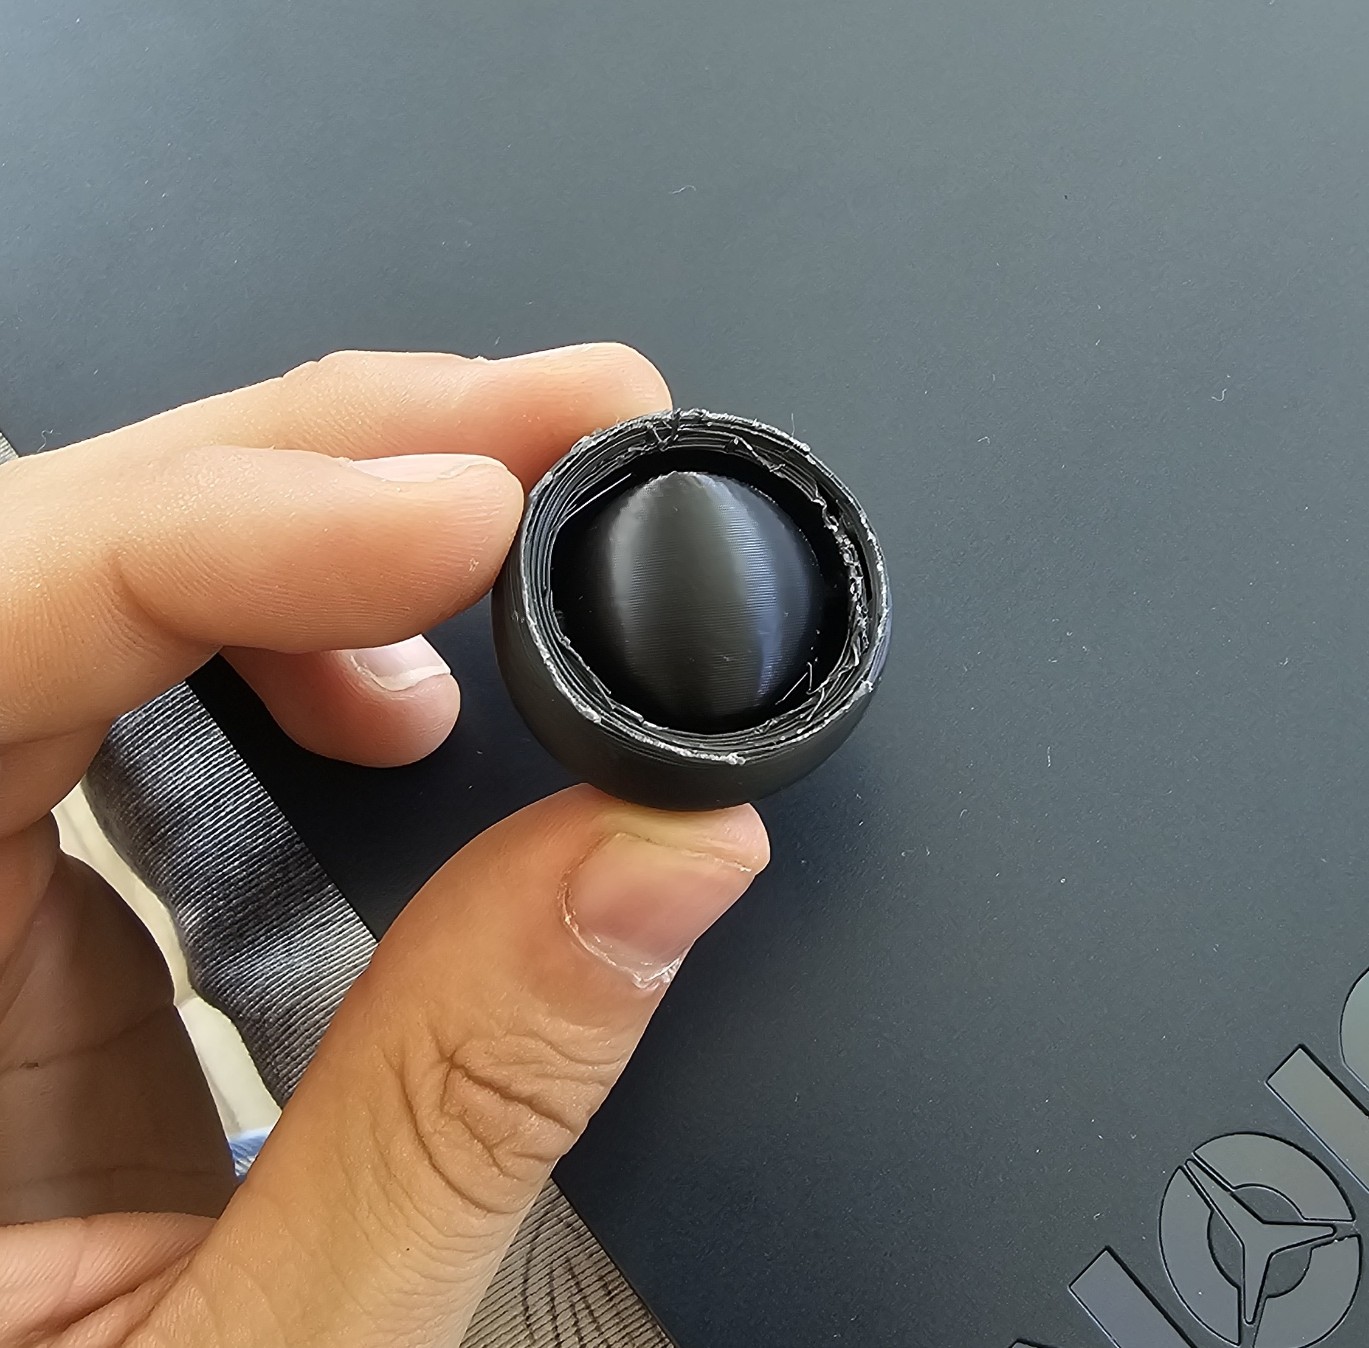
I had to polish a little the top because I had some issues with left over filaments but overall, it worked as intended and I was surprised with the quality of the sphere. I also printed on white, and I think it looks better.
