3. Laser cutting
Third week and getting interesting.
Designing the piece
This week we learned how to laser cut. The assignment was to design and cut an assembly kit. Also had our first group assignment which I'll link below.
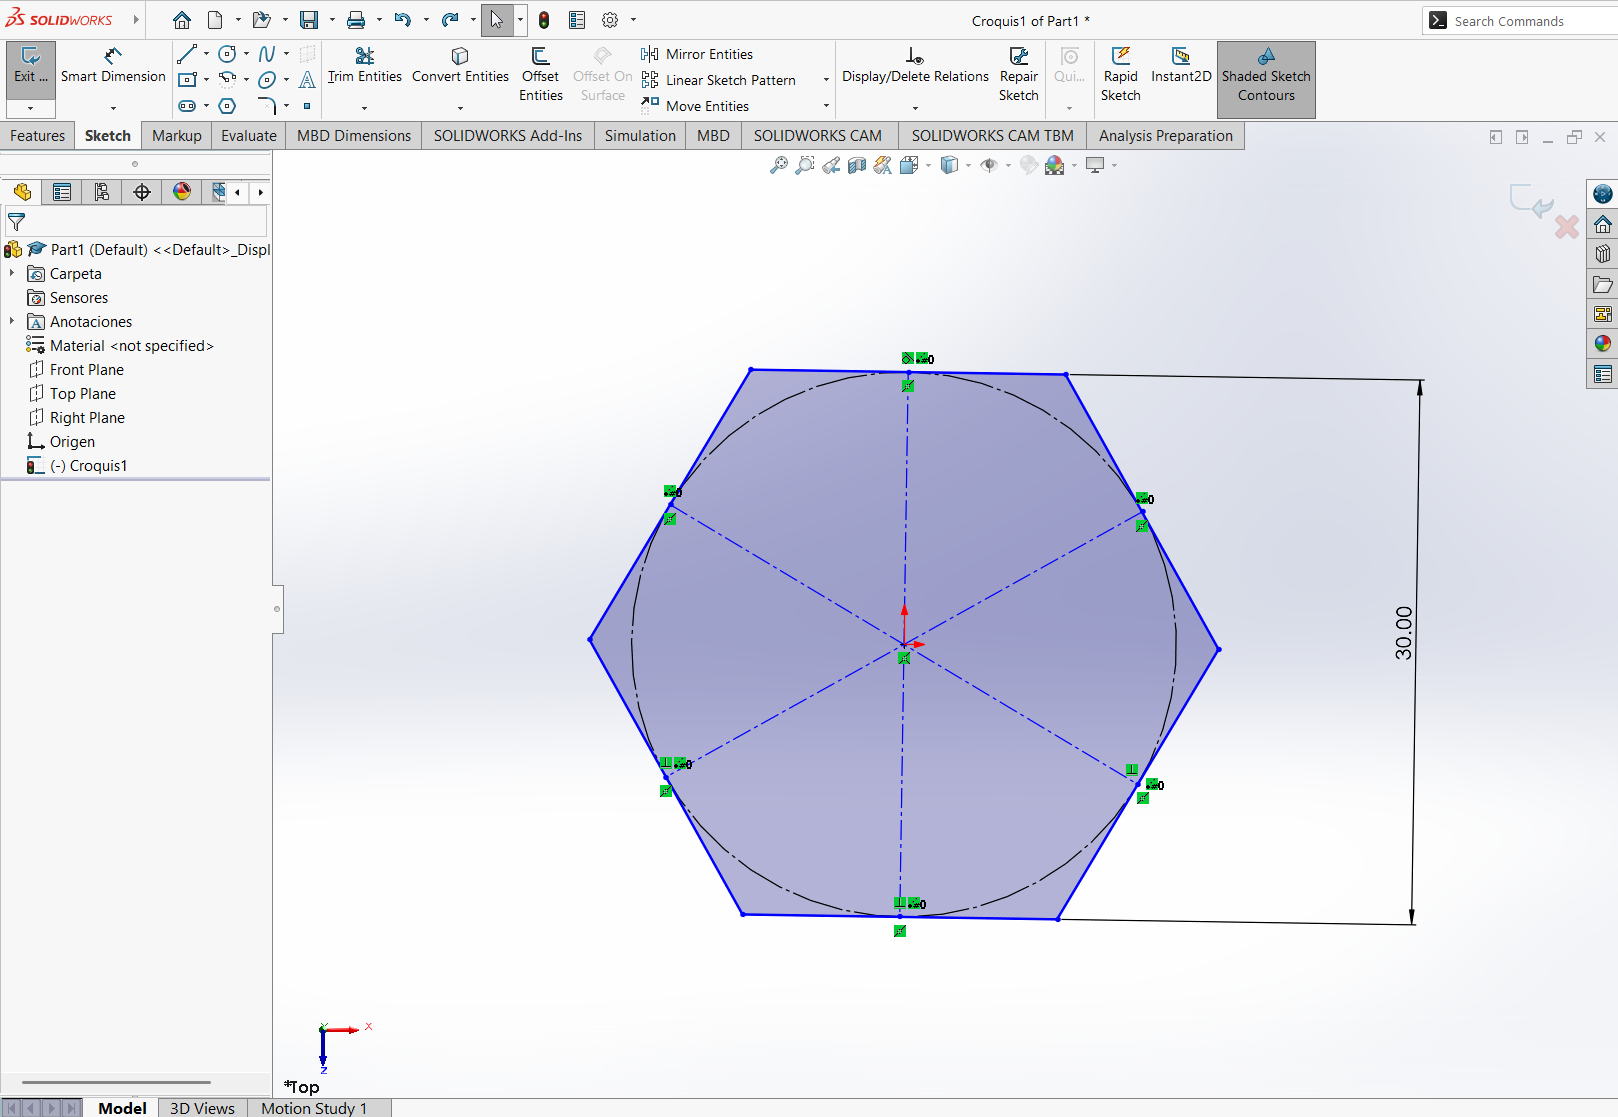
Group AssigmentI started by designing my base piece that will be used to build the structures. I chose hexagon due to its easy configuration, and its pattern repeats itself in nature so it's a more usable figure.
To design the hexagon in SolidWorks you won't need a lot of steps to do so. First open a new project and select a plane. In the toolbox you will find the hexagon tool. Once we draw the hexagon will make a rectangle in one of its pointed lines.
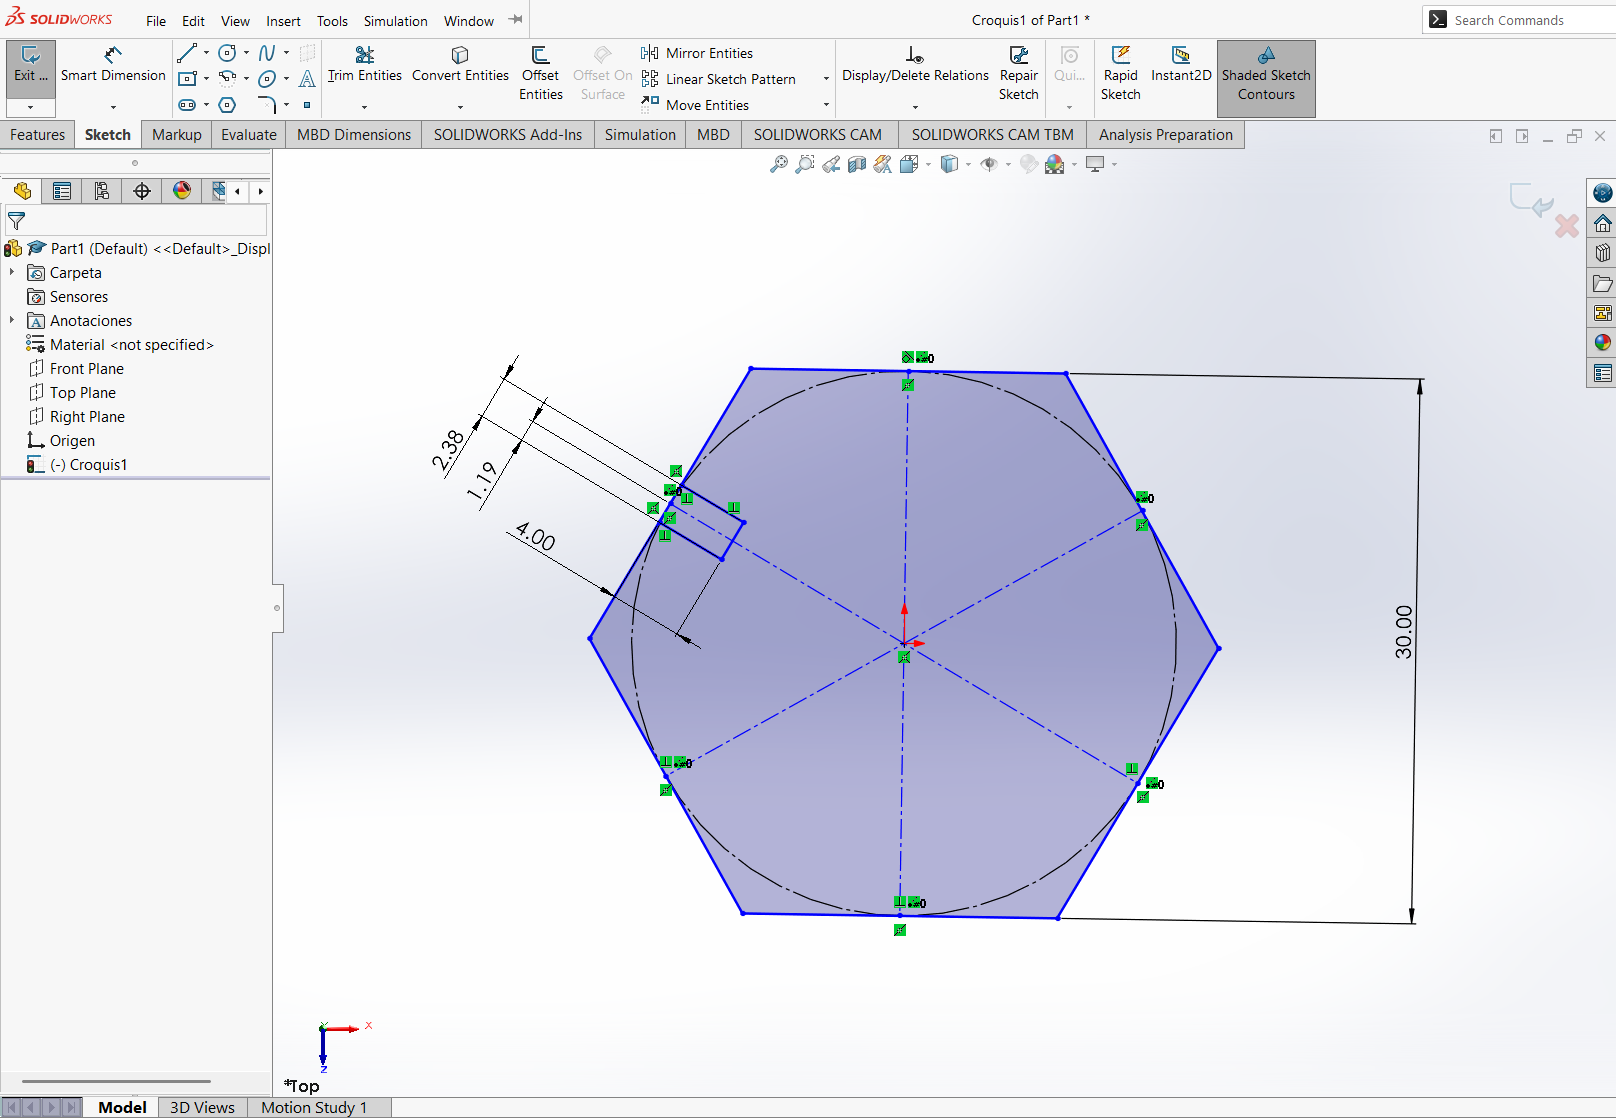
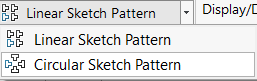
The rectangle should be centered between the pointed line. Once it has the desired measurements we need to locate the linear sketch pattern, select the facedown row and then click circular sketch pattern.
The next menu will appear:
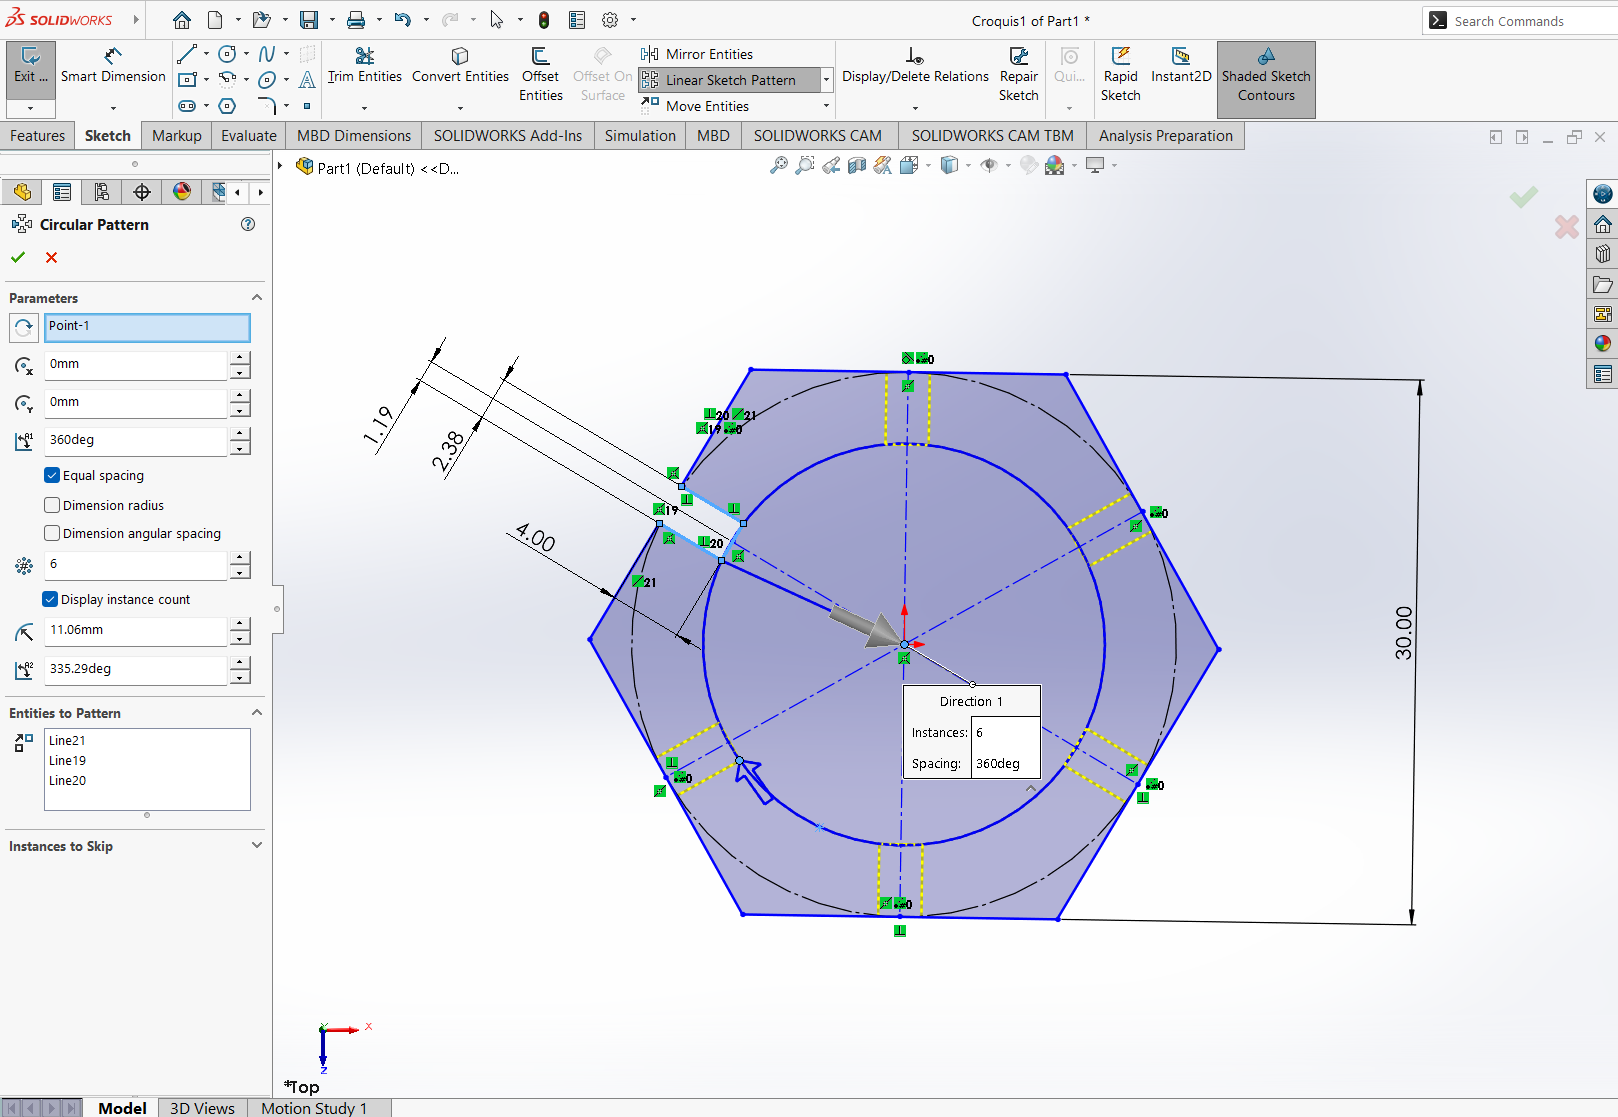
We will select the instances we want. In this case 6 because of the hexagon. And now we have the hexagon ready.
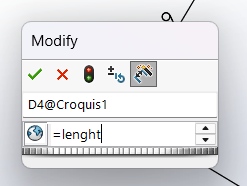
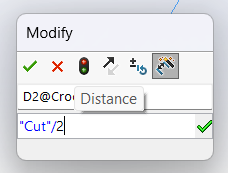
I also used the ecuation function so it will auto adjust the lengt taking in consideration the kerf
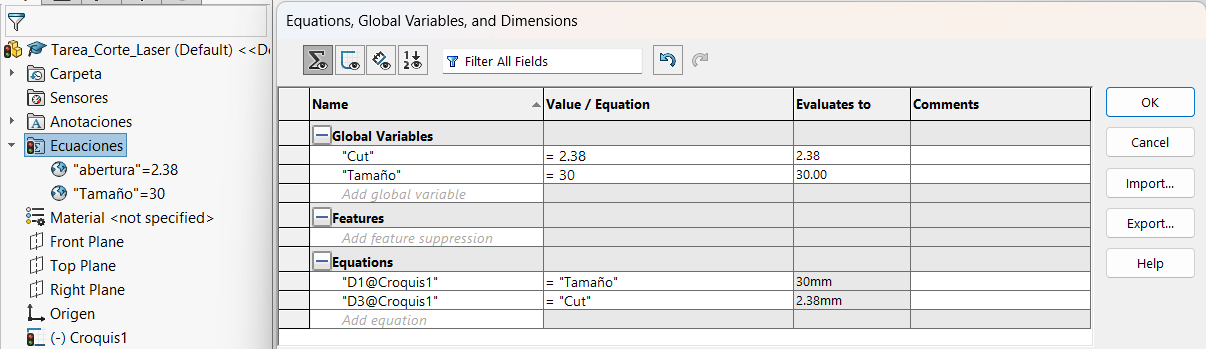
Using it is really easy, just use the measurement tool and use the '='and write the name of the variant, then it will give you a value for that variant which you can change before saving it.
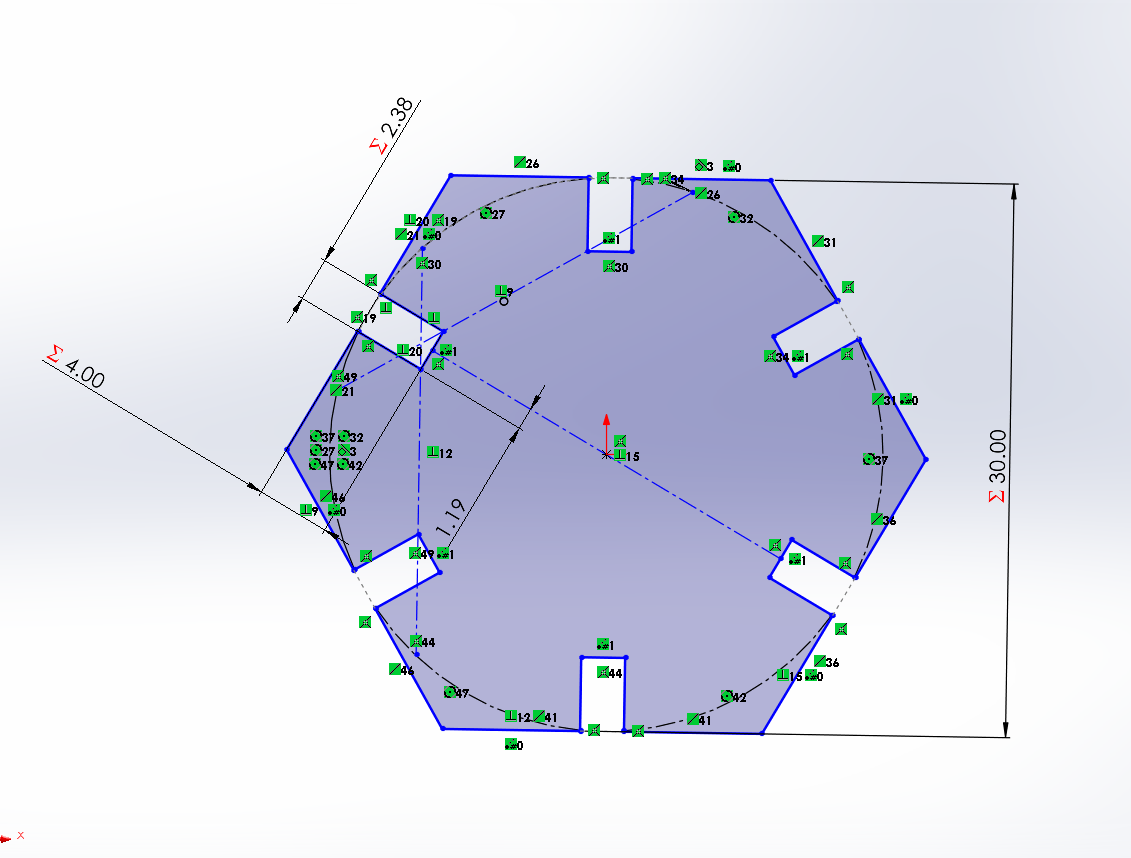
And then the shape will look like this
We need to save the file as DXF.

Considerations for laser cutting
Because we'll cut in laser we must take into consideration the kerf, which is the loss of extra material. We gave the kerf a value of .15mm due to a proof we made in the laser cutting cnc. Now that we have a value, we need to take this into consideration. The height of the material is 2.5mm and because we want it to fit perfectly in the gap we made. We have to subtract 2.5mm of height minus the .15 of the kerf. Resulting in 2.35mm. That should be the length of the gap on the hexagon.
Preparing the file
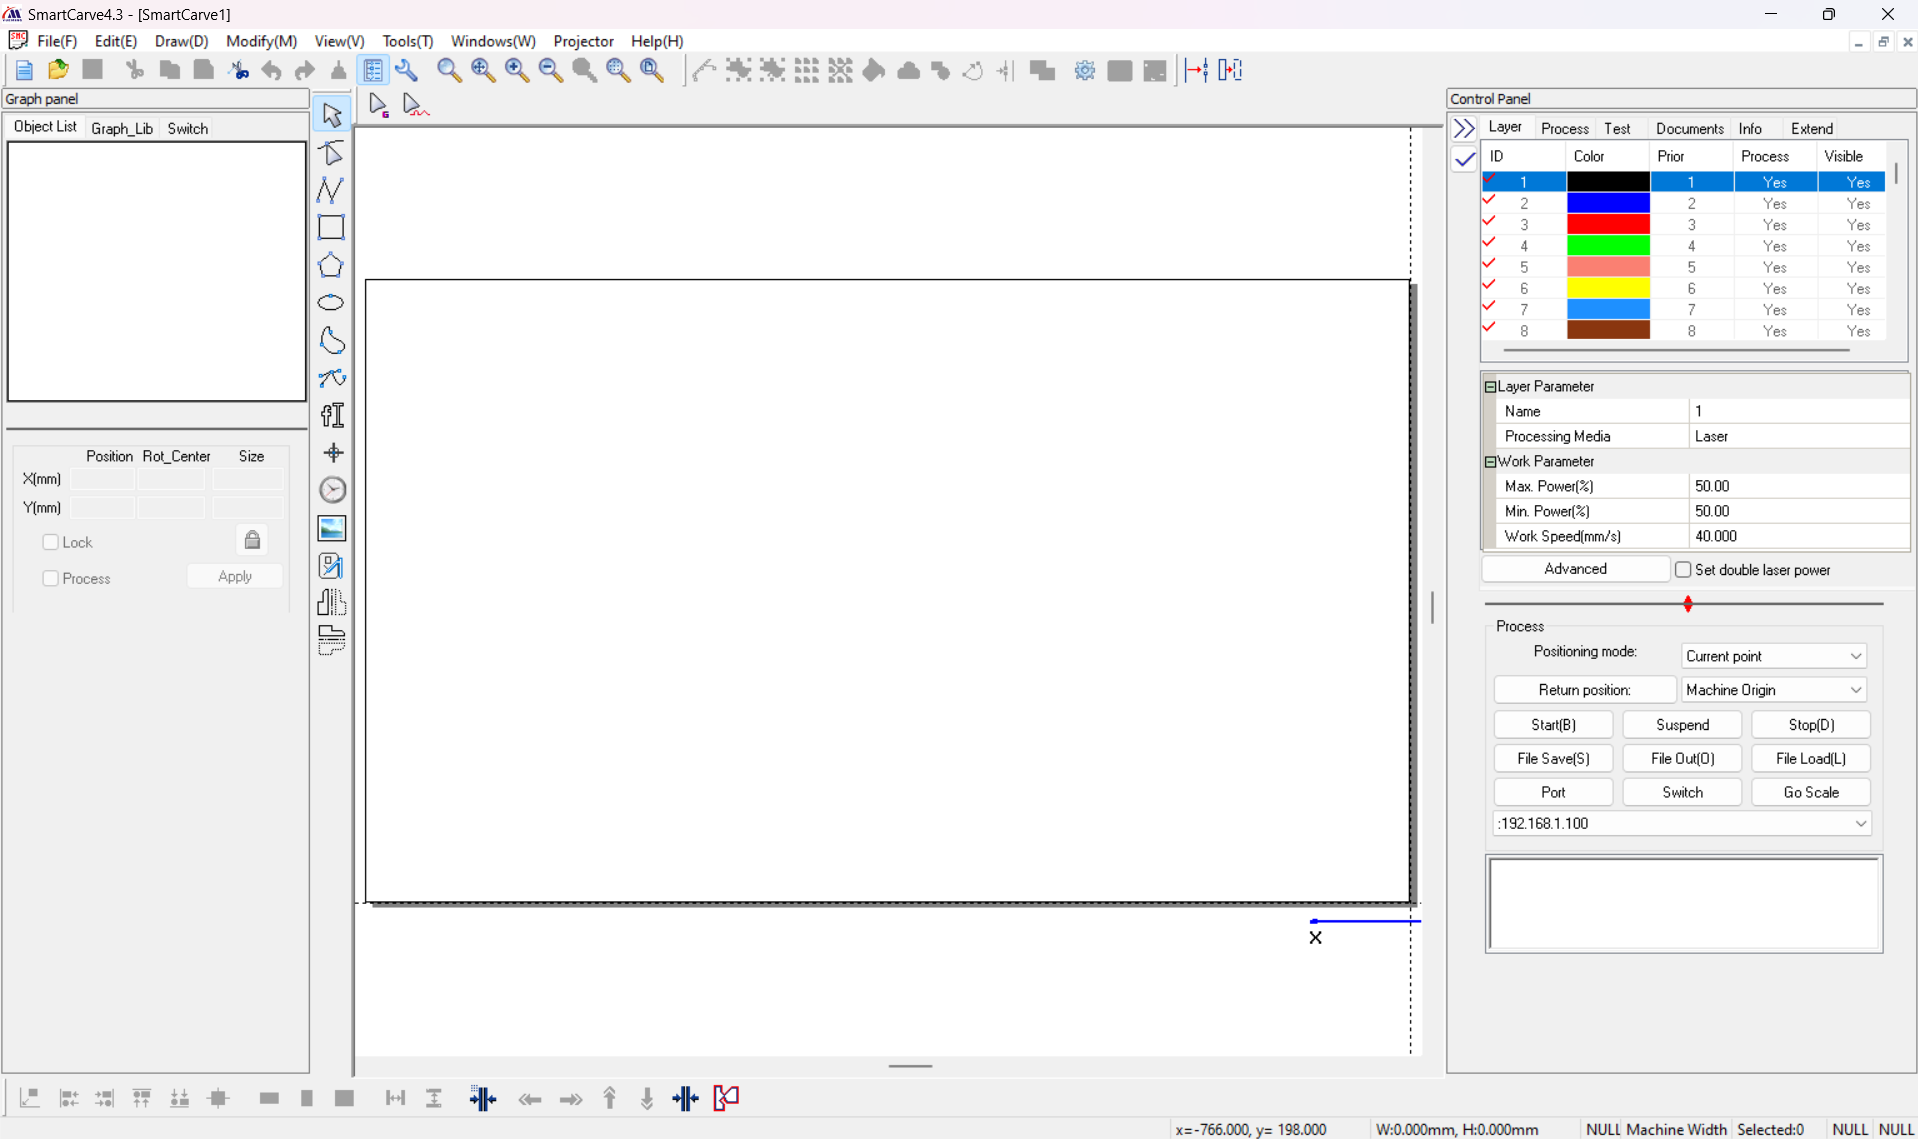
To prepare the DXF file we'll open a software call “SmartCarve43”. In there we can modify the values for the speed and laser power.
Once open we locate the file box in the Carve software and click on import. That will open our DXF file.
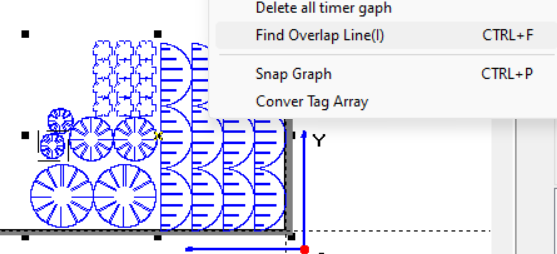
Once opened we can make some adjustments like checking for overlap lines or making arrays.
To check for overlap lines select the whole piece and right click, you will see the option "Find Overlap Line" click it and it will automatically search for double lines
In the top right we have the option to change the layers. We can have multiple layers and each layer have its own speed and power for the laser.
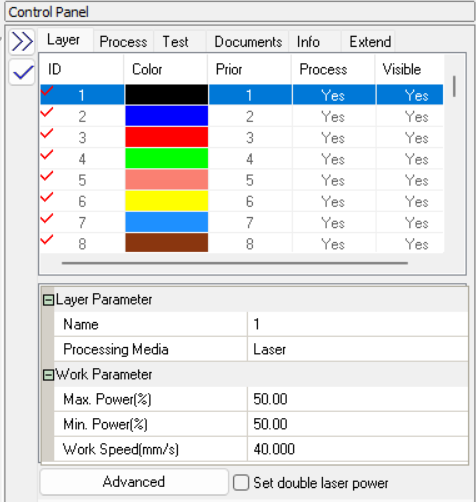
After testing we change the speed and power of the laser, being 40mm/s for the speed and 50% of the power. We've got those measurements also with our group assignment.
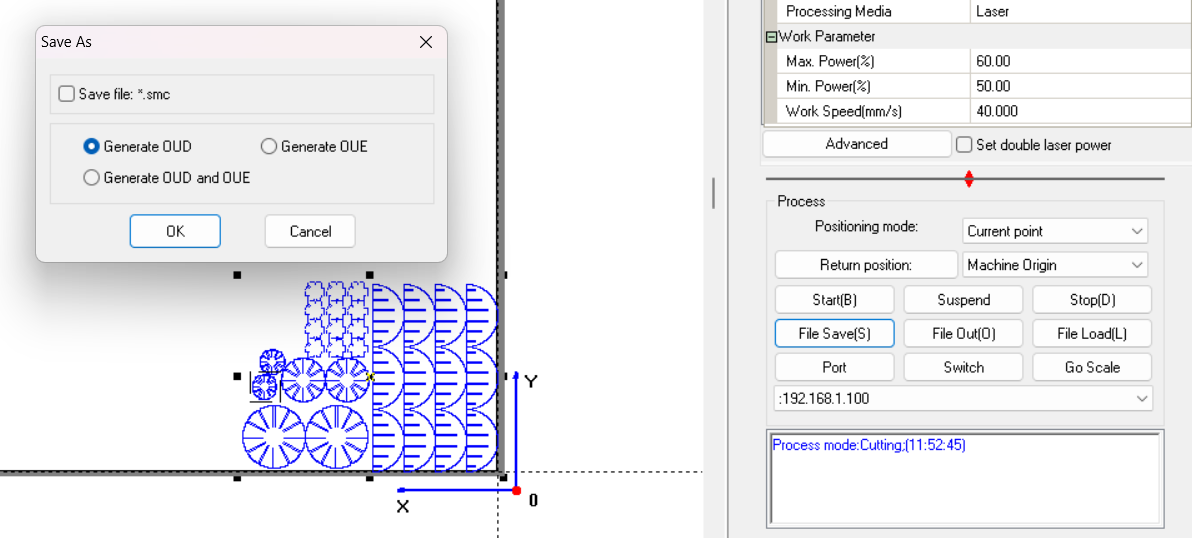
Once everything is ready you have to save the file as OUD format.
Let's Cut
To start cutting we need to be familiar with the machine.
The laser cnc that we'll use is the CAMFive CFL-CMA1080K that we have in the University Ibero Puebla.
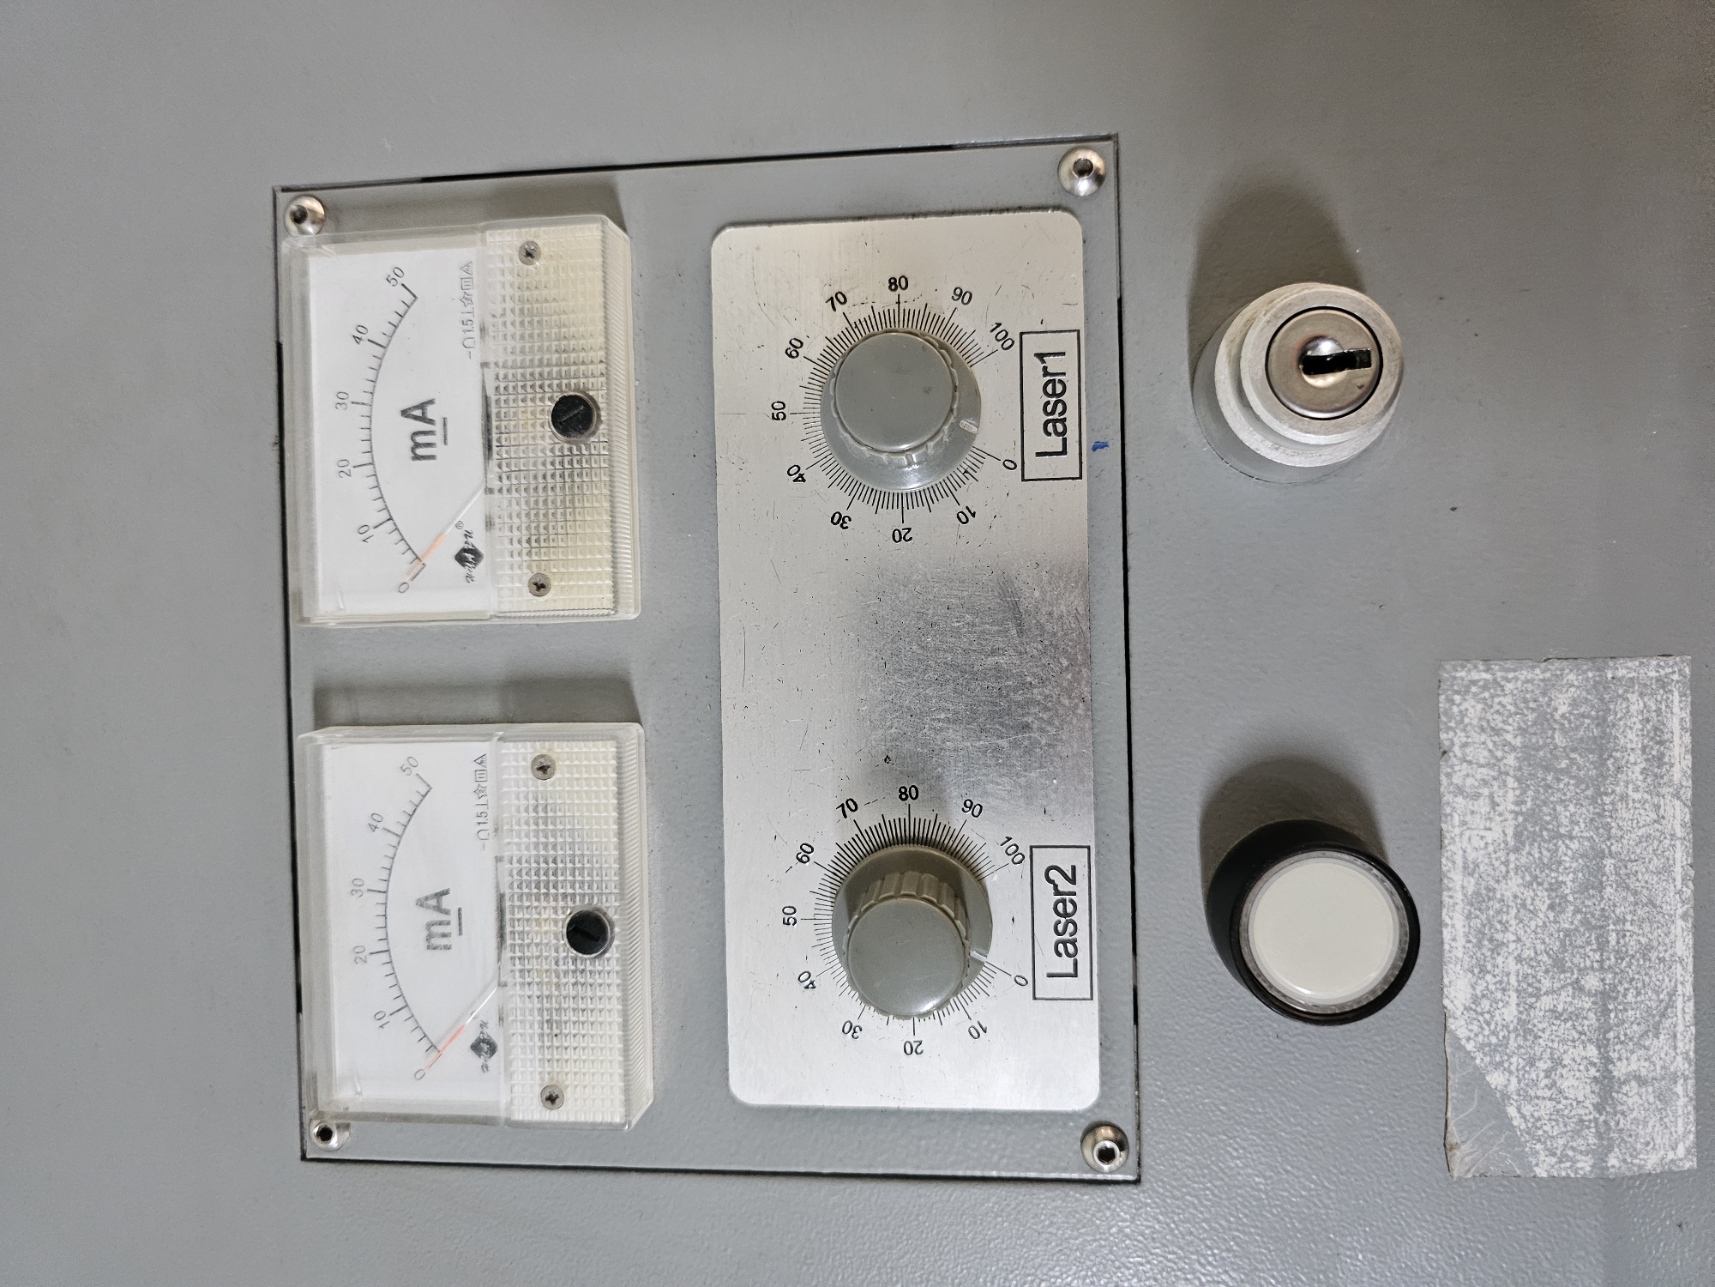
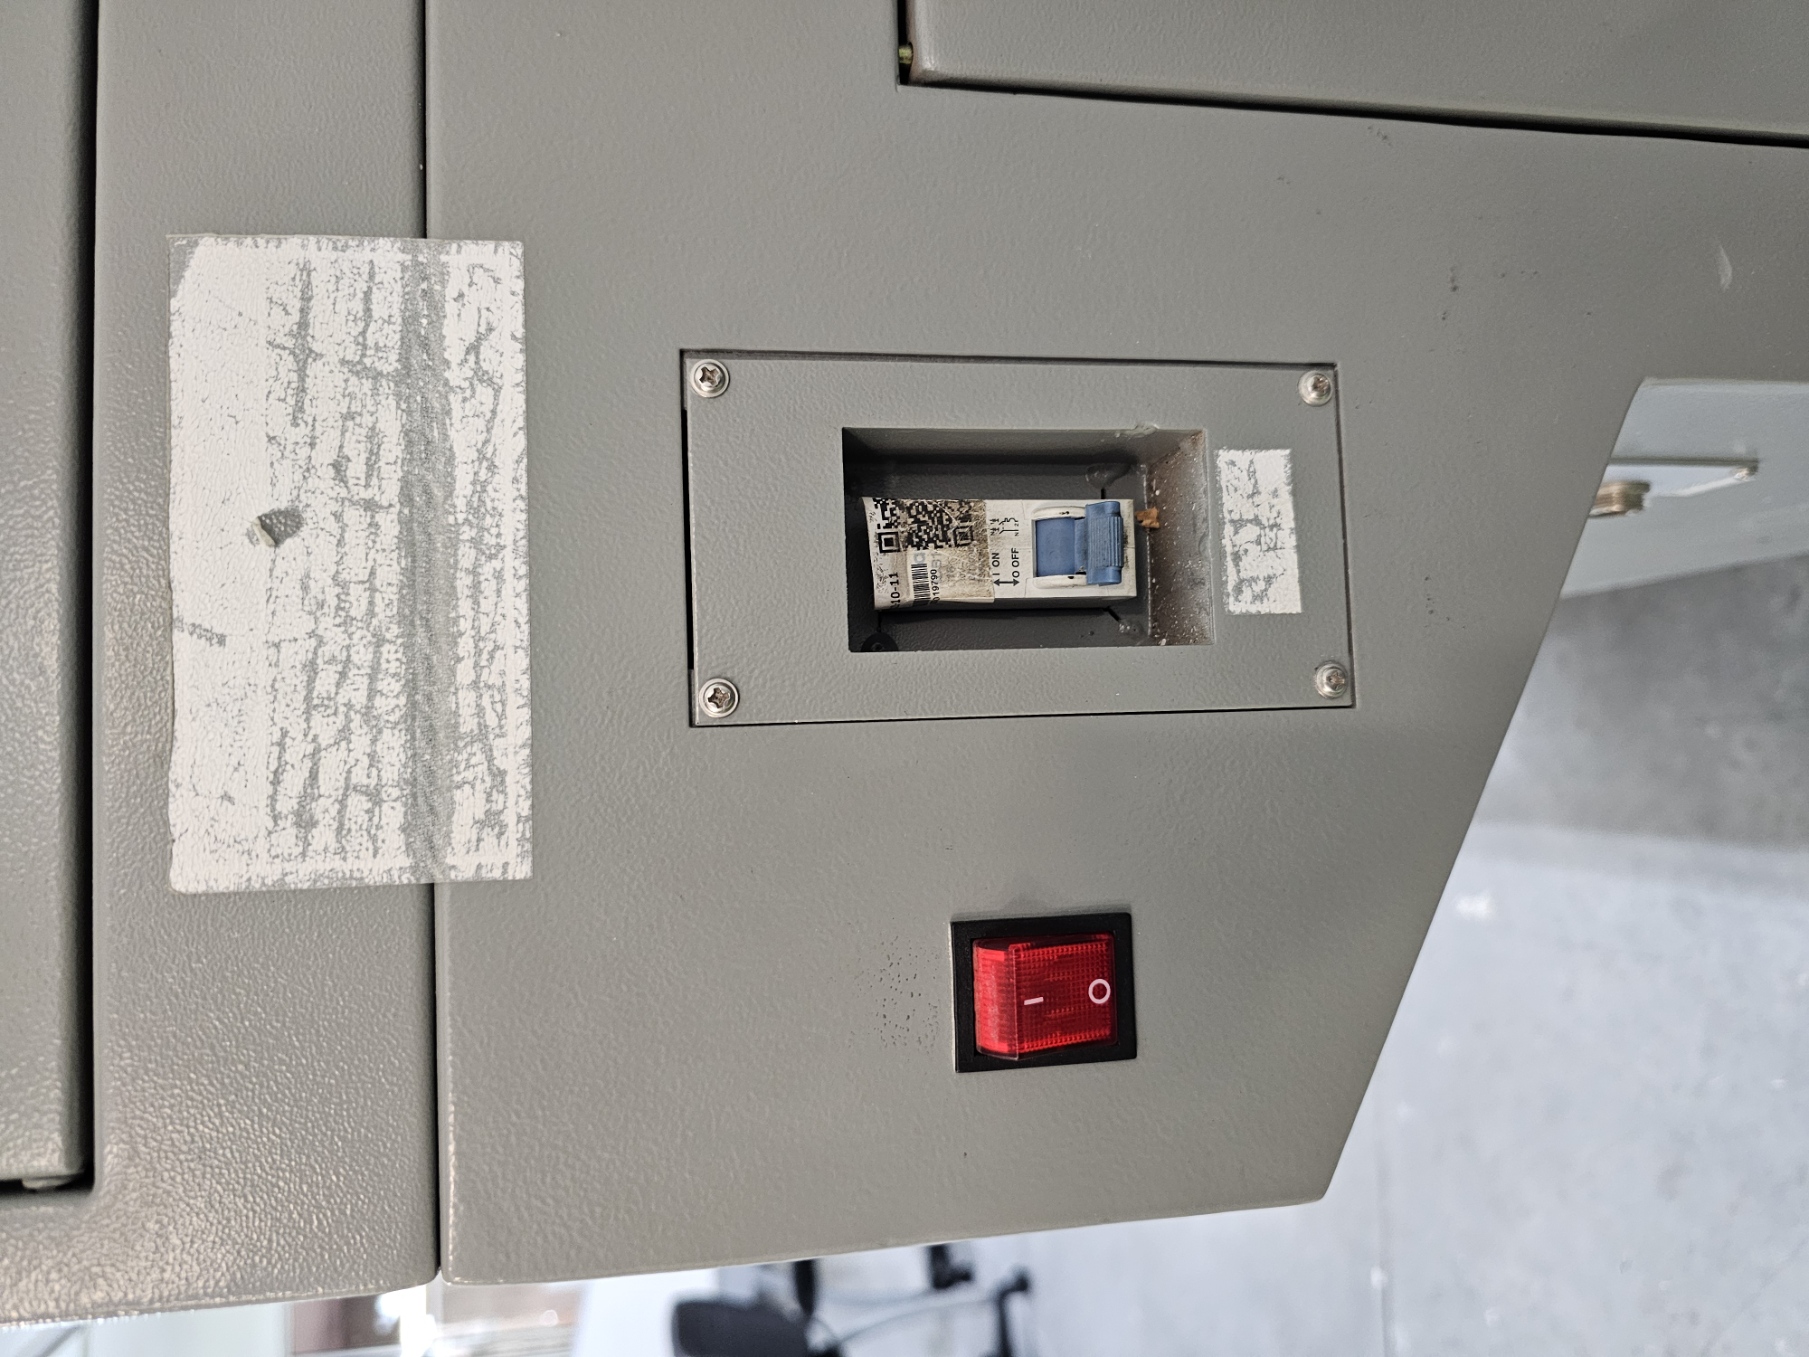
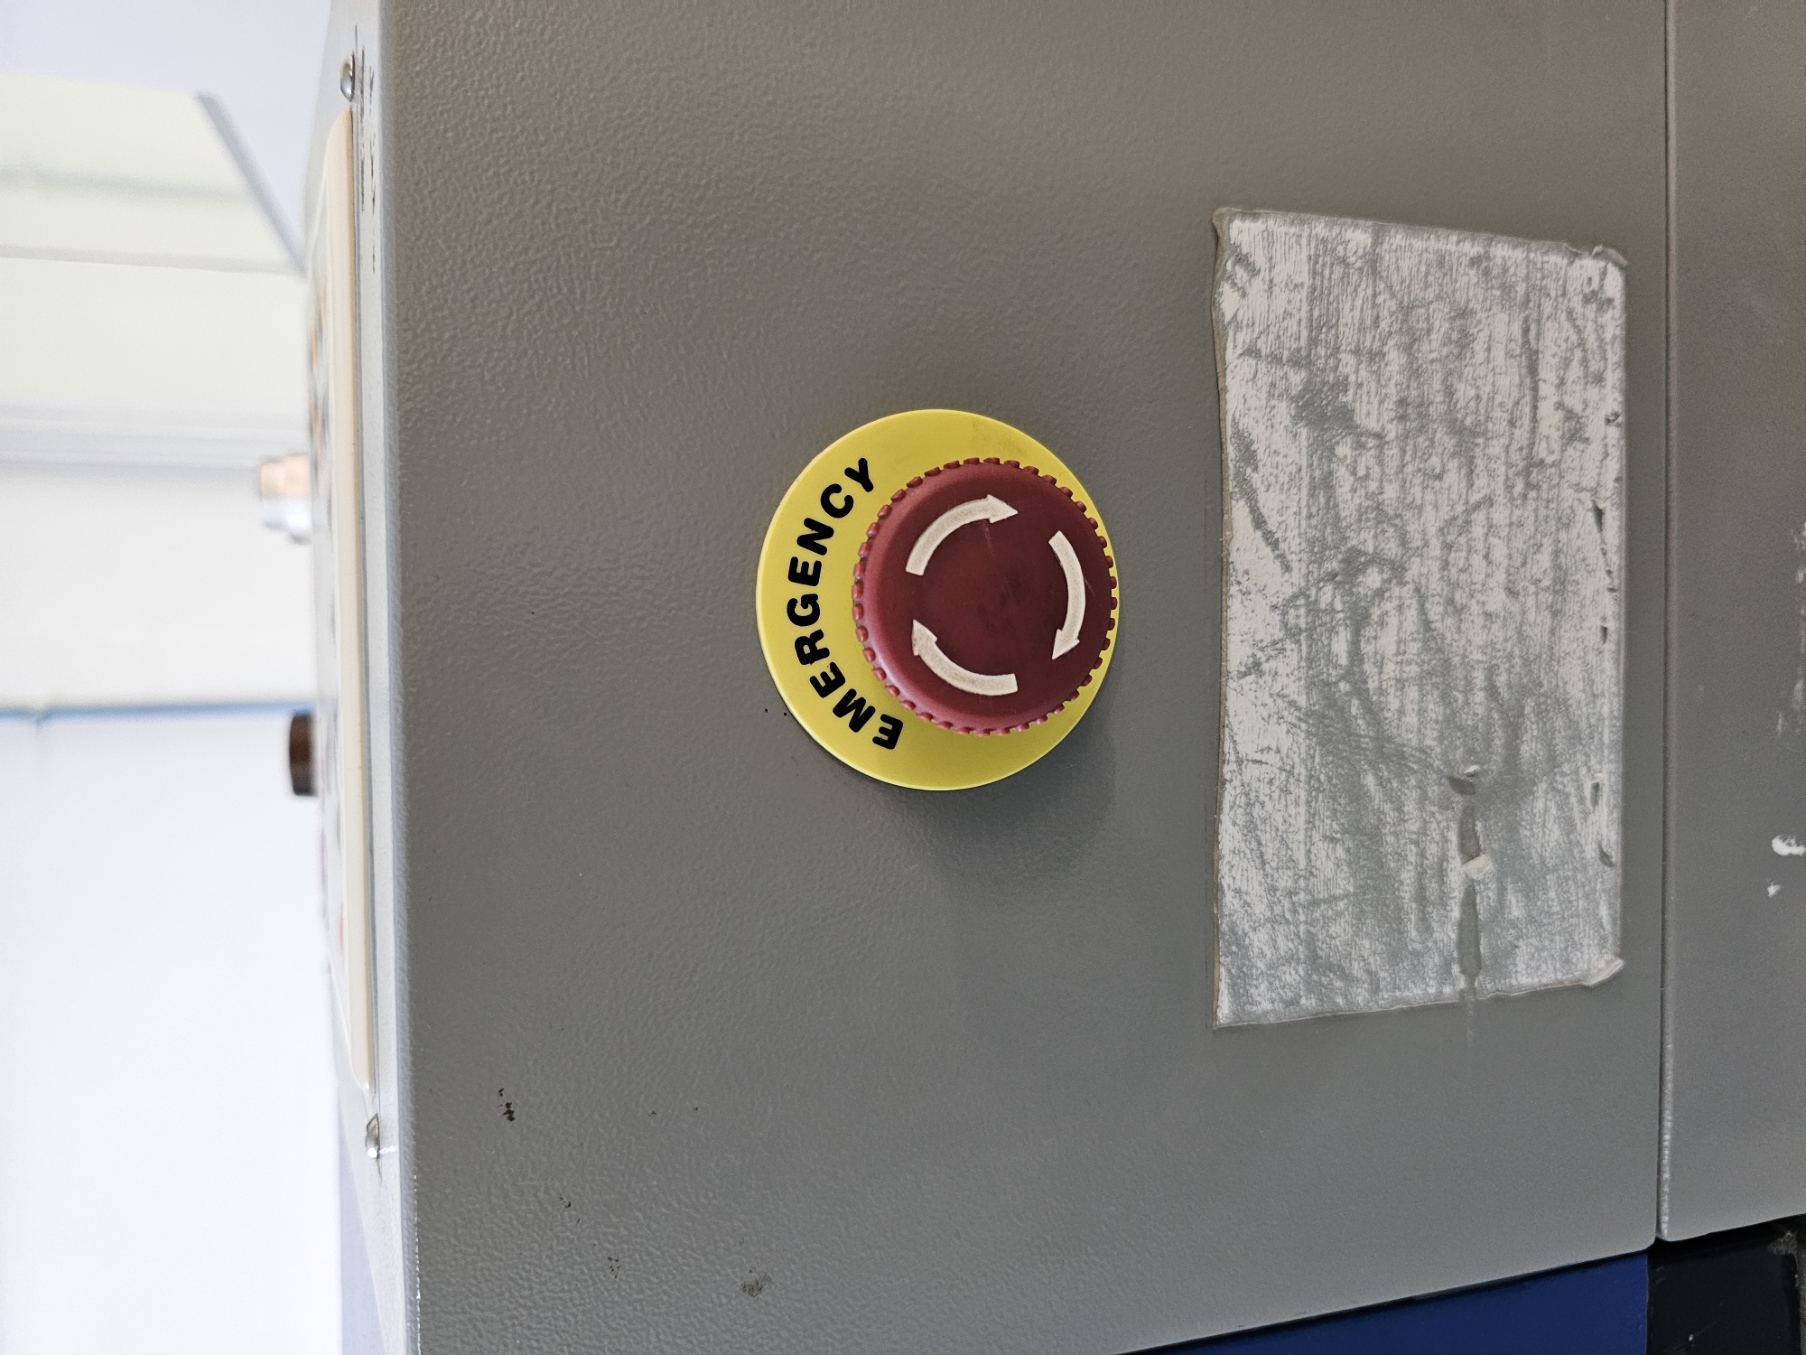
To turn on the laser cnc we have 3 switches we need to turn. First is the main switch which is easy to access, in front of the machine, then we have the emergency switch which is in front of the machine as well. And last, we have a keyhole located on the top of the cnc. To turn it on we need the special key that was given along with the laser cut cnc. Once we turn it on we can see that the machine will auto calibrate and the screen will turn on.
The interface is easy to use
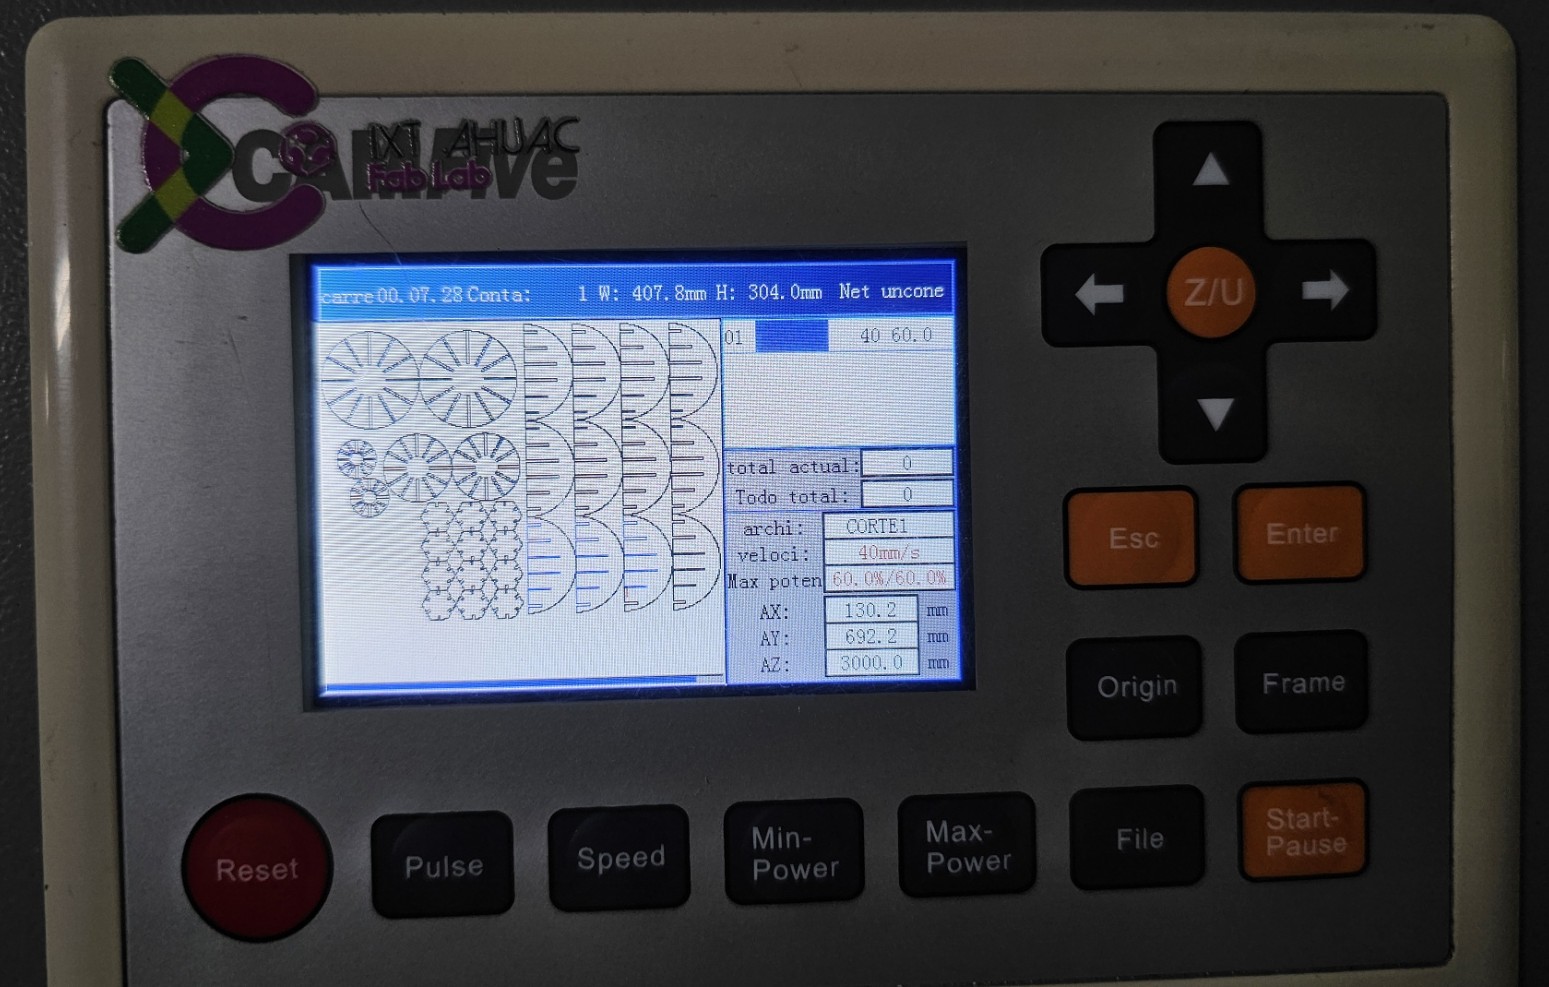
Controls
- Pulse- Activate the laser without a code.
- Speed-Controls the speed of the movements.
- Min power- The % of the minimum power for the laser.
- Max power- The % of the maximum power for the laser
- File- access the files from the ram or an external drive
- Frame- shows and delimits the cutting area
- Origin- Creates the point 0 where the cutting will start
- The arrows- you can navigate on the interface or move the laser in x and y.
To upload a file to the laser cuter you must click file. Then locate your external drive (You can connect an external drive to the cnc by a USB slot located in the front of the machine) once you're in the drive click the file you want and click the option “Save to RAM”. Now click esc so you return to the main page of the interface.
To start the cutting just click the start-pause button and it will start.
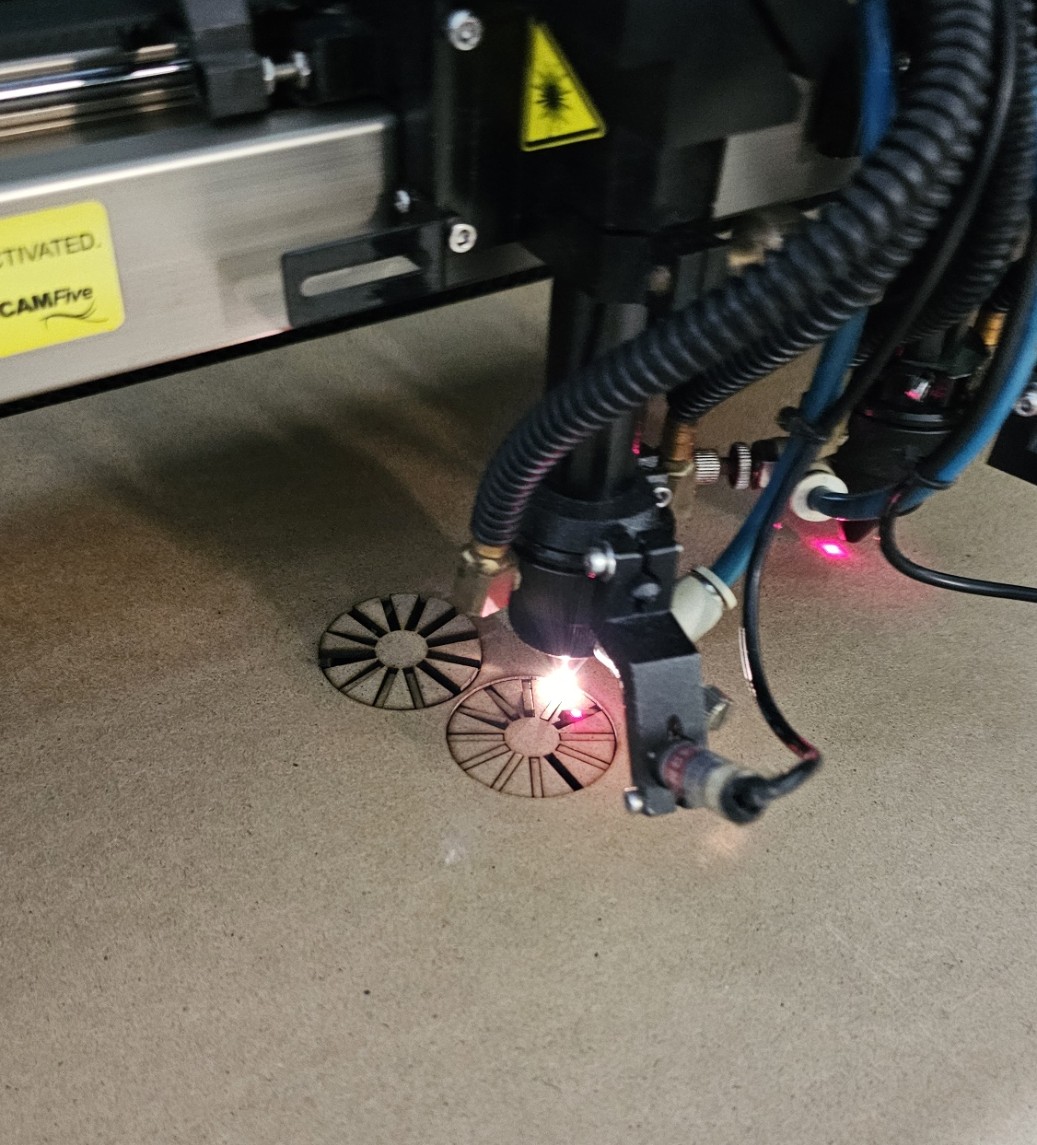
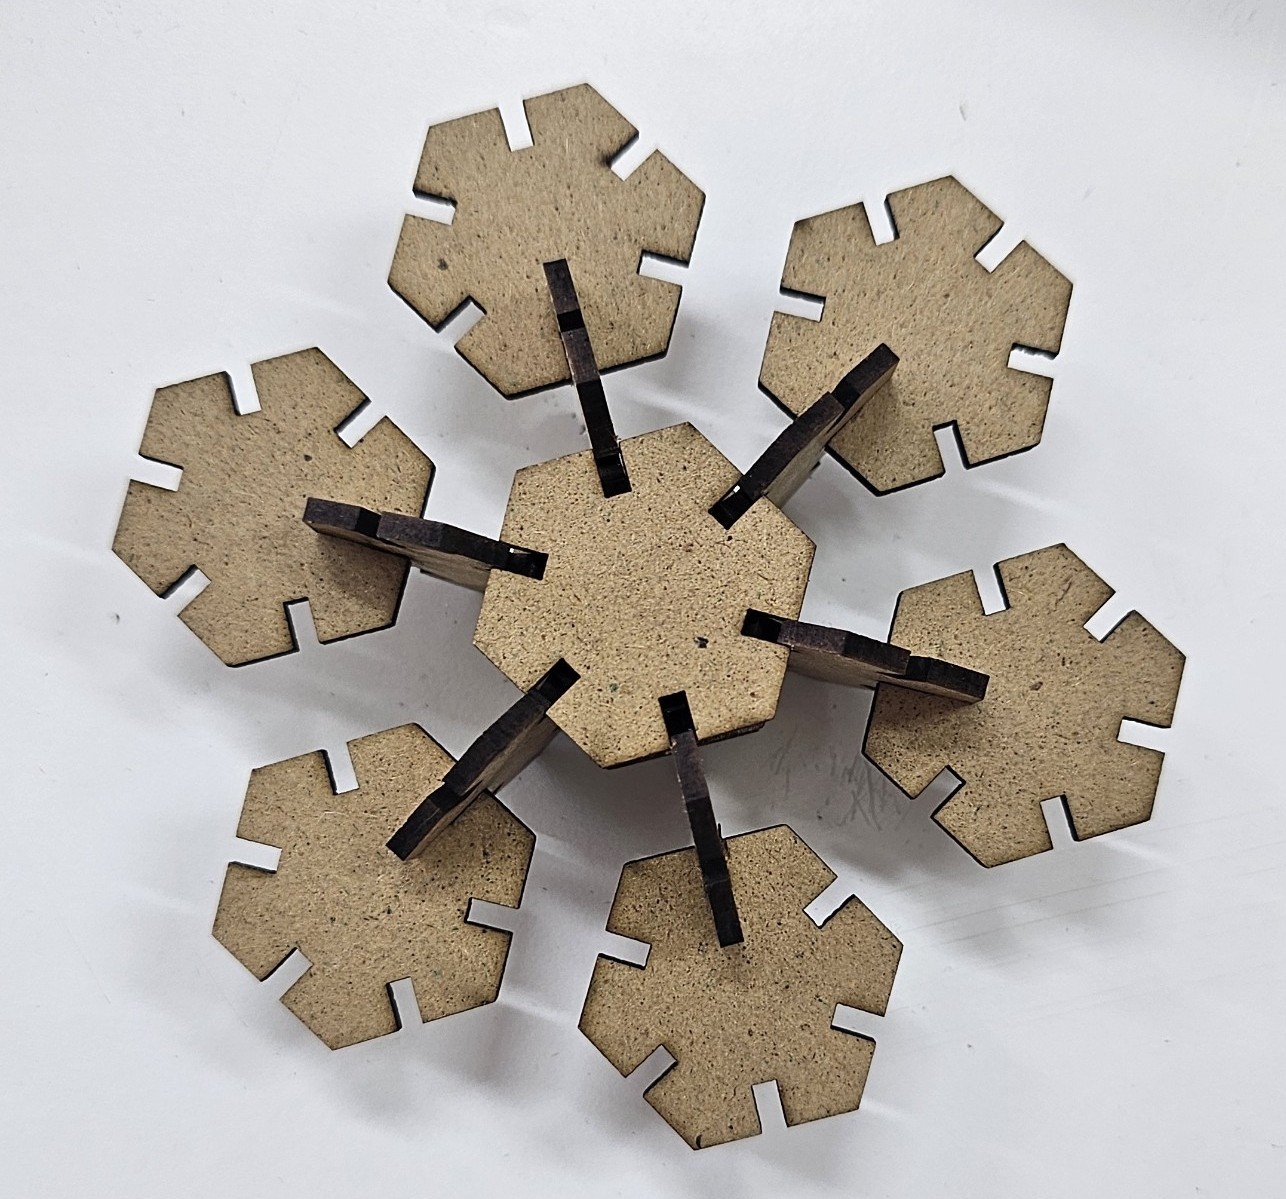
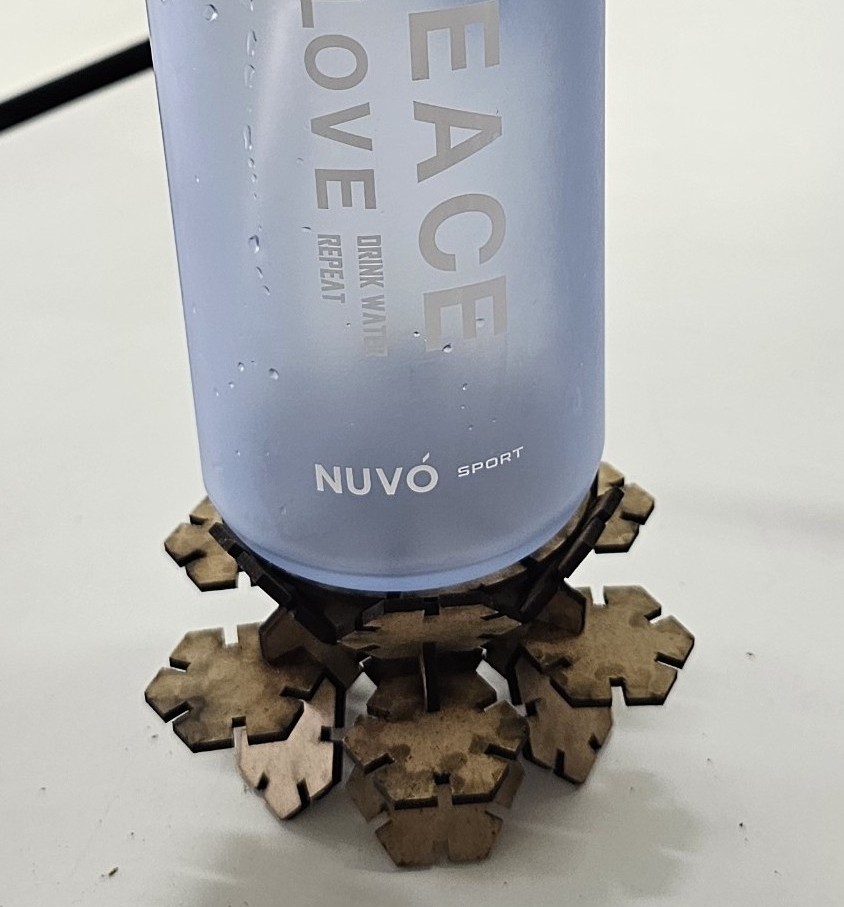
This are the final results!
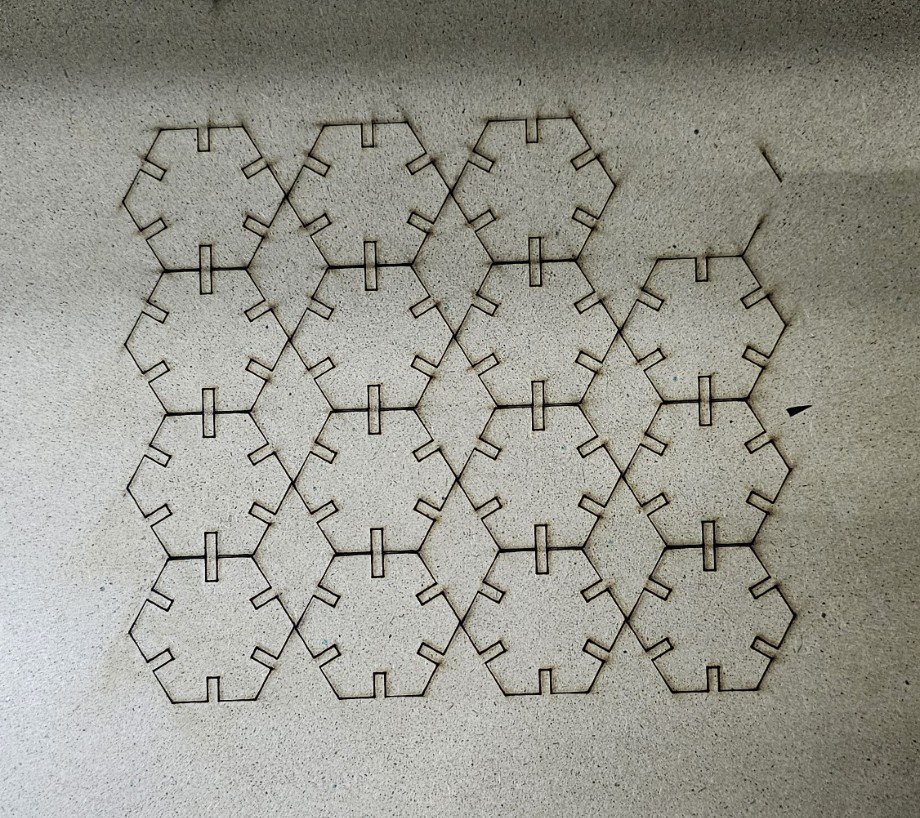
Because of the shape it's easy to make different figures with it.
Vinyl Cutting
First, we open Inkscape and create a new file. This file will be our drawing for the vinyl cut.
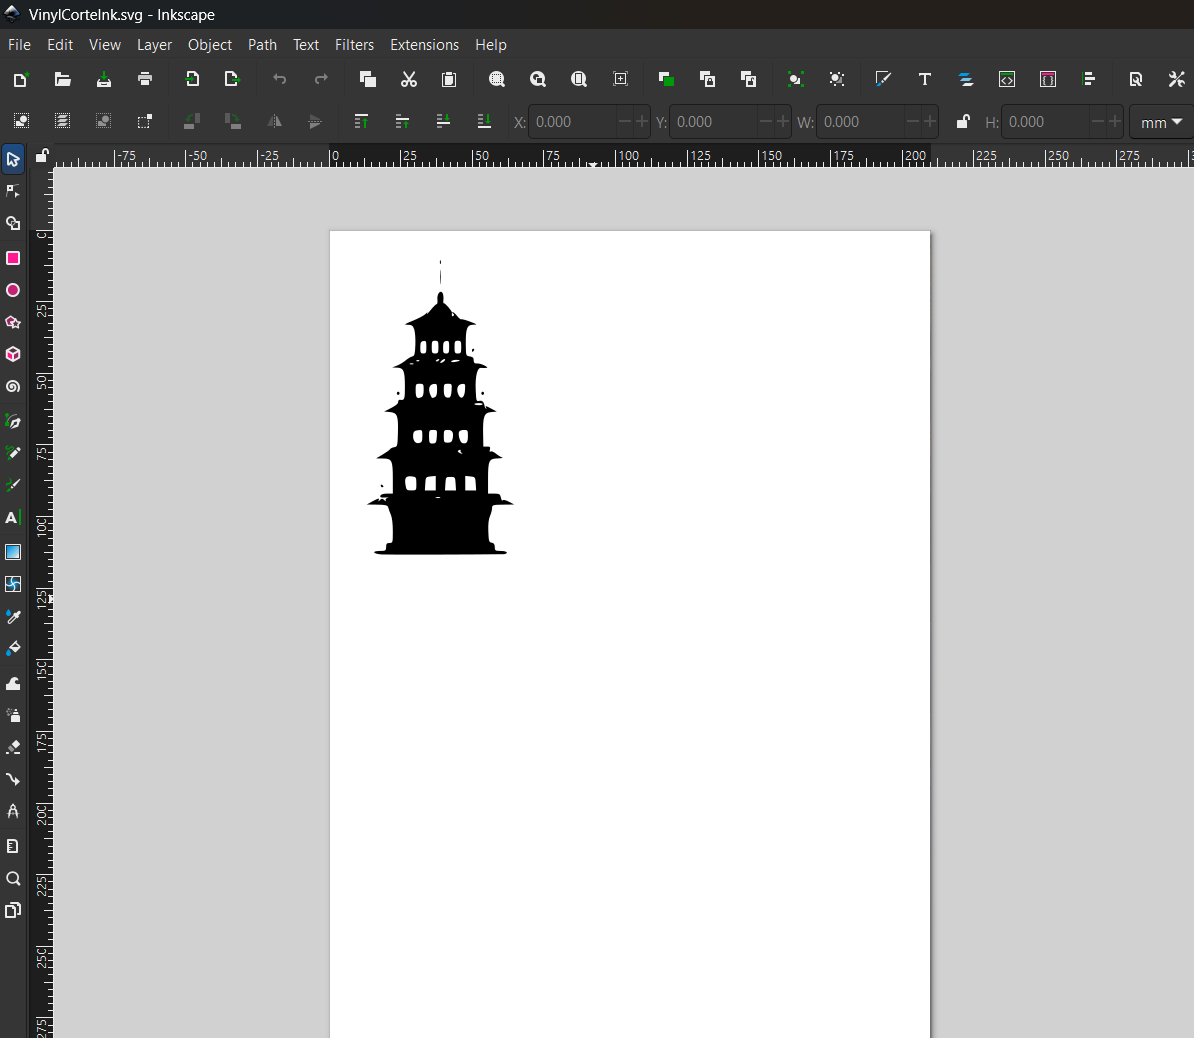
Once we have our drawing we have to export the file as “SVG”
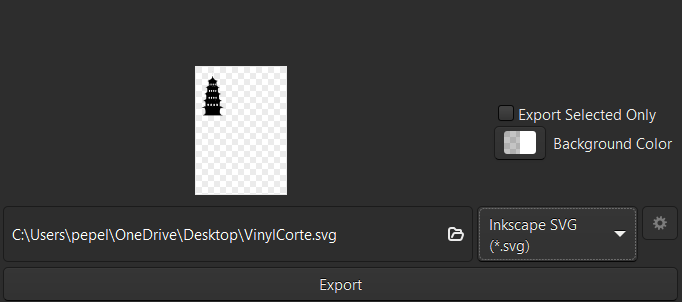
The image is ready for the next step.

Preparing the cutter
Now that our digital drawing is ready we select the vinyl color of your preference and turn on the Vinyl cutter.
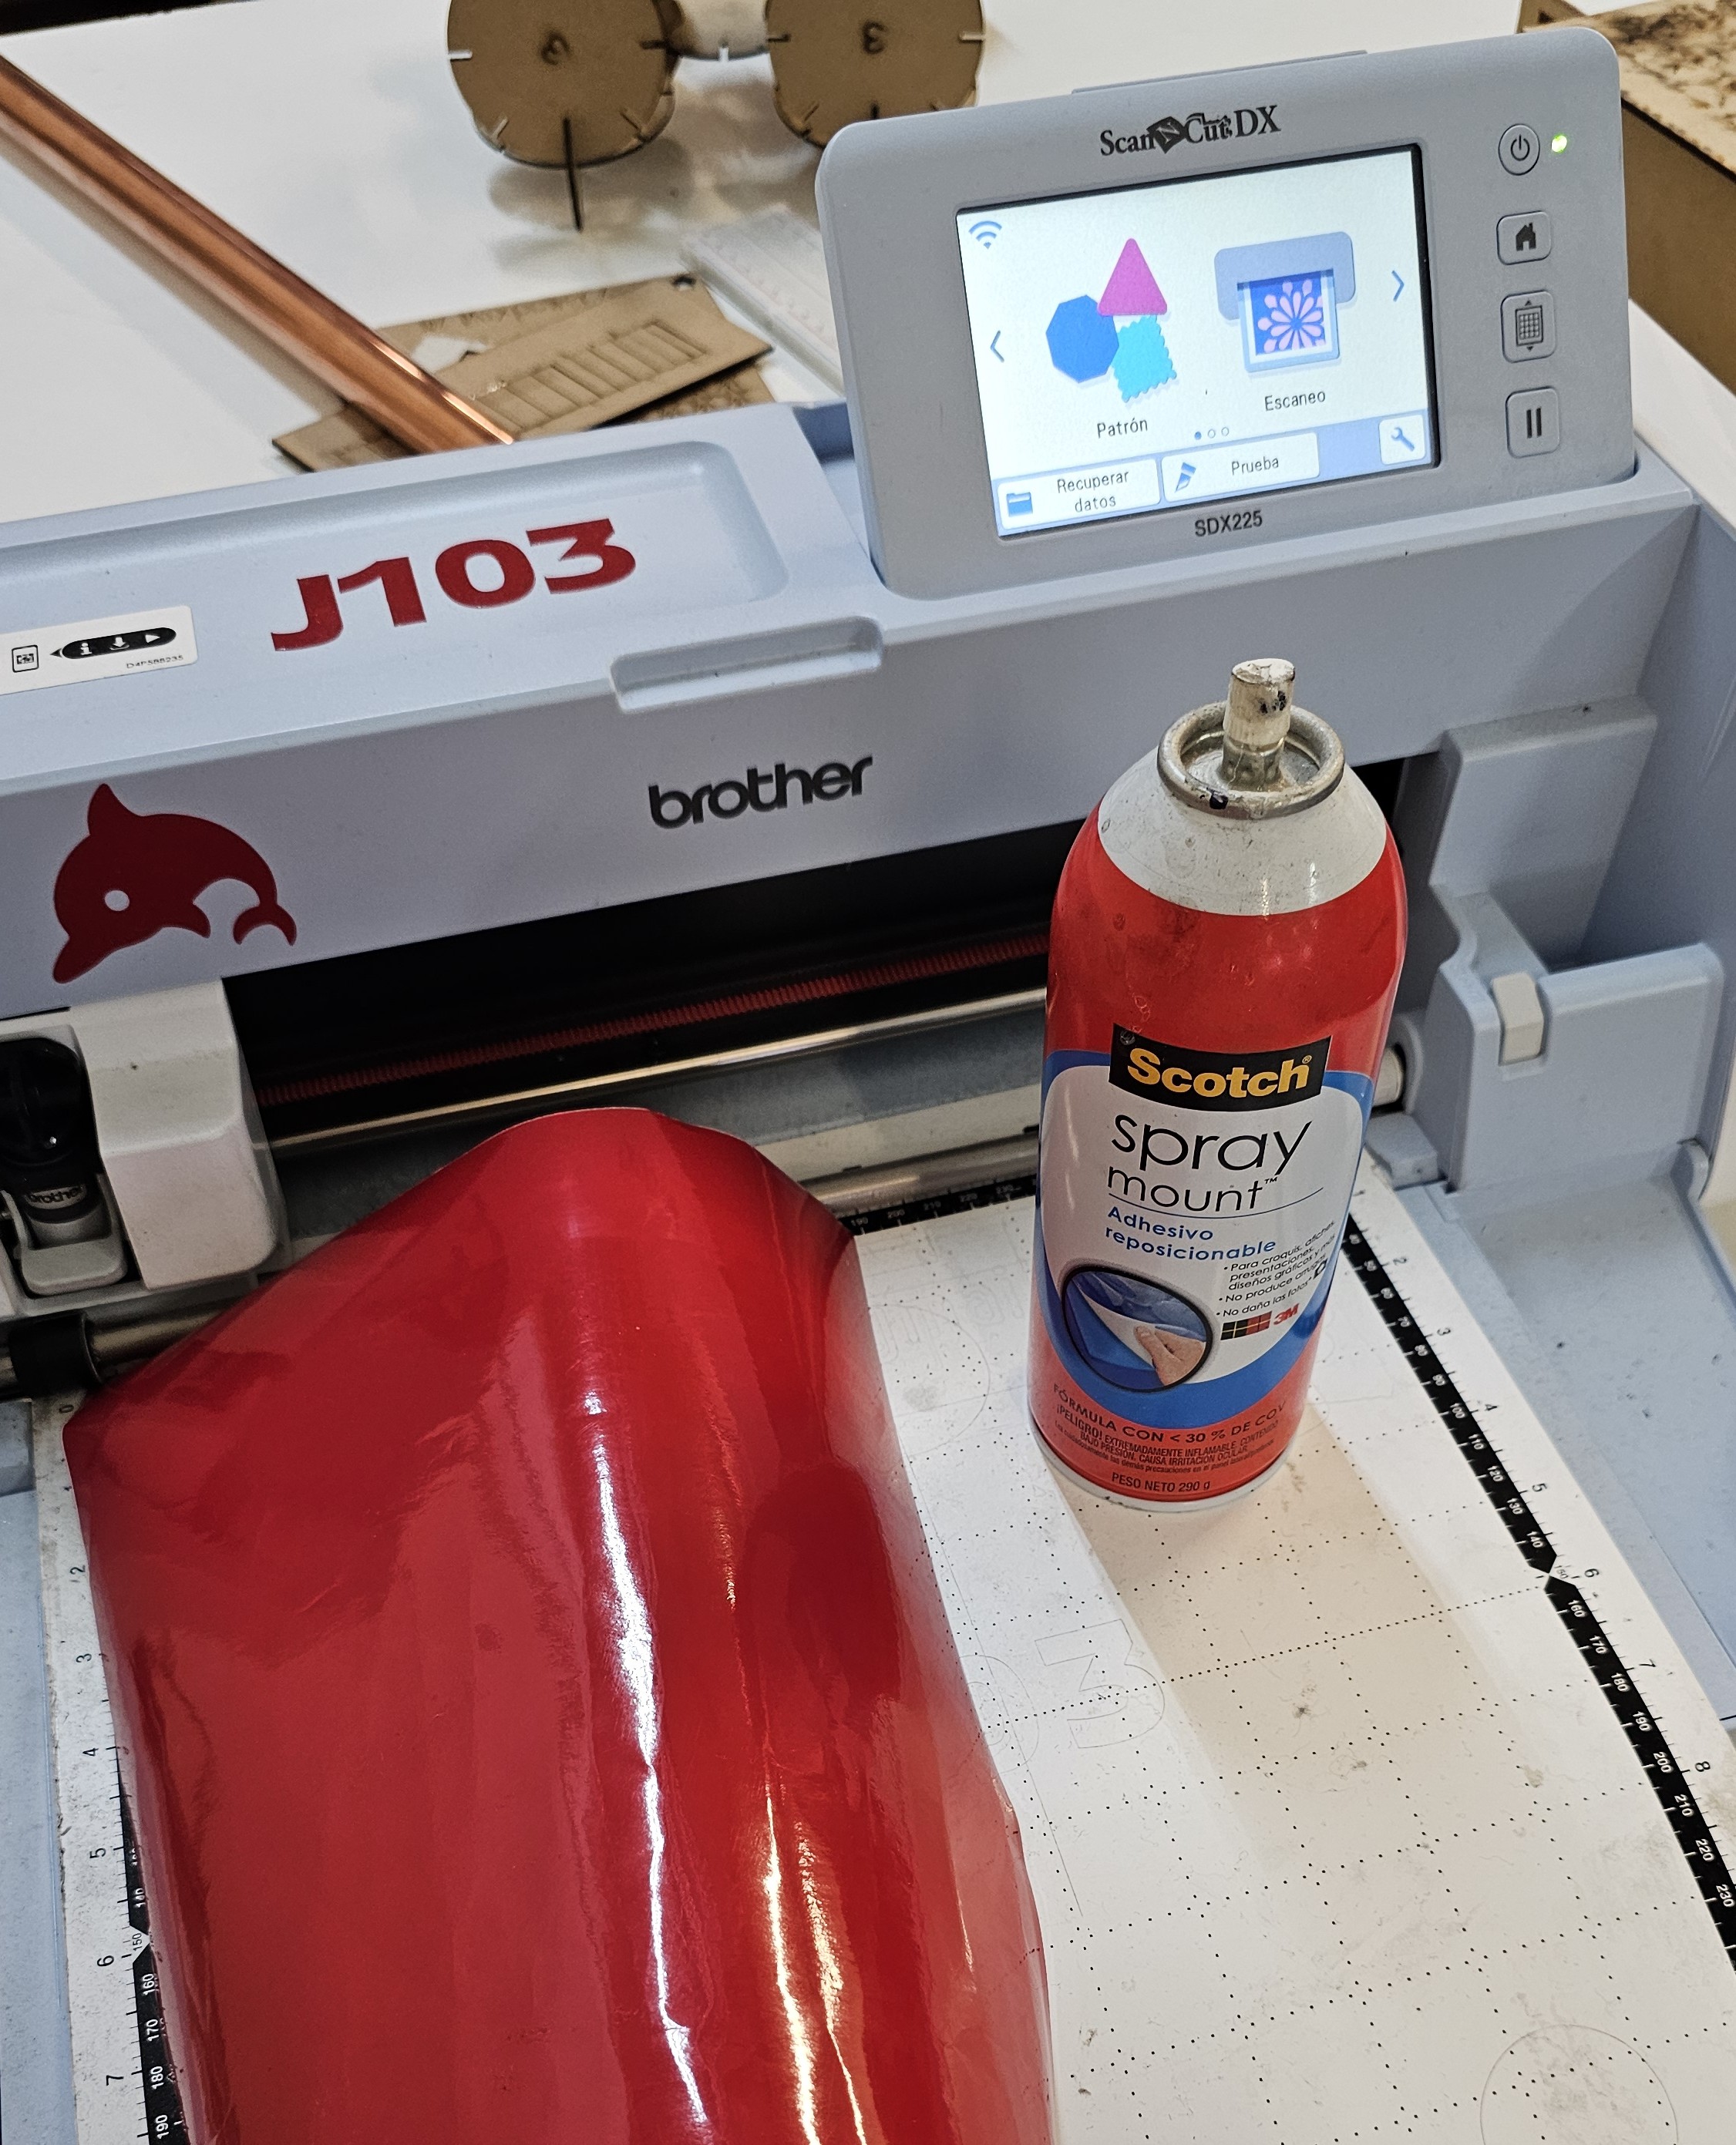
Now we have to apply the adhesive on the base of the cutter and paste on top the vinyl so it wont move during the cutting. Now lets upload the file.
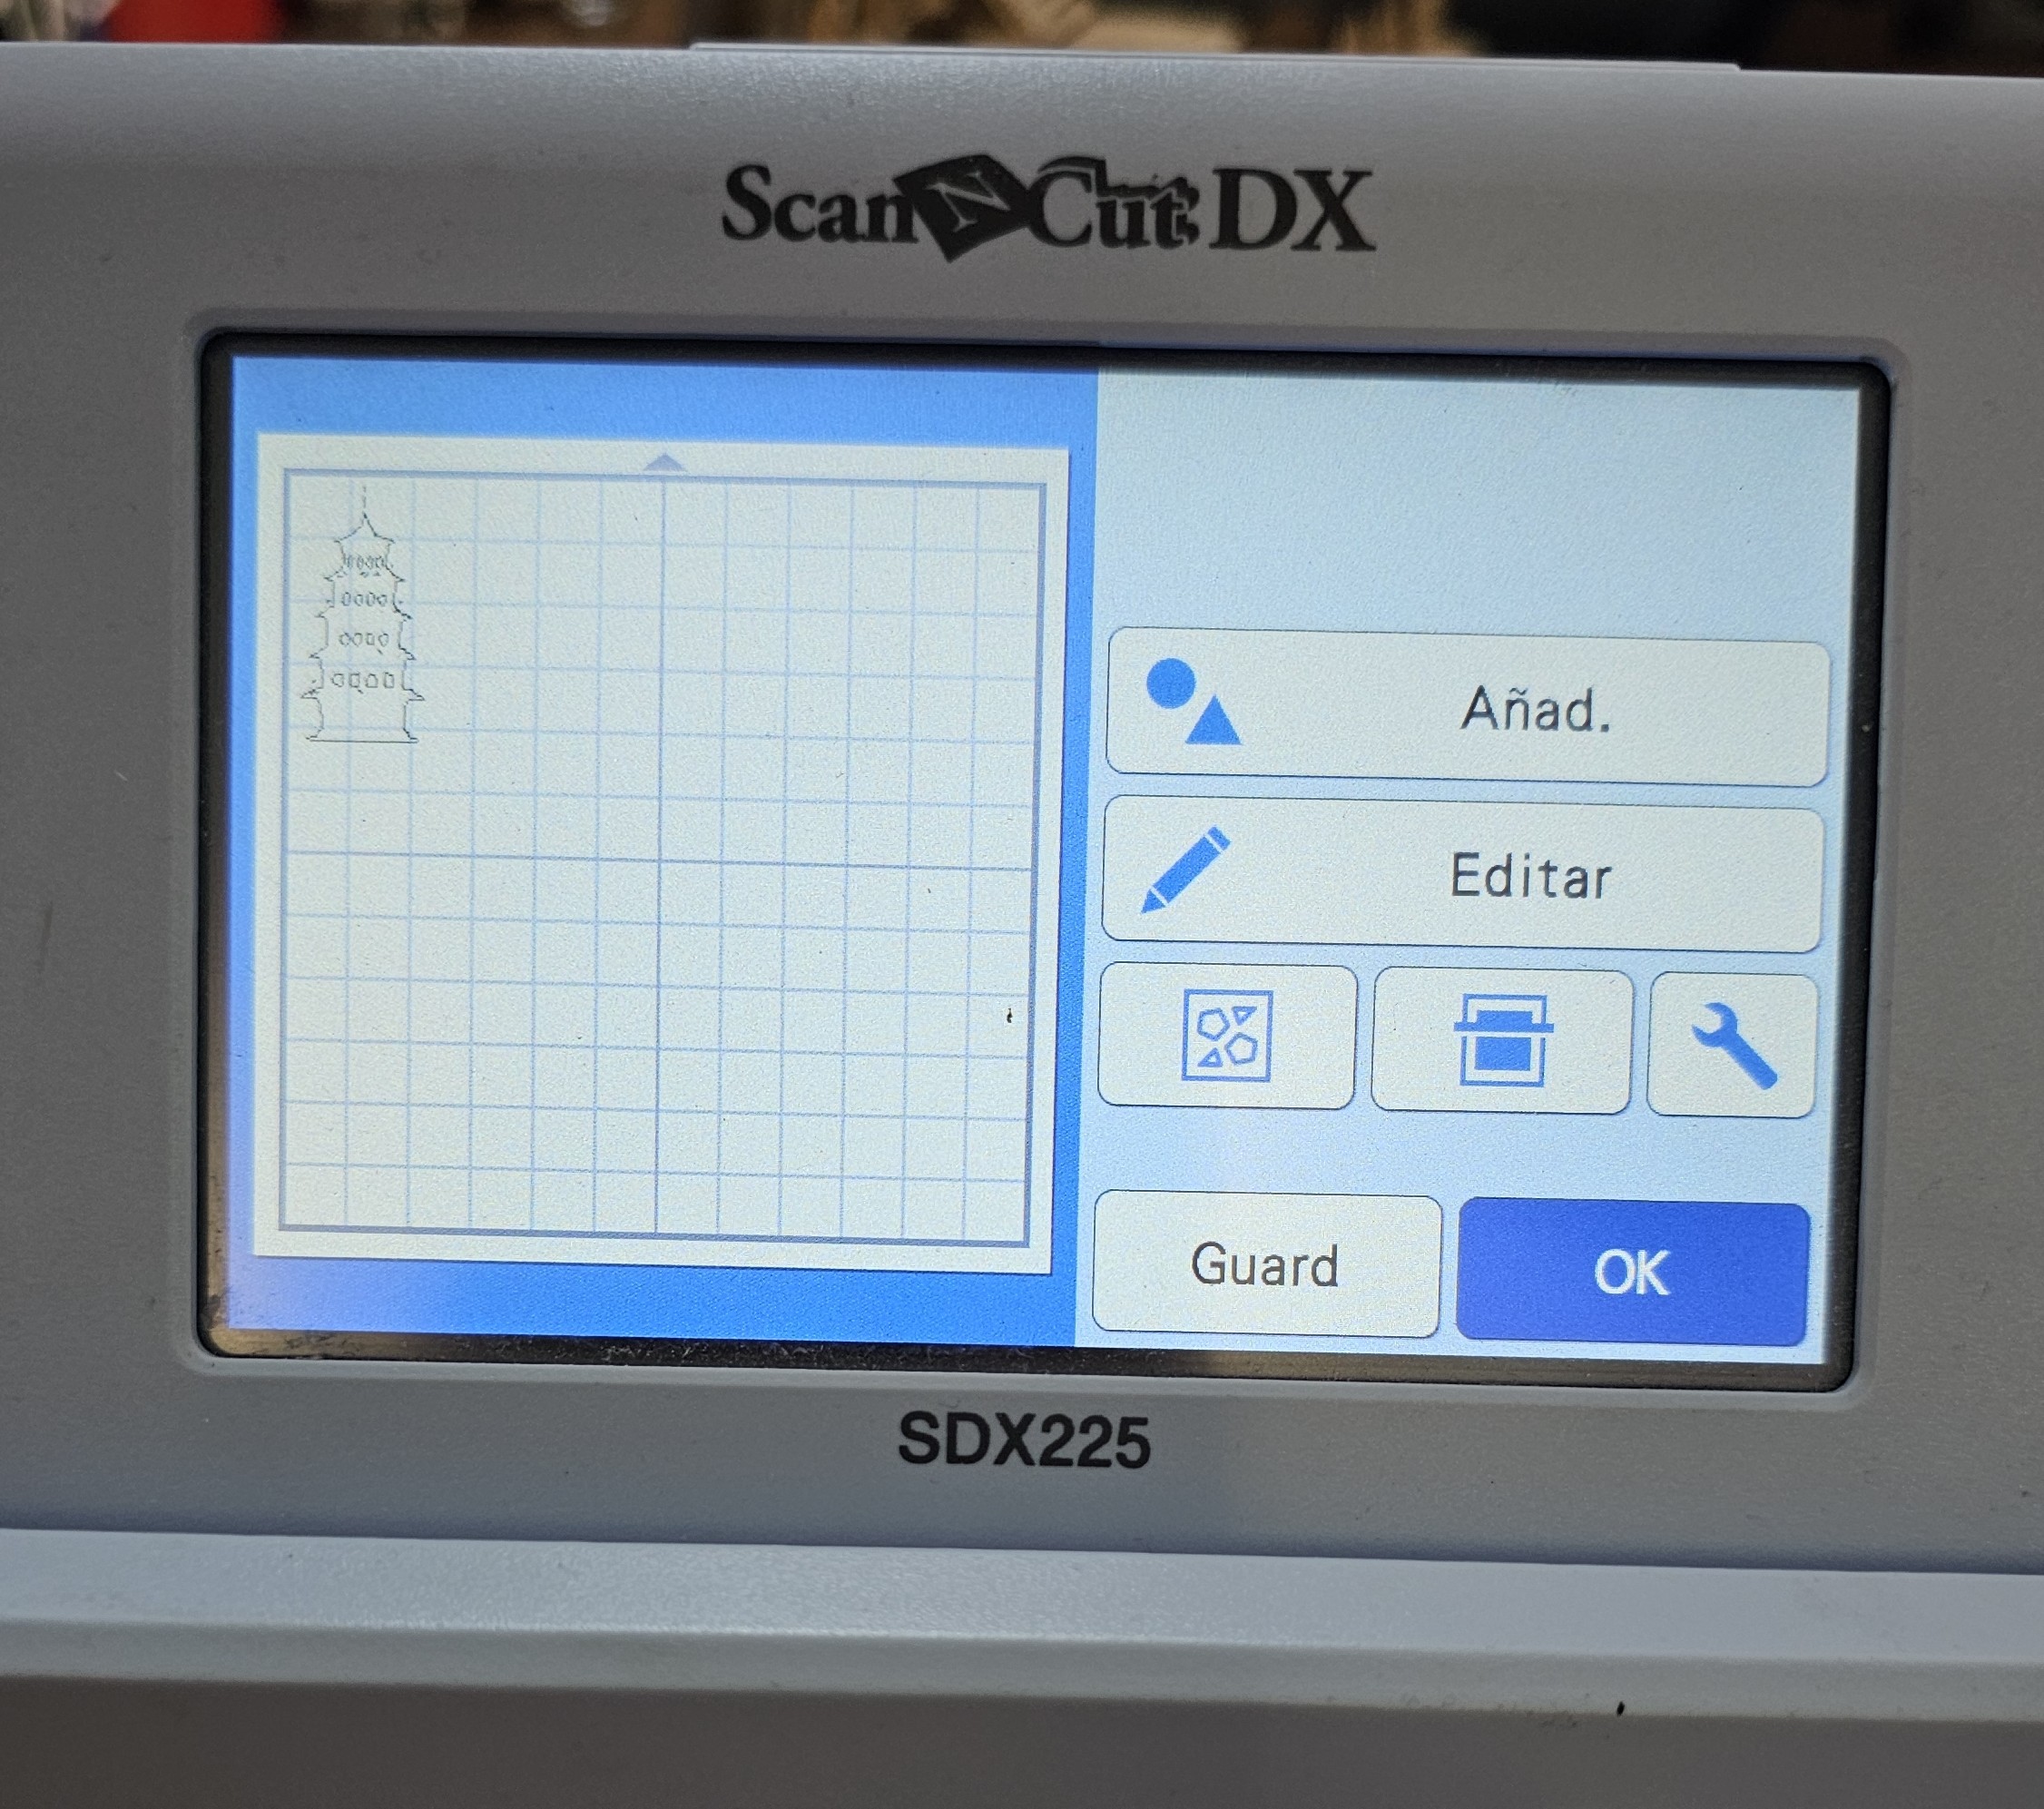
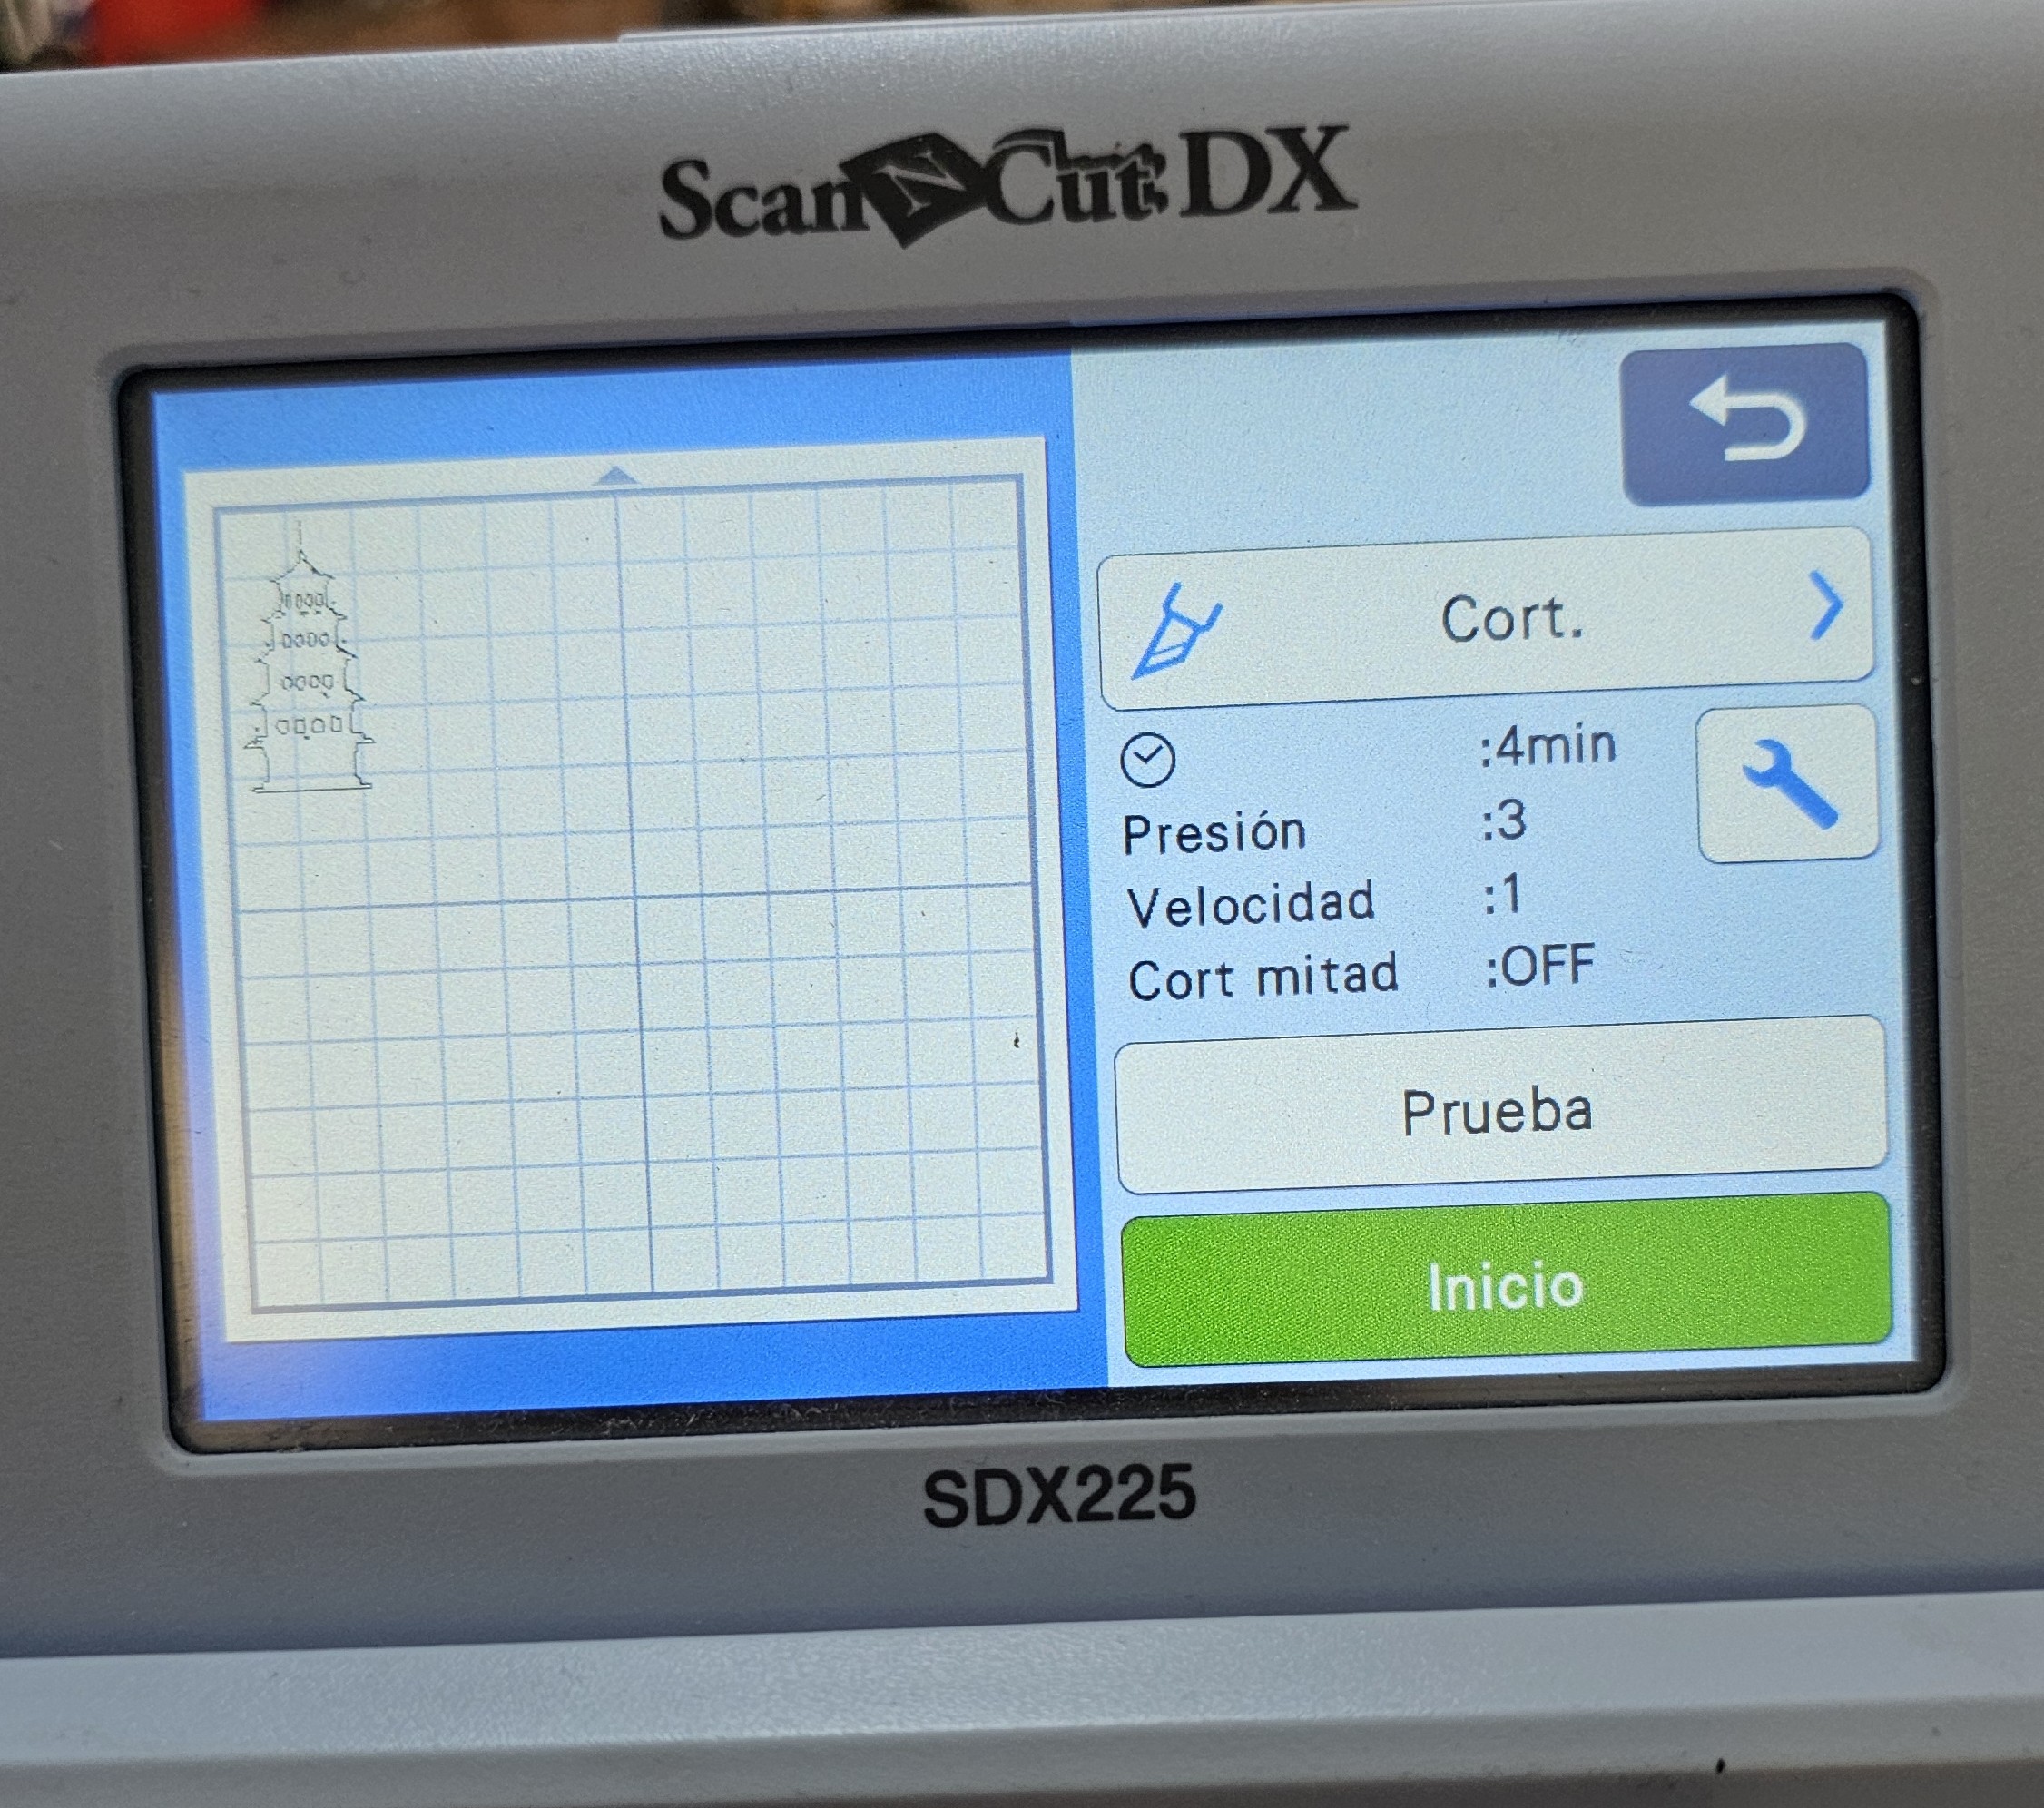
Now we just click "Start" and it will start cutting.
After a couple of minutes the vinyl will be ready
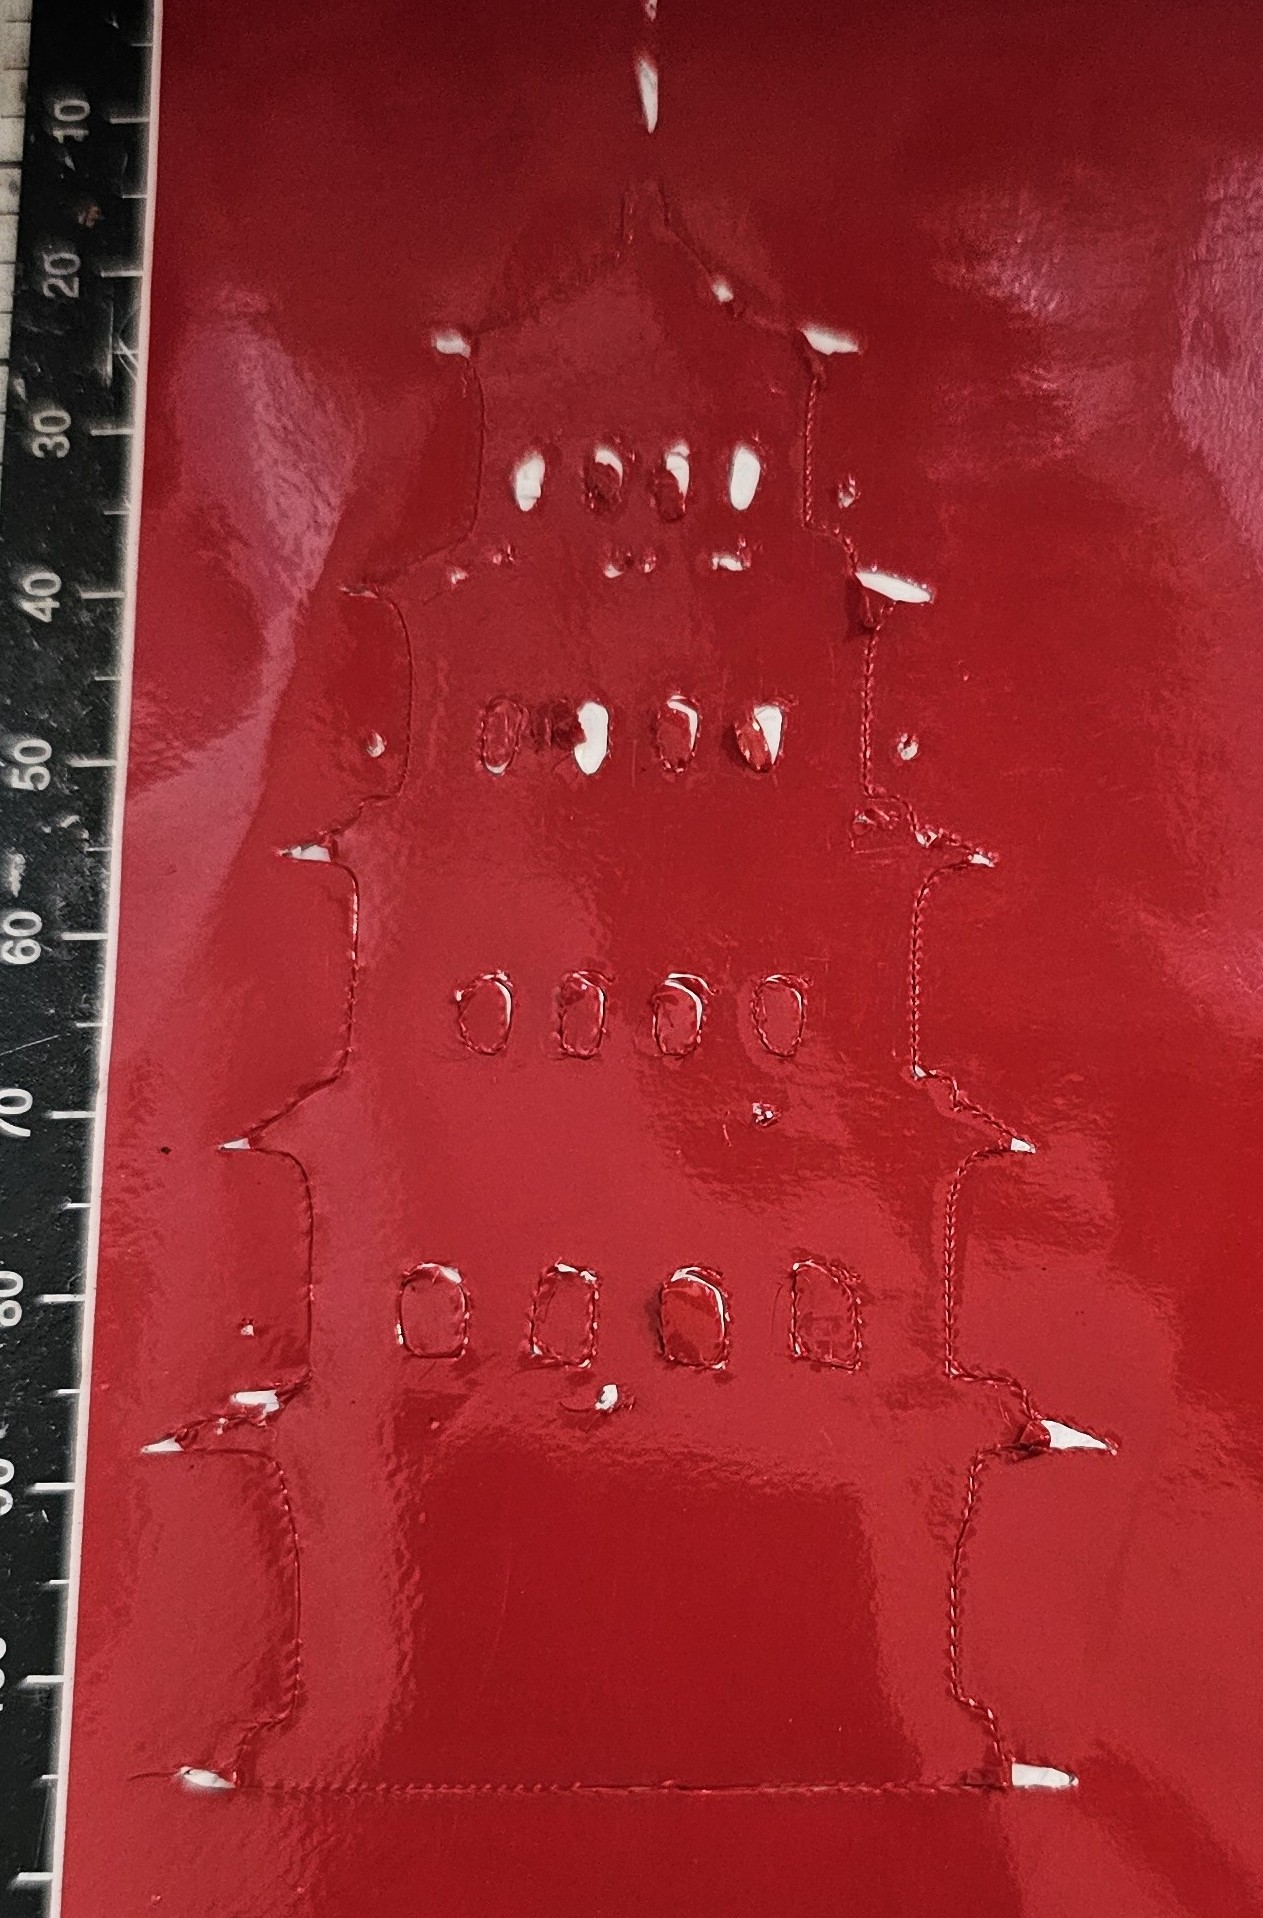
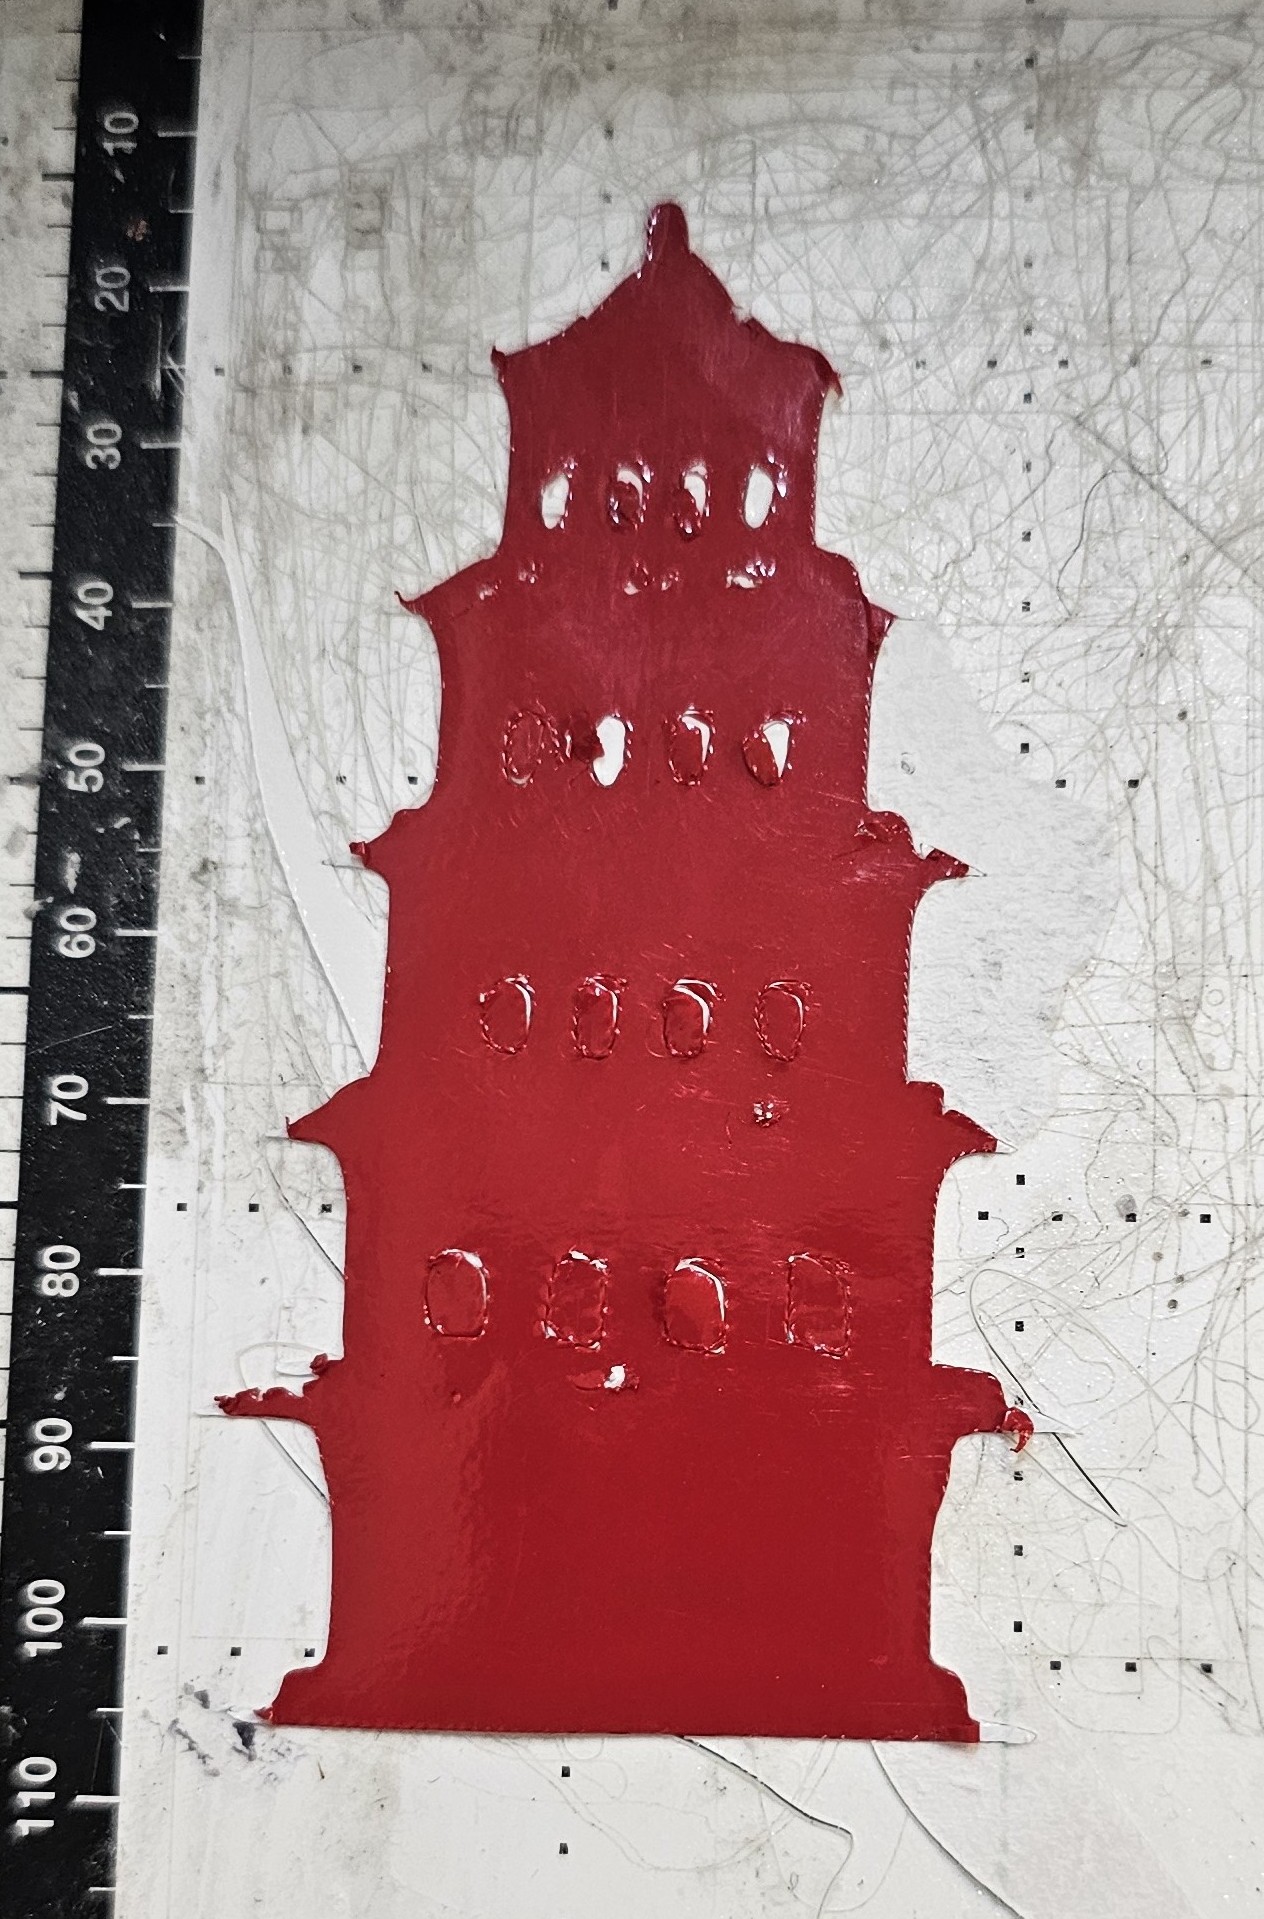
And now the sticker is ready!!
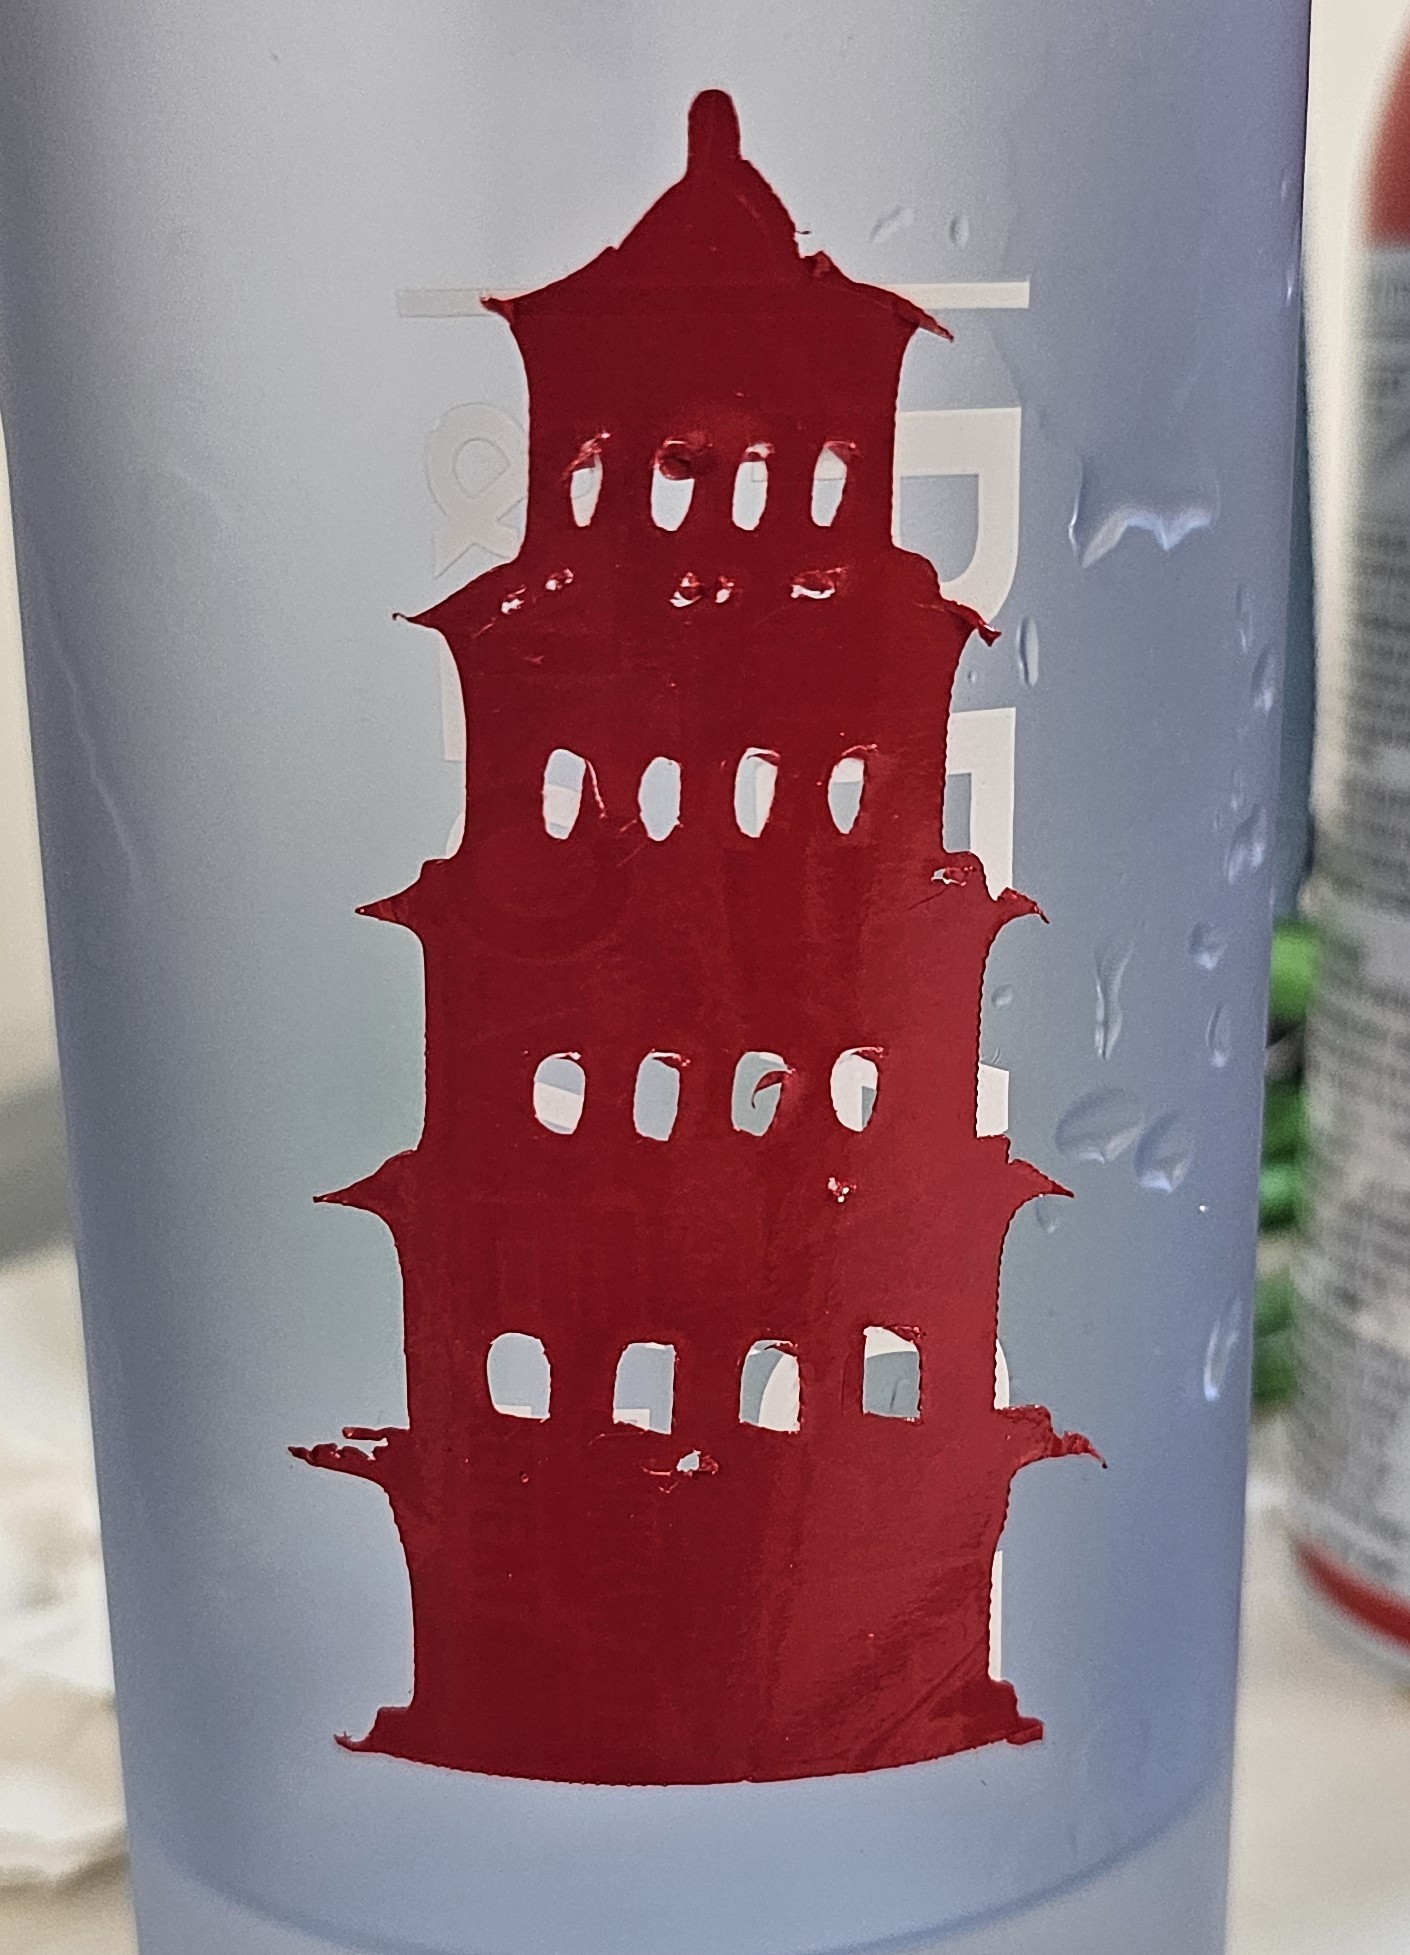
As you can see I had some issues with the cutting due to insufficient depth and high cutting speeds, to fix that issue you have to change the depth, speed and double check that the blade is in optimal conditions to work.
This was a interesting week. I learned new process and ways to make my ideas fisical objets.