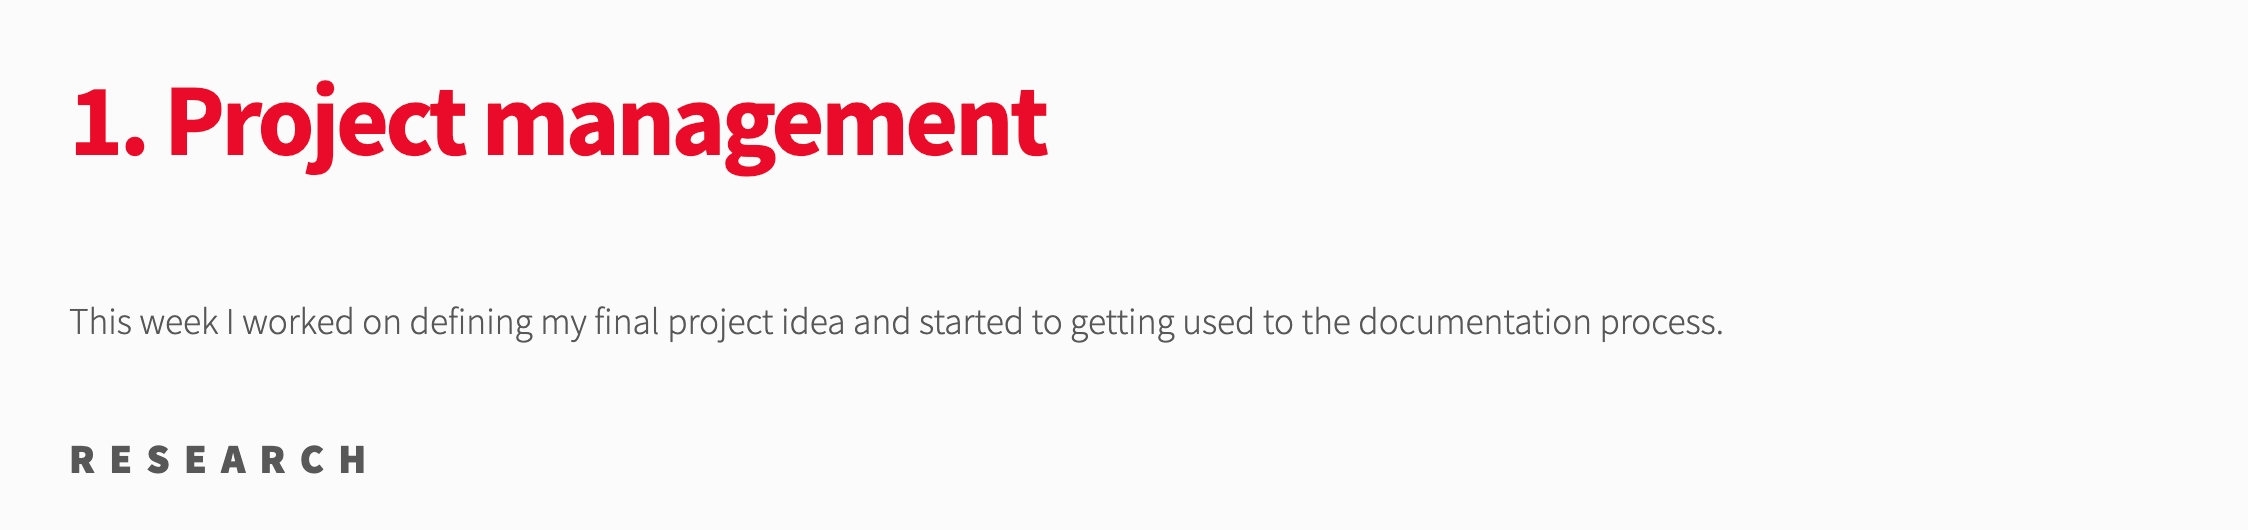
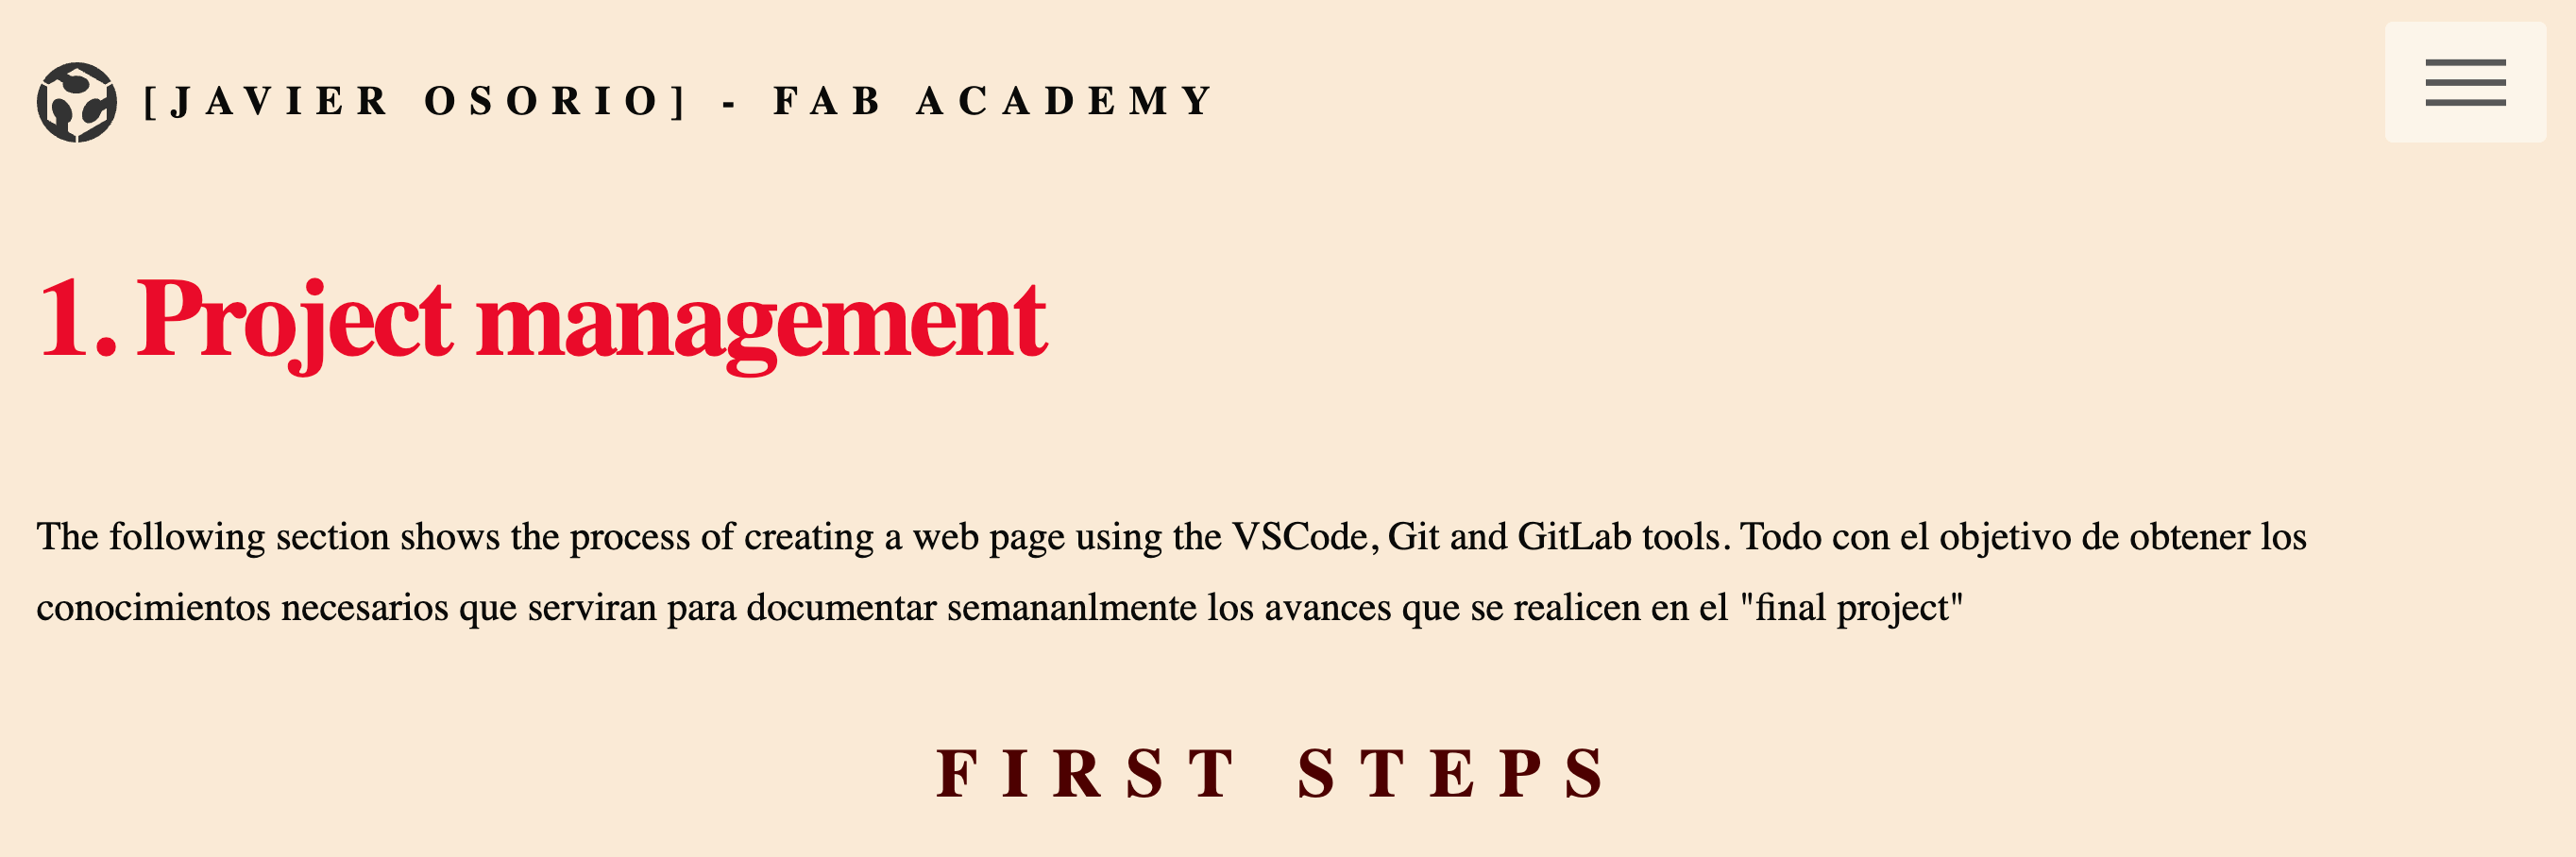
1. Project management
The following section shows the process of creating a web page using the VSCode, Git and GitLab tools. All the above is done with the objective of obtaining the necessary knowledge that serves to document the progress made on the "final project" on a weekly basis.
FIRST STEPS
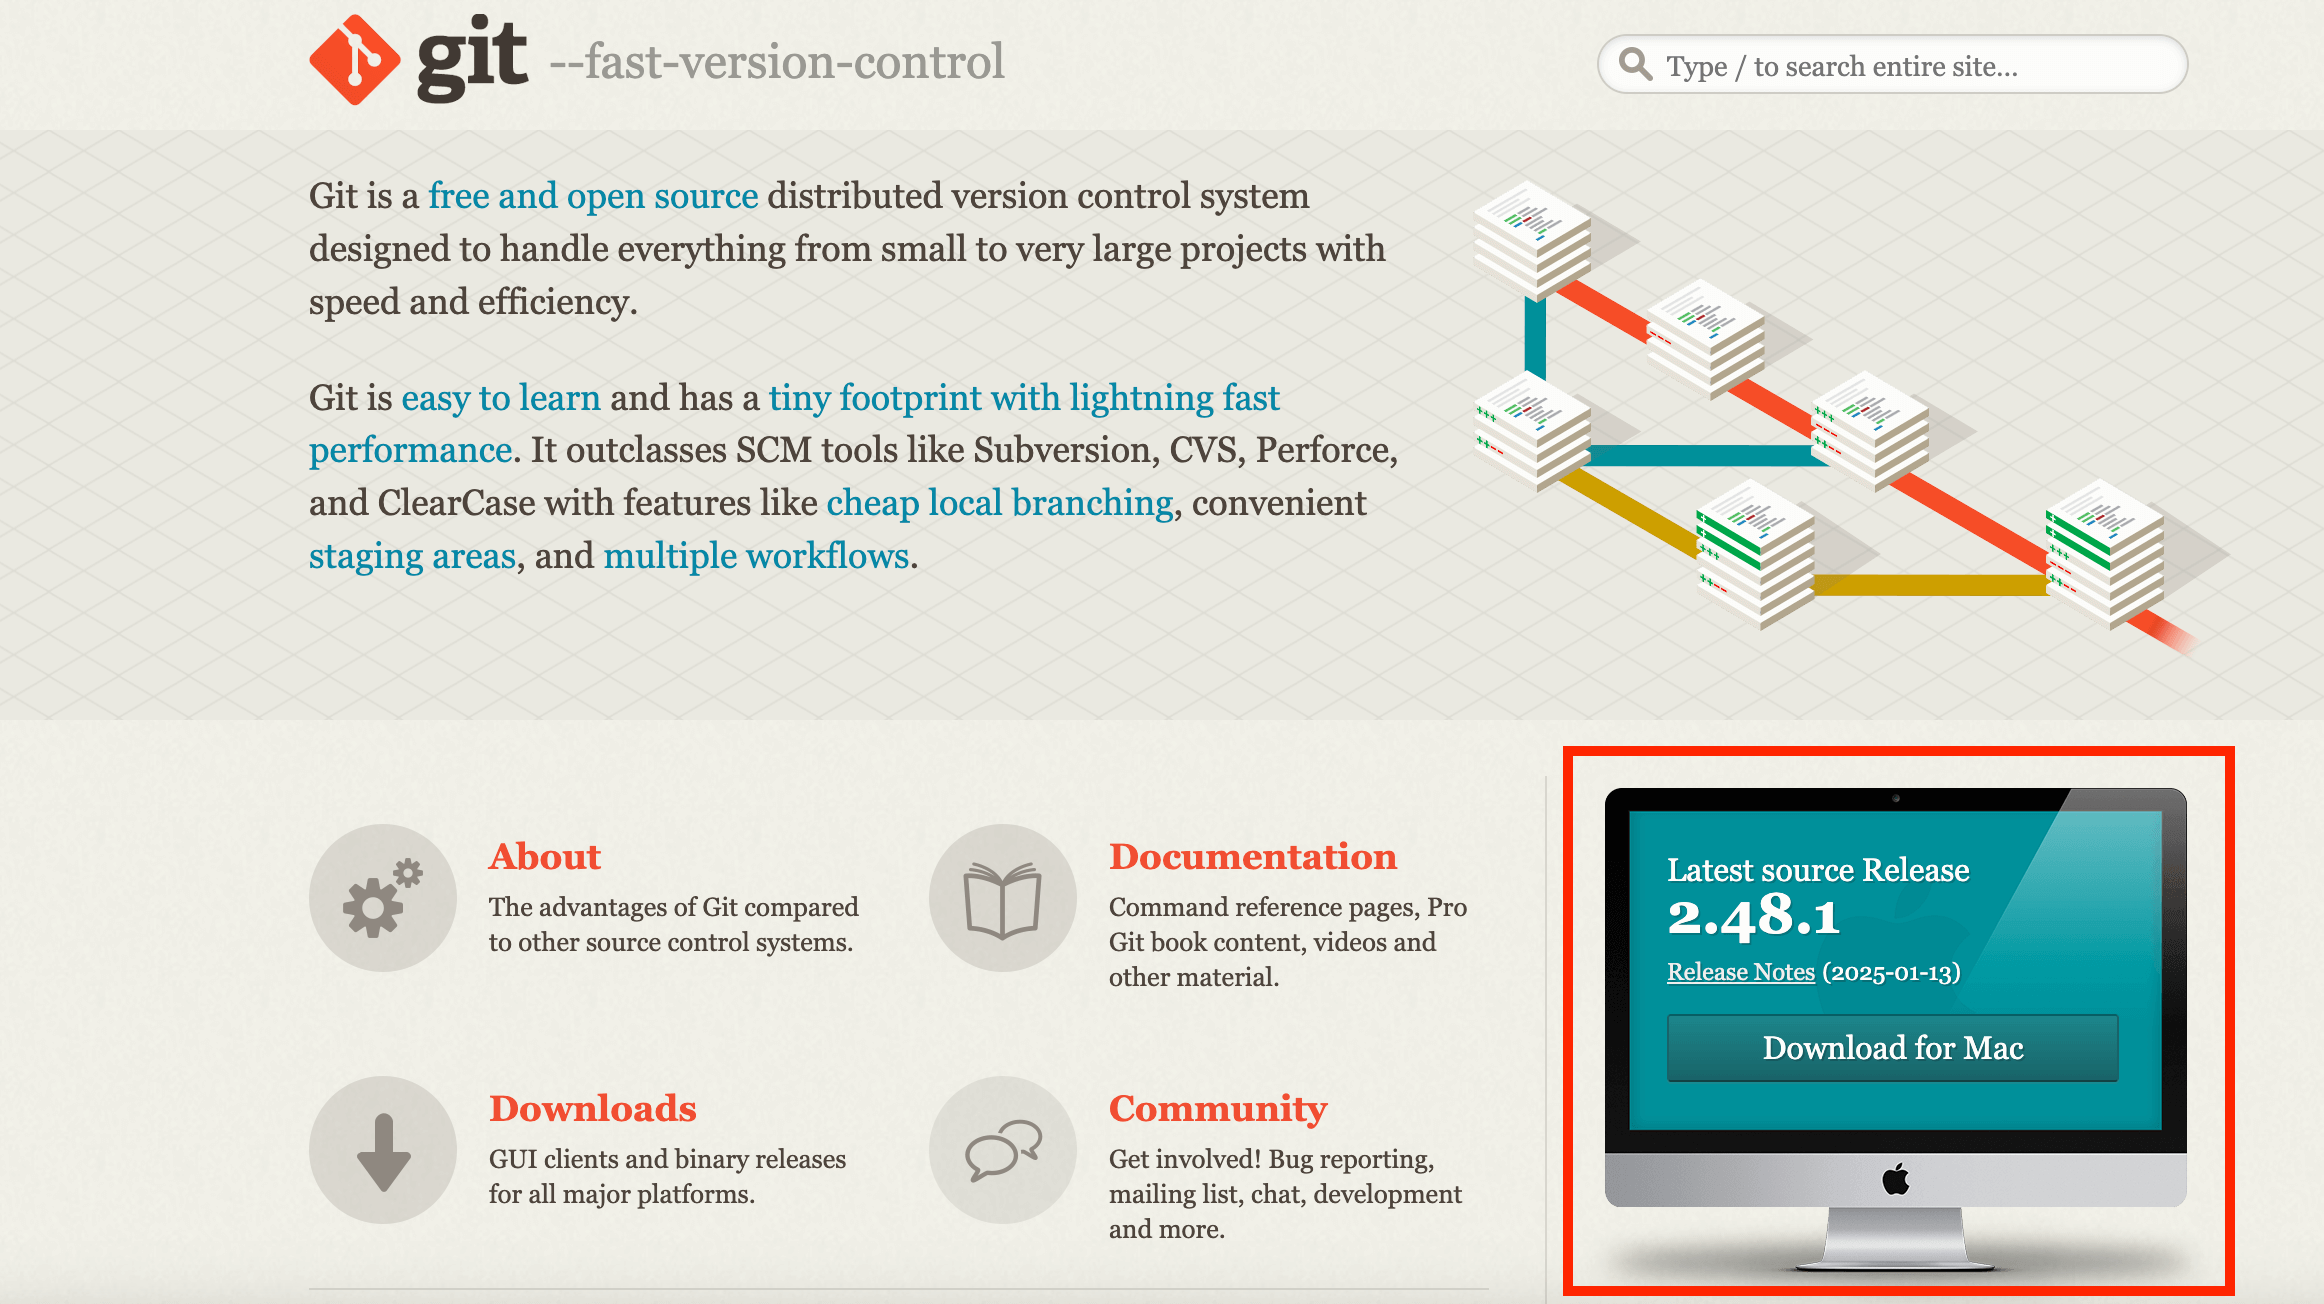
To begin, it is necessary to install the Git "Version Control", for that, the "Download" option must be selected as seen in the image.
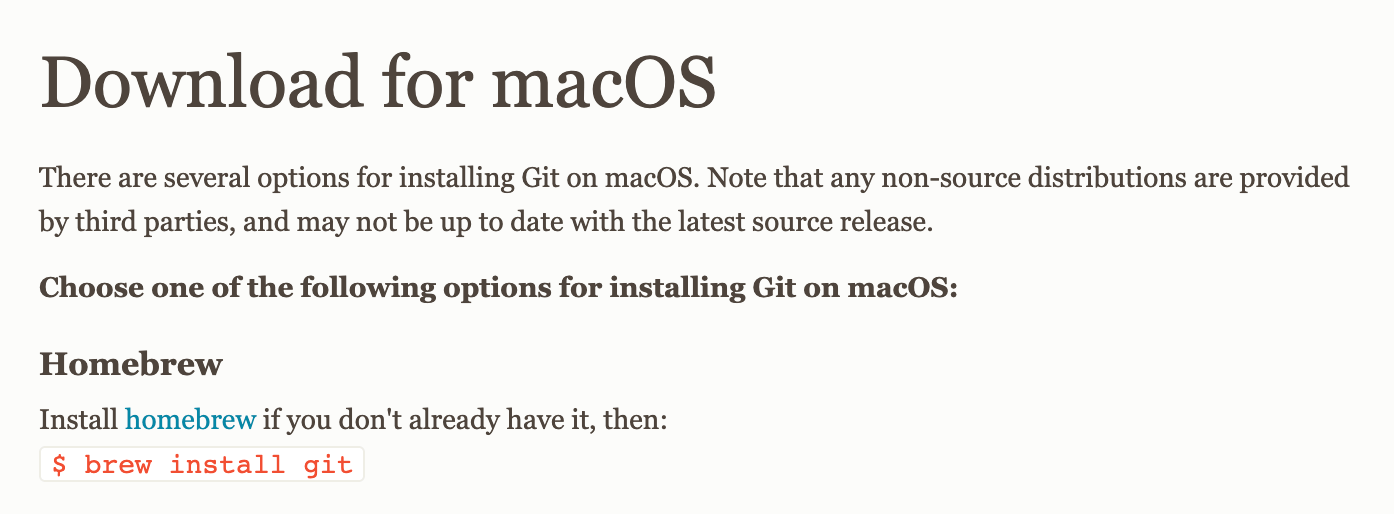
By pressing the download icon, it takes us to a window where macOS users must select "Install homebrew ".
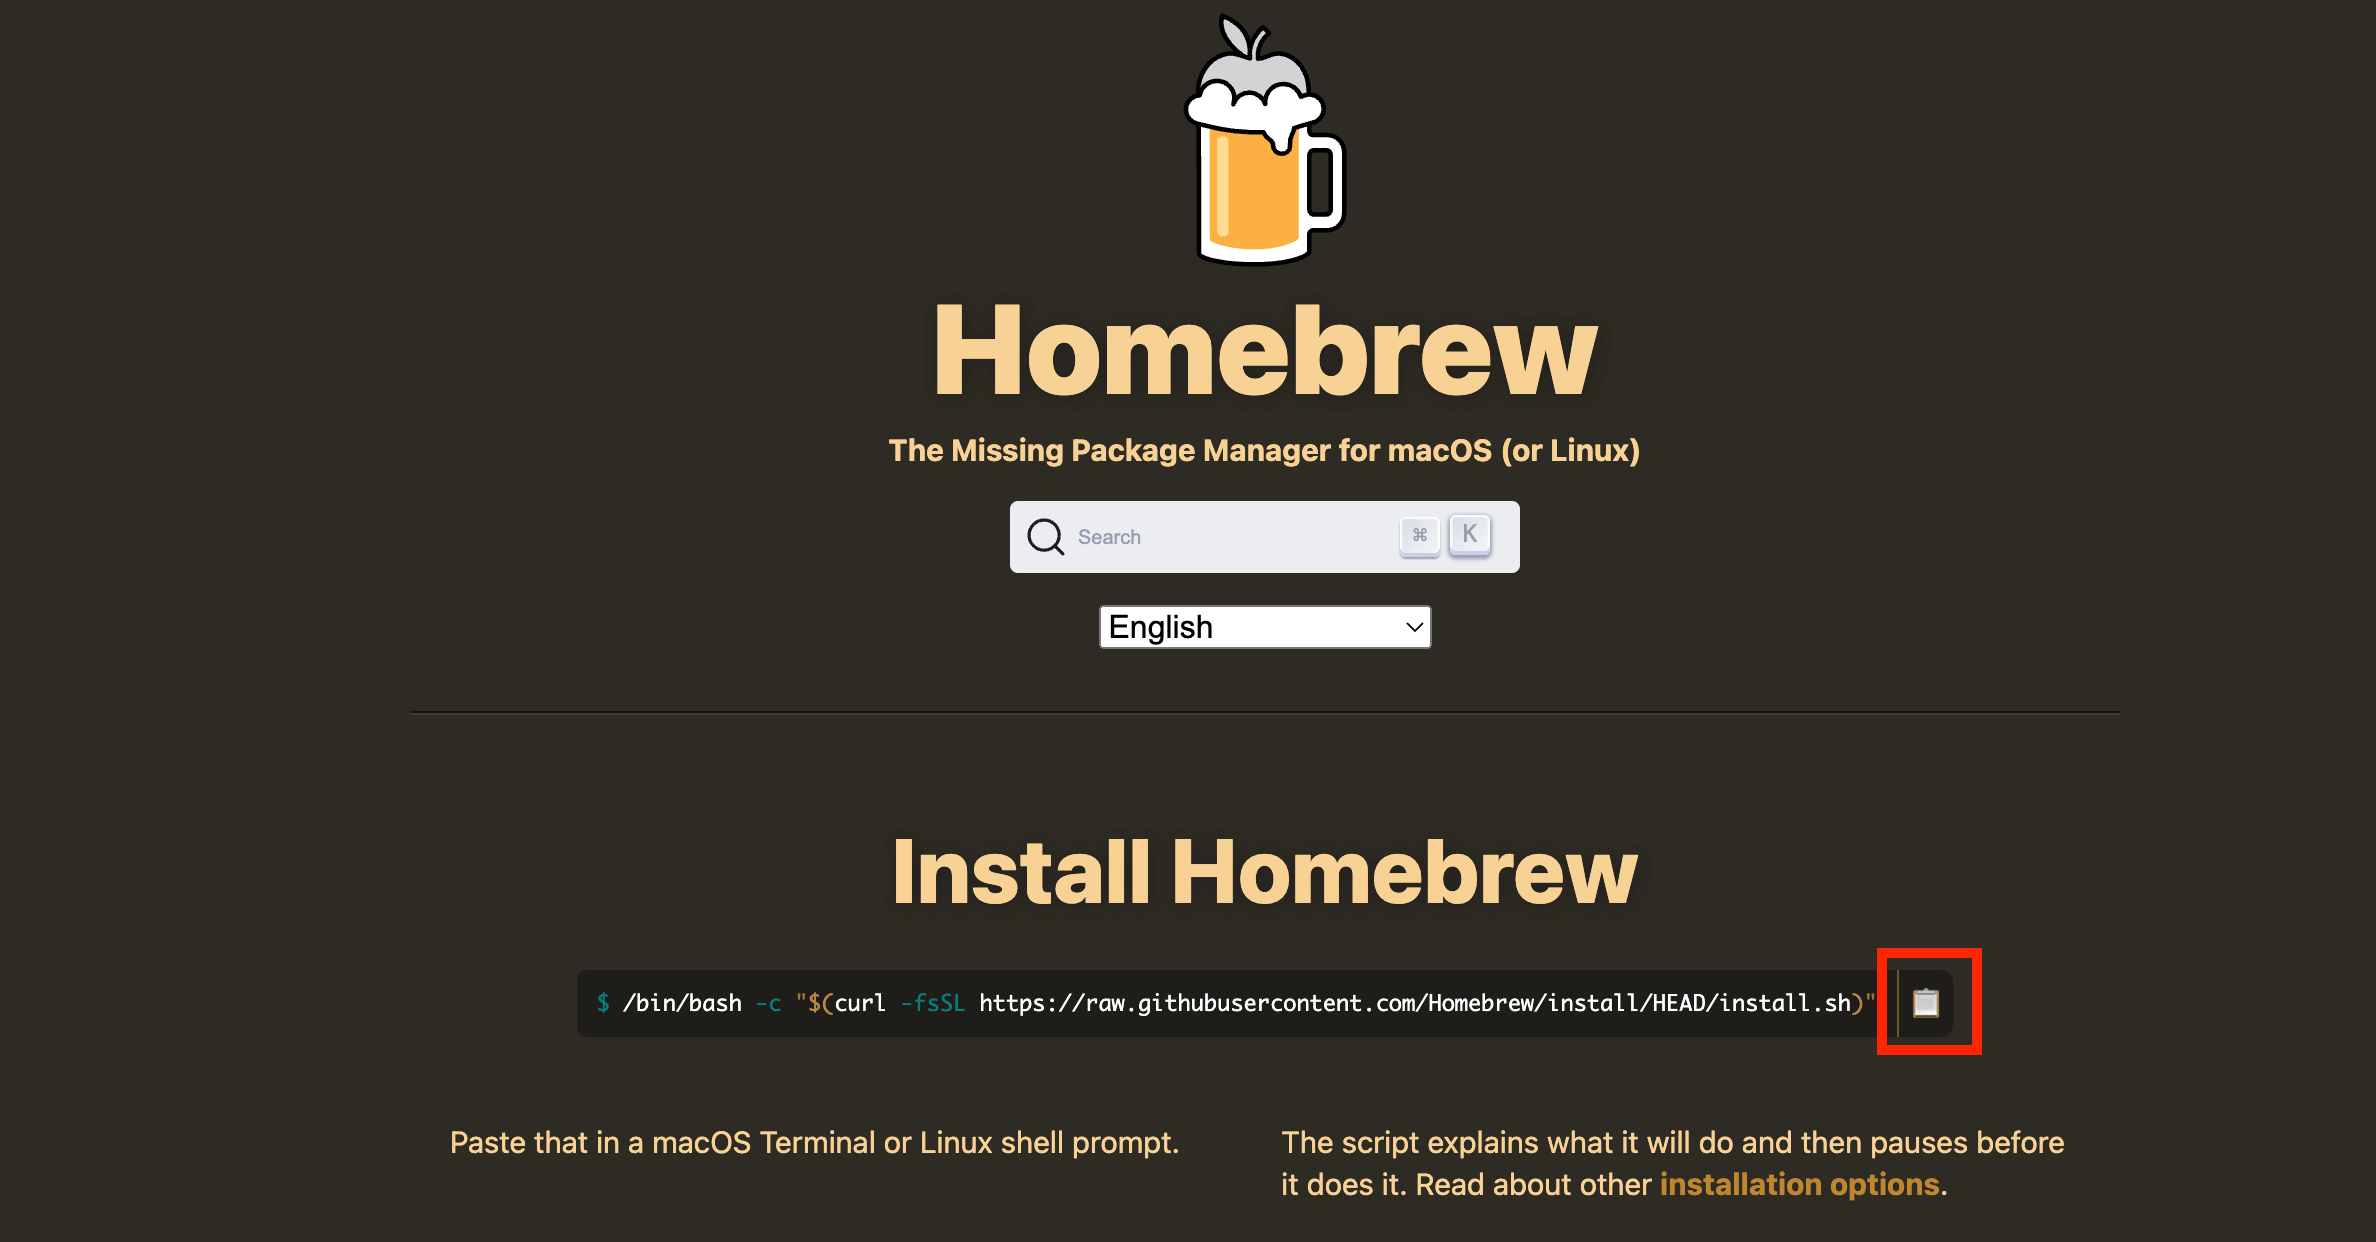
Once "Install homebrew " is pressed, it takes us to a new window where we must press the button to copy the address as seen in the image.
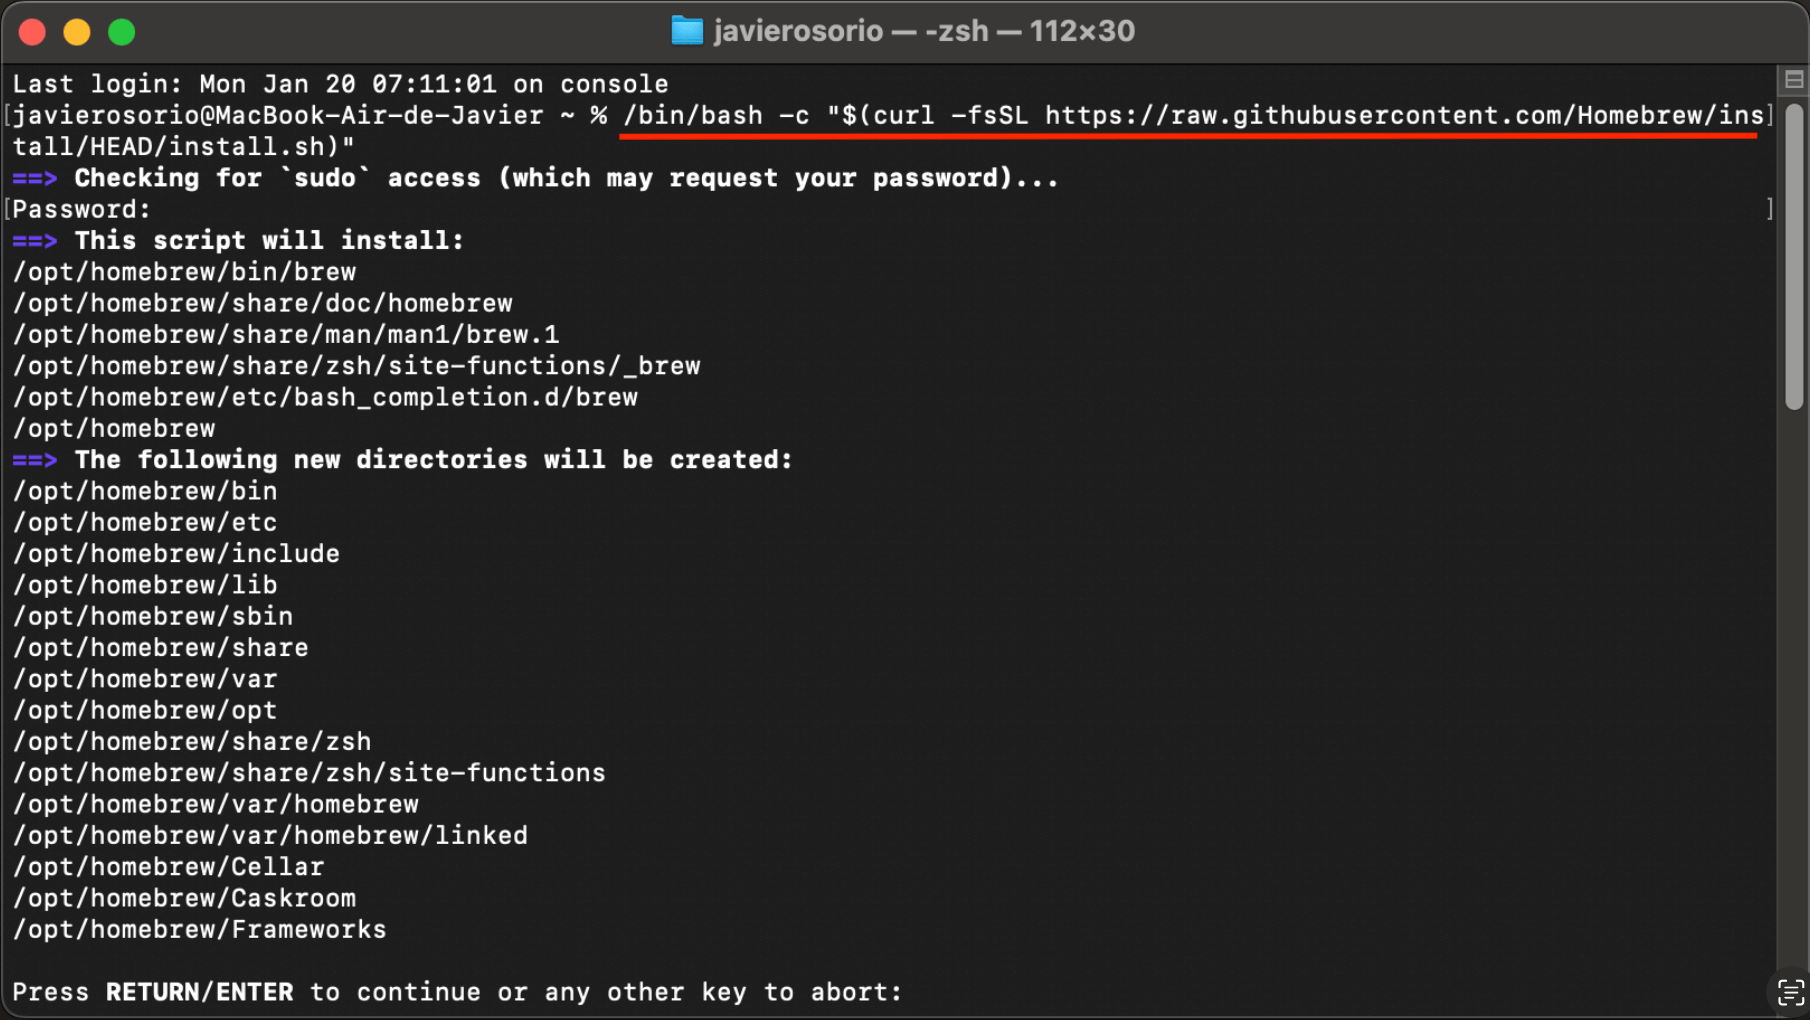
Open the "Terminal " and paste the address selected from the previous step and press "ENTER ".
It is necessary to enter GitLab ; GitLab is an Open Source code repository and collaborative software development projects. Once inside the "Projects " part, we select the "Developer ", as shown in the figure.

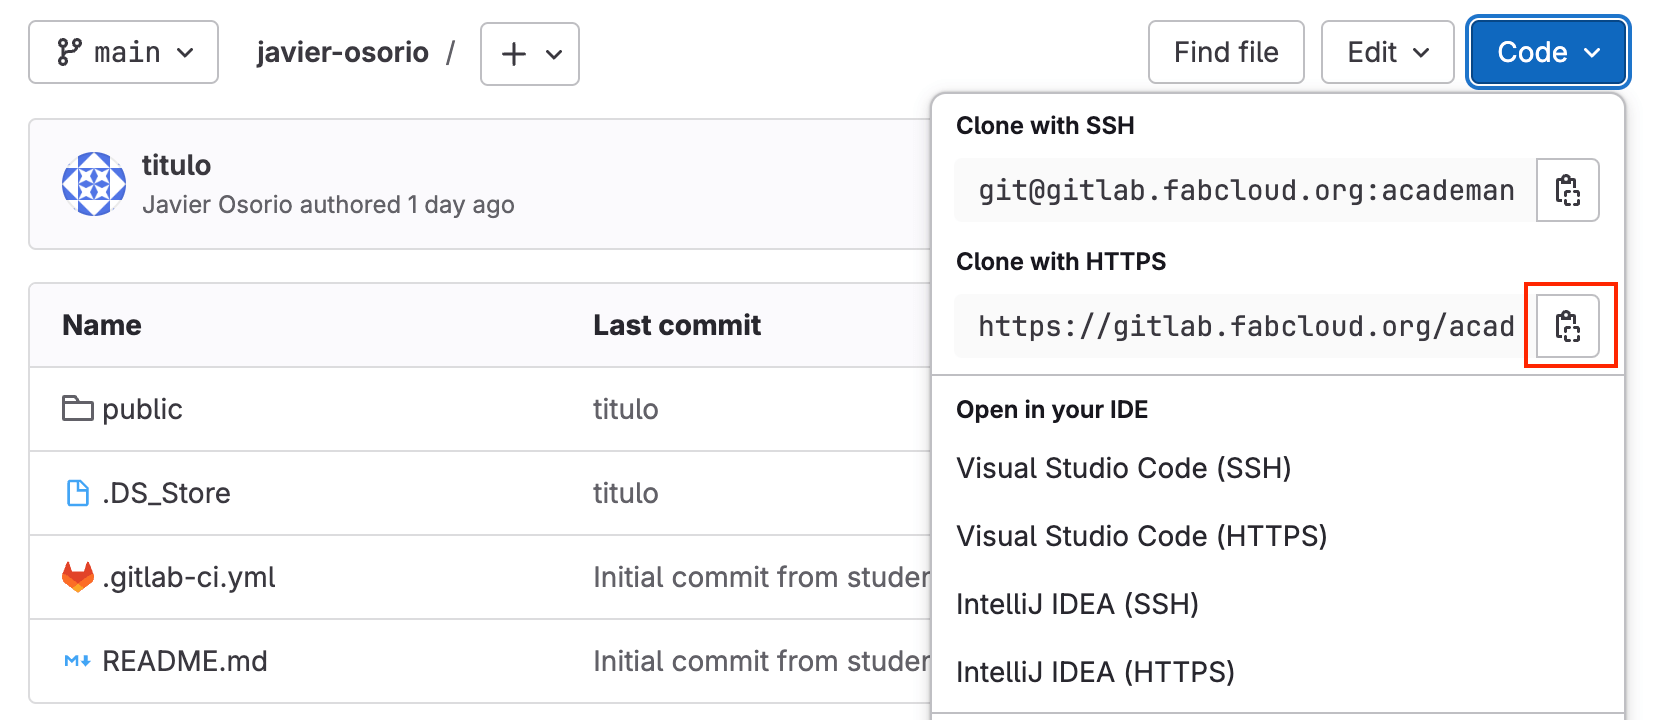
Now, we have to select the "Code " tab as well as "Clone with HTTPS ". The advantage of cloning is that a copy of the project is made while we remain linked.
Before cloning the project to our computer, it is important to know some basic instructions that will be used in the " Terminal ".
- pwd prints the current/working directory
- mkdir create a new folder
- ls list files
- cd change directory.
- cd.. go back
- git clone target an existing repository and create a clone
- code . open de folder/file in a code editor.
- git status display information about the ongoing commit
- git add add specific file inside the folder
- git add . add every file inside the folder (the space is important)
- git commit - m save changes into the local repository
- git push update any changes made to the files contained inside the local repository folder
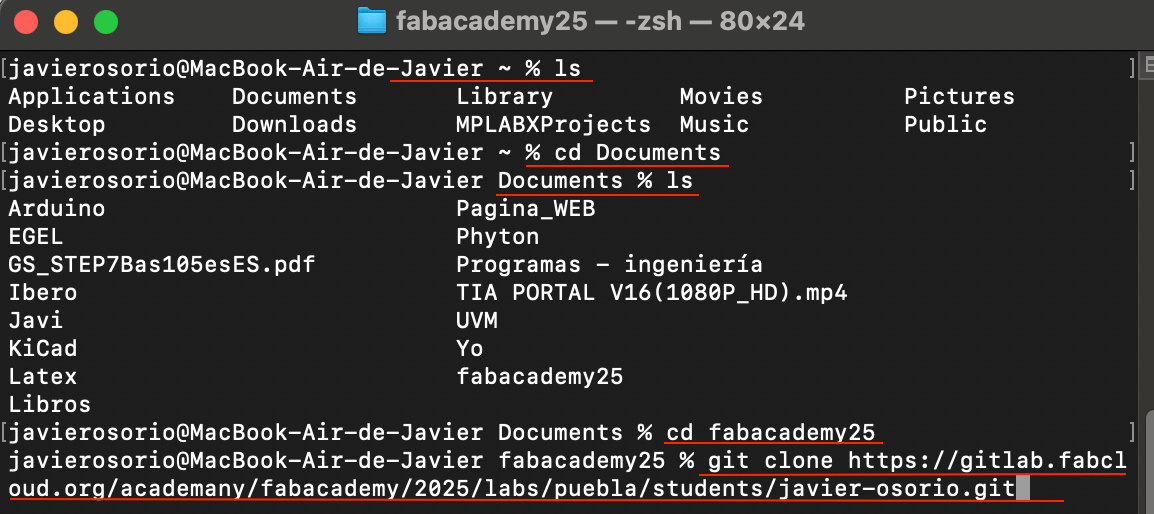
It is necessary to be in the terminal and select the path where you want to create a new folder. To access the desired path, you can use the cd name instruction. Then, in that address a new folder is created using the mkdir instruction (e.g. Documents % mkdir fabacademy25). When the folder is already created, the files selected from the previous step can be cloned as shown below (Note: it will ask us for Username or email and Password).
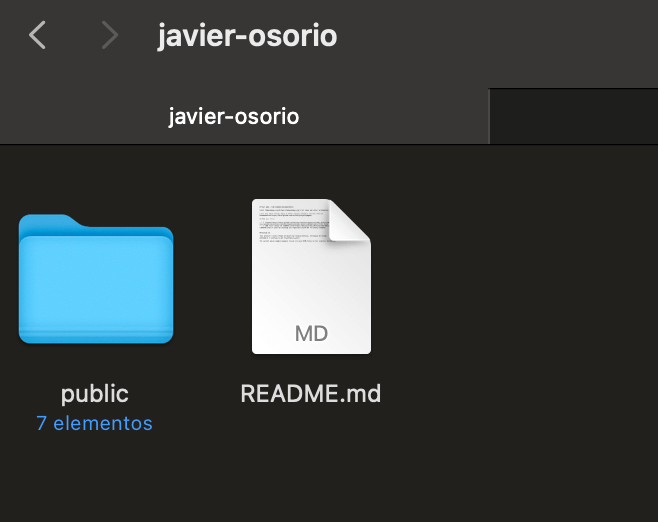
If the previous steps are correct, we should have everything cloned in our destination folder.
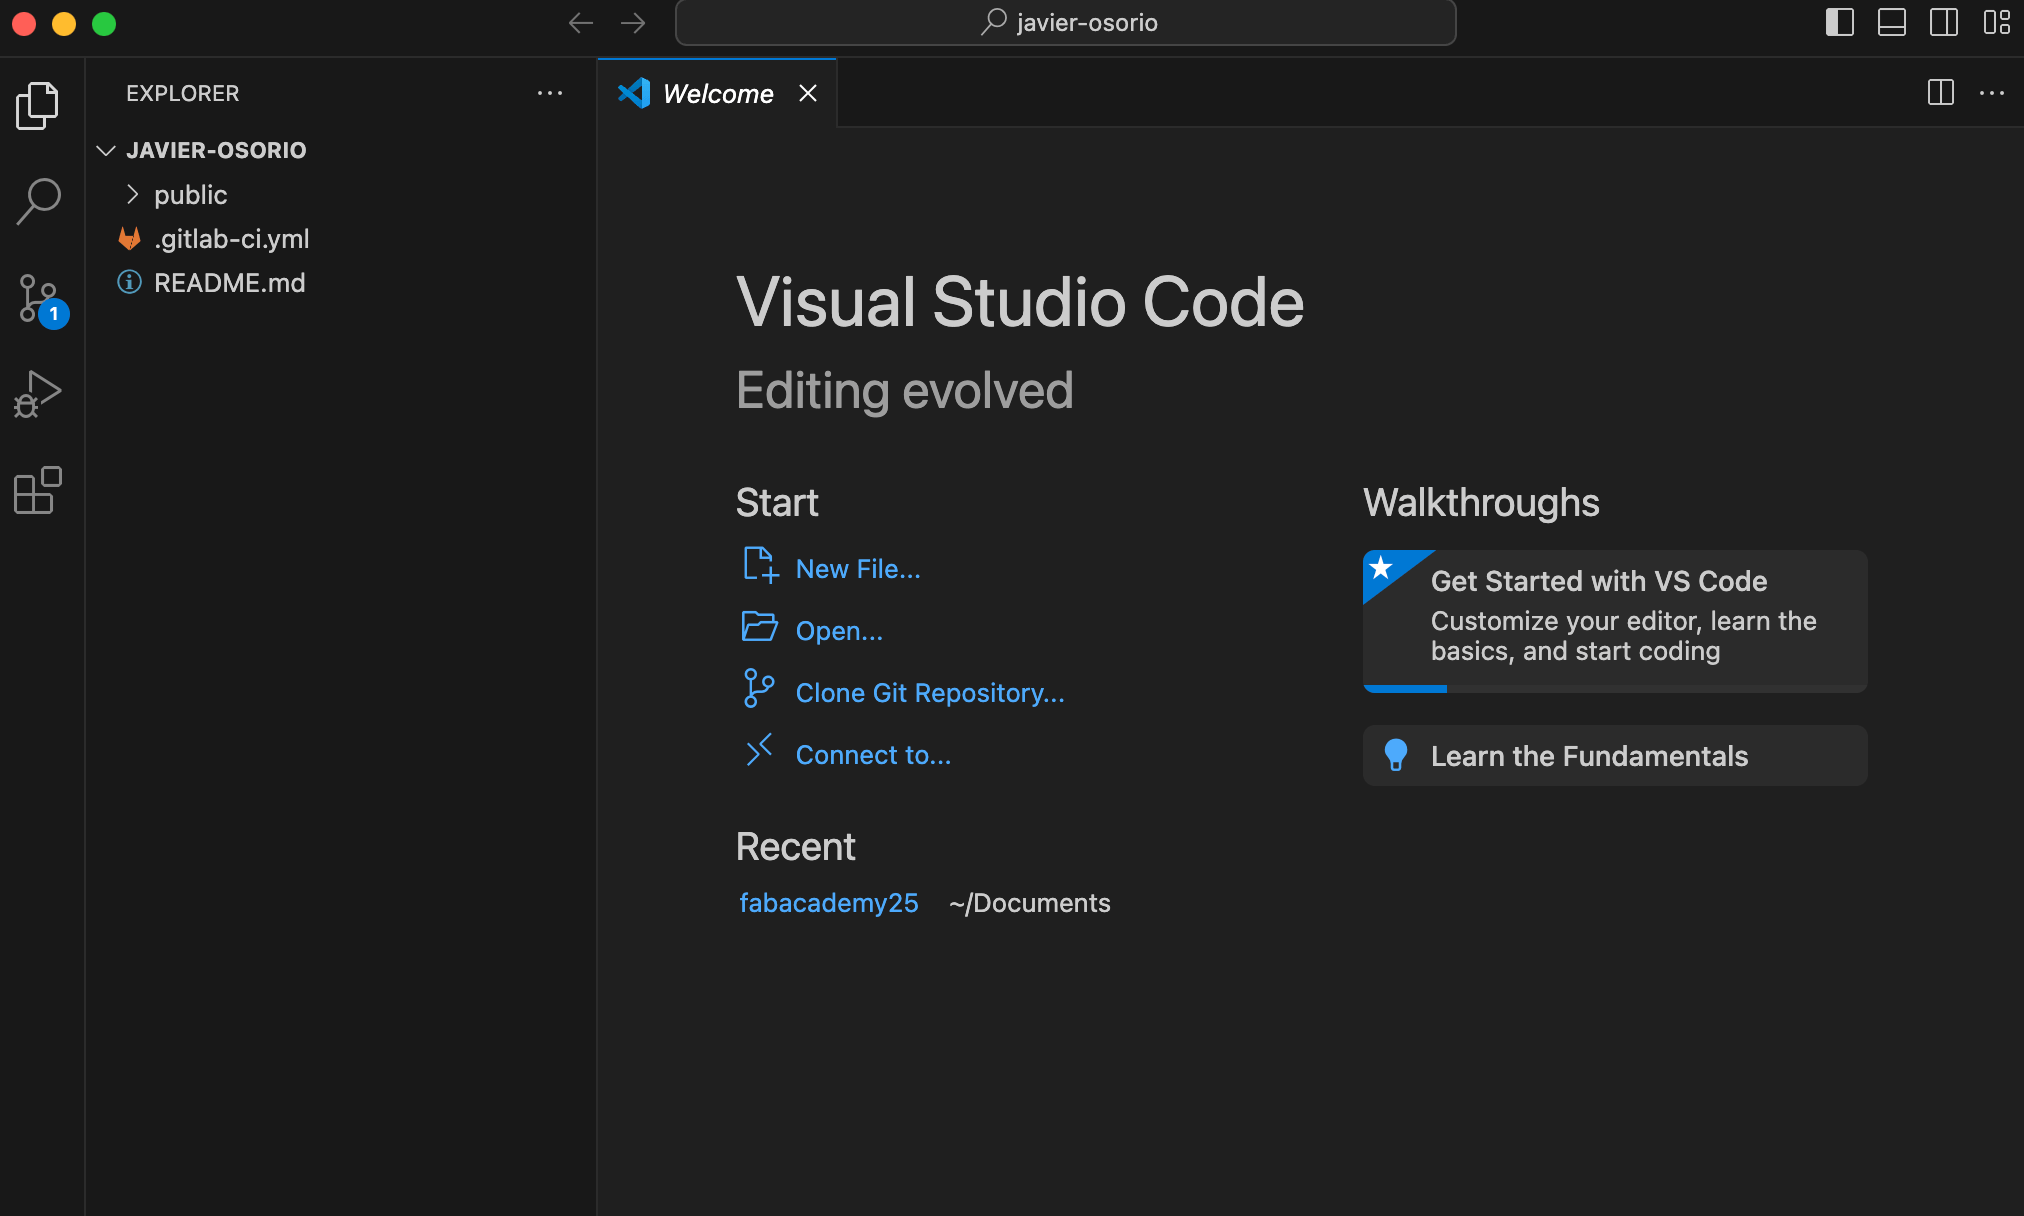
To continue, it is required to have the VSCode program installed, which will be the " Code editor ". Once installed, to load the project in VSCode, you need to write in terminal "code ." .
If you want to see the changes on a page in " real time ", you need to install an extension, for that we go to the " Extensions " icon and in the " Search Extensions " we write " Liver Server " and install it.

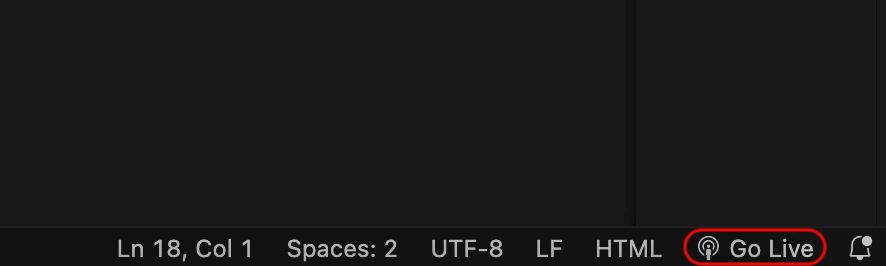
If we follow the " public - index " route, and we go to " Go live", it takes us to our WEB page, which we can edit, both the information and the page format ( CSS file).
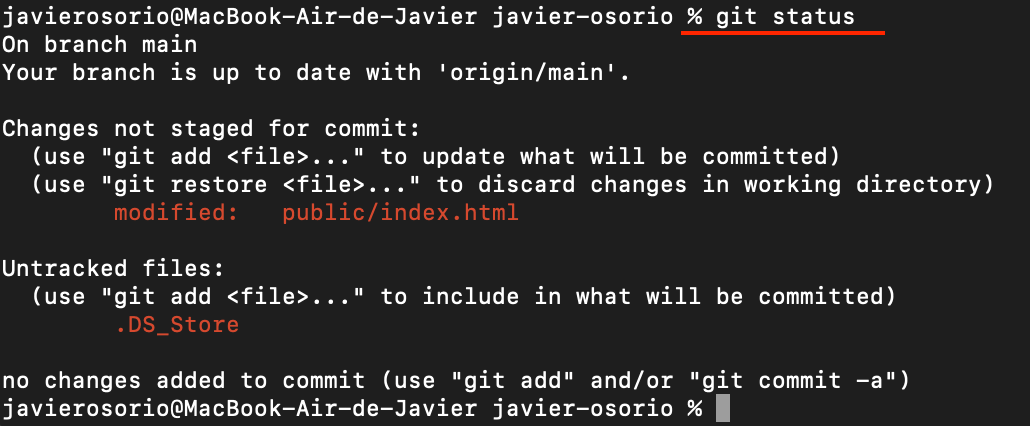
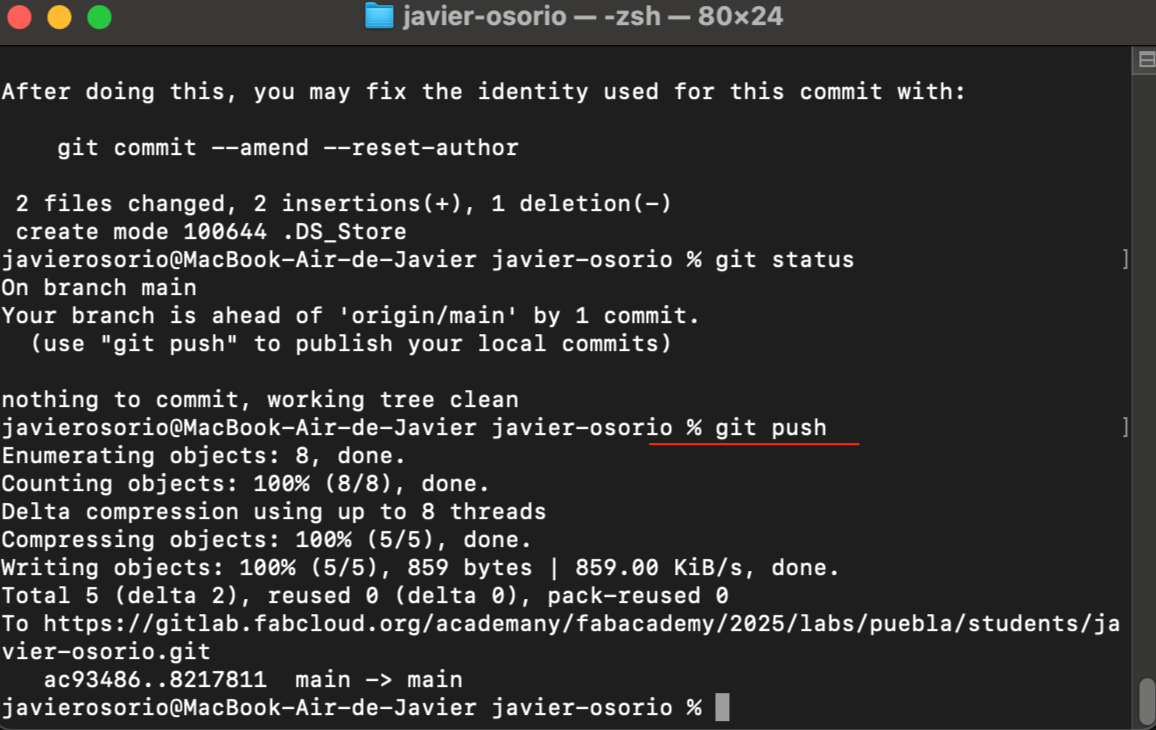
When all the changes and modifications have been made to the html file, we return to the terminal to write the instruction " git status ", which allows us to see all the modifications that have been made. By pressing "ENTER", all changes made will appear in red.
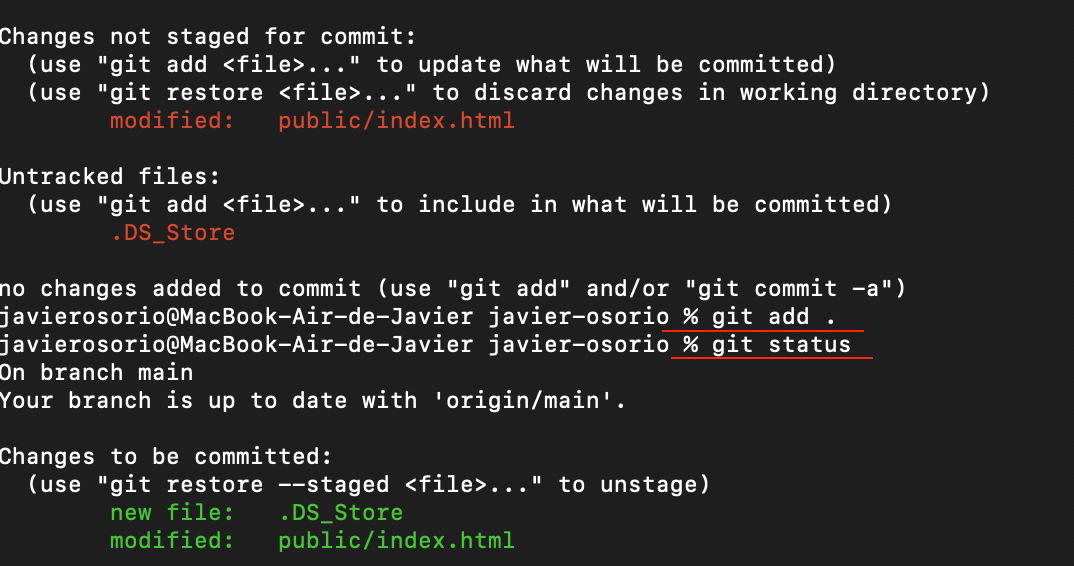
To add the changes, use the " git add . "
instruction and to verify that the changes were made then you can use
" git status " again.
In the following figure you can see how the changes now appear in green,
which indicates that the "changes are ready to be committed ".
The last part is writing the statement git commit -m "title or name" , to package everything.
Finally, in the Terminal we write " git push "
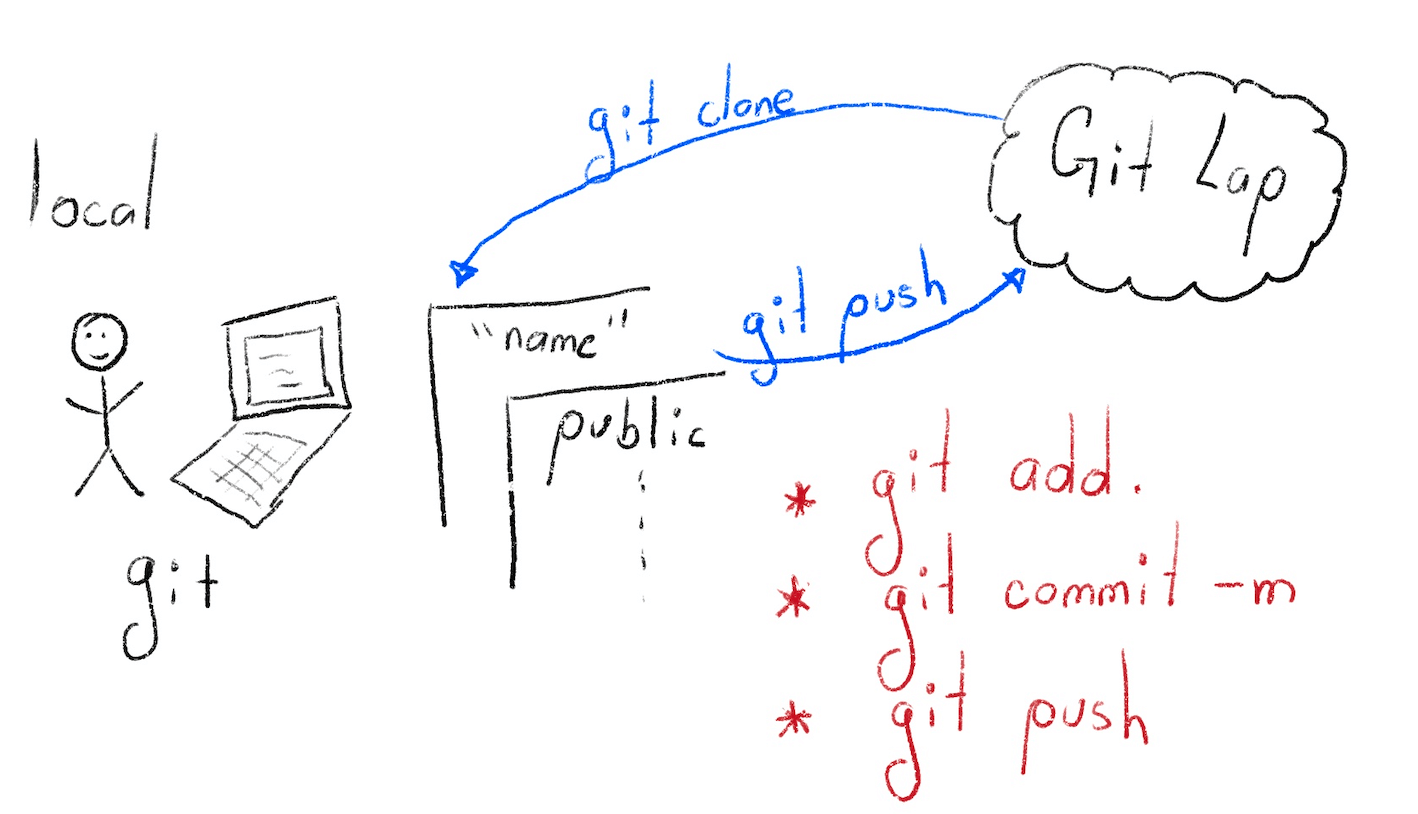
The workflow to follow is summarized in the following image.
Creation of a WEB page
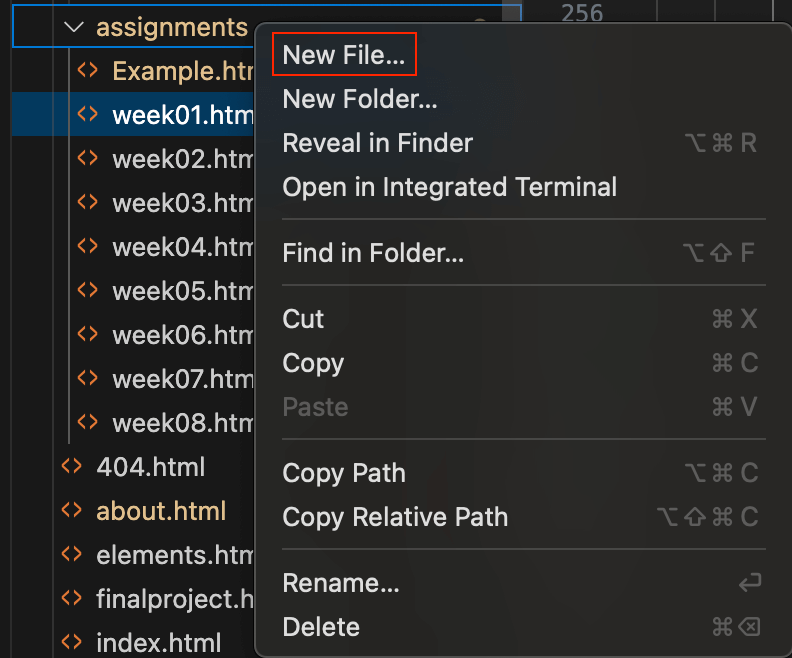
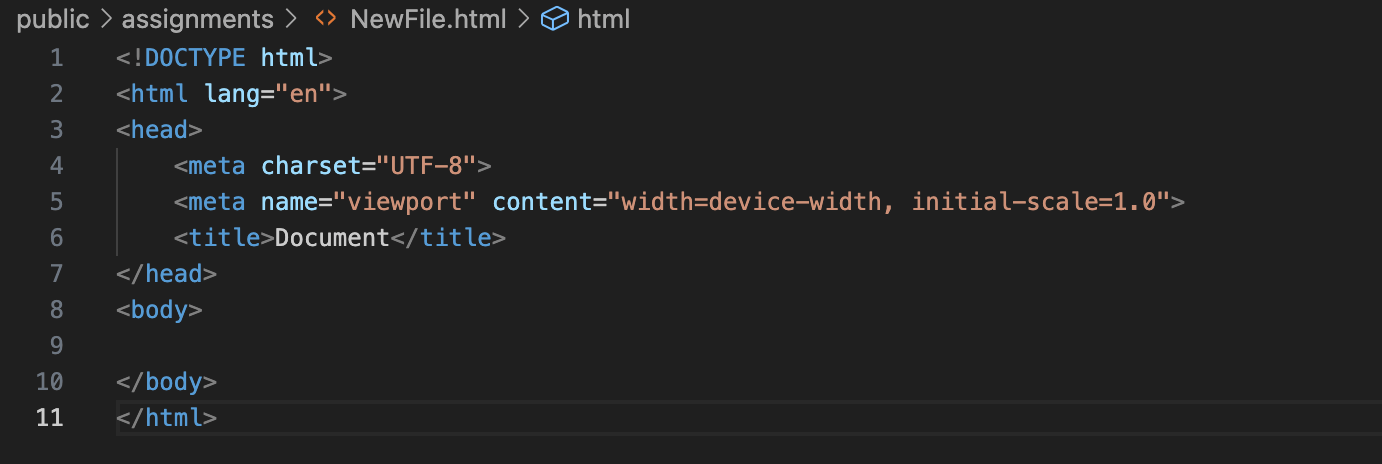
To start, you need to be in the VSCode environment, in which you need to create a new file. To do this, in the " EXPLORER " in the destination folder, right click and select " New File... ".
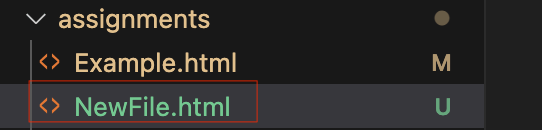
It is important to name the new file and at the end include the extension " .html ".
When entering the new file, it is empty, so the first instruction that must be written is " html ", this will display suggested elements so it can be started by selecting " html :5".

When selecting " html :5", a series of default instructions are displayed.
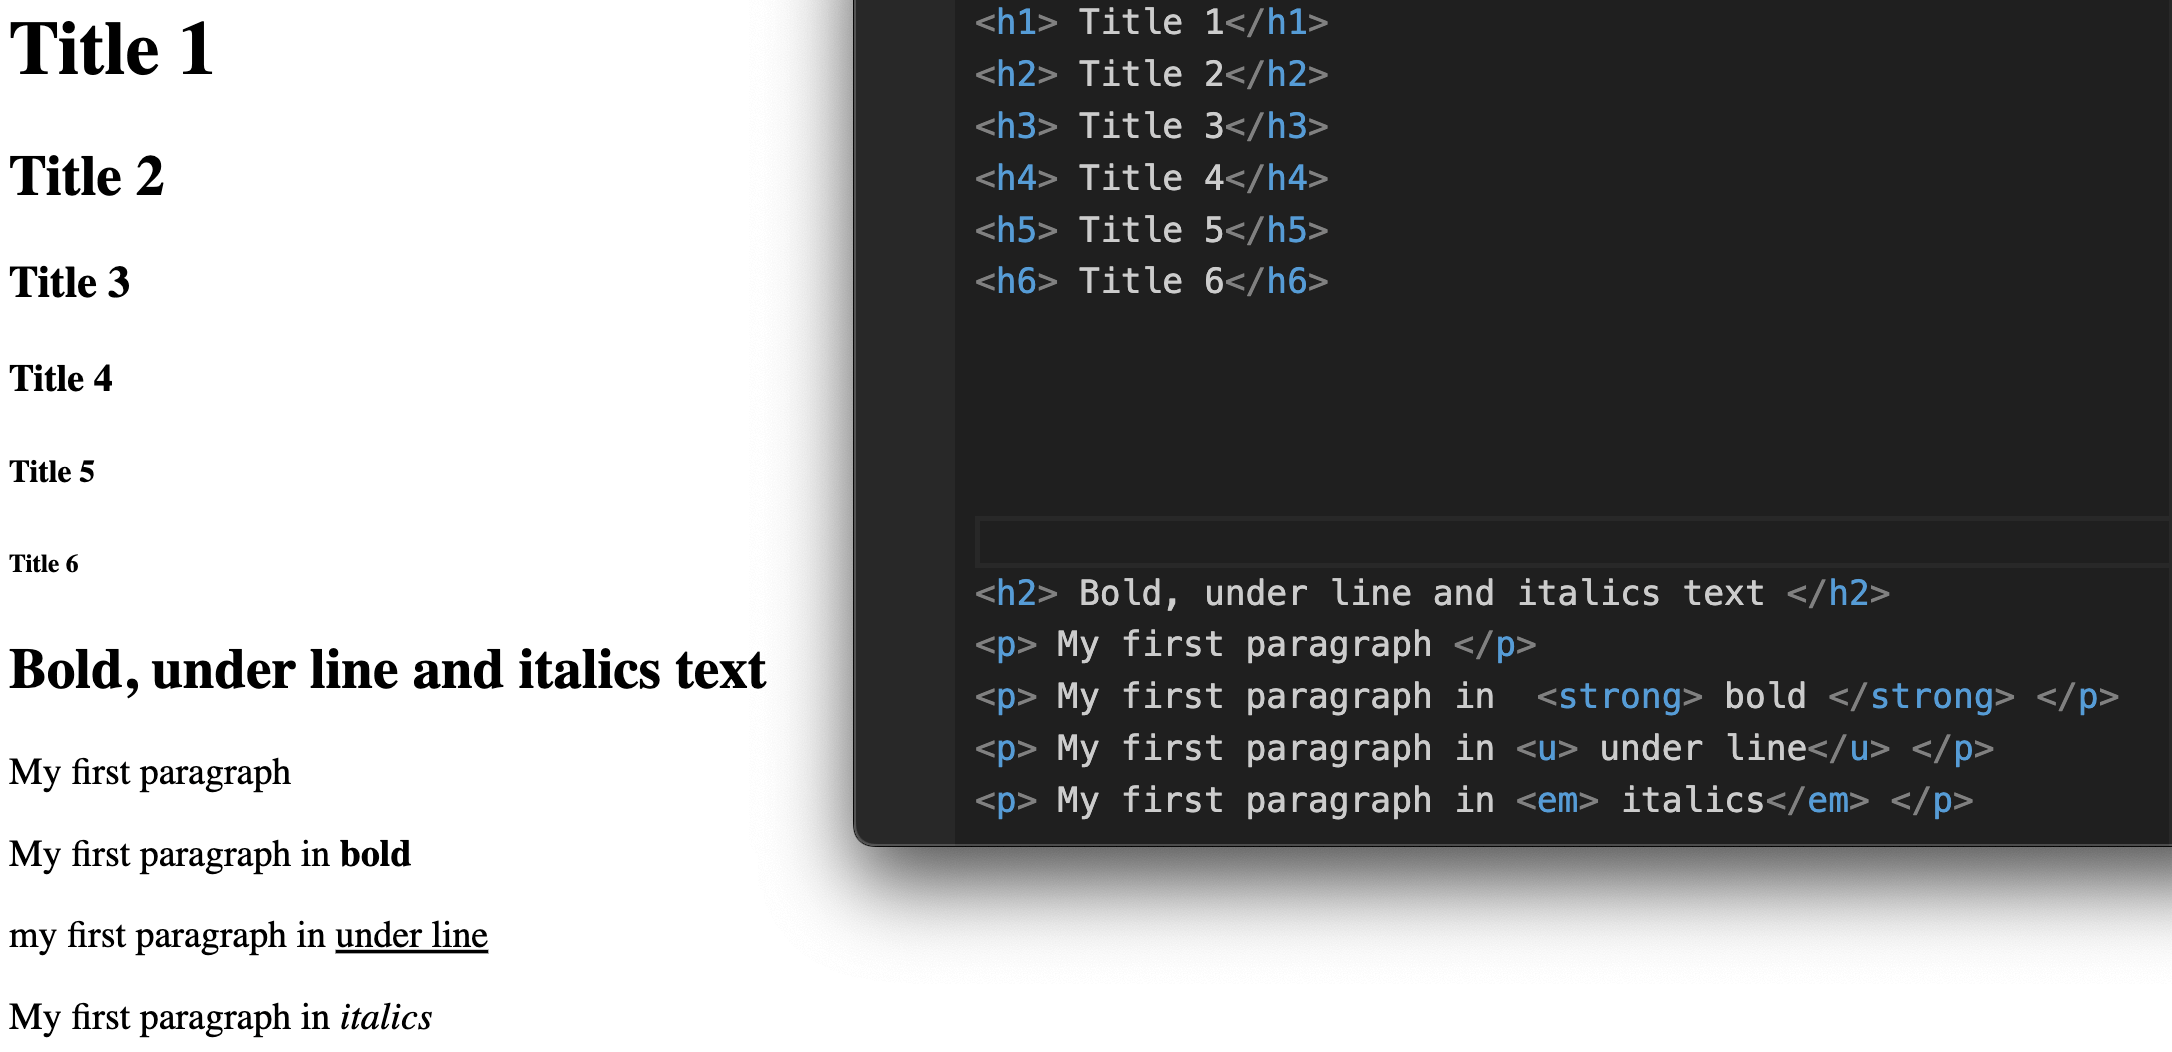
Inside the body
All the elements that are displayed in the browser are placed inside the body
To begin, one of the first things to place are the " Headers or Titles ".
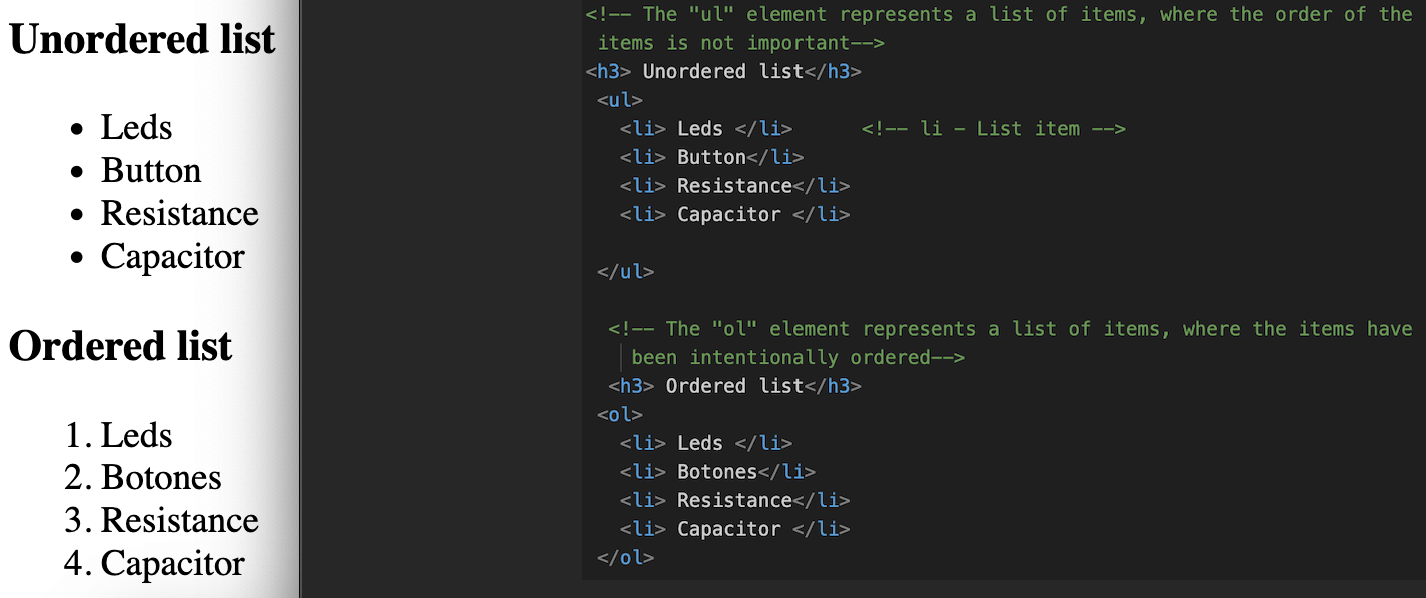
For their part, lists can be written in an unordered or ordered manner.
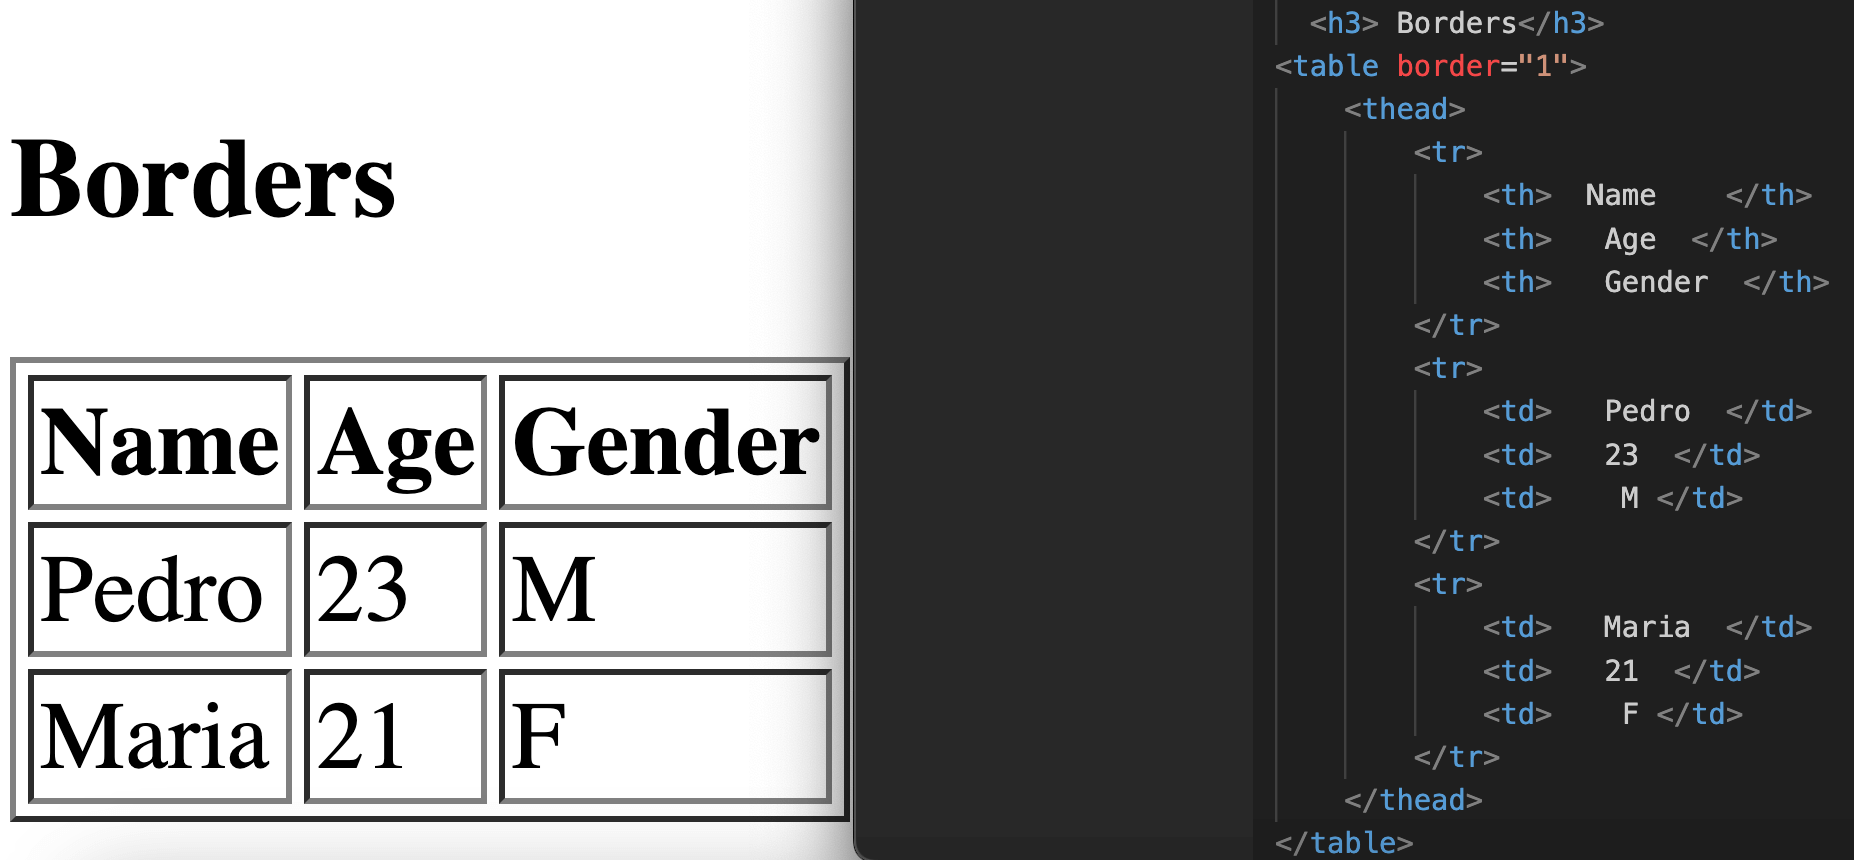
Tables, furthermore, can be built by writing rows and columns, as shown in the figure.
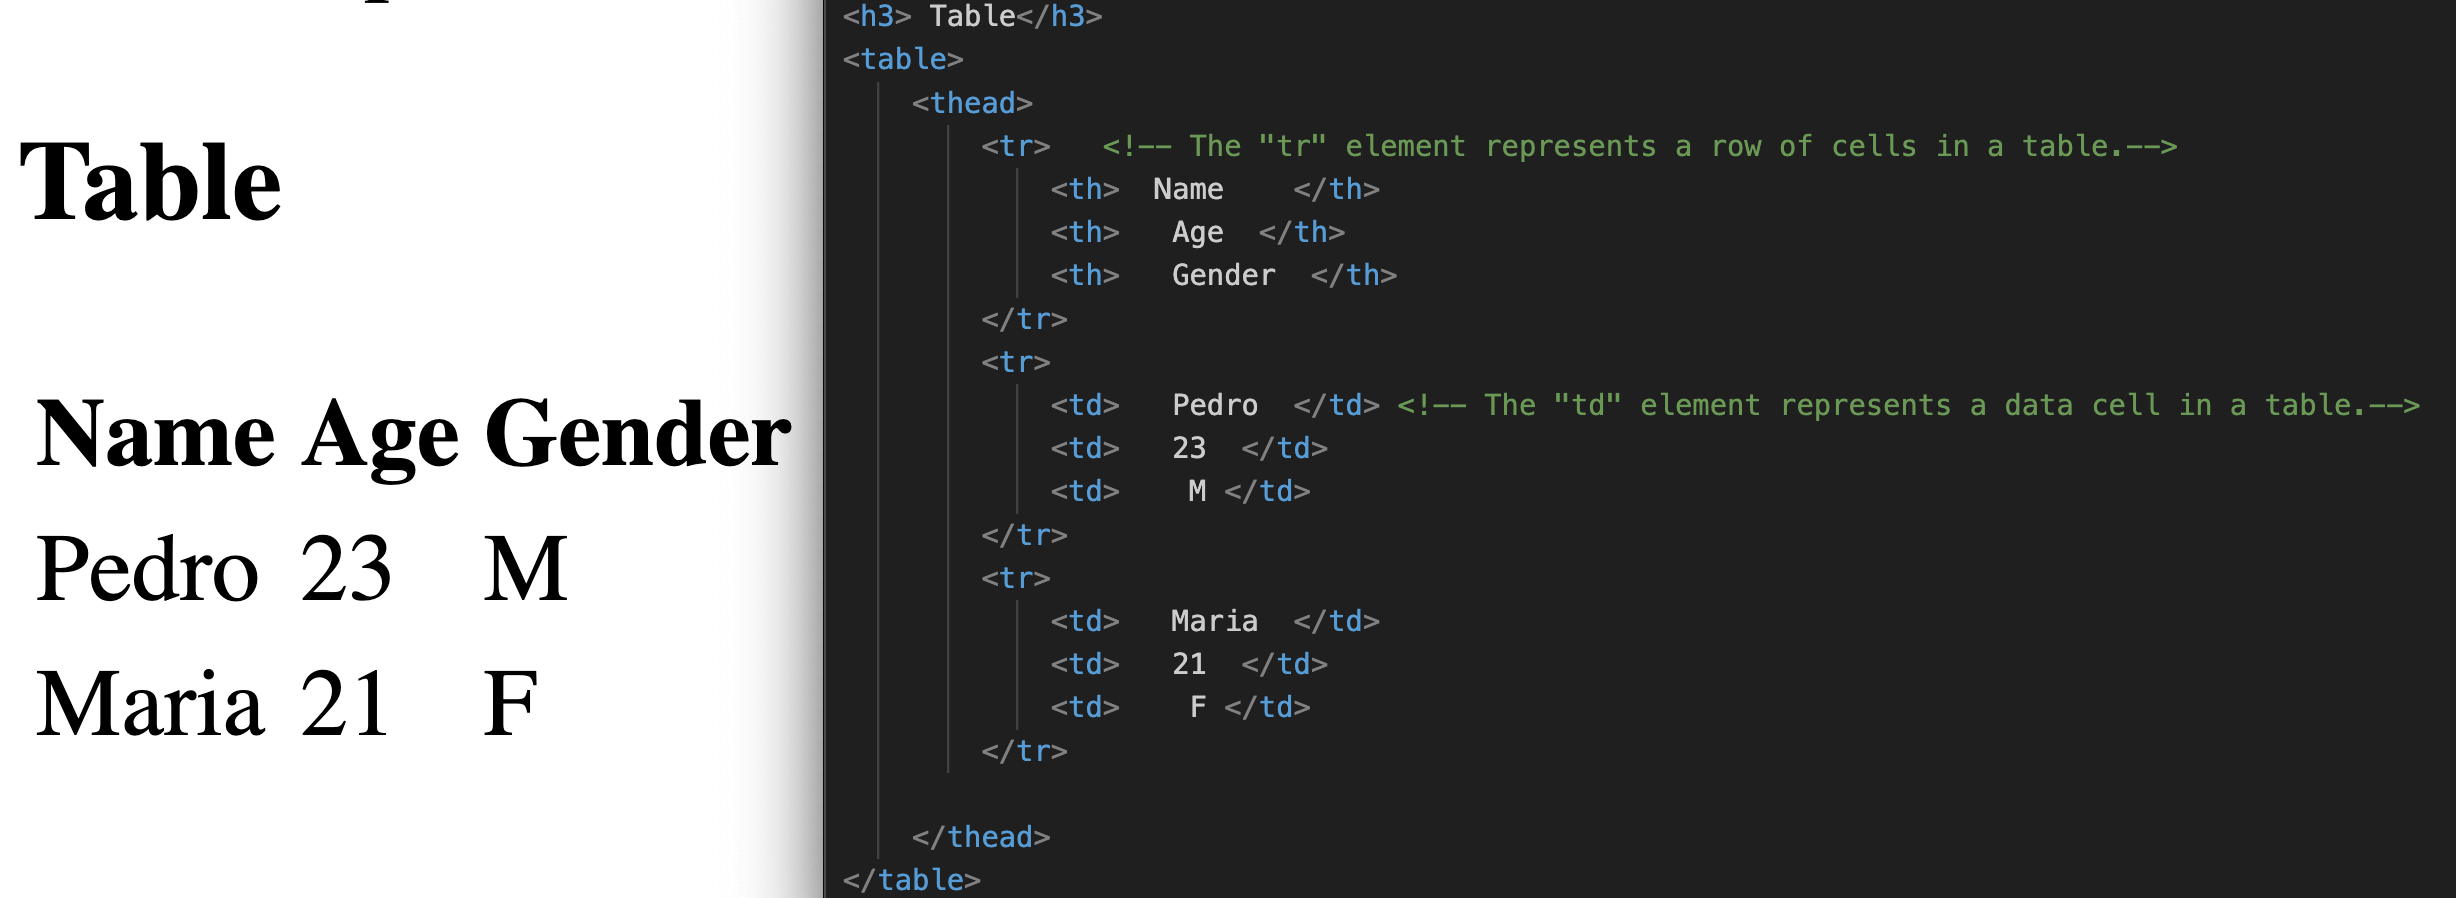
To give borders to the table, " border " is added to the original instruction as shown in the image. The numerical value that follows "border" is the thickness you want the lines to have.
Hyperlinks are a fundamental part when creating a page, if you want the new page to open in a different window you must add " target="_blank" ". Beside to adding hyperlinks to the website, you can also call your own files.html.

If you want a document to be downloaded automatically, you must write " download ". It is important that the address of the files or images that you want to download follow the correct path.

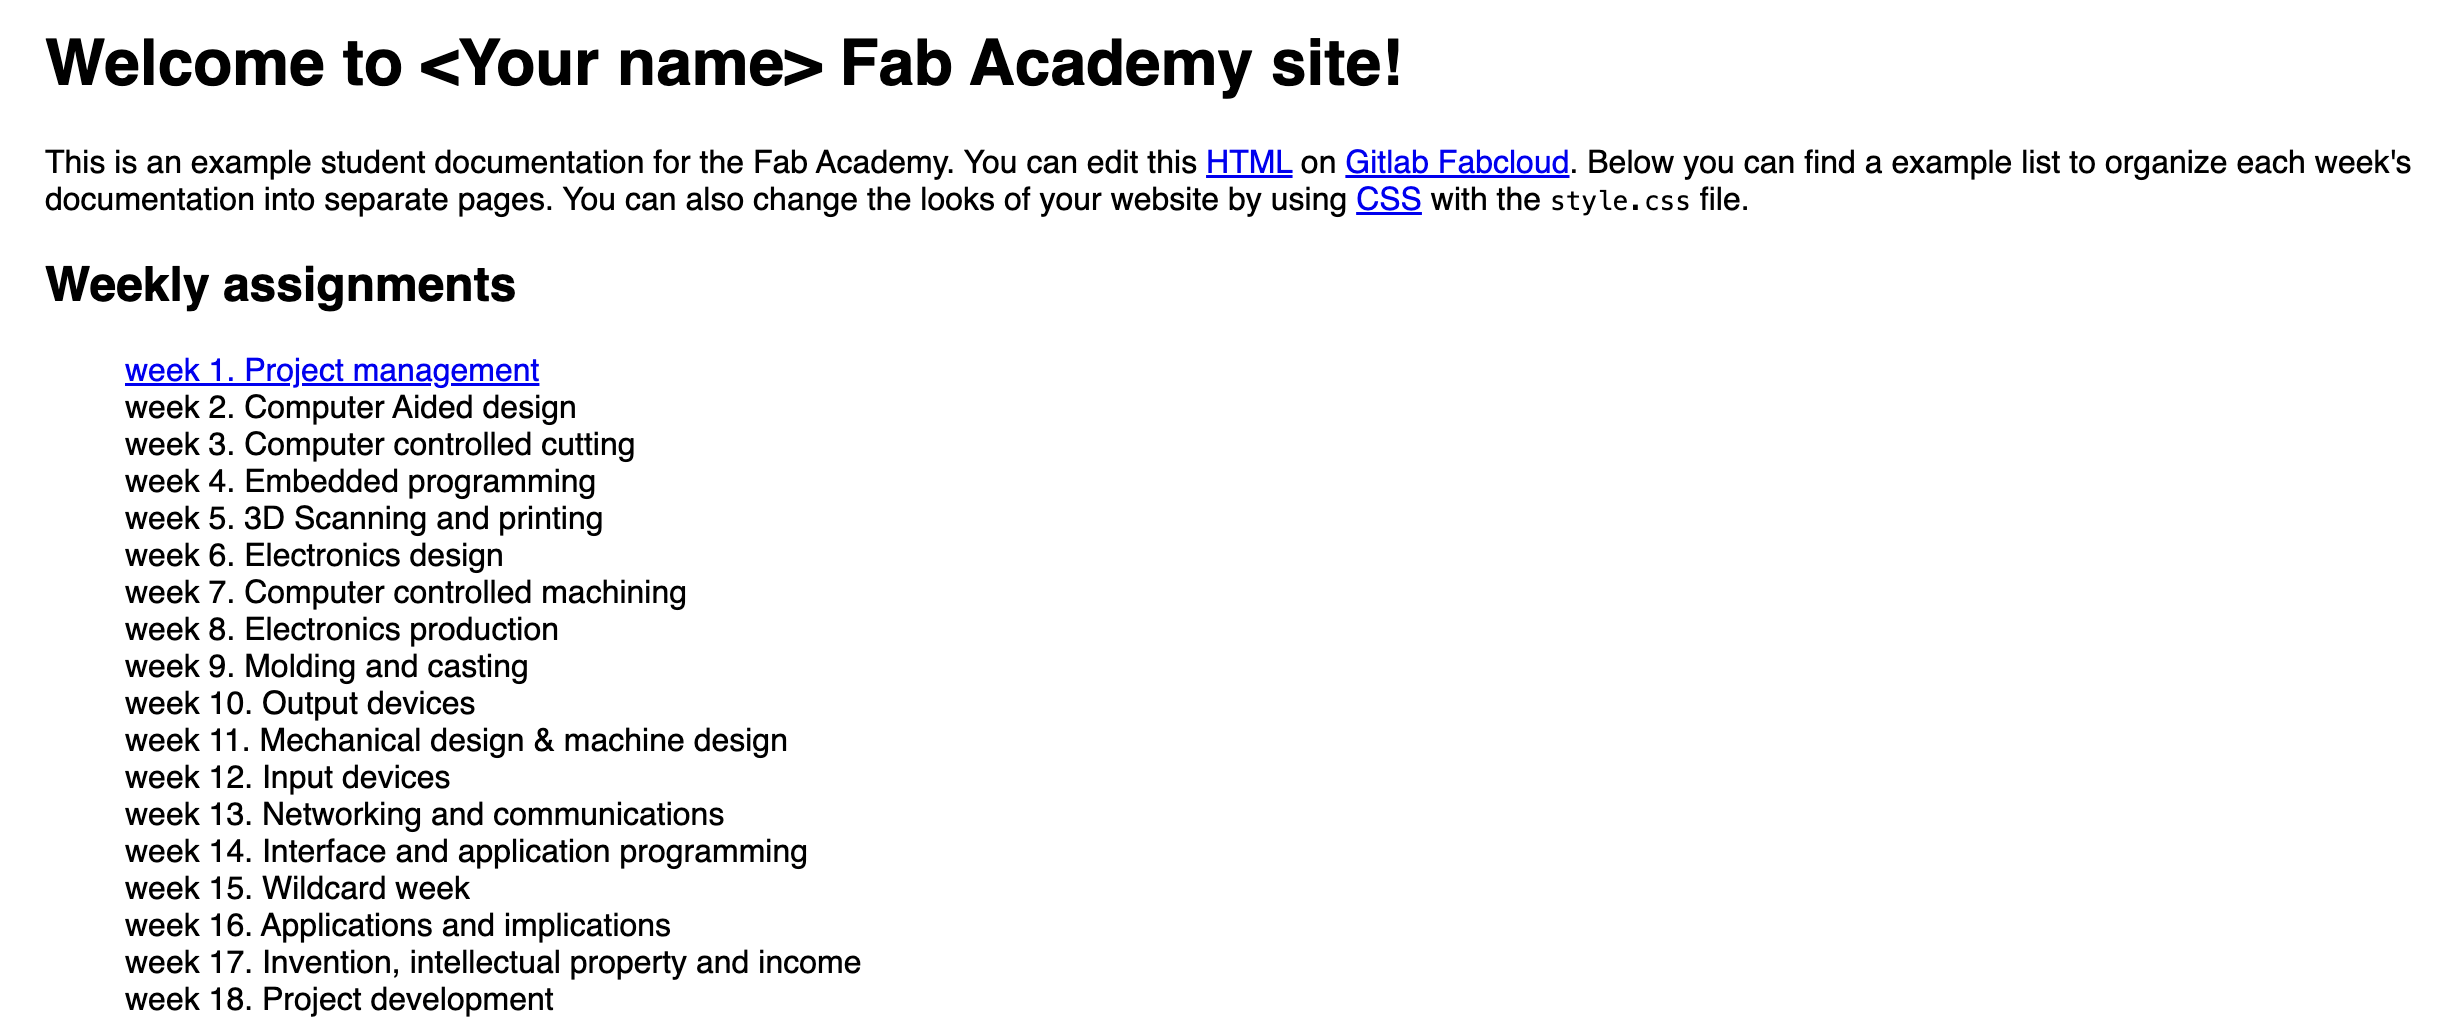
My first web page is shown in the following hyperlink.
My first .css file
Following the steps described above to create a "new file"; This new file must have a ".css " extension.

Within the new document we can edit topography, borders, titles, items,
backgrounds and anything that comes to mind.
If you want to find more information about how to edit and use .css files,
you can consult the
following link.


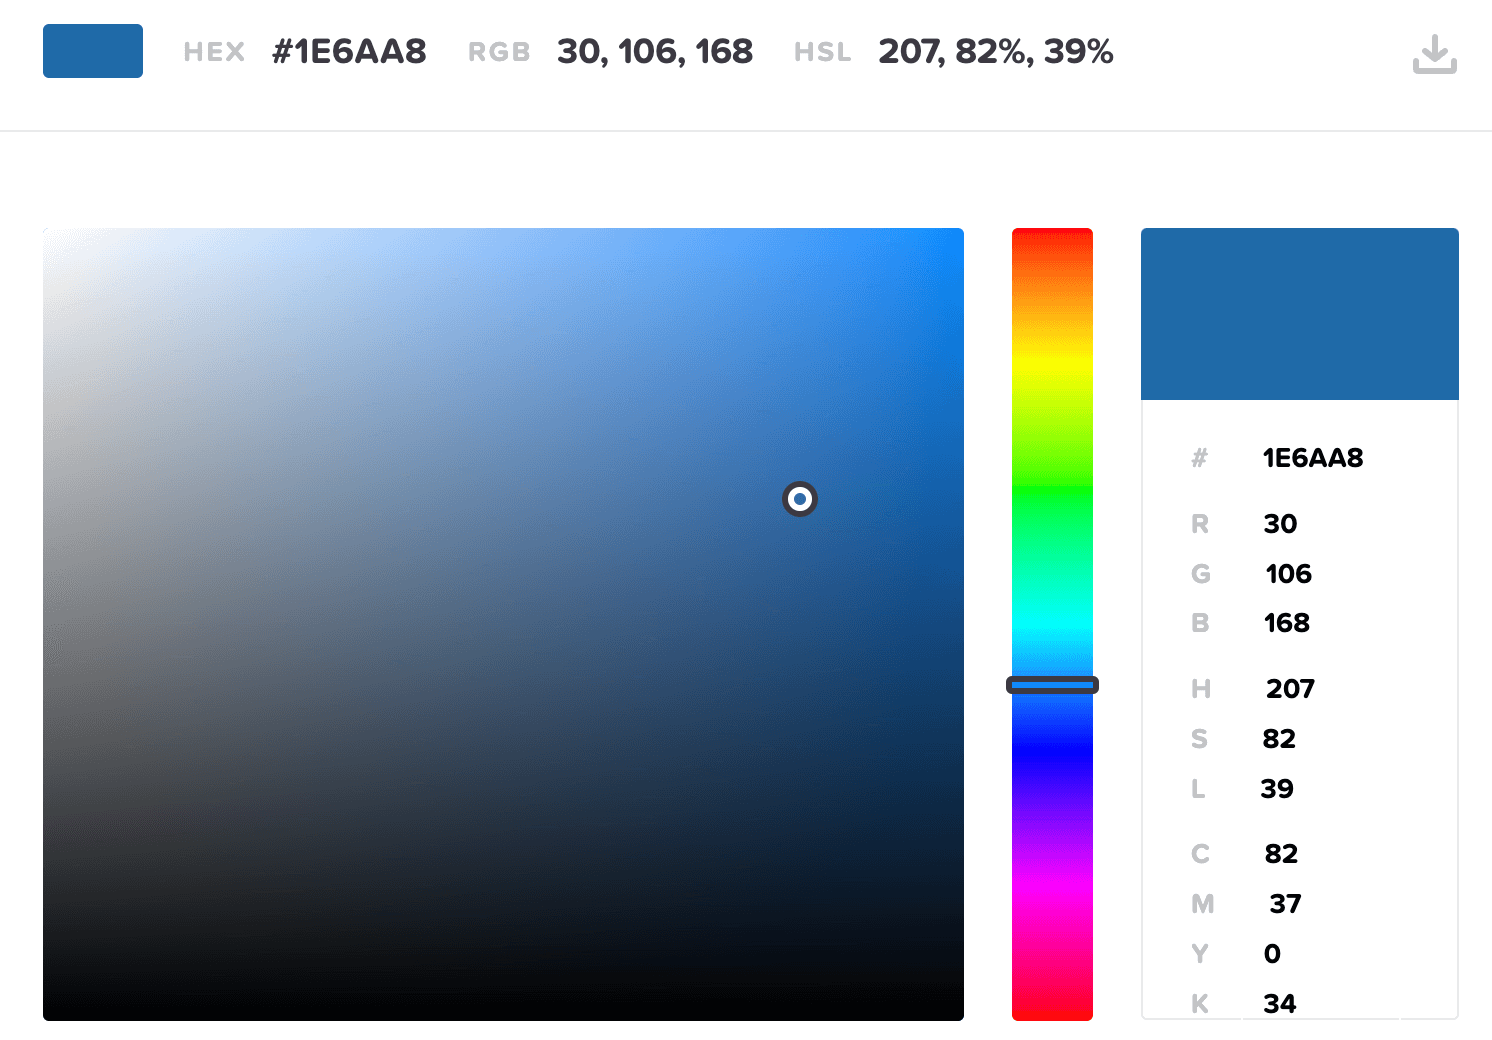
To place the desired color for letters, backgrounds, etc. You can use the color palette.
My first web page, with editing of the "file.css" is shown in the following hyperlink.
my website
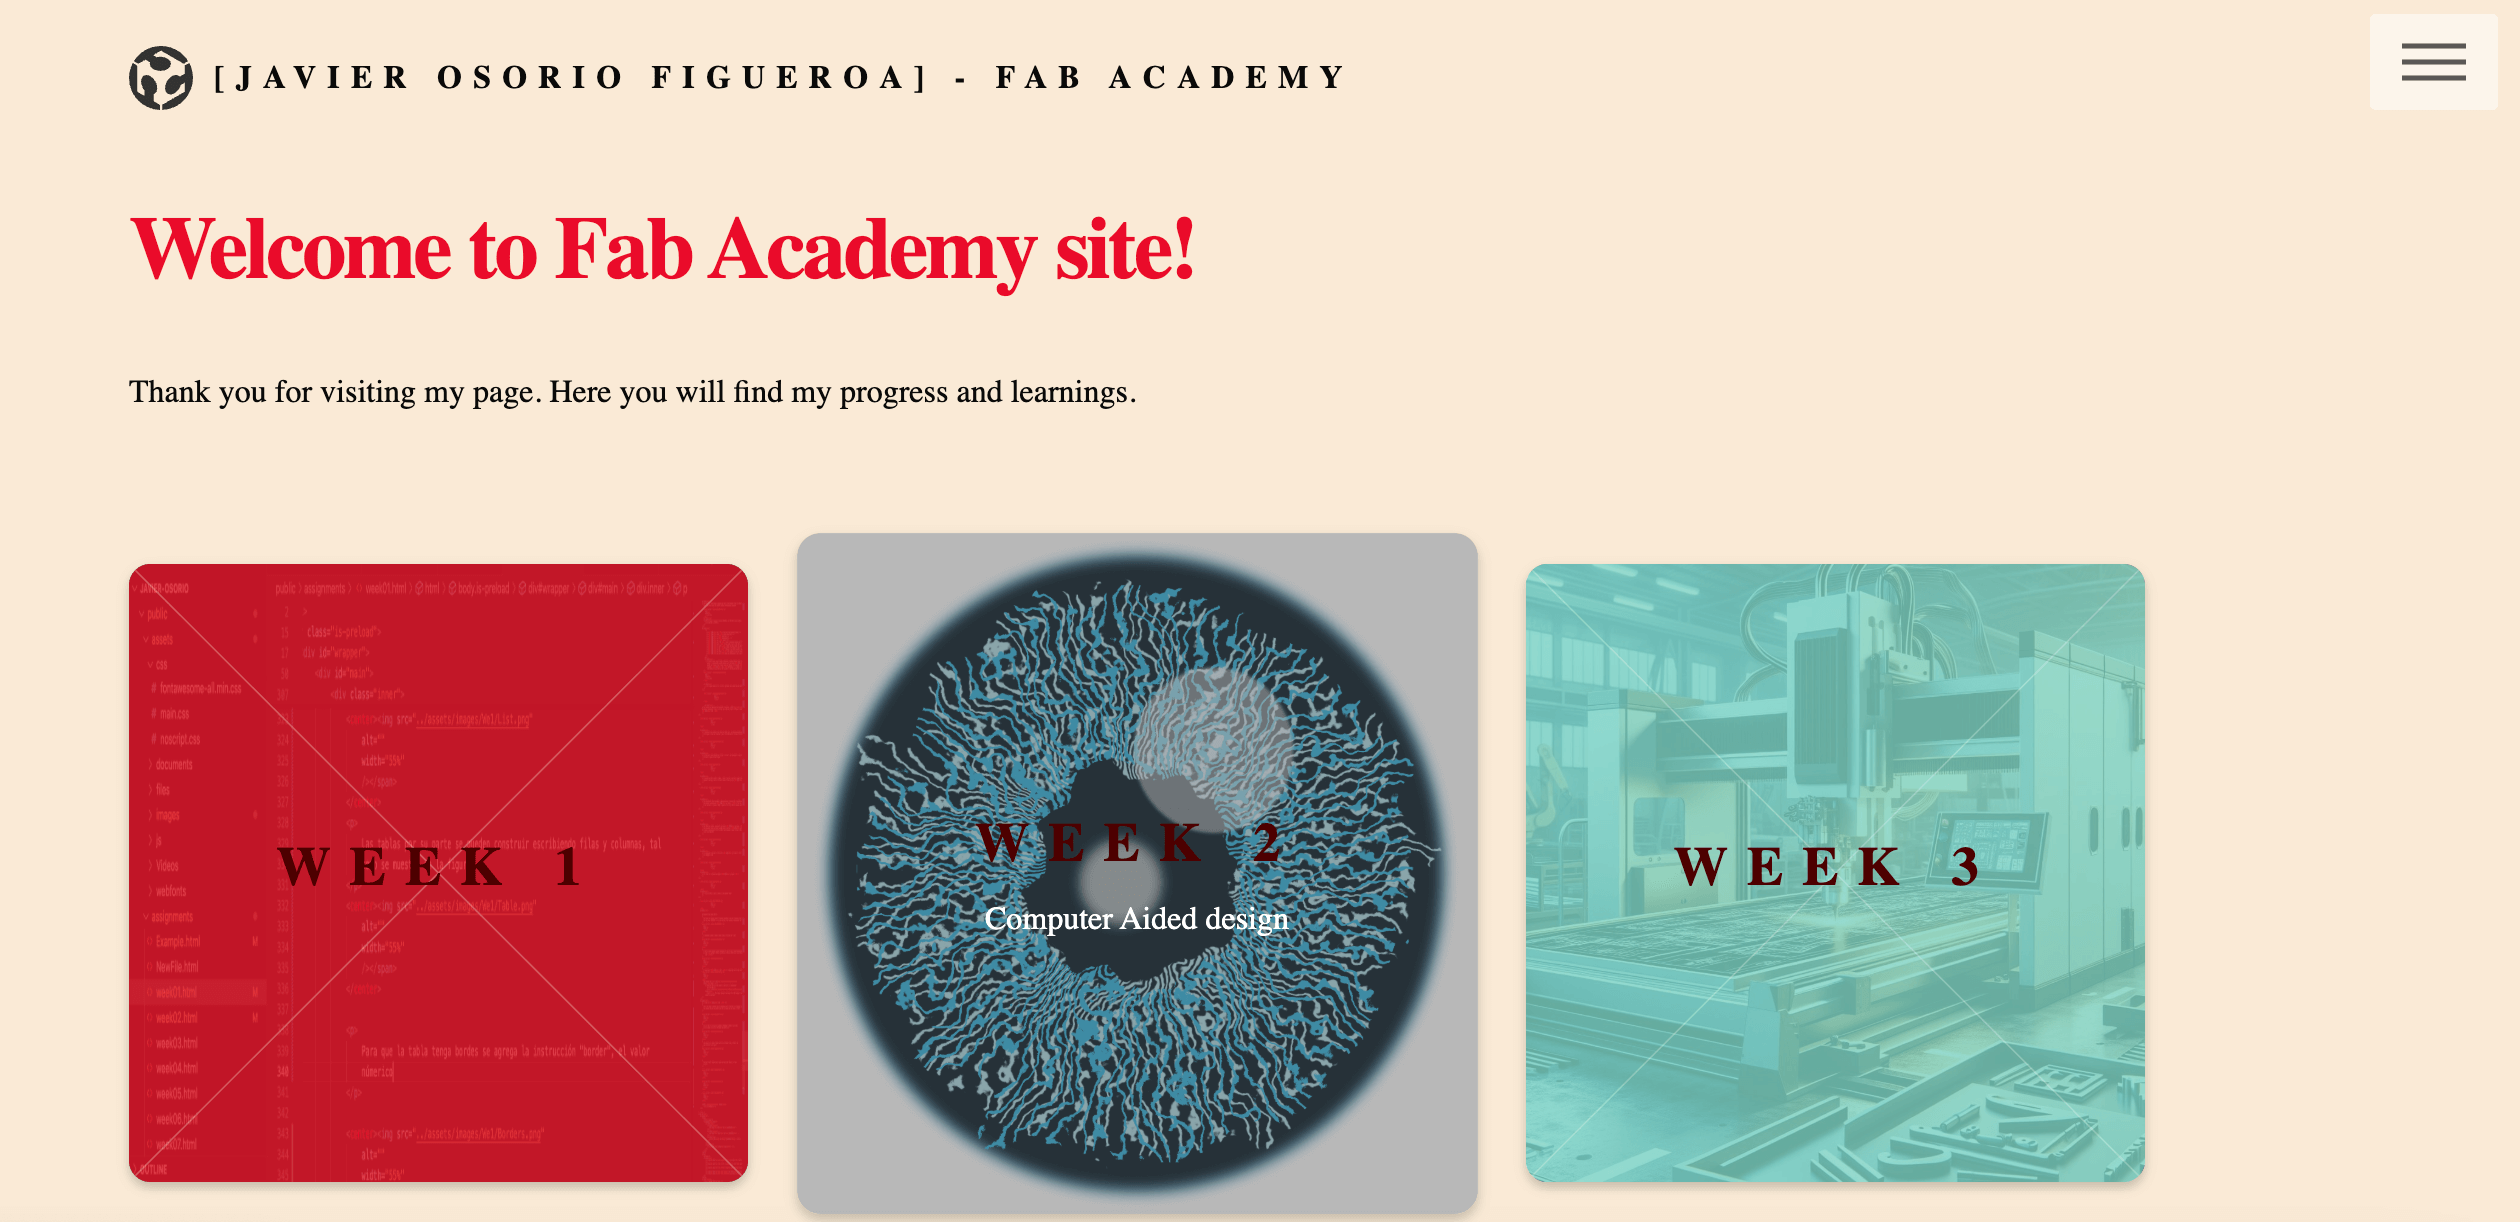
Once we understand all the basics, we can use this "HTML template" given by Rafael Perez (FAB Lab Puebla advisor) , from which the design of this page is based.
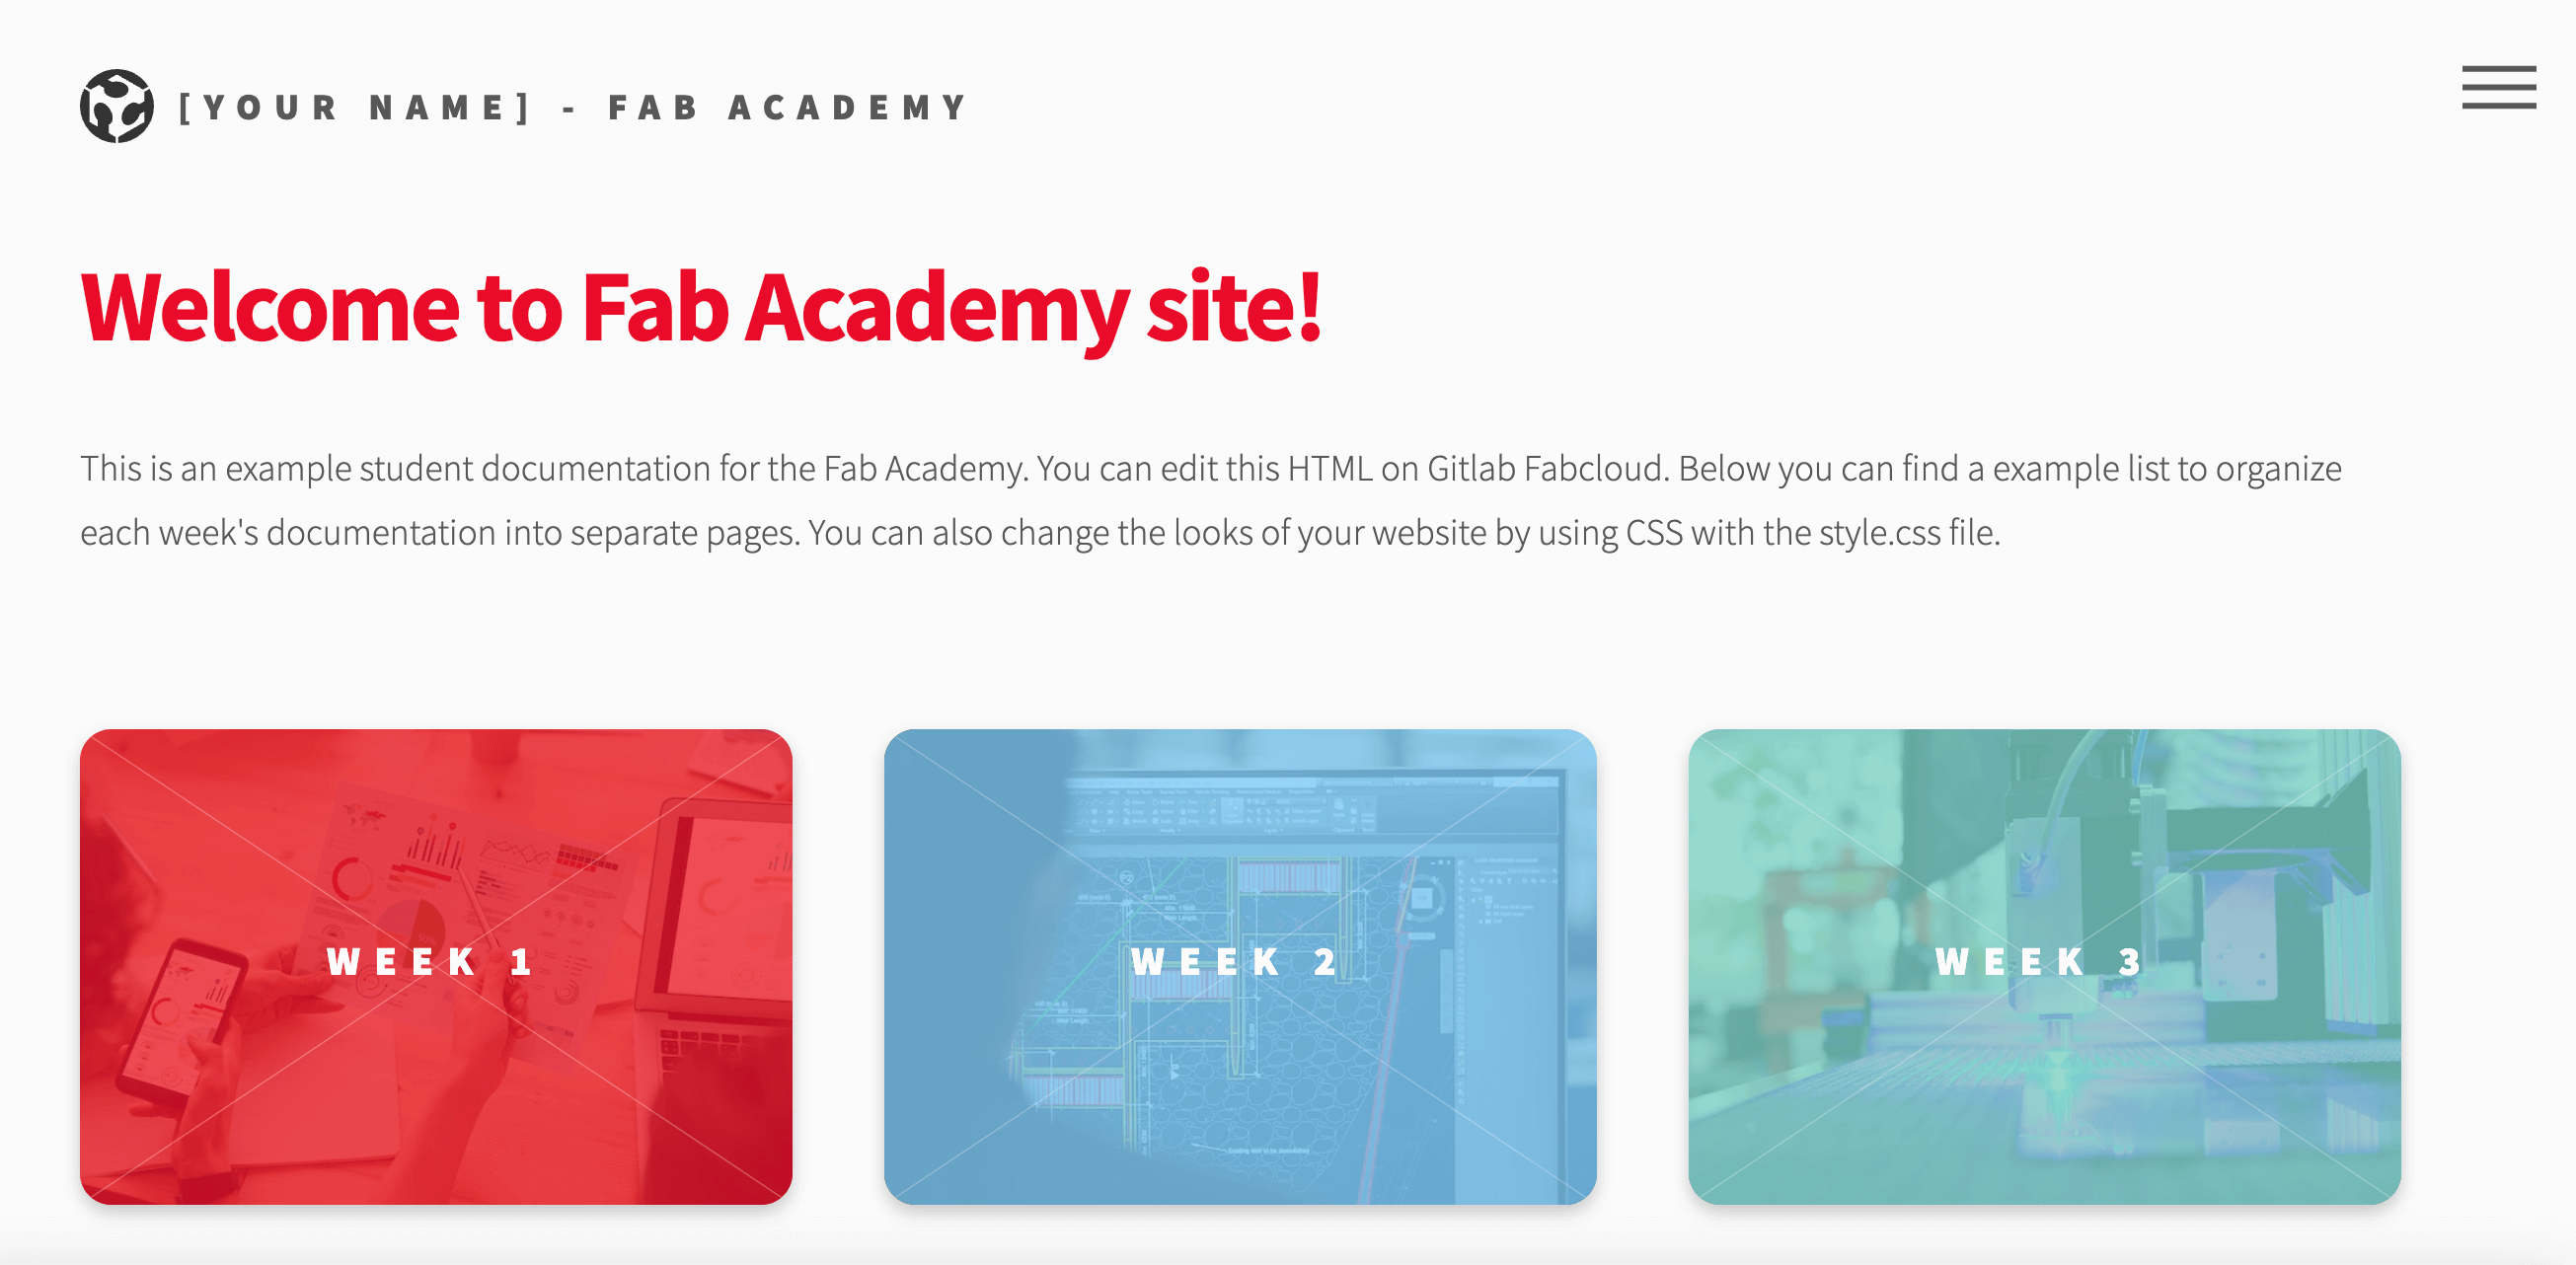
Modifications were made to the original template in the " main.css ", where the background color, font size and color, as well as the format of the titles and subtitles were changed.
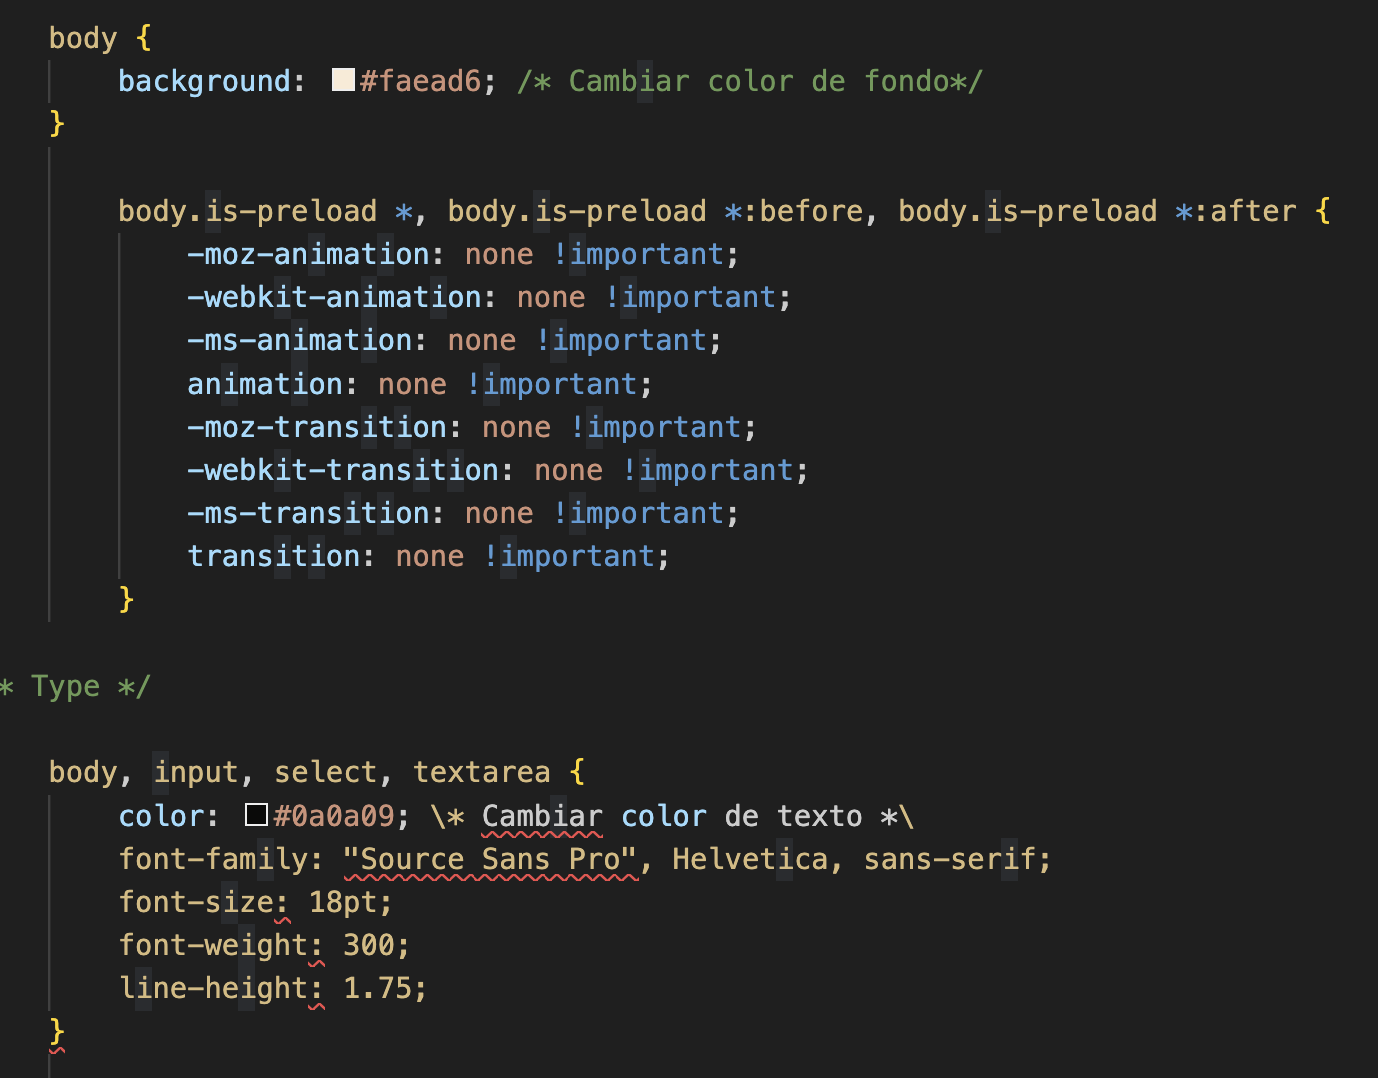

The resulting changes can be seen on the following picture.
Learning outcome
During this week, I learned how to use "Git commands", as well as "Visual Studio Code", and the design process of a web page.