3. COMPUTER CONTROLLED CUTTING
- GRUPAL ASSIGNMENT -
Week 3 - Computer-Controlled Cutting
- For this week, local and global instructors asked us to perform laser cutting and vinyl cutting. For the laser cutter activity, we will have to create 3D models which in my case I made it in 'SolidWorks'. I willi show the changes made since I didn't perform some of the recommended steps and will document if any changes were necessary within the parametric pieces. For the vinyl work, it's eassy and I will show you the steps to do it.
- VINIL CUTTING -
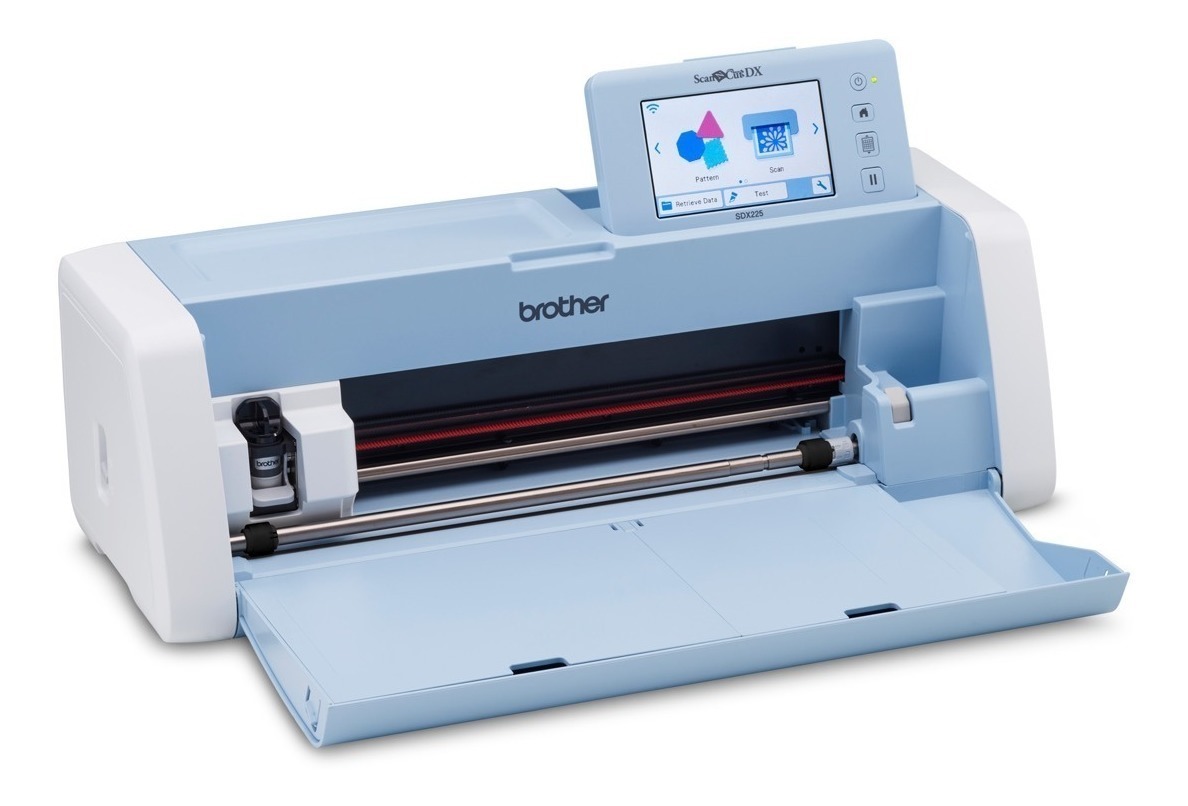
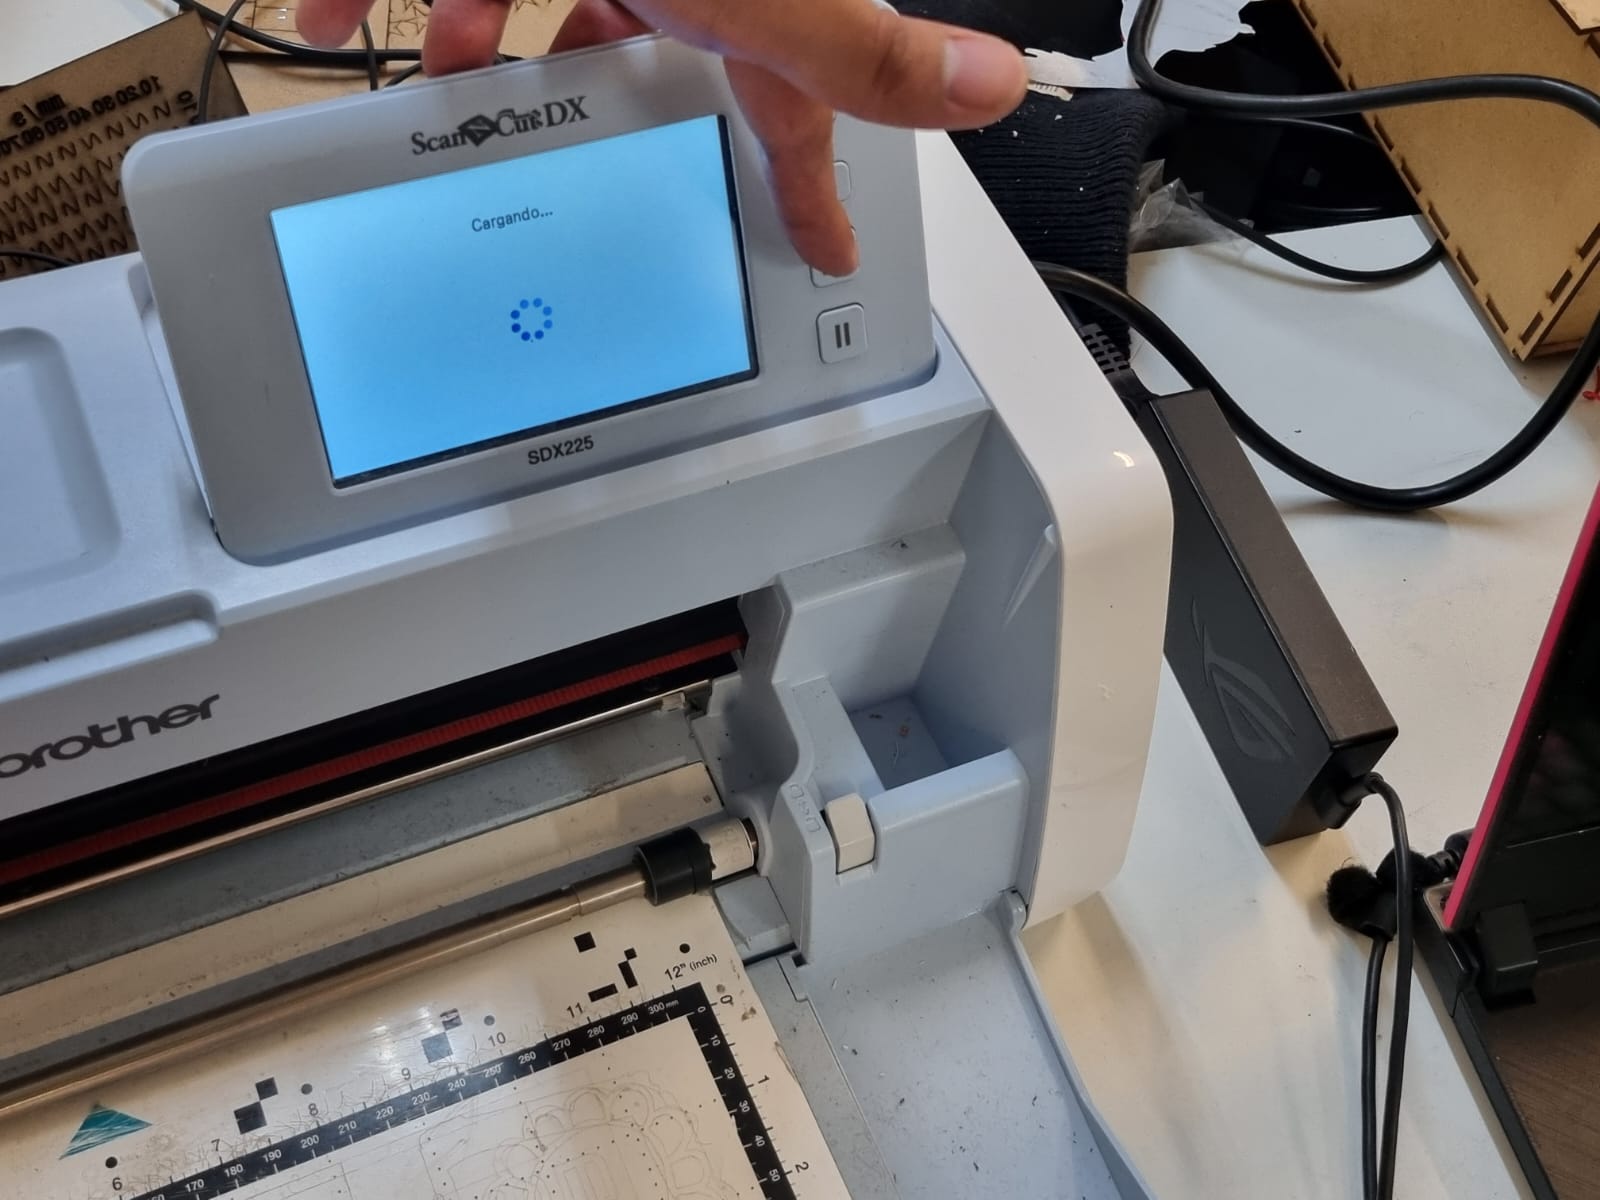
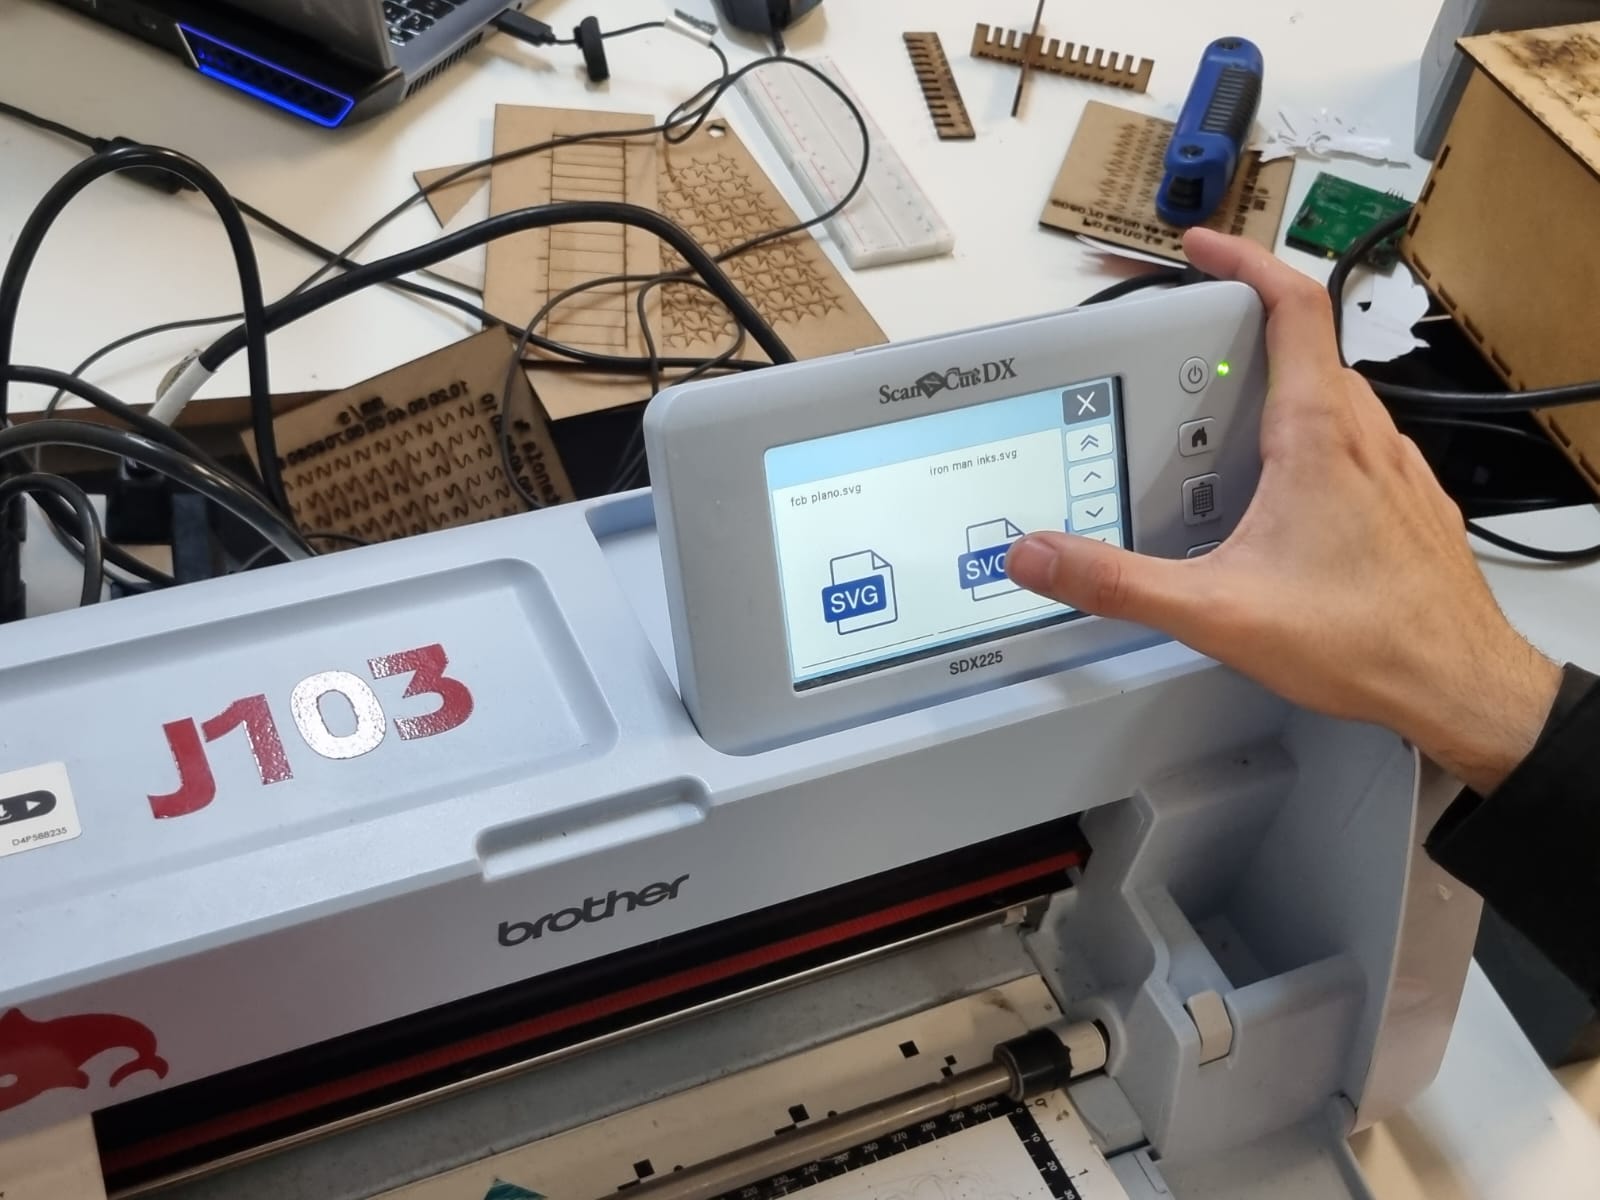
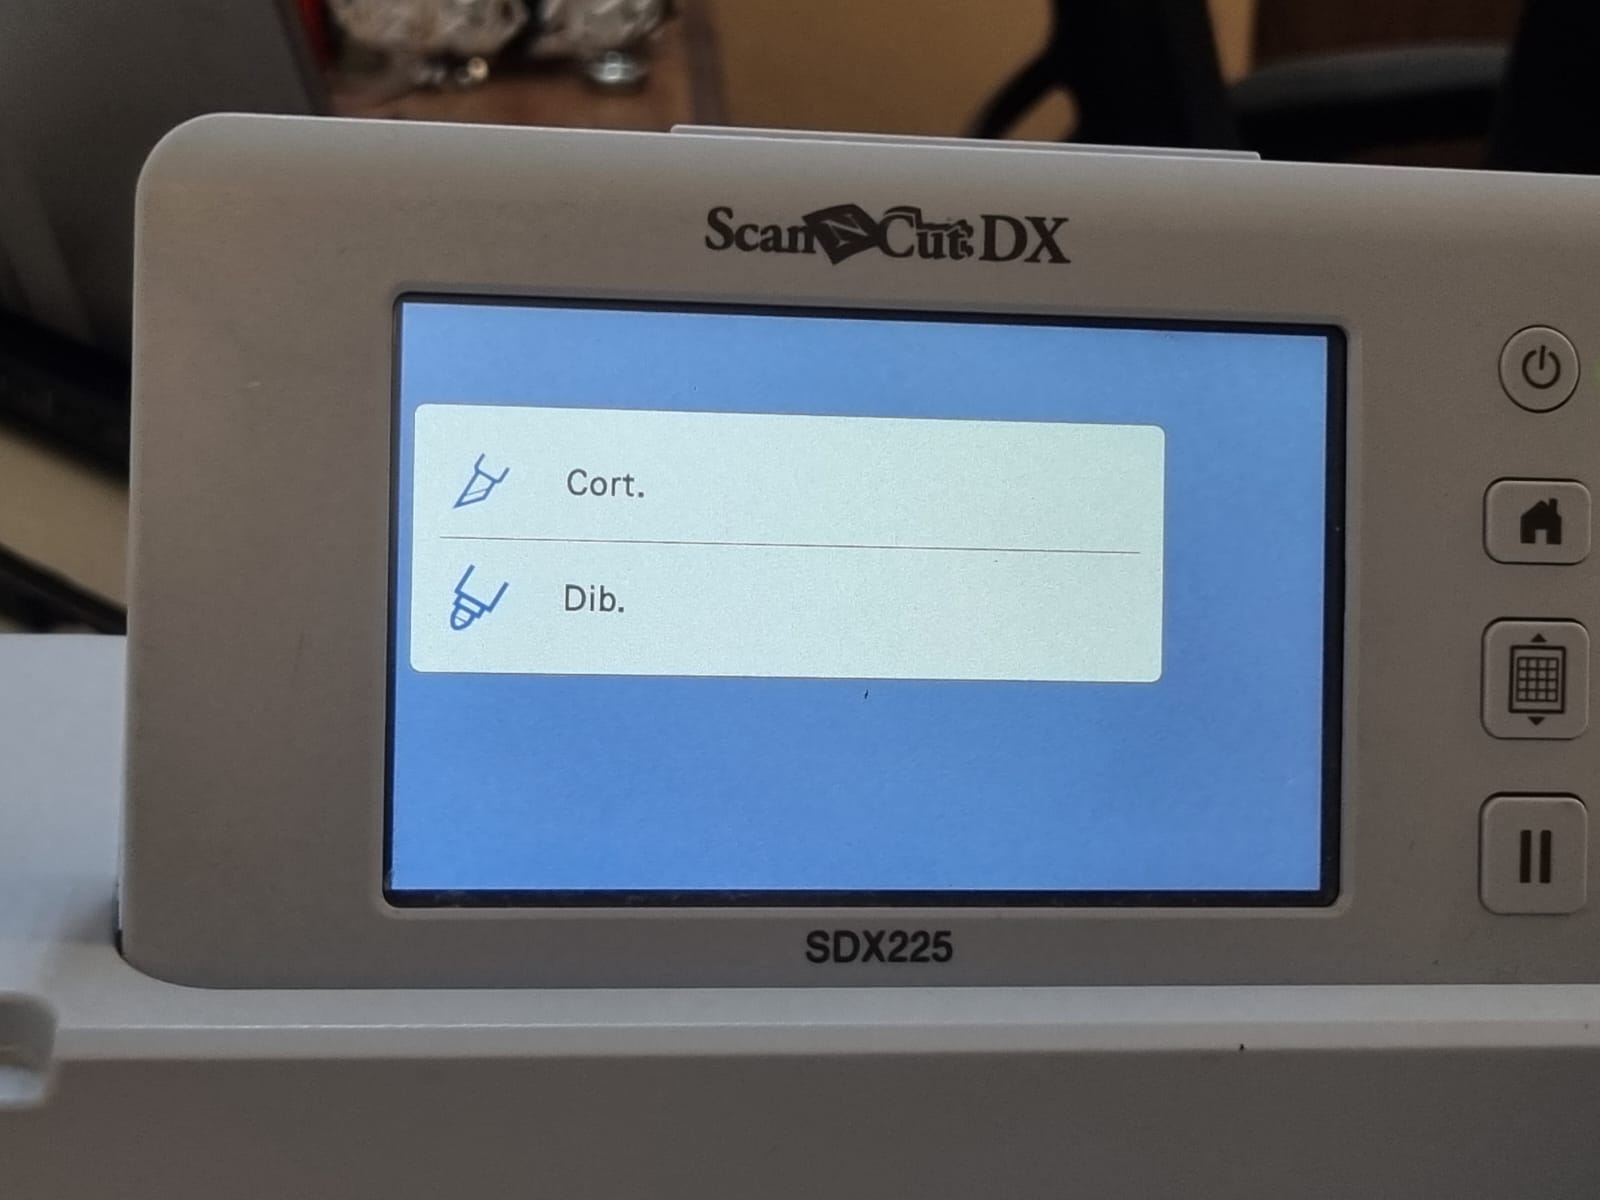
The vinyl cutter we used was the ScanNCut SDX 225 by Brother
- Commonly used for:
- Letters and logos
- Signages
- Objects customization
- Stickers and decals
- Important considerarions:
- Designs must ve vector-based.
- Designs must be single color (per layer).
- Different typers of vinil for different applications(indoor/outdoor).
- Cutting pressure and speed must ve adjusted according toh the material.
Vinyl Cutting is a technique that uses a special cutting machine to cut designs in adhesive vinyl sheets.
Steps: The first step that you need to do is...
To begin using the vinyl cutting machine, you must search an image on intertet '.png'
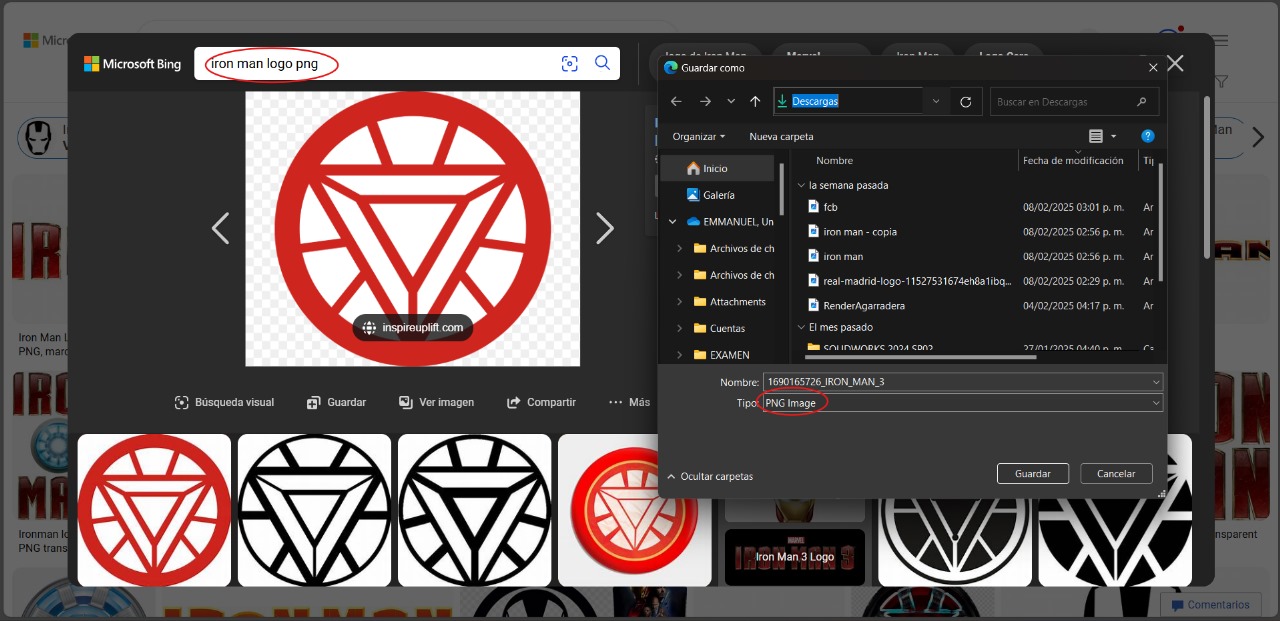
Here you can download the image: Iron Man Logo image
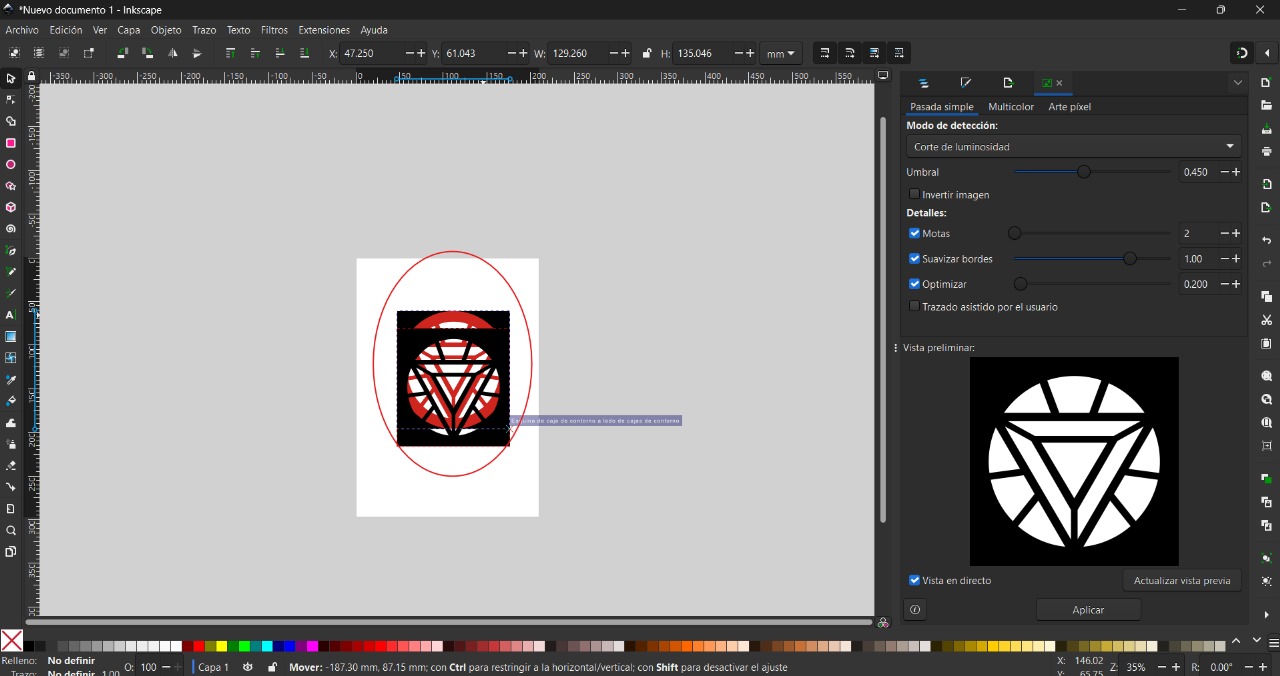
The next step will be to use the 'Inkscape' program, where you can change some parameters that are necessary for the image to work in the vinyl cutting machine.
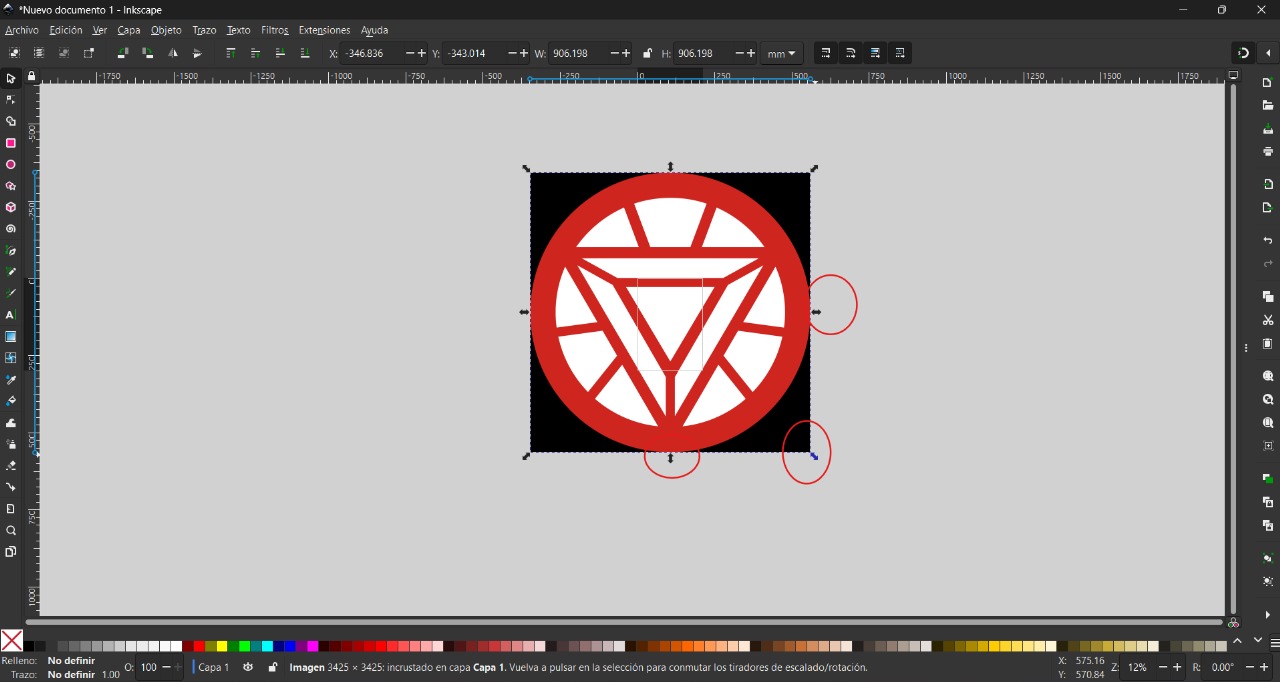
You will need to save the image in your 'Downloads' folder and copy it by opening it, then paste the image into the program
If the image is larger than the standard template, you just need to make it smaller using the arrows in the corners where you should make the image less than or equal to the size of the template.
Once the image is at the previously mentioned size, you must select the image and left-click for the following:
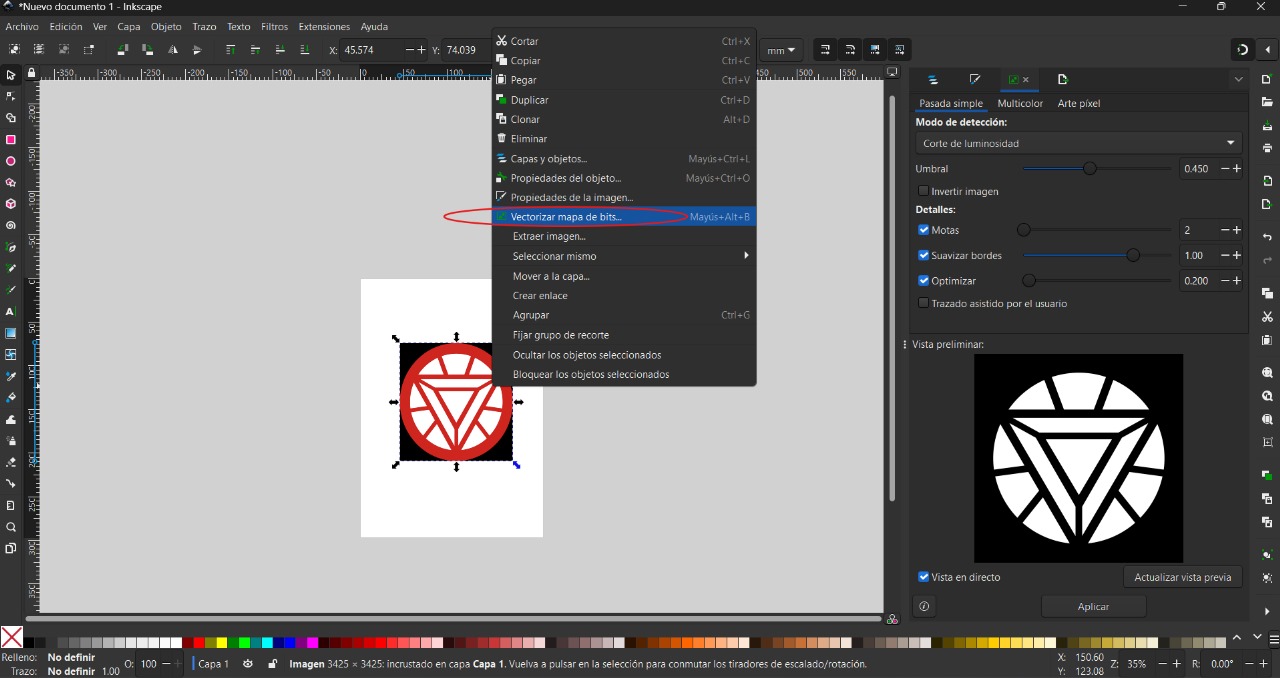
There will be two images placed one over the other, you must remove the colored one to be able to use the one that is needed
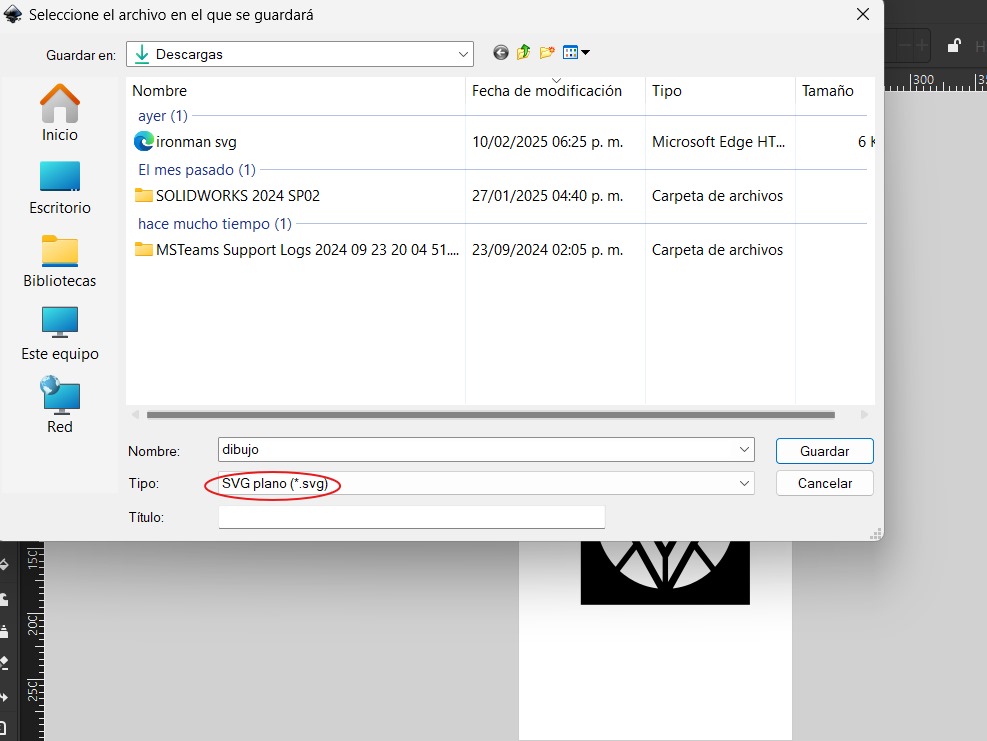
"We will save the file as '.svg', and in this case we will save it to a memory drive as we will need it.
Toalmost finishing, we'll go to the real world to use the vinyl cutting machine
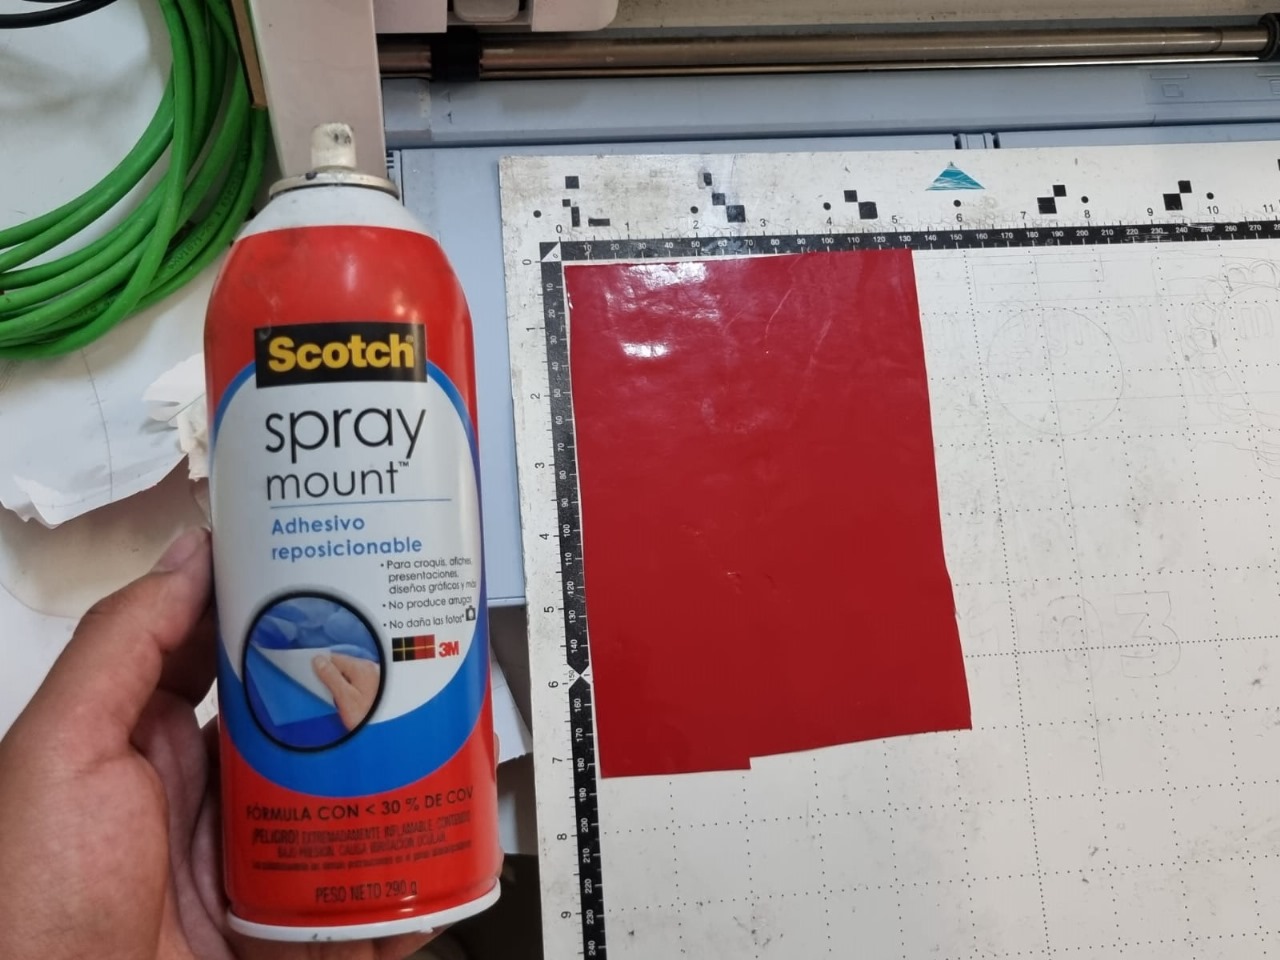
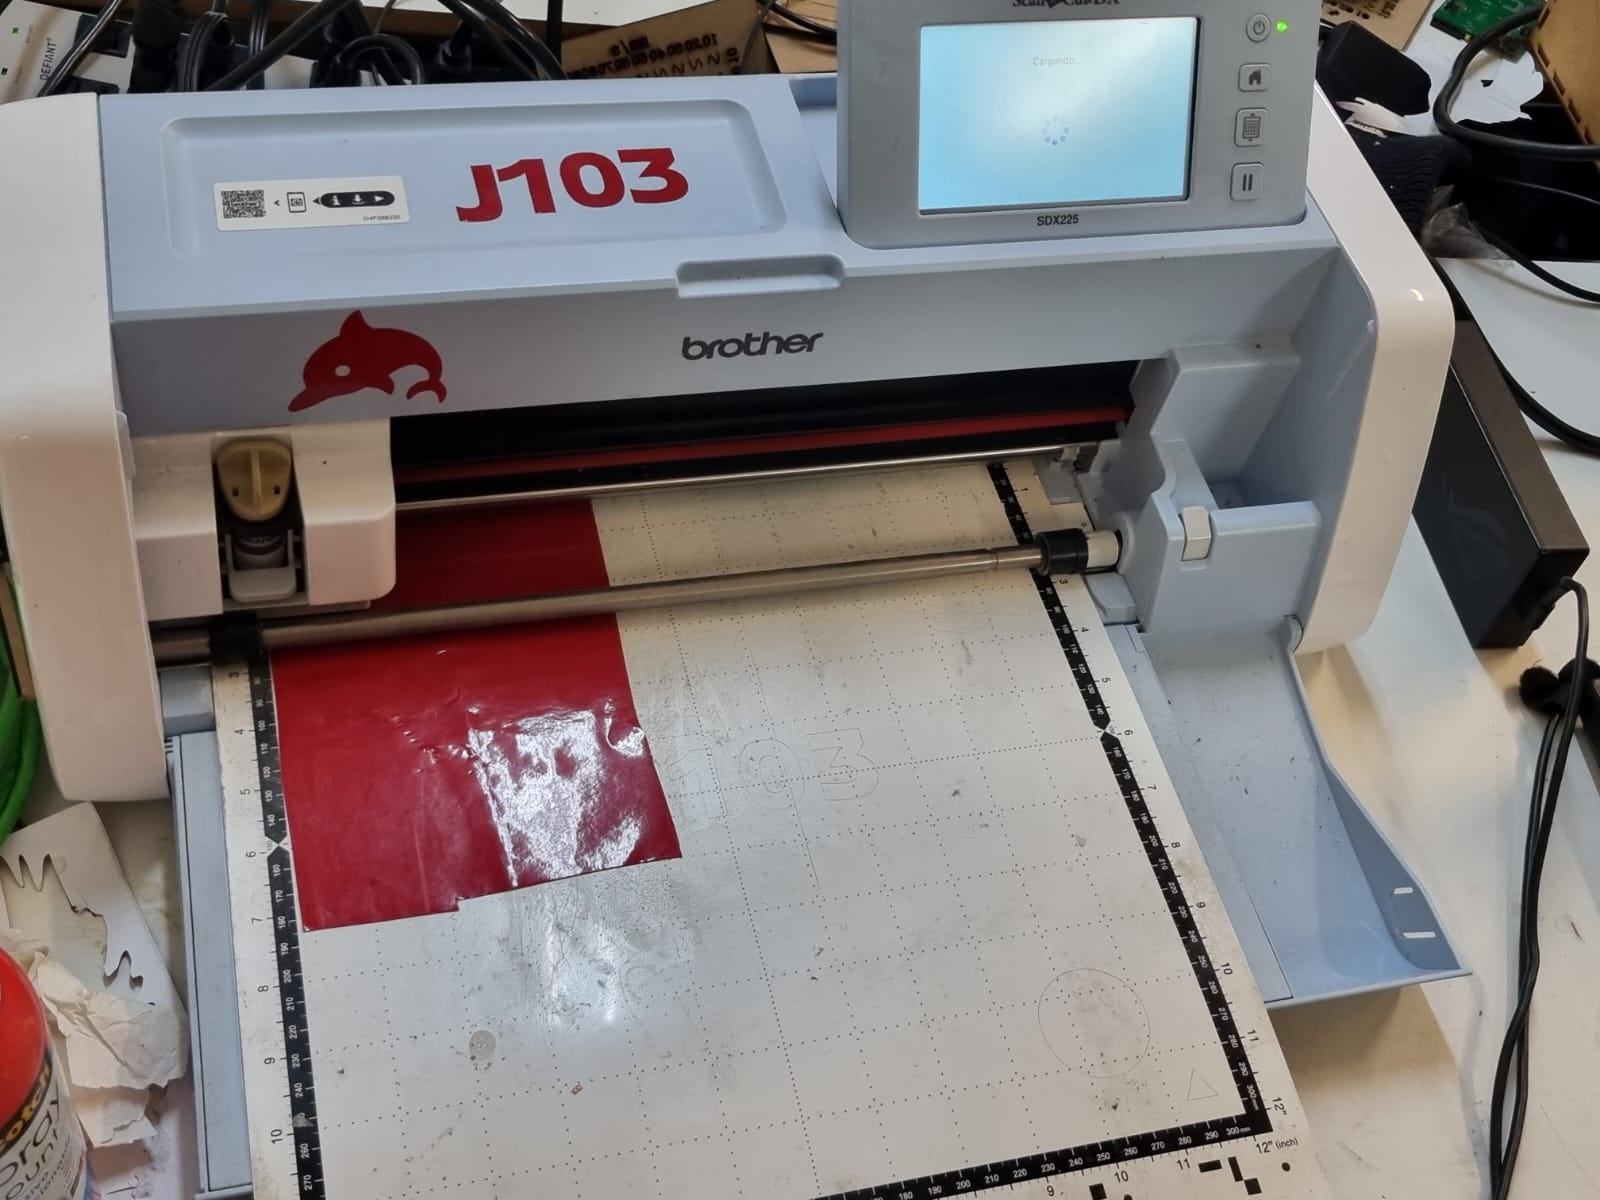
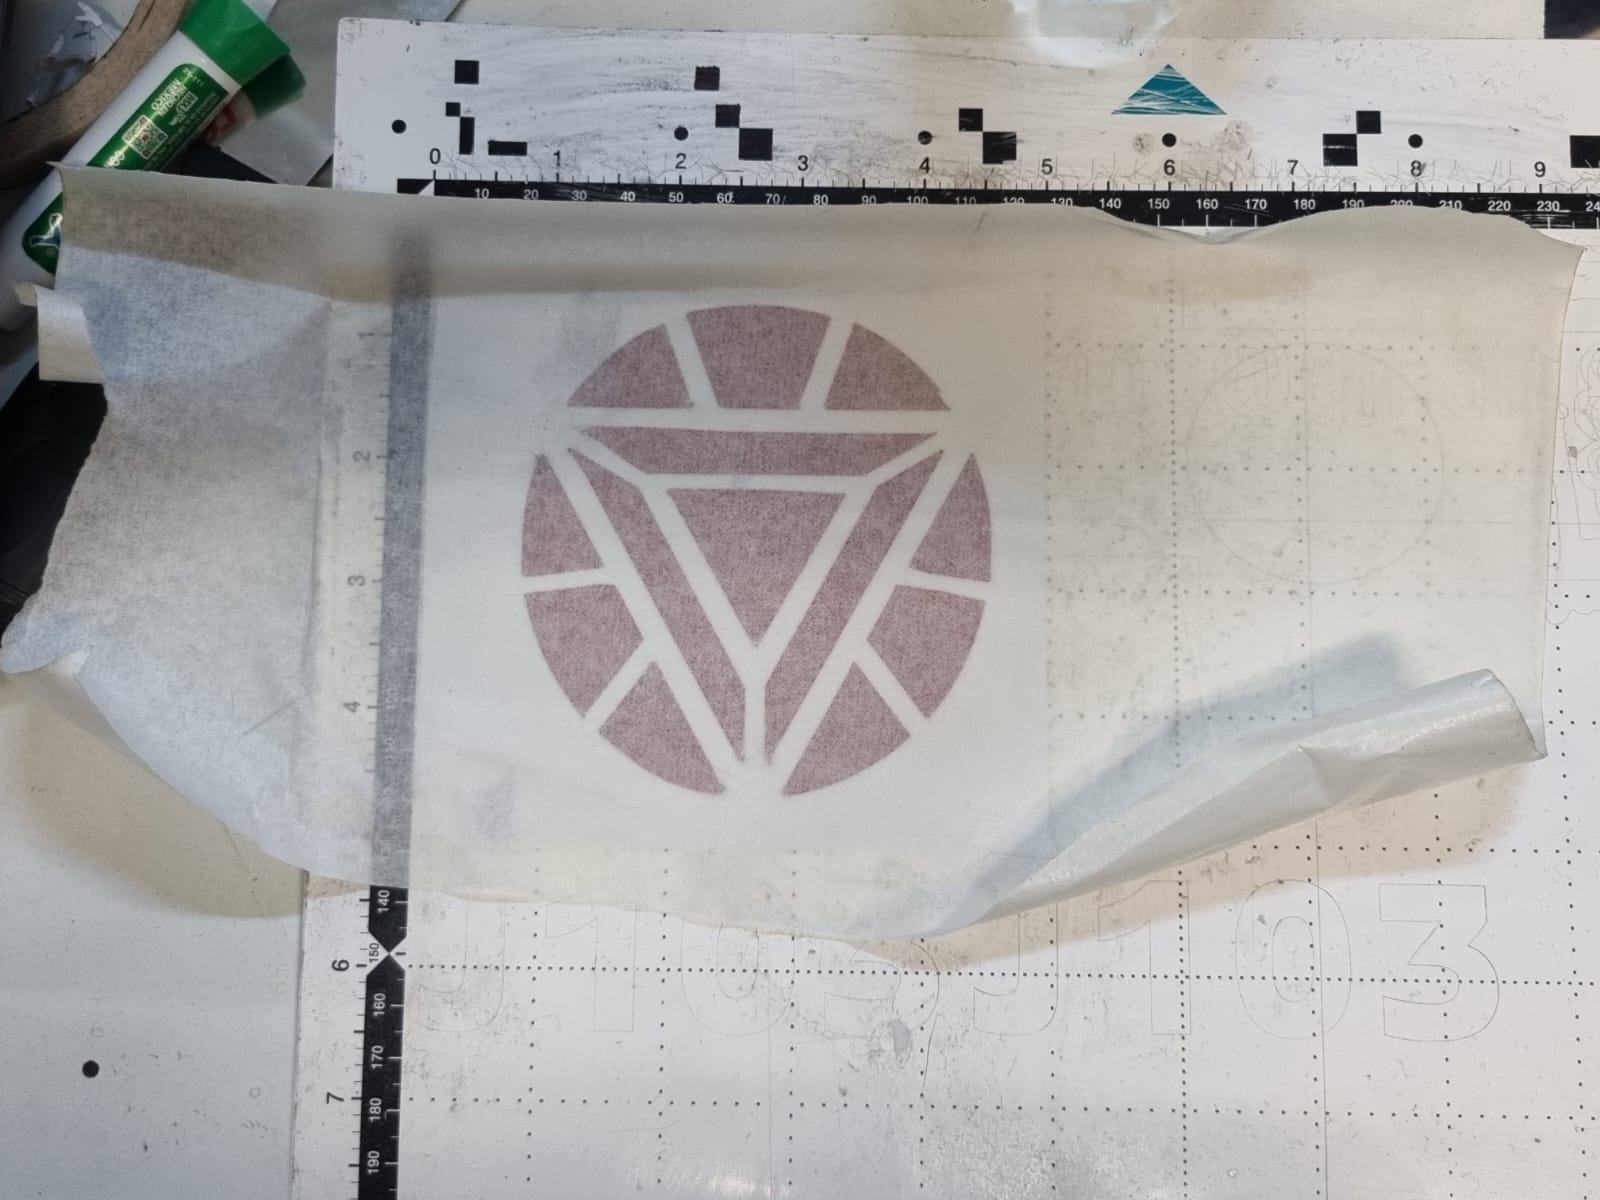
The first step will be to place our preferred vinyl sheet within the template and without exceeding the black borders, but with the help of repositionable adhesive spray
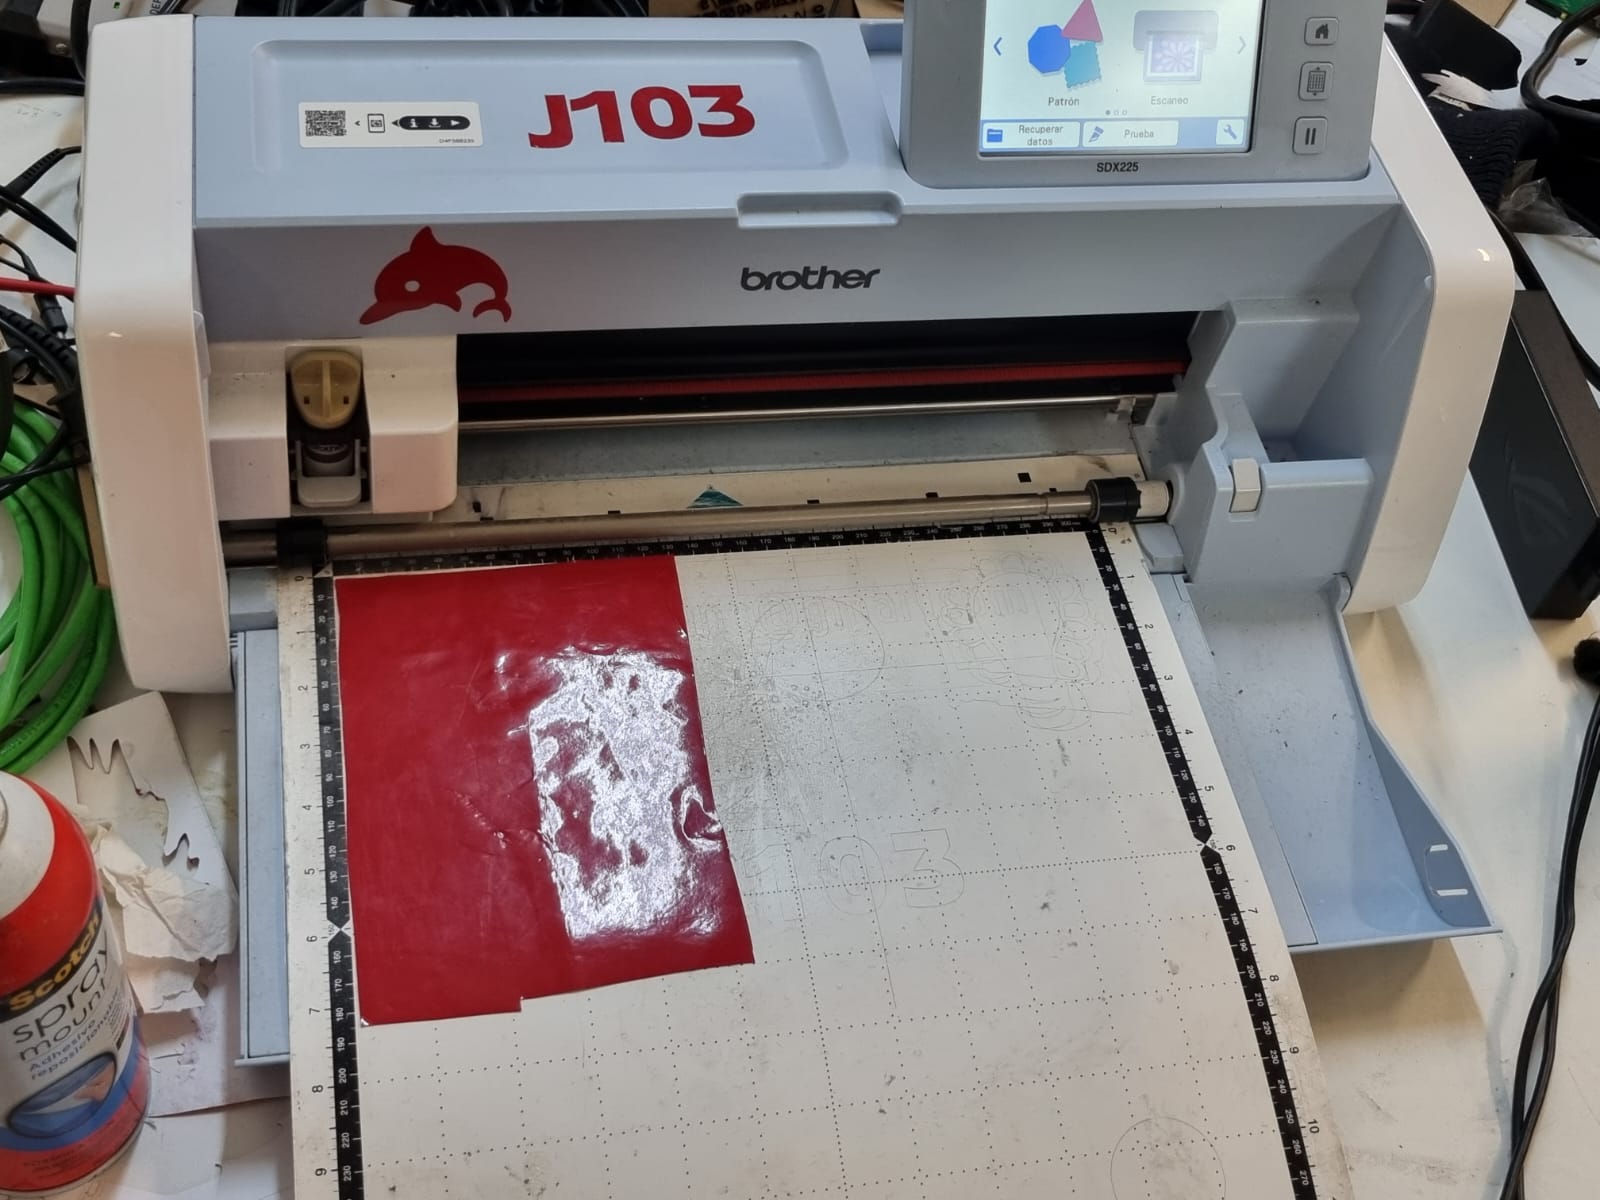
The next step will be to place the template using an option that the machine provides for automatic positioning
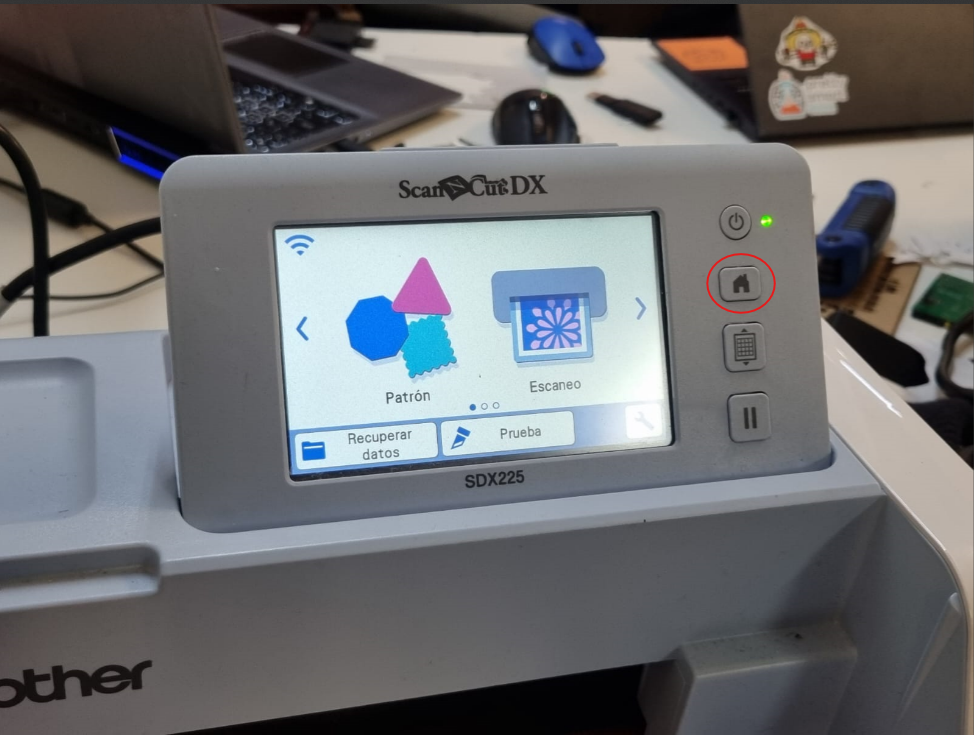
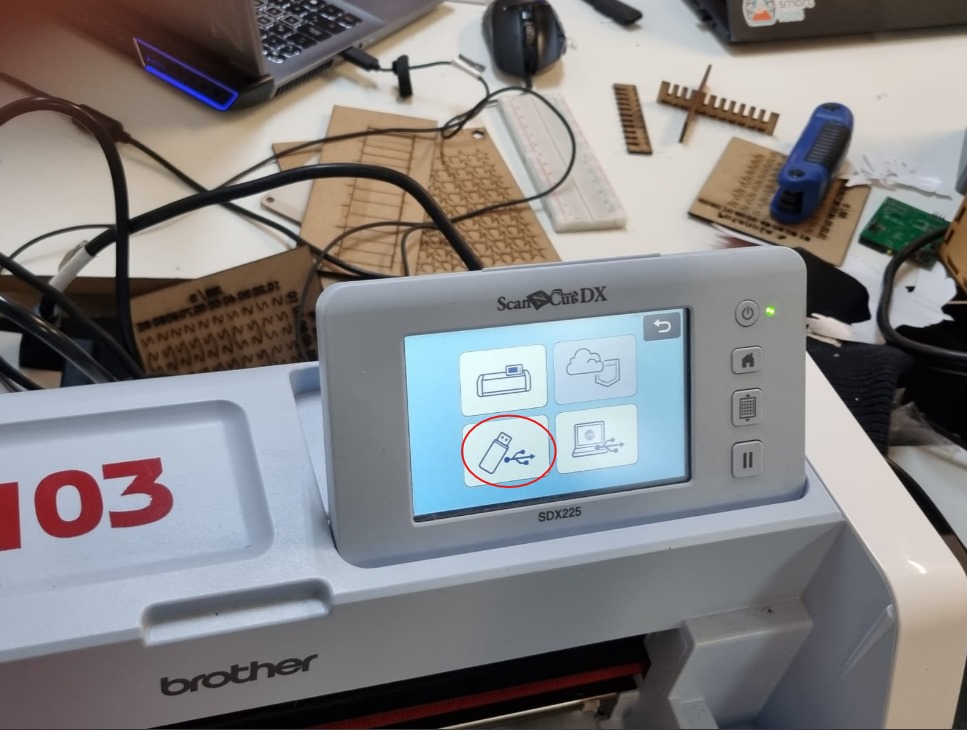
The next step will be to upload the image file to cut it, using the image and following these steps: you will press the 'home' button, then the interface will appear and you can click on 'Retrieve data' and then select the option where a memory drive appears, within the memory you will search for the image using the arrows on the right of the touchscreen
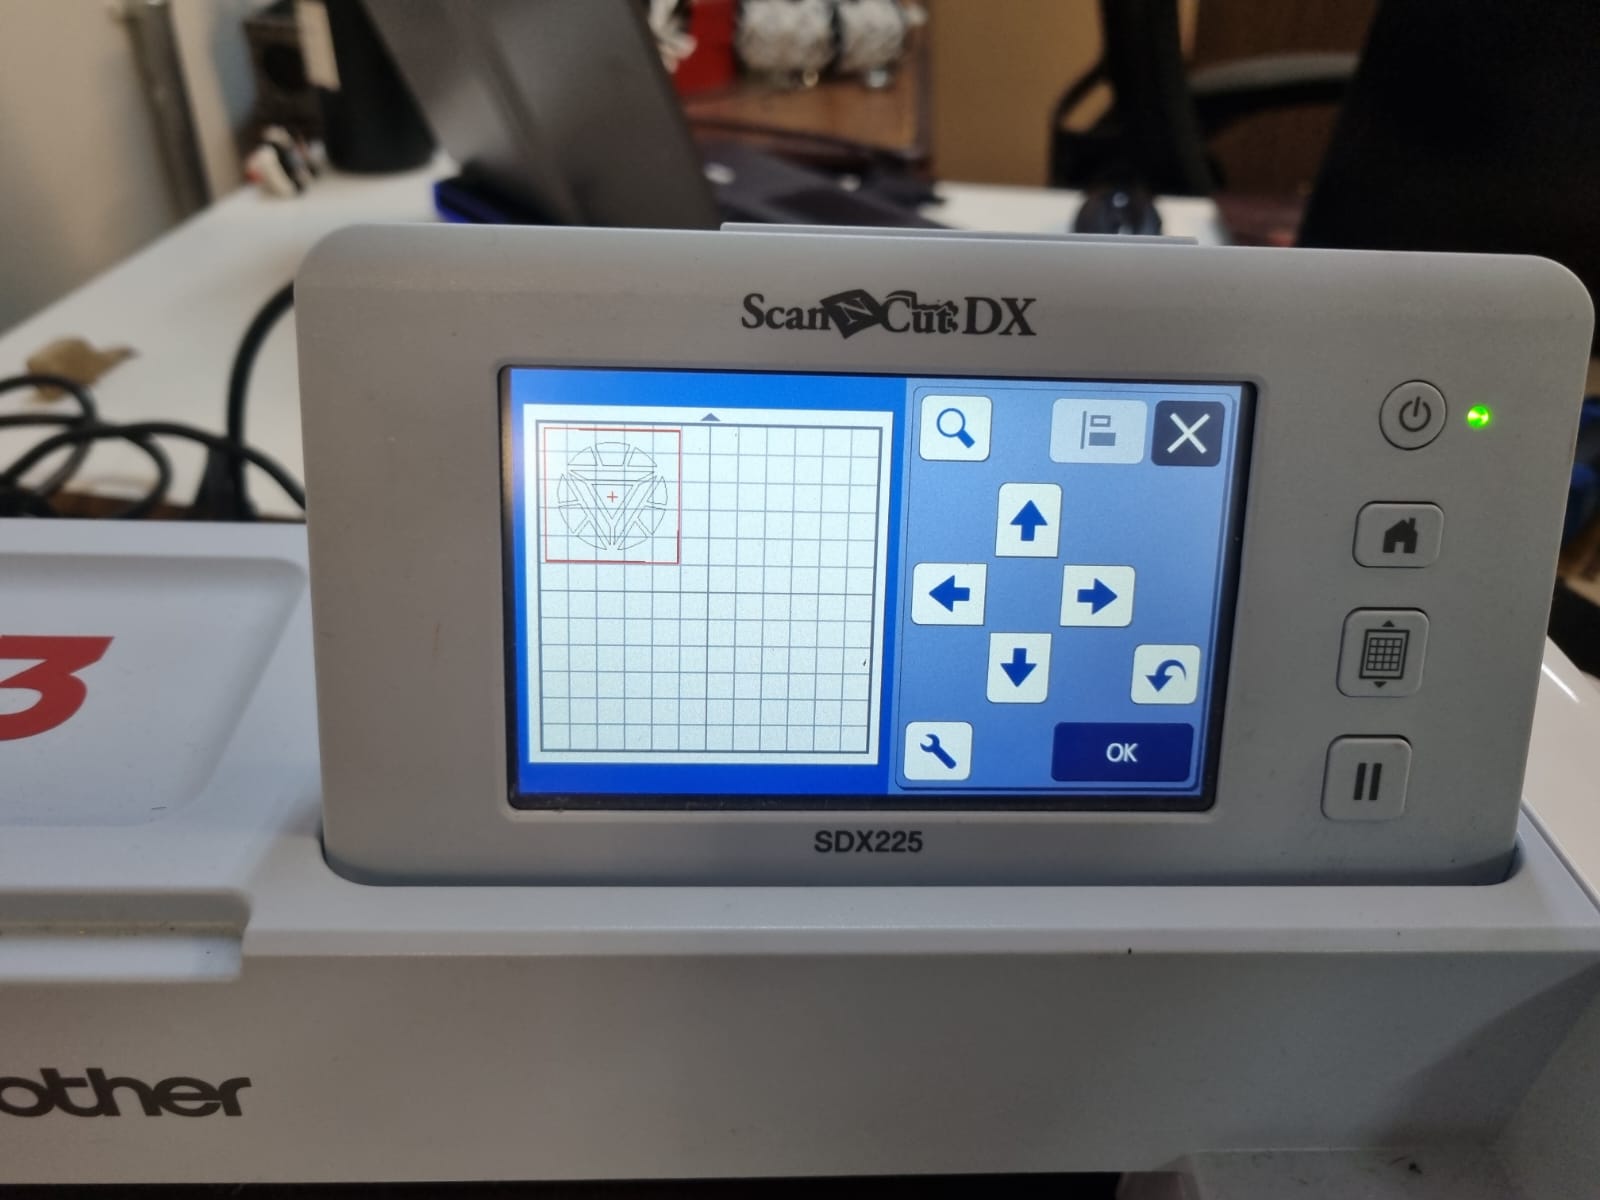
The first thing that will appear when selecting the image will be a screen to customize your drawing. You can move it to where you want to make the cut, but you must place the image exactly where you put your vinyl
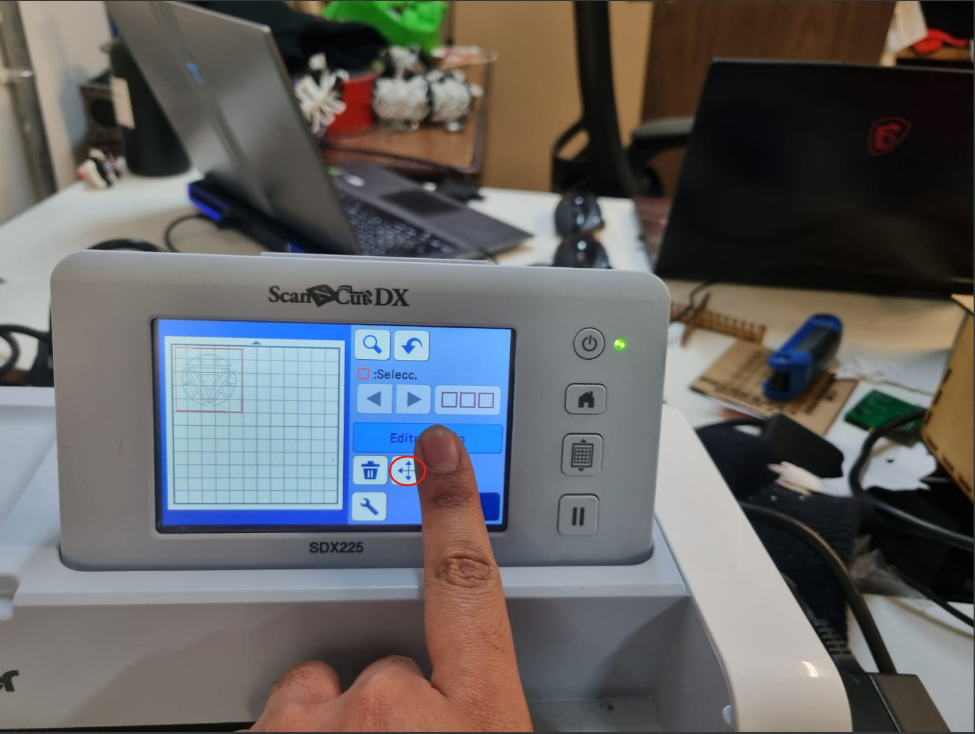
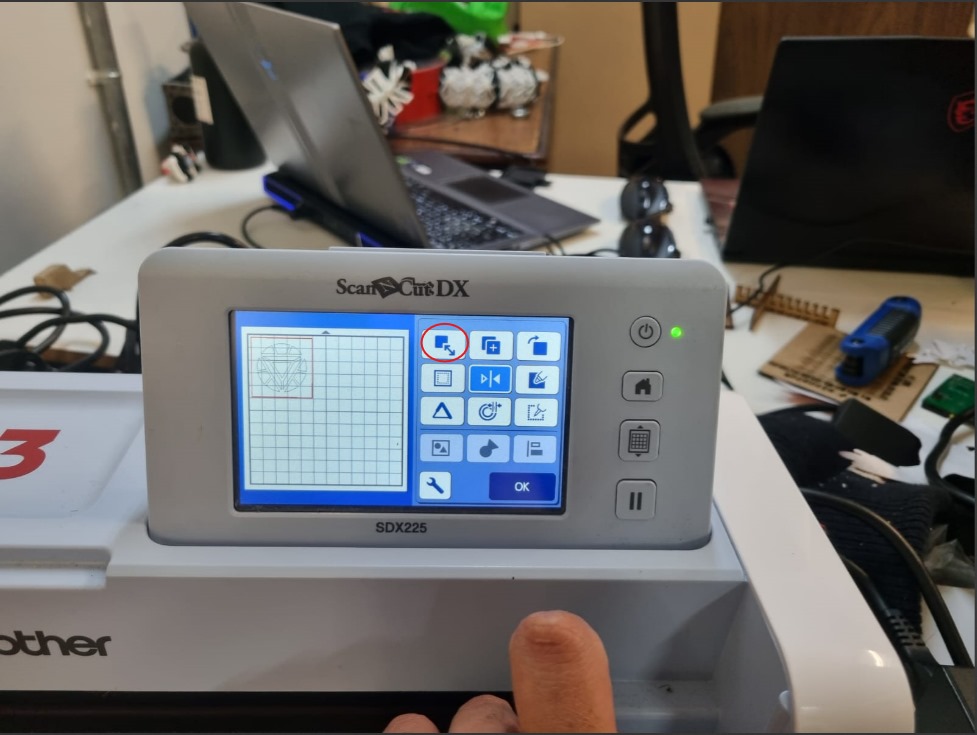
With the previous screen, you can select a button where you can edit aspects of the drawing, such as in this case its size. You should be guided by the size of the vinyl you attached and the boxes on the screen to not exceed the boundaries and avoid damaging the template
When finished, we will press OK and this screen will appear, and we will press 'Cut'
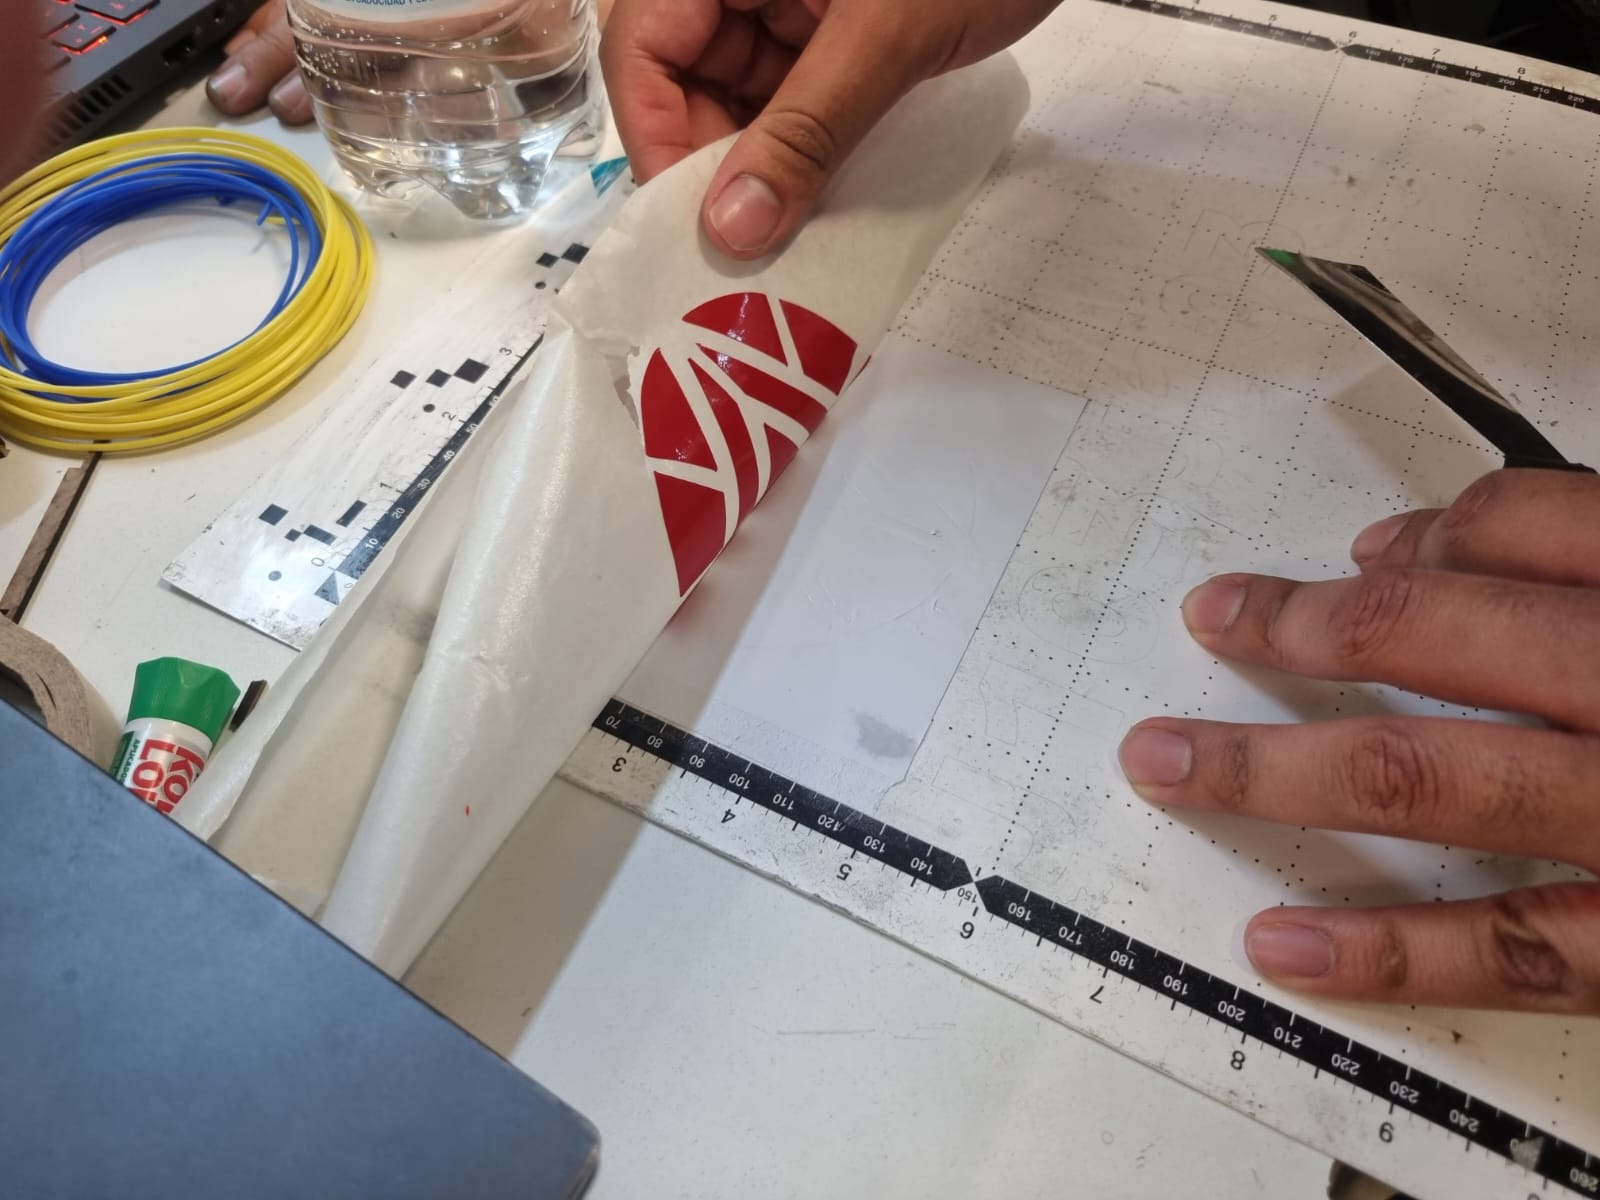
After finishing the cut, we will remove the template using the same button that helps to adjust, we will carefully remove the remaining part of the vinyl, only pressing the parts of the drawing that are necessary
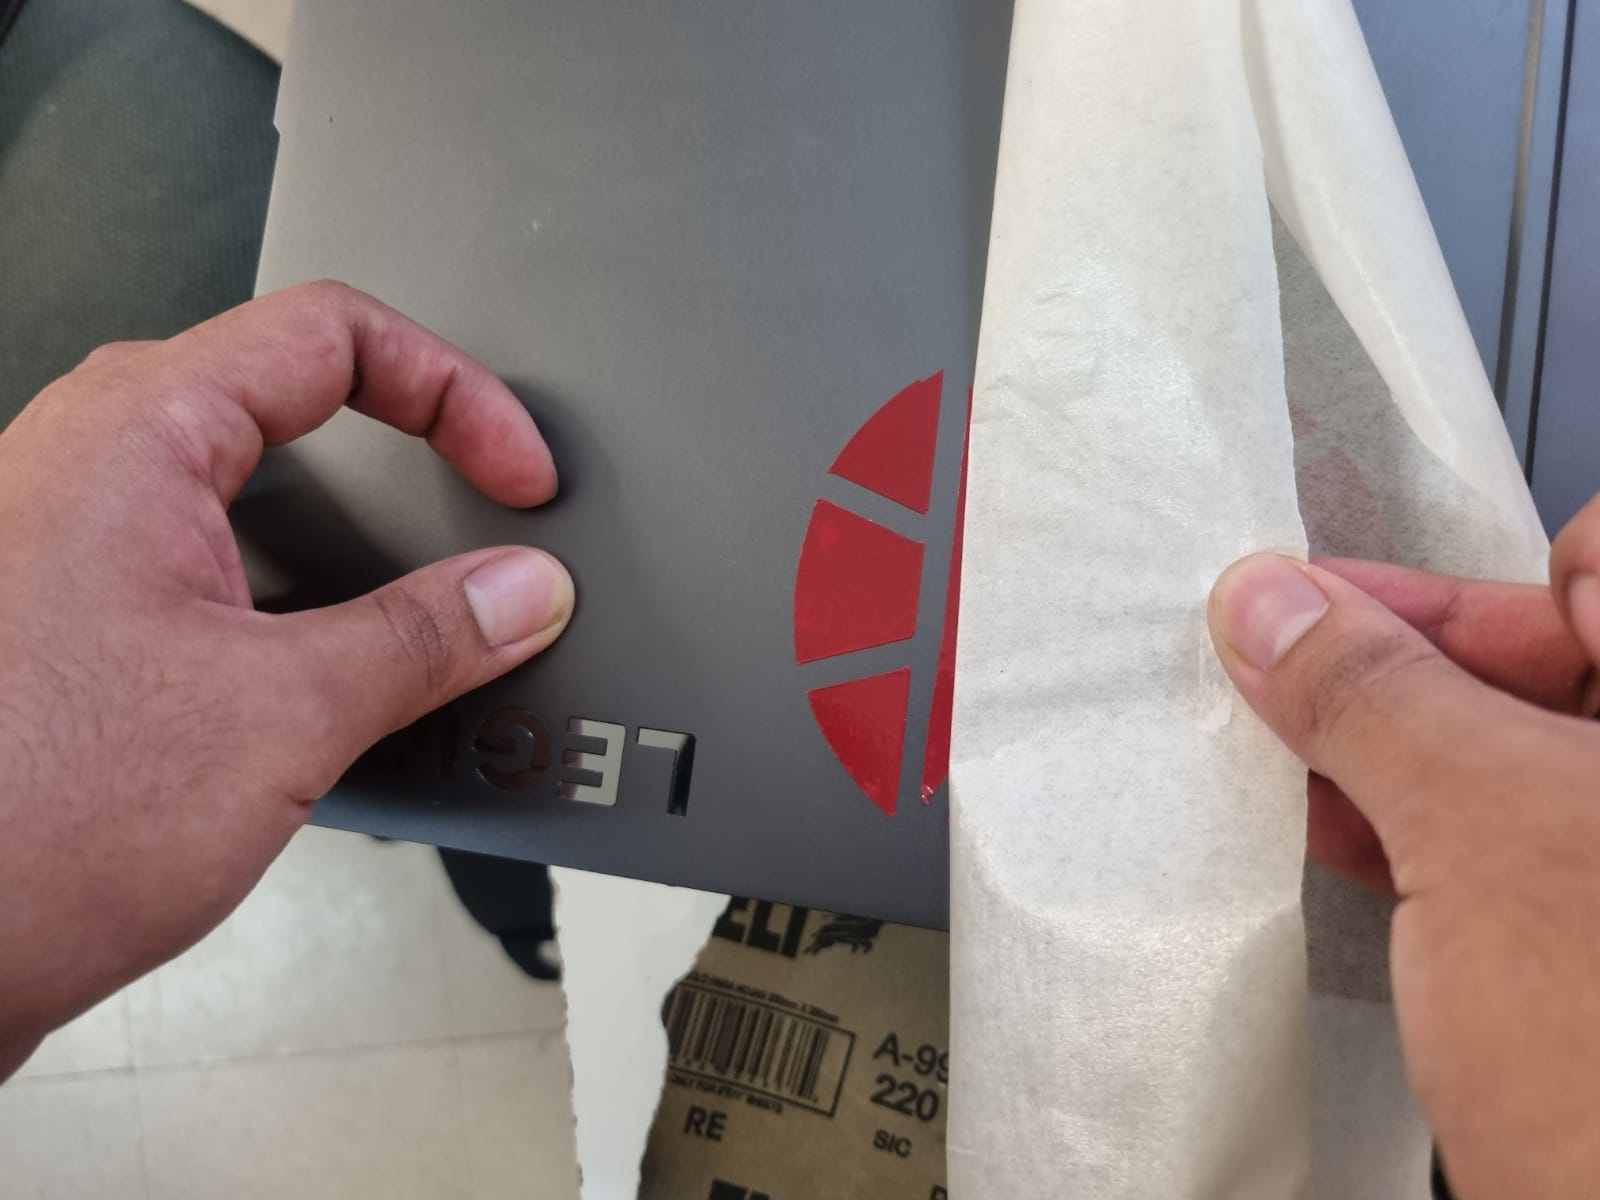
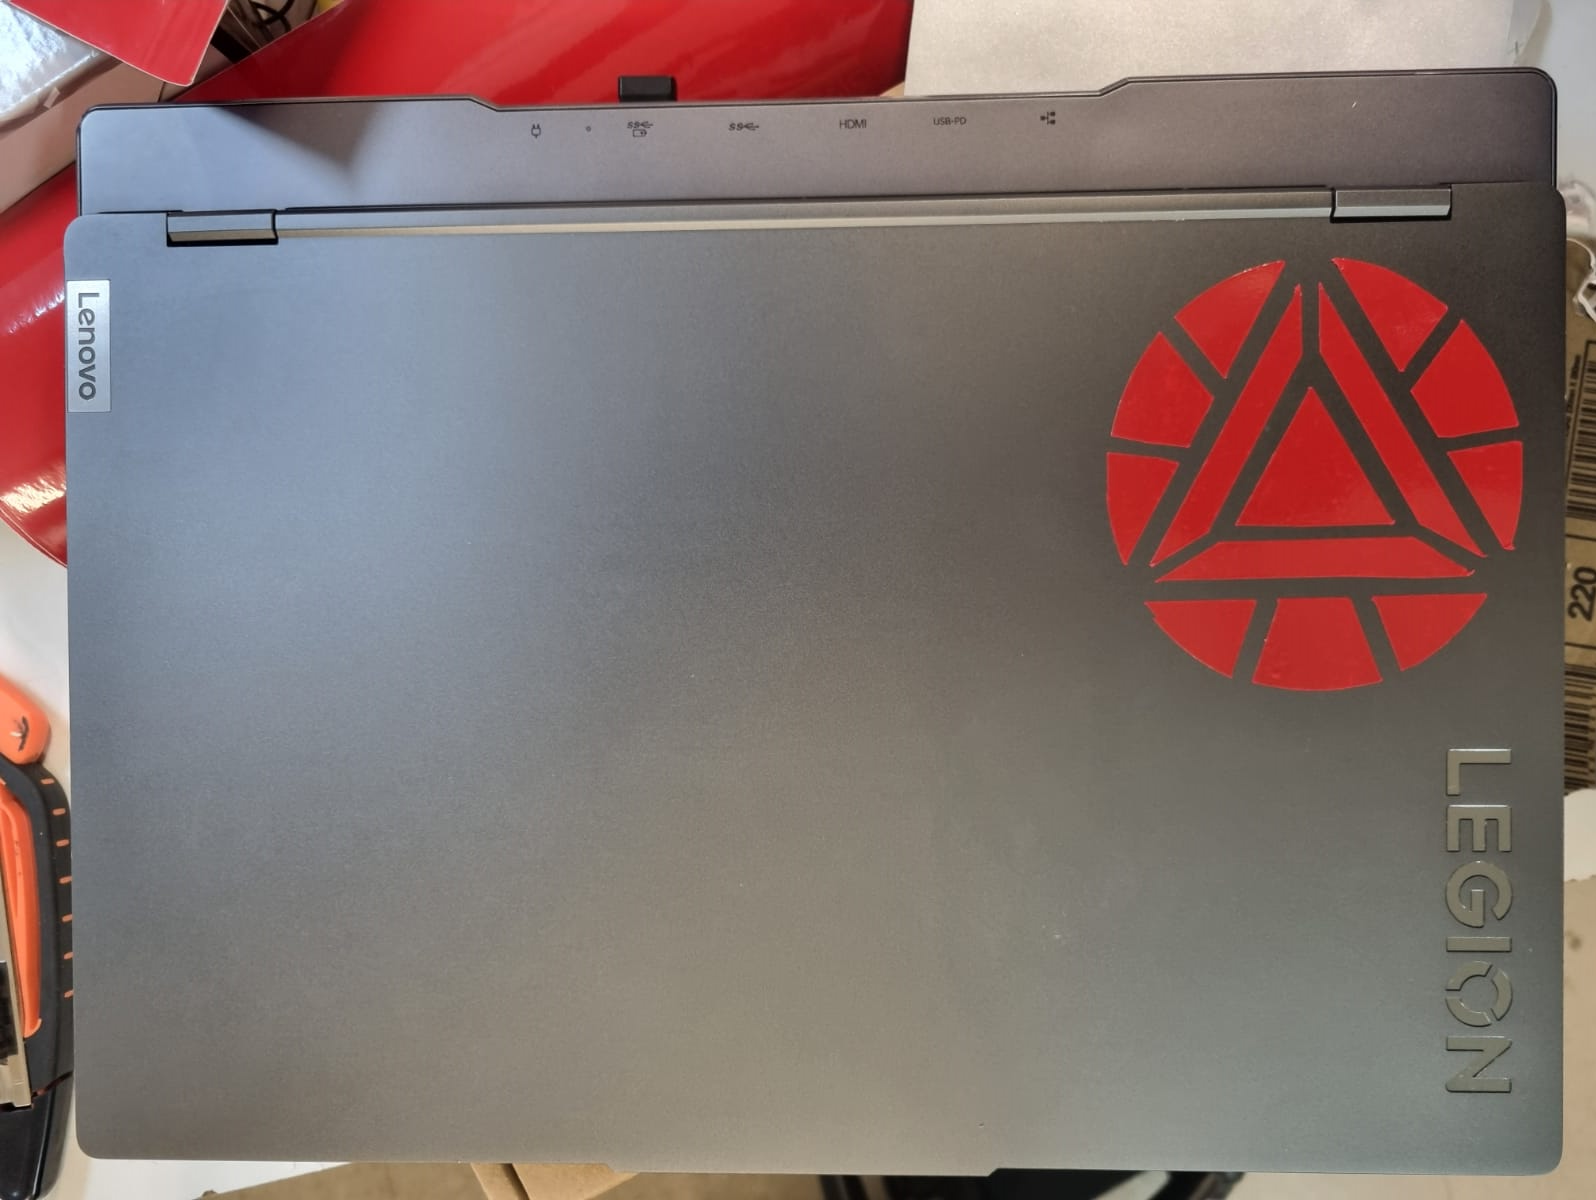
As a final step, you just need to find a place to stick the 'sticker'. I choose the back of my computer, and I also use a spatula
- PARAMETRIC CONSTRUCTION KIT -
A parametric design in SolidWorks helps us to give values, dimensions, and relationships to the piece that we want to be moldable. When you change values of the piece, it updates while it keeps the relationships between the sides of the piece.
In my case, I didn't make a parametric design but I will show you if the piece I made for laser cutting works well or if I need to create a new one with the parameters. At the final we are going to be able to do this part in SolidWorks.

Steps: The first thing we will do is locate then mouse on the layer where we want to create the drawing, then right-click on the plane and select 'Sketch'
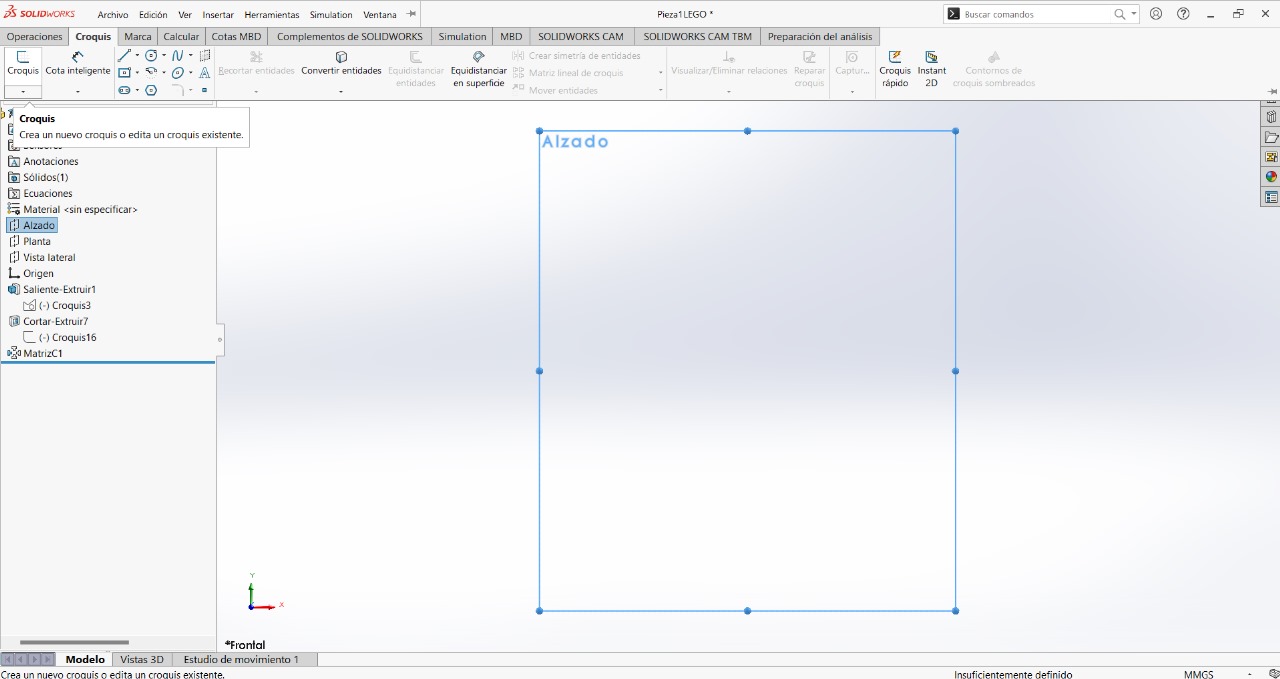
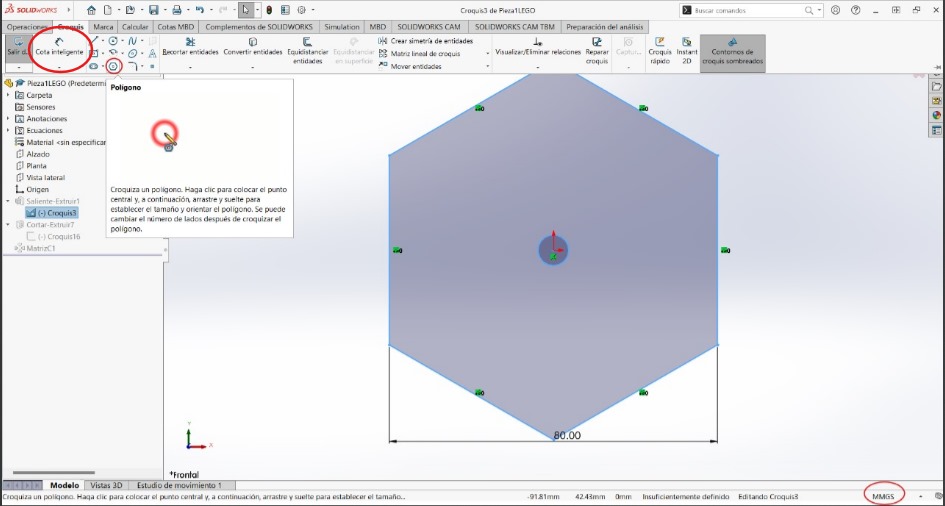
The next step will be to create a six-sided polygon at the origin of the axes and with help of 'smart dimension', you can give values to the polygon
The next that you need to do is make an rectangle where you need to give values to the rectangle with 'smart dimensions'

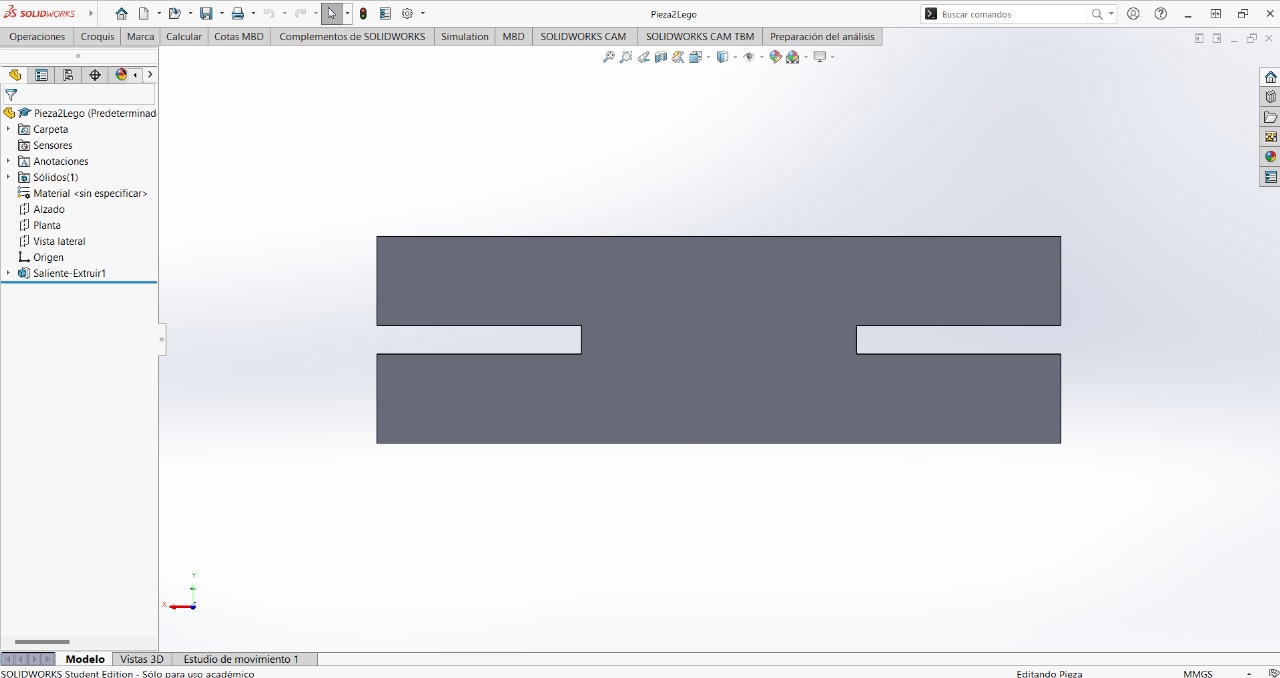
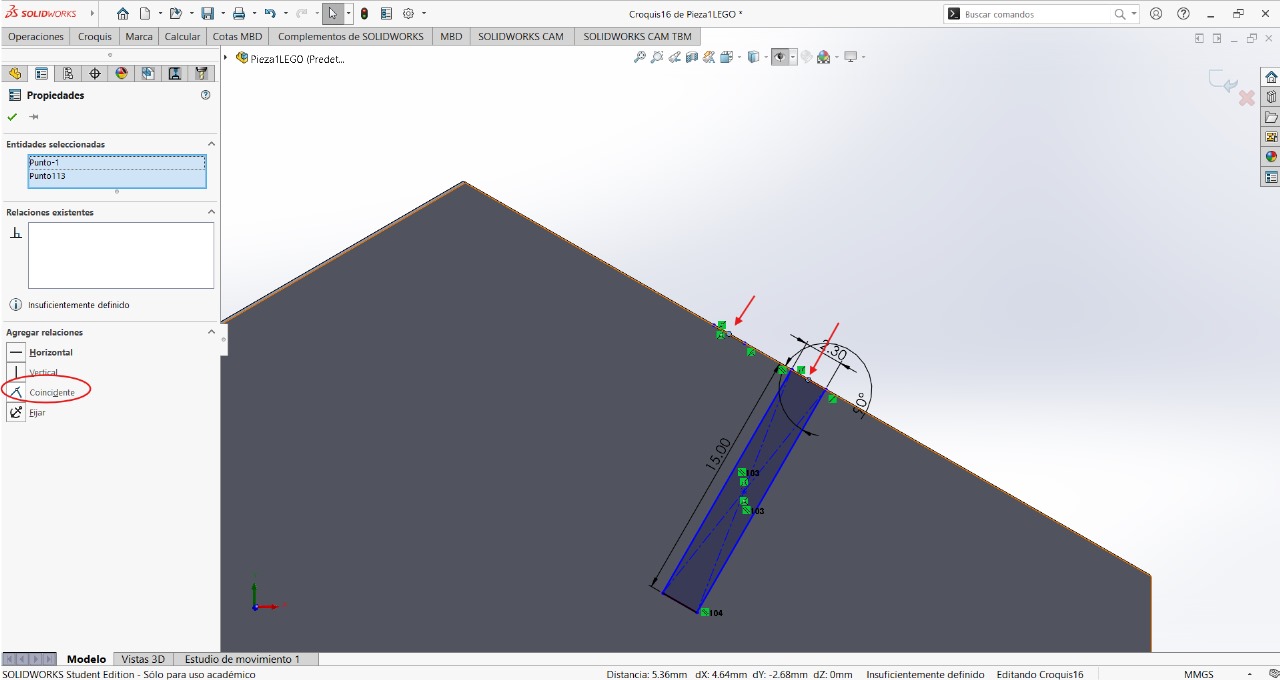
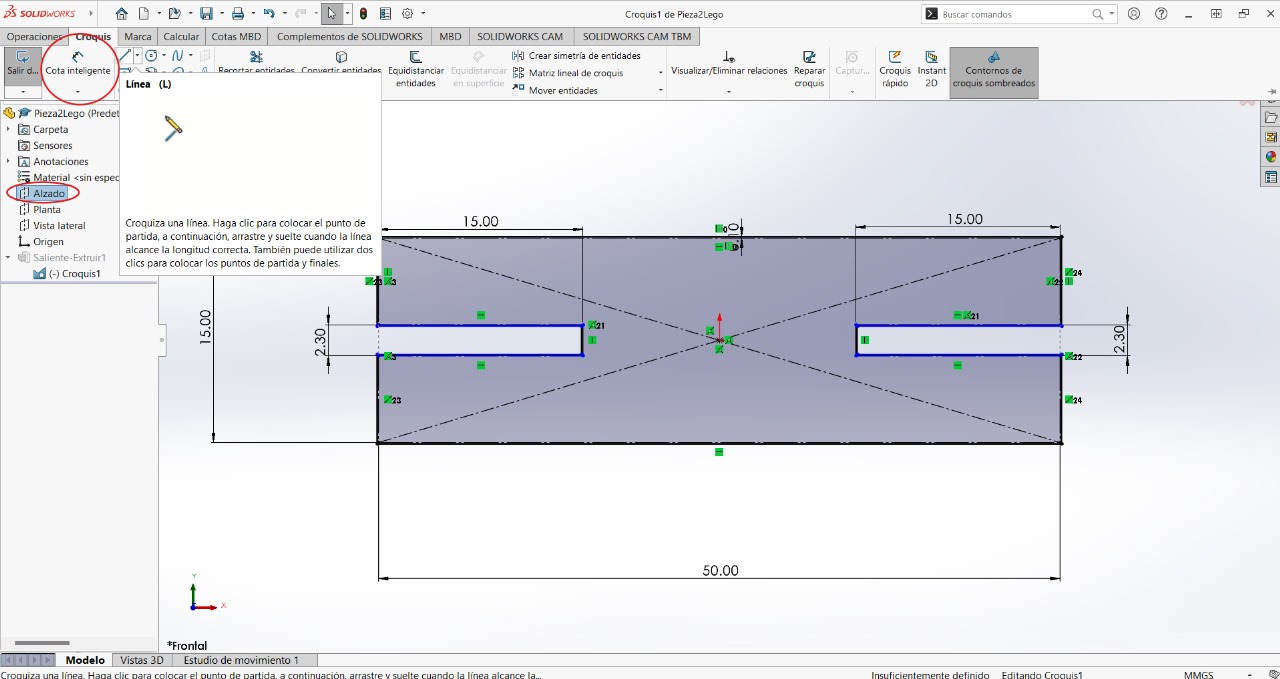
The next step will be to place the rectangle in the center. Using a line (this is found in 'sketch'), you should find a point in the middle of the rectangle but from the upper part and the last point of the figure's line. You can follow the guidance in the following image
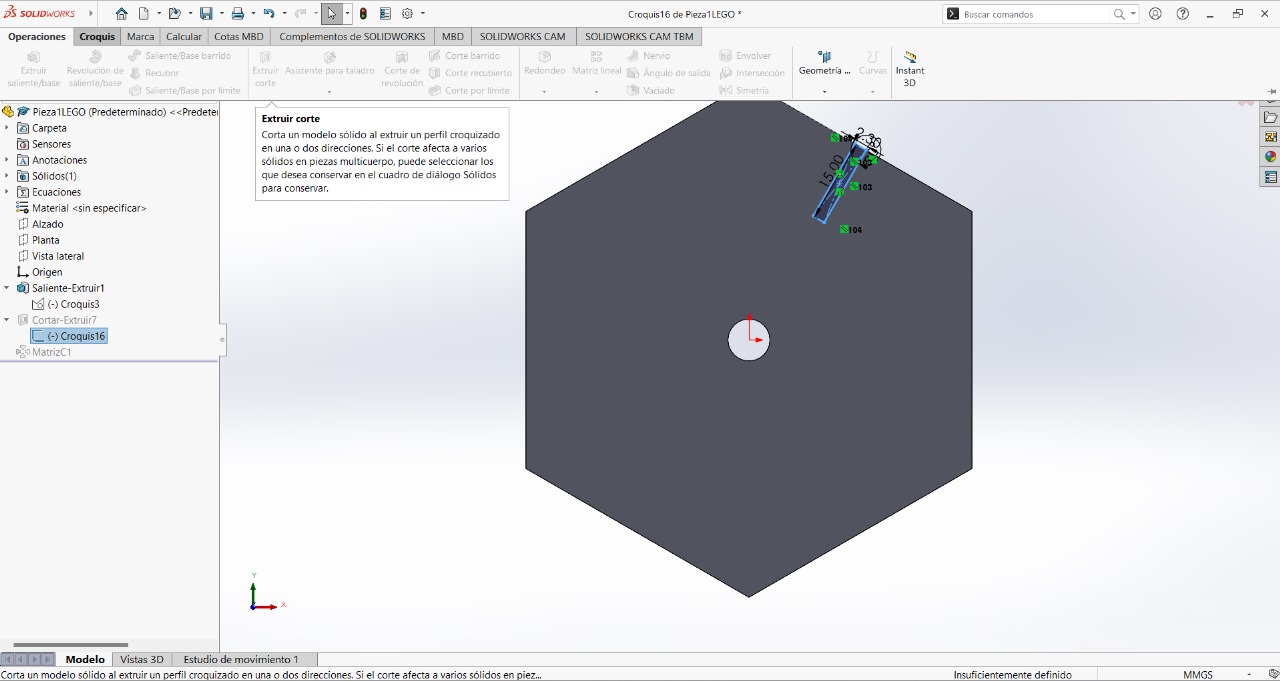
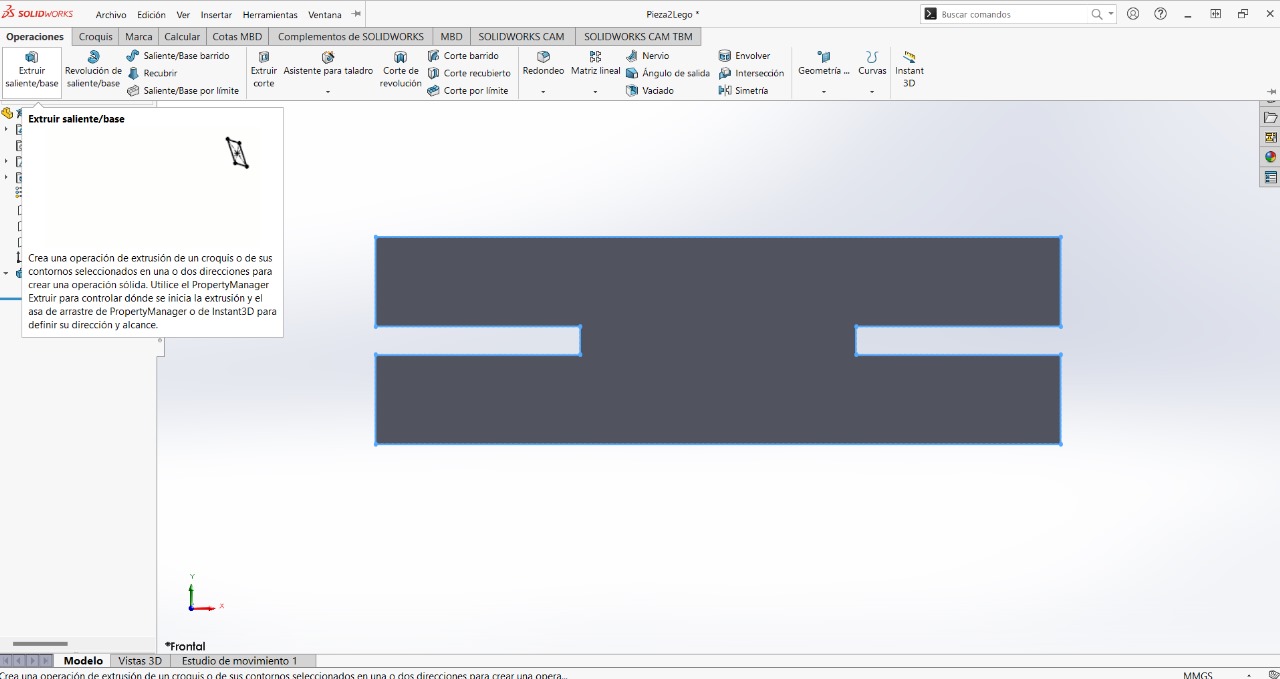
To make the cut, we will need the 'Extruded Cut' tool, you will have to edit the rectangle sketch and use the previously mentioned tool.
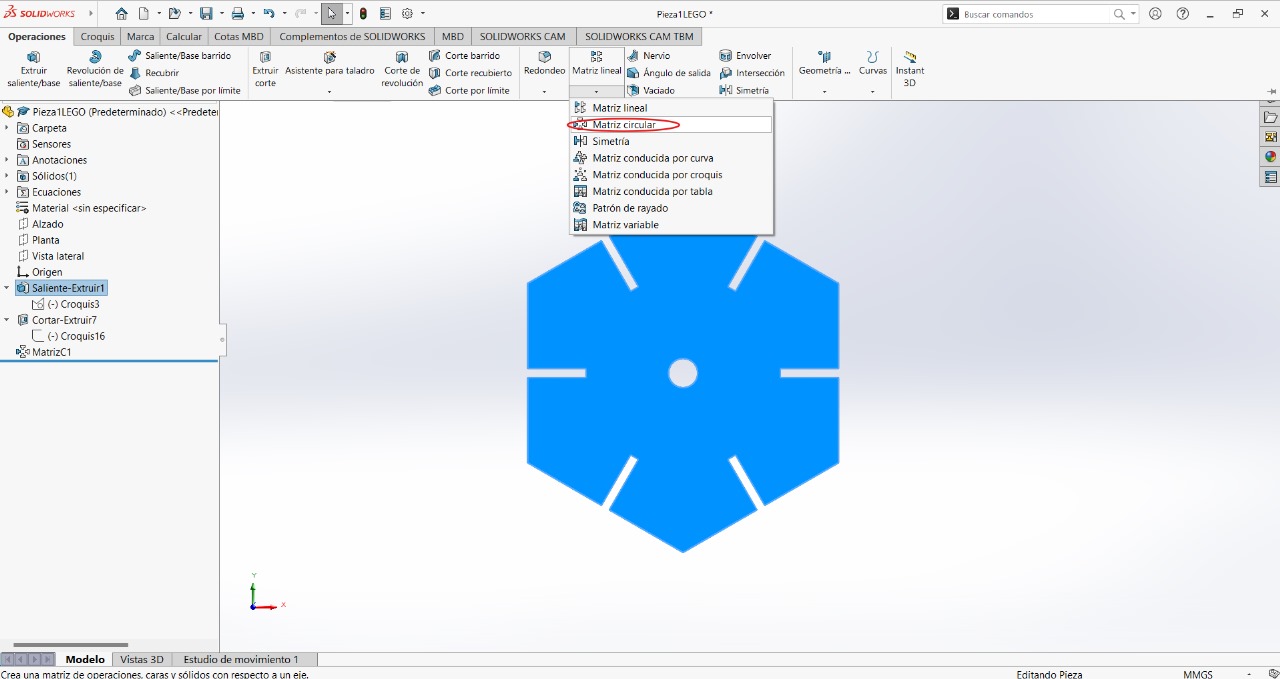
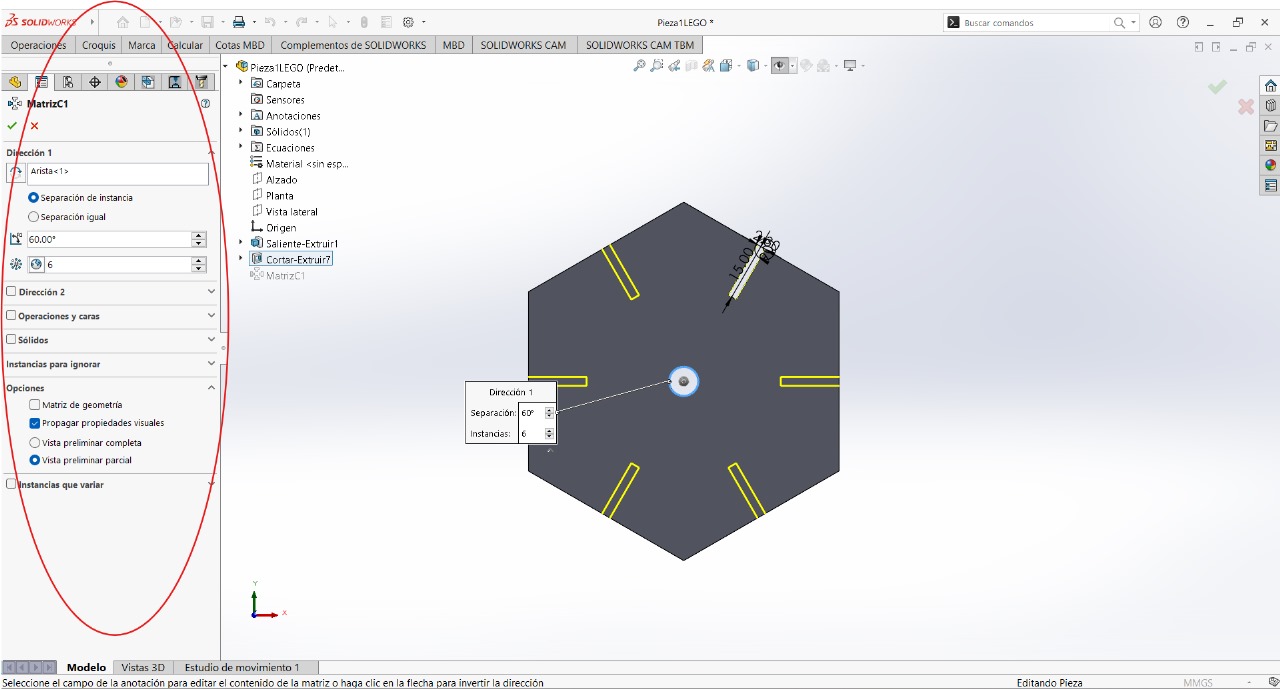
Selecting the figure, and with the help of the 'Circular Pattern' tool, we will apply the following configuration
 s
s
Here you can download the first part: First Part
With that, the piece would be finished. Now you just need to save it as .dfx, but before saving it, you must straighten the image by pressing 'ctrl+8'. It is saved as .dfx because it will be used later in the laser cutter application.

Second Part:
For the second piece, you will select the 'top' plane and then draw the following figure using the 'line' tool. You will also need to give values to the sides using the 'smart dimension' tool
Next will be to give volume to the figure although this won't provide us with anything for the rest
Here you can download the second part: Second Part
This would complete the figure, you need to repeat the process of saving the figure as .dfx
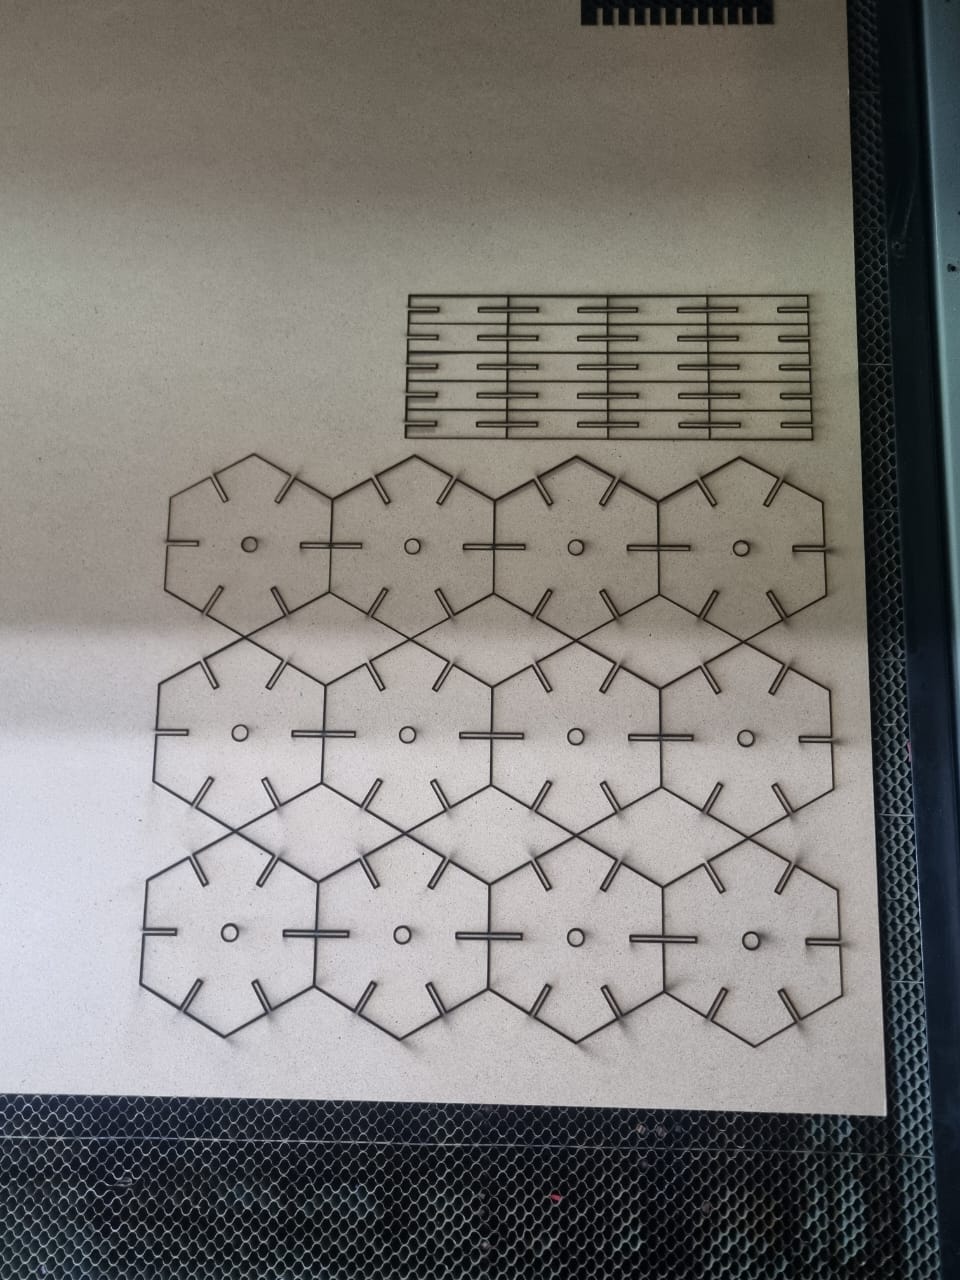
How to use THE LASER CUTTER:
To cut the pieces, we will need the pieces that we saved as .dfx, and also a special license that looks like an USB drive that was provided to us to use the 'SmartCarve43' program.
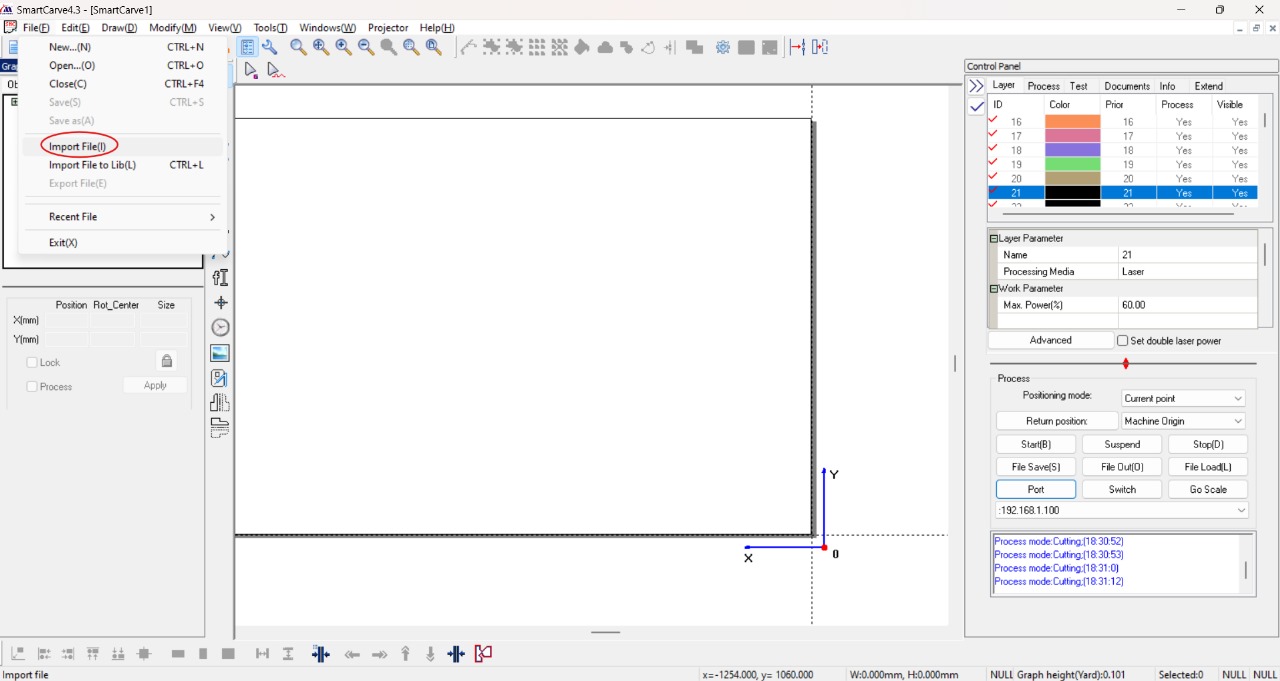
The first thing that will be done is to import the '.dfx' files that we previously saved.
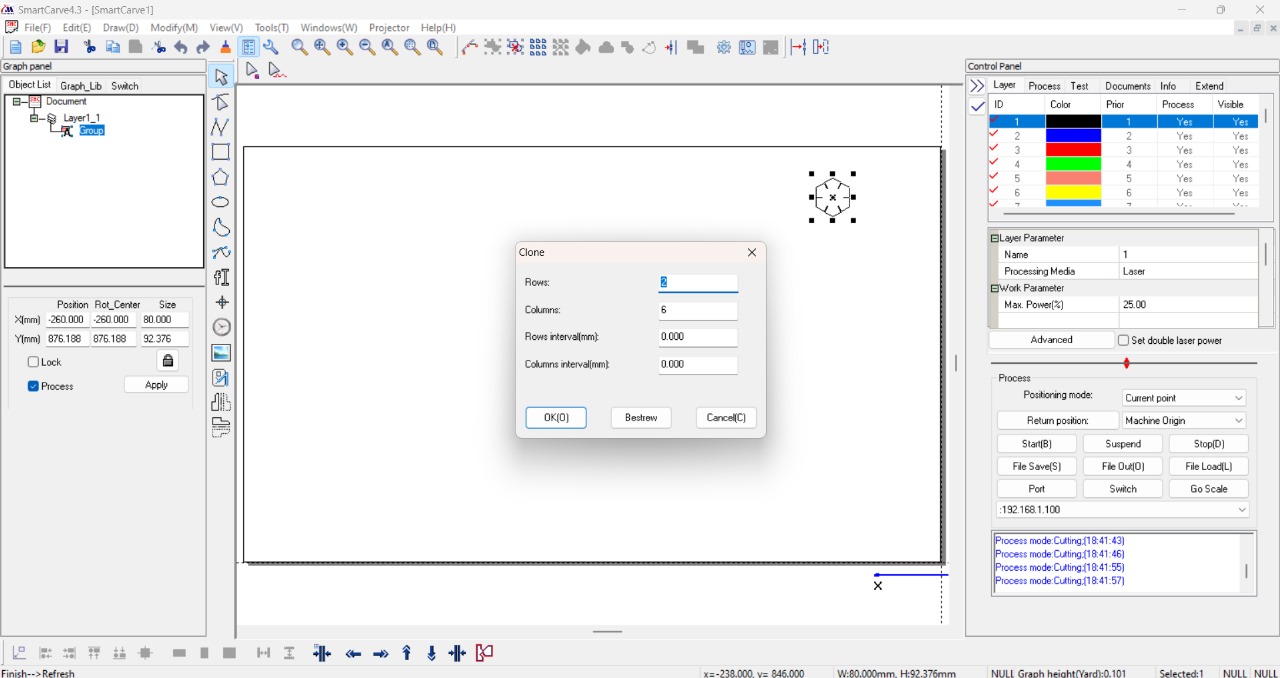
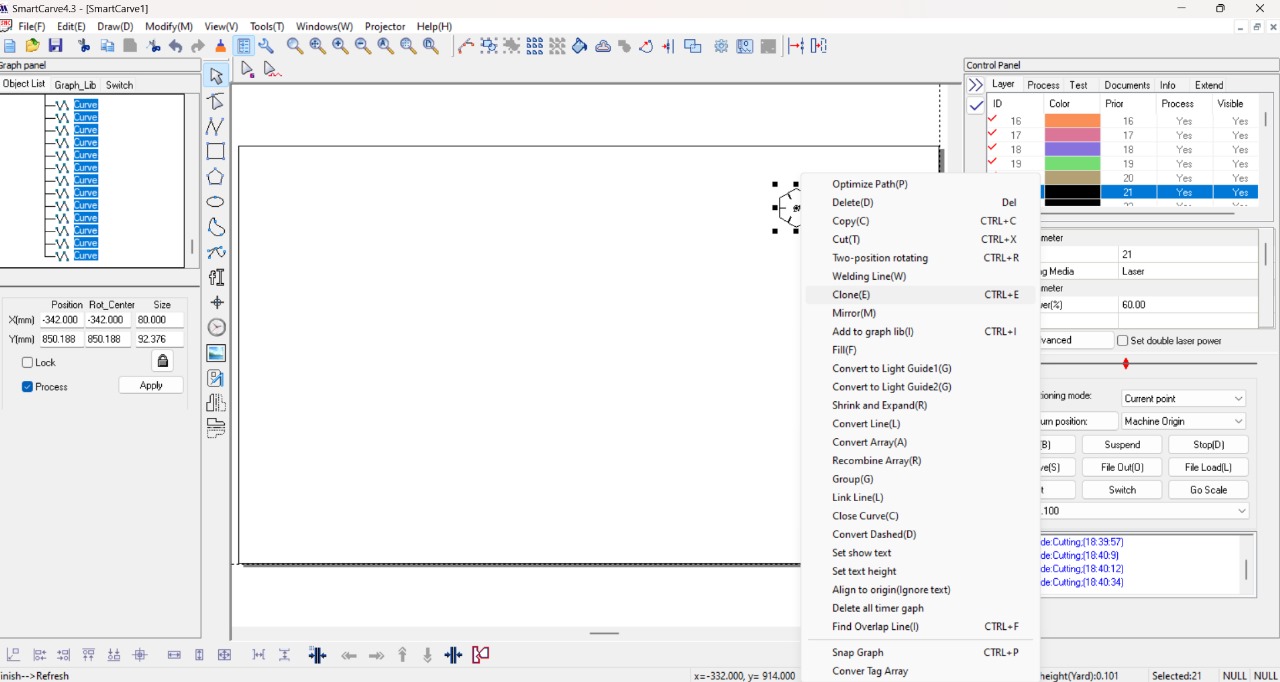
After importing the two pieces, you can move them around the plane by selecting them. You can clone the image as many times as you want using the 'Clone' tool, a window will appear where you can select the columns and rows
 s
s
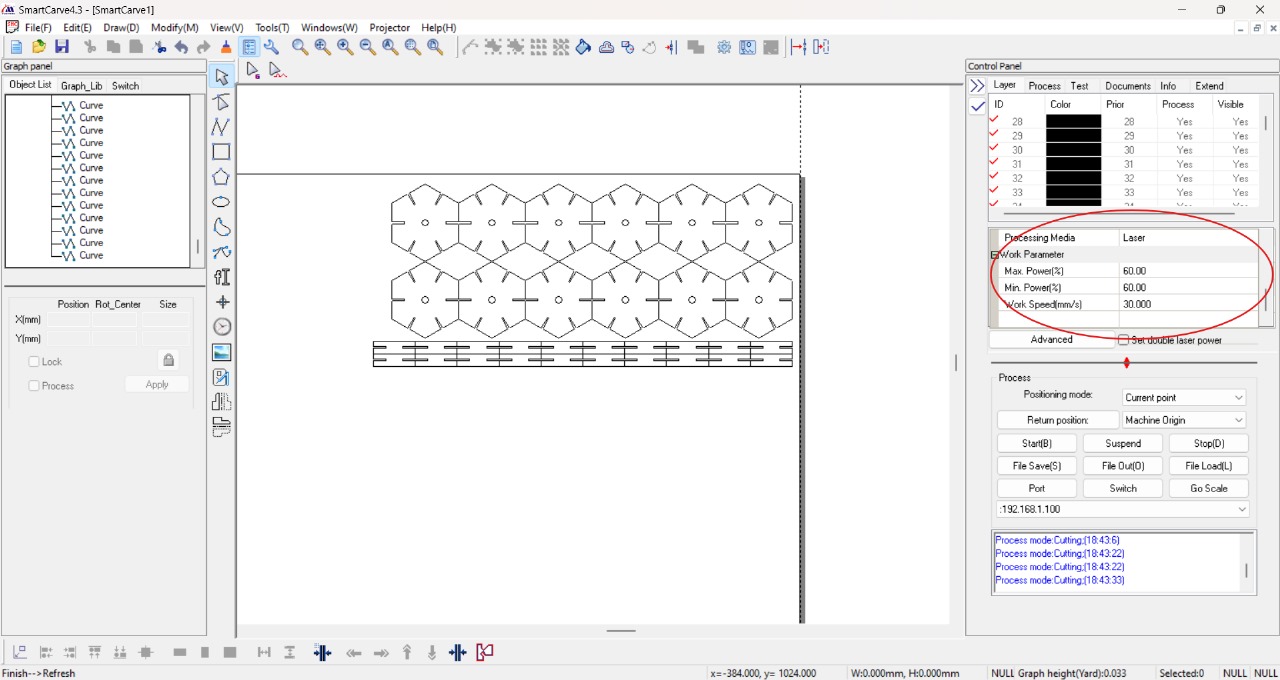
Almost lastly, you will need to change some parameters that are necessary to cut properly
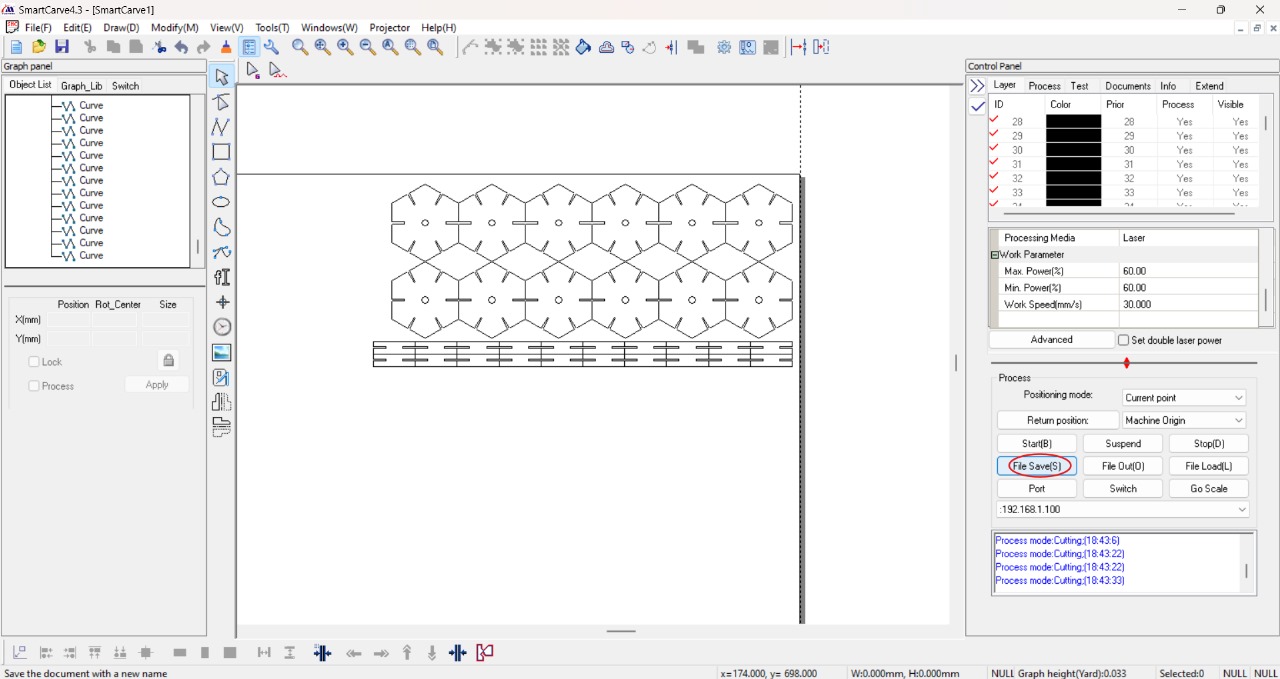
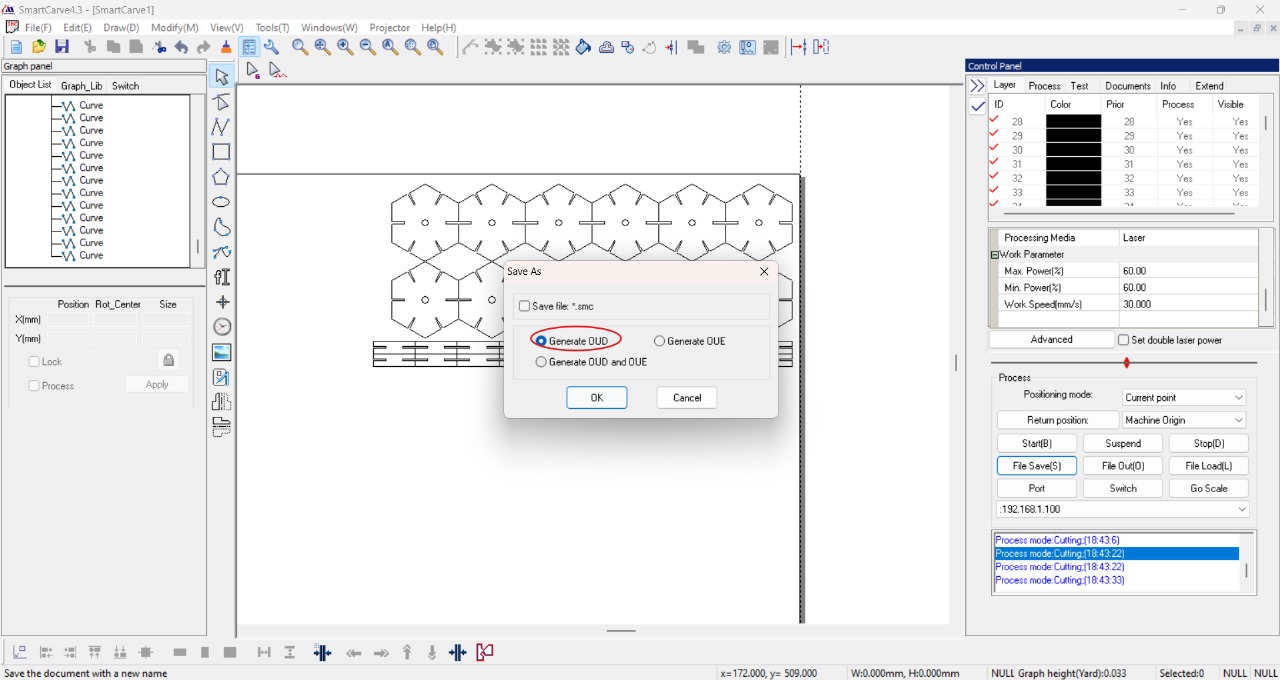
The next step will be to save the file on a USB drive since it will be used in the laser cutter
 s
s
The laser cutter we used was the

Finally, I will explain how to use the laser cutter:
The first thing is to power up the laser cutter
The next step will be to remove some safety features of the laser cutter like the emergency button, the light inside the machine, the switch, and finally insert a key.
The next step will be to configure everything. First, insert the USB drive at the bottom of the laser cutter
Then, with the wood that we will use inside the machine, on the screen we will set the origin where we want it to star to cut (this will depend on how much space we have on the wood), likewise where we placed the images within the program.After this, we will select the file that we will use for cutting. When we select it, we can see how much space it will take up on the wood. When everything is ready, we can start the cutting process.
Video explaining:
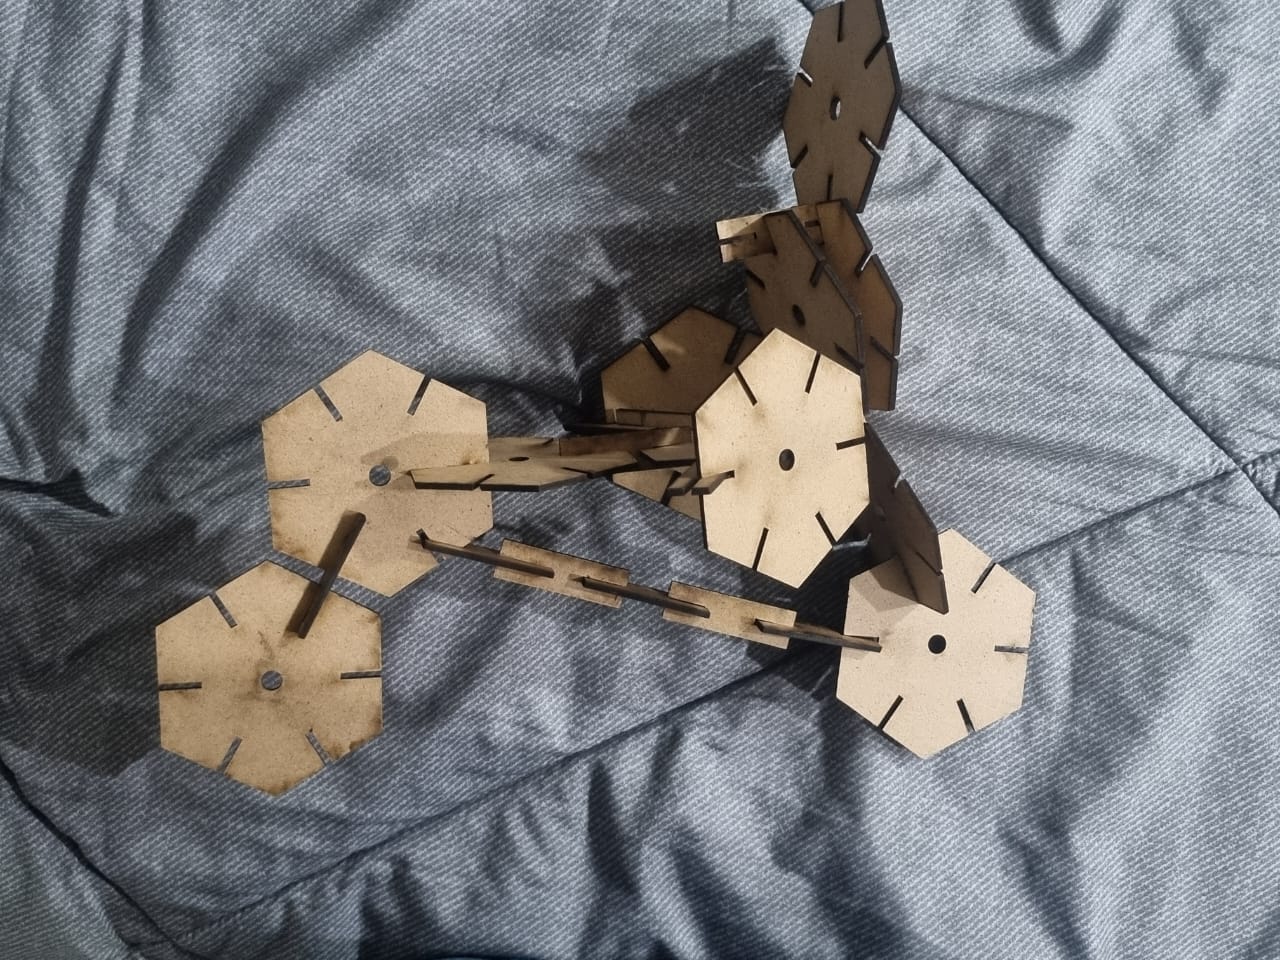
Final Results