1. PROJECT MANAGEMENT
For this week, the evaluators asked us to document how we created the page and the steps to upload it to the repository. In this section, I will document each part of the page, including how it works, what it's for, what tools I used, and the steps to achieve it.
The teacher Rafael Perez were given to us an HTML template that we could modify to our liking. But before explaining the changes I made to the given page, I will show some basic HTML commands to do certain things within the page.
- TOOLS WE WILL USE -
Visual Studio Code (VSCode) is a free code editor created by Microsoft that offers a wide range of tools for programmers. It is highly customizable and supports multiple programming languages. It also includes Git integration for version control, making it easier to track changes in your code.

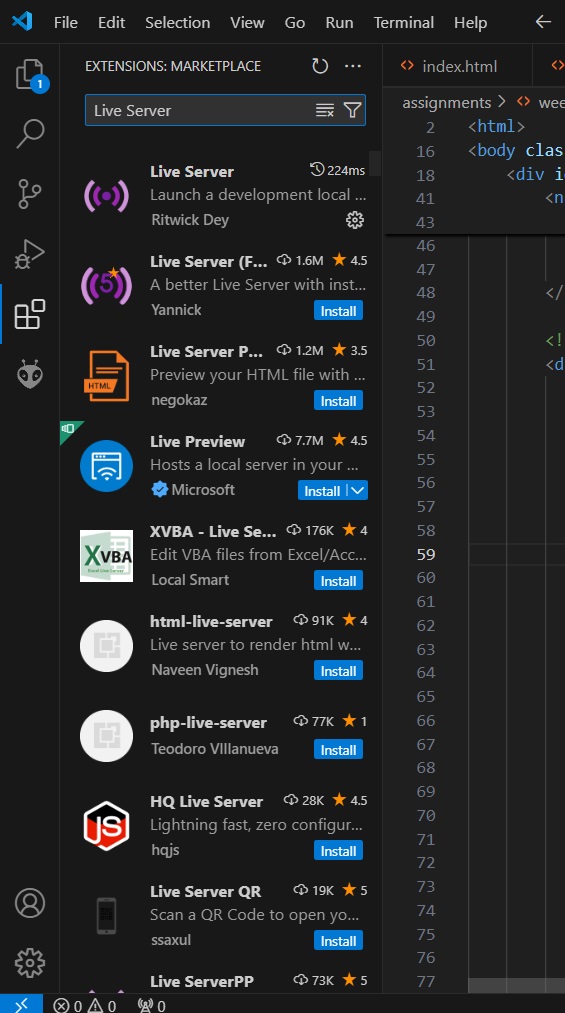
Live Server is one of these VSCode extensions that is particularly useful for web development. Its main function is to create a local development server that displays your website in real-time. When you make changes to your code and save them, Live Server automatically updates the page in your browser to show these changes .To use Live Server, you must first install it from the VSCode extensions marketplace, and once installed, you can start the server by right-clicking on your HTML file and selecting 'Open with Live Server
- SETTING UP GITLAB AND GITBASH -
To begin, we need to download GitBash and go to the following GitLab link where we will register with our FabLab account Gitlab . GitBash is a tool that combines Git (version control system) with Bash (Unix-type command terminal) for Windows. It allows you to manage code versions and execute commands from a terminal. It's especially useful for web development because you can do things like save different versions of your project, upload changes to online repositories like GitHub or GitLab, and execute commands to manage files and folders.
We will open GitBash and start by setting the directory where our webpage will be saved. It is recommended to be in the same location where your 'user' was created in one of your computer's storage locations, following these steps: Users>>YourUsername>>Documents. Finally, in Documents, we can create a folder using GitBash
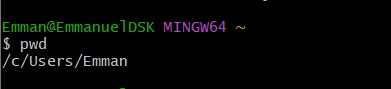
With the command1.-"pwd" which is a terminal command that shows the complete path of the current directory where you are located.
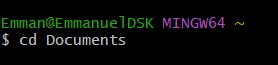
With the command 2.-"cd"you can move between folders in the terminal. When you type cd followed by a folder name, you move to that folder
When you are inside the folder, you must be able to create a folder with the name you want with the following command "mkdir [name]"
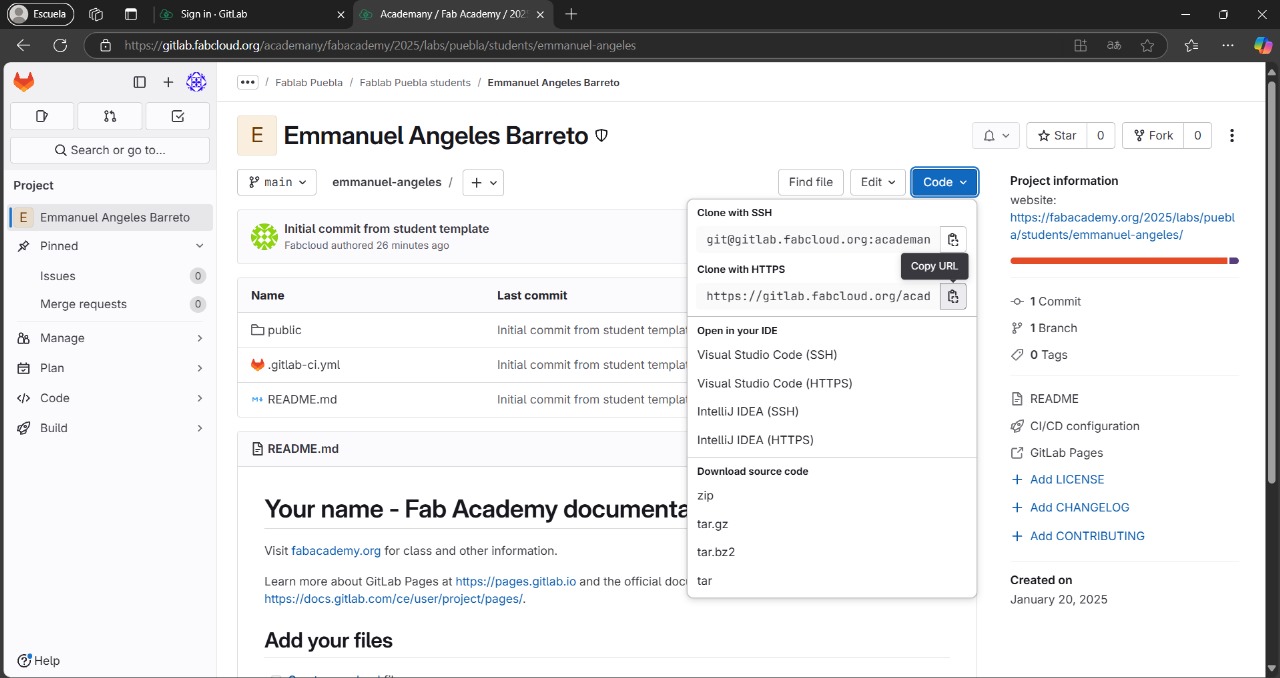
With help from the page where you previously created an account, you should copy the following URL of your page
After that, a box will appear where you will need to register with the same account and password that you used when creating your GitLab account, with these steps you will have cloned the repository.
As almost the final step, you need to enter your username and email to prove that you are the author of the work, using the following commands:
Now you just need to make changes within the page to upload your files, these steps will be needed whenever you want to do this:
- BASIC´S HTML COMMANDS -
| Comando | Función |
|---|---|
| <!DOCTYPE HTML> | It tells the browser that this is an HTML5 document. It is mandatory to put it at the beginning. |
| <html> | It is like the main container of the entire webpage. Everything goes inside these tags |
| <title> | The text that appears in the browser tab |
| <meta charset="utf-8" /> | Allows the use of special characters and accents |
| <meta name="viewport"...> | Helps the page display properly on phones and tablets |
| <link rel="stylesheet"> | Connects to CSS files that provide the page design |
| <noscript> | Shows alternative content if the visitor has JavaScript disabled |
| <header> | The top part of the page, usually with logo and menu |
| <nav> | The navigation menu with links to other pages |
| <div> | A container to group elements. It's like an invisible box |
| <a href=""> | Links that take you to other pages when clicked |
| <img> | To display images |
| <span> | To apply styles to small pieces of text |
| <h1> to <h6> | Titles and subtitles (h1 is the largest, h6 is the smallest) |
| <p> | For writing paragraphs of text |
| <ul> and <li> | To create lists (ul = unnumbered list, ol = numbered list) |
| <form> | Creates a form for users to submit information |
| <input> | Fields for user input (text, email, etc.) |
| <textarea> | A large box for writing long messages |
| <button> | Buttons that users can click |
- HOW TO USE HTML -
- TEXT, TABLES, LISTS AND TITLES -
				<!DOCTYPE html>
				<html lang="en">
				<head>
					<meta charset="UTF-8">
					<meta name="viewport" content="width=device-width, initial-scale=1.0">
					<title>Example 1</title>
					<link rel="stylesheet" href="style.css">
				</head>
				<body>
					<!-- titles sizes  -->
					<h1>This is a title with - h1</h1>
					<h2>This is a title with - h2</h2>
					<h3>This is a title with - h3</h3>
					<h4>This is a title with - h4</h4>

				   <!--  types of paragraphs -->
					<p>This is a paragraph</p>
					<p><strong>Bold text</strong></p>
					<p><em>Italic</em></p>
					<p><u>Underline</u></p>
					<!-- types of lists -->
					<h3>Unorganized list</h3>
					<ul>
						<li>Material 1</li>
						<li>Material 2</li>
					 </ul>
					<h3>Organized list</h3>
					 <ol>
						<li>Material 1</li>
						<li>Material 2</li>
					 </ol>
					 <!-- types of tables -->
					  <h3>Tables</h3>
					  <table>
						<thead>
							<tr>
								<th>Name</th>
								<th>Age</th>
								<th>Gender</th>
							</tr>
						</thead>
						<tbody>
							<tr>
								<td>Ernesto</td>
								<td>43</td>
								<td>M</td>
							</tr>
							<tr>
								<td>Paulina</td>
								<td>19</td>
								<td>F</td>
							</tr>
						</tbody>
					  </table>
This is a title with - h1
This is a title with - h2
This is a title with - h3
This is a title with - h4
This is a paragraph
Bold text
Italic
Underline
Unorganized list
- Material 1
- Material 2
Organized list
- Material 1
- Material 2
Tables
| Name | Age | Gender |
|---|---|---|
| Ernesto | 43 | M |
| Paulina | 19 | F |
- VIDEOS, IMAGES AND LINKS -
Para mostrar este código y su resultado lado a lado, puedes usar este formato: htmlCopy
<!-- URL -->
<h3>URL</h3>
<a href="https://fabacademy.org/"target="_blank">Fabacademy</a>
<!-- Images -->
<h3>Images</h3>
<img src="https://thumbs.dreamstime.com/z/music-music-musical-design-background-radio-listen-song-118949806.jpg"
alt="smth" width="200">
<!-- Videos -->
<video src="Videos/ledsweek1" width="300" controls></video>
<!-- Files -->
<h3>Files</h3>
<ul>
    <li>
        <a href=files/Hi.docx">Random file</a>
    </li>
    <li>
        <a href="Files/Hi.docx"download>Random File Download</a>
    </li>
</ul>

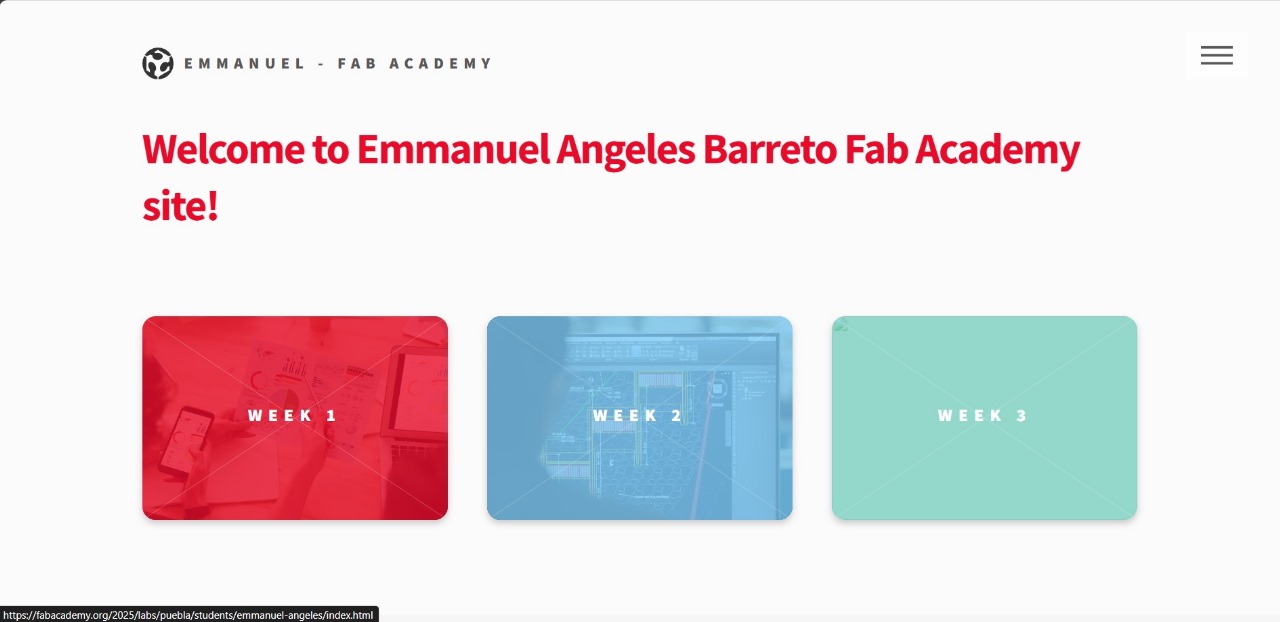
- ACTUAL WEBSITE -