17.WildCard
This week, I have to try something new. I decided to explore embroidery with the Brother Embroidery Machine.
Digital design and settings for the embroidery
Programs that I Used:
- Inkscape + Ink/Stitch
Embroidery Options in Ink/Stitch
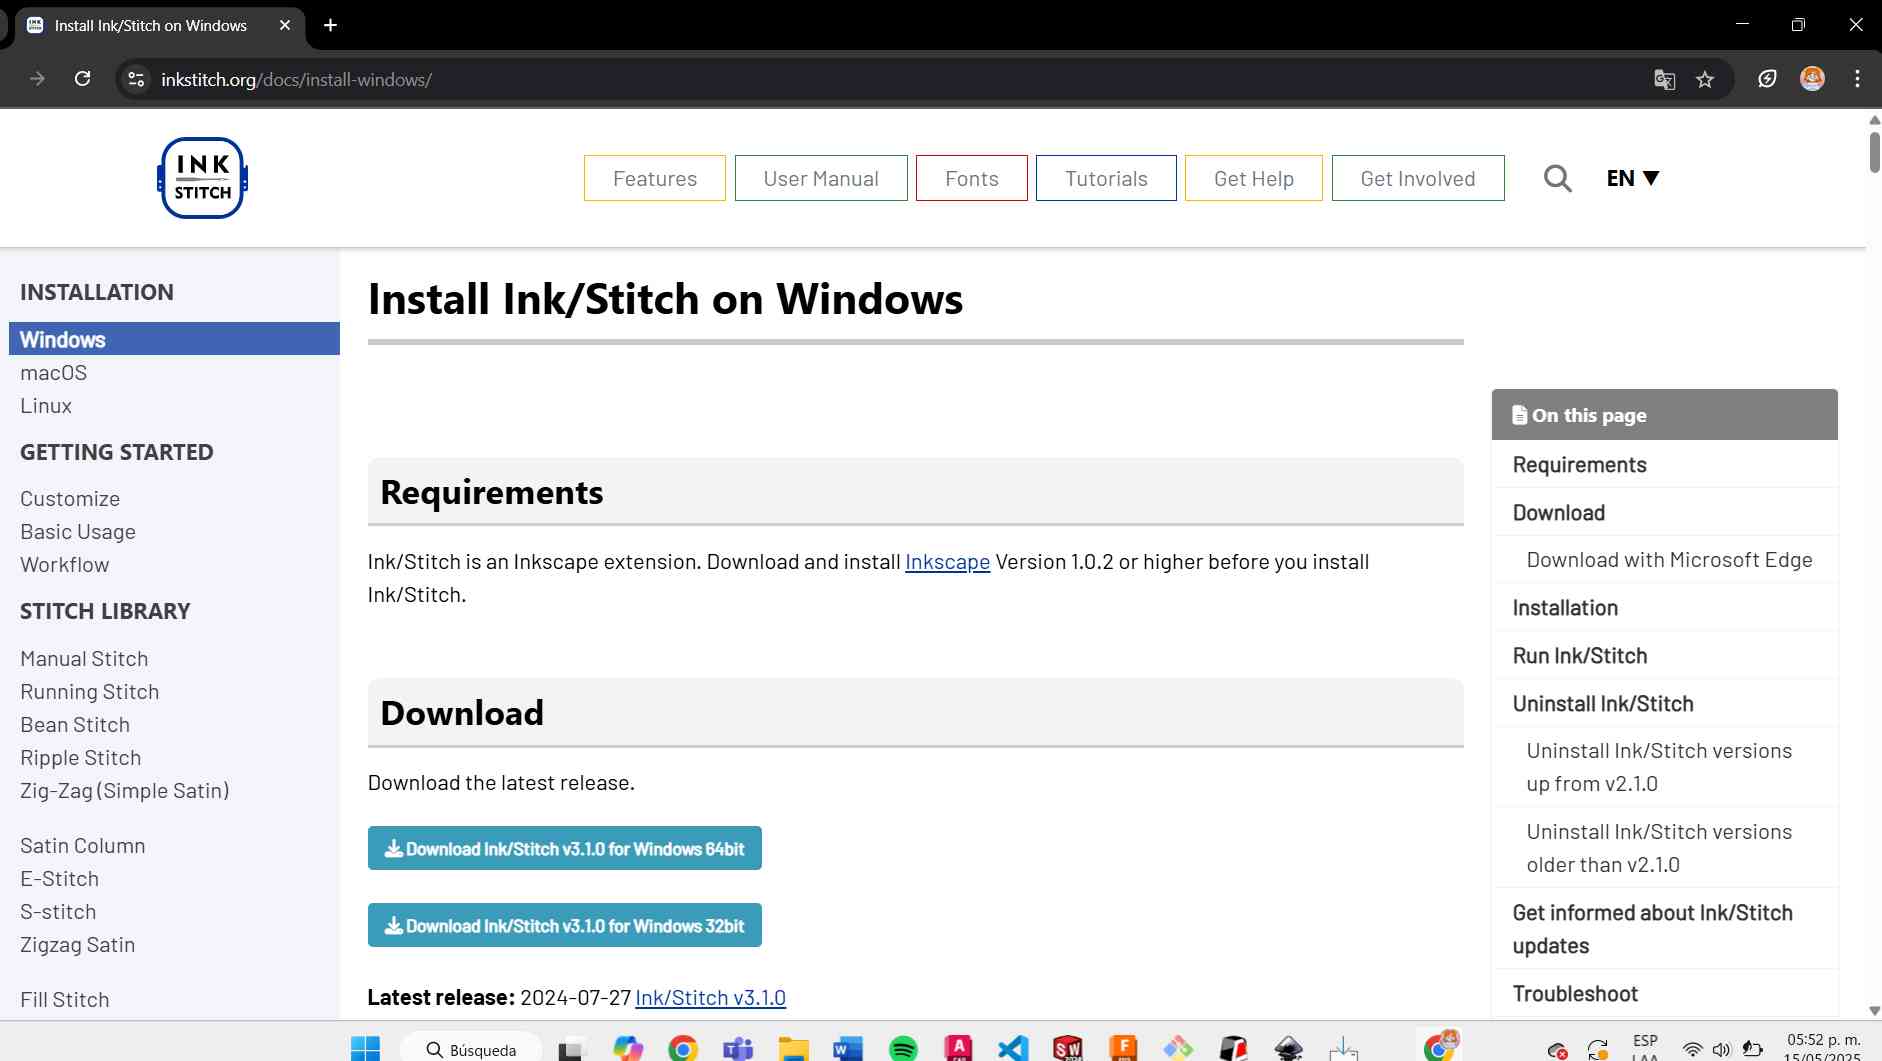
To install the extension"ink /stitch" i had to go to this page.
- Basic Stitches
- Fill Stitch: For filled shapes; ideal for large areas.
- Running Stitch: For lines.
- Solid line = zigzag stitch.
- Dashed line = straight running stitch.
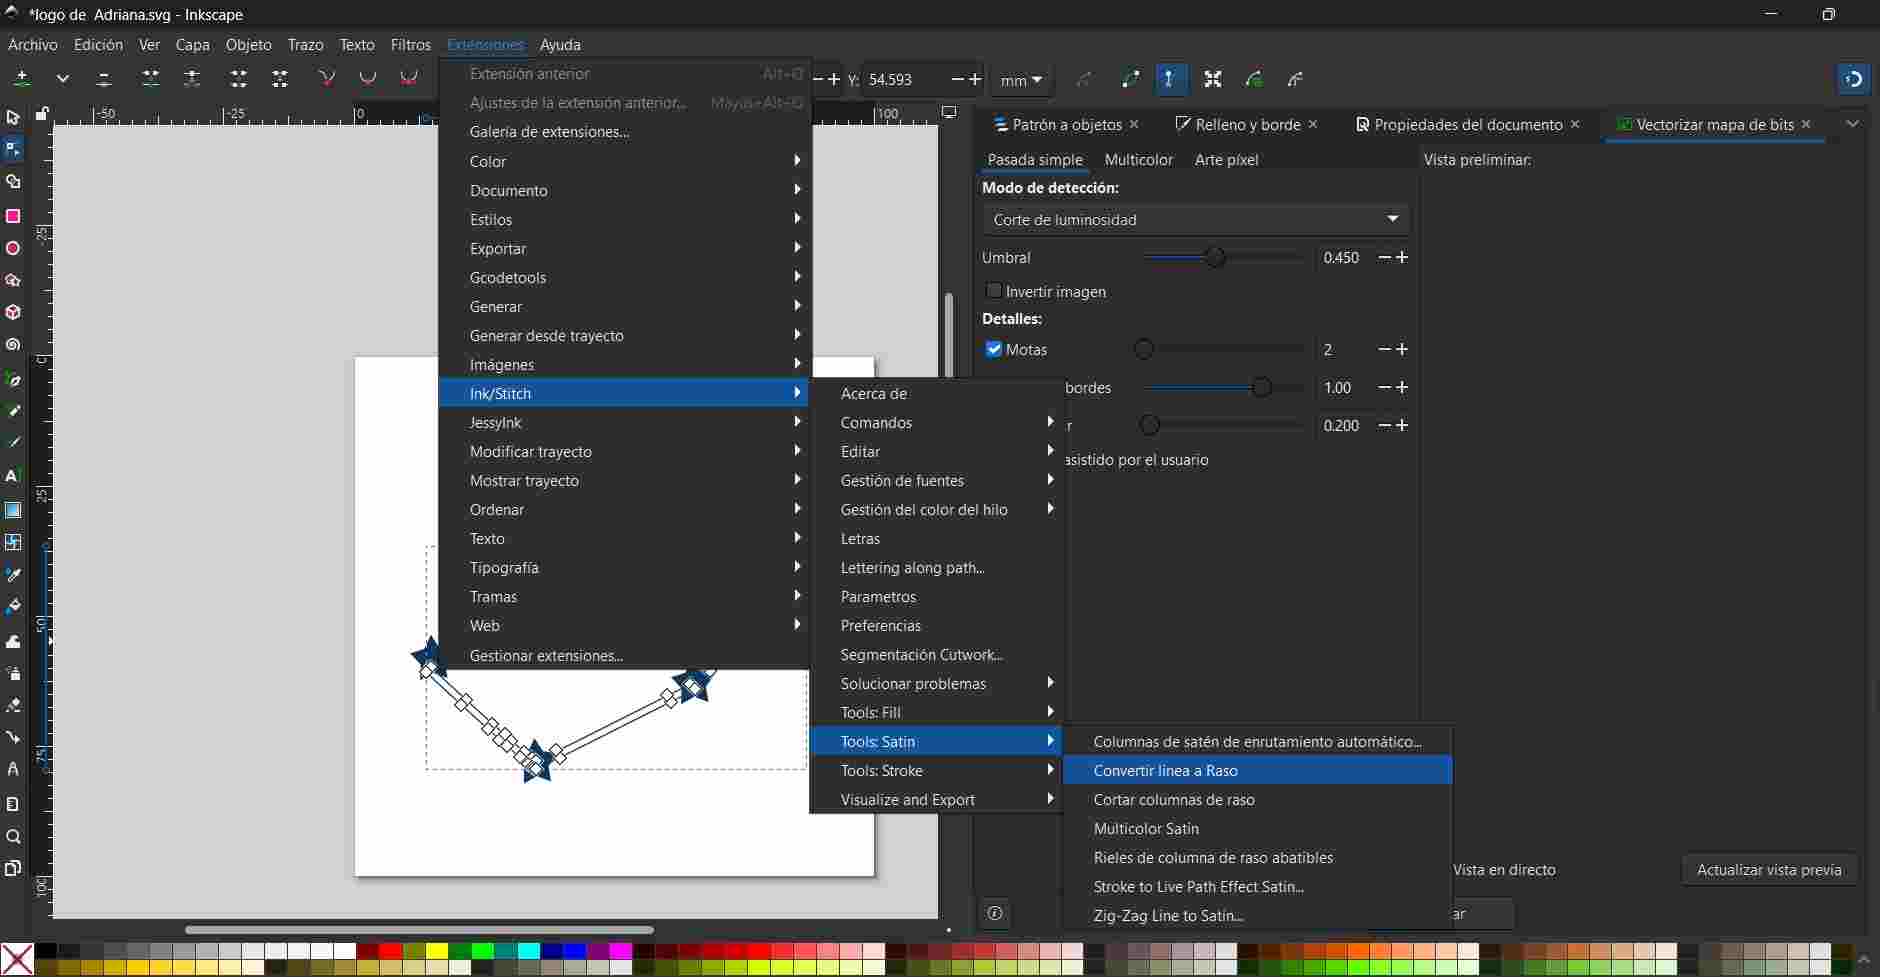
- Satin Stitch: Best for curves and smooth edges.
- Convert from a line via:
Extensions > Ink/Stitch > Satin Tools > Convert Line to Satin
- Convert from a line via:
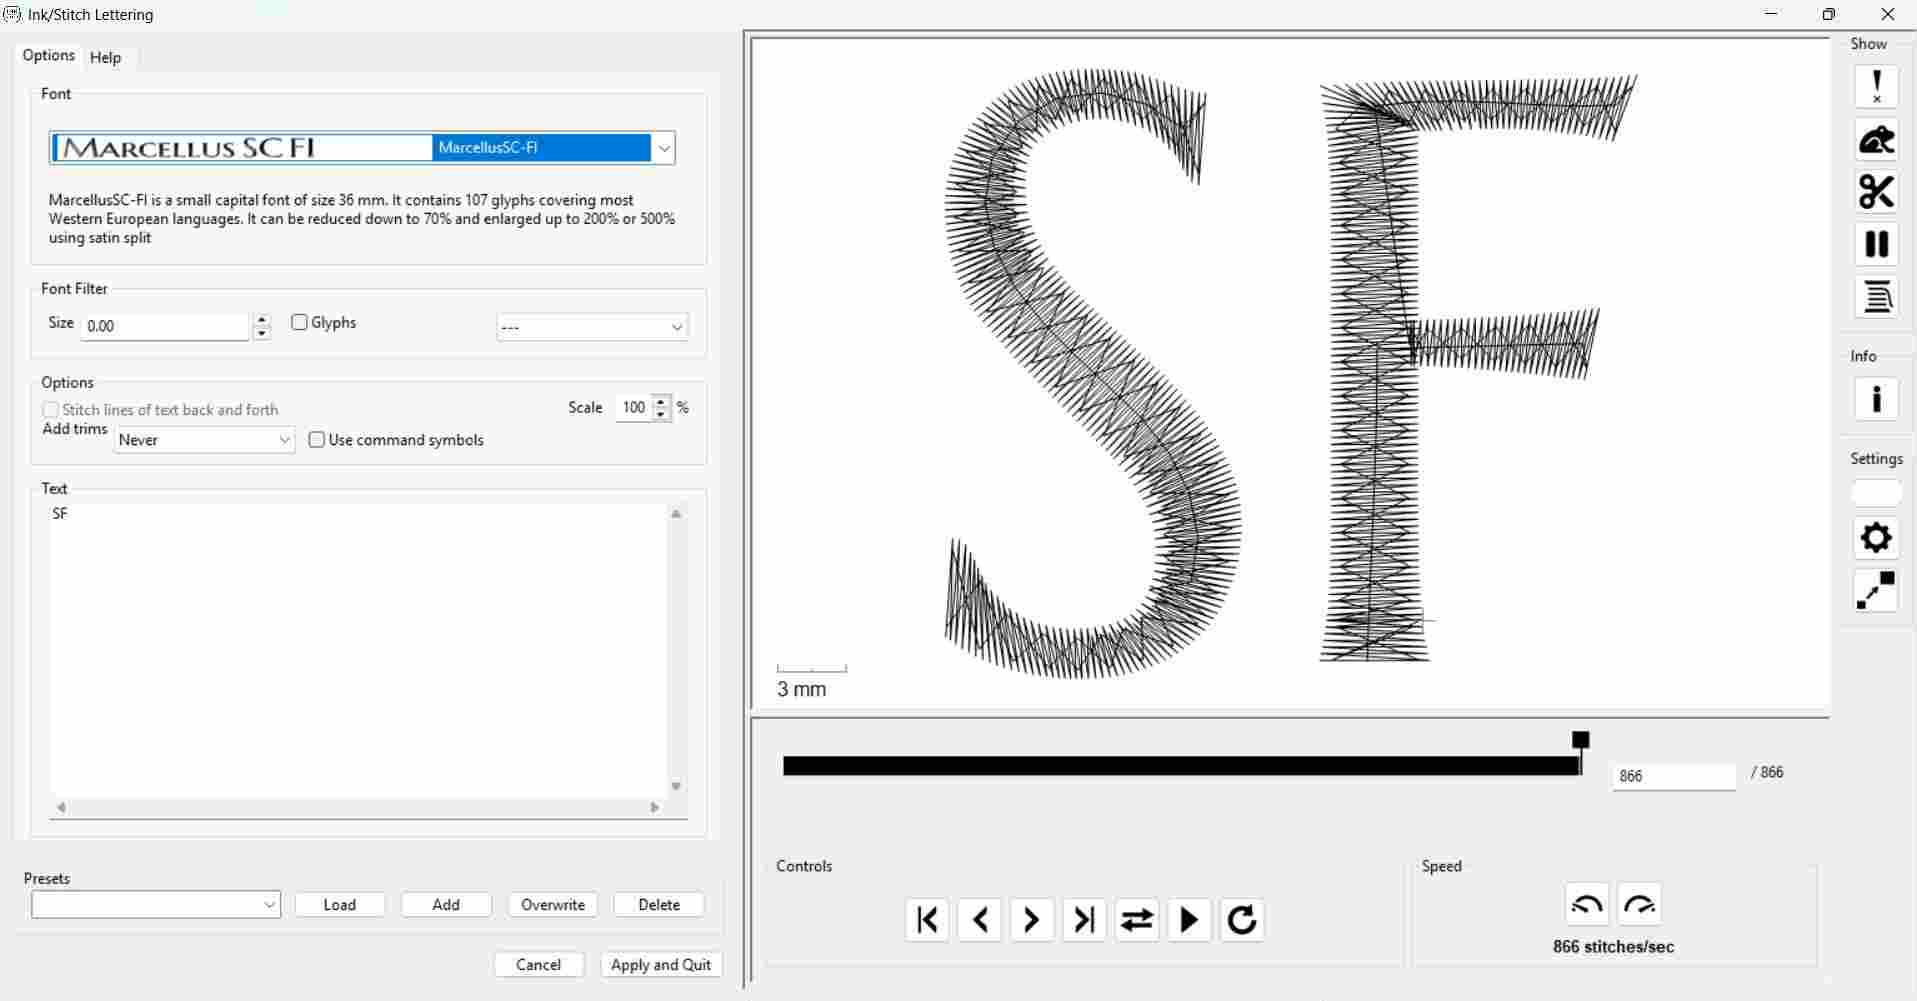
- Embroidered Lettering
- Use built-in fonts:
Extensions > Ink/Stitch > Lettering - Supports multiline text, font selection, and scaling.
- Use built-in fonts:
-
Set Up Your Document
- Go to File > Document Properties.
- Set your canvas size to match your embroidery hoop (The machine will only embroider the part you configure).
-
Create a Vector Design
- Draw your design using Inkscape tools (shapes, paths, text).
- Fill the areas you want to embroider with color.
- Use strokes (lines) for running or satin stitches.
You can also import an image and convert it into a vector. Here's an example:
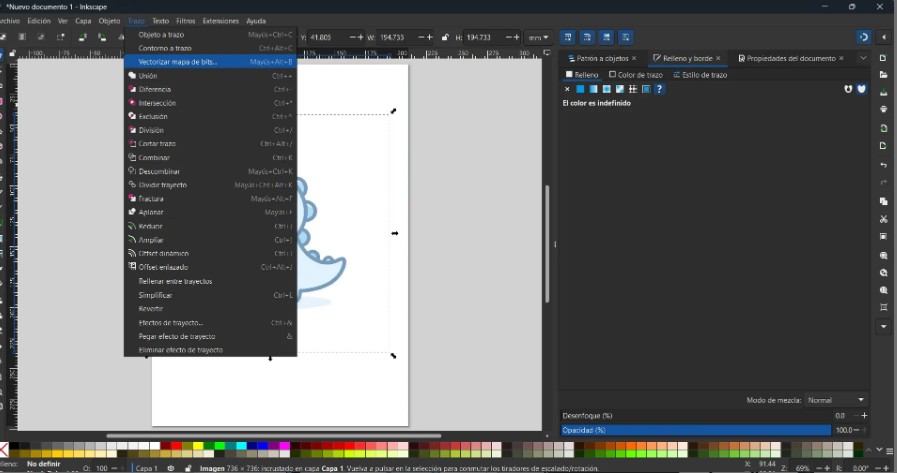
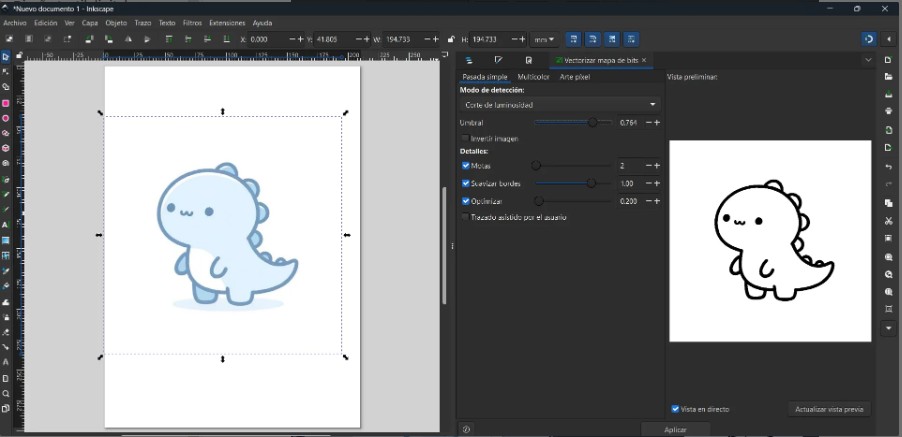
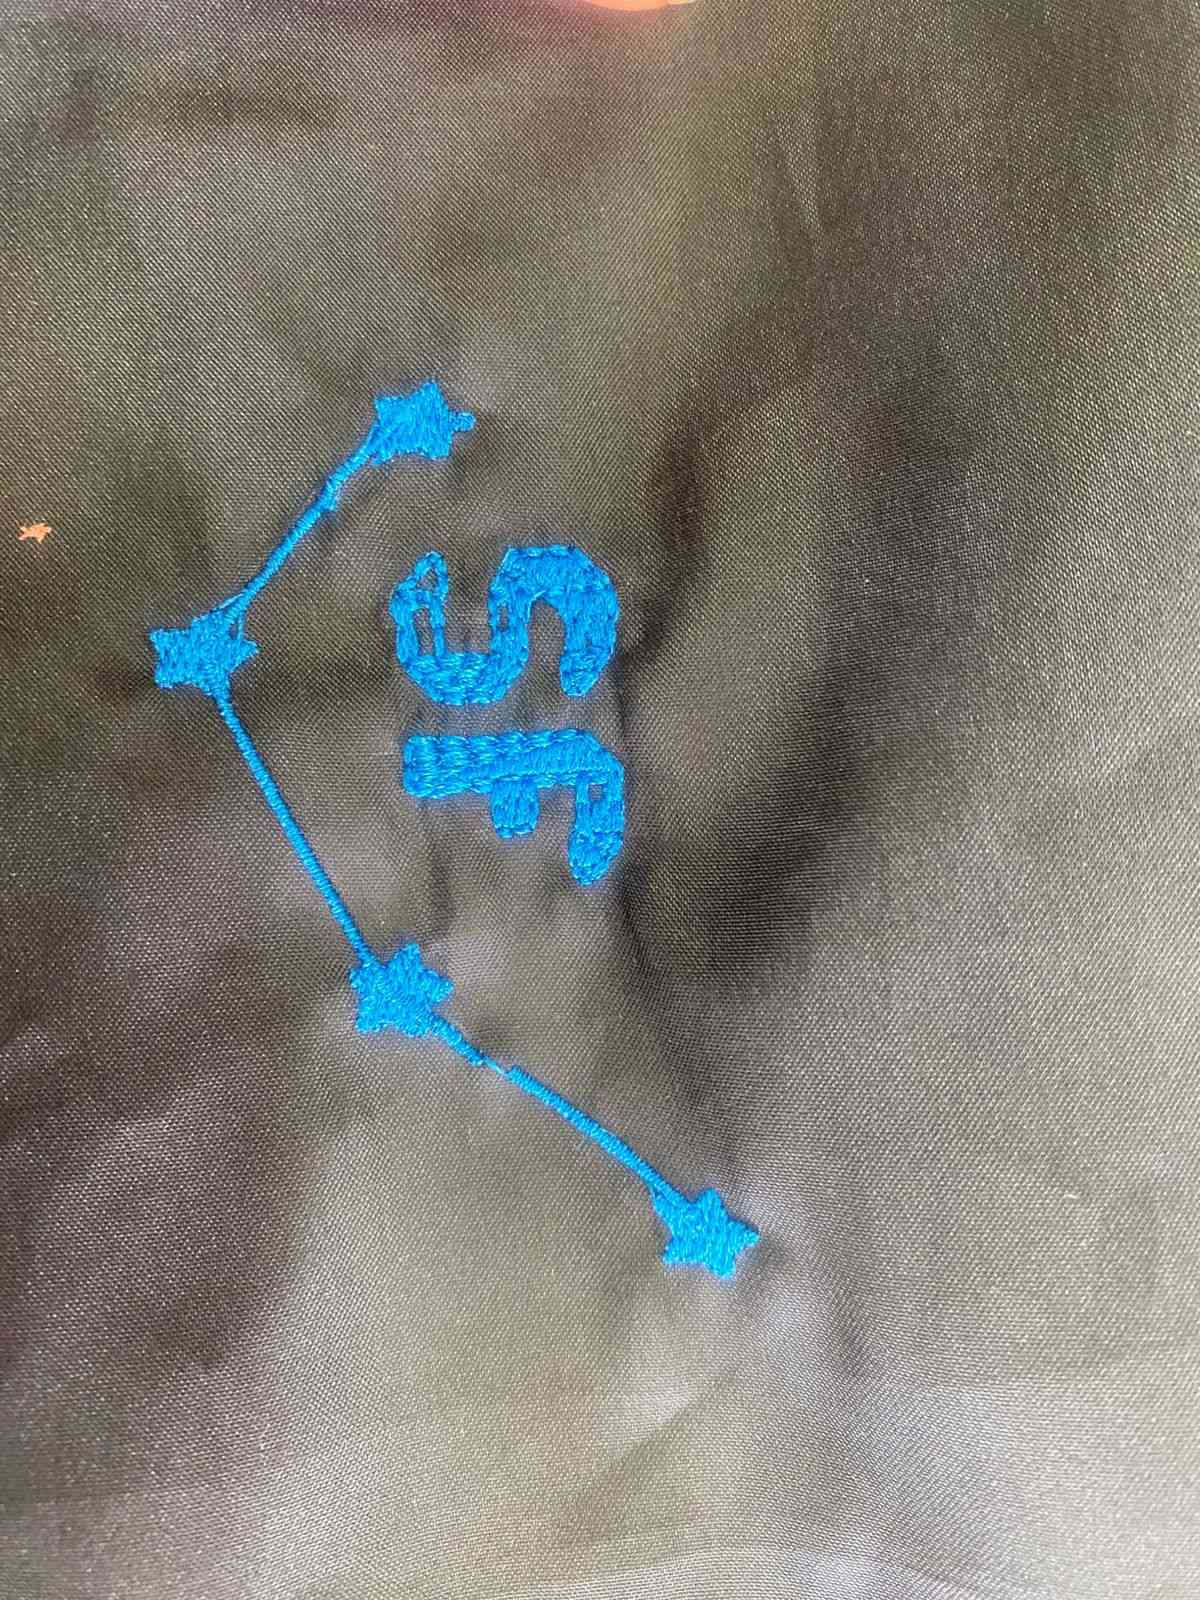
For this task ,I used a logo that I made in Week 2:

.jpg)
-
Assign Stitches
Depending on your design, use different stitch types that i explained before
-
Embroidered Lettering
- Use built-in fonts via:
Extensions > Ink/Stitch > Lettering - Supports multi-line text, font selection, and scaling.
- Use built-in fonts via:
-
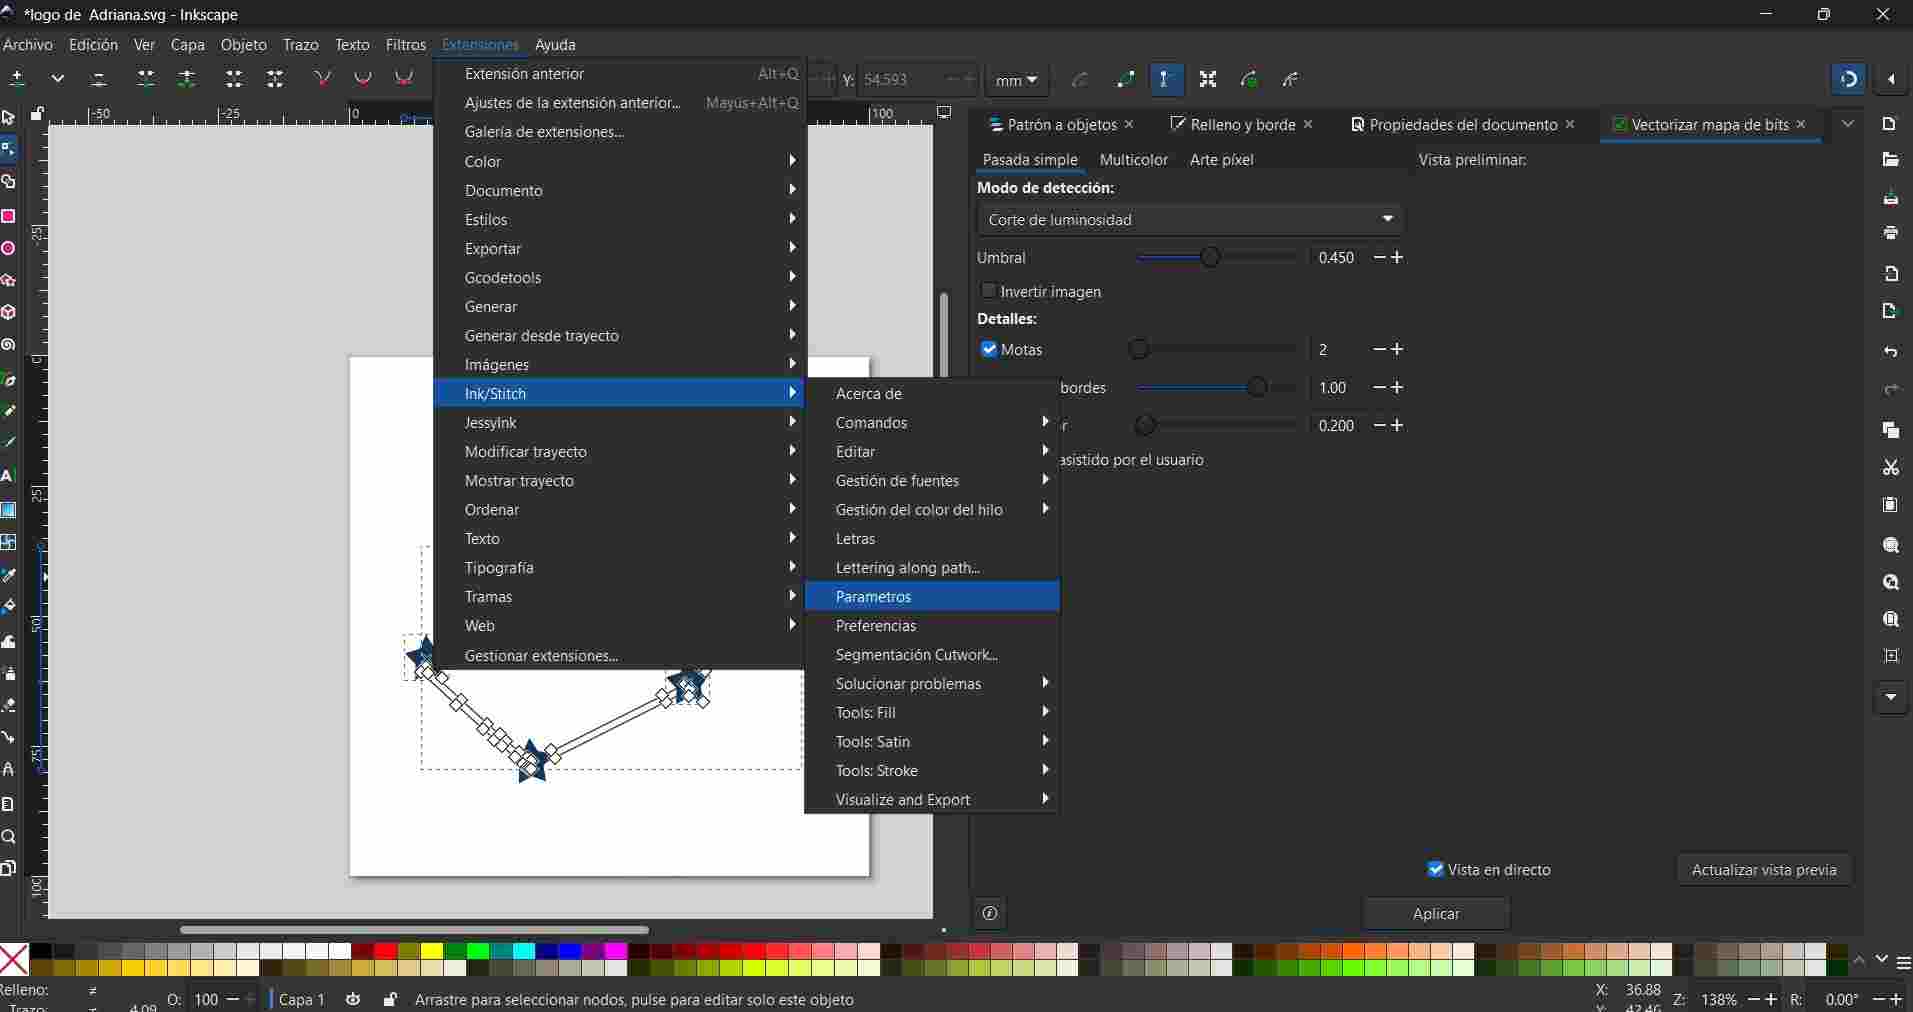
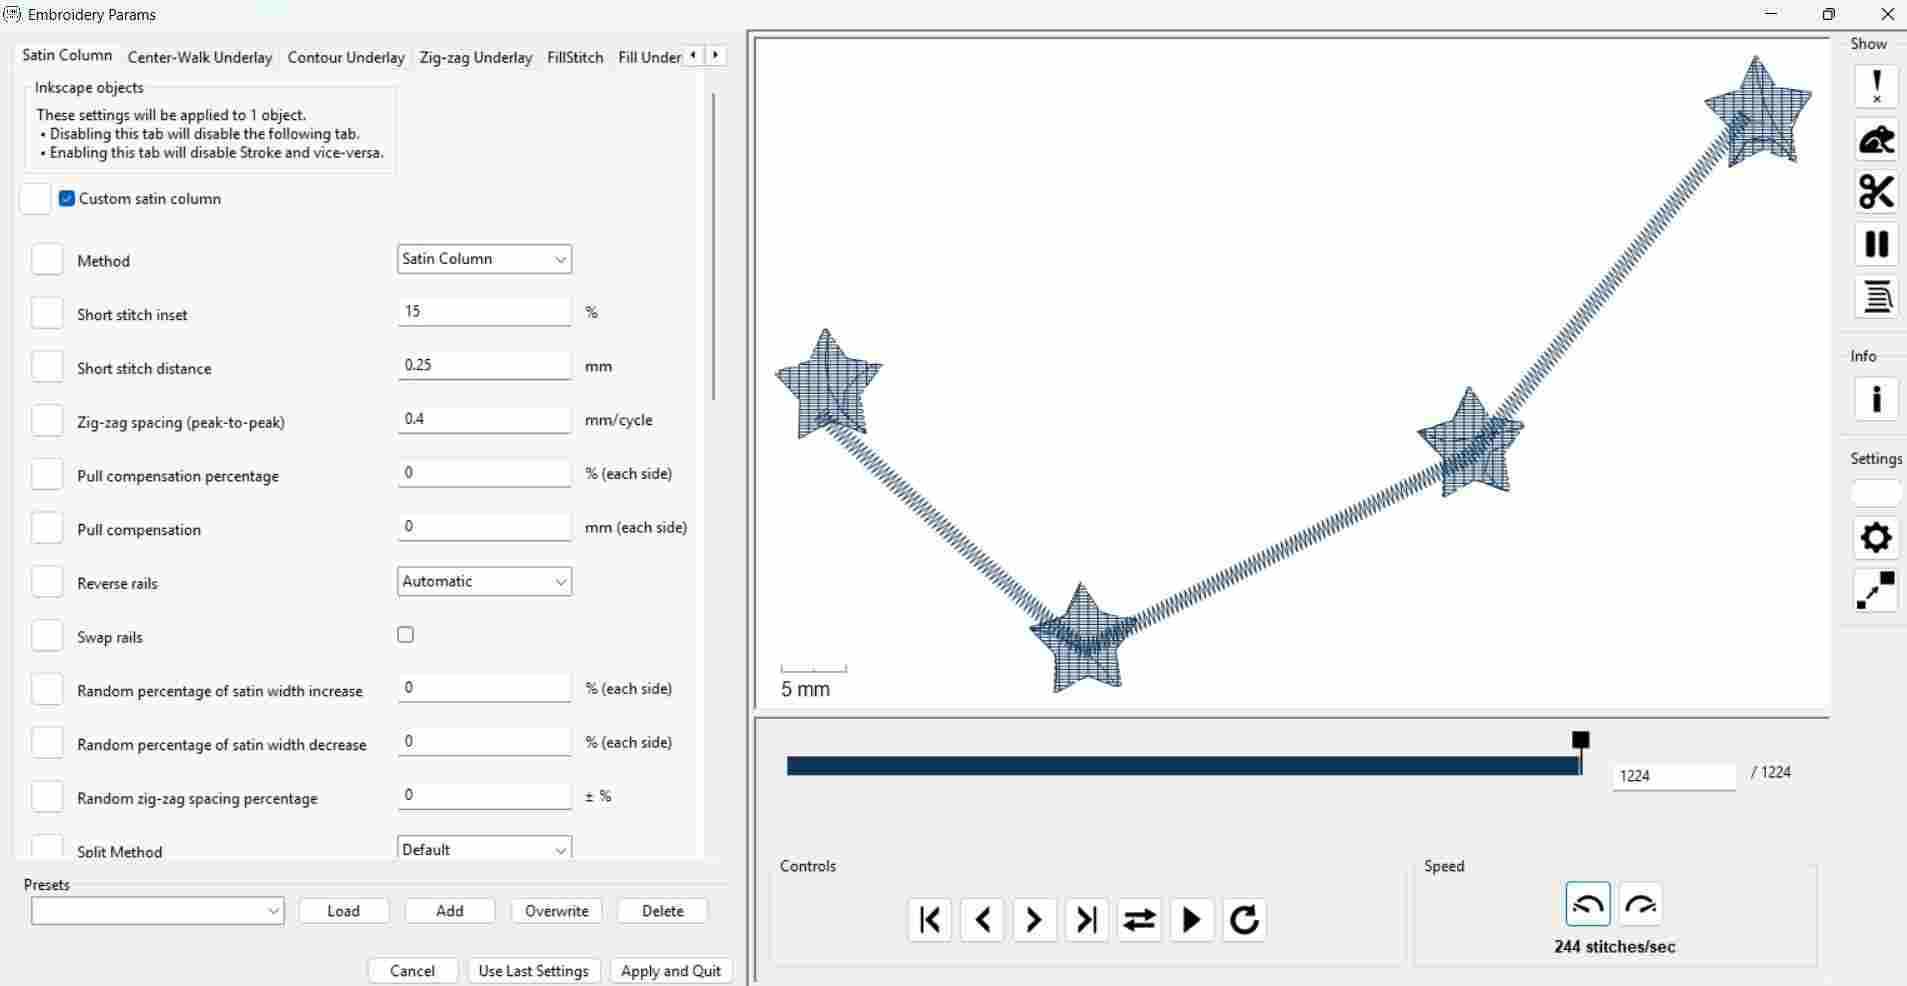
Parametrize the Design
- Select all objects or parts of your design.
- Go to:
Extensions > Ink/Stitch > Params - you can adjust stitch settings (length, angle, fill type, etc.).
- Click Apply and Quit.
-
Add Extra Features (Optional)
-
Push/Pull Compensation
- Prevents distortion caused by fabric tension:
- Overlap filled areas.
- Or adjust parameters:
- Expand for fill stitches
- Pull Compensation for satin stitches (e.g., 0.5 mm per side)
- Prevents distortion caused by fabric tension:
-
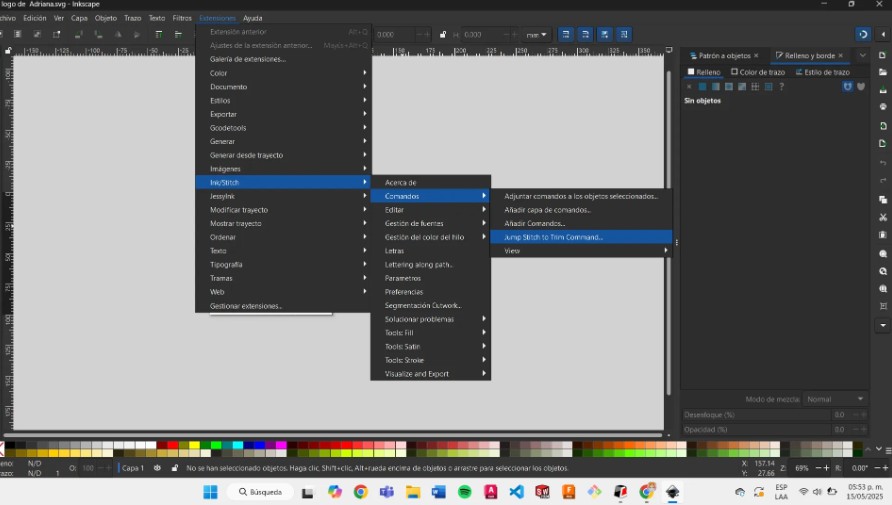
Thread Trim (Cut Thread)
Avoids floating threads between distant design parts:
- Select the object or segment.
- Go to:
Extensions > Ink/Stitch > Commands > Insert Stop Command - Choose Thread Trim.
- Click Apply and Quit.
- Color Sorting
- Reduces thread color changes.
- Group objects by color.
- Use:
Layer > Layers and Objects - Reorder sewing sequence:
Extensions > Ink/Stitch > Edit > Re-stack objects in order of selection
-
Push/Pull Compensation
-
Preview Options
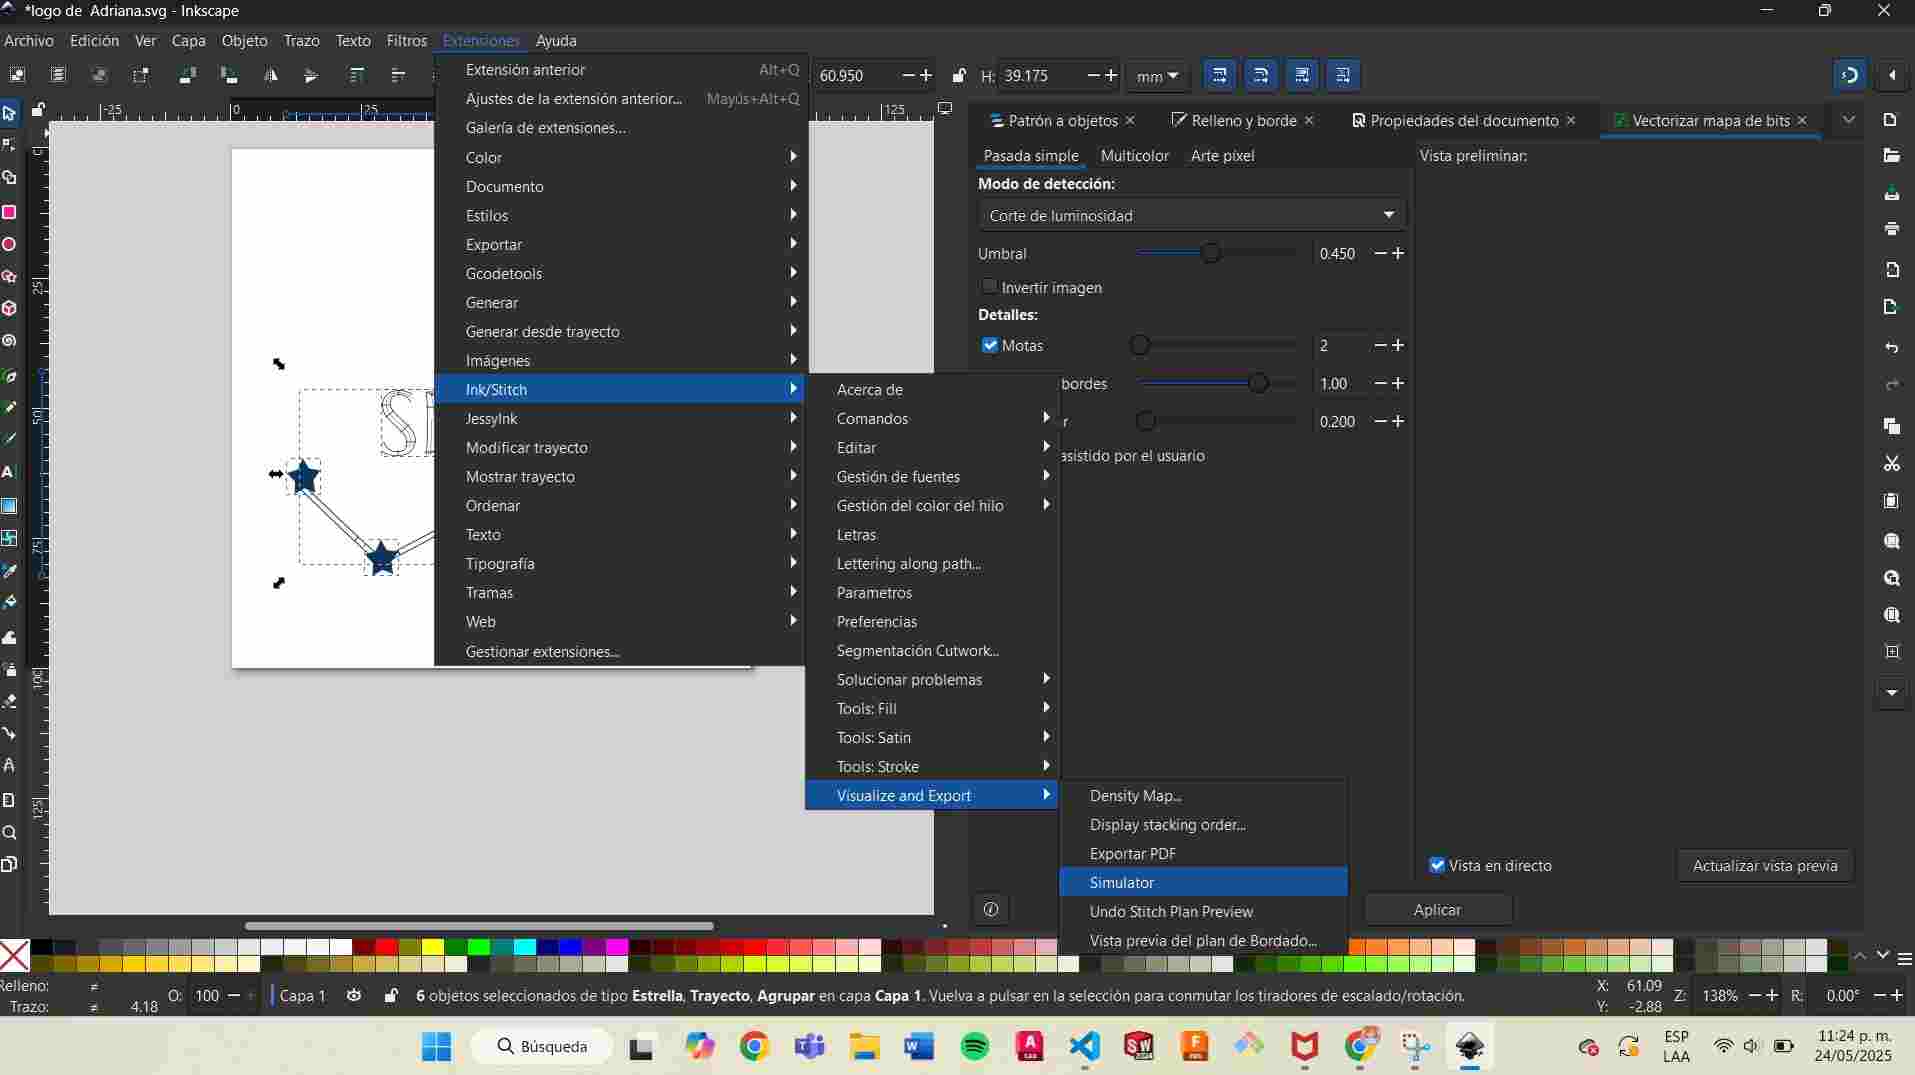
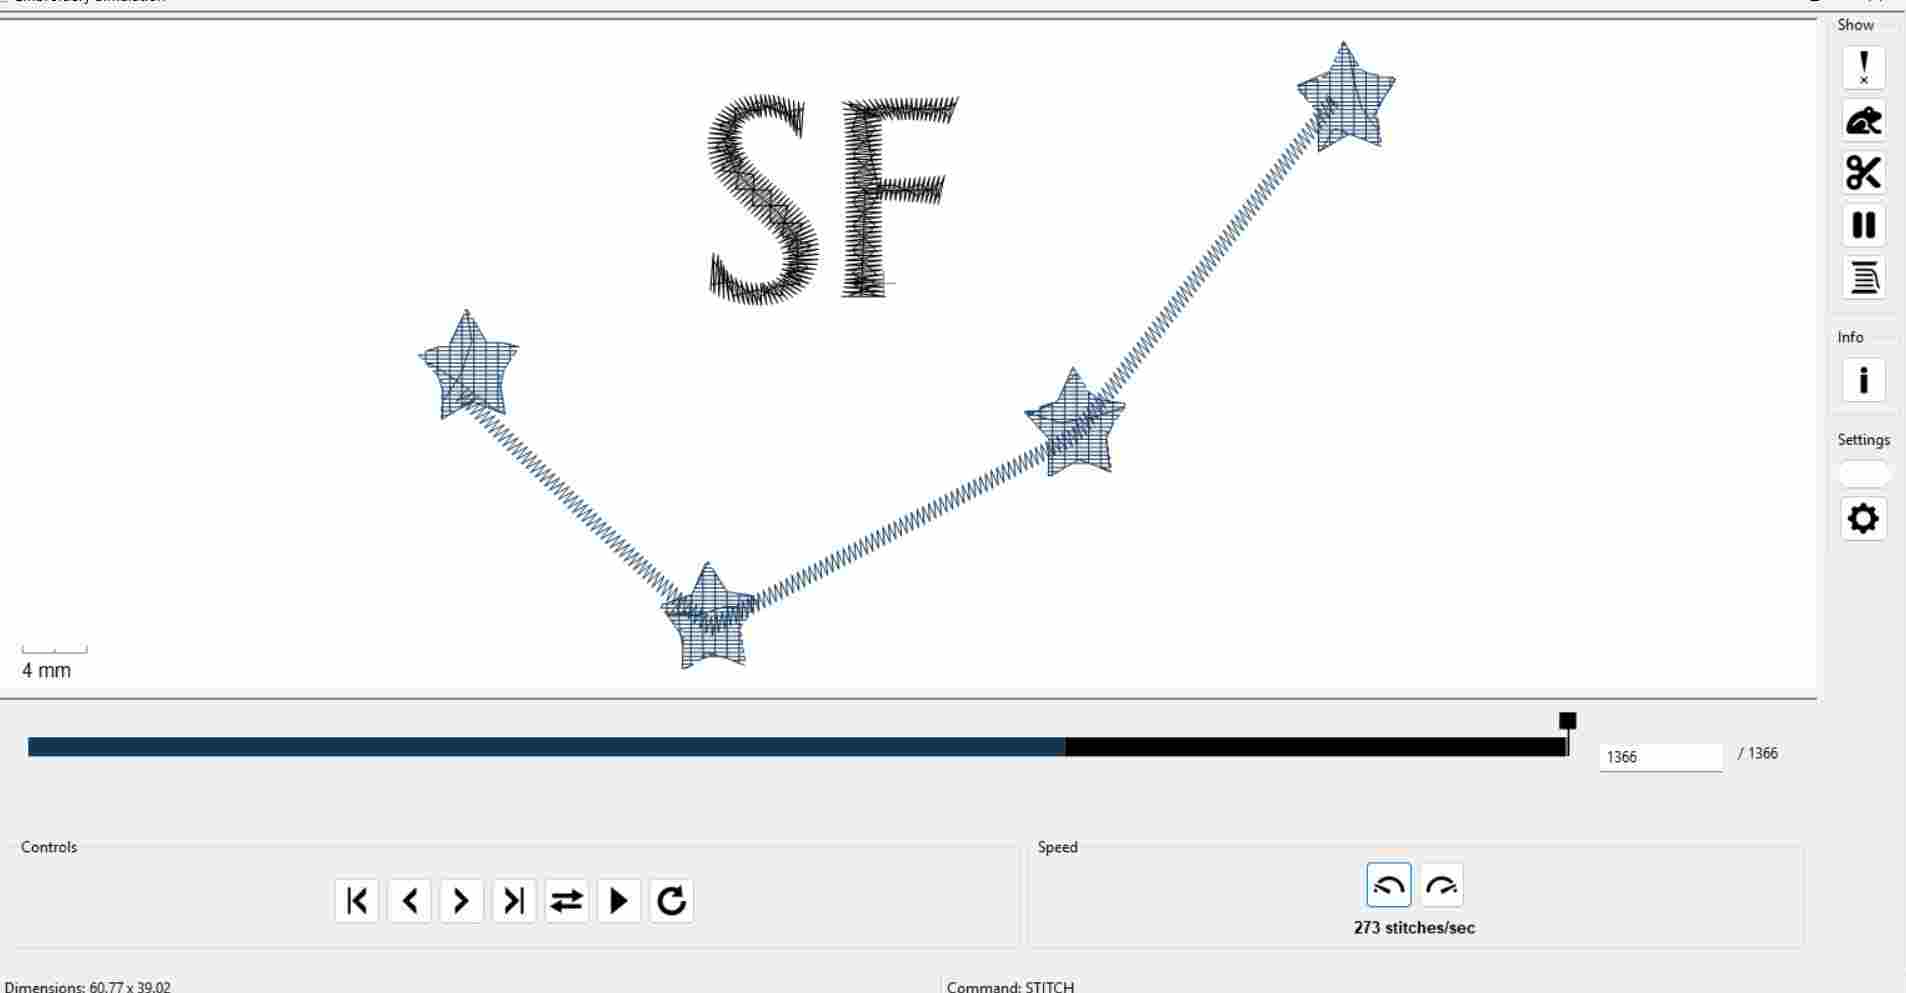
- Stitch Simulator:
Extensions > Ink/Stitch > Visualize and Export > Simulator - View a realistic preview of your design.
- Stitch Simulator:
-
Save the File
- First, save as SVG to keep it editable.
- Then, save a copy in your embroidery machine's format.
For Brother machines, use the.PESformat.
How to Create an Embroidery File with Ink/Stitch
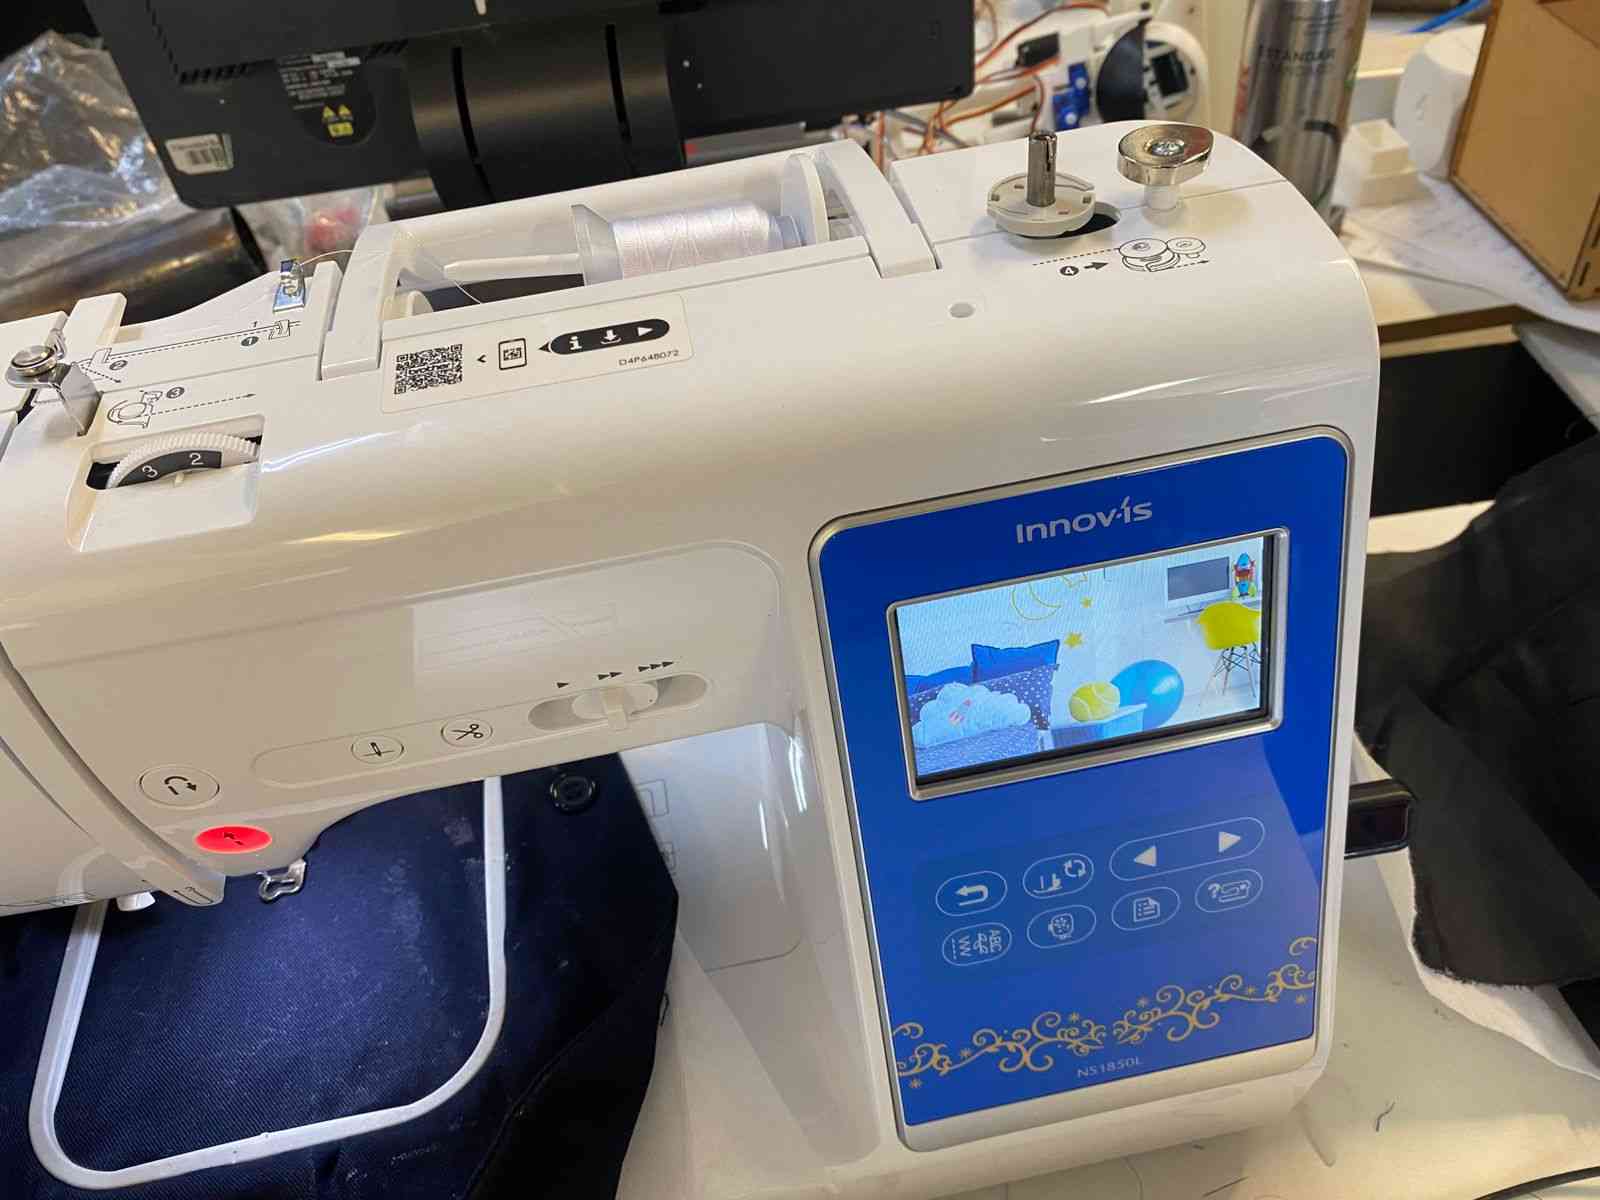
Using the Brother Embroidery Machine
- Machine model: ND1850L
1. Check the Thread
Make sure you have enough thread. If not, you will need to fill the bobbin.
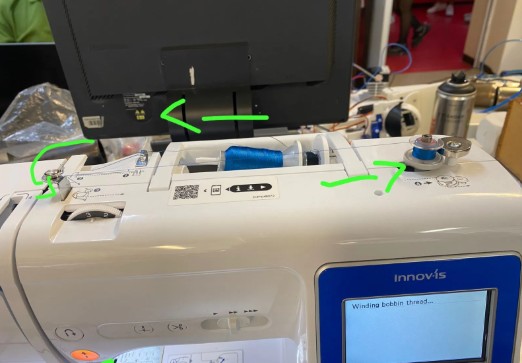
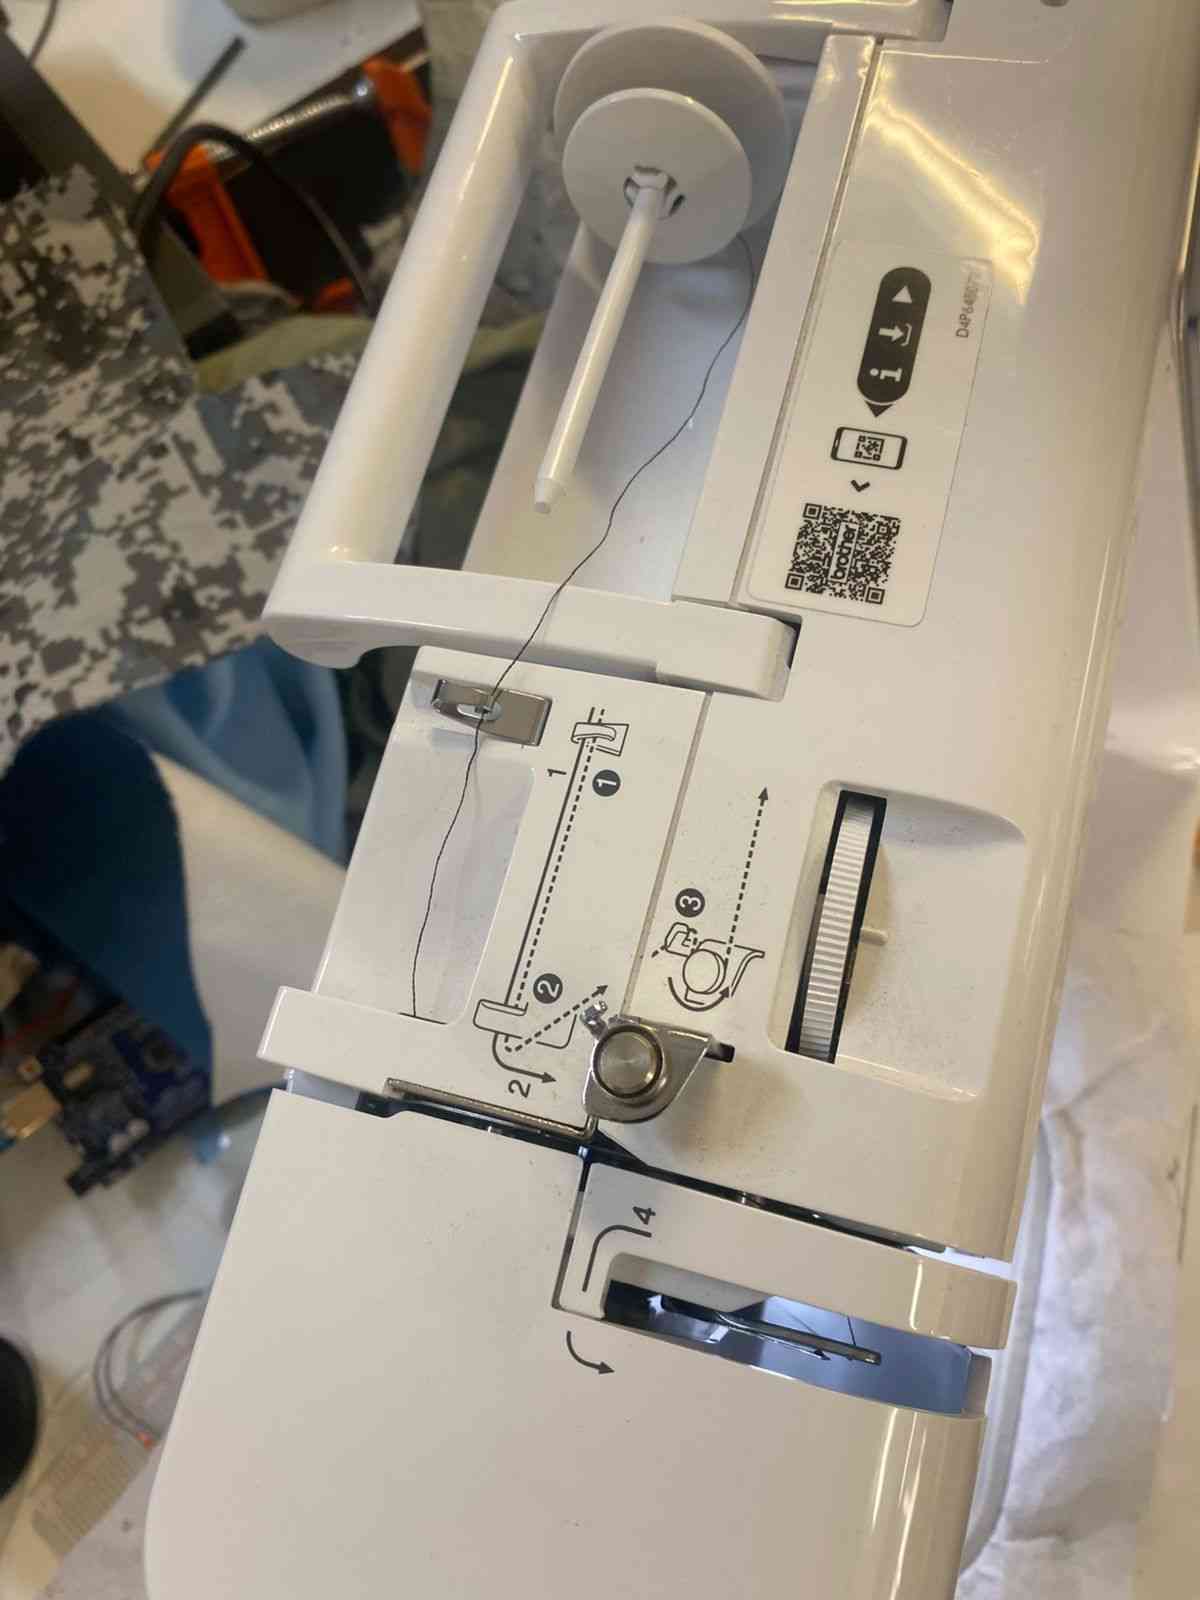
2. Winding the Bobbin (Lower Thread)
To fill the bobbin:
- Follow the arrows on the machine (they show the correct path).
- Place the thread spool on top.
- Wrap the thread around the guides as shown.
- Push the bobbin to the right until it clicks.
- Press the orange button to start winding.
- The machine stops automatically when the bobbin is full.
3. Insert the Bobbin
- Open the bottom compartment.
- Place the filled bobbin inside.
- Follow the diagram near the bobbin case to guide the thread correctly.
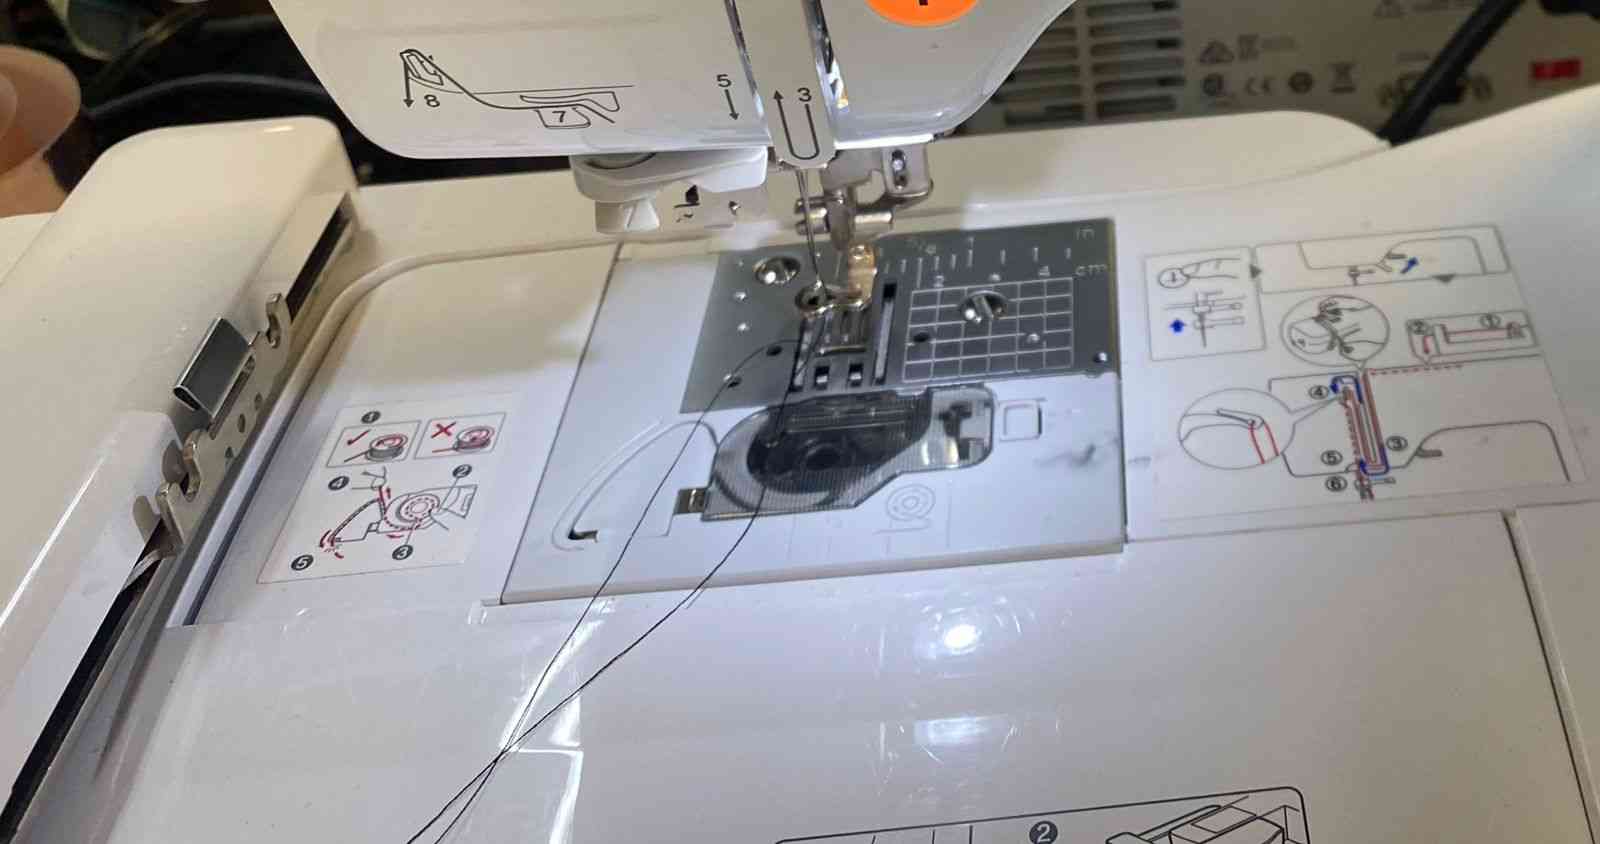
4. Thread the Upper Thread
- Place the main spool of thread on top.
- Follow the threading path (numbers 1–6).
- Use the automatic needle threader (press the lever or button).

5. Hoop the Fabric
- Place stabilizer behind your fabric.
- Position the fabric and stabilizer over the inner hoop.
- Place the outer hoop on top and press down evenly.
- Attach the hoop to the machine until it clicks into place.
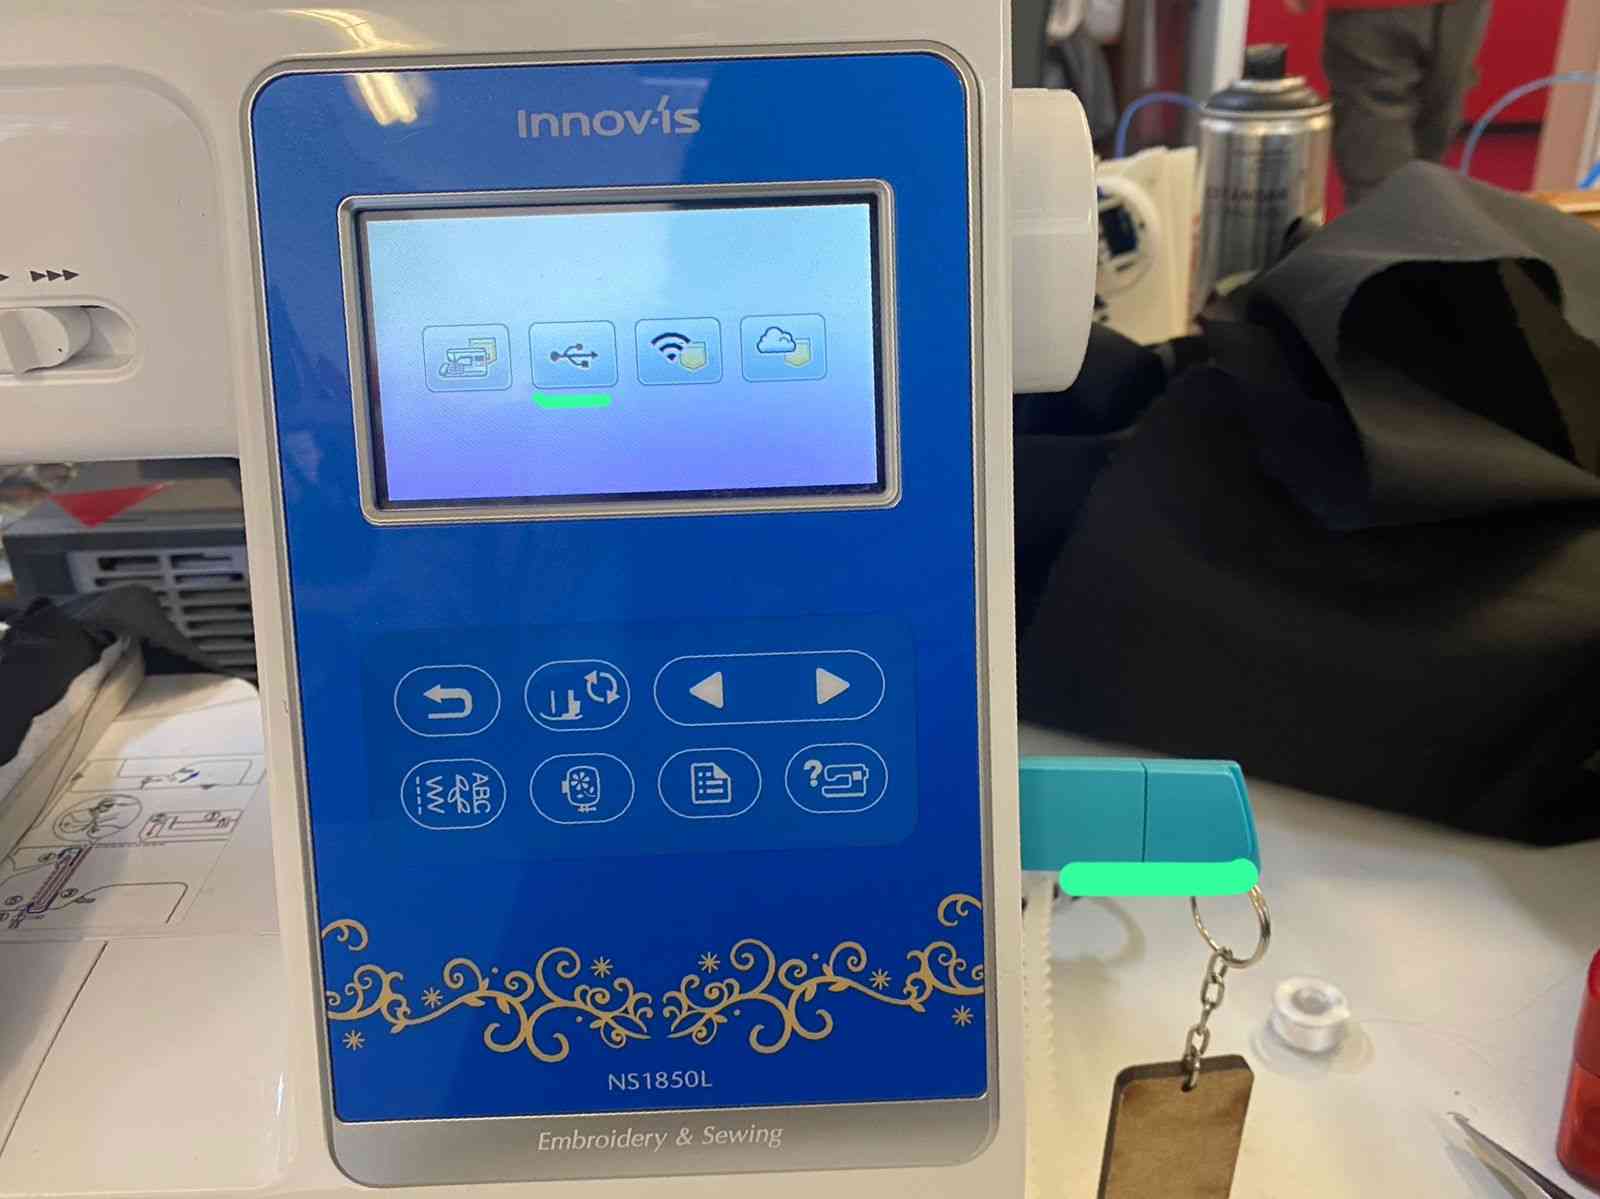
6. Insert the USB and Load the File
- Insert your USB stick into the machine.
- Make sure your file is saved in .PES format.
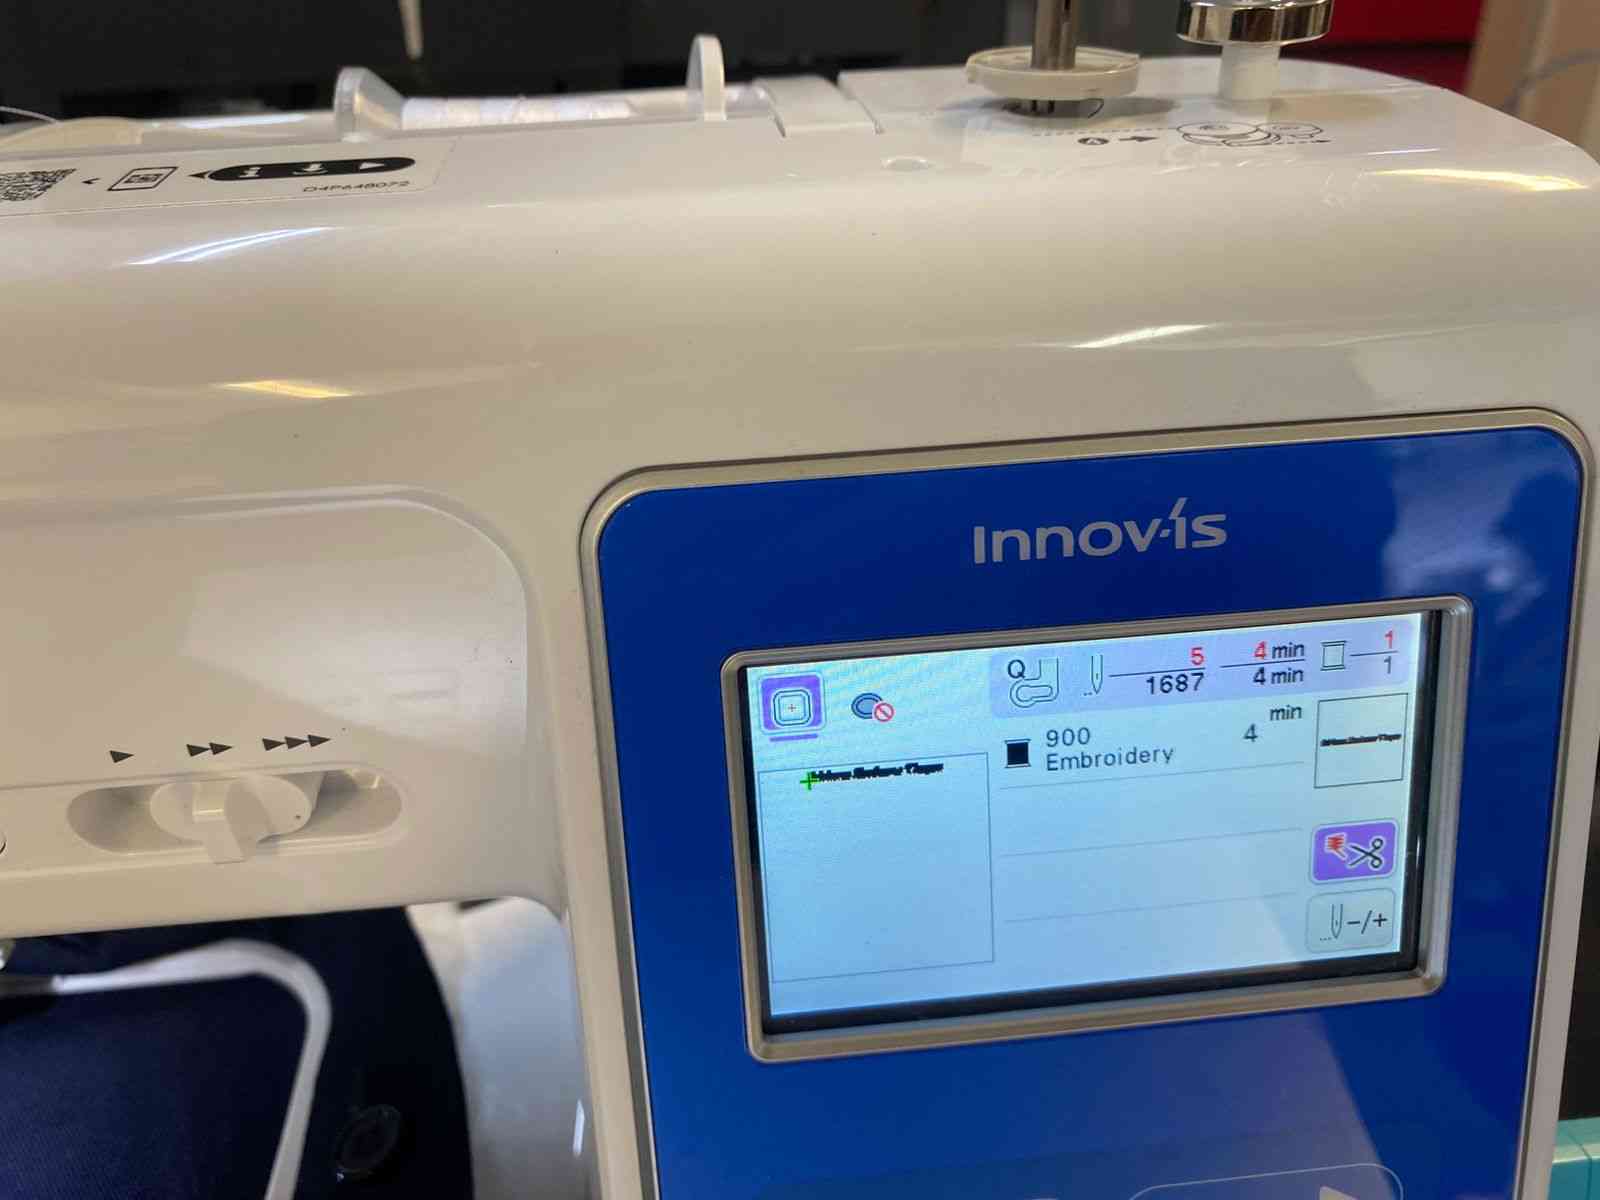
- On the screen, go to the USB icon and open your file.
- Tap on the design you want to embroider.

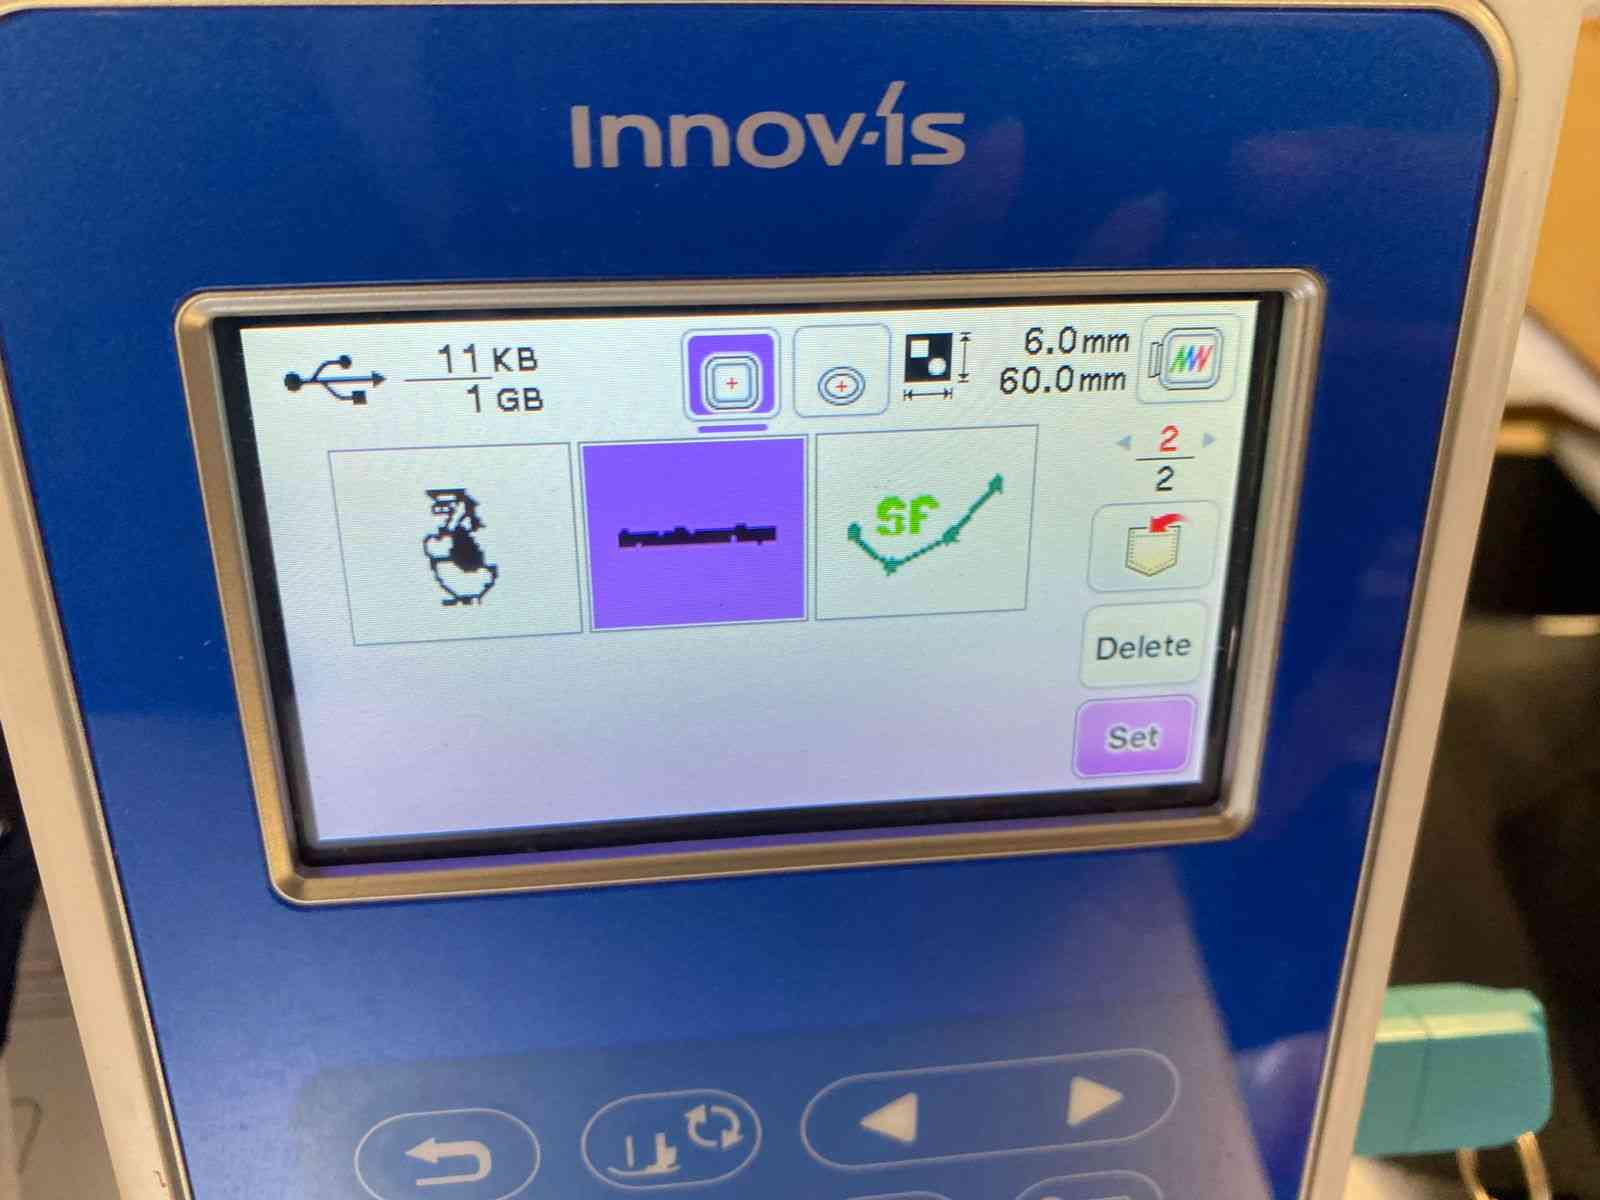
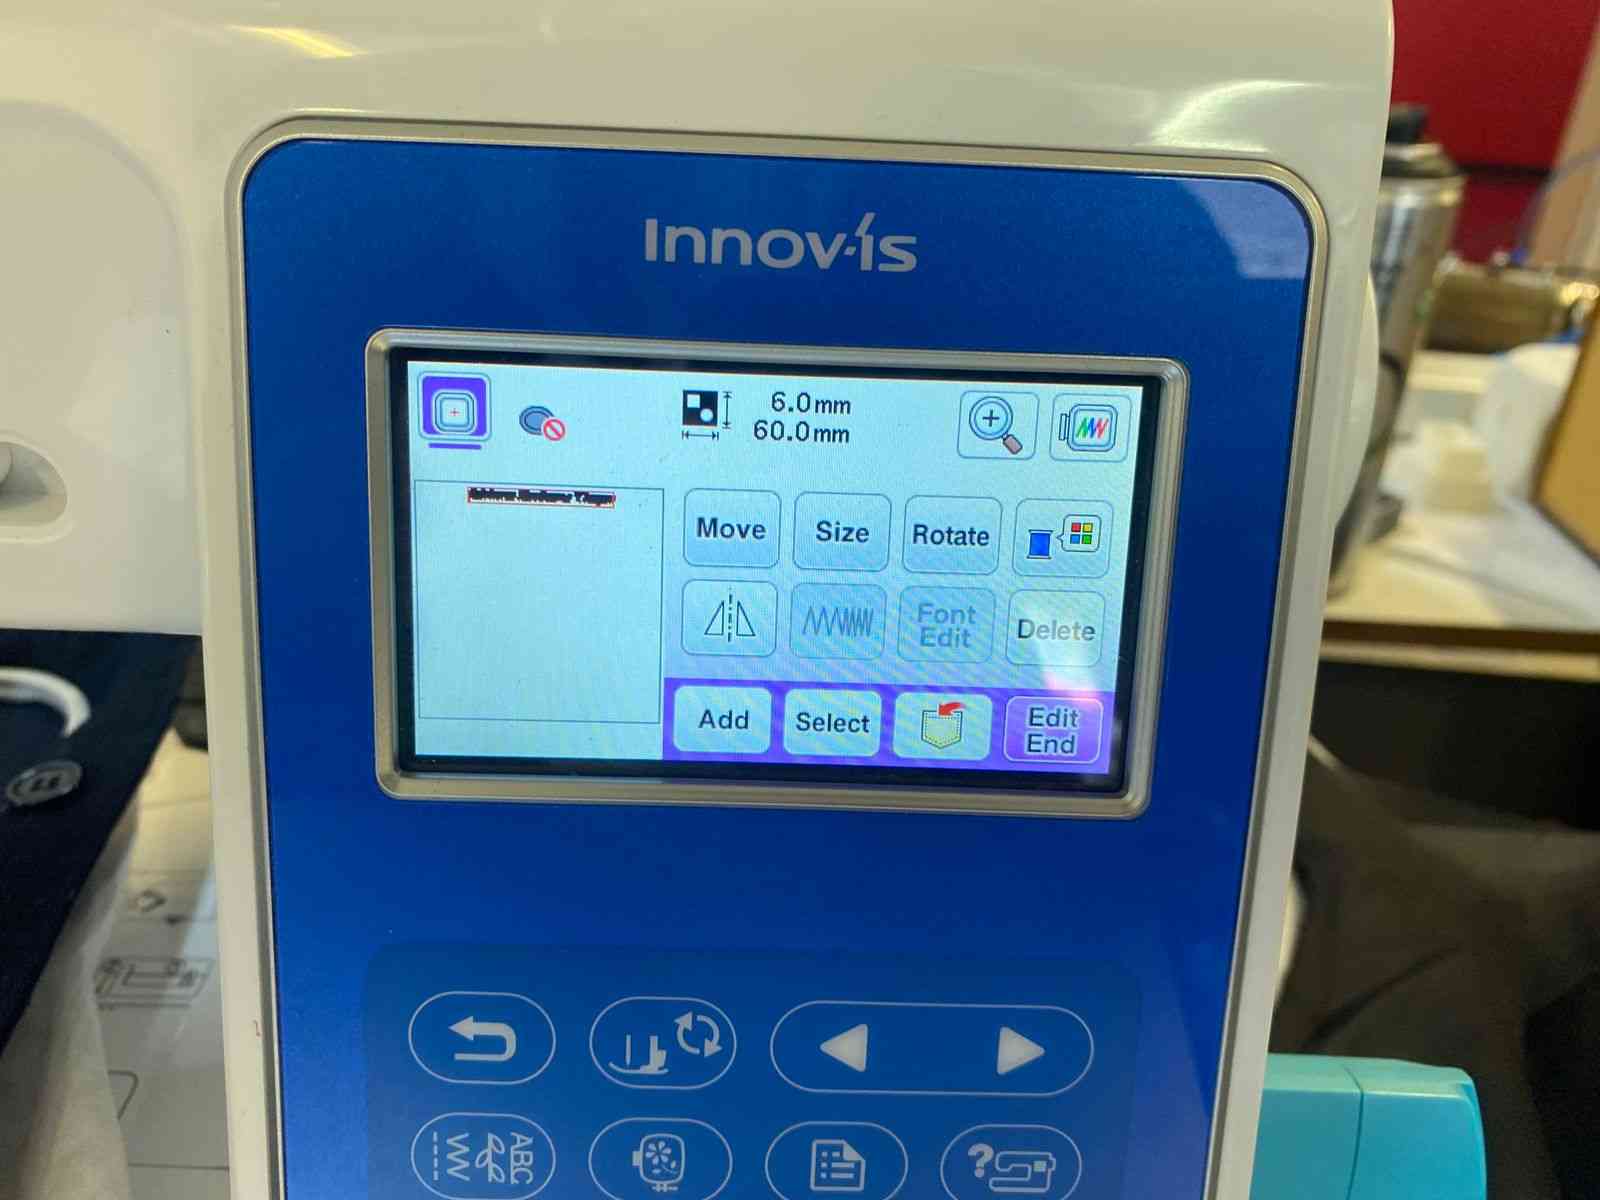
7. Position and Adjust the Design
- Once the design appears on the screen:
- You can move it using the arrow buttons.
- You can resize or rotate it if needed.
- Make sure it fits inside the hoop area shown on screen.
- Use the preview function to check that everything looks correct.
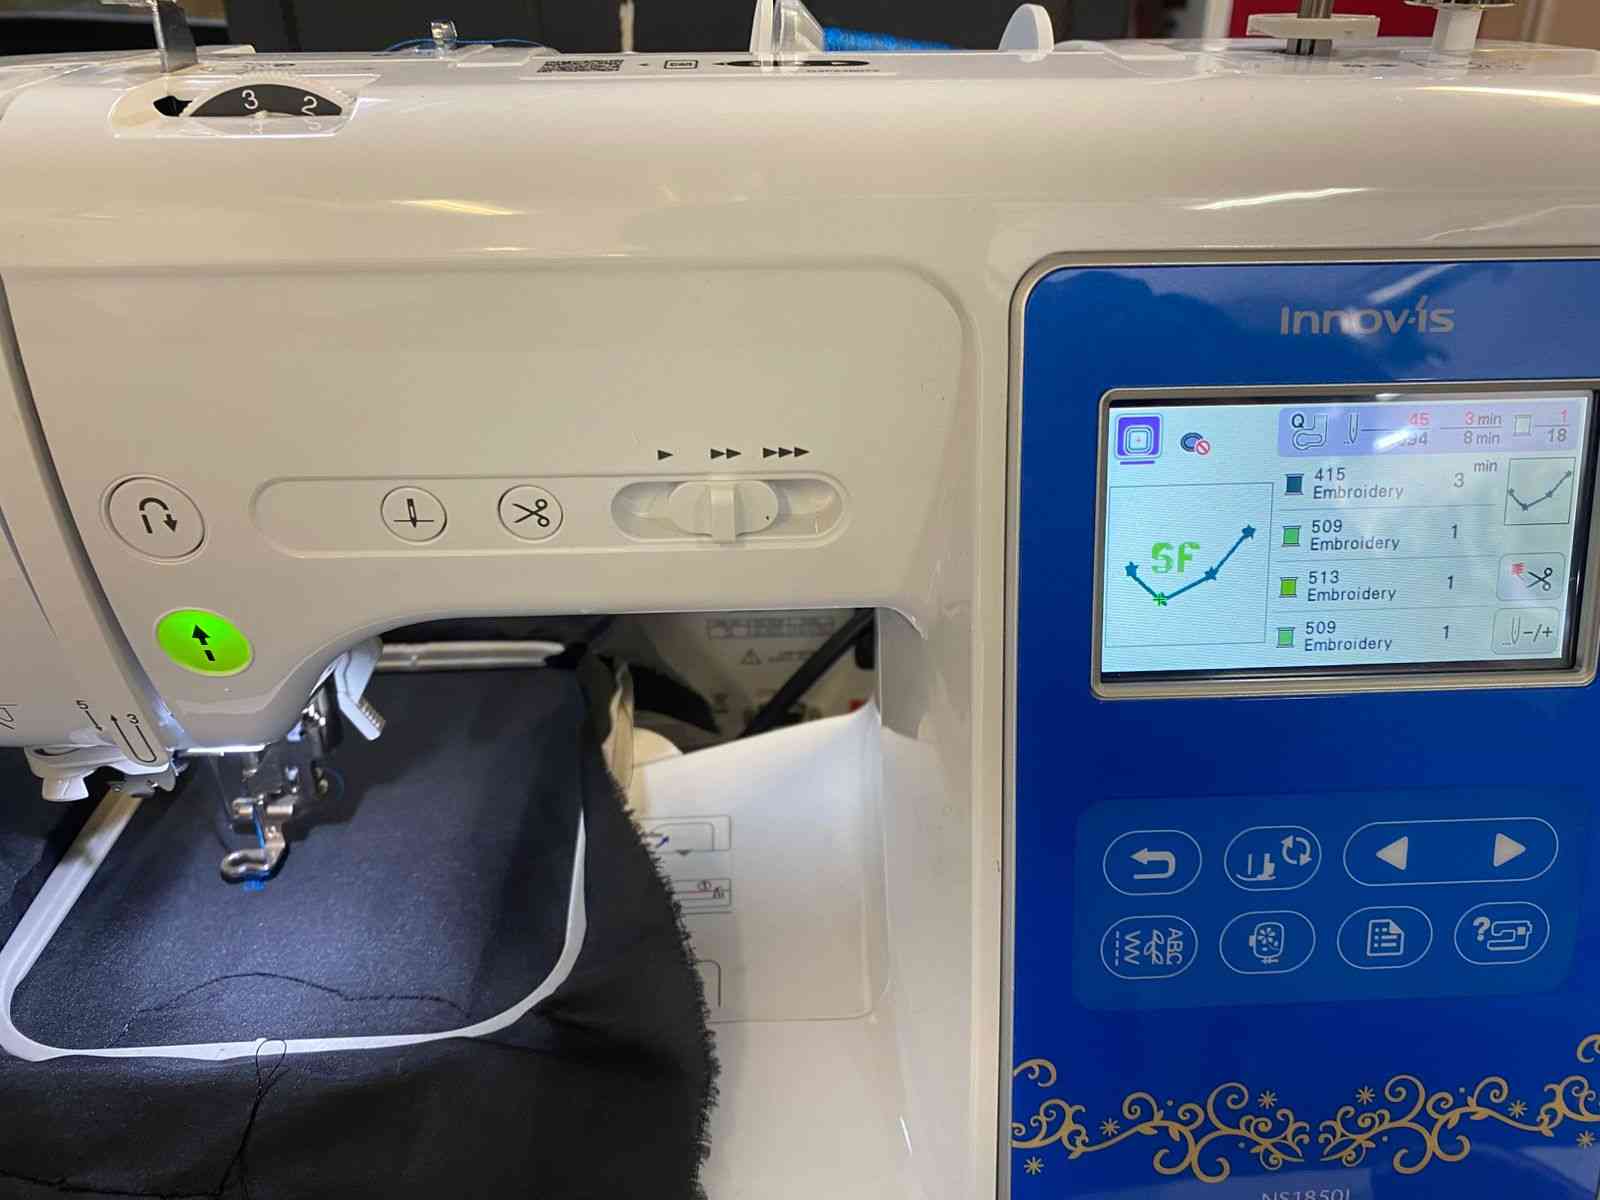
8. Start Embroidering
- Double-check that the fabric is tight, the thread is loaded, and the hoop is attached.
- Press the Start button.
- The machine will stop automatically when a thread color change is needed.
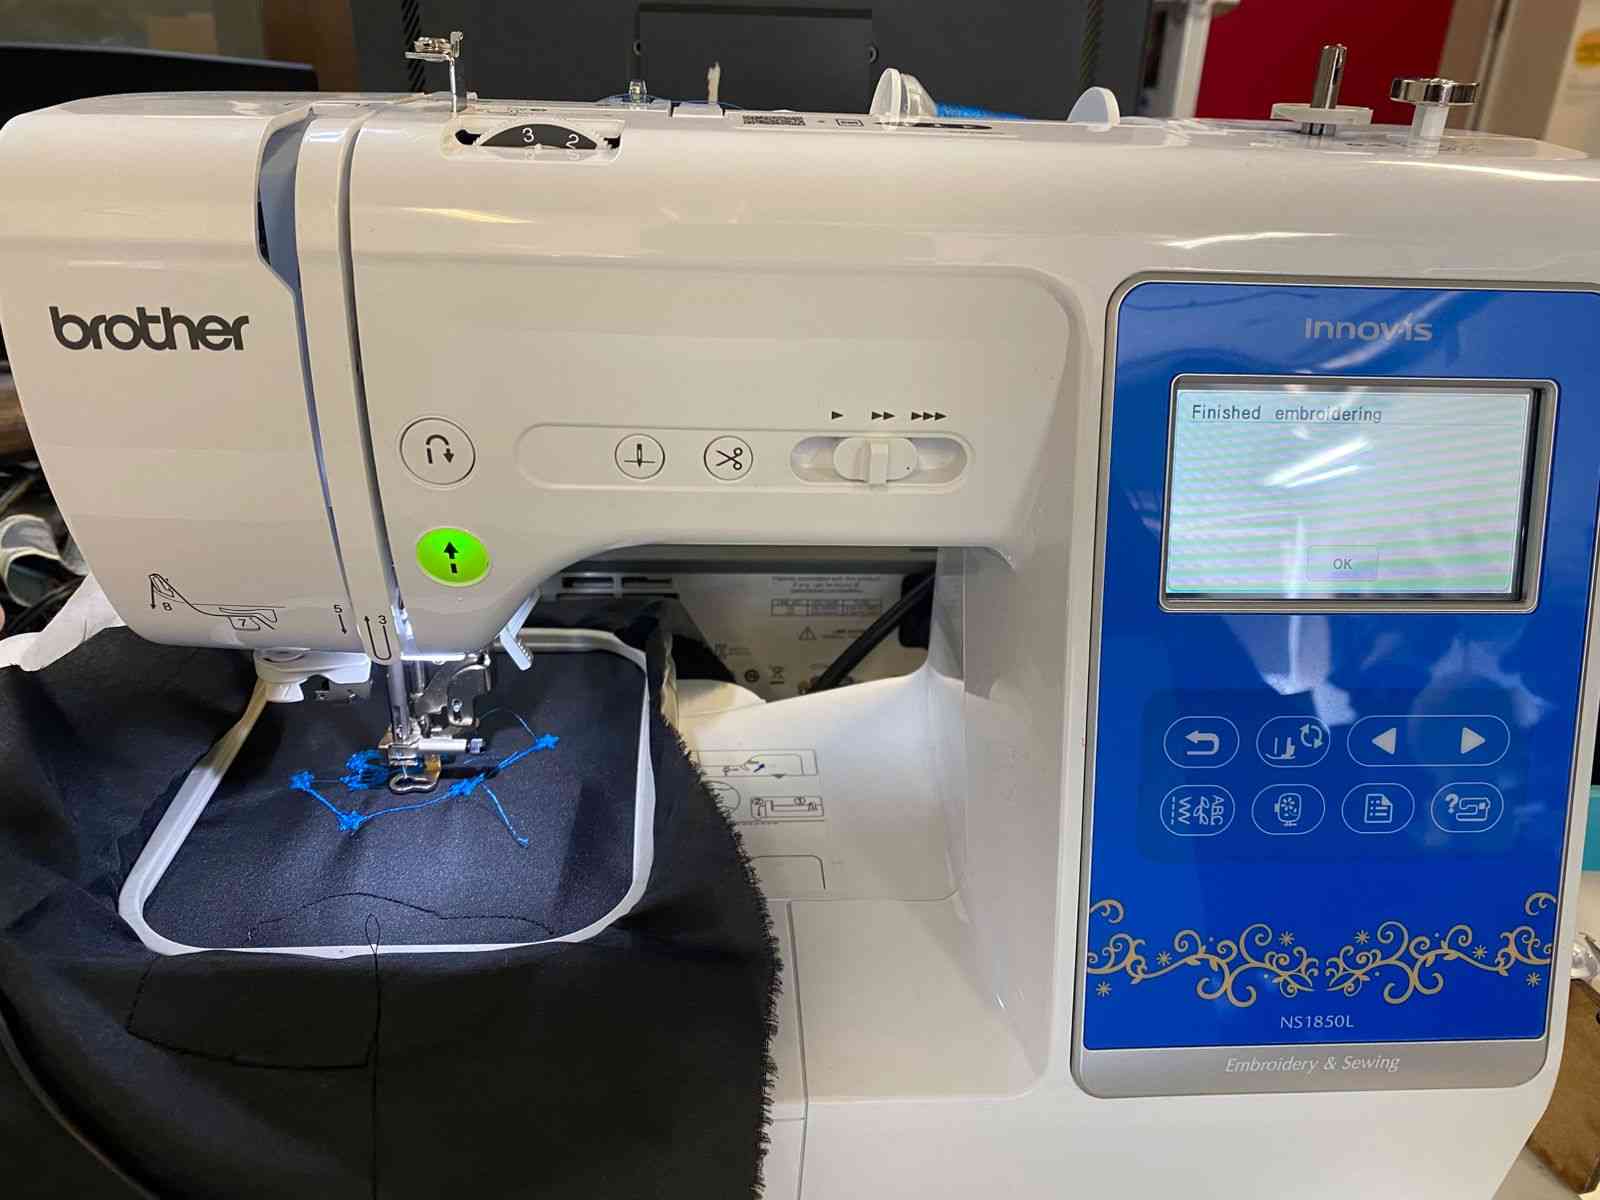
- When the embroidery is ready, the machine will stop.
Files
Conclusion
I enjoyed trying this machine and explored some of the possibilities using Inkscape. I look forward to using it in future projects.