- Design a mold around the process you'll be using, produce it with a smooth surface finish that does not show the production process, and use it to cast parts
To make my mold, which in this case will be a replica of the Fab Academy logo, I chose to use plaster as the base material and a CNC machining process based on an ArtCAM design. This digital fabrication process includes computer-aided design, CNC machining, and casting.
1.-3D logo design
I began designing the logo in AutoCAD software, as I wanted to work with an existing design that clearly
represented Fab Academy's identity. I used this base to draw the main contours of the logo in 2D, which
were then exported for 3D modeling in ArtCAM. This initial stage was key to accurately defining the
shapes and proportions that would be replicated in the final mold.
2.-Import into ArtCAM
The DXF file was imported into ArtCAM, and a positive relief 3D model was generated from the vectors, where the logo stands out from the surface of the block.
3.-Creating 3D relief and defining trajectories
The relief depth was adjusted, and modeling tools were applied to give volume to the design. The toolpaths were then defined, starting with roughing to
quickly remove material, followed by finishing to achieve greater detail and a smooth surface.
Toolpath Configuration in ArtCAM
Screenshot of the ArtCAM software during the setup of the toolpath for machining the plaster block.
The interface shows the selection of the cutting tool (End Mill 3mm), safety height, ramp movement, and material thickness (12mm).
Tool libraries such as “Roughing and 2D Finishing” and “3D Finishing” were also reviewed for optimal results.
G-code generation
After completing the setup in the program, the next step is to export the design in G-code (millimeter) format, a crucial step to ensure the machine can accurately interpret the machining instructions. This preparation stage is essential, as it ensures effective communication between the software and the machine, allowing the work process to begin smoothly.
Preparation of the plaster block
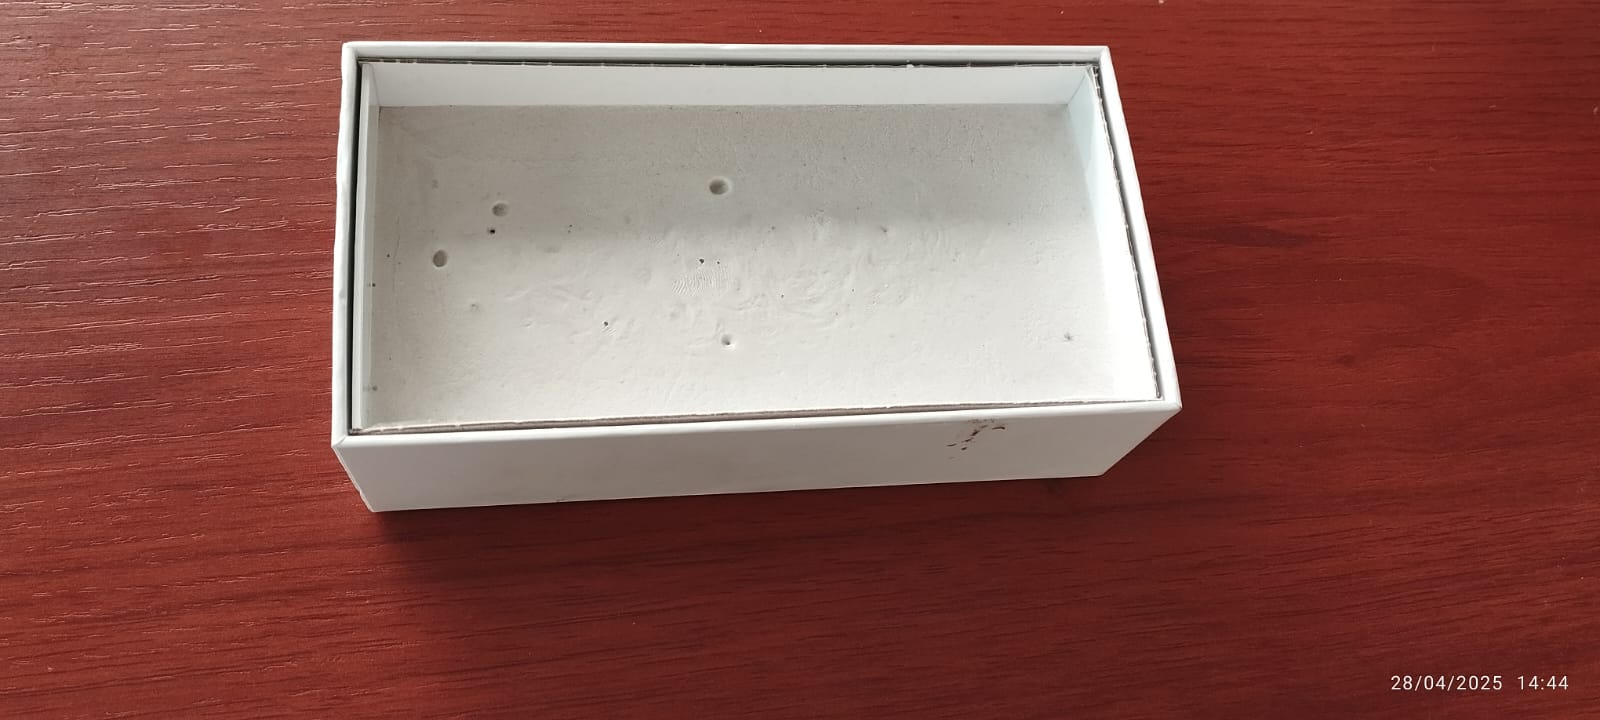
Before machining, I prepared the plaster block by mixing gypsum powder with water in the appropriate proportions until I obtained a homogeneous, lump-free mixture. I then poured the mixture into a rectangular mold, taking care to eliminate air bubbles, and let it dry completely for several hours until it hardened. This solid, flat block served as the base for machining the master mold using the CNC milling machine.
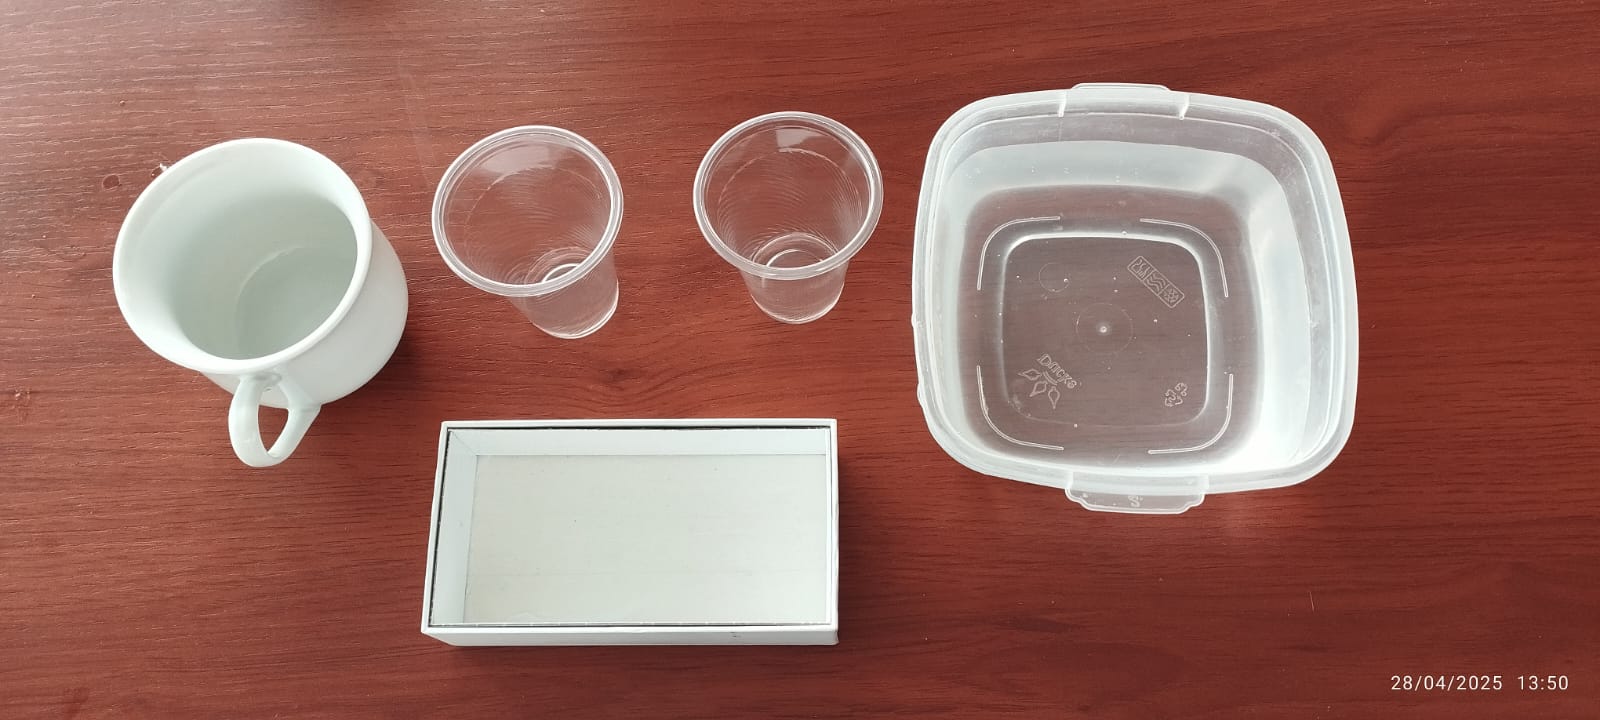
Components shown: plaster powder, water, mixing bowl, spatula, container mold, and level surface.
The plaster block is allowed to rest on a level surface for at least 24 hours to ensure complete drying before machining.
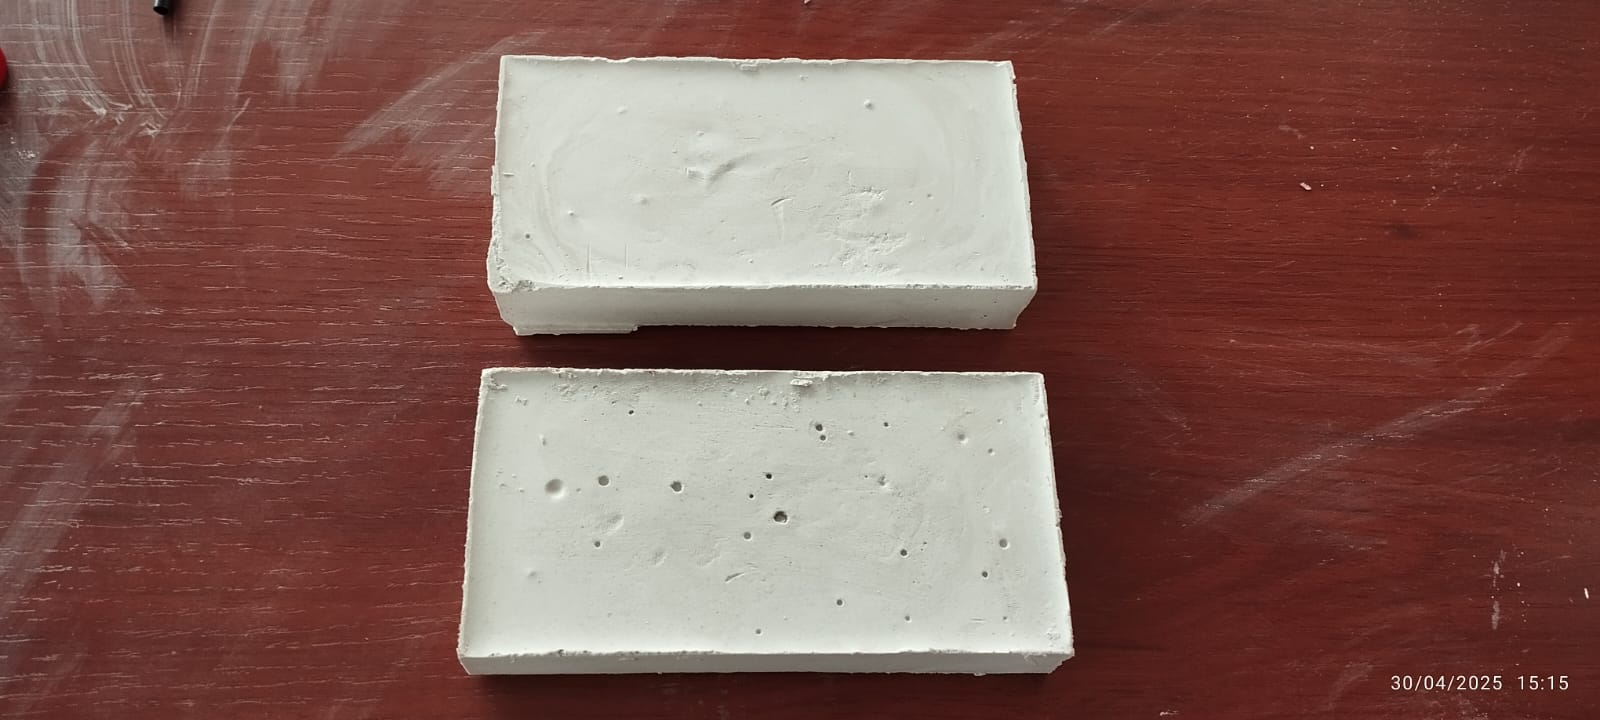
master plaster block ready for machining
Machining in plaster block
- The plaster block is fixed to the CNC bed.
- The G-code generated in ArtCAM is executed.
- The process is carried out in two phases (roughing and finishing) until the master mold is obtained.
CNC Machining Demonstration of a Plaster Mold
The video included in this section shows the complete CNC machining process of the plaster mold.
You can see how the machine executes the toolpaths previously generated in ArtCAM, beginning with roughing,
where material is removed in large volumes, and continuing with finishing, which profiles and details the positive relief logo.
This visual record allows a clearer understanding of the system's operation and the final mold result.
.jpeg)
we proceed to clean the mold
.jpeg)
Our positive part mold is ready
Negative Mold Preparation
For this process, For this process, I used paraffin wax as a negative mold, as it is a solid, white or transparent substance derived from petroleum. It melts easily at temperatures between 46 and 68°C, making it ideal for modeling, candlemaking, and casting. It is easy to demold, flexible, and reusable. Below are the steps I followed to fill the plaster mold with melted wax.
.jpeg)
the melted wax was applied to the plaster
.jpeg)
The wax is left to cool for an average of 2 hours, until it hardens.
.jpeg)
Once hardened, the wax can be removed from the plaster mold.
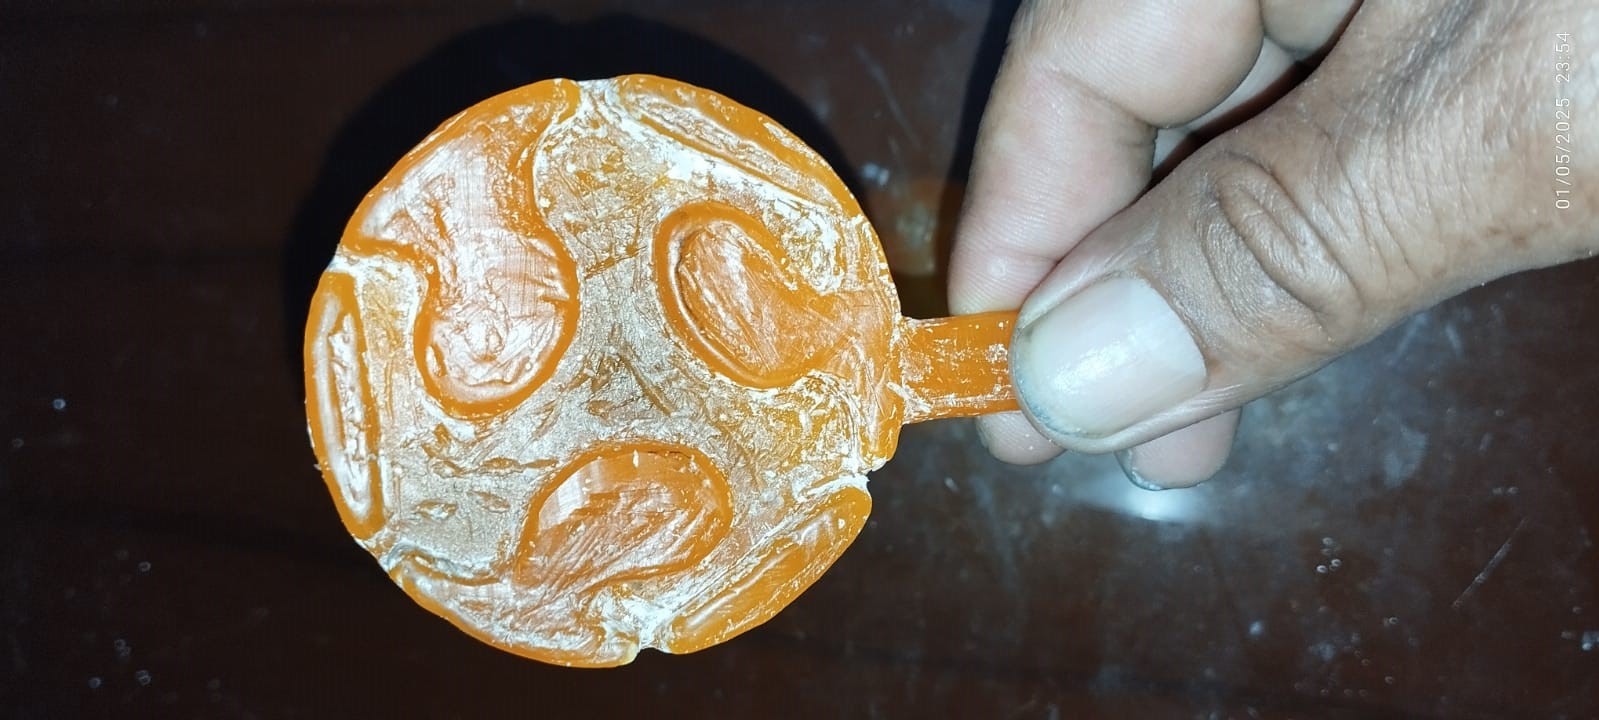
Ready, our mold is perfect!
Workflow for Silicone Molding with 3D Printed Molds
1. Mold Design
The piece, in this case a connecting rod type arm, was obtained by downloading a 3D model from an online source.
The model was then reviewed and prepared for fabrication, including any necessary adjustments before proceeding with 3D printing or CNC machining.
2.- 3D printing of the mold
Then import the 3D design into Bambulab Studio. The mold was 3D printed using PLA filament to obtain the exact cavities that will shape the poured silicone. After cooling, the parts were carefully removed from the print bed.
Light cleaning or sanding was performed, if necessary, to remove any burrs or imperfections.
Preparation for printing
The printing parameters were configured as: material type, fill, resolution and supports.
The video shows the mold printing process
3.-Mold Preparation
Both halves of the mold were cleaned, and a release agent was then applied to facilitate removal of the cured piece.
- The two mold halves were assembled and secured using rubber bands or screws.
- A mold release agent was applied to the internal cavity to ensure easy removal of the cured piece.
- Liquid silicone was prepared and poured into the mold through the top filling channel.
- The mold was left to cure for several hours, depending on the type of silicone used.
Did you have any problems?
While creating the plaster mold, one of the main issues I encountered was the drying time.
When I poured the plaster mixture into the mold, it took longer than expected to fully harden.
This raised concerns about whether the mixture was properly prepared or if factors like room
temperature or water ratio were affecting the process.
Despite following the correct water-to-plaster ratio, the setting was slower than expected,
likely due to low ambient temperature and excess water. After allowing more curing time, the
mold hardened properly, and the casting was completed with the desired finish.
Conclusions
In conclusion, this week has been quite productive. I enjoyed making both positive and negative molds, and also being able to use and test different materials. In my case, I made a mold combining plaster and wax as part of an artisanal casting process. First, a mixture of plaster and water was prepared and poured over a model to create a positive mold. This mold was then used to create my design. I used ArtCAM to design my plaster mold and then machine it on a CNC. Once hardened, molten wax was applied to the plaster mold, forming a detailed figure with the desired shape.
After the wax cooled and solidified, a solid replica was obtained that can be used as a model for techniques such as lost-wax casting. This procedure allows for the manufacture of pieces with a high level of detail and is ideal for low-volume artistic or technical processes.
Link to files used this week
1. CNC FAB LOGO.cnc
2. Super Jarv.stl


.jpeg)
.jpeg)
.jpeg)
.jpeg)
.jpeg)
.jpeg)
.jpeg)
.jpeg)
.jpeg)
.jpeg)
.jpeg)
.jpeg)
.jpeg)
.jpeg)