
Wildcard Week
For wildcard week, I explored vacuum forming using the Mayku FormBox. I designed a custom volume control knob for a rotary encoder (used in my final project), modeled it in CAD, and created a two-part mold using vacuum forming sheets
The process that I dedcided for my Wildcard Week is making moulds using vacuum forming. The process involves 3D printing a positive form of the required end product and then vacuum forming it and then resin casting it to get the required end product. The process is not covered in the rest of the Fab Academy weeks, that's why I wanted to explore it in the Wildcard Week.
CAD Design
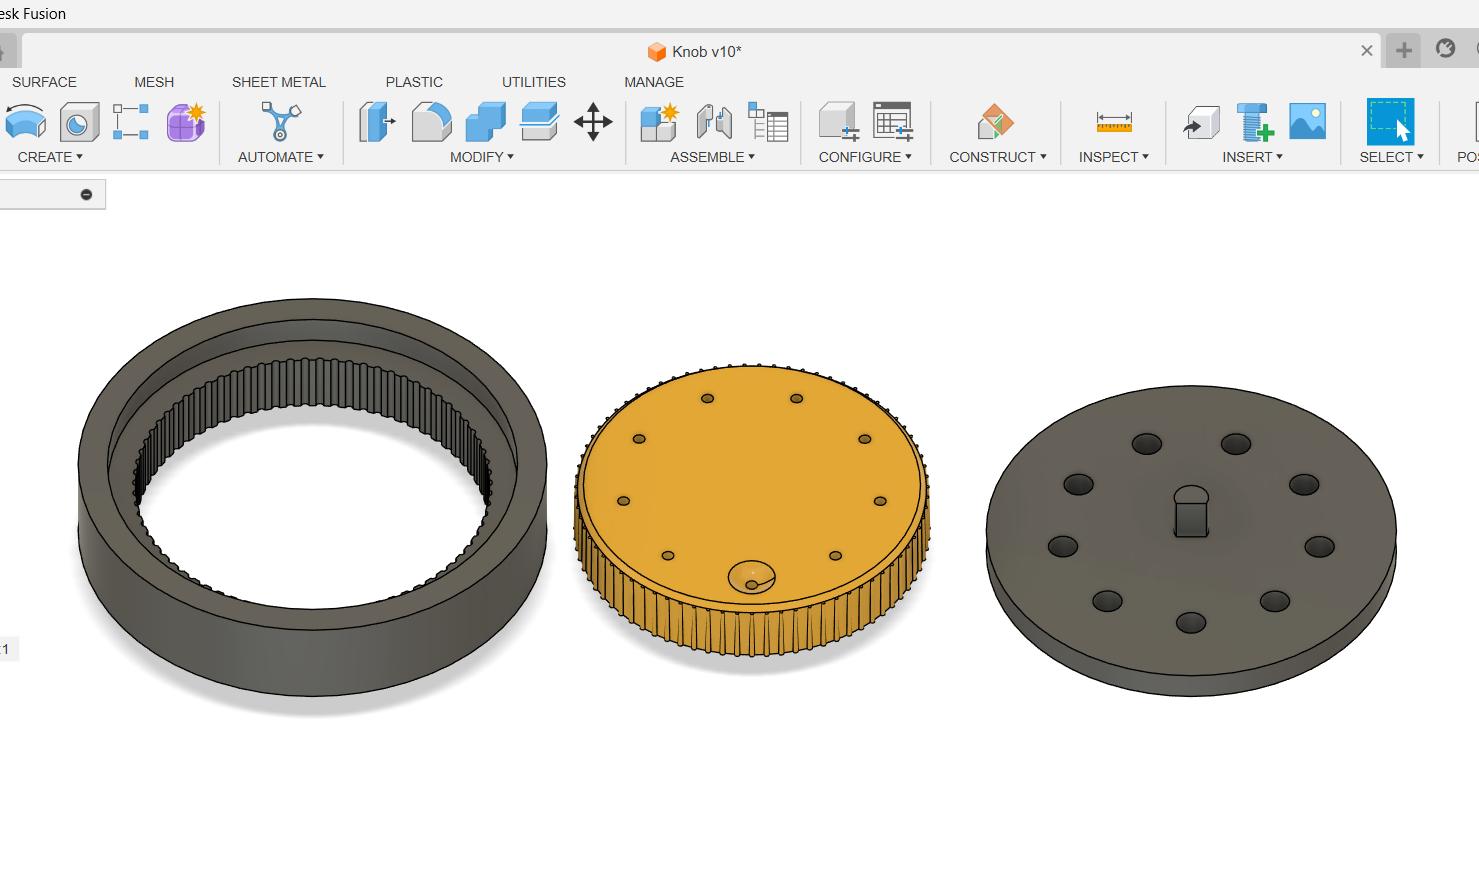
I used Autodes kFusion 360 to model the volume knob. The design was created with both form and function in mind, matching the retro-futuristic theme of my final project while fitting securely on a standard rotary encoder shaft. To prepare for mold making, I designed the knob in a way that would allow easy casting and de-molding, incorporating appropriate draft angles and splitting it into two halves for a two-part mold.

Design for Vacuum Forming
The Mayku Formbox comes with a manual which includes all instructions for using the machine, it also includes a section which talks about the design rules and tips.
Mayku FormBox Starter KitWhen designing for vacuum forming, it's important to consider the following:
- Rule 1:Remove all undercuts
- Rule 2:Add draft angles
- Rule 3:Add air holes
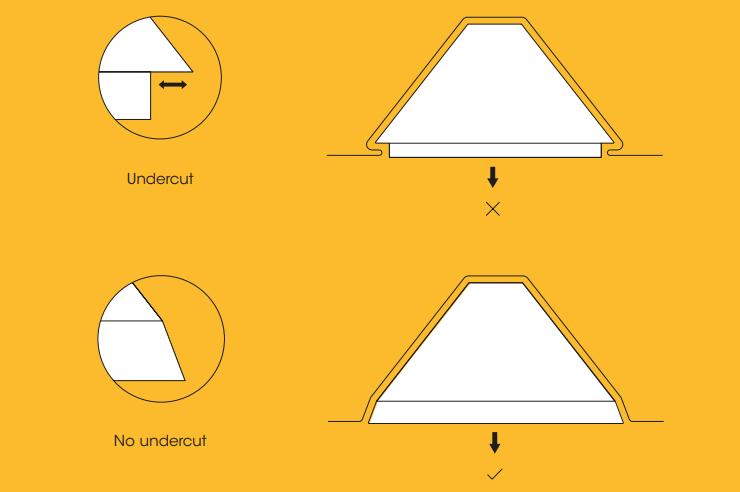
Photo credit: Mayku Formbox Manual
Undercuts make it difficult to remove templates once they have been formed. Make sure your design doesn't have any ledges or indents that could stop a template from being removed.
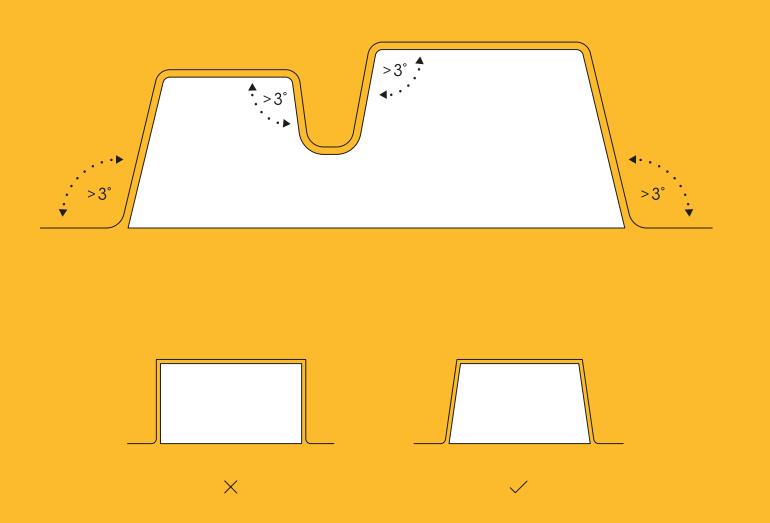
Photo credit: Mayku Formbox Manual
Draft angles are slopes on the edges of your templates. They help you remove templates from the vacuum form very easily. The slopes on the edges of your forms should point outwards not inwards, so templates come out with little effort.
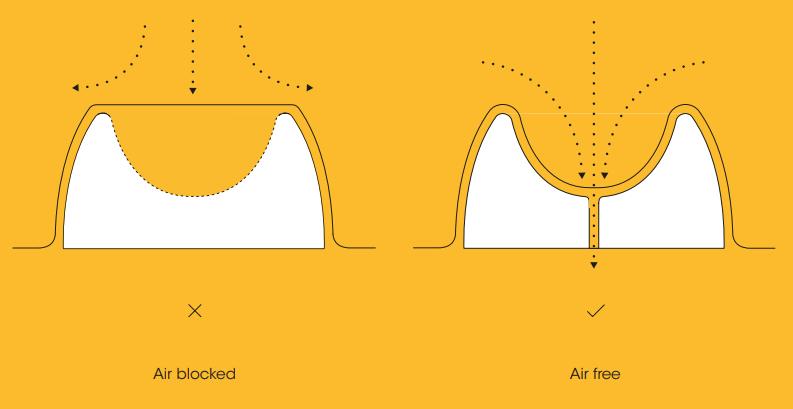
Photo credit: Mayku Formbox Manual
Adding air holes will allow air to flow freely through your design to the vacuum plate. This will help your Mayku Sheet get into the tiniest of spaces.
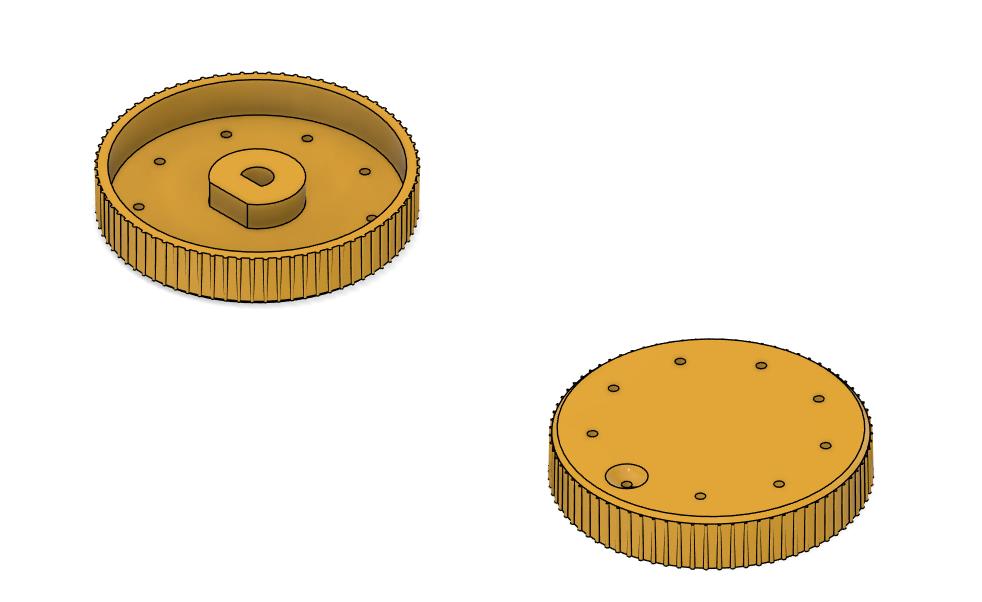
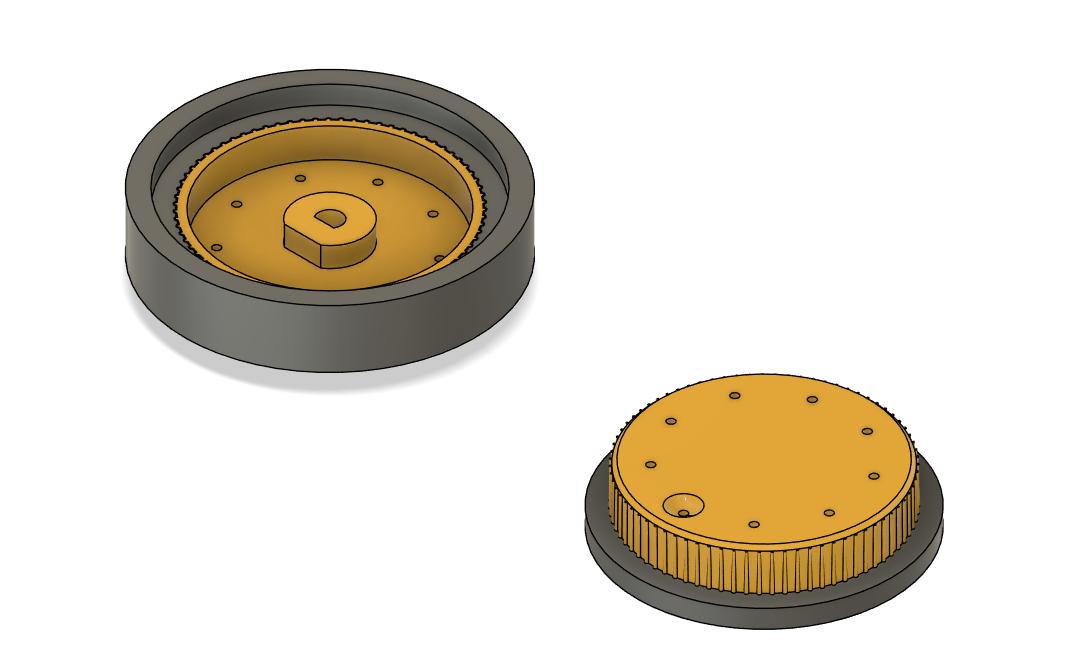
I designed the knob according to my needs in Fusion 360 to fit the rotary encoder, for volume control. I duplicated the knobs for making the two separate vacuum formed molds, to get the inner and outer features of the knob.
Designing Process
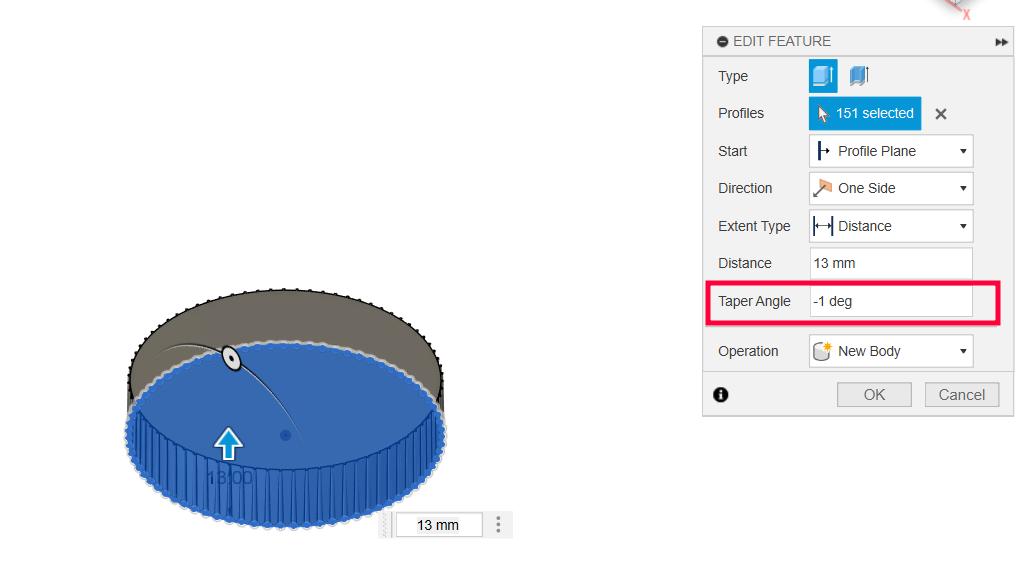
The first thing that you need to design for the process of vacuum forming is make sure there is a minimum draft angle of 3 degrees on the sides of the design. This is to ensure that the formed part can be easily removed from the mold after vacuum forming. The draft angle allows the formed part to slide off the mold without getting stuck, which is crucial for successful vacuum forming.
But I gave only one degree of taper angle here.
Air Holes
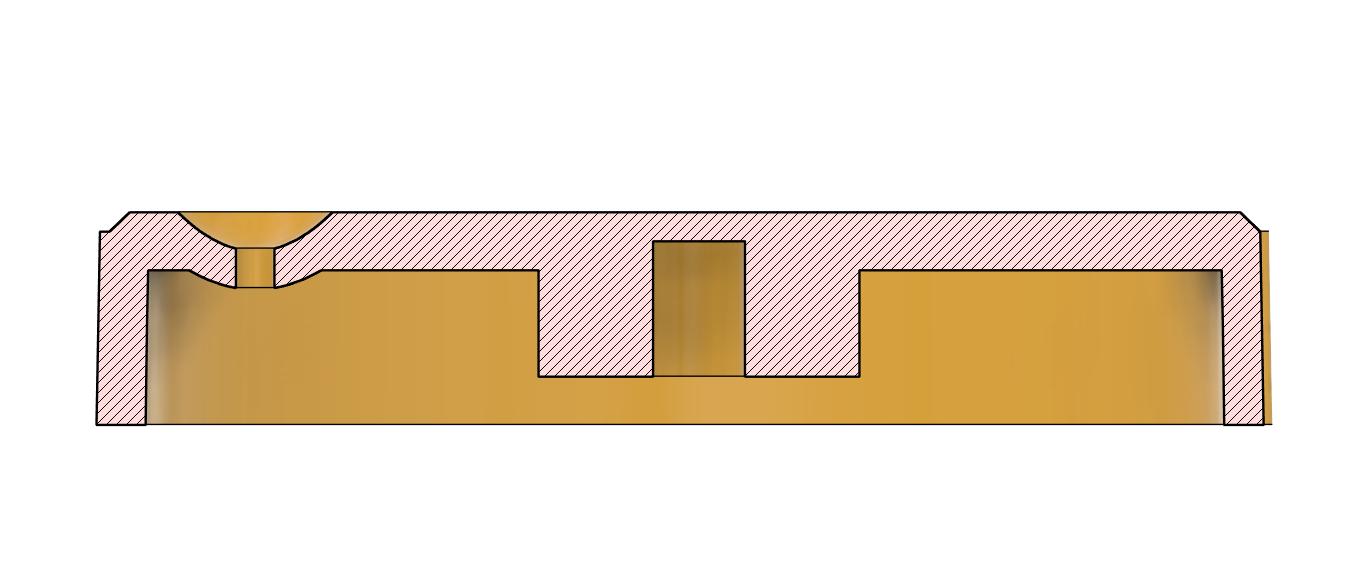
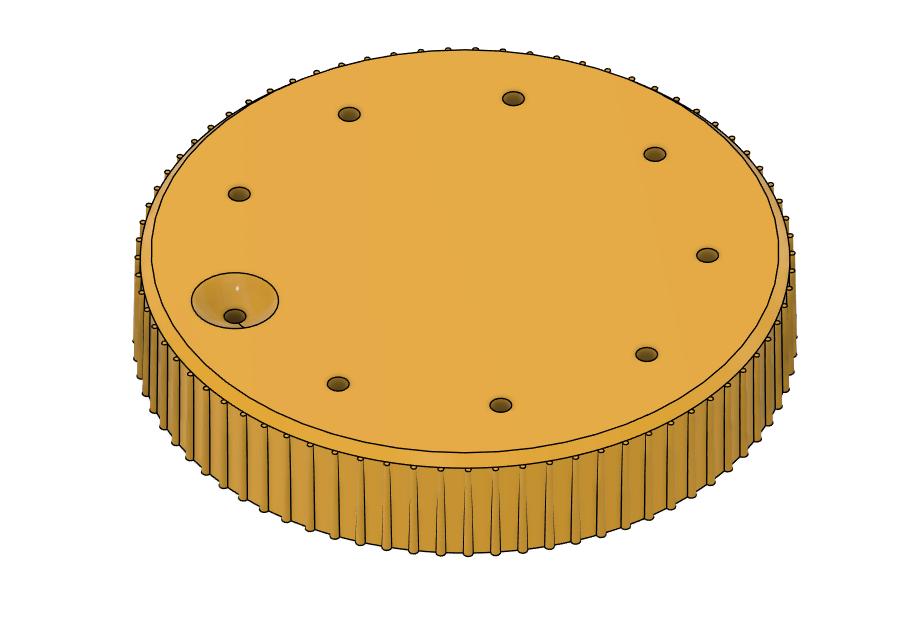
The next important features are Air Holes. Air Holes are necessary for getting negative features in the design while Vacuum Forming. Therefore I have added multiple holes on the surface to get the inside features of the knob and one for the depression on the top surface. Lack of air holes would result in bad mold outputs with incomplete features.
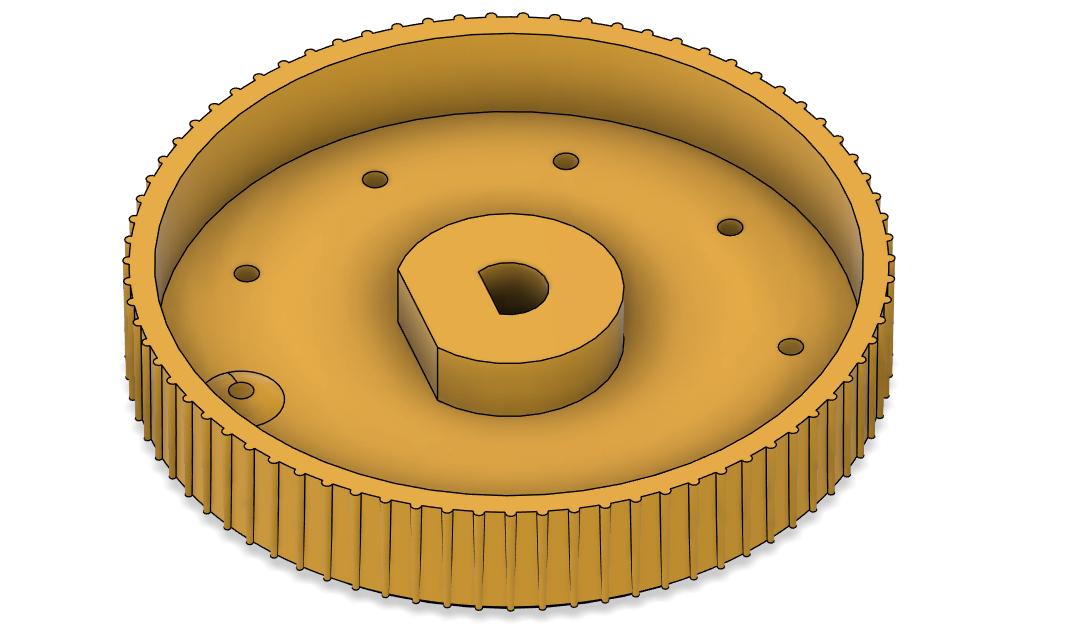
The extrusions on the base knob are for matching the molds when casting so that we don't need to care for aligning the the two part mold.
This is the final part ready for 3D Printing
3D Printing
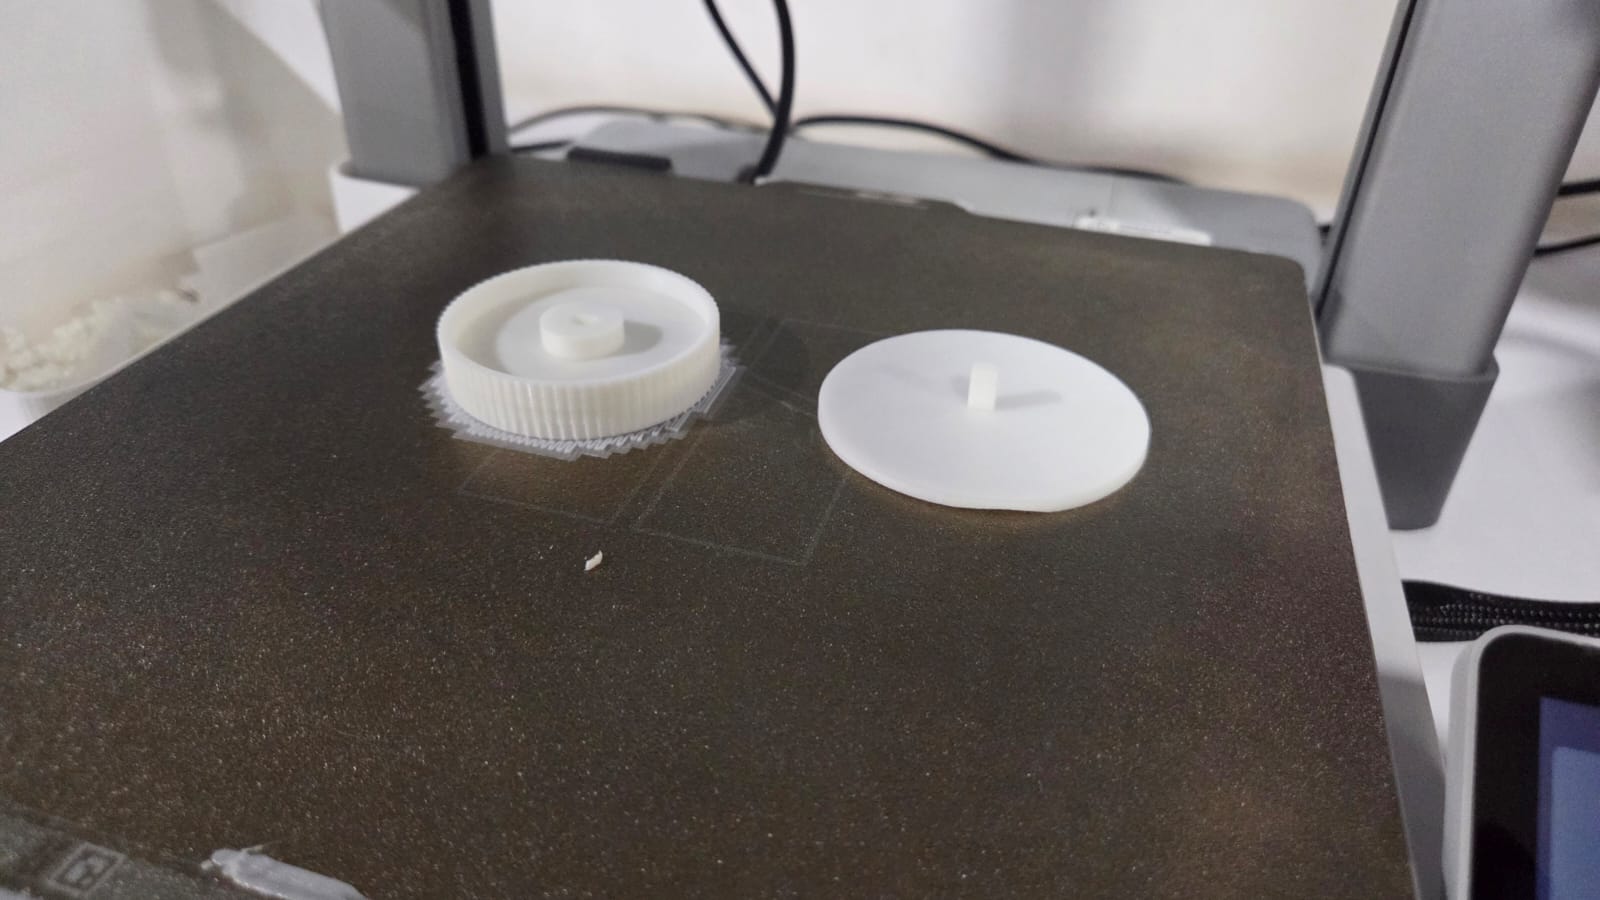
For the 3D printing process, I used a BambuLab A1 printer with PLA filament. The knob was printed in 3 parts. The main knob outer surface and two supporting structures for forming two different molds: One for the upper/outer Surface of the knob and one for the inner surface of the knob.
Vacuum Forming
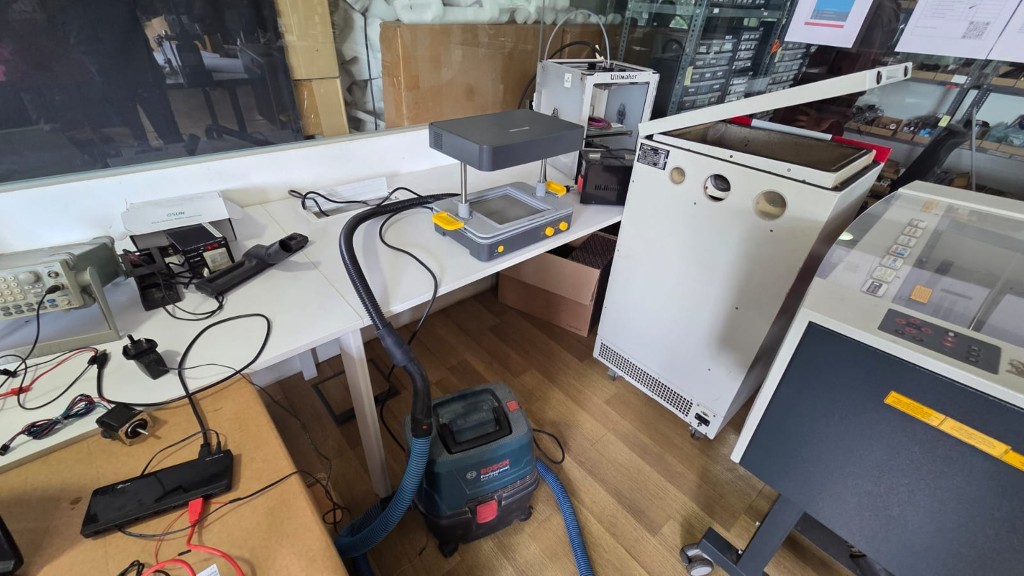
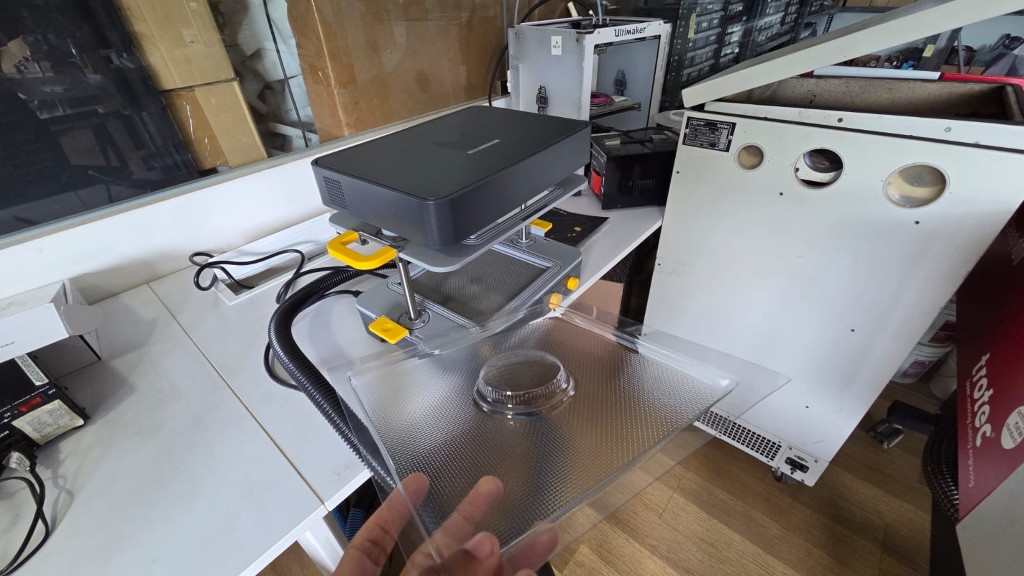
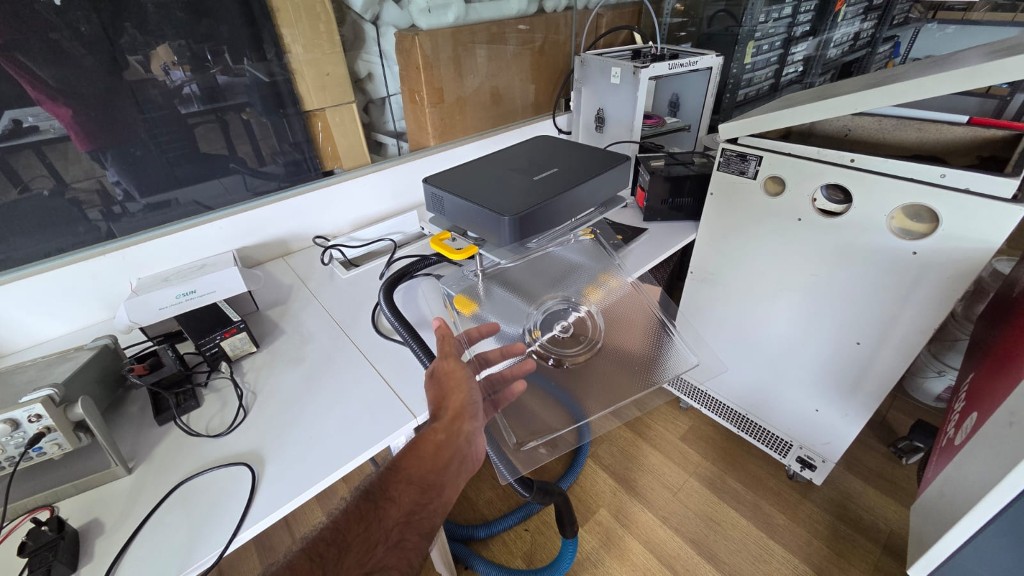
For vacuum forming I used the The Mayku Formbox, a compact vacuum forming machine that allows for easy and efficient vacuum forming at home or in a workshop.
Mayku FormBox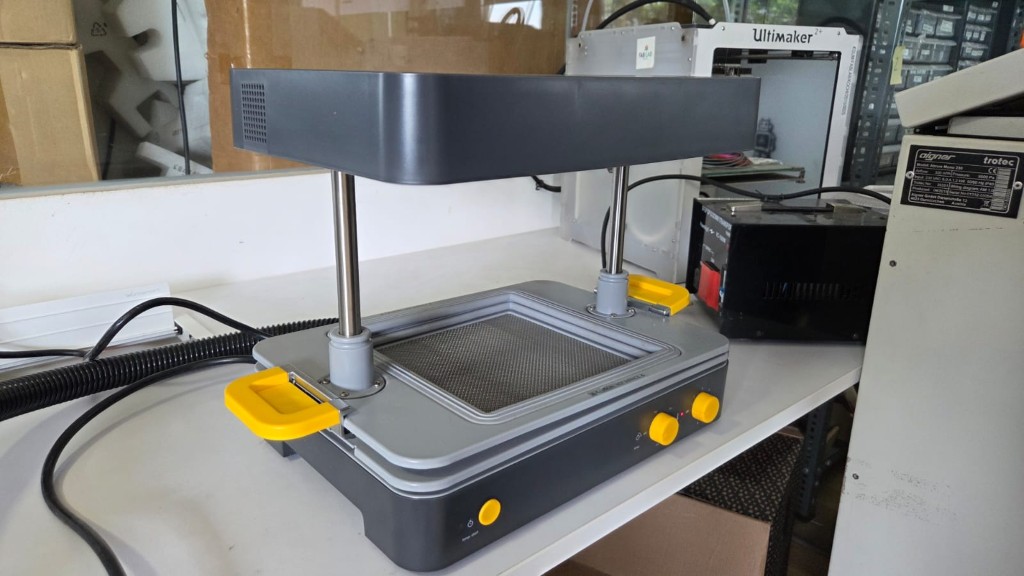
Vacuum forming is a process where a sheet of plastic is heated until it becomes pliable, then stretched over a mold and vacuumed down to create a shape.
Mayku FormBox Starter ManualThe above link is for the Mayku Formbox Starter Manual
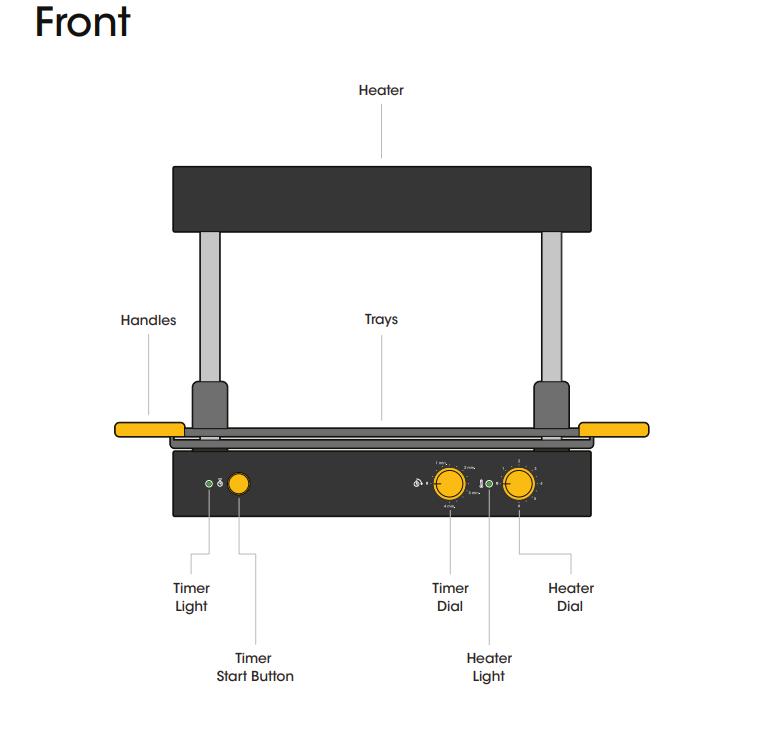
Photo credit: Mayku Formbox Manual

Photo credit: Mayku Formbox Manual
The Mayku FormBox needs to be attached to an external Vacuum Pump for suction which is not provided with the Machine. It needs to be separately attached and it is crucial for the vacuum forming process.
Ther are two knobs on the front of the Mayku FormBox: Timer and Temperature. These need to be set according to the material used for vacuum forming. Each material has a recommended heating timing seting and temperature setting for best results.
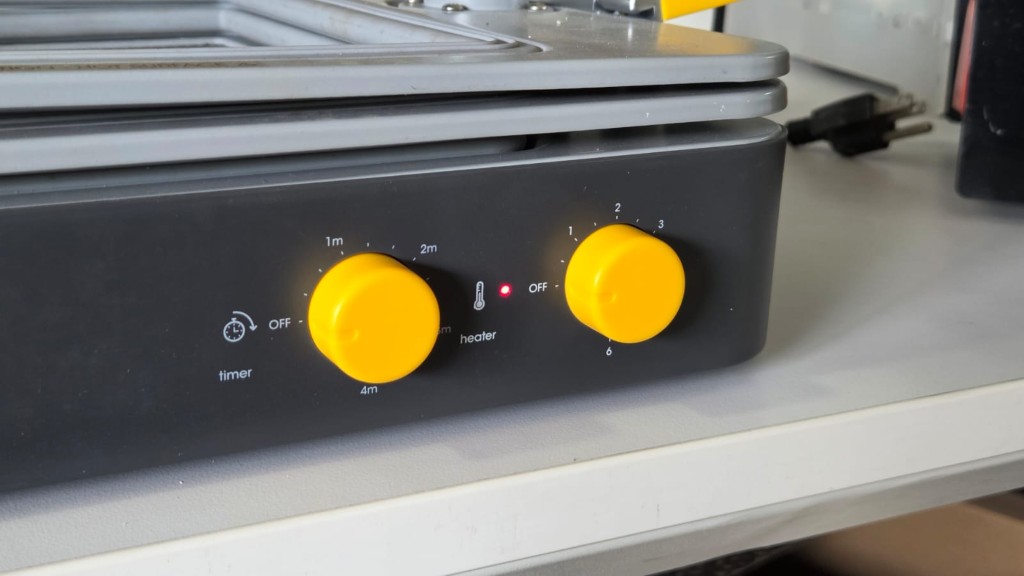
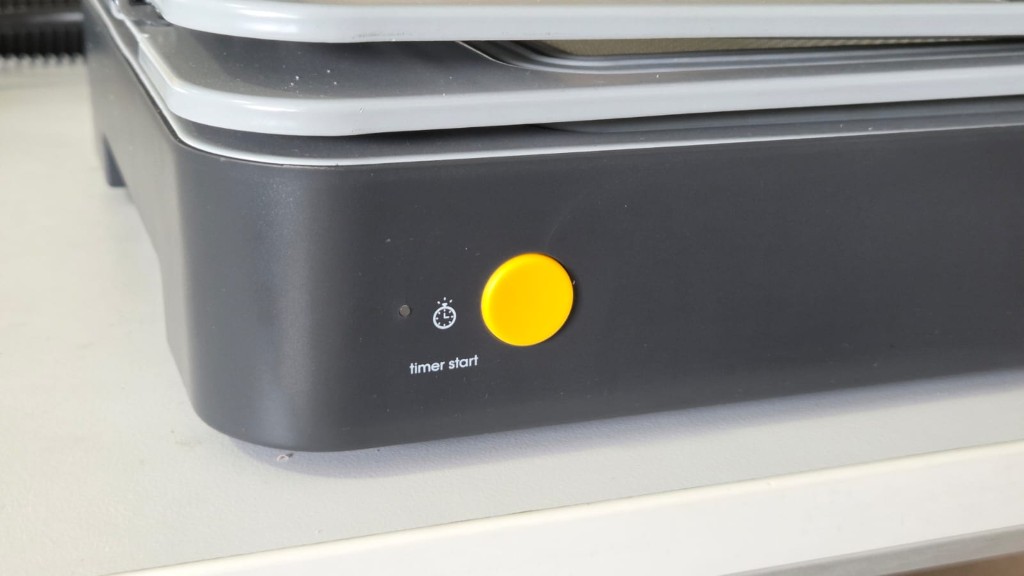
The Temperature needs to be set and the timer needs to be turned on using the Timer Start button on the left side of the front of the machine. The Timer LED indicates when the timer is turned on and when time is over. The LED blinks orange when thhe timer is running and turns green when the set time is reached.
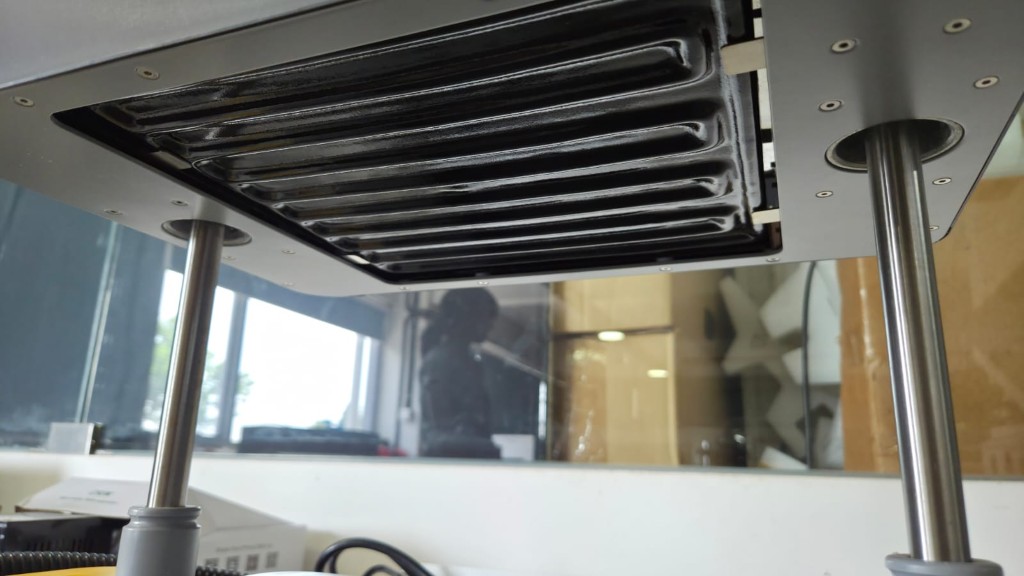
The heating element is on top of the Vacuum Forming Machine.
Materials
The Mayku Formbox can use a variety of materials for vacuum forming, I have used the Mayku Formbox sheets which are specifically designed for the Formbox. These sheets are available in different thicknesses and materials, allowing for a range of applications from simple molds to complex shapes. The below linked PDF includes the specificaions of the Mayku Formbox Compatible Materials which are sold by Mayku.
Mayku Formbox Material Spec Sheet Mayku FormBox Material Safety DatasheetThe material used here is called is Mayku Clear Sheets, which is made mainly of PETG.
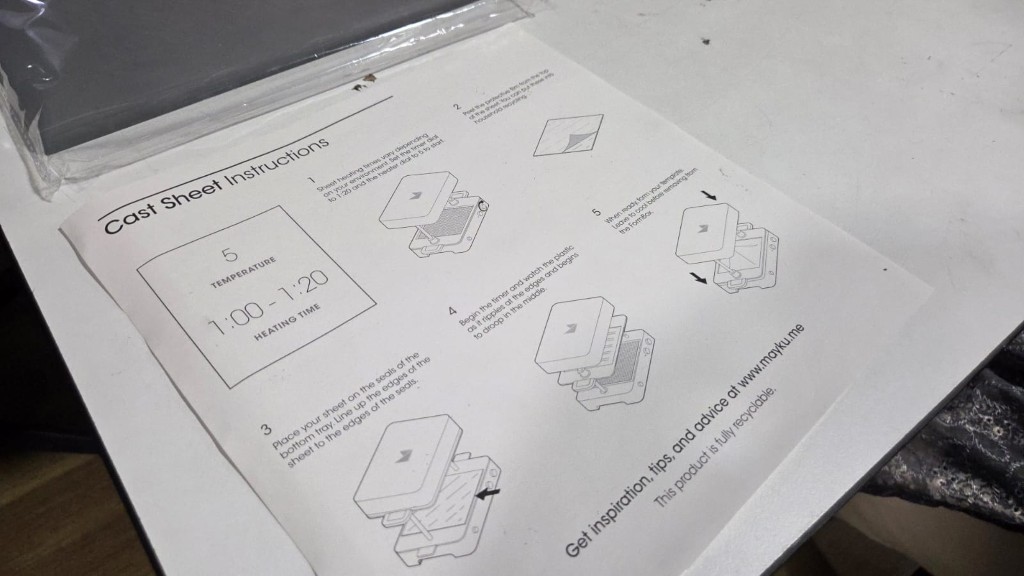
The Cast Sheet Instructions shows important information such as the timer and temperature settings.The Temperature needs to be set at 5 and timer between 1:00 - 1:20 mins. It alaso shows all the steps for vacuum forming.
Peel the layer on top of the clear cast sheet.

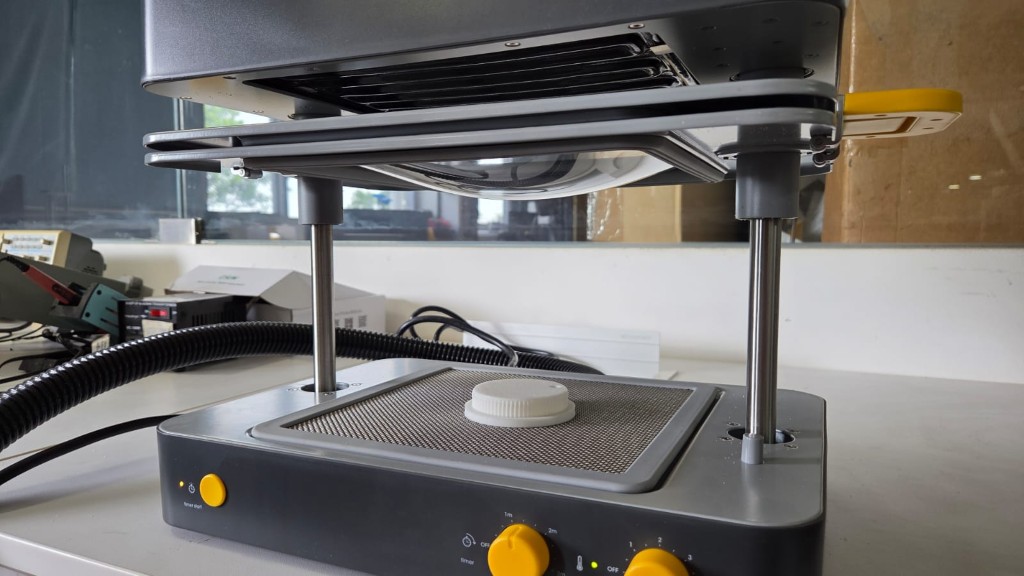
The cast sheet needs to be locked in the holder and then attached to the etop of the machine. It needs to be pulled up until the lever locks itself. The timer needs ro start, this starts the heating of the cast sheet.
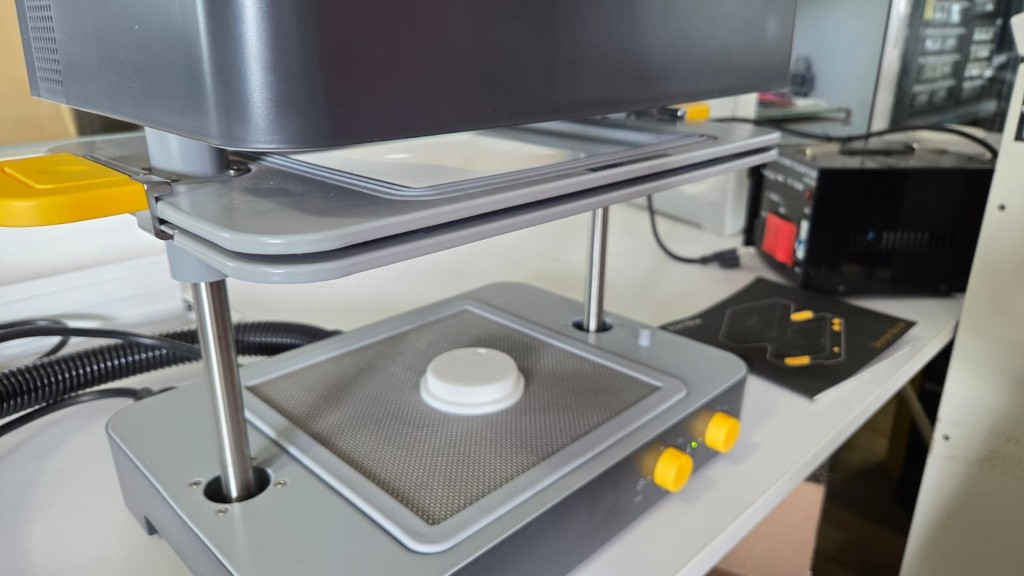
The Cast sheet can be seen slowling droping because of increase in temperture of the matterial. Wait for the timer to stop and then place the objeect to vacuum formed and pull the material down using the side handles.
The lowering of the material on the 3D Print is seen n the video below. The vacuum sucks all the air, thus forming the required vauum formed mould. Now the Cast sheet can be separated from the holder.
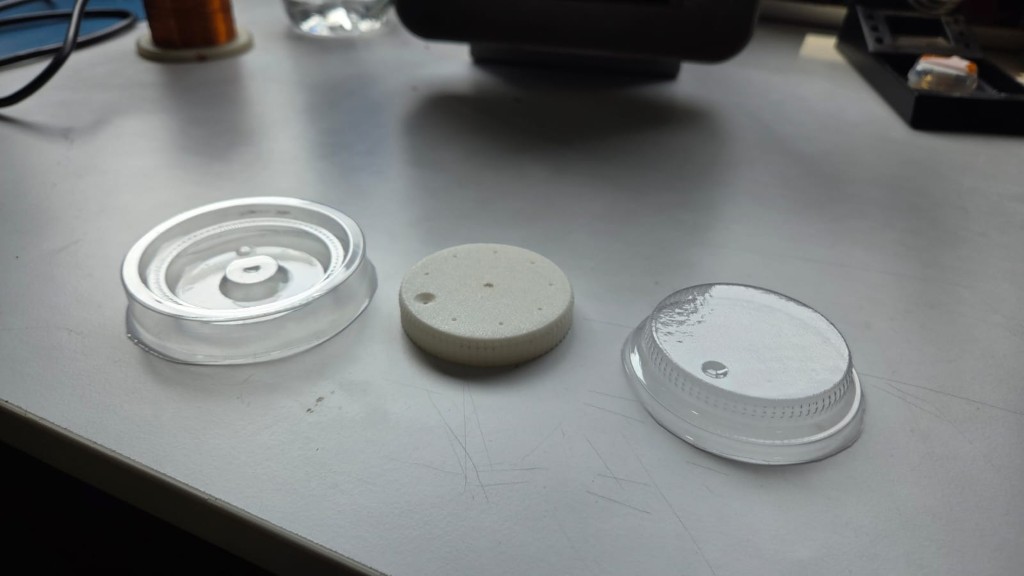
This is the vacuum formed mold of the outer and inner parts of the knob. It's a 2 part mold.
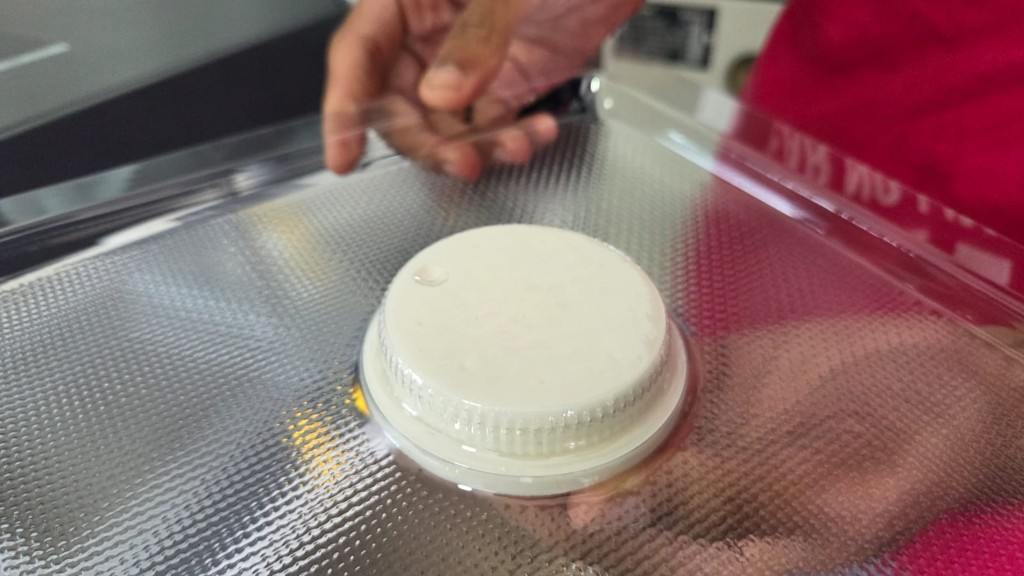
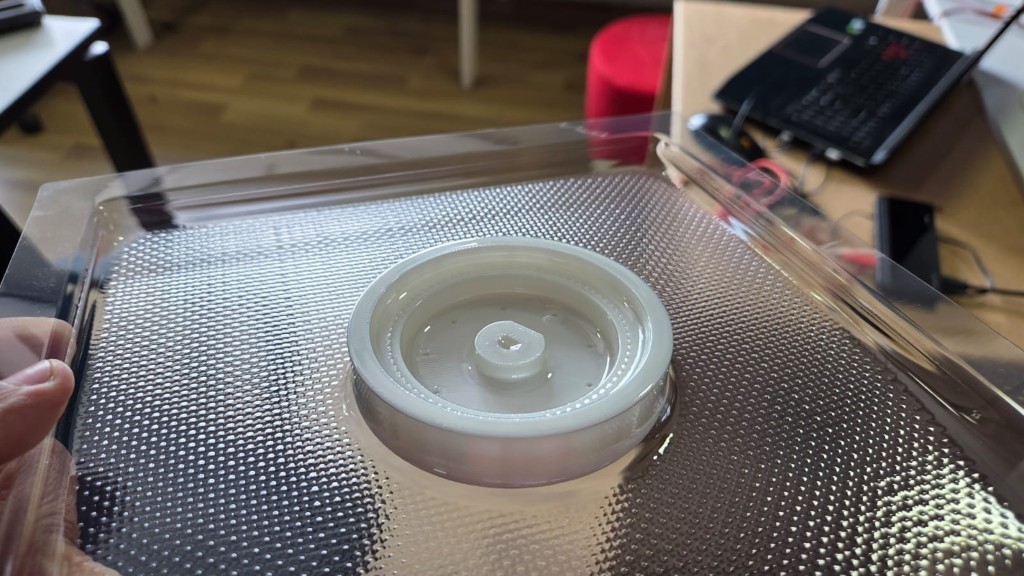
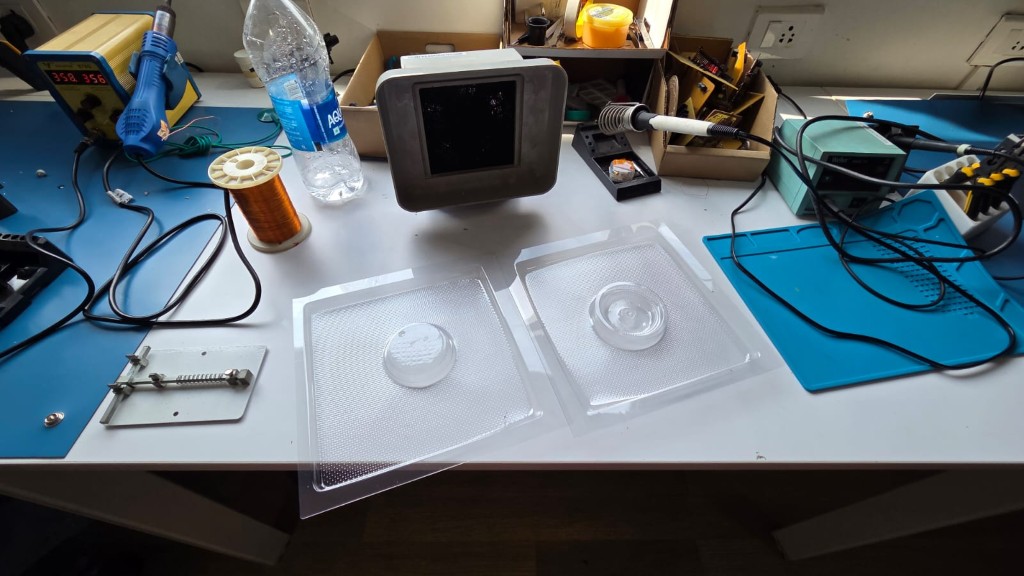
These are the two parts of the knob as vacuum formed molds.
I cut out the required part from the sheet using a cutting blade.
This is how the mold looks at the end after cutting it out from sheets along with the 3D Printed Knob.

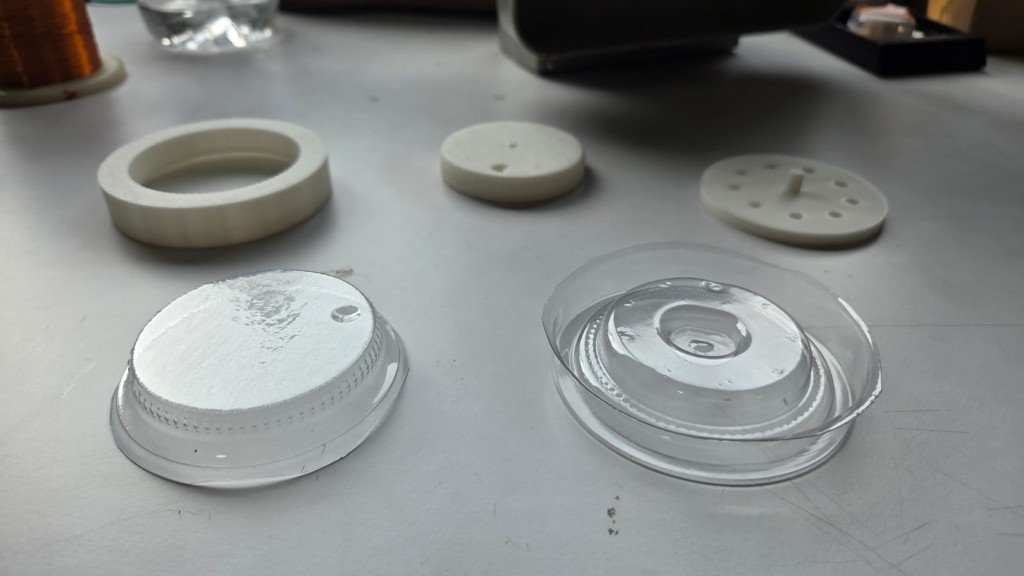
I tried to match the two parts of the mold together to check its fit. The mold was perfect because of their complementary design
Casting
The only casting material available for the Cast Sheet was Mayku Pour. It is a dental plaster powder as per my research. It was the first that this powder was used for casting, so I was unaware of the properties and methods of casting this.
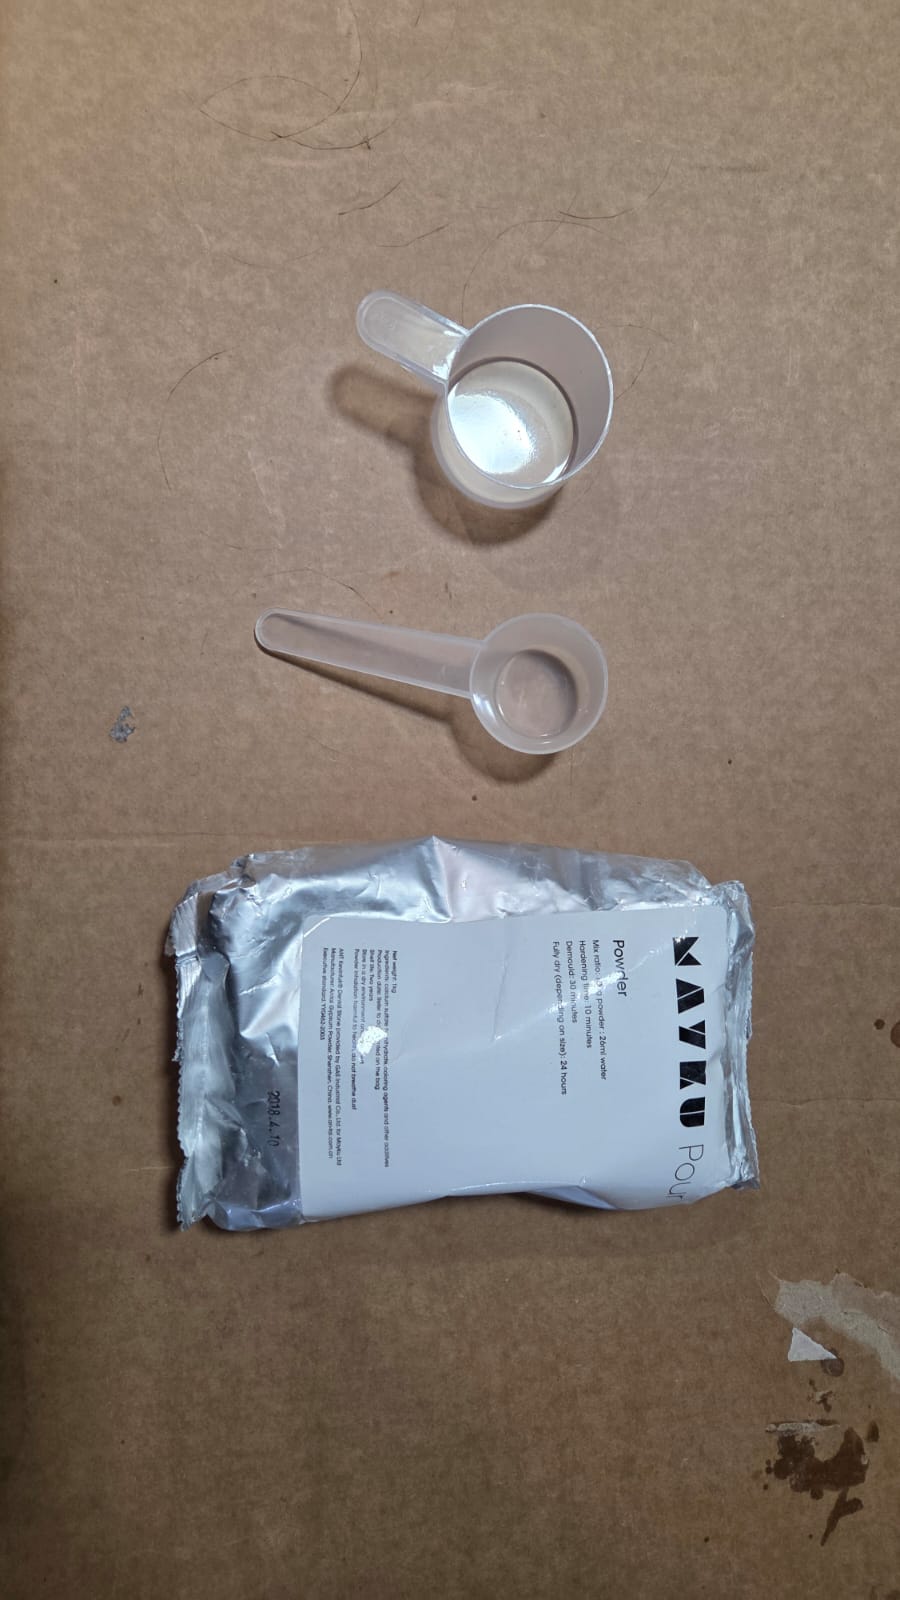
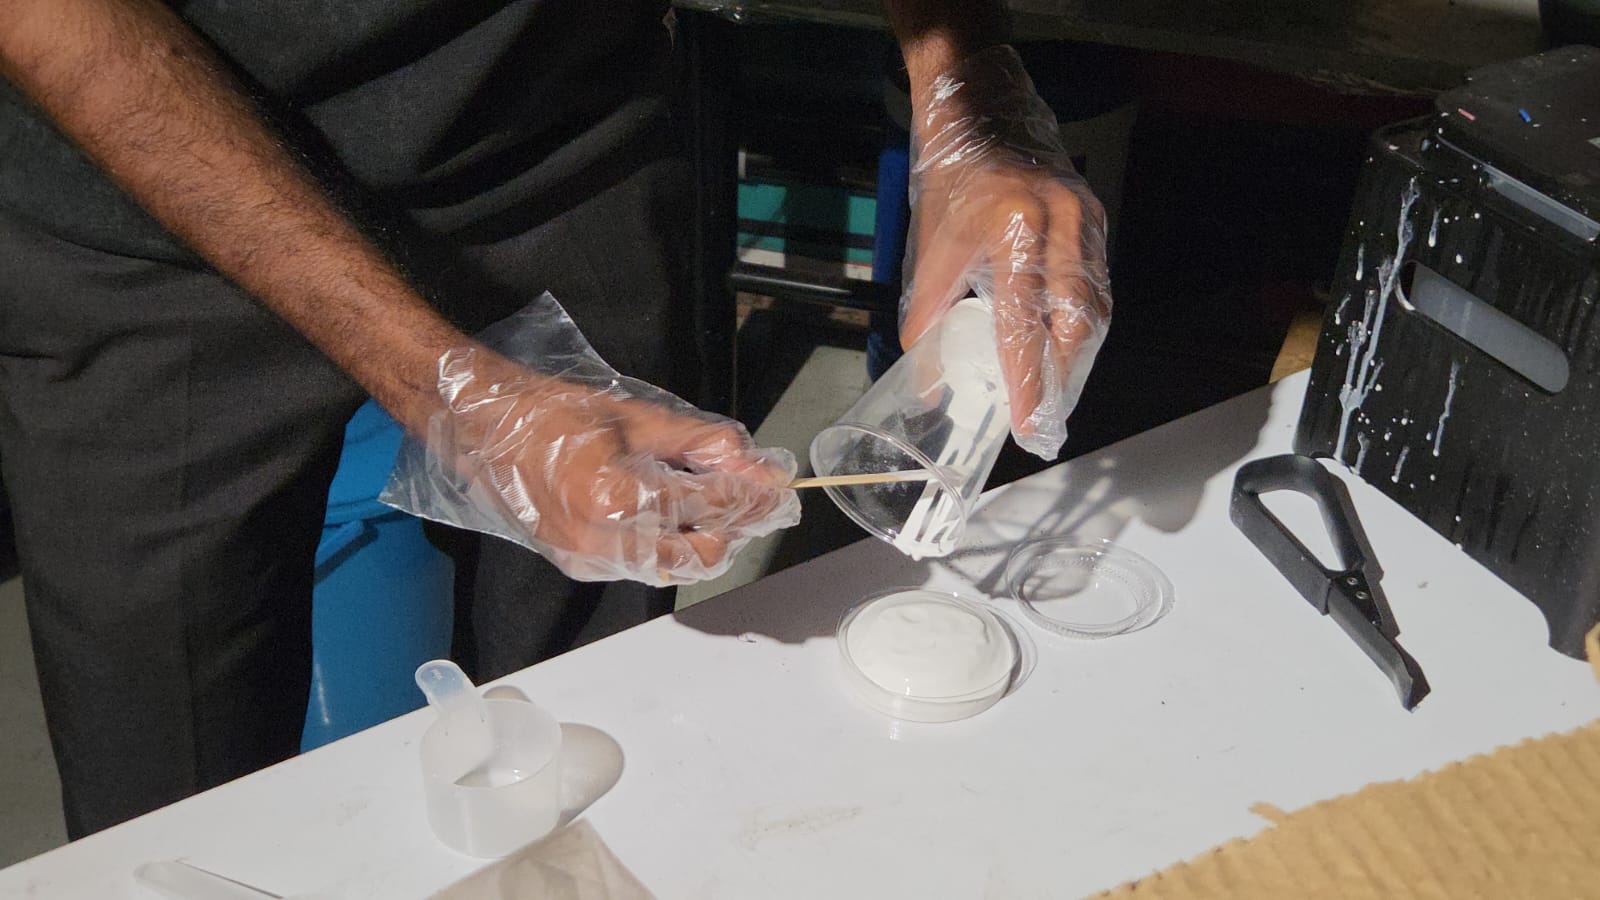
Mayku Pour is a powder that needs to be mixed with water in a proportion of 100g powder to 26 mL of water. The mixing ratio is very important for the casting process. The powder needs to be mixed with water in a bowl and then poured into the mold.
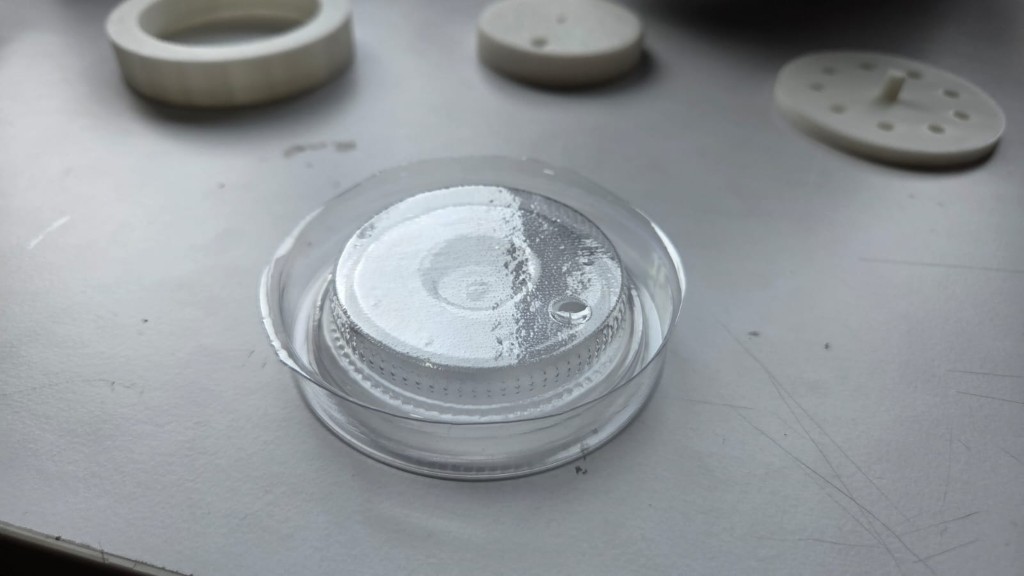
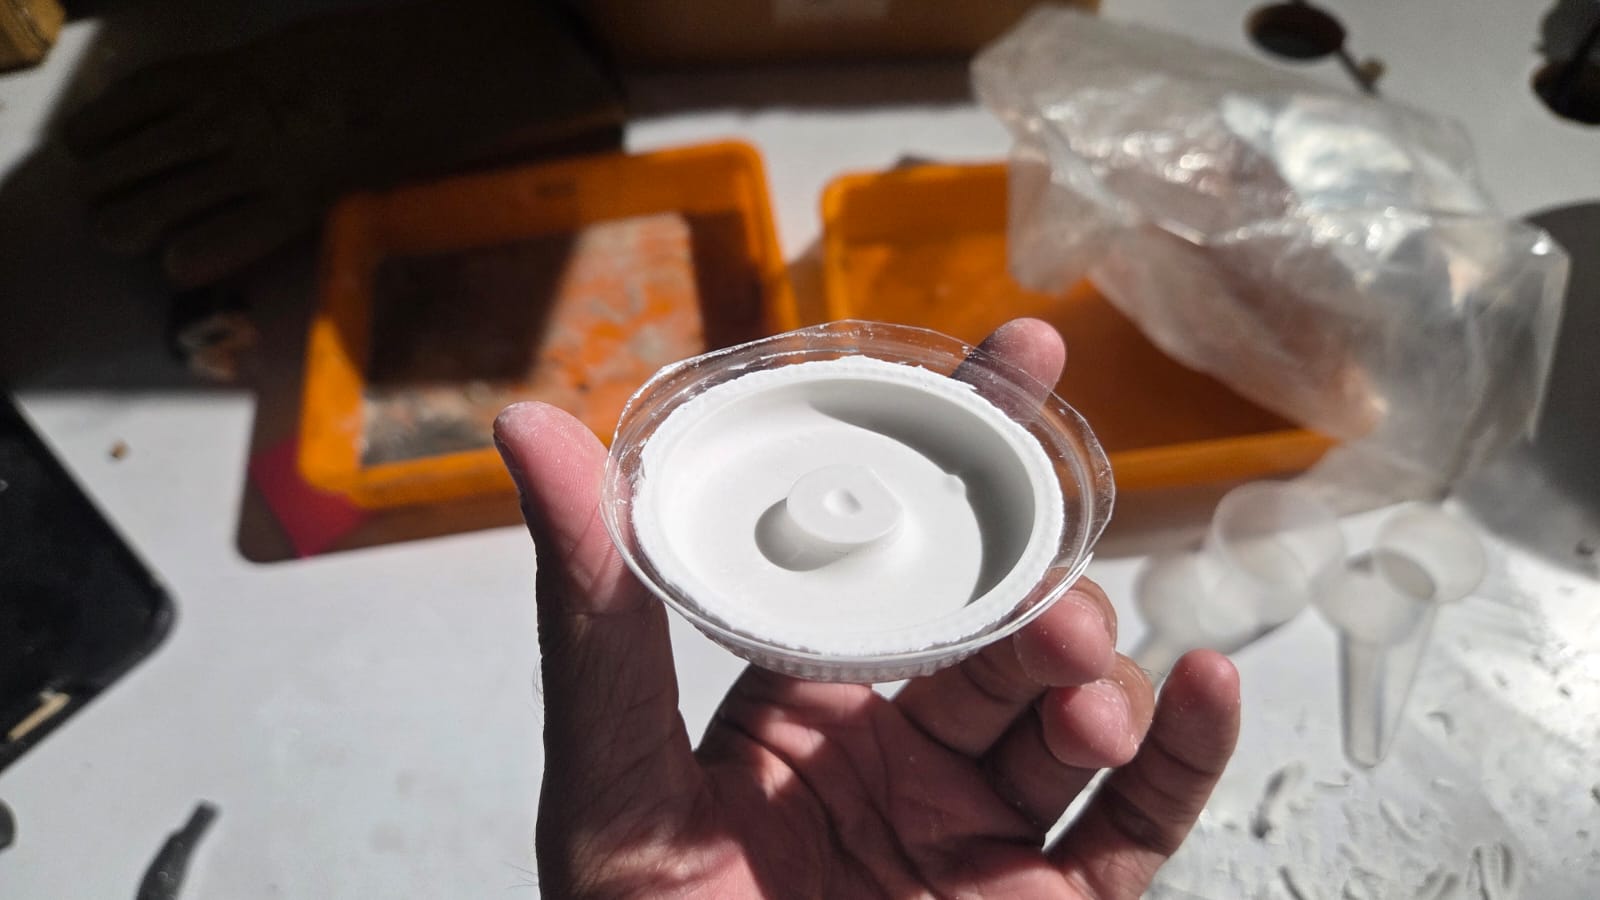
The hardening time was said to be 10 minutes. Demould TIme: 30 mins and Full Dry: 24 hrs. I poured the mixture into the molds's outer mold and then placed the inner mold on top of it to form the perfect knob.
I left the mixture to dry for approximately 24 hours and came back to see a perfect set 2 part mold. Now I needed to demould it. But at this stage I realise that it was really difficult to demould it as the mix had stuck to the Vacuum Formed mold.
As I started removing the knob, the plaster started breaking as well as the plastic mold
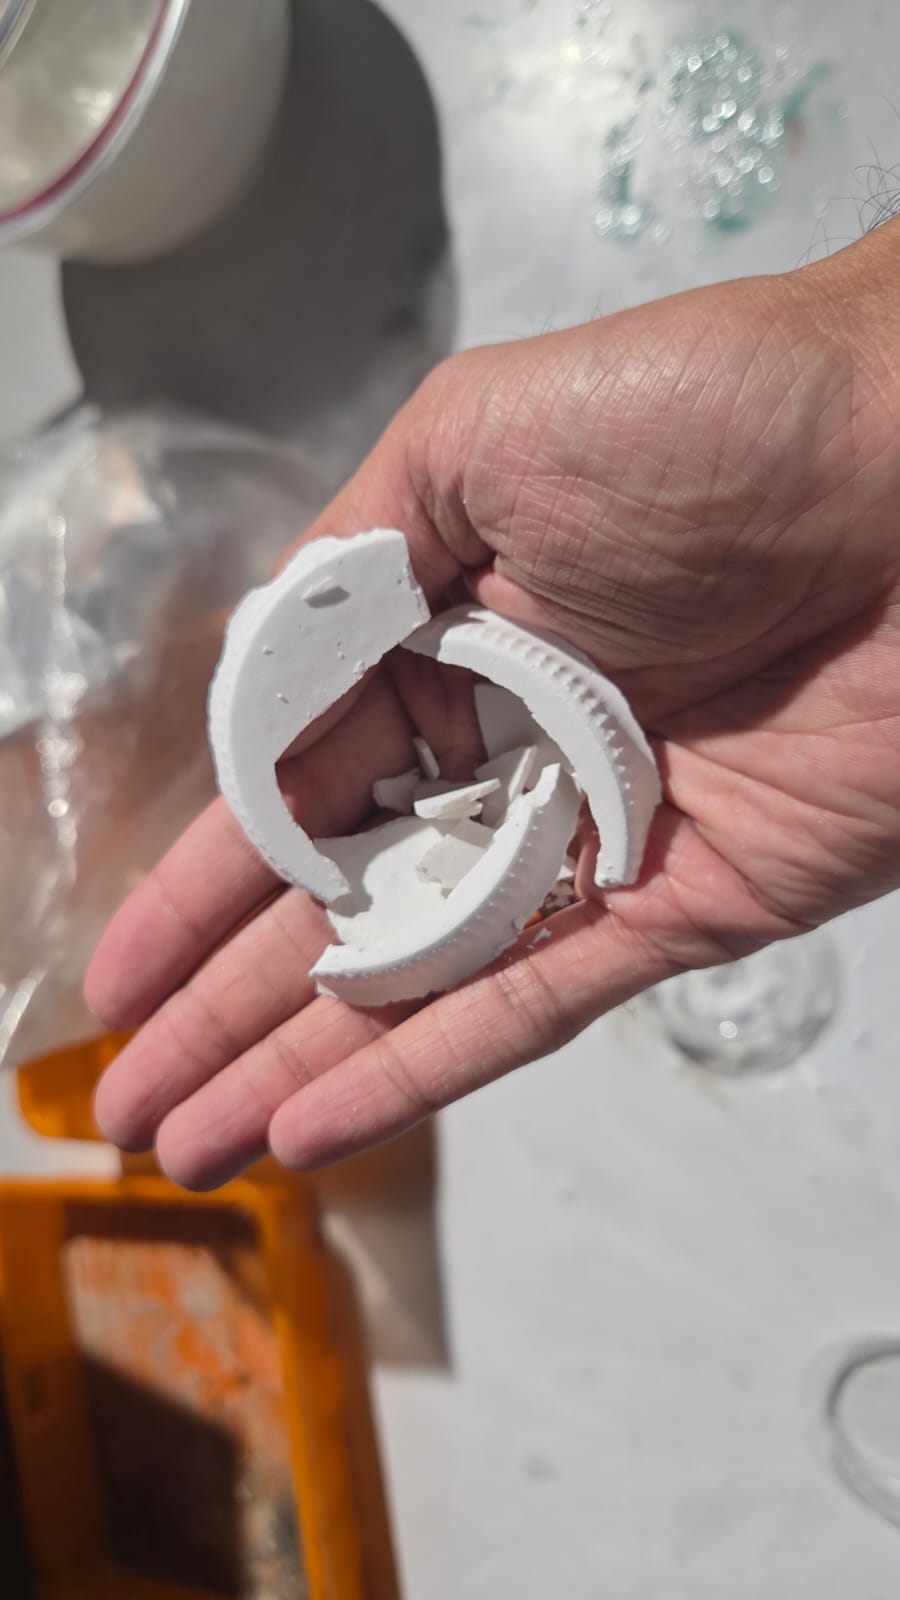
THe casting was a failure as I couldn't demould it successfully. I only got broken pieces of the knob.
Conclusion
The vacuum forming process is a interesting approach at making new types of molds. The design needs to be optimised for vacuum forming. The casting and demoulding are crucial steps to form final casted outputs. I think I should have waited only for 30 mins rather than 24 hours for demoulding.
Design Files
You can download my design files from below