
Molding and Casting
This week focused on learning different molding and casting processes, the materials involved, and safety considerations. The goal was to design a mold, machine it, and cast a part using appropriate materials while ensuring good surface finish and mold behavior.
Learning Objectives
Assignments
Group Assignments
Individual Assignments
Group Assignment
Group AssignmentLearning Section
Individual Assignment
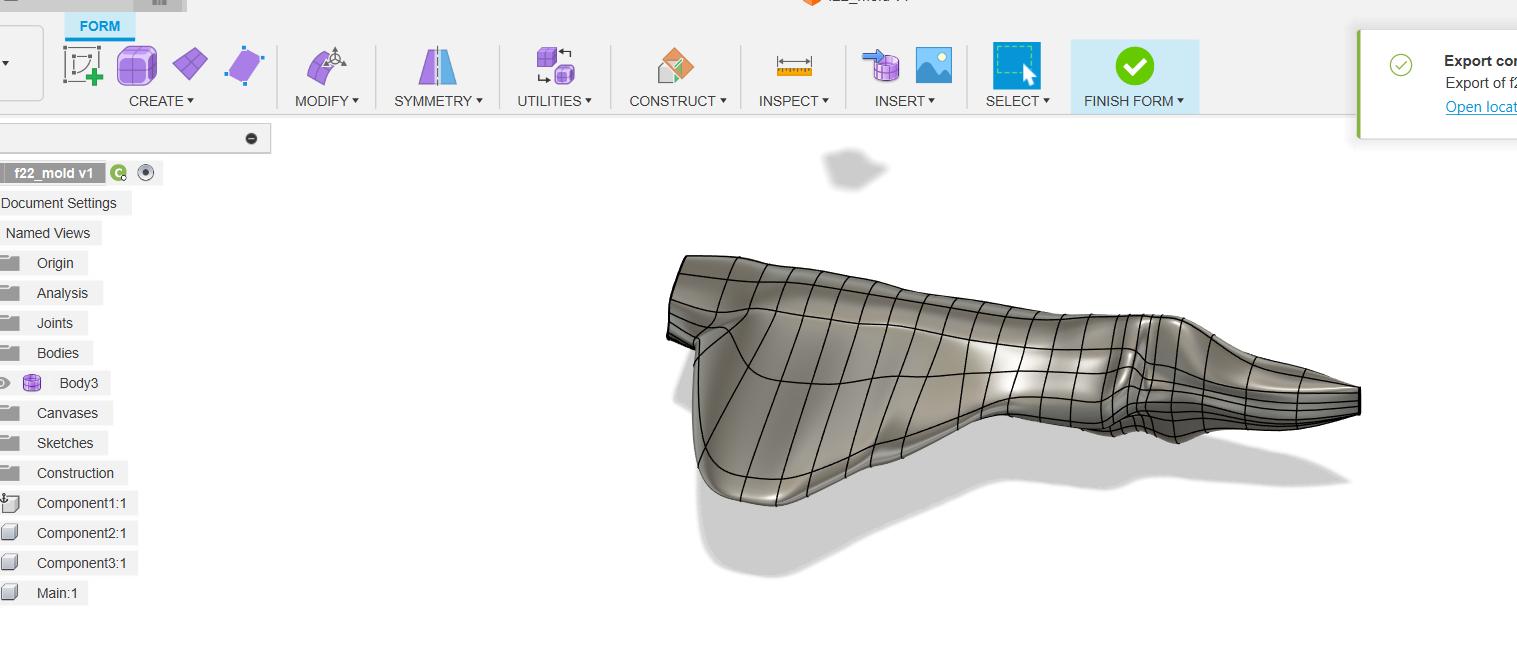
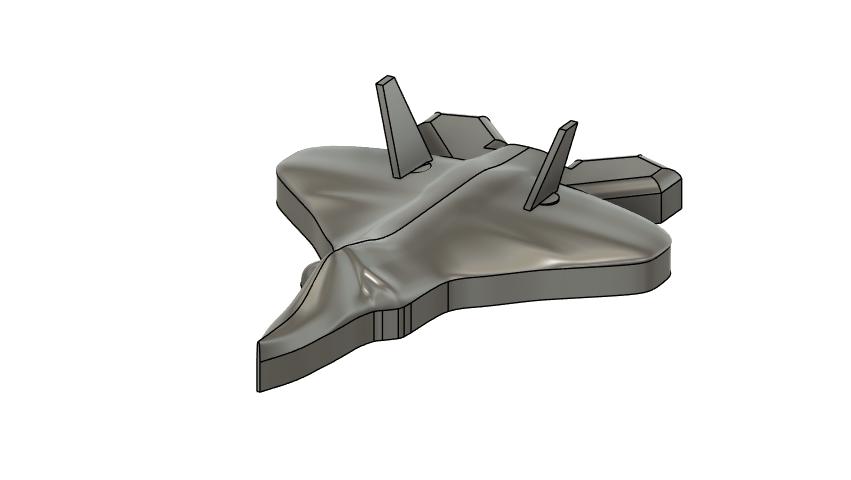
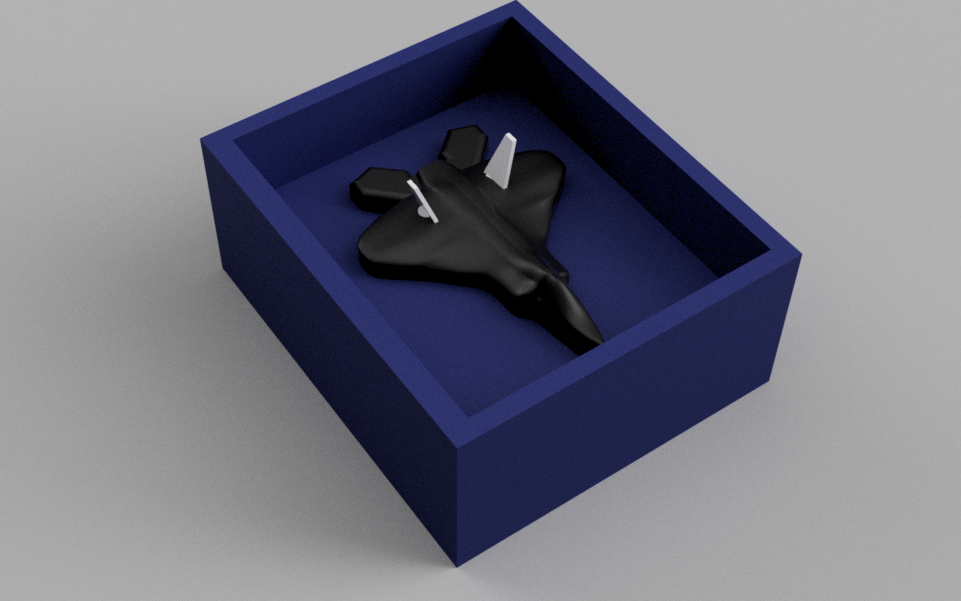
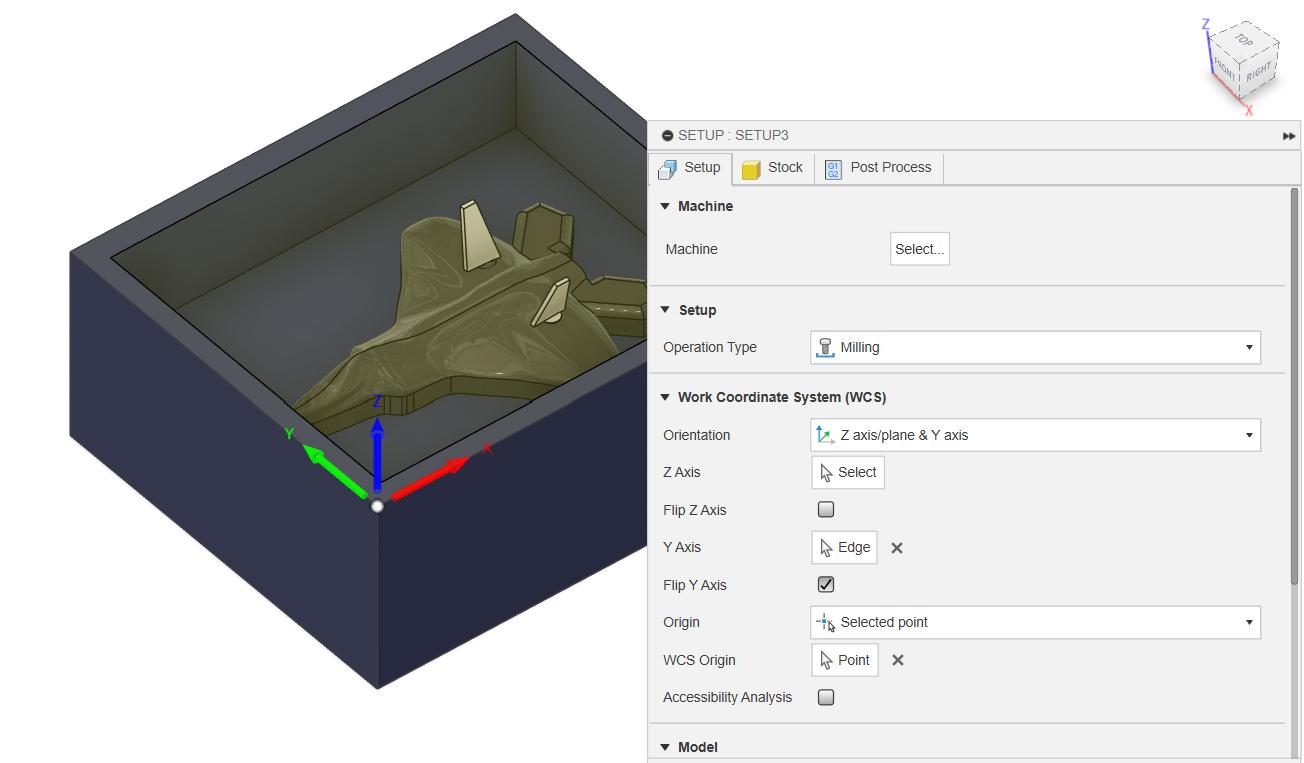
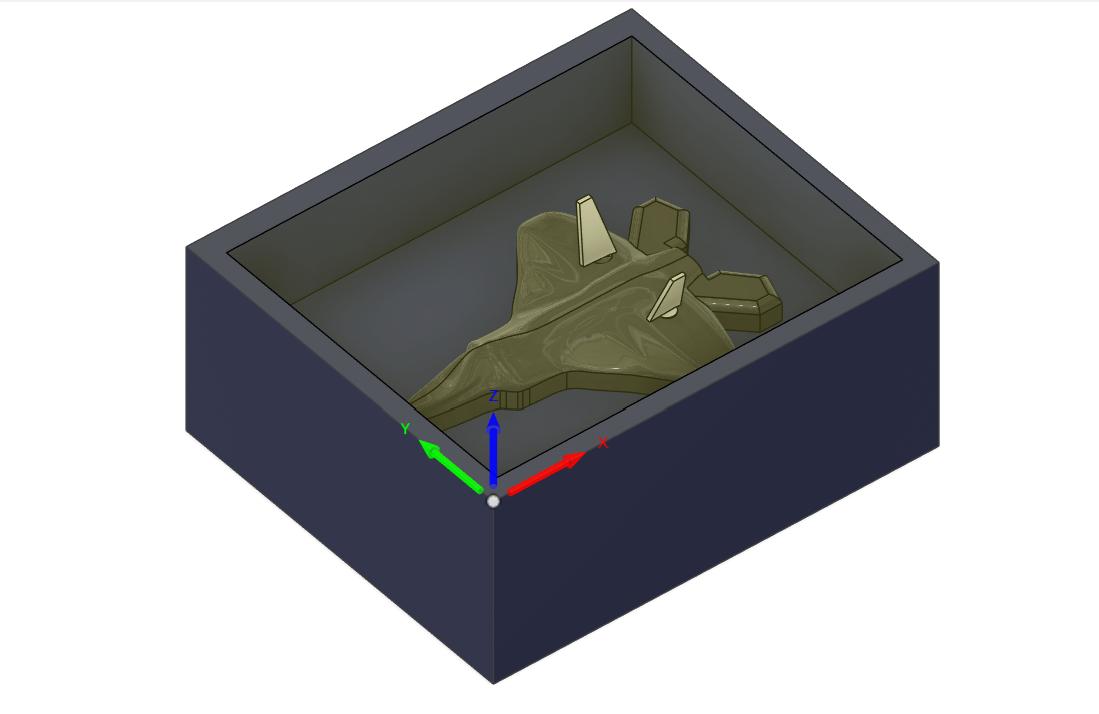
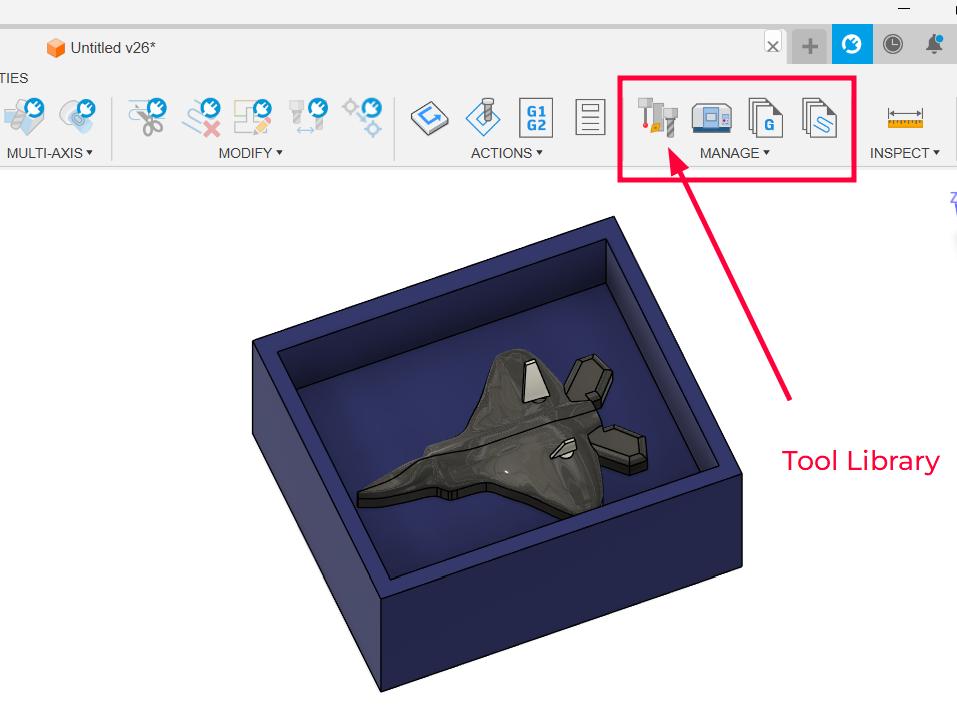
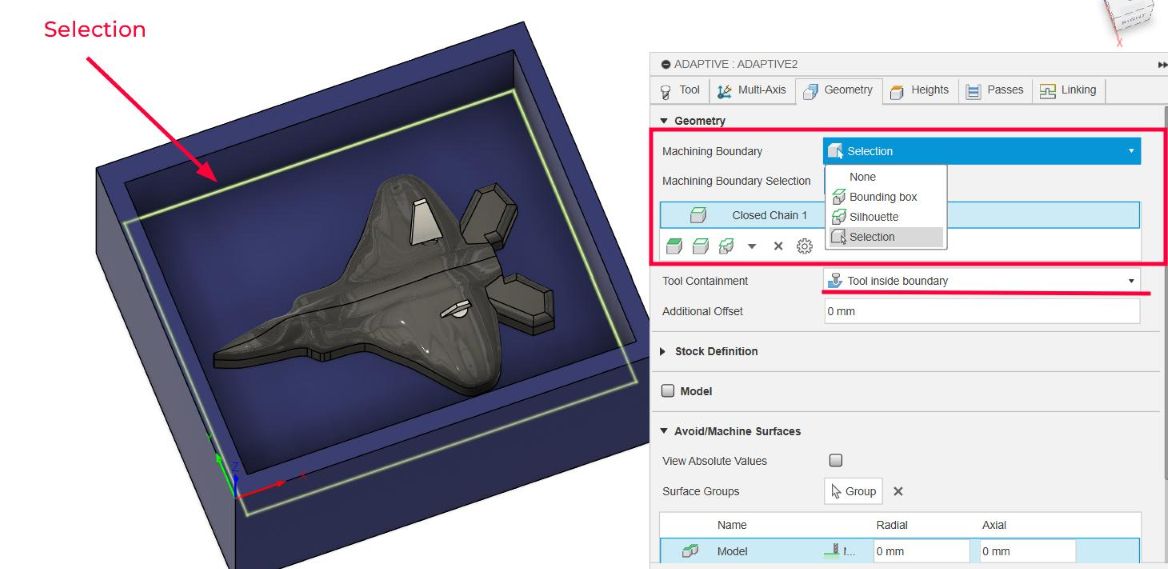
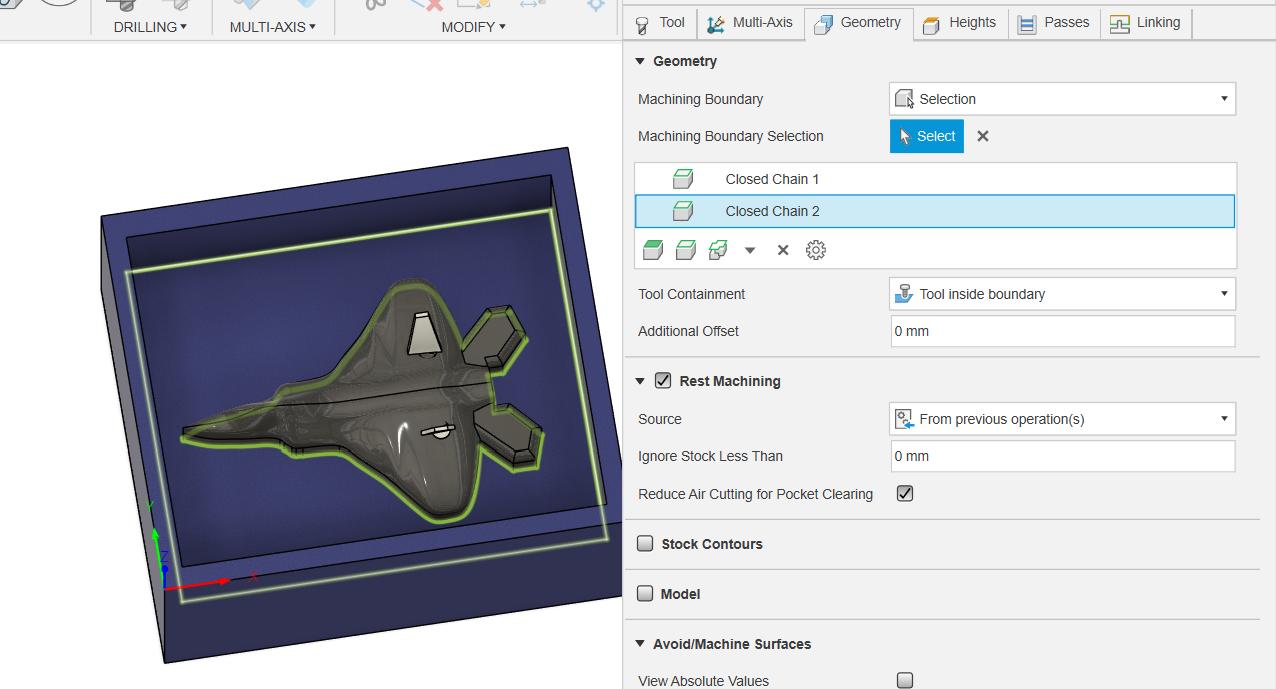
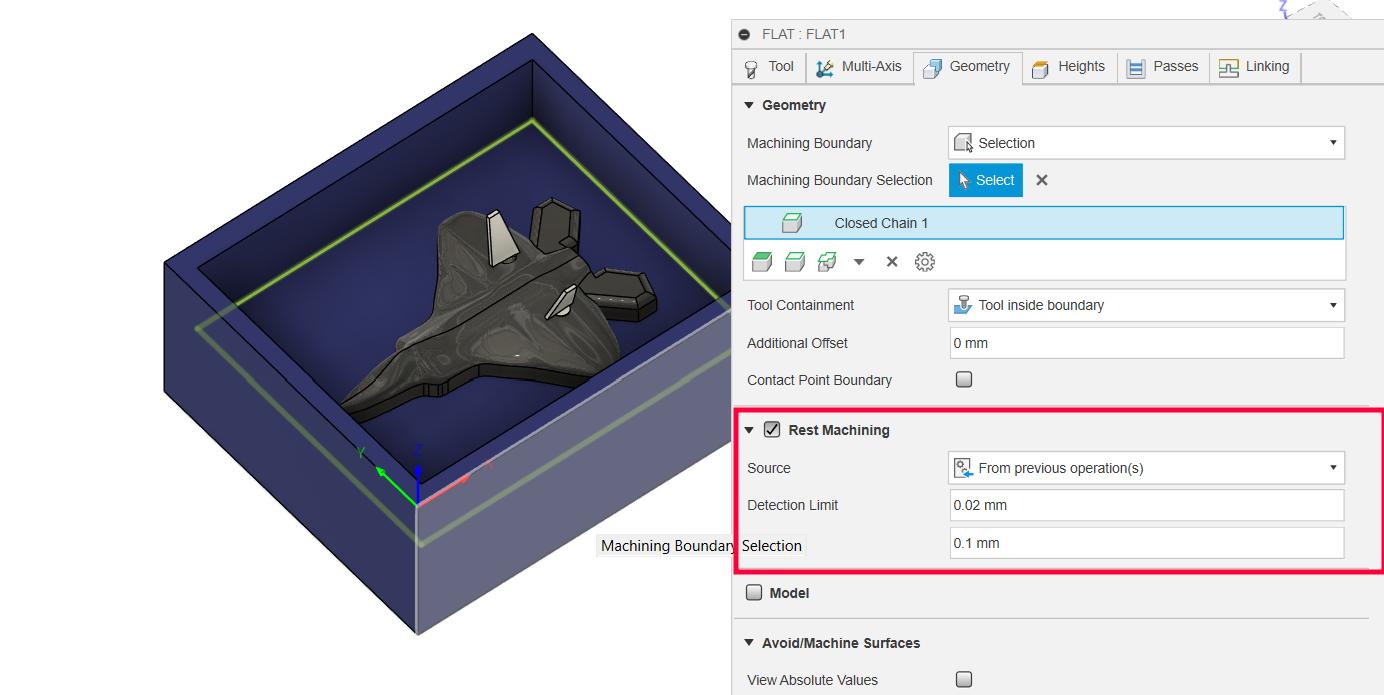
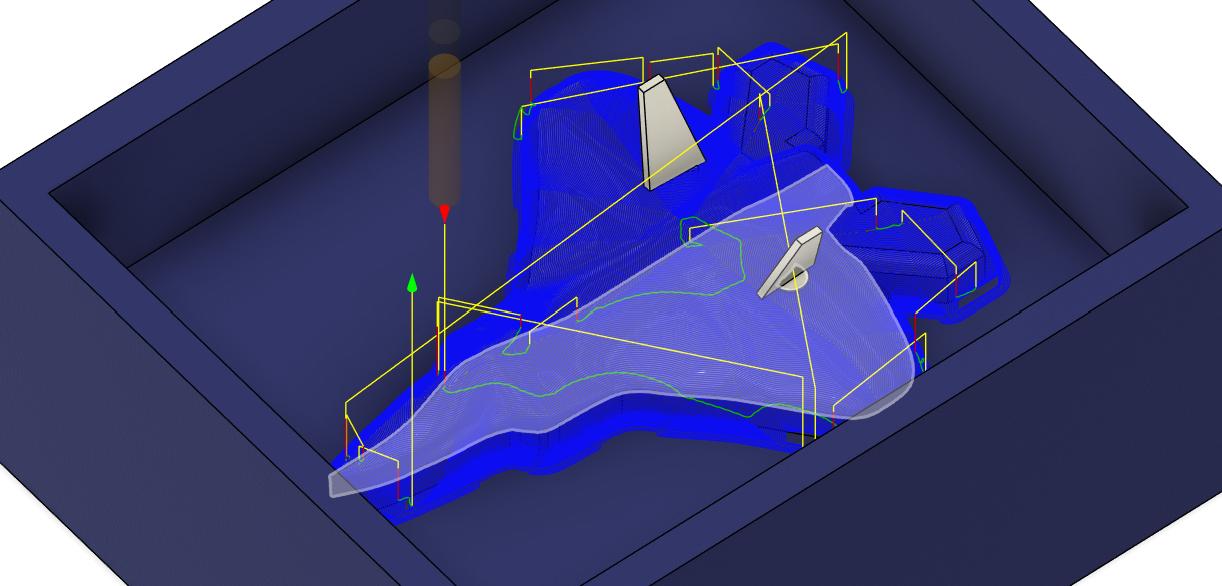
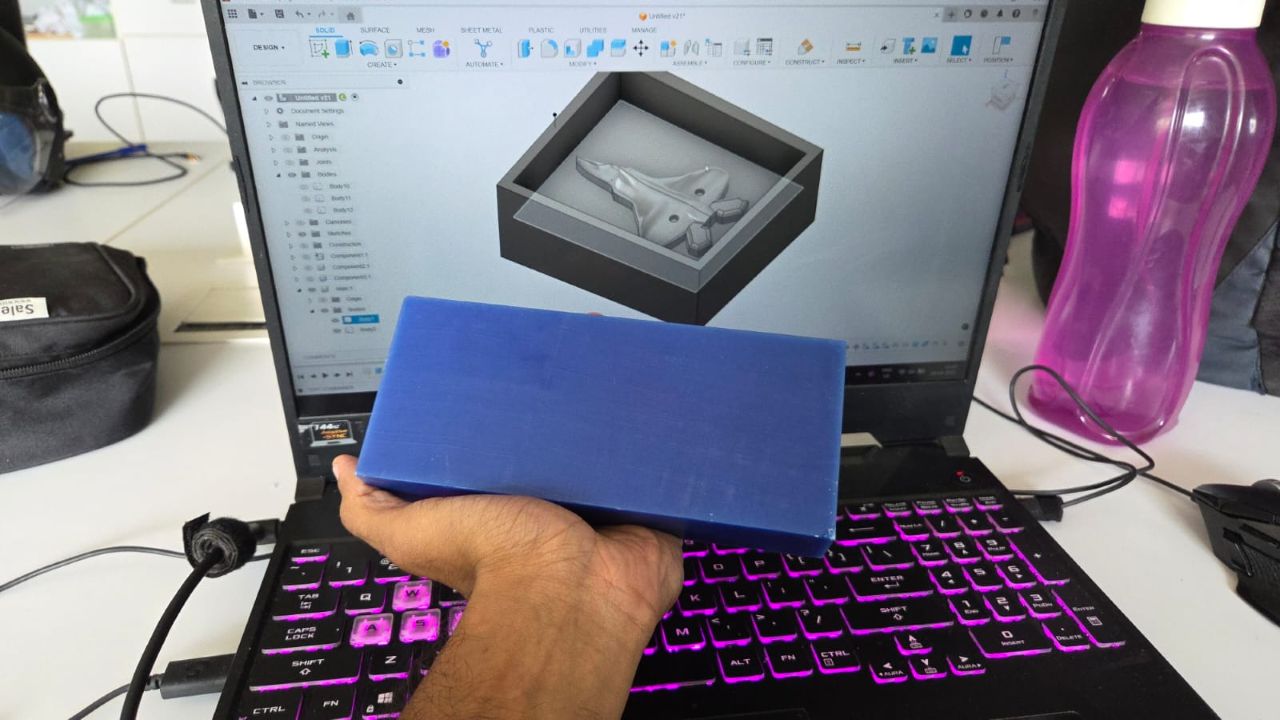
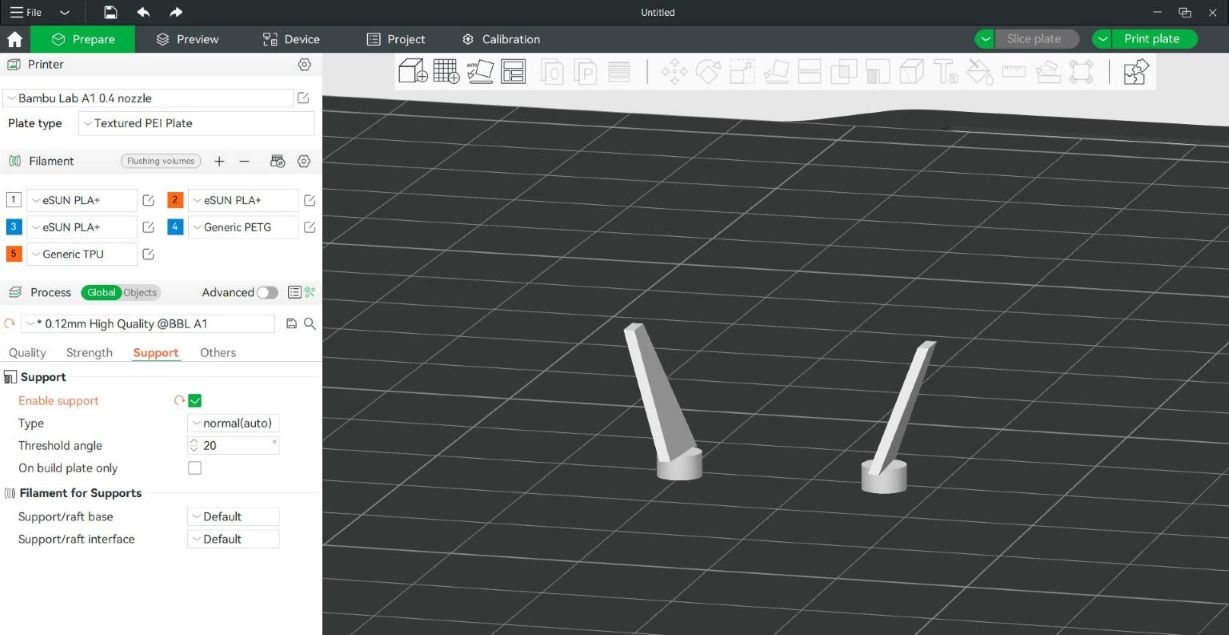
Design Process - Creating the F-22 Mold in Fusion 360
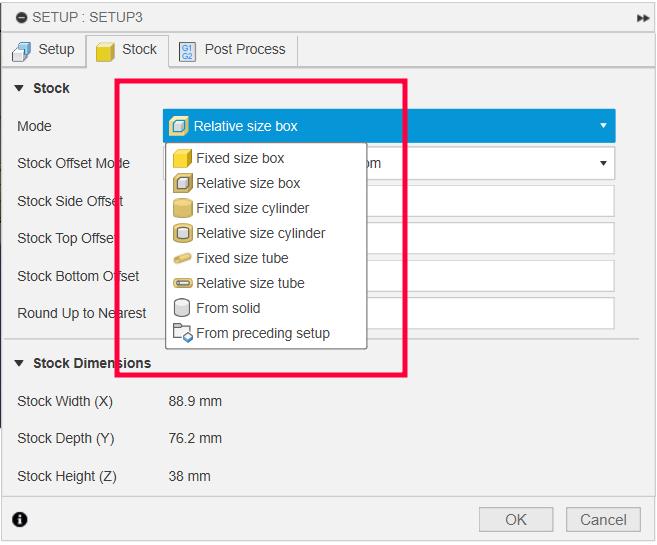
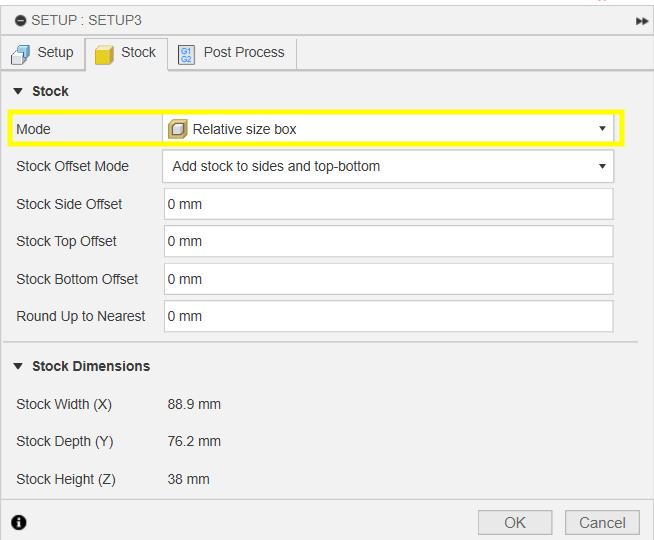
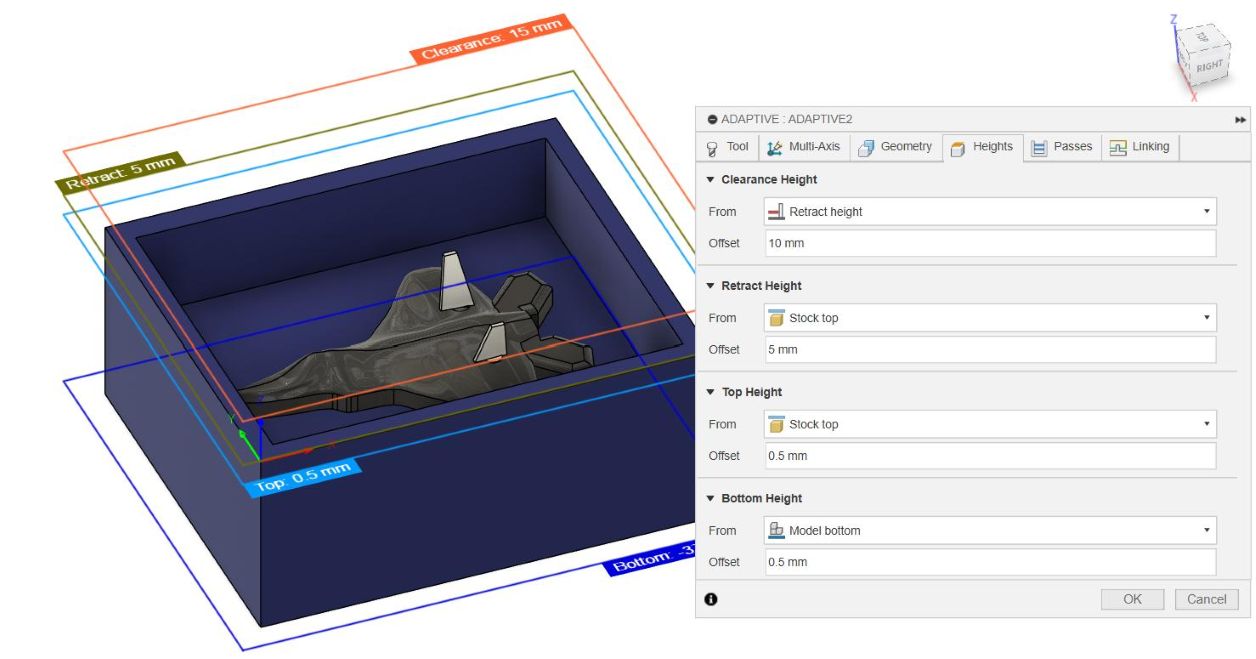
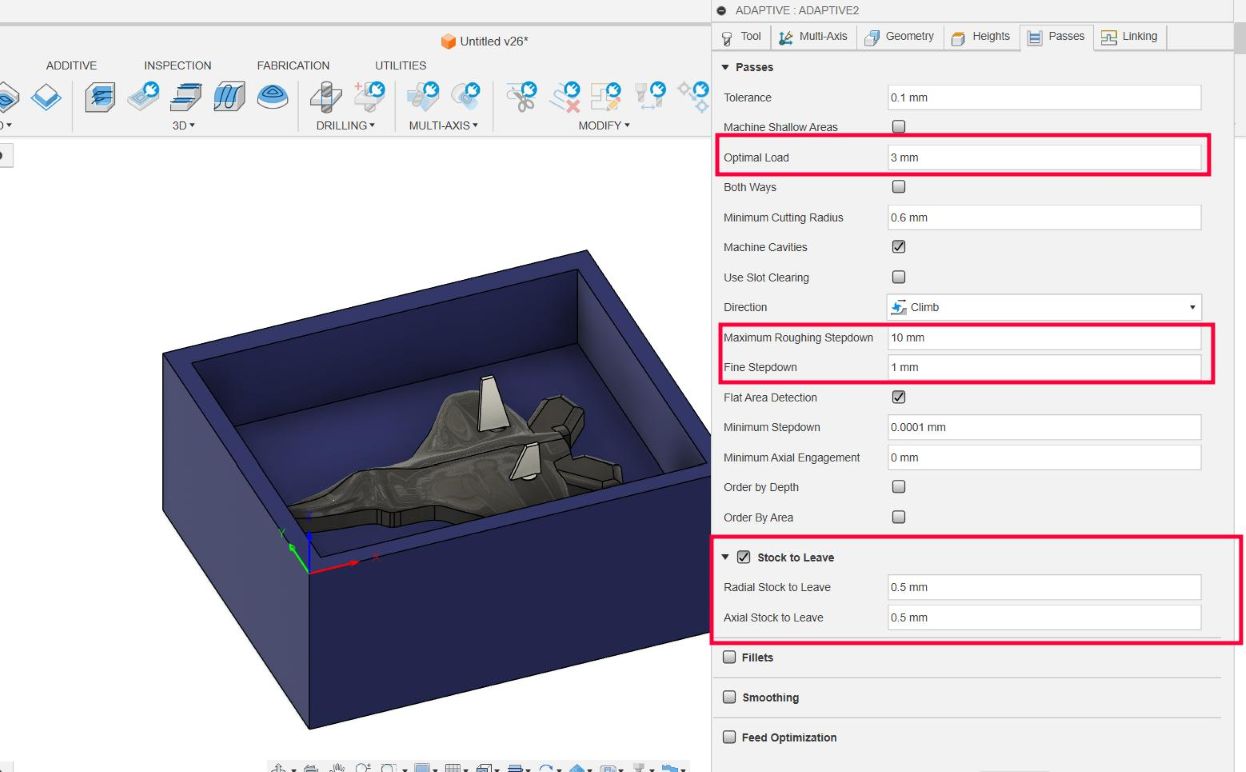
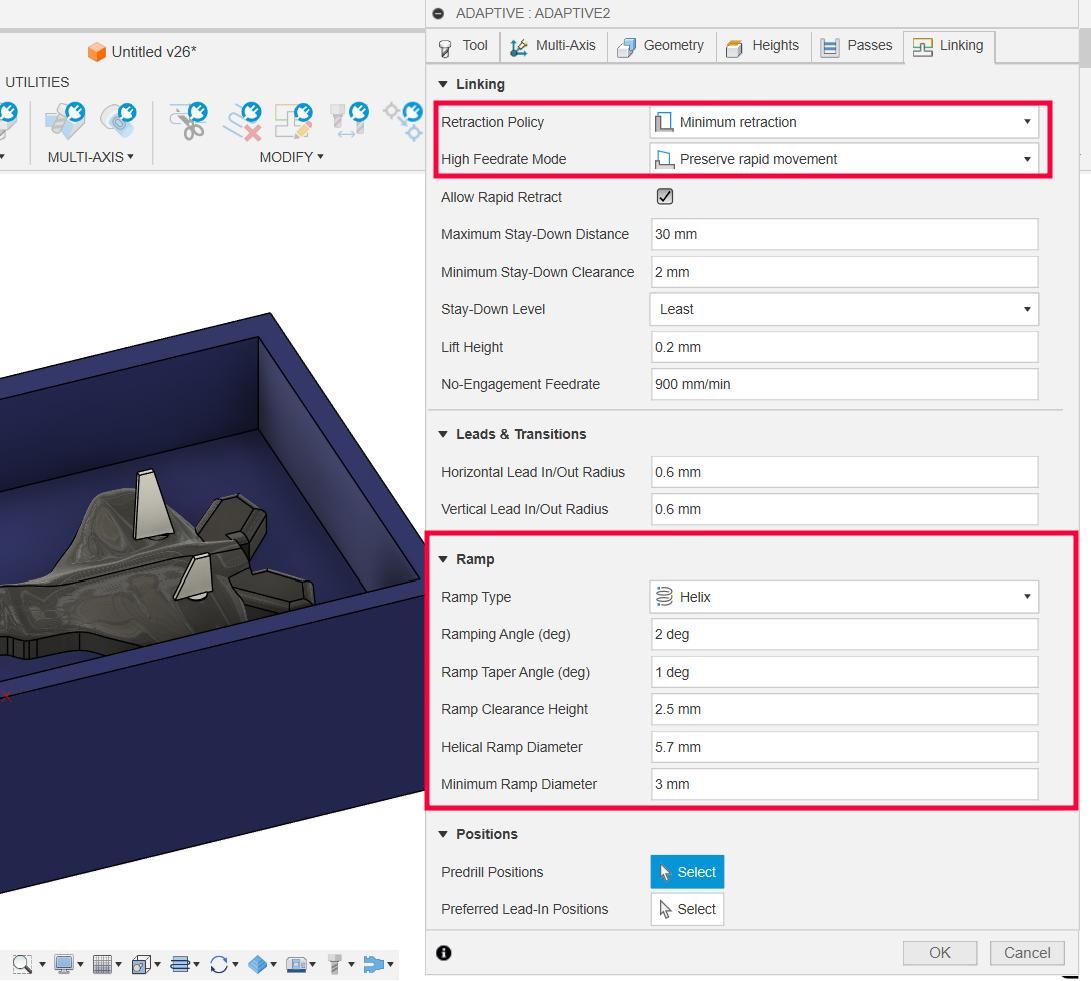
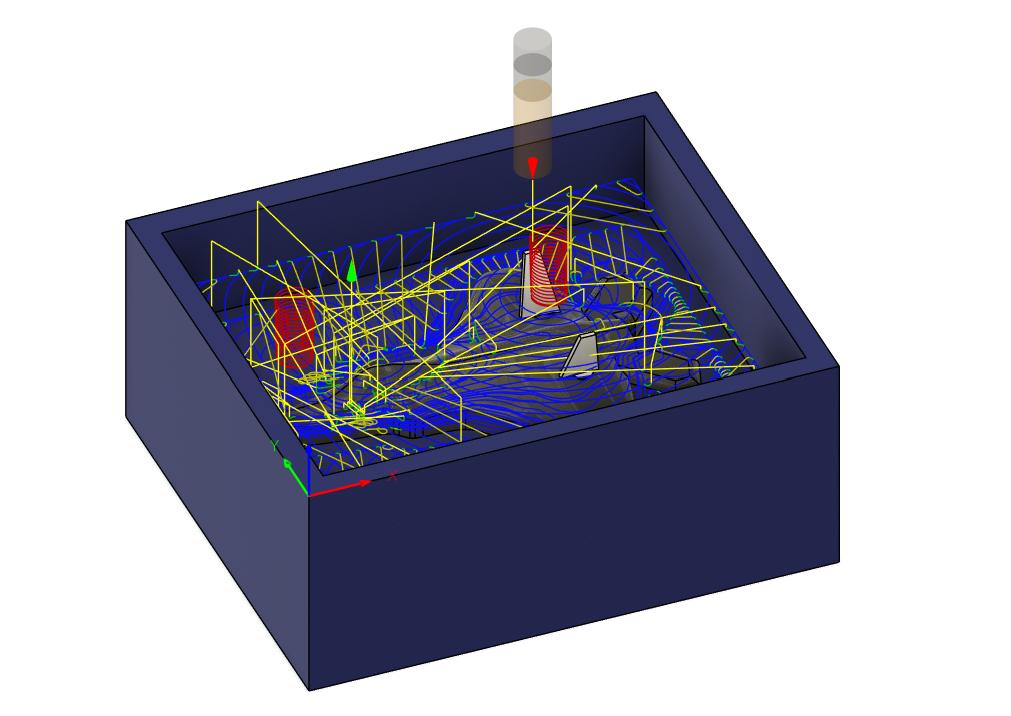
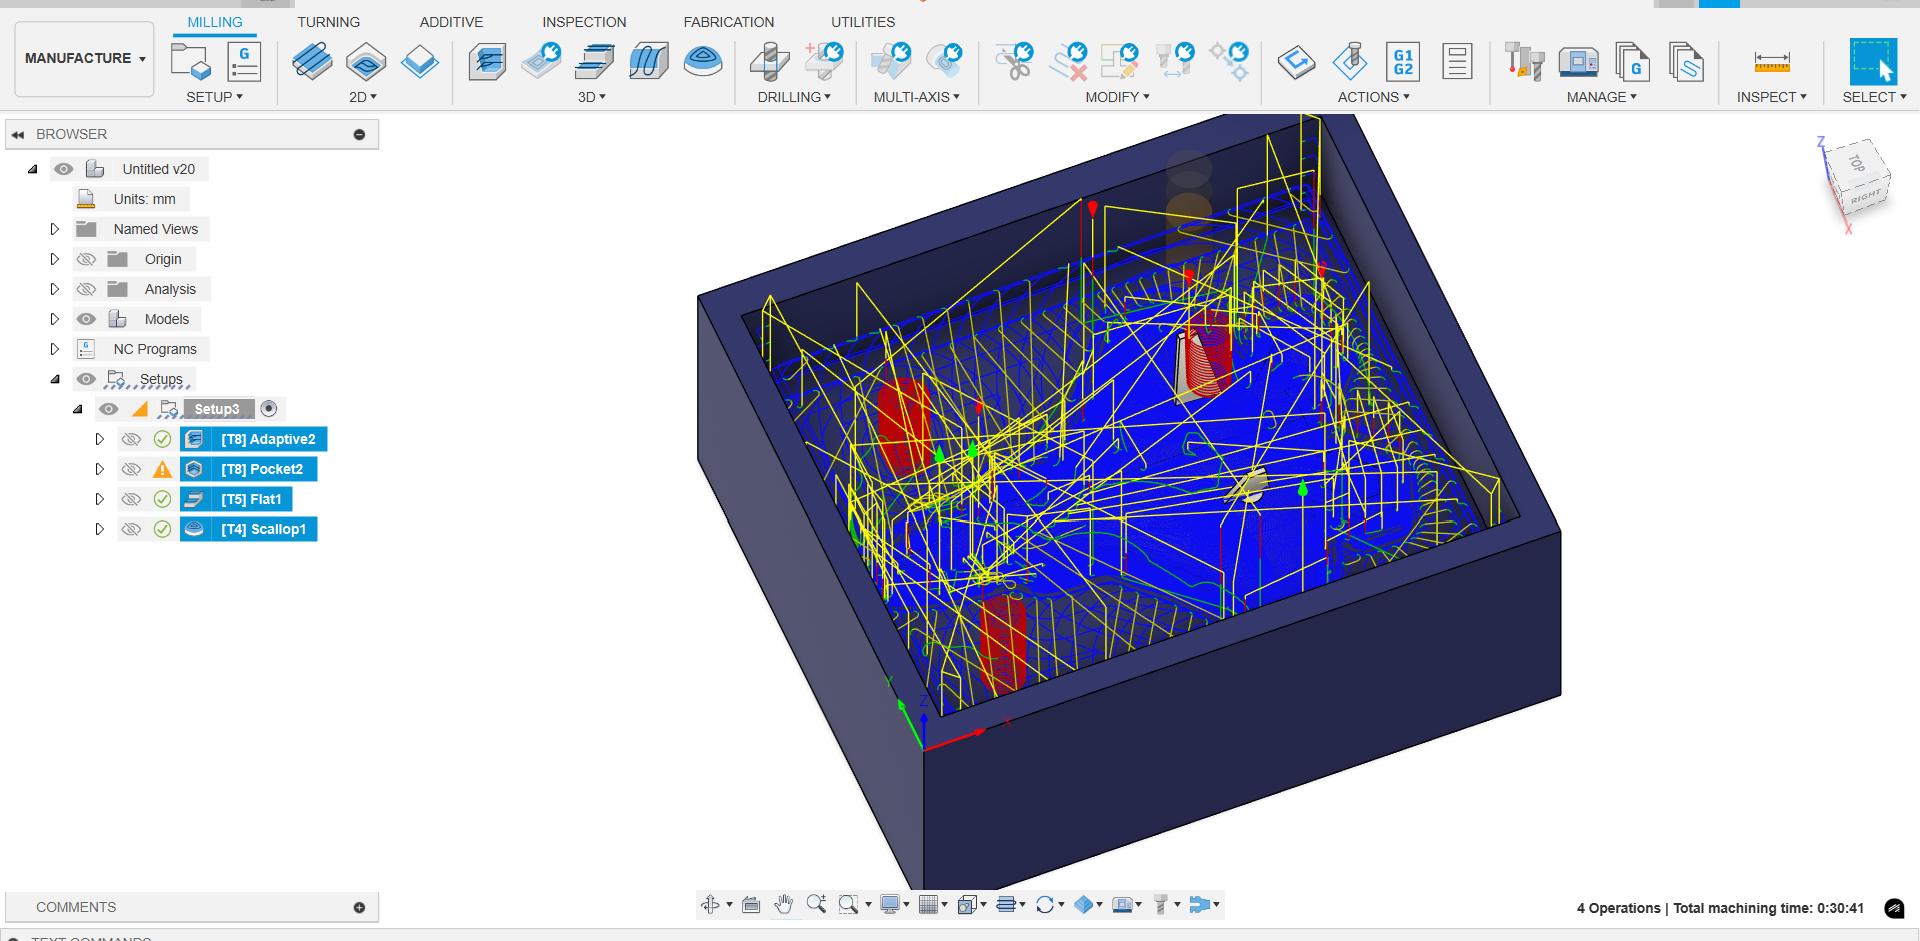
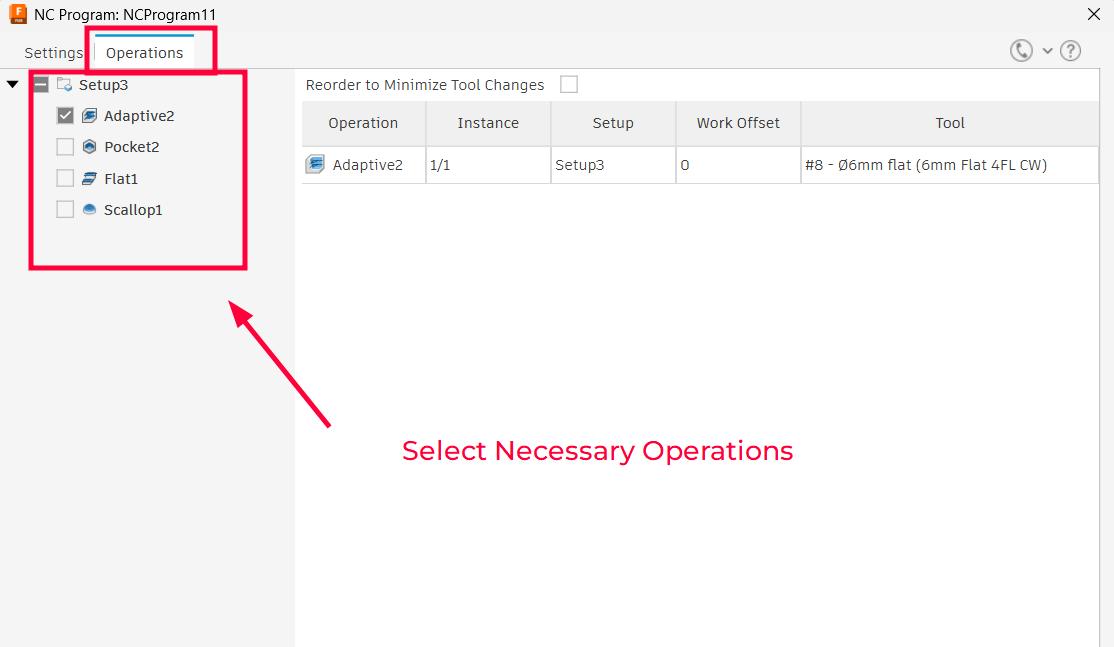
CAM - Toolpath Generation in Fusion 360
Setup Workflow
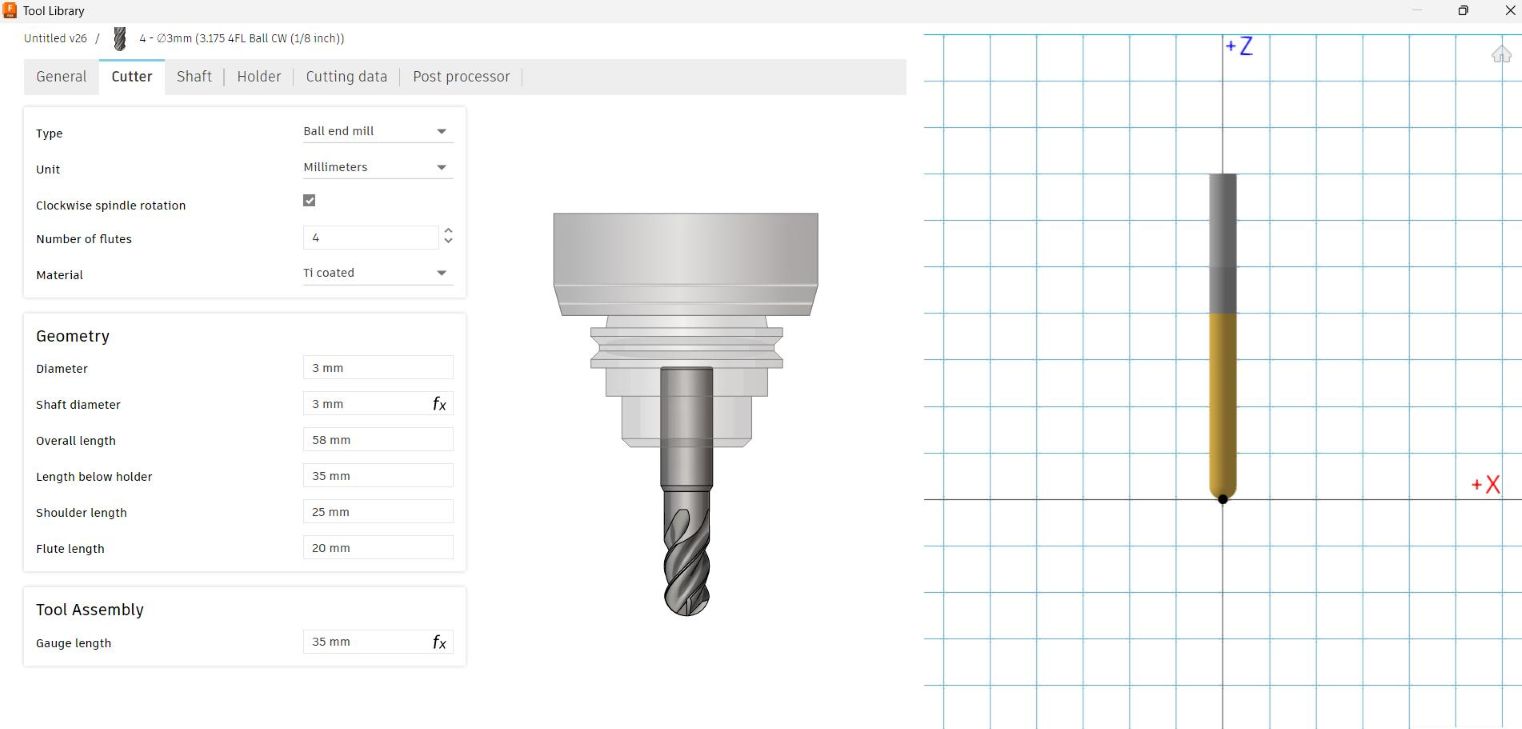
Tool Library
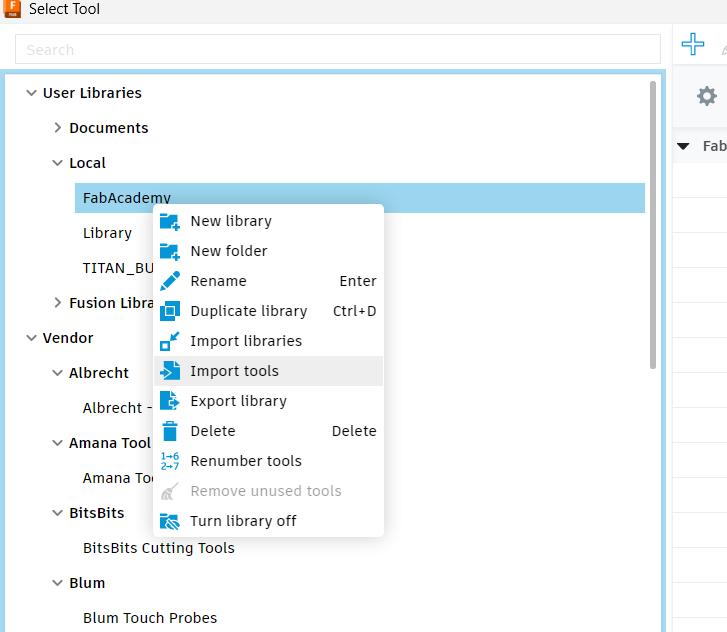
Importing Tools
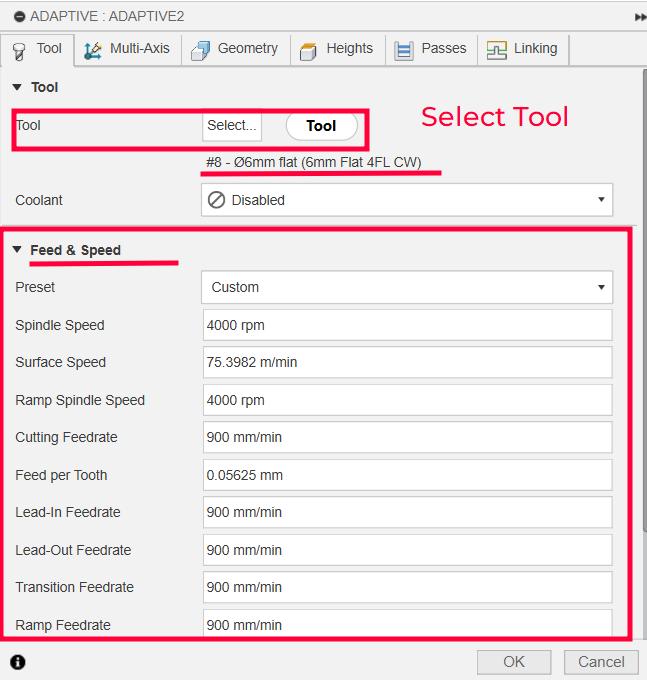
Adaptive Toolpath
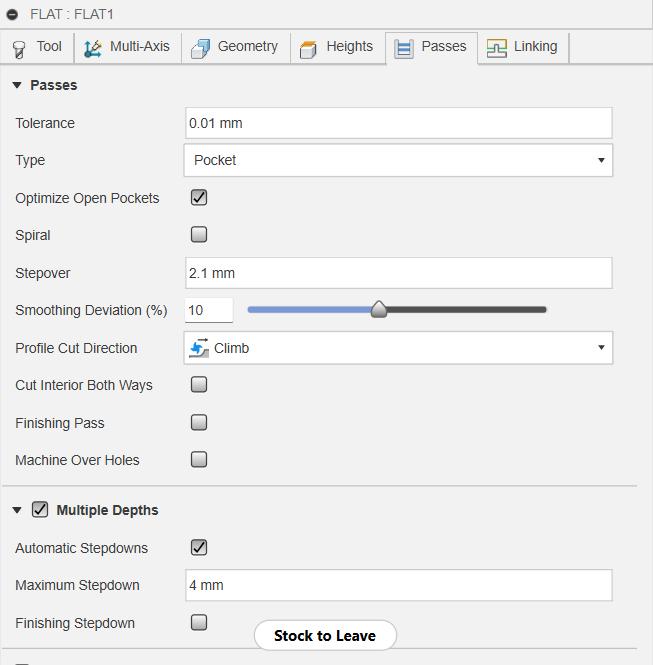
Pocket Toolpath
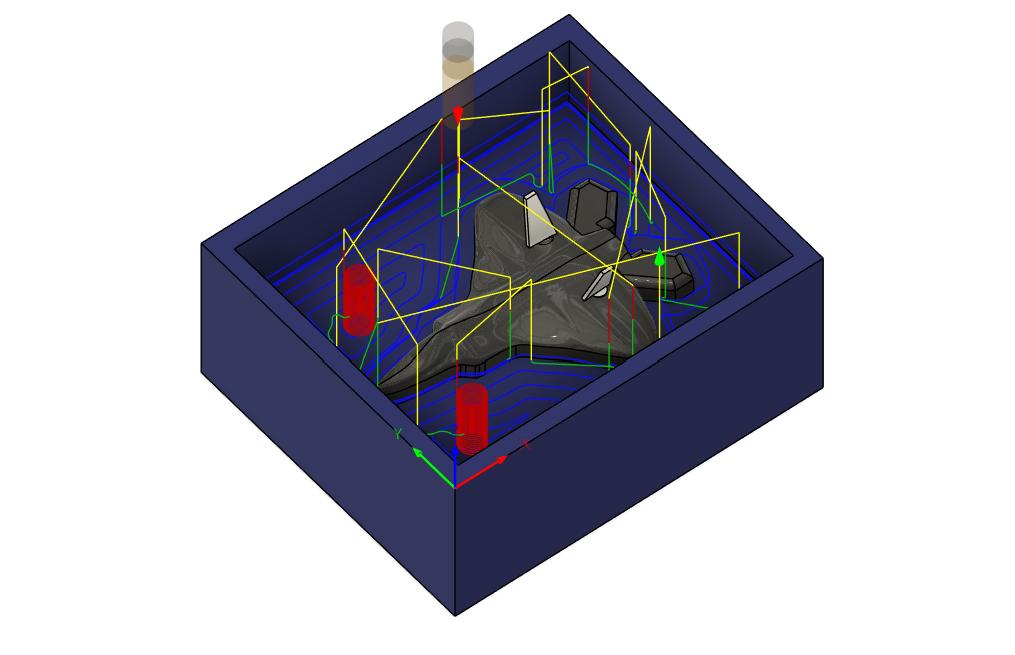
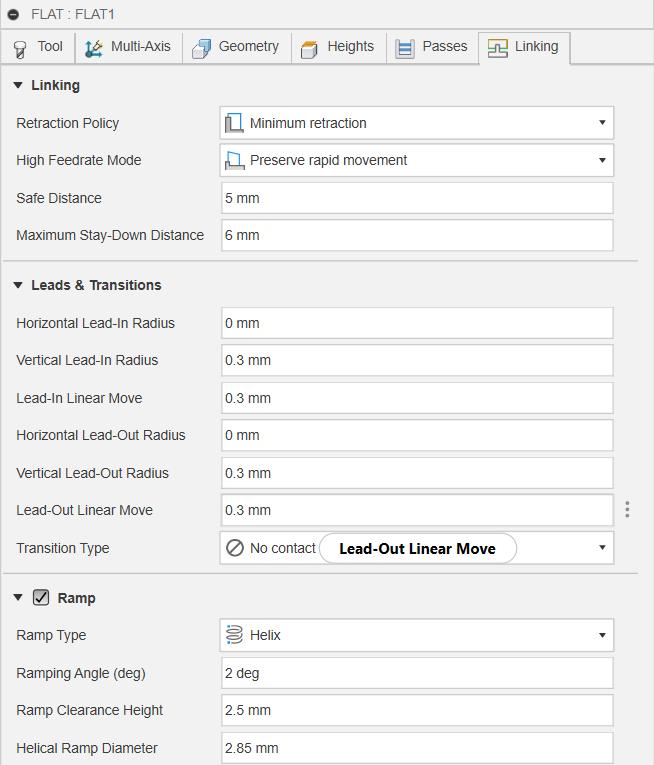
Flat Toolpath

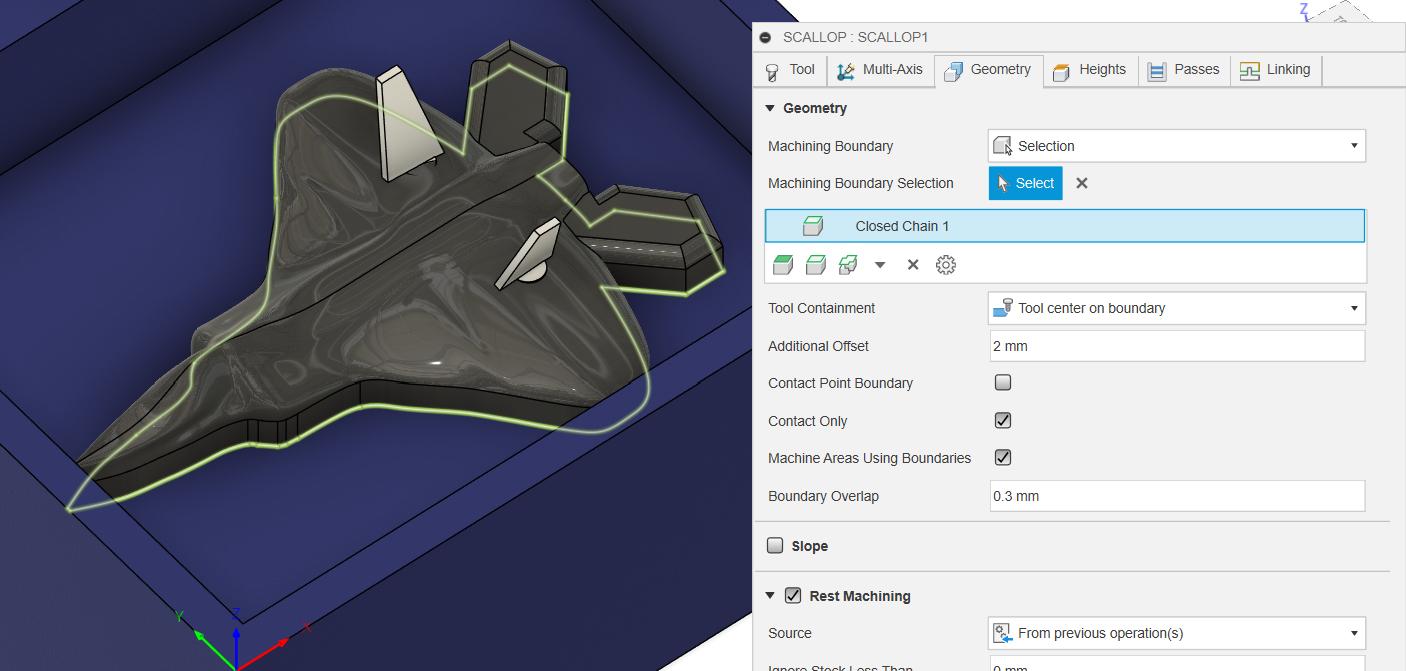
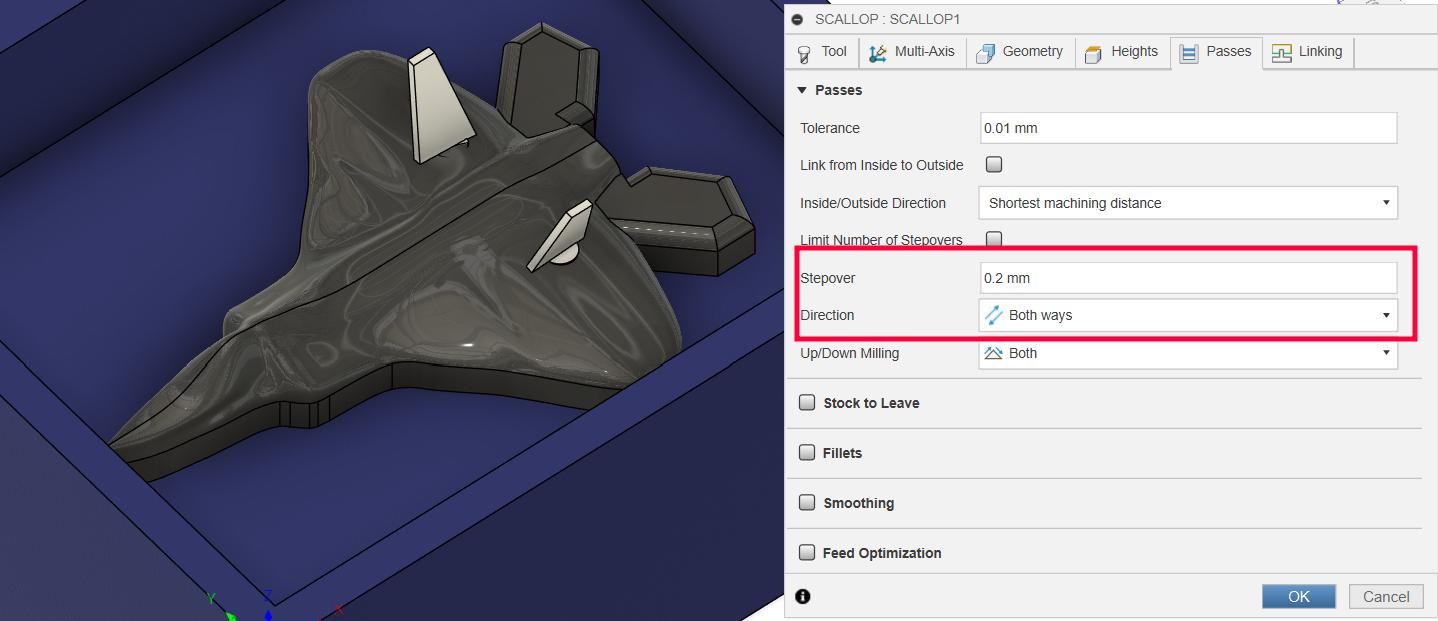
Scallop Toolpath
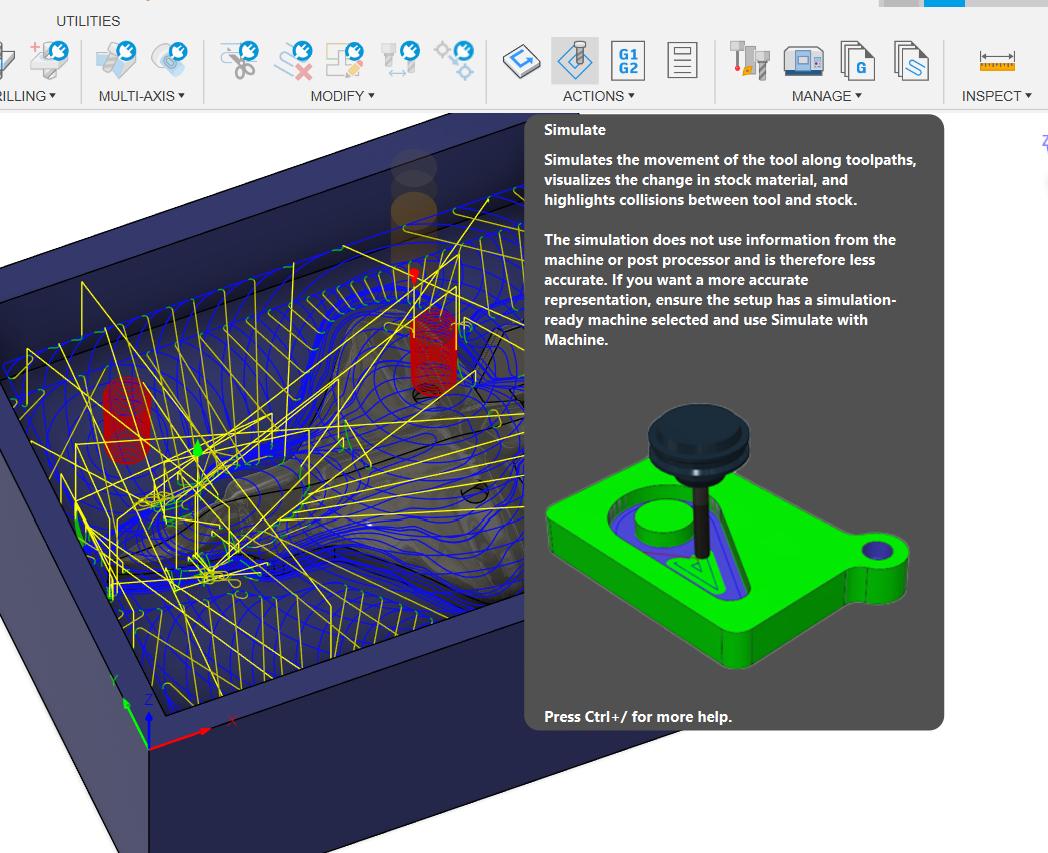
CAM
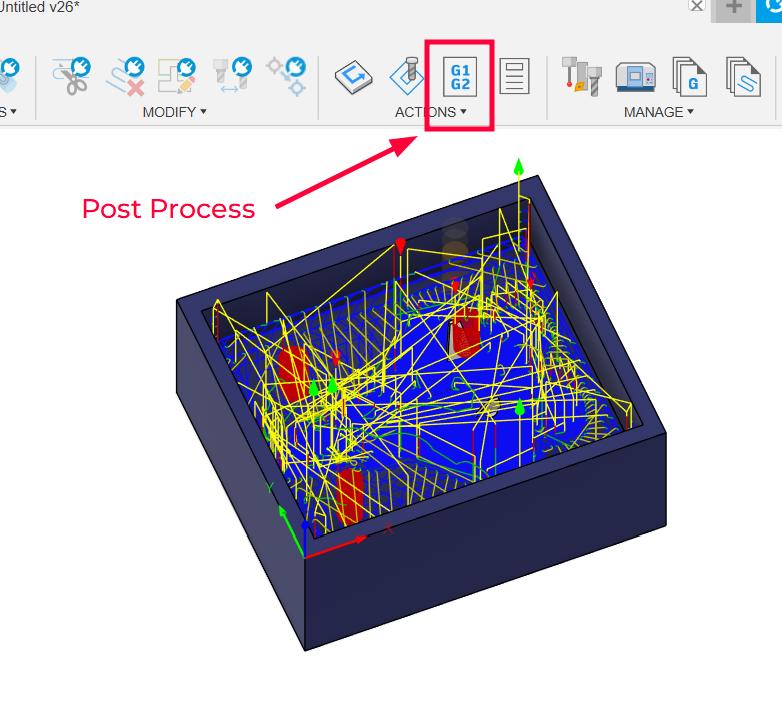
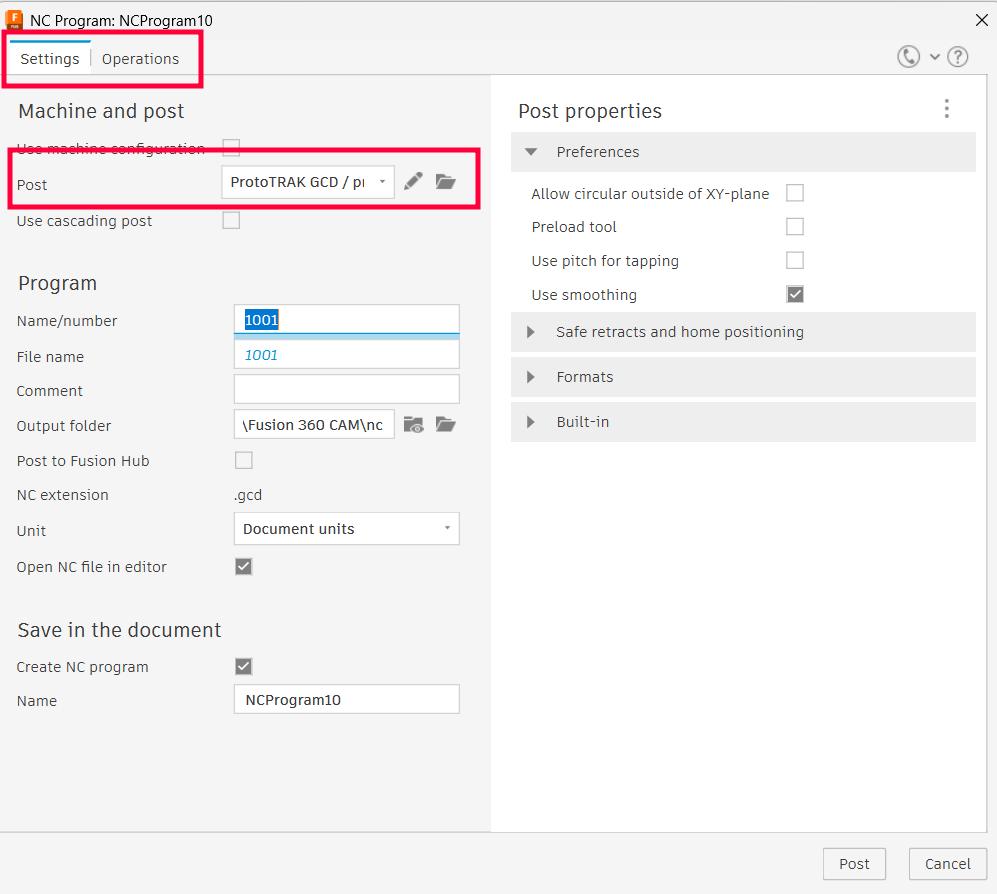
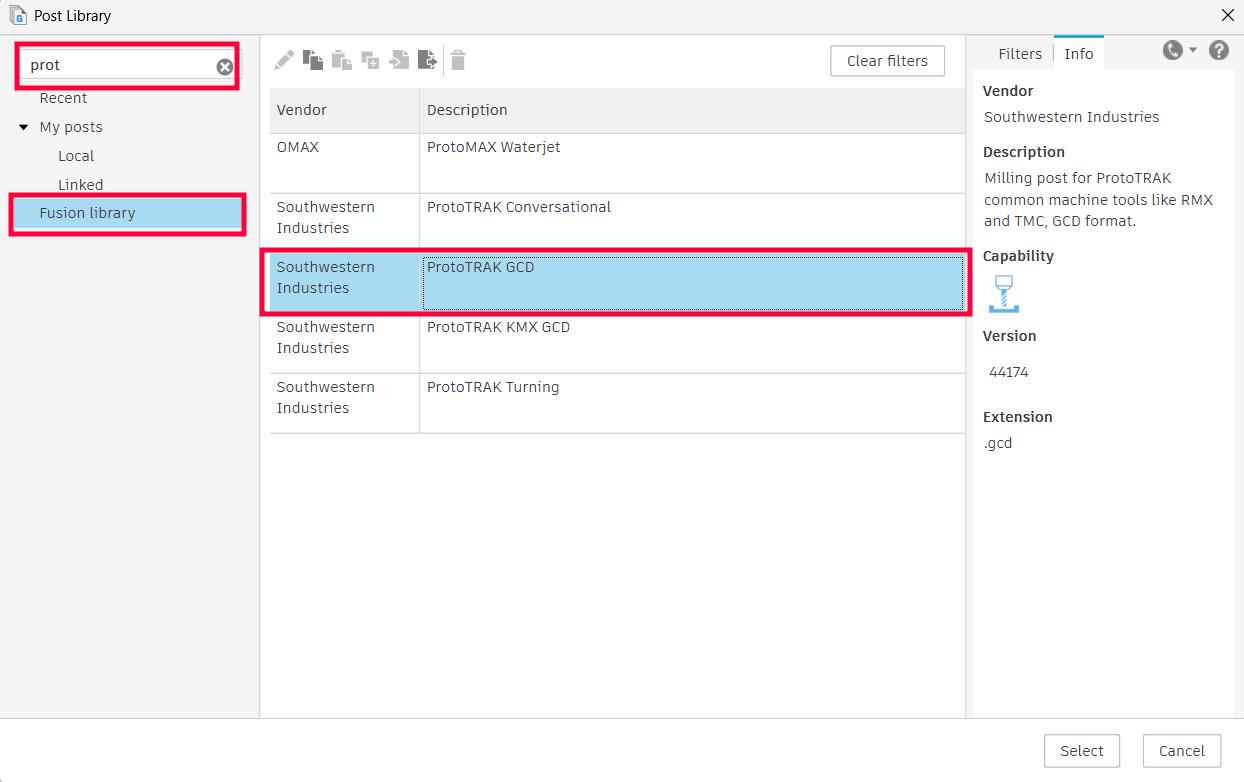
Post Processing
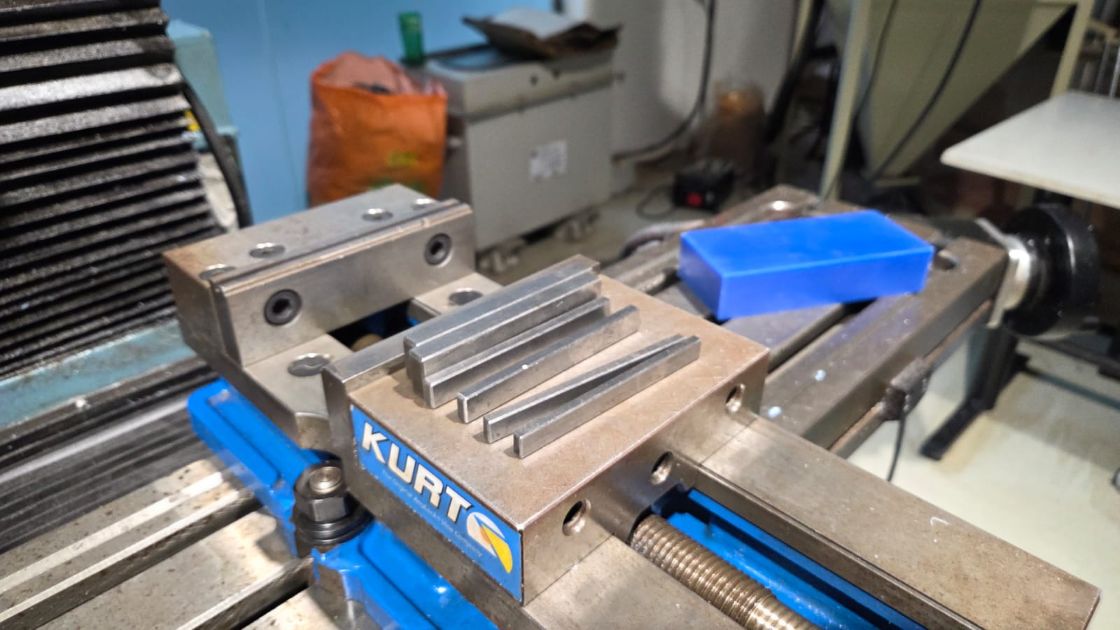
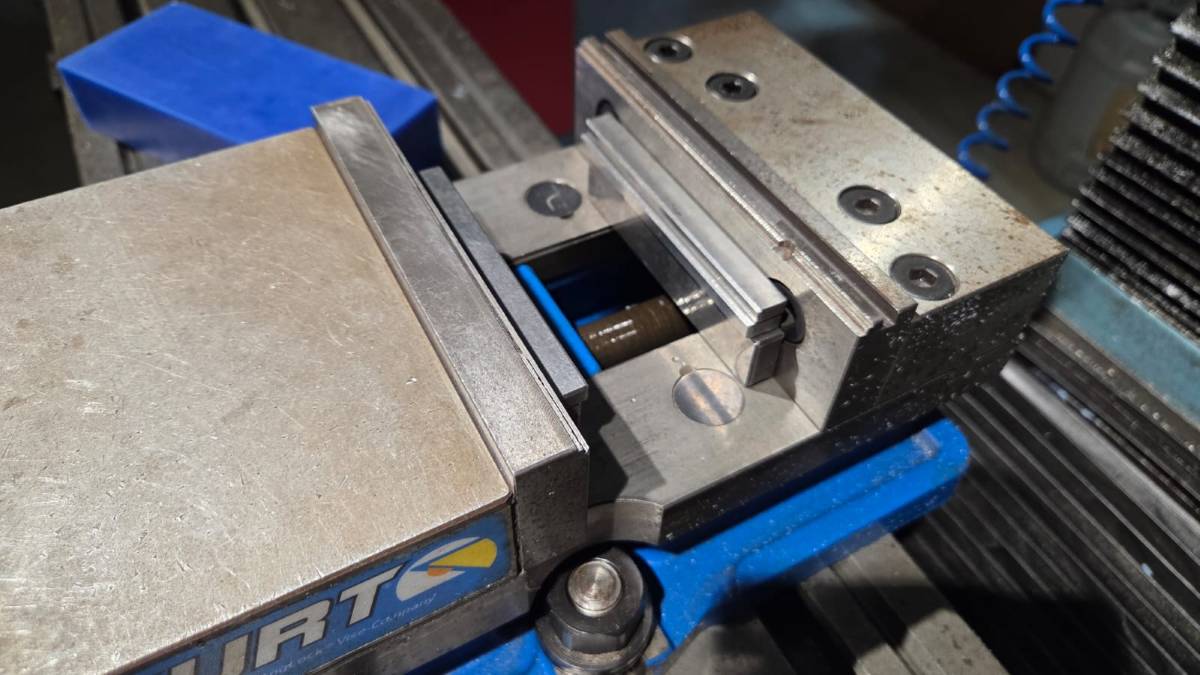
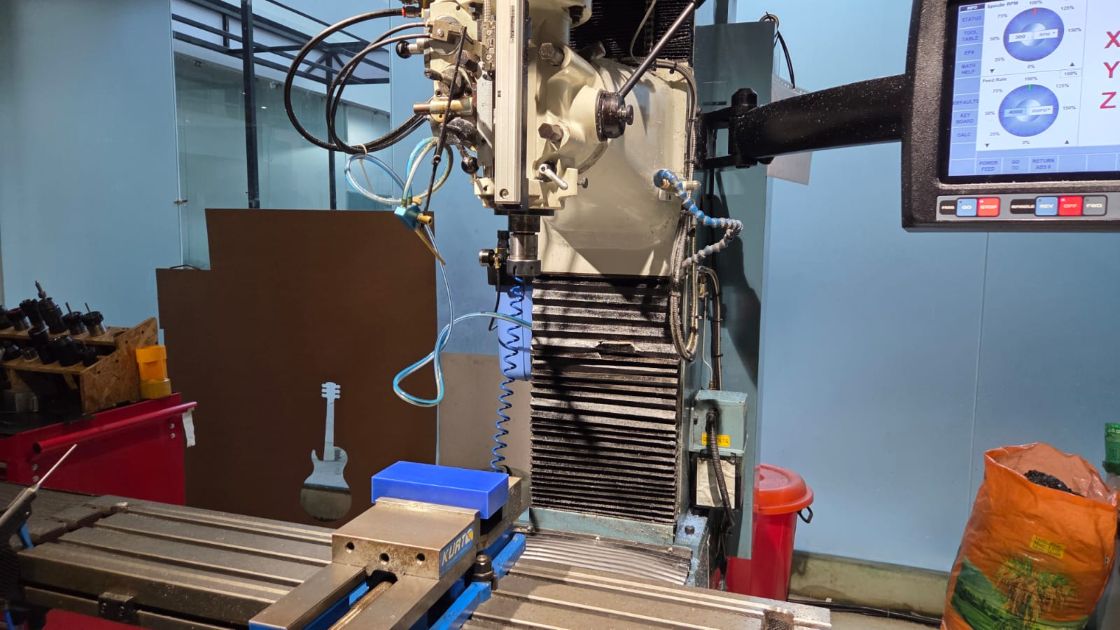
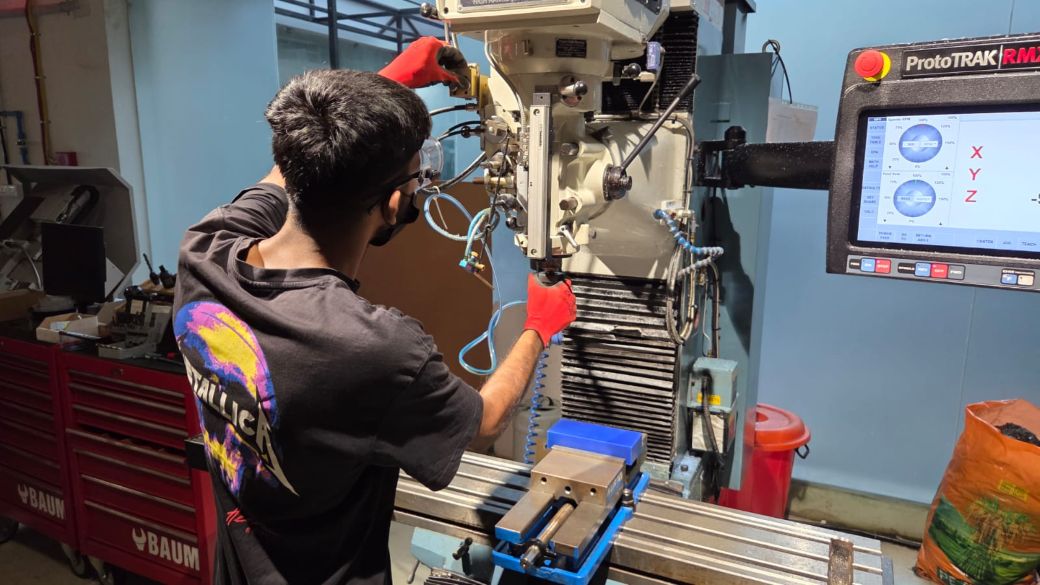
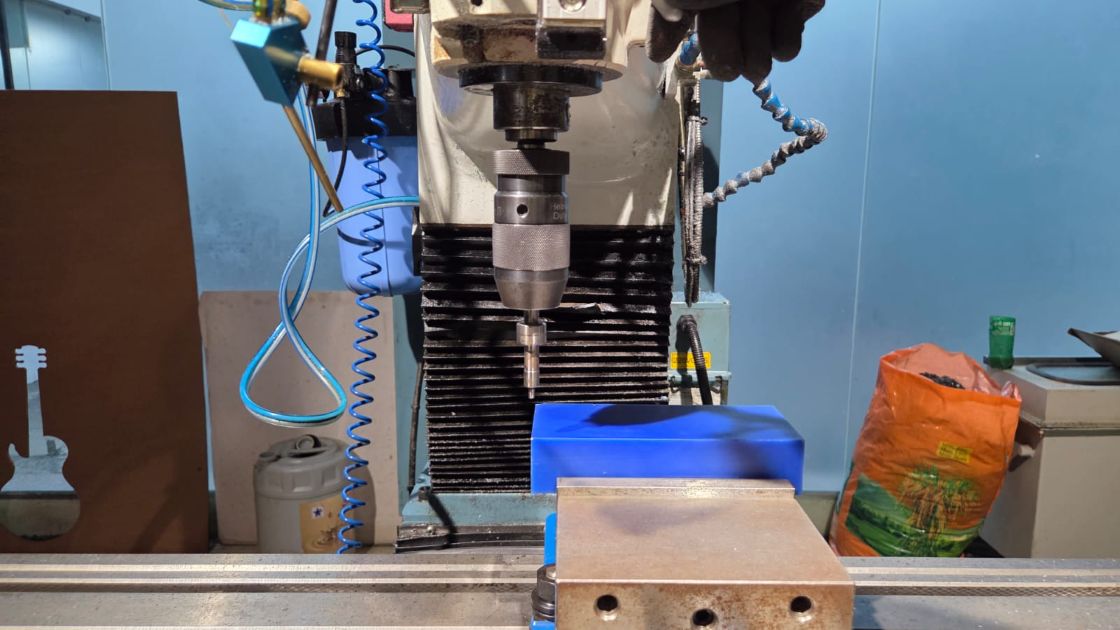
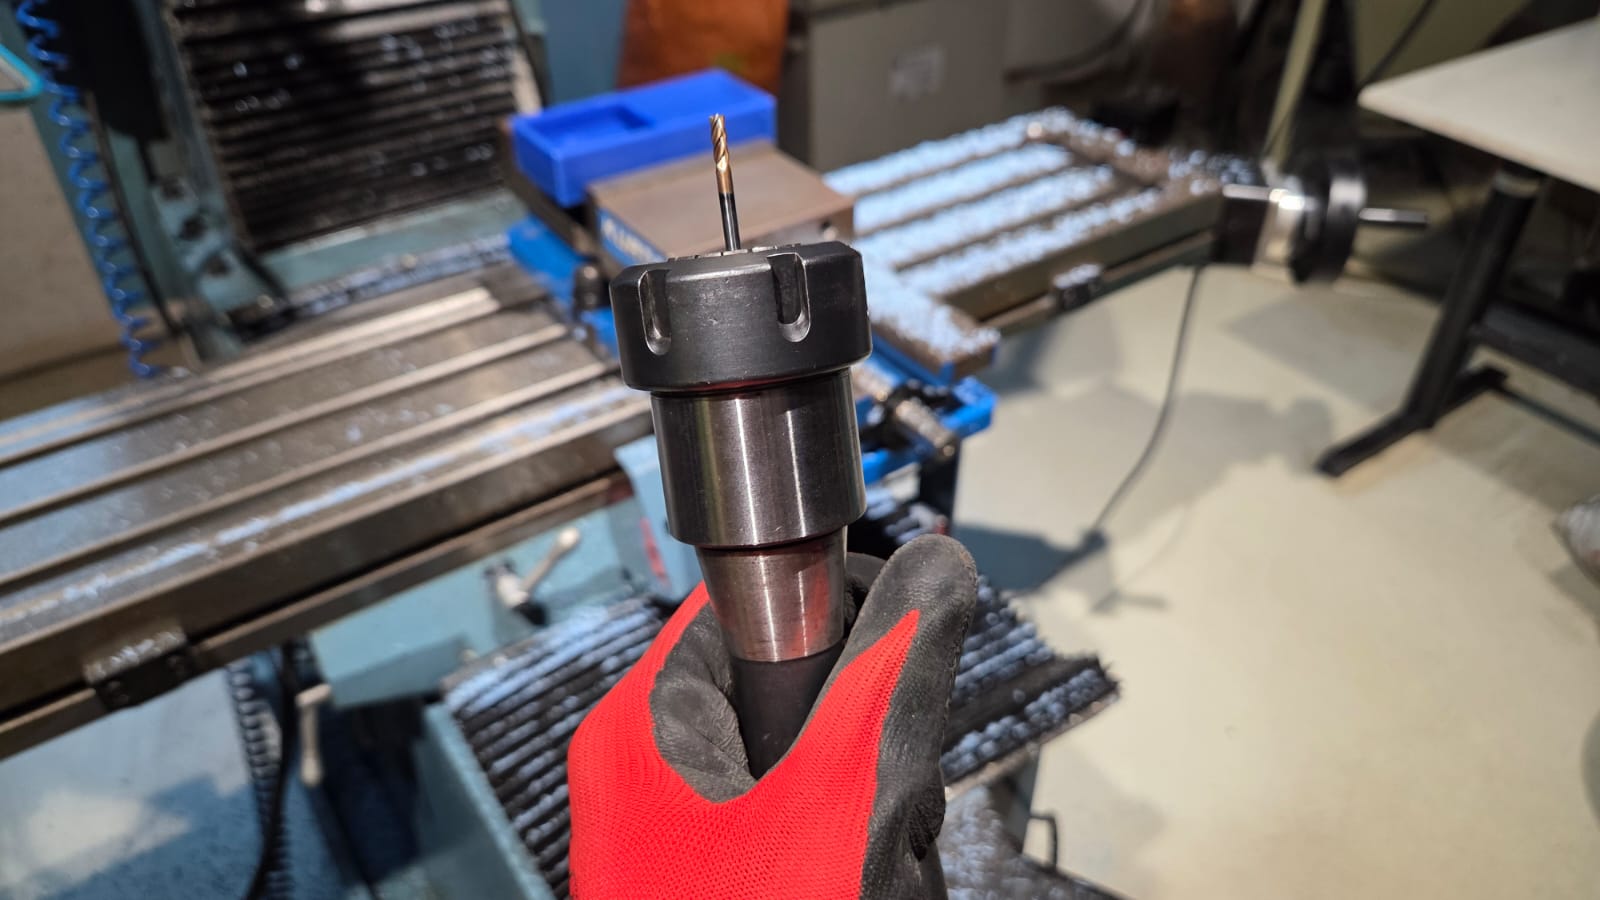
Machining - Milling the Wax Mold
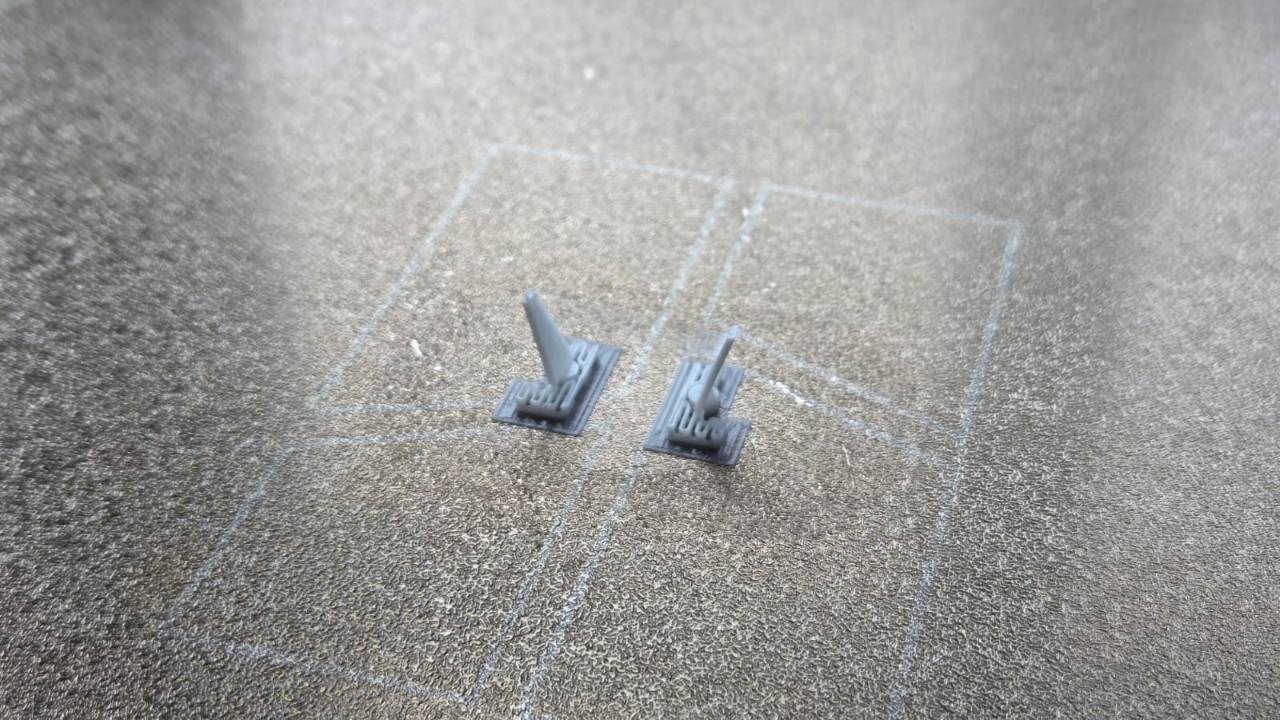
Adding Rudder 3D Prints
Molding - Using Silicone Rubber
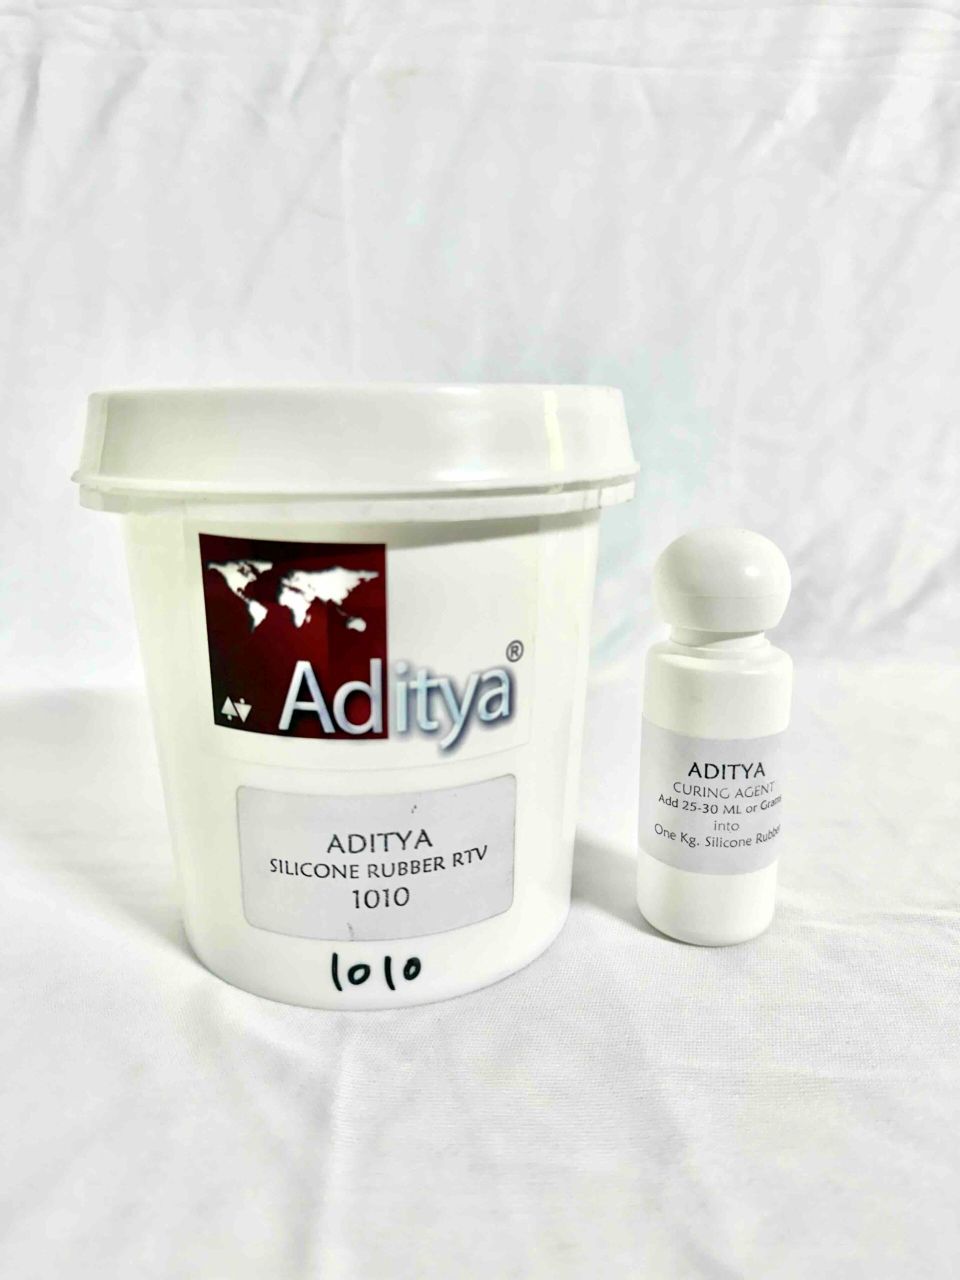
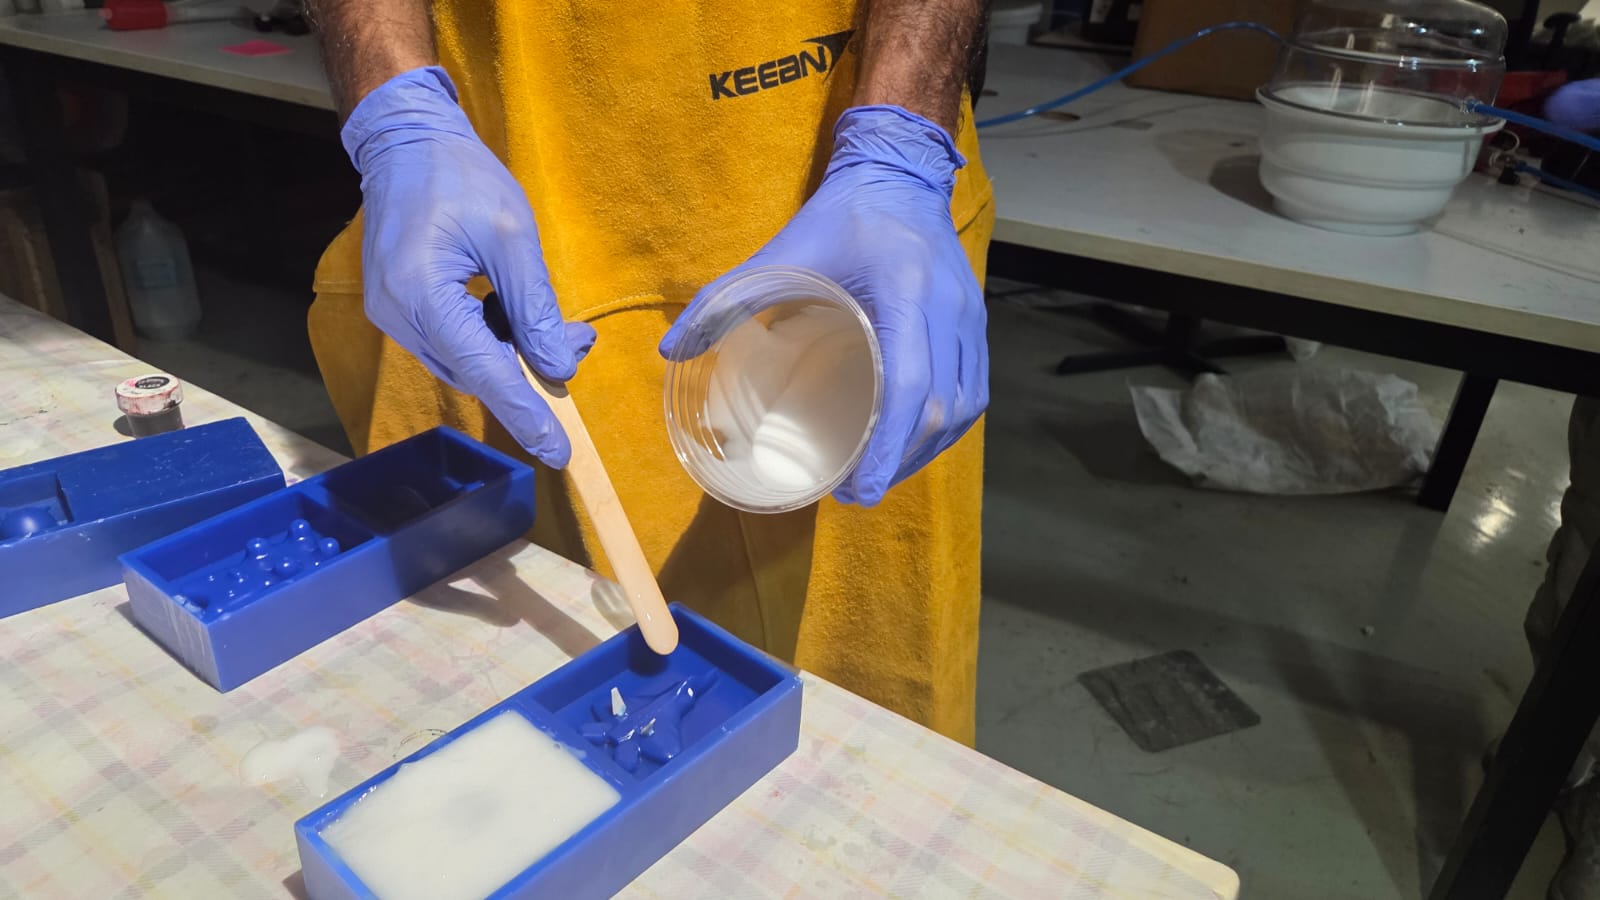
I used the Aditya Silicone Rubber RTV - 1010 for casting the negative mould of the F22. ADITYA SILICONE RUBBER RTV - 1010 is a Tin cure Silicone Rubber. It comes in 2 parts. One is Silicone Rubber and second is Curing Agent. Curing Agent is mixed into Silicone Rubber in a given ratio. It cures at room temperature. Plaster, Resin, Epoxy Resin, Polyurethane, Wax and other resins can be casted into the cured silicone mould.
The above video shows me stiring and mixing the silicone rubber with curing agent using a ice cream stick in a plastic cup after mixing correct ratio of the silicone rubber and the curing agent.
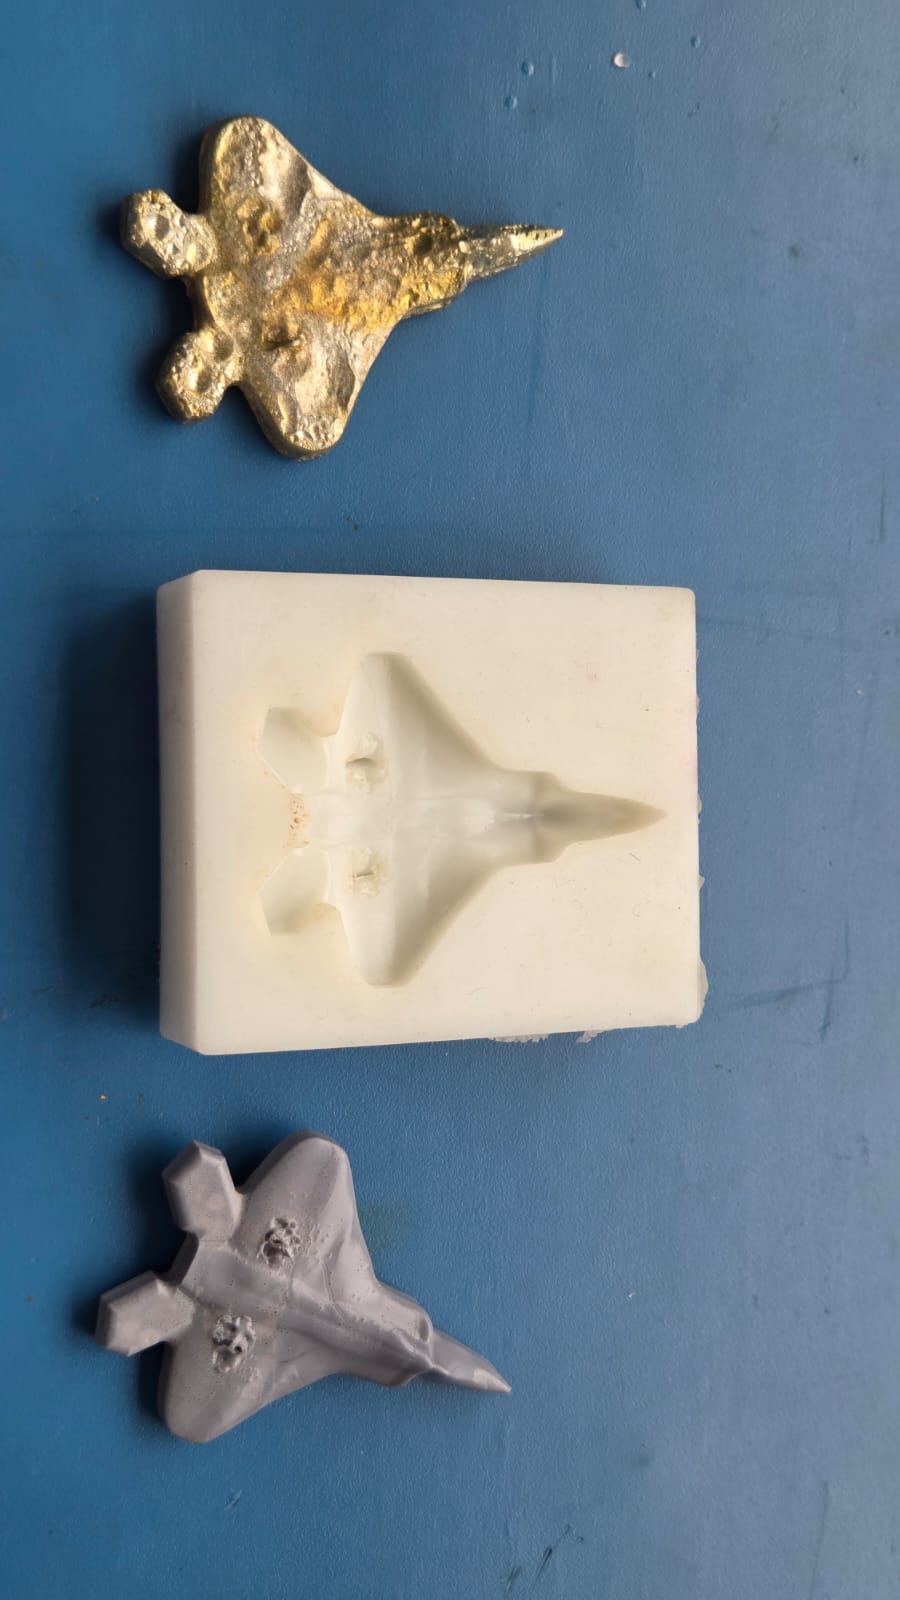
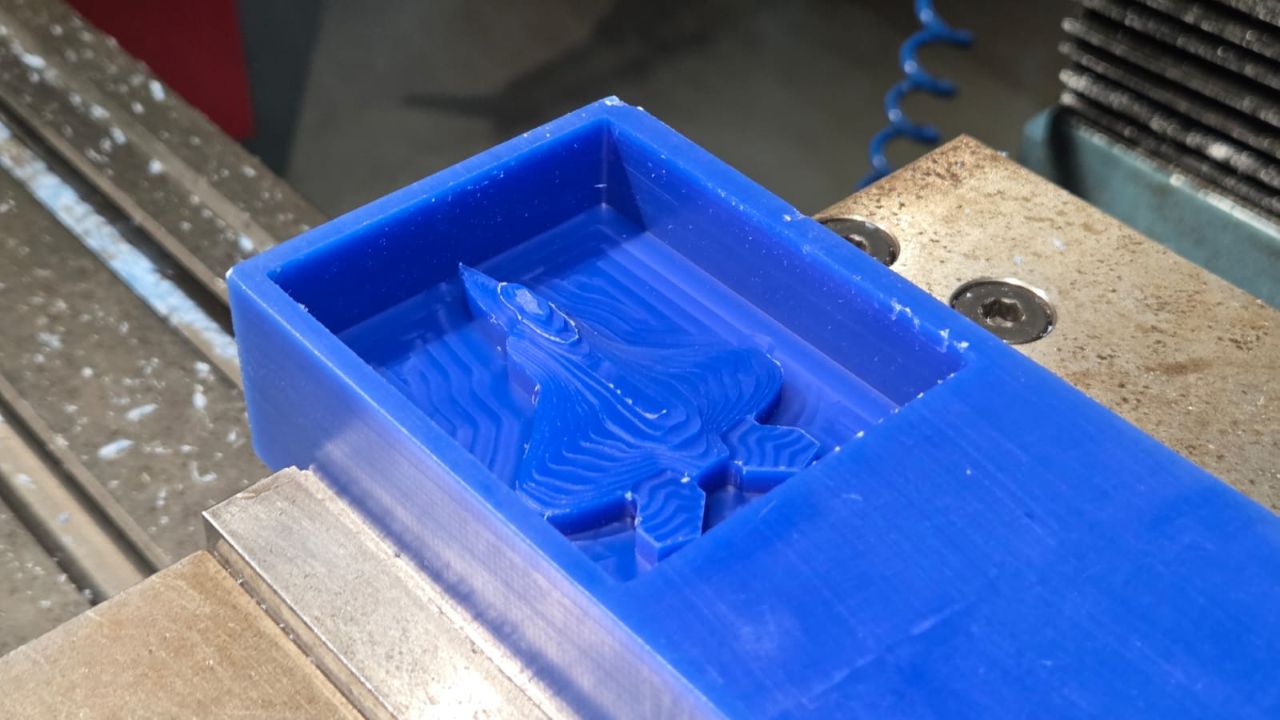
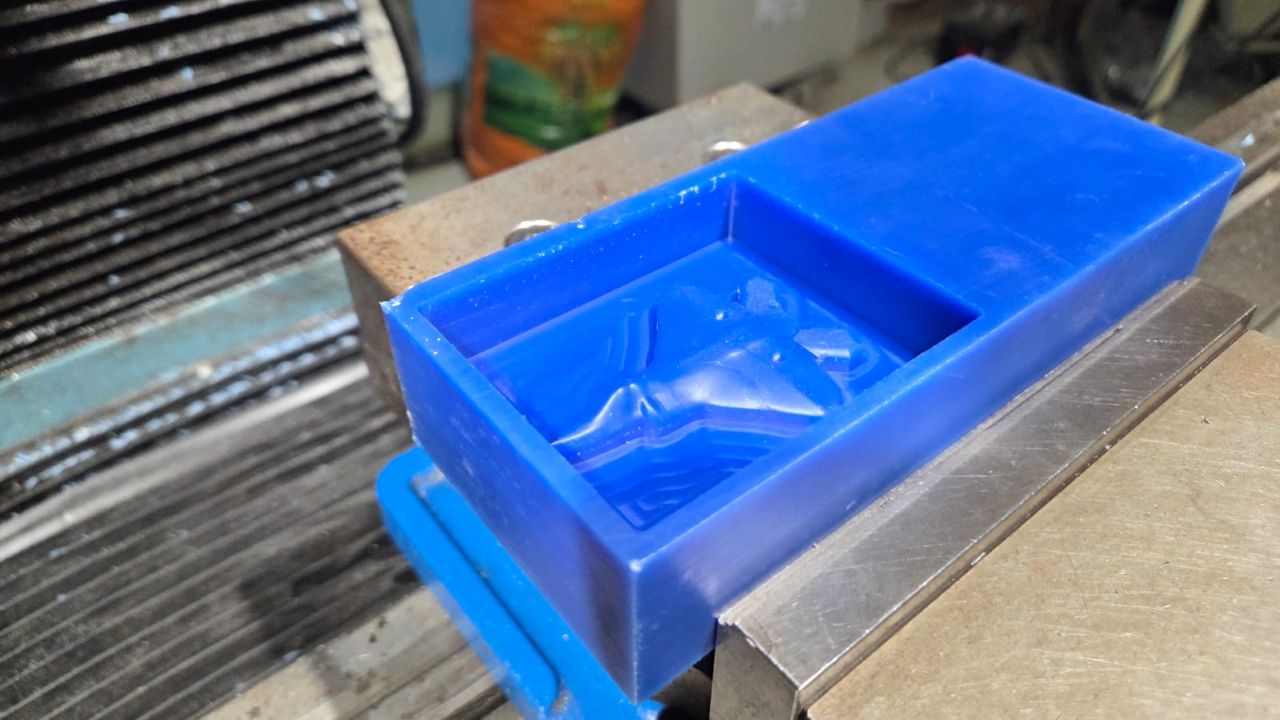
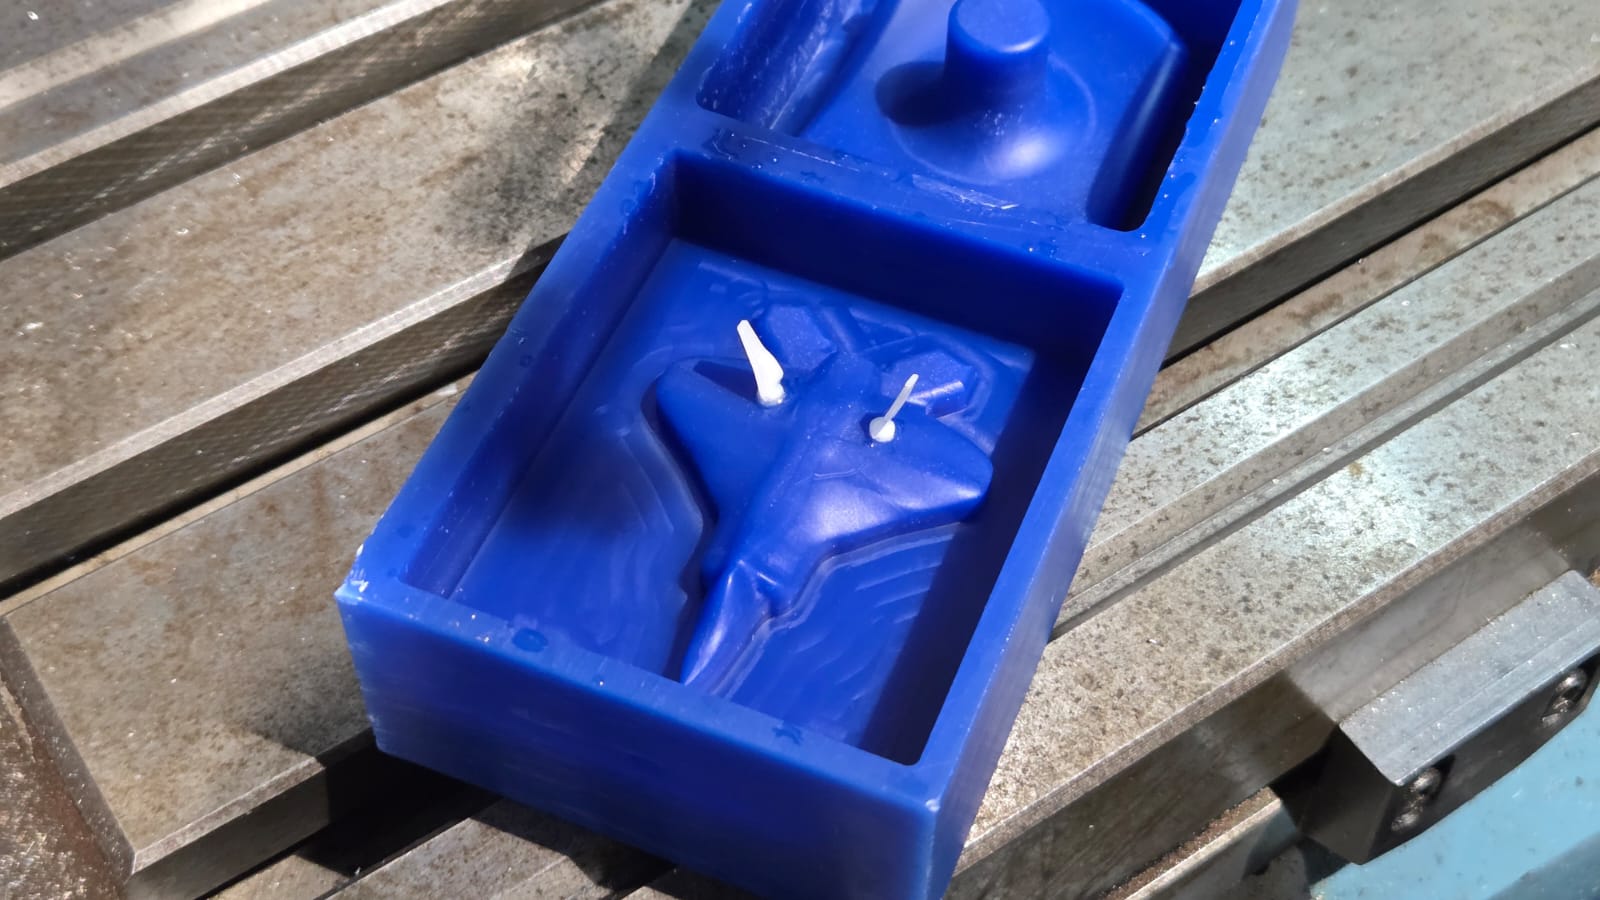
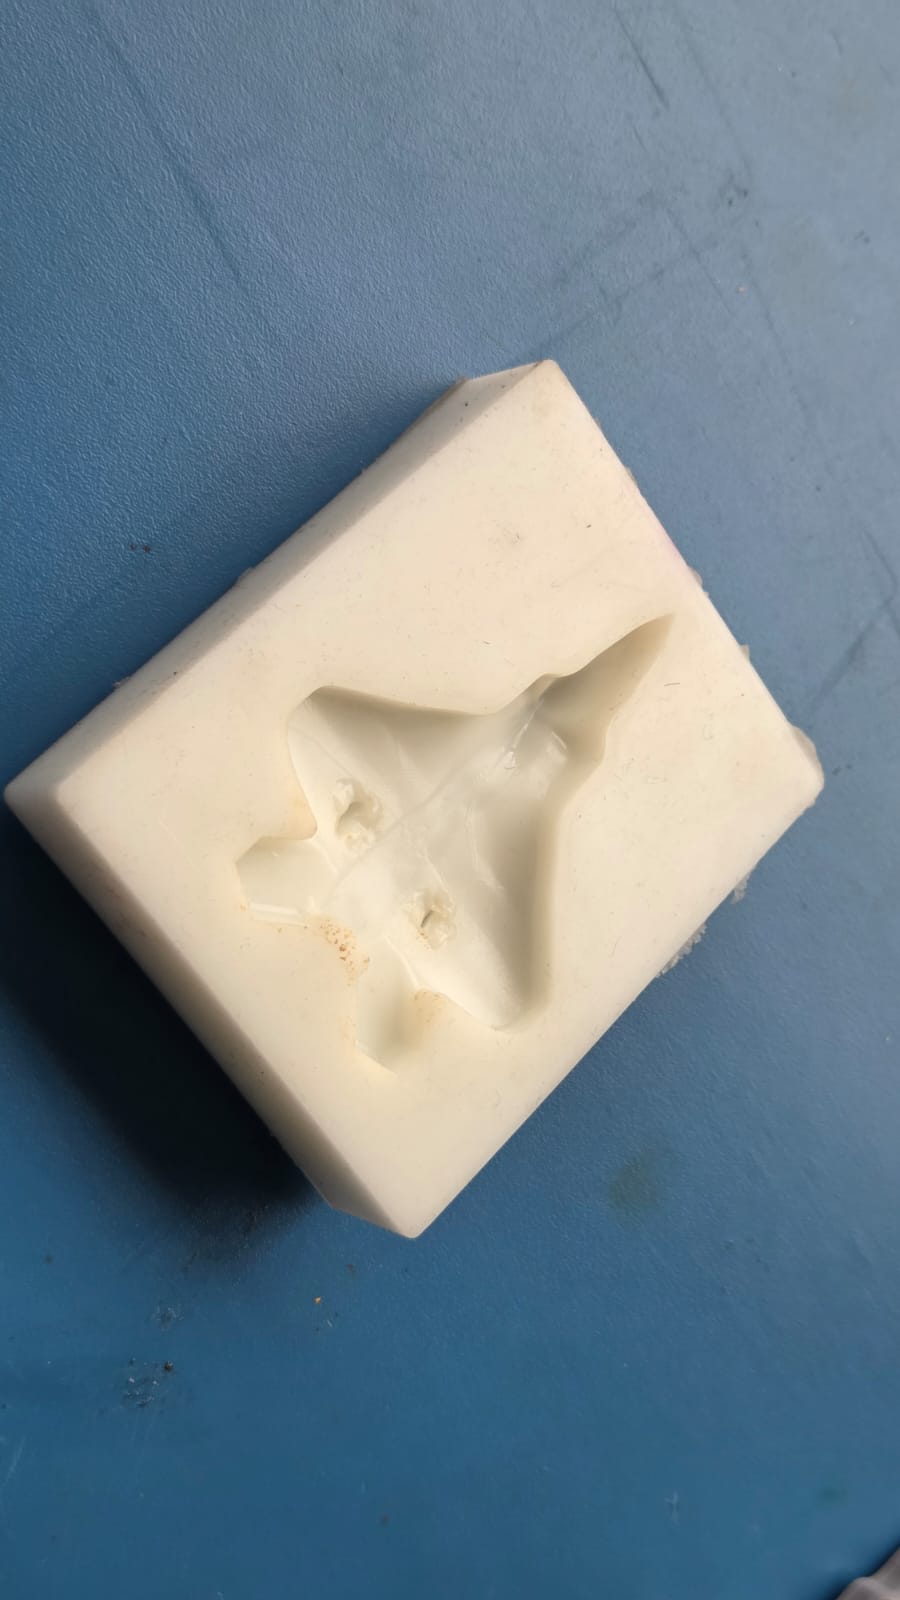
My initial mold did not set even after giving enough time, the mixture ratio was not correct supposedely. That's why I had to redo the whole process of mixing the silicon mixture and pouring it in the mold. The second time, the output was perfect and this is how the Silicone mold looks like.
Casting
I used two different materials for casting:
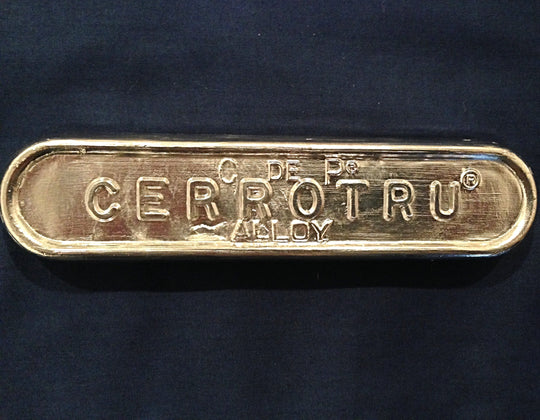
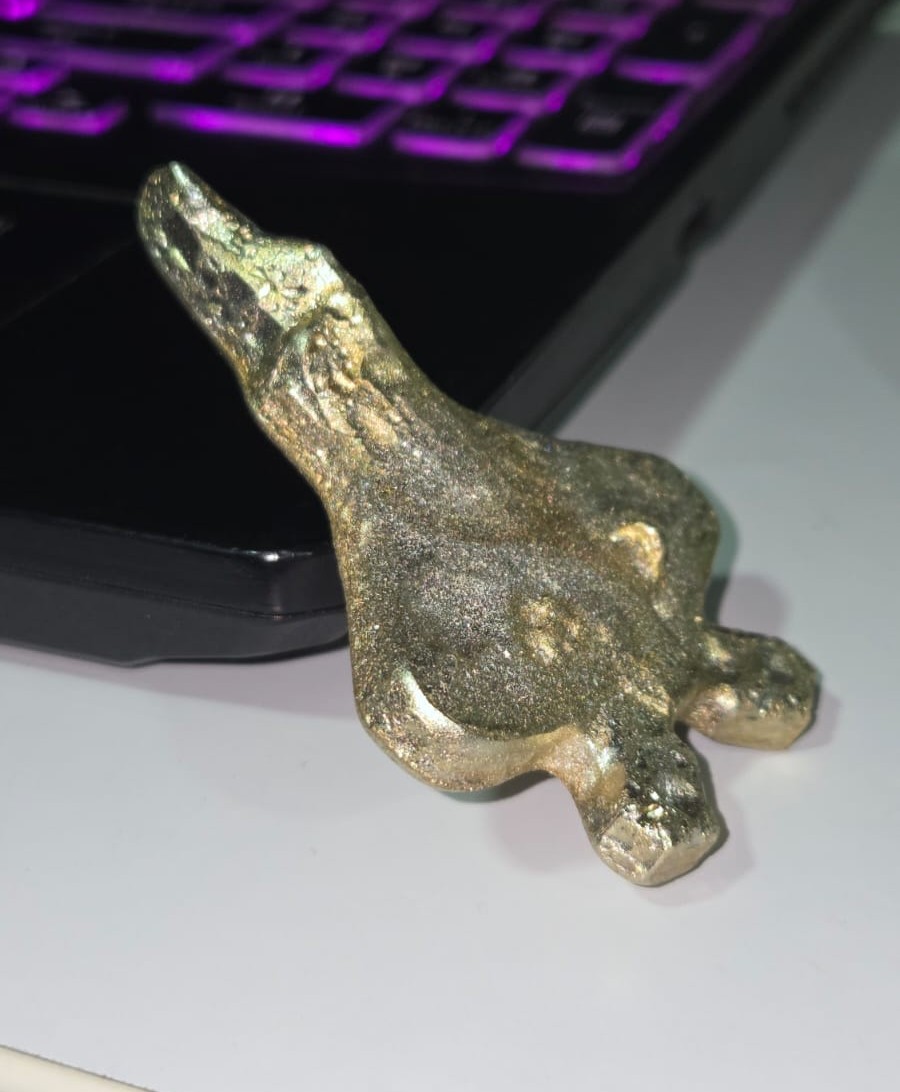
Cerrotru
Cerrotru is a low-temperature, lead-free metal alloy containing 42% Tin and 58% Bismuth that melts at just 281F. Cerrotru has only slight expansion during solidification
Cerrotru is a fusible alloy that is used for casting and molding applications. It is known for its low melting point, which allows it to be melted and poured into molds without the need for high temperatures. This makes it suitable for creating intricate shapes and designs with minimal risk of damaging the mold or the part being cast.
The material is heated in a furnace powered by a 110V power supply.
I am using a pair of heat resistant gloves and tongs to hold the melting pot.
After pouring the molten Cerrotru into the Silicon mold, I used a heat gun to remove any air bubbles and used the tongs to tap on the silicon mold to release th air bubbles as many as possible.
I let the casting rest for about an hour
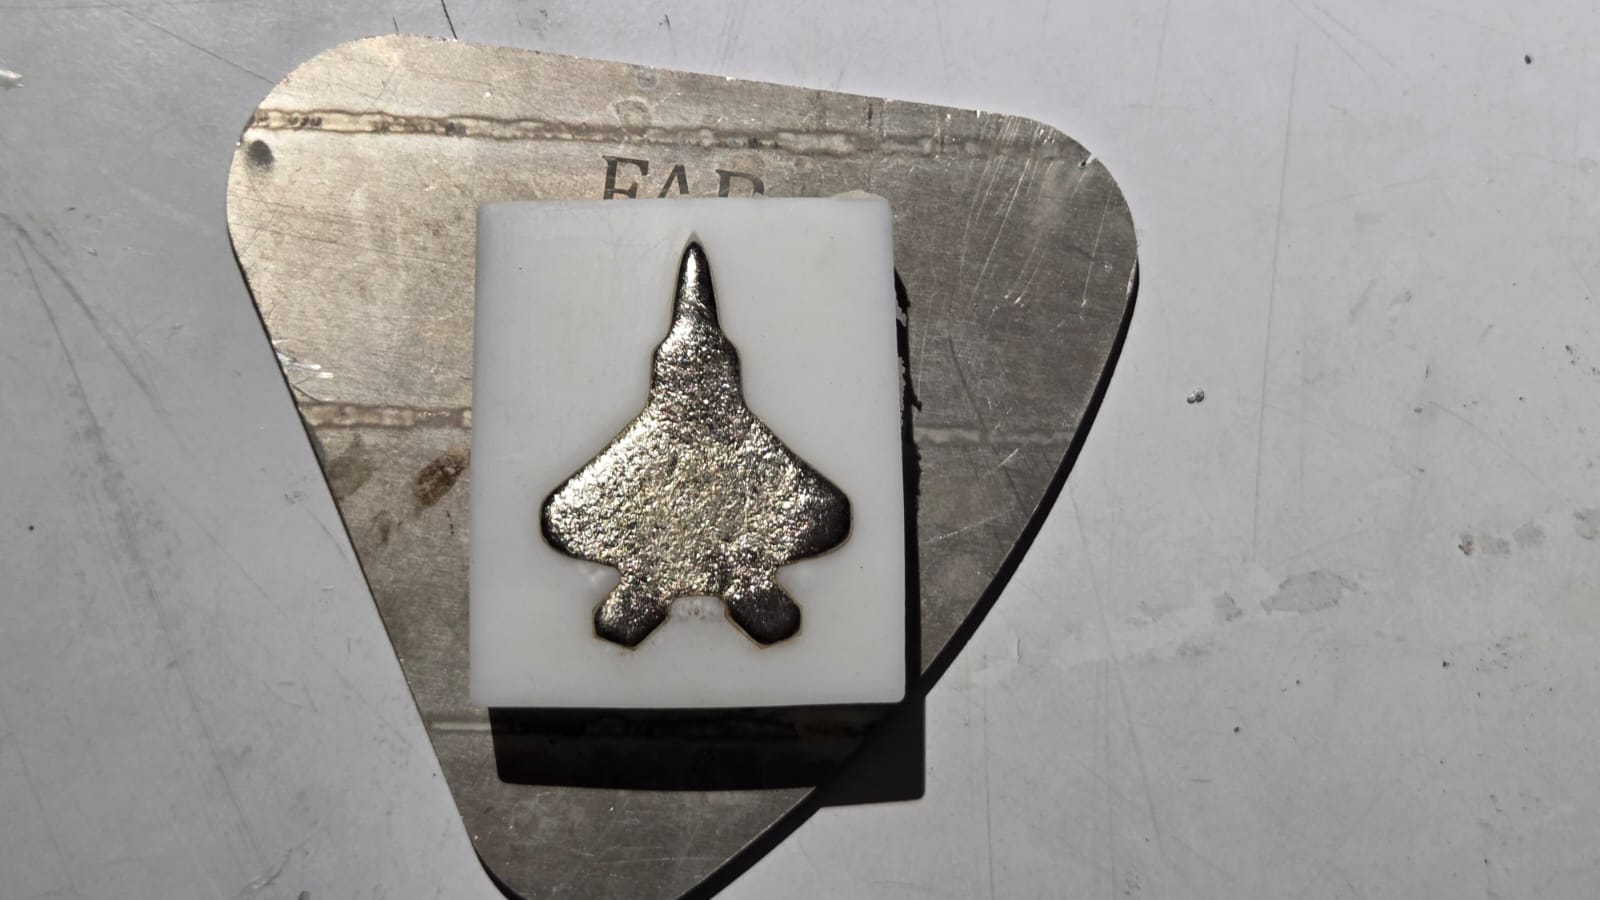
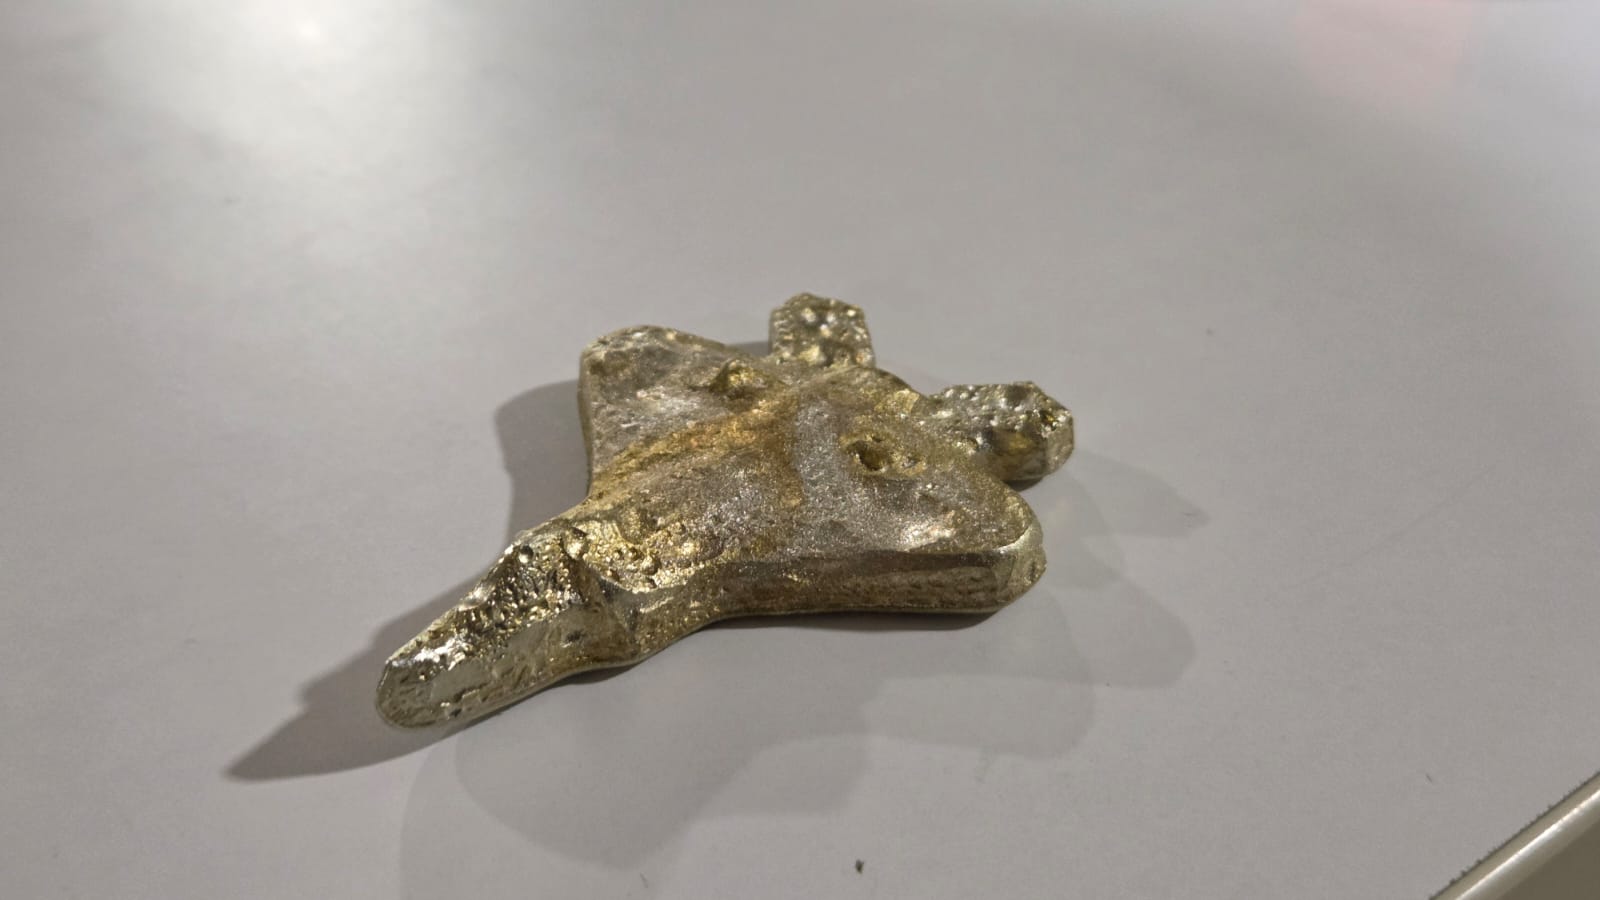
The final output after removing the silicon mold is shown below. The surface finish is not that good as you can see the air bubbles are still visible in the final output but still it looks good. There's a golden hue to the final output which is due to the Bismuth content in the alloy. The final output is very light and can be easily handled. I really liked this casting process and material.
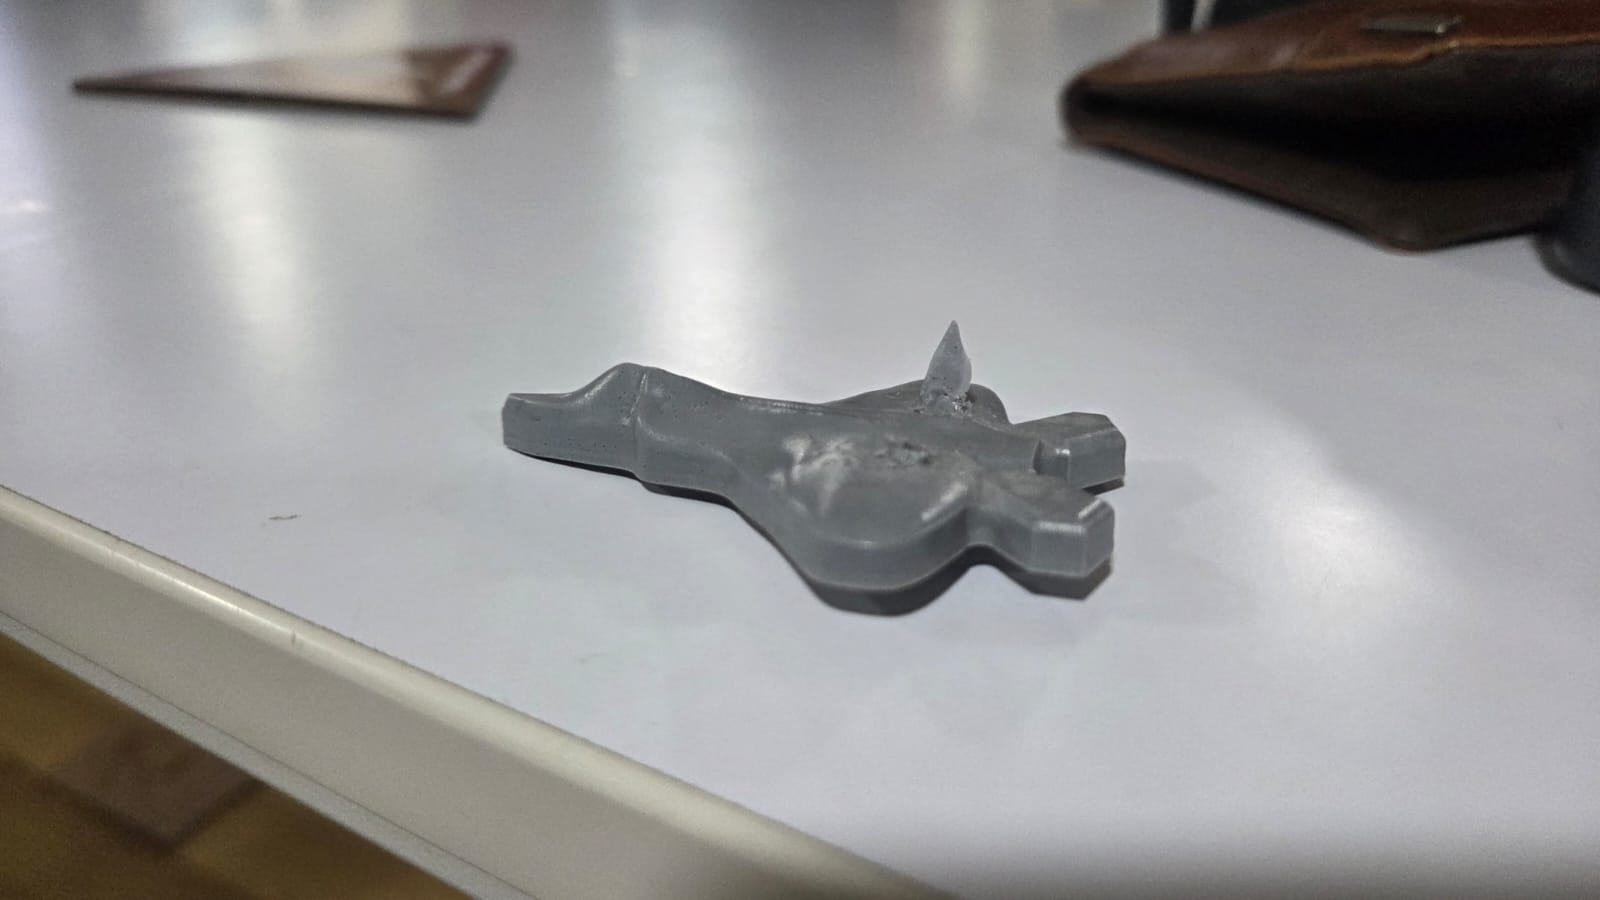
PU Cast Resin
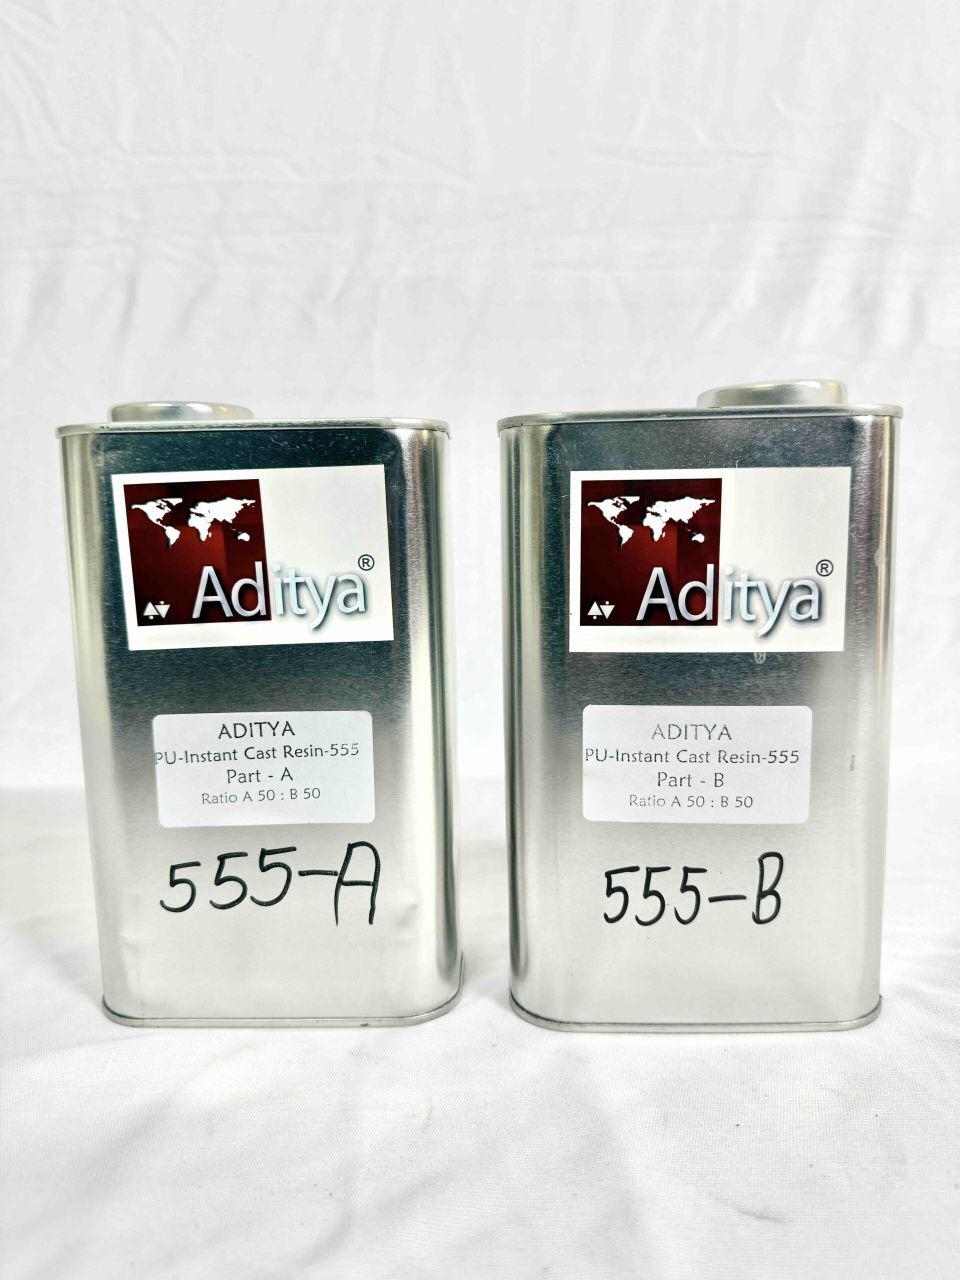
I used the Aditya PU 3 Minutes Cast Resin Milky - 555 for casting this time. The mixing ratio is 1:1 ratio of compound A and compound B. I mixed the compounds for 1 minute and added a tint of black colour. Initially the resin was transparent, adding black colour made it blackish but after a few minutes it became gray. The setting time was really less for this
Design Files
You can download my design files from below
Mold Fusion File
- Fusion File