Week 5
3D Printing and 3D Scanning
This week’s tasks include designing and 3D printing a small object, limited in size to a few cubic centimeters due to printer time, that could not be manufactured using subtractive methods. Additionally, the task involves 3D scanning an object, with the option to 3D print the scanned model.
Group Assignments
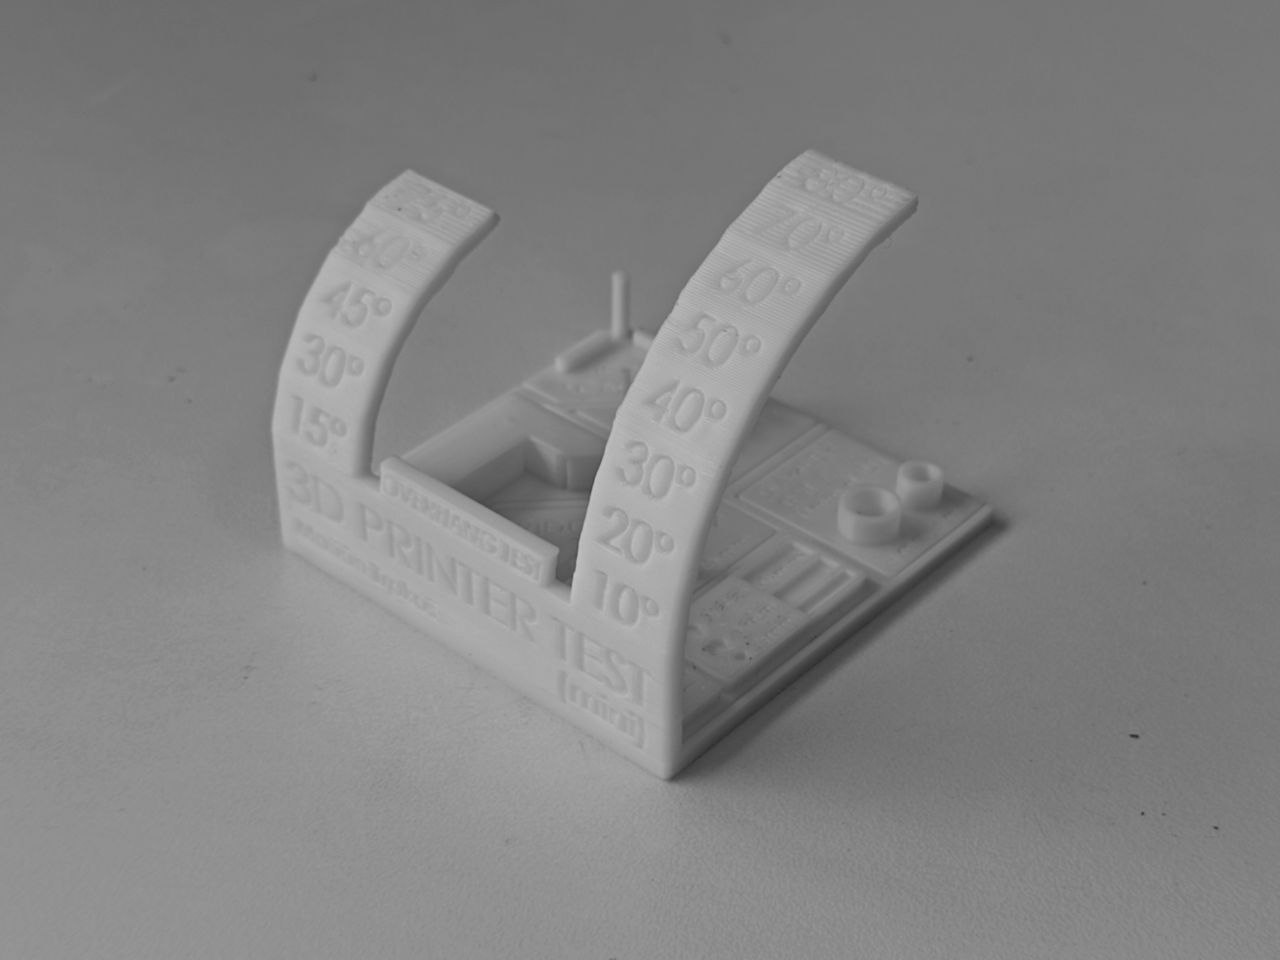
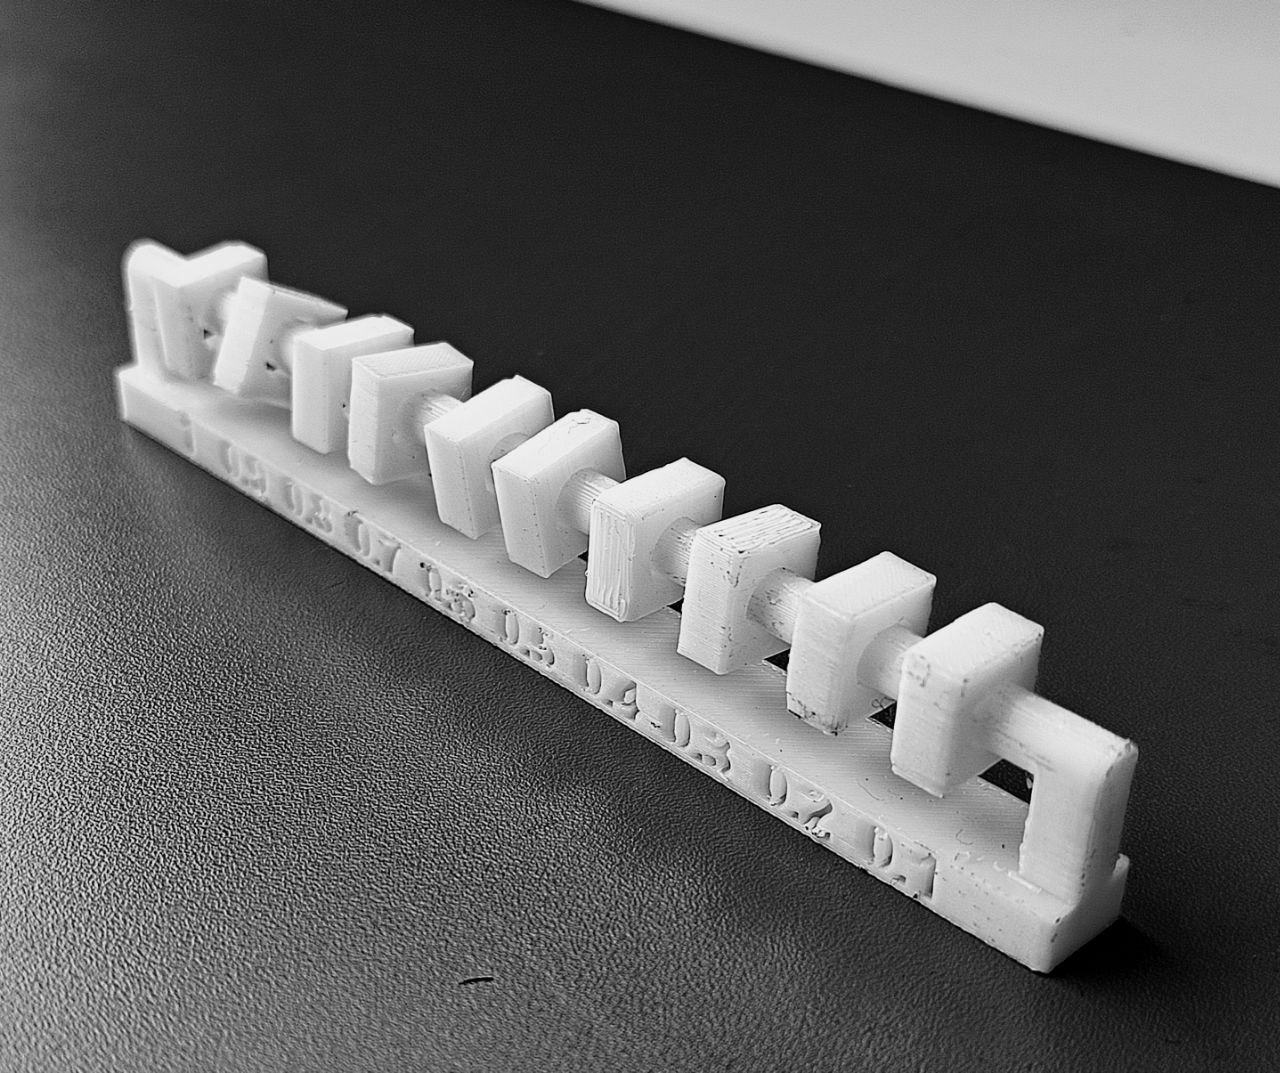
For this weeks group assignment we explored types of 3D printing and compared between its advantage sa well as its disadvantage and 3D scanning, wea lso learned about the safety and steeps that needed to be taken during the printing process and then we learned about design rules that needed to be followed while designing for additive manufacturing, we also explored about the types of materials that can be used in 3D printing and types of infill patterns that can be used during 3D Printing Since we are using Bamboo labs A1 we explored more about the printer and types of beds that can be used on the printer and then we explored in depth about the slicer that we are using. Then we tried printing two test prints checking the quality angle athat the print starts to fail and more about tolerance of the printing.
For more info visit our group assignment page.
Link : week 5 Group Assignment
3D Printing
3D printing, also known as additive manufacturing, is a process of creating three-dimensional objects from a digital model by laying down successive layers of material. Unlike traditional manufacturing methods that often involve cutting or molding, 3D printing builds objects layer by layer, which allows for the creation of complex shapes and intricate designs with minimal waste. This technology is widely used in various fields such as prototyping, product development, medical applications, architecture, and even art. With advancements in materials and printer technology, 3D printing continues to evolve, making it more accessible and efficient for both industrial and personal use.
Bambu Lab A1
The Bambu Lab A1 is a fast and user-friendly desktop 3D printer designed for both beginners and experienced users. It offers a generous build volume of 256 × 256 × 256 mm and can reach print speeds up to 500 mm/s, ensuring quick and precise prints.
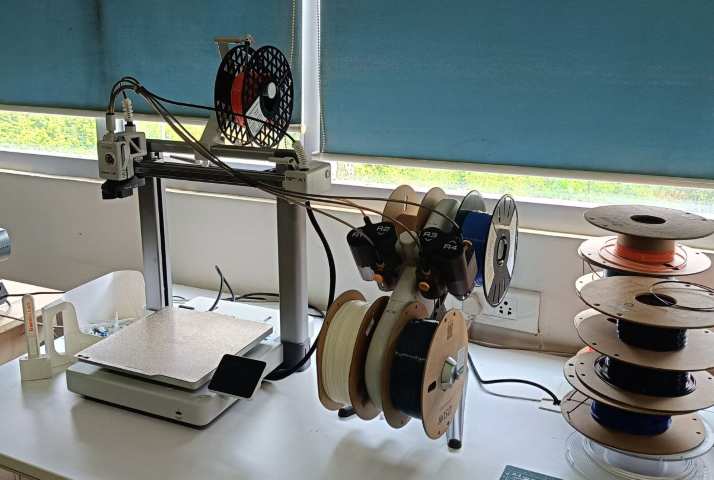
A key feature is its compatibility with the AMS Lite system, which allows multi-color printing with up to four filaments. It also includes advanced technologies like active flow rate compensation for consistent extrusion quality.
Additional features like automatic calibration, a quick-swap nozzle system, and noise reduction enhance the user experience. While it may face limitations with large prints using high-temp materials, the A1 remains a powerful and efficient choice for most 3D printing needs.
Design and printing of Infinity cube
Infinity cube is a simple and indicating fidget toy I got inspiration while I was blousing through Pinterest Then i designed it using parametric design in fusion360, All the files for this can be downloaded from the link at the bottom of this page
- First I defined all the parameters depending on the tolerance tests done earlier and and other dimensions too make sure the design is scalable by only changing the parameter.
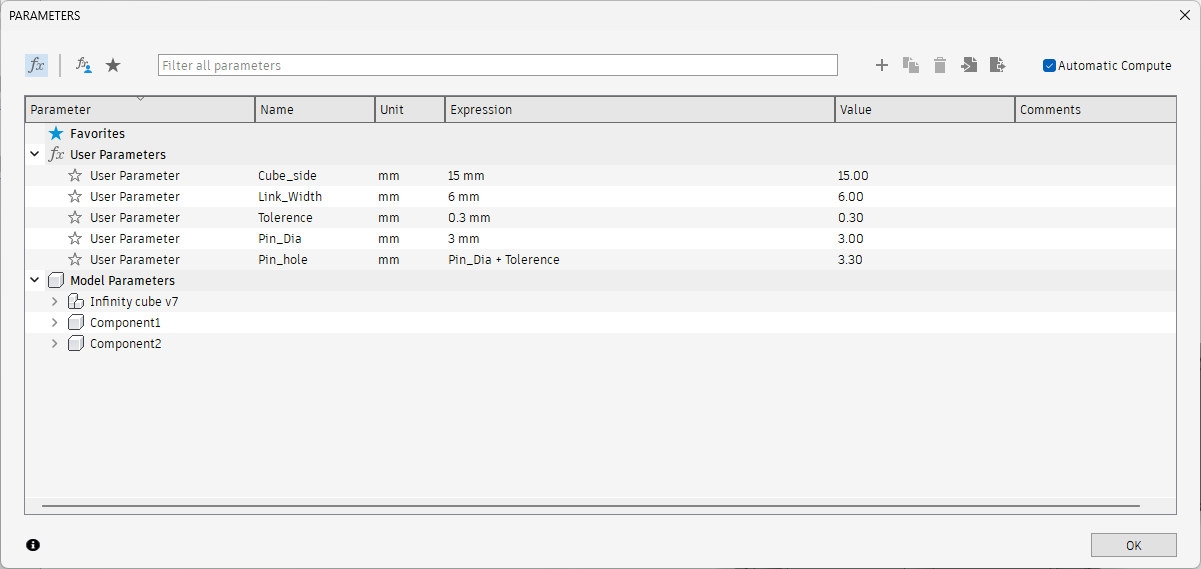
- Then using these parameters I made a cube and link then mirrored it multiple time to achieve the final design of the cube that I made sure that while designing even the values for fillet should me made using parametric design so that a test print can be done and all the errors can be corrected easily .
- Then I assembled it completely using joints and as-built joint tools to make sure the design will work in the intended way
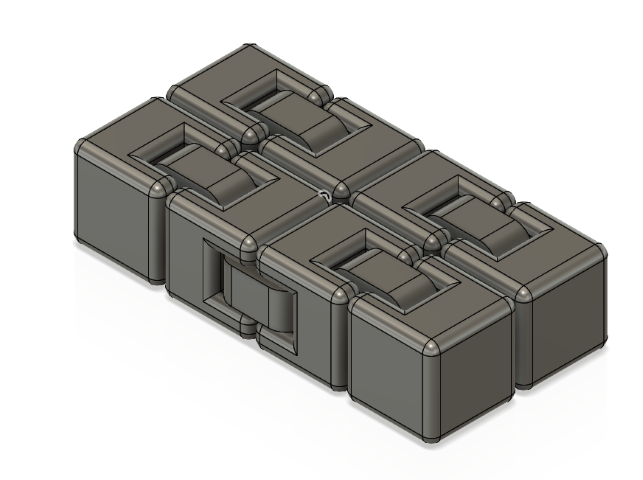
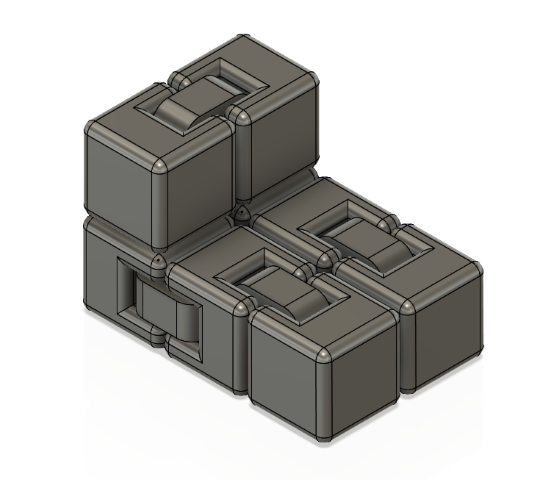
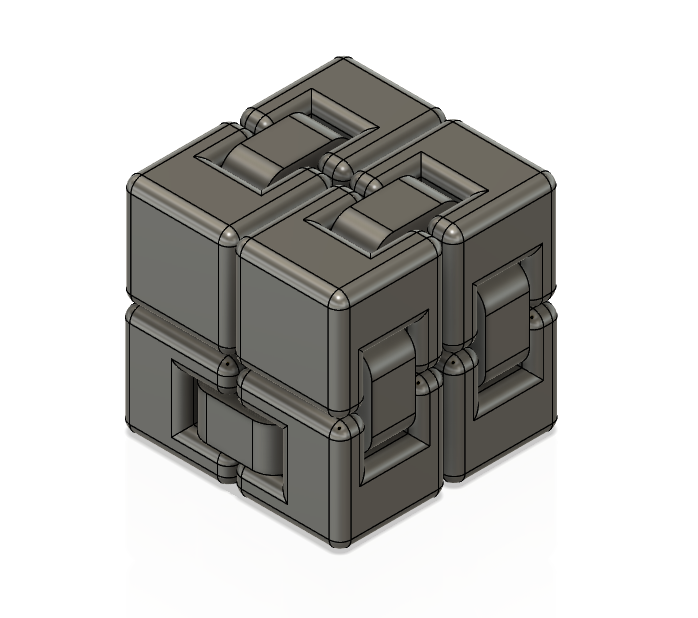
- This is the time-laps of the entire design process the design history feature is very useful for all error correct and for documentation too
- Since i had some other plans for designing took a small section from this cube and isolated it and exported it for printing and testing if all the tolerance that gave during design was correct.
- Then I imported this into bamboo labs slicer set the infill wall thickness and layer thickness t optimizing the time for printing and moved it for printing.
- This is the finale output, all the joints are moving very freely and the print was successful.
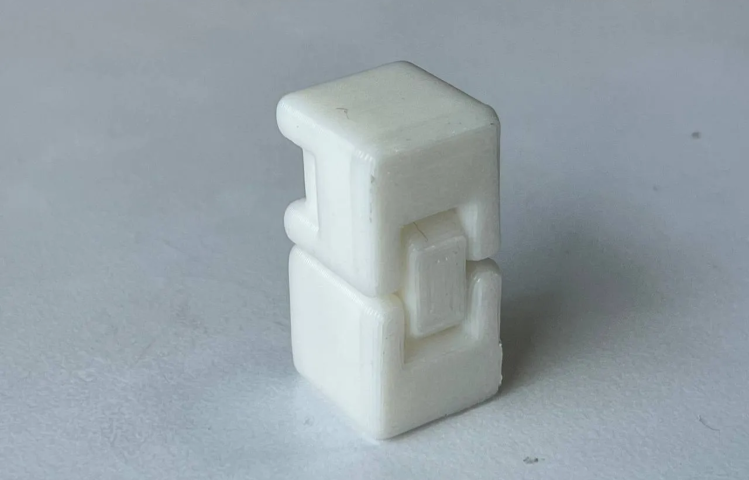
- And this is a video that showcasing the parts and its movements from my observation the print was successful.It was better to use offset of .25mm I have used .3mm i felt it was a bit lose also for smother movement its better to use a higher value for the fillet.
Design of a simple crocodile in Blender
I had a some basic Knowledge in blender about the work space But Iad no idea how to design som thing using sculpting i blenderI really thought that blender was for artists but i was wrong I learned about the basics tools for sculpting and i was able get some good results from this event though it took almost 6 hours to learn and make this design.
- First I imported a simple sphere mesh in blender and in blender go to sculpt model and made the basic the head using all the tools i learned
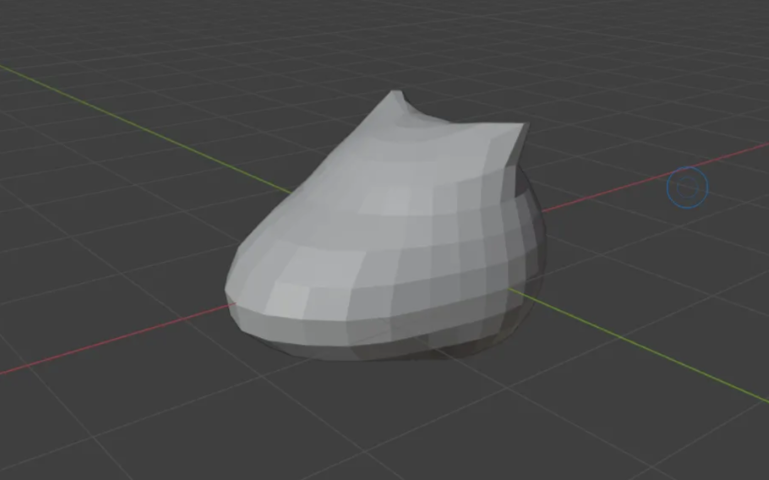
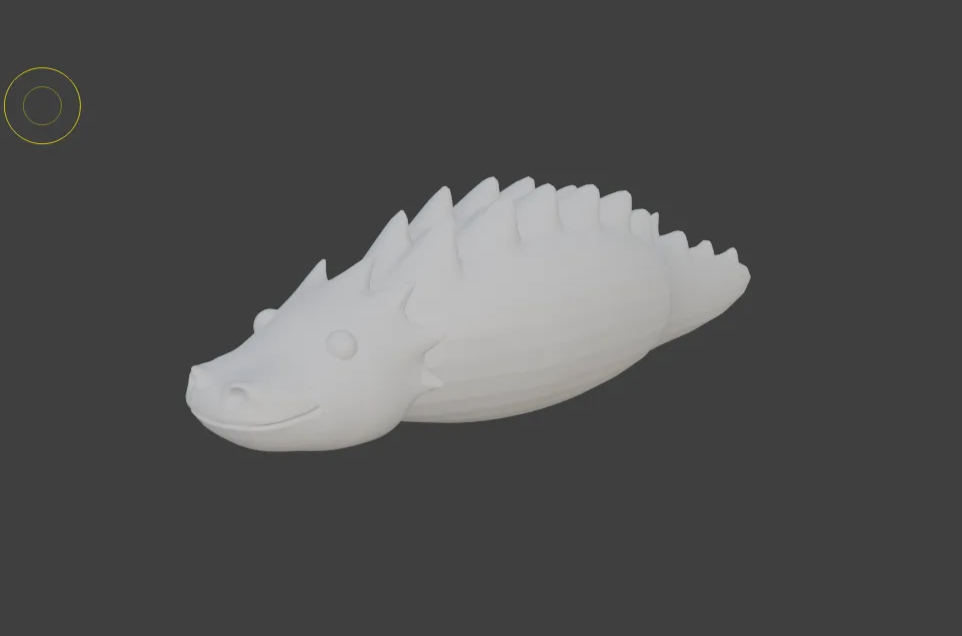
- In the next step I imported a second sphere and then the body of my crocodile was made I also added some thrones on top of it for adding some features.Also adjusted it to properly to make to look cute.
- Then as the next step I modeled a leg for croc and mirrored it to both sides and and finished the basics also made sure to add the feet to make it look more realistic.
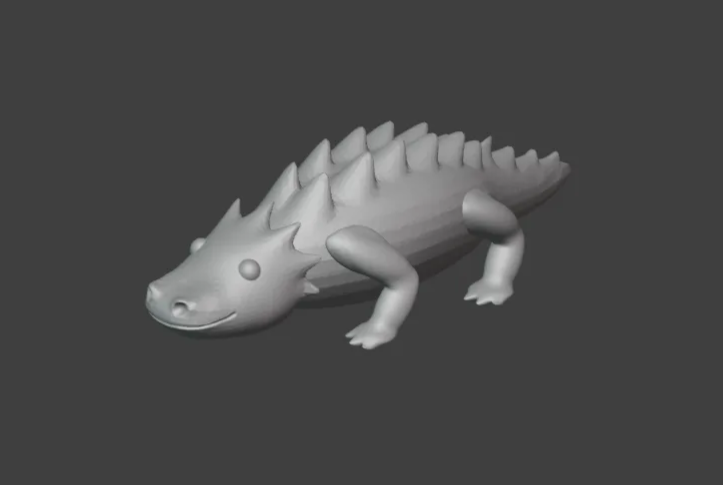
- Then I did some finishing touch to the model to fixing the issue with the mesh and clearing unwanted pointy parts from the model
- Next step was to make him flexible after 3D printing for this I cut his body to multiple pieces 😈 Made sure to make the cut in locations where the no tones.
- For this I made multiple planes and extruded them and then spited the body into multiple sections
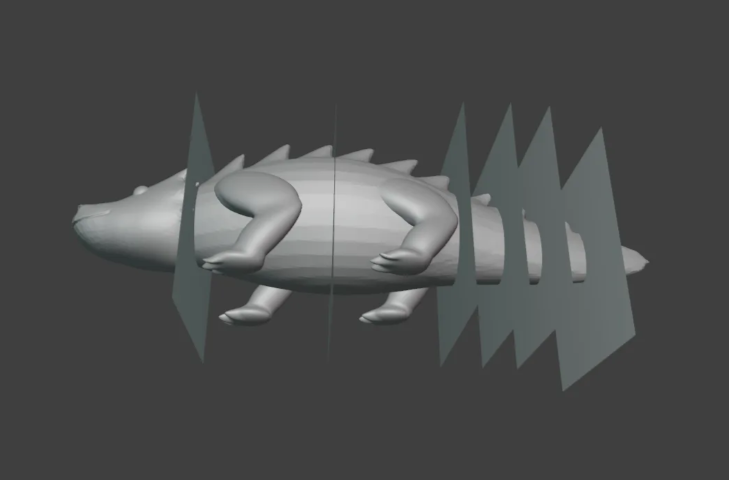
- After this I removed some material by using the boolean modifiers and designed and added the hinges it blender using the boolean modifiers in blender joint it to the parts while designing make sure to add enough tolerance while designing.
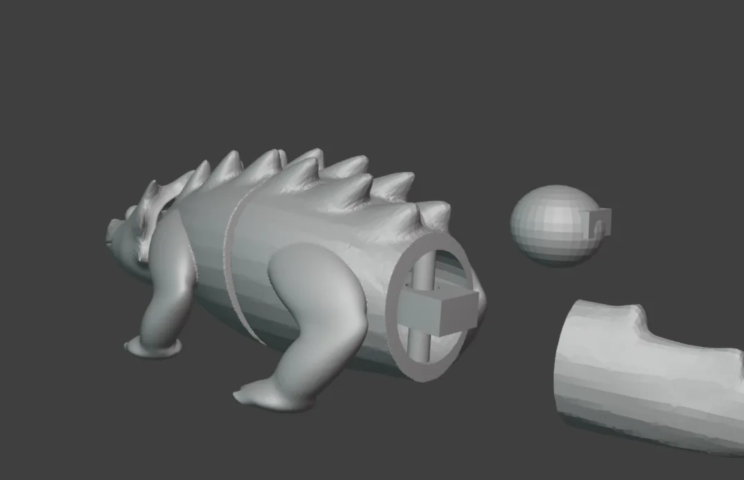
- This is the final mode
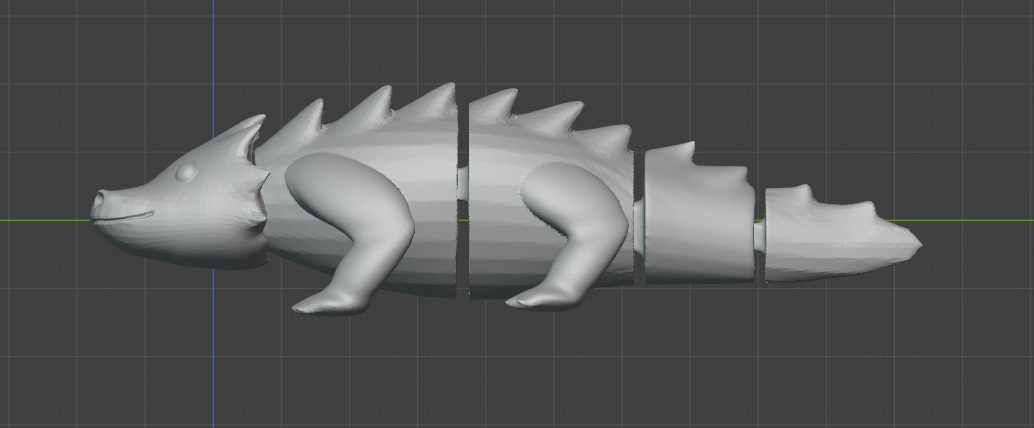
- And this is a video that showcases the design in blender work space
- After this I proceeded for 3d printing here I exported the file as stl and them imported it into the slicing software set the values for infill and layer thickness and other things.
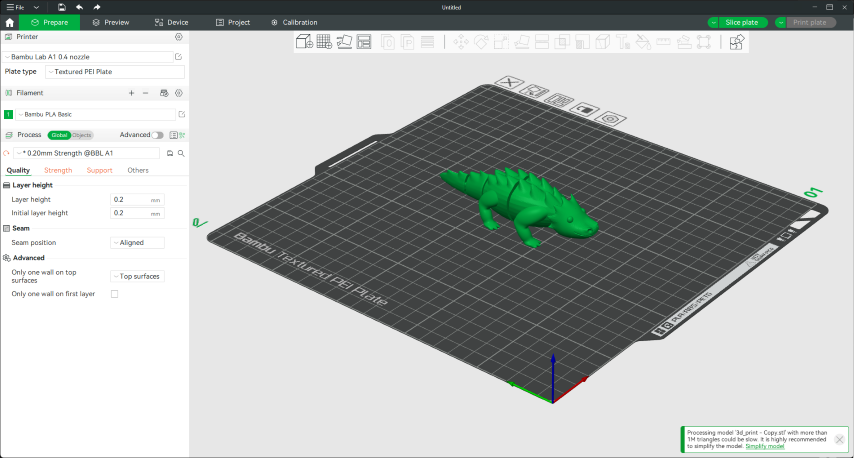
- Since i am using Bamboo labs A1 i am using the bamboo labs slicer.
- For this print I used 25% infill, I used 2 layer wall thickness and 0.2 mm layer thickness
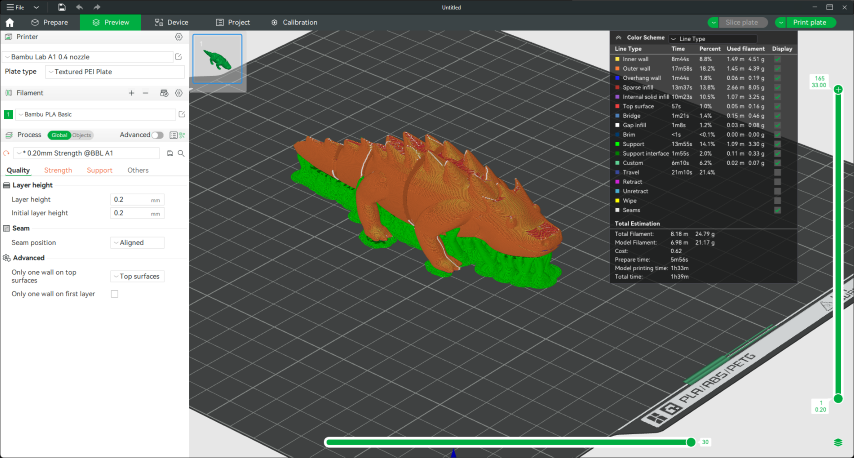
- The I moved it for printing it took 1hr 40 min for completing the print i also made sure before printing that the layers are not intersecting.
- And this is the Final result
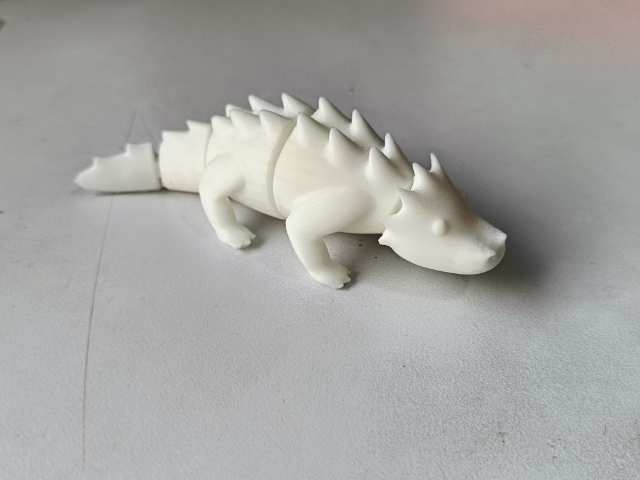
Stop-Motion Video of Mr Croc’s
- For the next level I tried it using multi color printing , since the bamboo lab A1 was busy i Used Bamboo lab X1C for the multi color printing.
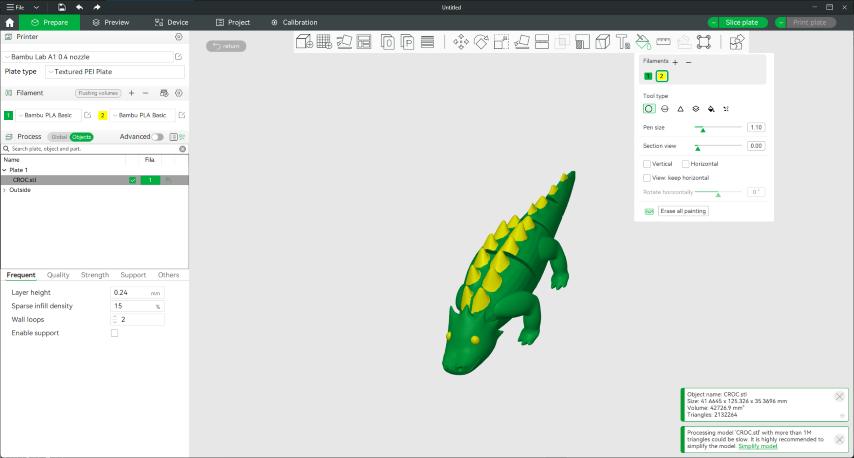
- For this in the bamboo lab slicer I painted the parts with different colors for the First i thought of making a black and white print so i painted the design with black and white colors.
Select the body
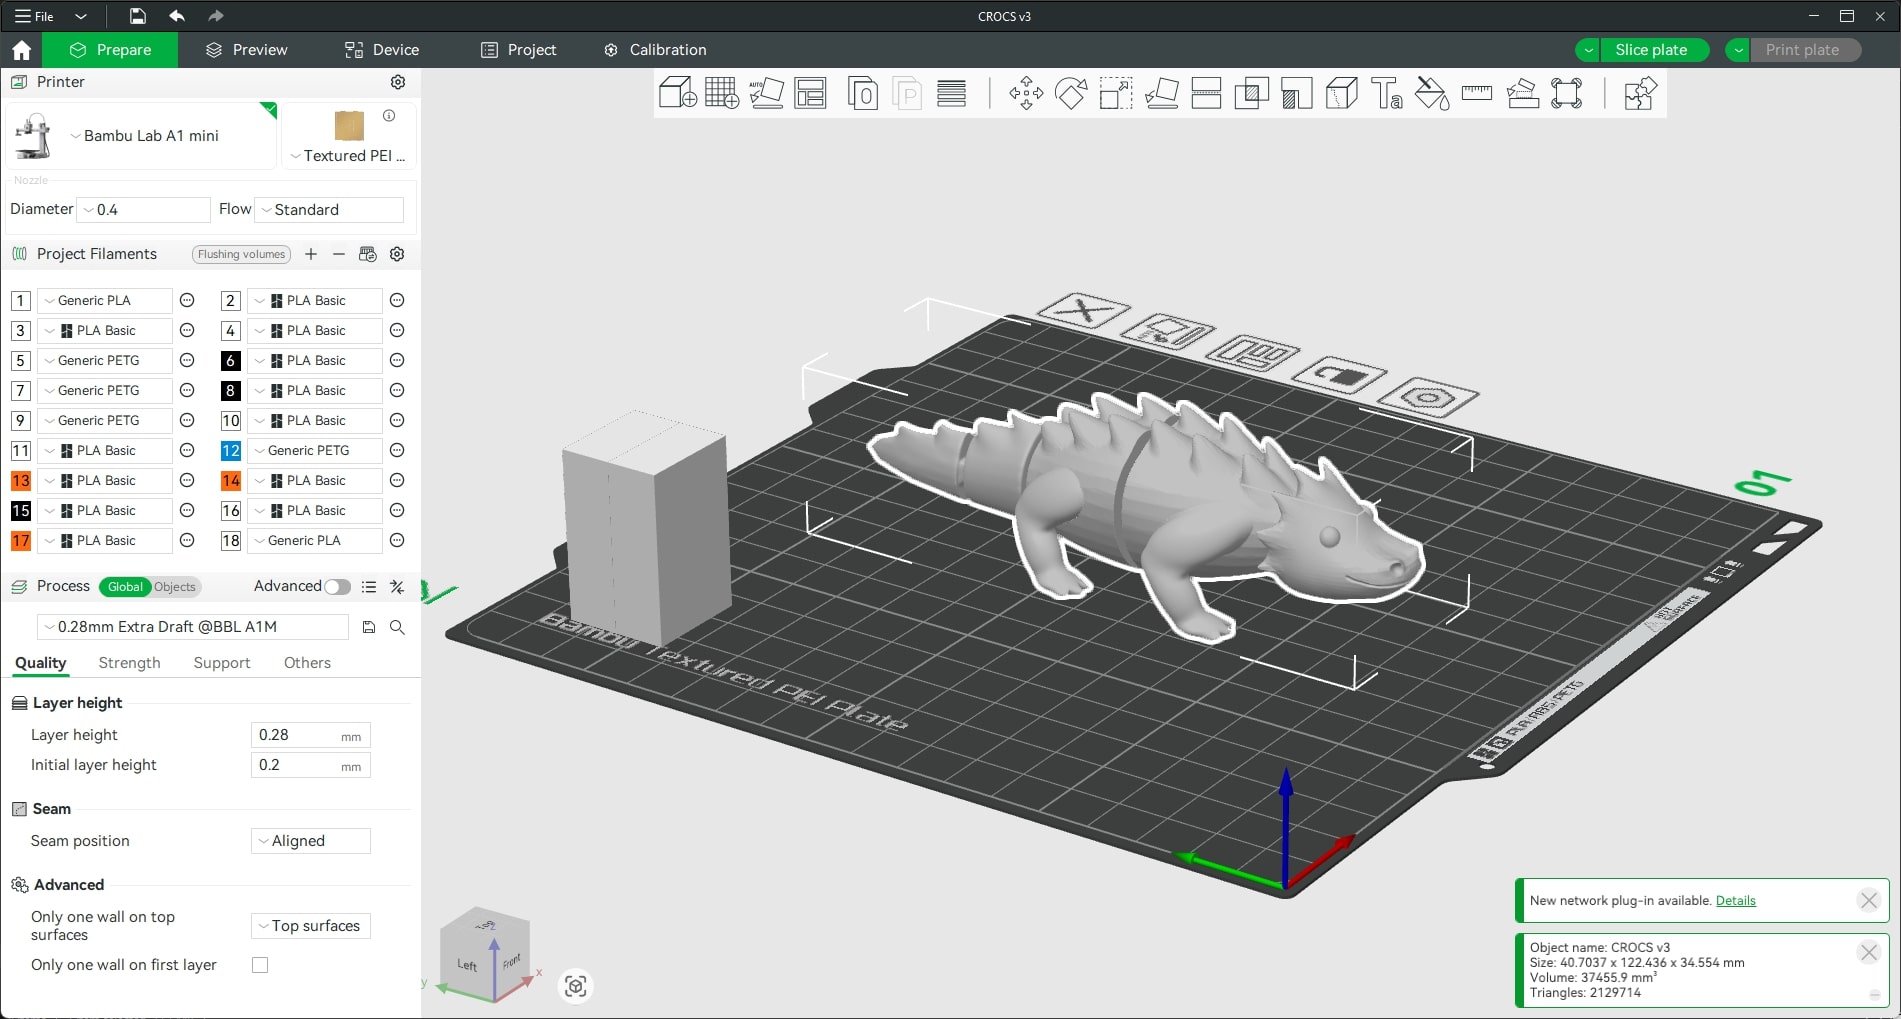
Then from the top tool bar select the paint tool.
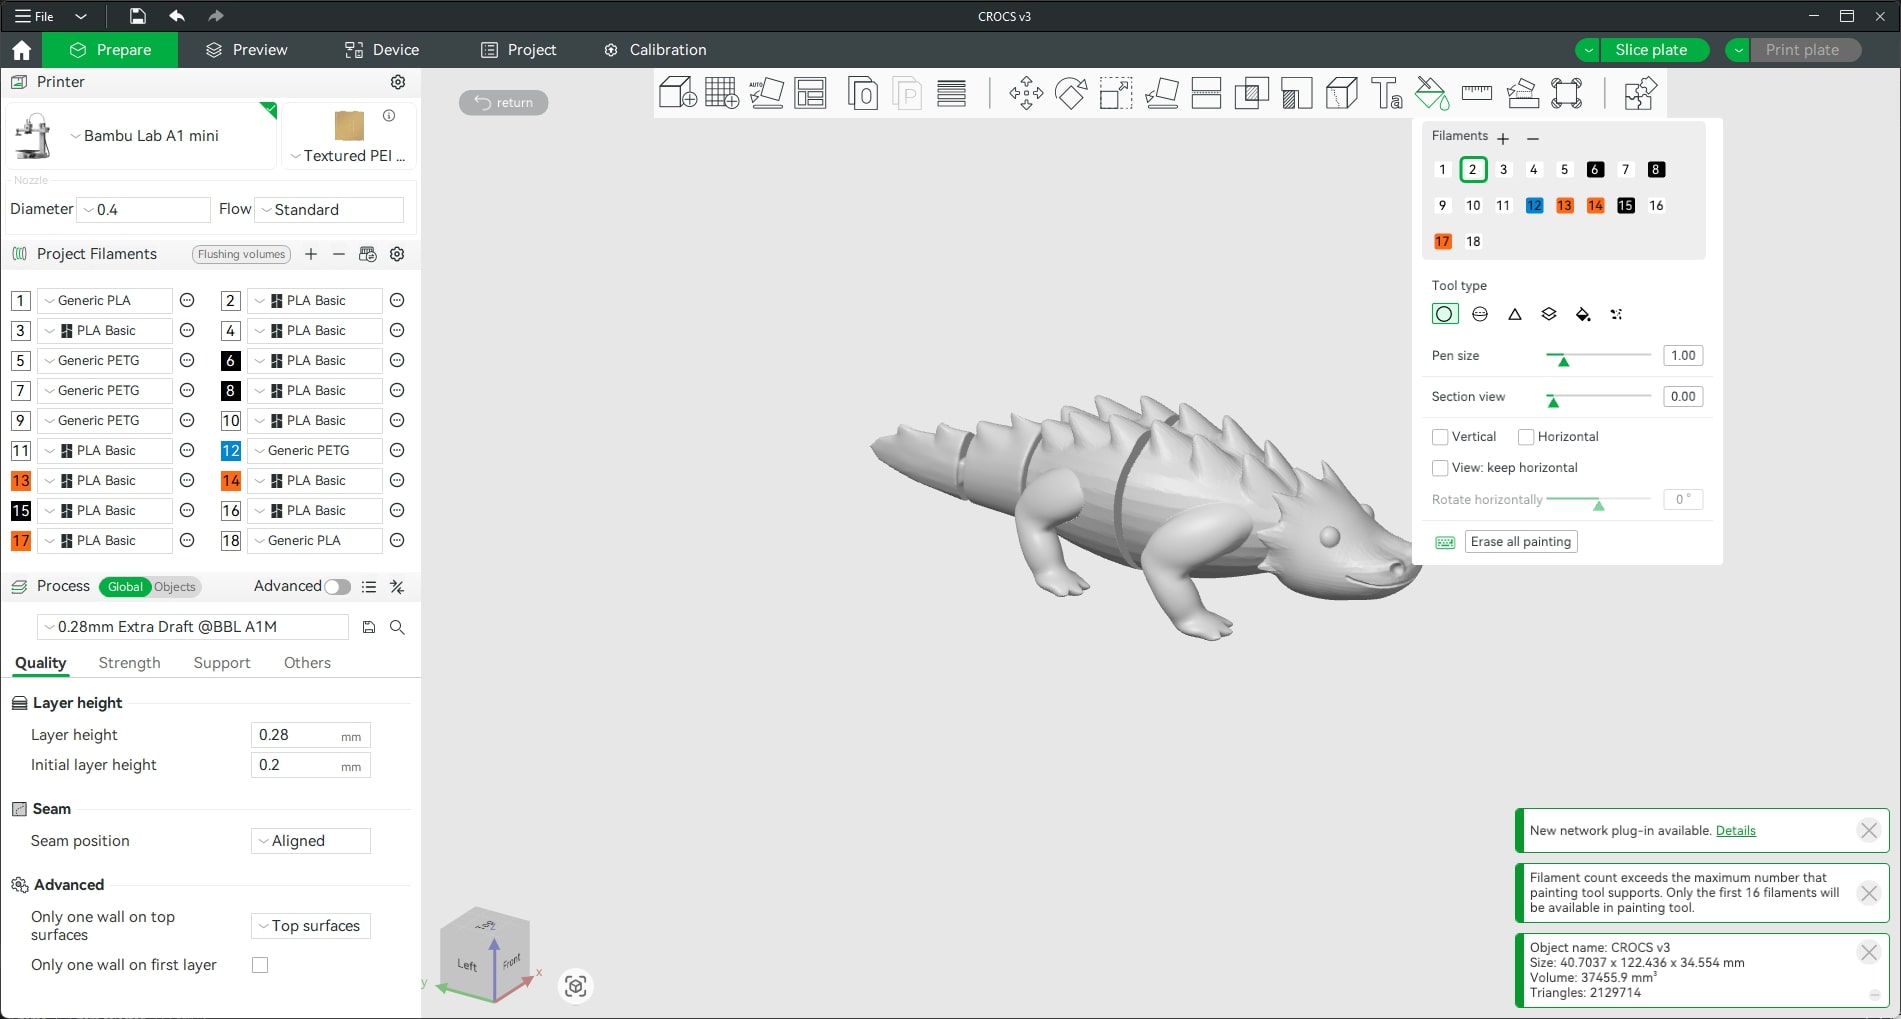
Then select the color you want to paint the body with manually and after painting select the correct filament for the color.
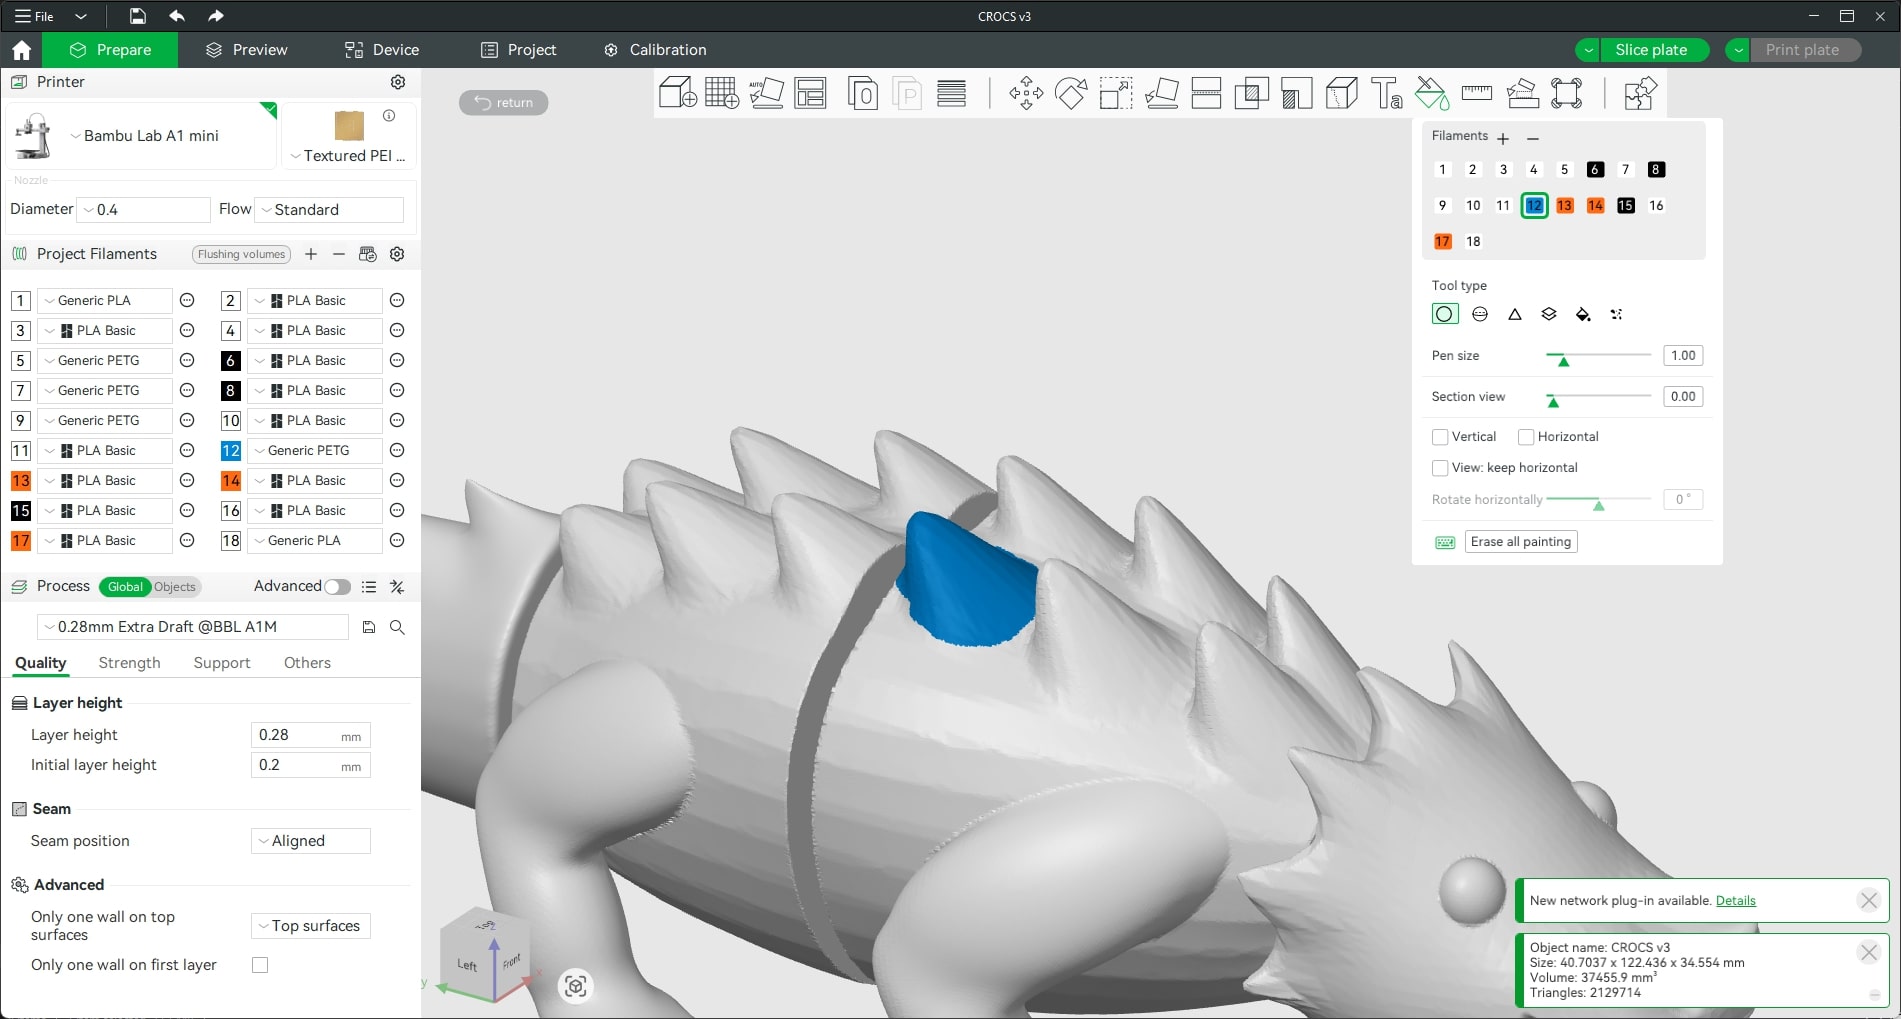
- Here when i import it to the bed there will be a cube on one side this is to help with the changing of colors in the printer.
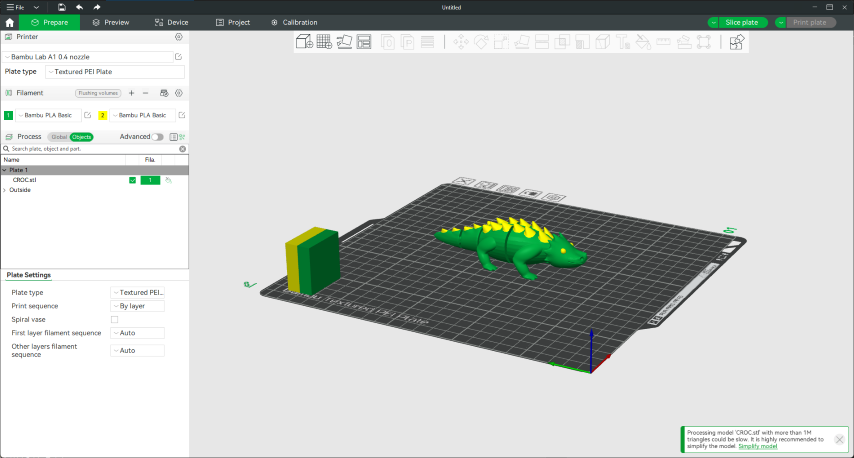
- Since we were not having all the colors that I wanted i changed the colors from green and yellow to a white body orange tons and black eyes.
- Then i assigned all the values for the print like wall thickness and layer thickness.Since we were using a cold bed i changed that too.
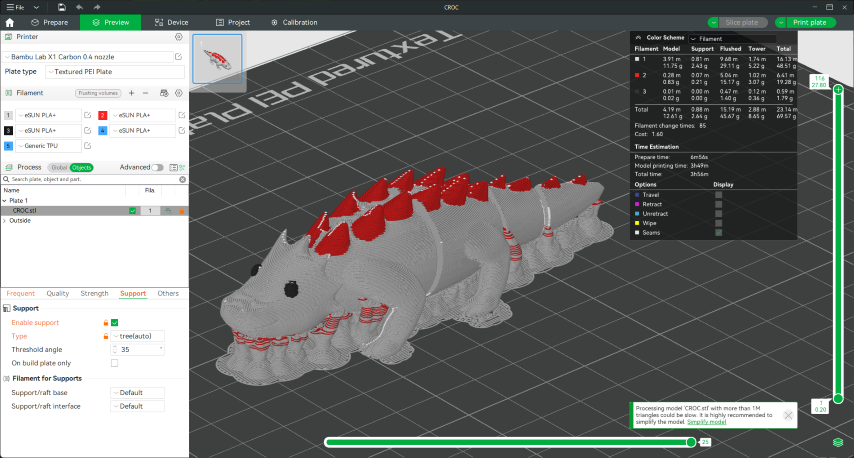
- After all these adjustments i moved the model for printing.
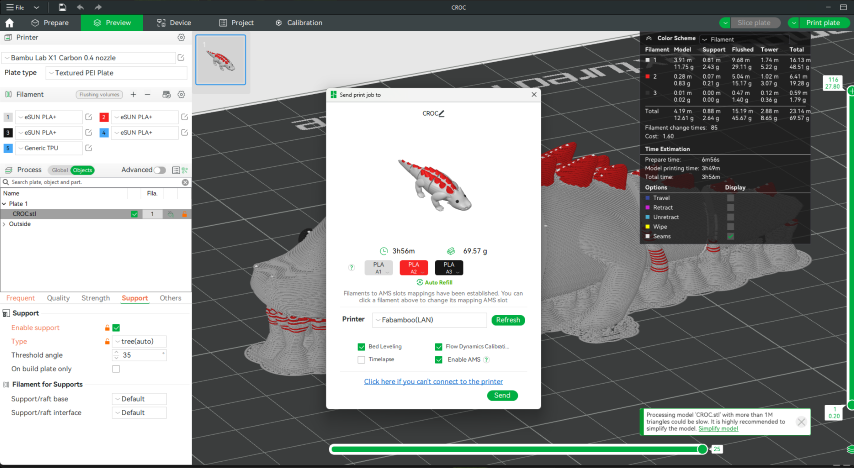
- But this print failed because the nozzle got cogged so i was not able to complete this in time :(.
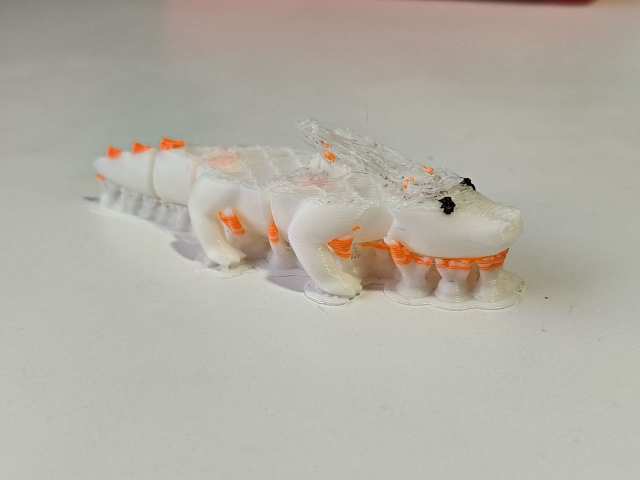
- Then I tried printing it in a different printer.
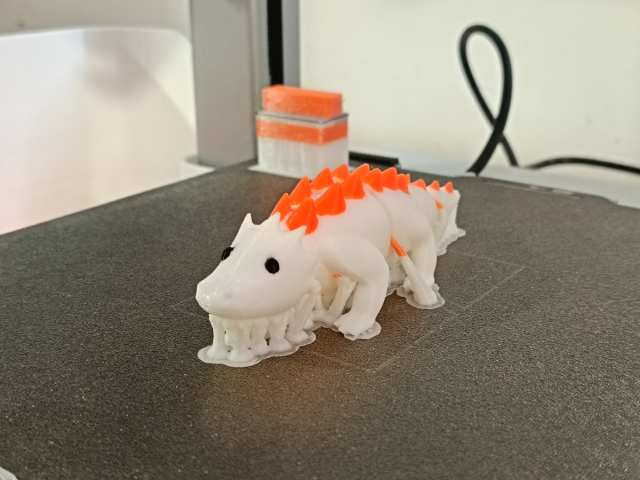
- Then i removed all the supports and the model was printed successfully
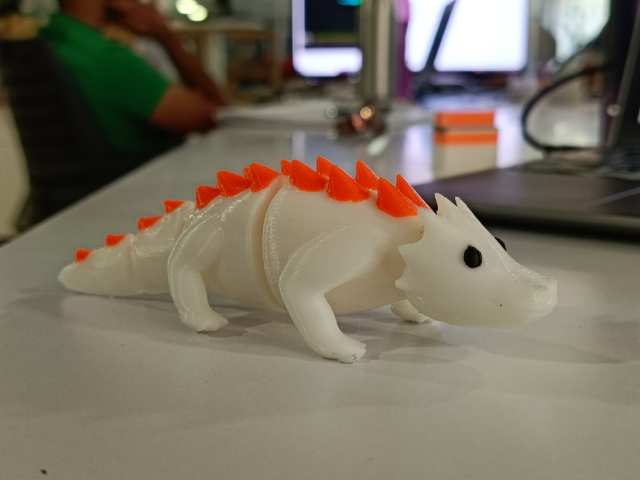
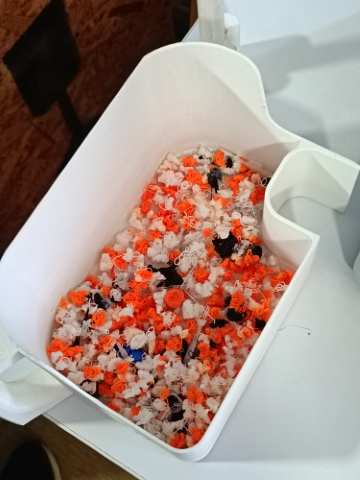
- In the above images we can see a tower on the 3d printer bed. This is to help with the printer to change the color of the extruded filament.while changing the colors.
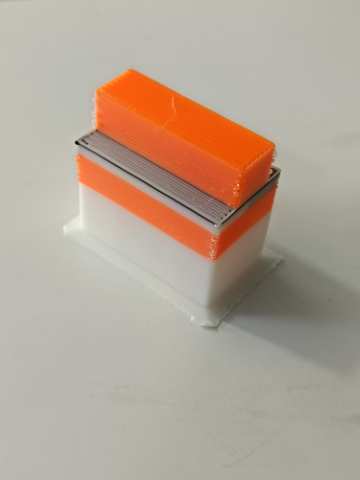
- Also the printer starts depositing filament on the tower first it extrudes out the filament and deposits it into a bin this is to help with the printer to change the color of the extruded filament in the bamboo lab A1,this is because the printer have only one extruder som other printers will have multiple extruder it can help with the printing time and wastage of filament
Printing on Fabric
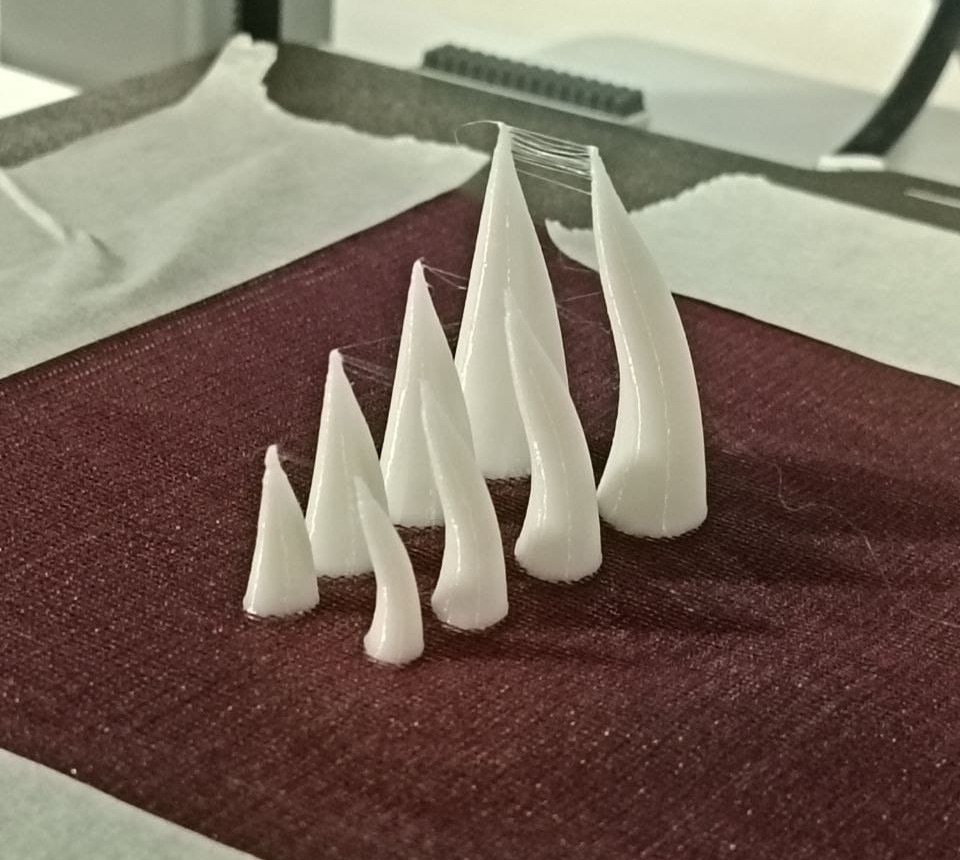
Here we tried printing on fabric. For this I made a basic design that can be easily printed on fabric.Then we found a fabric that has a mesh pattern and printed it on it.For Printing on the fabric we printed the first 3 layers of the print and paused the print and added the the mesh fabric tightly on the bed and then resumed the print.
And this is the final result.
3D scanning with the Artec Leo
The Artec Leo is a cutting-edge, wireless handheld 3D scanner designed for professional use. It features onboard automatic processing, allowing users to visualize 3D data in real-time on its built-in touch panel screen. With a 3D reconstruction rate of up to 80 frames per second, the Leo efficiently captures both large objects and intricate details. Its cable-free design, powered by an internal battery and Wi-Fi connectivity, offers unparalleled mobility, enabling users to scan without the need for external computers or power sources. The device is equipped with a 9 Degrees of Freedom (DoF) inertial system, enhancing its ability to understand its position and environment during scanning.
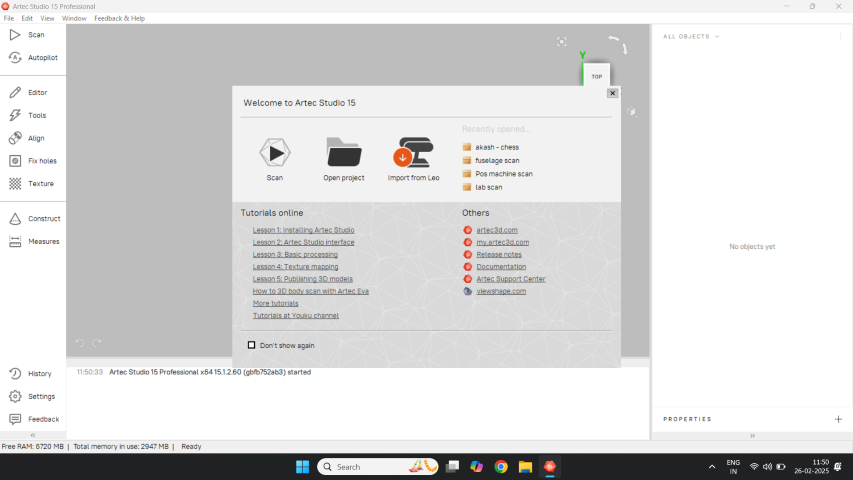
Complementing the Artec Leo is the Artec Studio software, renowned for its robust post-processing capabilities. Artec Studio provides advanced tools for refining and perfecting 3D scans, transforming raw data into highly accurate and detailed models. Its intuitive interface and smart algorithms streamline the workflow, making it suitable for various applications, including reverse engineering, quality control, and rapid prototyping. The software also offers features like automatic base removal and global registration, ensuring precise and clean 3D models.
the Artec Leo and Artec Studio provide a comprehensive 3D scanning solution, combining ease of use with professional-grade accuracy and versatility.
Scanning of cardboard Knight
For the 3D scanning I chose to scan a cardboard model of a Knight. The model was scanned using the Artec Leo.I First I placed model on an elevated surface for easy scanning. then I enable the base removal feature in the scanner this helps to prevent it from scanning below a specific height.
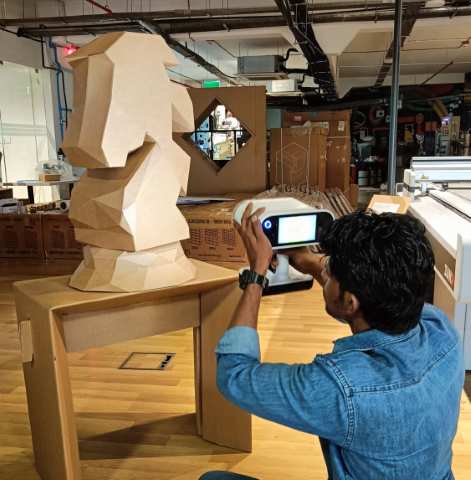
Then I proceeded to scan the model.Made sure to capture the whole model and not just a portion of it.I made sure to cover ever thing in a sweeping motion.
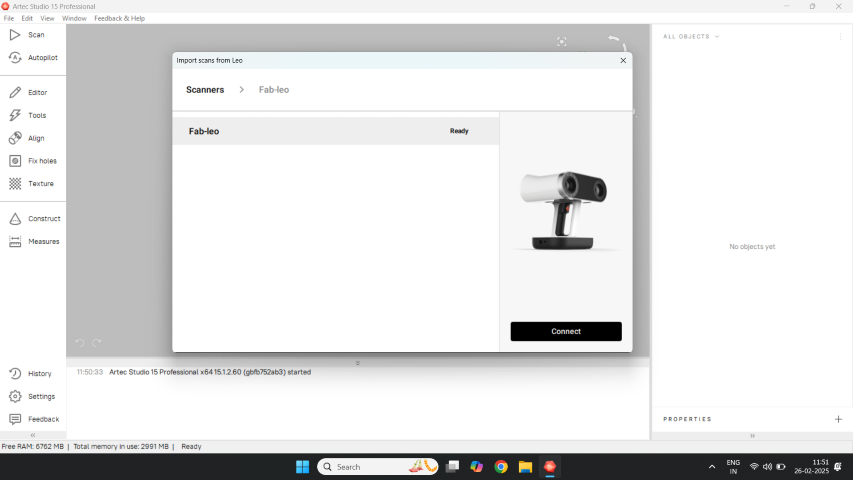
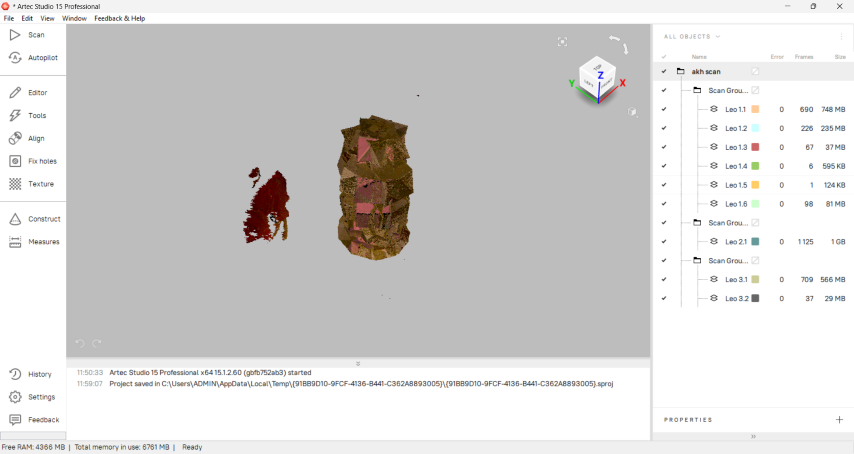
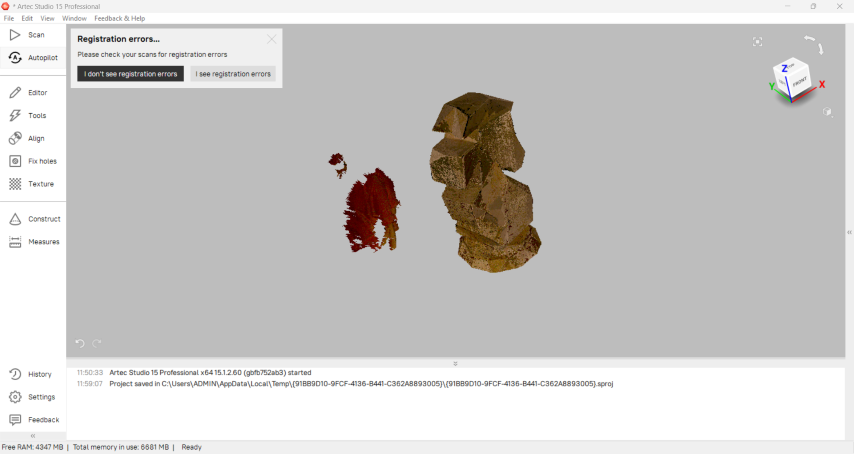
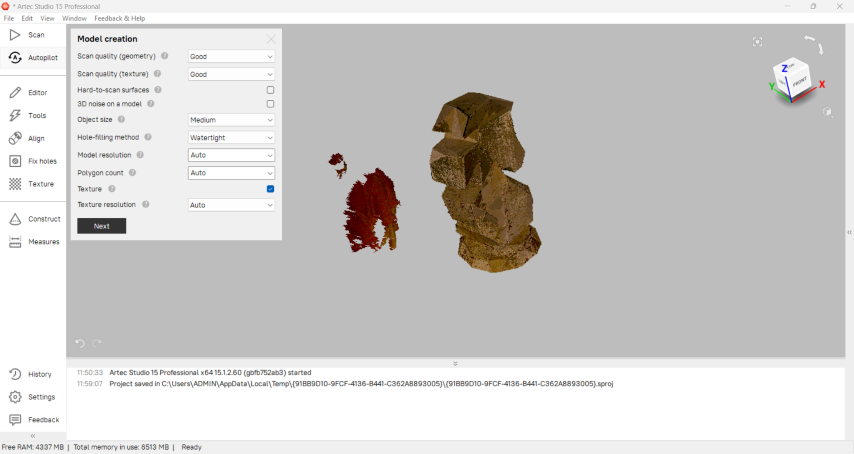
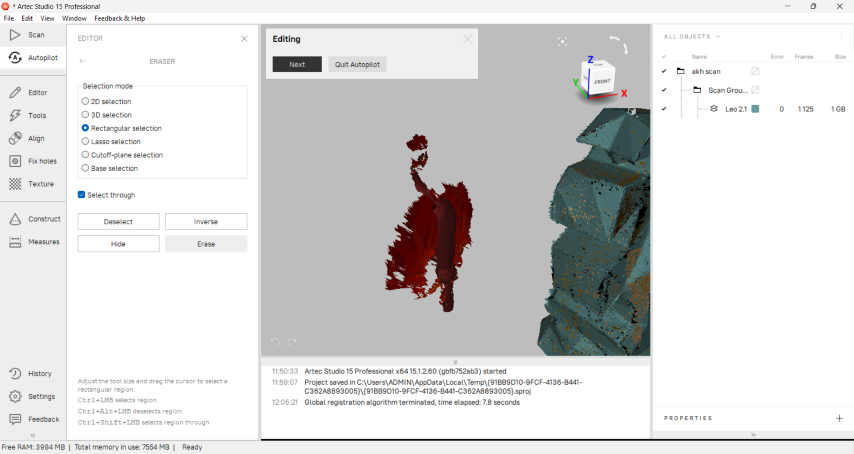
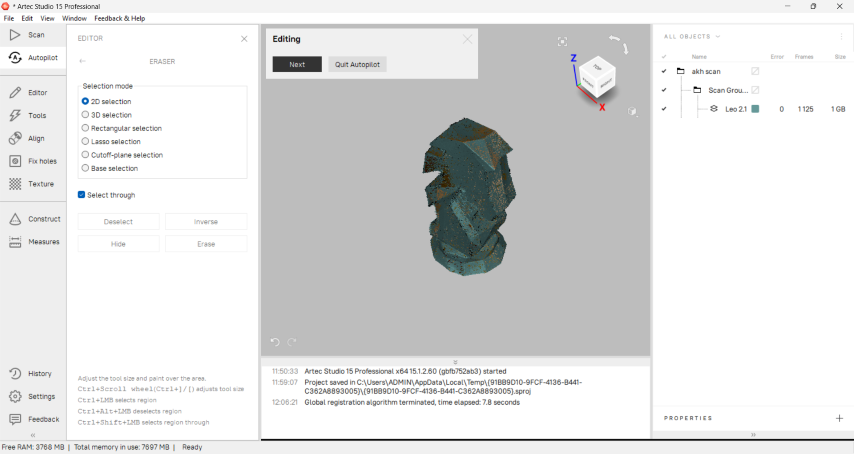
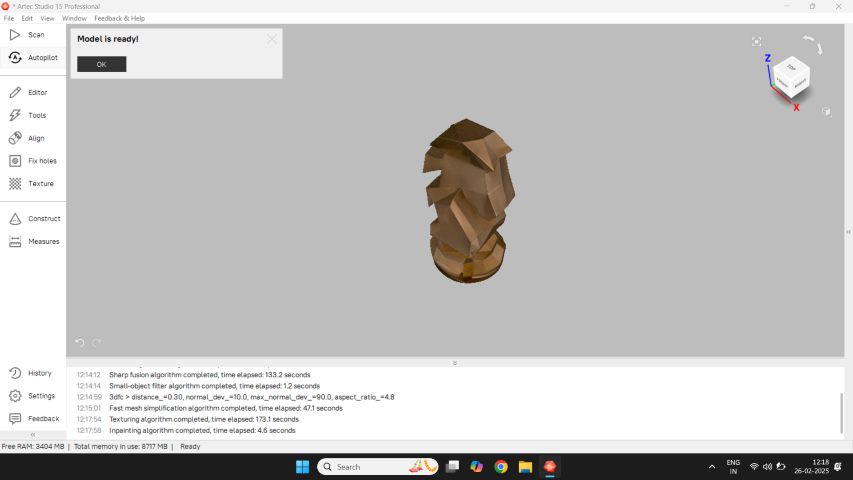
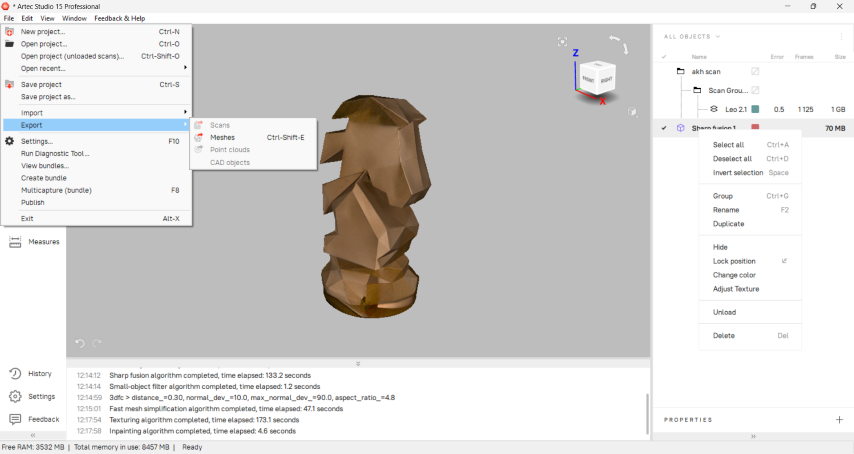
Post processing
Conclusion
I have successfully learned basics of 3D scanning and printing using the Artec Leo and Artec Studio.Also learned sculpting in blender and made a small model and 3D printed it and also learned about he standard procedures that needed to be followed during the printing process,learned about the types of materials that can be used in 3D printing and types of infill patterns that can be used during 3D Printing and also learned to use Bamboo lab slicer.
