Week 16
WildCard
For this weeks assignment was to Design and produce something with a digital process (incorporating computer-aided design and manufacturing) not covered in another assignment. So for my assignment I chose to explore the Zund cutter and make some components that are needed for my final project.
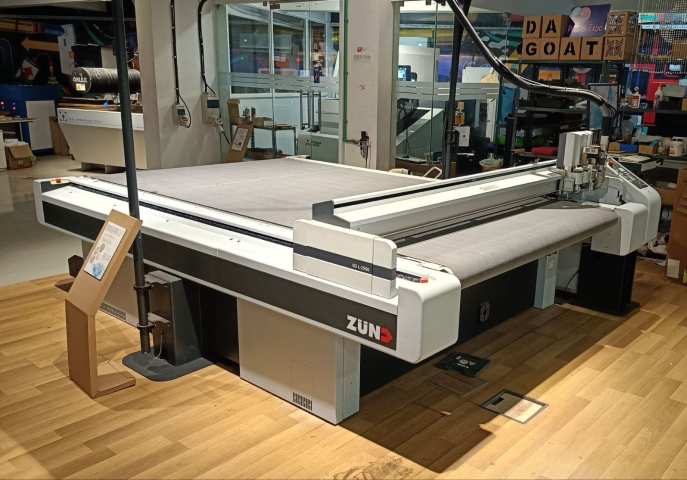
Zund
The Zund machine is a digital cutting system that is used for cutting various materials such as paper, cardboard, vinyl, and textiles. It is equipped with a variety of cutting tools and can be programmed to cut complex shapes and designs with high precision.easy to use and very secure machine this machine has a lot of safety feature that helps to improve the safety of the user & and the machine.This machine also have support for wide verity of tools and it can also do multiple operations like cutting, creasing routing etc.I one go multiple operations like cutting, creasing routing etc can be done easily.Since it has multiple modules attache to it it can be used for multiple operations.It is a very smart device it is able to detect the modules that is being connection.This machine also have a camera module which will detect the edges and align the processes depend on this edge. Also the bead of the machine is like a conveyer this na we used for continuous feed of material this bead also has suction this is used to hold the workpiece in the machine.
Website Link : www.zund.com
Zund safety
The Zünd machine is equipped with numerous safety features designed to protect both the user and the machine. It includes various sensors that detect the presence of the user and the workpiece, ensuring safe operation. Emergency stop switches are located at all corners, and laser sensors monitor for any obstacles near the cutting tools—automatically pausing the machine if something is detected. While the machine is in use, always keep a safe distance from the tool and bed area. Only place the designated workpiece on the bed to avoid potential damage. Additionally, it is recommended to wear ear protection during operation to safeguard your hearing.
Zund Turning On
Step 1: The fist step will be turning on the power to the machine
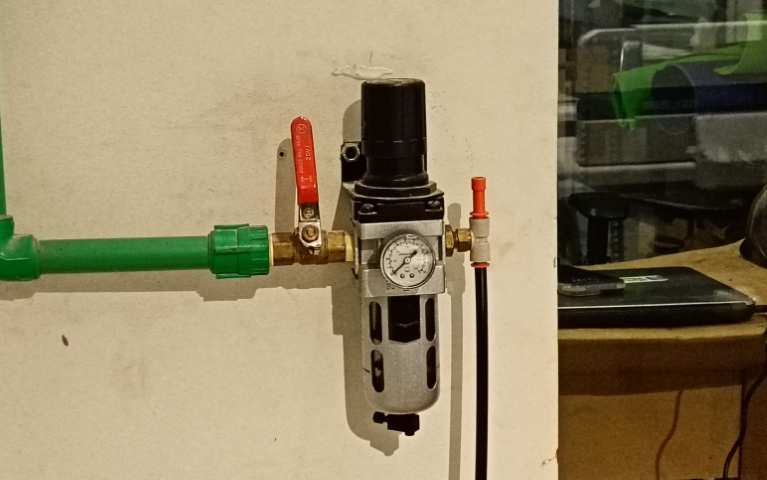
Step 2: After the power is turned on the machine will turn on then stich o the pneumatics supply to the system. This is used to power the suction for the bed
Step 3: After the machine is turned on the machine will do a self check and on the display it will be mentioned to press F1 to start the machine.
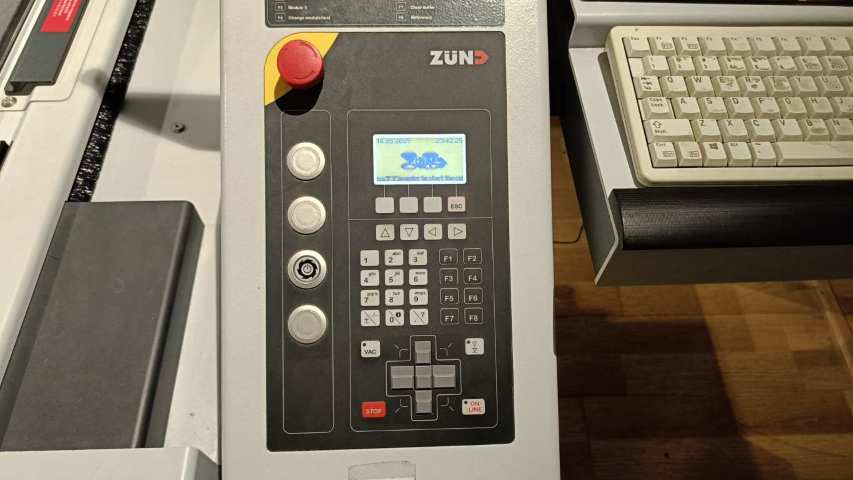
Step 4: After pressing the F1 button the machine will start and stats to calibrate
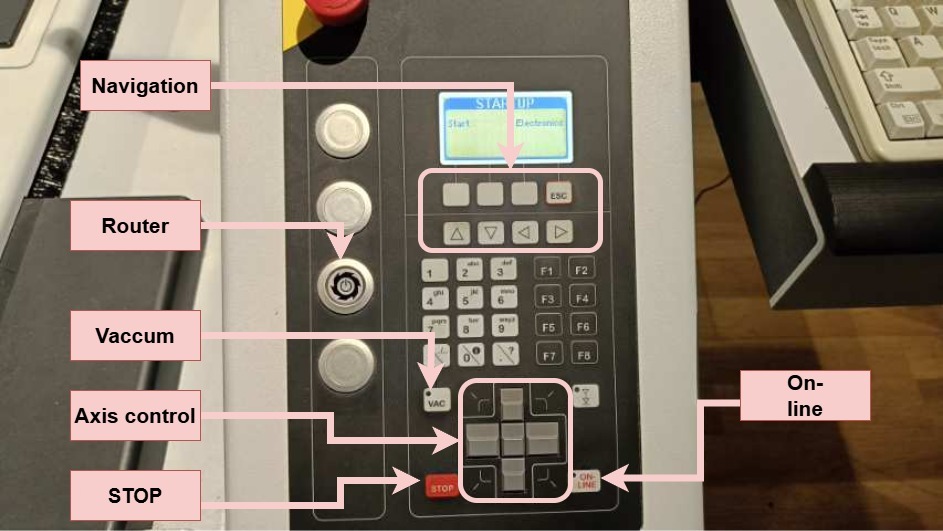
These are the navigation and control of the machine .
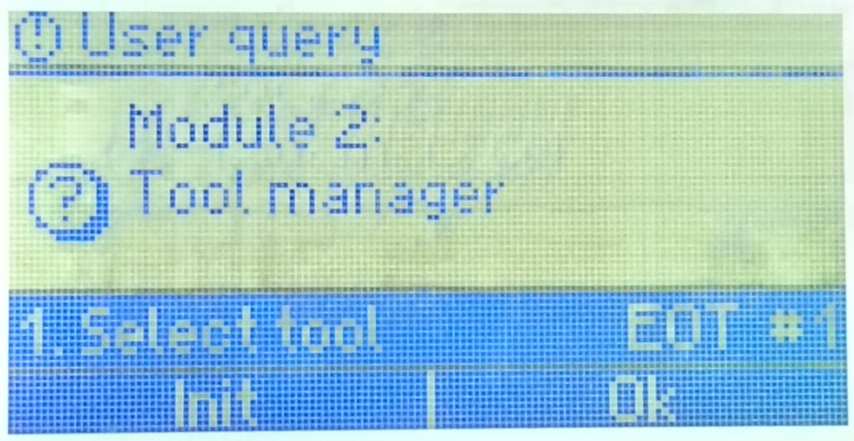
Step 5: Then in the machine show the tools on the module then it will have two opens to initiate and Ok press the Init
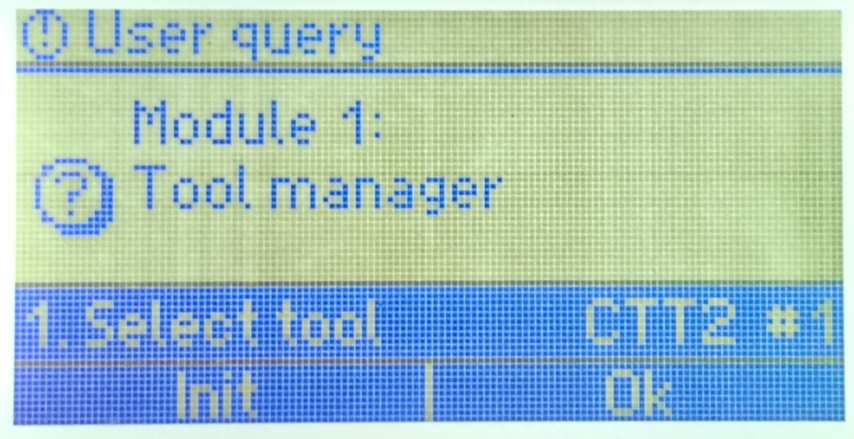
Step 6: Then from options available chose the auto initialize option
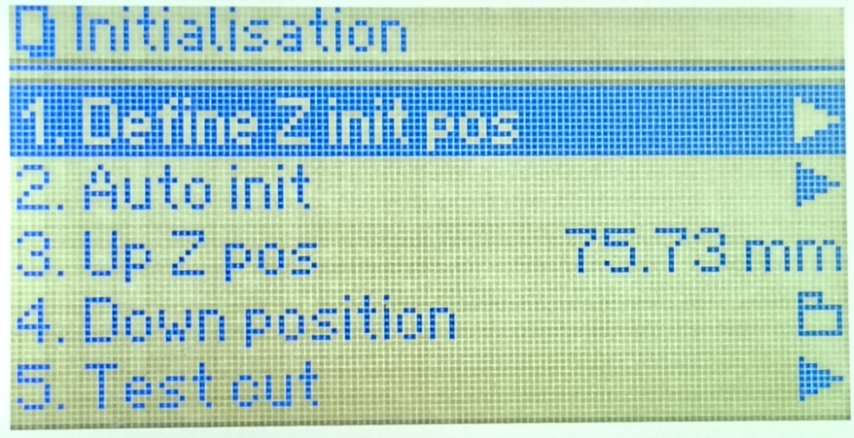
Step 7: The press the start button then the machine will move the specific module the will start calibrating

Step 8: Then continue to with initialization of all the tools attached on the machine.
Step 9: And then the last step will be the initialization of the magazine.

Zund Interface
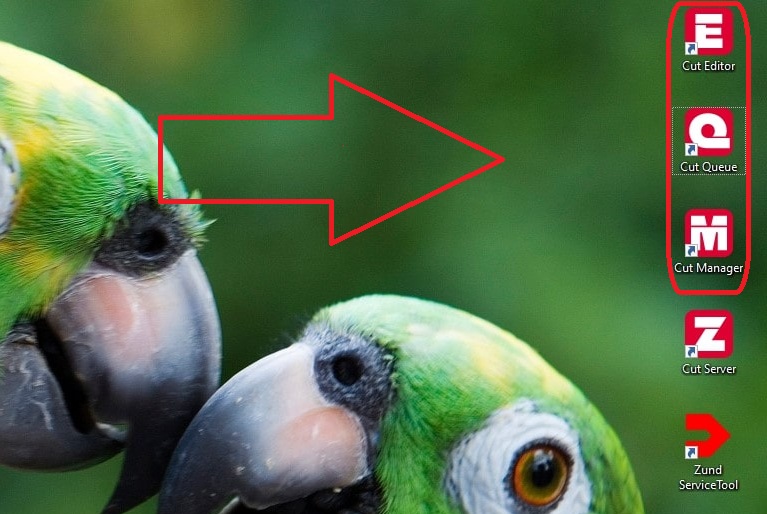
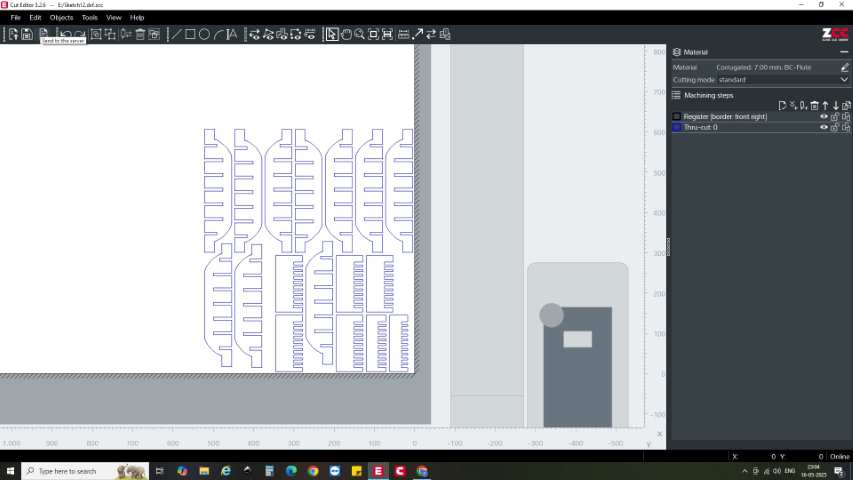
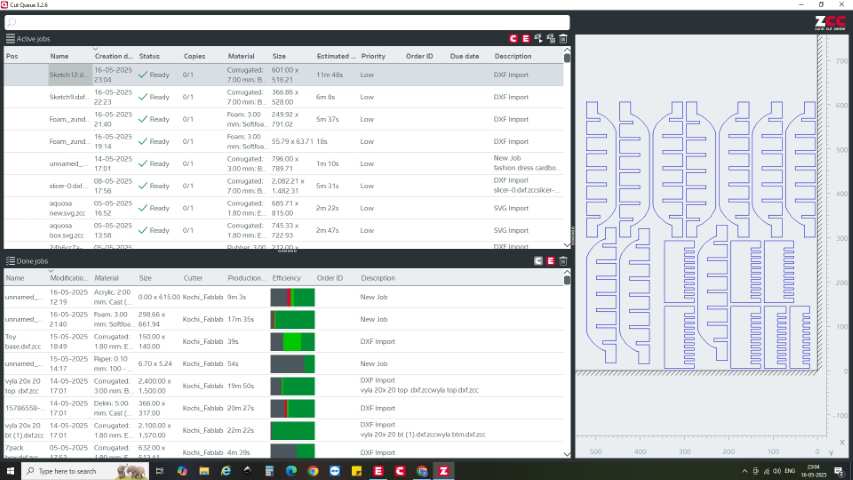
For operating the machine a total of 3 softwares are needed for the operation of the machine Cut Editor,Cut Queue and Cut Manager The cut editor tool is used to make basic edits assign the operations etc.. Cut queue is the tool used to view the queue of the works this is helpful in a large scale production and the cut manager is the tool used to control the machine.
Here i am going to cut the ribs and top layer for the jig for acrylic bending.
Step 1: First step will be to import the files into the machine for that exported the dxf file from the sketch from Fusion 360
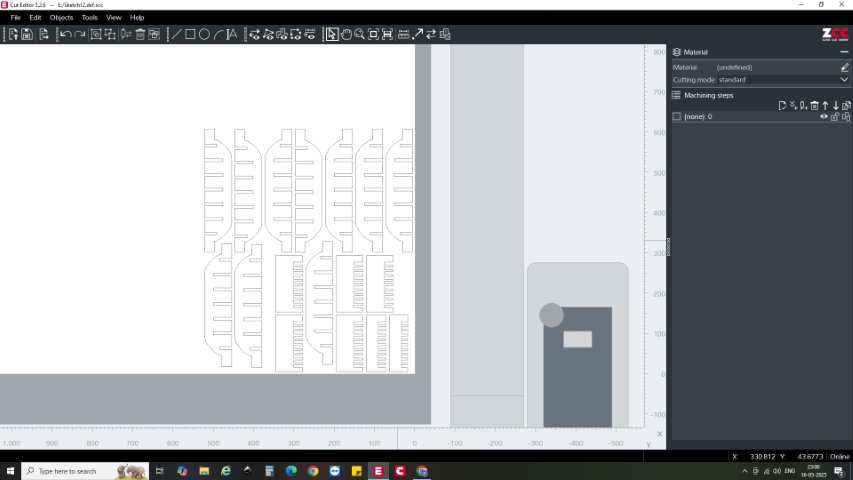
Step 2: Since for the the ribs only cutting is needed i selected all the files.Then i selected the process selection from the right tool section the thru cut from the drop down
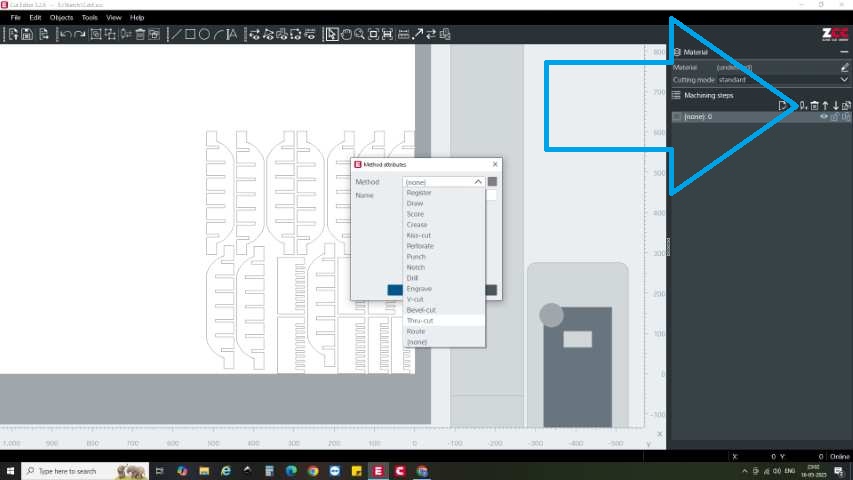
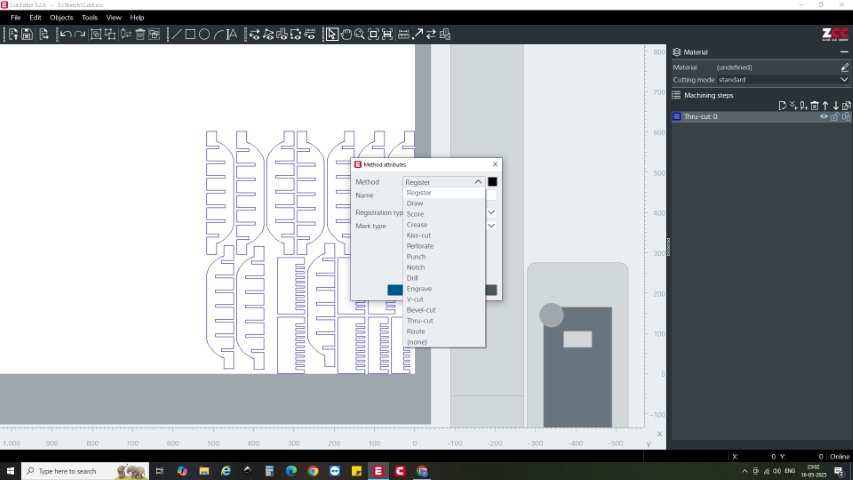
Step 3: Then following the same process i added a register process this is used to detect the edges of the work piece for aligning the
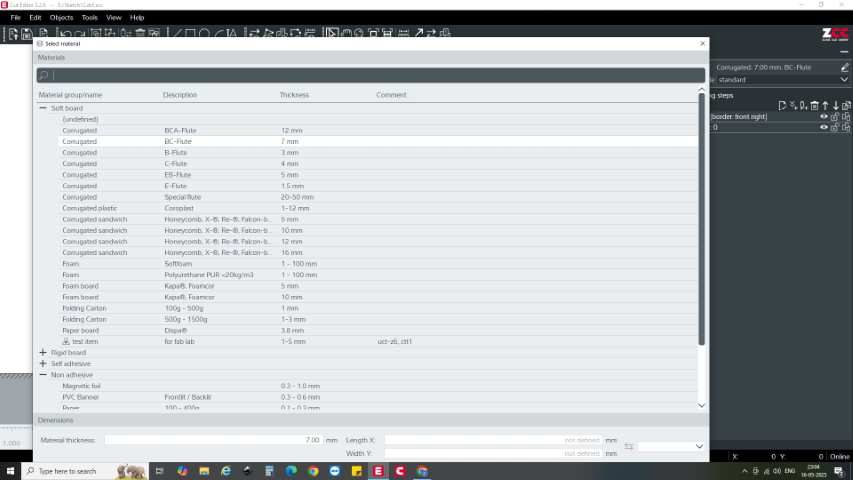
Step 4: This is the step where the the material is selected from the material section from the top select the material that is to be used in my case i am using cardboard
Step 5: Then select the select al the parts and add a new process and add the cut tool path
Step 6: Then the next step will be to send this file to the cut Queue then from the top left corner open the cut queue
Step 7: Then from cut queue open the the file this will open the file in a new window called cut center
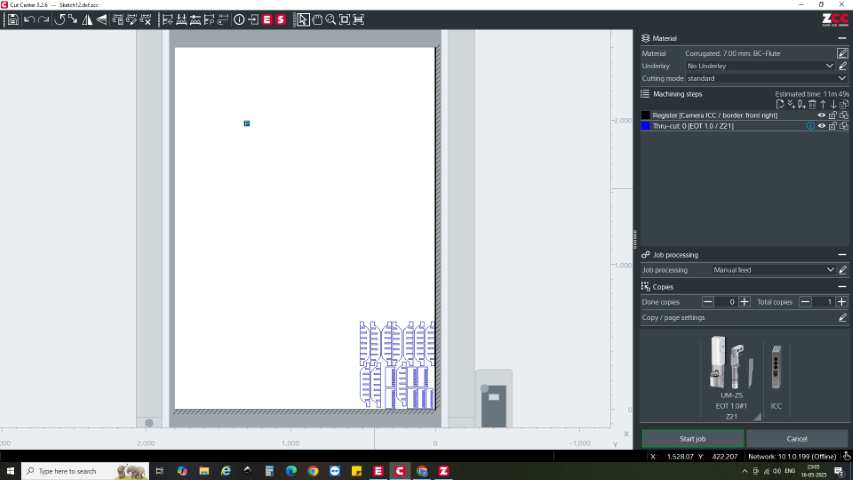
Step 7:Then the next step would be to select the toll path then a new window will open.
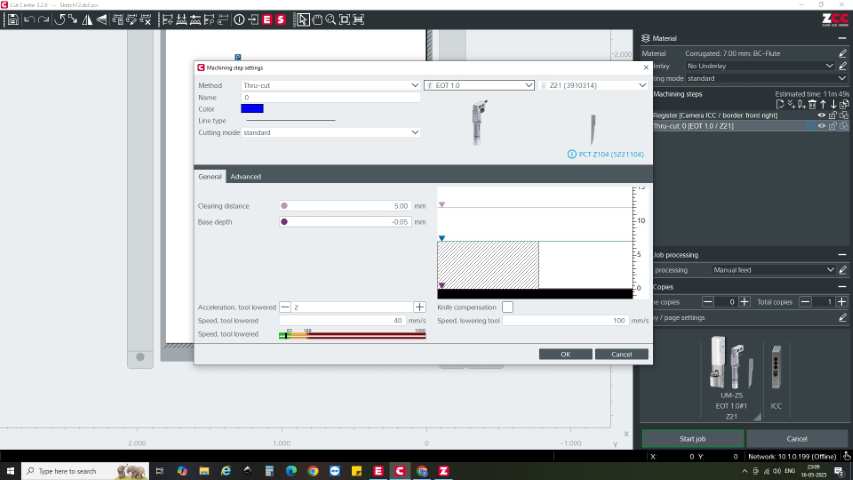
Step 8:Then the next step would be to select the module for this from the top section click module drop down menu and select the correct one.

Step 9:Then the next step would be to select the tool for this from the tool drop down select the tool to be used.

Step 10:THe next step will be sto set hte depth of cut off set etc for this on the left side the hatched section represents the material and the dark section represents the bed of the machine For safety i had given a small off set
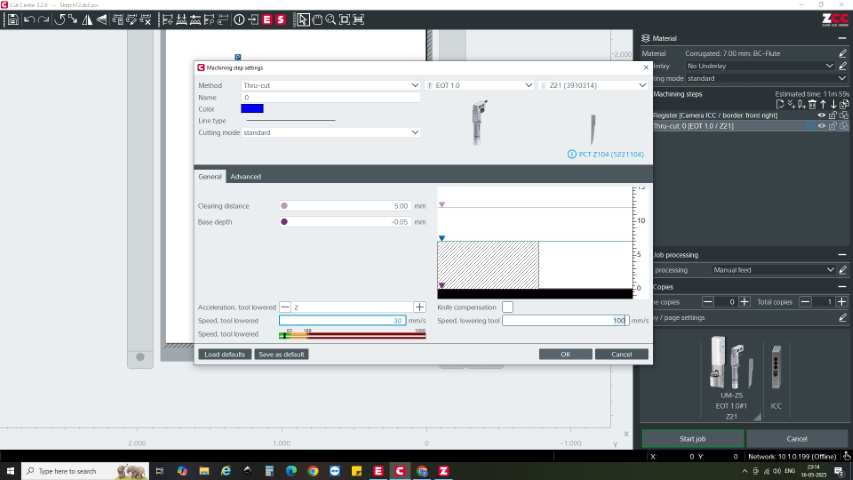
Step 11:Then from the left side click on the start button this will first do the register process and then proceed with the cutting
Jig Design
First, I imported the design of the curved acrylic into the CAD software. Then, I created a parameter to define the thickness of the cardboard. Based on the dimensions of the acrylic sheet, I arranged multiple cardboard layers with the required gaps between them in both orientations. Slots were added to ensure the pieces lock into place during assembly. As the next step, I projected the curve of the acrylic onto a new sketch and performed an extruded cut to remove the unwanted material from the cardboard.
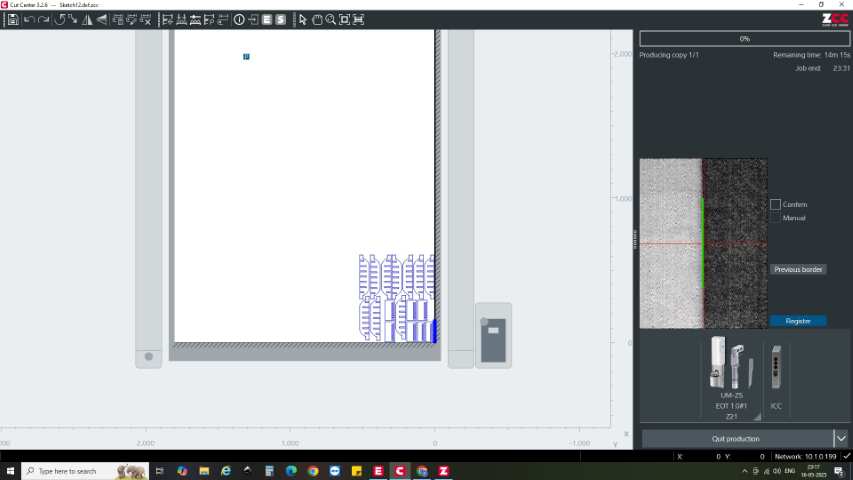
Zund Cutting
After finishing the initial steps of setting the hen made sure the material selected is correct cutting.
This is the final output after cutting
 The next step is it cut and crease the paper so sot it can be folded and sticked to the surface of the board to
prevent the ribs from reflecting on the surface of the bent acrylic this was also done.
The next step is it cut and crease the paper so sot it can be folded and sticked to the surface of the board to
prevent the ribs from reflecting on the surface of the bent acrylic this was also done.
Jig Assembly
The next step is to assemble the jig for the acrylic bending. The jig is used to hold the acrylic in place while it is being bent.For this i assembled the ribs and the outside surface using hot glue so that the structure of the jig is stable
Acrylic Cutting
The next step is to cut the acrylic sheet to the required size and shape. This was done using the laser cutter the design was made in fusion and the design was imported into Rhinoceros 3D and then unfolded and then the svg file was exported and then imported into the laser cutter and the cut was made.
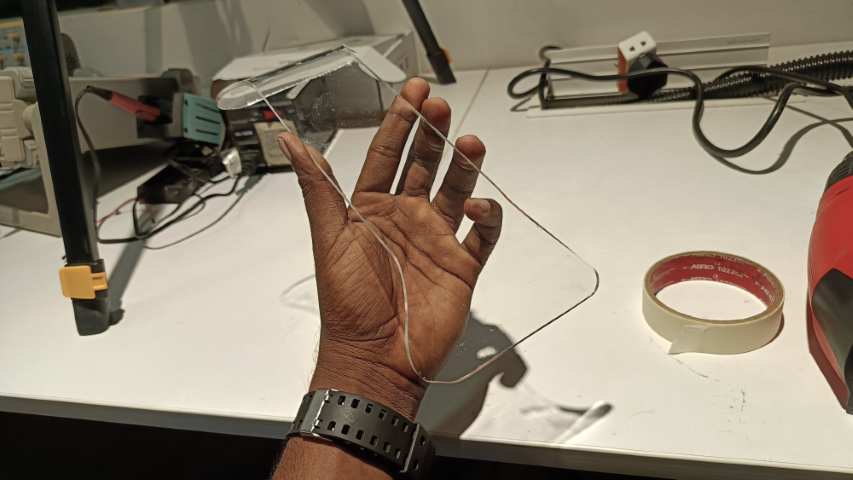
Acrylic Bending
The next step is to bend the acrylic sheet to the required shape. This was done using the hot air gun and the jig that was made in the previous step. The hot air gun was used to heat the acrylic sheet and then it was bent to the required shape using the jig.I had used previously marked the center of the acrylic sheet earlier then i aligned with the center of the jig and then i secured it using tape and while bending i used the hot air gun to heat the acrylic sheet and used tapes to hold it in place.
This is the final output after bending the results were satisfactory.
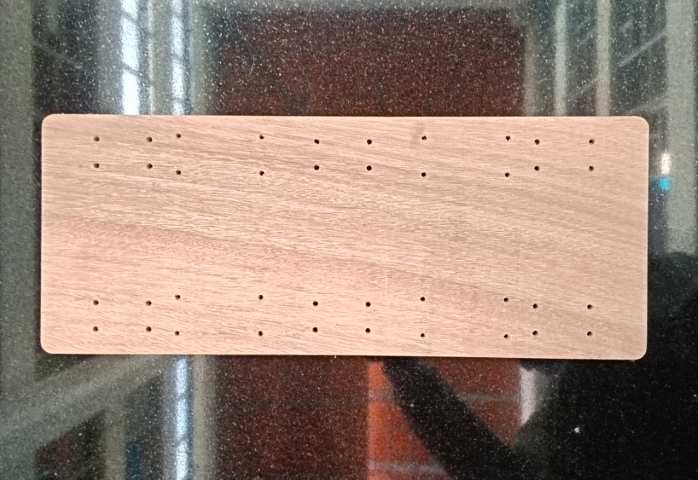
Base Routing
As mentioned earlier Zund have the capability do 2D routing i had to explore that too So i completed the design of the base of my final project and then routed it
Here i had used multiple processes like routing and drilling to get the final output
The machine is too good for this there was not even a single dust particle flying around
This is the final output after routing
Base Assembly
Then i proceeded to assemble the base of the final project, all the parts needed for this already printed and ready to assemble .
Conclusion
I have successfully learned about the operation of Zund and used it to cut cardboard, paper and rout wood for my final project