week16. Wildcard Week
Assignment
Individual Assignments Overview
Since this week is Wildcard Week, we decided to work on embroidery at FabLab Kannai—something that hasn't been covered in previous assignments. Rather than traditional embroidery, we designed patterns through a digital process and stitched them using a digital embroidery machine.
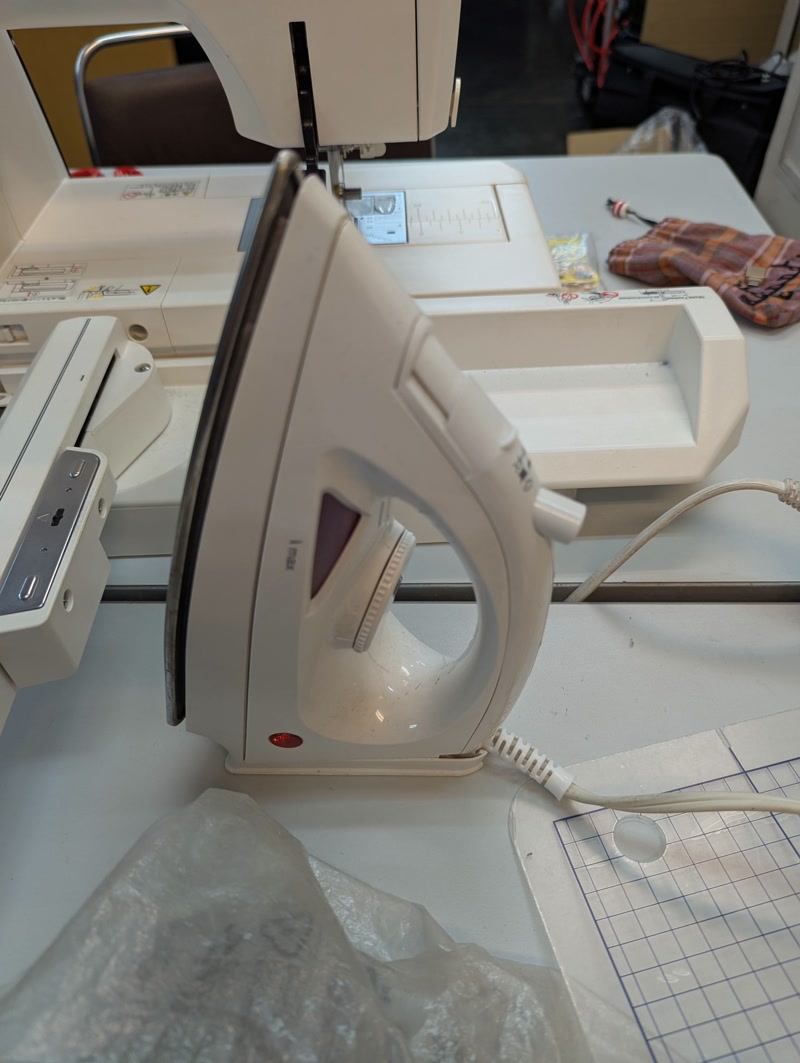
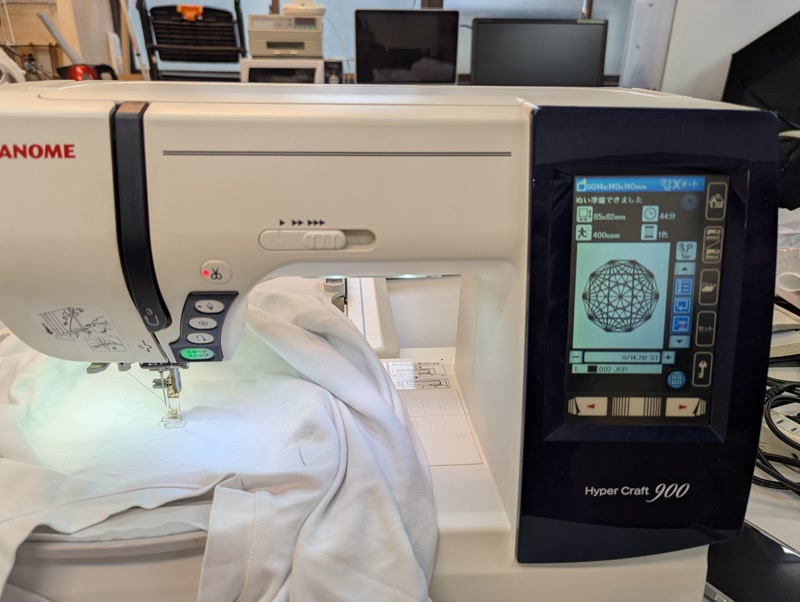
Sewing Machine: Janome HyperCraft 900
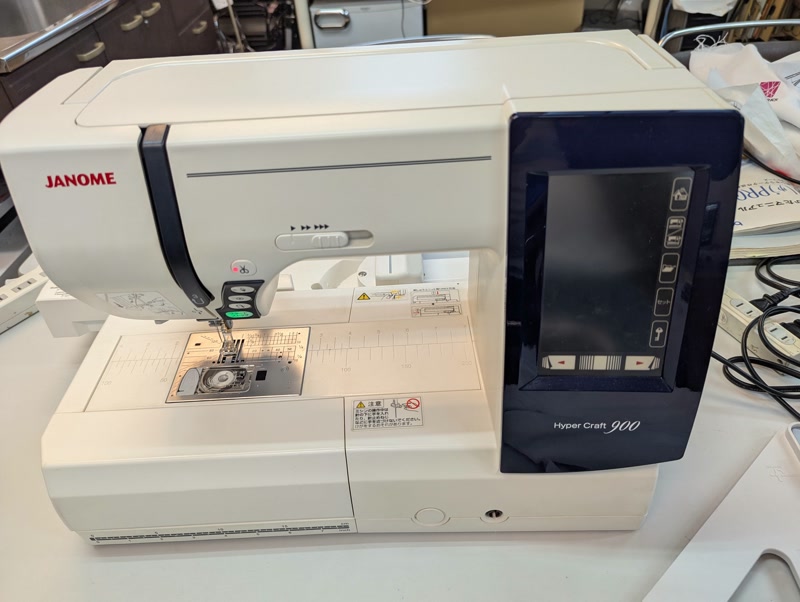
The machine installed at FabLab Kannai is the Janome HyperCraft 900.
It functions as both an embroidery machine and a regular sewing machine. The cost is approximately ¥300,000 (about $2,000 USD).
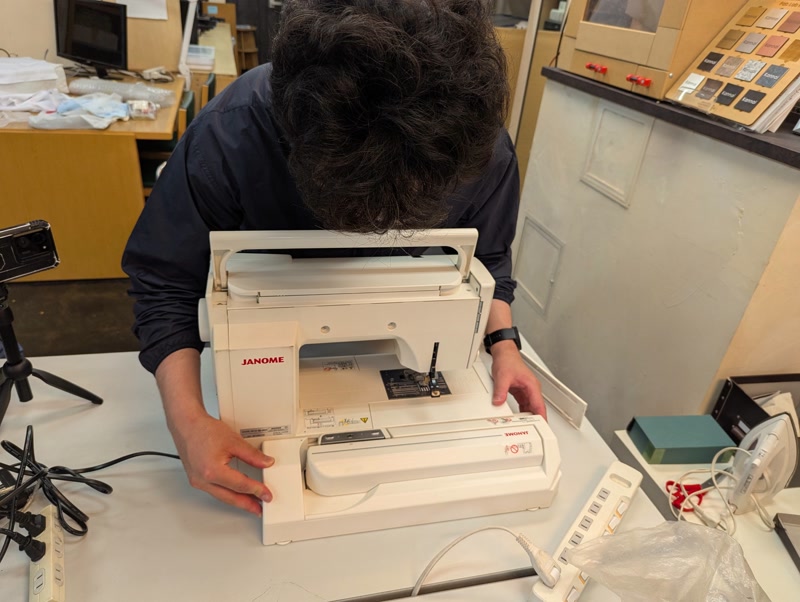
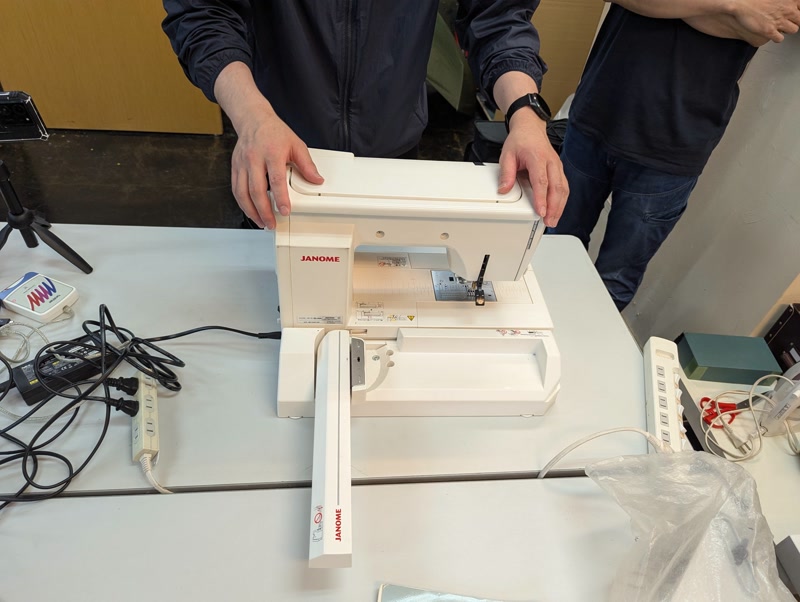
To switch from sewing mode to embroidery mode, attach the embroidery unit to the back of the machine. The unit slides in from the left side.
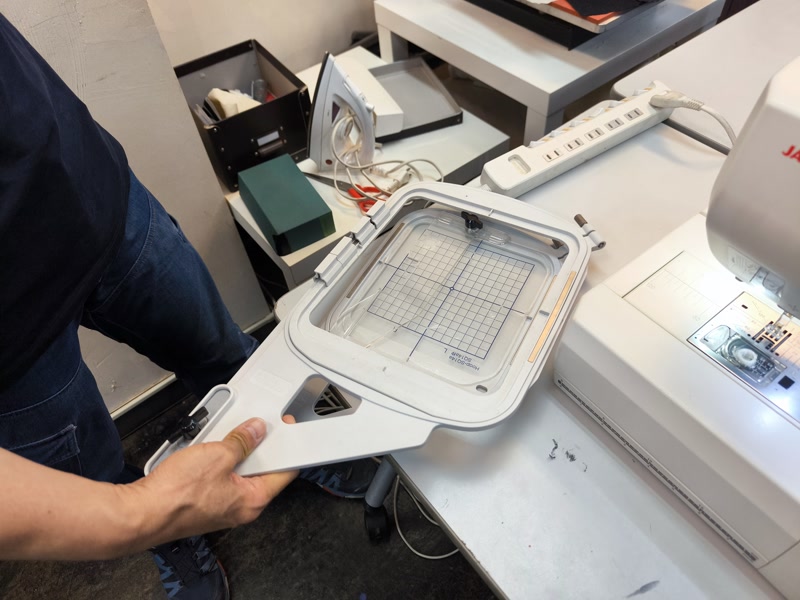
Rotate the guard rail 90 degrees to attach the embroidery hoop to the rail.
Because the fabric tends to shrink during embroidery, the hoop keeps it taut and allows for accurate needle positioning.
Programming the Pattern
We programmed geometric patterns for embroidery using JavaScript.
The code below is a generator that draws a geometric pattern by connecting all points on a circle with lines using SVG.You can adjust the number of lines and radius using sliders.
<!DOCTYPE html>
<html lang="ja">
<head>
  <meta charset="UTF-8" />
  <title>Geometric Generator for Embroidery</title>
  <style>
    body {
      font-family: sans-serif;
      text-align: center;
    }
    .controls {
      margin: 20px;
    }
  </style>
</head>
<body>
  <h1>Geometric Generator for Embroidery</h1>

  <div class="controls">
    <label>Number of lines: <span id="linesValue">36</span></label><br />
    <input type="range" id="linesSlider" min="3" max="100" value="9" /><br />

    <label>Radius: <span id="radiusValue">200</span></label><br />
    <input type="range" id="radiusSlider" min="50" max="250" value="200" /><br /><br />

    <button onclick="downloadAsPng()">Download as PNG</button>
    <button onclick="downloadAsSvg()">Download as SVG</button>
  </div>

  <svg id="pattern" width="500" height="500" viewBox="0 0 500 500" xmlns="http://www.w3.org/2000/svg"></svg>

  <script>
    const svg = document.getElementById("pattern");
    const linesSlider = document.getElementById("linesSlider");
    const radiusSlider = document.getElementById("radiusSlider");
    const linesValue = document.getElementById("linesValue");
    const radiusValue = document.getElementById("radiusValue");

    function drawPattern(lines, radius) {
      while (svg.firstChild) {
        svg.removeChild(svg.firstChild);
      }

      const centerX = 250;
      const centerY = 250;

      for (let i = 0; i < lines; i++) {
        const angle = (i / lines) * 2 * Math.PI;
        const x = centerX + radius * Math.cos(angle);
        const y = centerY + radius * Math.sin(angle);

        for (let j = i + 1; j < lines; j++) {
          const angle2 = (j / lines) * 2 * Math.PI;
          const x2 = centerX + radius * Math.cos(angle2);
          const y2 = centerY + radius * Math.sin(angle2);

          const line = document.createElementNS("http://www.w3.org/2000/svg", "line");
          line.setAttribute("x1", x);
          line.setAttribute("y1", y);
          line.setAttribute("x2", x2);
          line.setAttribute("y2", y2);
          line.setAttribute("stroke", "black");
          line.setAttribute("stroke-width", "1");
          svg.appendChild(line);
        }
      }
    }

    function downloadAsPng() {
      const svgData = new XMLSerializer().serializeToString(svg);
      const svgBlob = new Blob([svgData], { type: "images/svg+xml;charset=utf-8" });
      const url = URL.createObjectURL(svgBlob);

      const img = new Image();
      img.onload = function () {
        const canvas = document.createElement("canvas");
        canvas.width = 500;
        canvas.height = 500;
        const ctx = canvas.getContext("2d");
        ctx.fillStyle = "white";
        ctx.fillRect(0, 0, canvas.width, canvas.height);
        ctx.drawImage(img, 0, 0);

        const pngUrl = canvas.toDataURL("images/png");
        const a = document.createElement("a");
        a.href = pngUrl;
        a.download = "pattern.png";
        document.body.appendChild(a);
        a.click();
        document.body.removeChild(a);
        URL.revokeObjectURL(url);
      };
      img.src = url;
    }

    function downloadAsSvg() {
      const svgData = new XMLSerializer().serializeToString(svg);
      const blob = new Blob([svgData], { type: "images/svg+xml;charset=utf-8" });
      const url = URL.createObjectURL(blob);
      const a = document.createElement("a");
      a.href = url;
      a.download = "pattern.svg";
      document.body.appendChild(a);
      a.click();
      document.body.removeChild(a);
      URL.revokeObjectURL(url);
    }

    // initial drawing
    drawPattern(parseInt(linesSlider.value), parseInt(radiusSlider.value));

    linesSlider.addEventListener("input", () => {
      linesValue.textContent = linesSlider.value;
      drawPattern(parseInt(linesSlider.value), parseInt(radiusSlider.value));
    });

    radiusSlider.addEventListener("input", () => {
      radiusValue.textContent = radiusSlider.value;
      drawPattern(parseInt(linesSlider.value), parseInt(radiusSlider.value));
    });
  </script>
</body>
</html>
Below is a video showing the Geometric Generator for Embroidery in action.
Geometric Generator for Embroidery
The generator we created is shown below.
You can interact with it to generate geometric patterns by adjusting the parameters.
Geometric Generator for Embroidery
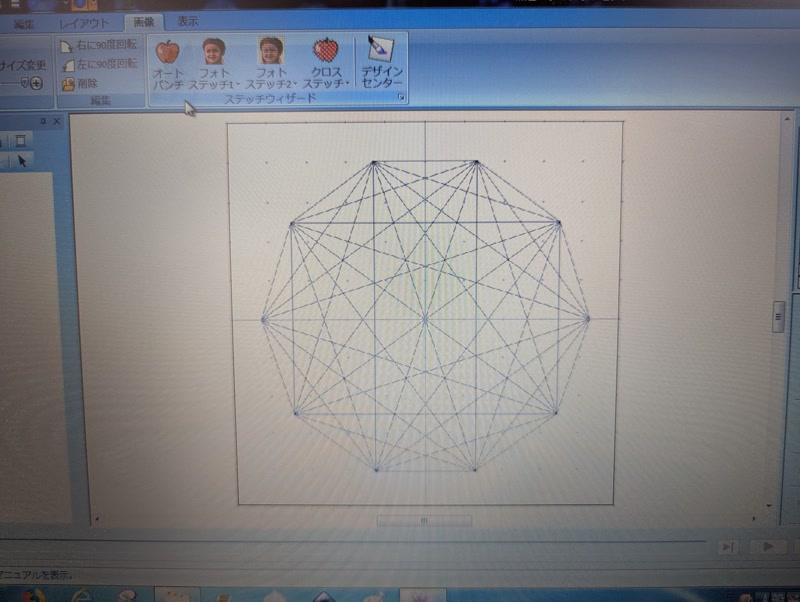
Converting PNG to PES File Format
We used Brother Embroidery PRO NEXT to convert PNG files into JEF format.
1. Launch Brother Embroidery PRO NEXT
- Open the software from the desktop or Start menu.
2. Load the PNG Image
- Go to "Insert Image" from the menu.
- Select and load your PNG file.
- Confirm the image placement on the screen.
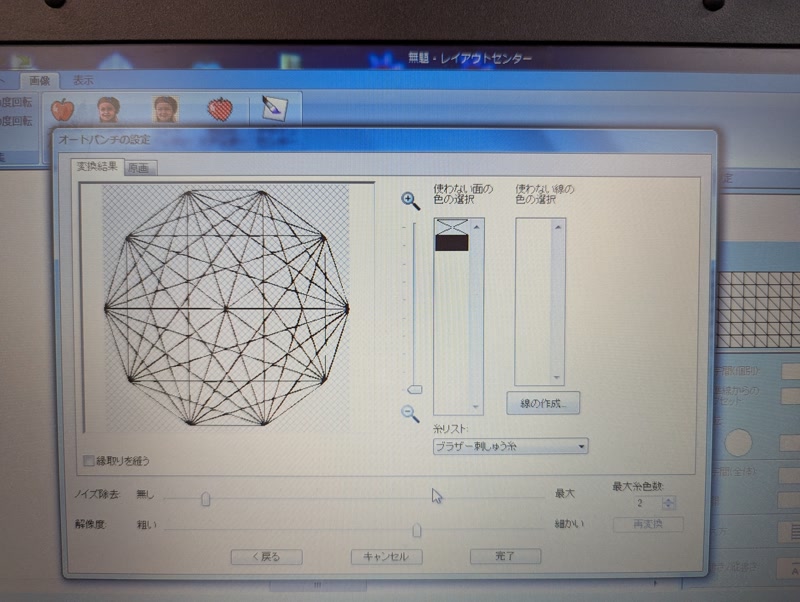
3. Auto Punching
- Go to: Image Processing > Auto Punch
- Follow the wizard steps:
- Number of colors: 1

4. Confirm Design Area and Size
- Make sure the design fits within the hoop.
- Resize or reposition if necessary.
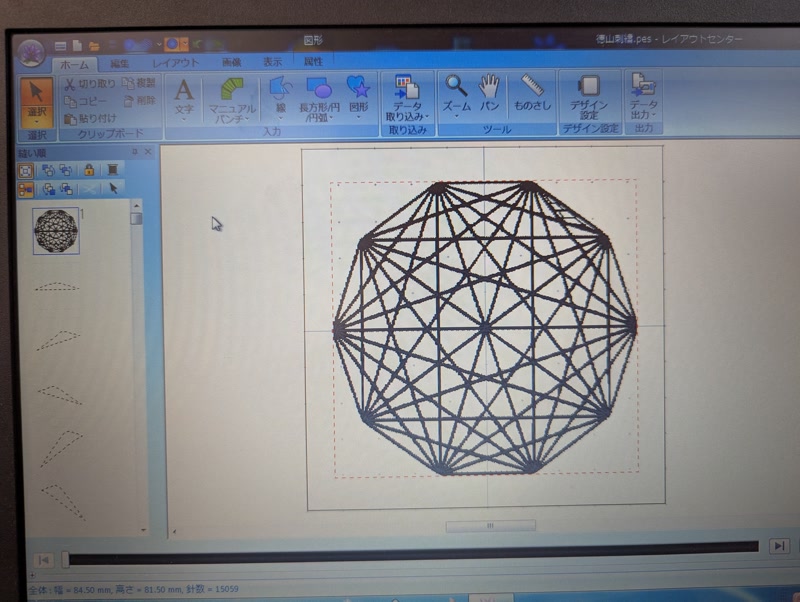
5. Save as PES Format
- Menu > Save As
- Choose ".PES" as the file format.
- Copy the PES file to a USB drive (store under EMB → EMBf folder)
- If it's not saved in the correct folder, the Janome HyperCraft 900 won't recognize it.
Embroidering on a T-shirt
1. Prepare the T-shirt and Stabilizer
- Use an iron to lightly attach stabilizer on the backside of the embroidery area.
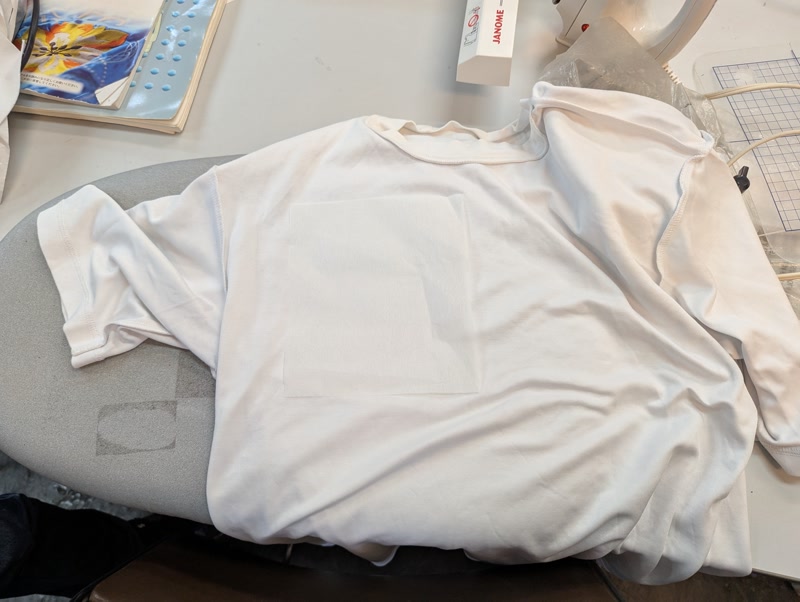
- Place a Good Punch Sheet on the embroidery hoop.
Then place the T-shirt so that the design is centered in the hoop.
- Stretch the fabric tightly to avoid wrinkles or slack.
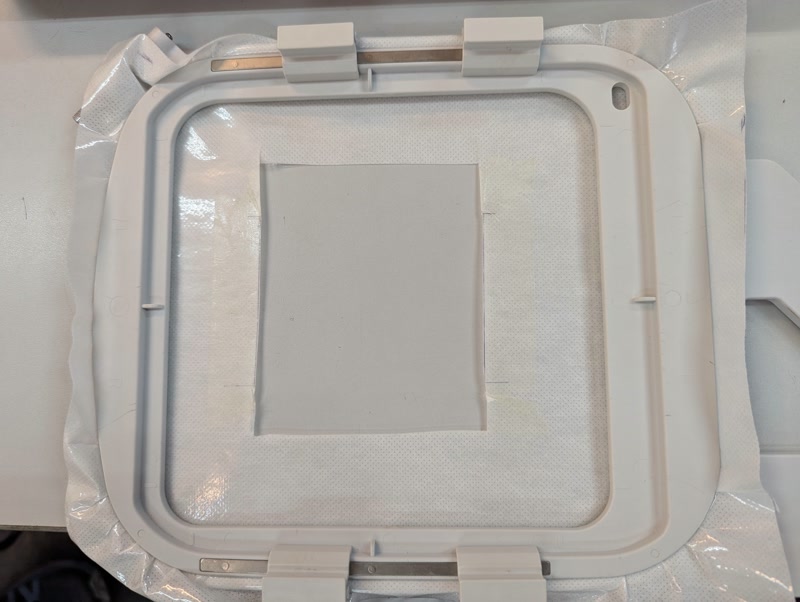
2. Attach the Embroidery Hoop
- Secure the T-shirt in the hoop and attach it to the machine.
- Use double-sided tape for extra hold.
- Ensure the fabric does not shift.
3. Prepare the Machine
- Install an embroidery needle.
- Load embroidery thread on the upper thread path.
- See pages 24 and 106 of the threading manual
- Use bobbin thread designed for embroidery.
4. Set Up the Machine
- Power on the machine.
- Switch to embroidery mode.
- Load the embroidery design from USB.
- Preview and adjust the design position.
- Set embroidery speed to low to prevent fabric stretching.
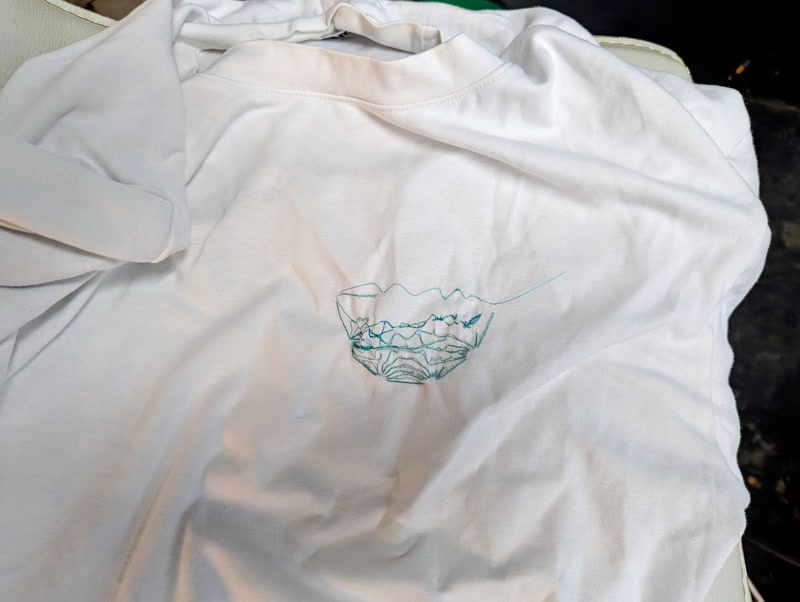
5. Start Embroidery
- Press the Start button.
- Monitor the process for thread breaks or fabric misalignment.
⚠️ On the first try, the T-shirt wasn’t secured well enough, and the machine pulled it in, resulting in a failed embroidery.
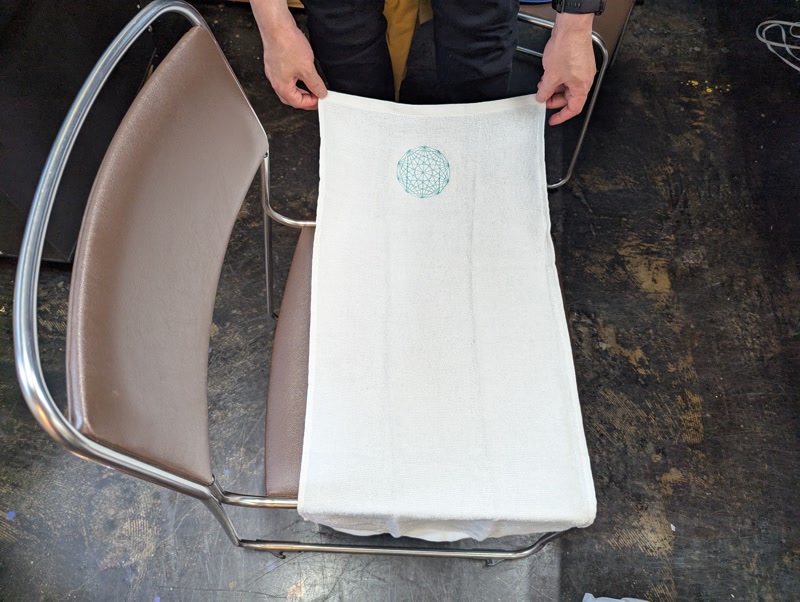
Embroidering on a Towel
1. Prepare the Towel and Stabilizer
- Place a Good Punch Sheet and secure the stabilizer with double-sided tape.
- Stretch the towel tightly in the hoop with the design area centered.
- We used a thinner towel to avoid slipping.
2. Prepare the Machine
- Install an embroidery needle.
- Load embroidery thread on the upper thread path.
- See pages 24 and 106 of the threading manual
- Use bobbin thread designed for embroidery.
3. Set Up the Machine
- Power on the machine.
- Switch to embroidery mode.
- Load the embroidery design from USB.
- Preview and adjust the design position.
- Set embroidery speed to low.
4. During Embroidery
- Check regularly for thread breaks or tangling.
- Thick towels may affect thread tension, so monitor closely.
Time-lapse video
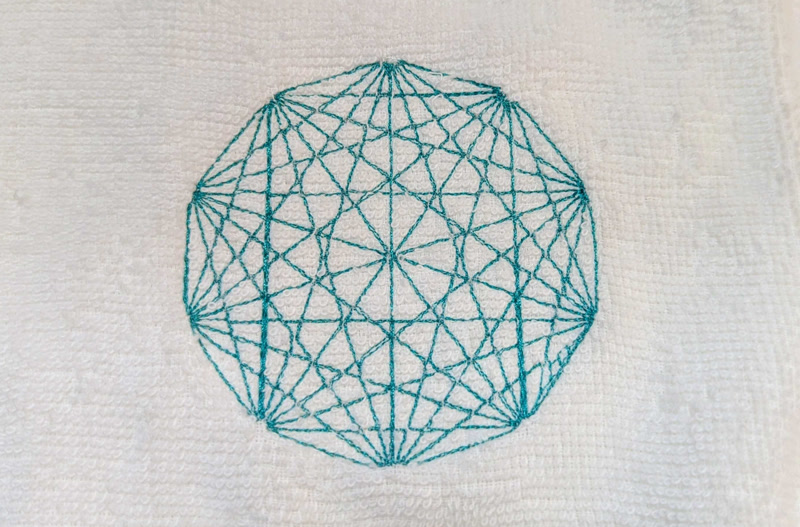
5. Finishing Up
- After embroidery is complete, gently remove the fabric and Good Punch Sheet from the stabilizer.
- Trim or peel off the backing stabilizer.
Afterthoughts
- It was an entirely new experience to design patterns digitally and stitch them using a digital embroidery machine.
- Properly securing the fabric is absolutely essential!