week2. Computer-Aided Design
Assignment
- model (raster, vector, 2D, 3D, render, animate, simulate, …) a possible final project
- compress your images and videos
- and post a description with your design files on your class page
Golgo 13 Machine
The name of my final project is the Golgo 13 Machine. It is a machine that monitors the area behind it with a millimeter wave radar sensor and alerts you when someone approaches. Golgo 13 never lets anyone stand behind him. I got the idea from that.
Final Project Sketch1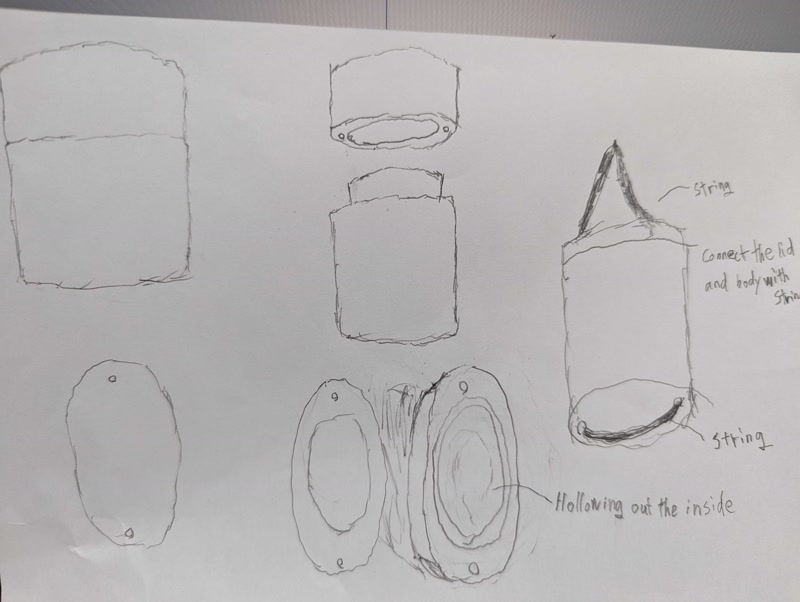
Final Project Sketch2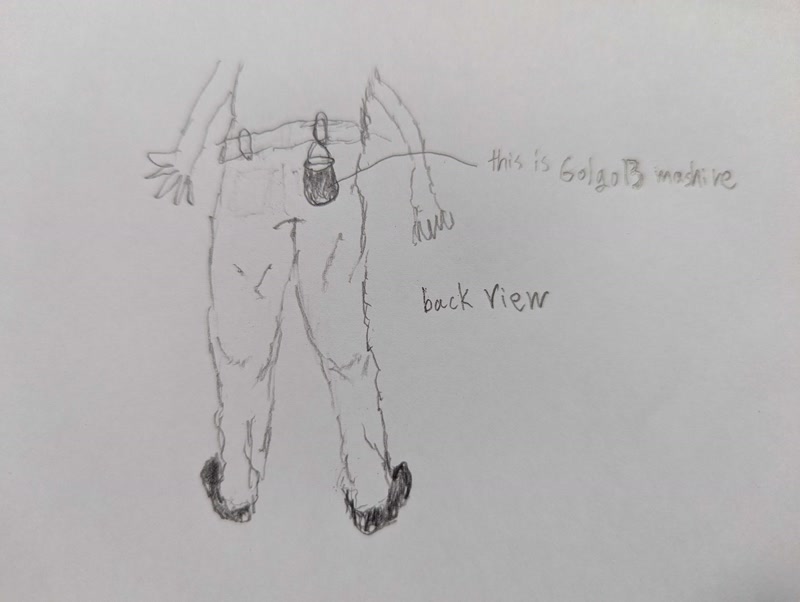
3D model creation
The aim is to create a 3D model of the sketch for the Final Project.
Vizcom AI
First, I tried to see if I could create the desired 3D model using Vizcom AI.
Prompt
I used Prompt to generate the image that would become the basis for the 3D model.
a (samurai's) pillbox Inro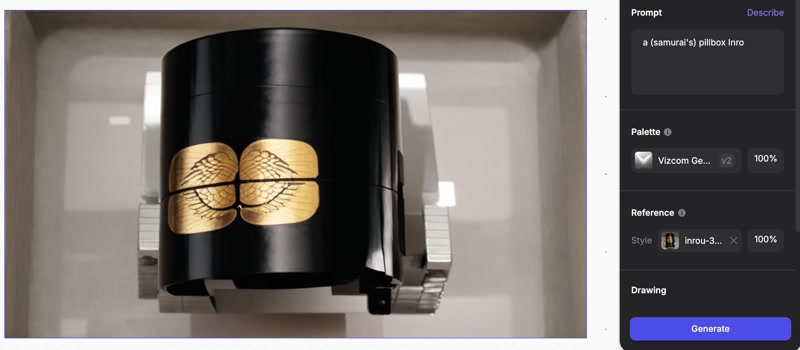
The image output from the prompt did not turn out quite as I had hoped. I think I could have made it more like the image if I had used it more, but I gave up because the free version only allows you to create a 3D model once.
Creating 3D models with Fusion
This time, I tried to see if I could create the desired 3D model using Fusion.
Create a sketch
First, I drew the oval shape of the base. 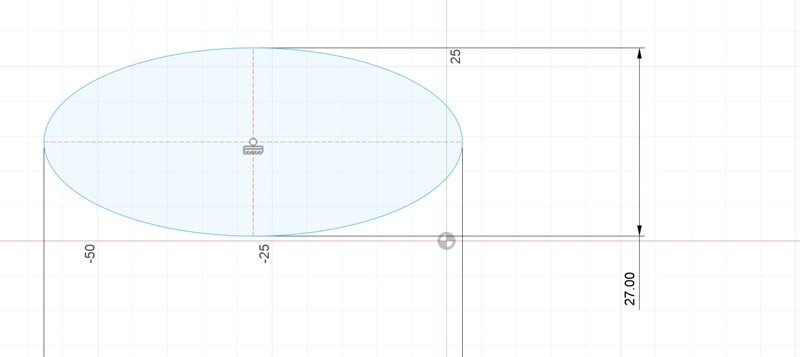
Sketch Extrusion
The sketch was extruded to create a 3D model. 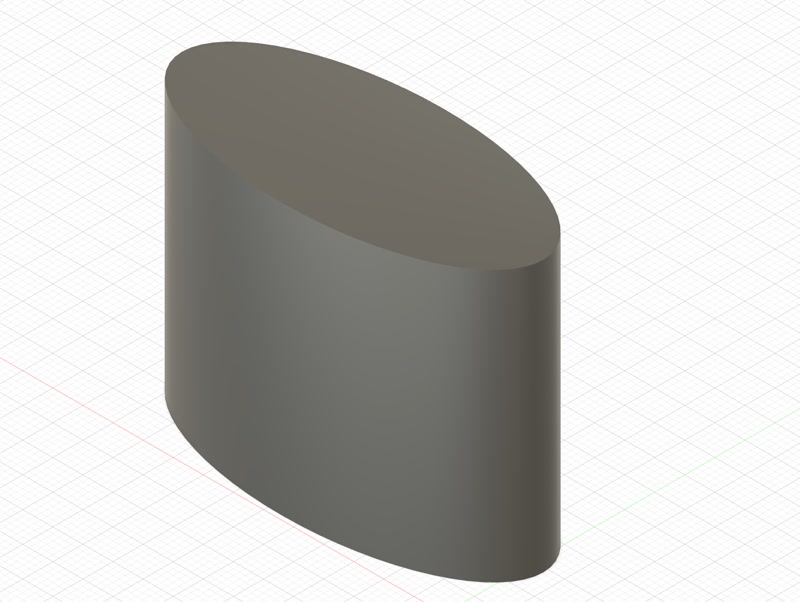
Create a sketch on a cylinder
Make a sketch on the cylinder and create the joint with the lid. 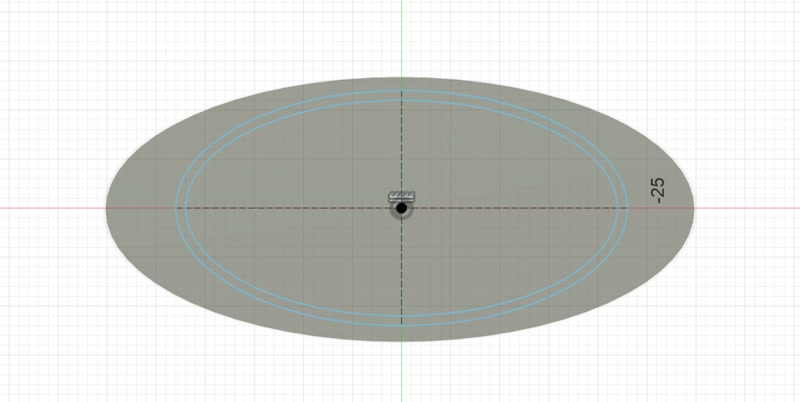
Reverse Extrusion of the sketch on the cylinder
Reverse extrude the outer circumference of the sketch on the cylinder to make it concave. 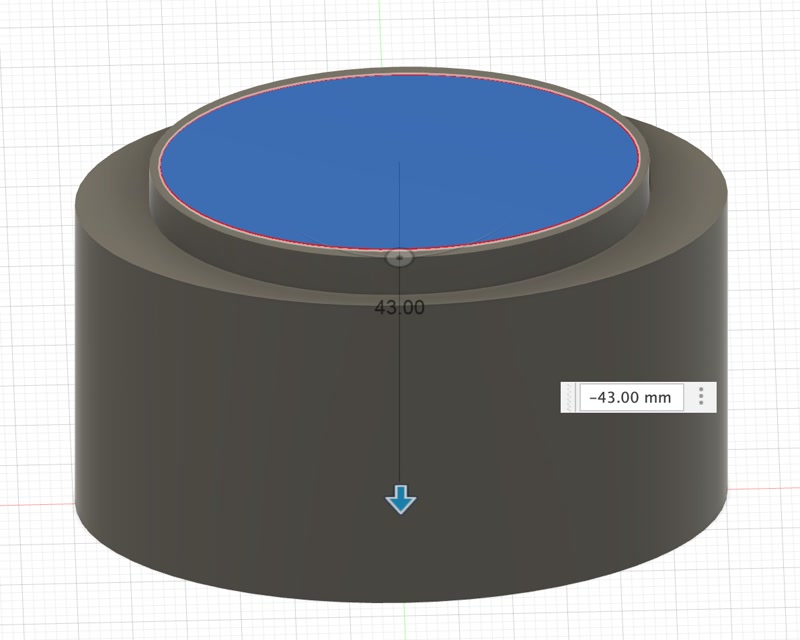
The inner circumference of the sketch on the cylinder is hollowed out by reverse extrusion. 
Making the lid
Similarly, create a cylinder for the lid. 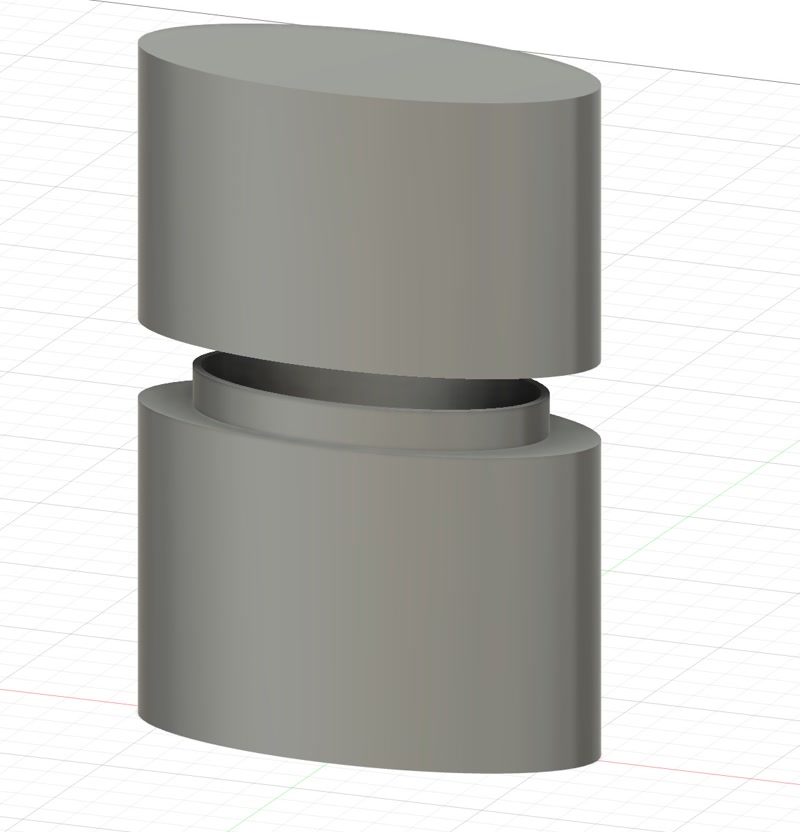
Lid and body joint
After joining the lid and body, use the “Cut” operation of the “Join” command to cut out the lid's cylinder in the form of a joined sentence of the body. 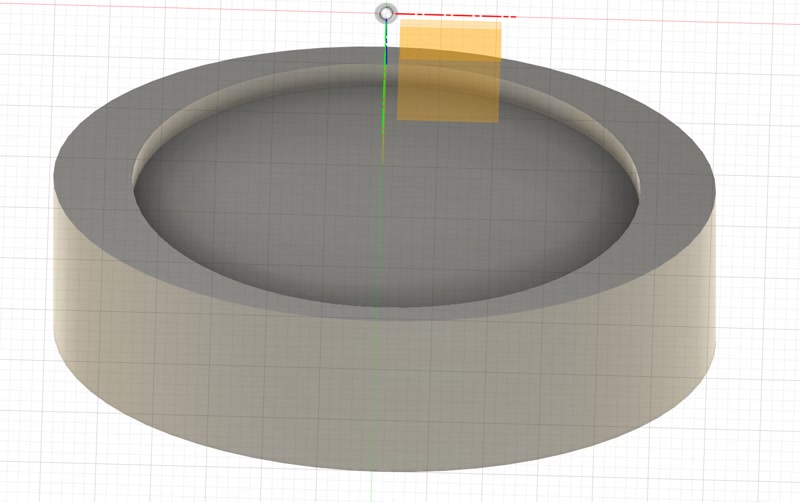
Hole in the lid
Carve out everything except the part that connects to the body. 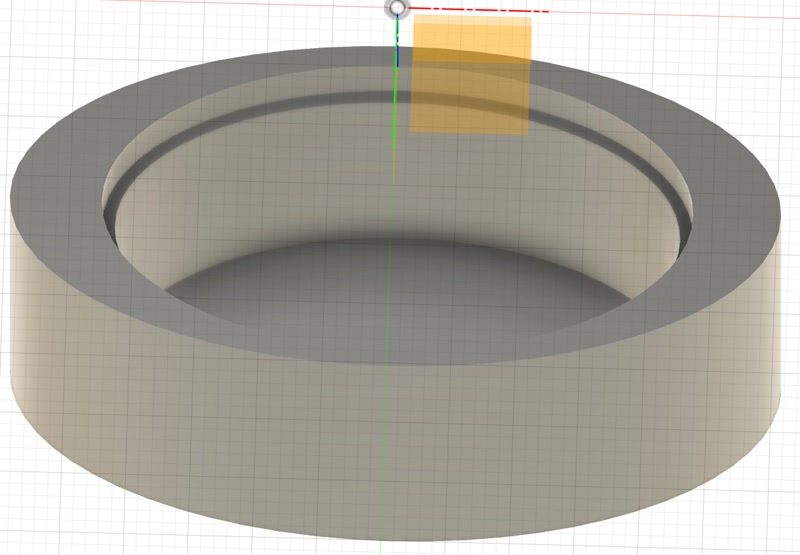
Make a hole for the string to go through.
Make two holes for the string to tie the body and lid together. 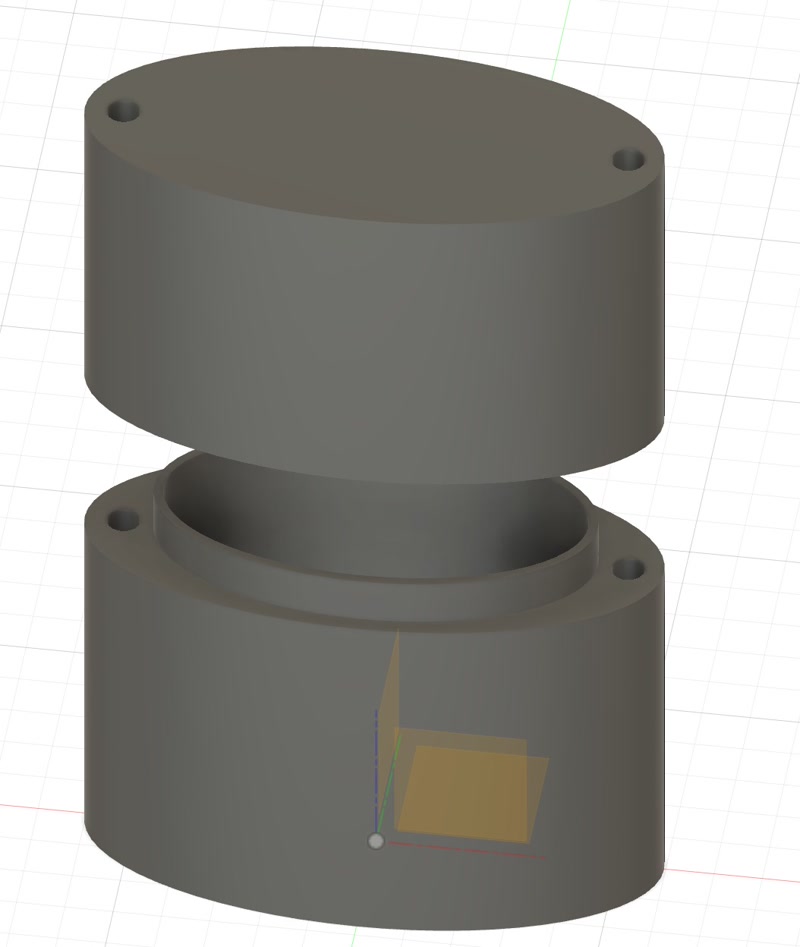
3D model created with Fusion
There is a hole for the string to tie the body and lid together. Thread the cord through this hole to attach the body and lid together.
3D model Download
Creating animations with Fusion
Animate the 3D model created in Fusion.
Switching work spaces
Change the workspace from design to animation. 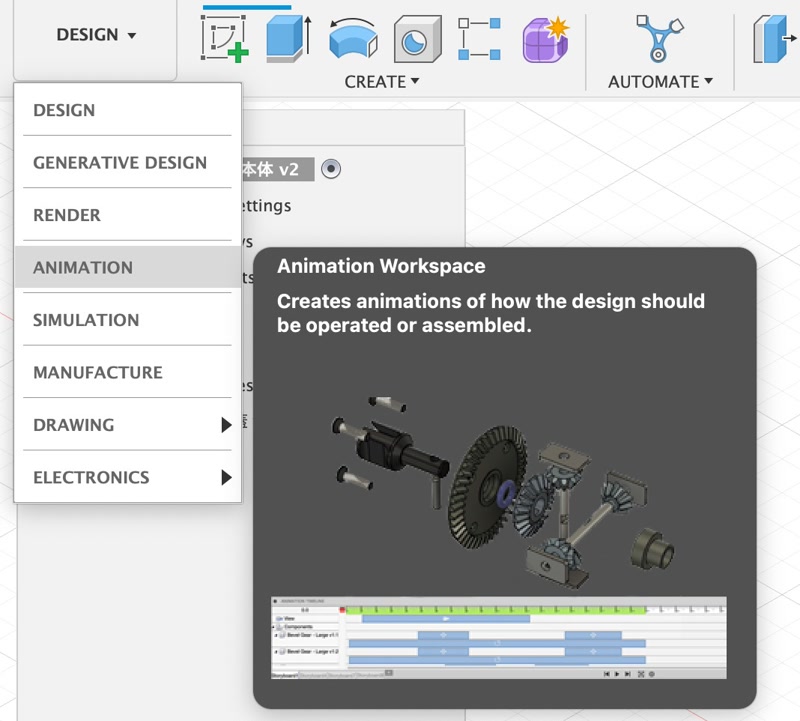
Animation creation
Using “Transform Components”, we will create an animation for each component to make the 3D model's structure easier to understand. 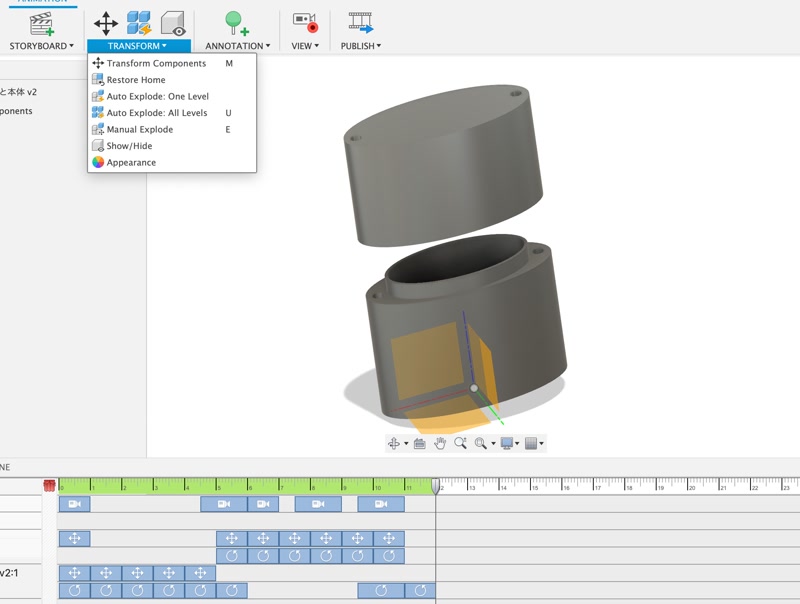
Animation check
We will check the animation created using “ANIMETION TIMELINE” for any problems. 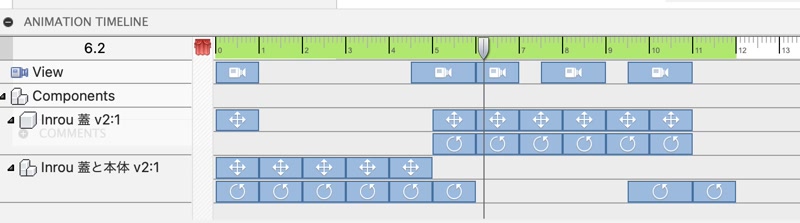
Export animation
Select “PUBLISH VIDEO” to export the animation I just created as a video file. 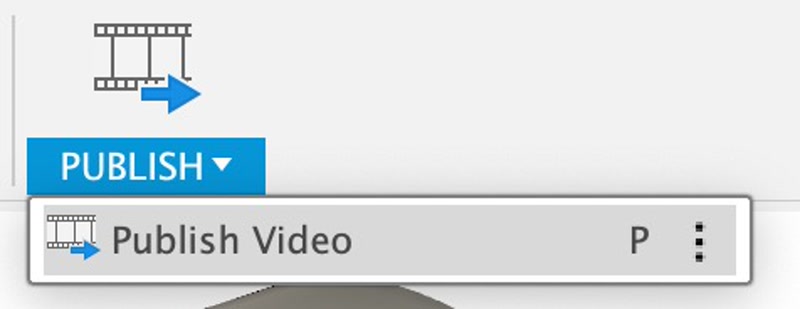
Compress video file
To optimize video files for web use, you should compress them. One effective tool for this is ffmpeg, a powerful open-source multimedia framework. Here’s a simple command to compress a video file.
ffmpeg -i Inrou_cover_and_body.mp4 -vcodec libx264 -crf 25 -preset medium -vf scale=-2:1080 -acodec libmp3lame -q:a 4 -ar 48000 -ac 2 output_inrou.mp4Compressed animation of 3D models
Animation of 3D models created in Fusion.
niji・journey
niji・journey is an AI service that can generate 2D illustrations such as anime and manga. It was developed jointly by Spellbrush and Midjourney. I will create a logo for my class page using niji journy.
Create a Discord account
I already had an account, so I logged in to that account.
Search for the niji journy server
Click on the compass icon at the bottom of the server list (on the left-hand side bar) to display the server discovery tab, and search for niji journy in the search bar at the top right. 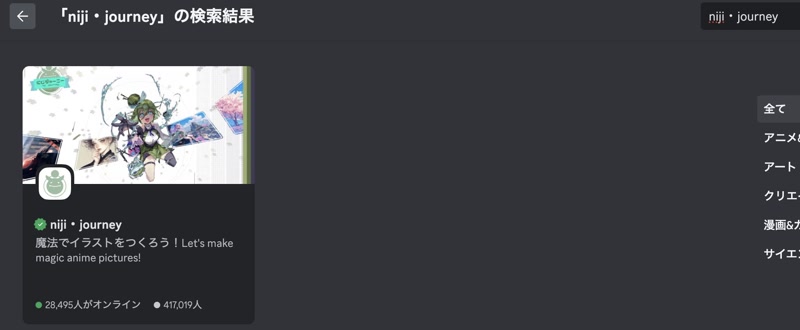
Select the “/subscribe” prompt
Select one of the “#Generate Image” options on the left side of the screen, enter /subscribe in the message input box at the bottom of the screen, and select the “/subscribe” prompt. 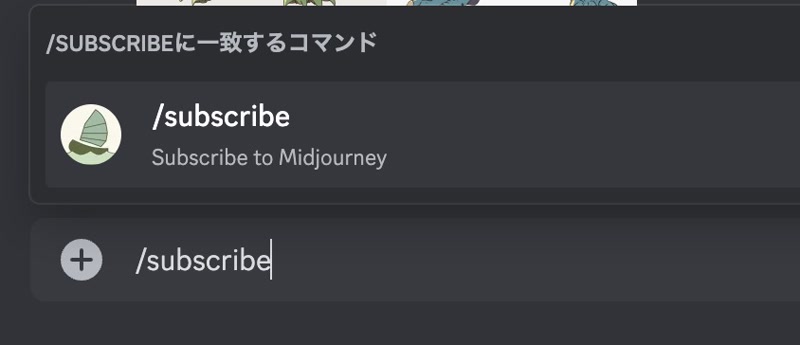
Click on 'open subscription page'.
Then you will get a response like this, so press 'open subscription page'. 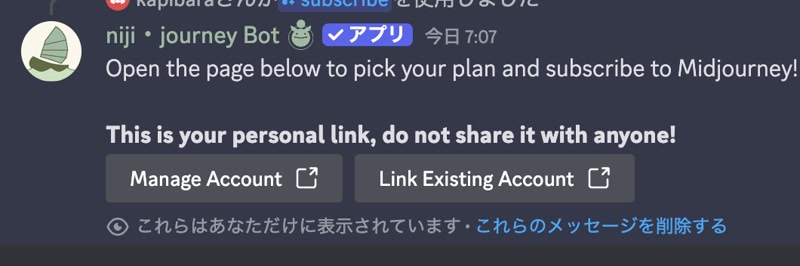
Join a paid plan
The price plan will be displayed, so select the appropriate price plan. 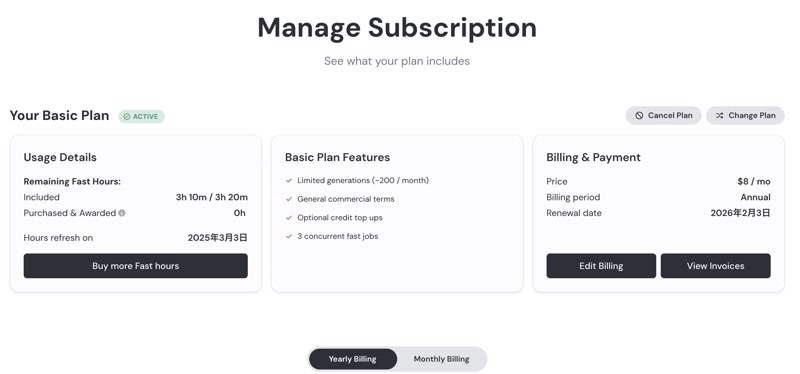
Select the “/subscribe” prompt
Select one of the '#Generate Image' options on the left side of the screen, enter /imagine in the message input box at the bottom of the screen, and select the '/imagine' prompt. 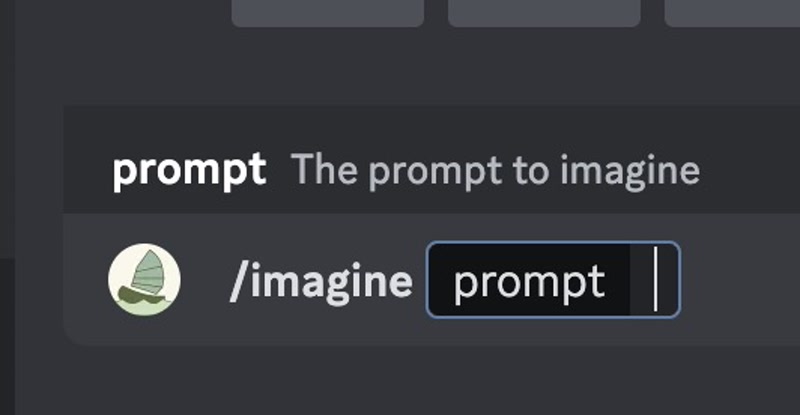
Enter the content to be generated.
This will put you into text input mode, so enter the text.
Agree to the terms of service.
Before starting image generation, you will be asked to agree to the terms of service, so I agree to the terms of service.
Generate Golgo 13 images
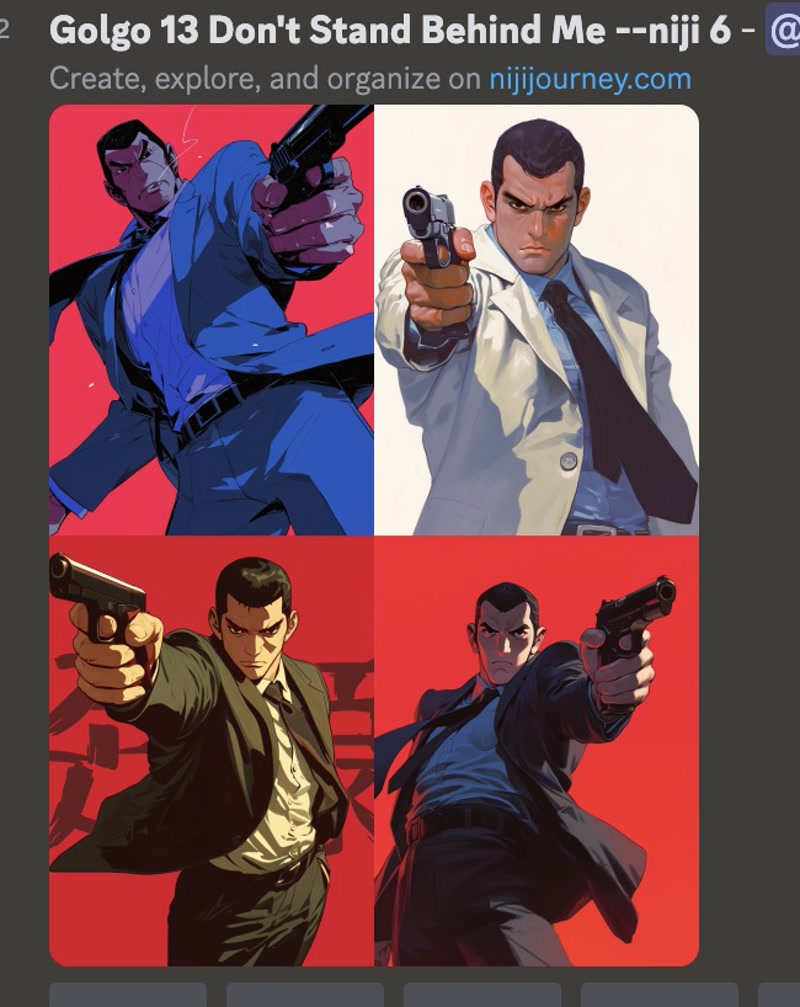
I selected the “/imagine” prompt again and entered the following prompt to generate a Golgo 13 image.
Golgo 13 Don't Stand Behind MeThe result was more like a yakuza than Golgo 13.
Regenerate image 1
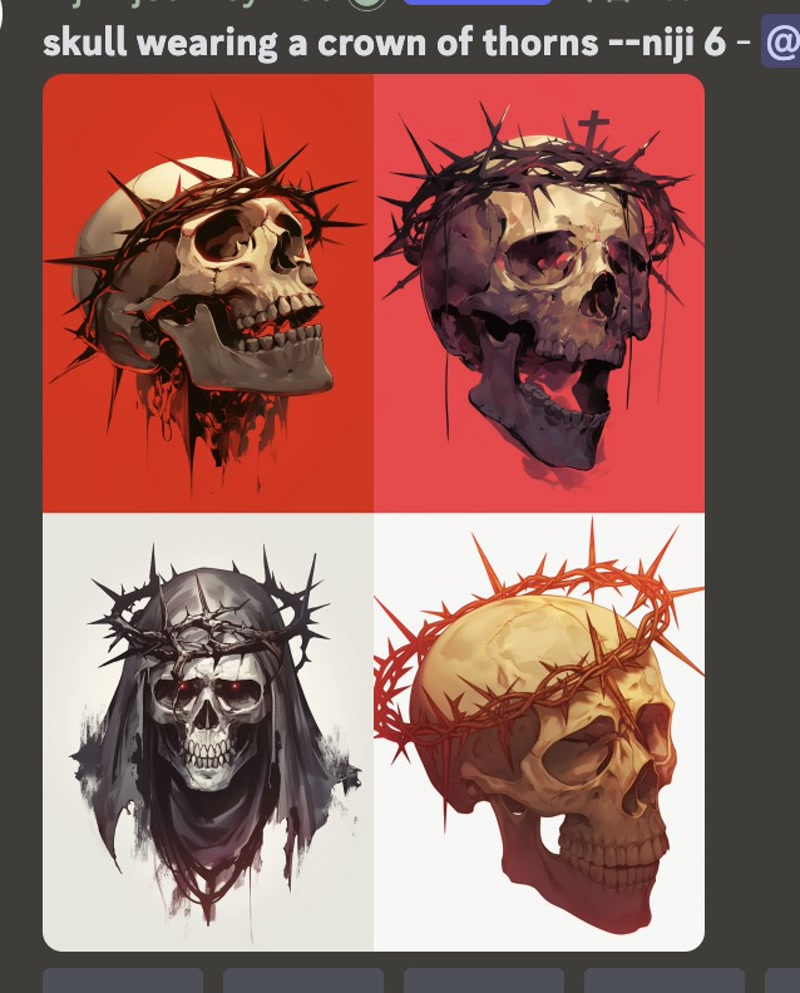
This time, I entered the following prompt in order to generate an image that was inspired by Golgo 13, rather than an image of Golgo 13.
skull wearing a crown of thornsLooking at the results, it was generated as per the prompt I entered, but when I actually saw it, I wanted it to generate the upper body as well.
Regenerate image 2
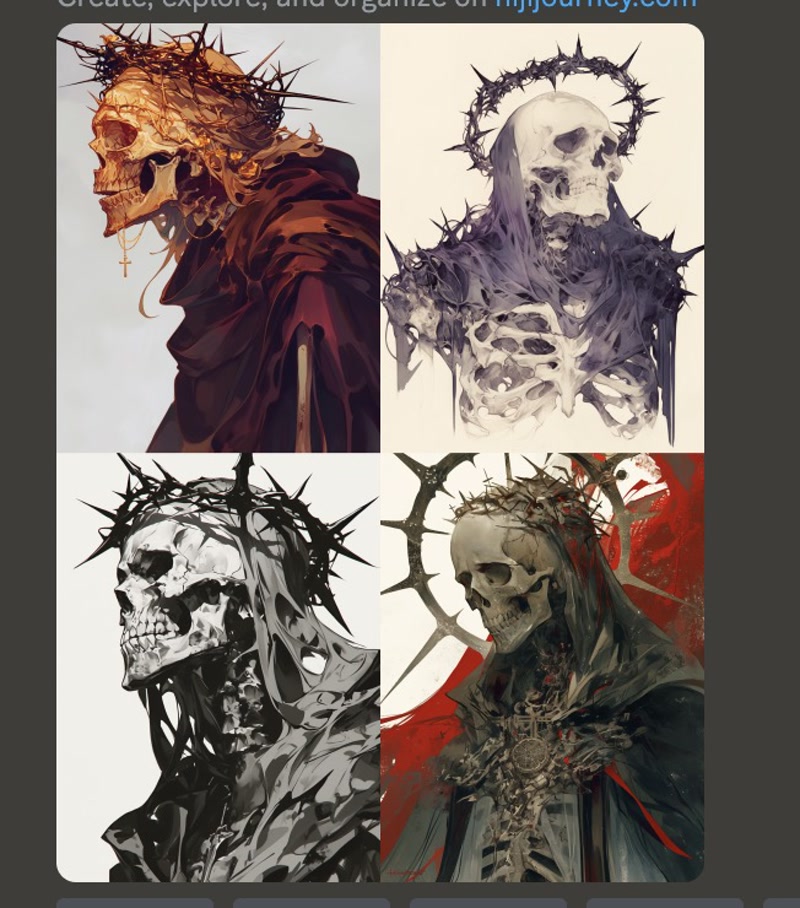
This time, I also generated the upper body, so I entered the following prompt.
The upper body of a skeleton wearing a crown of thorns, looking down at the lower leftLooking at the results, they were generated exactly as the prompts I entered.
Regenerate image 3
Press the 'U2' button to increase the variation of images by changing the style of the second image that is generated. 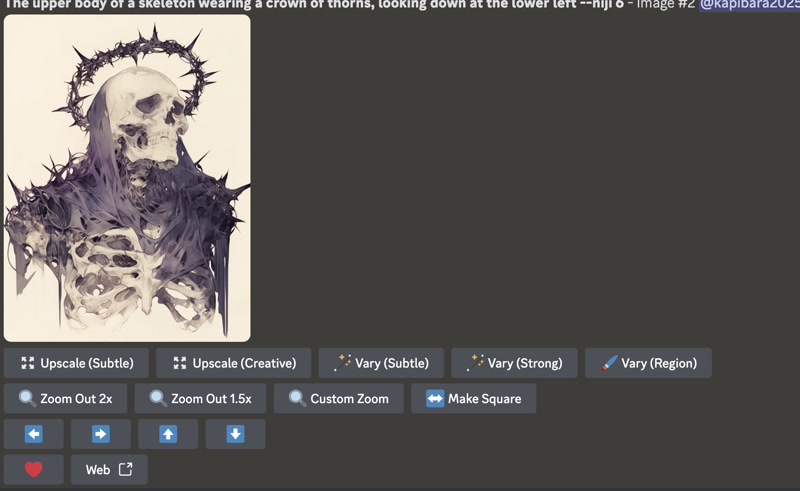
Next, press the 'Vary (Strong)' button. The second image style of the generated image has increased the variation of images. .jpg)
Regenerate image 4
I like the first image that was generated, so I press the 'U1' button. 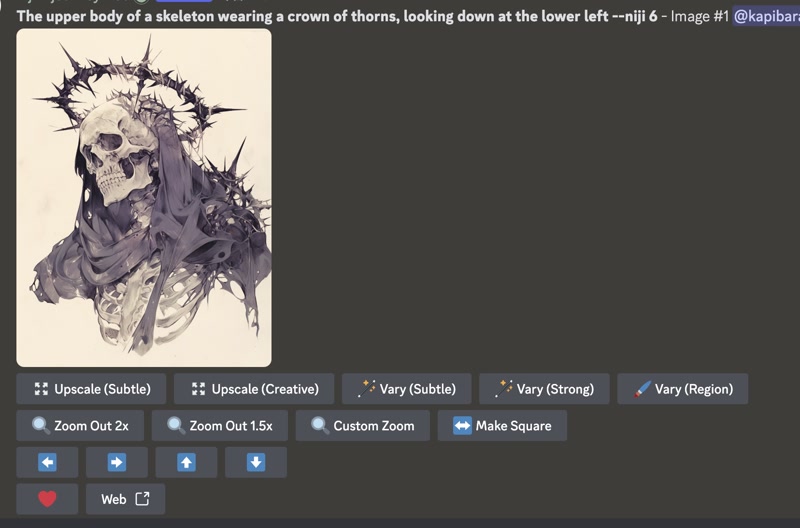
Regenerate image 5
Press the Upscale (Creative) button to add new details to the finer parts and increase the resolution. Looking at the results, we can see that the images have been successfully enhanced to a high resolution. .jpg)
Raster
GIMP
Use GIMP to modify the images generated using niji journy.
Open image in GIMP
Open the generated image in GIMP. 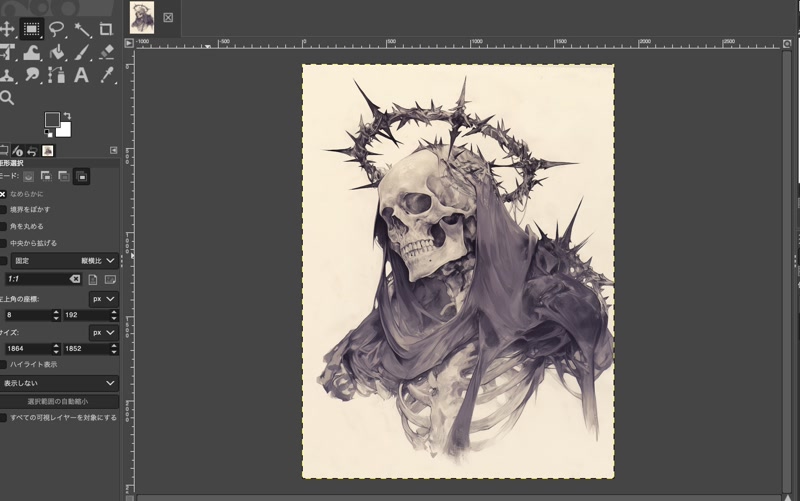
Select a range with a square of the specified size.
Select “Rectangular Selection” from the top left column. Make the setting as follows, and then change the number under “Top left corner coordinates” in the bottom left column to move the square.
- Click “Fixed” and then select “Aspect ratio”.
- Click the left check box and put a cross mark in it.
- Enter “1:1” in the box under “Fixed Aspect ratio”.
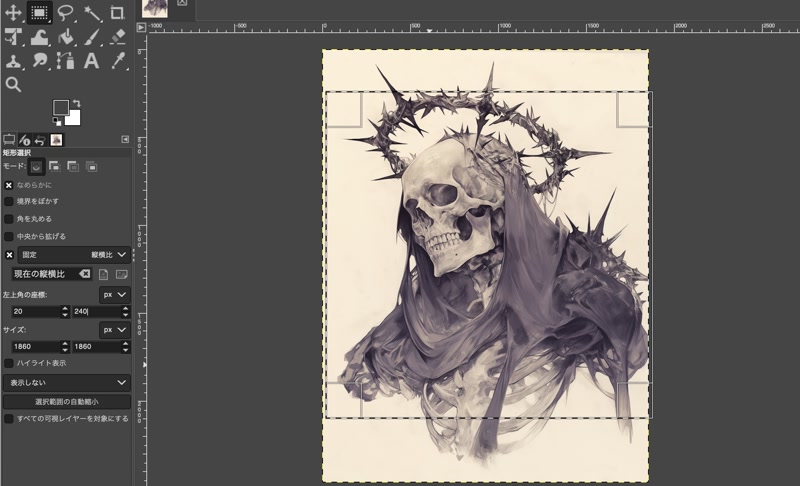
Crop the image to a square
Select “Image” on the menu bar, then “Crop to Selection”.

Create a transparent image by cutting out the background of an image
After selecting “Layer” > “Transparency” > “Add Alpha Channel” from the menu bar, click on the fuzzy selection. Click on the area you want to cut out of the background, and the background will be “selected”. Select “delete” from the “edit” menu bar to delete the background. 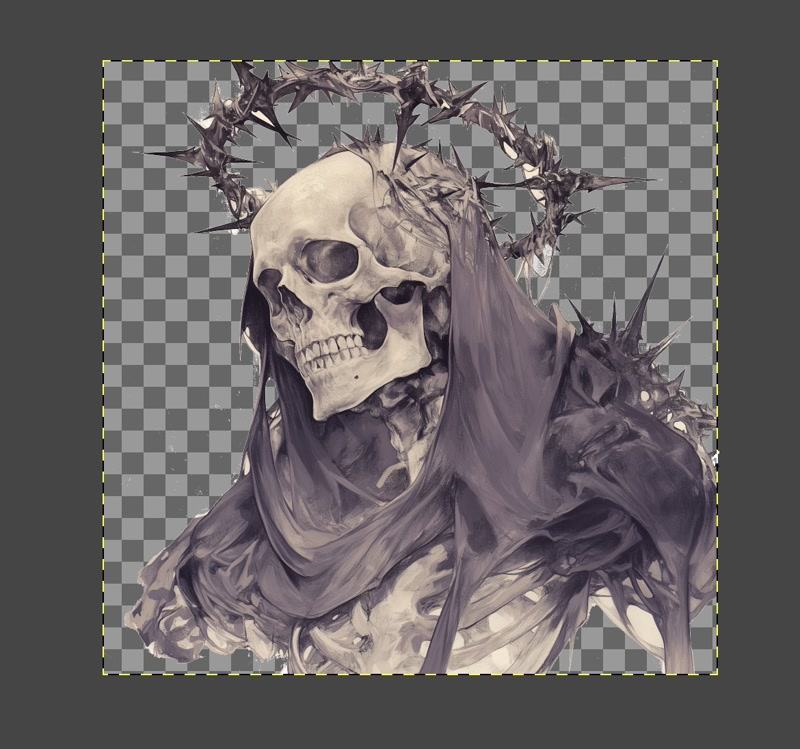
Save the transparent image
Select “File” on the menu bar, then “Export as...” In the pop-up “Export image as PNG”, press Export with the settings as they are.
GIMP File Download
WebP
Compress images modified with GIMP using WebP.
Installing WebP
Install using brew.
brew install webpConvert to webp format
Use the cwebp command to convert to webp format.
cwebp -q 90 logo.png -o logo.webpLogo converted to webp format
This is a logo converted to the webp format.
![]()
favicon.ico
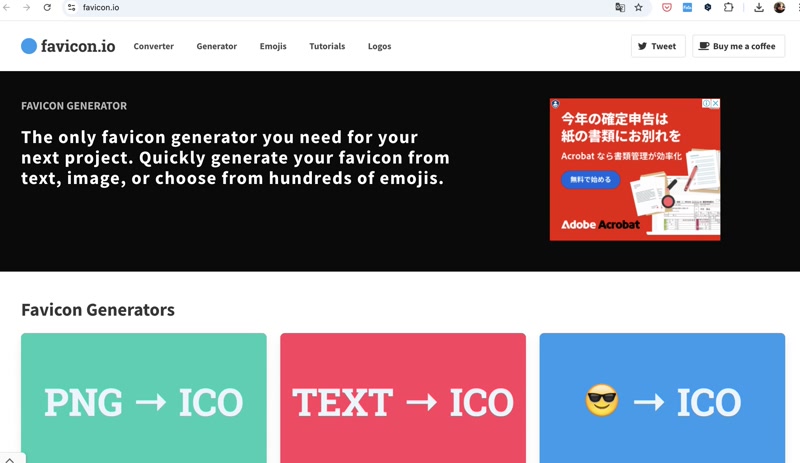
I use favicon.ico. to create a favicon from logo.png.
Click on “PNG → ICO”.
On the favicon.ico top page, click “PNG → ICO”.
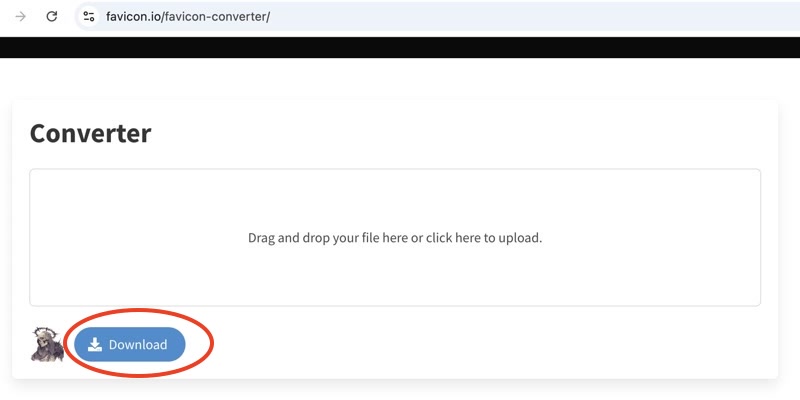
Convert PNG to ICO file
Drag and drop logo.png and press the “Download” button.
Extract the zip file
Unzip the zip file to get the ico file.
Unzip the zip file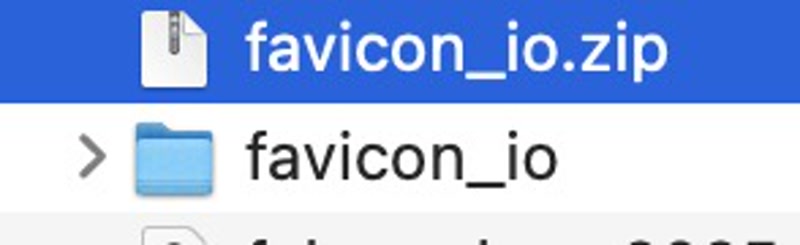
get the ico file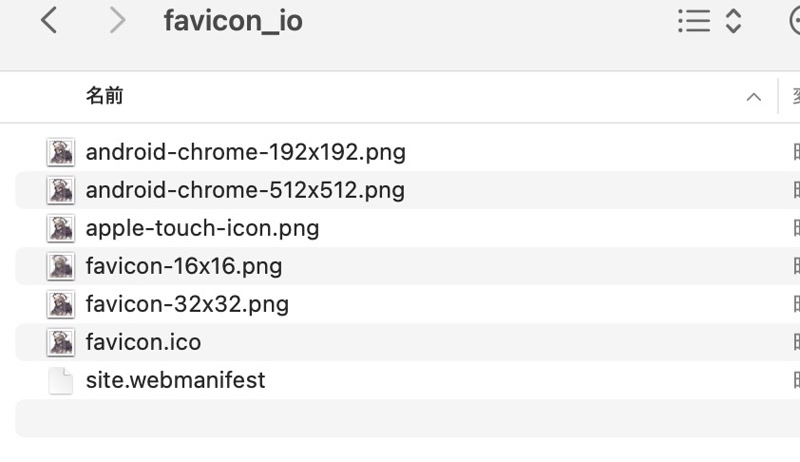
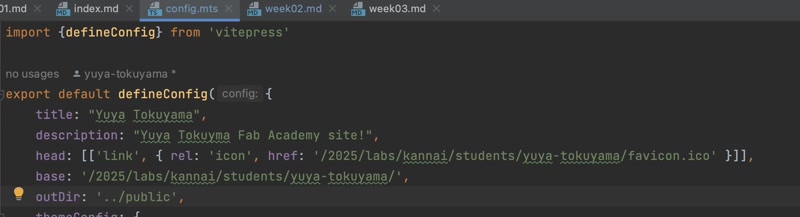
Set the favicon
Place favicon.ico in the public directory and set it as the site's favicon in config.mts.
Favicon file
This is the logo converted to favicon format.
Favicon File Download
Vector
Vector graphics are images that are drawn based on mathematical formulas and calculations. Because vectors are drawn using mathematical formulas, the image quality does not deteriorate no matter how much you enlarge or shrink it. This makes them ideal for designs that are used in various sizes, such as logos and icons.
Illustrator
Let's try turning an image created in Illustrator for use as a logo into a vector image.
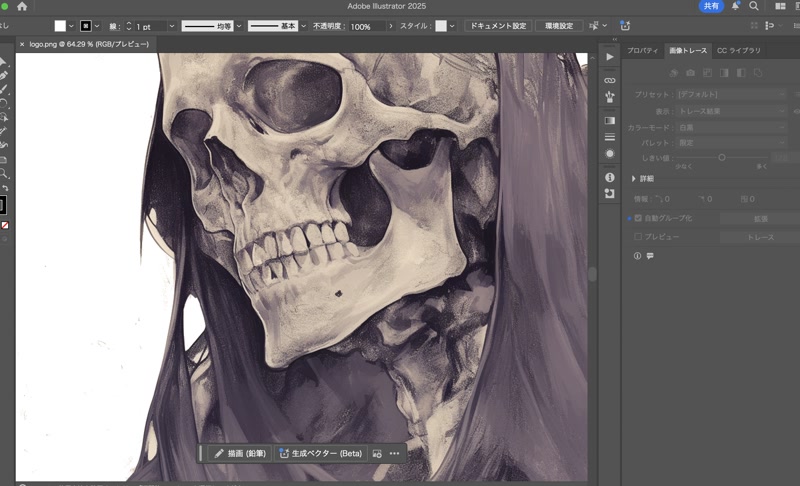
Open PNG image
Open logo.png in Illustrator.
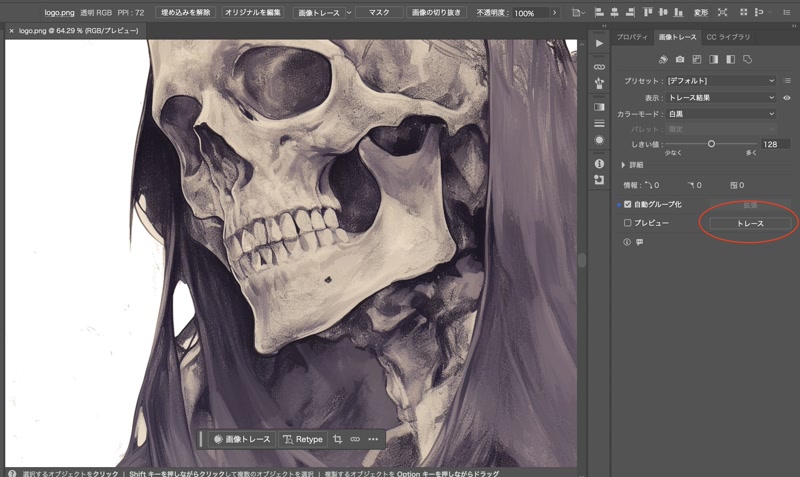
Trace a PNG image
Click the “Trace” button in the “Image Trace” tab.
Save as a vector image
The traced image is saved in svg format, which is a vector image file format.
Traced image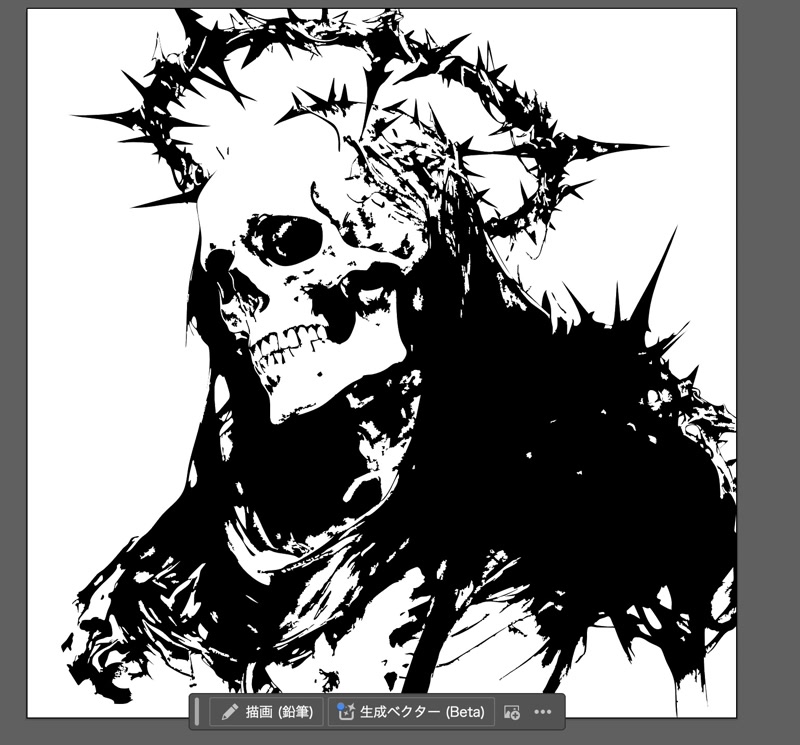
Save as svg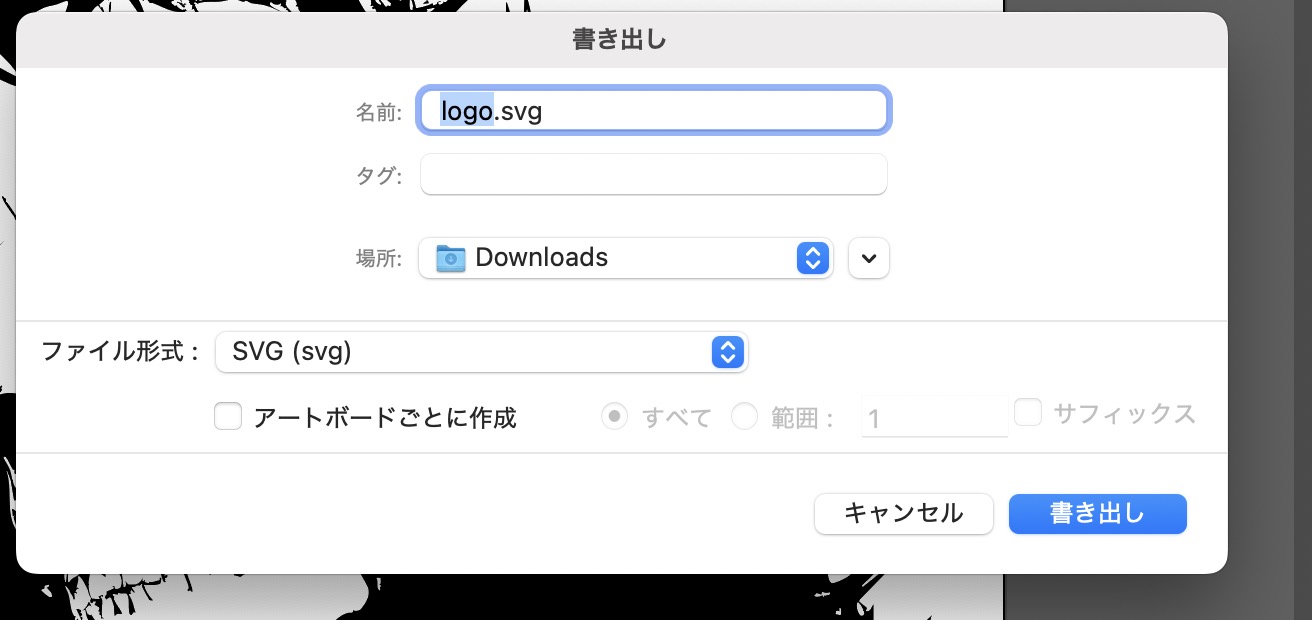
Deliverable
The following are vector images created in Illustrator and the original AI format files.
AI File Download
![]()
Afterthoughts
I tried to create an illustration of Golgo 13 using niji・journey, but it didn't work. Apparently, it seems that you can't generate copyrighted characters. However, I was able to generate a cool illustration inspired by Golgo 13, so I'm very satisfied.
I first learned that it was possible to create 3D model videos using Fusion while working on this assignment. I thought that showing 3D in video form was a very good way to do it.