Wildcard Week: Digital Embroidery
For Wildcard Week, I explored digital embroidery, a technique that merges digital precision with traditional textile art. I used the Brother PR680W embroidery machine to create a custom design on a tote bag. This assignment allowed me to understand fabric preparation, machine configuration, and multi-step stitching automation.
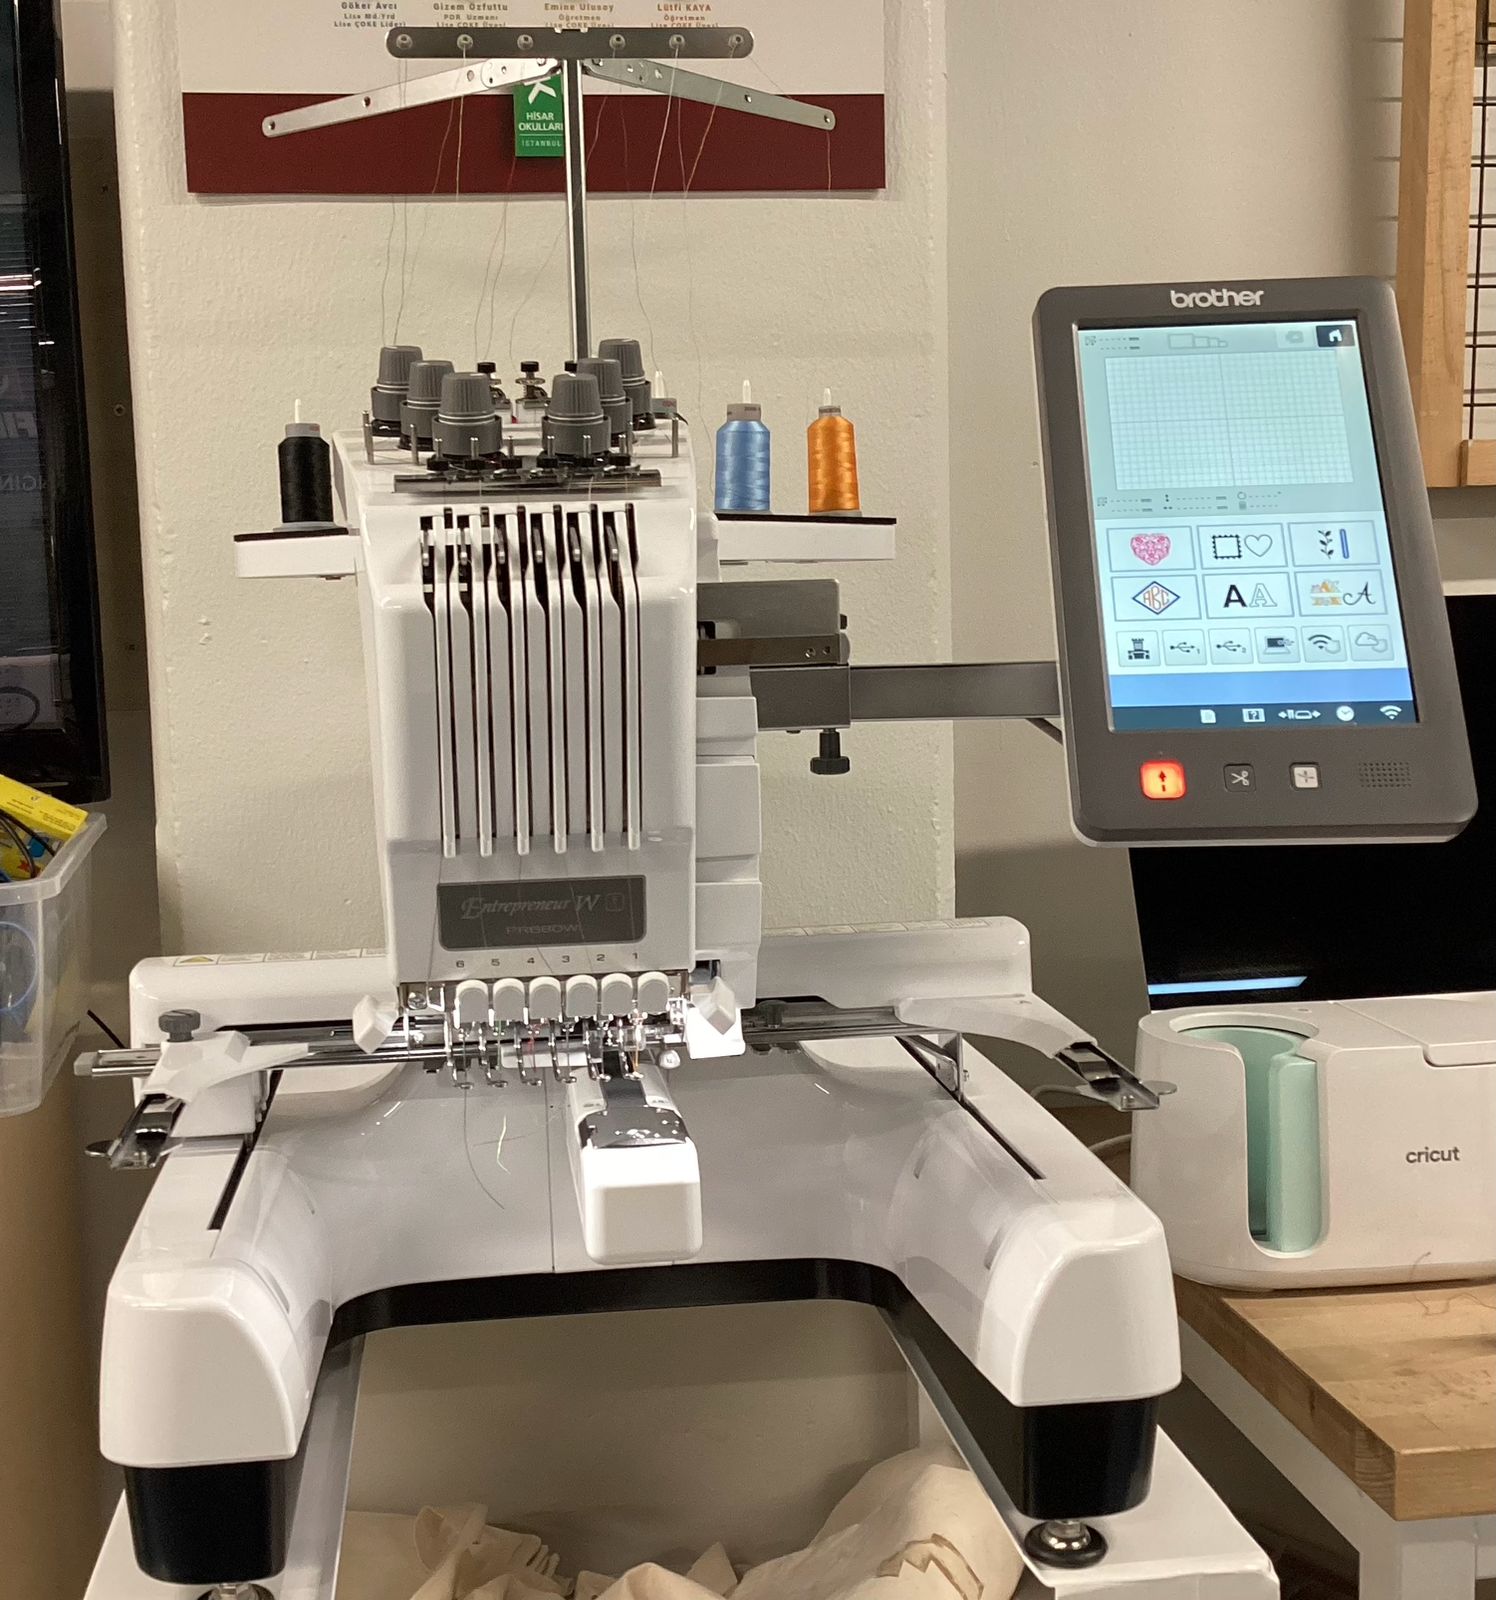
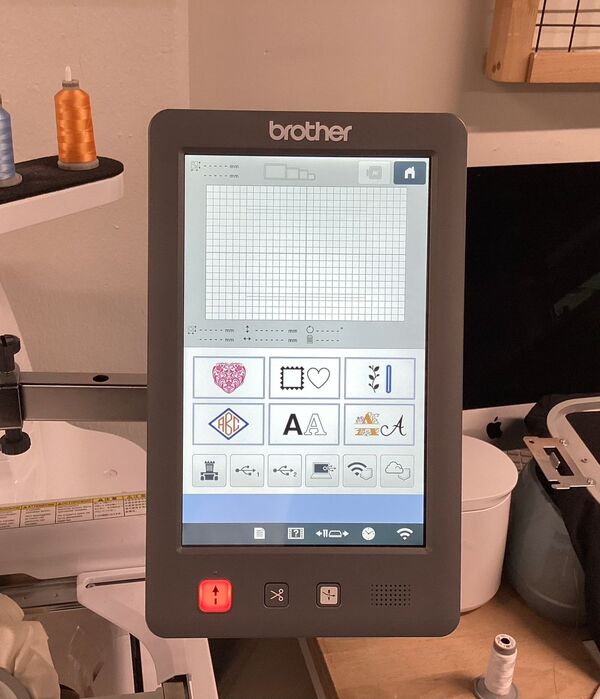
Machine Introduction: Brother PR680W
The Brother Entrepreneur W PR680W is a 6-needle commercial-grade embroidery machine. Key features include:
- 10.1” HD touchscreen with live preview and editing
- Automatic needle threading for six separate threads
- Built-in memory and USB/Wi-Fi connectivity for importing .PES/.DST files
- High-speed stitching (up to 1,000 stitches per minute)
- Laser alignment tools and automatic thread trimming
This machine simplifies complex multicolor embroidery and supports both built-in and custom designs.
Documented Workflow
-
Fabric Selection
I chose a plain canvas tote bag as the base material. It is thick enough to handle embroidery but soft enough to work with easily.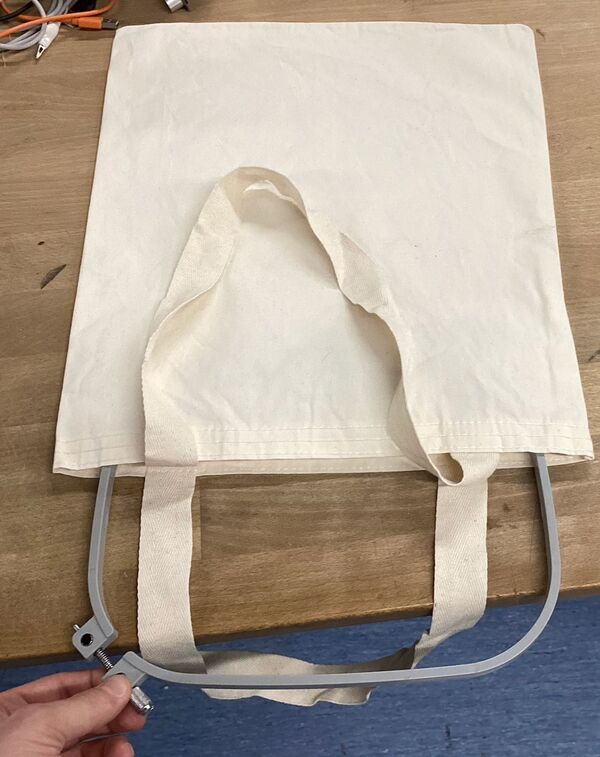
-
Preparing the Stabilizer
I cut a piece of water-soluble stabilizer and placed it behind the fabric. This prevents wrinkles and stabilizes the stitch area.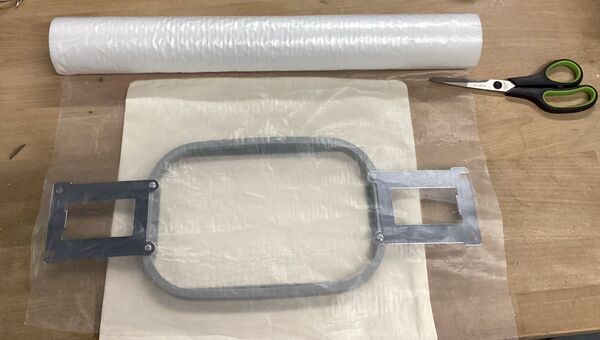
-
Hooping the Fabric
I aligned the fabric and stabilizer and locked them inside the hoop. This is crucial to maintain a flat, tensioned embroidery surface.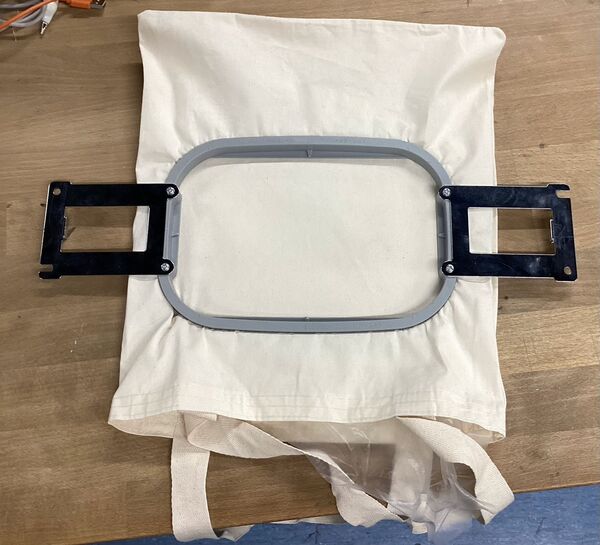
-
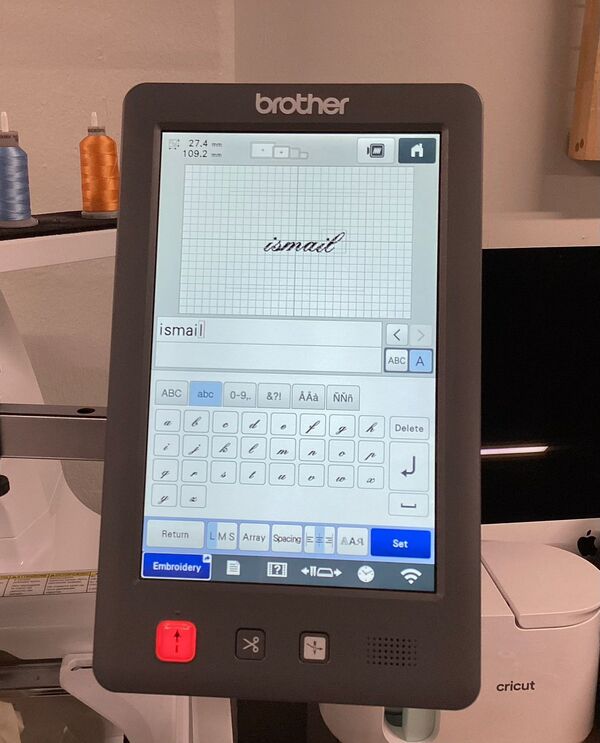
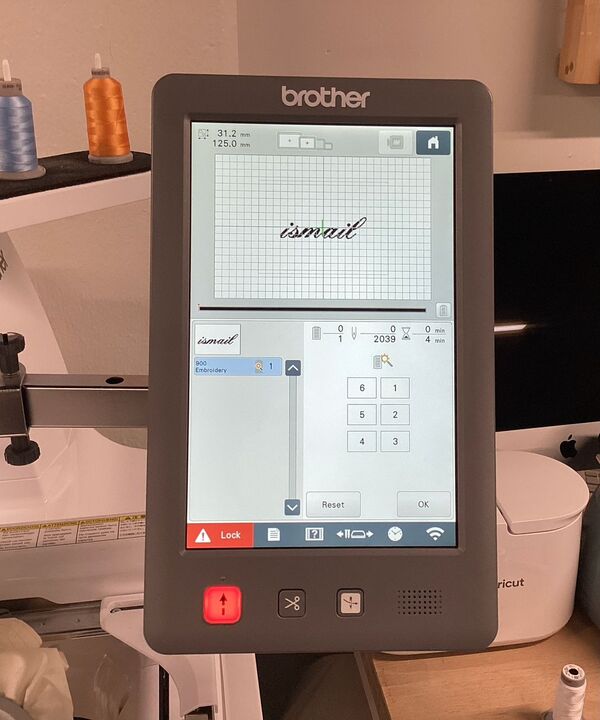
Setting Up the Design
I used the built-in font tool to type “ismail” in a cursive style. The touchscreen grid helped center the text within the hoop area.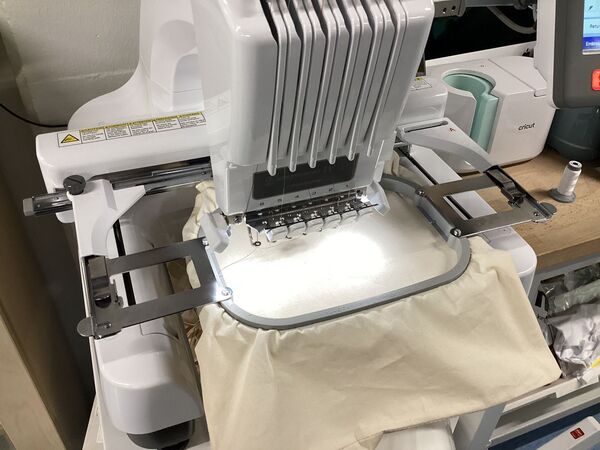
-
Thread Preview and Layout
The PR680W showed a live preview of the text and color sequencing for stitching. I used a single orange thread to keep the look simple.

-
Locking and Starting Embroidery
I confirmed the design and pressed the “Lock” button to start the embroidery cycle.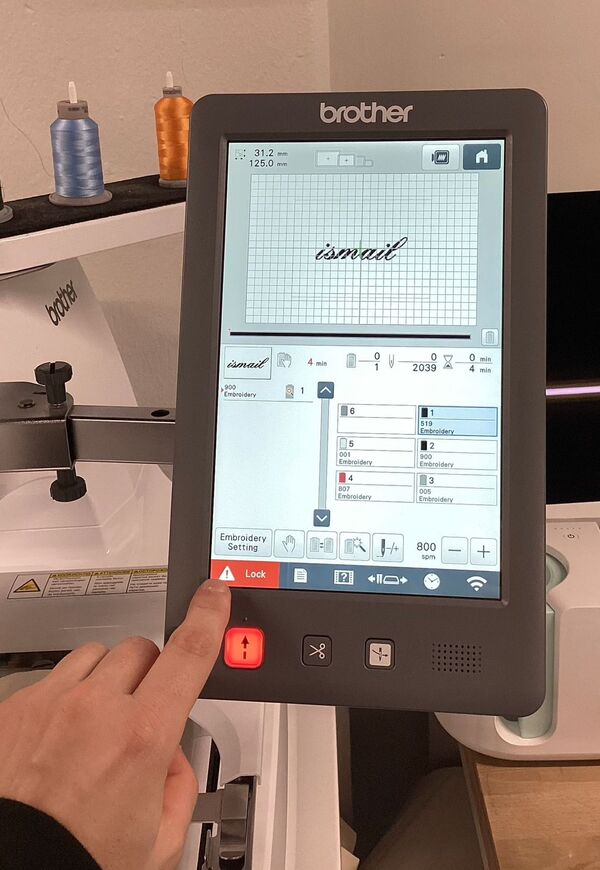
-
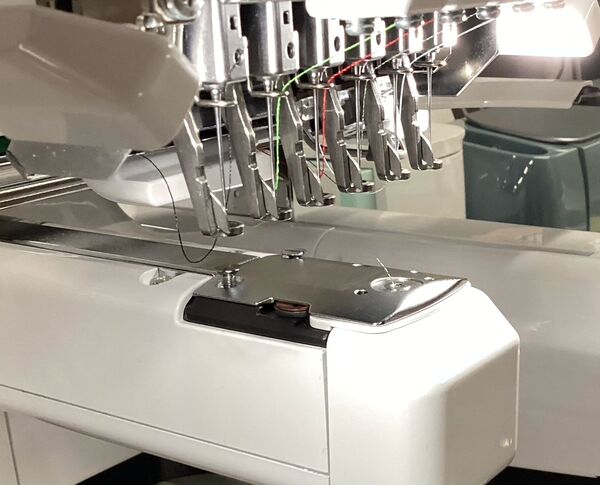
Embroidery in Progress
The machine stitched the name “ismail” with precision. The multi-needle head moved automatically based on the programmed design.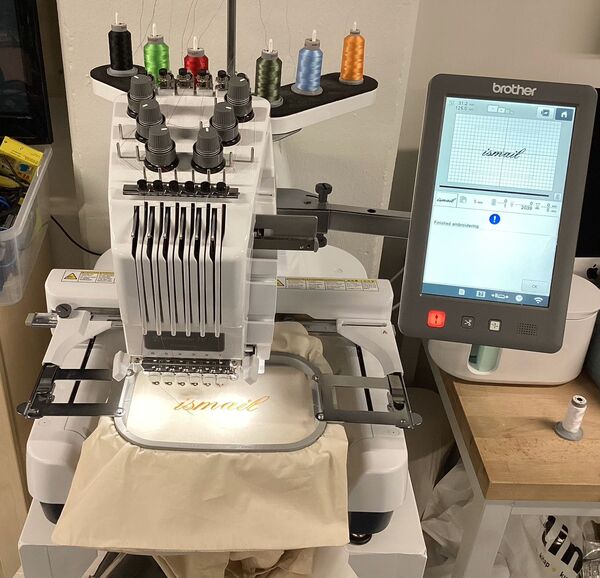
-
Completed Result in Hoop
Once stitching finished, I removed the hoop to check the final result.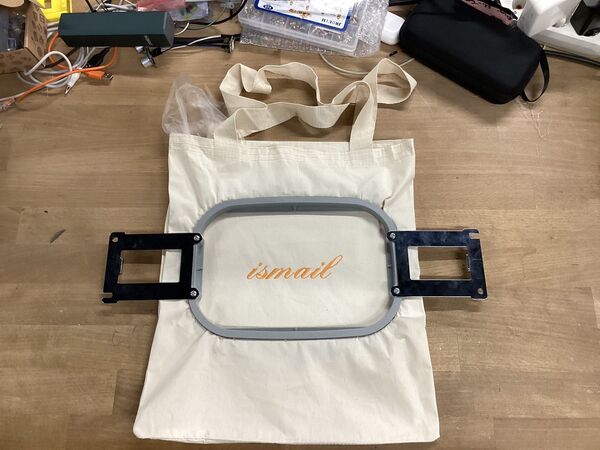
Problems Encountered and Fixes
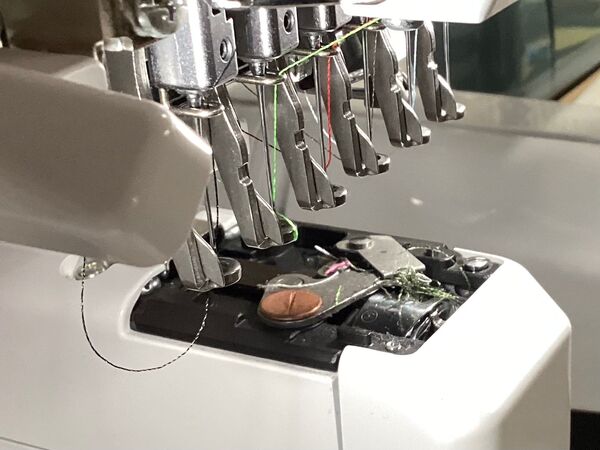
While working on a test design I received a Trimming Sensor Error:
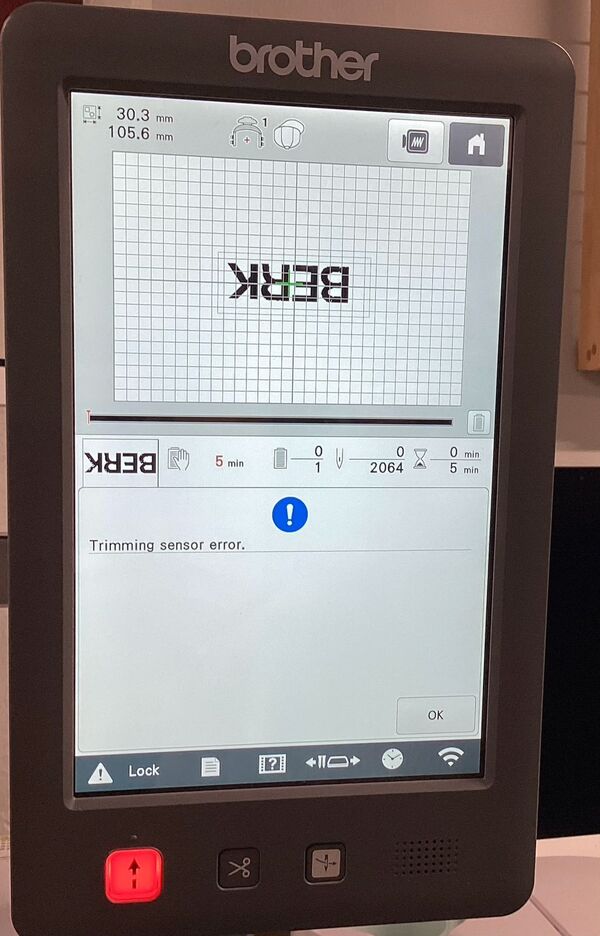
Upon opening the machine, I found threads tangled in the cutting mechanism.
I cleaned the area using tweezers and re-threaded the mechanism. After restarting, the machine resumed normal operation.
Design Source
The name “ismail” was created using the Brother PR680W’s built-in font system. No external design or coding was needed. However, the machine supports importing vector-based embroidery files (.PES/.DST) through USB or Wi-Fi for more complex designs.
Hero Shot
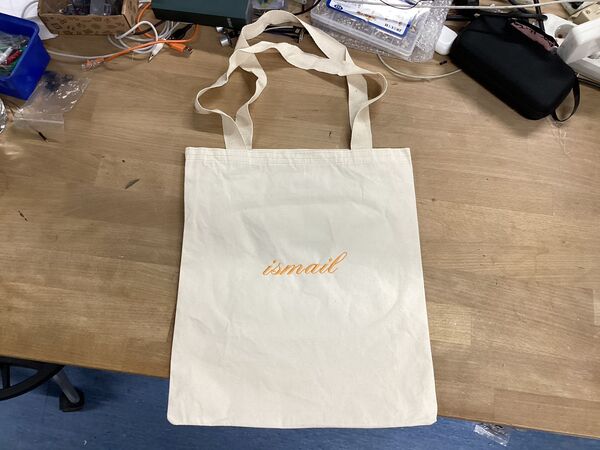
The final product: a cleanly embroidered canvas tote bag with the name “ismail” stitched in orange.
Conclusion
Wildcard Week gave me hands-on experience with digital embroidery — a fabrication process completely distinct from others like 3D printing or CNC milling. I learned how to stabilize fabric, use hoop systems, navigate embroidery software, and recover from machine errors. The Brother PR680W was intuitive and powerful, offering both automation and fine-tuned control. I now feel confident using embroidery in future wearable or aesthetic fabrication projects.