Week 13: Molding and Casting
➡️ View our group assignment here.
Designing the Mold
I designed a starfish-shaped mold in Fusion 360. The form was symmetric and circular, intended to be easily millable and castable.

Sketch of the starfish geometry, centered within a 60x60mm bounding box. Rounded edges help ensure smoother milling and prevent sharp internal corners.
Extrusion Steps
I created the mold cavity using multiple extrusion steps in Fusion 360 to allow for a stepped profile in the wax block.
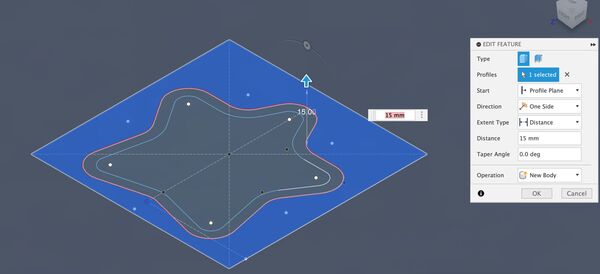
First, I extruded the full base by 15mm. This created the main body of the mold block.
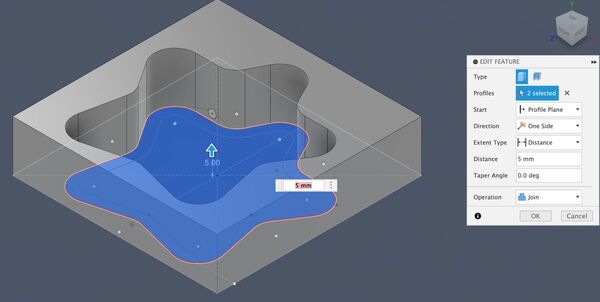
Next, I cut a 5mm-deep pocket with the star shape to start forming the mold cavity.

A deeper 12mm inner pocket was added inside the star to give more depth for casting and create a stepped internal shape.

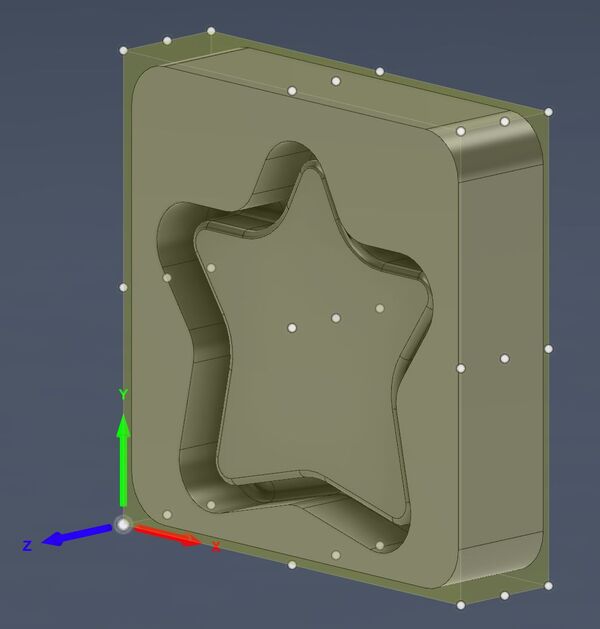
This is the completed mold design with both inner and outer cavity extrusions visible.
CAM and Toolpaths
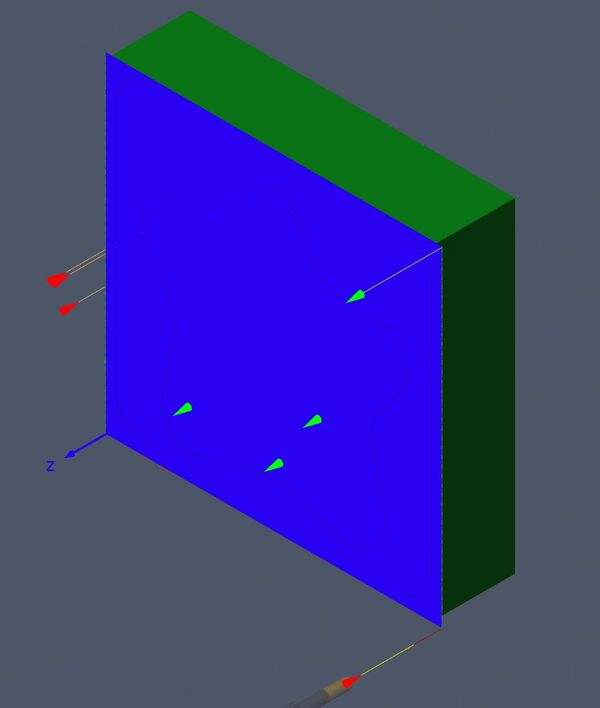
I set up the machining workflow using Fusion 360 Manufacturing workspace, creating adaptive and finishing toolpaths.
Overview of the toolpaths. I used 3D adaptive clearing followed by finishing operations.
Adaptive clearing strategy to remove most of the material quickly, used with a 2mm ball end mill.
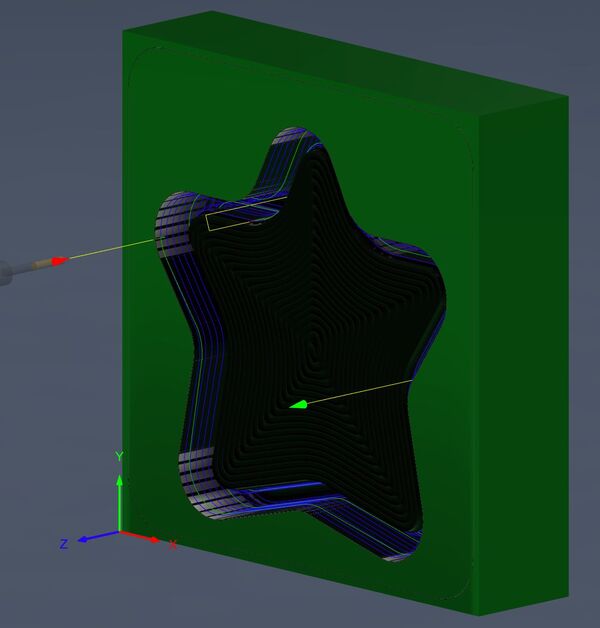
Parallel finishing pass applied over the curved surfaces to create a smoother finish before casting.
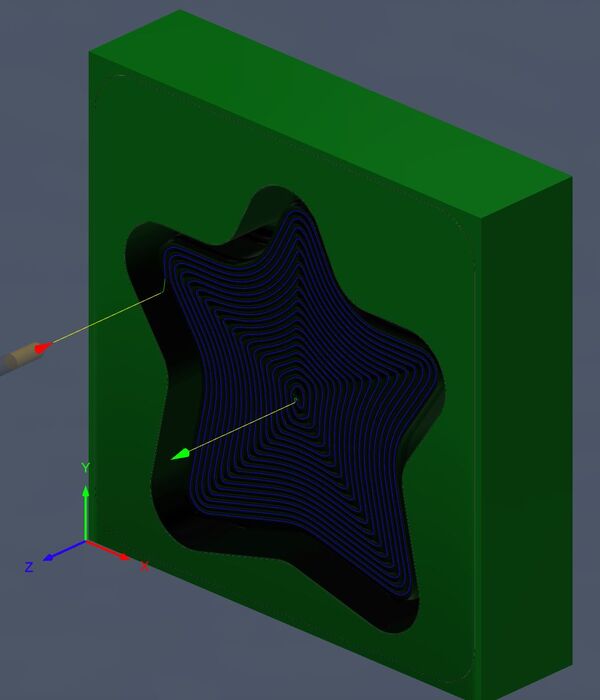
2D contour operation added for vertical edge cleanup to get better definition in the final cavity.

Fusion 360 simulation confirms there are no collisions or overcuts and that the steps are machined cleanly.
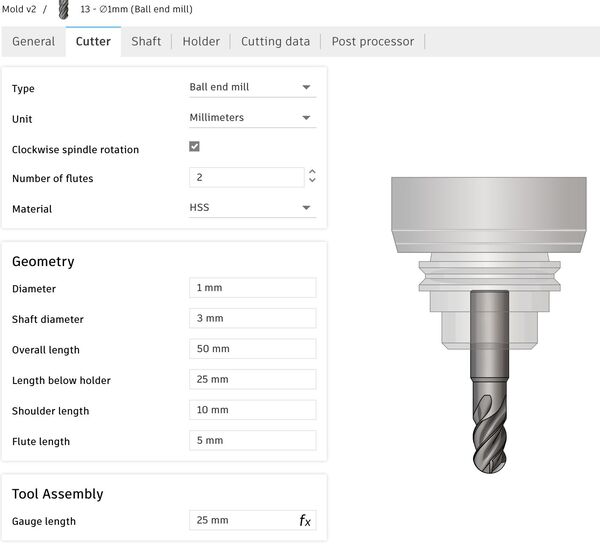
1mm ball end mill used for finishing small curves and tight regions of the design.
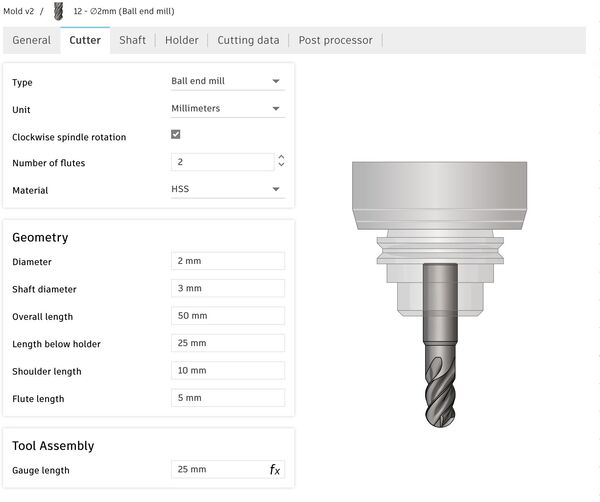
2mm ball end mill used for initial adaptive clearing to remove bulk material efficiently.
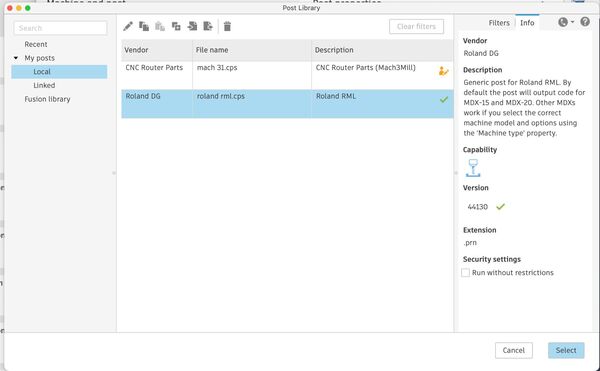
Used Roland SRM-20 post processor to generate RML files for the wax mold CNC job.
Milling with SRM-20
I machined the design from machinable wax using a Roland SRM-20 desktop CNC machine.
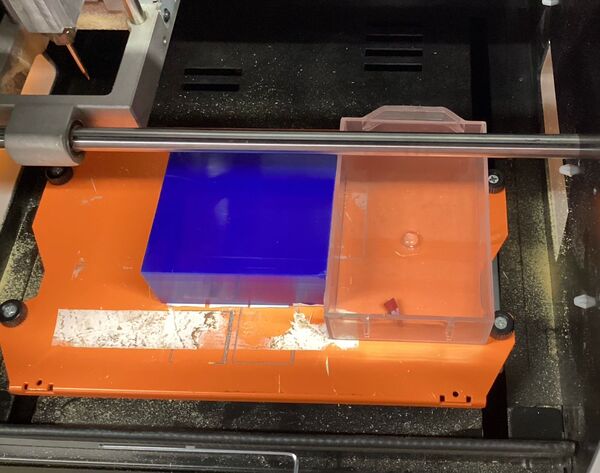
Wax block fixed on the SRM-20 with double-sided tape and alignment check completed.
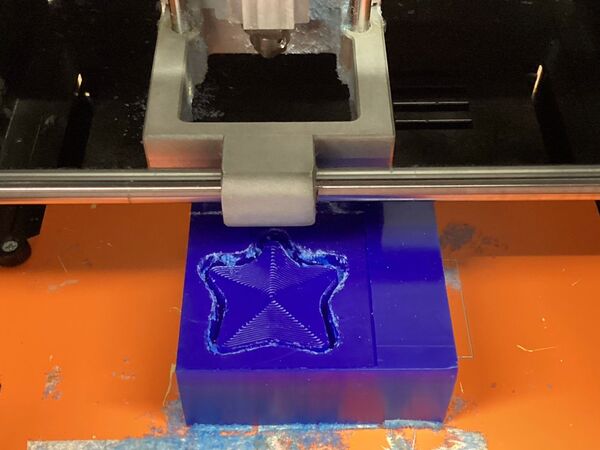
The roughing pass is removing the bulk of the wax. Material is being cleared layer by layer.
After the rough cut, you can already see the outline of the star shape with rough toolmarks.

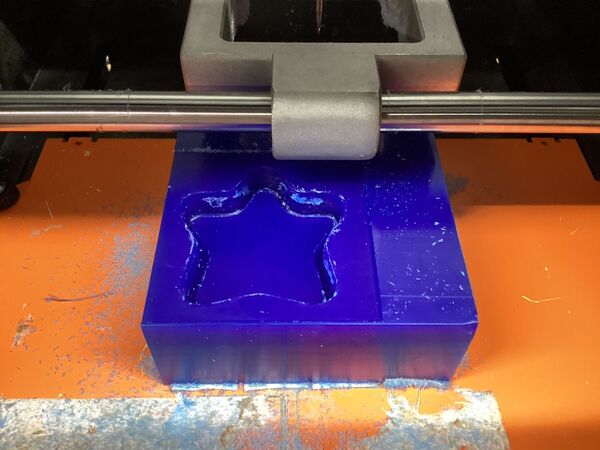
The final wax mold after finishing passes. The profile is clean and smooth.
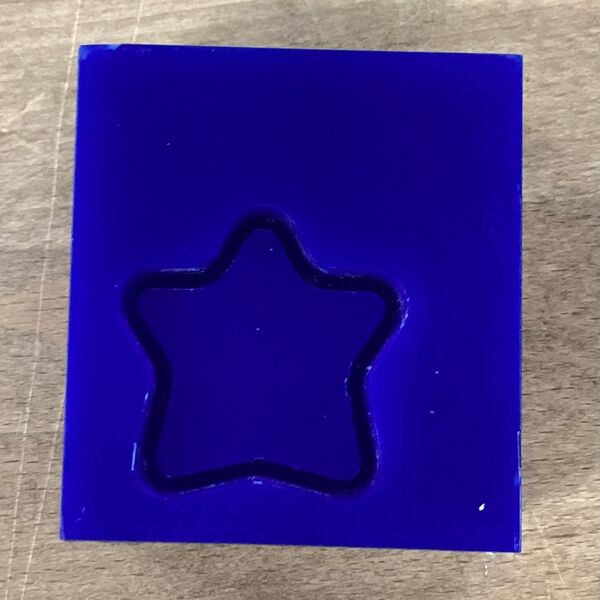
Side view of the mold showing depth and stepped features.
Casting with Silicone
I used Mold Max 29NV silicone rubber, mixed at a 10:1 ratio by weight (Part A : Part B). The silicone was poured into the wax mold.

Mold Max 29NV (Part A and Part B) with mixing tools. Proper PPE was used including gloves and ventilation.

Silicone mixture being poured slowly into the mold to reduce air bubbles. I poured from a height to allow better flow.

Mold fully filled and left to cure undisturbed. Surface is smooth and no leakage occurred.
Resin Casting Process
After producing the silicone mold, I proceeded to cast the final part using Resinin Flex Original, a flexible epoxy resin system. According to the manufacturer’s instructions on the label, this resin requires a 1:1 mixing ratio by weight between Part A (resin) and Part B (hardener). Accurate measurement was crucial to ensure proper curing and final part quality.
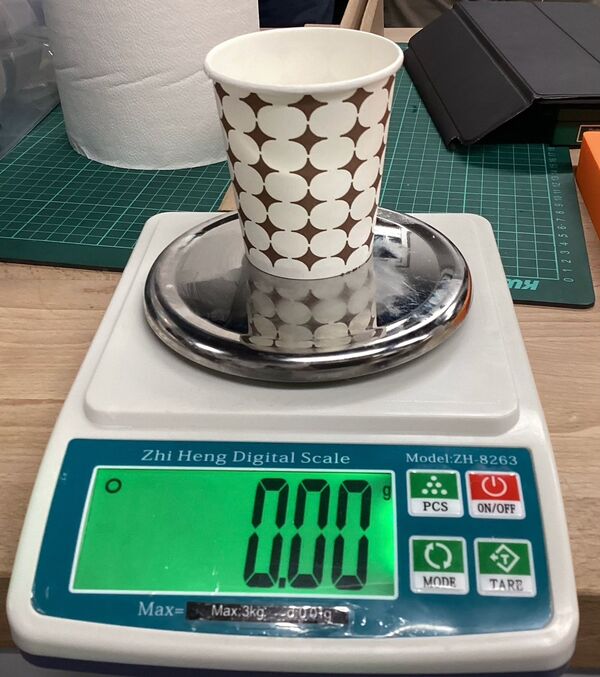
I tared the digital scale with the mixing cup to zero out its weight and prepare for accurate component measurement.
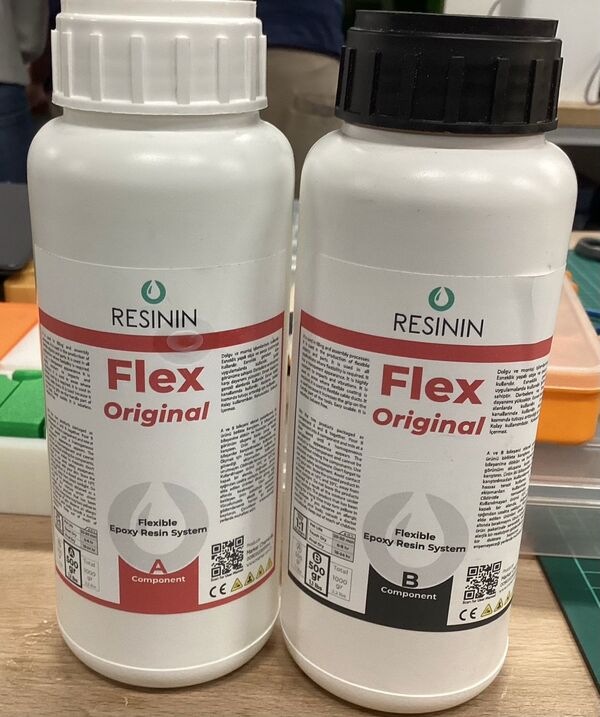
Resinin Flex Original consists of two parts: A (resin) and B (hardener). The label clearly states a 1:1 mix ratio by weight.
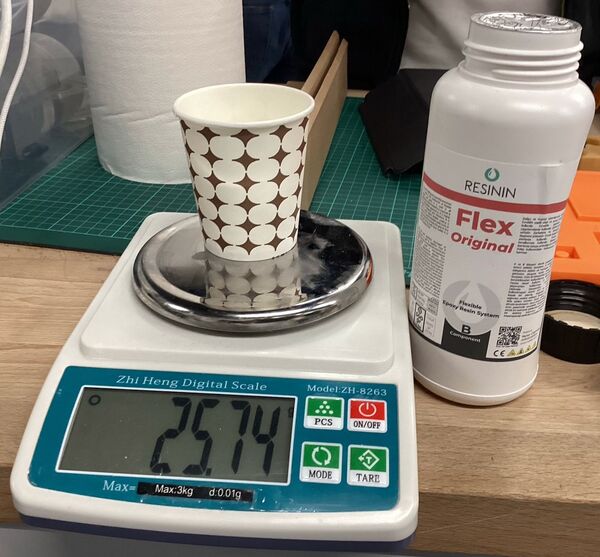
I measured 25.74 grams of Part A into the paper cup using the digital scale.
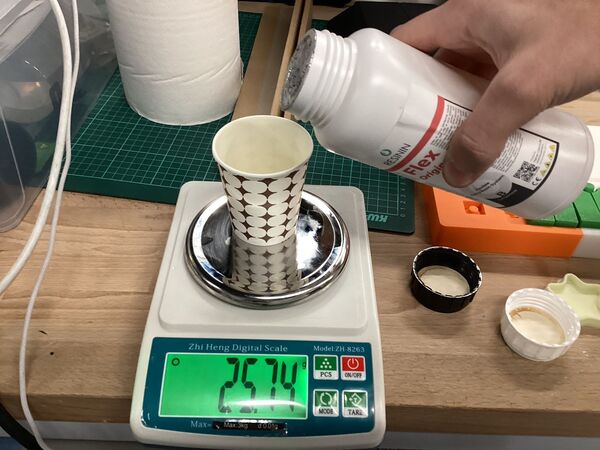
I then slowly added Part B until the total weight reached approximately double, to match the 1:1 ratio.

The final combined weight of the mixture was 50.69 grams, confirming nearly equal parts were used.

Before mixing, I added a small drop of red epoxy pigment to the resin for coloring.
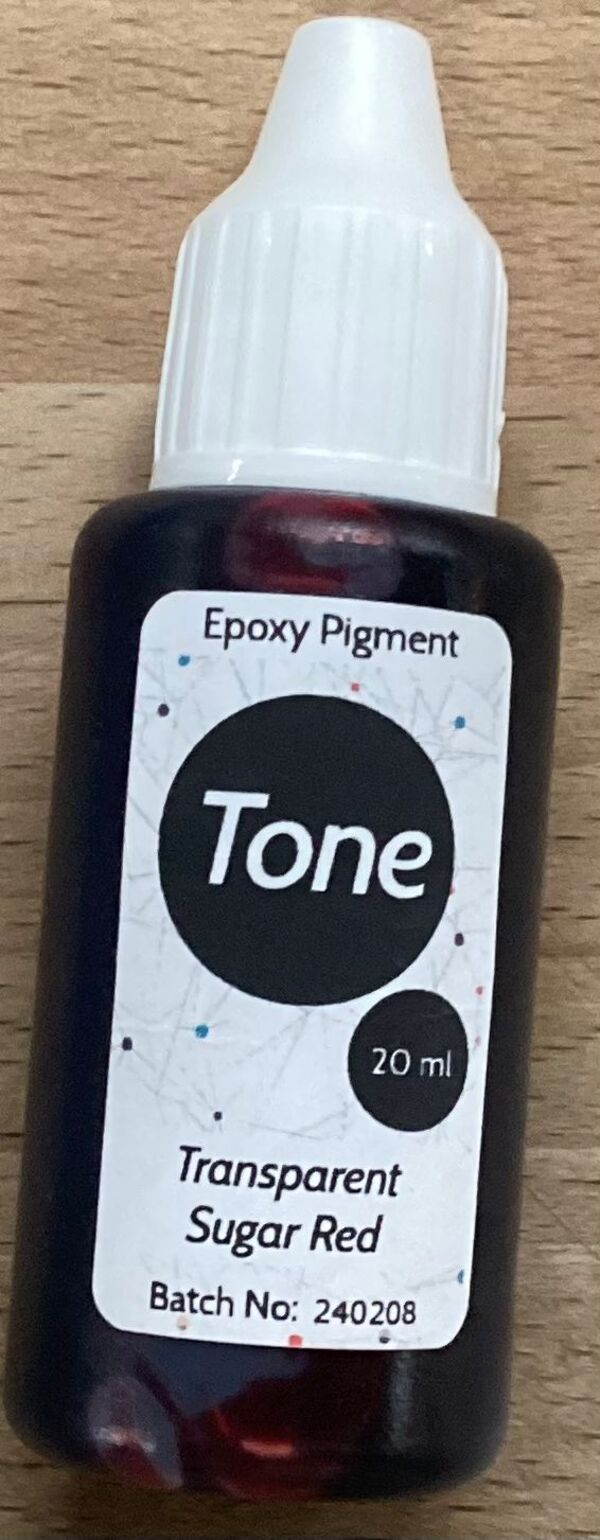
The pigment used was Tone brand Transparent Sugar Red, which gave the resin a translucent red finish.
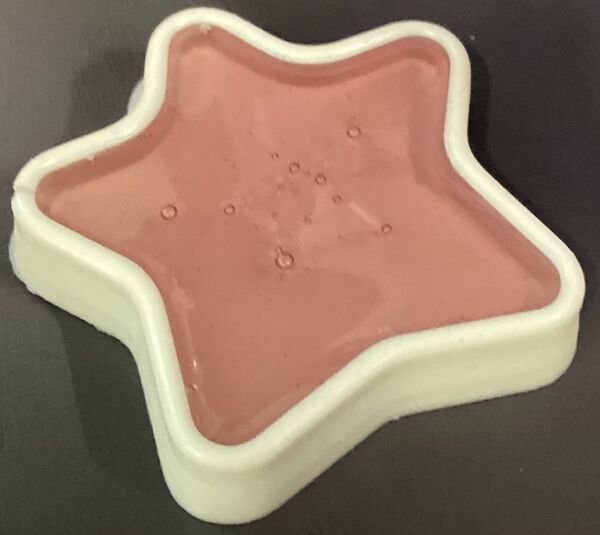
I poured the resin slowly into the silicone mold. A few air bubbles remained visible despite careful pouring.

Here is the pouring process. I poured in a narrow stream to reduce air entrapment inside the mold.

After curing, I demolded the red resin star. The surface was glossy and the structure held shape well.
Problems and Fixes
One issue I encountered during machining was that using a 2mm flat end mill left noticeable tool marks on curved surfaces. I fixed this by switching to a 1mm ball end mill and adding parallel finishing passes with a reduced stepover.
In casting, my first attempt had many bubbles in the surface. I learned that pouring too quickly traps air inside the mold. For the second pour, I mixed slowly, degassed the silicone, and poured in a thin stream from a height. This resulted in a much better surface finish.
Conclusion
This assignment helped me understand the complete process from digital mold design to physical casting. I learned how to optimize toolpaths, select the right tools for wax milling, and improve casting quality through good technique. The experience has given me confidence to design and fabricate more complex multi-part molds and try out other casting materials like resin or chocolate in future projects.
Download Files
Download this weeks files below:
📦 Download files .) (ZIP)