Design and 3D Print a Klein Bottle
Assignments
Group assignment: test the design rules for your 3D printer(s)
Individual assignment:design and 3D print an object (small, few cm3, limited by printer time)that could not be made subtractively and 3D scan an object
What is a Klein Bottle?
A Klein bottle is a non-orientable surface with no distinct "inside" or "outside." It’s a mathematical object that cannot exist in 3D space without self-intersection—conceptually a 4D shape. The Klein bottle is a surface with only one side, similar to a Möbius strip, but more complex.
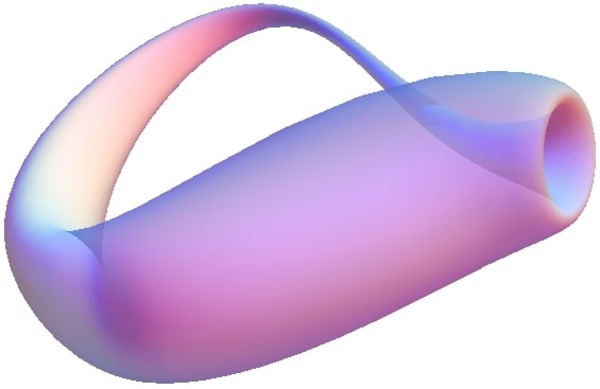
Since a Klein bottle cannot be manufactured subtractively without breaking or intersecting it, it's a perfect candidate for 3D printing.
CAD Process (Fusion 360)
Step 1: Initial Sketch
I created a 2D sketch to define the profile of the Klein bottle, including all necessary arcs and constraints.

Step 2: Revolve the Profile
Using the Revolve tool, I turned the sketch around a center axis to generate the symmetrical body.
Step 3: Fillet
I applied fillets to smooth transitions between surfaces and improve the curvature.
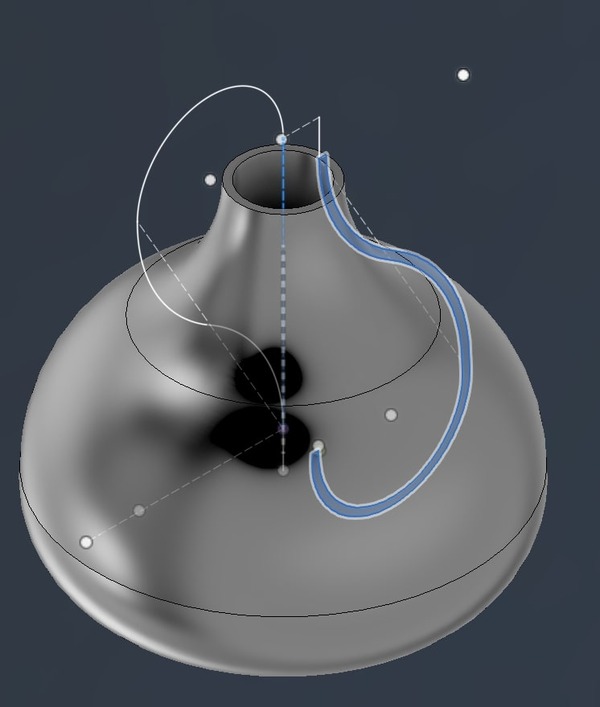
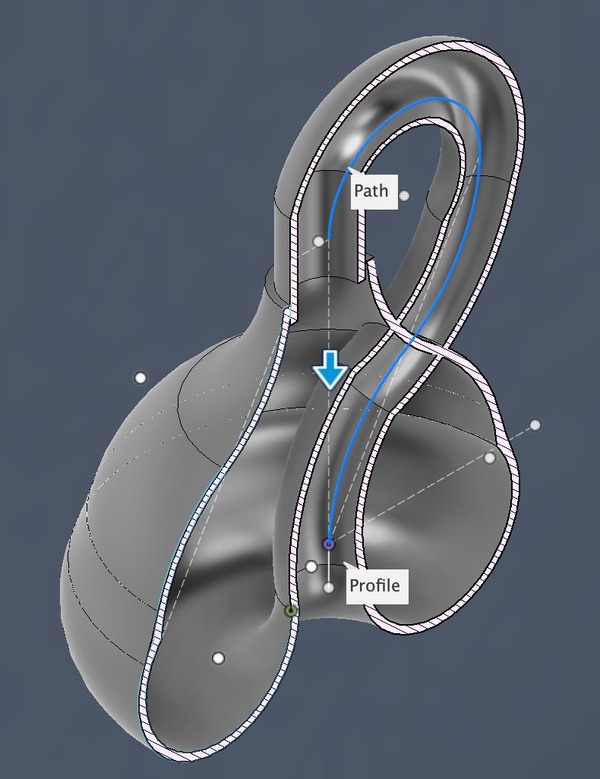
Step 4: Sweep for the Neck
I used the Sweep tool to create the neck of the Klein bottle, defining both path and profile.
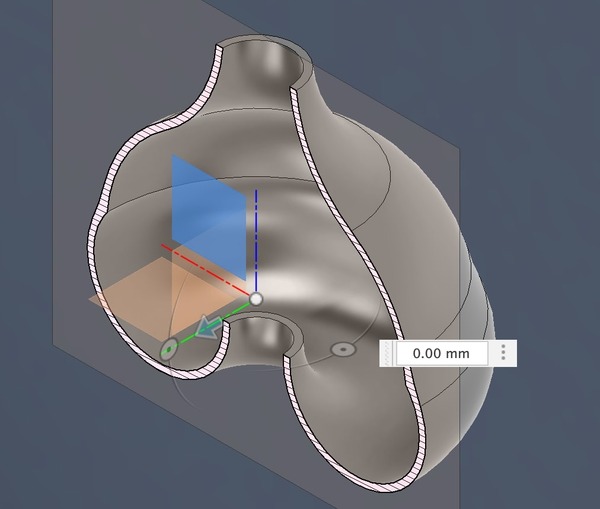
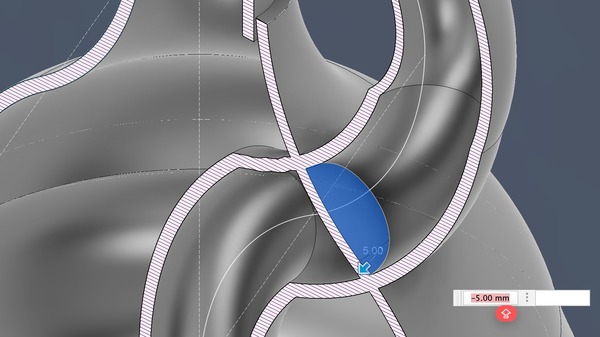
Step 5: Section View
A section view helped refine the inner path and verify that the geometry didn’t intersect improperly.
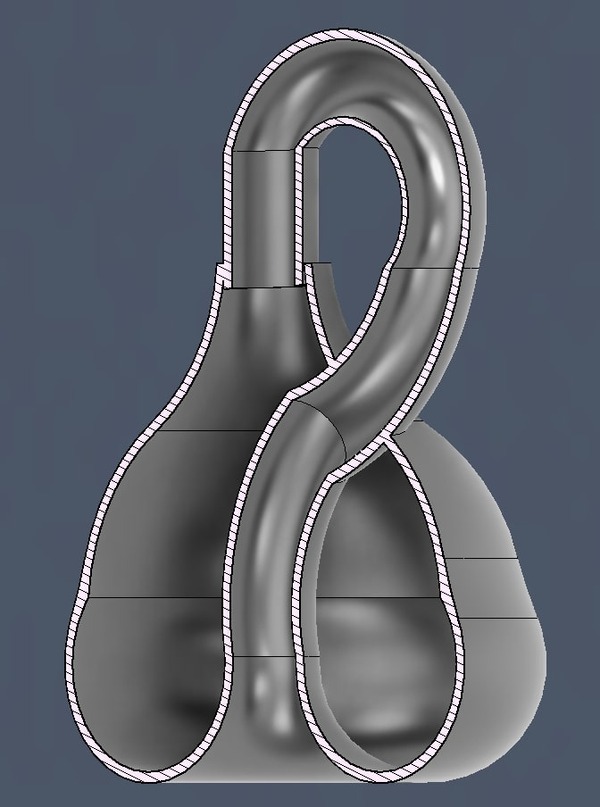
Step 6: Final Model
Final adjustments were made, ensuring clean joins and proper topology, ready for slicing.
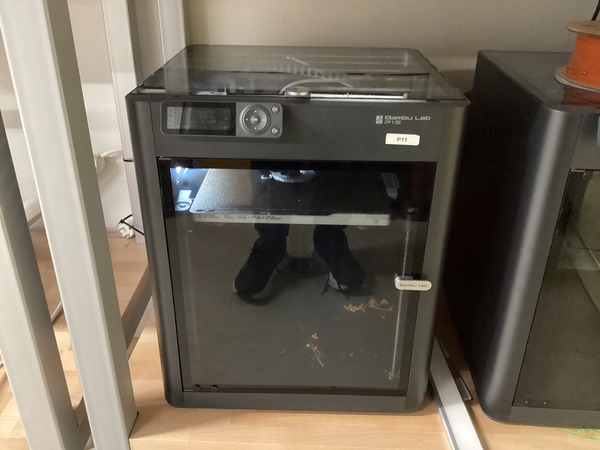
3D Printing Setup
I used the Bambu Lab P1S printer with PETG filament to print the Klein bottle. The model was sliced using Bambu Studio. Tree supports were used to reduce material usage, and infill was kept low at 8% to keep the part lightweight.
- Printer: Bambu Lab P1S
- Filament: Generic PETG
- Support Type: Tree (auto)
- Infill: 8%
- Slicer: Bambu Studio
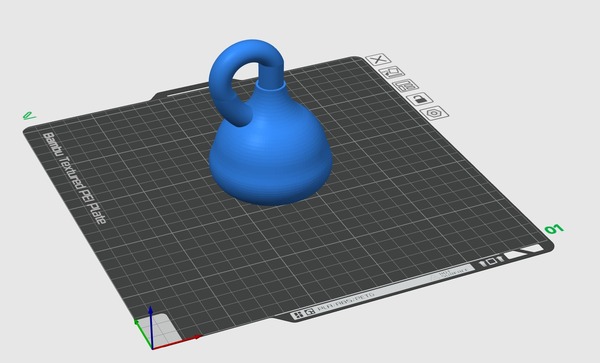
Final Print
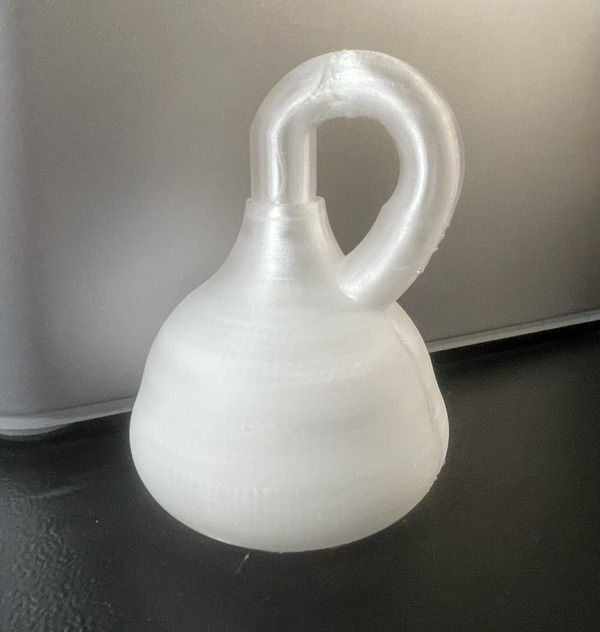
Here is the final printed Klein bottle using PETG on the Bambu Lab P1S:
What I Learned from Testing the 3D Printers
During the group test, I observed how different design parameters such as wall thickness, overhang angle, bridging, and layer height affect print quality. I learned that PETG handles overhangs better with supports, and tree supports help reduce scarring on detailed surfaces. Calibration tests taught me how nozzle temperature and bed adhesion impact first-layer consistency. I will use these insights in future prints to optimize quality and reduce print time.
3D Scanning
This week, I explored 3D scanning techniques using the Shining 3D Einstar handheld 3D scanner. The process was carried out using the official EXStar software, which provides an intuitive interface for calibration, scanning, and mesh processing.
Unboxing the Scanner
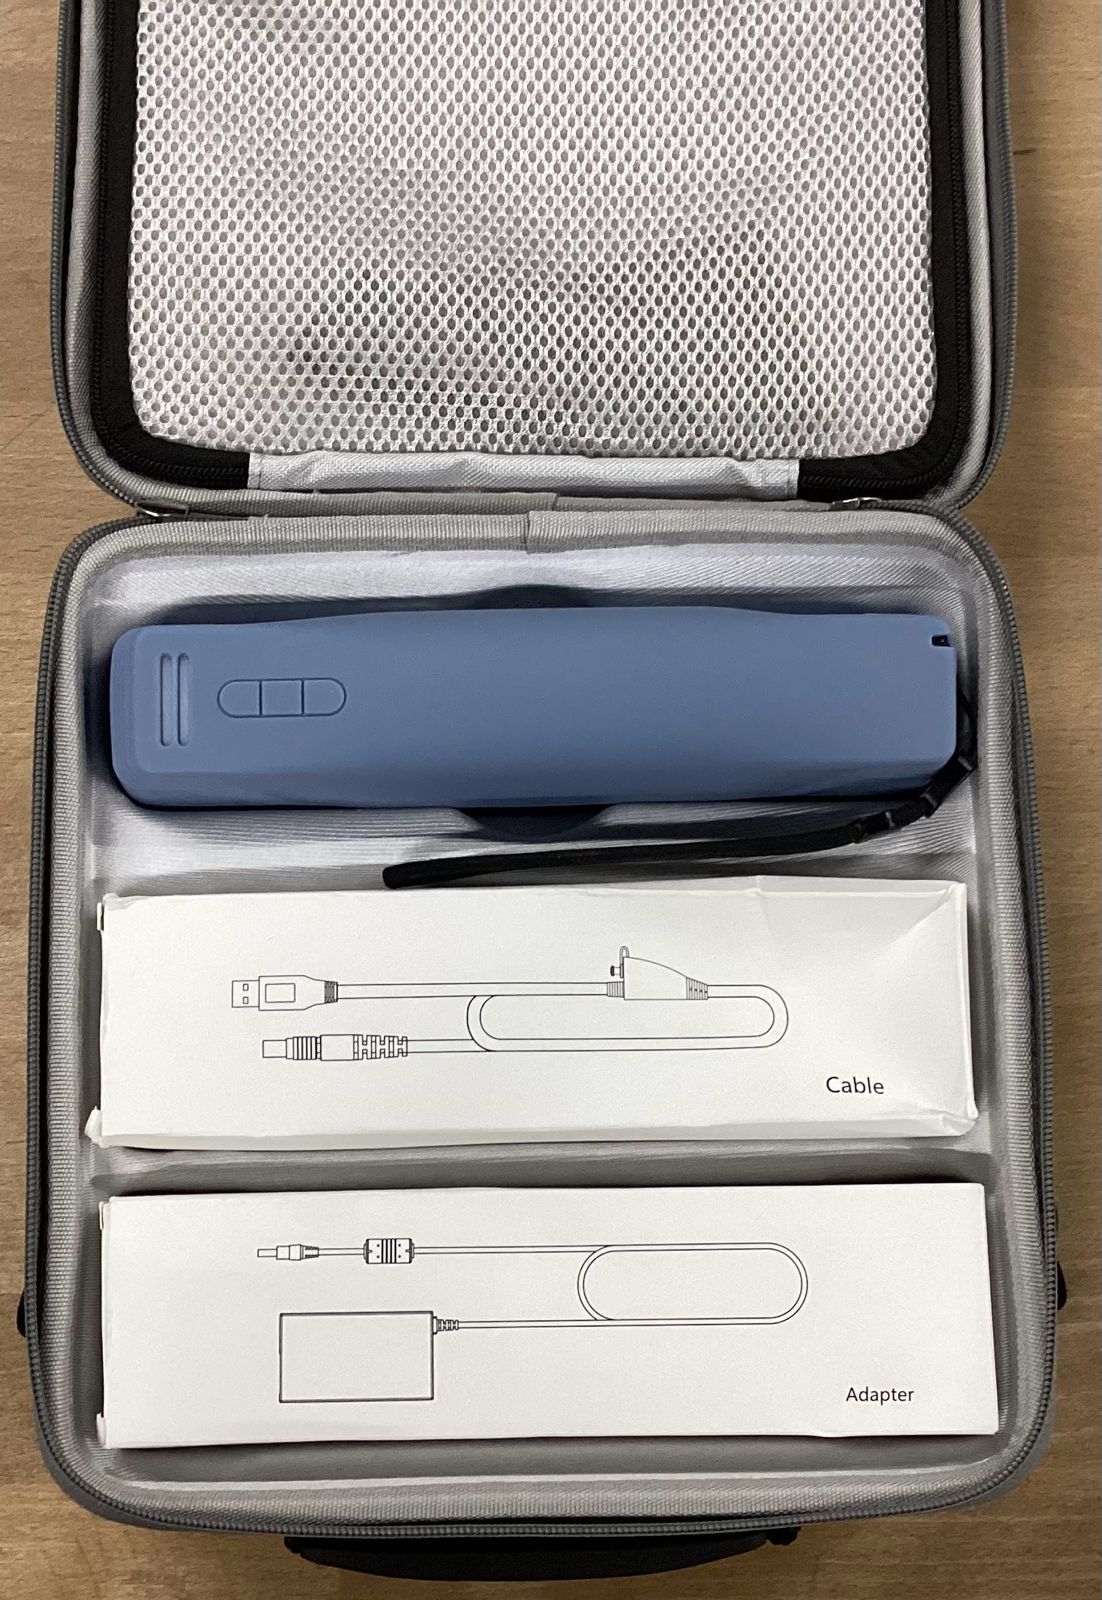
The Shining 3D Einstar scanner comes neatly packed in a protective case. Inside, it includes the scanner unit, cables, and power adapter—everything needed to begin scanning.
Calibration
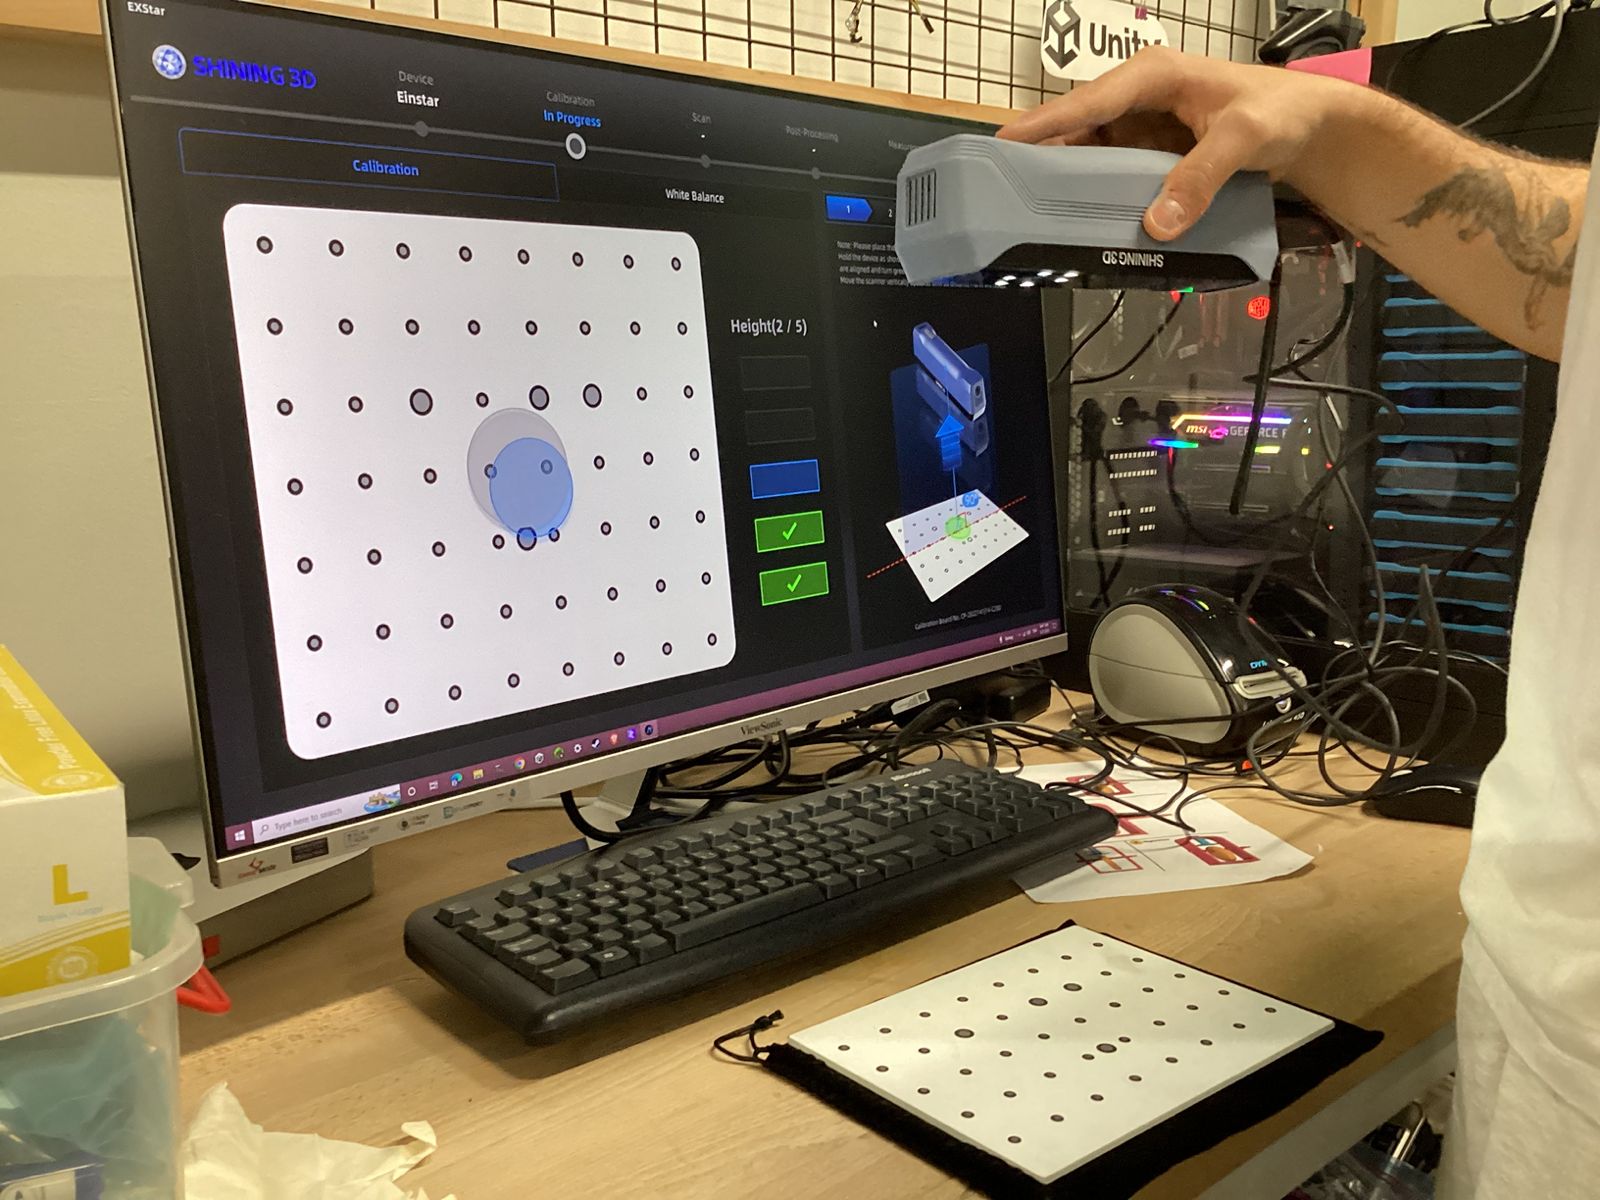
Before scanning, I performed calibration using the included marker board. This step ensures spatial accuracy and proper alignment in the EXStar software.
Project Setup
I created a new scan project and selected the scan mode, alignment method, and resolution (0.5 mm). The EXStar software provides fine control over these parameters.
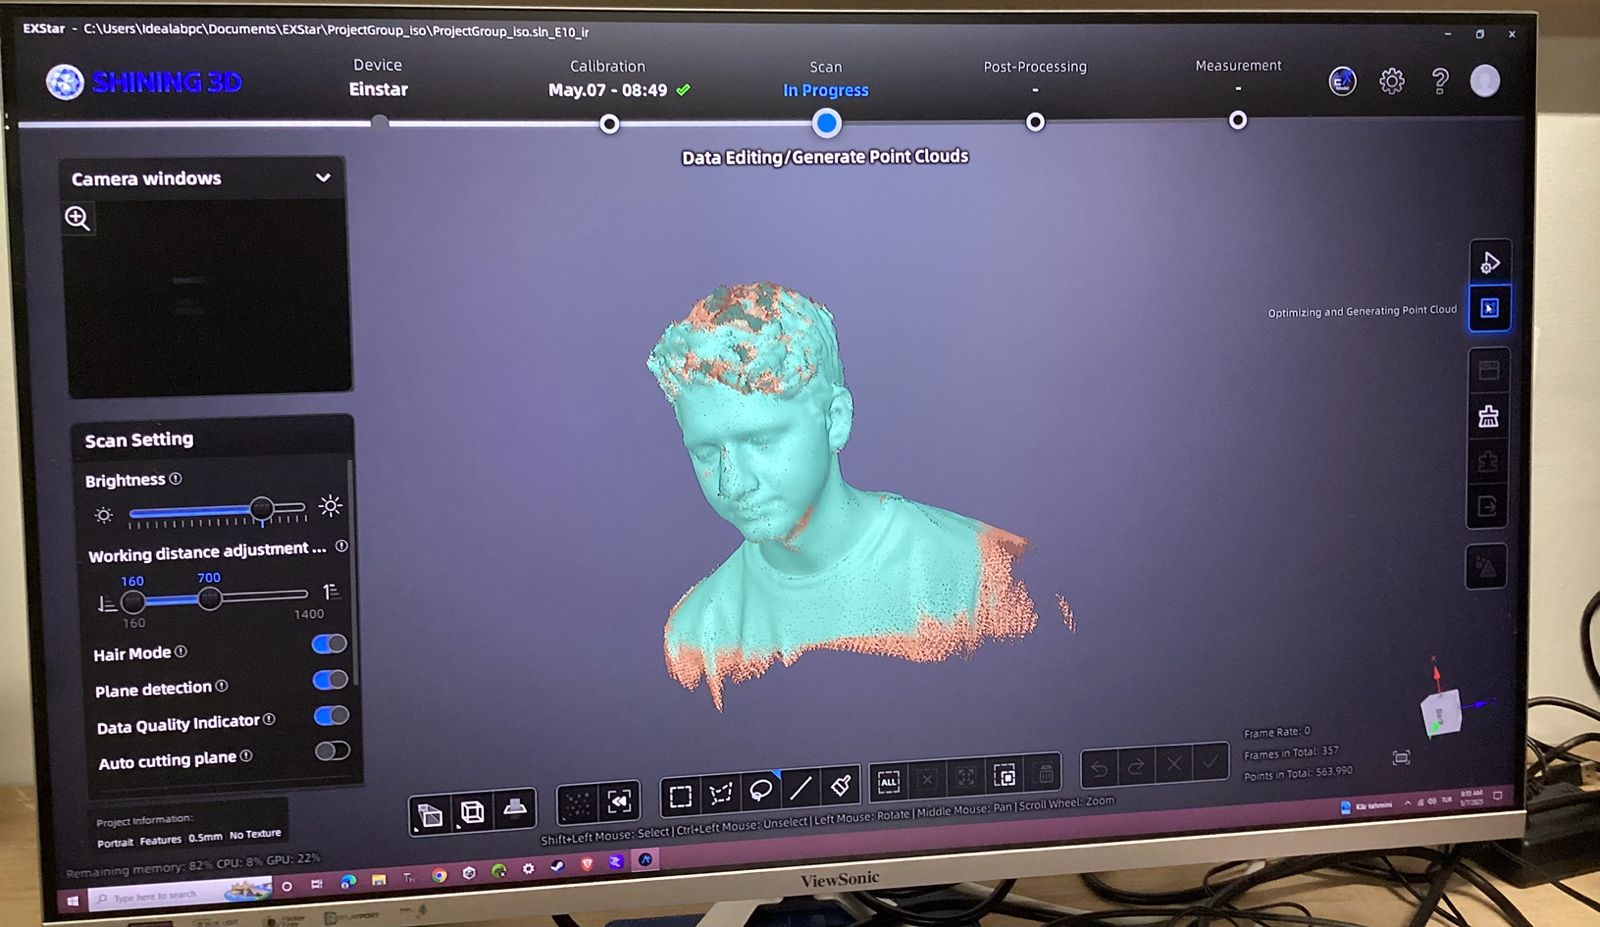
Scanning Process
During scanning, the EXStar software visualizes the live point cloud. I adjusted brightness and working distance in real-time to capture accurate surface data.
Mesh Generation
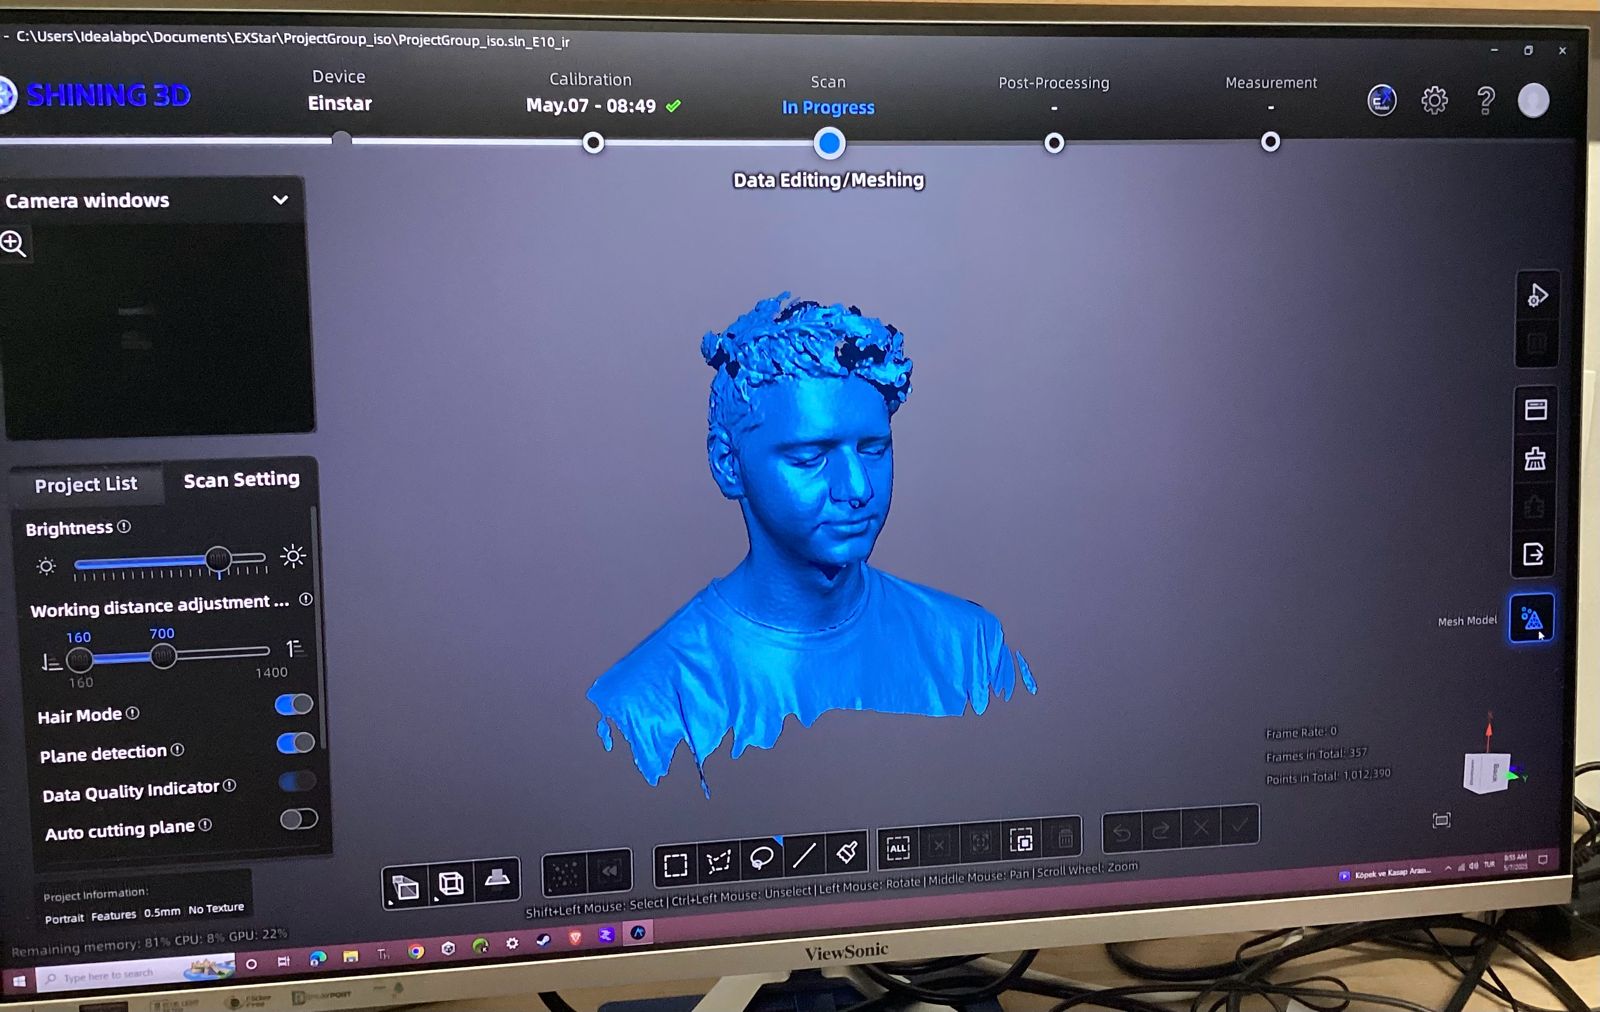
Once scanning was complete, I converted the point cloud into a mesh. Although detailed, the initial mesh contained some noise and floating geometry.
Mesh Optimization
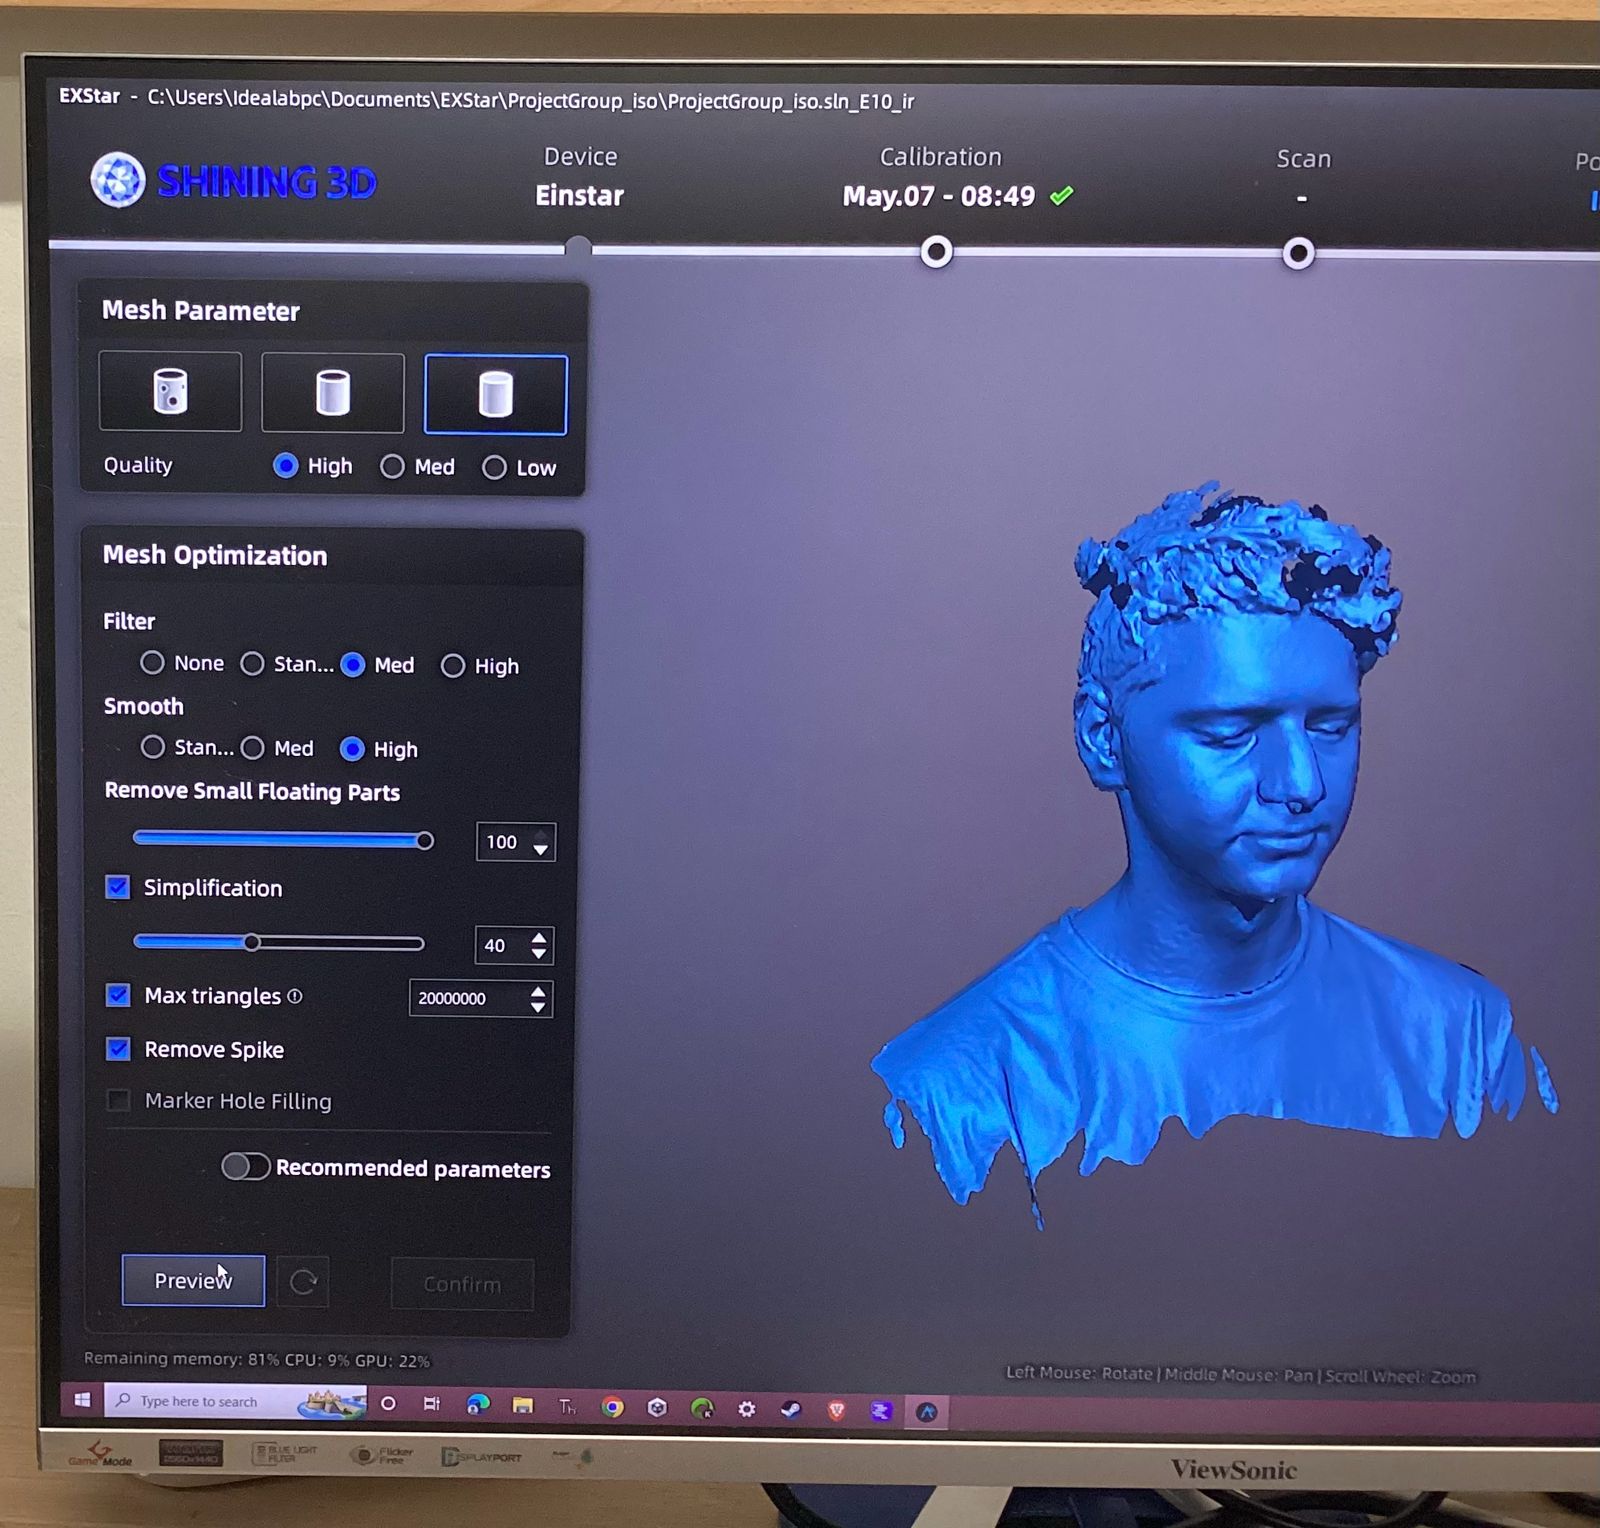
I used EXStar’s mesh optimization tools to simplify geometry, smooth surfaces, and remove spikes and unnecessary parts of the model.
Post-Processing
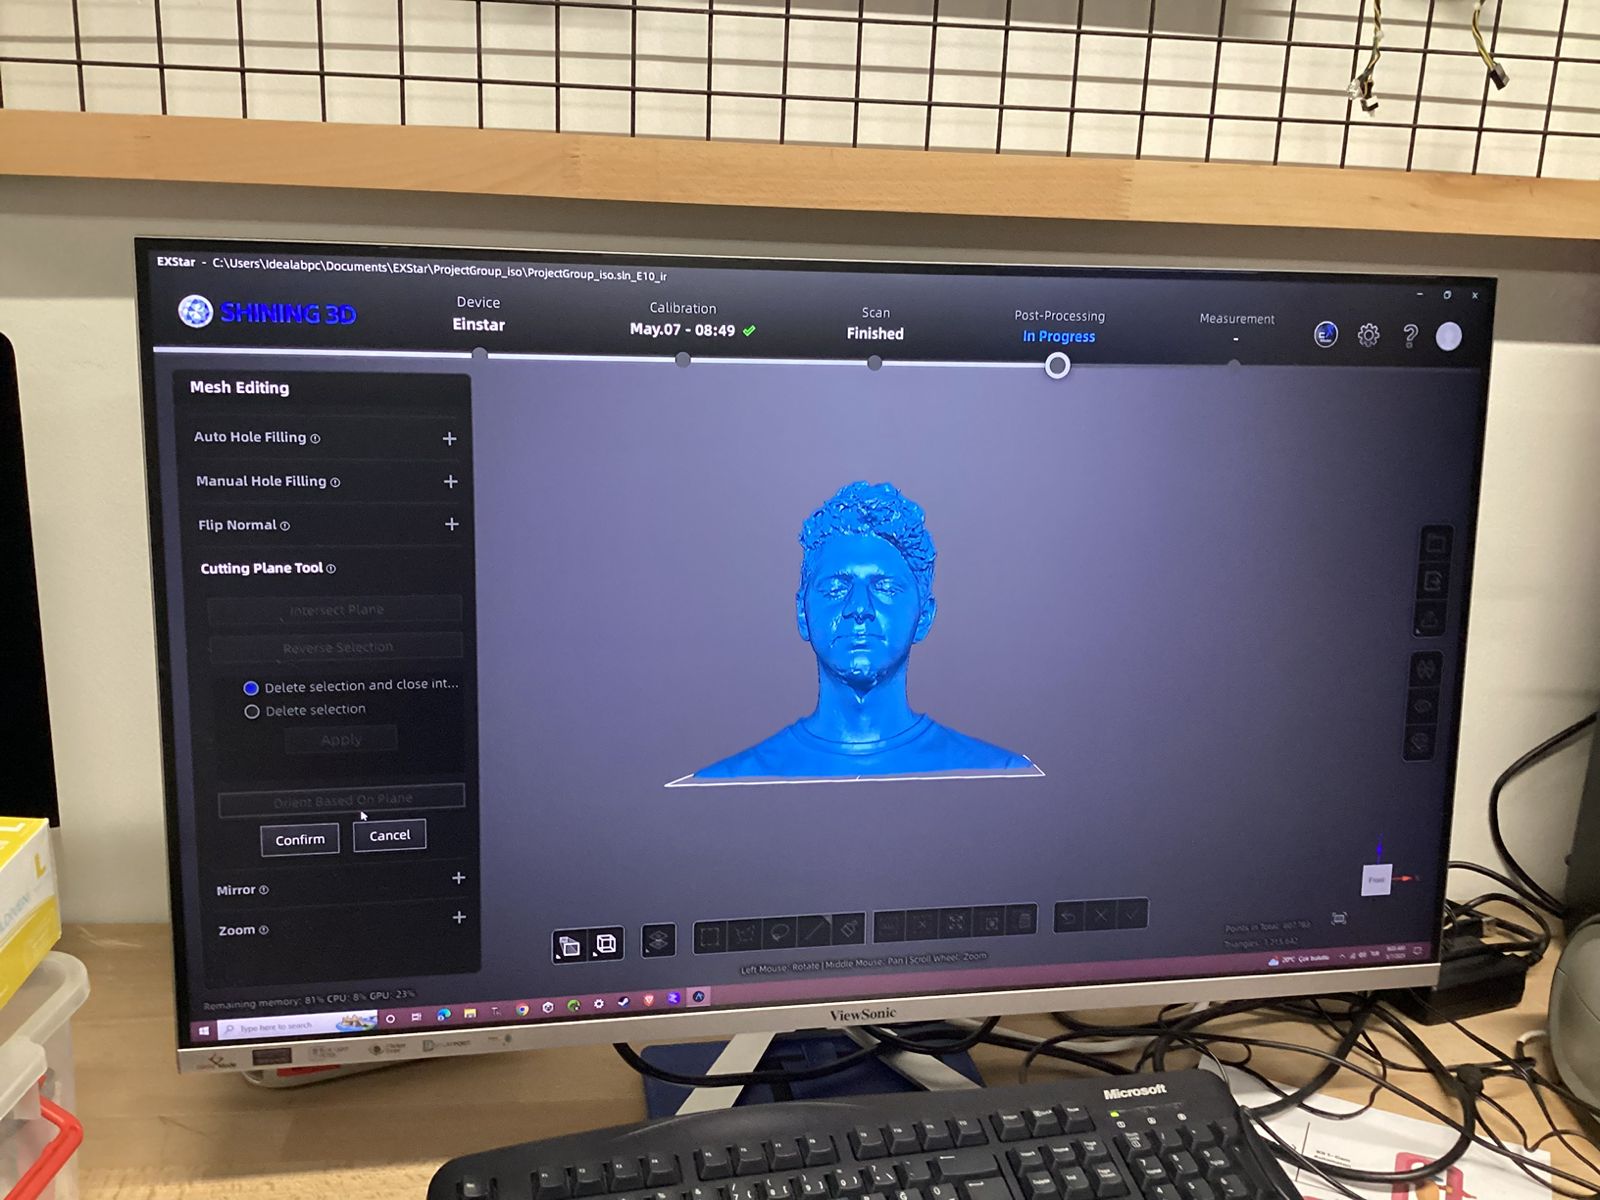
Post-processing included mesh editing actions such as filling holes, flipping normals, and removing artifacts to clean the mesh further.
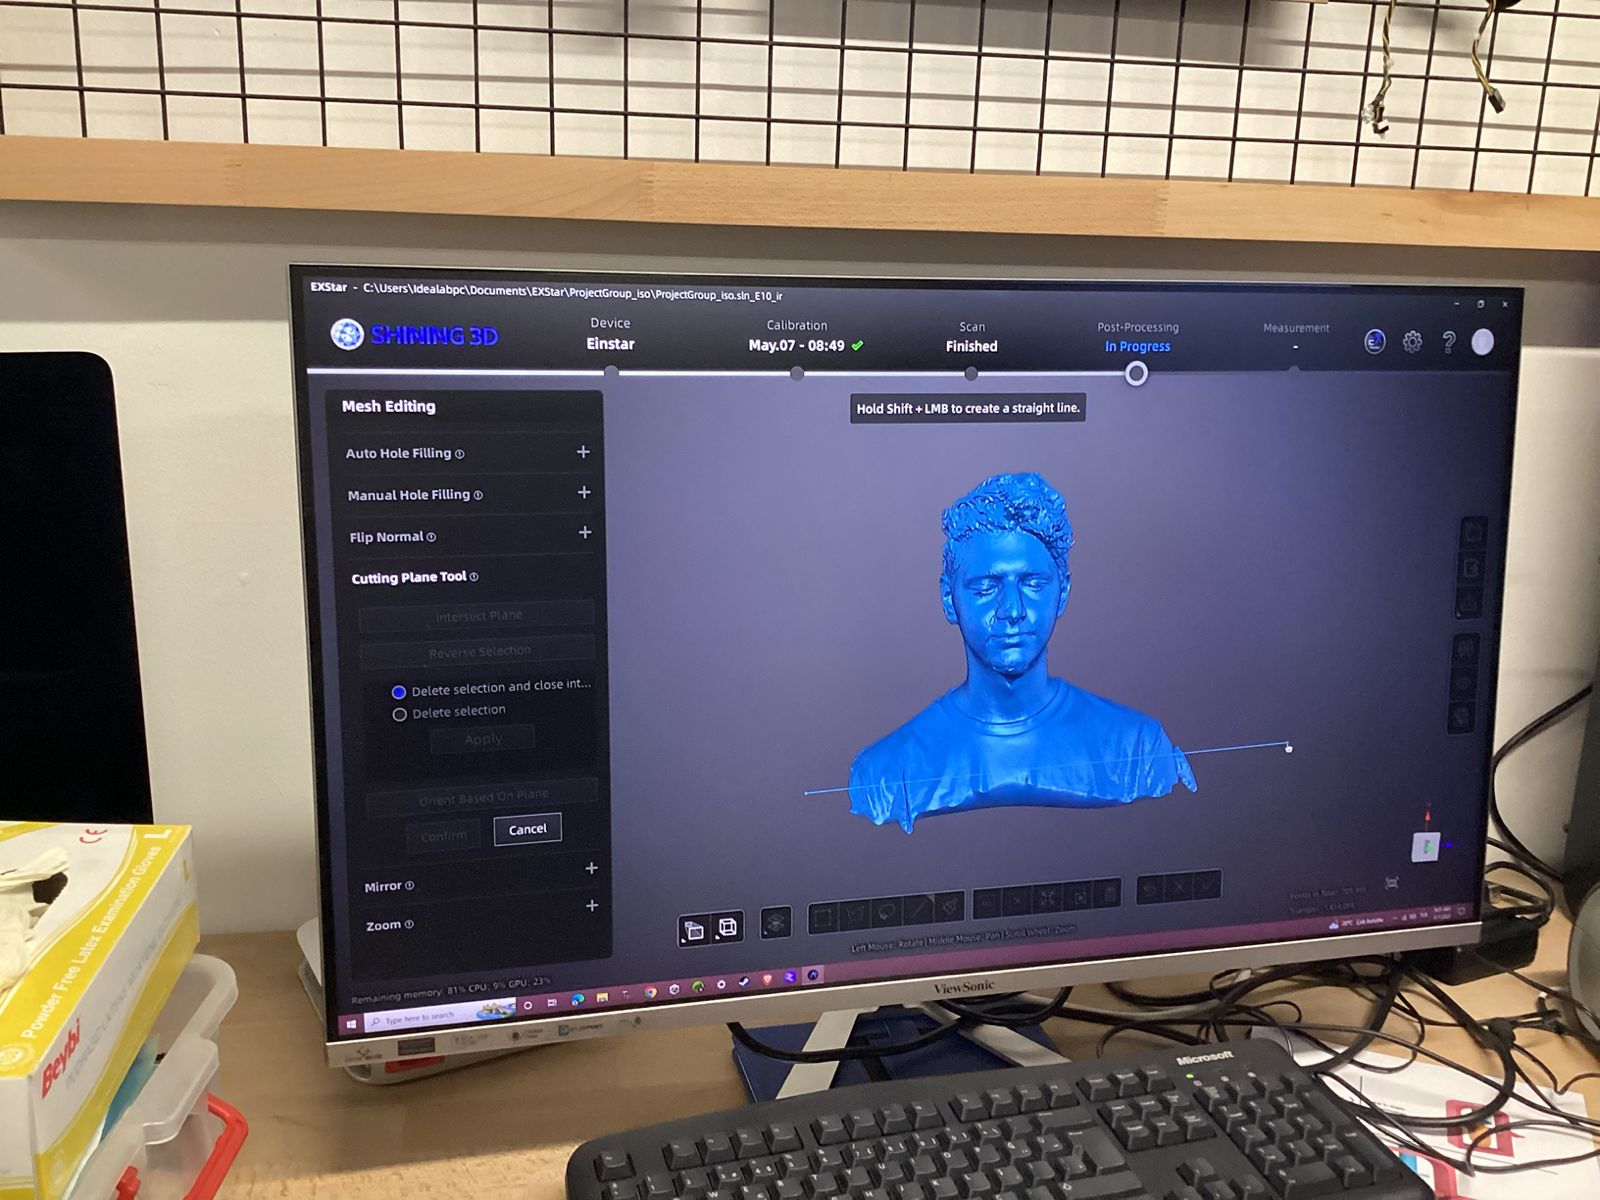
Cutting Plane Tool
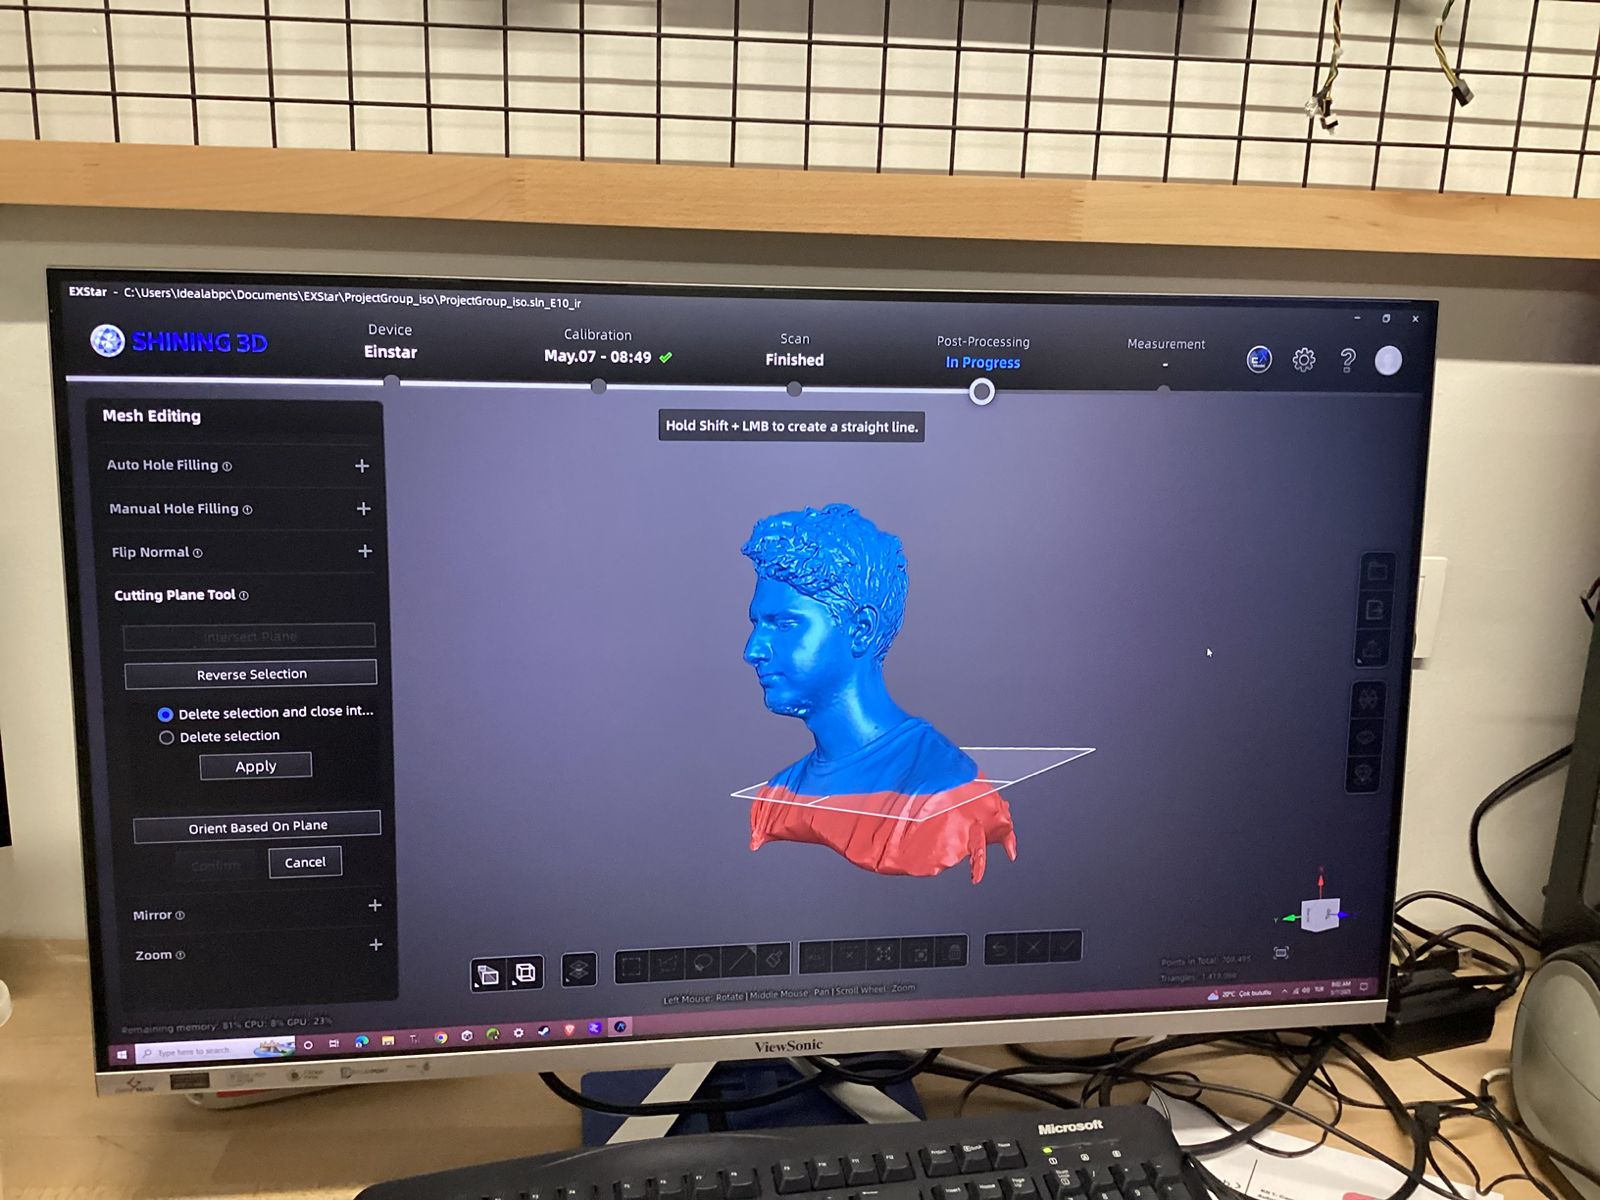
I applied the cutting plane tool to crop unwanted sections and focus on the bust area. The model was interactively trimmed from multiple angles.
Final Cleanup
With the mesh properly trimmed and aligned, I finalized the orientation and prepared the file for potential export or 3D printing.
Final Result

The completed model was fully cleaned, smoothened, and optimized. This version is now ready for downstream applications such as fabrication, rendering, or simulation.
Exporting the Mesh
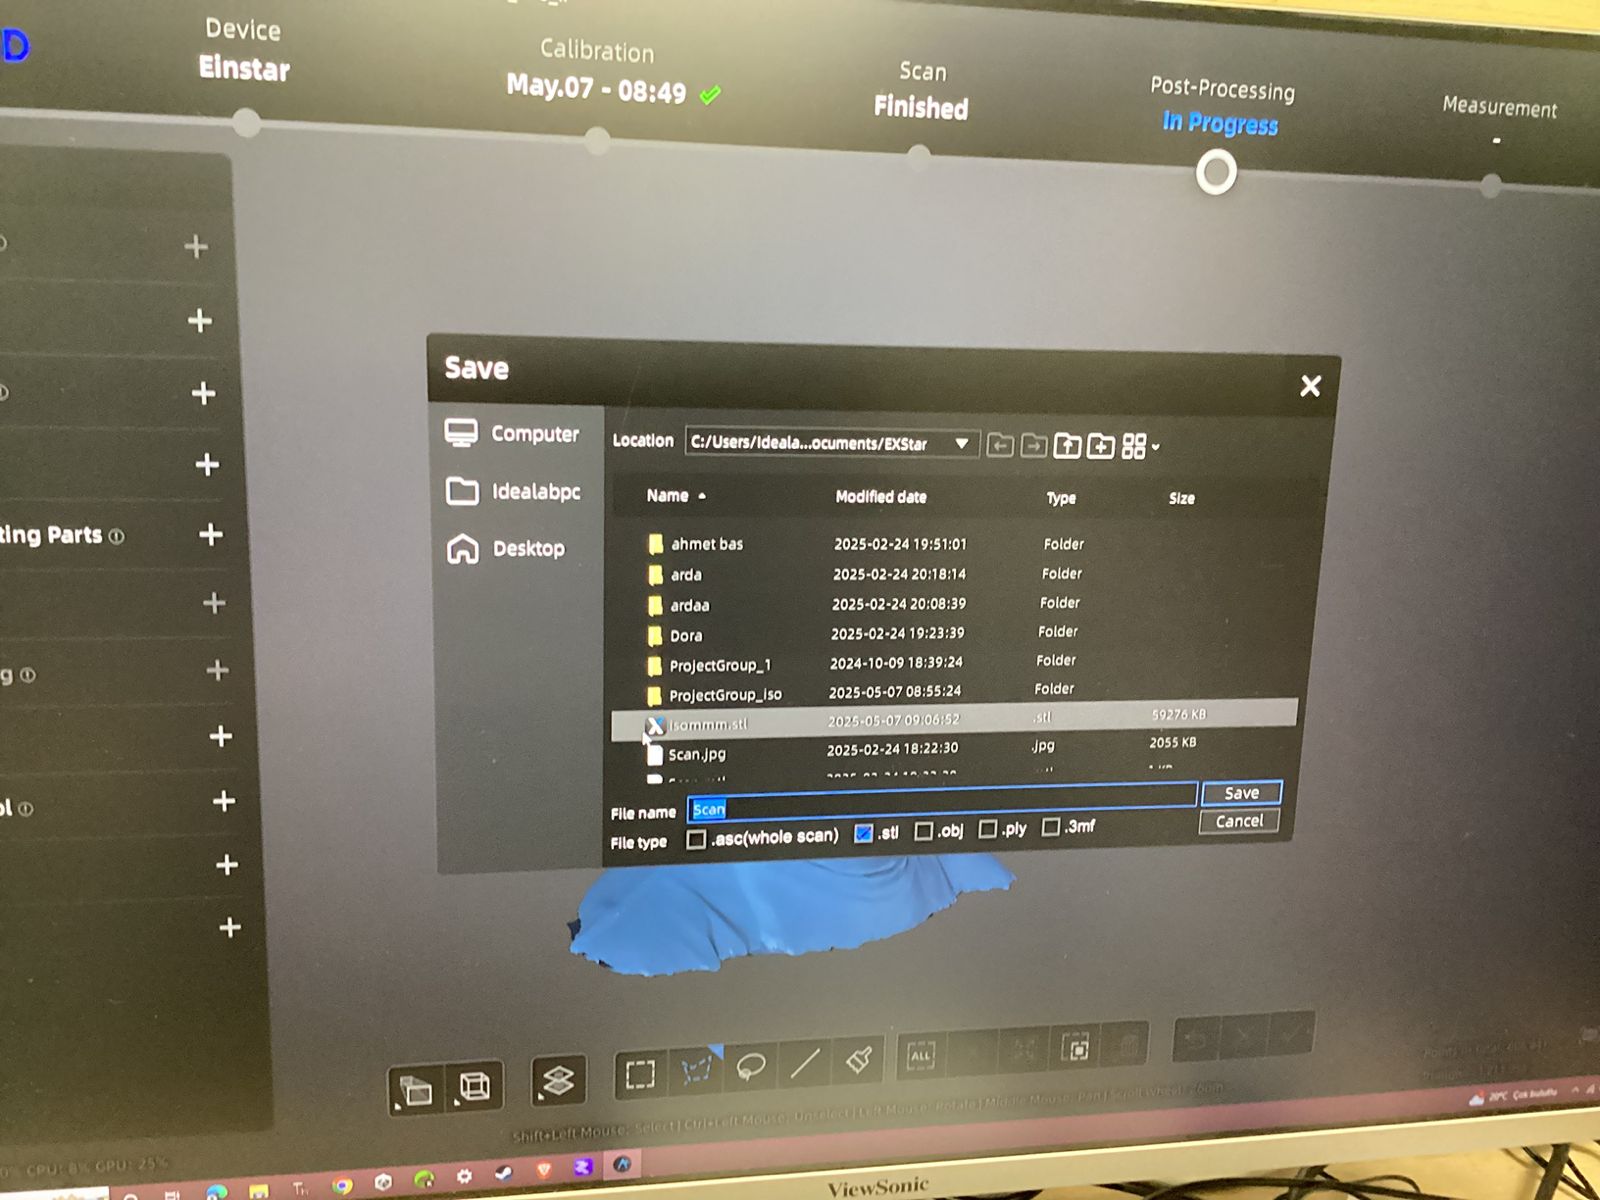
After completing the post-processing, I exported the final mesh as an .stl file using the EXStar software. This format is commonly used for 3D printing and digital fabrication.
Preparing for 3D Printing
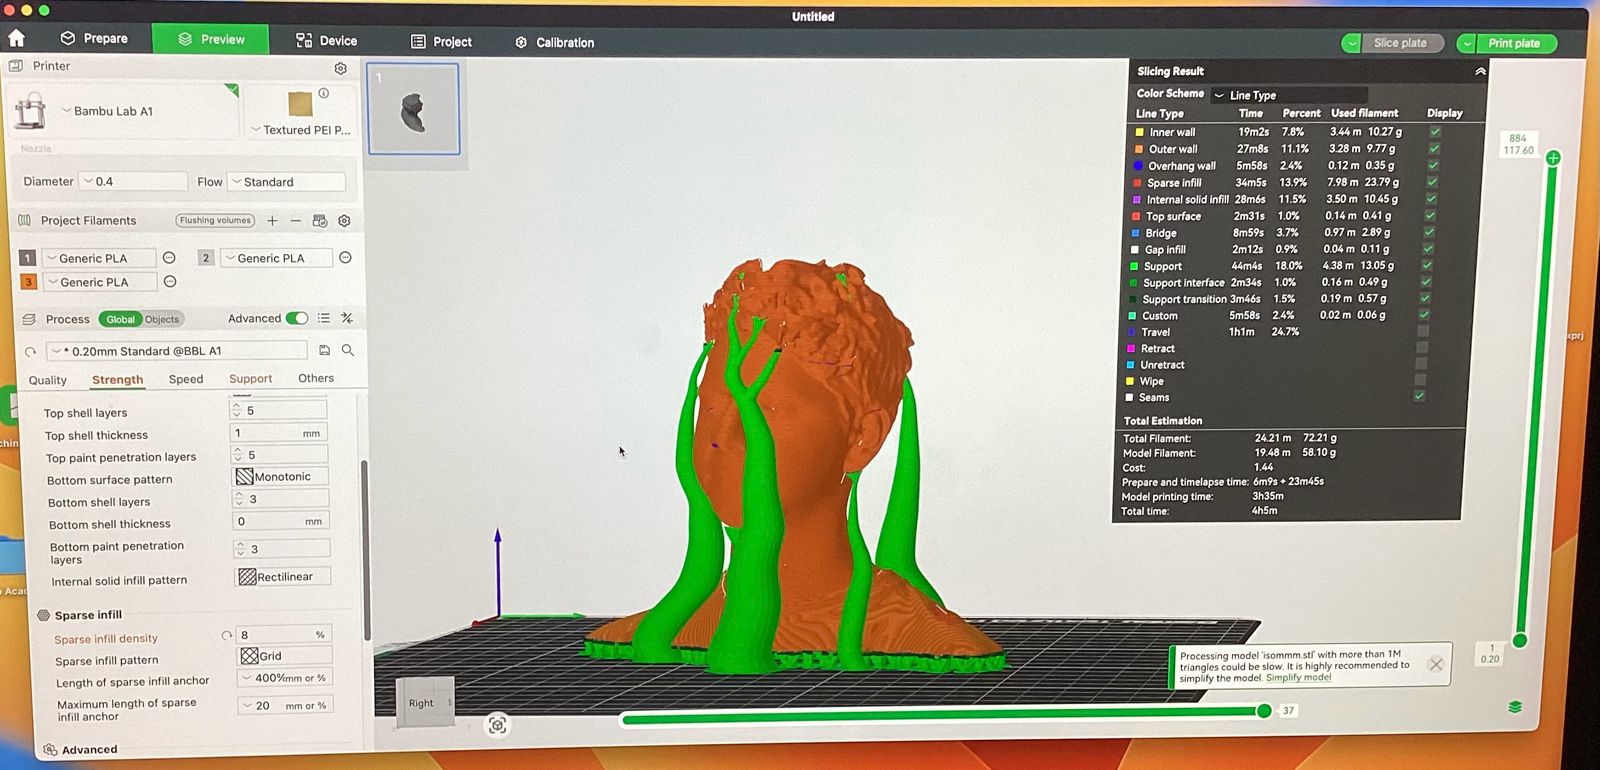
I imported the STL file into Bambu Studio for slicing. I used tree supports and an 8% sparse infill to optimize for material usage while preserving shape. The estimated print time was approximately 3 hours and 35 minutes using PLA filament on a Bambu Lab A1 printer.