Document your work on the group work page and reflect on your individual page what you learned about the characteristics of your printer(s).
Individual assignment
Design and 3D print an object, small and limited by printer time, that could not be easily made subtractively.
3D scan an object and optionally print it.
What I knew beforehand
This week focused on two key activities for prototyping: 3D scanning and 3D printing.
Until a few years ago, scanning was mostly associated with 2D documents. Later, 3D image scanning appeared, but it required expensive equipment, making it difficult to access. This week, however, I used open-source software and Fab Lab tools to scan objects and then fabricate them using 3D printers. Technology is advancing at an incredible speed!
I frequently see 3D printers operating in the Fab Lab, and I am fascinated by their capabilities. A key idea is that a complex geometric shape, such as an internal gear, does not necessarily cost more to print than a simple solid cube. This is very different from traditional machining and makes 3D printing especially useful for prototyping.
This assignment was first completed in February 2025. It was my introduction to additive manufacturing as a design method specifically, the insight that a mechanically complex shape (the hinge I designed in Fusion 360) costs no more to print than a simple cube, which is a fundamentally different economic logic from traditional machining. I also tested three mobile 3D scanning applications, and found all of them limited for detailed organic shapes. That experience informed a practical decision in 2026: rather than attempt to scan the PitchLight enclosure, I designed it parametrically from the start in Fusion 360 and printed it directly. The 2025 scanning experiments saved me time in 2026 by making clear what the technology could and could not reliably deliver.
Group assignment Check this link.
Individual assignment
Designing and 3D printing a hinge
Concept: I decided to design a hinge because it includes interconnected parts that are difficult to create using subtractive manufacturing methods.
Tools: I used Fusion 360 because it is suitable for parametric and mechanical designs. For this kind of object, Fusion 360 was useful because of its precision tools.
Challenges:
Ensuring that the hinge parts fit together properly.
Designing according to 3D printing constraints, such as tolerances and overhangs.
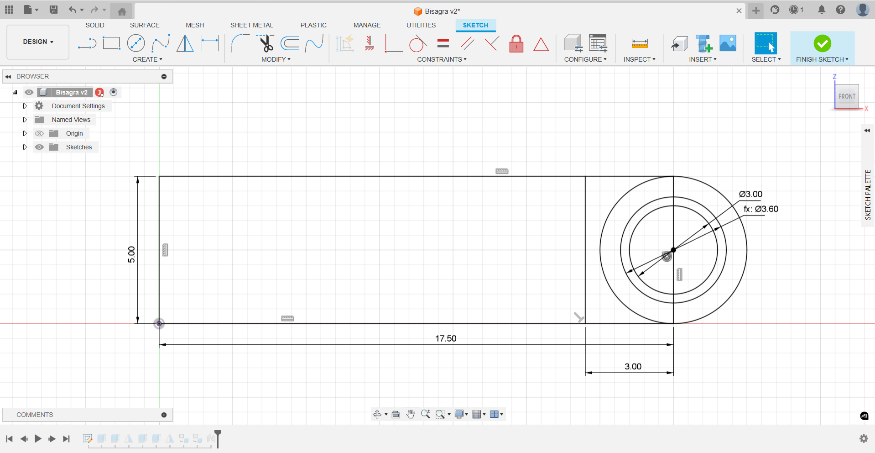
In Fusion 360, I created a sketch that allowed me to generate the two components needed to build the hinge. I considered a tolerance of 0.3 mm so the hinge could move after printing.
Initial hinge sketch in Fusion 360.
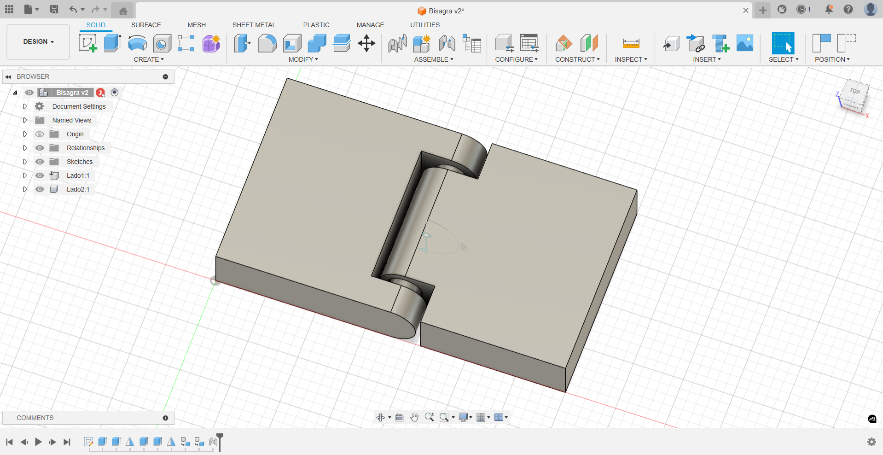
I generated the two hinge components from the initial sketch and assembled them using the center of the axis as a reference.
Hinge components assembled in Fusion 360.
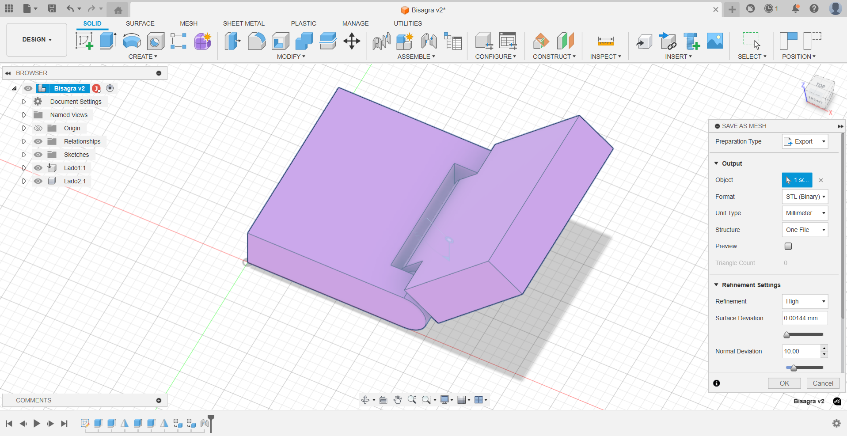
I exported the design as a binary STL file in high quality.
Exporting the hinge as an STL file.
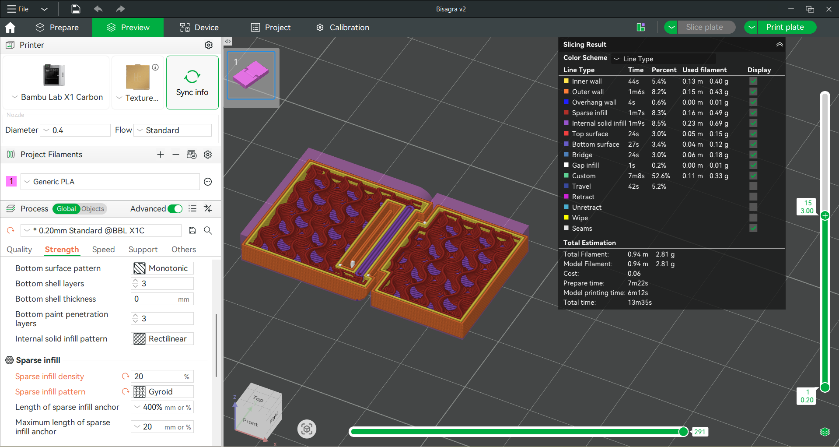
I opened the file in Bambu Studio and configured it with the following parameters:
Filament: PLA
Layer height: 0.2 mm
Infill: 20%
Infill pattern: Gyroid
Supports: No
Slicing the hinge in Bambu Studio.
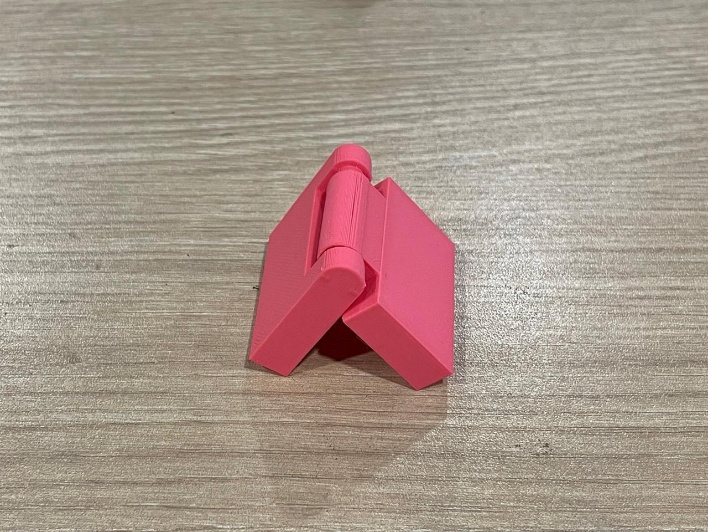
After approximately 14 minutes of printing and using about 3 g of filament, the hinge was ready.
Final 3D printed hinge.
3D scanning an object
I tested three different mobile applications for 3D scanning: Polycam, Kiri Engine, and Qlone.
Polycam
Polycam is a popular 3D scanning app that uses LiDAR on supported devices or photogrammetry to create 3D models.
It is useful for scanning objects, rooms, and environments.
It can export models in different formats for AR, VR, or 3D printing.
It is available on iOS and Android.
Kiri Engine
Kiri Engine uses photogrammetry to create 3D models from photos.
It is designed to be easy to use and helps users capture objects and generate models quickly.
It supports exporting models for 3D printing or other applications.
It is available on Android and iOS.
Qlone
Qlone is a user-friendly 3D scanning app that uses augmented reality and a printable mat to scan objects.
It is useful for creating 3D models of small and medium-sized objects.
It exports models in several formats for 3D printing, AR, or sharing.
It is available on iOS and Android.
The results were not as good as I had hoped. In none of the three applications was I able to achieve a high-quality scan of my Snoopy figurine.
Polycam result
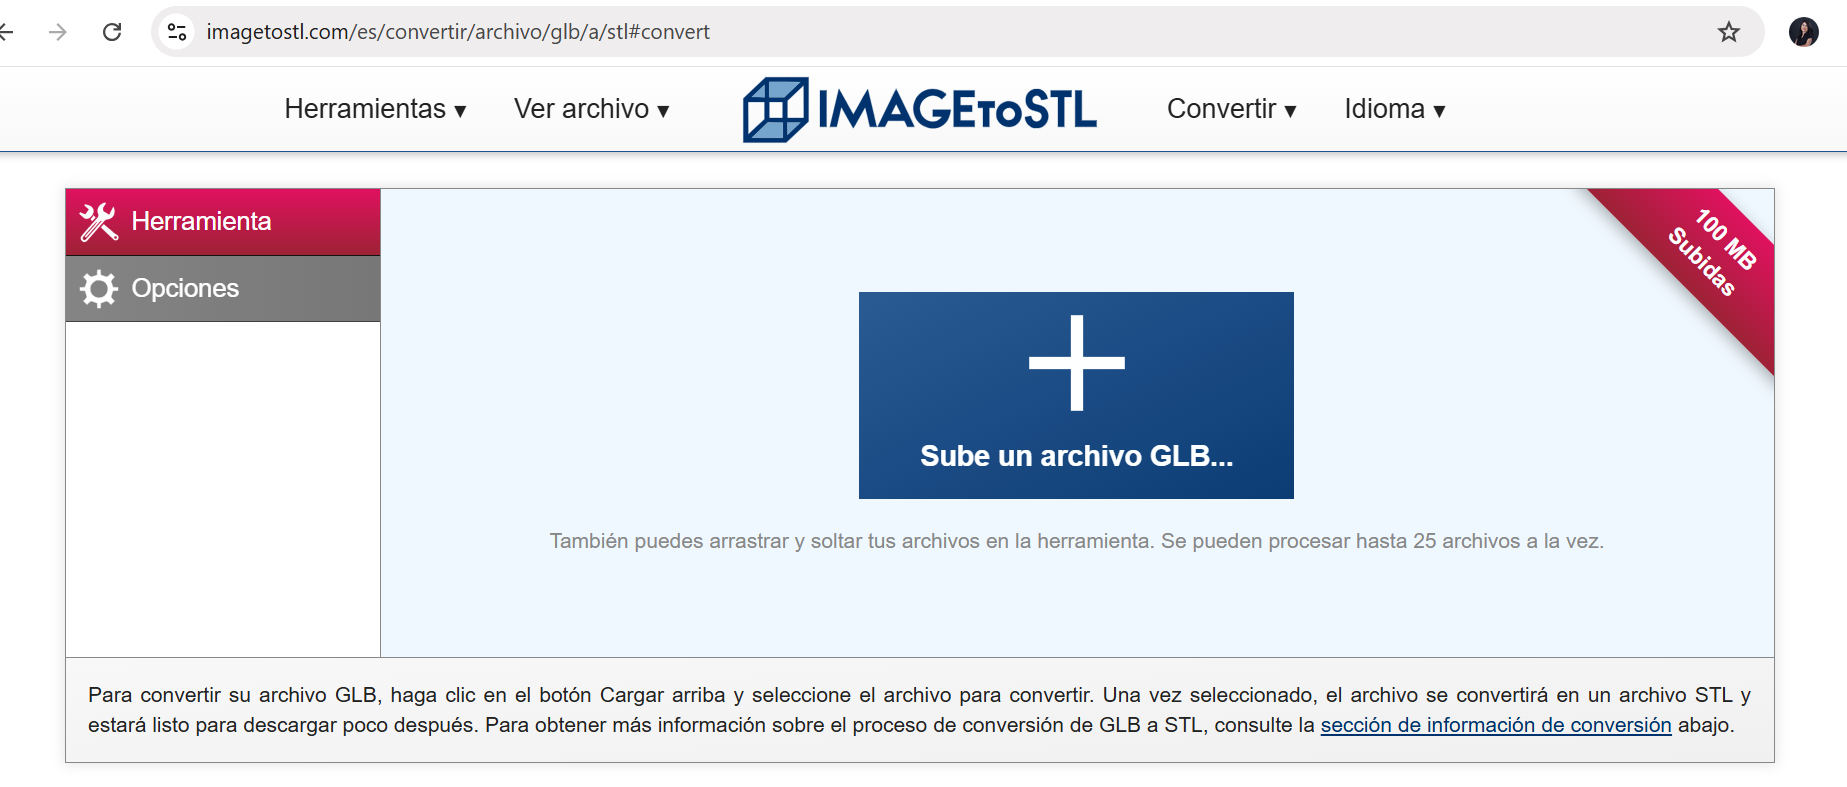
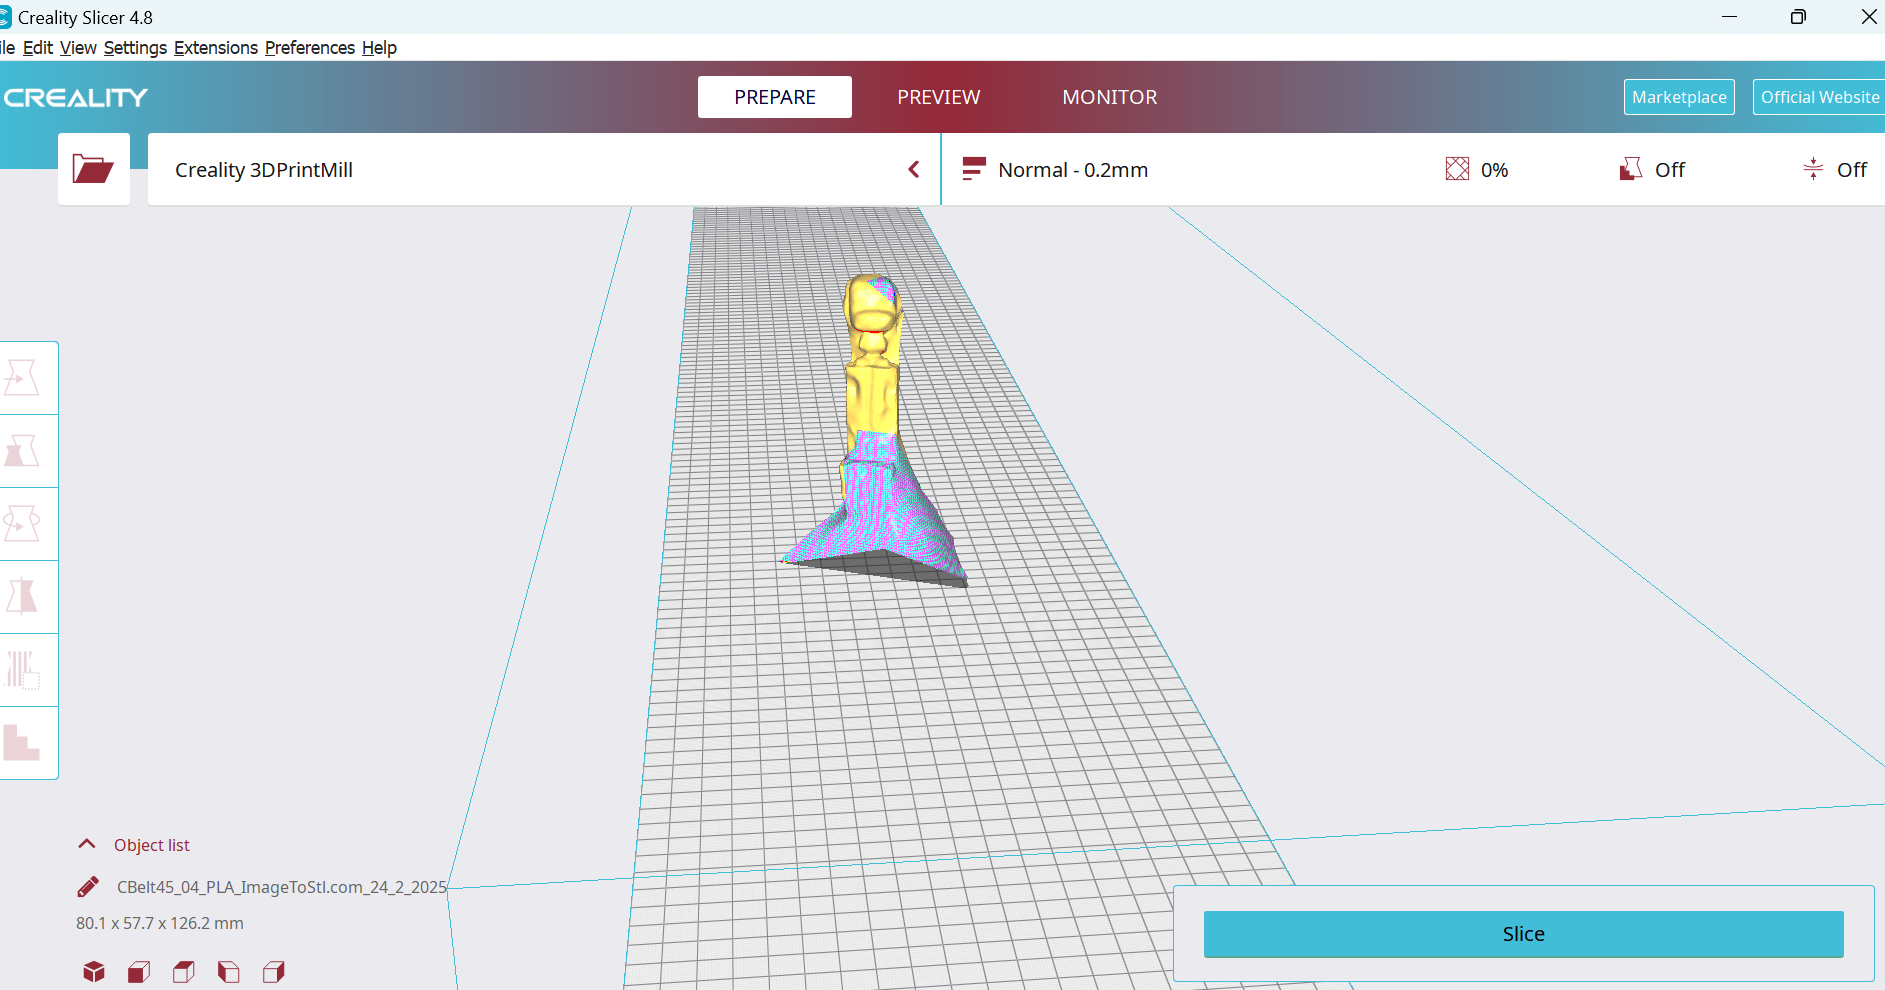
I captured the scan using video, but it was not easy to keep the camera at a steady level while rotating around the object. The app generated a GLB file, so I used ImageToSTL to convert it into STL. When I opened the file in Creality Slicer, it was not ready for printing and required additional adjustments.
Converting the GLB file to STL using ImageToSTL.Polycam result opened in Creality Slicer.
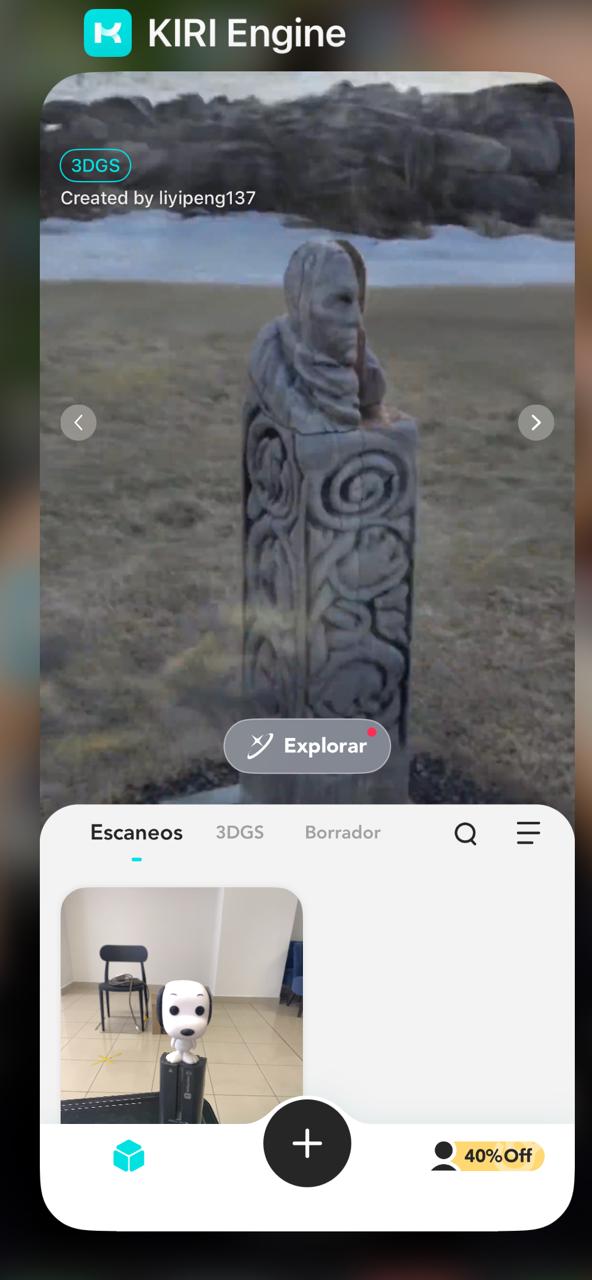
Kiri Engine result
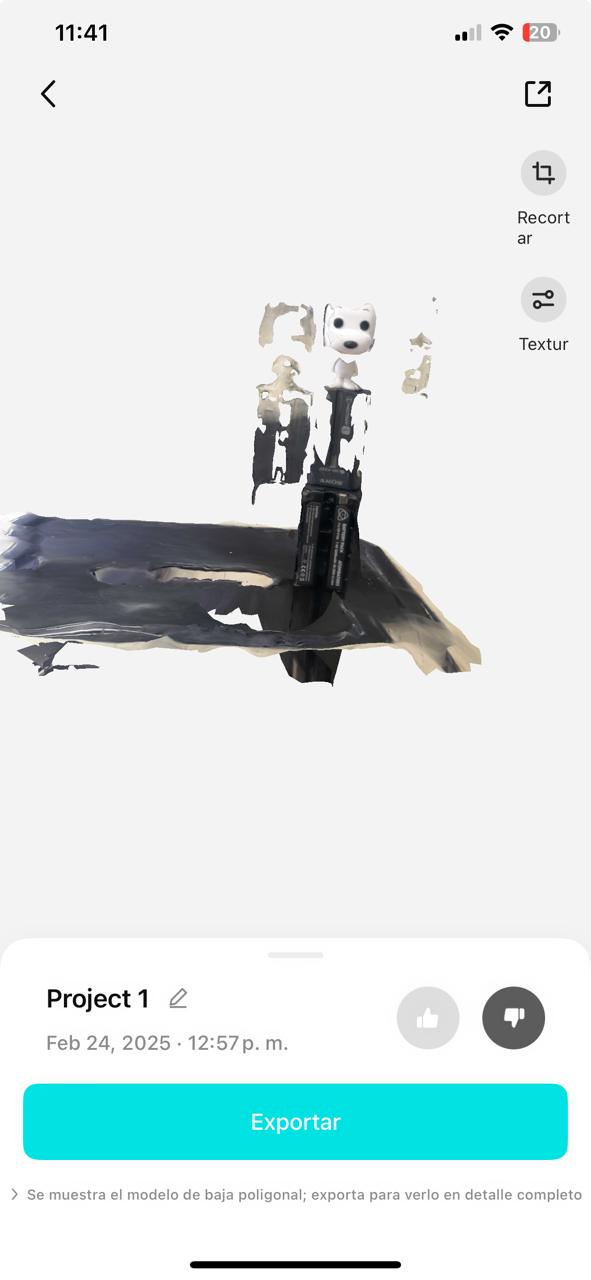
When I finished scanning, I was excited by the preview image because I thought I had achieved a good scan. However, the final result was different, and once again I ended up with an imperfect model.
Kiri Engine scan preview.
Qlone result
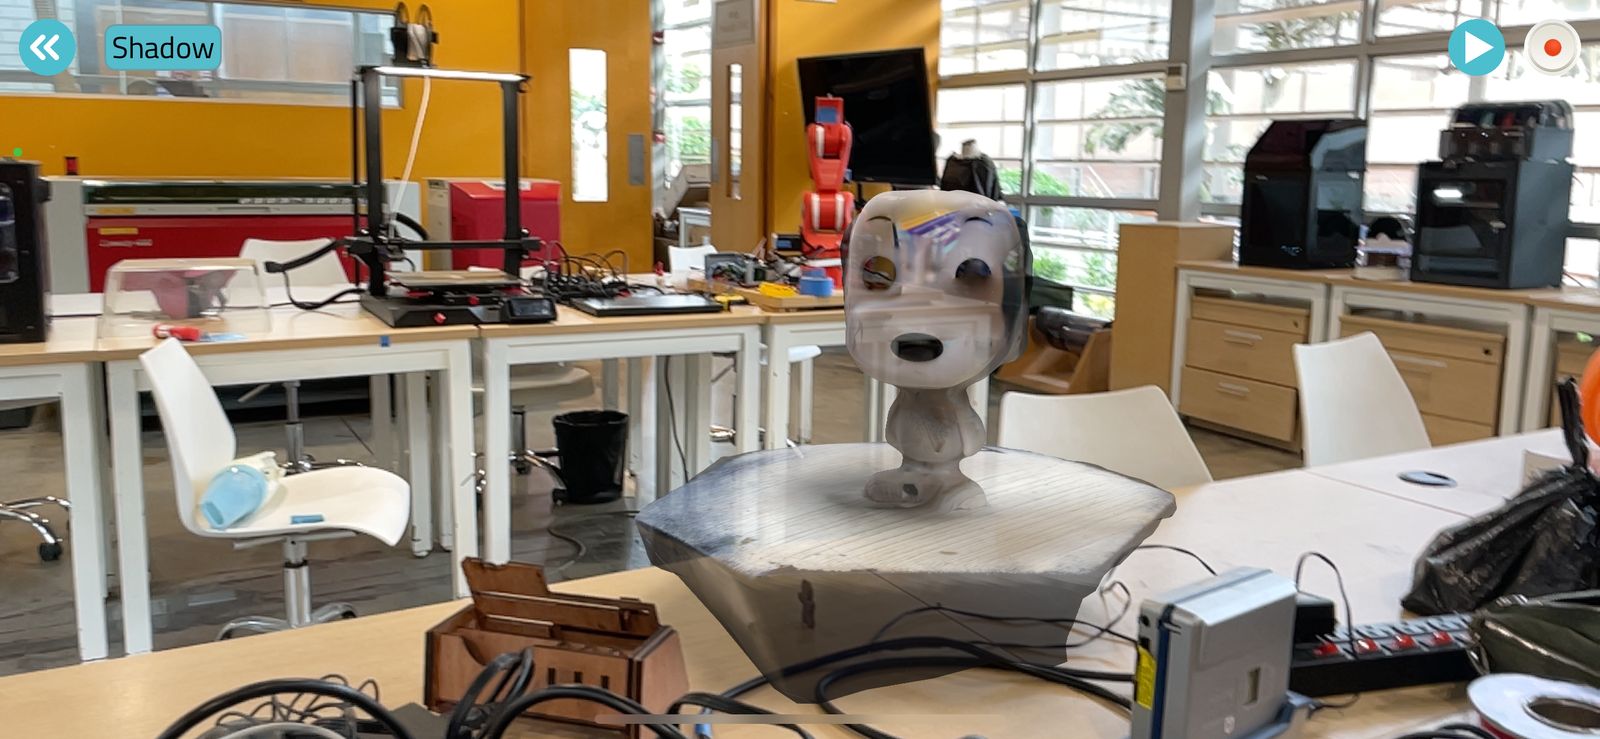
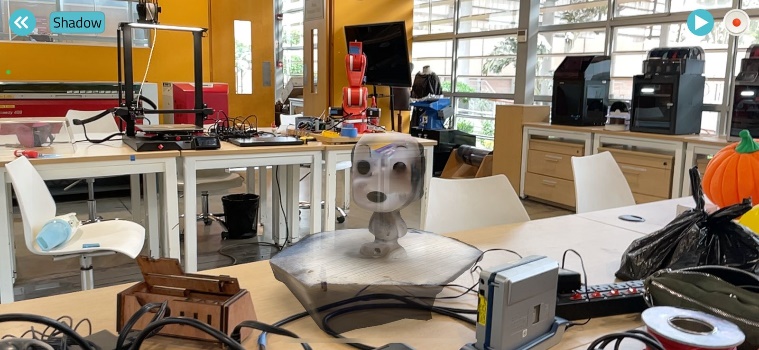
This app requires 60 photos from different angles. Although the final model was not perfect, the shape of the object was recognizable. I also used the AR tool to place my figurine on a table in the Fab Lab.
Qlone scan result.Using the AR tool to place the scanned object in the Fab Lab.
General tips for 3D scanning
Lighting: Scan in well-lit and diffuse lighting conditions to avoid shadows and reflections.
Stability: Use a tripod or stand to keep the camera steady.
Object preparation: Matte surfaces work best. Reflective or transparent objects are more difficult to scan.
Post-processing: Use software such as Meshmixer or Blender to clean and repair scanned models.
Reflections
The 3D scanning software and tools I used were difficult to master. If the scan does not capture enough data points, the resulting model becomes inaccurate and the process requires several iterations. I think the results would improve with more practice, but I also believe it is only a matter of time before this technology becomes more user-friendly and accessible.
3D printing has an extraordinary attribute: customization. It allows unique designs to be made according to specific requirements at a reasonable cost. However, one issue that will probably continue to be debated is intellectual property. 3D scanning makes it possible to replicate existing objects, which raises an important question: where is the line between creativity, inspiration, and intellectual infringement or appropriation?