
W14 | Moulding and Casting
📝 Group Assignment:
- Review the safety data sheets for each of your molding and casting materials.
- Make and compare test casts with each of them.
- Compare printing vs milling molds.
What We Did
For the group assignment, we reviewed the safety data sheets for the molding and casting materials available at the lab, tested them by making sample casts, and compared the results. We also explored the differences between using 3D printed molds and milled molds in terms of surface finish, precision, and production process.
To see the full process in detail — you can visit the group page here.
🧠 What I Learned
This group assignment helped me understand that the choice of material and mold production method directly affects the quality of the final cast. Reviewing the safety data sheets also made me more aware of the importance of handling these materials carefully — even materials that seem harmless can require specific precautions during mixing and curing.
📝 Individual Assignment:
- Design a mold around the process you'll be using, produce it with a smooth surface finish that does not show the production process toolpath, and use it to cast parts.
Project Context
For this assignment, I decided to design a chocolate mold. The idea came from a close friend who works with a women's association in the Peruvian jungle dedicated to the entire cacao production process — from harvesting the cacao fruit to producing chocolate, coffee derivatives, and other products.
Their chocolates are currently sold only as tablets, so this project became an opportunity to explore the creation of custom-shaped chocolates using a silicone mold made from a 3D printed model. My friend's entrepreneurship, Kuska Yawarmasi, collaborates with this association to help bring their products to more people. You can follow her work here: Kuska Yawarmasi
Design Process
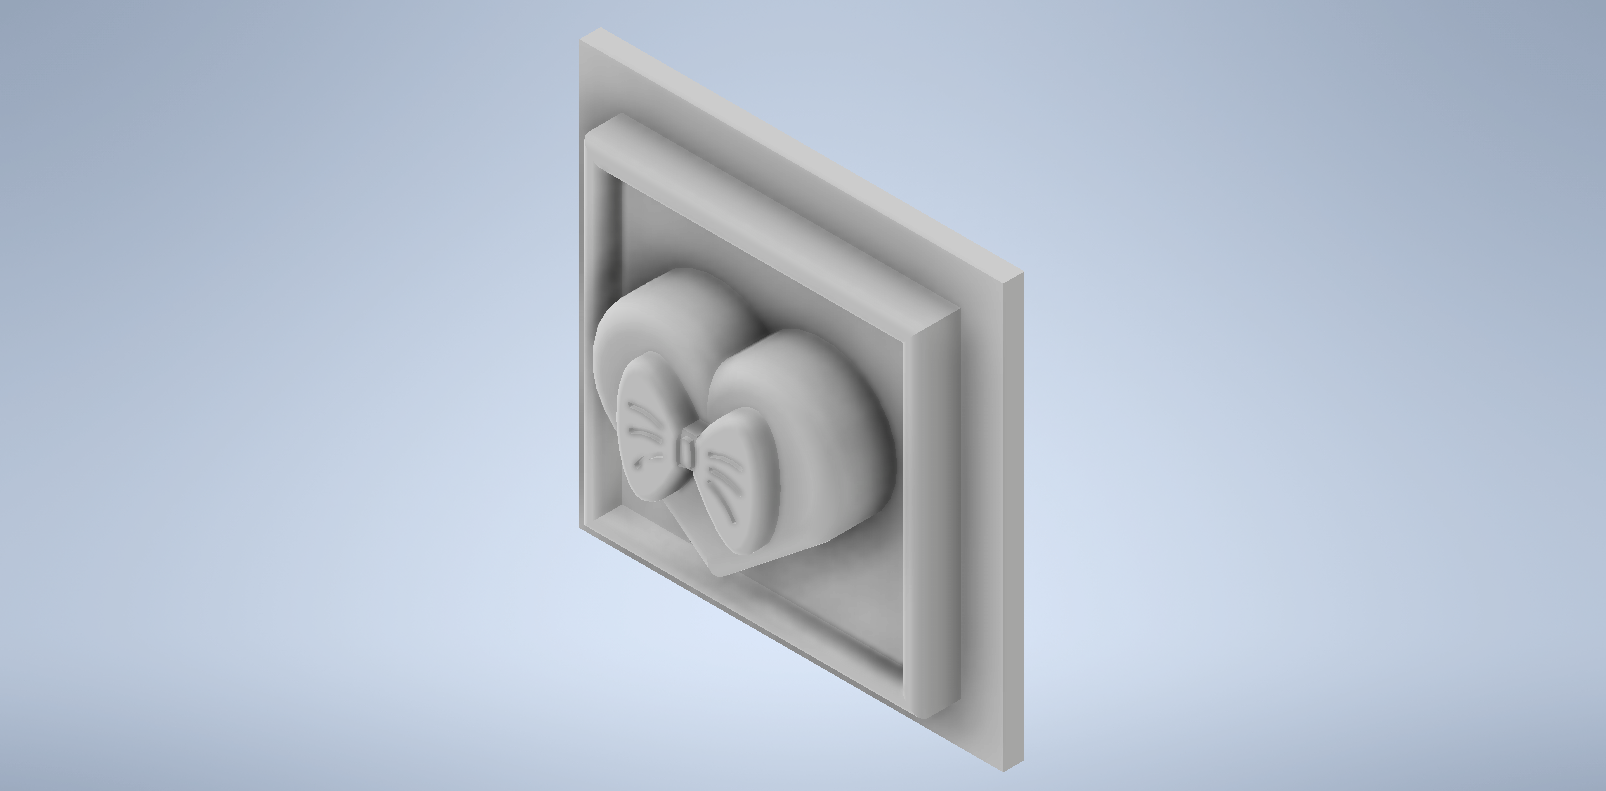
The mold was designed in Autodesk Inventor. The goal was a heart shape with a bow — a design with smooth, curved, organic surfaces. This type of form was a challenge in Inventor since it is a software primarily oriented to mechanical and geometric parts. Modeling organic curves in it is possible but more complex and limited compared to tools specifically designed for this, such as Blender or ZBrush.
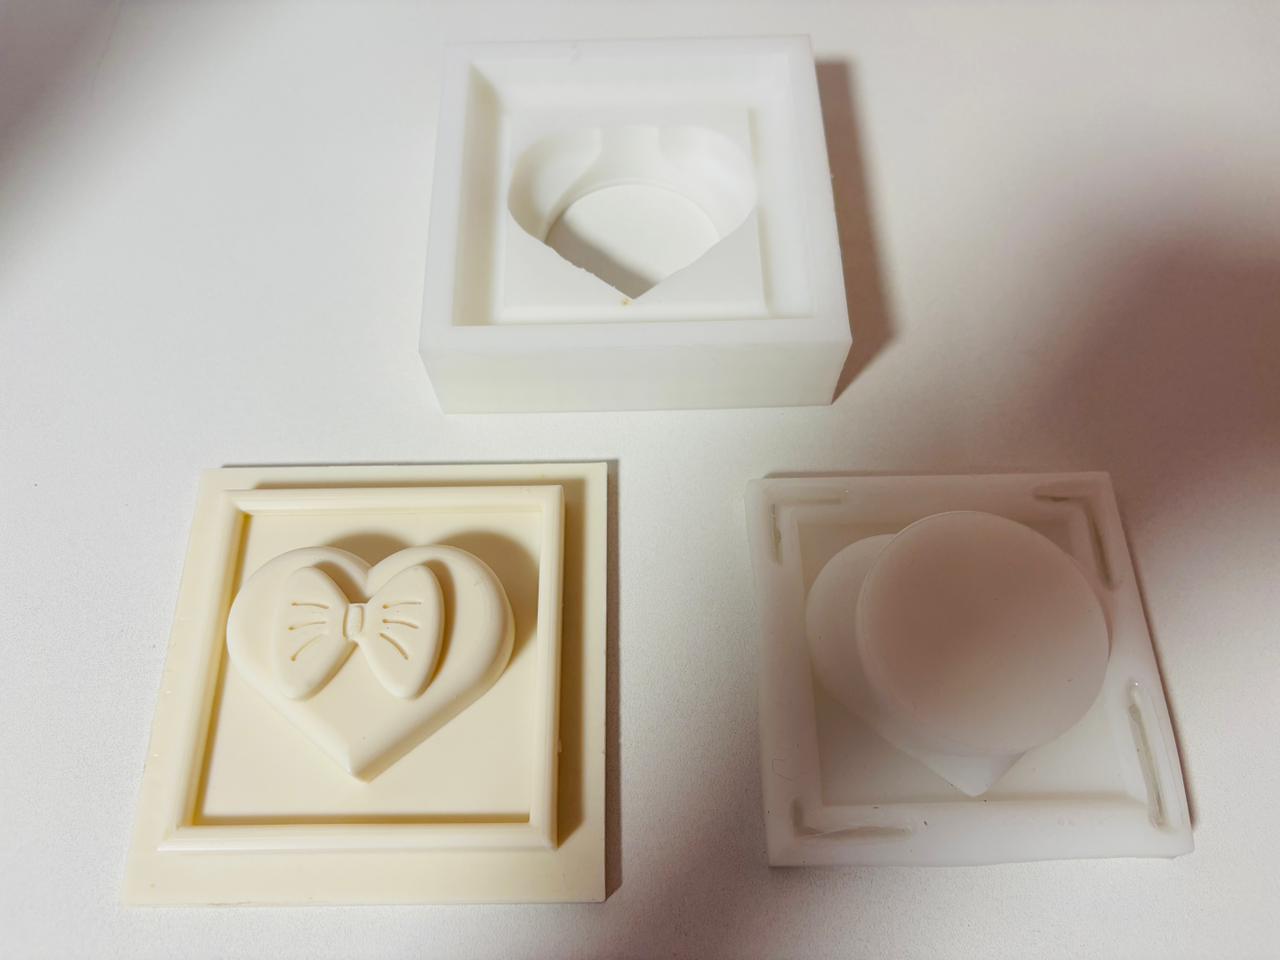
Two pieces were designed:
Mold
The piece with the heart and bow design, which defines the final shape of the chocolate.
Countermold
A container that holds the mold in place during the silicone pour, avoiding wasting excess material.
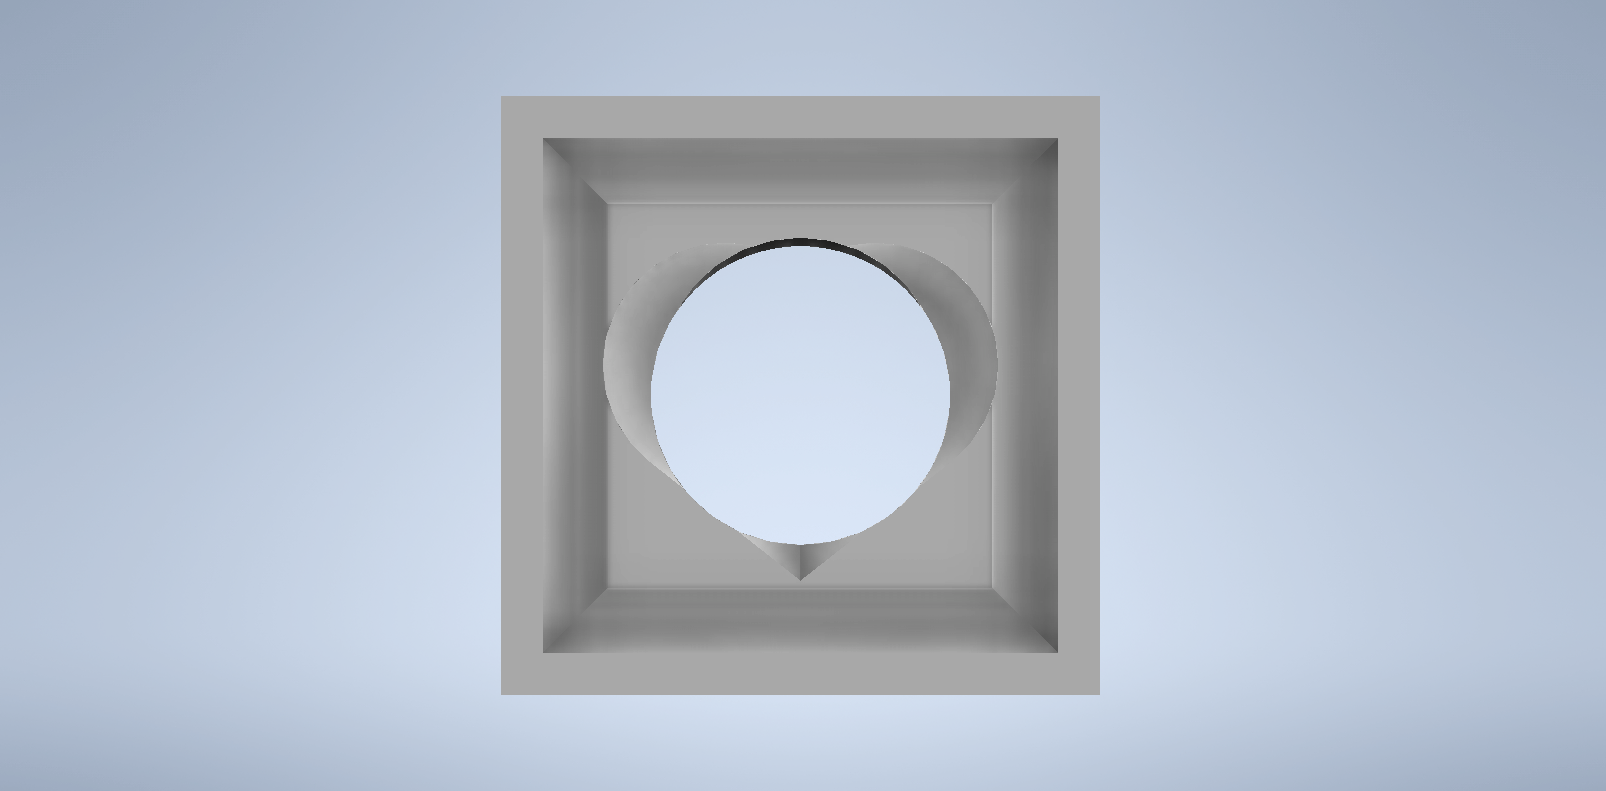
⚠️ An important consideration when designing for casting is that any imperfection in the 3D model will be transferred to the silicone and from there to the final cast.
3D Printing
Both pieces were printed on a Bambu Lab X1-Carbon using ABS filament. The choice of ABS over PLA was deliberate. PLA is the most common 3D printing material and is easy to work with, but it tends to show layer lines more prominently on curved surfaces. ABS produces a smoother surface finish because its layers bond together more tightly during printing. This is important because the mold needs to capture and transfer the fine details of the design — the curves of the heart and the lines of the bow — but without transferring the layer lines from the printing process.
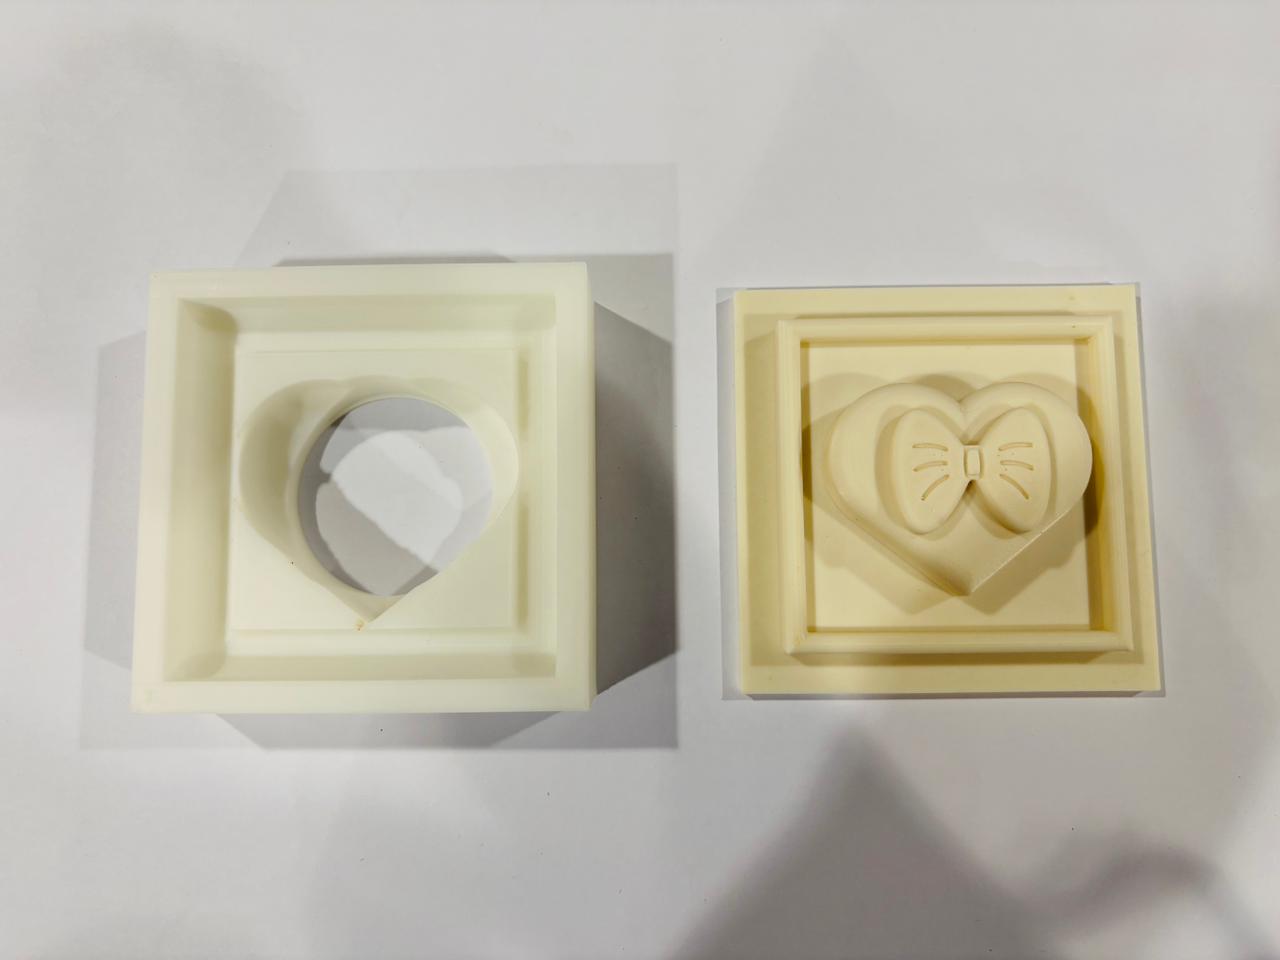
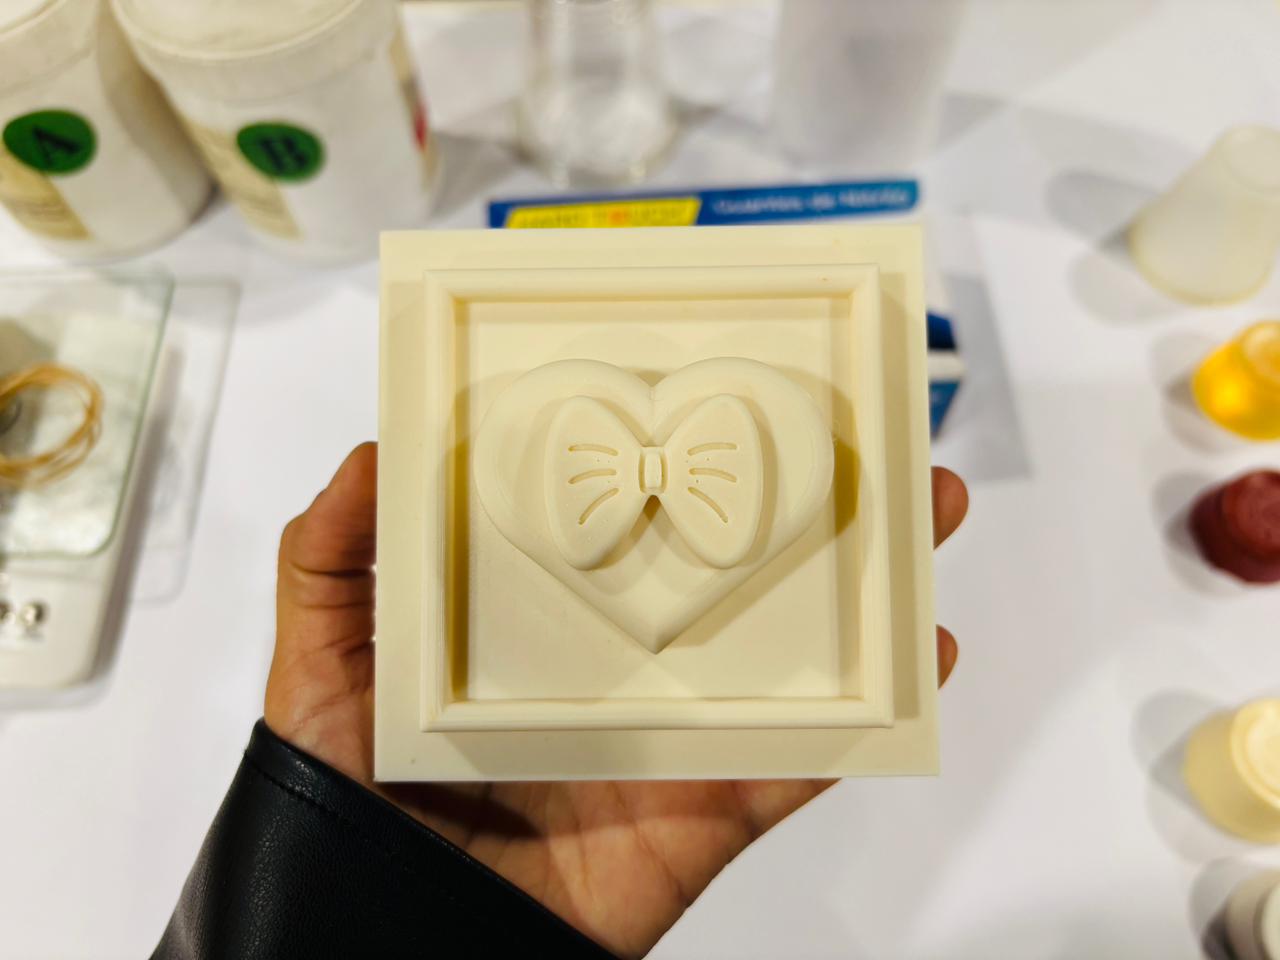
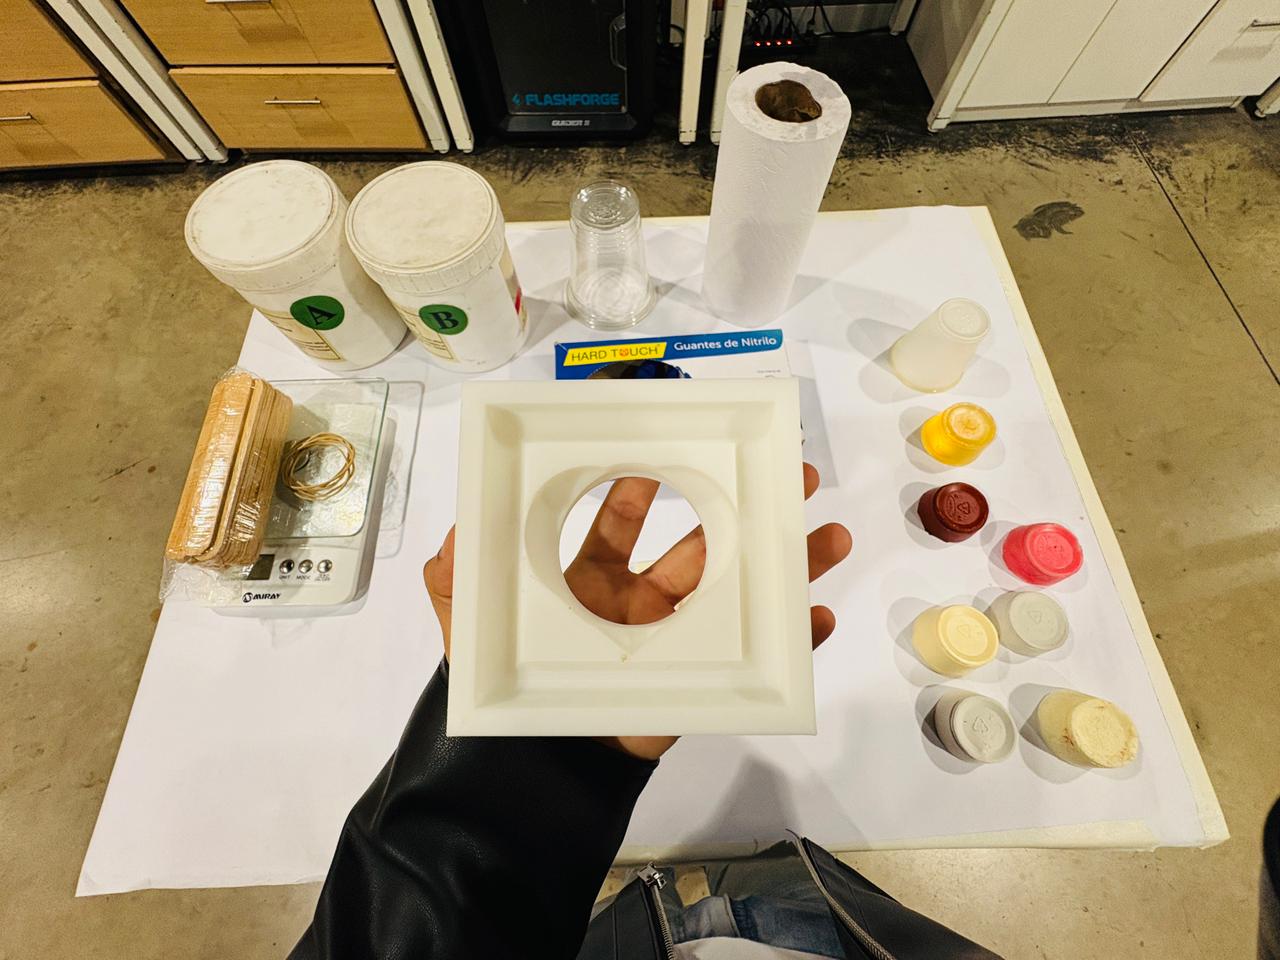
The print settings were the standard Bambu Lab profile for ABS, with the main difference being the temperature — ABS requires a higher nozzle and bed temperature than PLA to print correctly and achieve good layer adhesion.
| Setting | Value |
|---|---|
| Material | ABS |
| Nozzle temperature | 240°C (approx.) |
| Bed temperature | 90°C (approx.) |
| Layer height | 0.2 mm |
| Infill | 15% |
Materials
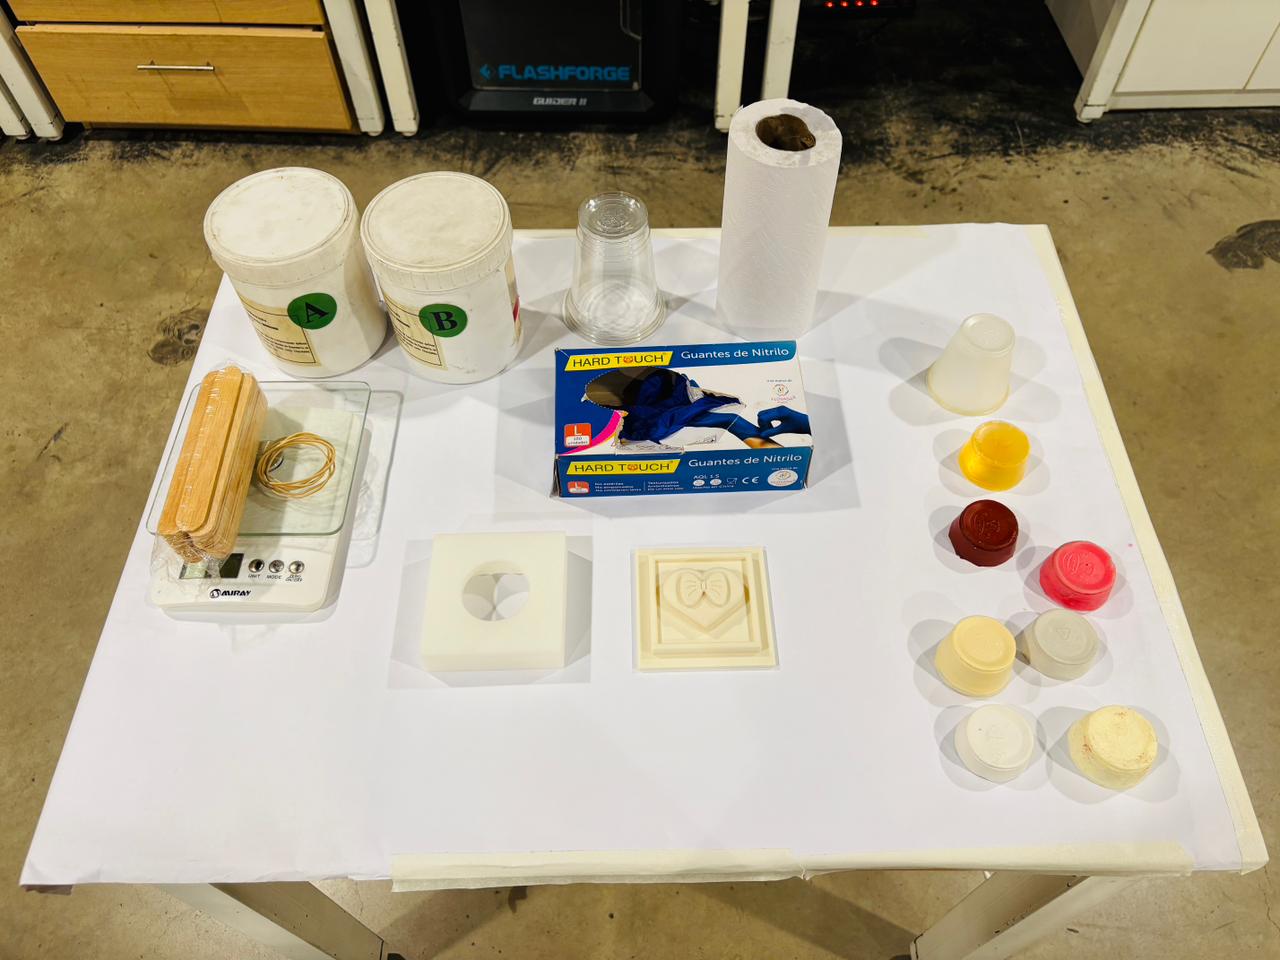
The silicone used was food-grade Silicona RTV A-20 — a two-part silicone that does not require a catalyst. It works at a 1:1 ratio by weight, meaning equal amounts of part A and part B are mixed together to start the casting process. Being food-grade is essential when the final cast material is something edible like chocolate.
The other materials prepared for the process were:
- Digital scale
- Mixing cup
- Wooden stir sticks
- Nitrile gloves
- Rubber bands
- Masking tape
- Paper towels
Molding Process — Silicone
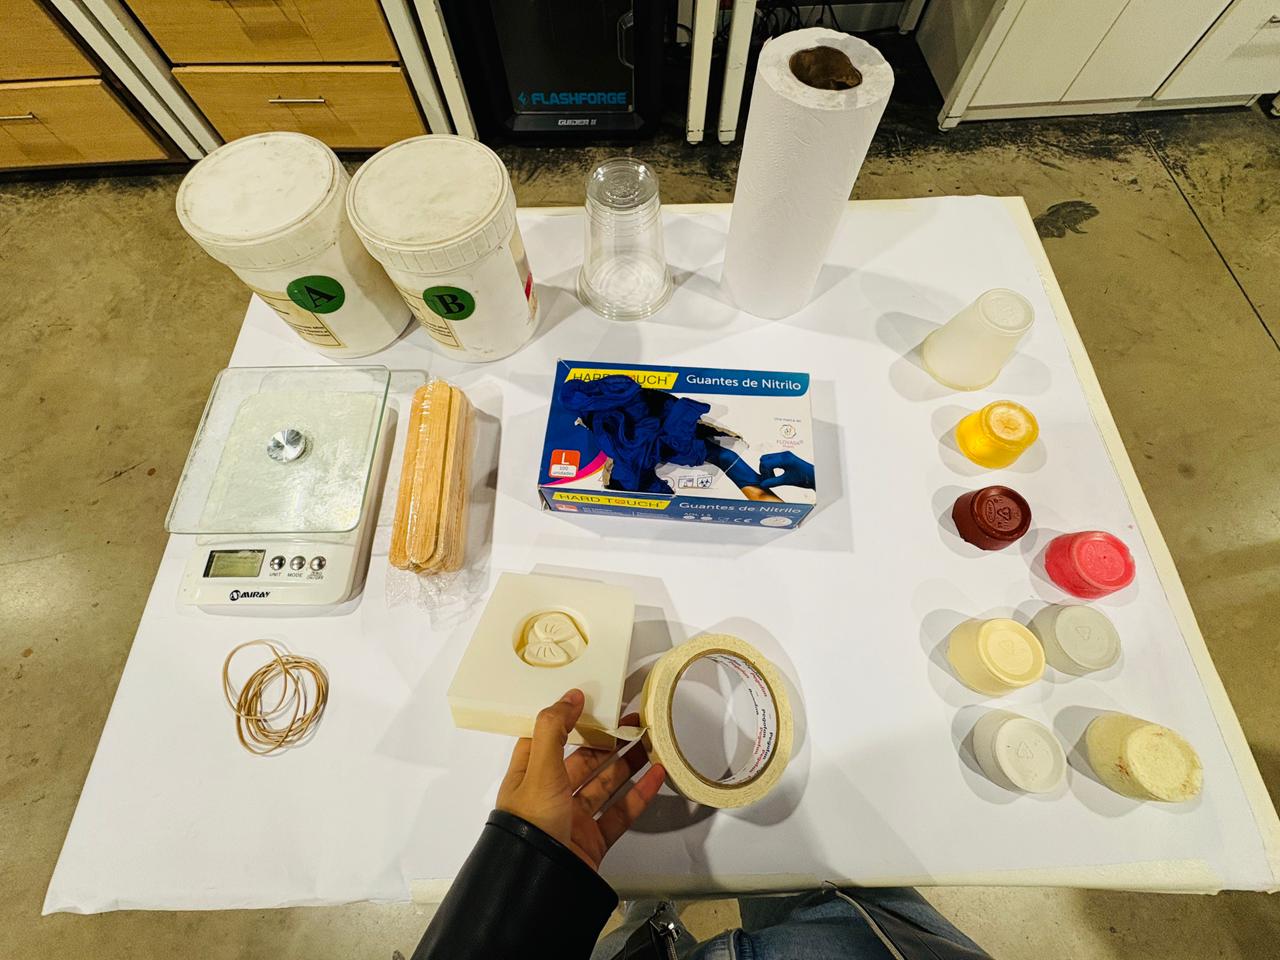
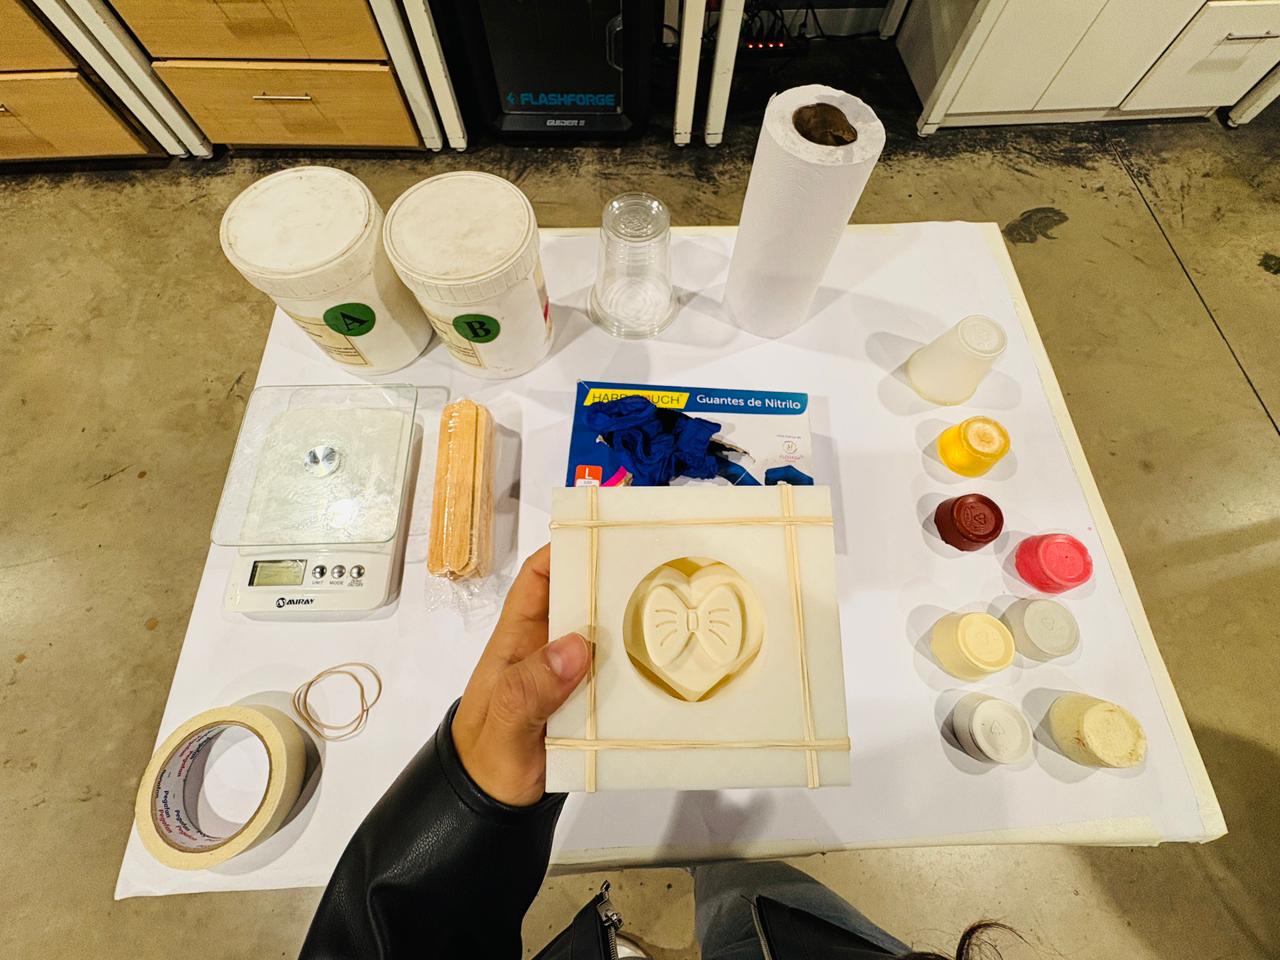
Step 1 — Secure the mold and countermold
Before pouring the silicone, the mold and countermold were assembled and secured. Masking tape was applied around the edges first, then rubber bands were used to hold everything tightly together and prevent any leaks during the pour.
Step 2 — Prepare the silicone
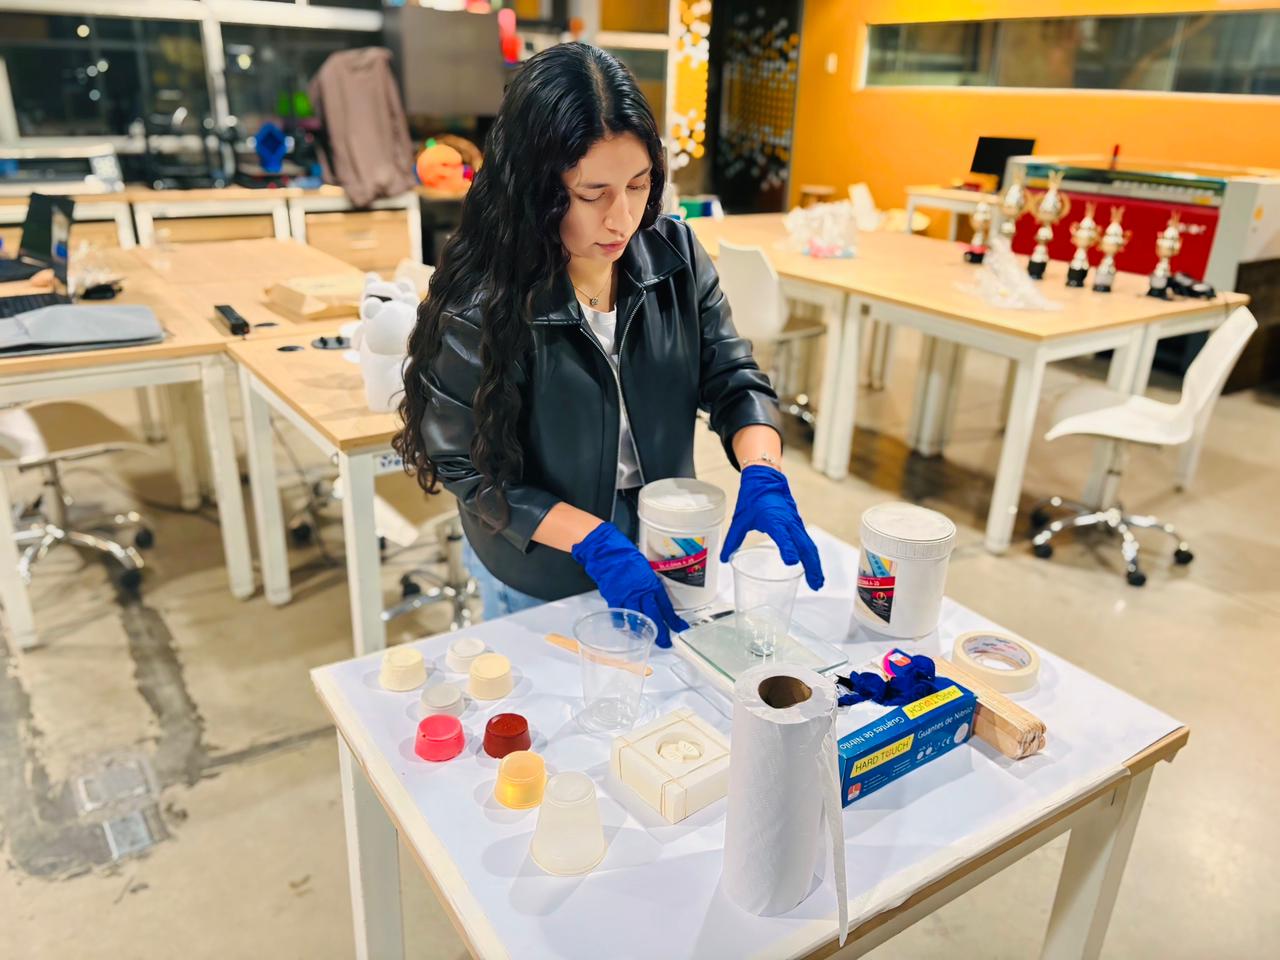
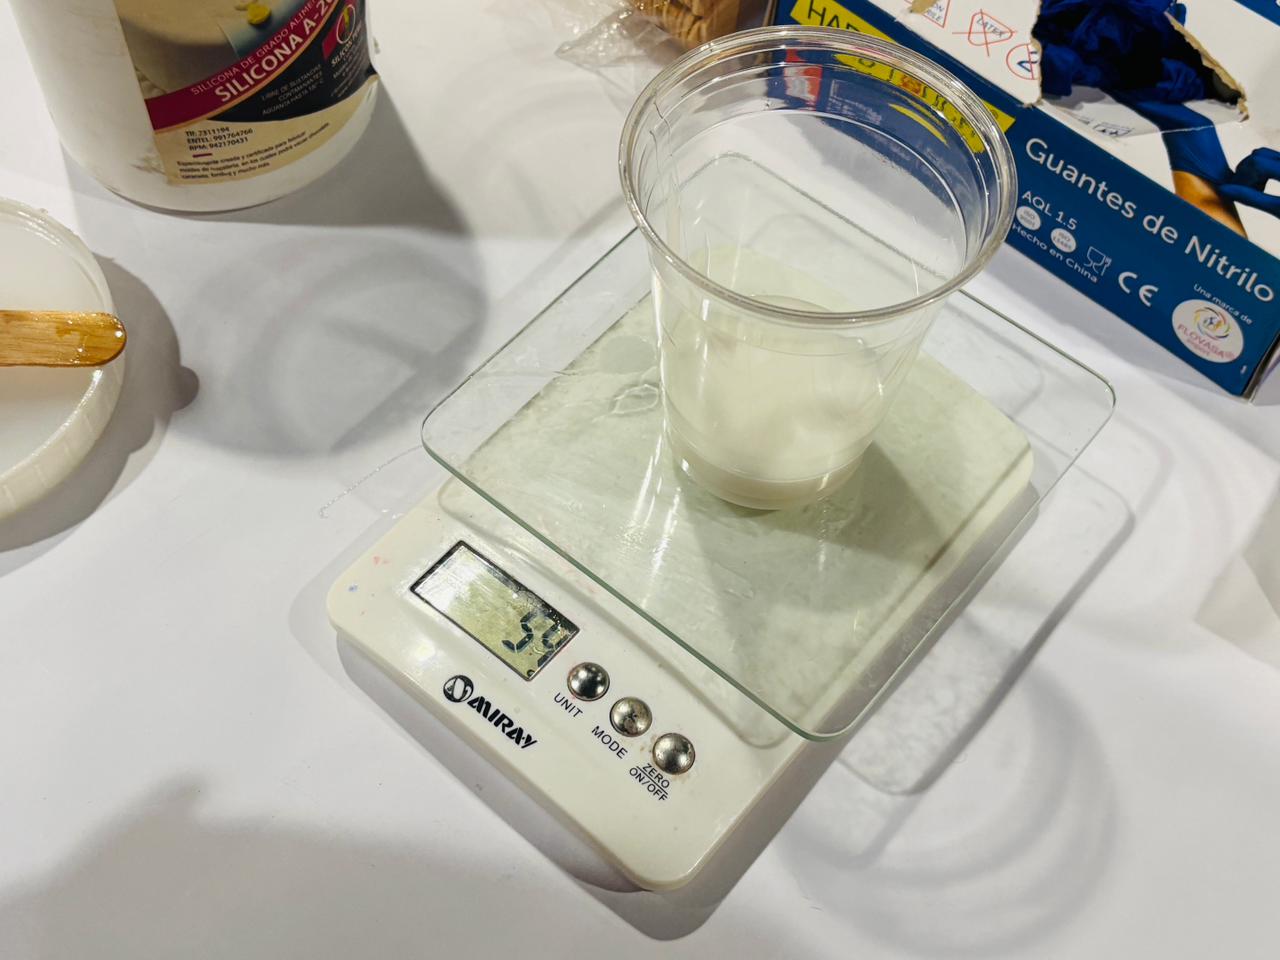
The mixing cup was placed on the scale and tared to zero. Then 54g of part A and 54g of part B were measured separately and combined in the cup. Both components were mixed thoroughly for several minutes until fully combined and uniform.
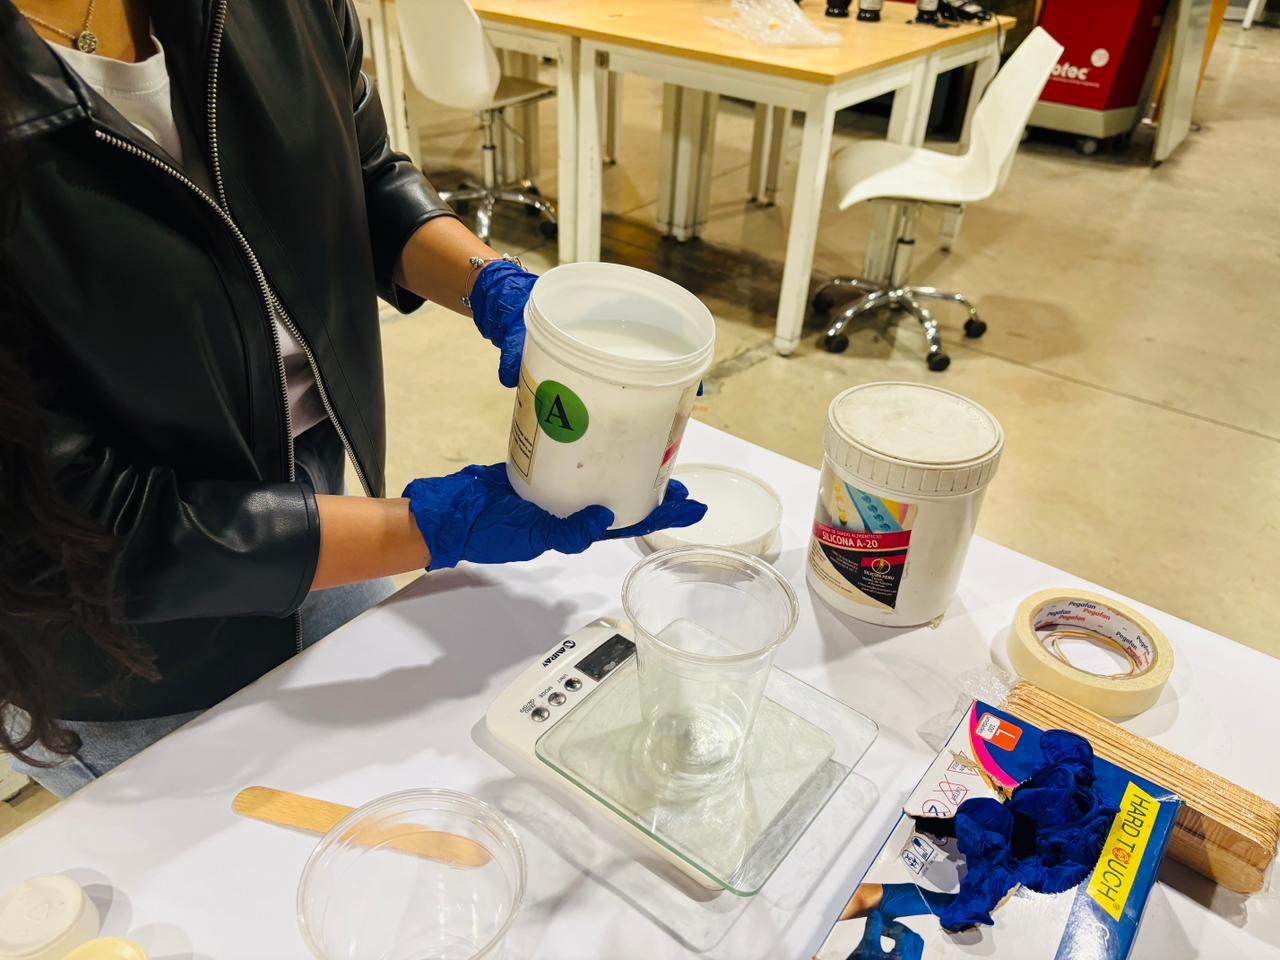
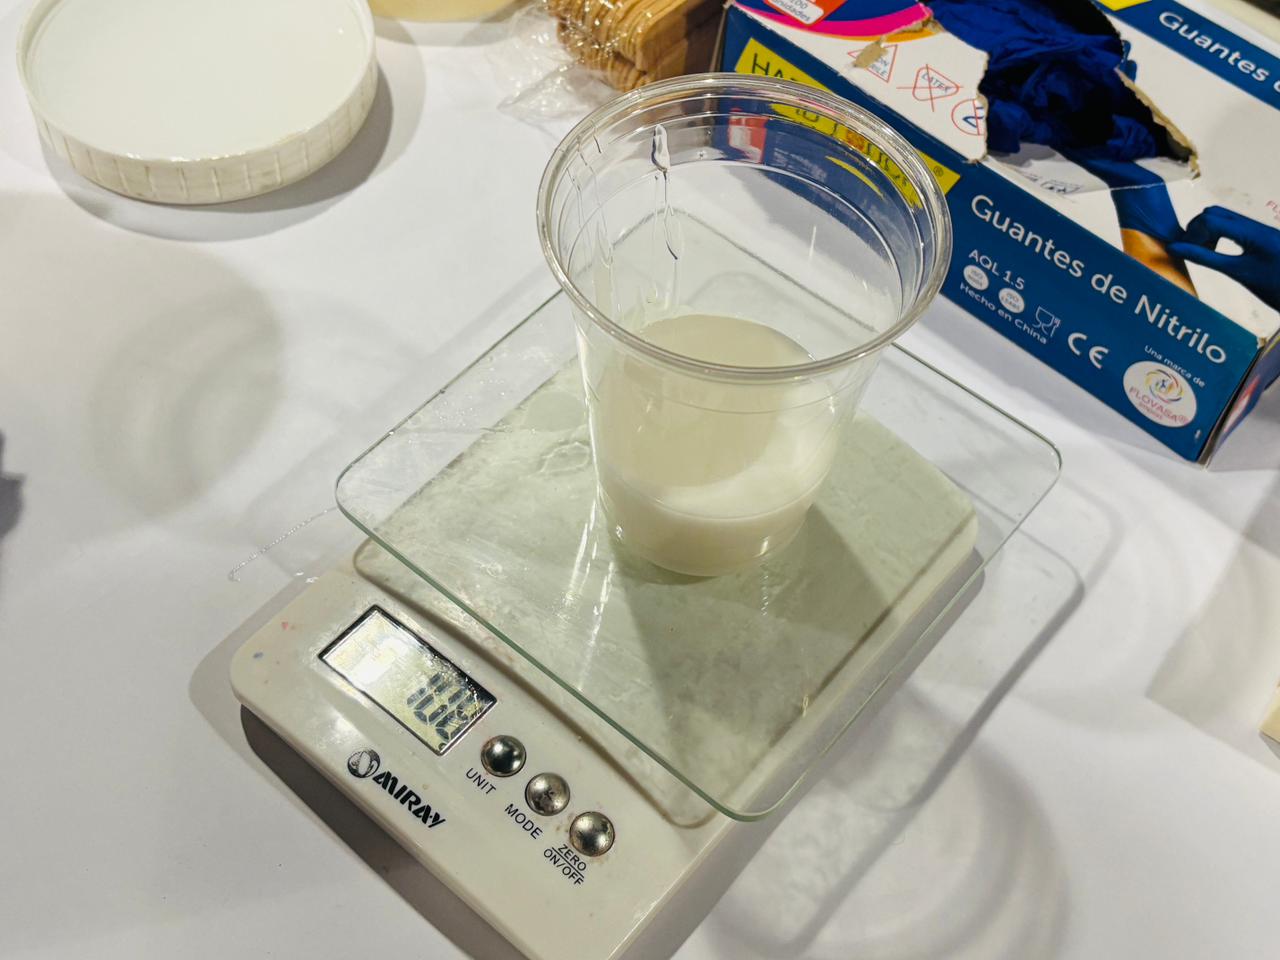
📝 It is important to mix slowly and carefully to avoid introducing air bubbles into the silicone. Bubbles that form during mixing will be trapped in the mold once it cures, leaving small imperfections on the surface that will transfer to the final cast.
Step 3 — Pour the silicone
The mixed silicone was poured carefully and slowly into the mold. The mold was then moved and gently shaken to help the silicone reach all the fine details and corners. Once filled, it was left to cure overnight.
Step 4 — Demold
The following day, the rubber bands and tape were removed and the silicone mold was carefully separated from the 3D printed pieces. The result was a clean, flexible silicone mold with all the heart and bow details captured.
Casting Process — Chocolate
The casting test was a special experience. I had the opportunity to travel to the Peruvian jungle to visit the women's association where the chocolate is produced. Being there allowed me to see the entire production process firsthand — from how the cacao is processed to how the final chocolate is made — and it was the perfect setting to test the mold with real chocolate produced on site.
Before pouring, the chocolate was tempered — a process of carefully controlling the temperature of the melted chocolate to ensure it sets with the right texture and shine. Once tempered, the chocolate was poured into the silicone mold, left to set, and then carefully removed.
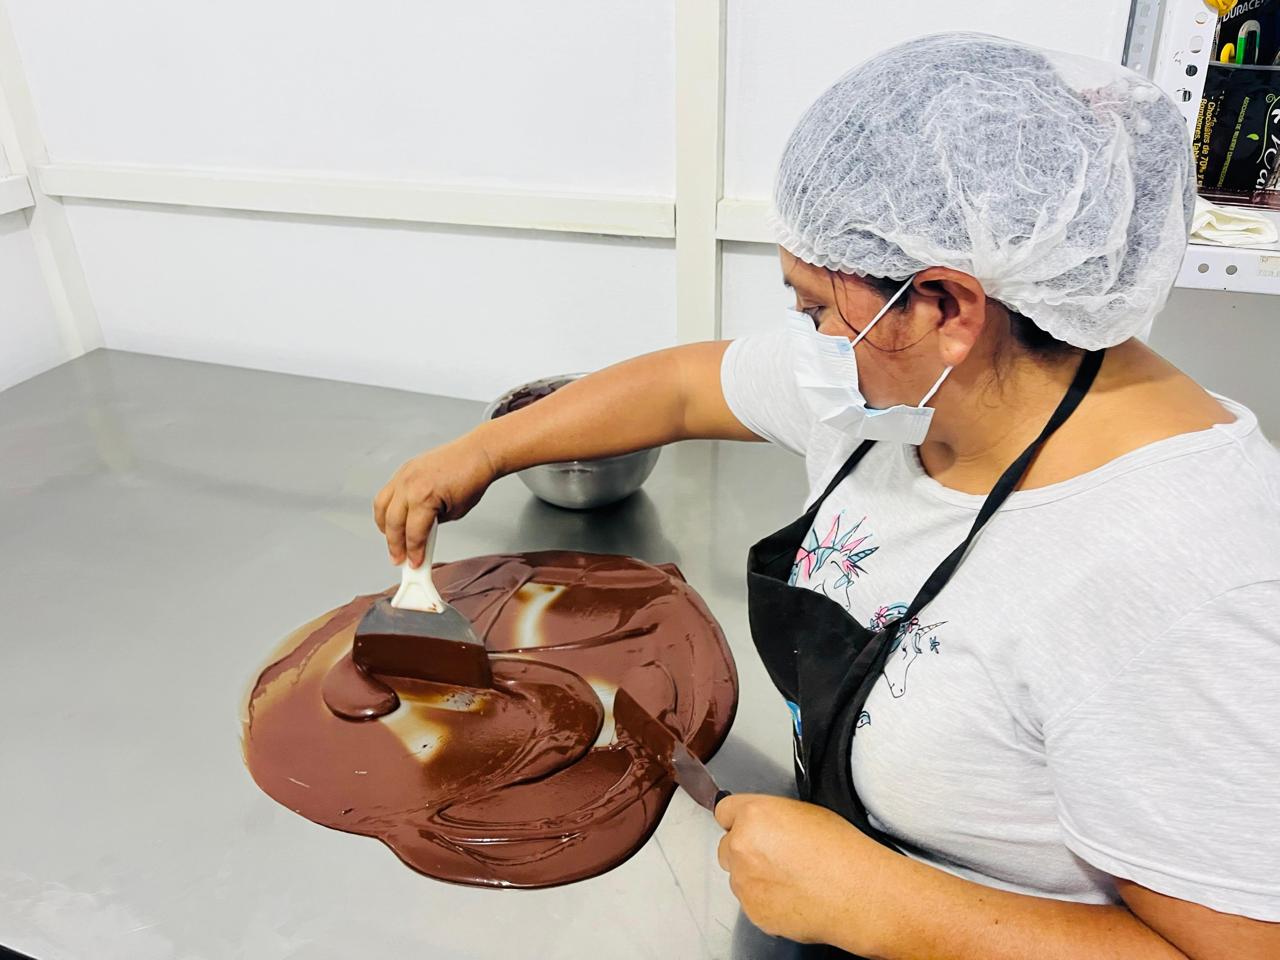
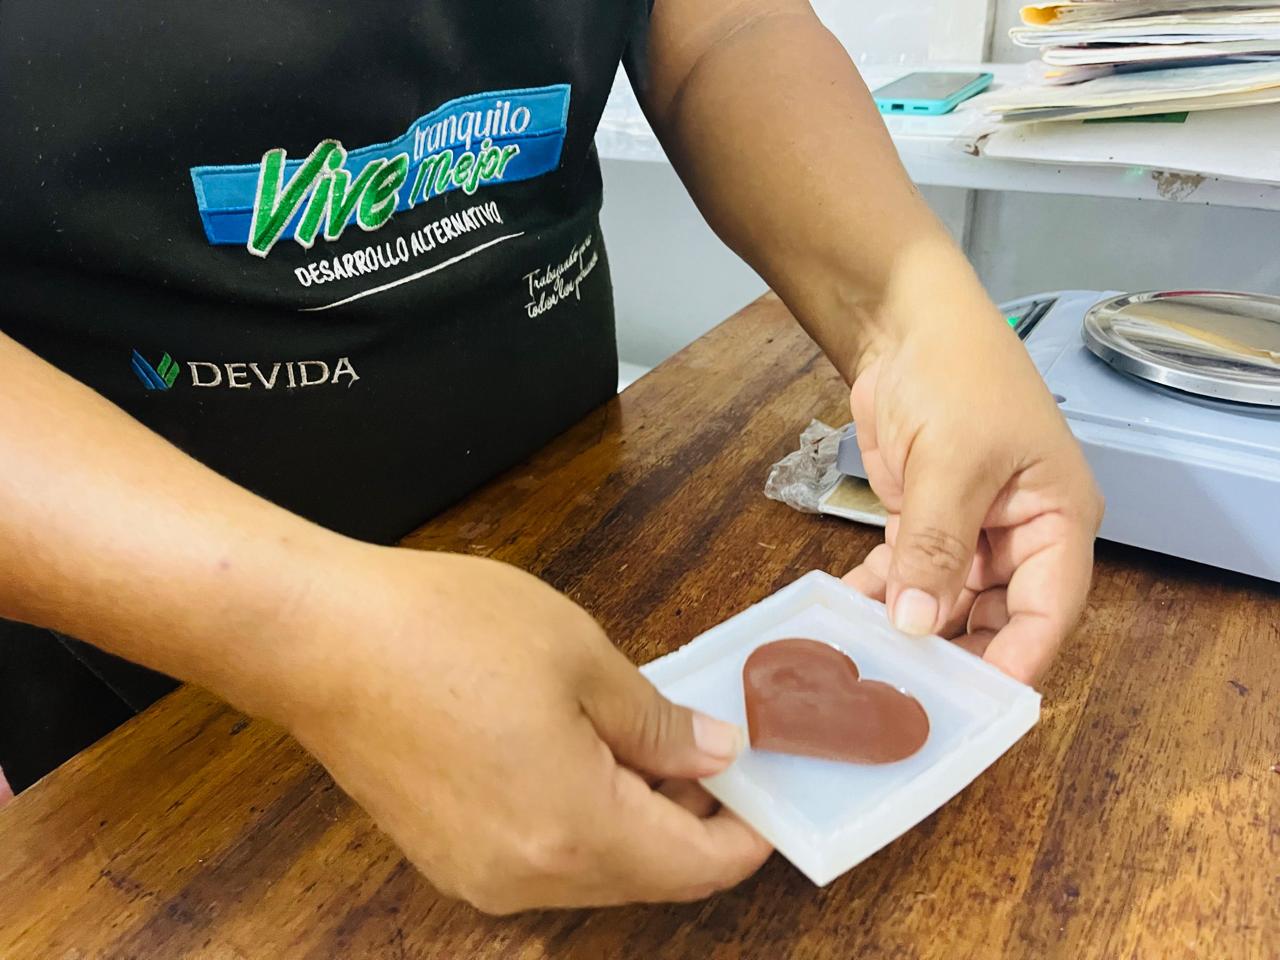
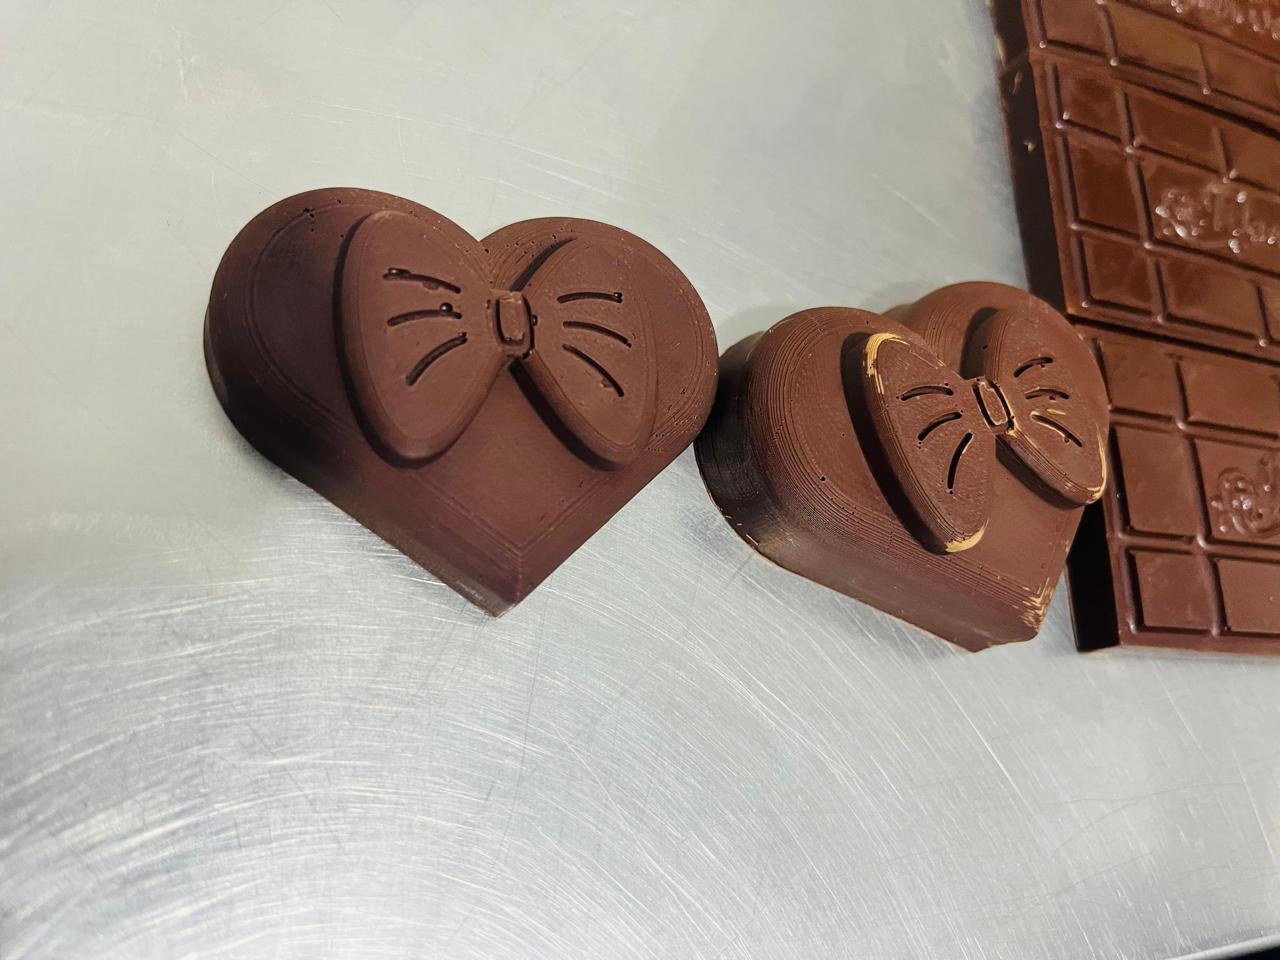
The silicone mold captured all the details of the design clearly, including the fine lines of the bow. The chocolate cast came out with a clean heart shape and visible surface detail. The mold worked on the first try and produced multiple chocolates without any issues.
📝 Note: The light, yellowish curves visible on the chocolate are likely fat bloom — a common effect in chocolate work where cocoa butter doesn't crystallize evenly during tempering and rises to the surface, leaving faint streaks or a slightly whitish/yellowish finish. It doesn't affect the chocolate's flavor or safety, just its appearance.
📝 Note: Sanding the print (up to 800–1000 grit, wet sanding) or applying a self-flowing epoxy coating like Smooth-On's XTC-3D would further reduce visible layer lines. However, XTC-3D and similar finishing materials are not available in Peru, which limits which post-processing options are for setup.
⚠️ Problems & How I Fixed Them
Problem 1 — Layer lines slightly visible on the final chocolate
Even though ABS was used for a smoother finish, some layer lines were slightly transferred to the silicone and from there to the final chocolate. This was partly due to the limitations of Autodesk Inventor for modeling organic curves. The assignment requires that the mold does not show the production process — ABS helped, but sanding the printed piece before casting would have eliminated the remaining layer lines completely.
✅ Fix for future iterations
Use software better suited for organic shapes and sand the printed piece before casting.
Problem 2 — Silicone did not reach the corners of the countermold
Due to the geometry of the countermold, the tight corners made it difficult for the silicone to flow in naturally. This can cause two issues — either the silicone does not reach those areas at all, leaving empty spots, or air gets trapped and forms bubbles. Both affect the final surface quality of the mold. Fortunately, the affected areas were only on the outer corners of the countermold — not in the cavity where the chocolate would be cast — so the final mold was not compromised and the result was not affected.
✅ Fix for future iterations
Redesign the countermold with more open, rounded corners to allow the silicone to flow freely and prevent air from getting trapped.
Problem 3 — Demolding the countermold was difficult
Once the silicone cured, removing the countermold was more difficult than expected because there was no good gripping point. The countermold needs small handles or tabs — called ears — on the sides so it can be pulled apart cleanly without forcing it.
✅ Fix for future iterations
Add small protruding tabs to the countermold design so there is a clear gripping point when separating the pieces after curing.
Safety considerations:
- Nitrile gloves were worn at all times when handling the silicone components to avoid skin contact.
- The work area was covered with paper to protect the surface and make cleanup easier.
- Since the silicone used was food-grade, no toxic fumes or hazardous chemicals were involved — making it safe to work with in a standard lab environment.
- For the chocolate casting, basic food hygiene measures were followed at the association's production facility.
Hero Shot 🎉
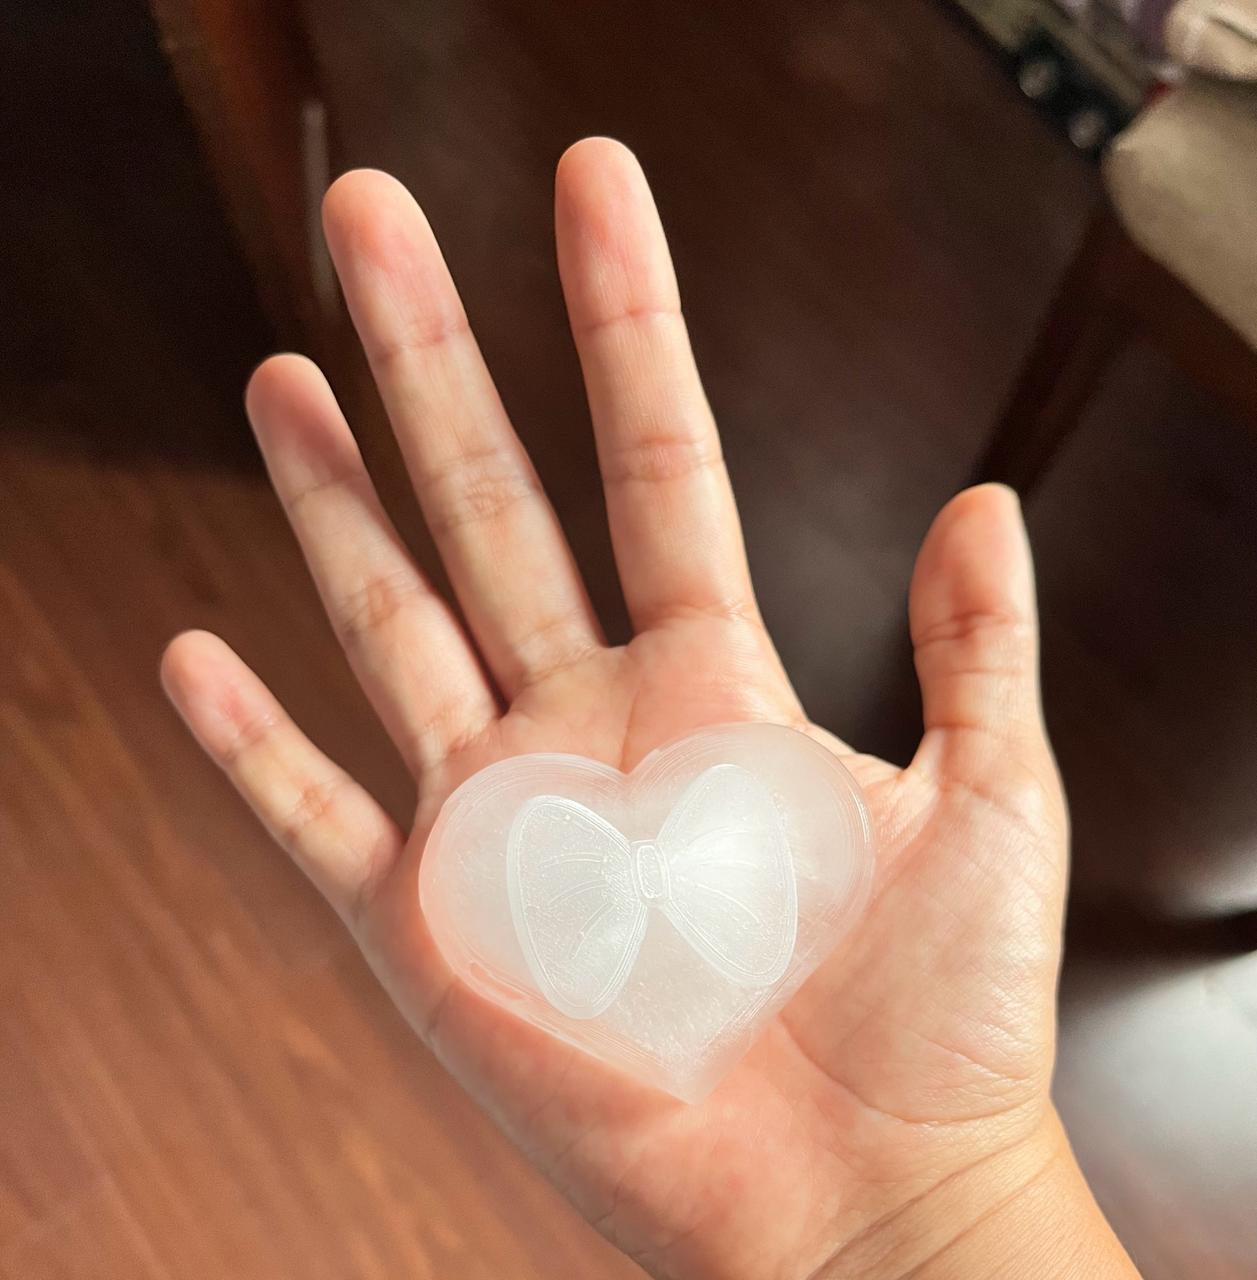
The 3D printed mold and the final silicone mold side by side — and one more way to put it to the test: making ice.
Final Thought
As part of the 2026 cycle, this assignment showed me that both the mold and countermold affect the final result, especially how the silicone flows and fills the geometry. I also learned that the printing material influences the surface finish, which later affects the silicone mold and the final chocolate. I also learned about newer countermold approaches that follow the shape of the mold more closely, almost like a shell. This design reduces the amount of silicone required and could be interesting to explore in future iterations. Finally, testing the mold with real chocolate was a very rewarding experience and helped connect the digital design process with a real and tangible application. 😊🍫