1. Project Managment
Final Project Setup
This week I worked on defining my final project idea and started to getting used to the documentation process. My final project is based off my dog on the front page. She is very fast. So fast that I cant keep up with her, but I wanted to see if I could build something to compete with her. The idea for the project is a robot similar to the Boston Dynamics dog that uses servos to move its limbs.
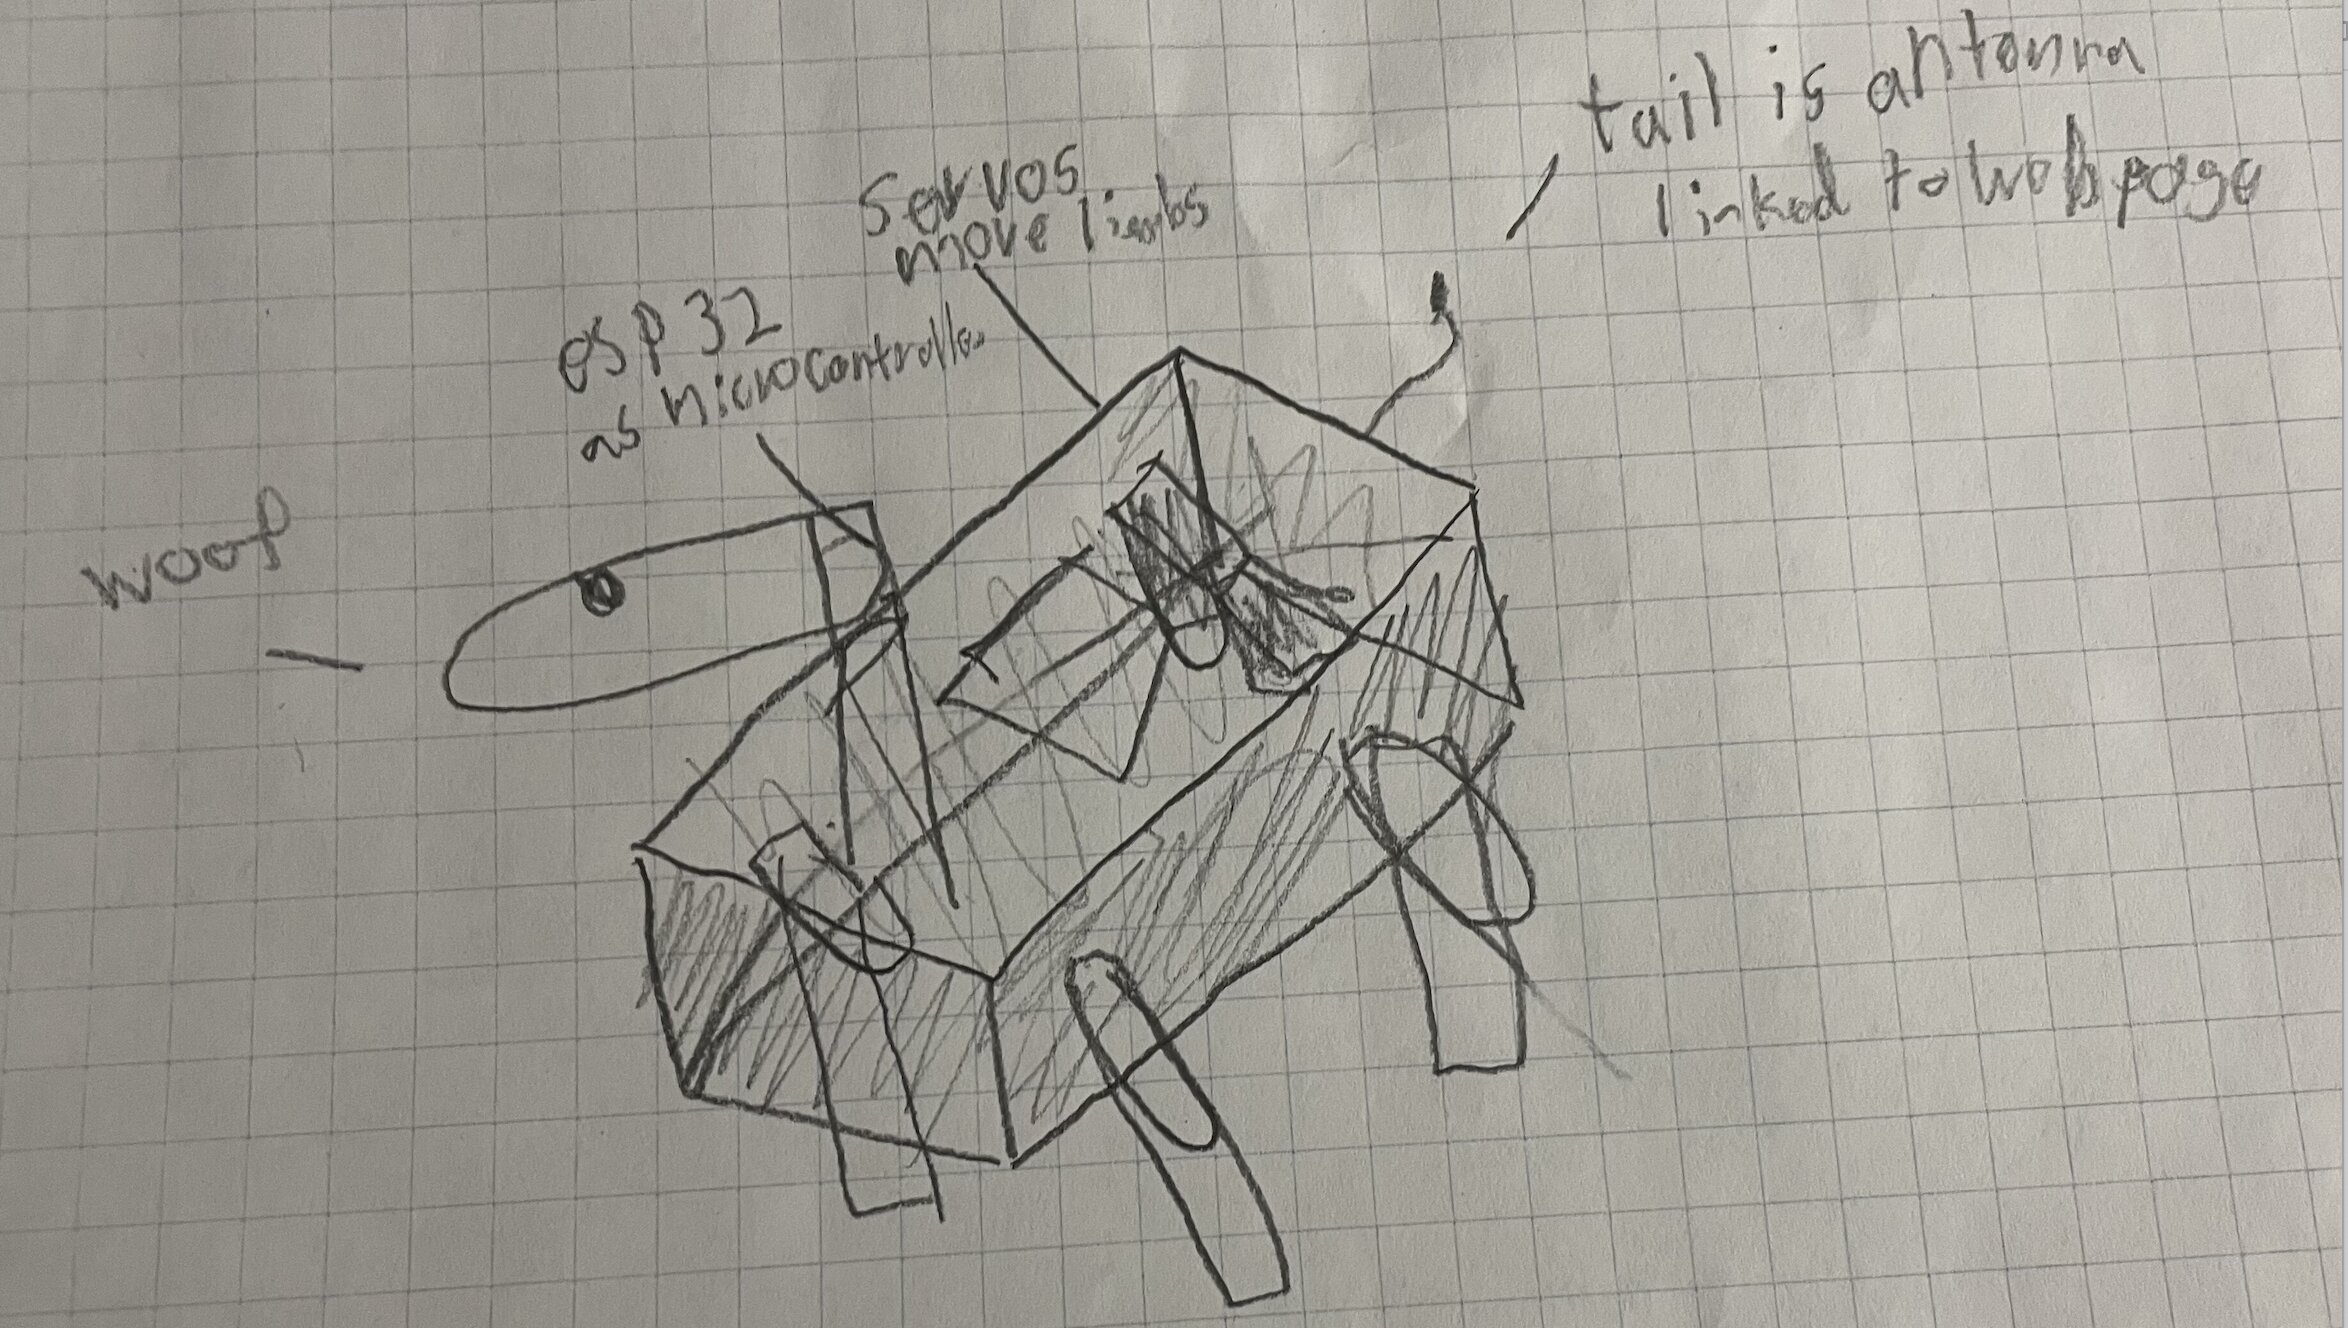 This is a rough draft of what I think it will look like:
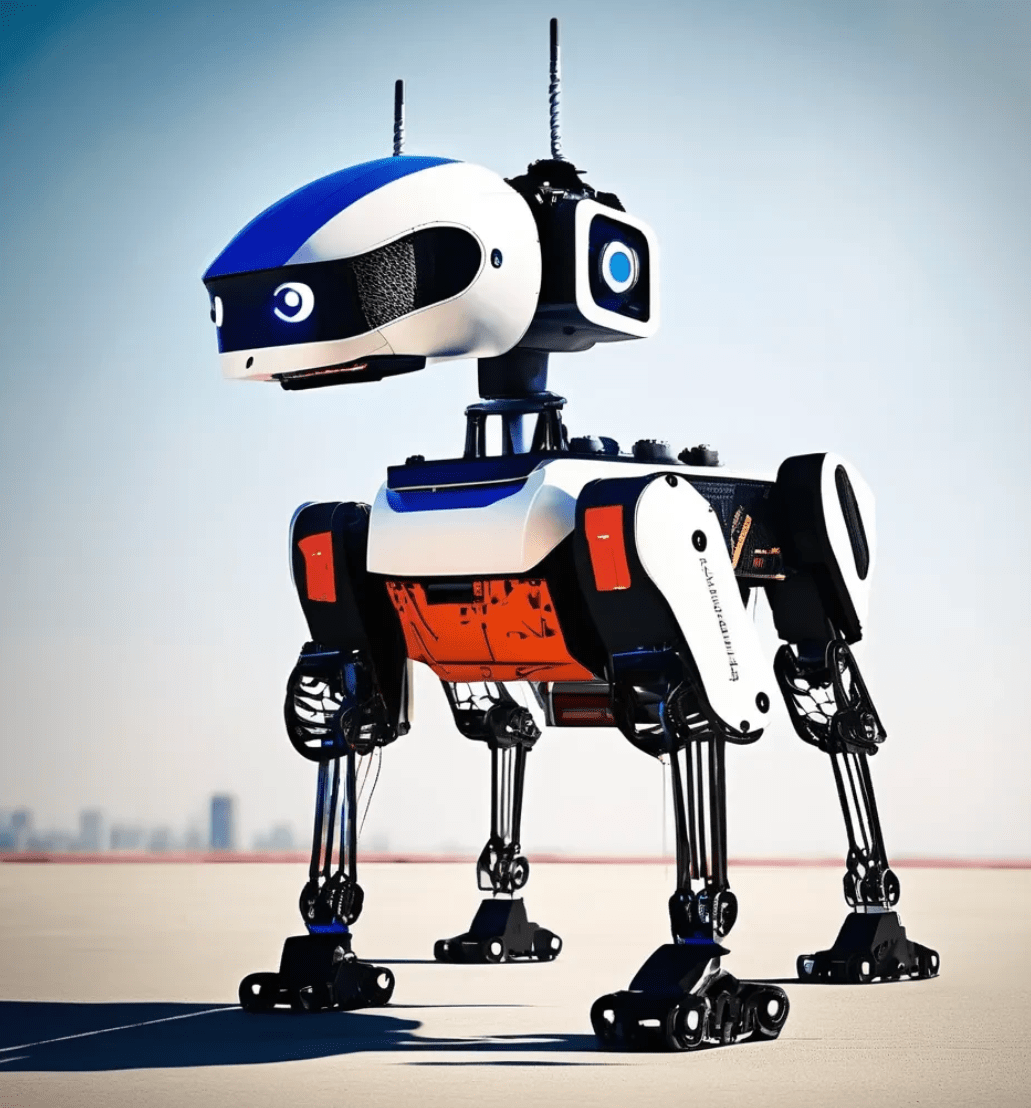 This is just an AI generated design to give a better perspective because I am not a good artist.
For this project I think I’ll need:
- 4 servos
- A micro controller with lots of pin outs to move each servo separately (maybe an ESP32)
- A way to control the servos remotely
- A case to hold the servos (3D printed or cut out on laser cutter)
- Legs to be attatched to the servos
To build it: 1. Figure out how to control one servo with a microcontroller 2. Figure out how to control all 4 3. How to control 2 at a time 4. Control 1 servo through the micro controller with a remote 5. Control all 4 servos with a remote 6. Figure out how to make two of the legs move at the same time through the remote 7. Design the legs 8. Design a board for easier wire management 9. Make a case to hold the board, microcontroller and servos 10. Document
Overview
This week I worked on defining my final project idea and started to getting used to the documentation process. This included setting up my Gitlab account, downloading MKDocs, and setting up Markdown.
Version Control
Verison control is a system that allows someone to manage and track changes to files and code. There are many types of version code including:
- Local version control Keeps versions of files of a single computer
- Centralized Version Control (Uses a central server)
- Distributed Version Control (Every user has a full copy of the repository)
Gitlab is a (DVC) platform and it can show the timeline of the code through commits. You can collaborate on a file with others through branches and can prevent mixed timelines through push and pull commands which adds the files added to the branch to the main one. This is why its used by Fab Academy. It has the normal parts of any version control with timelines and branches but differs in that multiple people can work on the same project at the same time which is necessary due to the group work asspect of Fab Academy. I choose Vscode and MKDocs becuase it made the overly complicated code of HTML used normaly with Git into simple text writing for the most part besides adding photos and videos.
Step 1: Setting up the Git
First I open the GitLab Workflow that was a combination of steps to setup the website created by Latin Fab Graduates. Then I open the email from the Fab offical account that allowed me to create a Gitlab account that would be linked to the larger Fab Git group.
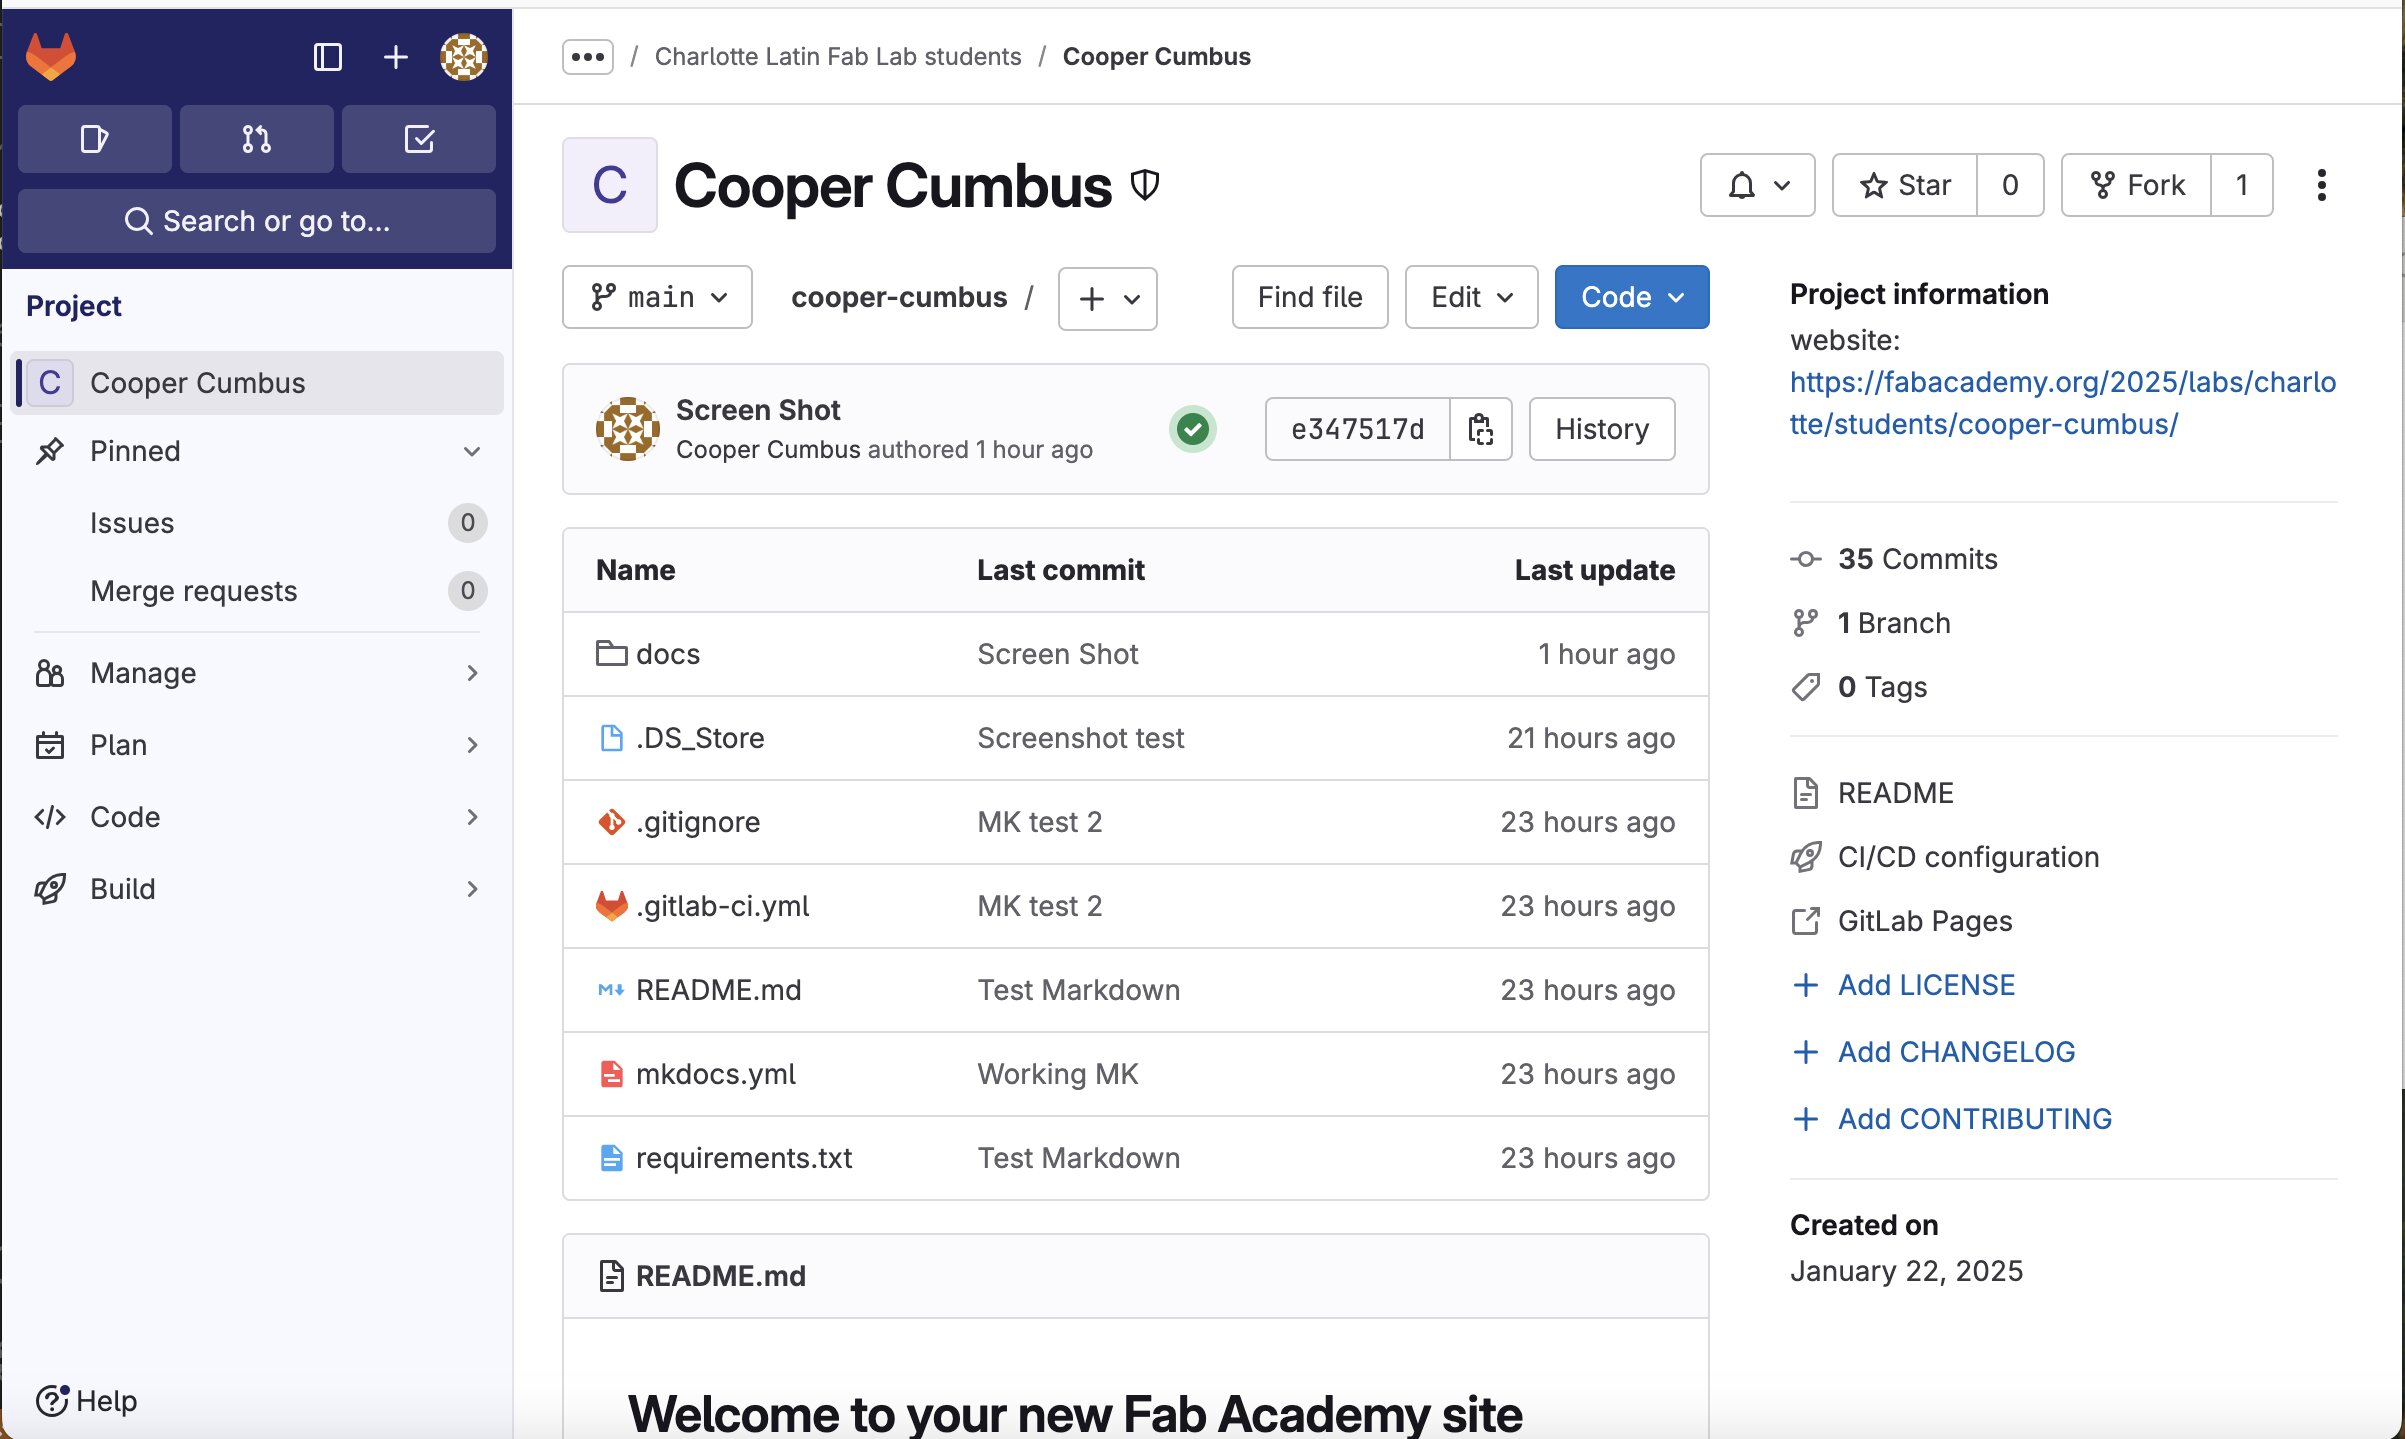
Step 2: Installing softwares for coding
Github Desktop : On the slides I was following I saw the advantages of using Github Desktop compared to using a web broswer to modify the site. I believed this to be a good idea so I downloaded it beleving it would be helpful. While it would be helpful for someone using Github, Im using Gitlab which wouldn’t link well to the desktop service. I accidentally made a second account not associated with the Fab Accadmey page. I tried linking the two together through the Github linking button on my Fab account but was unable to access anything on my Fab account on the desktop. I eventually realized that I didn’t need to install it and deleted it from my Mac.
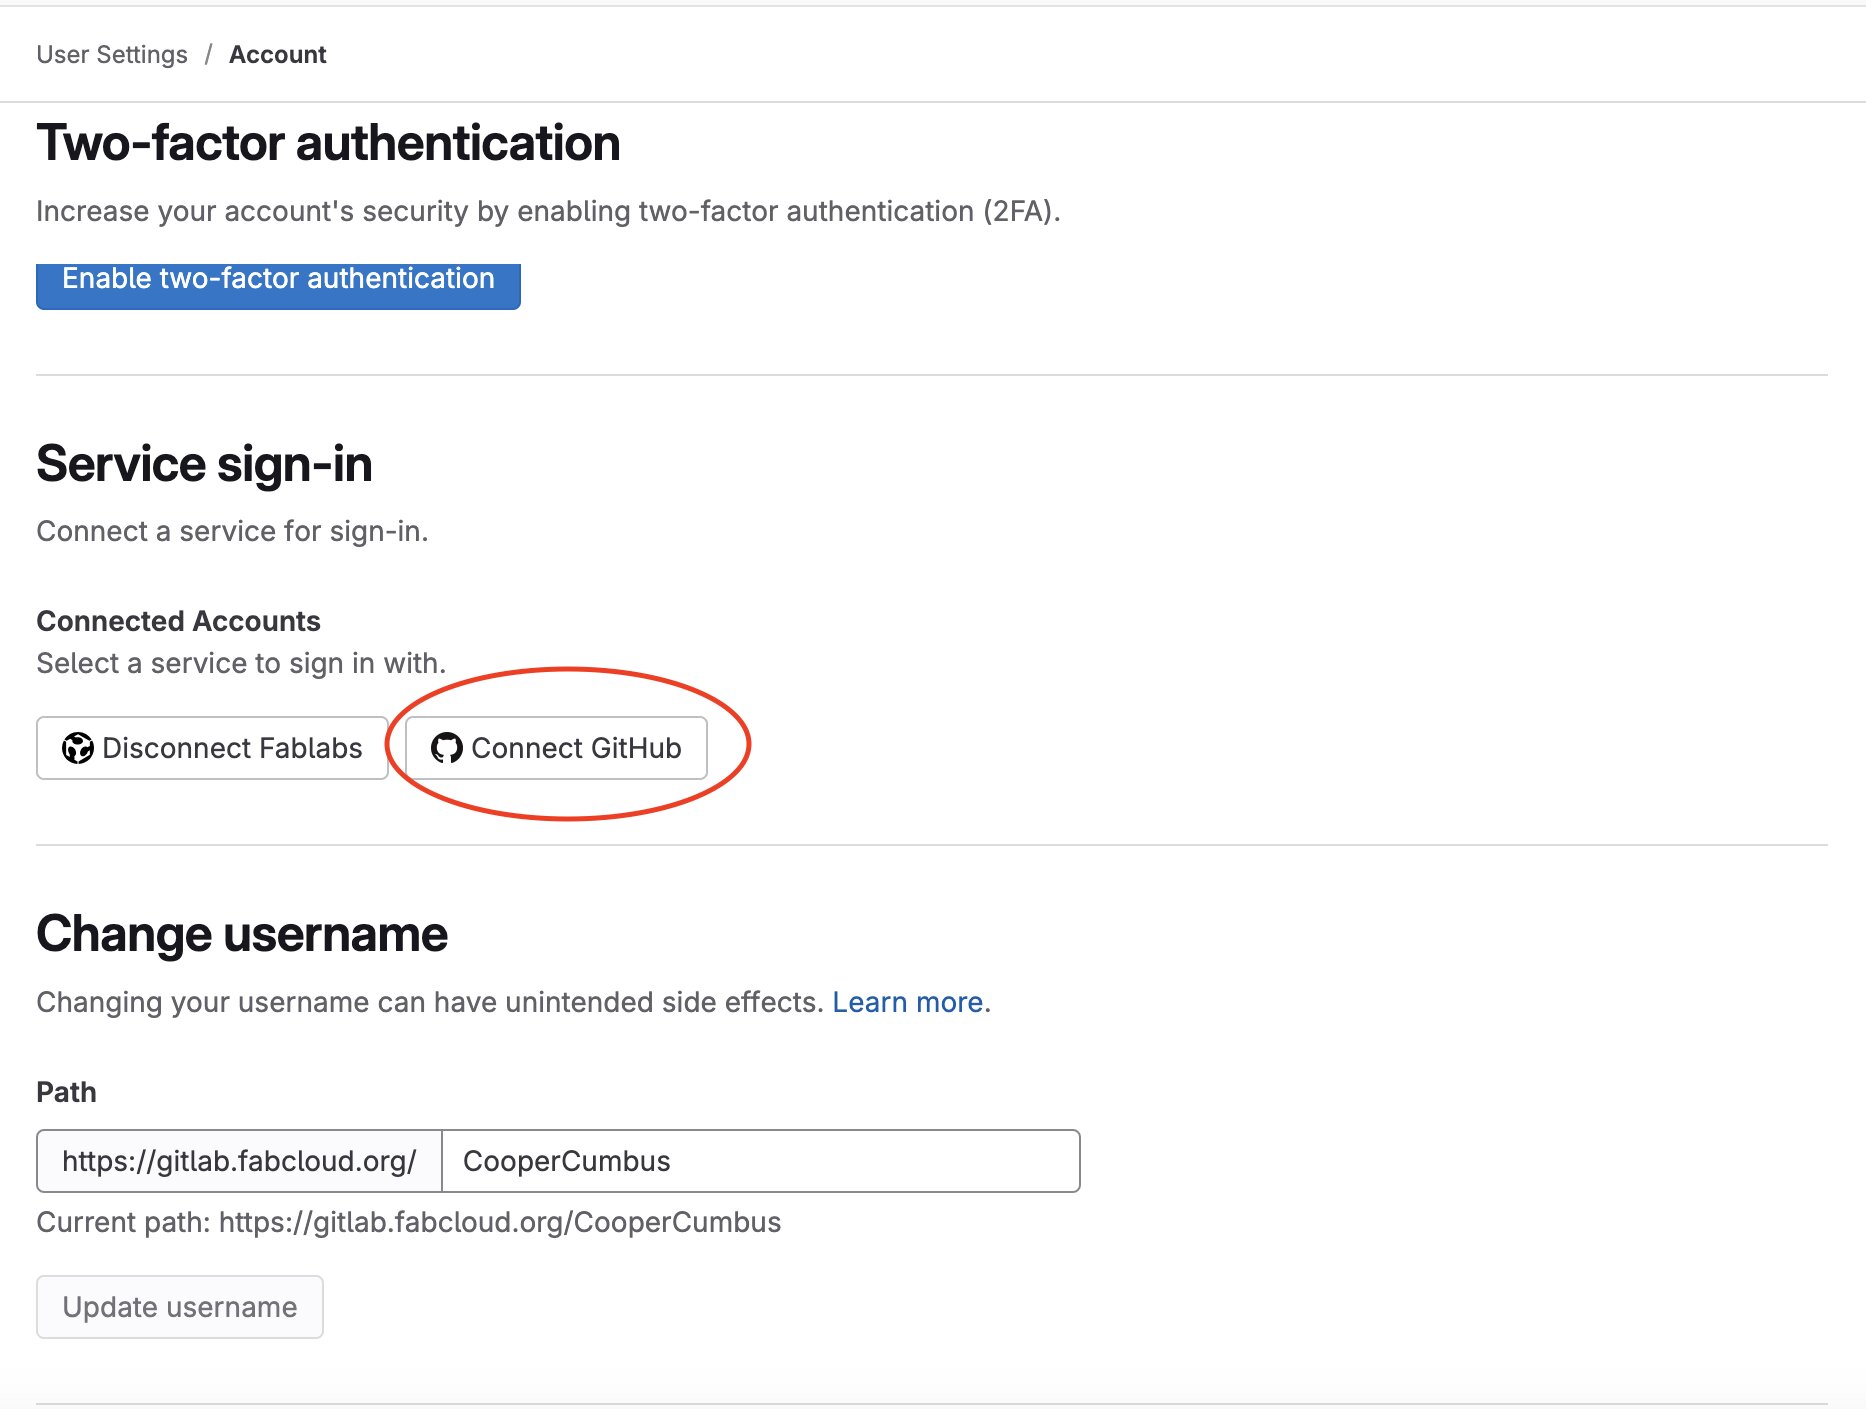 This is the where I tried to link the two accounts together
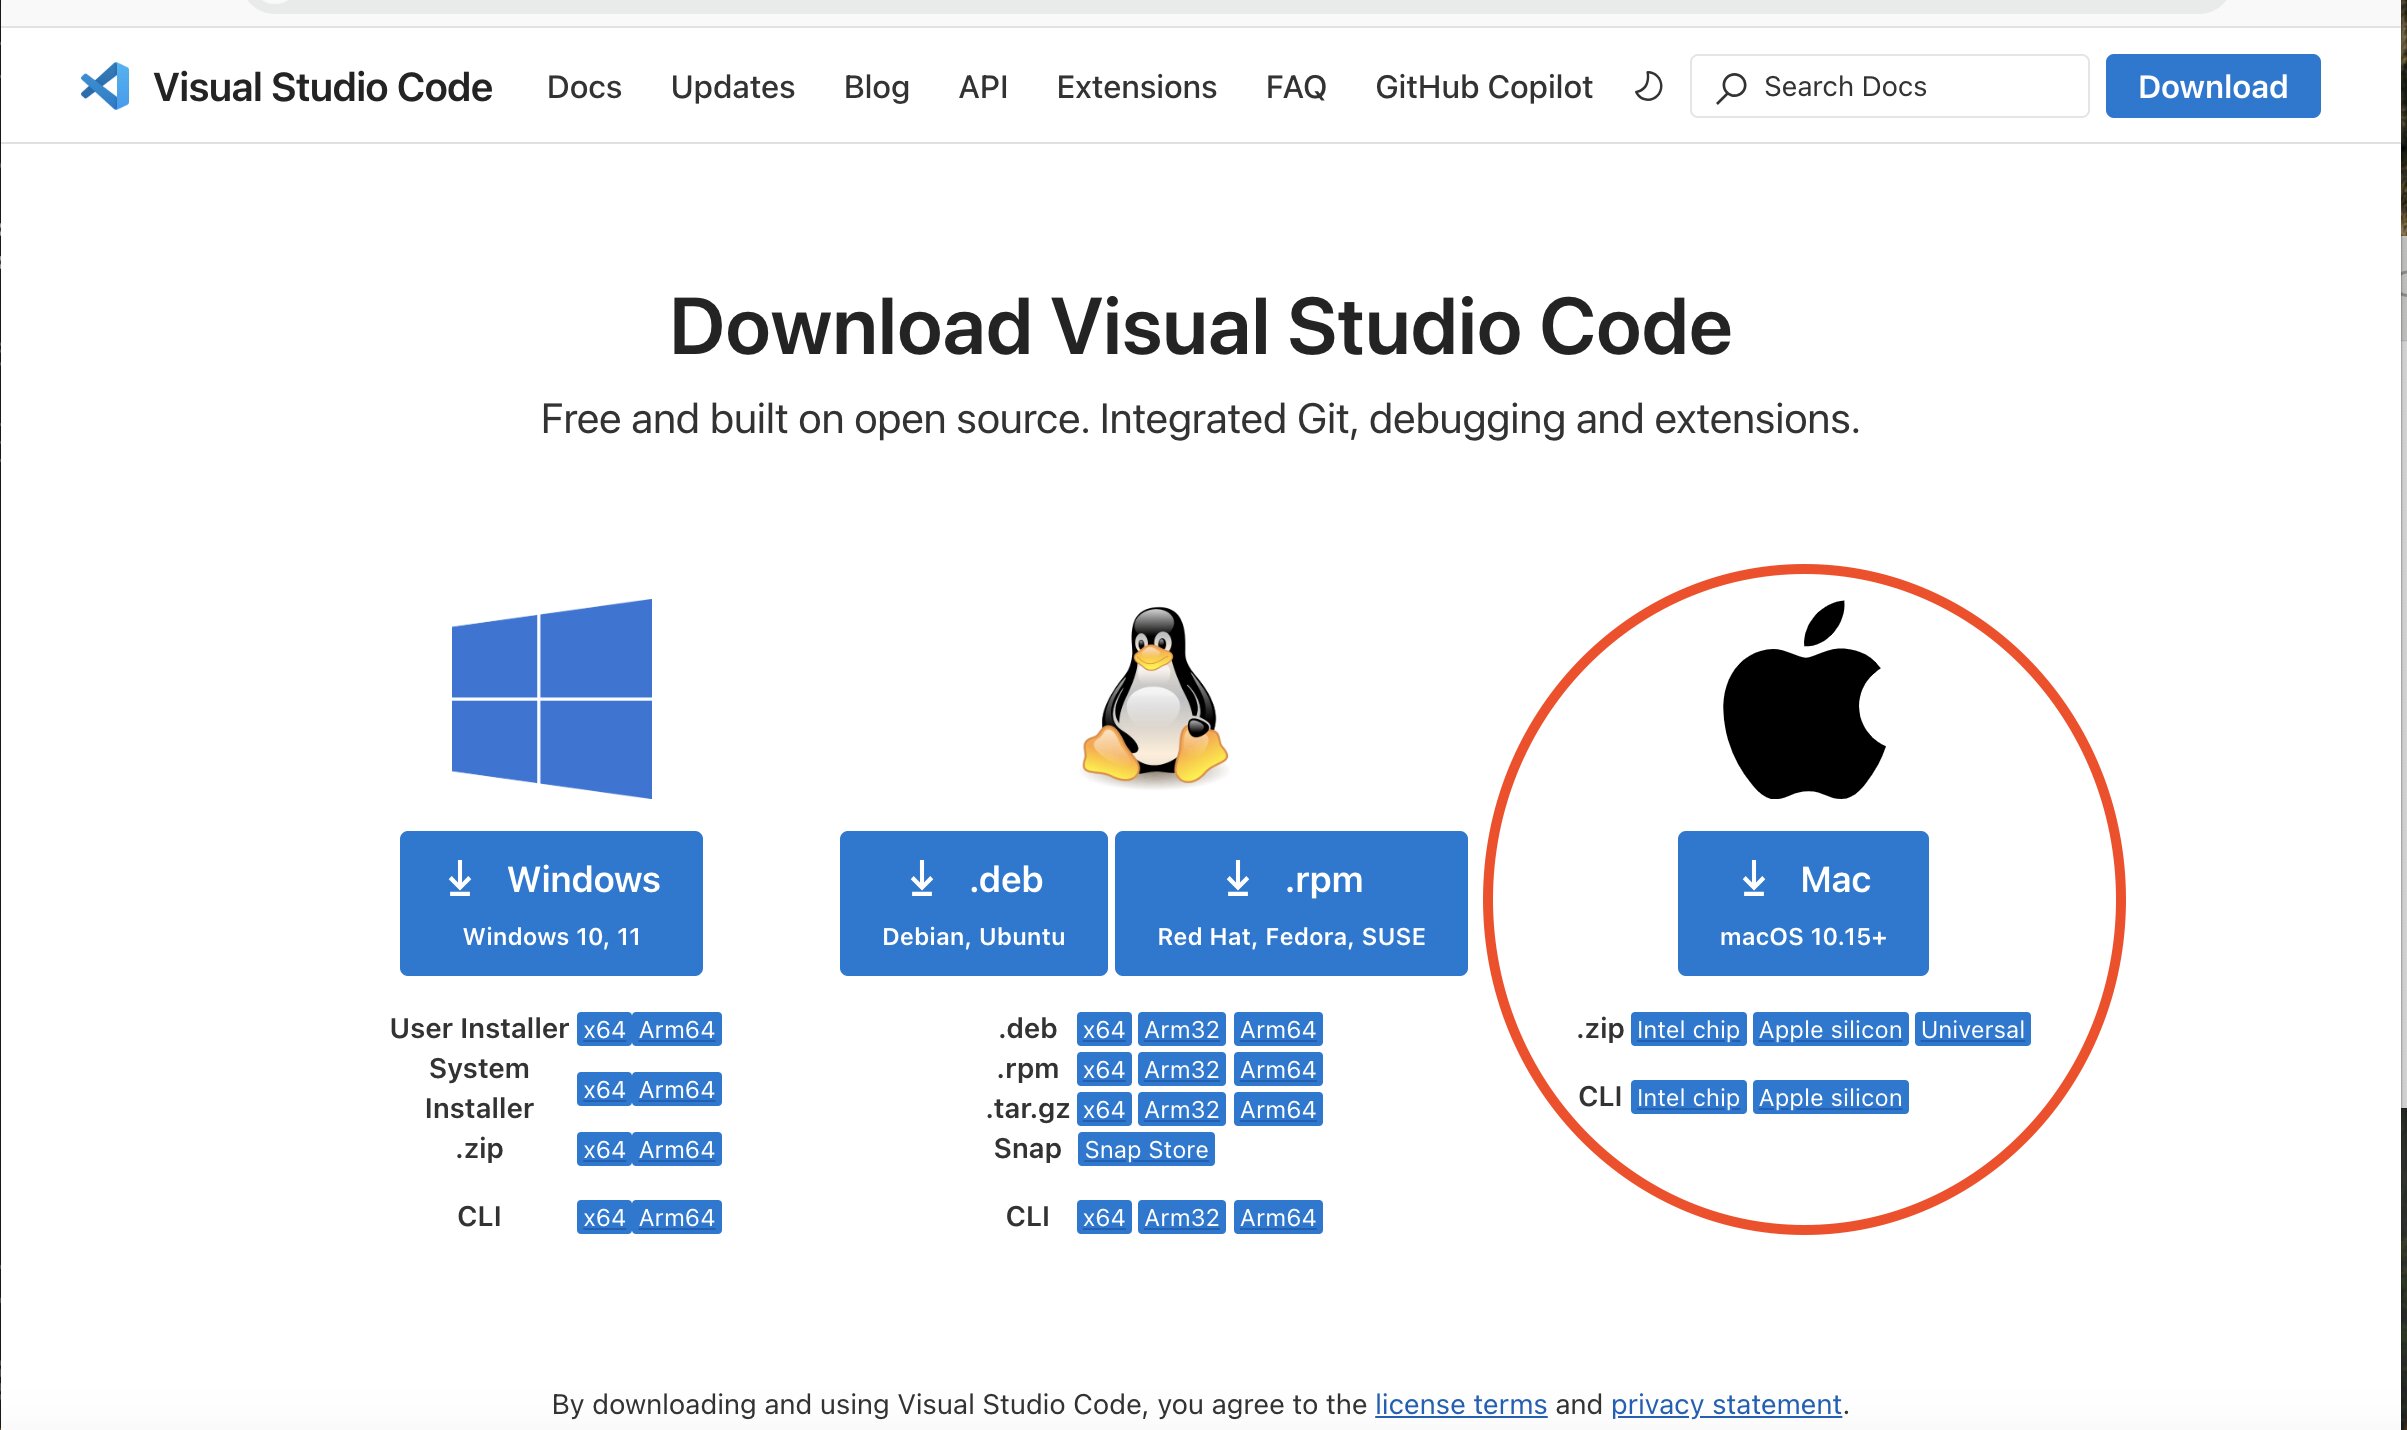
VSCode: I originally installed it when I tried to use the Github desktop, this was because I was blindly following the slides without looking at all the resources. I kept it unlike Github desktop since when I found the doc aforementioned it listed it on the steps on the doc aforementioned.
Part 3: SSH Key
The SSH key allows the modifications of the Gitlab on MKDocs. To get access to my SSH key I used the Mac’s terminal and first tried running the commands given in the doc. The issue was that I was unable to find where my SSH key was after running all the commands. I then asked ChatGPT where I would find my SSH key on Mac. It gave me a list of commands that I ran through my Mac terminal listed here.
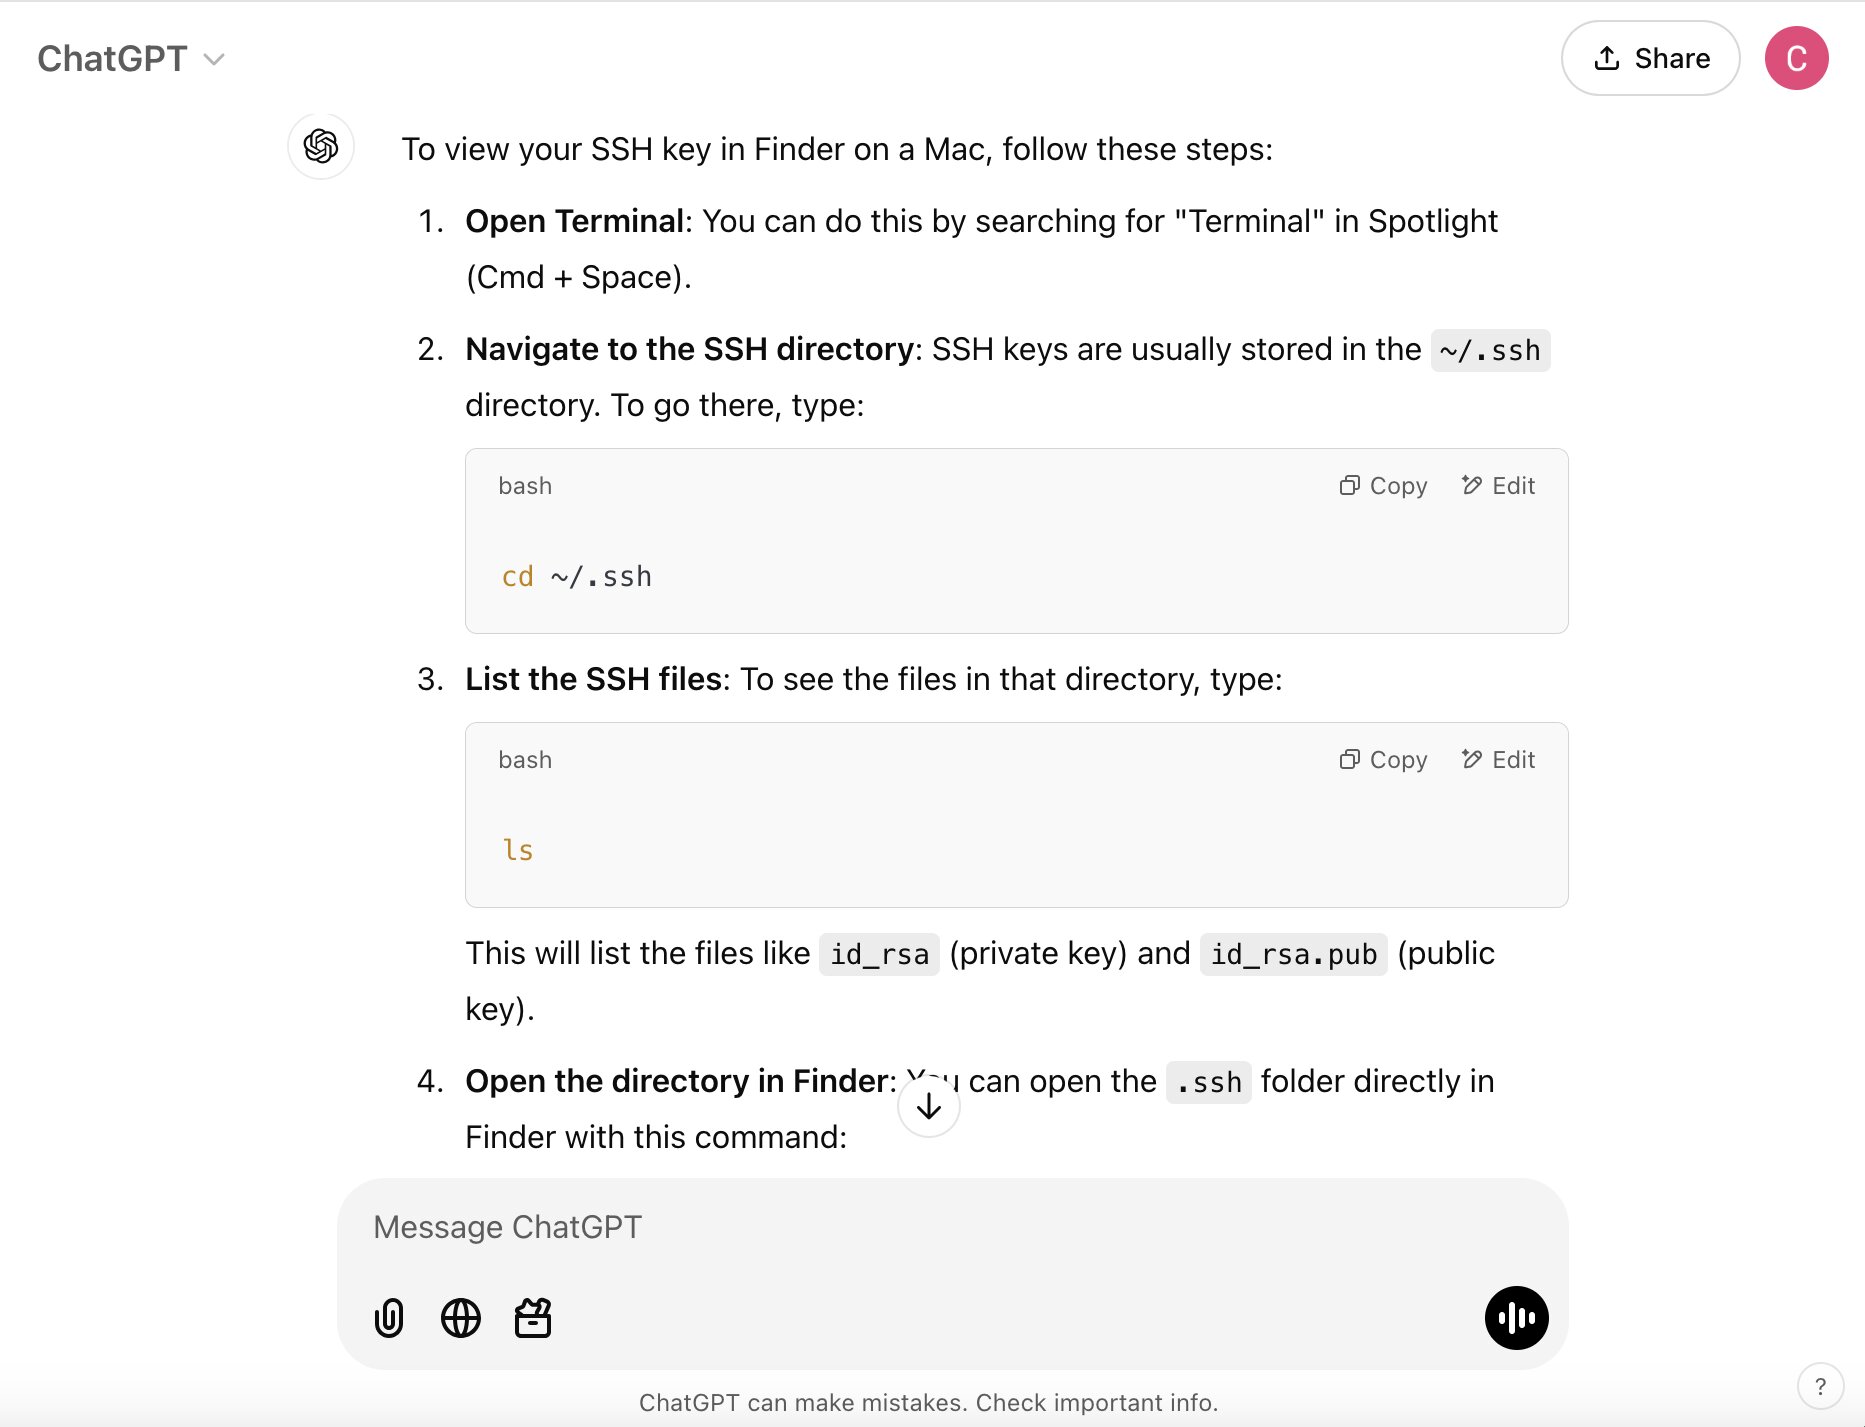 Here’s part of the solution that ChatGPT gave me about finding my SSH key.
Part 4: MKDocs
To install MKDocs I first had to install Python. That in itself was easy, I just installed it directly from the website. The problem was in a part I was supposed to do while installing it. In the doc it says to selcet “add PATH to python” the issue is that when installed on Mac that option doesn’t exist. Once again I went to ChatGPT after how helpful it had been with my SSH key issue. I asked where I could add PATH to Python and it told me to run these commands after that I needed to install Pip onto Python so I could install MKDocs.
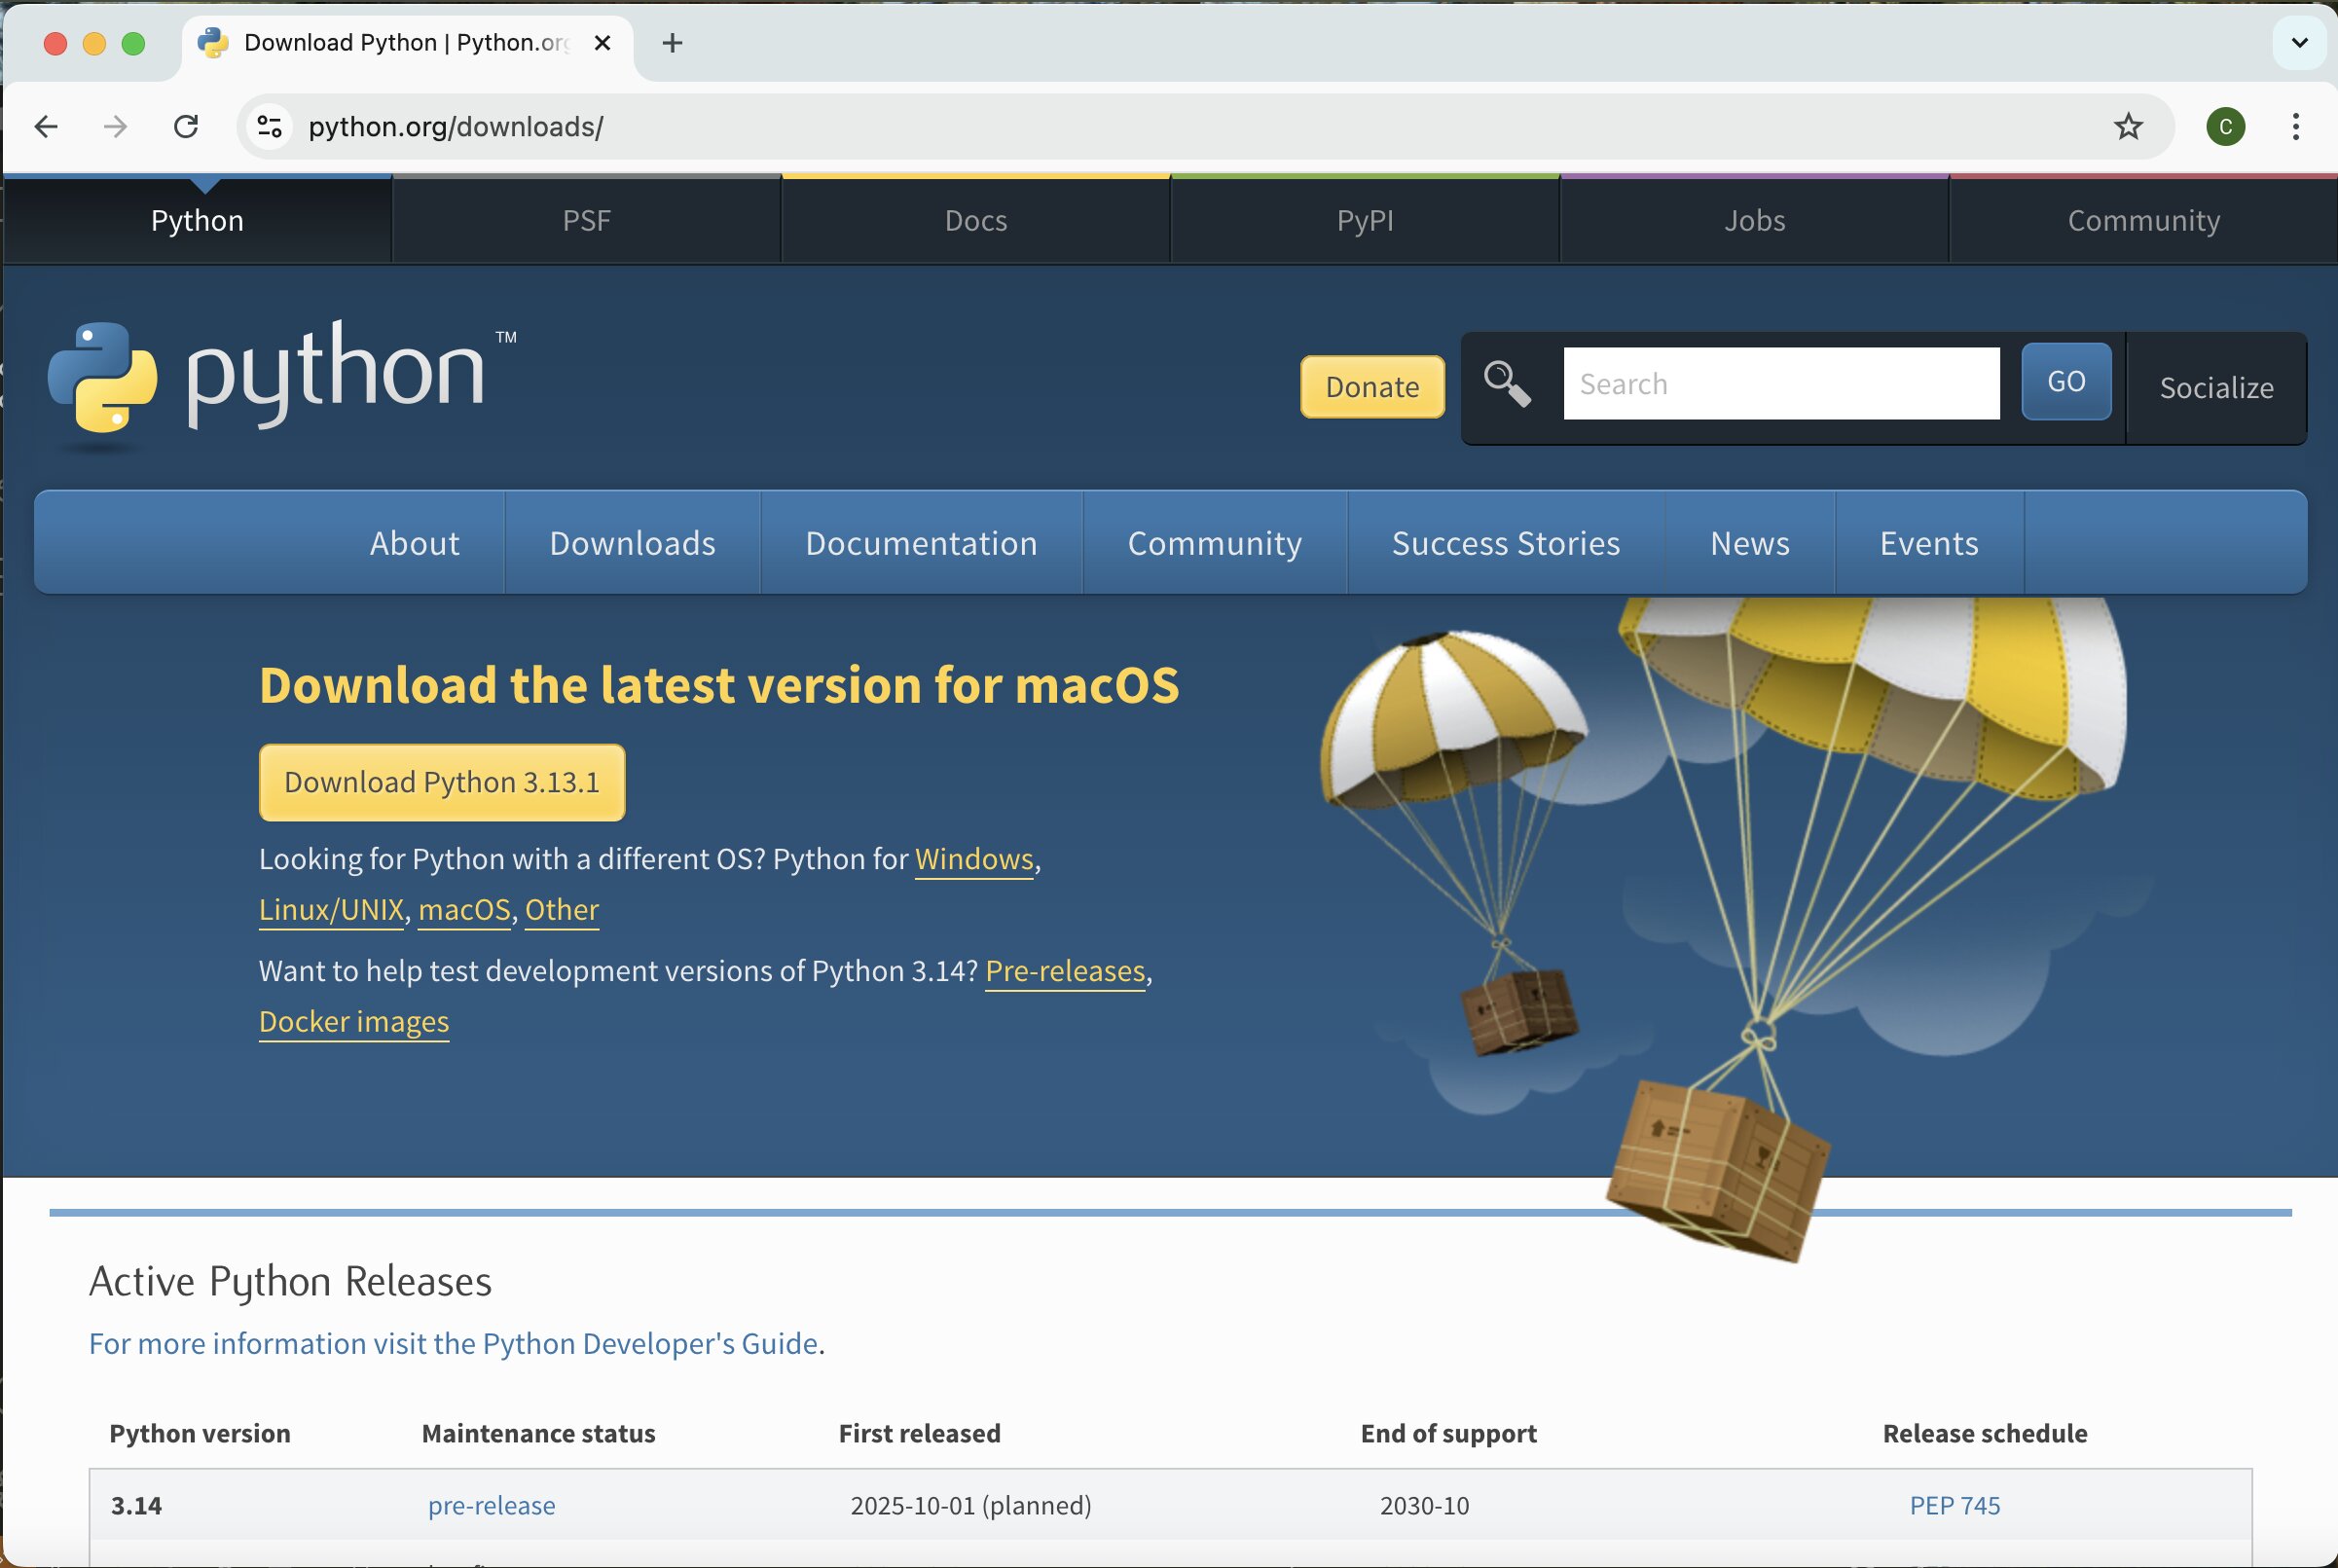 Heres how easy downloading Python was
Pip didnt work well on Mac so I instead used Pip3 and installed it with the help of ChatGPT in the same conversation linked above. From there I was able to follow the instructions on the doc to instal MKDocs.
Part 5: HTML to MKDocs
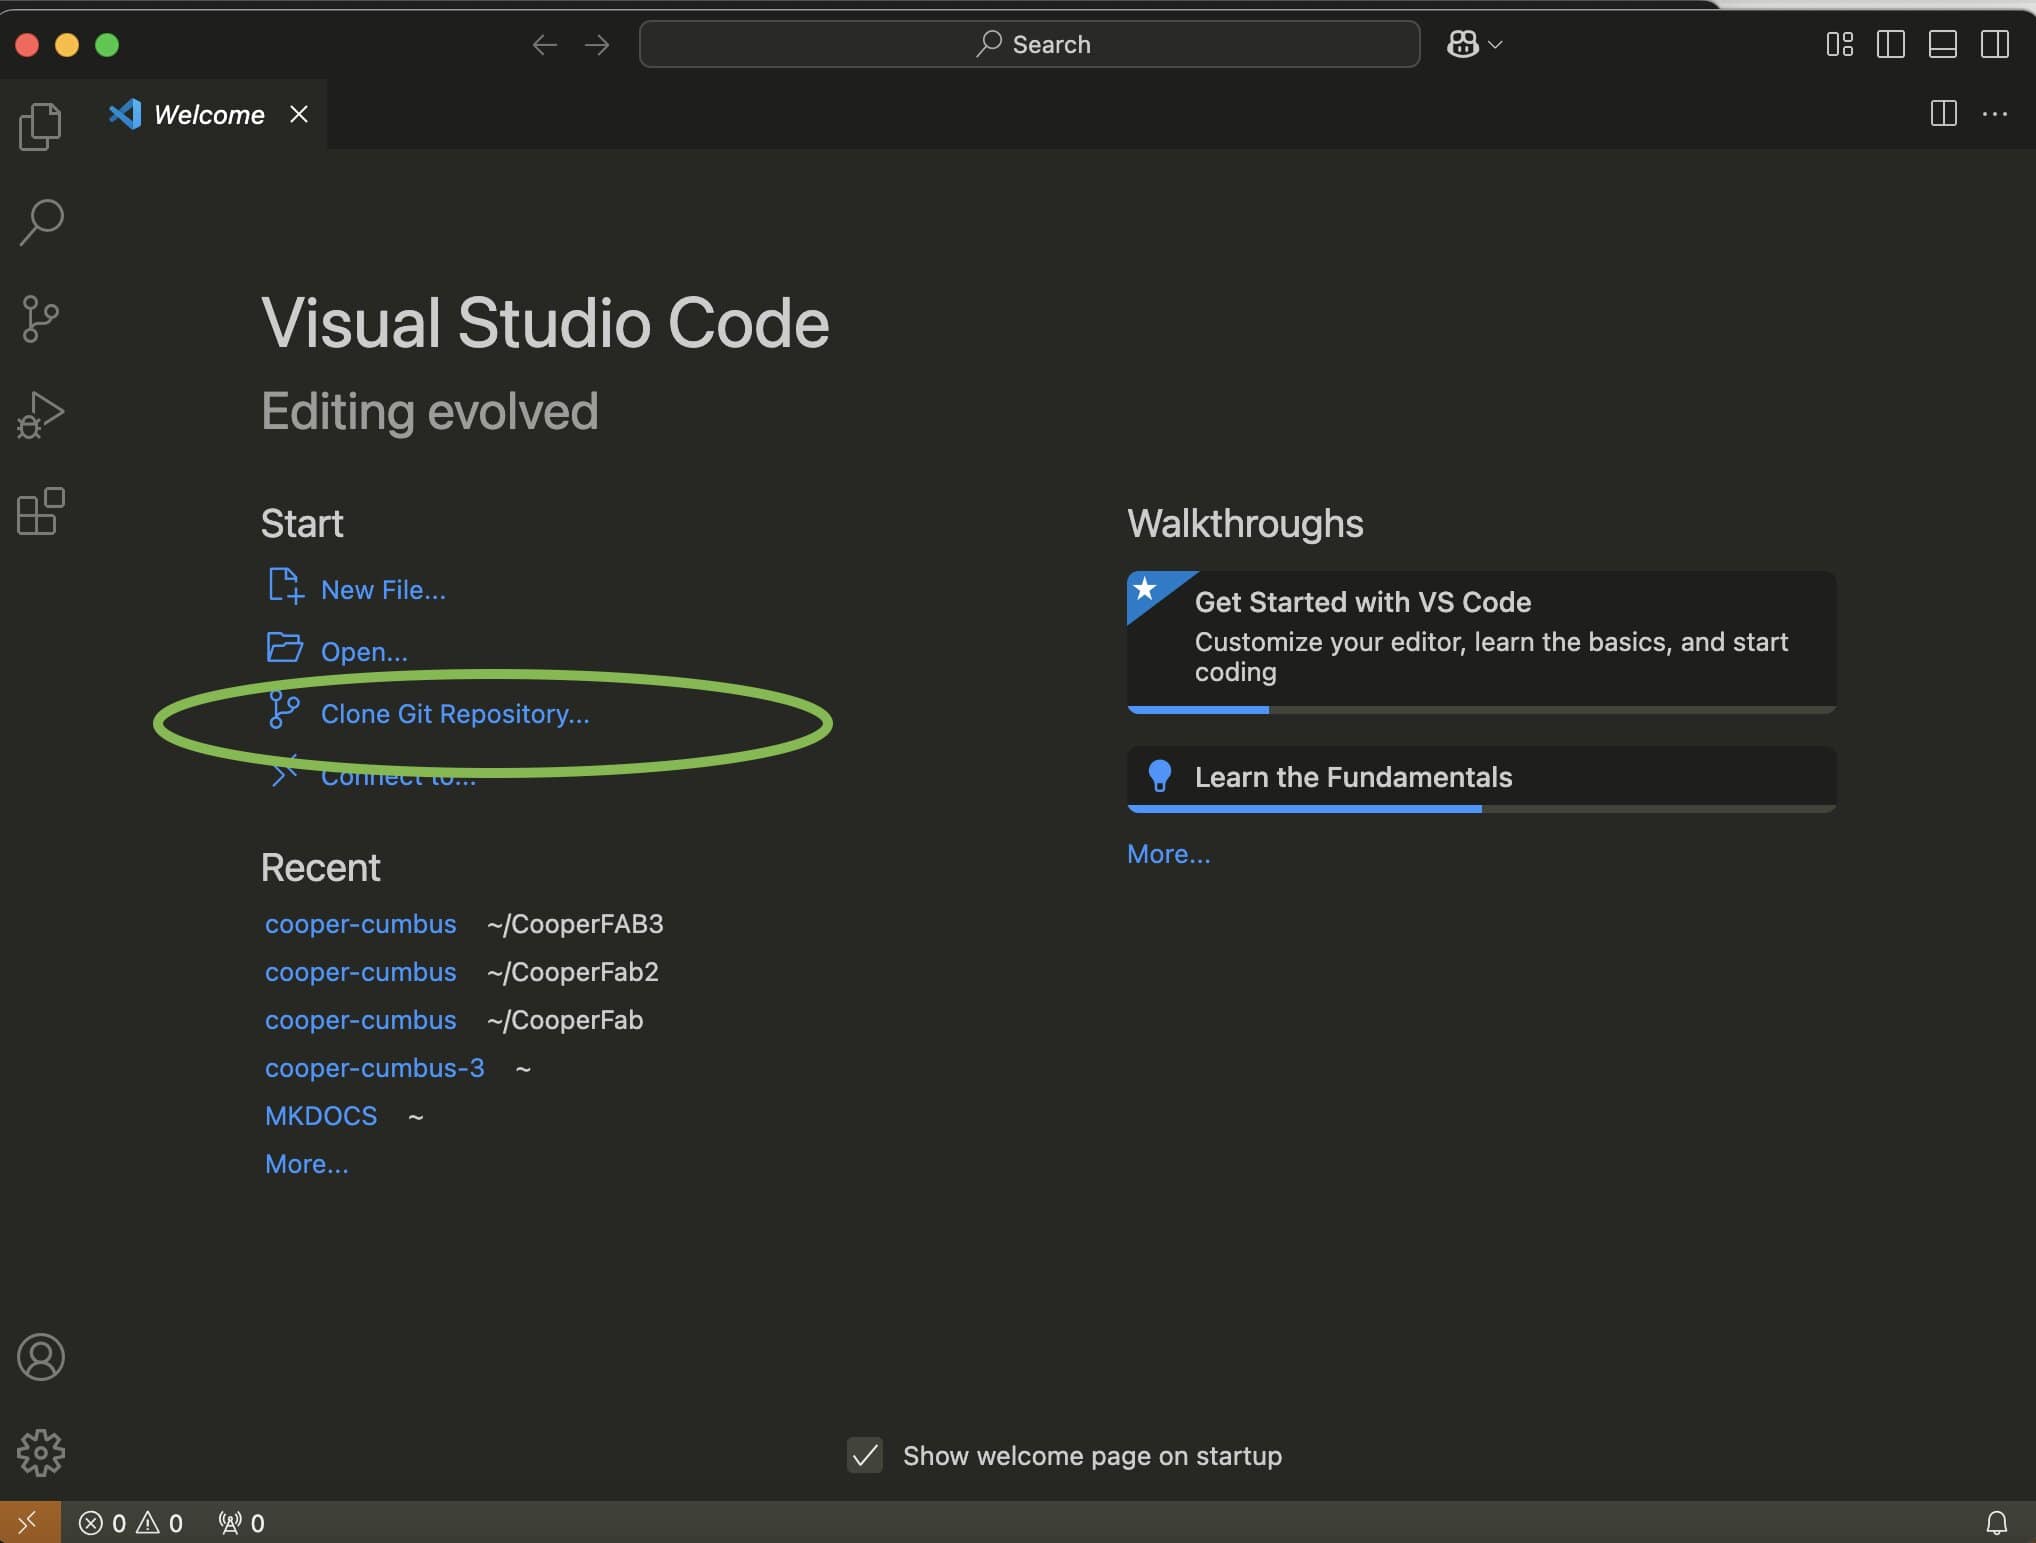
Changing from HTML which was the template I was on originally was the trickiest part of the website. I first tried to switch it over by deleting all of the parts that were linked with HTML and then cloning my repository so that I could add the MK template linked on the slides on slide 6. This failed because the gitlab-ci file I had also needed to be removed since it was also for the html template. I don’t know why I kept it, I tried commiting it multiple times with it even though in the template for the MK verison there is a gitlab-ci file that was clearly diffrent from the other one.
Part 6: Images
For screenshots on Mac I use the command CMD + Shift + 3. I then put all of them in a folder outside of my Gitlab one so I can convert them into JPG files. For photos taken on my phone I upload them to my drive and then download them to my folder for later conversion to JPG. Once they are finished I send the converted images under images and then to the week they are associated with.
Issues Encountered
Throughout the setting up of my Gitlab for documentation I encounted a few problems. When originally setting up my gitlab I accidentallyy selected the html template instead of the markdown one which made it difficult to link my Gitlab to my markdown software well. To solve this I replaced all my files in my Gitlab with the ones in the markdown template. This didn’t affect my documentation much since I still was unsure of what I was entirely doing.