3D Scan
The assignment of the week is to 3D scan an object (and optionally print it).
Before scanning
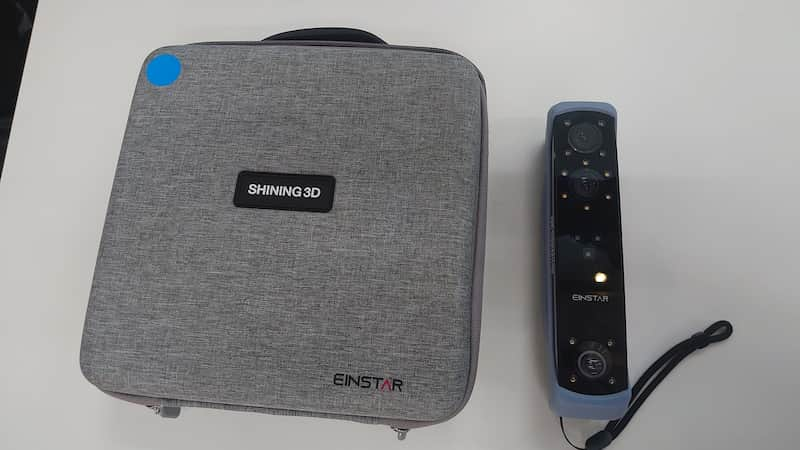
The scanner I used is EINSTAR from SHINING 3D in the lab.
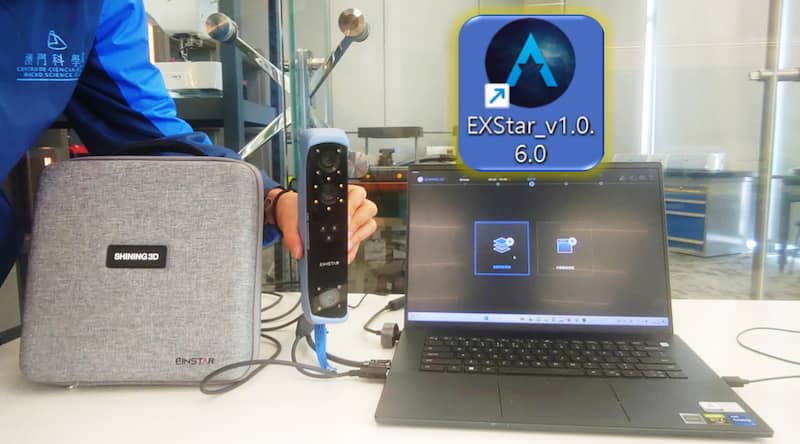
Both software download and hardware connection can be checked form the Official Website.
In Official Website, the ExStar Software is told compatible only with NVIDIA graphics cards.
I can't open the software with computer using AMD graphics cards after version v1.2 since 2024.
But the v1.0 version I installed in 2023 with the same computer seem still work fine.
Hardware connection
Connect Instruction
Official Website: https://docs.shining3d.com/exstar/1.0.0/en-us/device/
Calibration(Optional)
You can continue to use the scanning function without this step.
However, different environments have varying lighting and tones, calibration allows the machine to automatically adjust its internal parameters, resulting in better scanning results.
Therefore, it is recommended to perform a calibration before each scan.
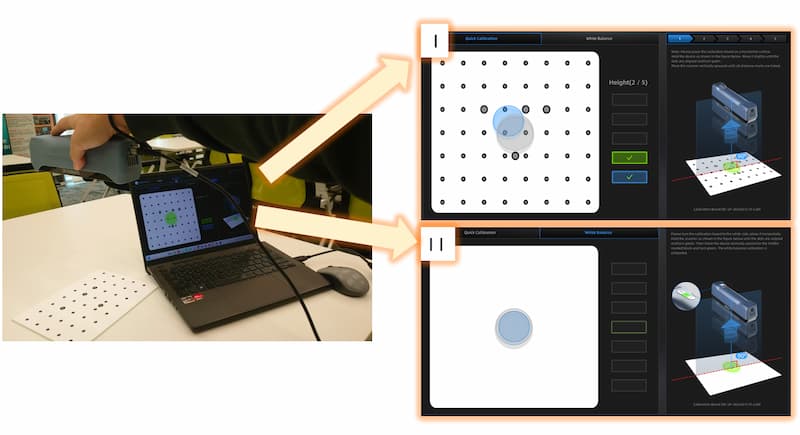
Calibration detail
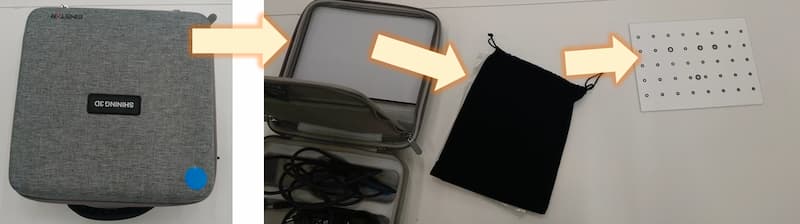
Take the calibration plate out from the set box.
II. After clicking in, there will be a simple tutorial.
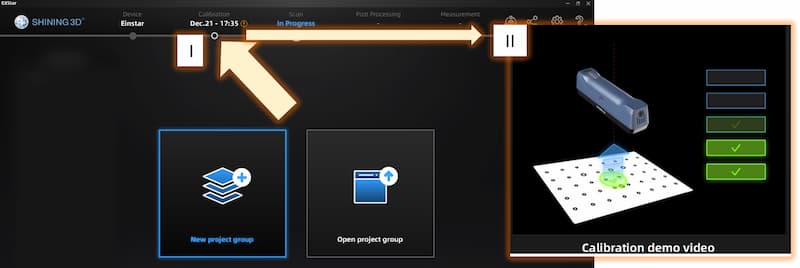
I. Quick Calibration
II. White Balance
Scanning process
As the scanner doesn't have a screen and built-in battery. It need to connect to the computer through a dedicated connection cable.
- Make sure there is enough space for a big scan like scanning people, as the scanner need to keep distance to object, which is about 1m.
- Try to avoid returning to previously scanned areas, especially for scanning moving objects, as this can lead to deviations caused by movement, ultimately resulting in ghosting.
- Place the computer screen to a suitable place where you can esily check the result during the scanning process.
Scanning #1
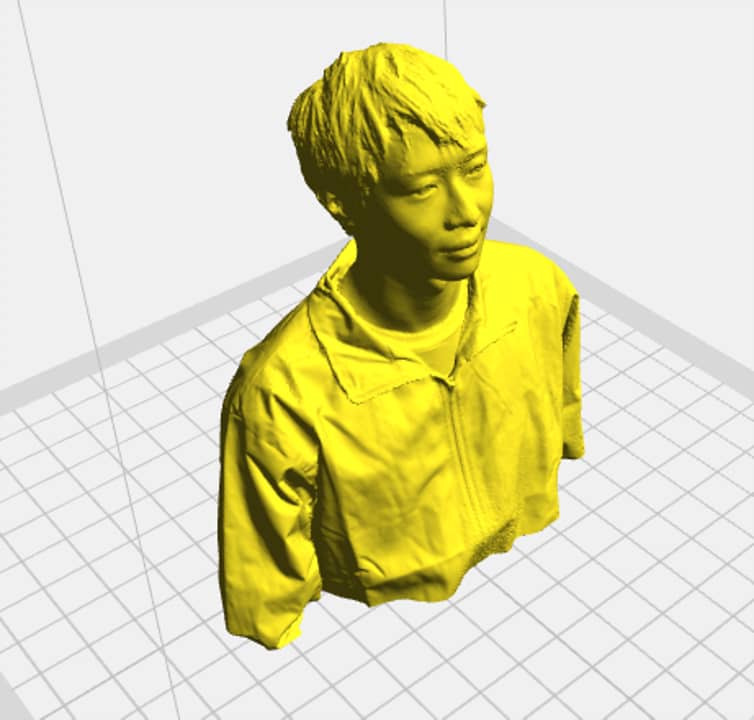
My assignment is scanning myself.
In the EXStar software, first we need to choose which type of object you want to scan: I is for people scan and II is for object scan
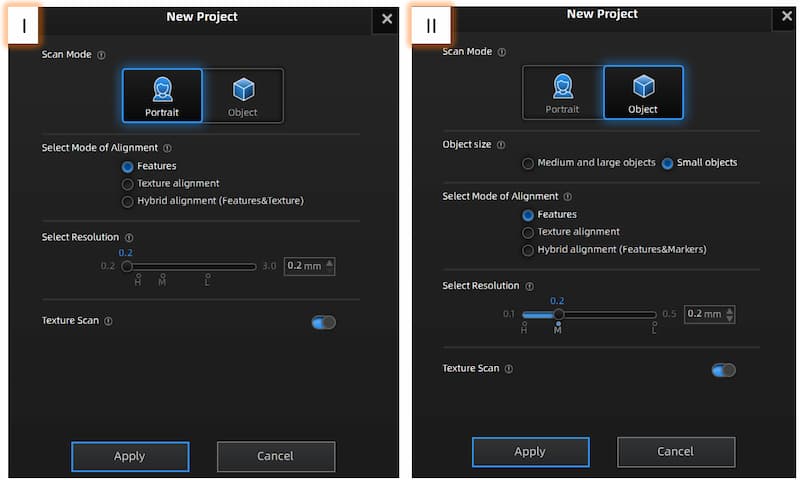
I.
Basic function
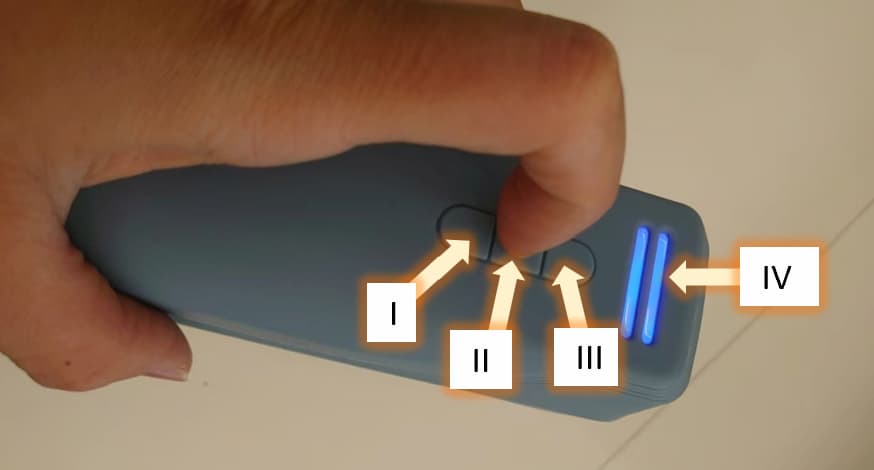
I,II,III and an indicator light IV.
I. Zoom out
II. Press first time for a preview scan, press the second time to start the scan, and press the third time will stop the scan.
III. Zoom in
IV. The color of the light indicate the distance between the scanner and the object.
Red mean to close, green mean great and blue mean too far.
Here is the time lapse record of the scanning process

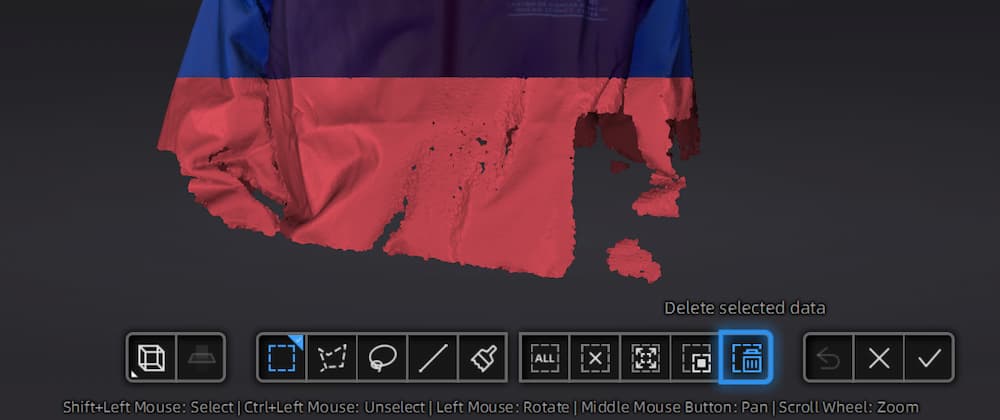
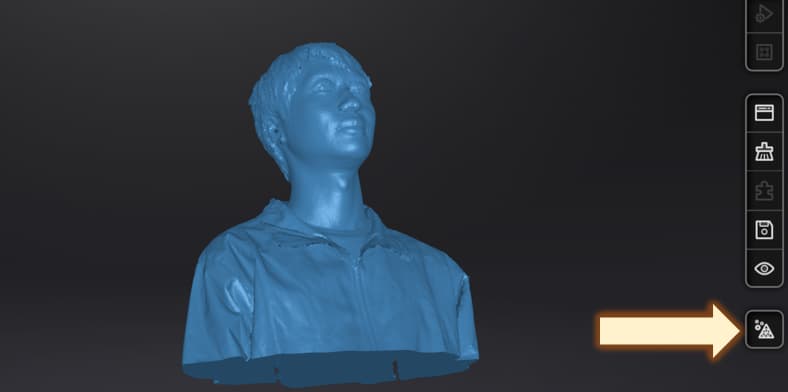
Mesh Model button in the bottom right.I. We can choose to ignore the gaps, fill the small gaps only or just fill all the gaps.
II. Confirm the setting.
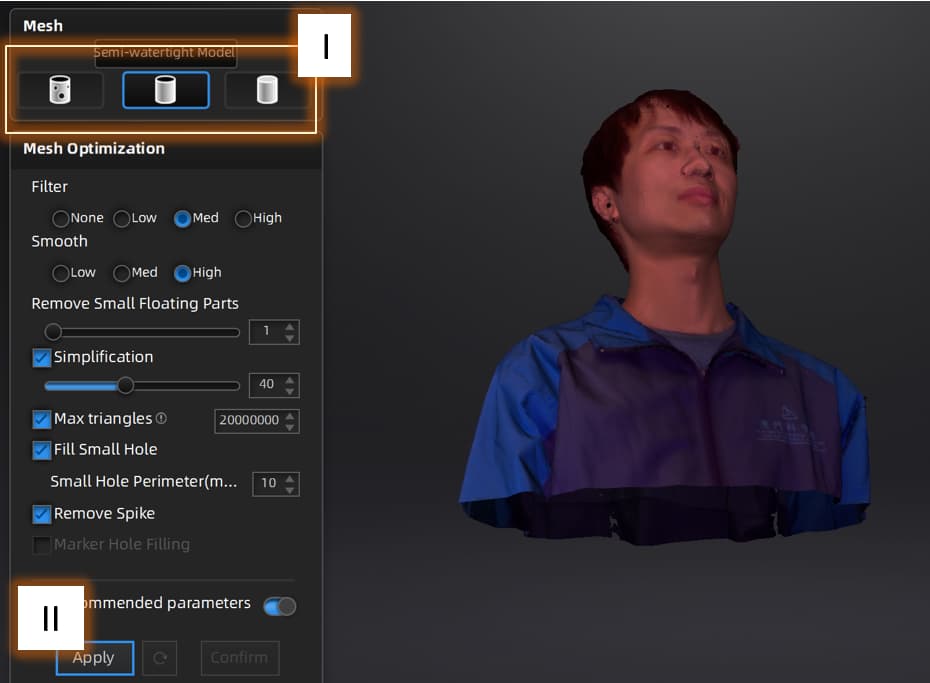
The result after auto filling
Finally, don't forget:
I. save the model with the save icon
II. save as .stl or .obj file for 3D printing.
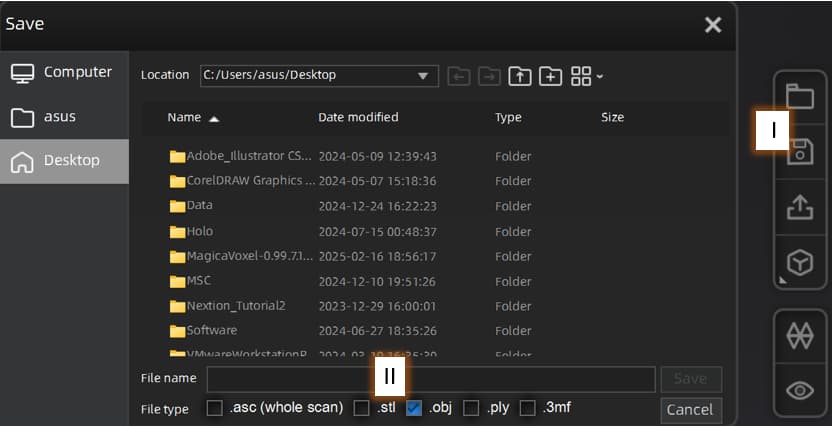
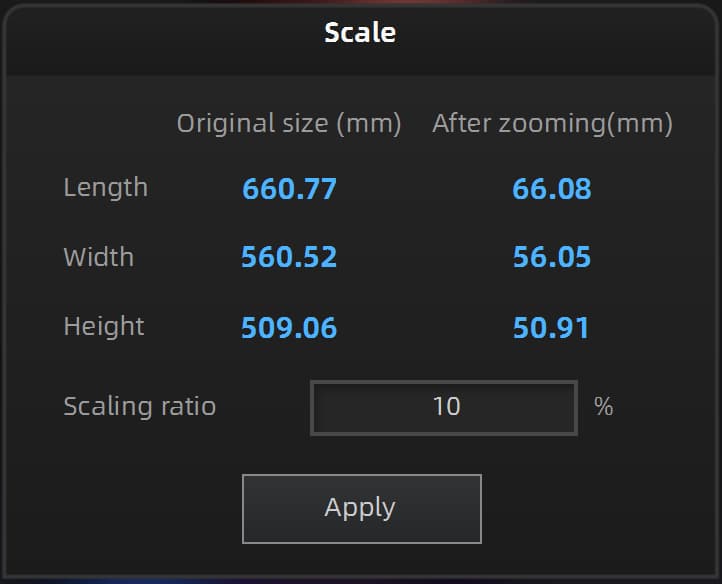
If you are scanning a large file and want to slice it in 3D printing software later, it is recommended to scale down the file during export (for example, to a scale of 1:10).
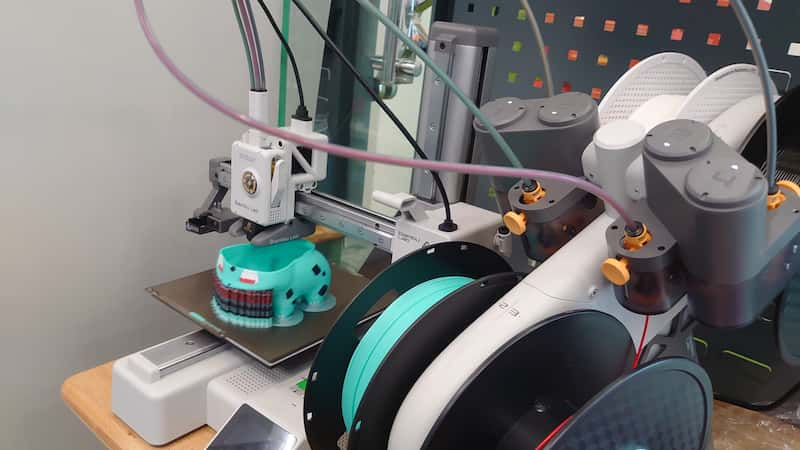
I will use the Flashforge Finder3 to print the file, so I'll use FlashPrint5 as the slicer.

Process
- Import the stl to the slicer
- Parts like the chin are suspended, so support needs to be added
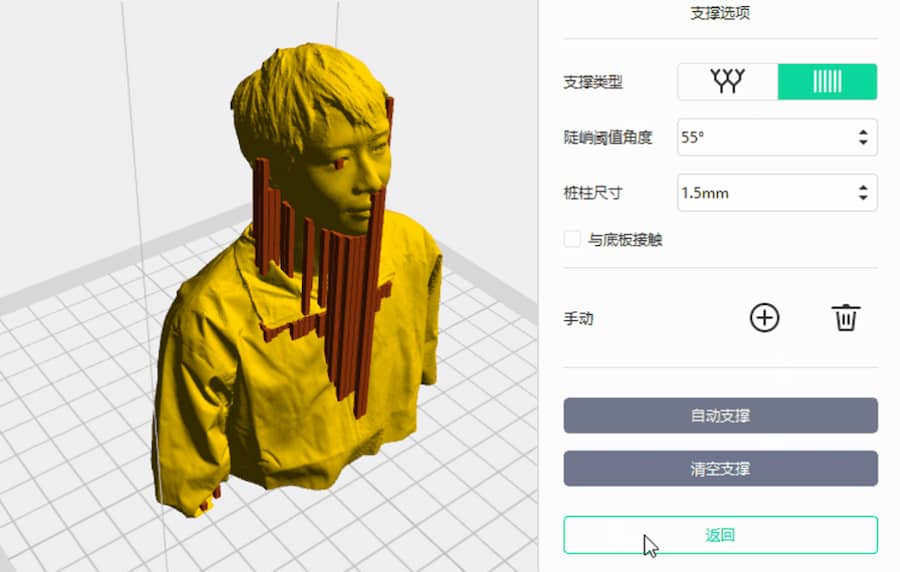
- Check the simulation
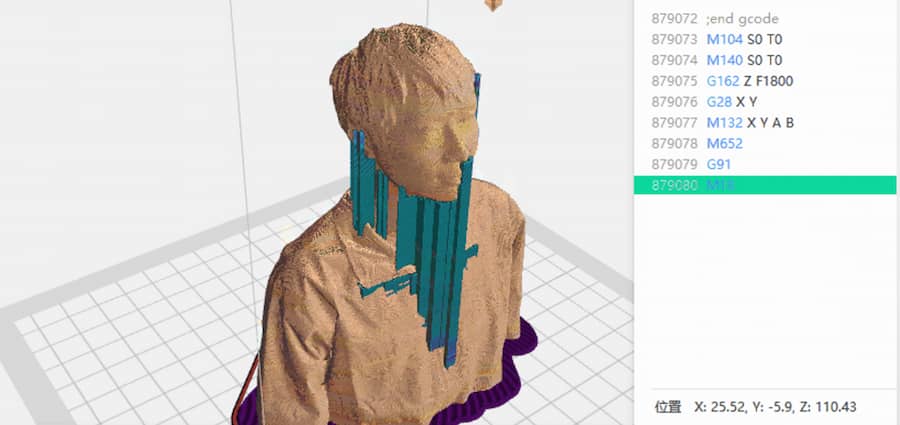
- Export the file to the printer
Print it out!
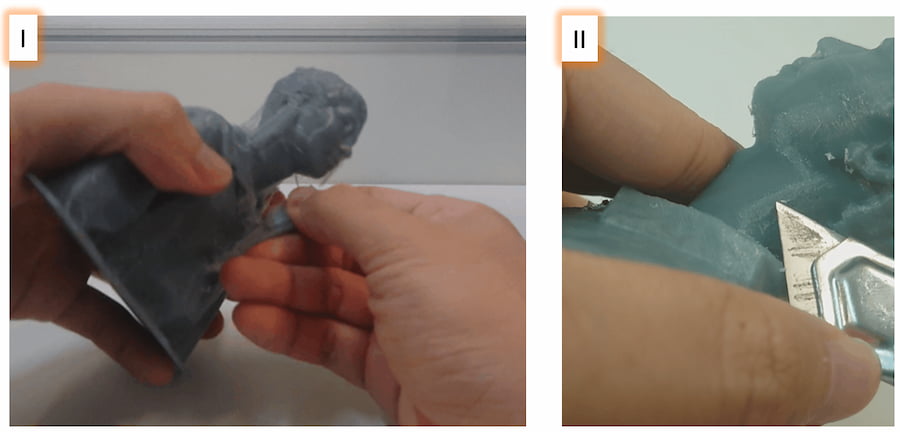
Don't forget to remove the support.
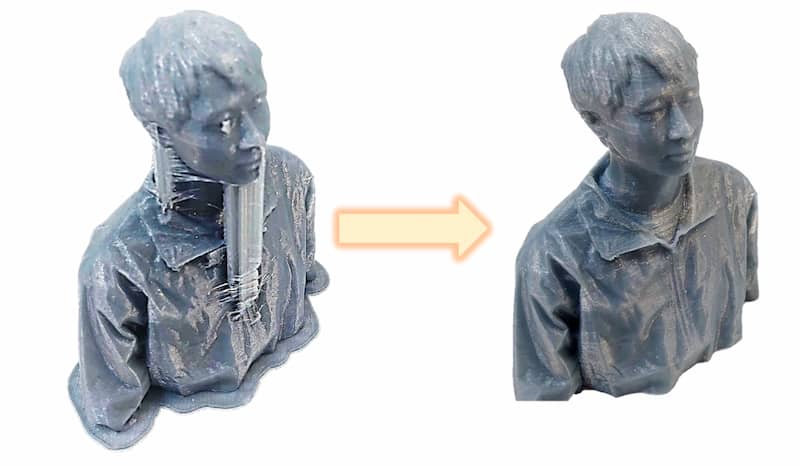
II. Small support can be remove with the tools like cutter.
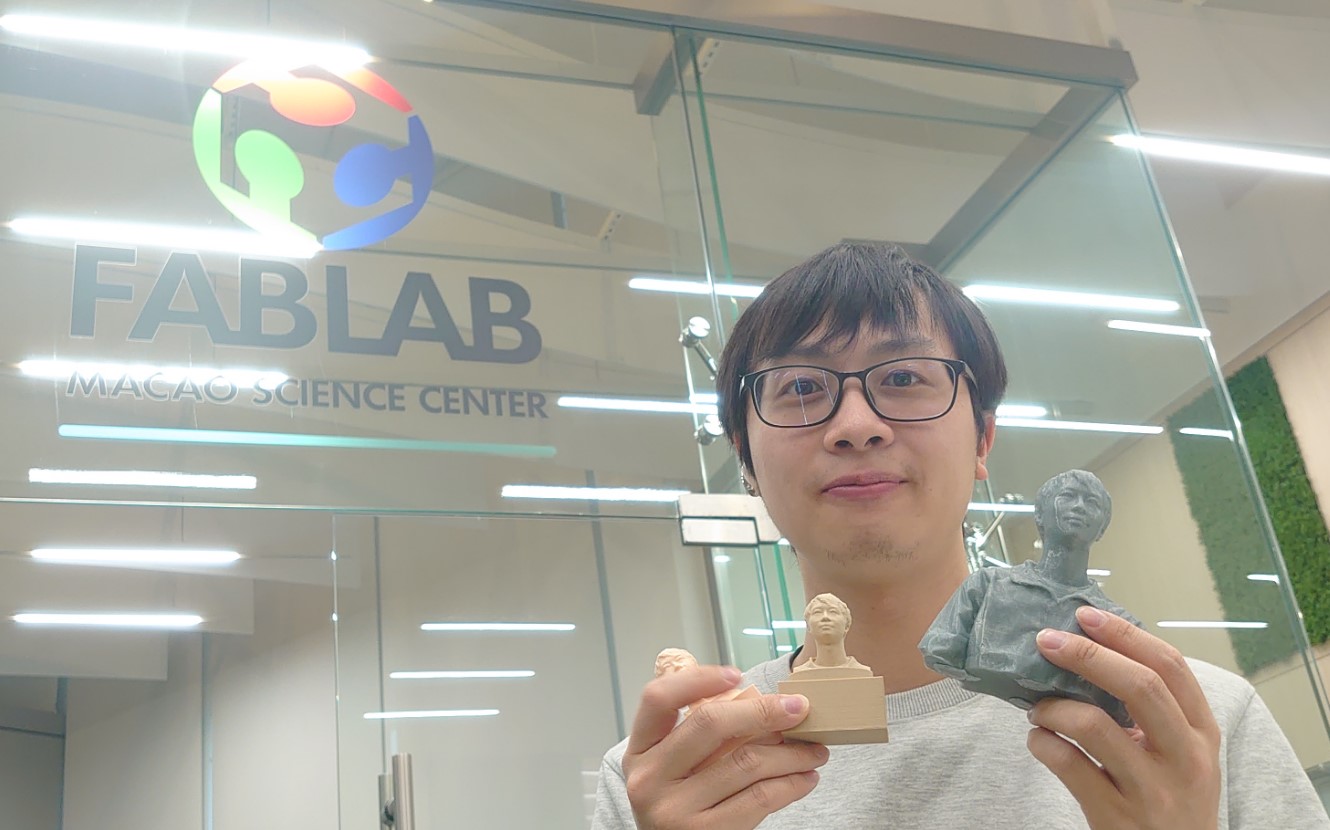
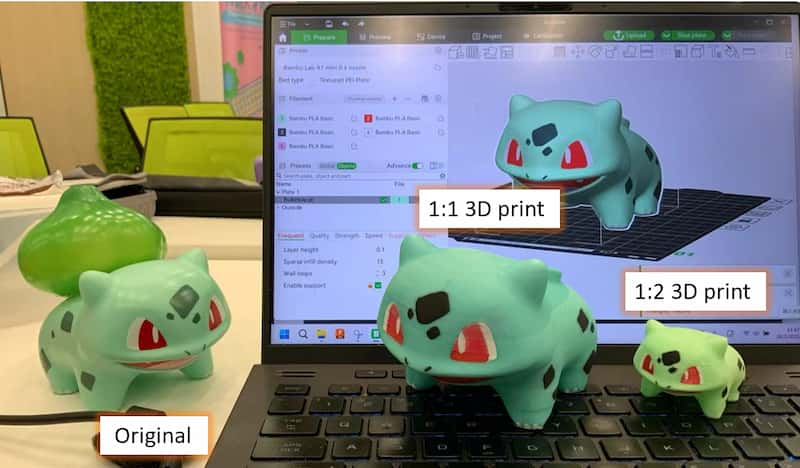
Having fun with different sizes and color!
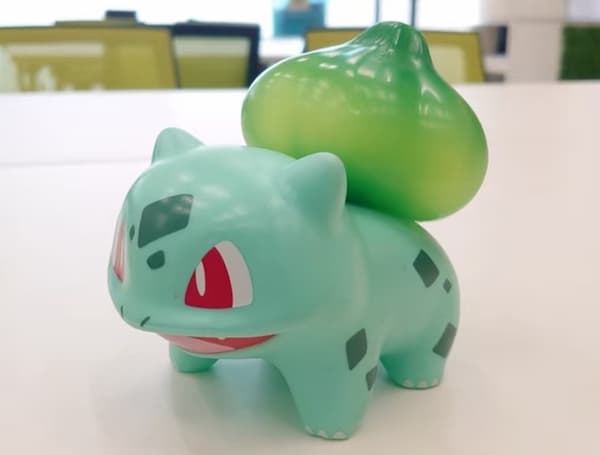
Scanning #2
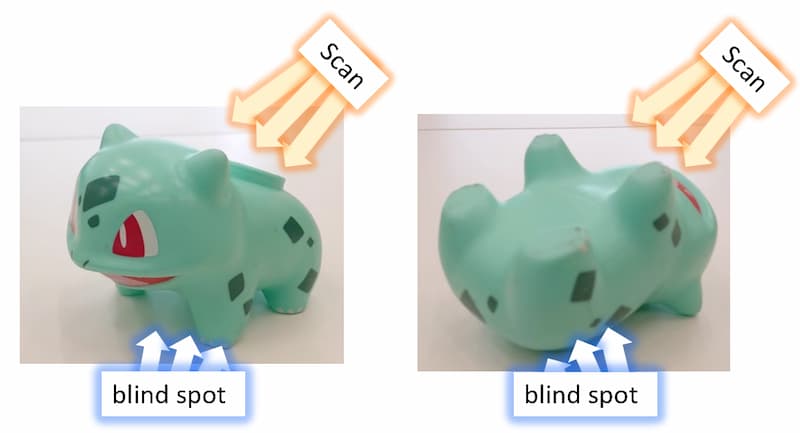
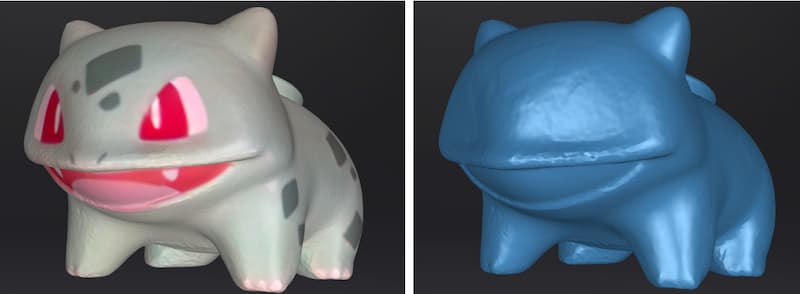
I also want to try scanning character figure. Here is a bulbasaur figure sample:
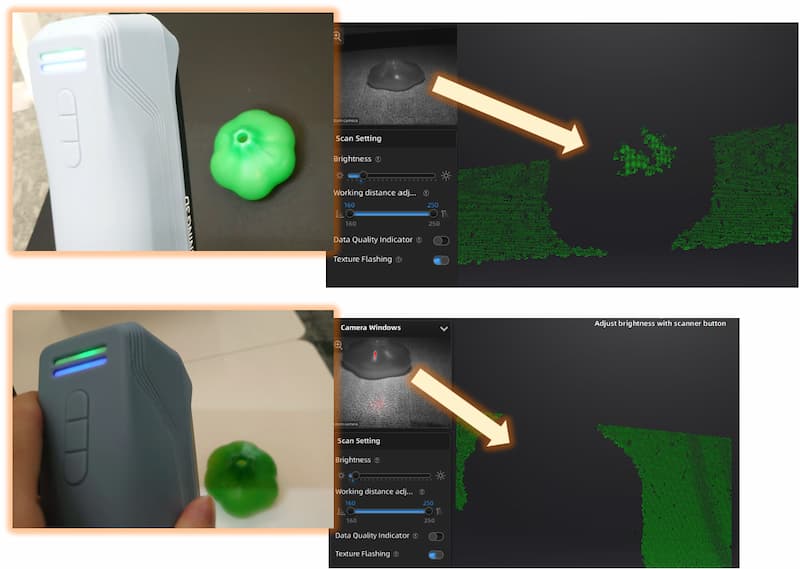
II mode for object scan
During the scan, the "blub" can't be detected by the scanning whether the background is black or white.
Unlike scanning people, there will be some part face to the ground where the scanner can't scan
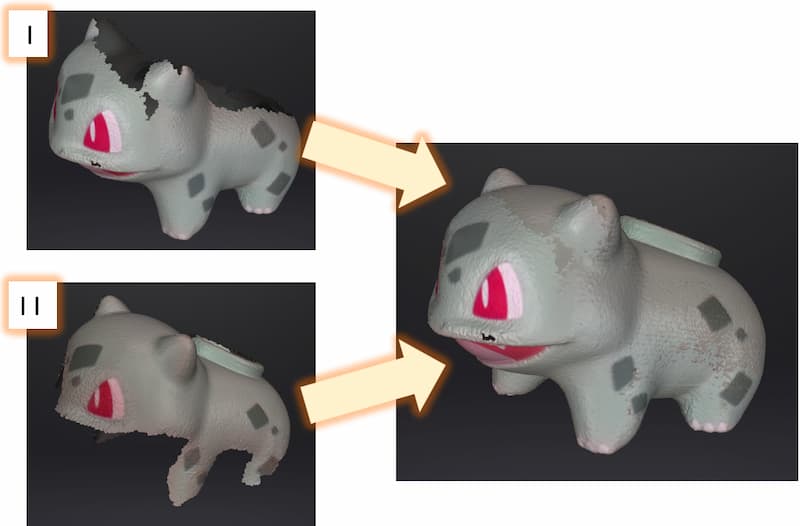
Process
First scan half of the model as usual.
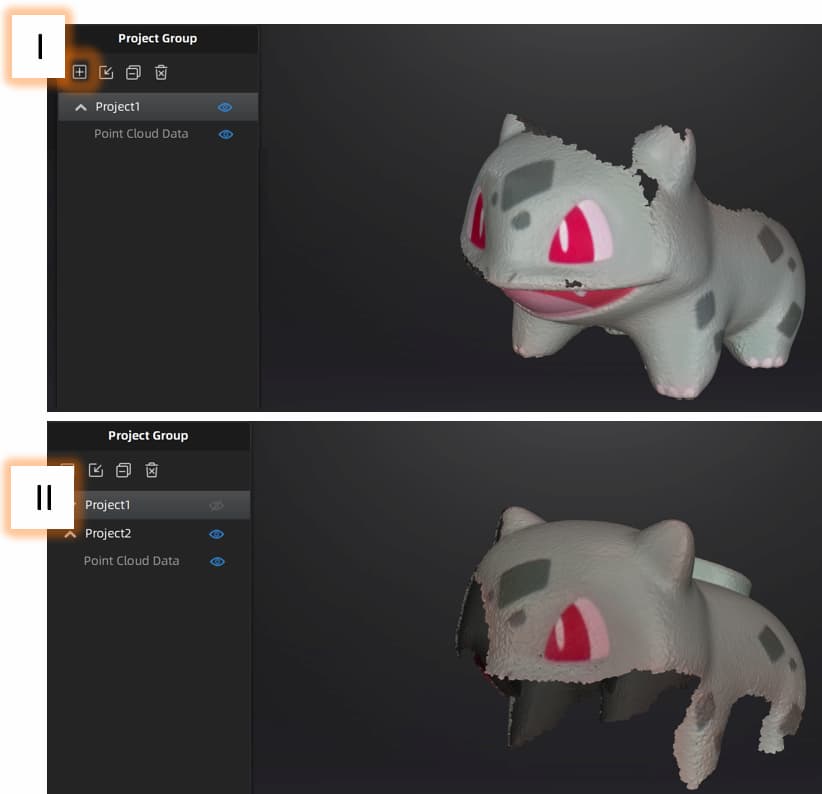
I. After scan of the model, press the + mark at the left project bar, to open a new scan project
II. Scan the other half of the model
Align button at the right tool bar to enter the alignment interface
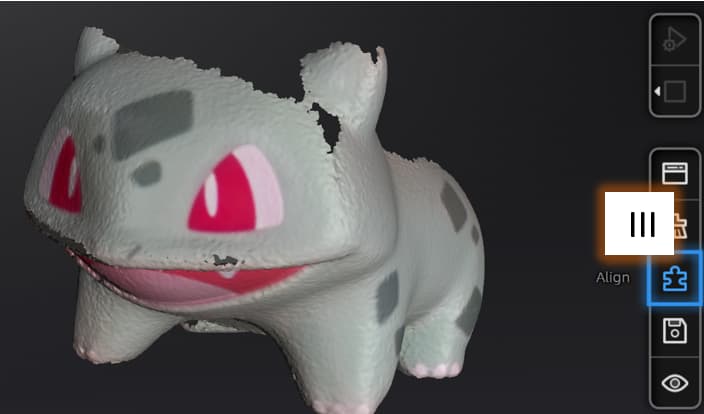

The result is here:
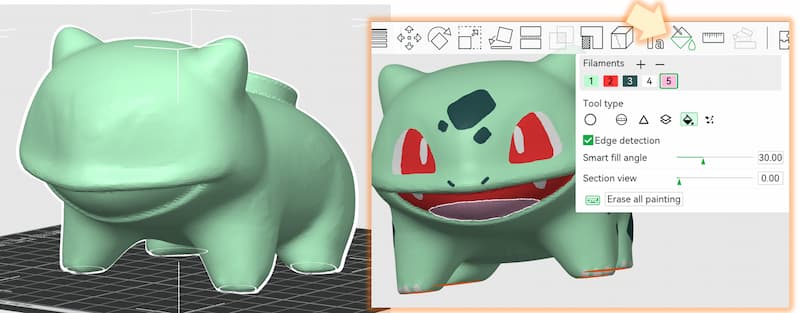
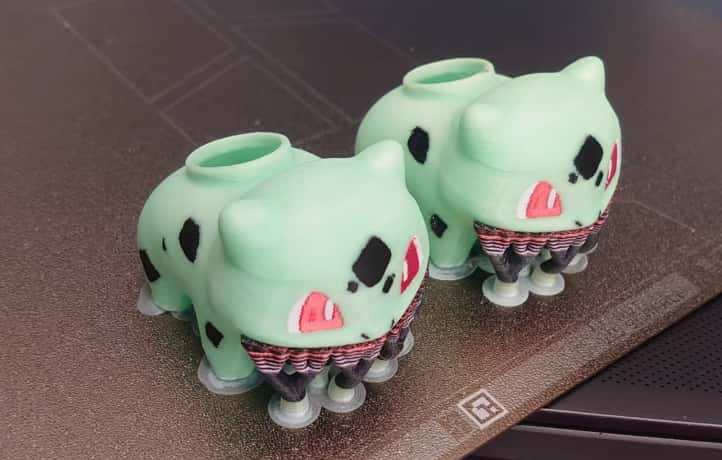
Print it out!
With the Color Printing function in BambuStudio, I can paint the basic color to the model
It take much longer than single color printing.
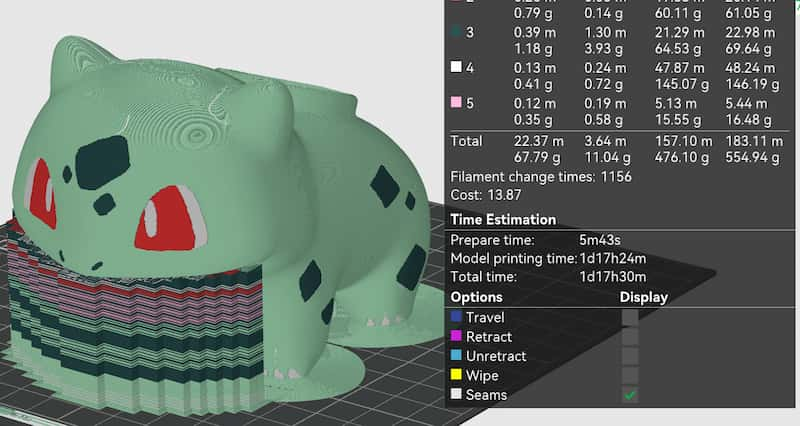
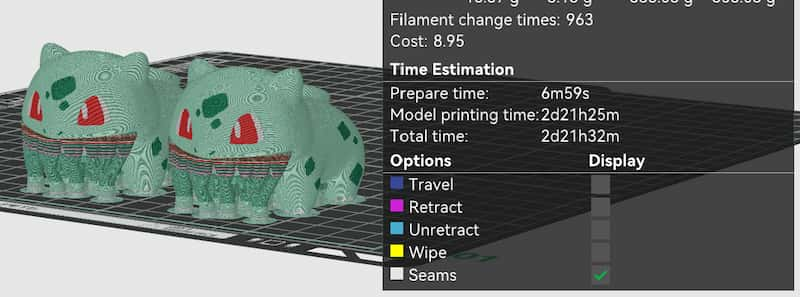
Although doing a color printing need a much more time, it won't increase much more time if add 1 or more model to print in the same time. The most time wasting part in color printing is the process of filament changing, so it can save more time and filament to print mulit color print in same time.