Molding and Casting
- design a mold around the process you'll be using
- produce it with a smooth surface finish that does not show the production process toolpath
- use it to cast parts
Extra credit:
- use more then two mold parts
In the Group Assignment, we try different process to make the mold, and as a conclusion that the silicone is the most situable material to made as the mold. and we can use 3D print or CNC to make the orginal parts for molding.
The orginal part
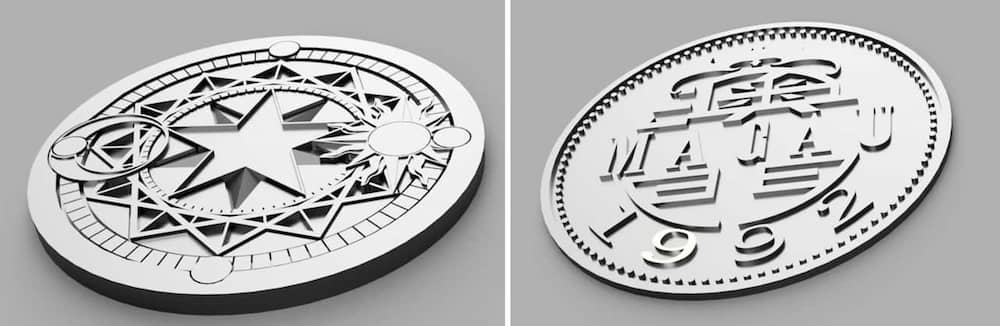
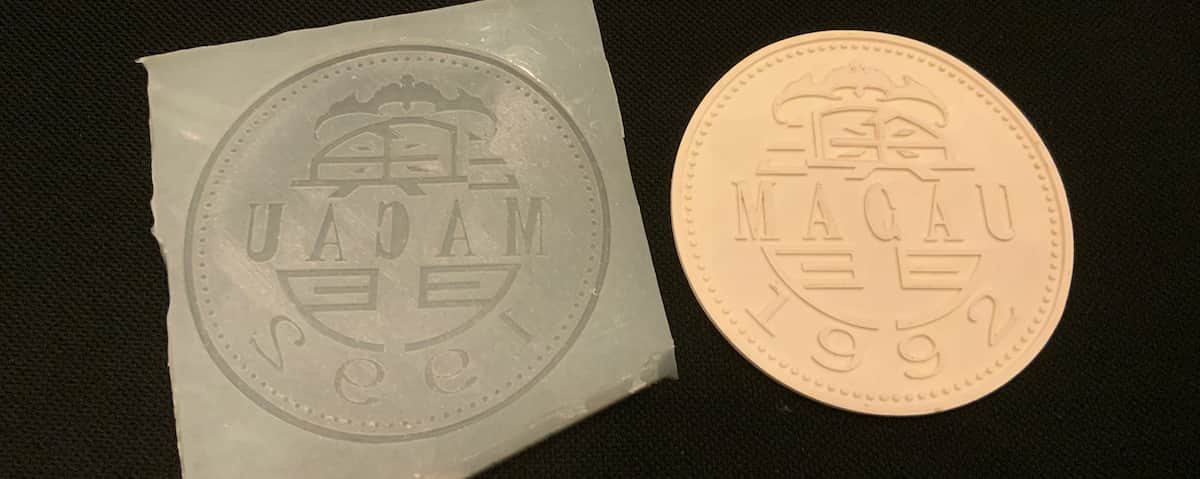
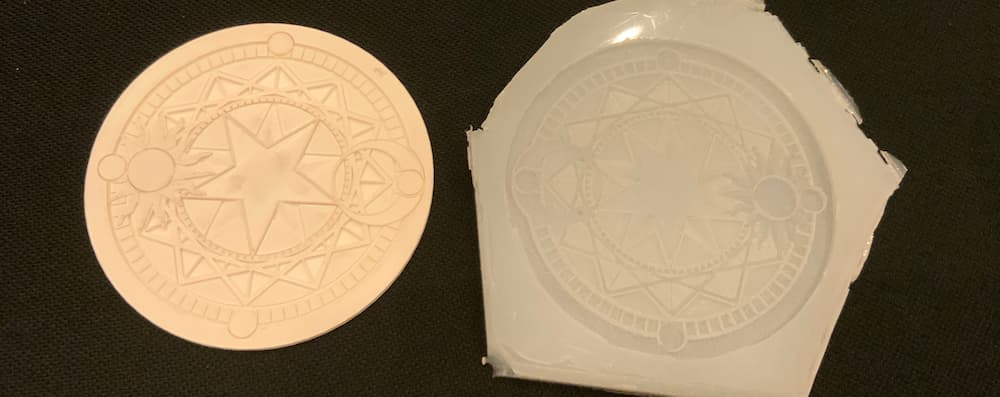
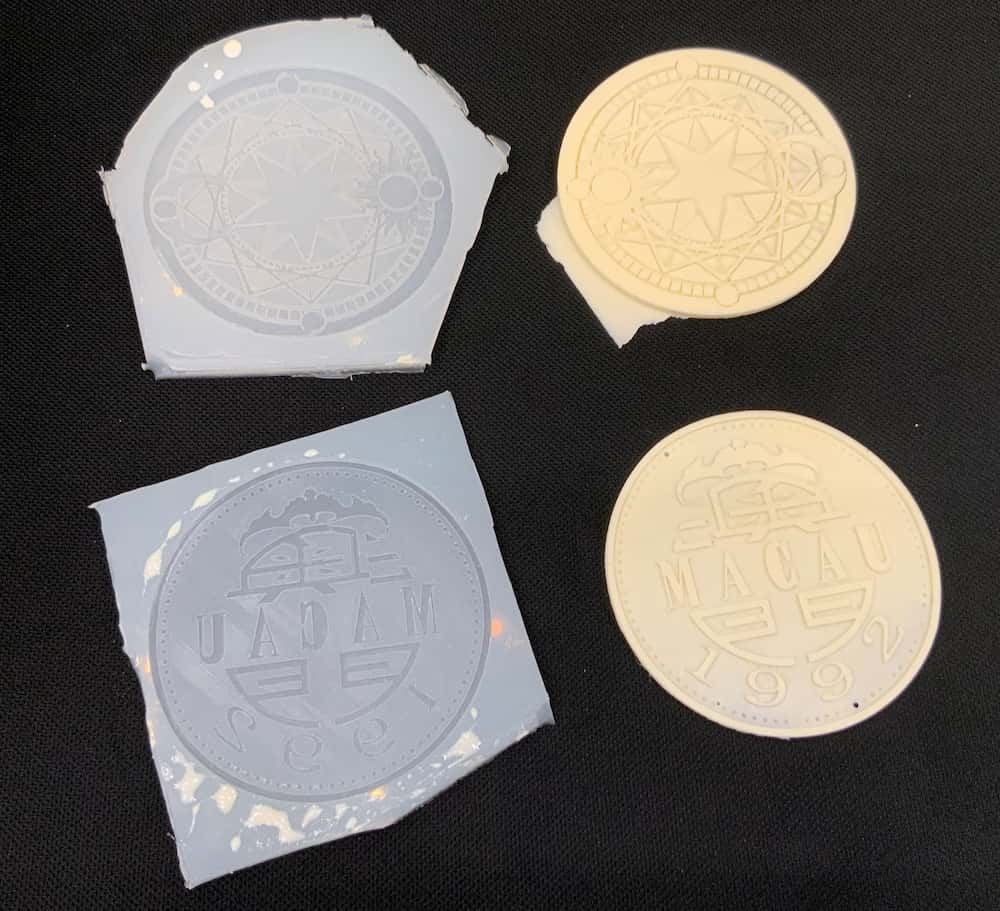
In this week I design to make coasters with different pattern. I drawing the two 3D modeling by Fusion 360, one is magic circle, and one is reference to the back of Macau 1 dollar coin. Files:coaster_A and coaster_B
3D printing
As the sharp of the coasters is not very complicated, I choose 3D printing to make the orignal parts.
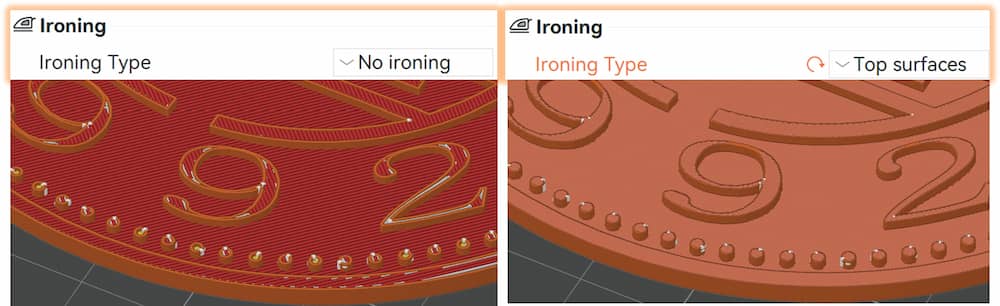
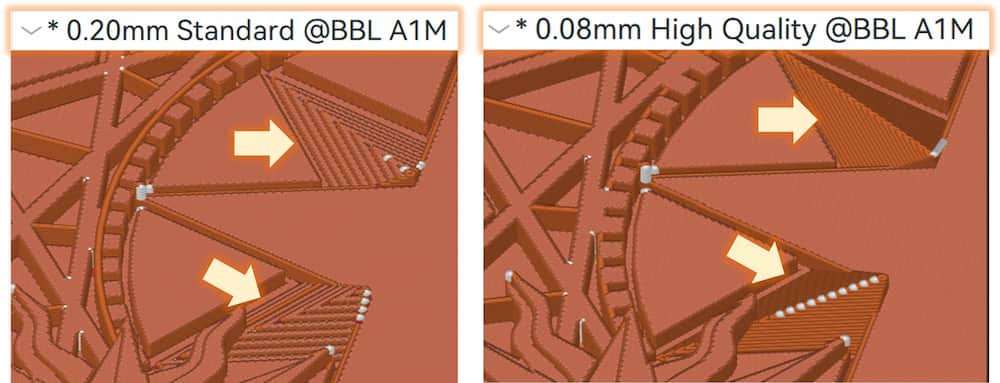
Smooth the surface
To imrove the outlook and less toolpath, I do some adjustment:
-
Ironing
-
Decrese the layer height
-
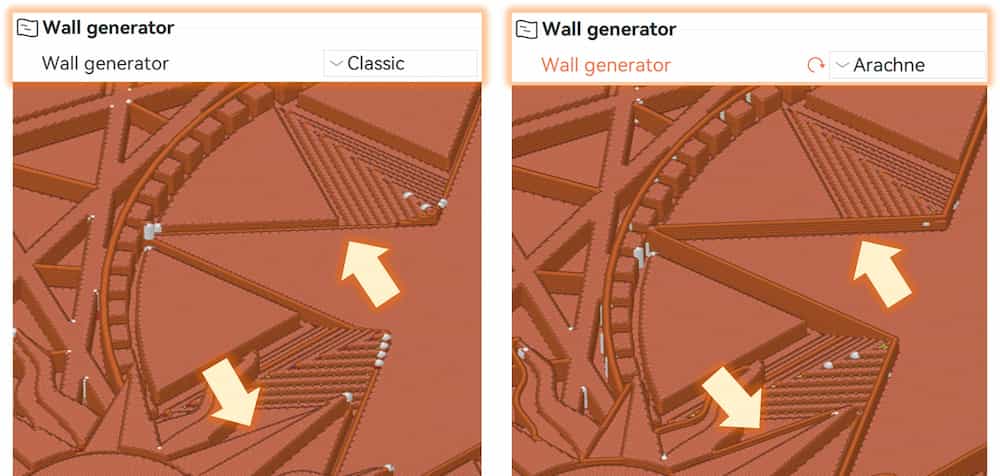
Set the wall generation style to arachne, which will keep the thin wall detail.
-
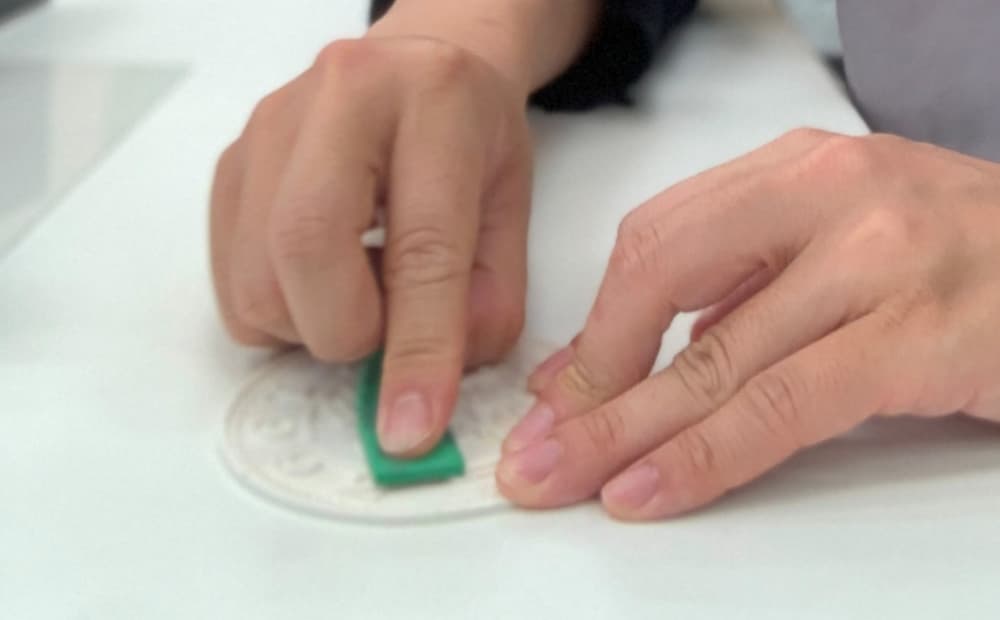
Sanding
The final result

Forming the mold
Acrossing to the group assignment, I choose to use silicone to made as the mold.
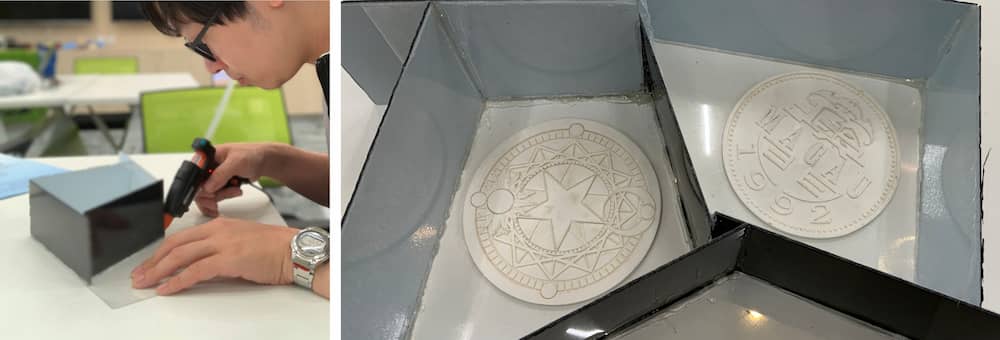
Form the container:
To reduce the waster, I use hot glue gun and platsic board to create a contain.
Molding
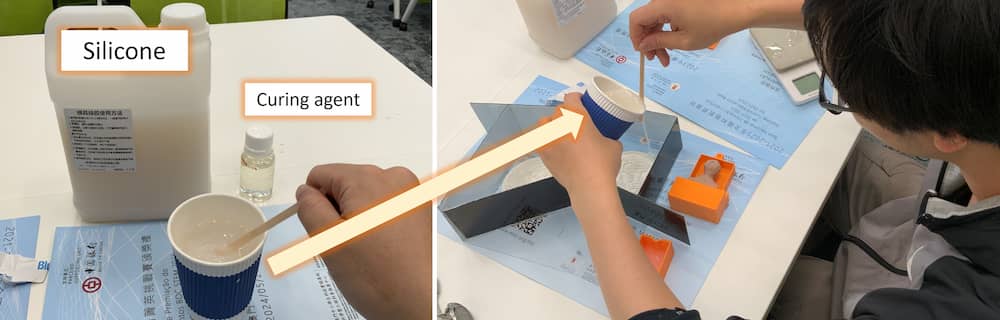
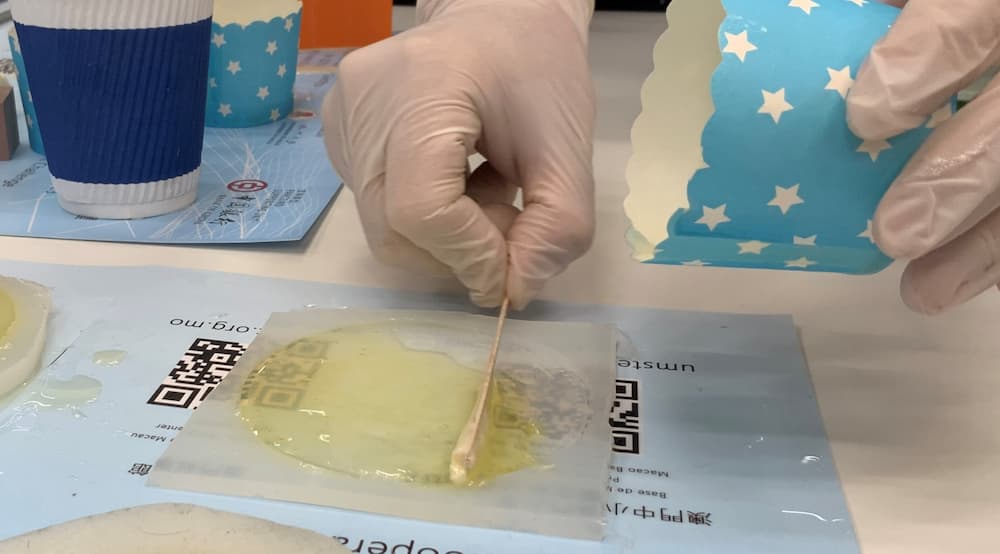
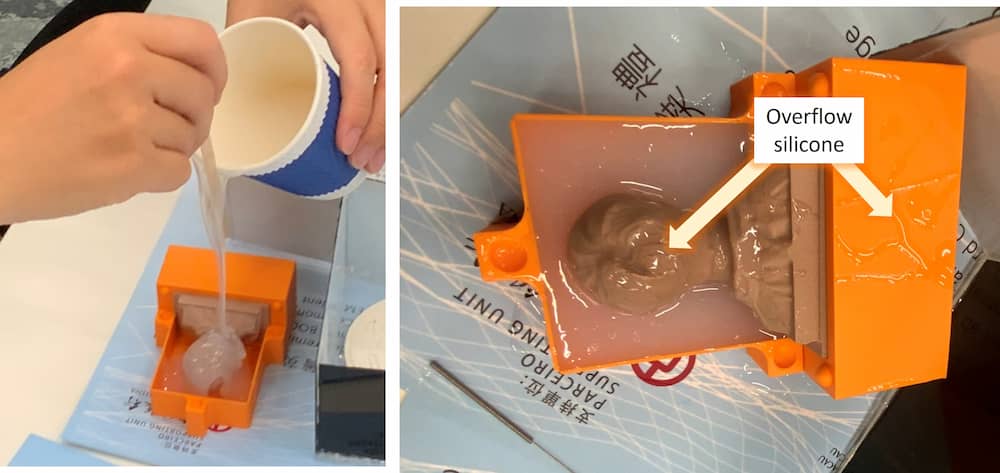
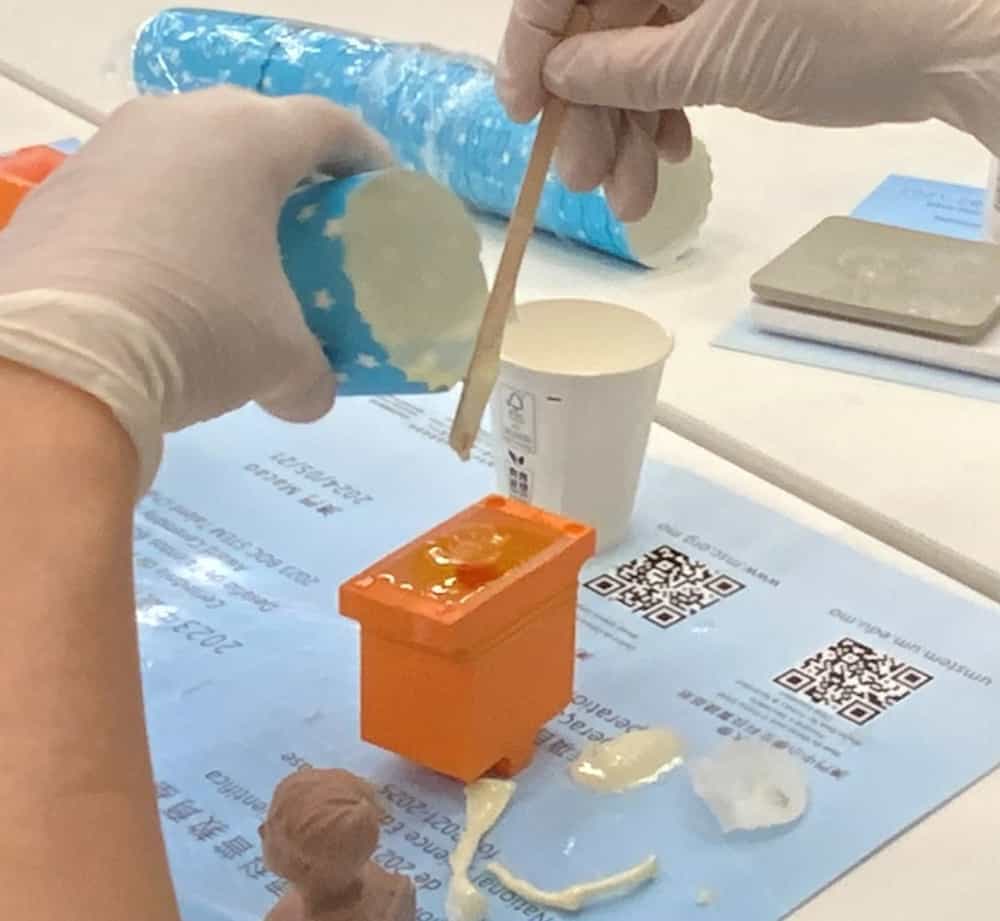
The next step is filling the silicone. First mix the silicone with the curing agent at a 100:2 ratio for about 5 mins, then pour into the parts.
To keep the mold clear, try to remove the gas bubbles on the surface.
Using vacuum machine is a good choice, as we don't have one, I use a needle to pop the bubble instead.
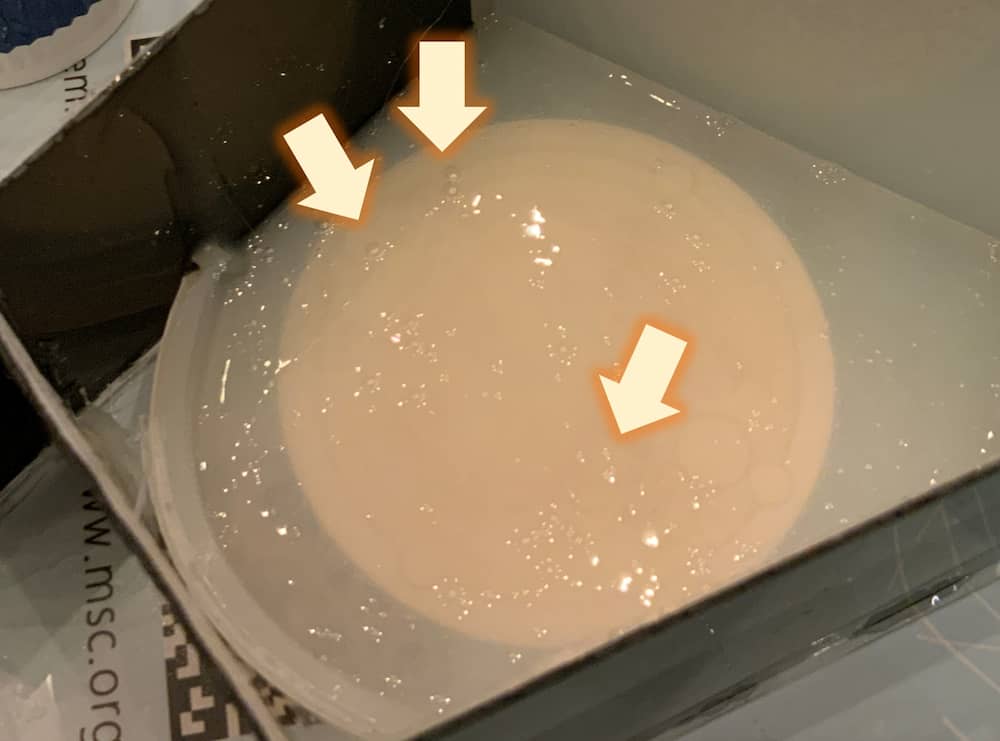
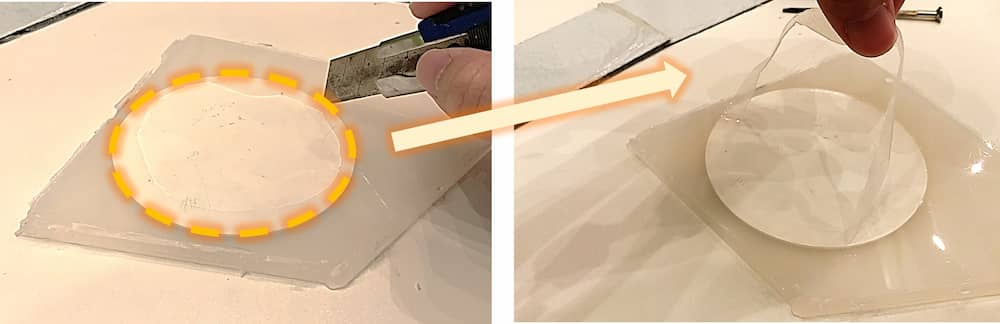
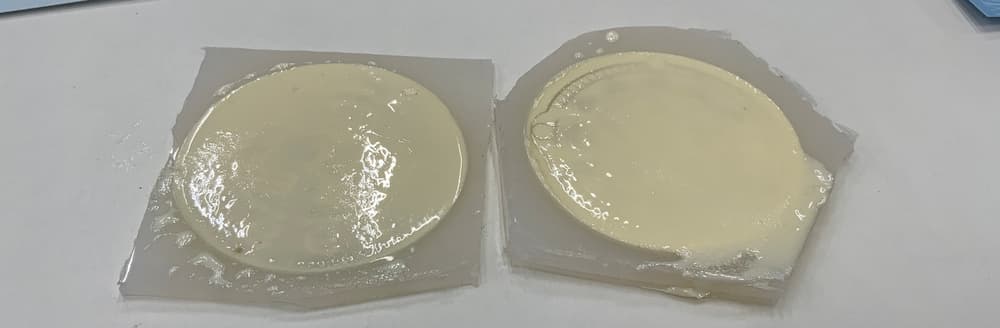
The surface of the mold should be clear and smooth
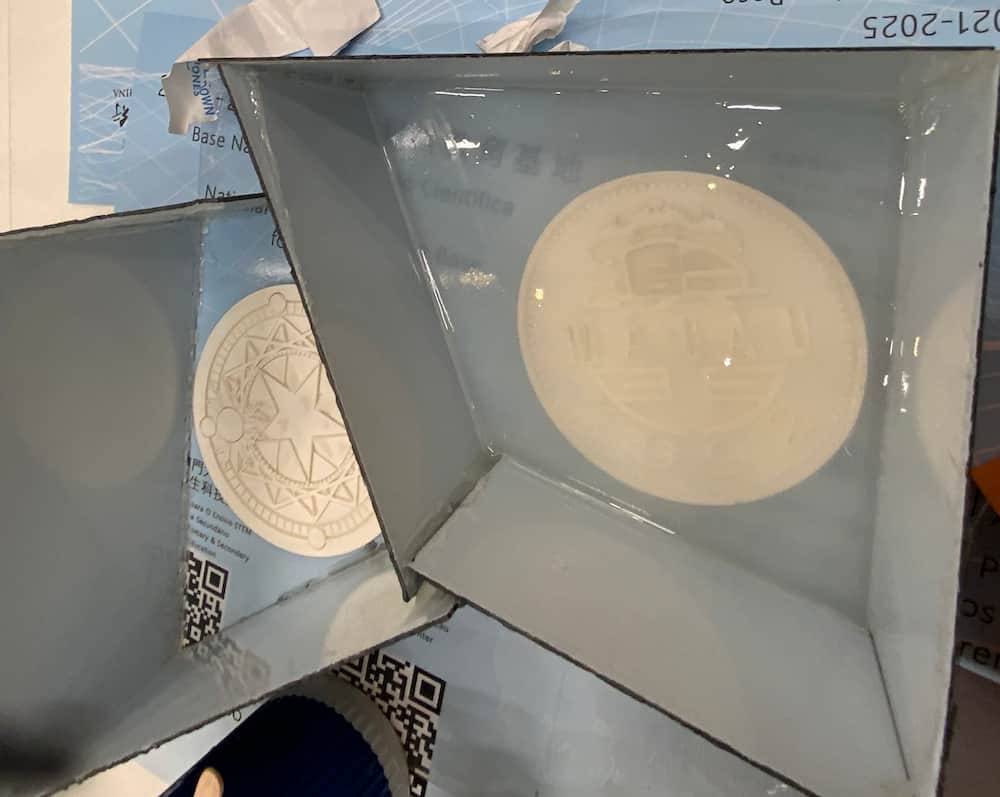
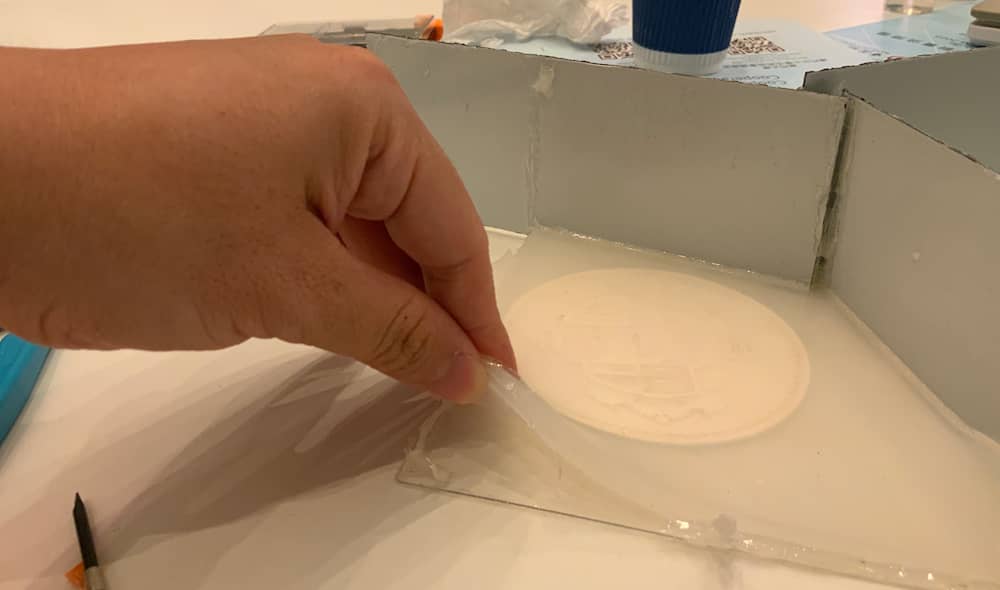
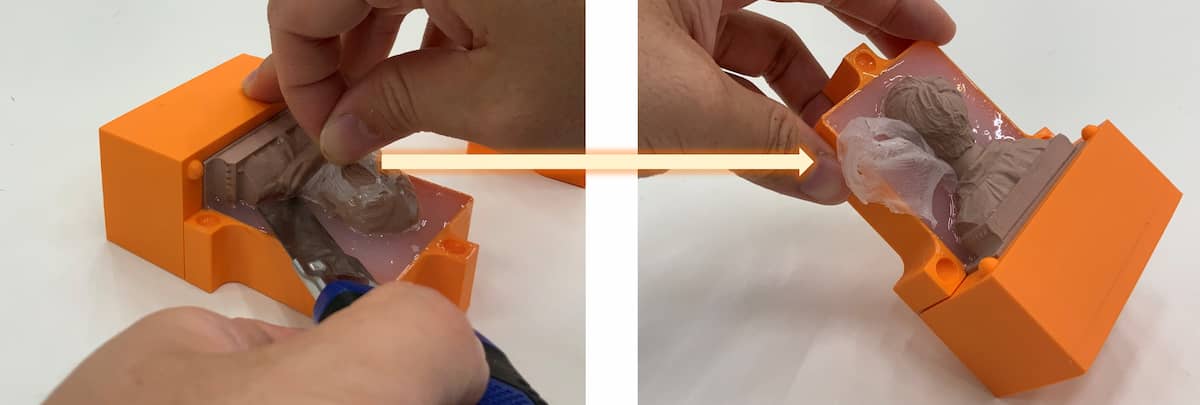
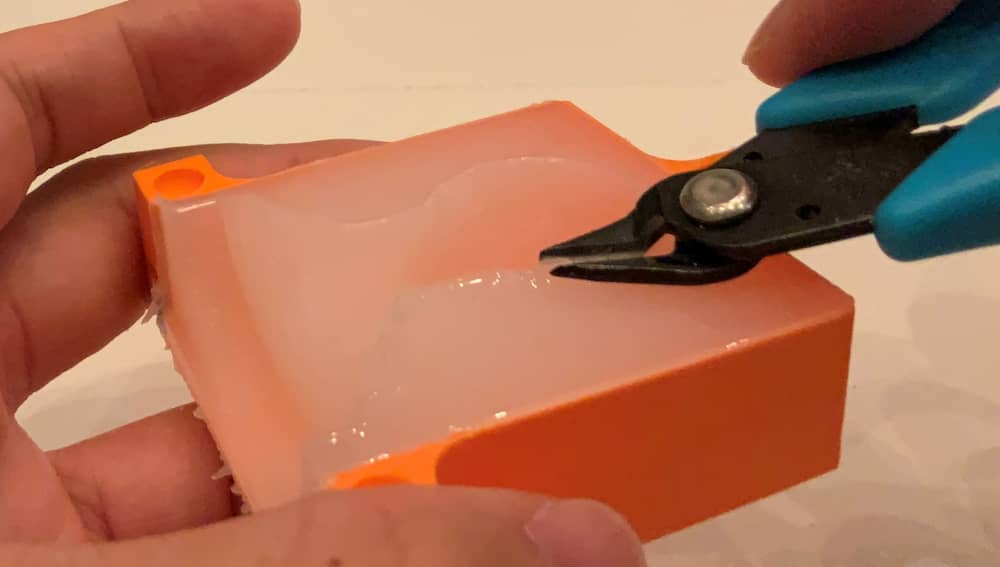
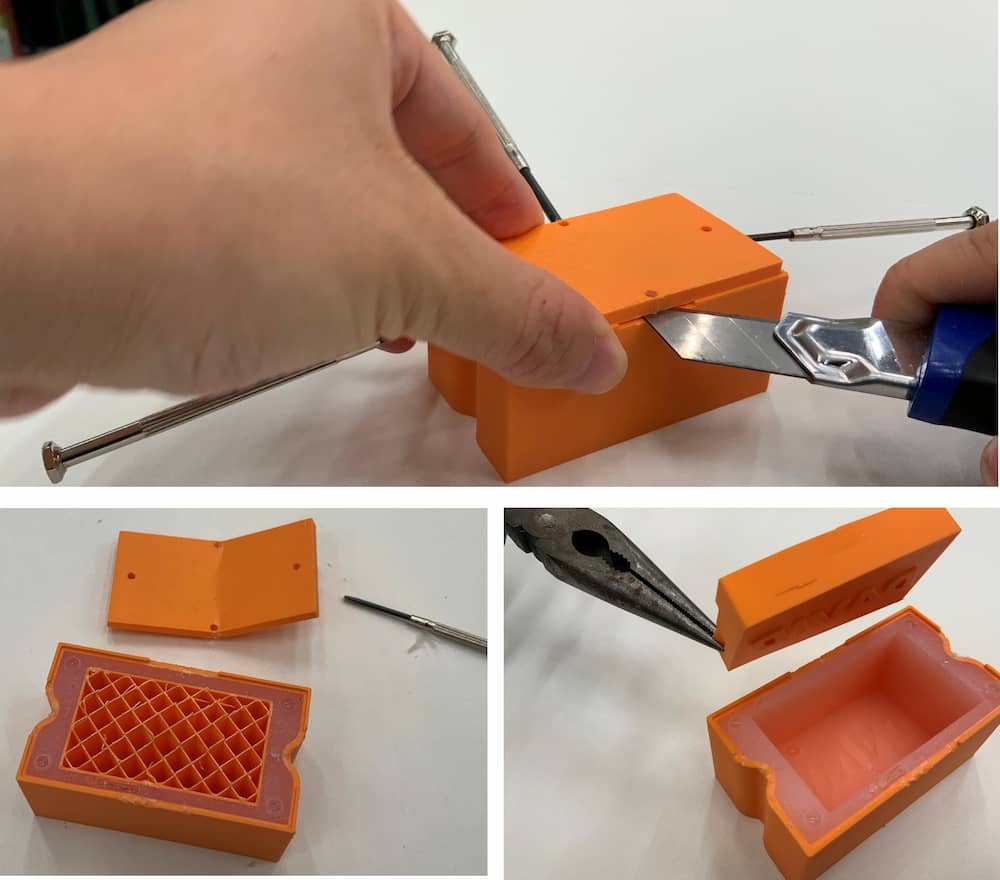
If the silicone penetrate to the base of the parts, just cut and remove it.
The final mold:
Casting
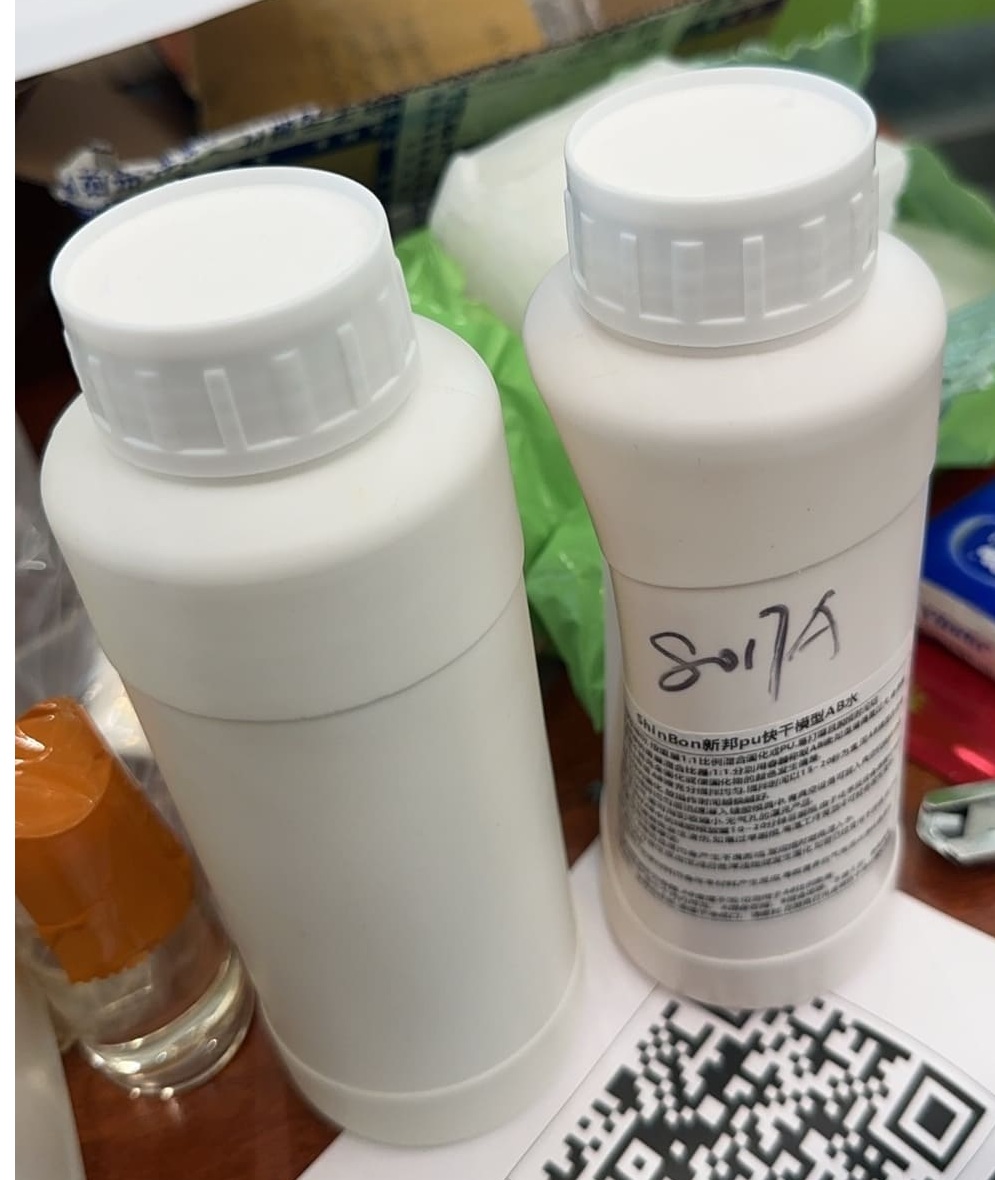
Next step is mixing the AB resin.
Details
As the resin mix solidify within about 2 min, so keep remind the following:
- Use different container to measure the A and B resin volume seperately
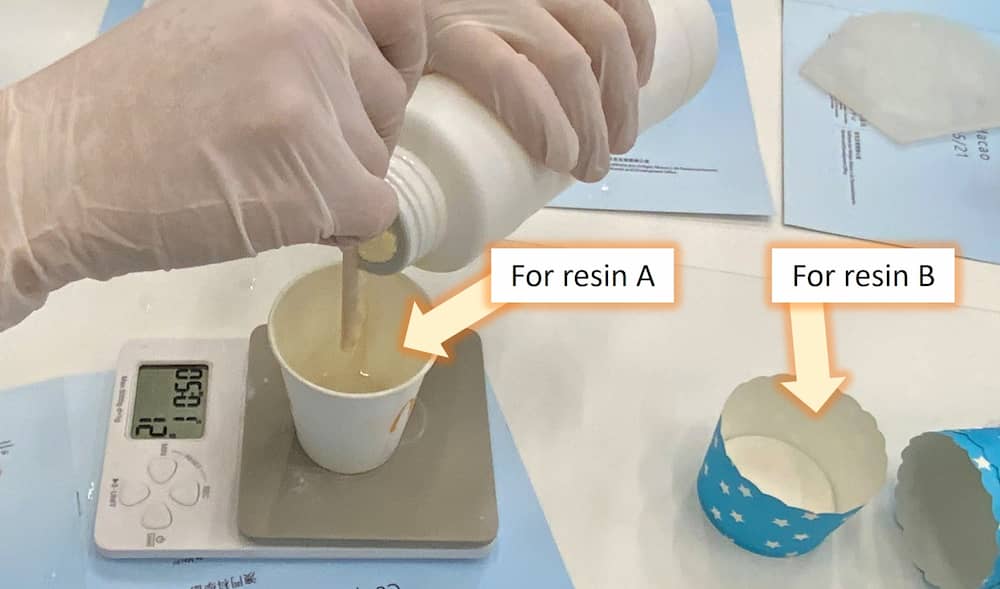
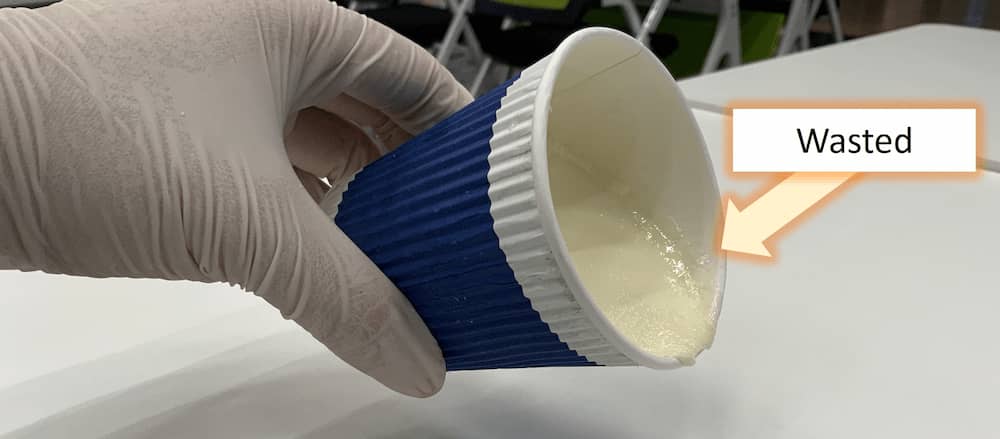
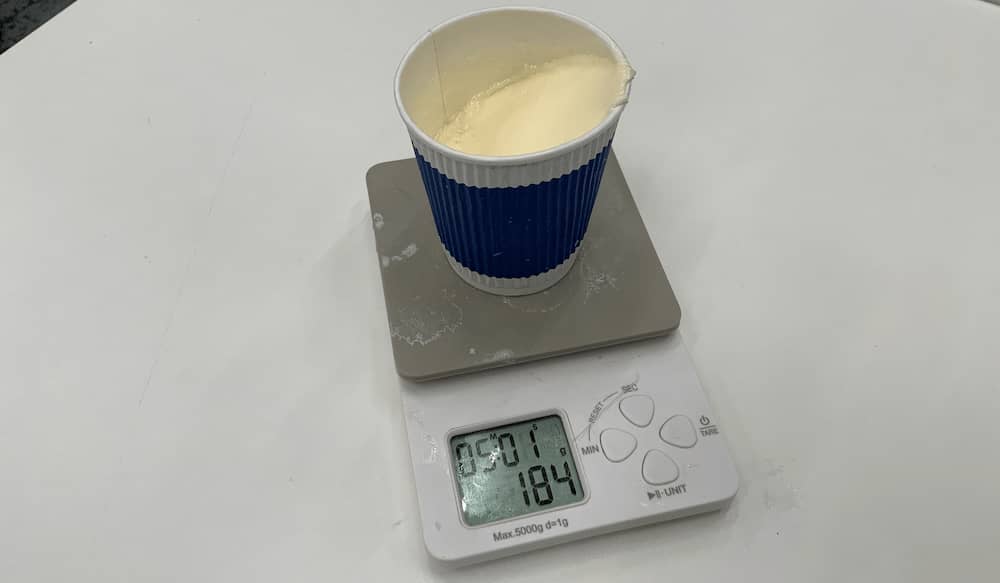
- Try not to mix large volume of mixture resin in a time for trying several casting, as the resin might soildify through the process.
(Negative example, wasting about 180g of AB resin)
Mix A and B resin in 1:1 ratio for about 20 seconds, then pour the mixture into the mold.
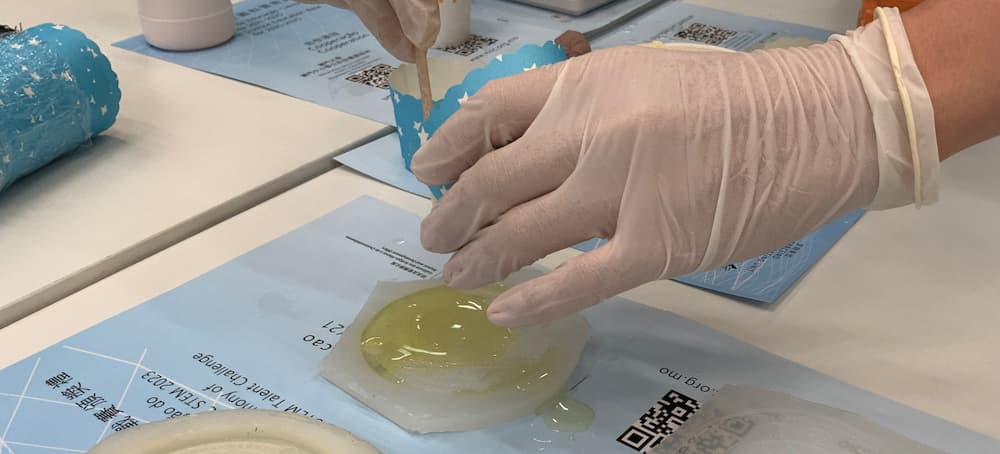
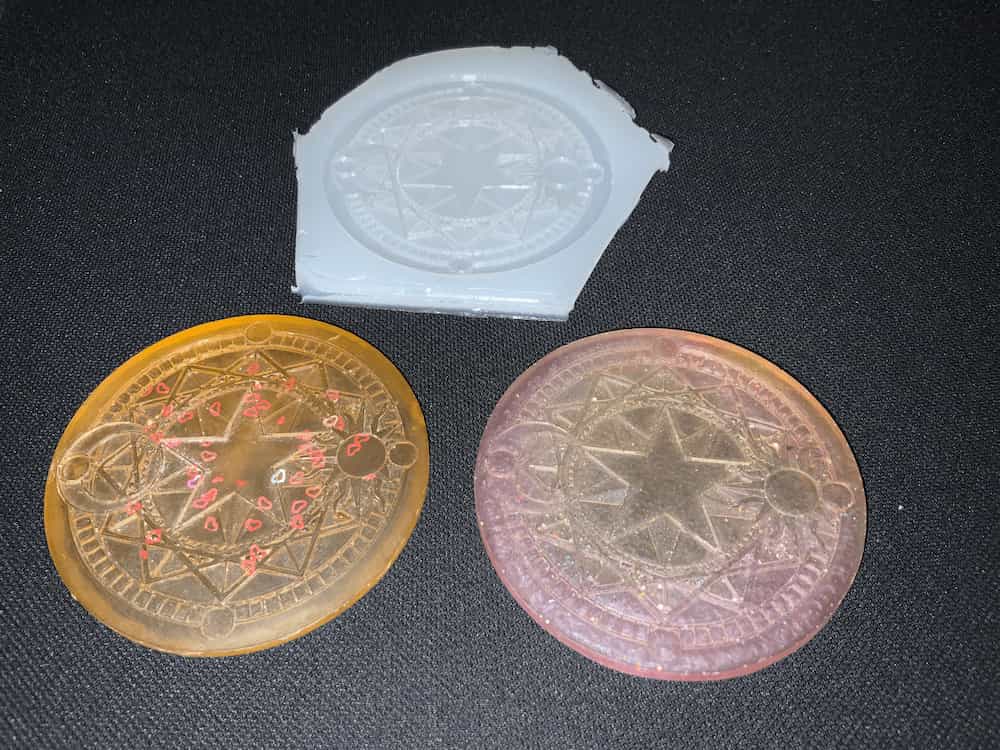
Here is the final product
By using transparent resin, we can add some color dye or glitter to make the product more colorful.
Extra credit:
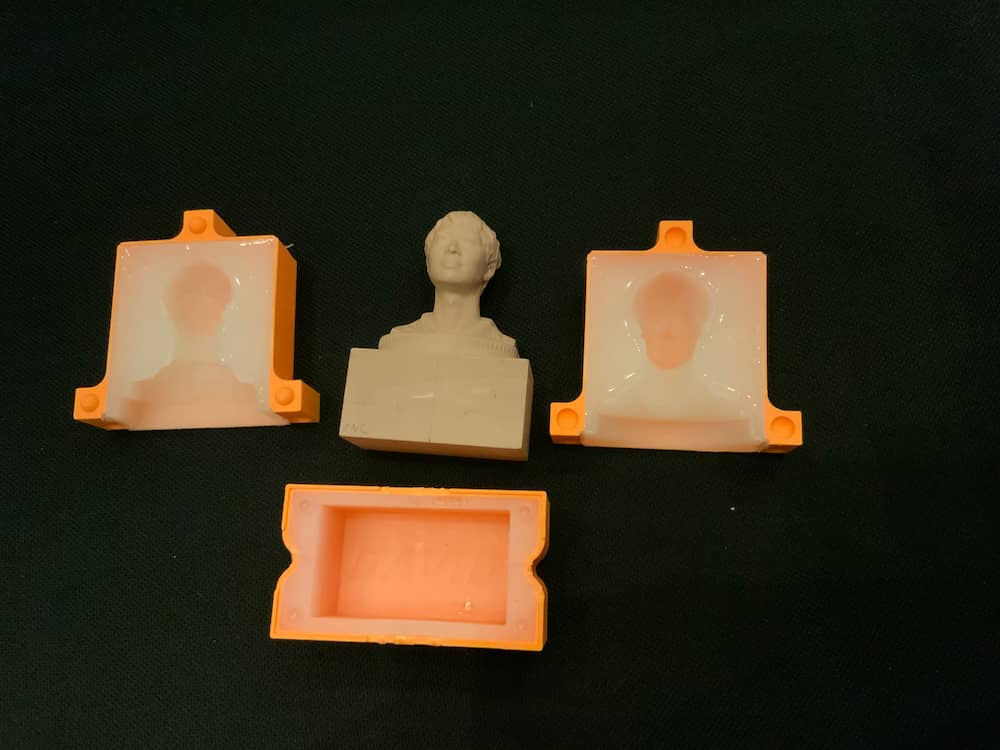
I want to challenge casting by more then two mold parts, so beside the coasters, I also try half body statue molding and casting.
Using the scaning data from Week 5, I made the half body statue by both 3D printing and CNC.File:state_mainbody
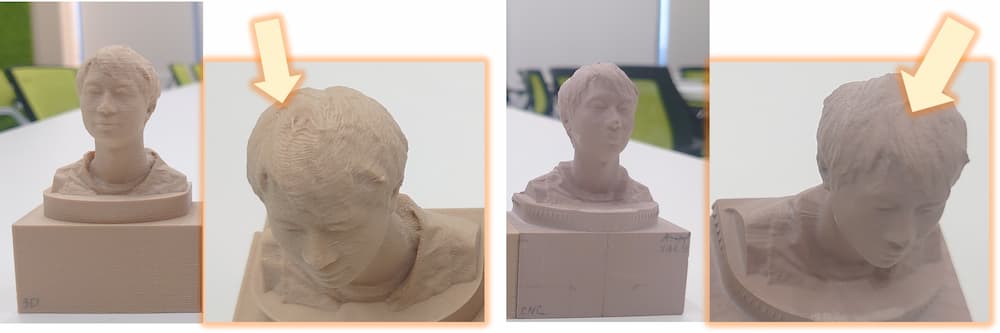
Smooth the surface
To make the curve surface like human face smoother by CNC, first using a large diameter milling tool to cut the raw material,
then change a smaller diameter ball end tool to do the second milling, and use a V-shape end tool to do a final milling.
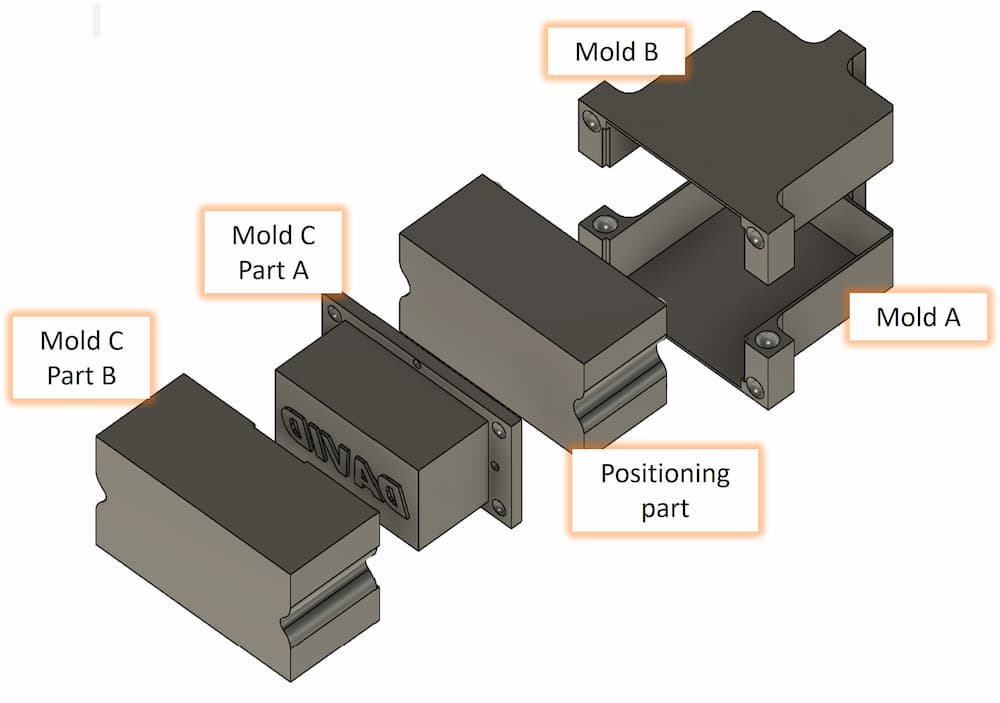
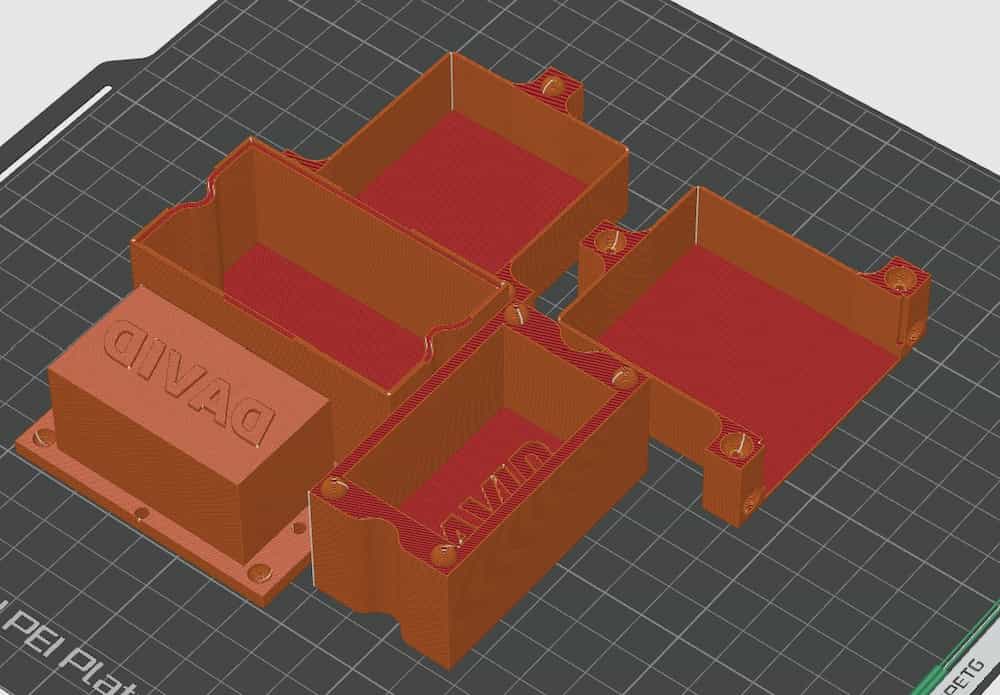
Mold container design
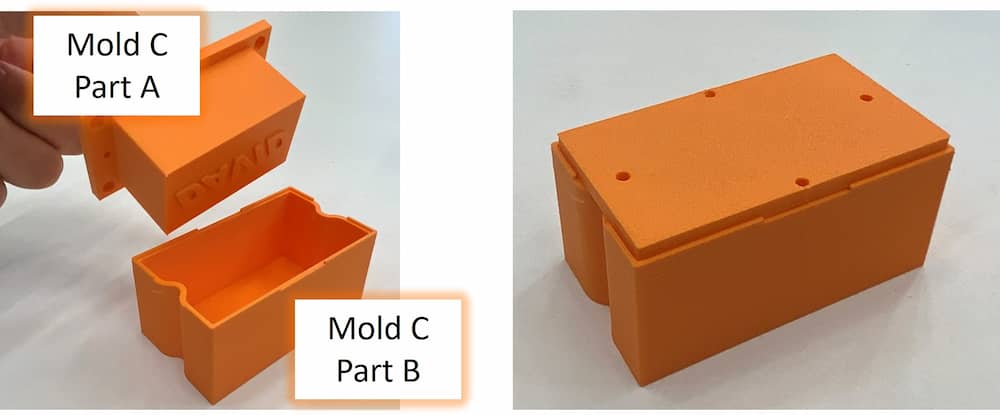
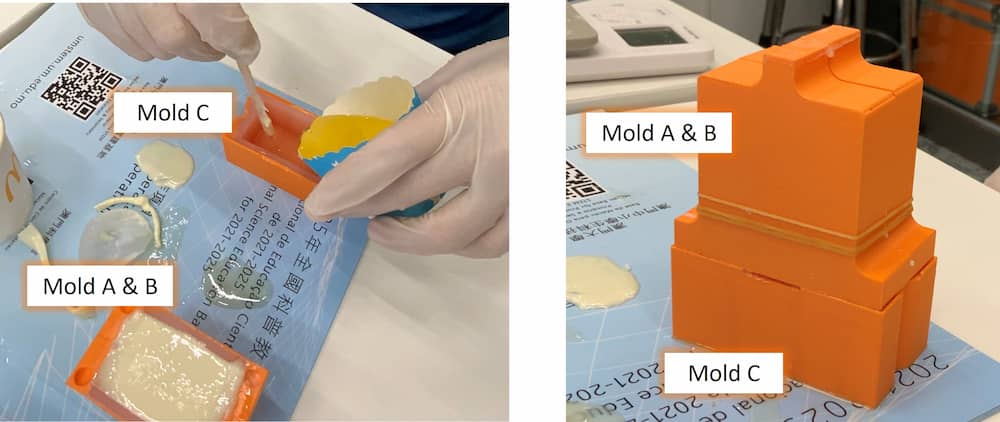
In my idea, I will use two mold, mold A and B to casting the head part, and the third mold, mold C to casting the base. I want to add my Name at the bottom making it like a word stamp, so mold C will be divied into two parts. I design the containers for molding in Fusion360 and 3D print them.File:state_mold

Molding
Details
Mold A
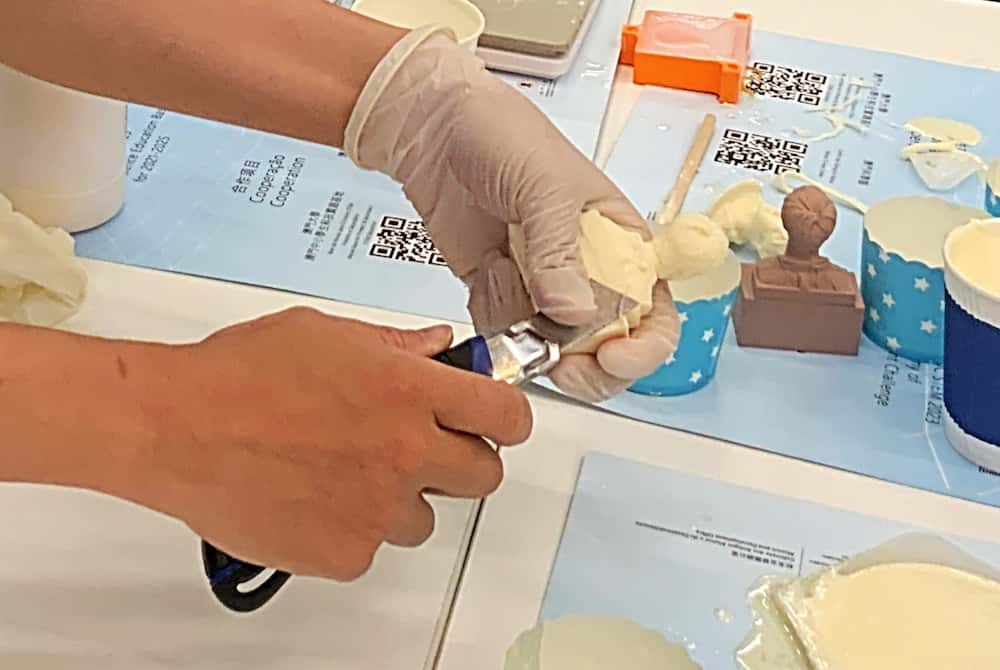
Adding the silicone untill it reach the edge of the container. Don't worry if there are extra scilicone pour to the top part.
Mold B
Mold A and mold B is similar, just repeat the same process at opposite sides.
Mold C
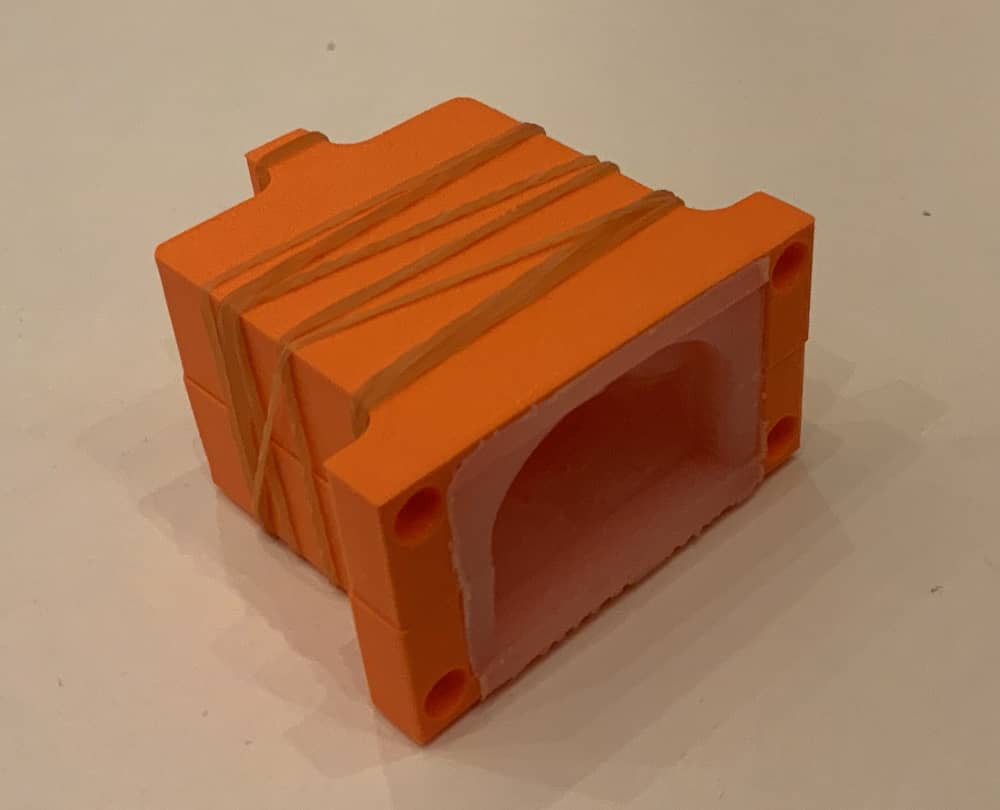
For Mold C, first inject the silicone into the Part B, that combine the Part A. The extra silicone will come out from the four holes on the top of Part A.
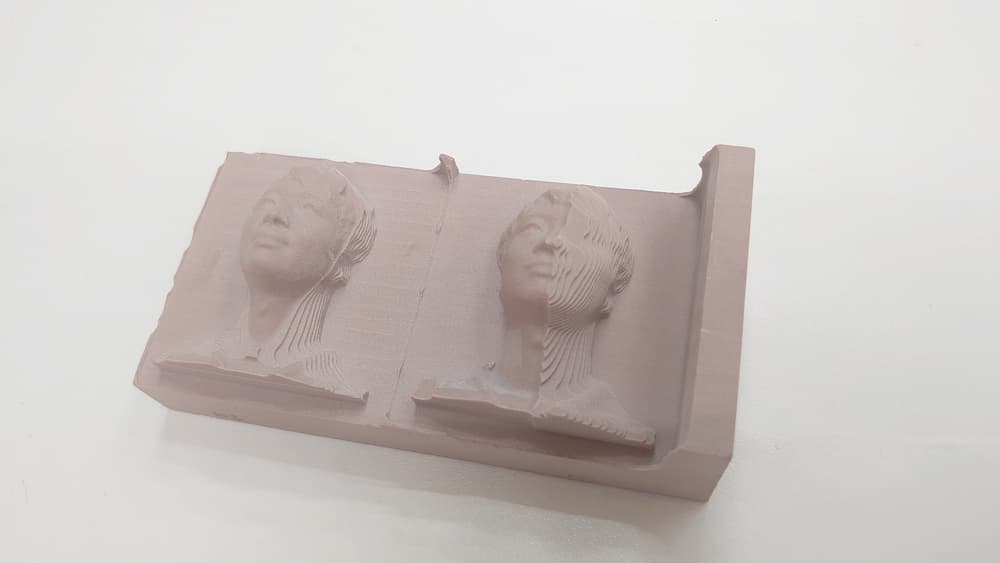
The three final mold
Casting
Details
The head part is casting using mold A and B together, just inject the resin in the "neck" hole.
The resin will solidified within two mins, if doing the process too slow, it will solidified in middle!
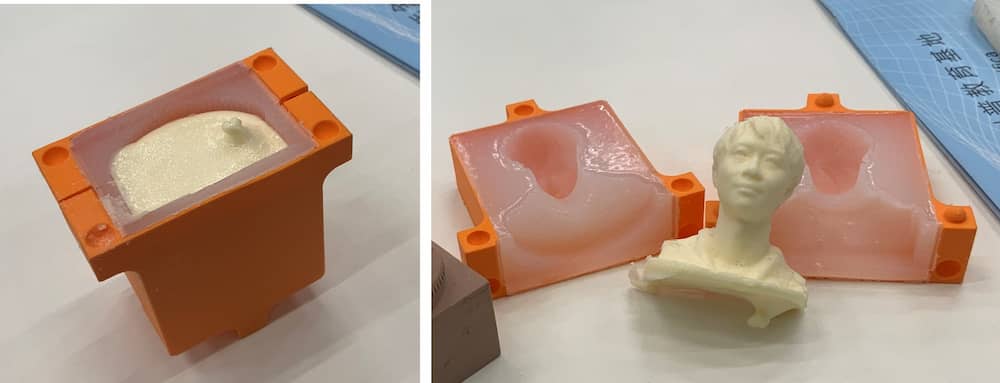
Pouring the resin until it reach the top level.

The final product

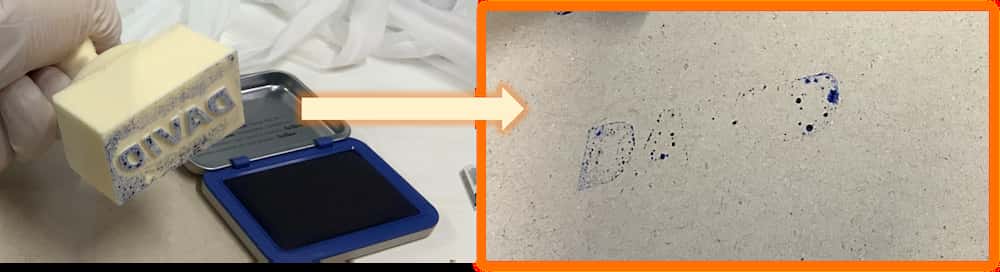
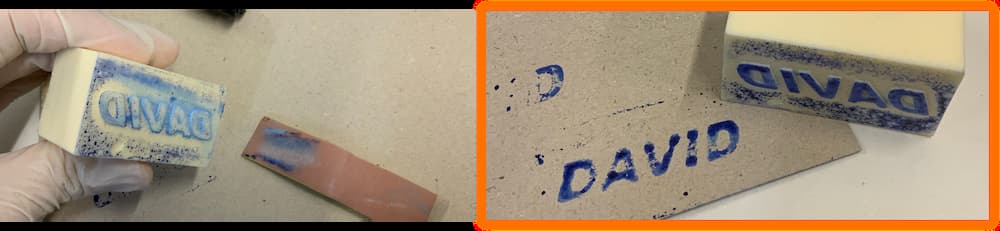
Stamper test
After the casting is done, I try if it can be use as a stamper, but the result is not very good.