Computer-controlled Machining
This week is dedicated to understanding Computer Controlled Machining, with a primary focus on safety. We began by undergoing comprehensive safety training. Subsequently, to grasp machine specifications and operations, we designed a simple square for an outer cut and attempted to execute it using our Forest CNC router. Additionally, we designed a basic slot with an insert to assess outer cuts. This involved calculating various parameters such as test runout, alignment, fixturing, speeds, feeds, materials, and toolpaths specific to our machine.
The basic rules to follow during CNC Router Operation:
Training and Manuals:
Never operate a CNC machine without proper training or the correct operator’s manual. Similarly, avoid programming the machine without adequate training.During this assignment, first we had training by our instructor, Mr. Suhas, about the machine and its safety. As we have a group assignment, the main objective is to:
1. Lab's safety training
i>During Programming
During programming, we had training about safety and the precautions to take during handling the machine. First, we had training on operations and how to generate tool paths. Tool path generation is crucial because it provides instructions to the machine for cutting the plywood sheet. Therefore, it's important to consider:
Job size:
This determines how the machine moves and mills. If we select it incorrectly, there is a chance of accidents or broken end mills, which could injure us because they may be hit by flying debris.
Tool selection:
Select an appropriate end mill according to our job's thickness and size. If we choose a large diameter end mill for a thin sheet, there is a risk of tool breakage, so it's crucial to set appropriate cutting parameters.
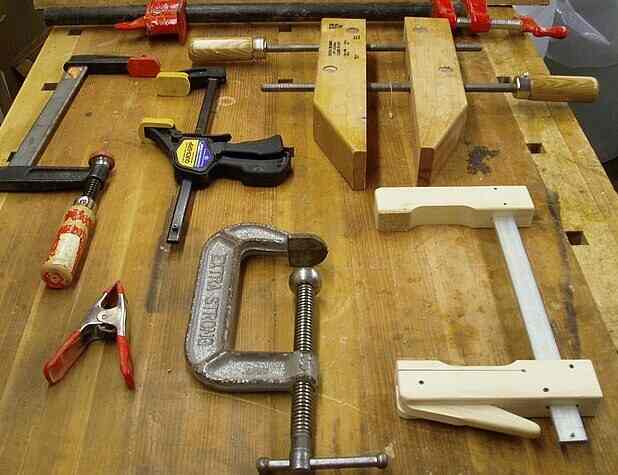
Fixture and clamp:
When fixturing, take care to consider the tool path. Clamps should not obstruct the tool path, as this could lead to tool breakage and injuries.
Emergency Stop Button:
To shut down the machine instantly, use the emergency stop button if you notice the tool behaving incorrectly or if there's a risk of collision or tool breakage. This button is located on the handheld unit, the control panel, and other places on the machine.
ii> During Operations
Wear the proper protective equipment (PPE) before turning on the machine.This includes safety goggles, ear muffs, and a dust mask.
1. Wear a mask because there is a lot of dust or harmful fumes around.
2. Wear sturdy shoes with high tops.
3. Don't wear rings or jewelry when working with machines.
4. wear protective clothes or an apron in the workshop.
5. Tie your hair properly, don't leave it open.
Do's and Don'ts for Operating a CNC Machine
| Do | Don't |
|---|---|
| Always wear proper ear protection and safety glasses. | Never wear gloves while operating the CNC machine. |
| Ensure safety glasses are firmly in place when observing cutting tools. | Avoid wearing jewelry or loose clothing. |
| Wear suitable footwear such as safety boots. | Never try to reach into the machine while it's running. |
| Keep long hair covered during machine operation. | Avoid putting hands anywhere near the spindle when it's revolving. |
| Keep hands away from moving parts during machining processes. | Never leave the machine when it's not completely powered down. |
| Stand clear of the machine when it's operational and warn others. | |
| Avoid touching cutting edges when handling or passing tools. | |
| Turn the machine off completely and clean it after use. |
2.Test runout, alignment, fixturing, speeds, feeds, materials,and toolpaths for your machine
Runout:
Run-out or runout is an inaccuracy of rotating mechanical systems, specifically that the tool or shaft does not rotate exactly in line with the main axis. For example; when drilling, run-out will result in a larger hole than the drill's nominal diameter due to the drill being rotated eccentrically (off axis instead of in line). In the case of bearings, run-out will cause vibration of the machine and increased loads on the bearings.Read More
Fixturing:
We had safety training in the lab first, we understood the tools and fixtures needed for the machine. Clamps are essential for securely holding the material on the machine bed. It's important to plan the layout of the job and position the clamps carefully to avoid interference with the tool during operation. There's a risk of the tool hitting the material or cut parts and breaking them. Additionally, we practiced changing the tool on the machine to familiarize ourselves with the process.
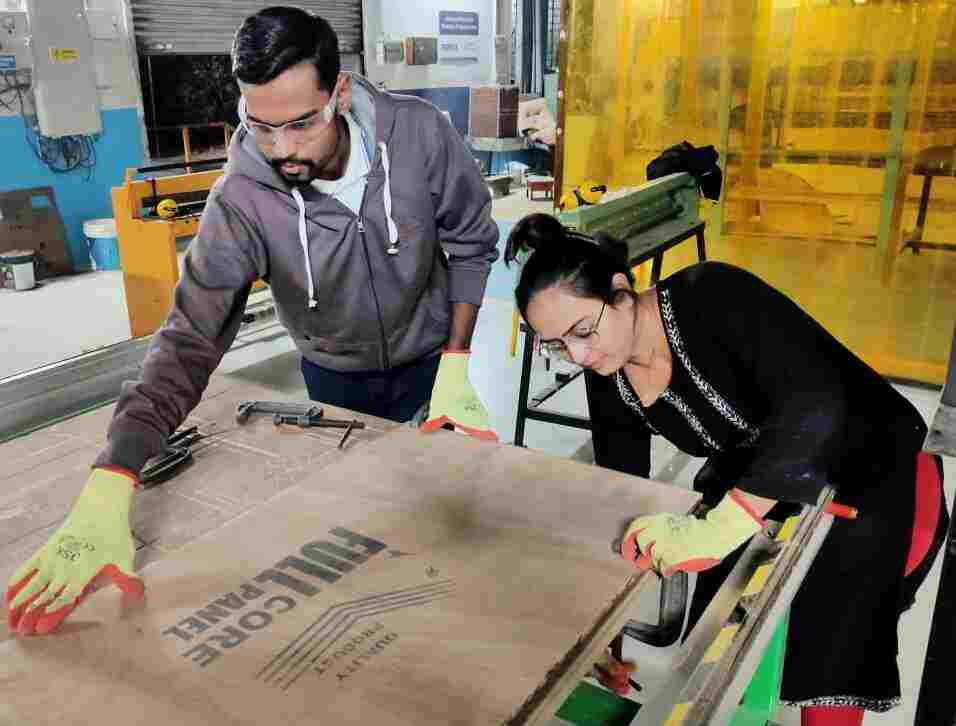
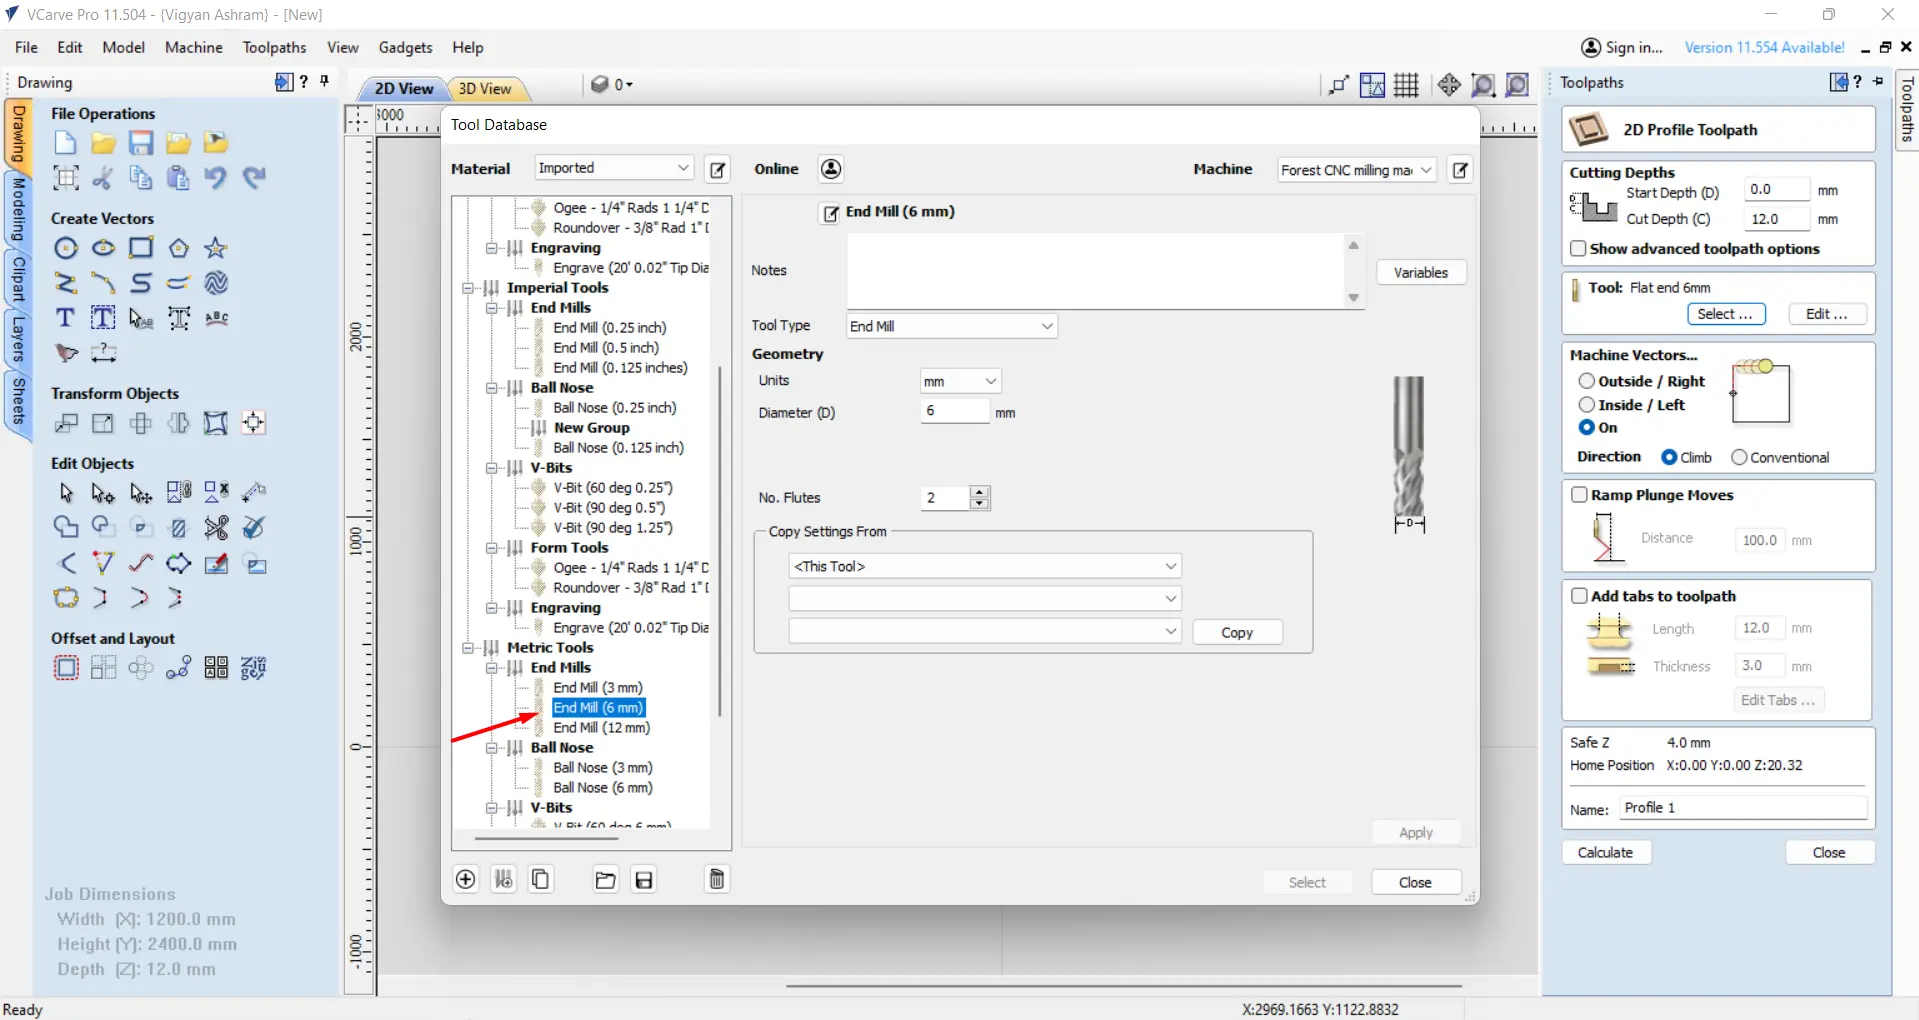
Then we learn about the tool and try to change it. There are different types of tools and process for change tool.We then learn about the tool and attempt to modify it. There are various types of tools and processes for changing tools, such as Imperial and Metric tools for the forest CNC router. Among these, tools can be further categorized into end mills, ball noses, V-bits, form tools, and engraving tools, each with different dimensions
Types of End Mill
| End Mill Type | Description | Image |
|---|---|---|
| Square end mills | Square end mills are tools used for milling tasks like making slots, shaping edges, and cutting into materials with a straight, flat bottom. | 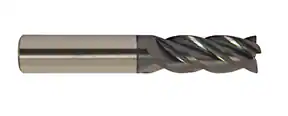 |
| Keyway end mills | Keyway end mills are tools used to cut slots in materials like metal to fit a woodruff key snugly. They're made slightly smaller than the desired slot size to ensure a tight fit between the slot and the key. | 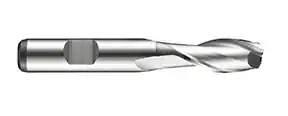 |
| Ball end mills | Ball end mills, or ball nose end mills, are tools used for shaping and cutting materials like metal. They have a rounded cutting edge and are great for making curved surfaces, cutting slots, and creating pockets. These tools are commonly used in making dies and molds because they can achieve intricate shapes with precision. | 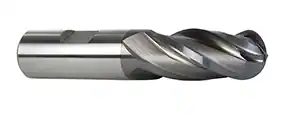 |
| Roughing end mills | Roughing end mills, or hog mills, are tools used in machining to remove a lot of material quickly during tough jobs. They're designed with special teeth to minimize vibration but give a rougher surface finish. | 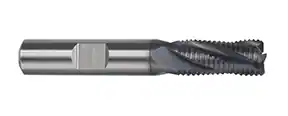 |
| Corner Radius end mills | Corner radius end mills have a rounded edge and are for when you need a specific curved shape. Corner chamfer end mills have a slanted edge and are for when you don't need a specific curve. Both last longer than flat end mills. | 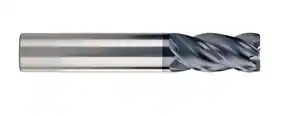 |
| Roughing and finishing end mills | Roughing and finishing end mills are tools used for milling. They help remove a lot of material quickly while also giving a smooth finish in just one go. | 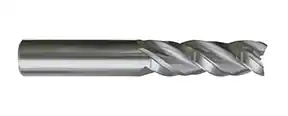 |
| Corner rounding end mills | Corner rounding end mills are special tools used for milling rounded edges. They're designed with ground cutting tips to reinforce the end of the tool, which helps reduce chipping along the edges. | 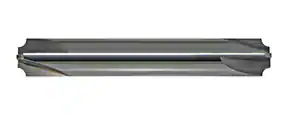 |
| Drill mills | Drill mills are handy tools that can do lots of things. They're used for spotting, drilling, countersinking, chamfering, and different types of milling jobs. | 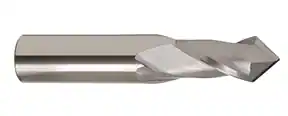 |
| Tapered end mills | Tapered end mills have a cutting edge that gets narrower towards the end. They're great for shaping things like dies and molds. | 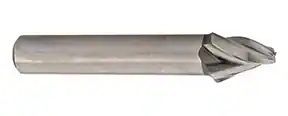 |
Then there is term to learn about the Flute Types.Flutes are the grooves in an end mill that help it cut smoothly. They're like deep spiraled channels that remove the material as the end mill moves.The end mill slice things effectively.
Flute Types and End Cut Types
| Flute Type | Description | Image |
|---|---|---|
| Single Flute | For high-speed machining and high-volume material removal. | 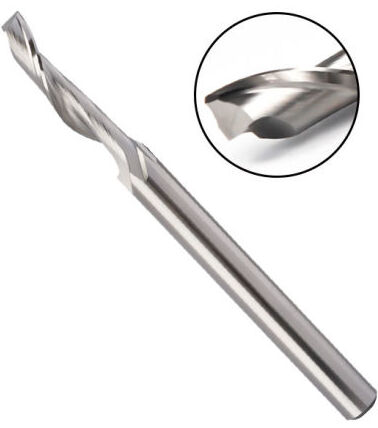 |
| Four/Multiple Flute | Allow for faster feed rates, good for fine finishes. Chip removal may be a problem. | 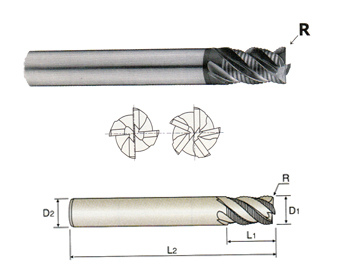 |
| Two Flute | Most chip space, ideal for slotting. | 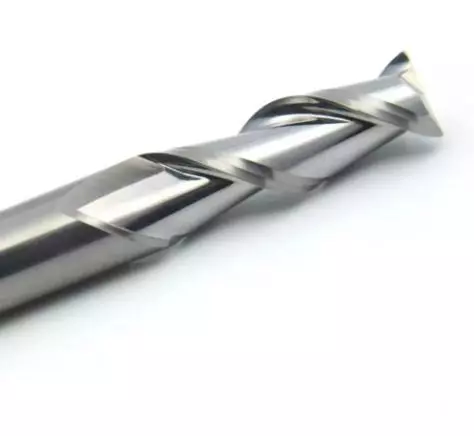 |
| Three Flute | Balance of strength and chip space, good for pocketing. | 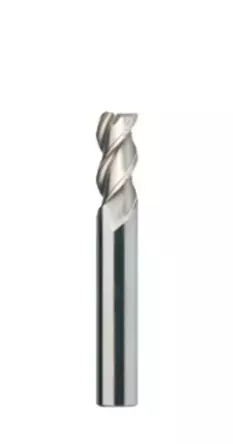 |
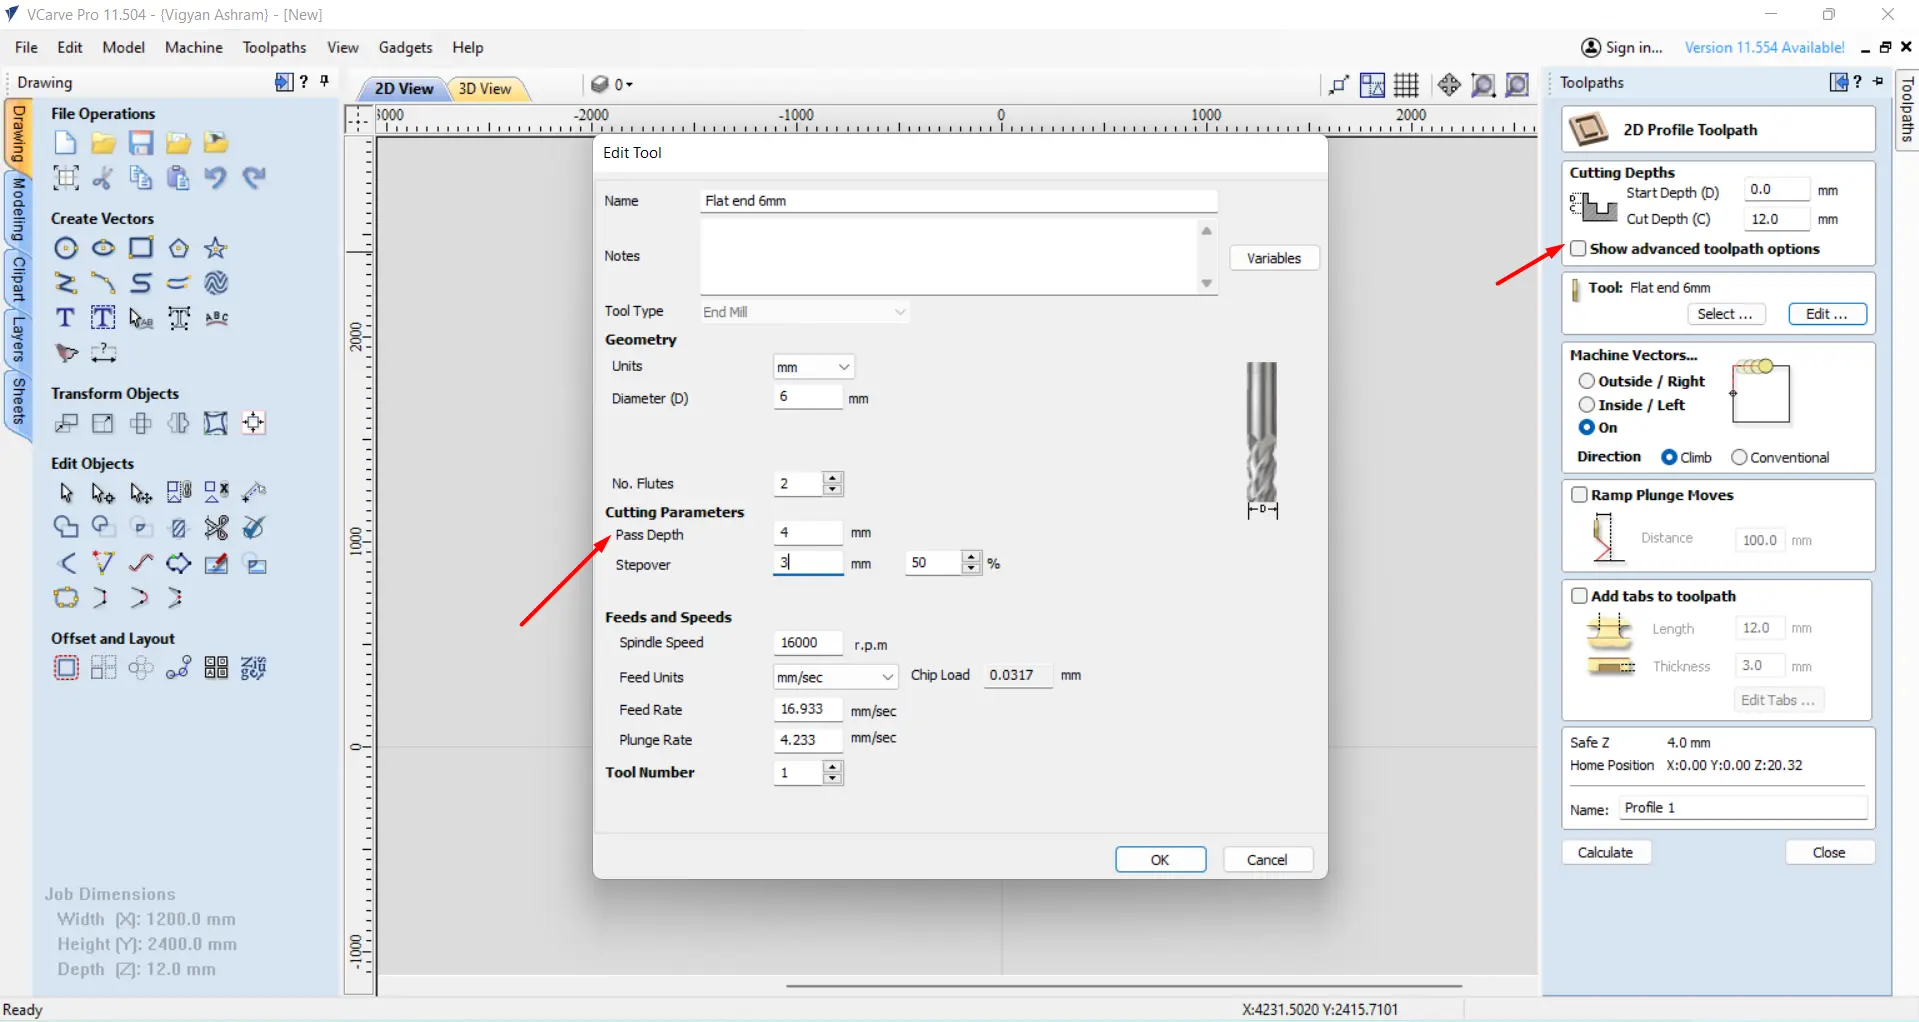
We have forest CNC machine in our fablab.We used flat end mill with diameter 6 mm.steps Group Assignment are:
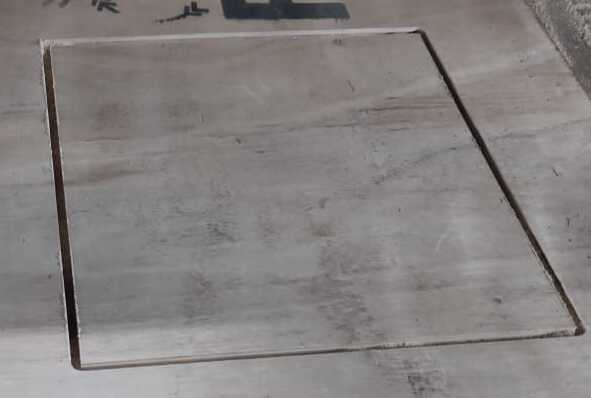
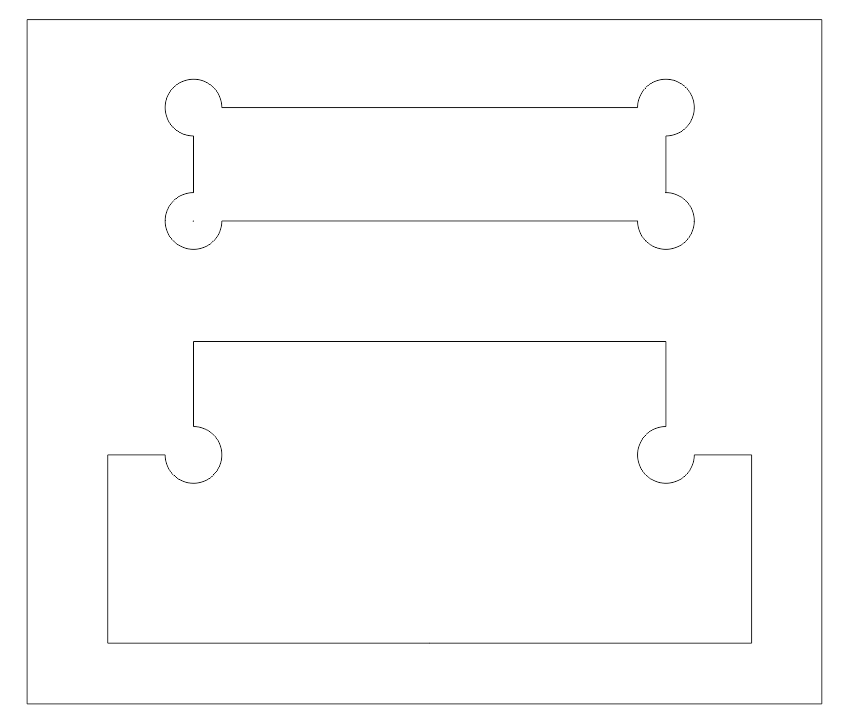
step 1: First we design object in fusion360 slot and insert then design square have dimension 300x300mmx10 in vcarf according to our sheet thickness.and also we have design for inside.and save the design file in dxf file format.
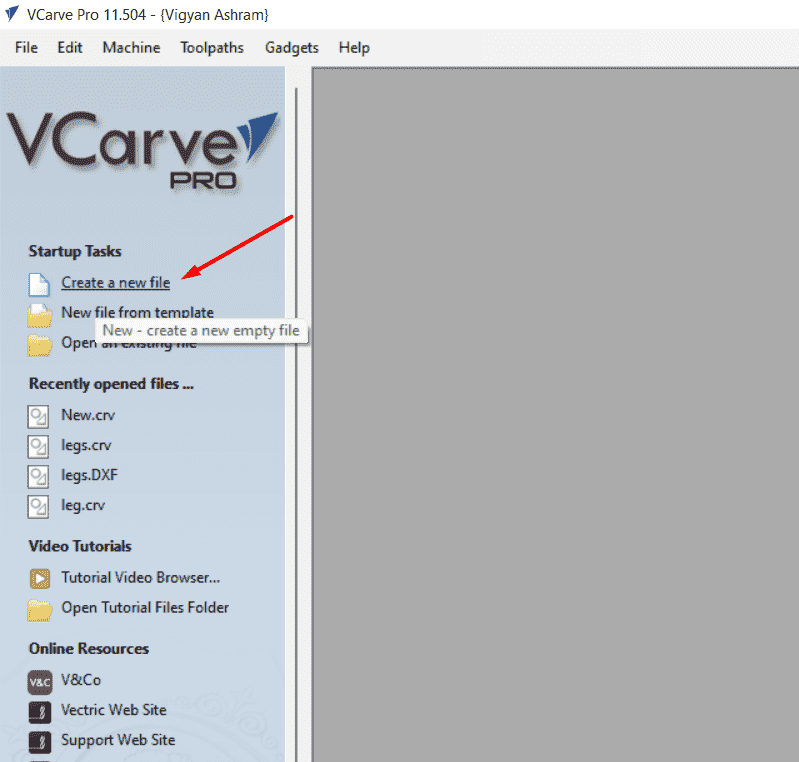
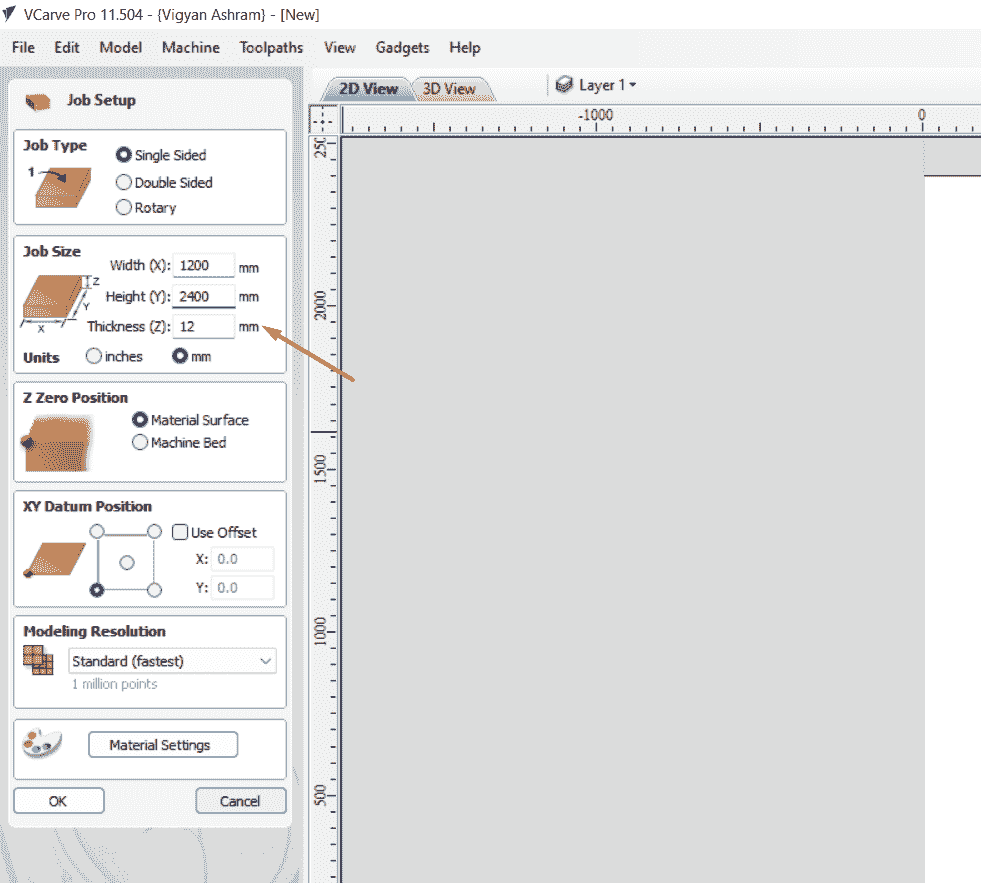
step 2: We have vCarve software for machine forest CNC.In this software we have to generate the toolpath.Open Vcarve software and select create new file for tool path generation.after selecting create new file you will see interface like in picture.and then set your dimensions here like Job size, Job type, Z zero position, XY detum position, Modelling resolution and material setting here and click Ok button.
Step3: Then you have to load your dxf file here.after checking our drawing like is there any double line or dots we have to erase it and then go to toolpath.if you want you can draw rectangle from here also. And group the design.
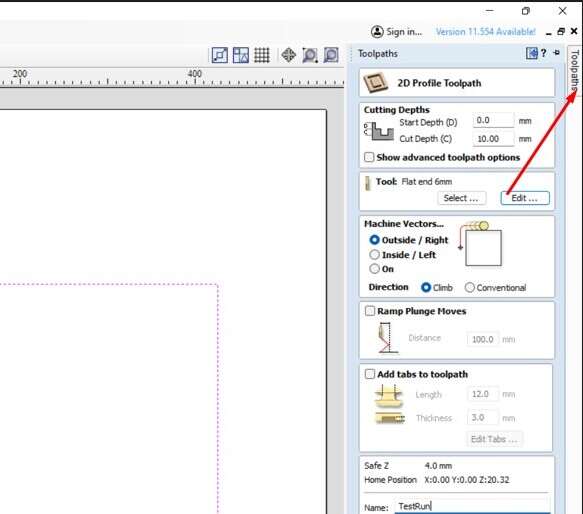
Step 4: In toolpath go to the profile tool path and check for the cutting depth, tool,Machine Vectors,Ramp Plunge Moves,and given the name for our job. In tool select tool its parameter in Tool.Here in Cutting Depth,
Start depth = 0 bacause we start from surface
Cut Depth = 12 According to our sheet thockness.
step 5: After selecting the tool there is Machine vector which we have to select then name it and calculate.Machine vector are:
1. Outside (for external dimensions)
2. Inside (for inside dimensions,for ex,slot)
3. On
Step 6: Then you will get massage regarding vector for continue tool path click yes.

Step 7: Save the toolpath.
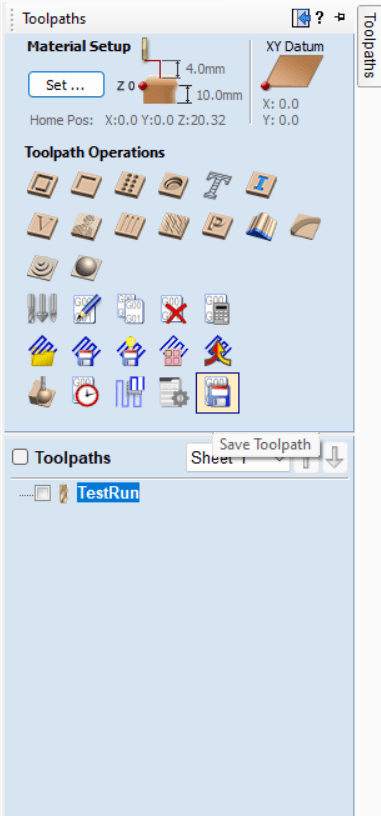
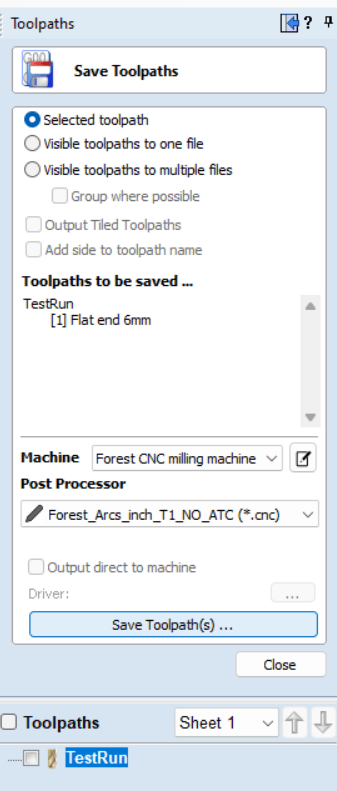
Step 8: Start the machine software Router Control.
Step 9: move the head back to the machine's home position. Then, select RESET HOME. After setting the home position, position the head over the area of the cutting sheet and set it to zero on the sheet surface. Finally, establish the origin by clicking on 'set all zero
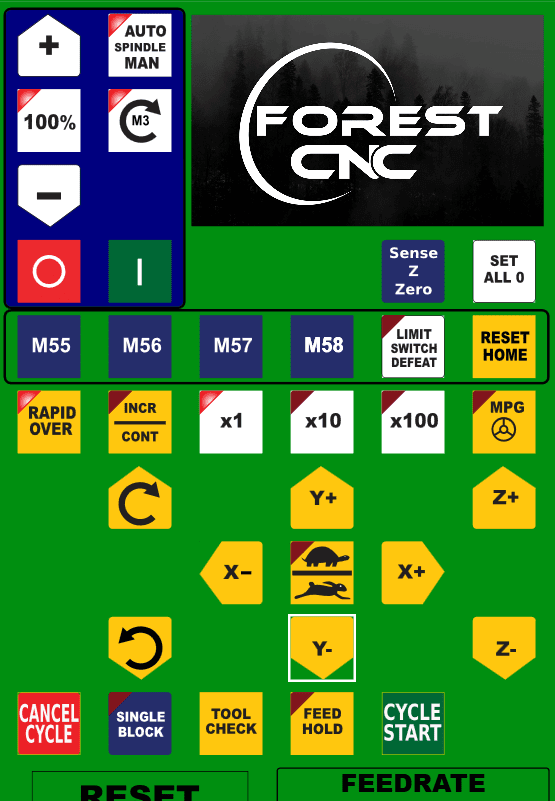
Step 9: Then set click one by one. do the process setup for 3 axis to zero and load the ".cnc" file here in which we generated tool path.Check the graph and then start cycle.Our cutting is in progress.. so we have cut part successfully.