Week 13: Molding and Casting
This week's assignment involves designing, fabricating, and casting a mold with a smooth finish. I chose to create an octopus model, which I designed using Autodesk Inventor Professional. After designing the octopus, I made a frame to facilitate the casting process with food-grade silicone. The frame ensures that the casting process is easier and results in a smooth, high-quality finish. The octopus design was then 3D printed to create a master model, which I used to prepare the silicone mold.
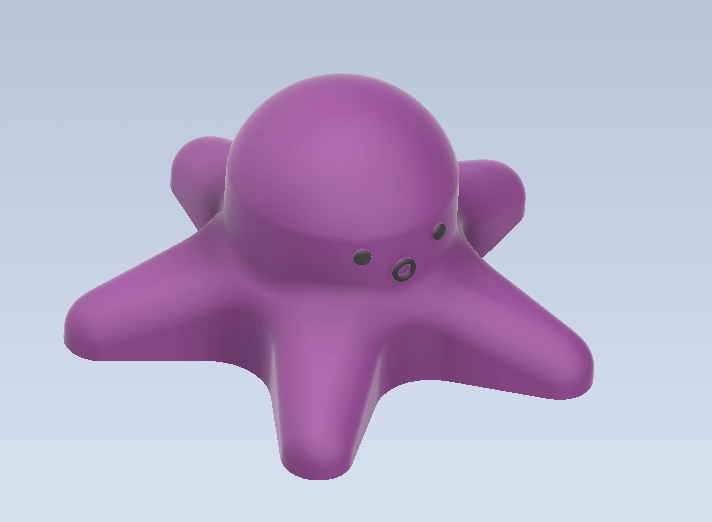
For the master model design, I chose to create an octopus optimized for easy demolding. The model has a taper in the legs and body to facilitate the demolding process. This master model will be printed using SLA technology.
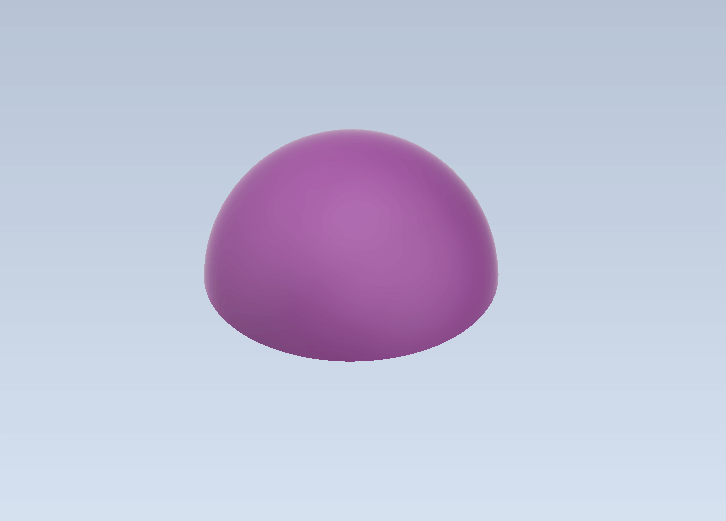
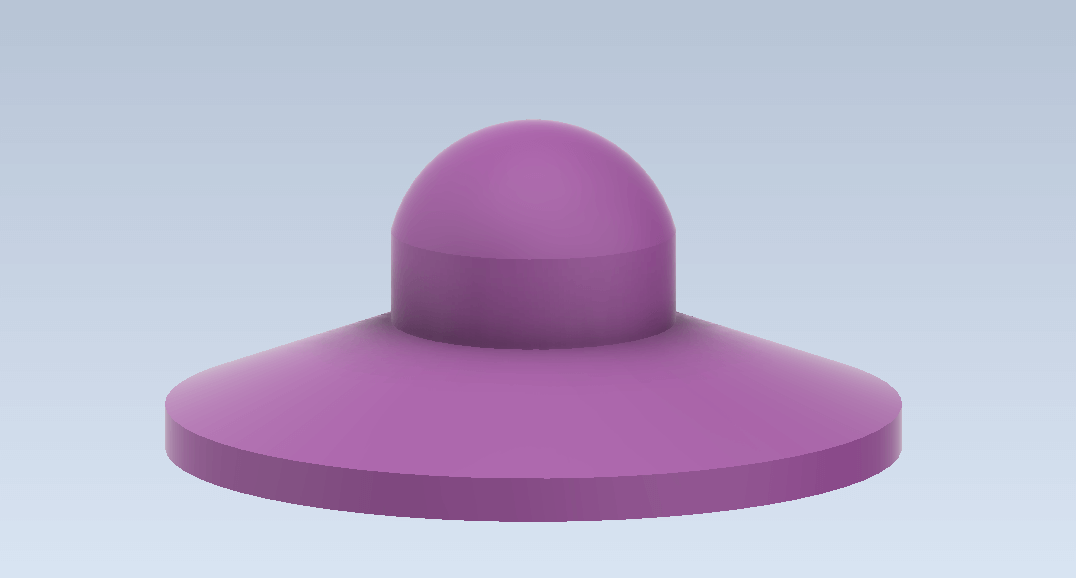
First, I created a hemisphere for the head.
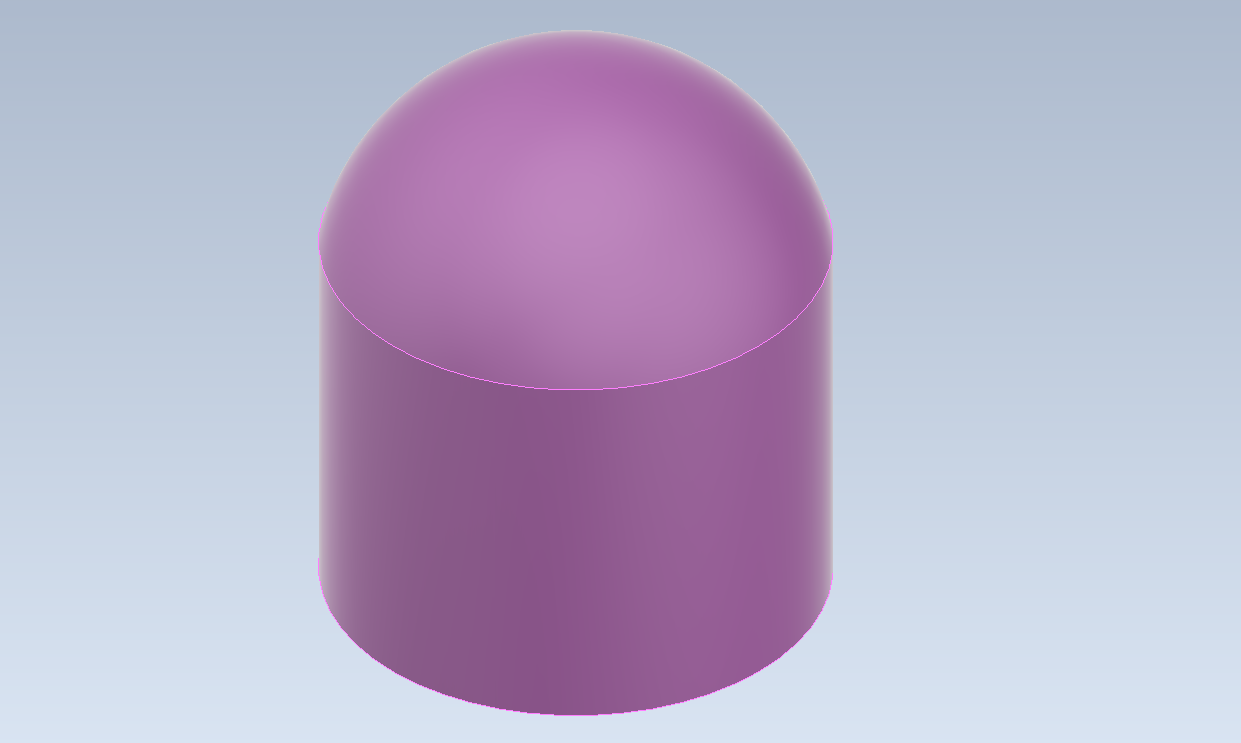
Next, I extruded the circular face below the head to form the body/neck of the octopus. Then, I performed a revolution operation to create a tapered cone shape as a new solid body.
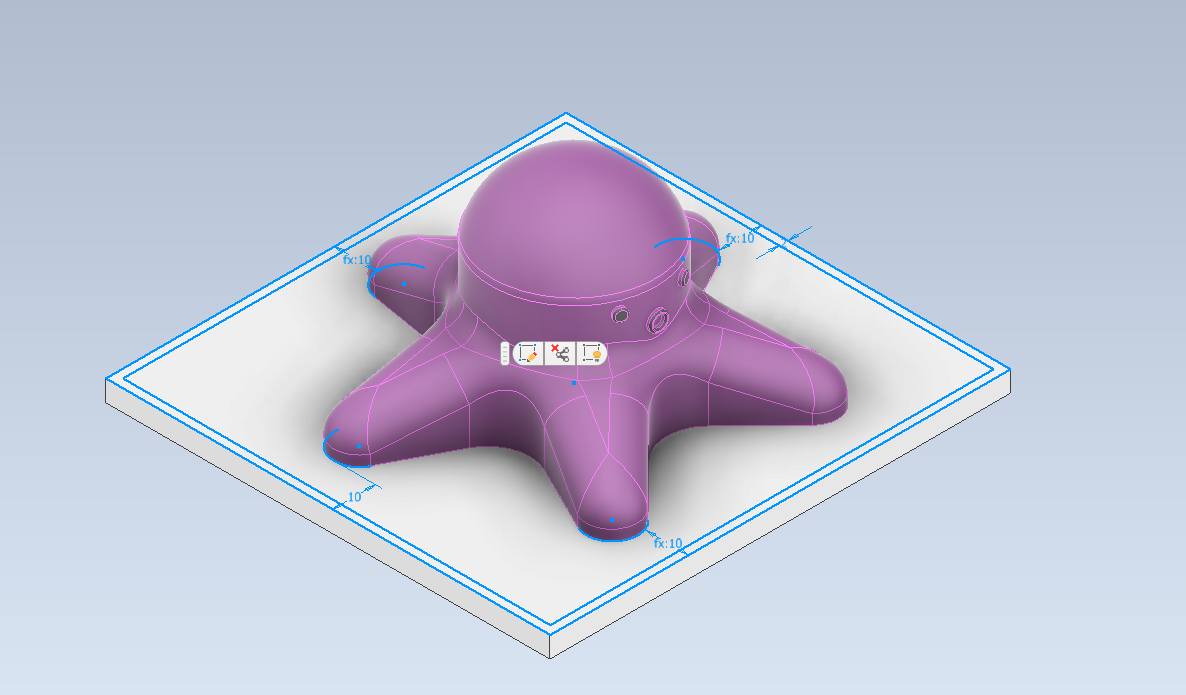
In this step, I used an extrusion to make one leg and then a circular pattern to create the rest of the legs. It is crucial to extrude the legs as a new solid body so all legs form one solid.
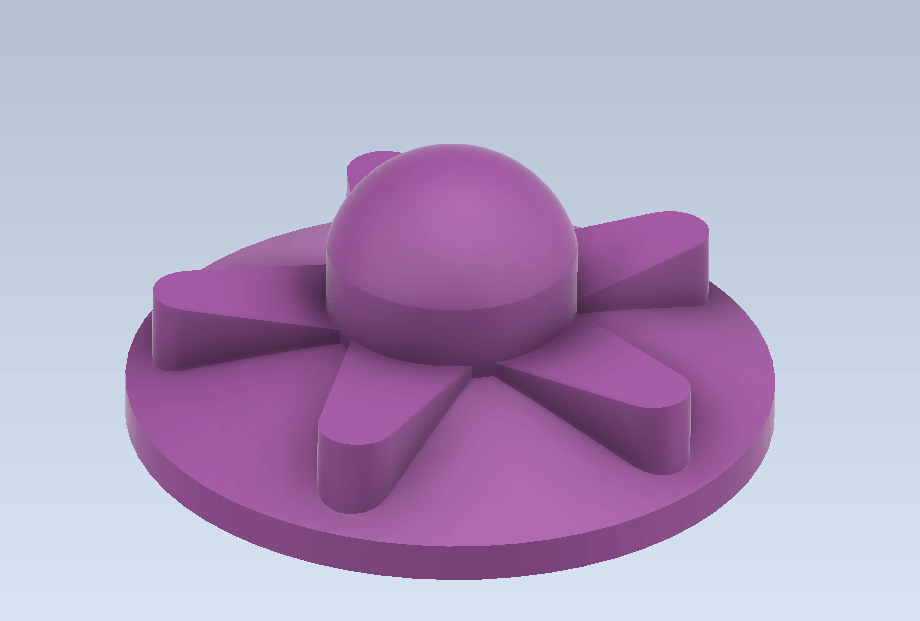
I used a Boolean operation (Combine) to generate the intersection of both the legs and the tapered geometry. Then, another two Boolean operations were needed to join the three solids into one solid body.
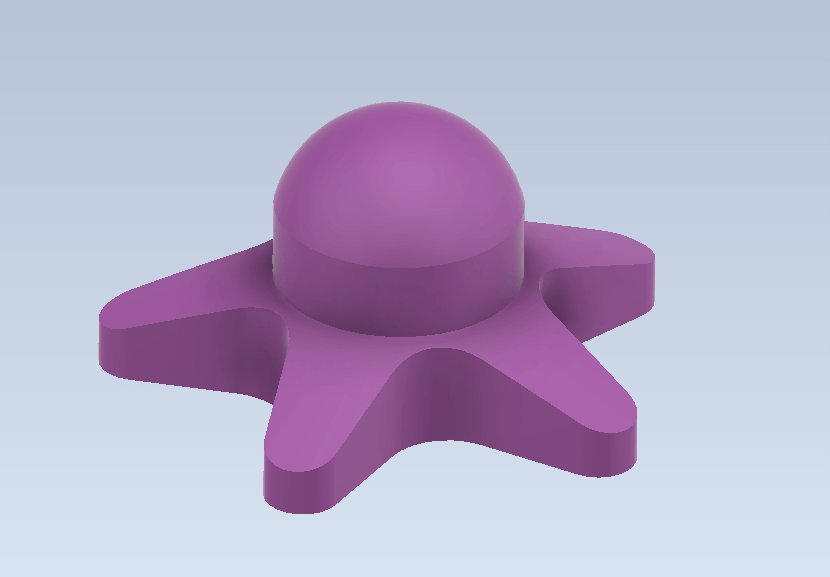
Adding fillets for a smooth surface transition.
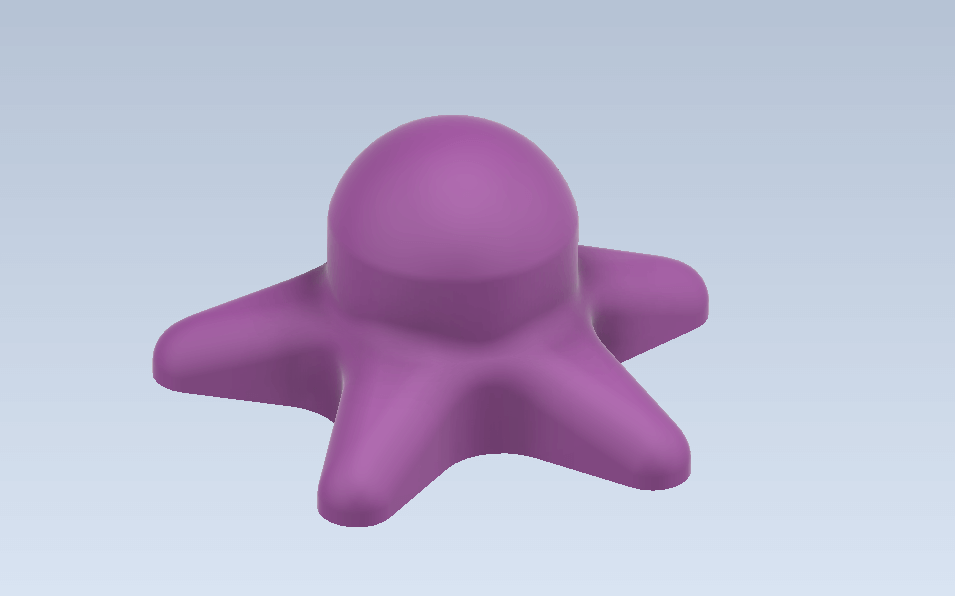
I used the emboss tool to create the eyes and mouth. Since the face is a non-planar surface, it was necessary to use the emboss tool to wrap the extrusion around the desired non-planar face.
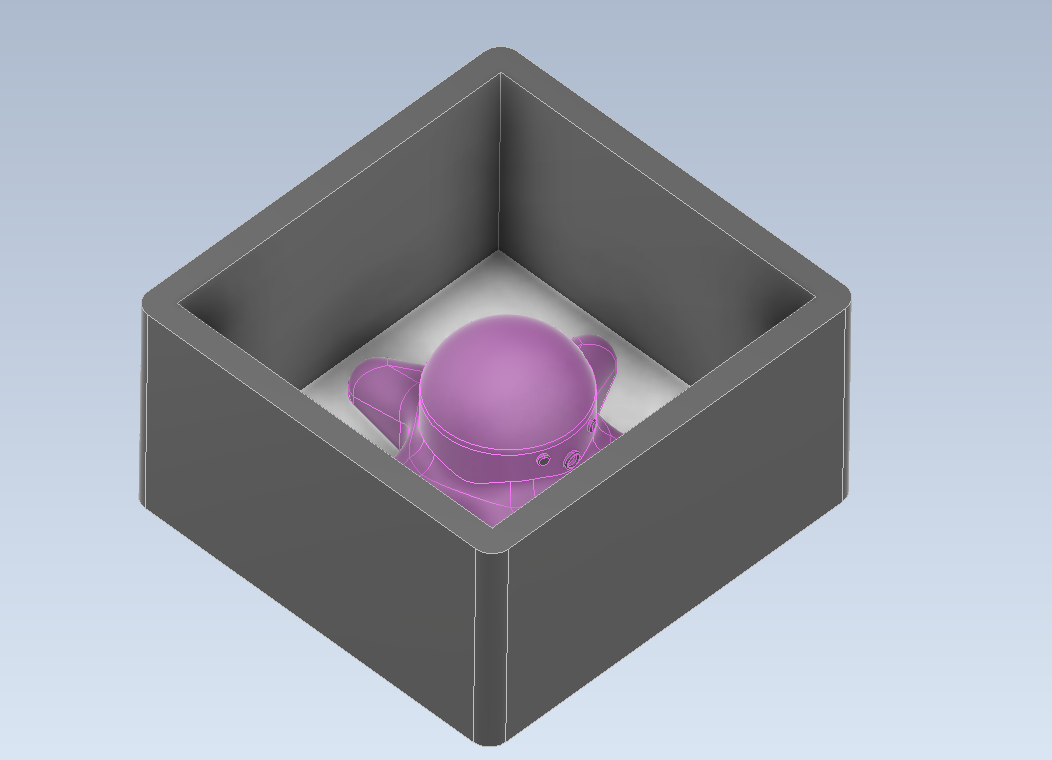
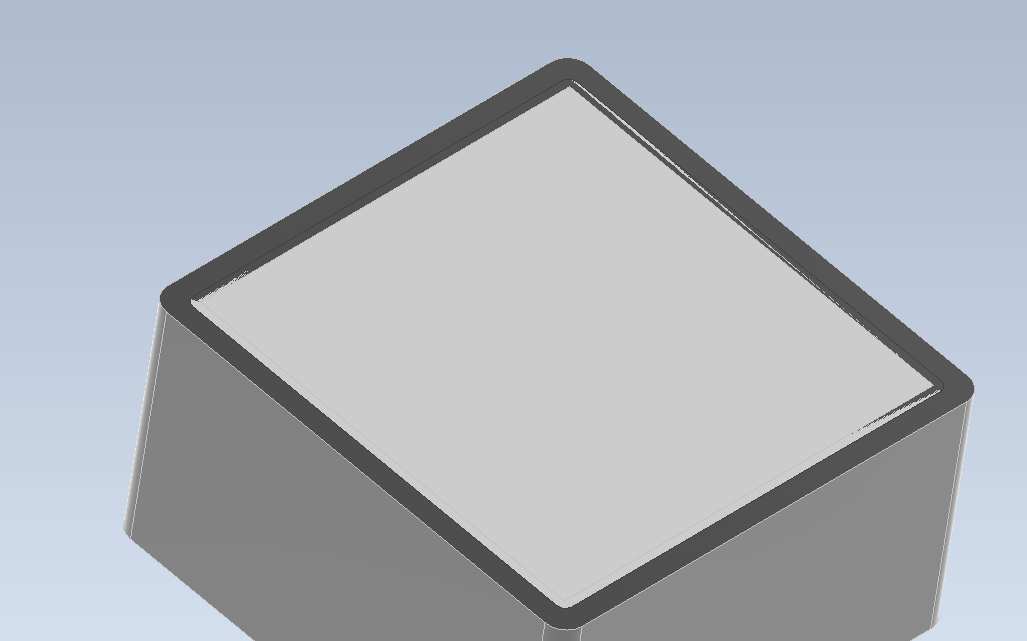
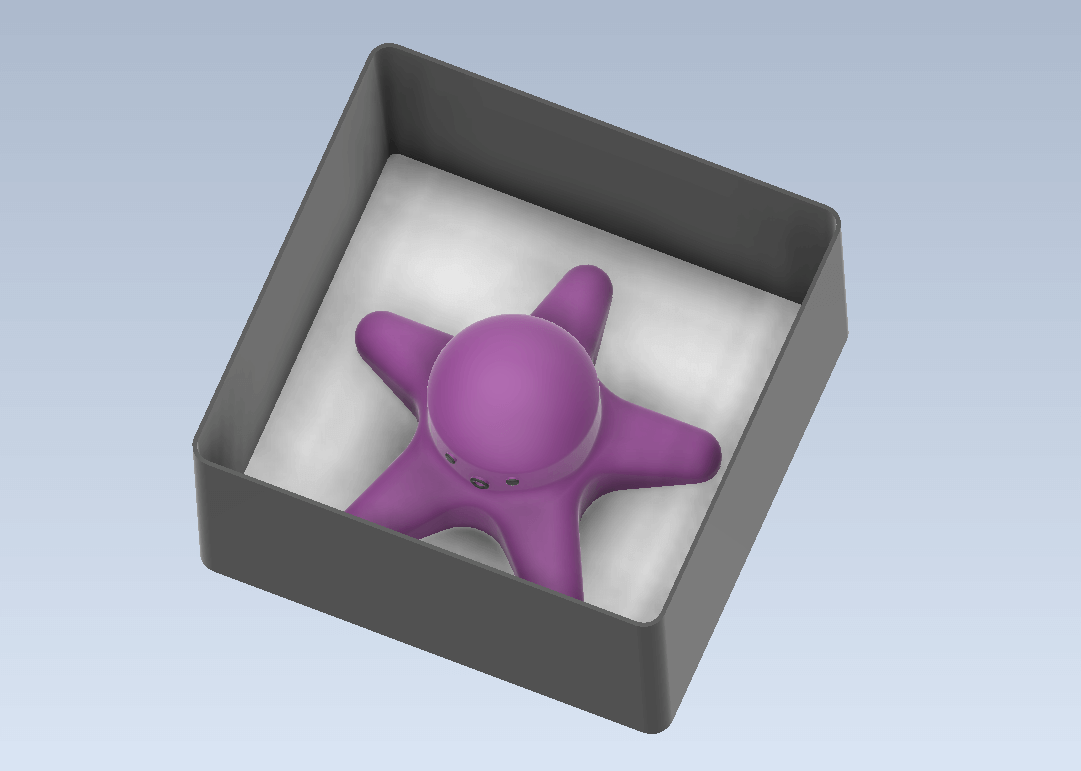
For the mold frame design, I incorporated a tapered shape to facilitate easy removal of the silicone mold. Additionally, the base and sides are two separate pieces, allowing for effortless demolding by simply pushing the base upwards. This design ensures that the silicon mold can be removed smoothly allowing reuse of the mold frame.
The main idea behind this design is to create and fabricate a reusable mold frame, which will be used to make the silicone mold for casting octopus jelly soap and other food-safe products.
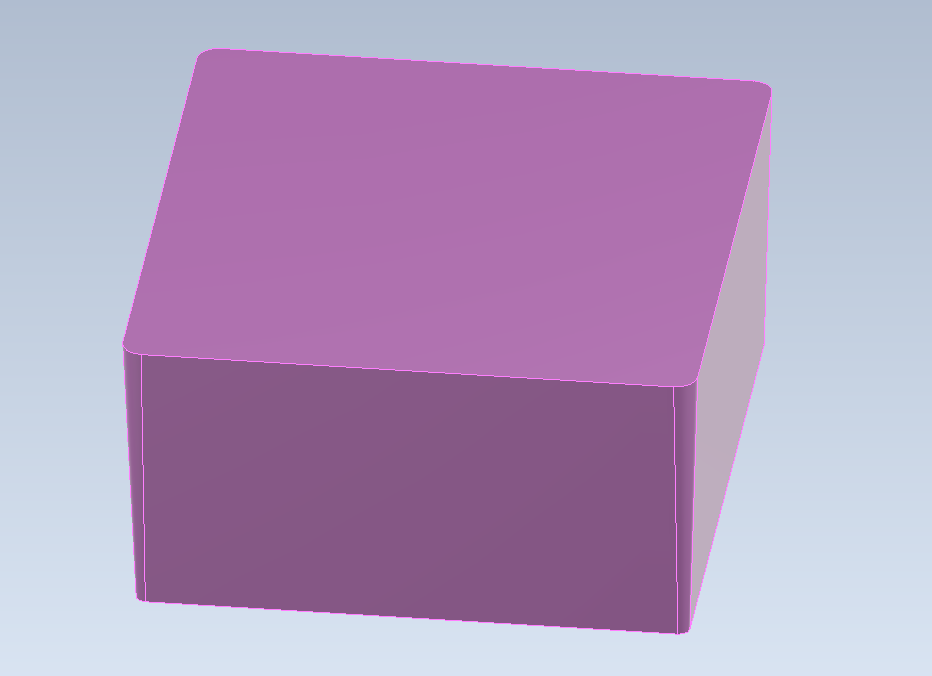
First, I designed the base, adding a 10 mm border on each side to ensure a correct silicon mold thickness.
Next, I added a taper to the bottom of the base. This taper is crucial for the demolding process, allowing the silicone mold to be easily pushed out without sticking.
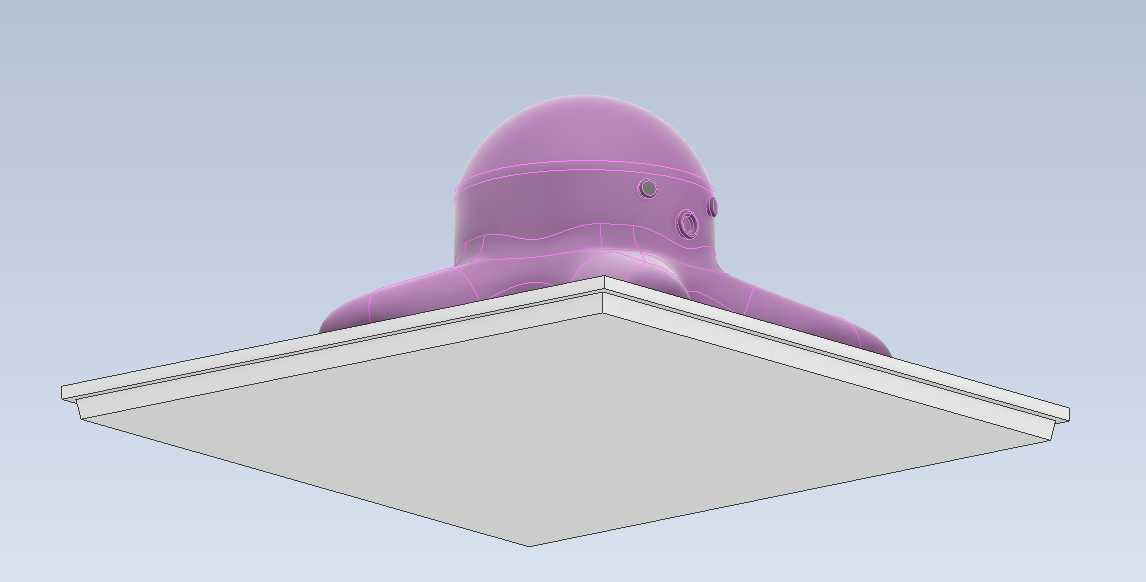
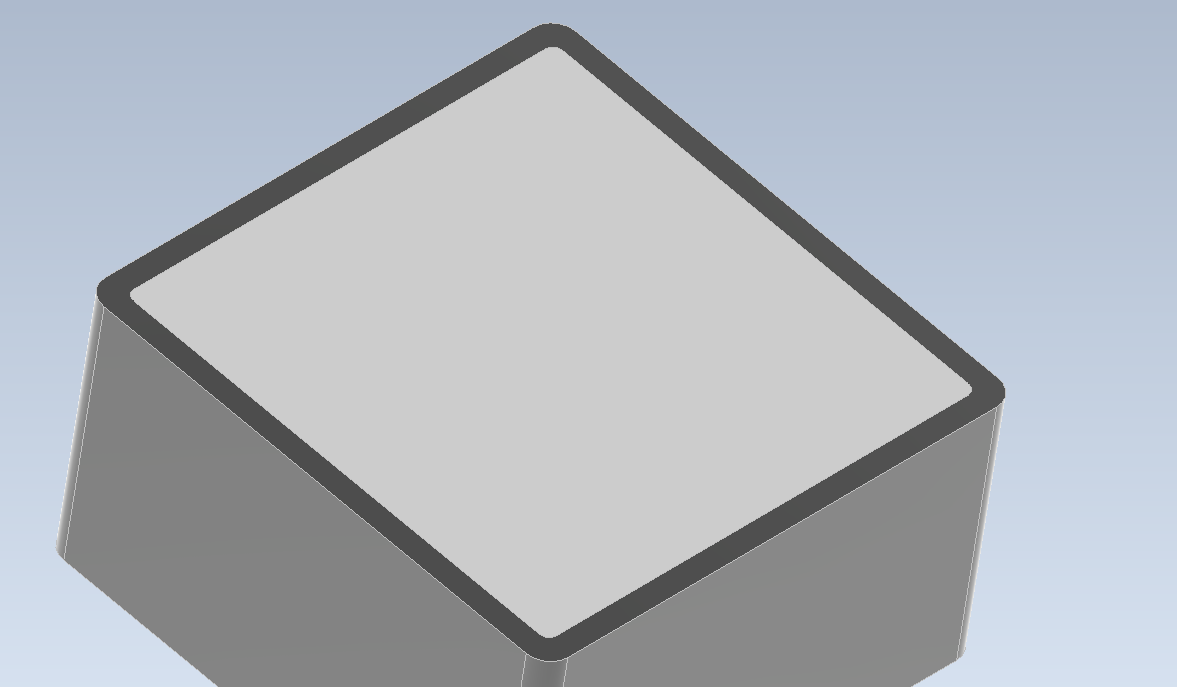
The next step is to create the mold frame or sides. First, I extruded a contour that intentionally intersects with the base. This intersection is necessary for a later Boolean operation. It is important to create this new geometry as a separate solid body.
To ensure a perfect fit between the base and the mold frame, I used a Boolean operation (Combine) to cut the seat for the base into the frame. This operation precisely removes the material needed to accommodate the base.
For a precise fit, I incorporated a 0.05 mm tolerance on all four sides of the base using a Direct Edit operation. This small tolerance ensures that the parts fit snugly while still being easy to assemble and disassemble.

To achieve easy demolding, I designed a tapered solid that intersects with the sides of the mold frame. A Boolean operation (Combine) was then performed to cut the material, creating a taper on the sides of the frame.
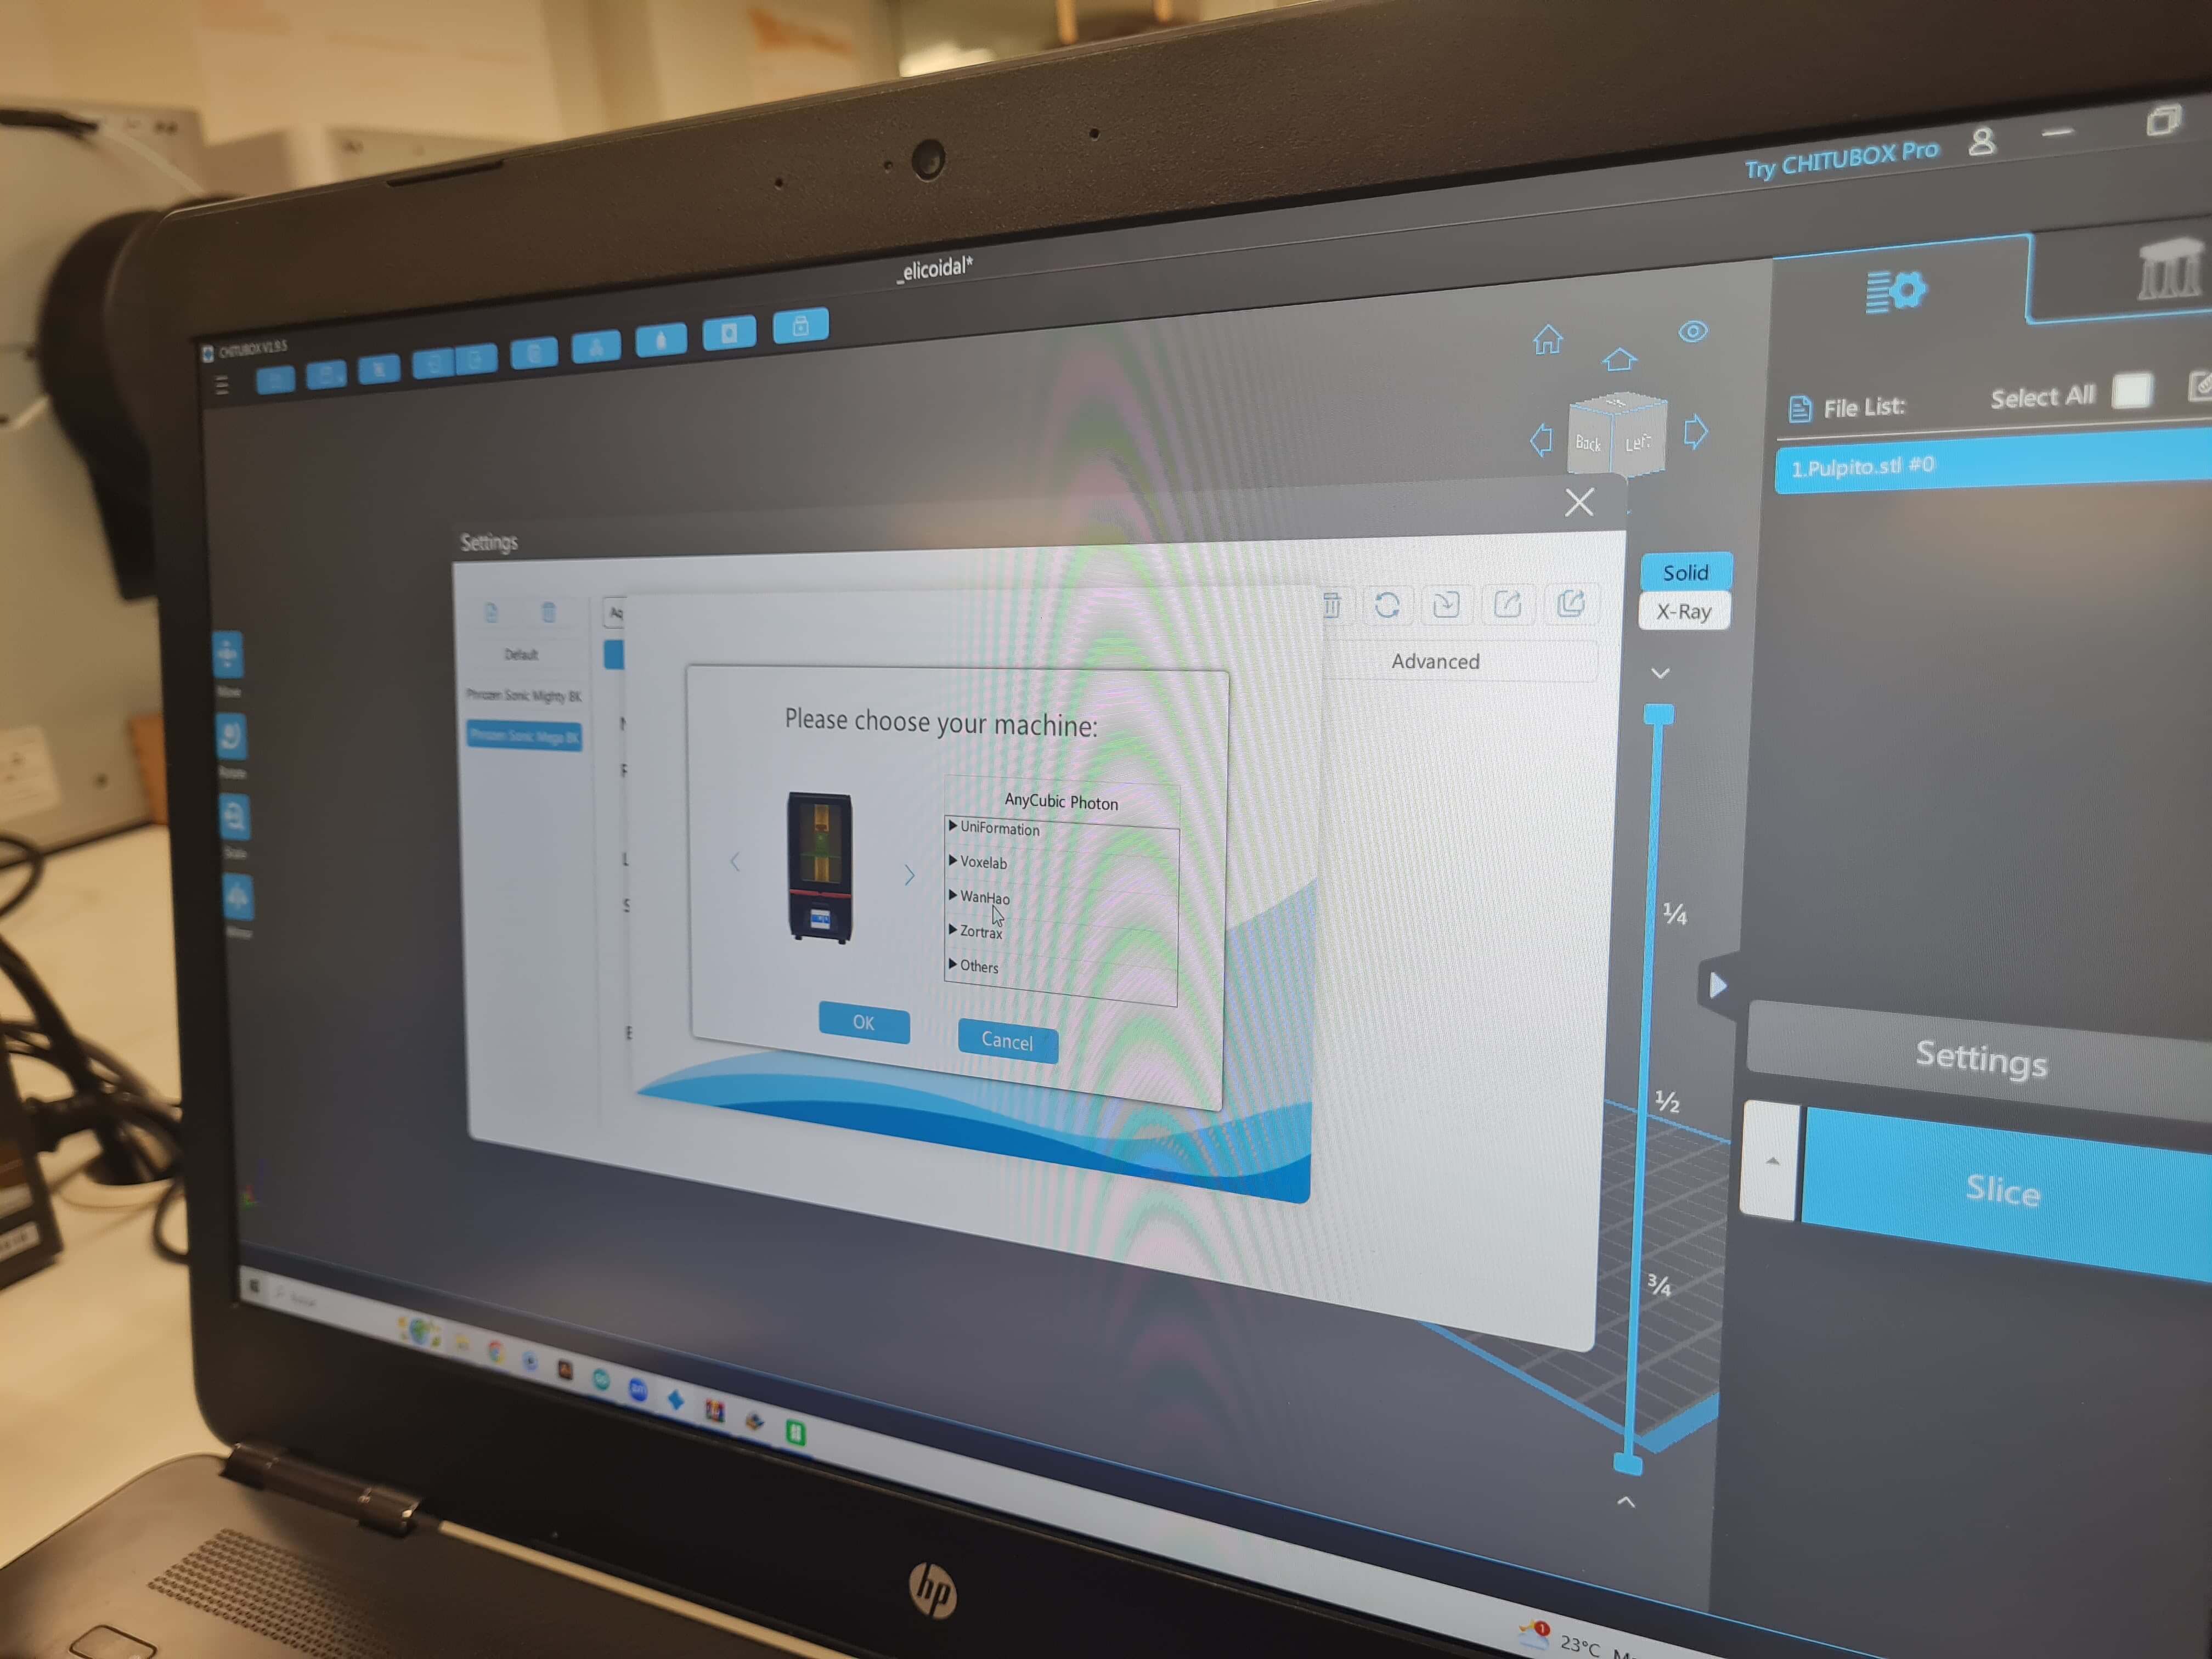
For the slicer, I used Chitubox, a popular slicing software for 3D printing. Chitubox offers a user-friendly interface with advanced features like customizable support structures, print settings optimization, and a preview function to ensure accurate slicing of the 3D model. It allows for precise control over the slicing process, making it easier to achieve high-quality prints.
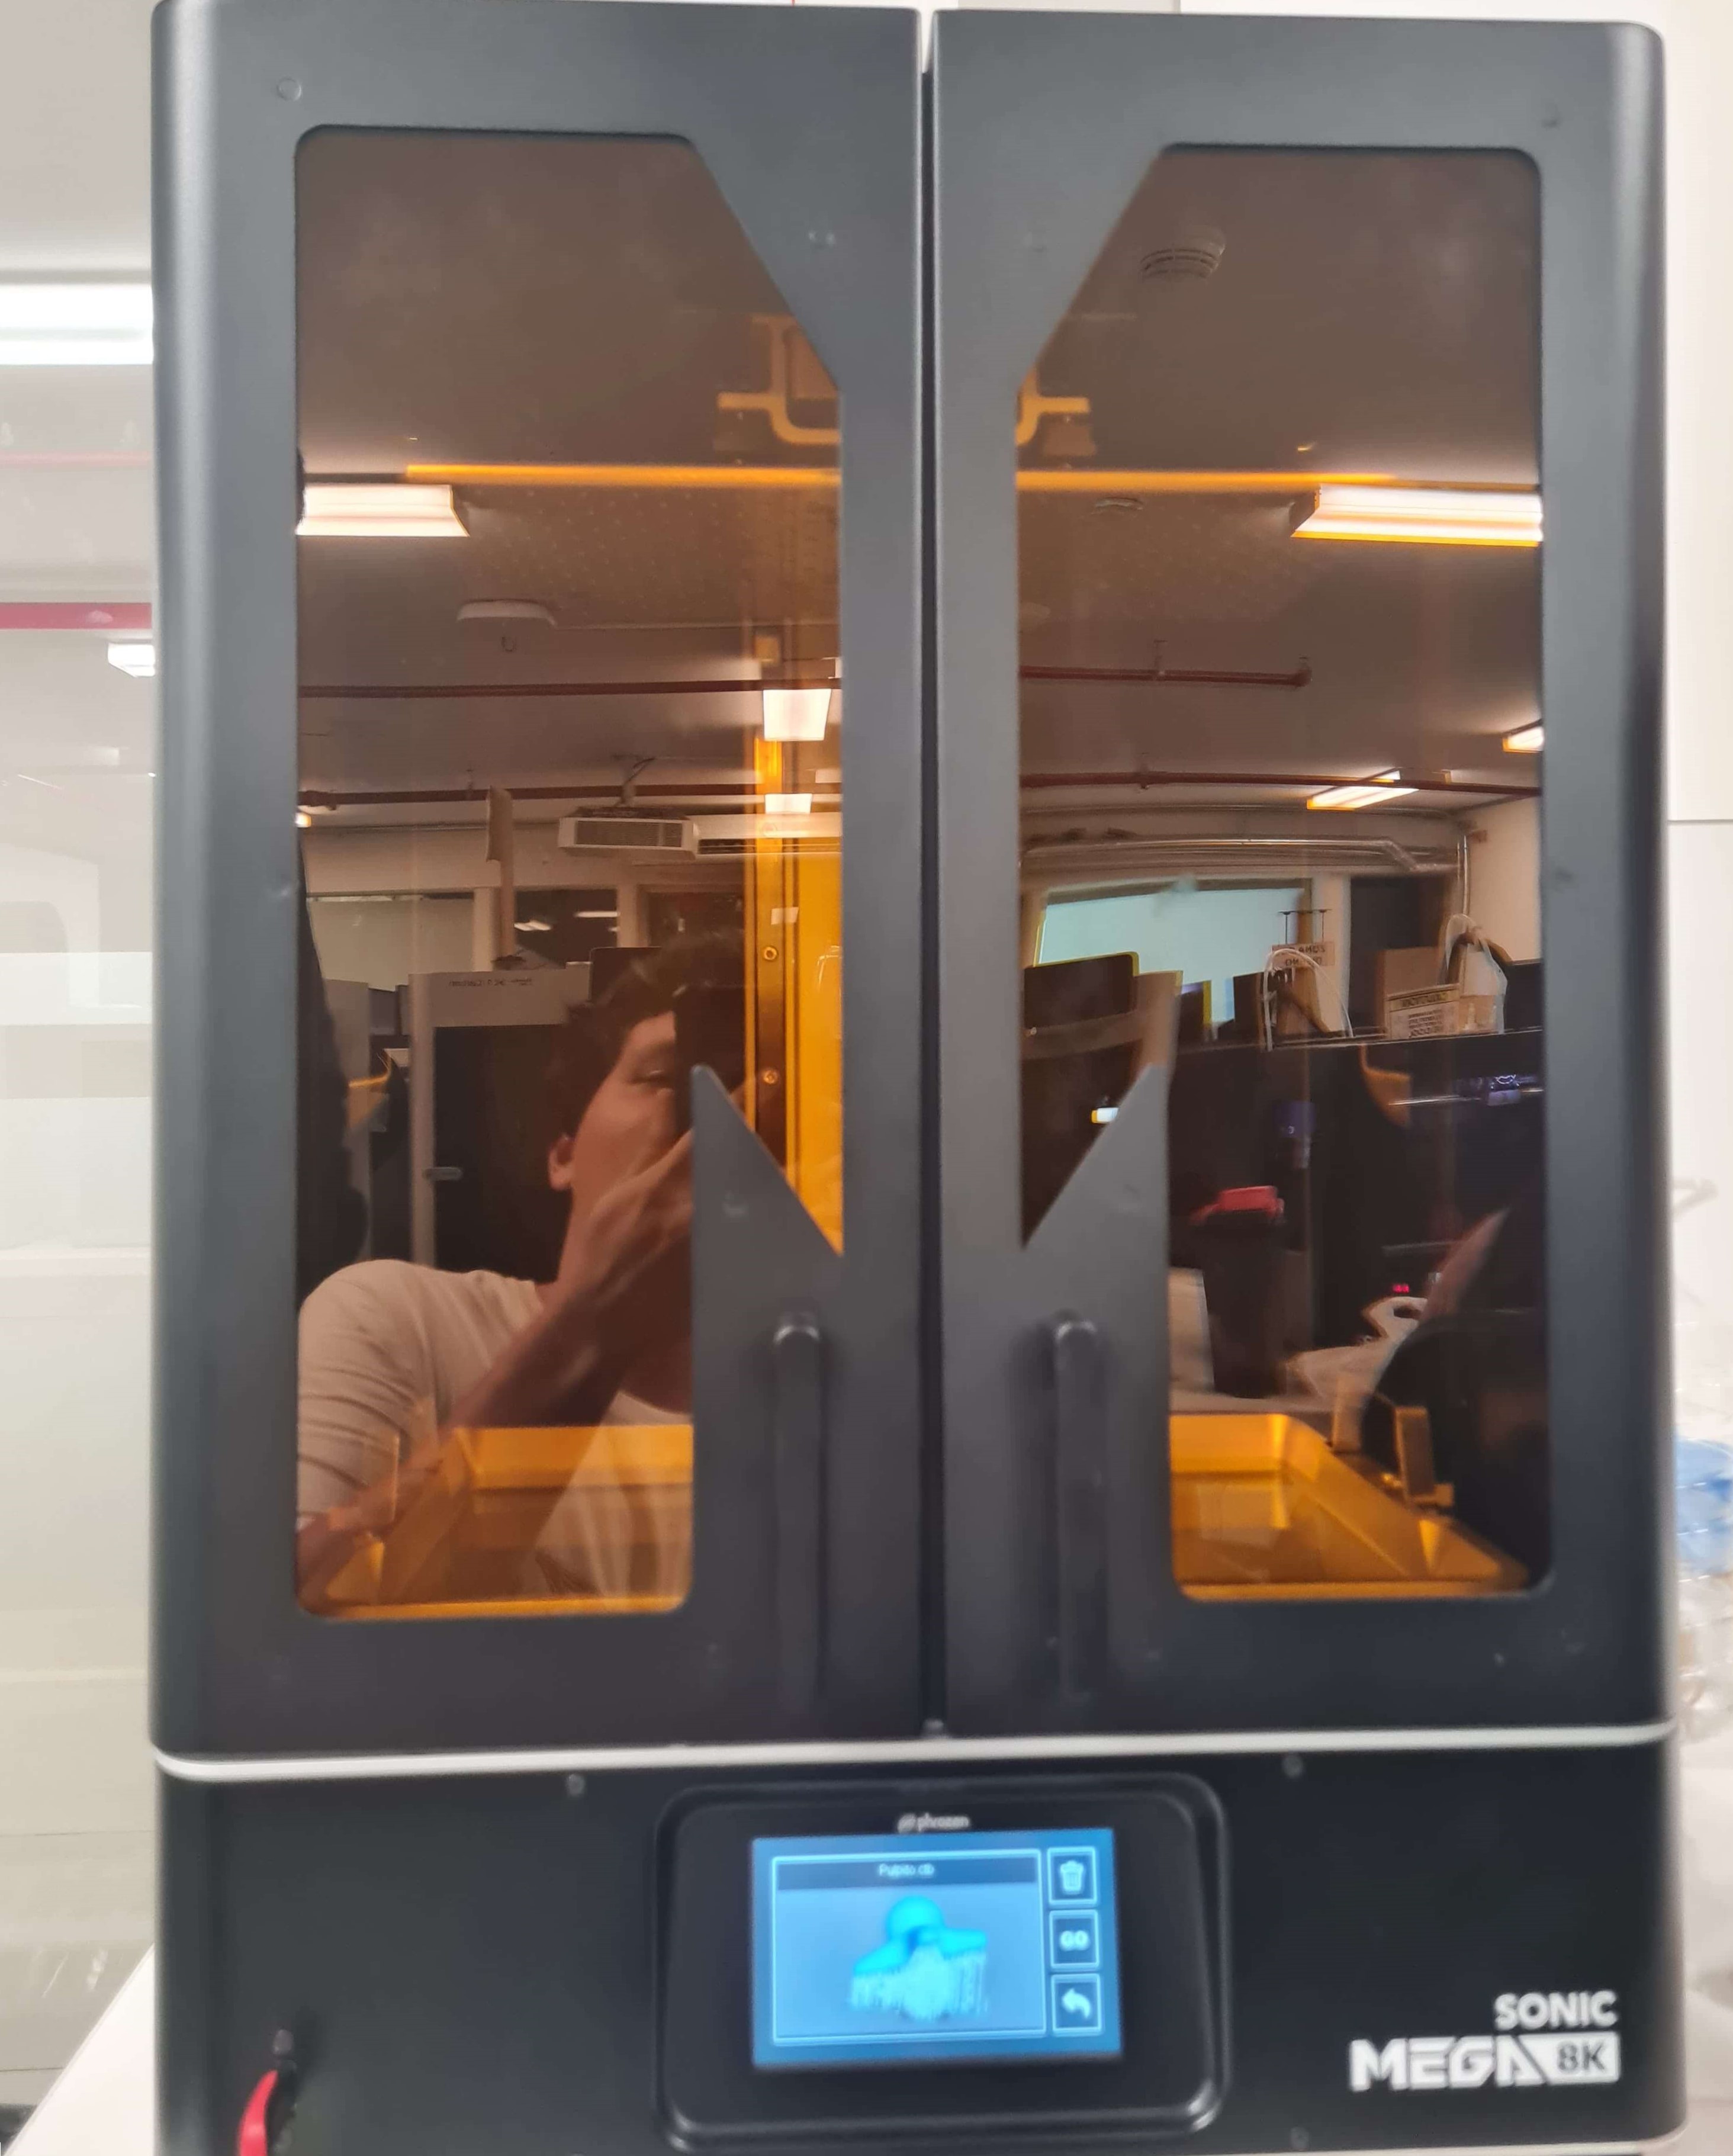
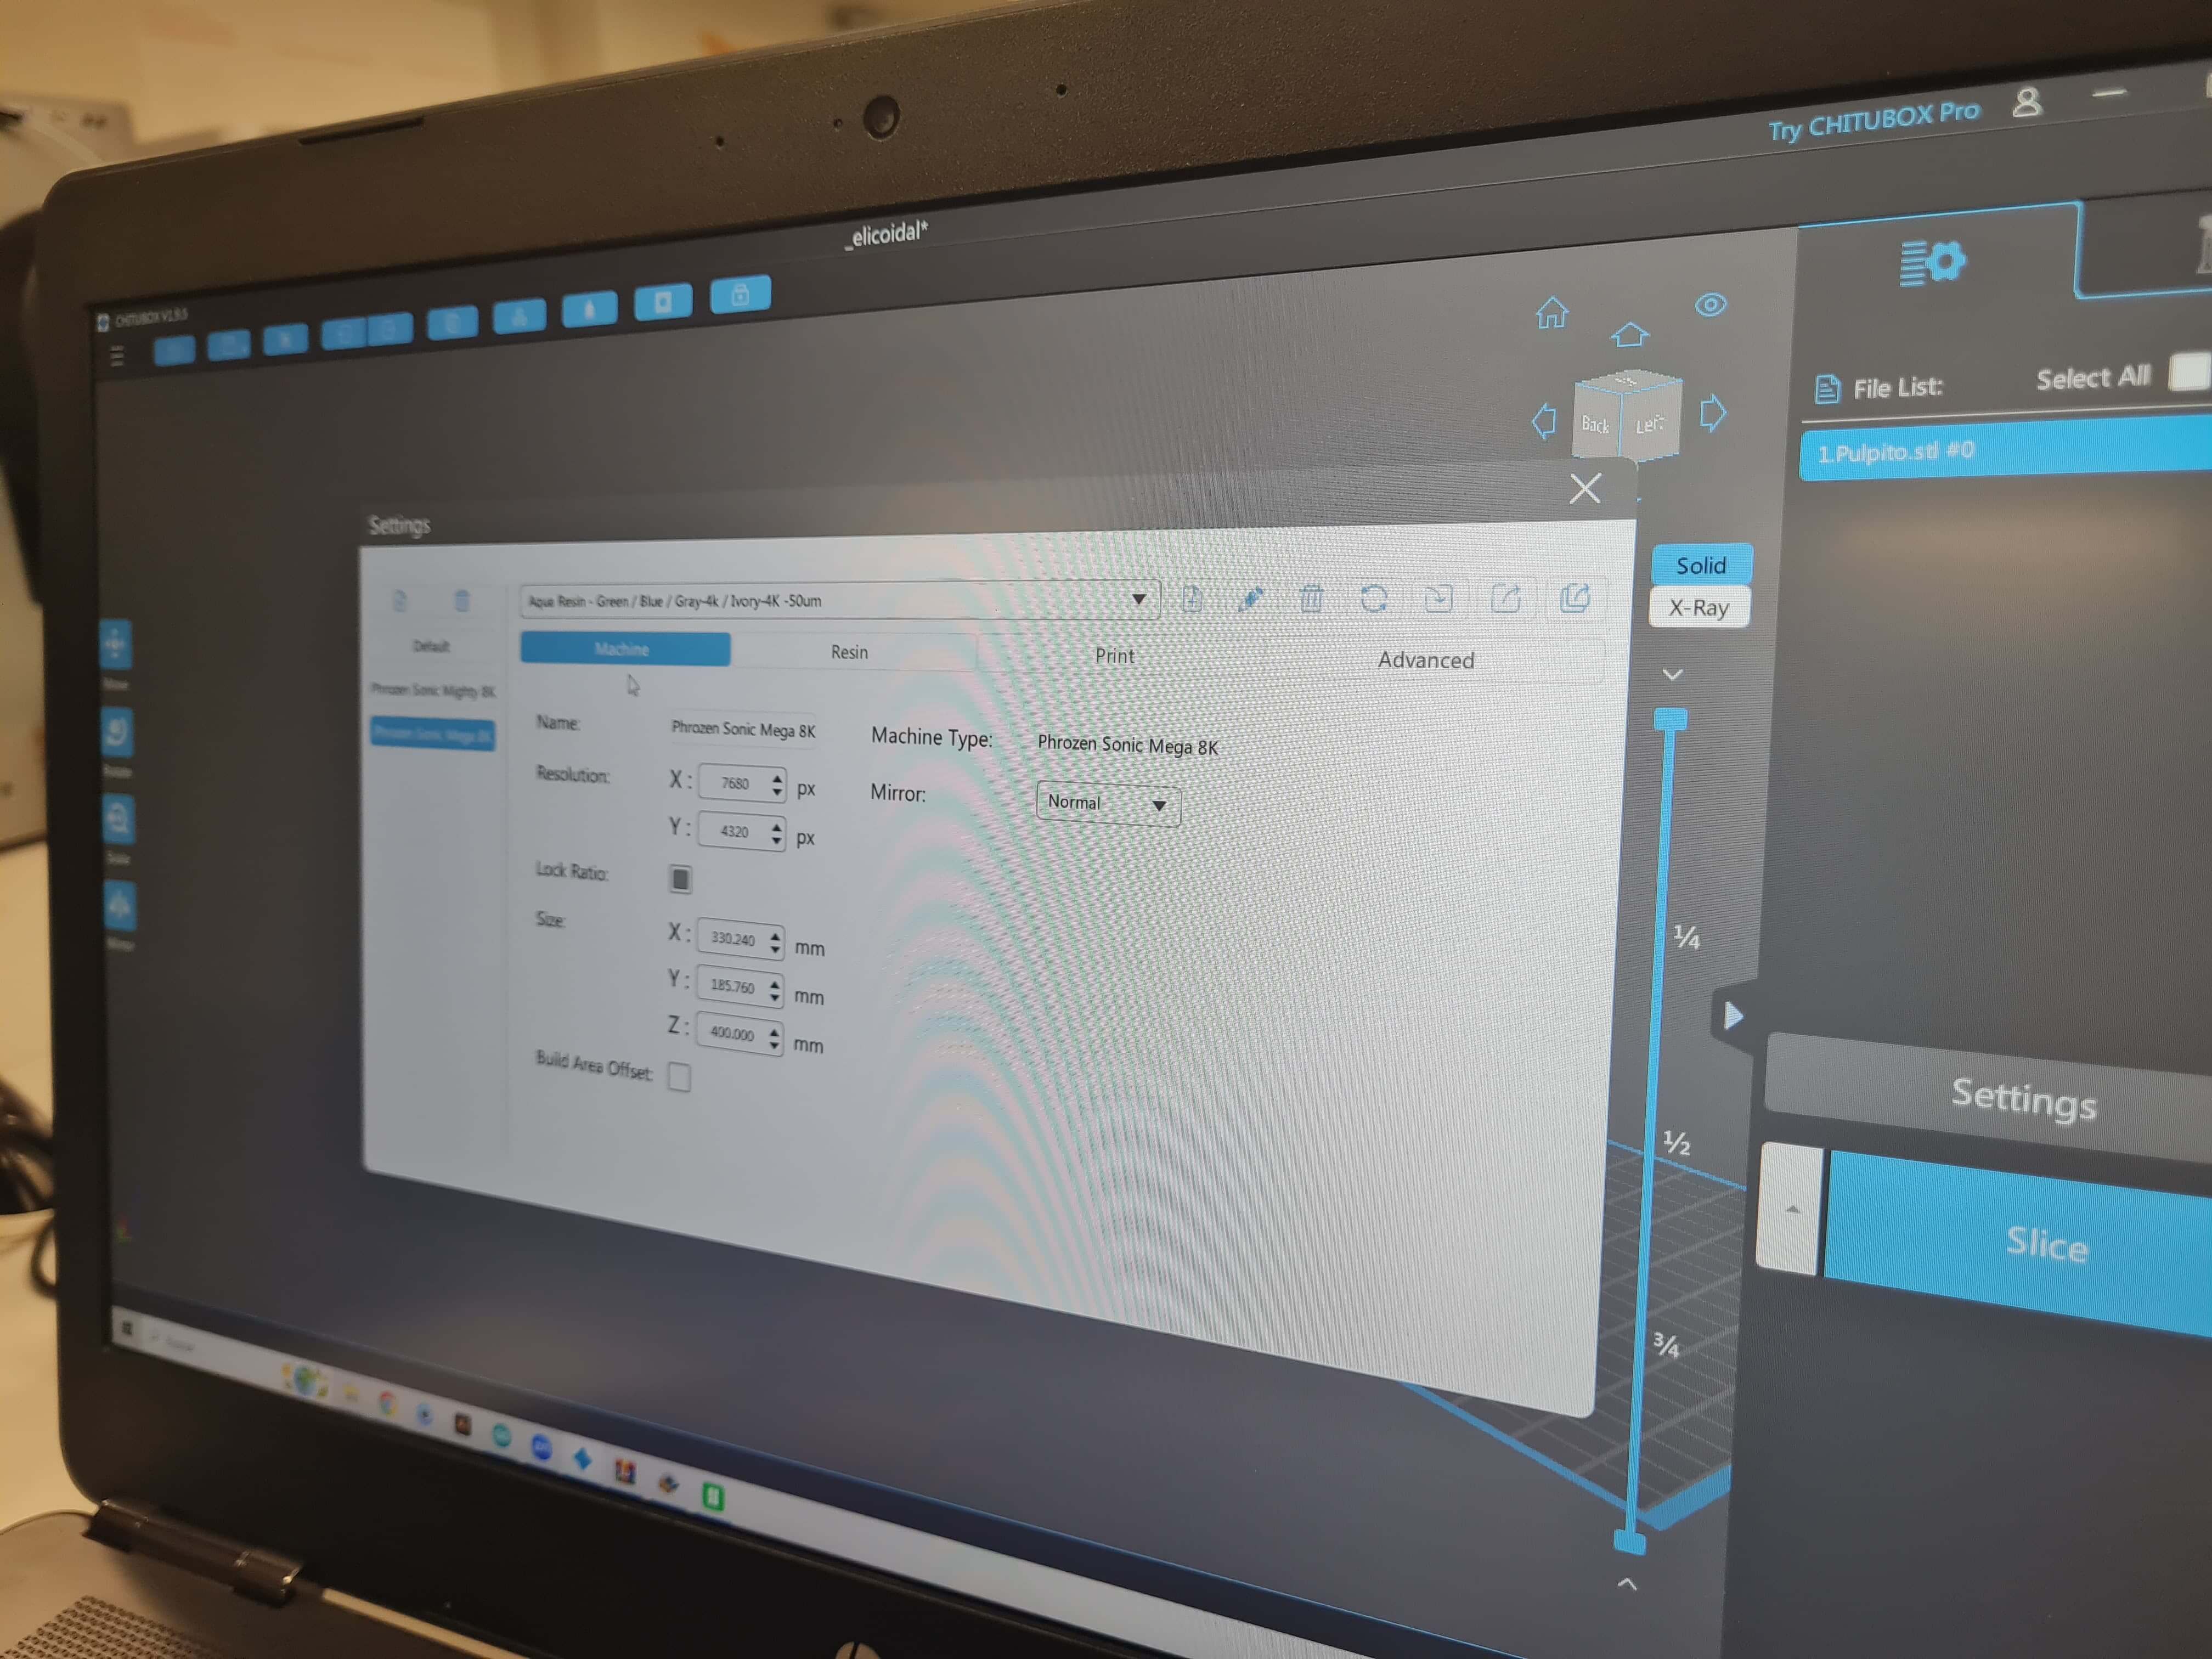
For printing, I used the Phrozen Sonic Mega 8K SLA printer. The Sonic Mega 8K is renowned for its ultra-high resolution, thanks to its 8K monochrome LCD screen, which allows for exceptionally detailed and precise prints. This printer is designed for large-scale projects, offering a substantial build volume of 330 x 185 x 400 mm, which is perfect for creating larger molds or multiple parts in a single print. The printer's robust build quality, combined with its high resolution and large build volume, makes it ideal for producing intricate and detailed models.
The first step is to select the printer profile in the slicer.
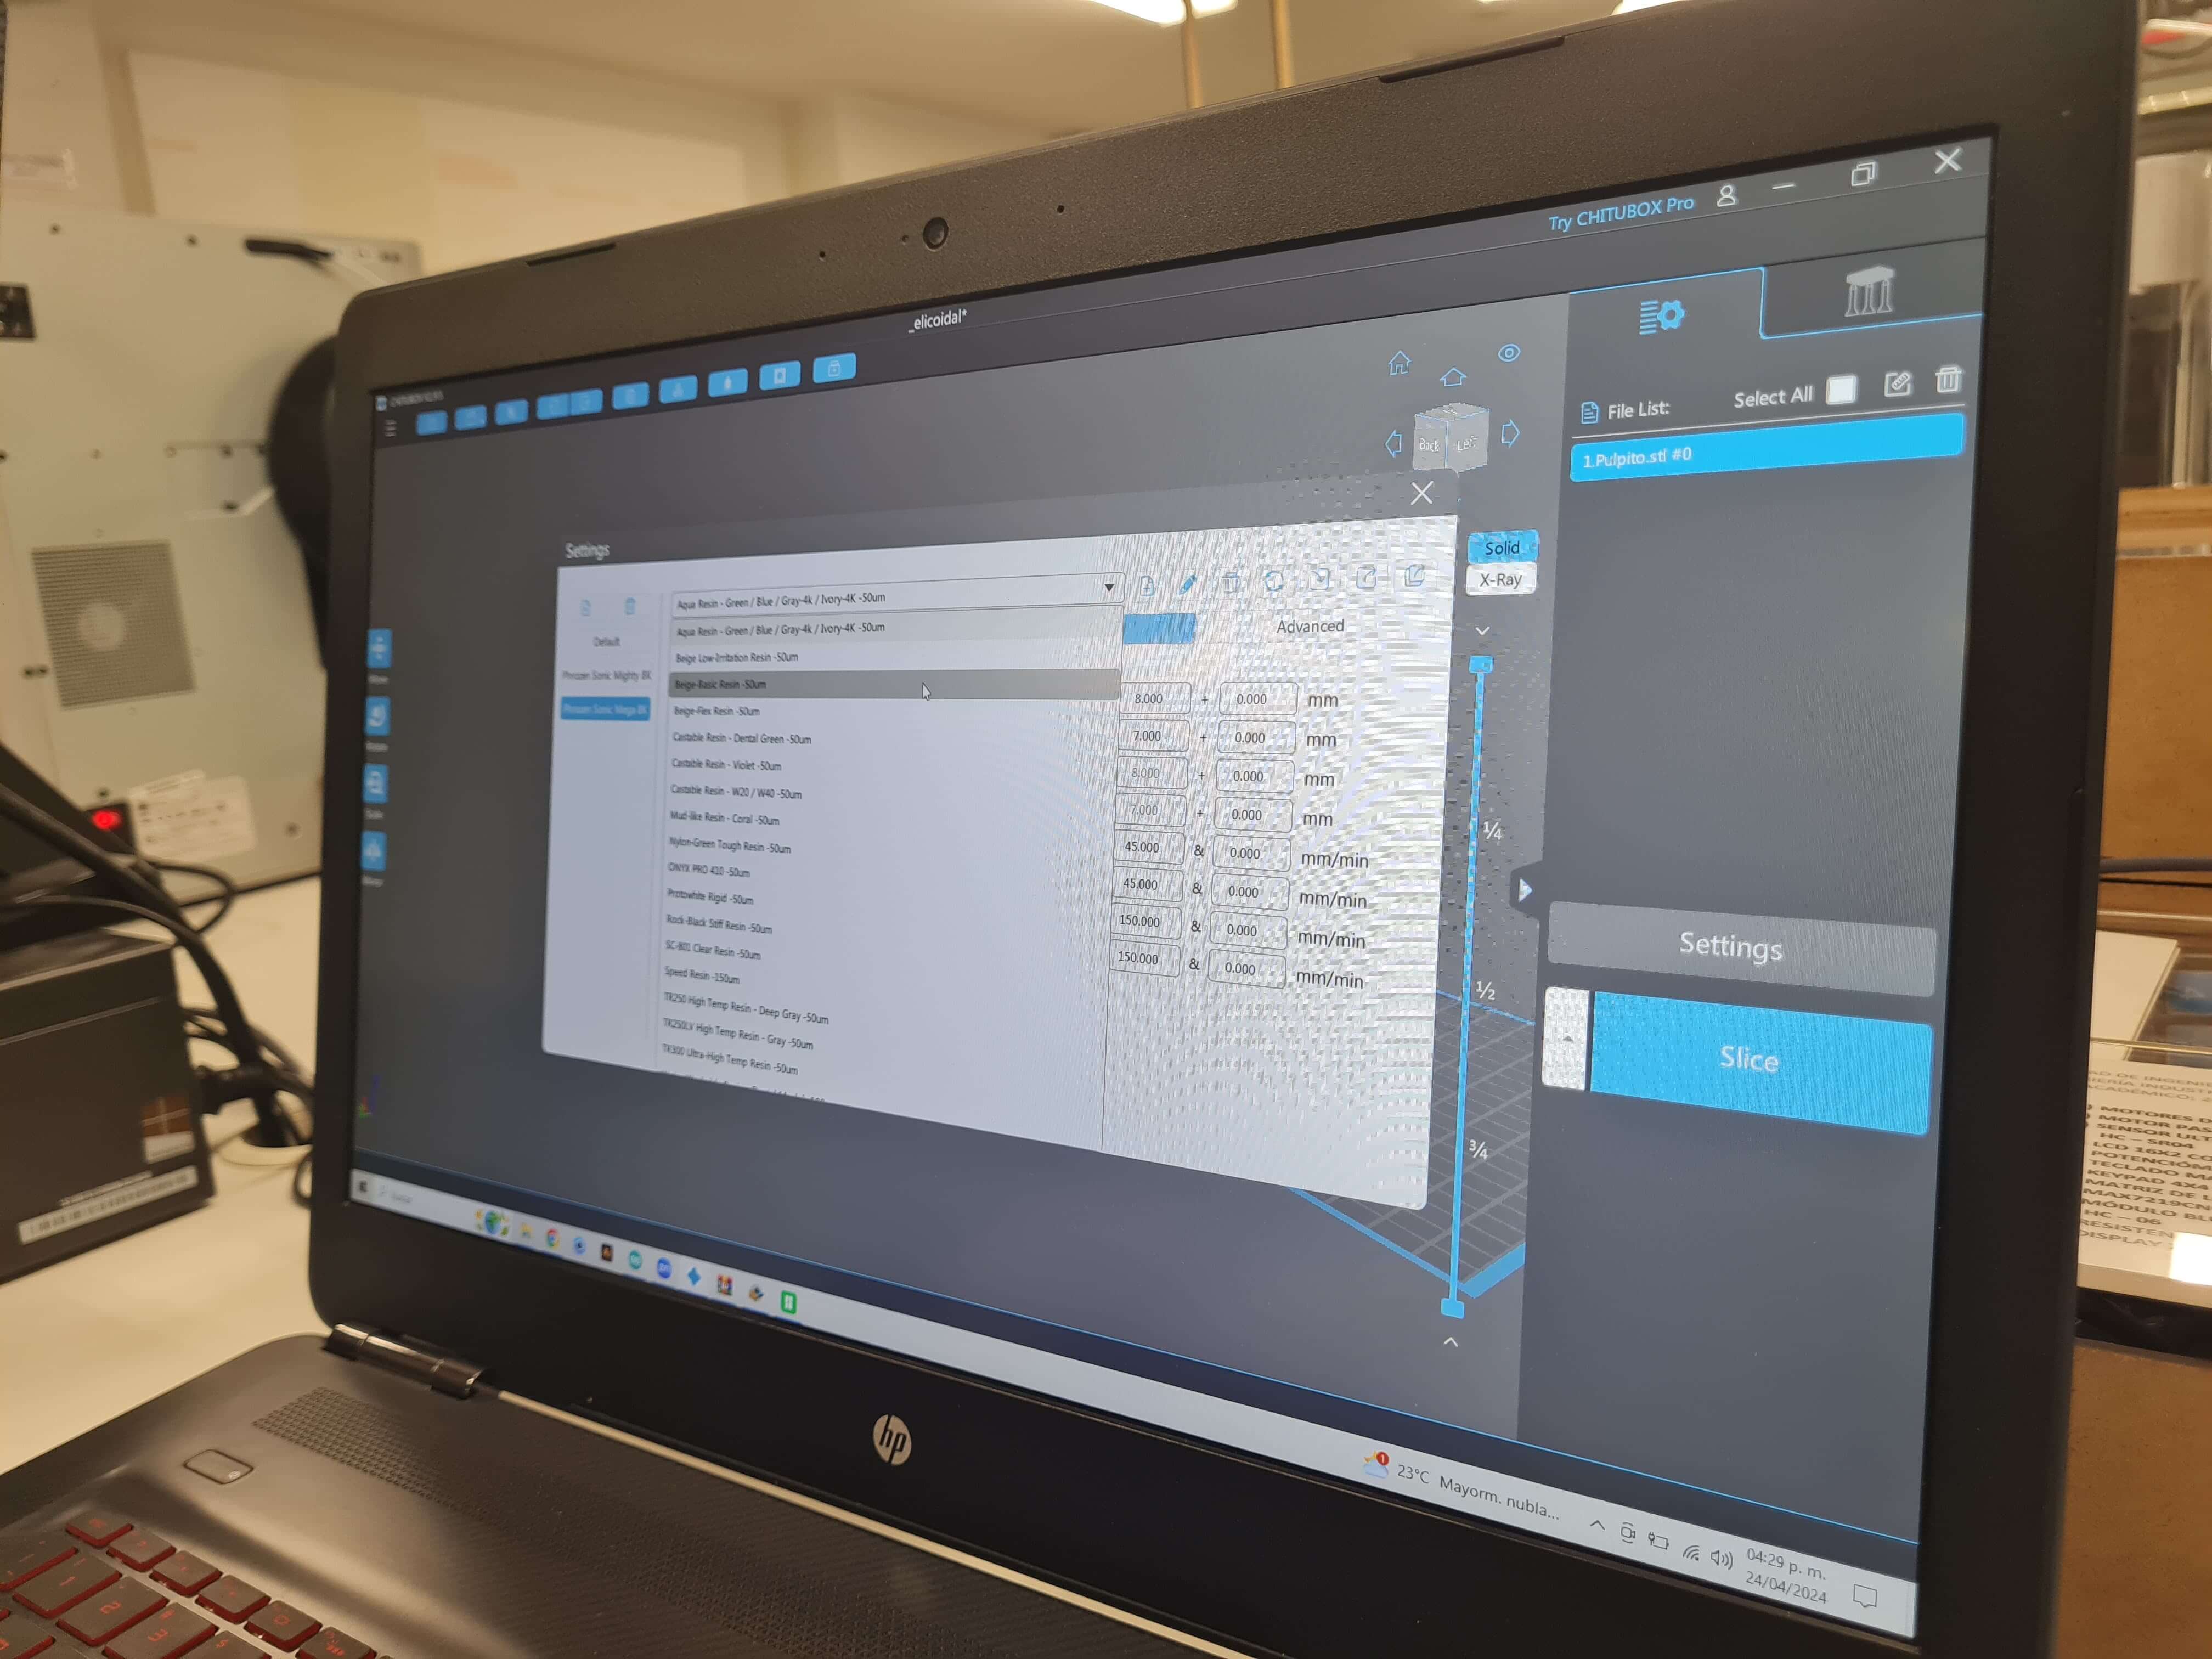
Next, load the STL file by dragging it to the bed platform. Then, select the required resolution. In my case, I used the basic resin profile with a layer height of 50um (0.05mm). This thin layer height is suitable for printing high-resolution models and is ideal for this assignment, as the mold must produce a smooth surface finish.
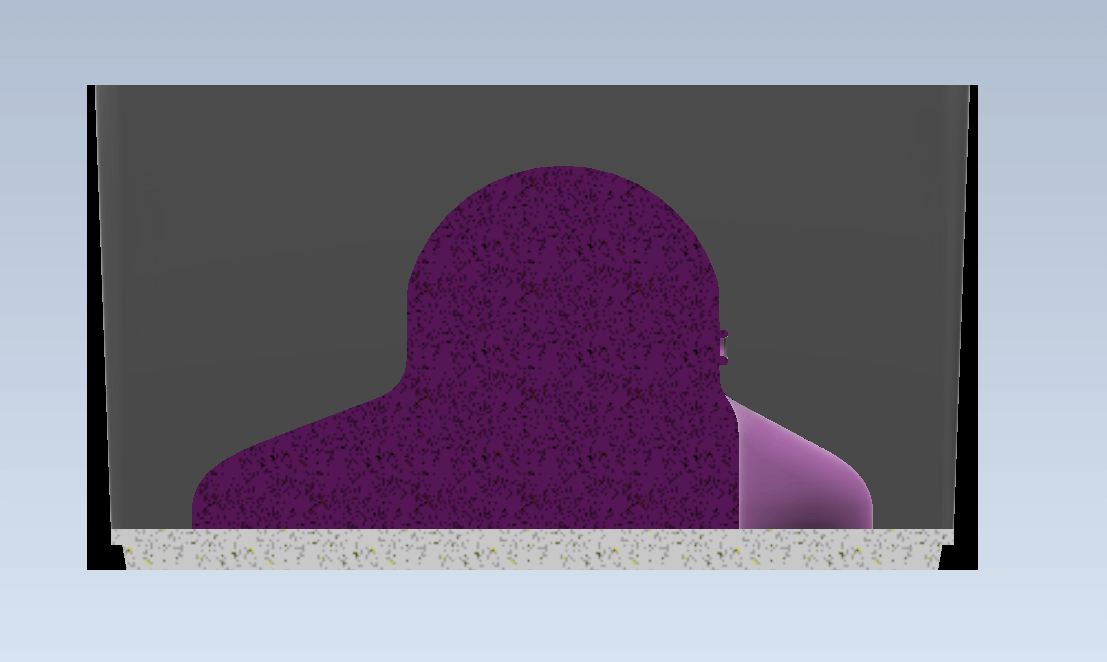
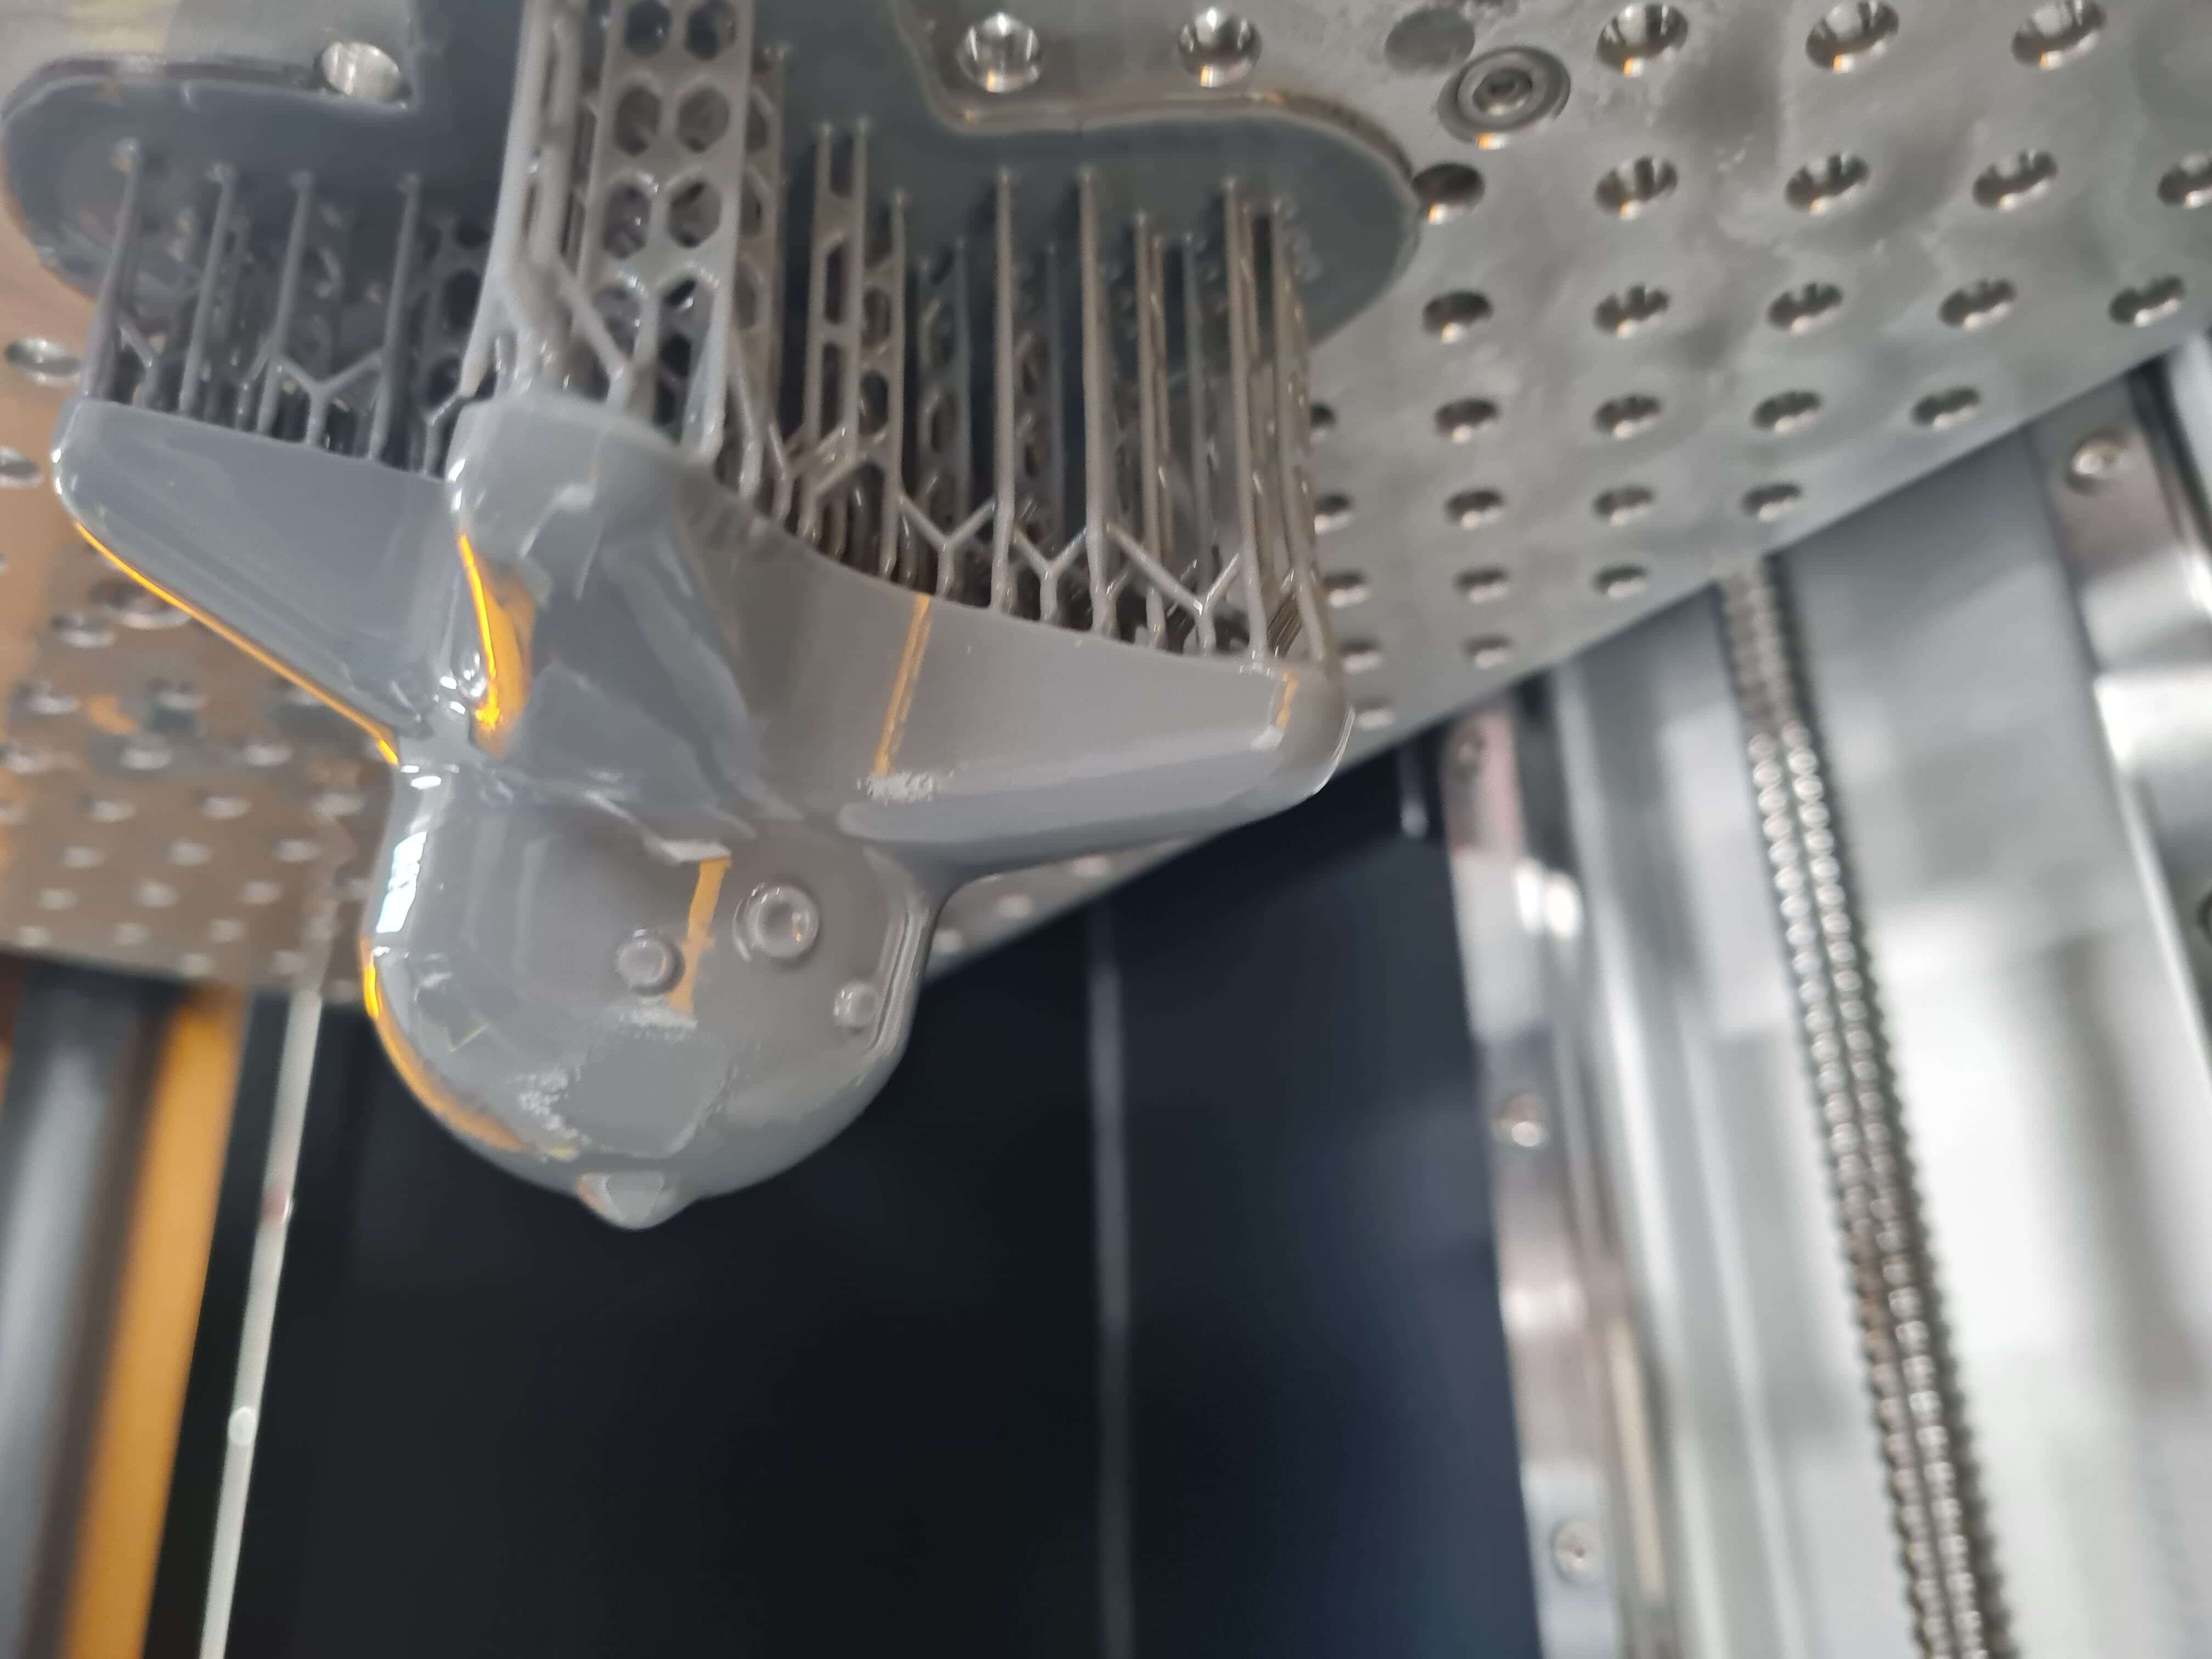
The model orientation is crucial for obtaining the best results in SLA printing. For that reason, I decided to tilt the model and add medium-strength supports with a raft. Tilting models in SLA printing improves print quality by reducing visible layer lines and optimizing support placement, resulting in a smoother surface finish and fewer support scars. This technique enhances resin flow around the model, preventing defects and ensuring complete curing. Angling the model minimizes the cross-sectional area of each layer, reducing peeling forces and stress, which decreases print failures and improves structural integrity. Additionally, tilting facilitates easier model removal from the build platform, making it a preferred method for achieving high-quality SLA prints.

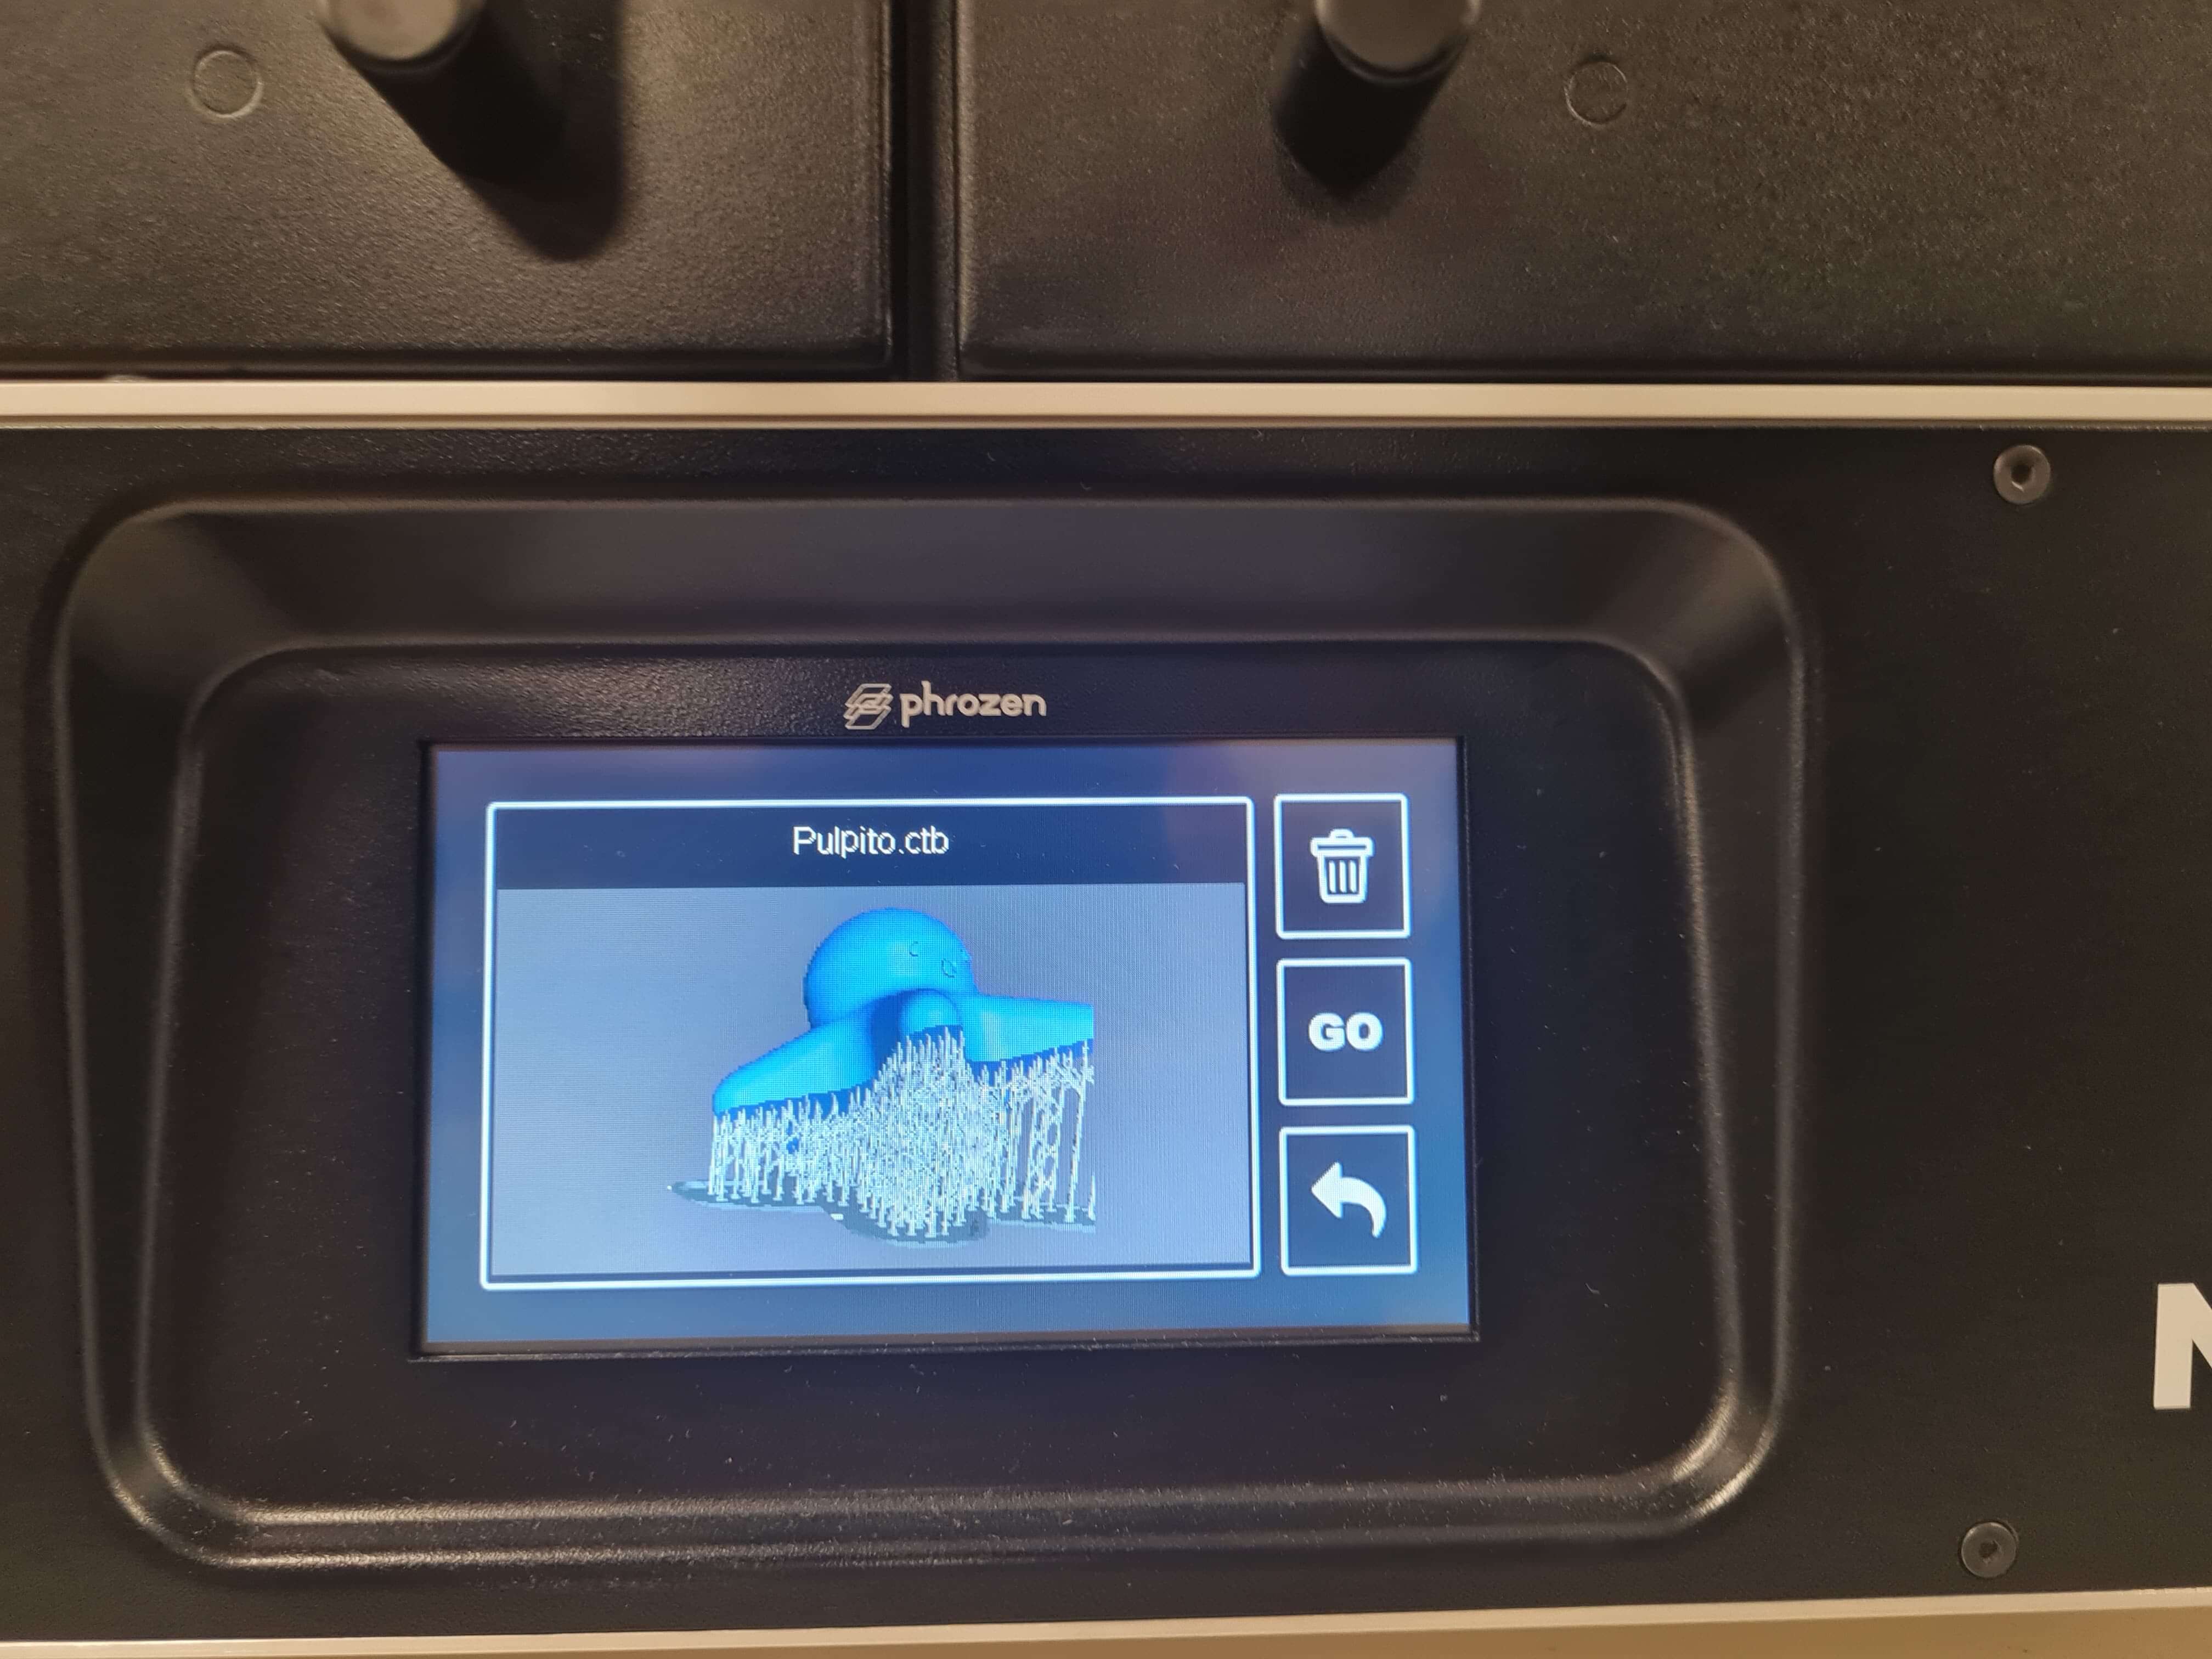
I exported the .ctb file to a USB drive and then inserted it into the SLA printer. I pressed the go button to start the printing job.
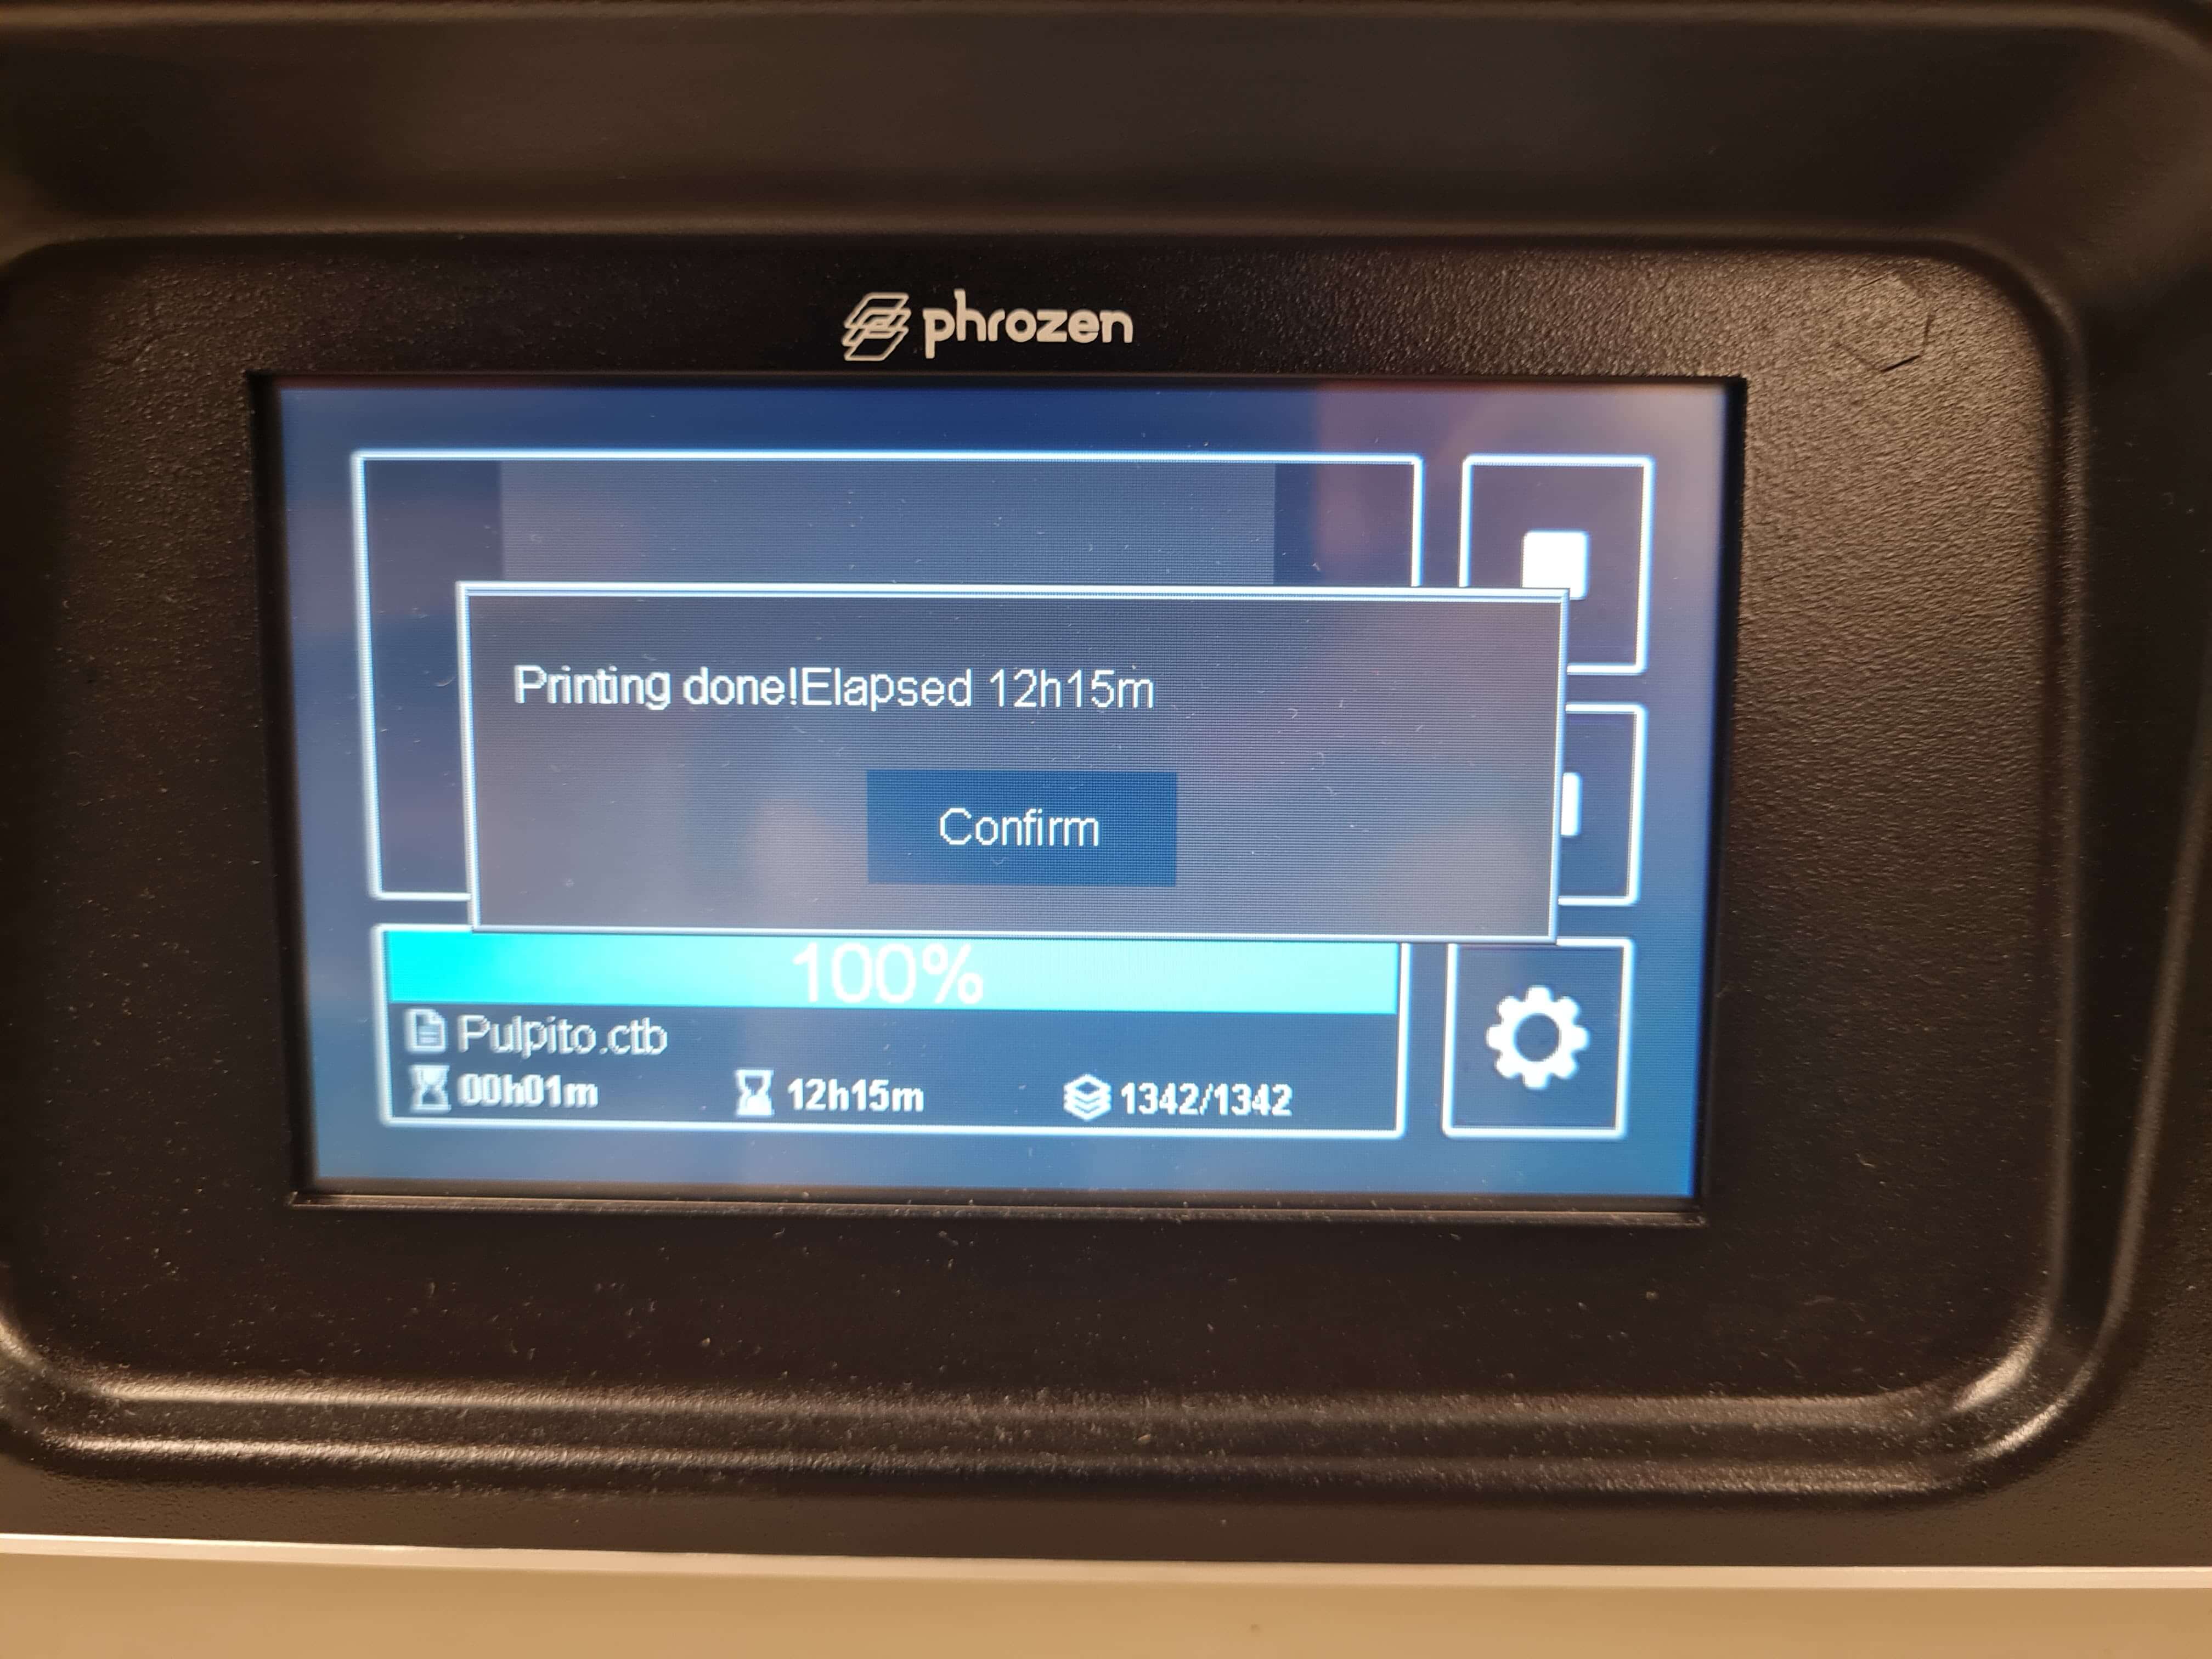
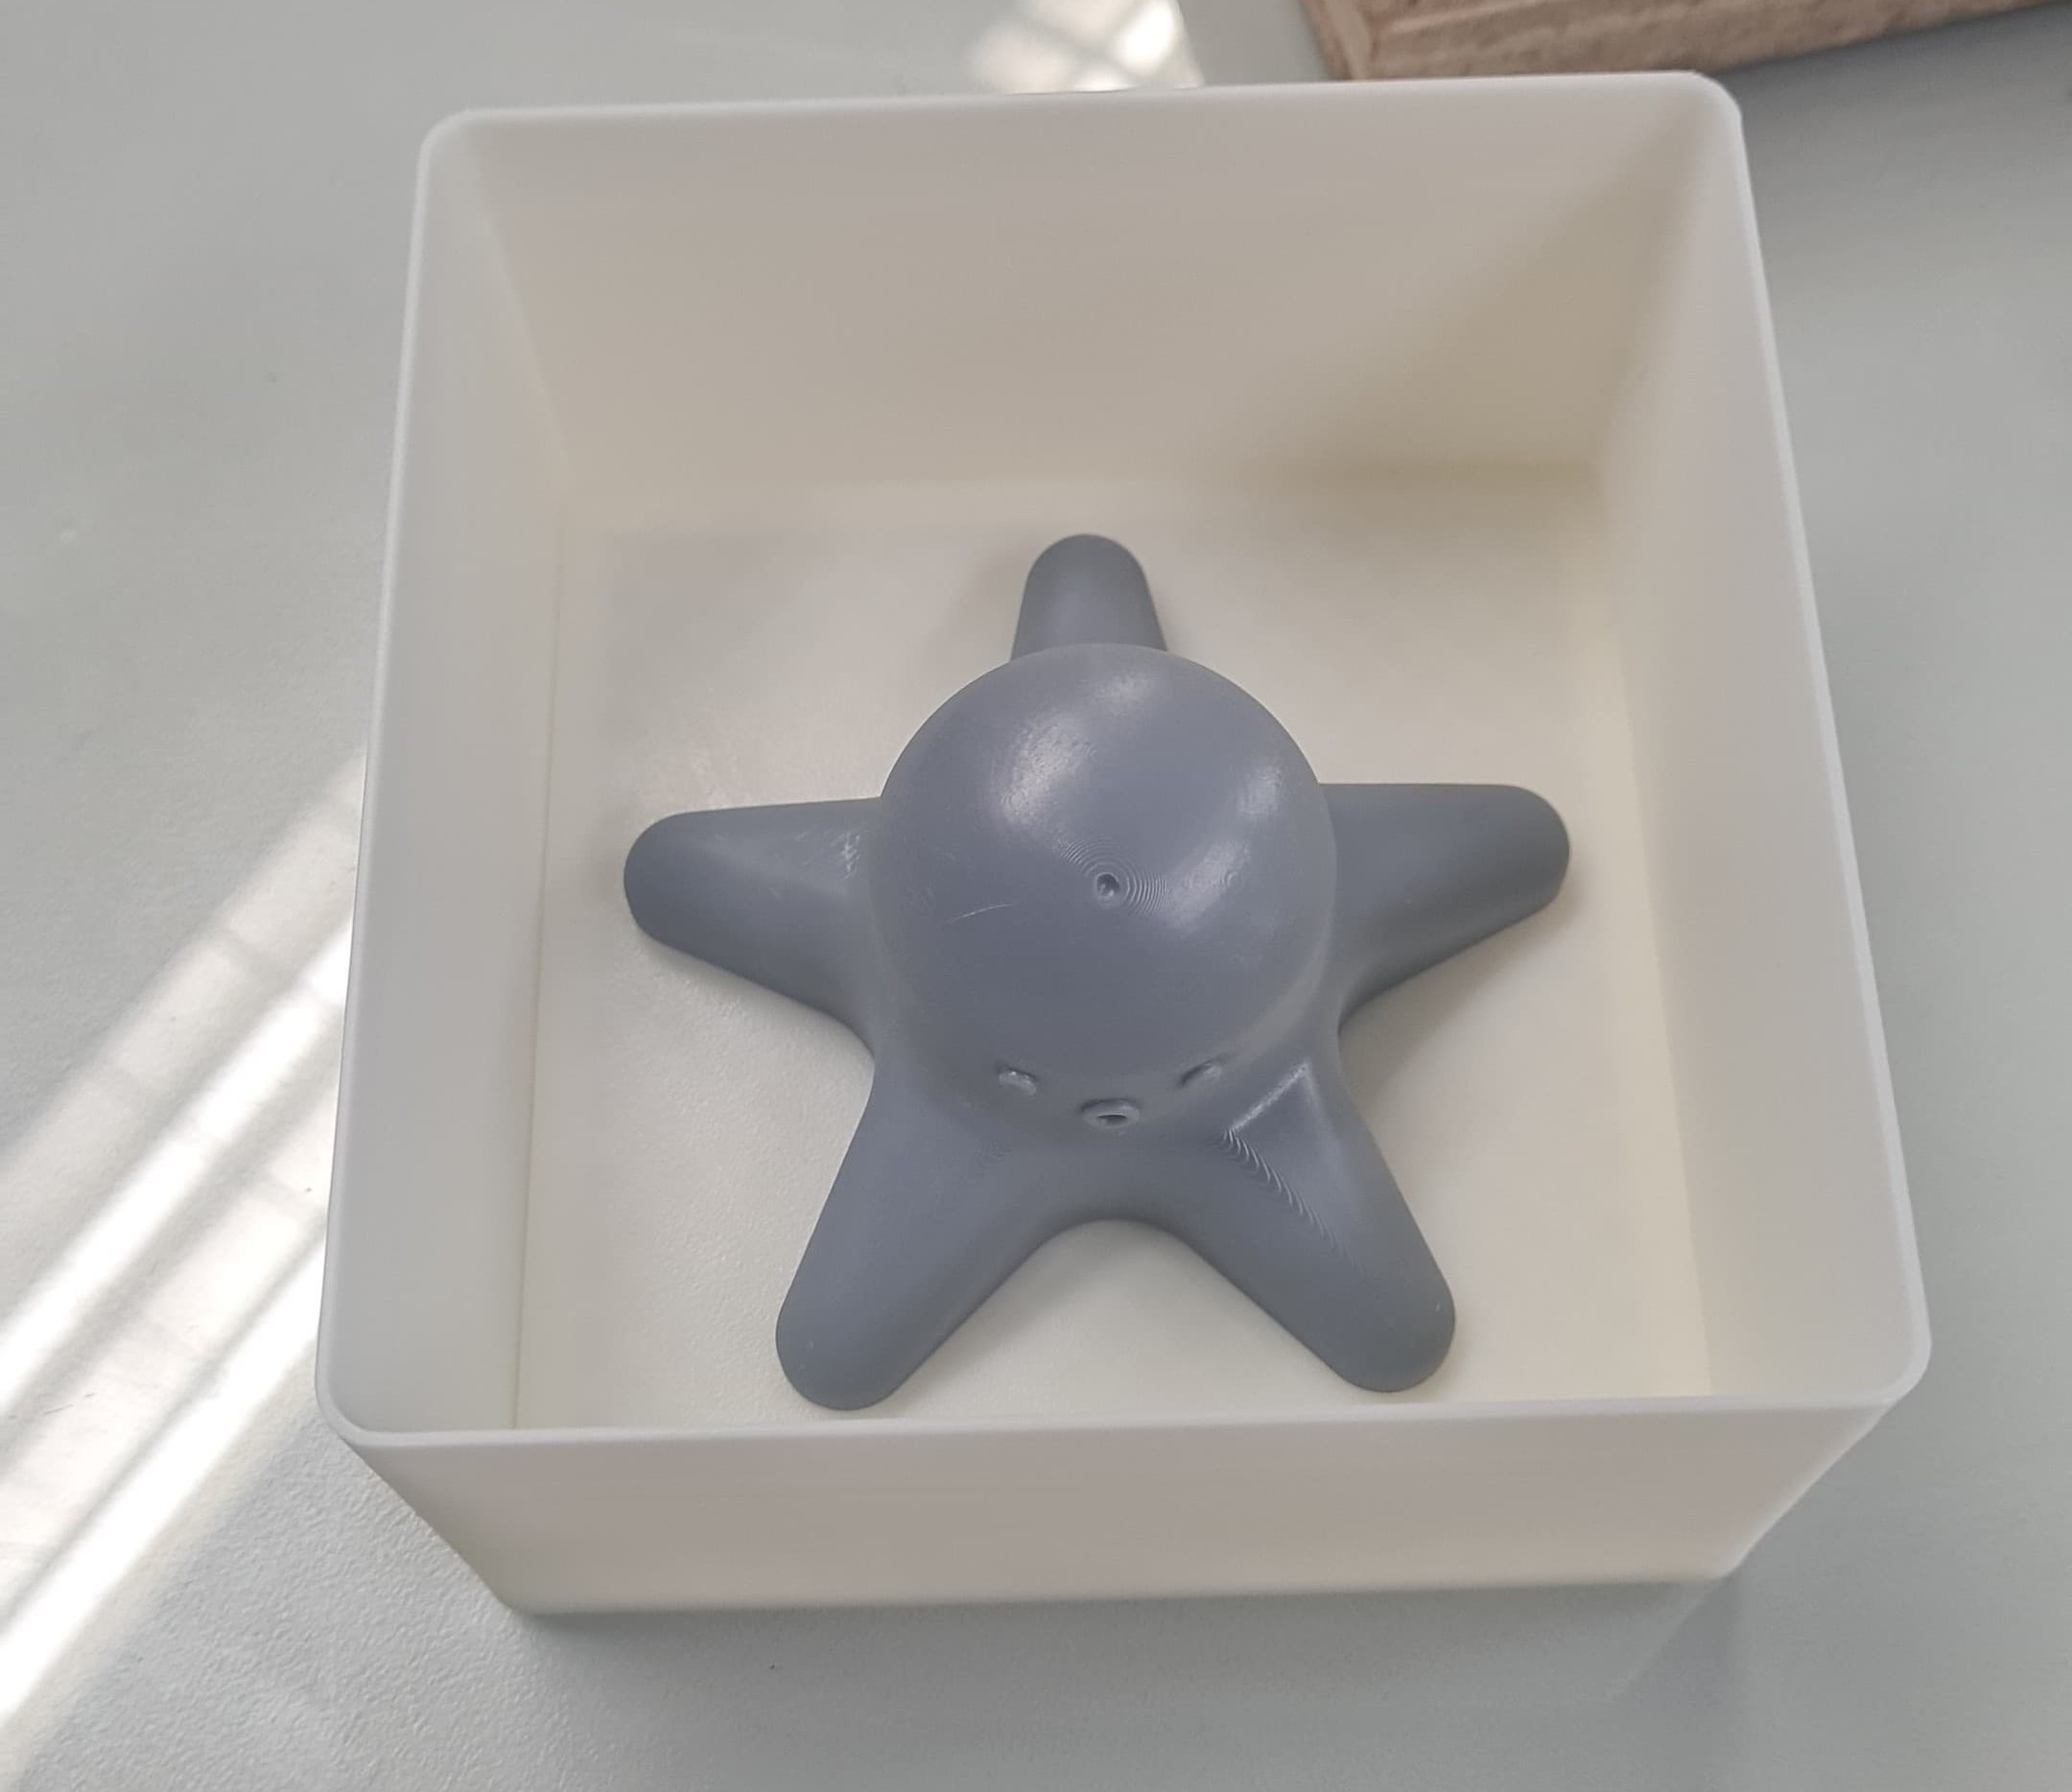
Twelve hours and fifteen minutes later, I had a high-quality SLA print that will be used as the master model for casting the silicone mold.
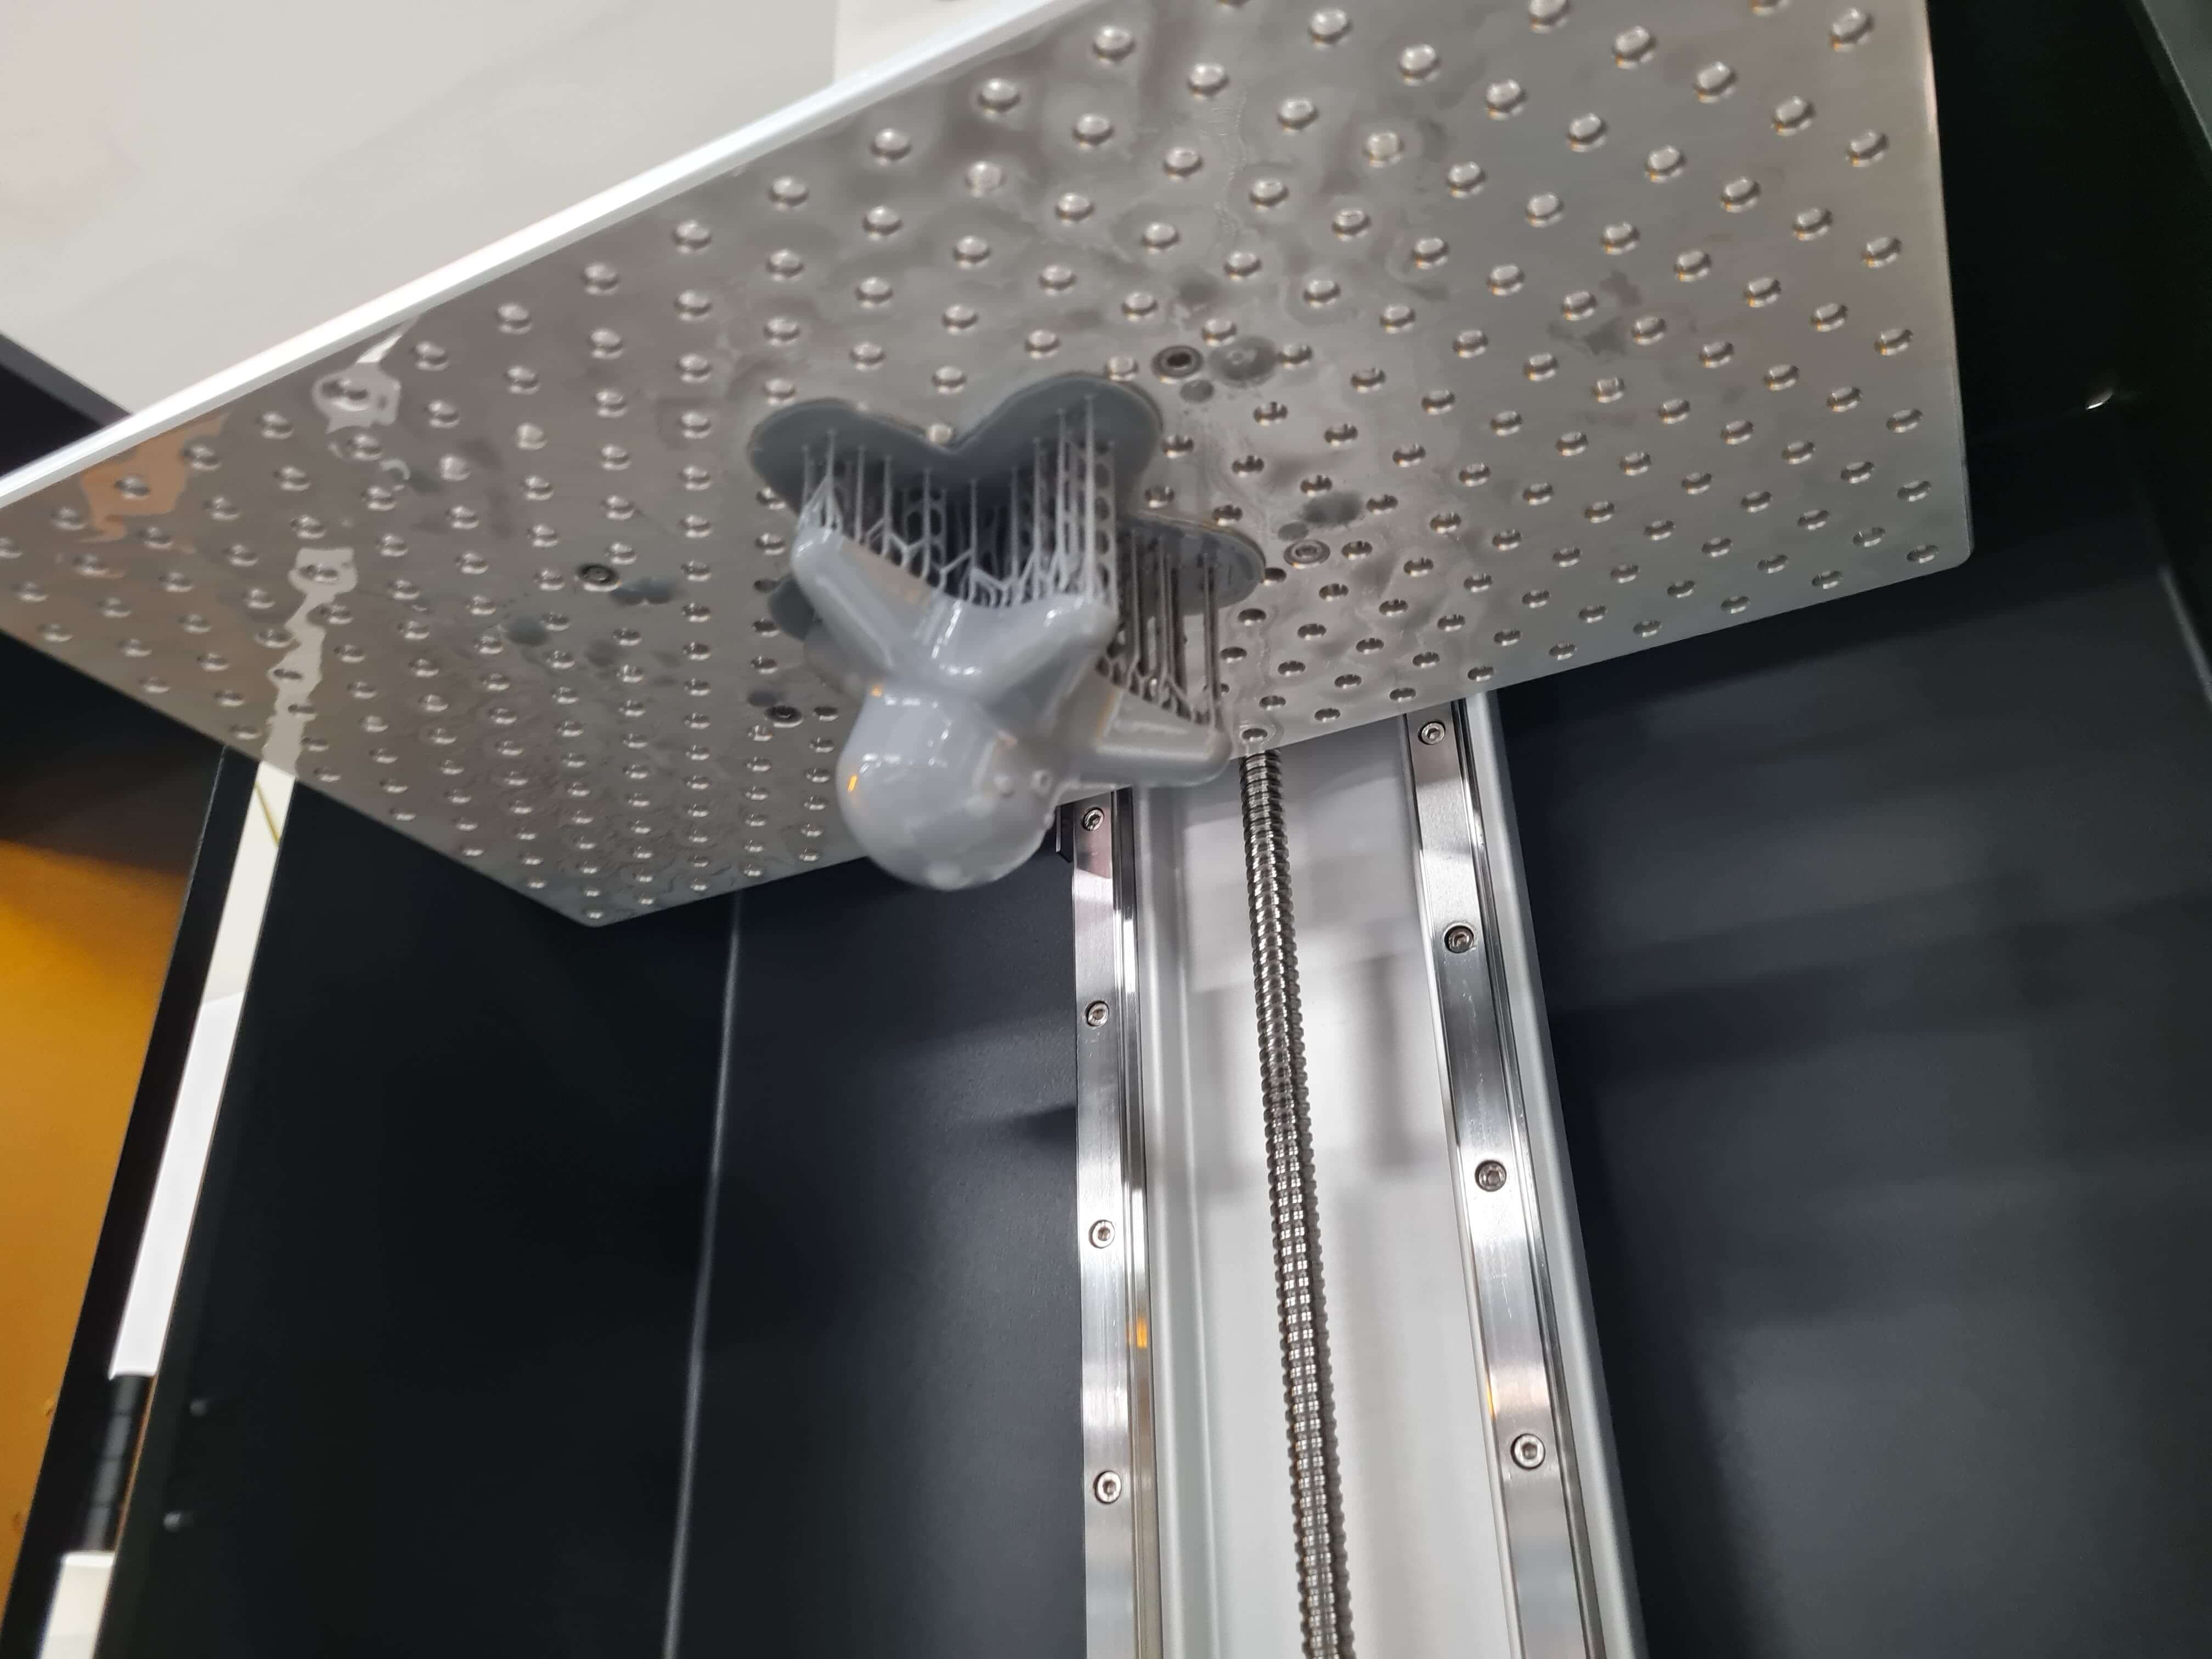
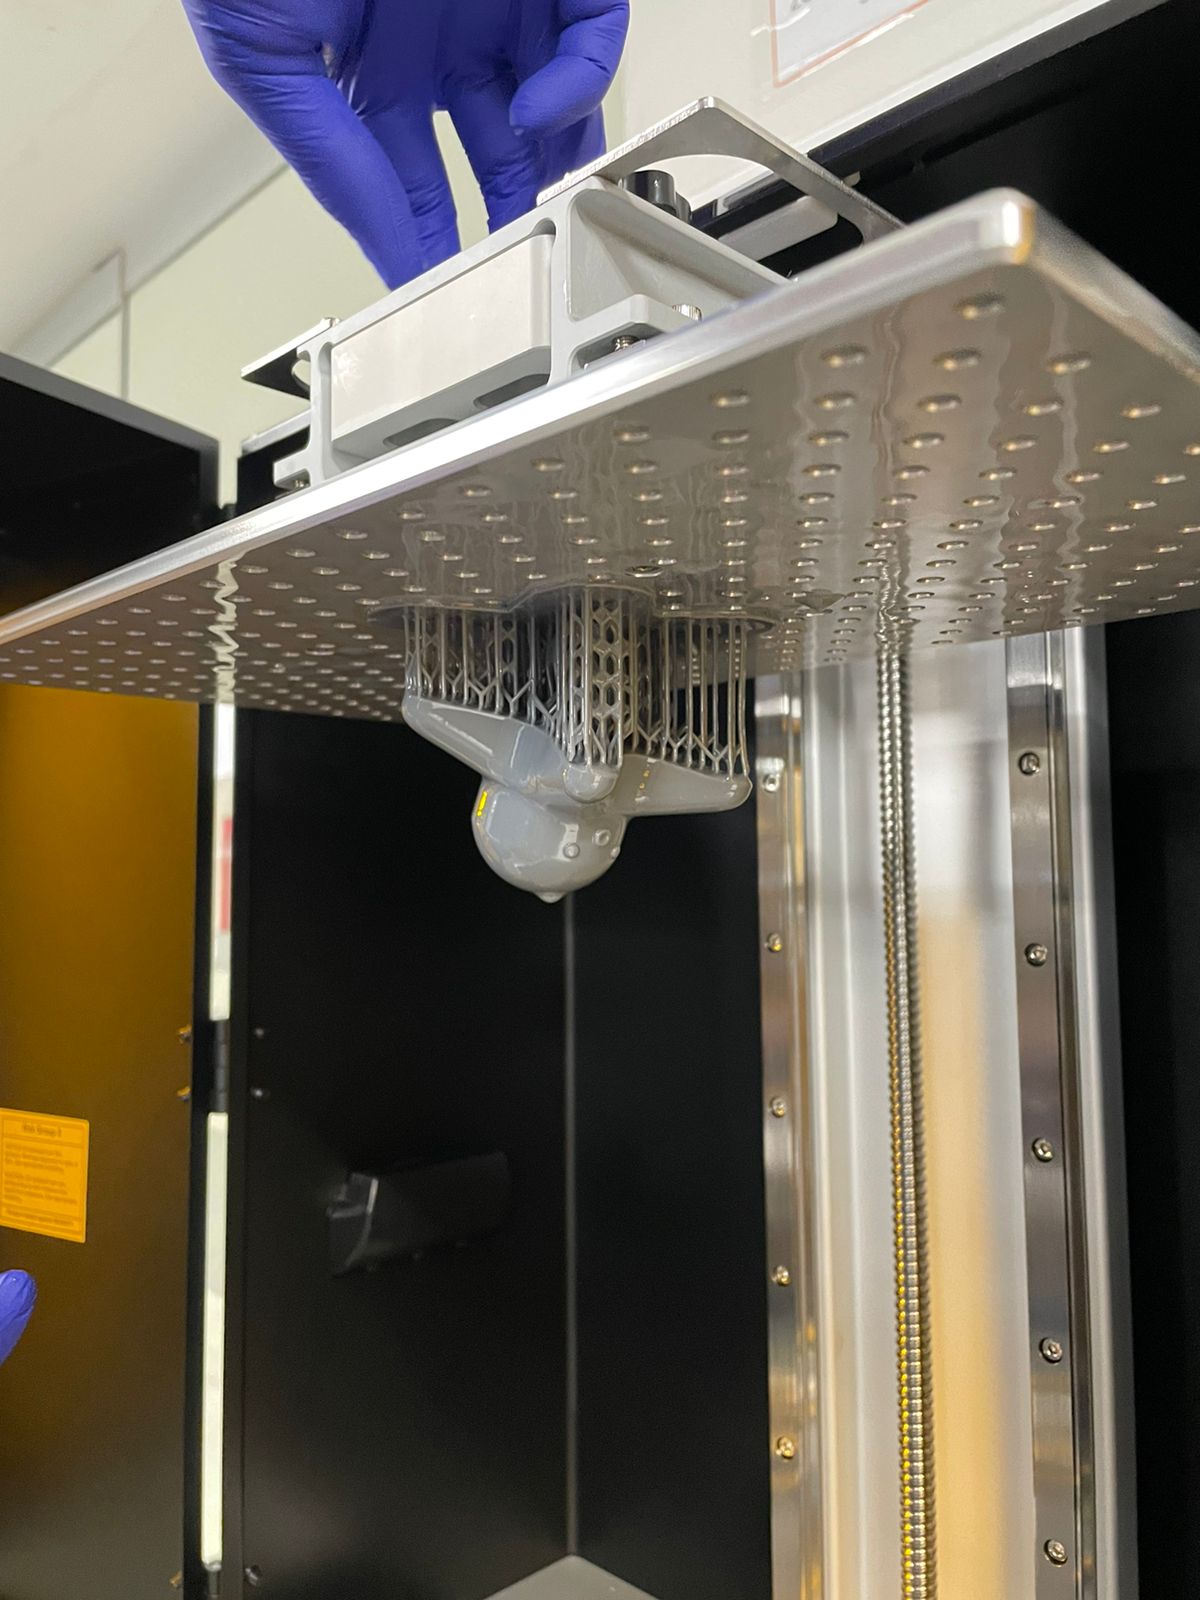
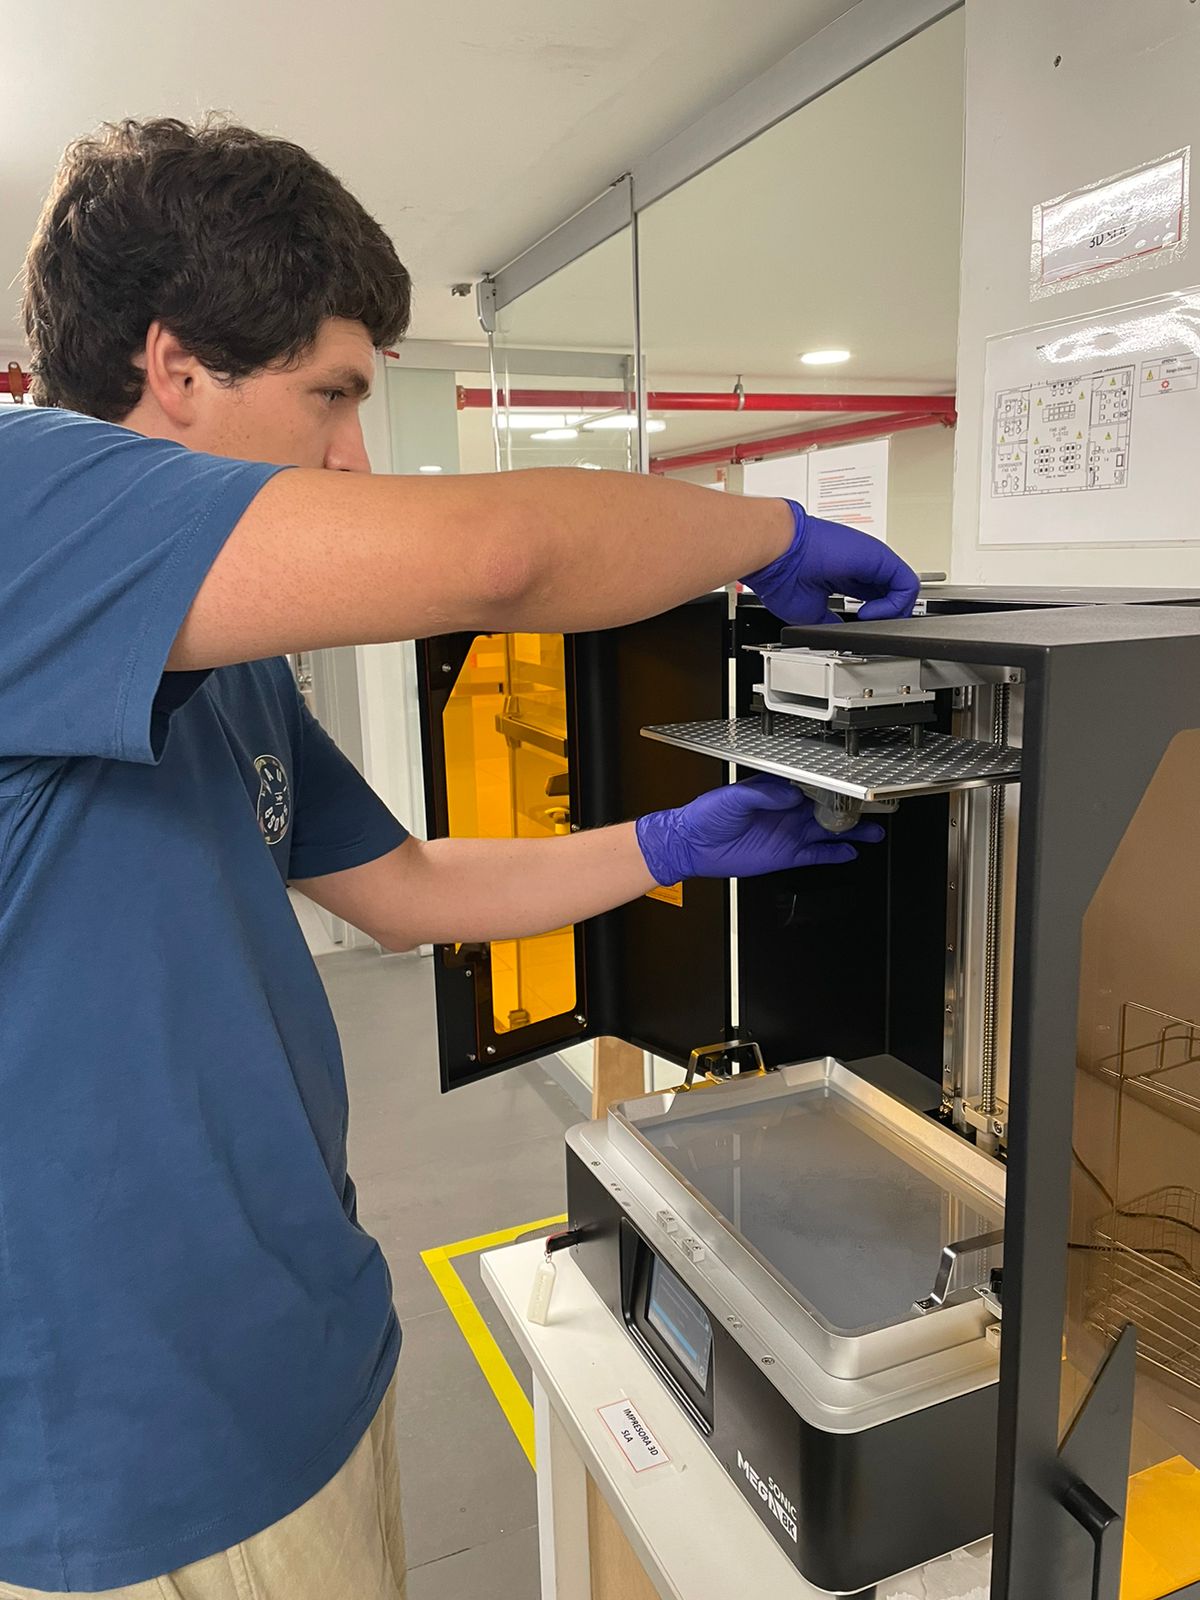
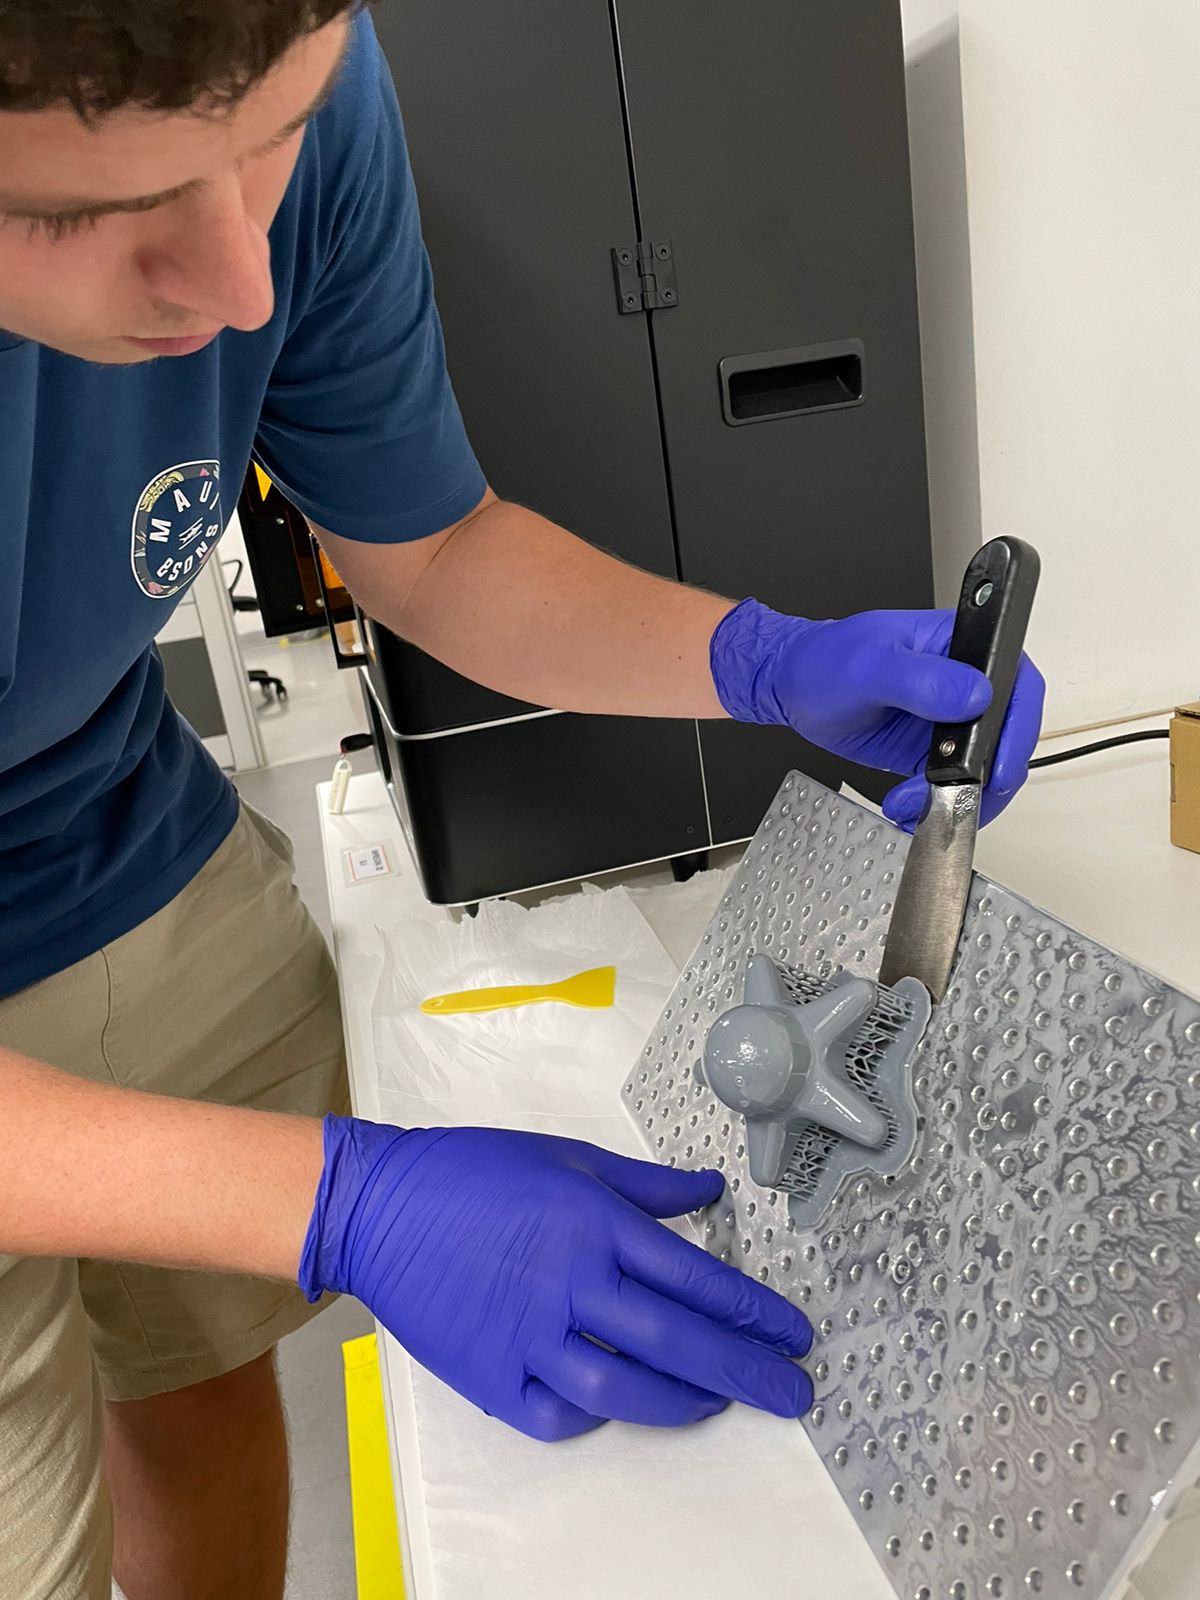
To remove the part, I used nitrile gloves to handle the printed octopus. The resin used in SLA printing is very toxic and must be handled carefully. I unscrewed the build platform from the machine and removed it for better access to the printed model. I used a spatula to remove the model from the plate.
When working with SLA 3D prints, there are two common methods for removing supports: before curing and after curing. Removing supports before curing involves an initial rinse of the model in isopropyl alcohol (IPA) to remove excess resin. Once rinsed, the supports are carefully detached while the resin is still somewhat soft, reducing the risk of damage. This is followed by a thorough wash and then curing under UV light. This method ensures a cleaner finish, as the supports are removed when the resin is easier to work with. On the other hand, some users prefer to remove supports after the final curing process. This method benefits from increased rigidity, as the cured model is harder and less prone to bending or breaking. Supports can snap off more cleanly, potentially reducing post-processing efforts. Additionally, keeping supports during curing can help maintain the structural integrity of delicate models, preventing warping or sagging. The choice depends on the specific model, resin, and personal preference based on experience.
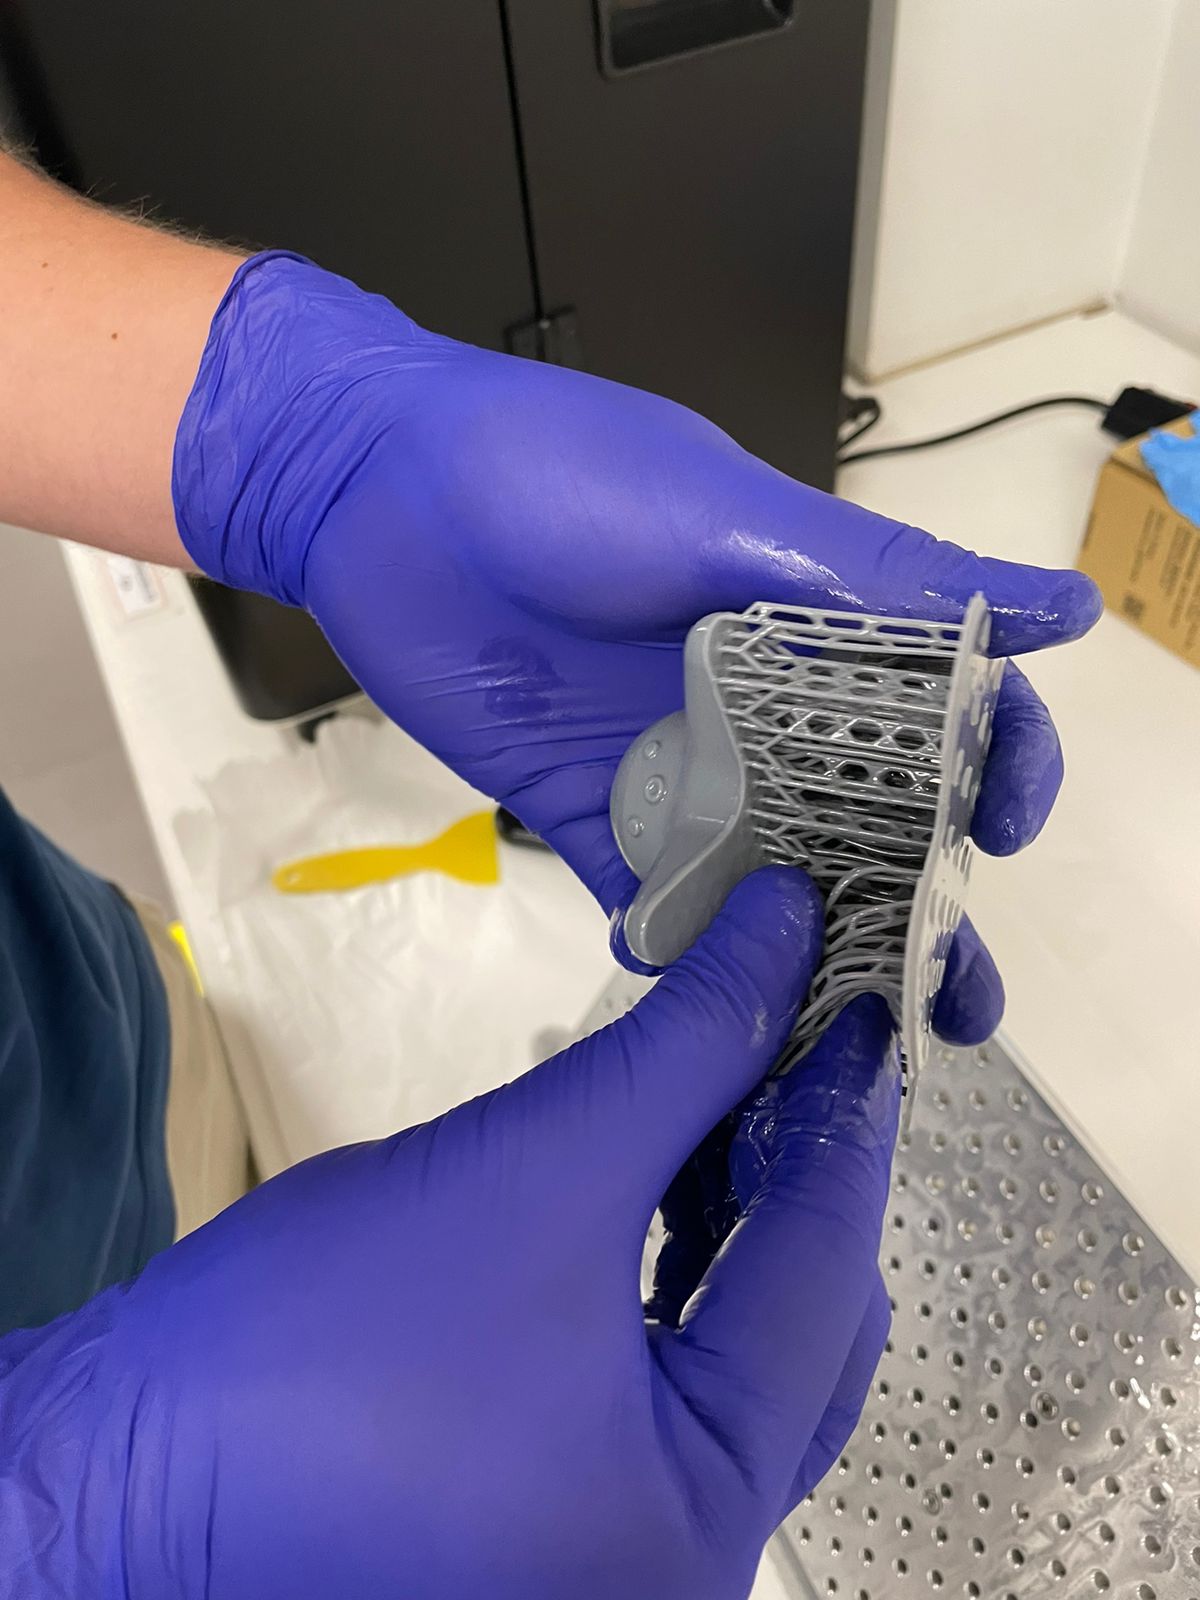
I decided to remove the supports before rinsing because the octopus has a simple shape, making support removal very easy. Additionally, the quality of the supported face was not crucial for this application. I intentionally oriented the part so that the supports were on the face that would not be in contact with the silicone during mold casting.

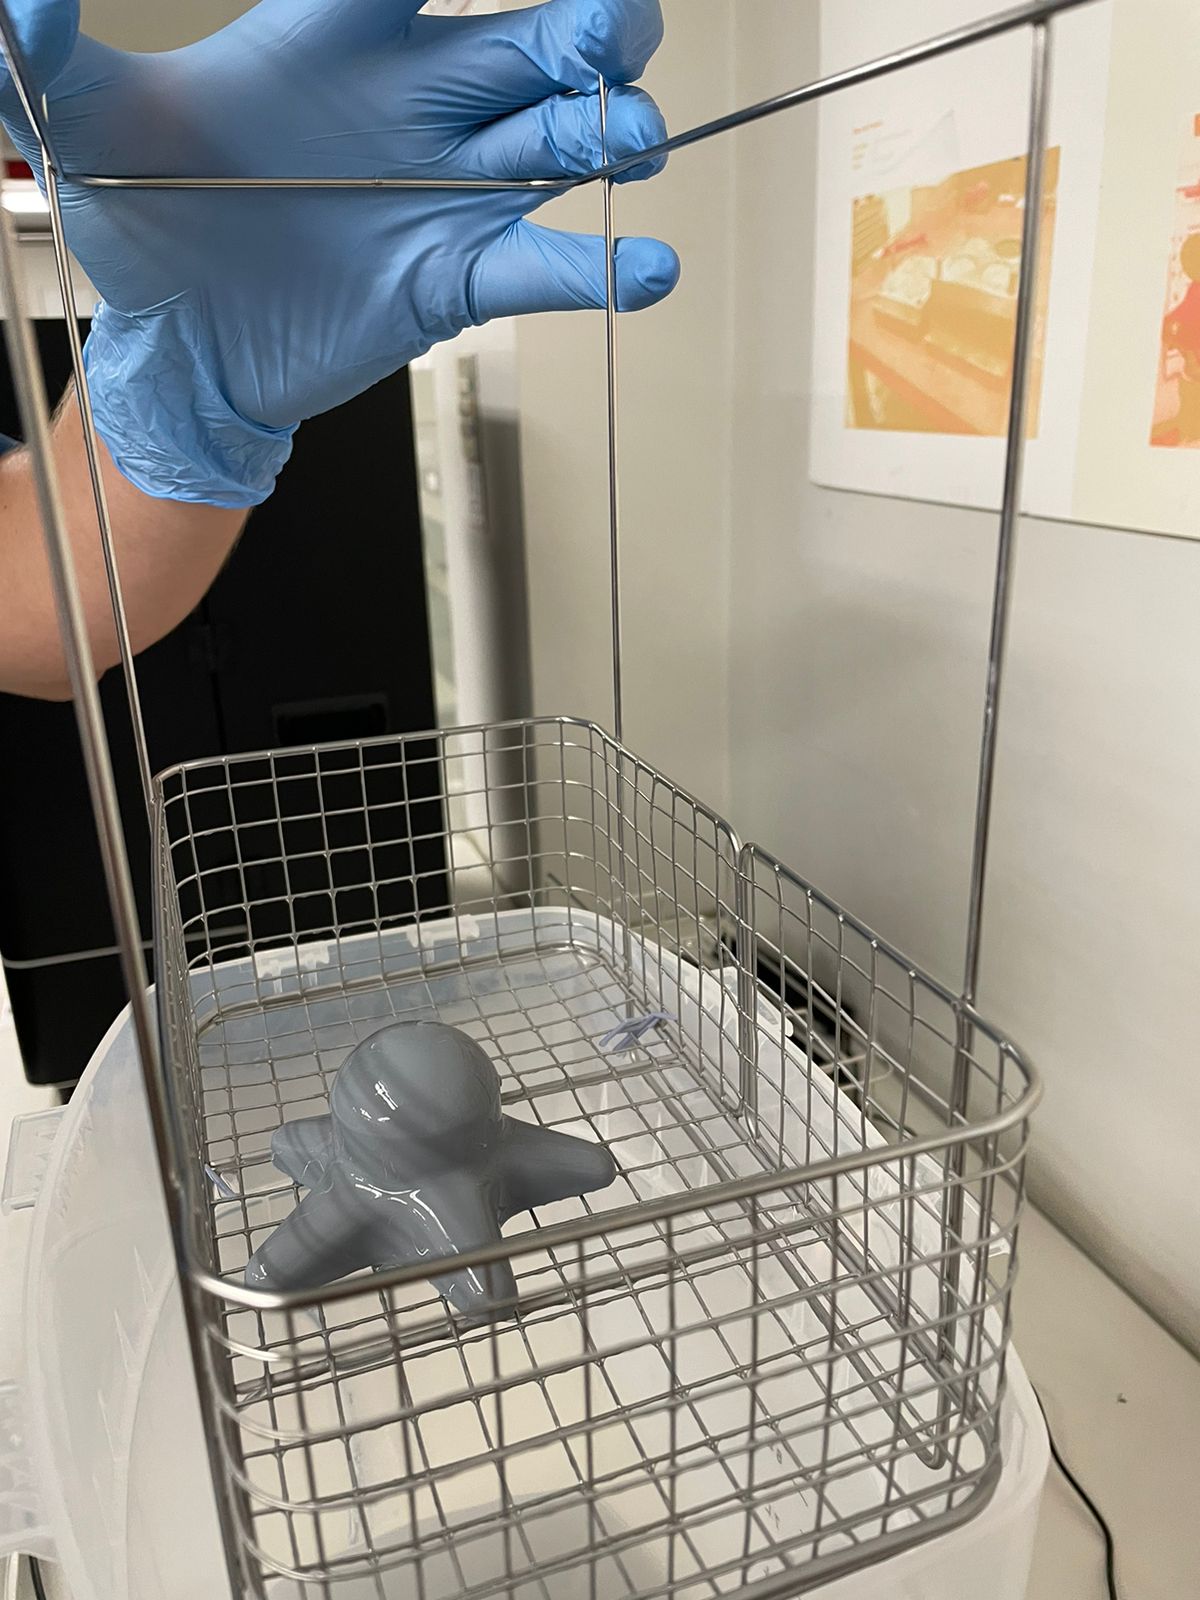
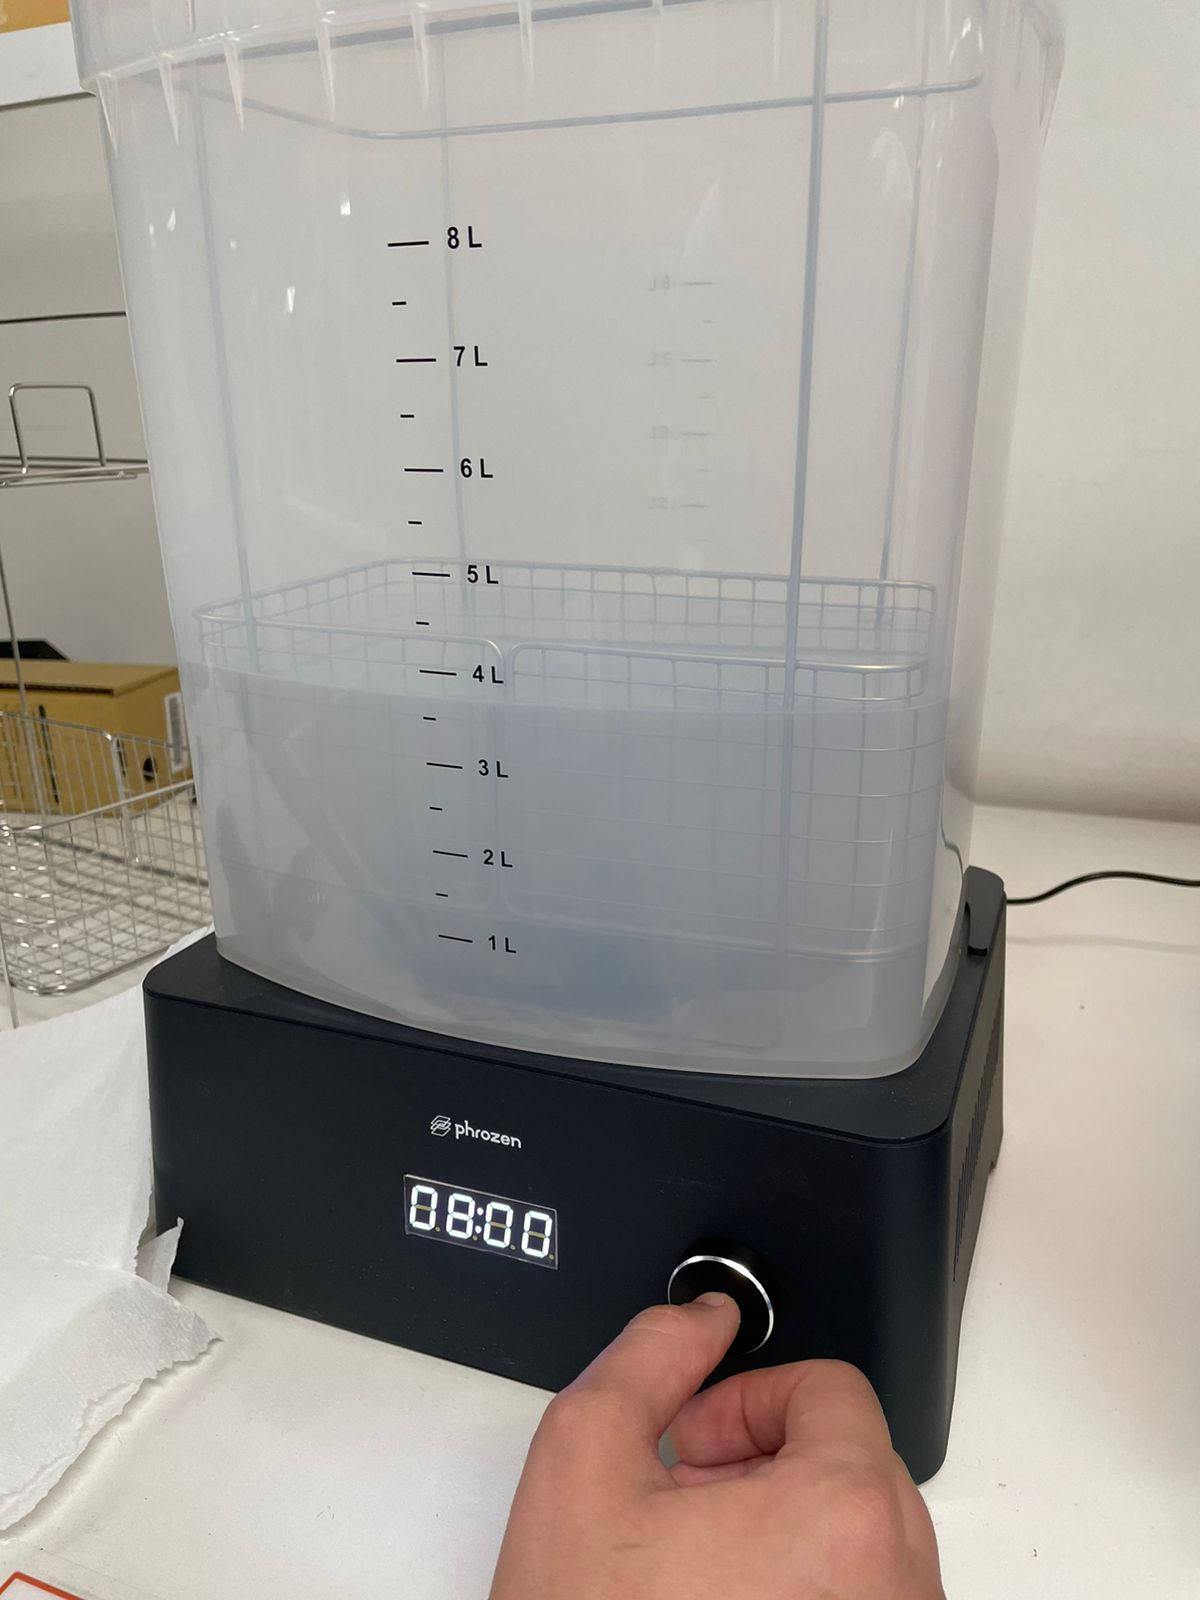
I set the rinsing time to 8 minutes, during which the washing station provides constant agitation of isopropyl alcohol. This thorough cleaning process effectively removes any residual uncured resin from the SLA print, ensuring the print is fully cleaned and ready for the next step.
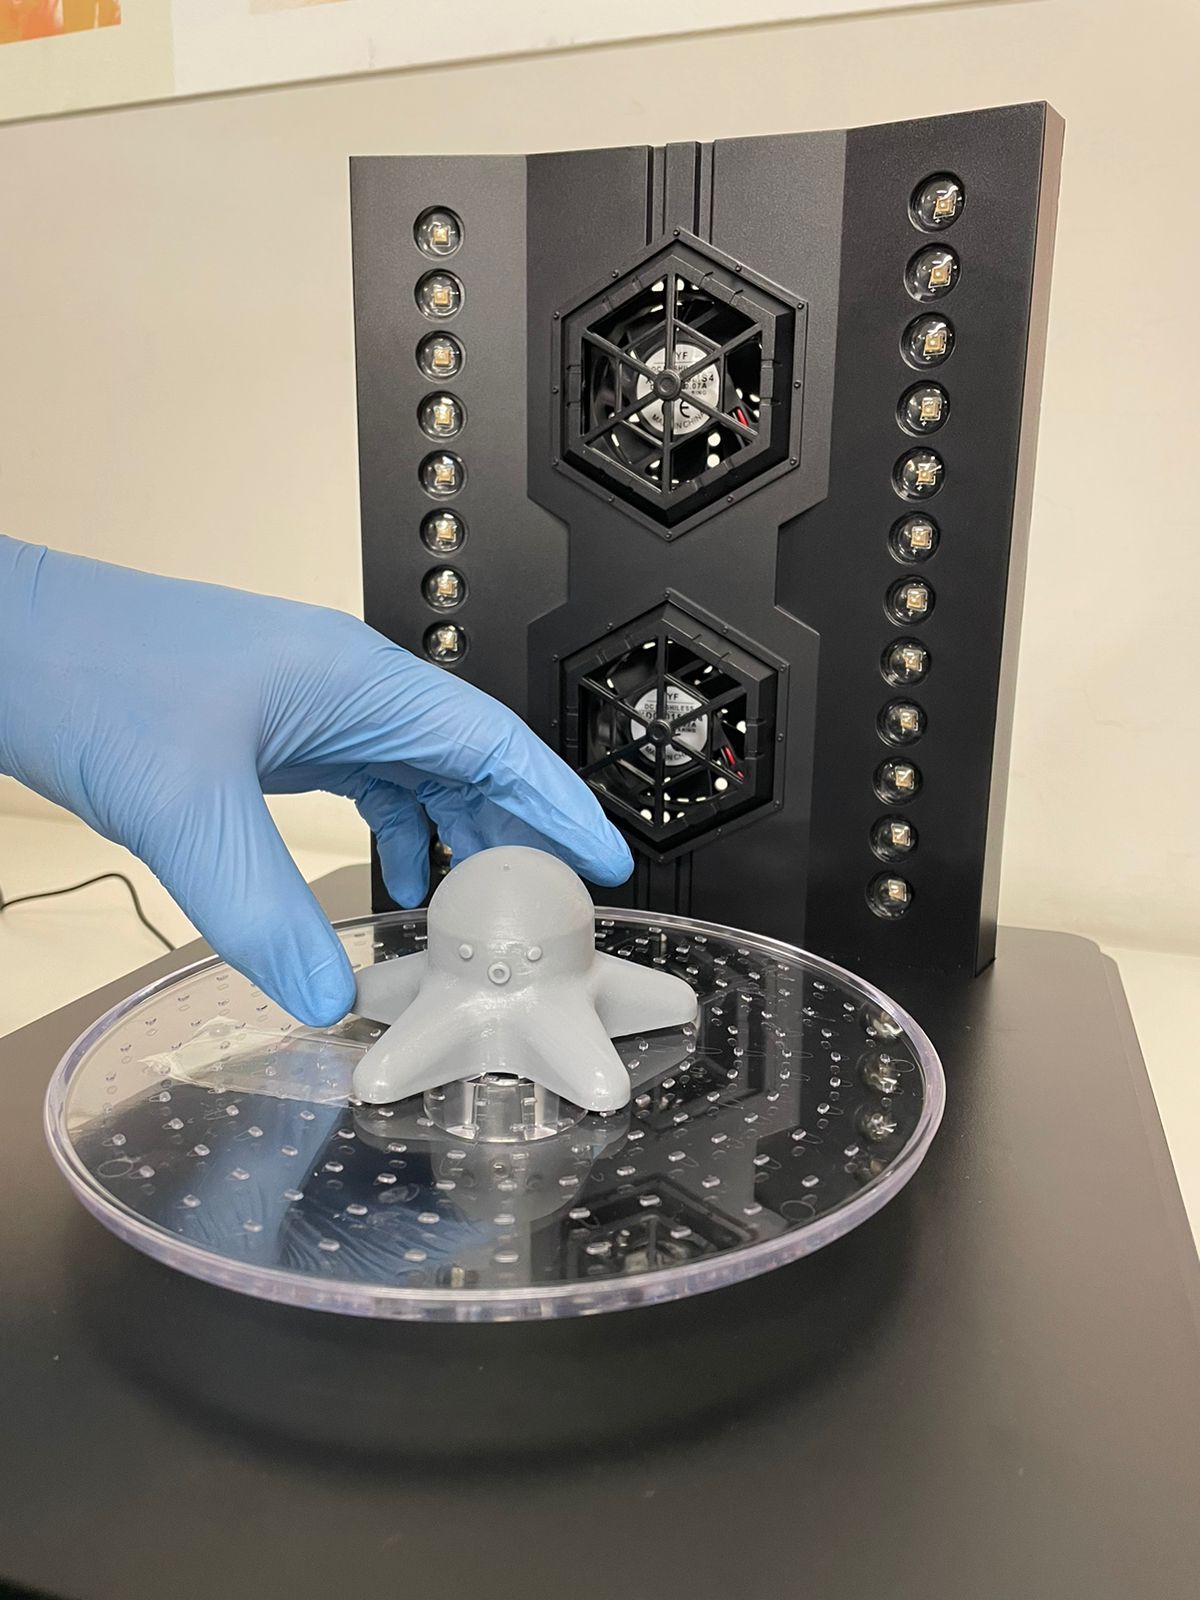
The curing station is responsible for fully curing the SLA part. It uses a combination of fans, UV lights, and a rotating platform to ensure a consistent environment for the model to cure thoroughly. Transparent resins cure more effectively than colored resins because they allow UV light to penetrate the model more easily, ensuring all inner resin is cured efficiently. It is proven that most SLA resins achieve improved mechanical strength when exposed to heat and UV light. Stefan from CNC Kitchen's Youtube Channel has demonstrated the enhanced mechanical strength of SLA parts when properly cured in a well-documented video.
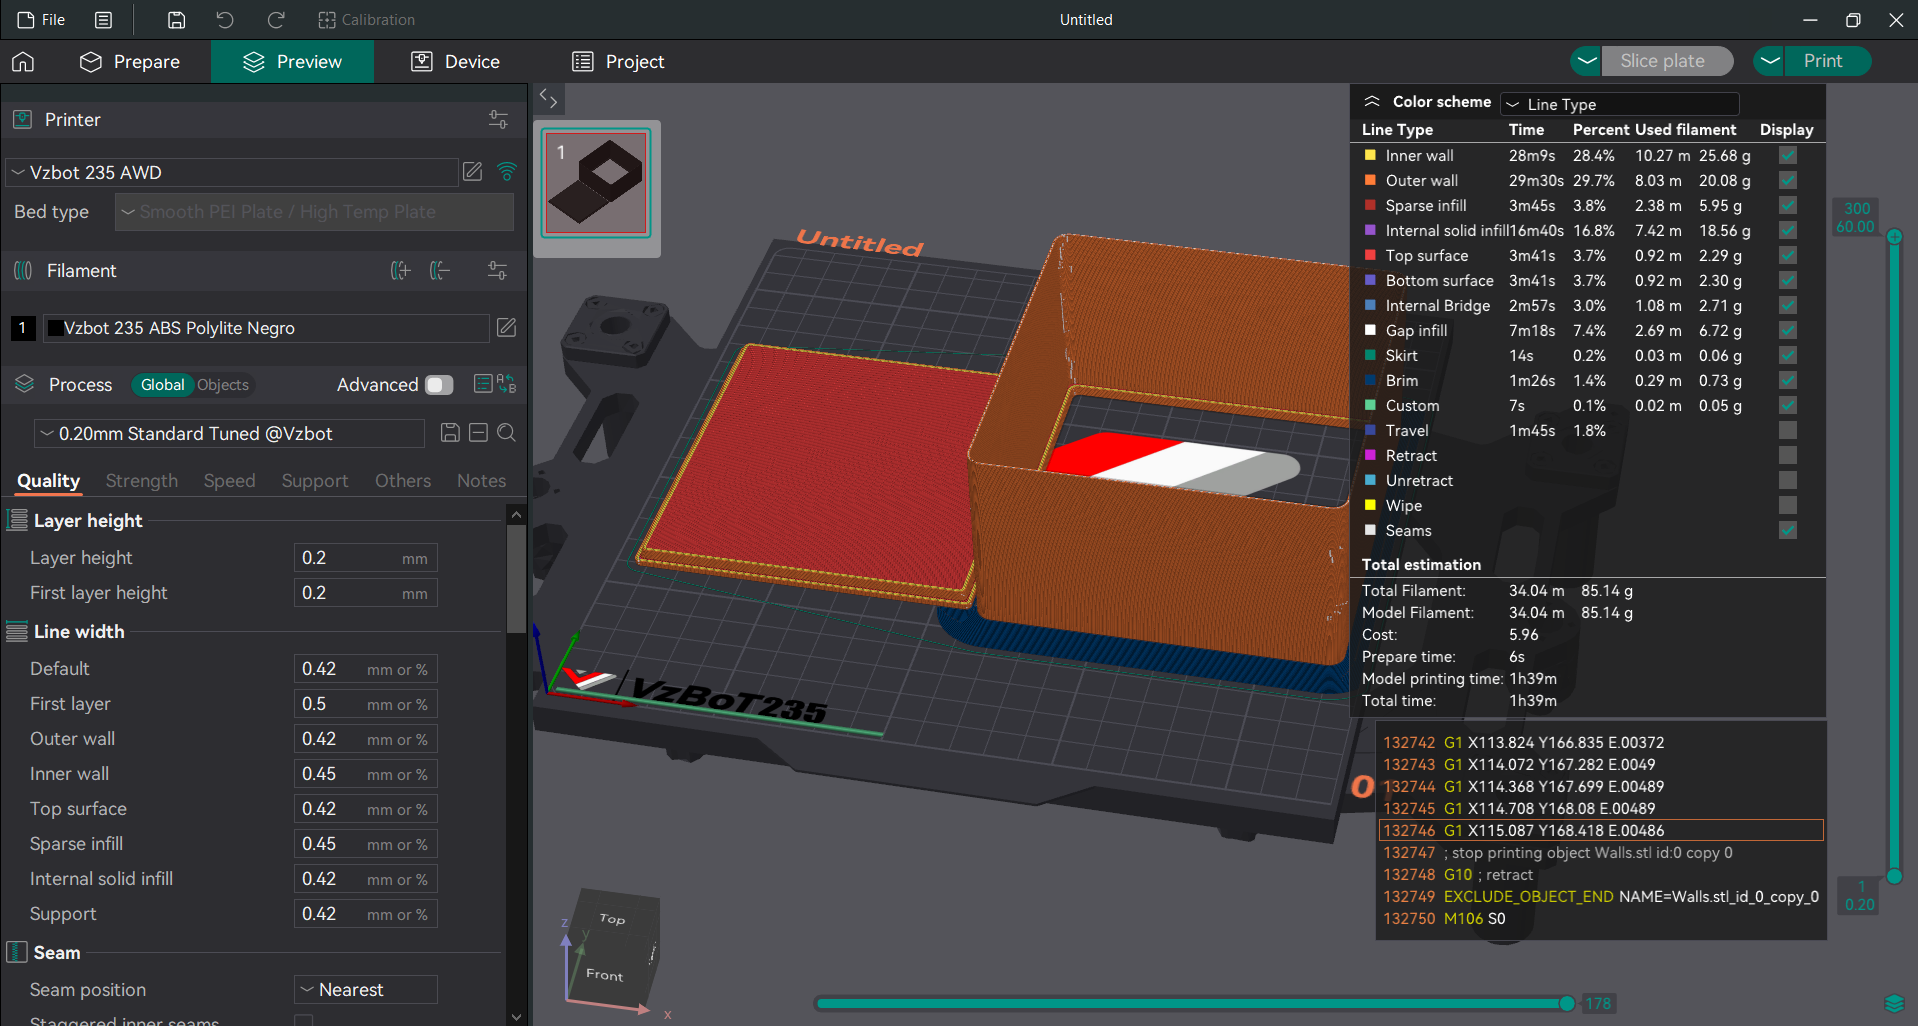
I printed the mold frame using Makerbot Natural ABS on my custom VZBOT235 3D printer. I set the layer height to 0.2 mm, and the print worked as expected.
After the SLA print was successfully cured and ready for use, I noticed a small hole in the last few layers, specifically in the octopus head. I believe this occurred because a trapped bubble prevented the uncured resin from flowing into that spot, resulting in a print error. Despite this, I continued the process. In hindsight, I wondered why I didn't fill and sand that part of the model. The reason was that I wanted to test the quality of a mold that could be achieved without any post-processing on the resin print, to evaluate its raw finish.
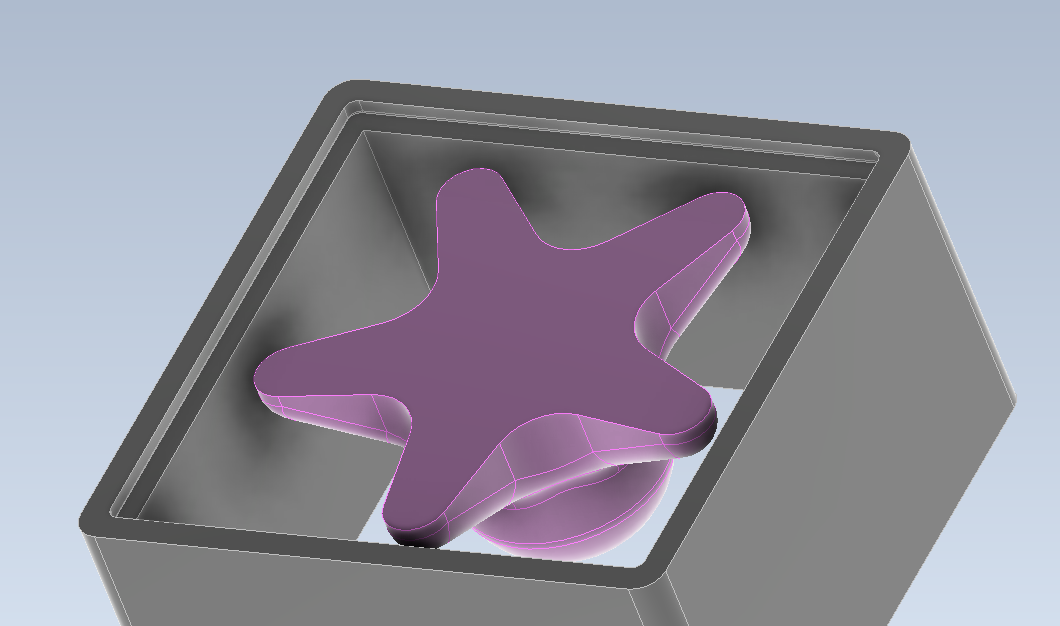
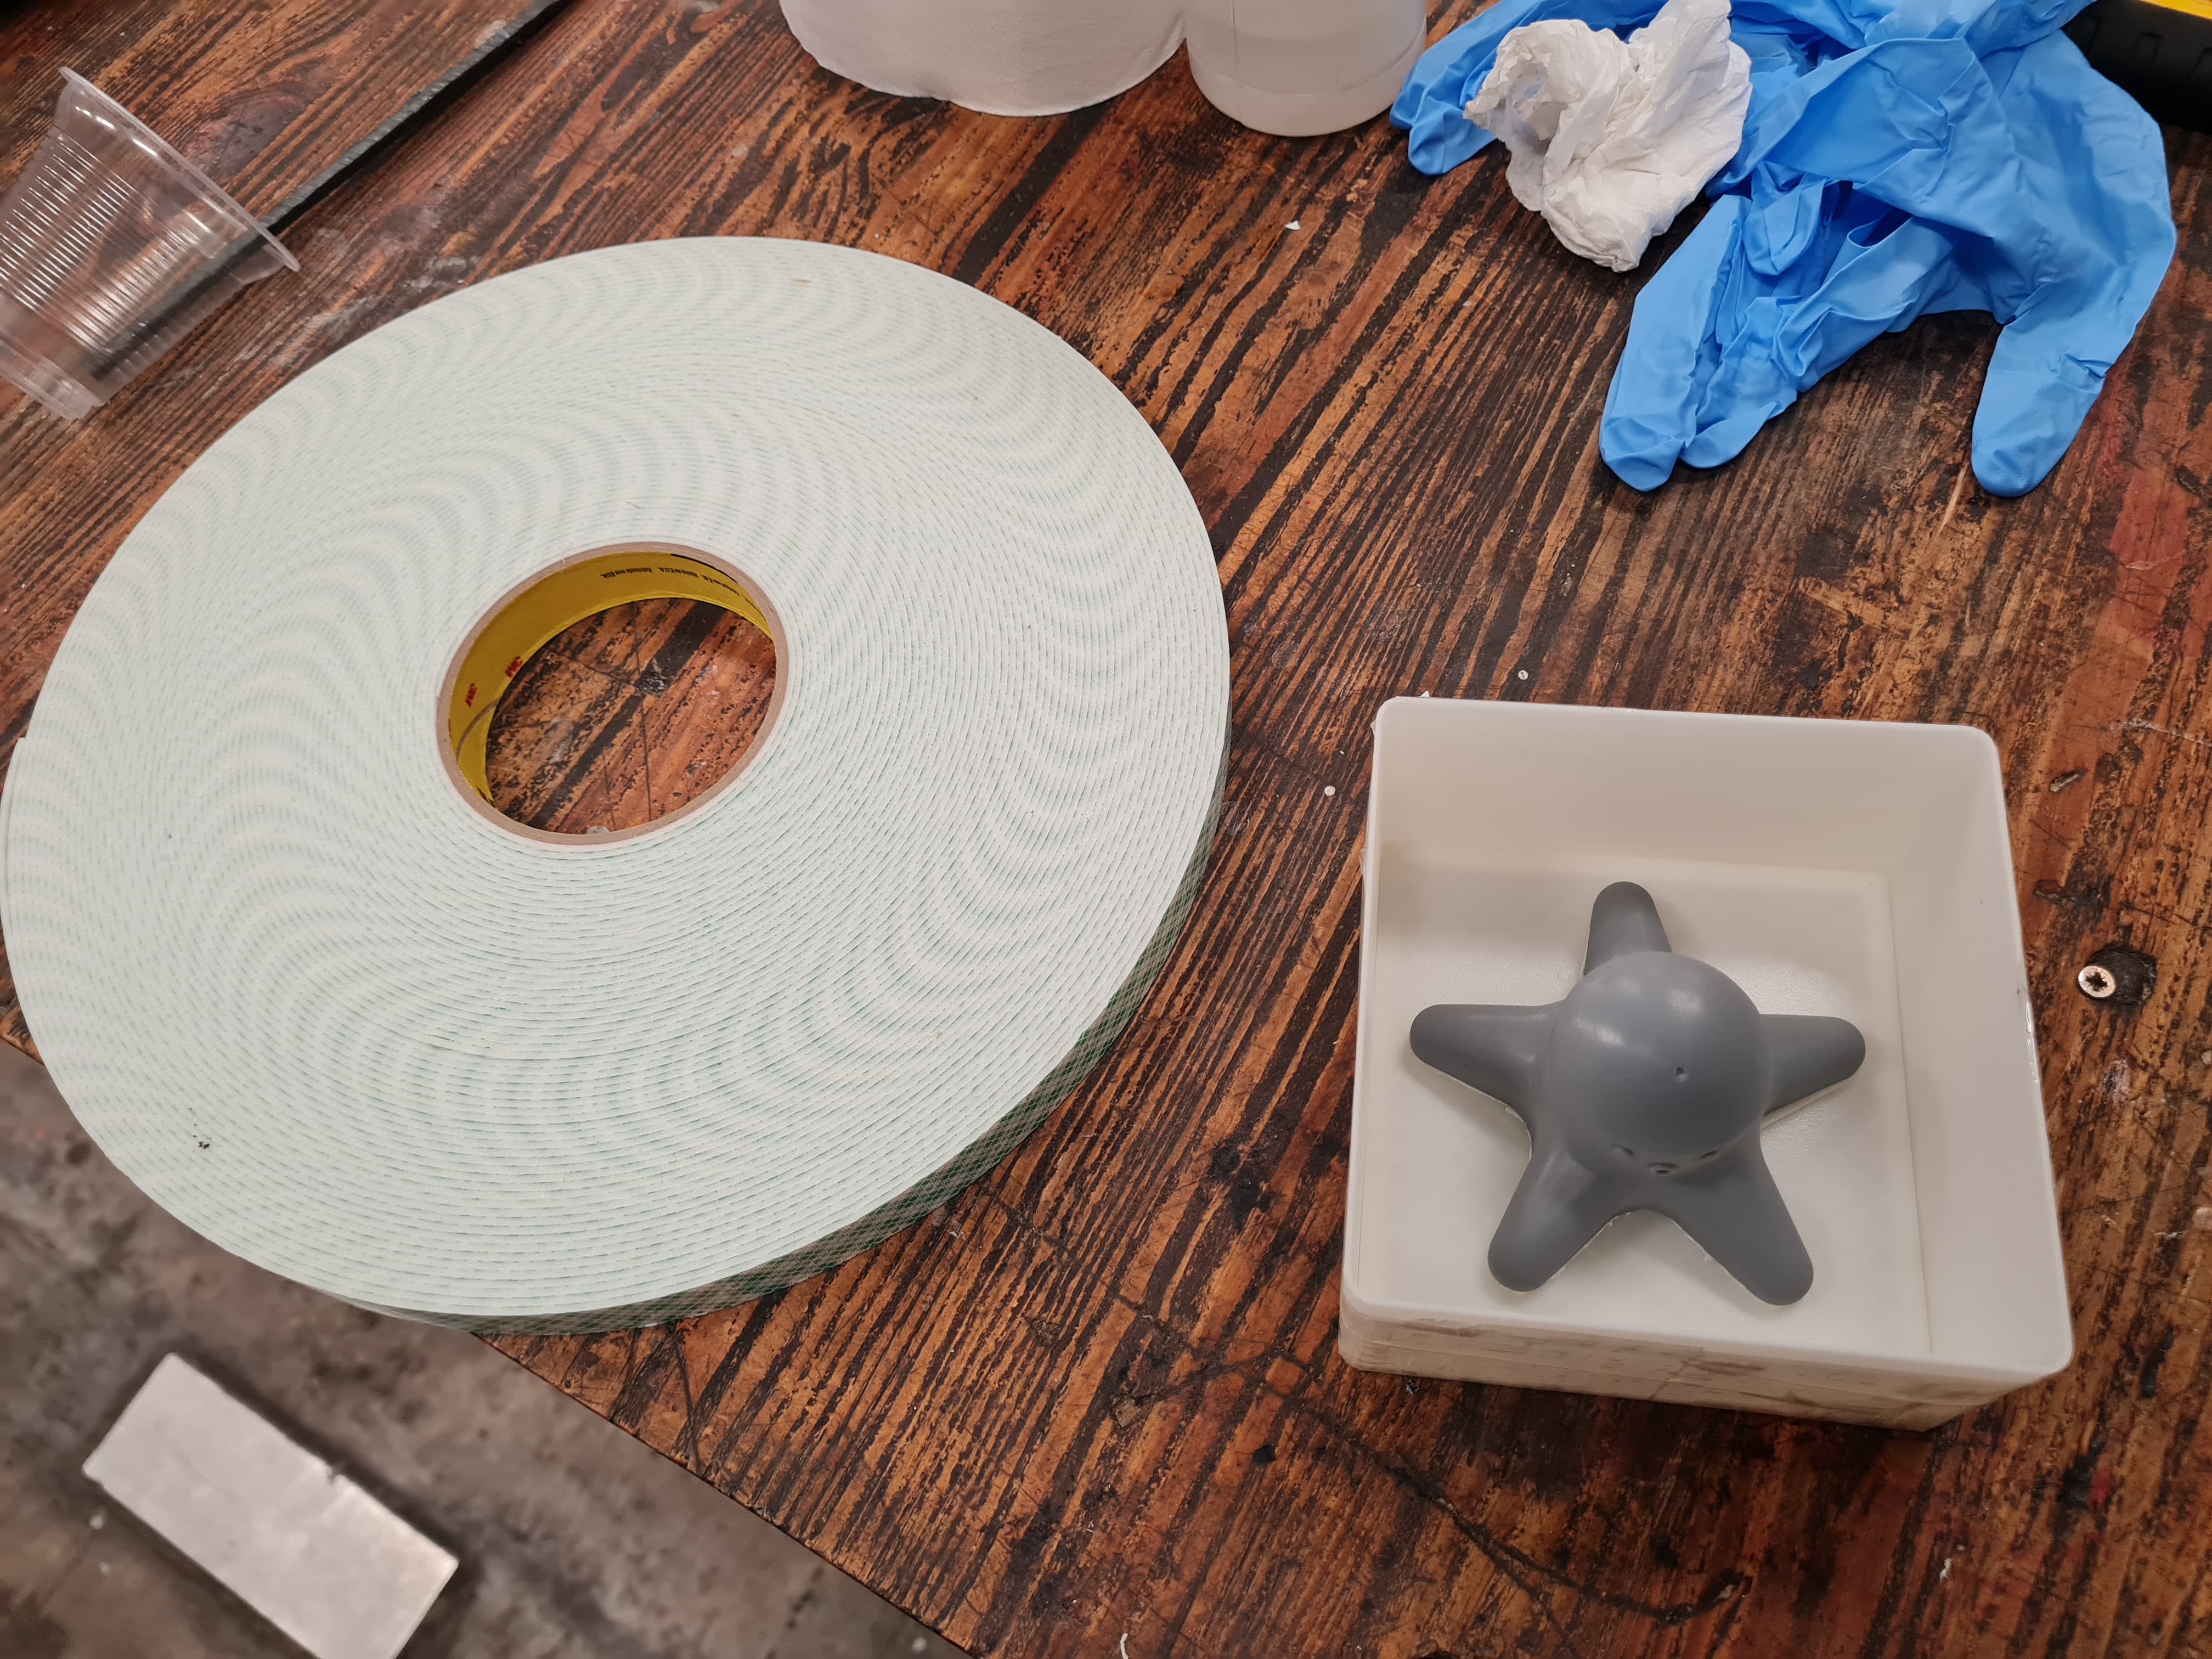
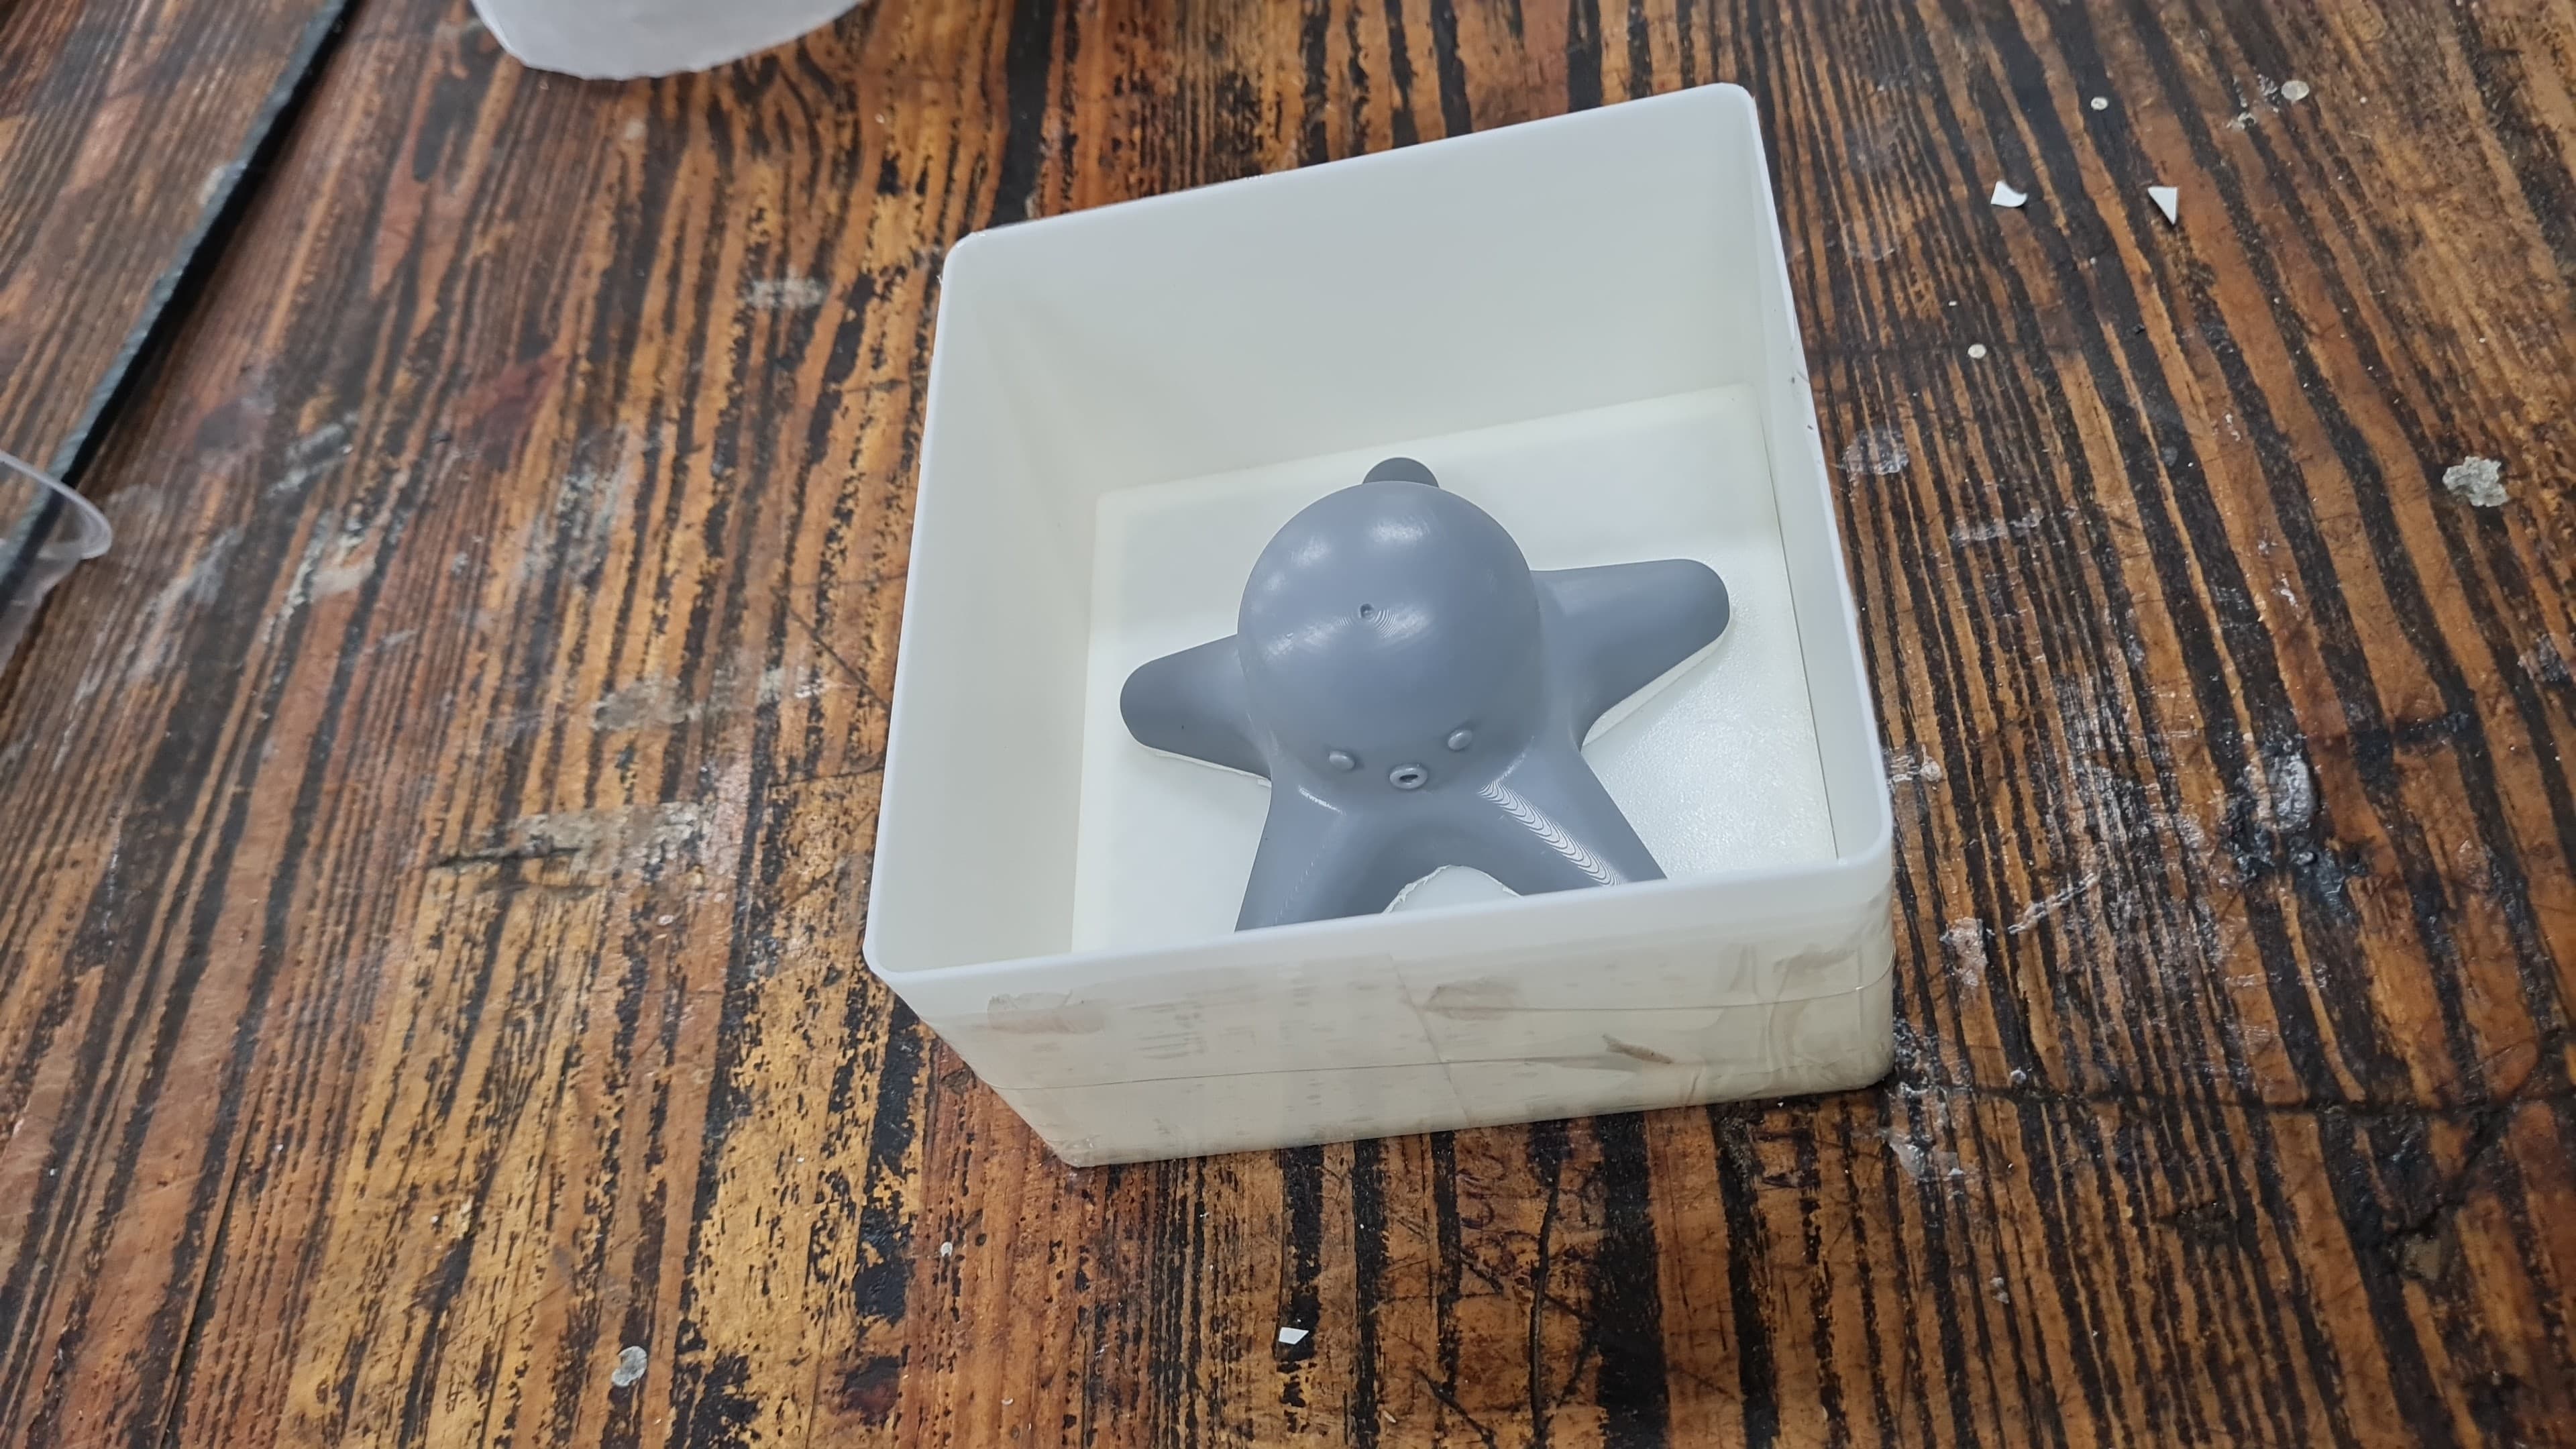
For the mold frame assembly, I opted to use double-sided tape to securely mount the SLA-printed octopus in the correct position. To prevent any leakage, I sealed the mold using packing tape, which provided an effective barrier without the need for more complicated sealing methods. This approach was both cost-effective and time-efficient, allowing for quick setup and reliable results. By using these simple materials, I was able to create a well-sealed mold frame that performed effectively during the silicone casting process.
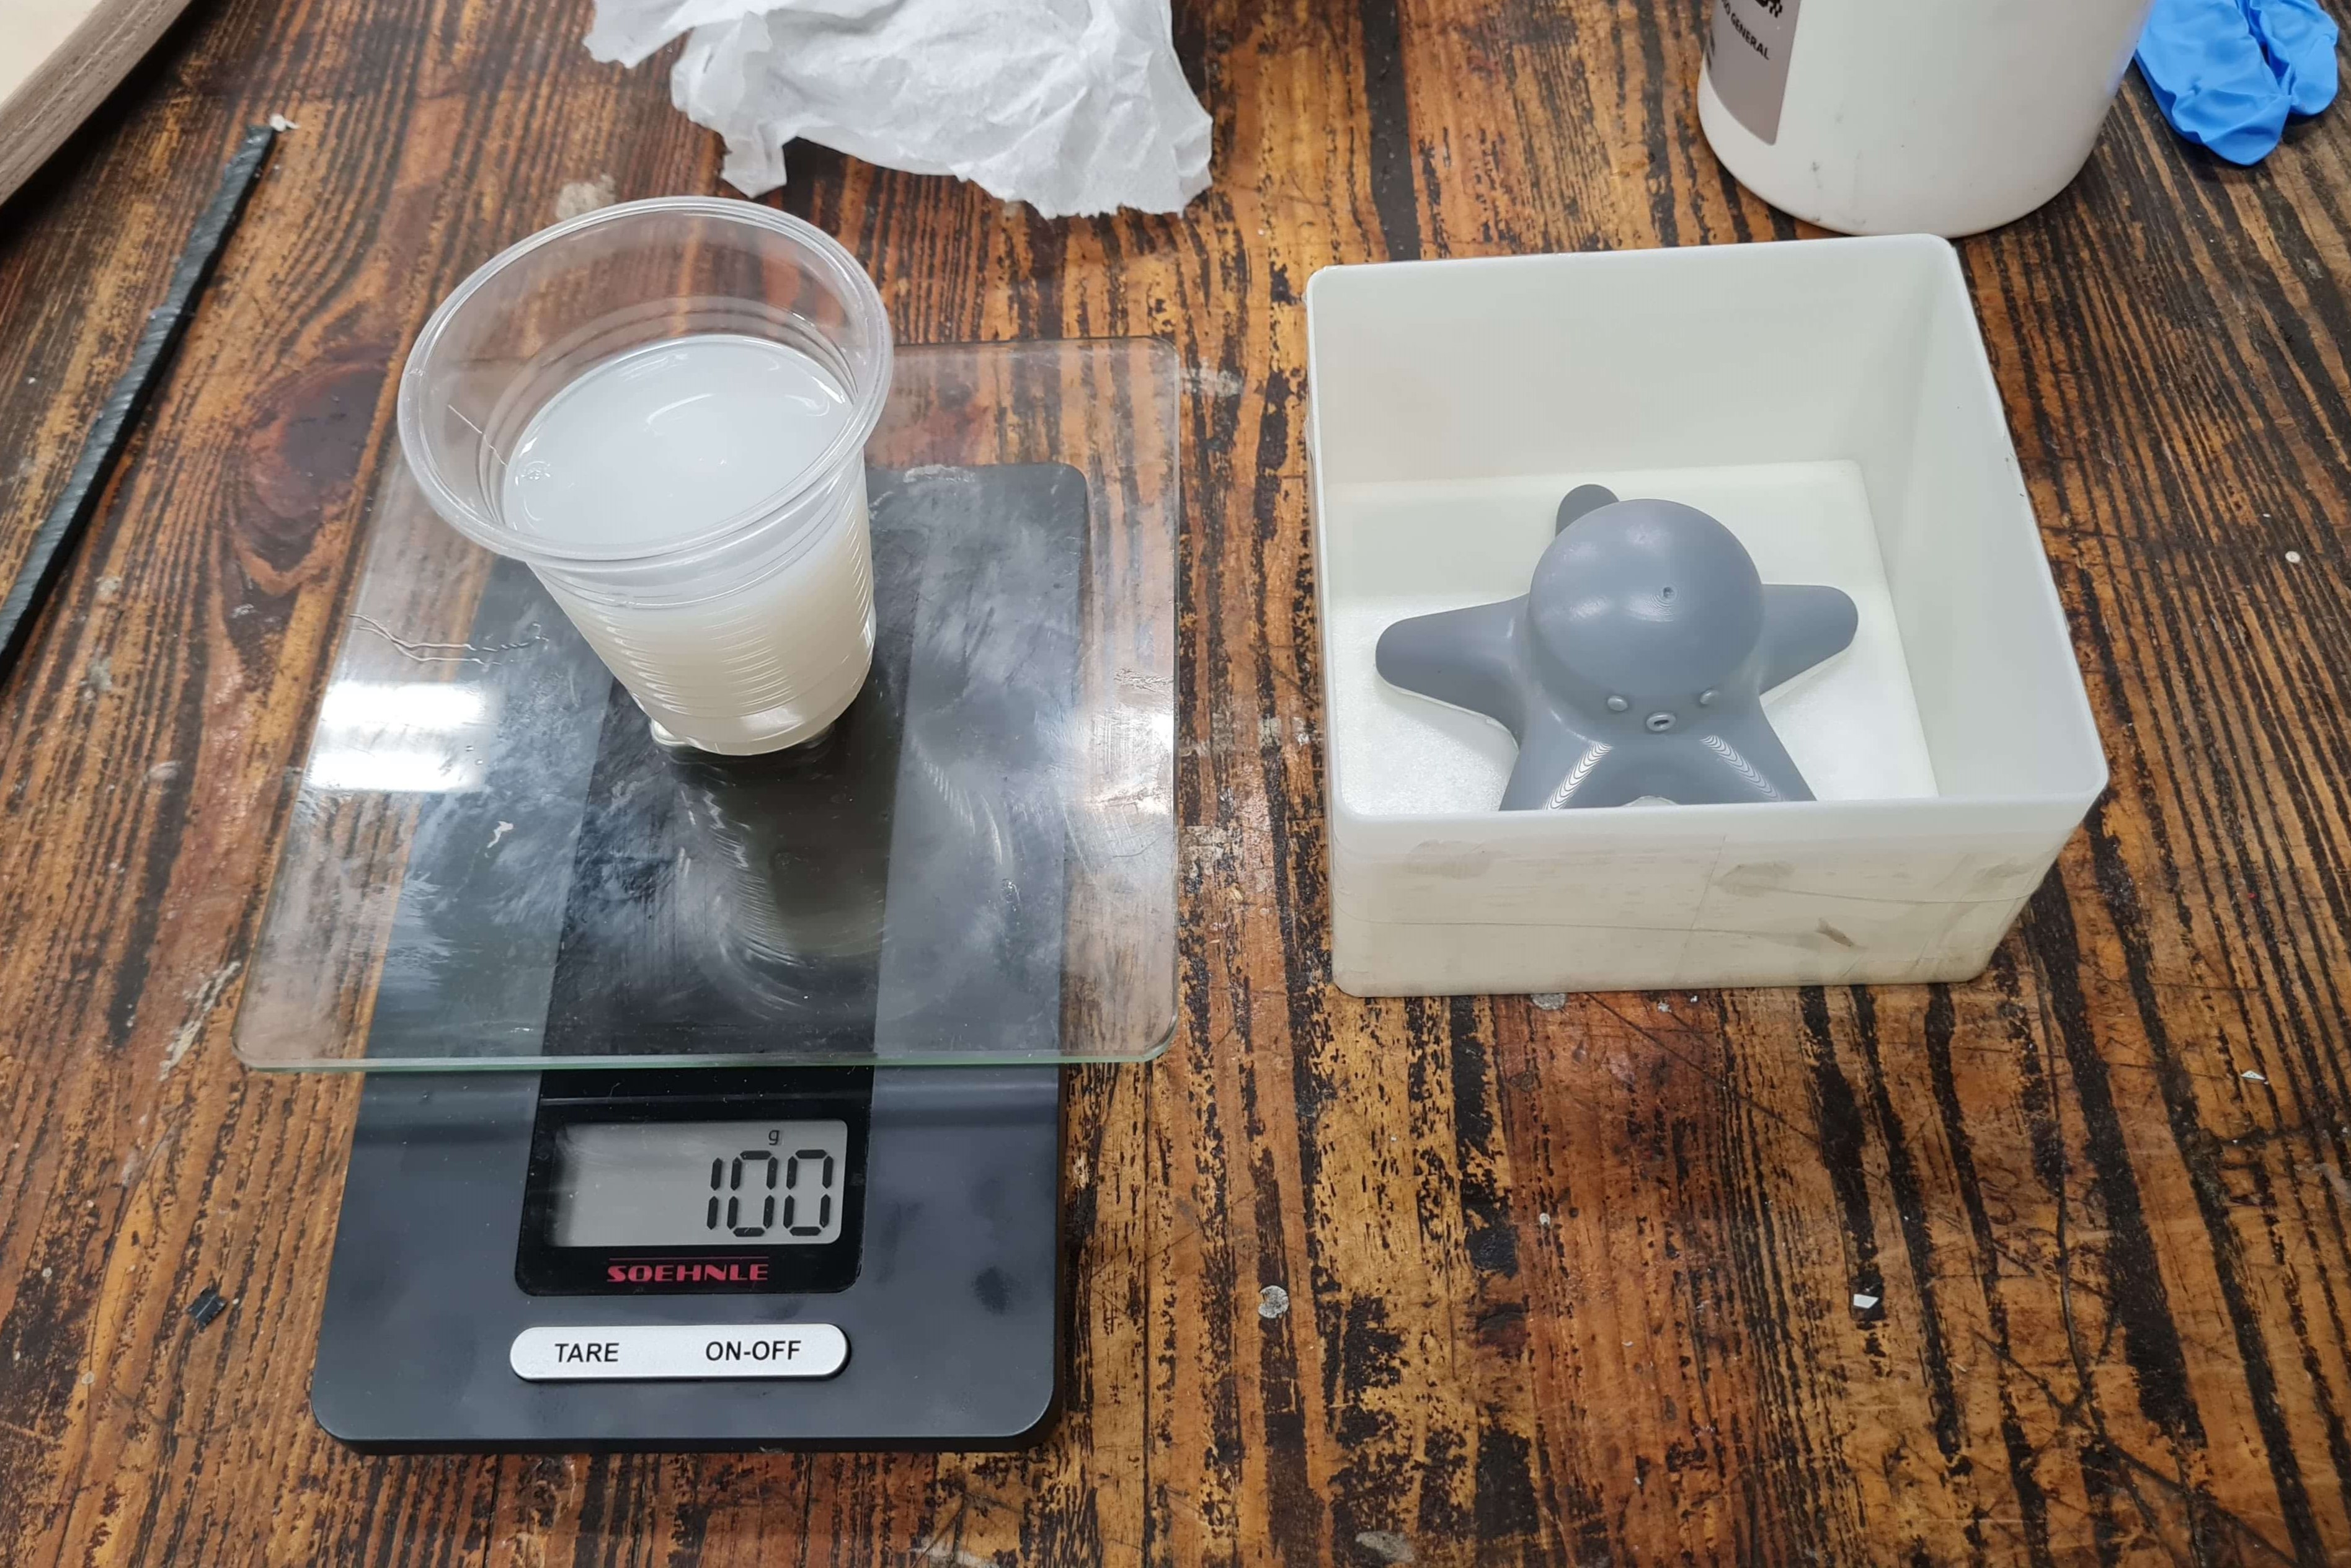
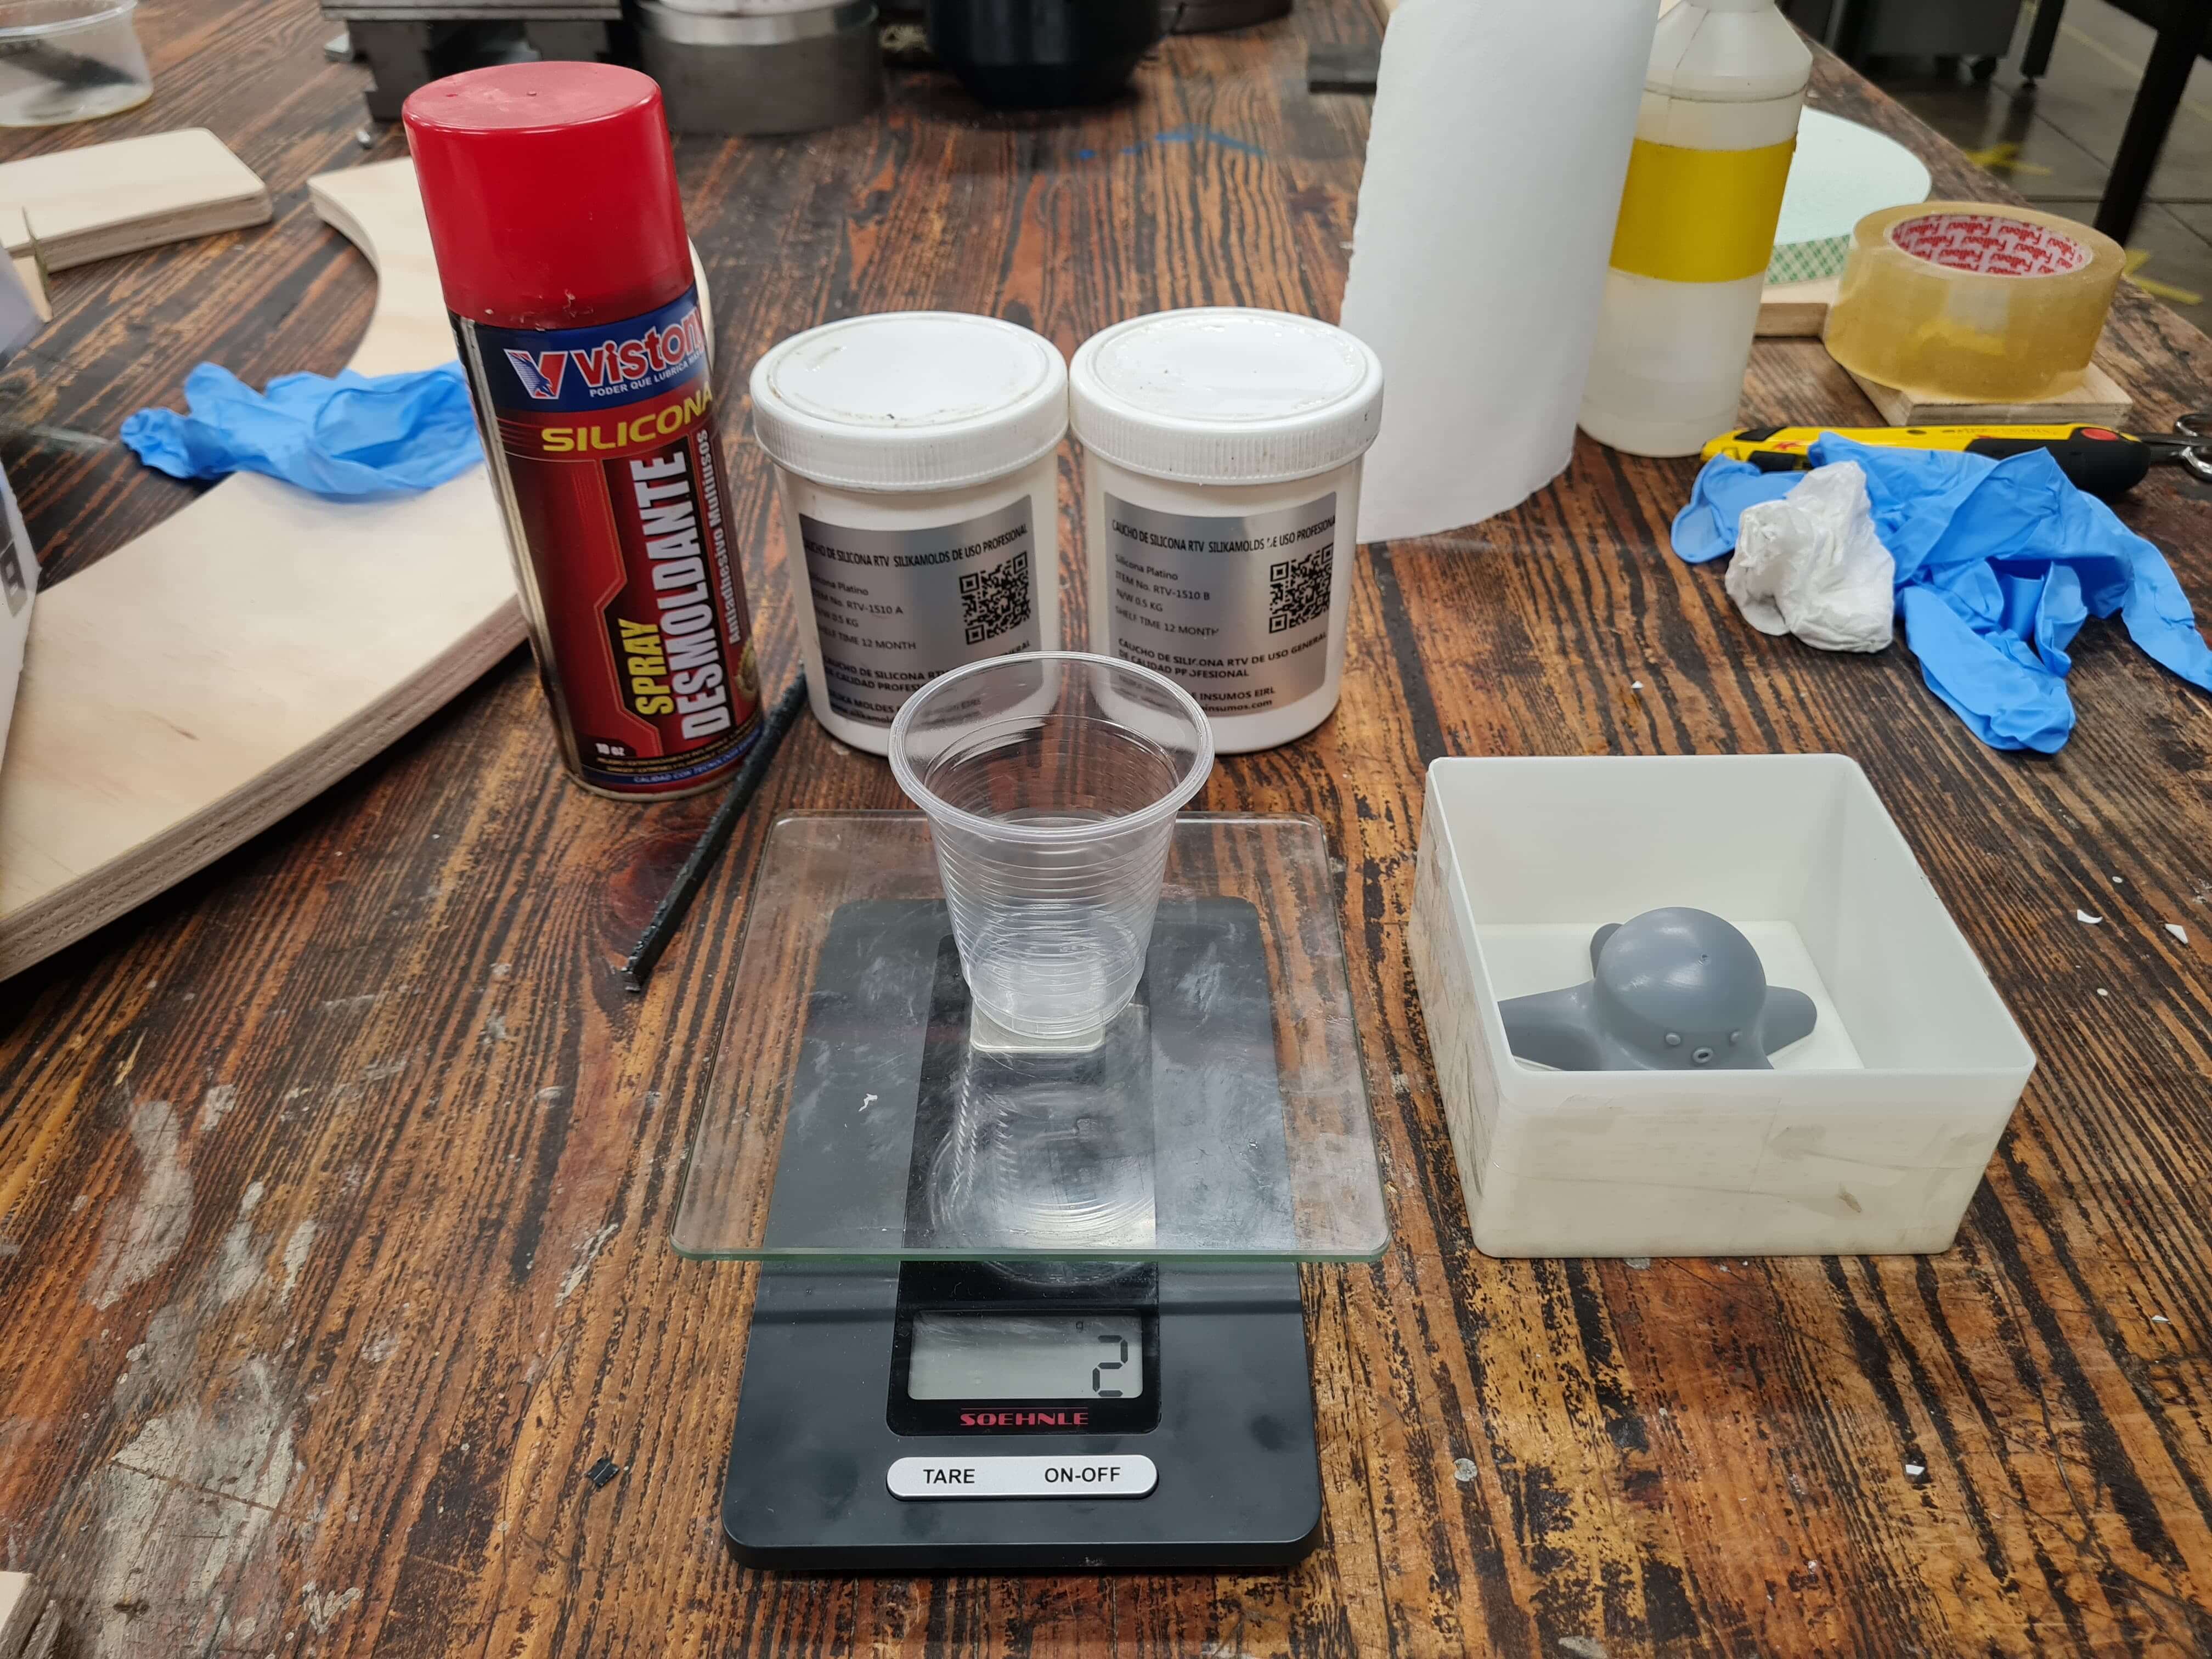
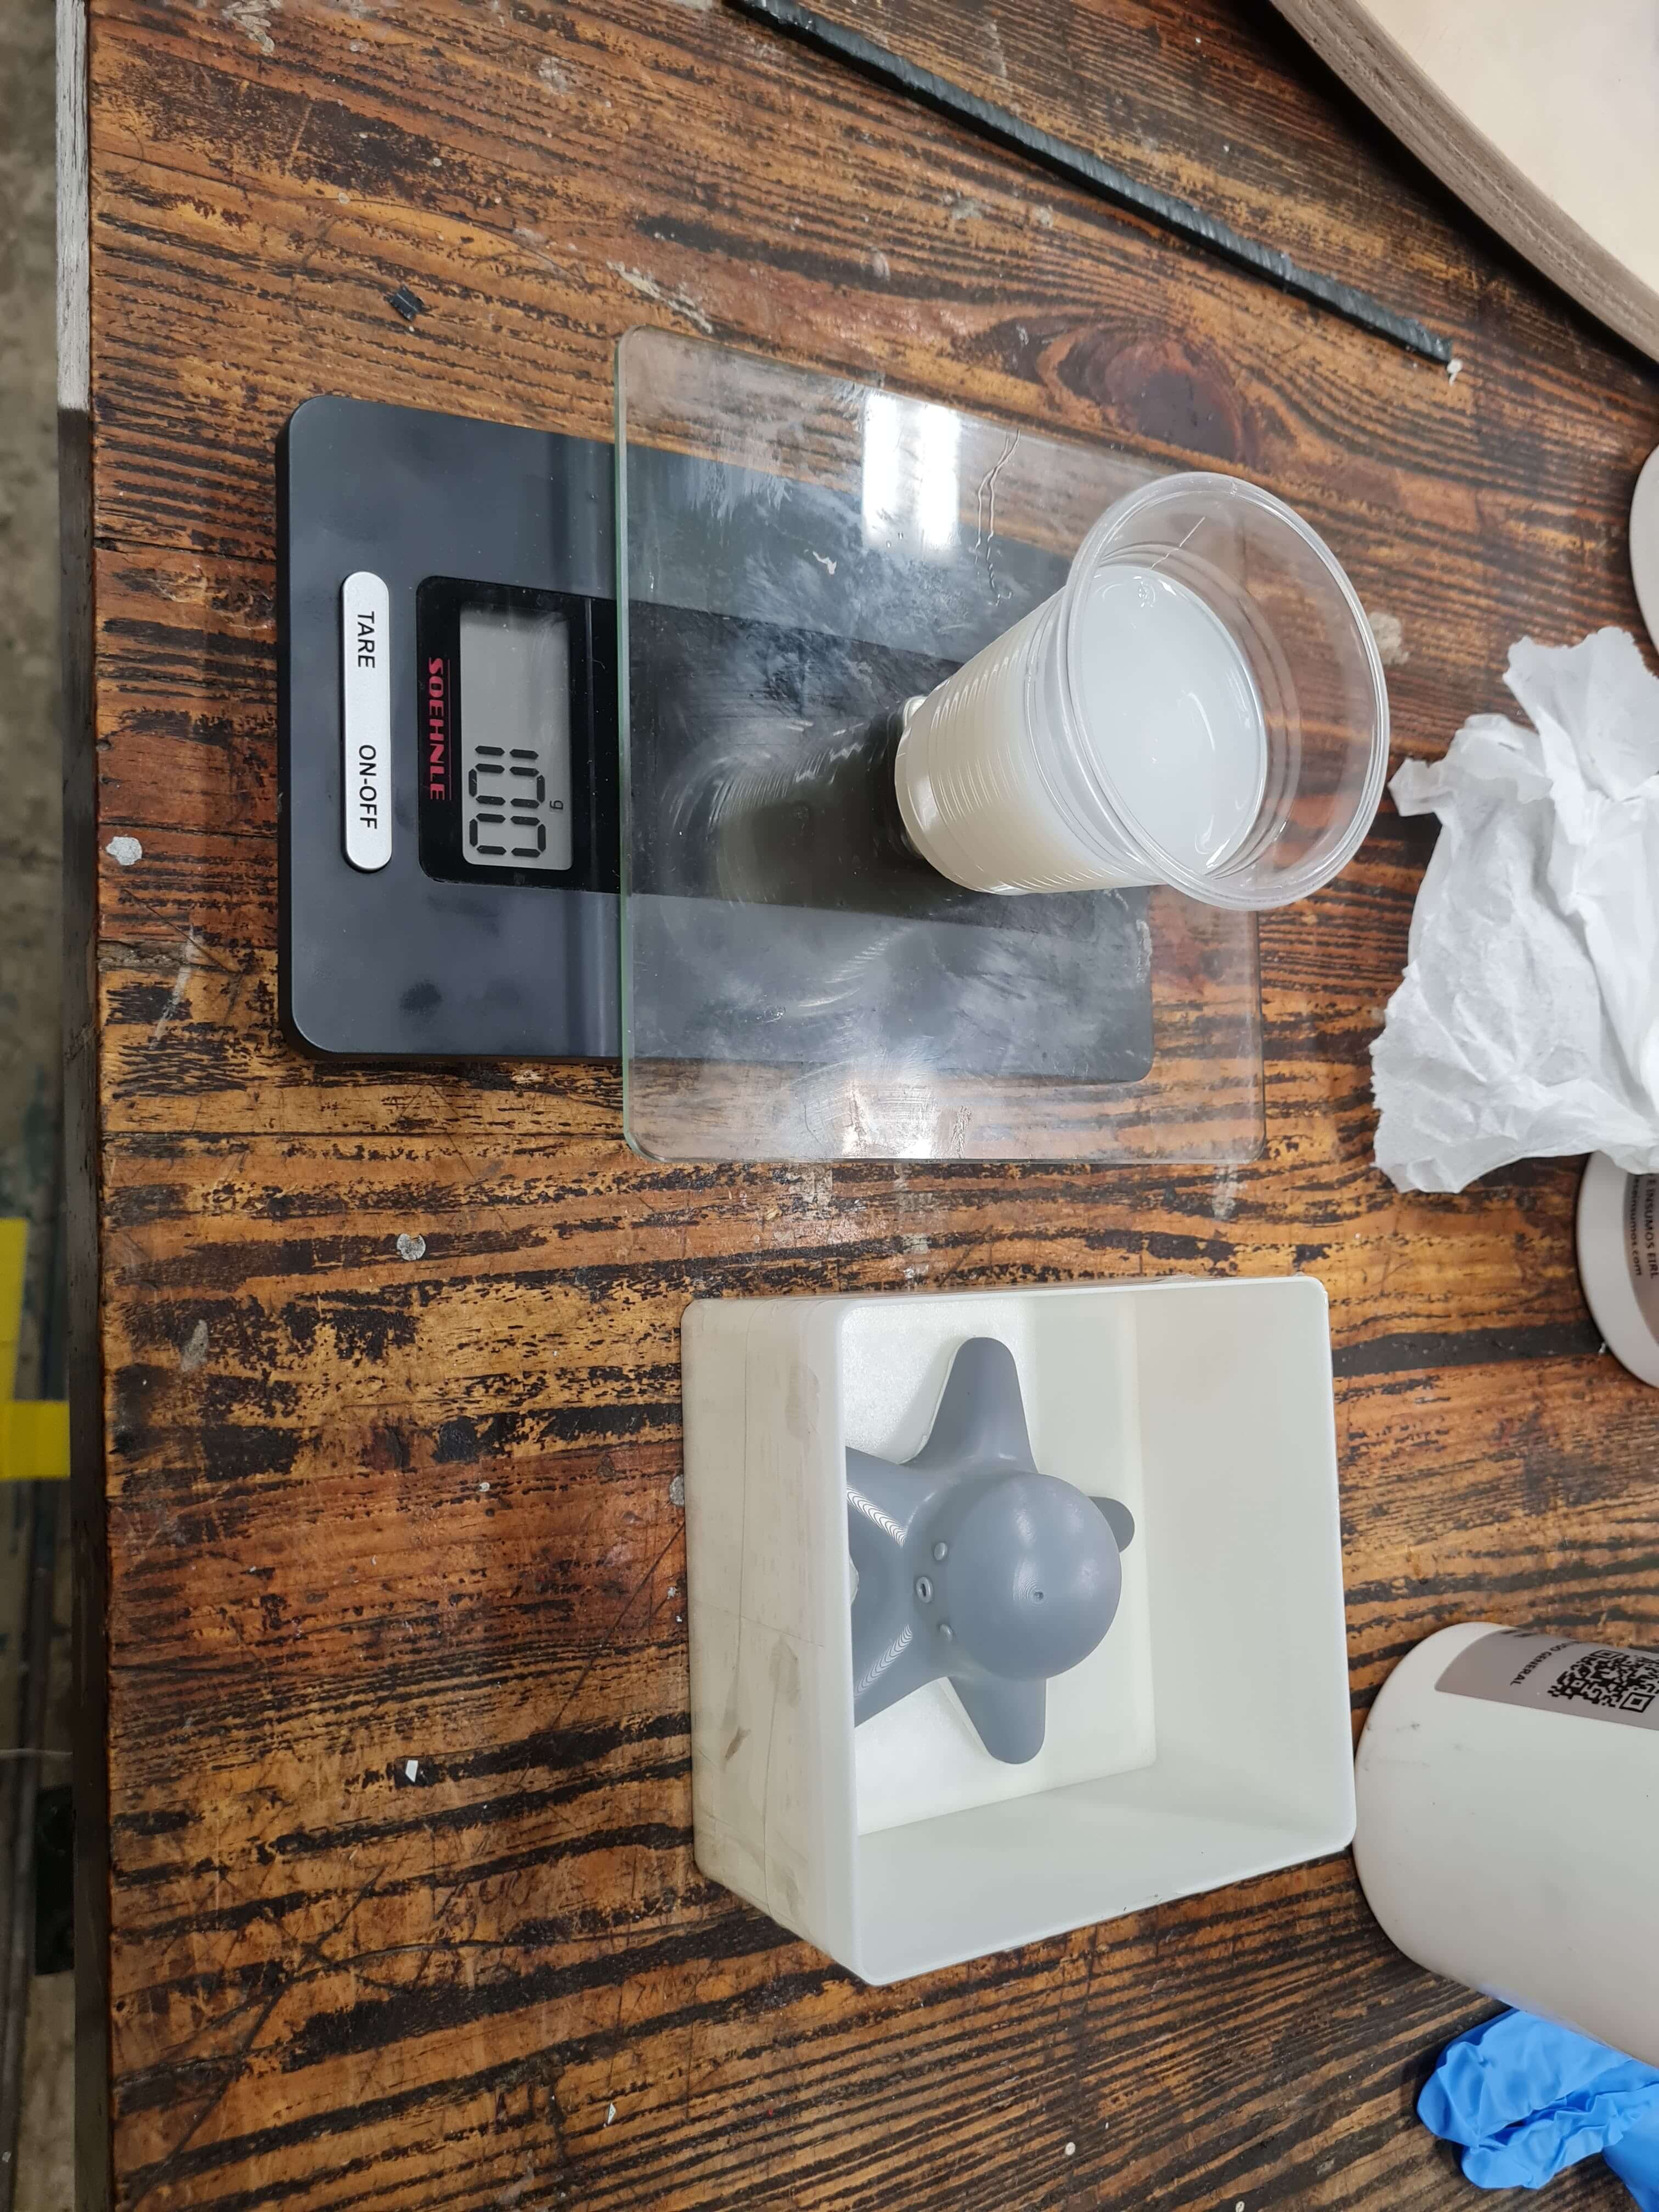
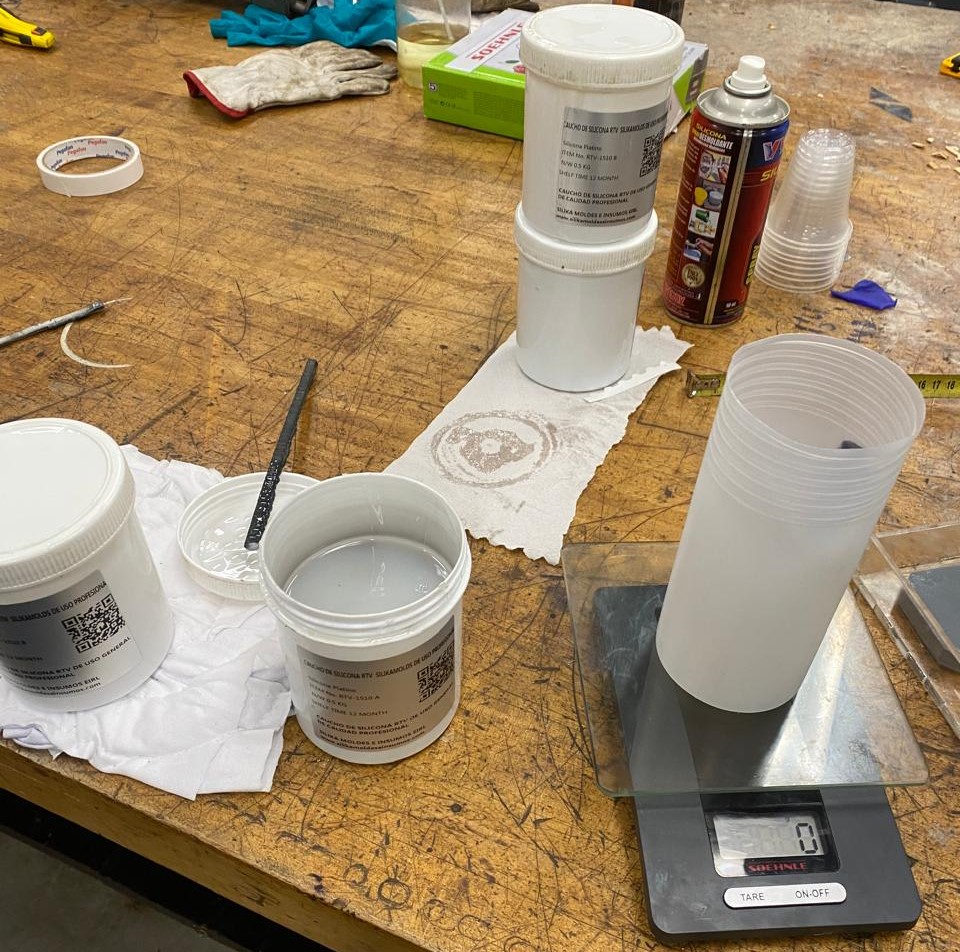
For the silicone casting, I used food-grade silicone that I found in the lab. The silicone used was a platinum-cured RTV silicone rubber from the company SILIKA Molds and Inputs. According to the specifications, I needed to mix equal parts of Part A and Part B (50% each). Using a scale, I measured the exact amounts to ensure a perfect mixture of silicone.
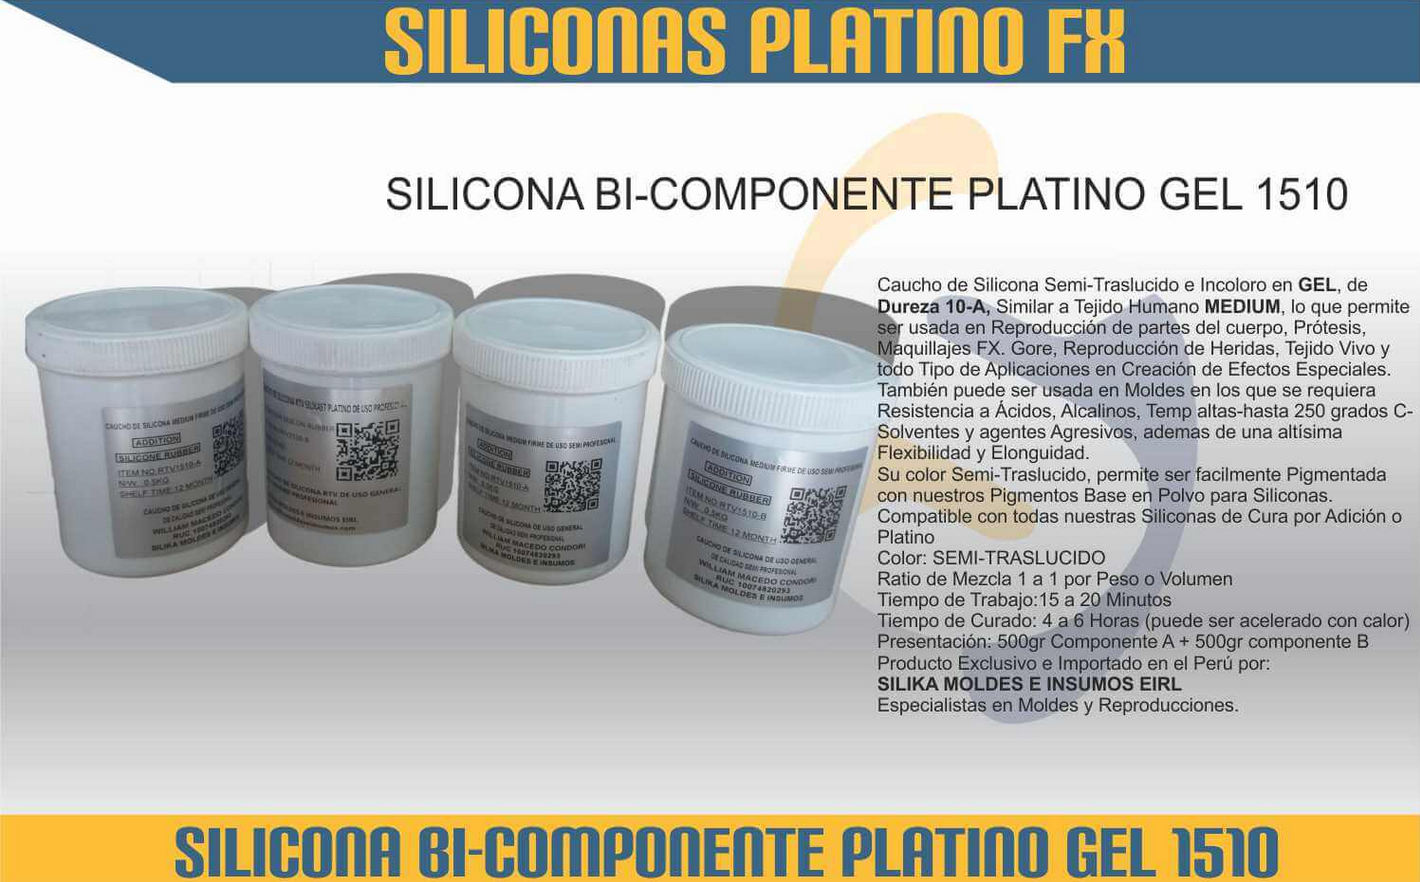
Silicone Bi-Component Platinum Gel 1510
Color: Semi-Translucent
Mixing Ratio: 1 to 1 by weight or volume
Working Time: 15 to 20 minutes
Curing Time: 4 - 6 hours (can be accelerated with heat)
Presentation: 500g Component A + 500g Component B
Exclusive product imported and sold in Peru by:
SILIKA MOLDES E INSUMOS EIRL
Specialists in Molds and Reproductions.
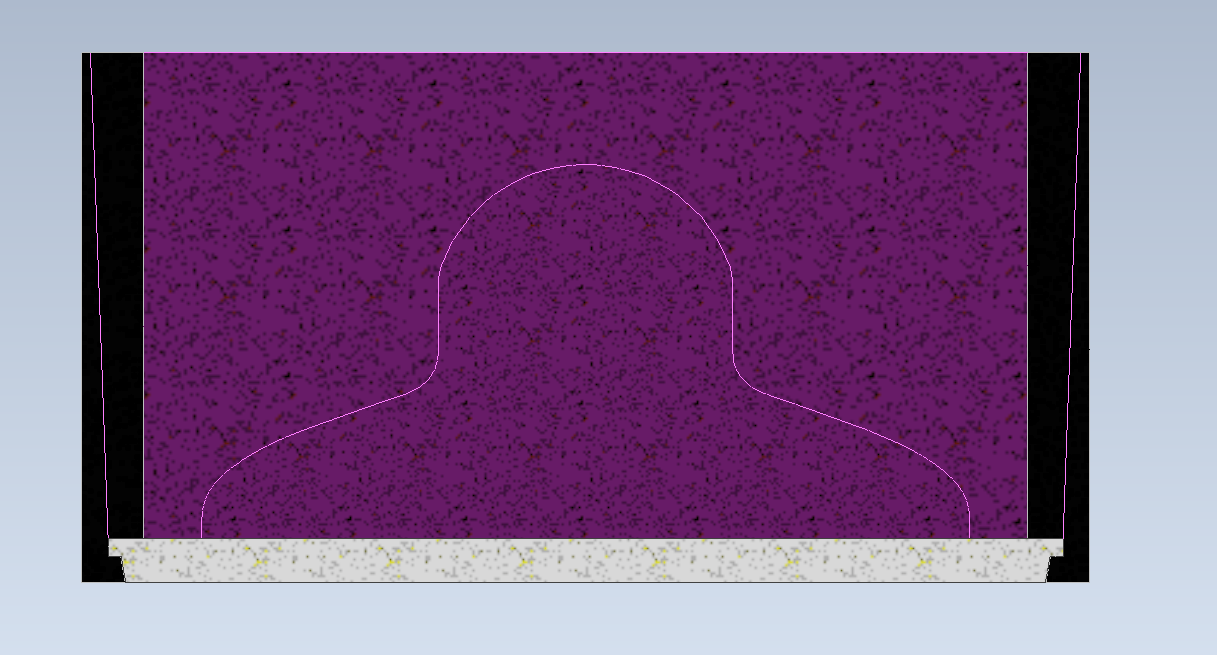
Next, I carefully mixed the two parts together, taking care not to generate too many bubbles since the fab lab doesn't have a vacuum chamber to remove them. To minimize bubbles, I mixed slowly and thoroughly. After mixing, I tapped the mold on the table several times to encourage any remaining bubbles to rise to the top.
I then let the mold rest for 48 hours to ensure that the silicone cured completely and evenly throughout. This extended curing time helped to ensure that the final mold was fully set and ready for use.
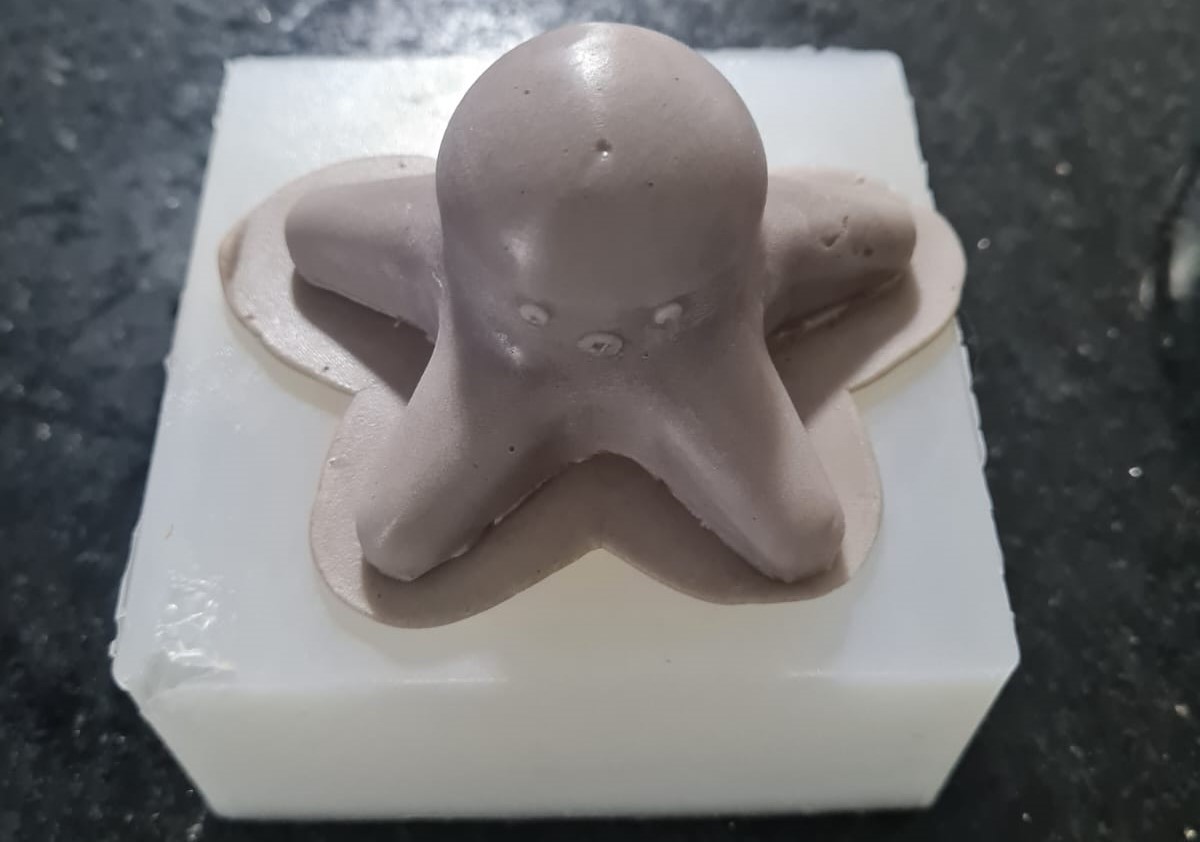
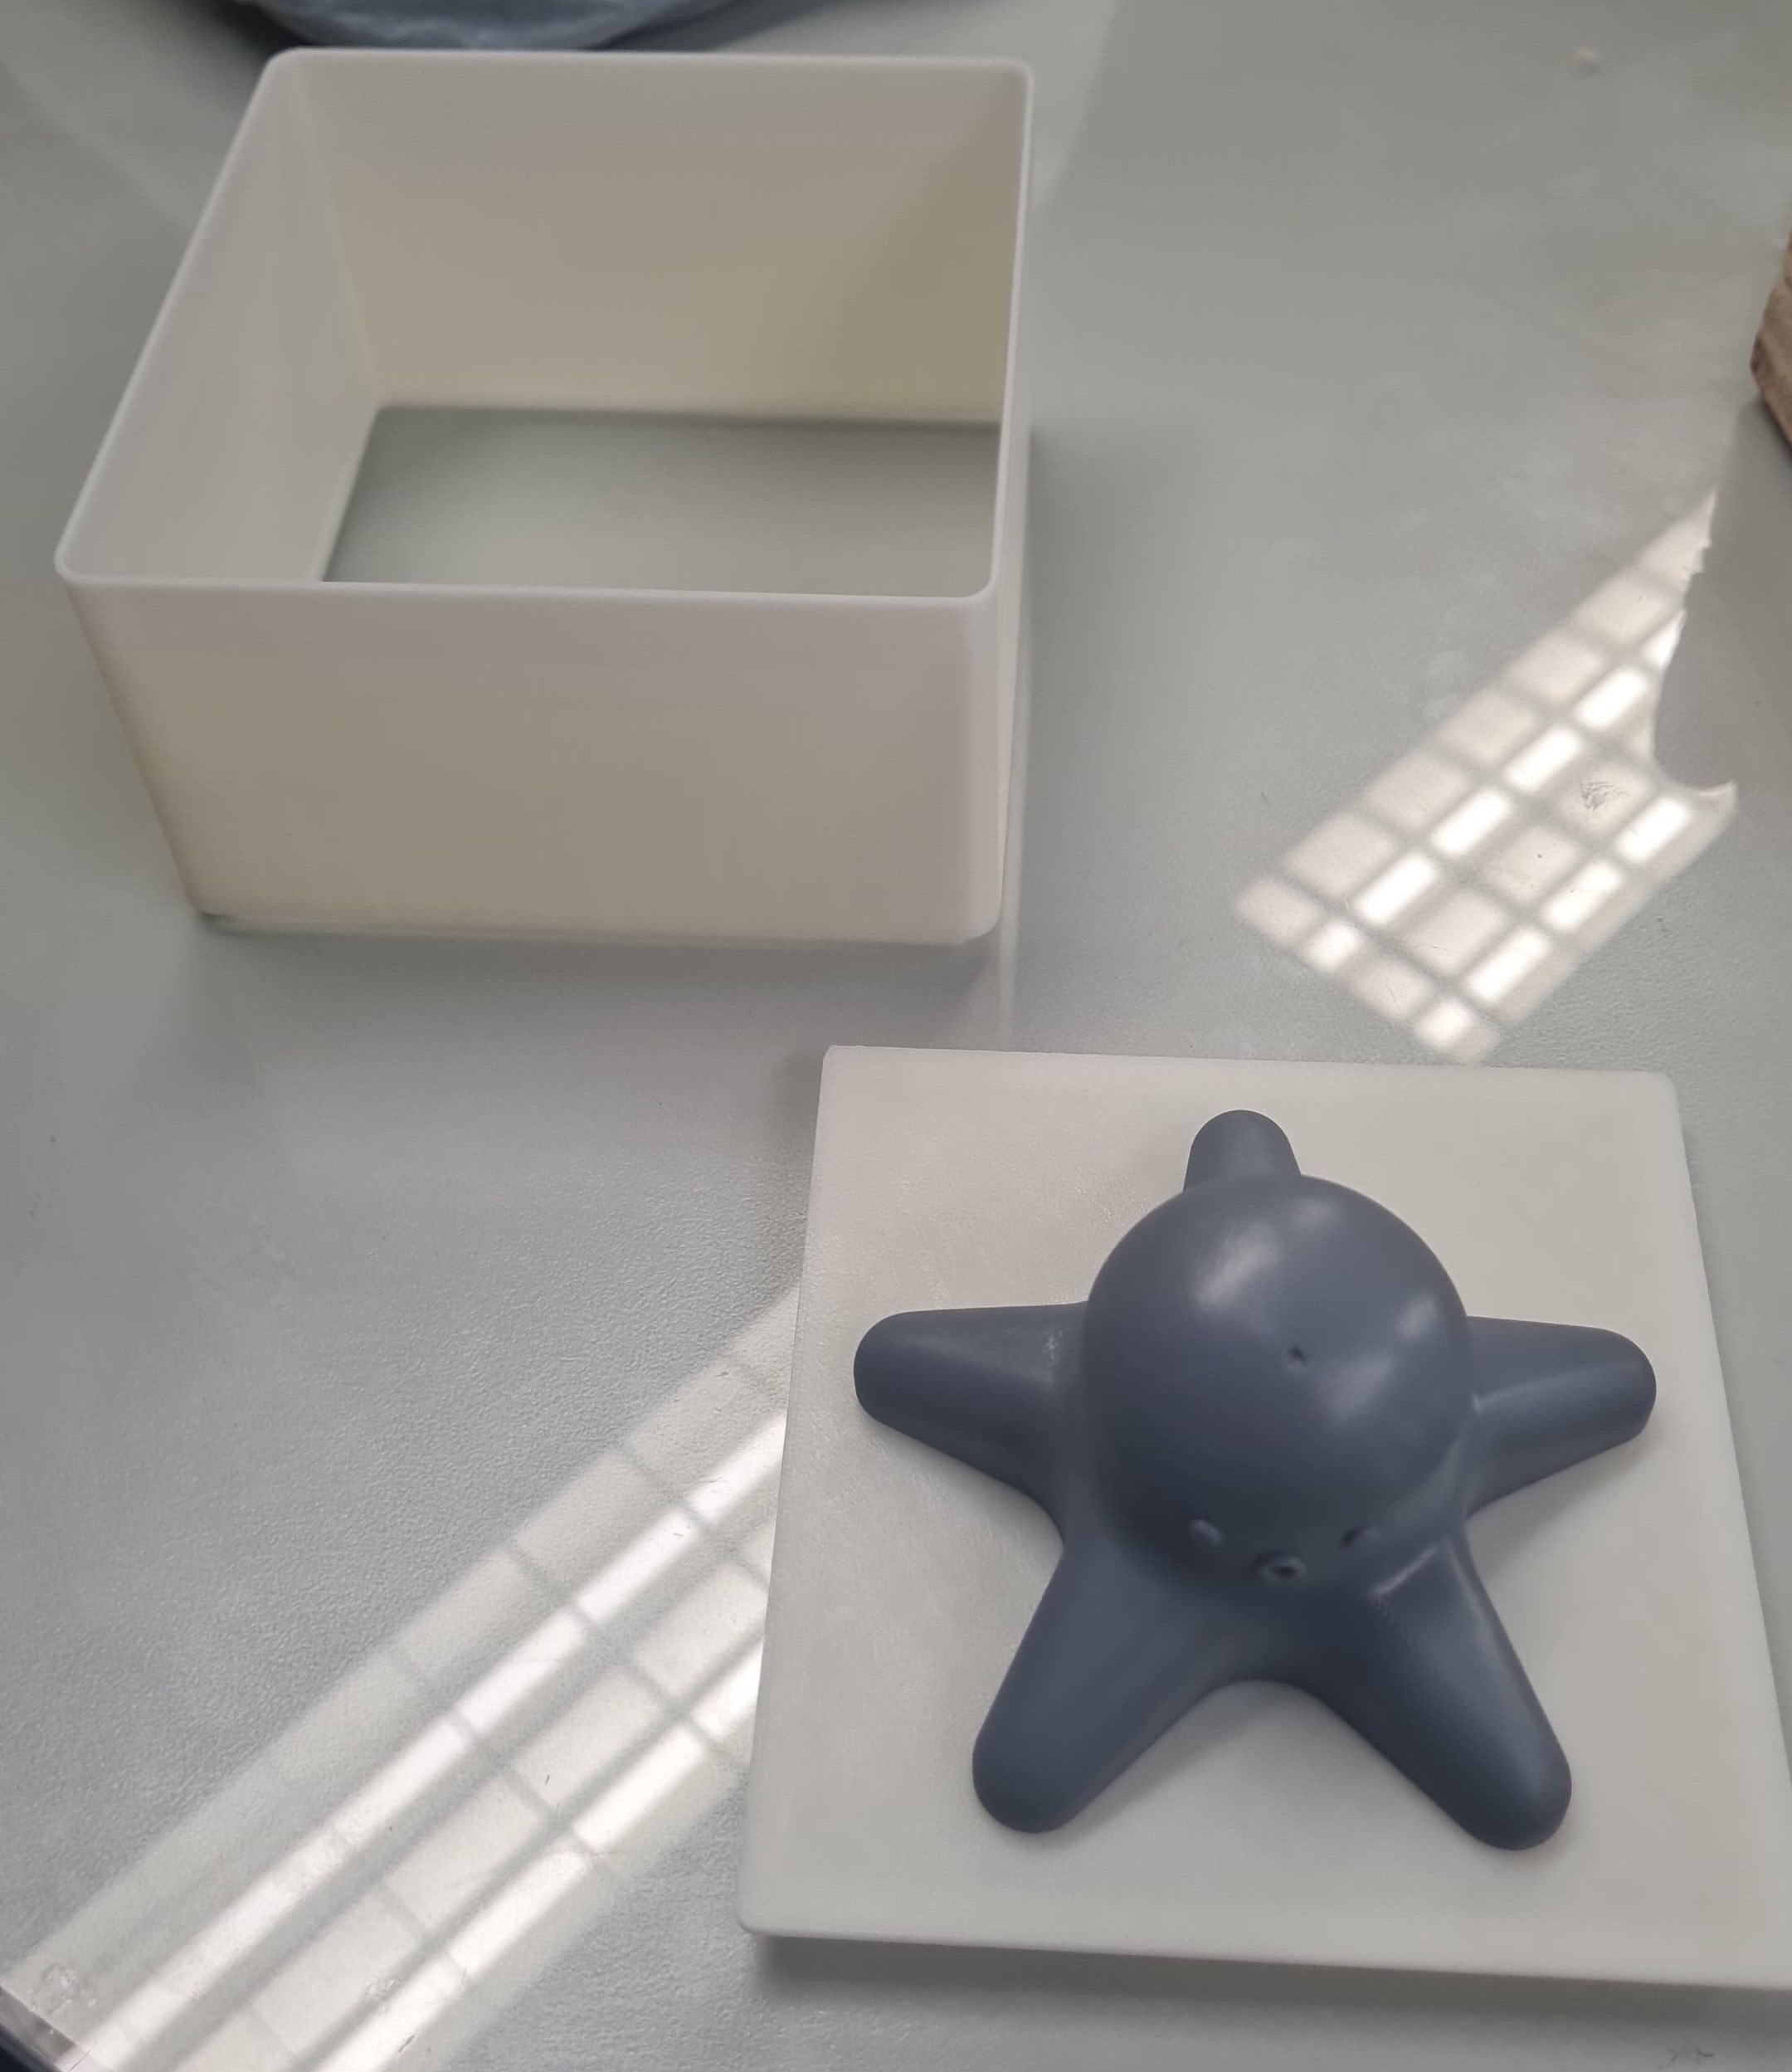
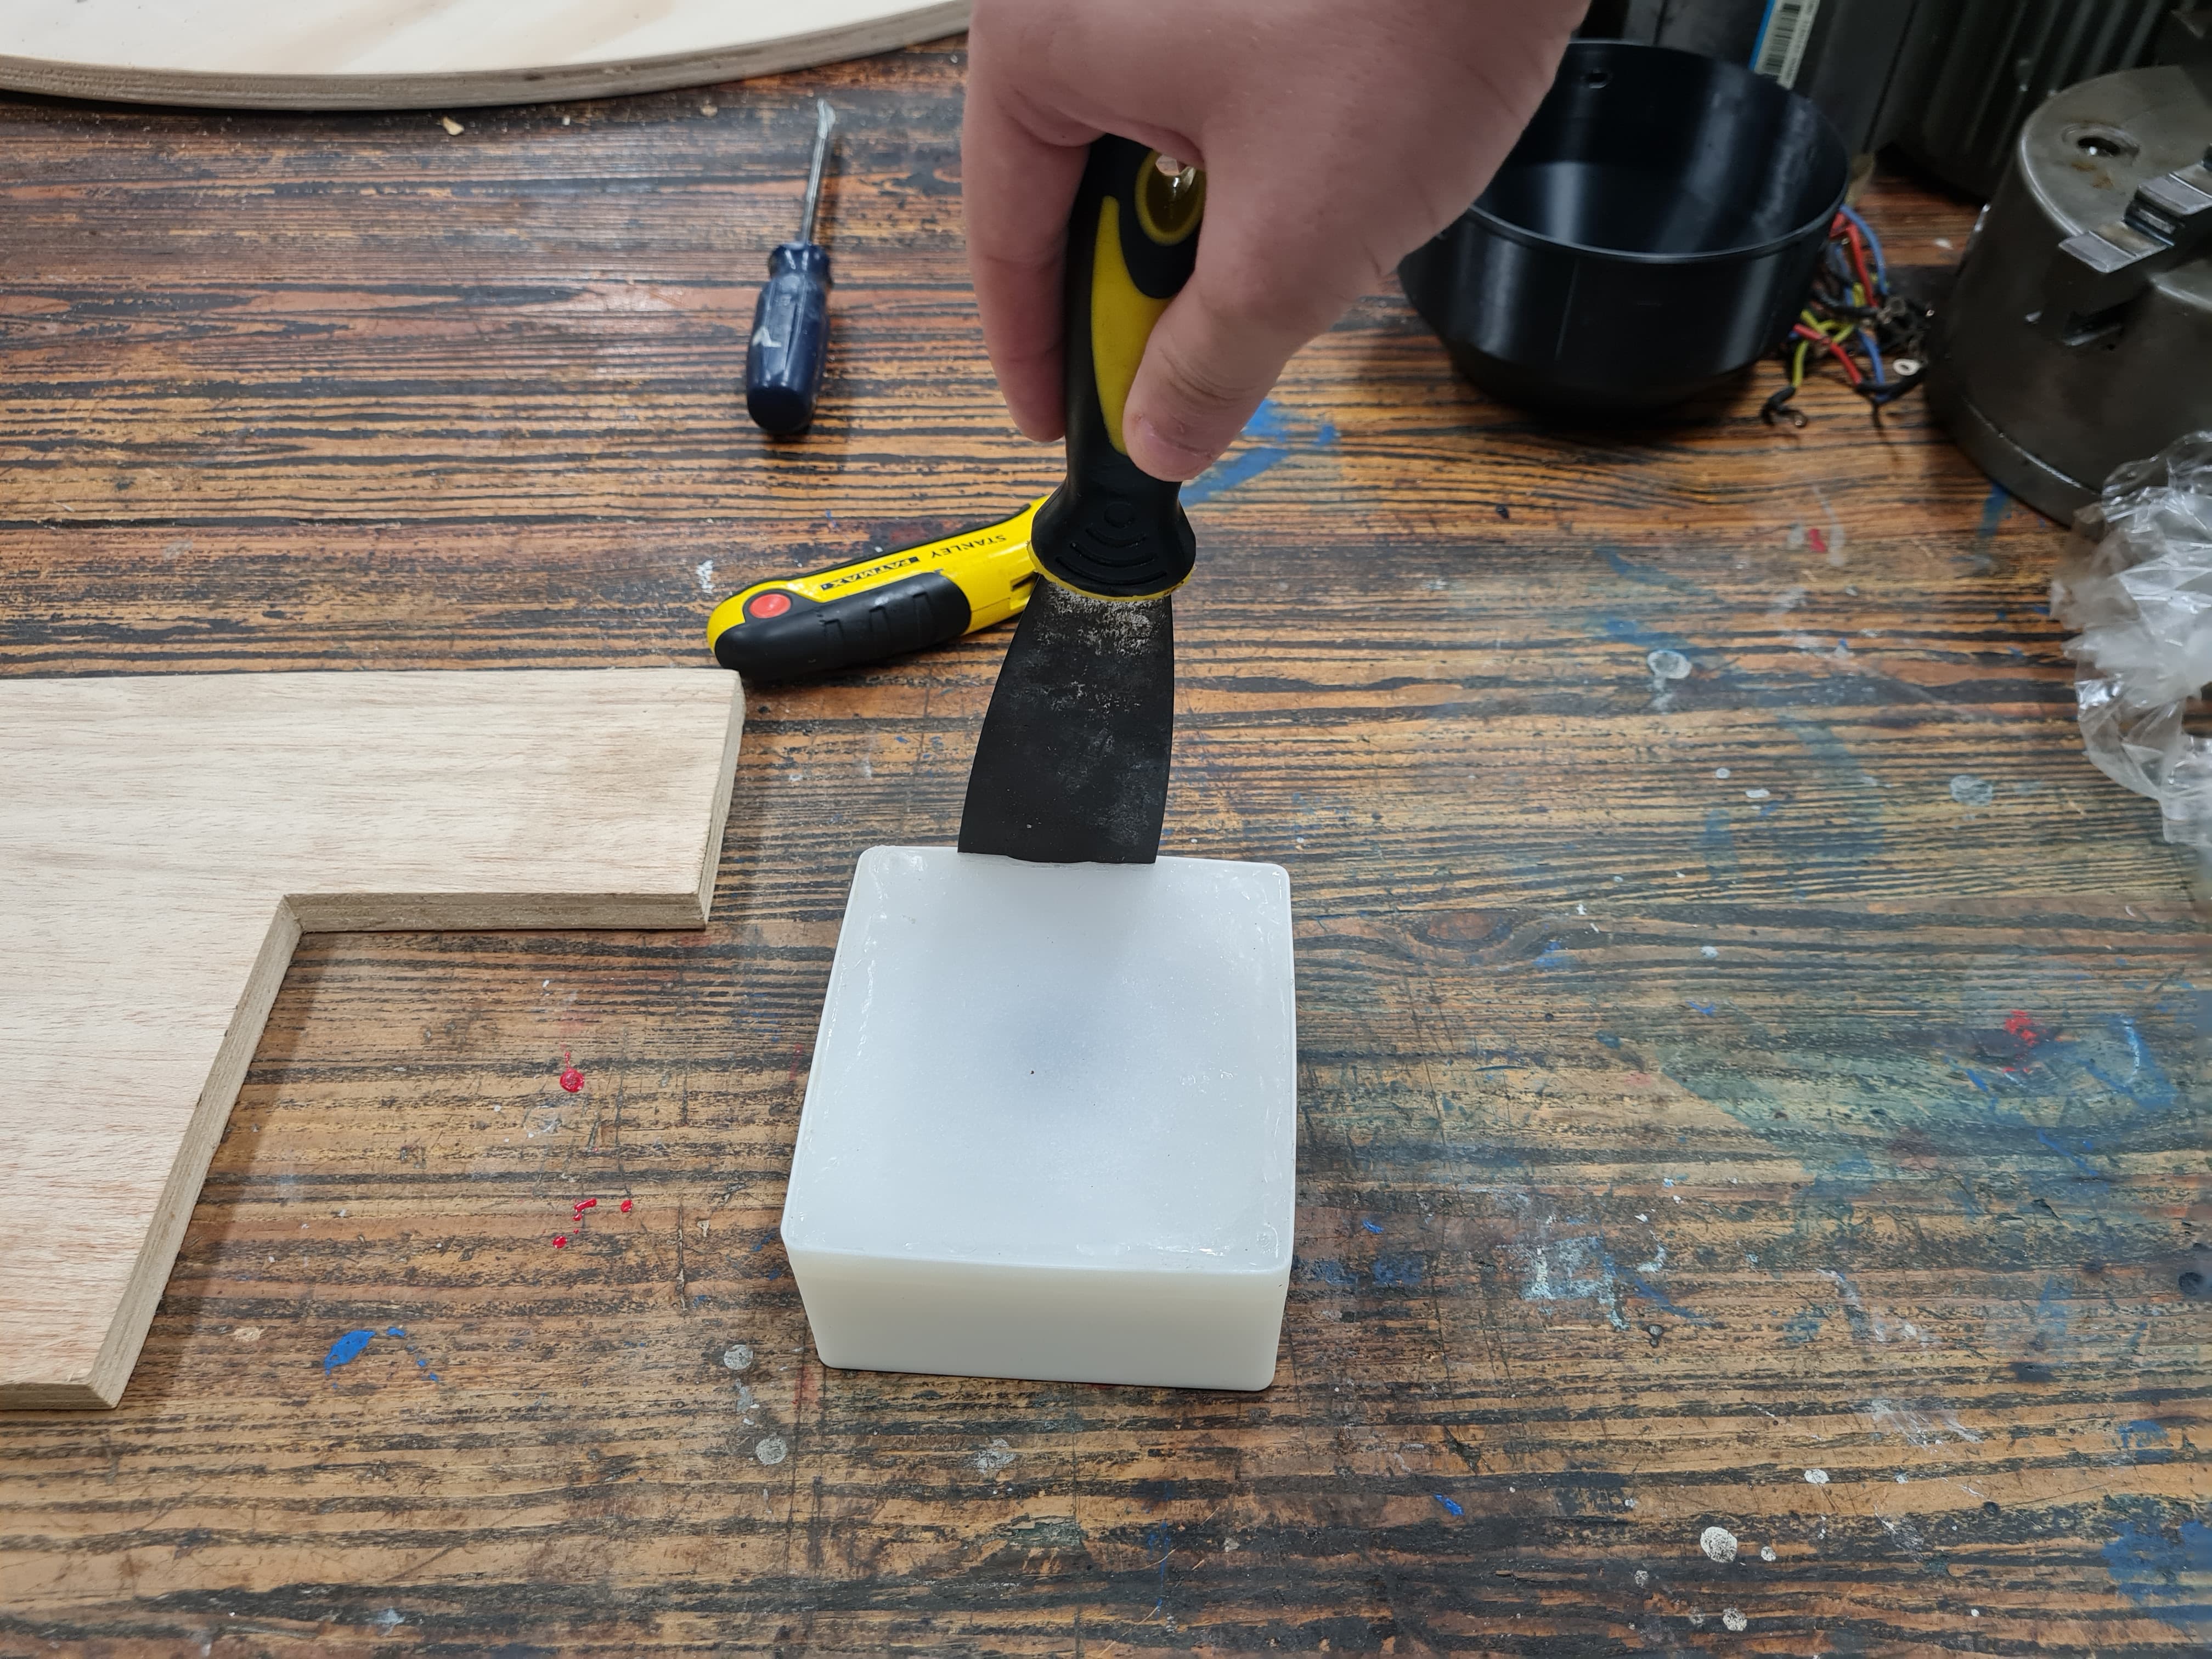
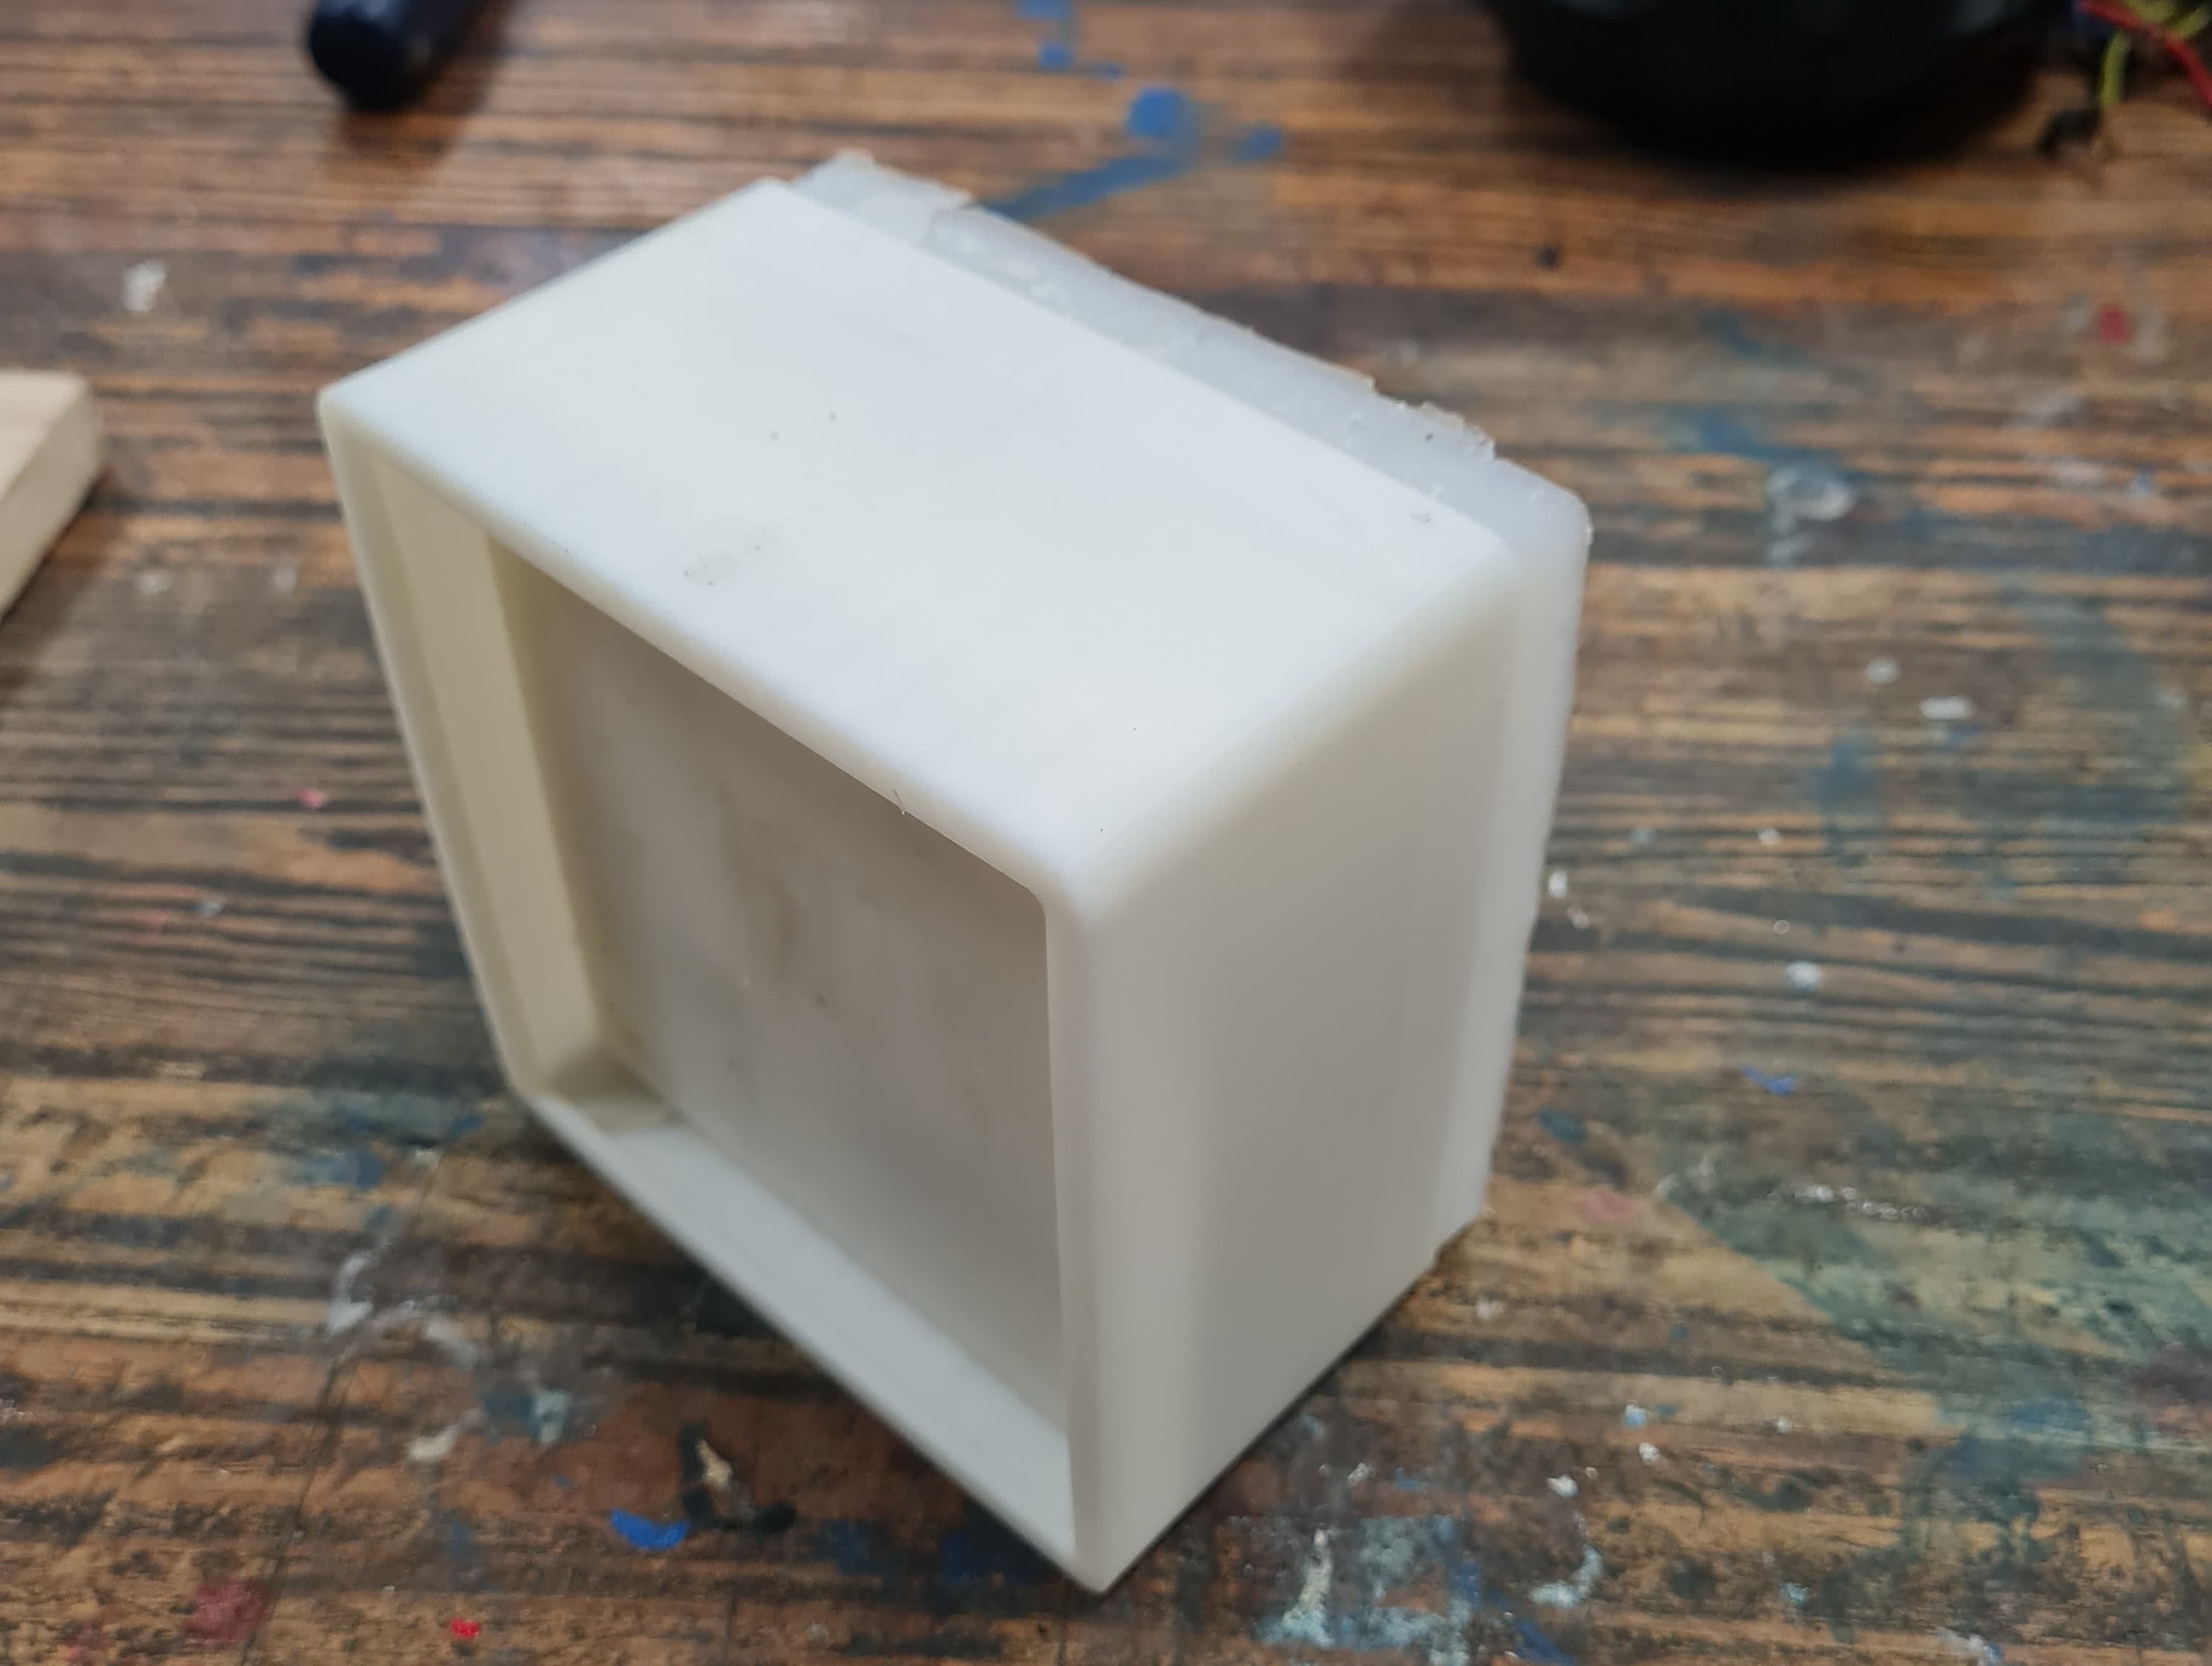
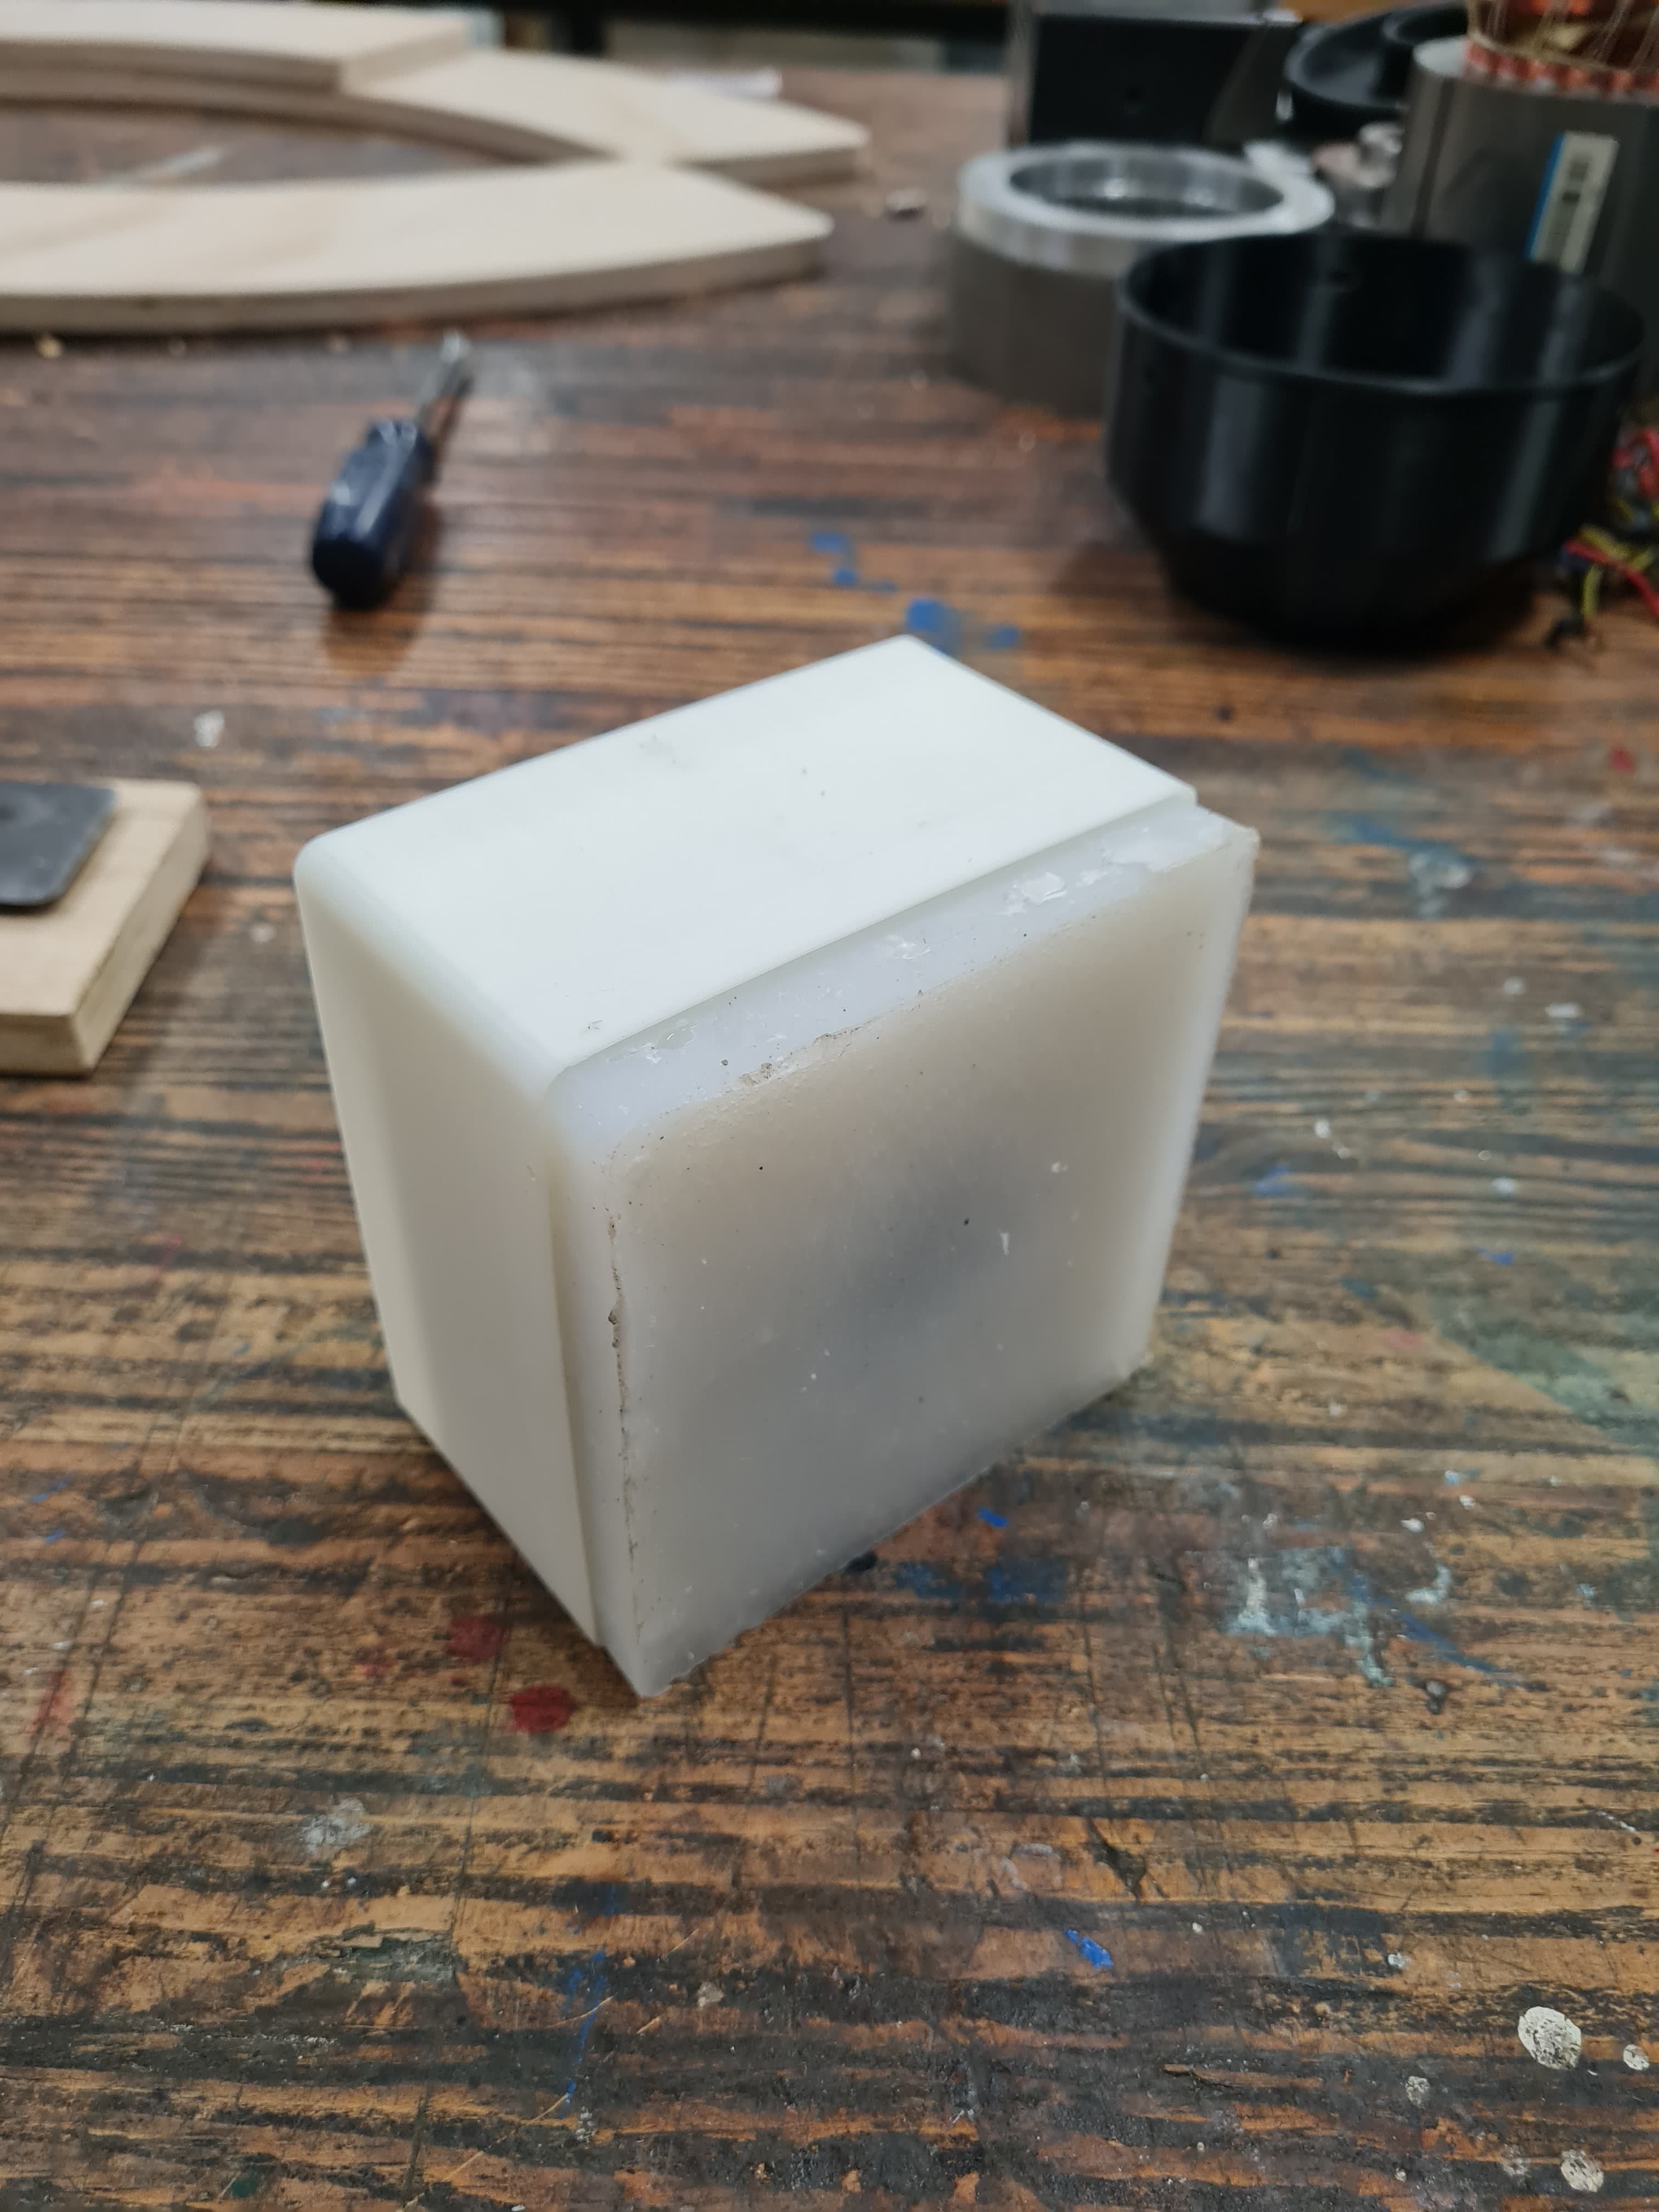
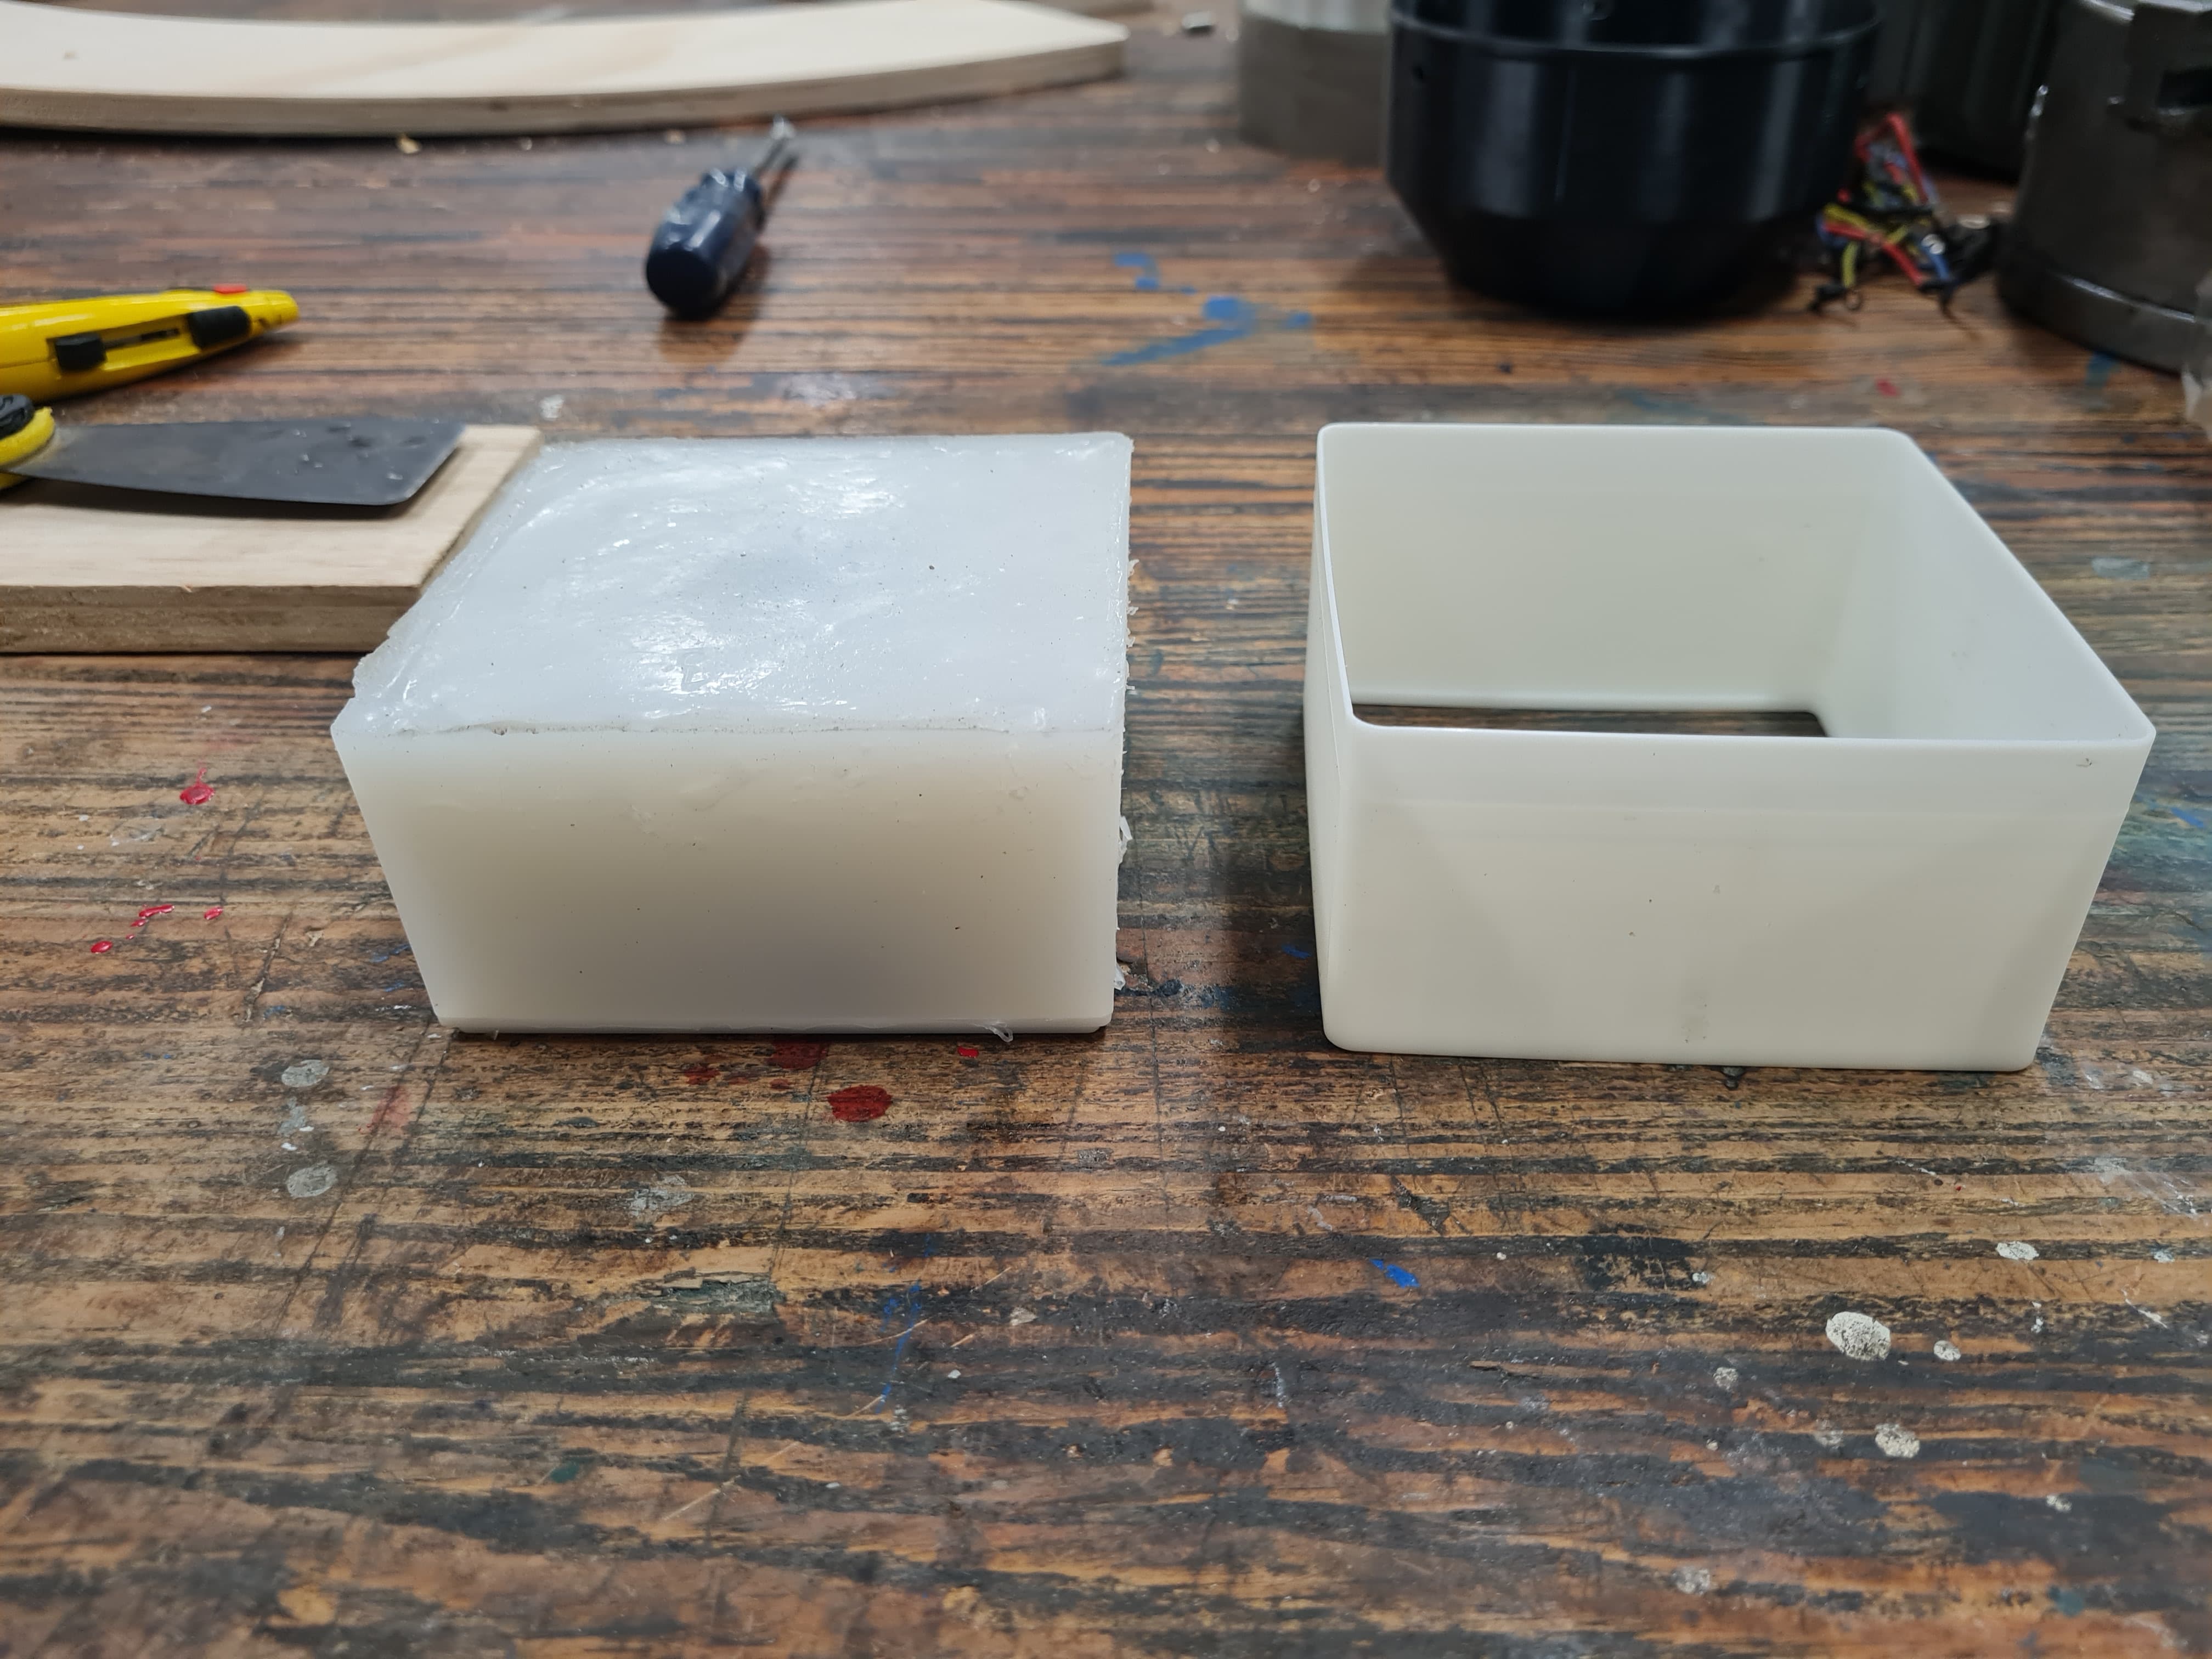
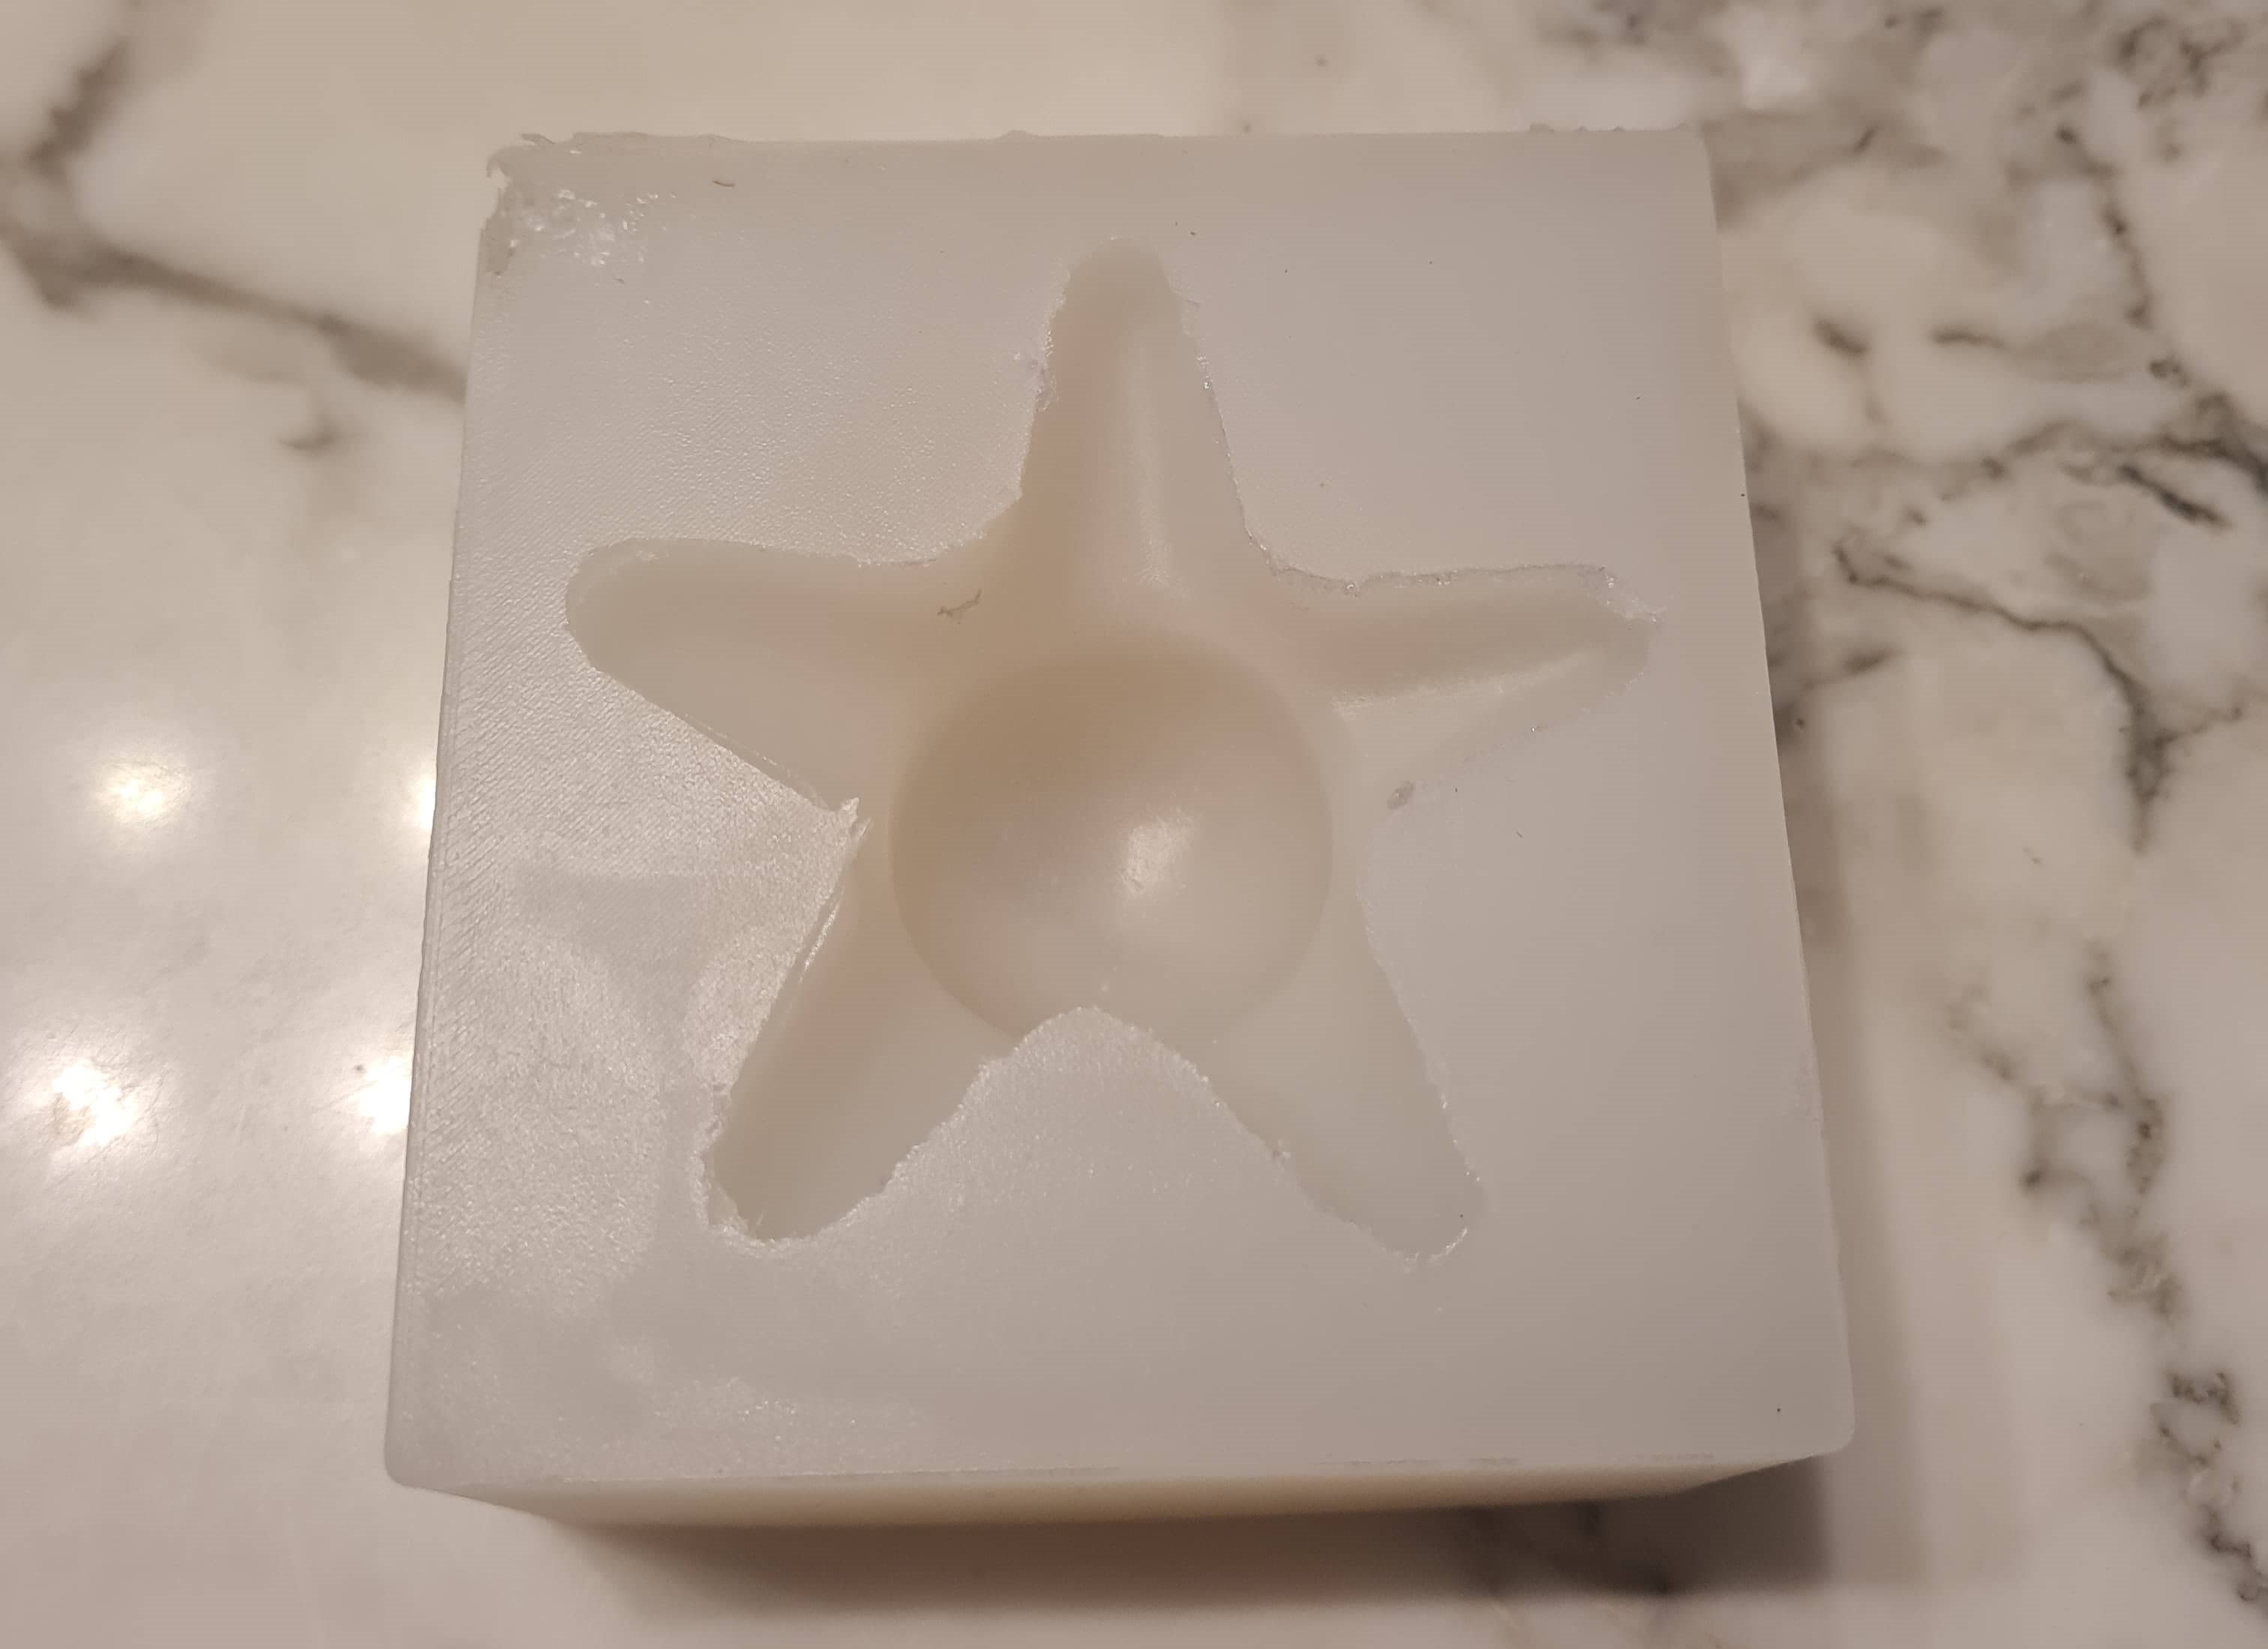
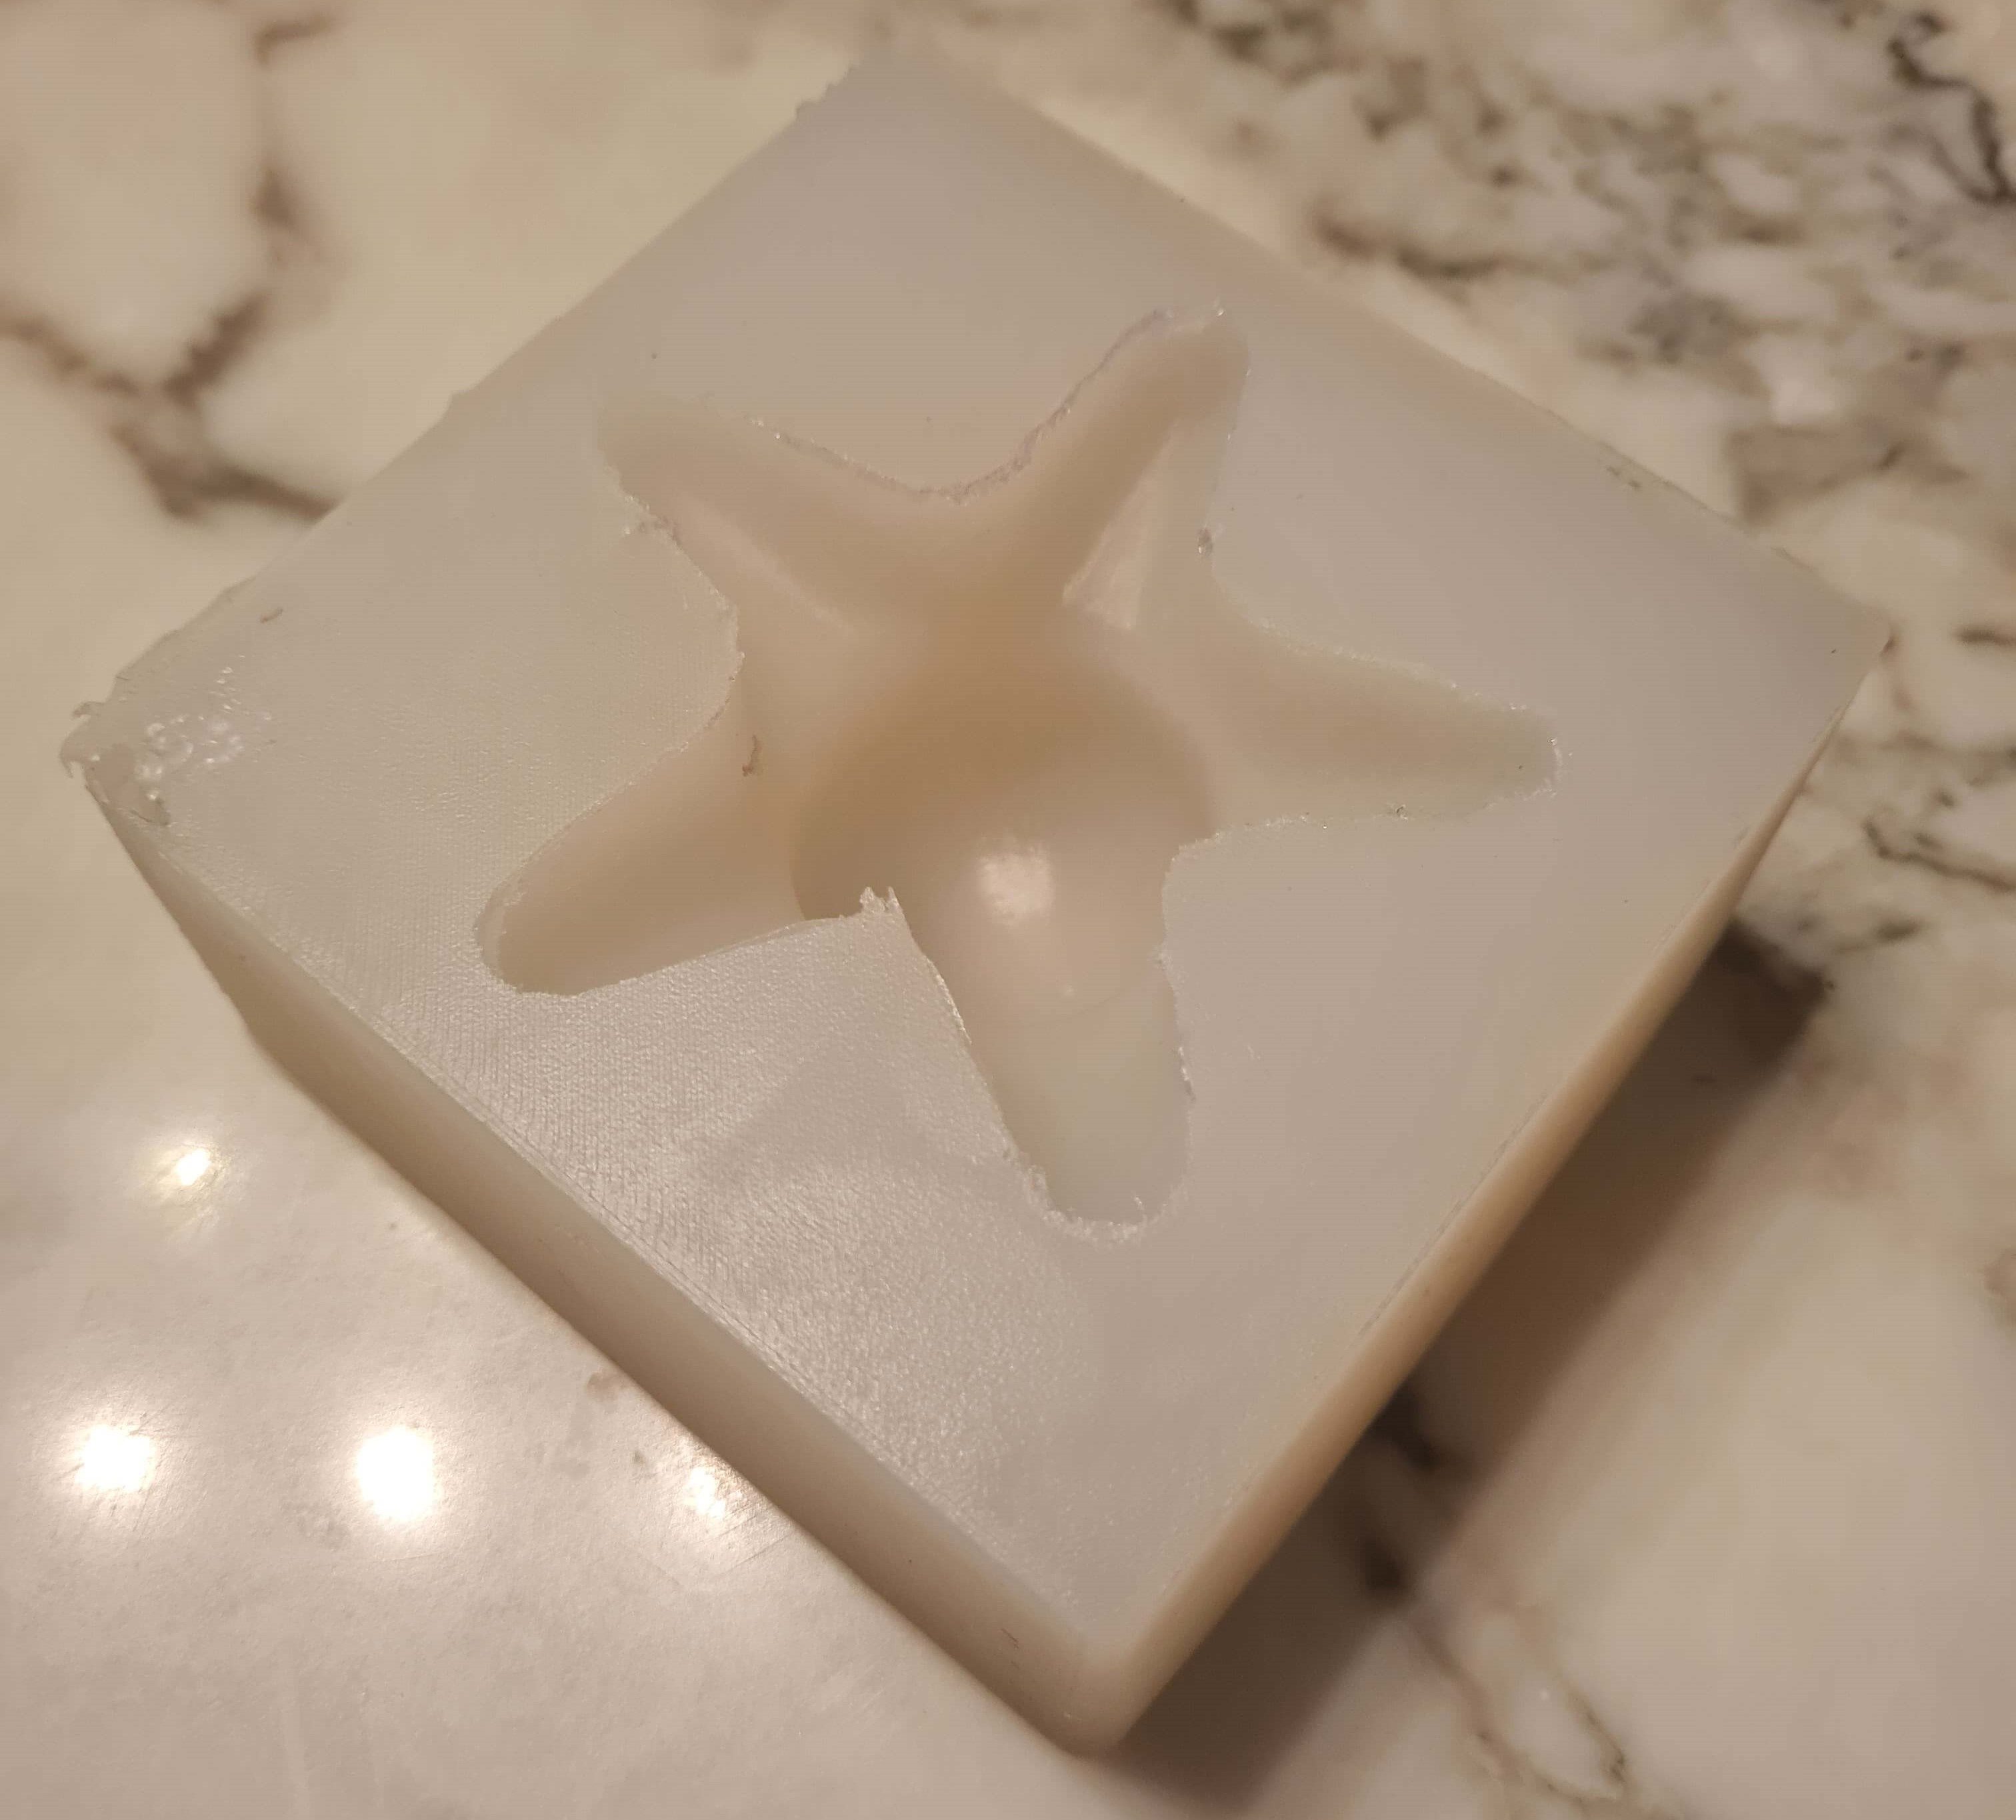
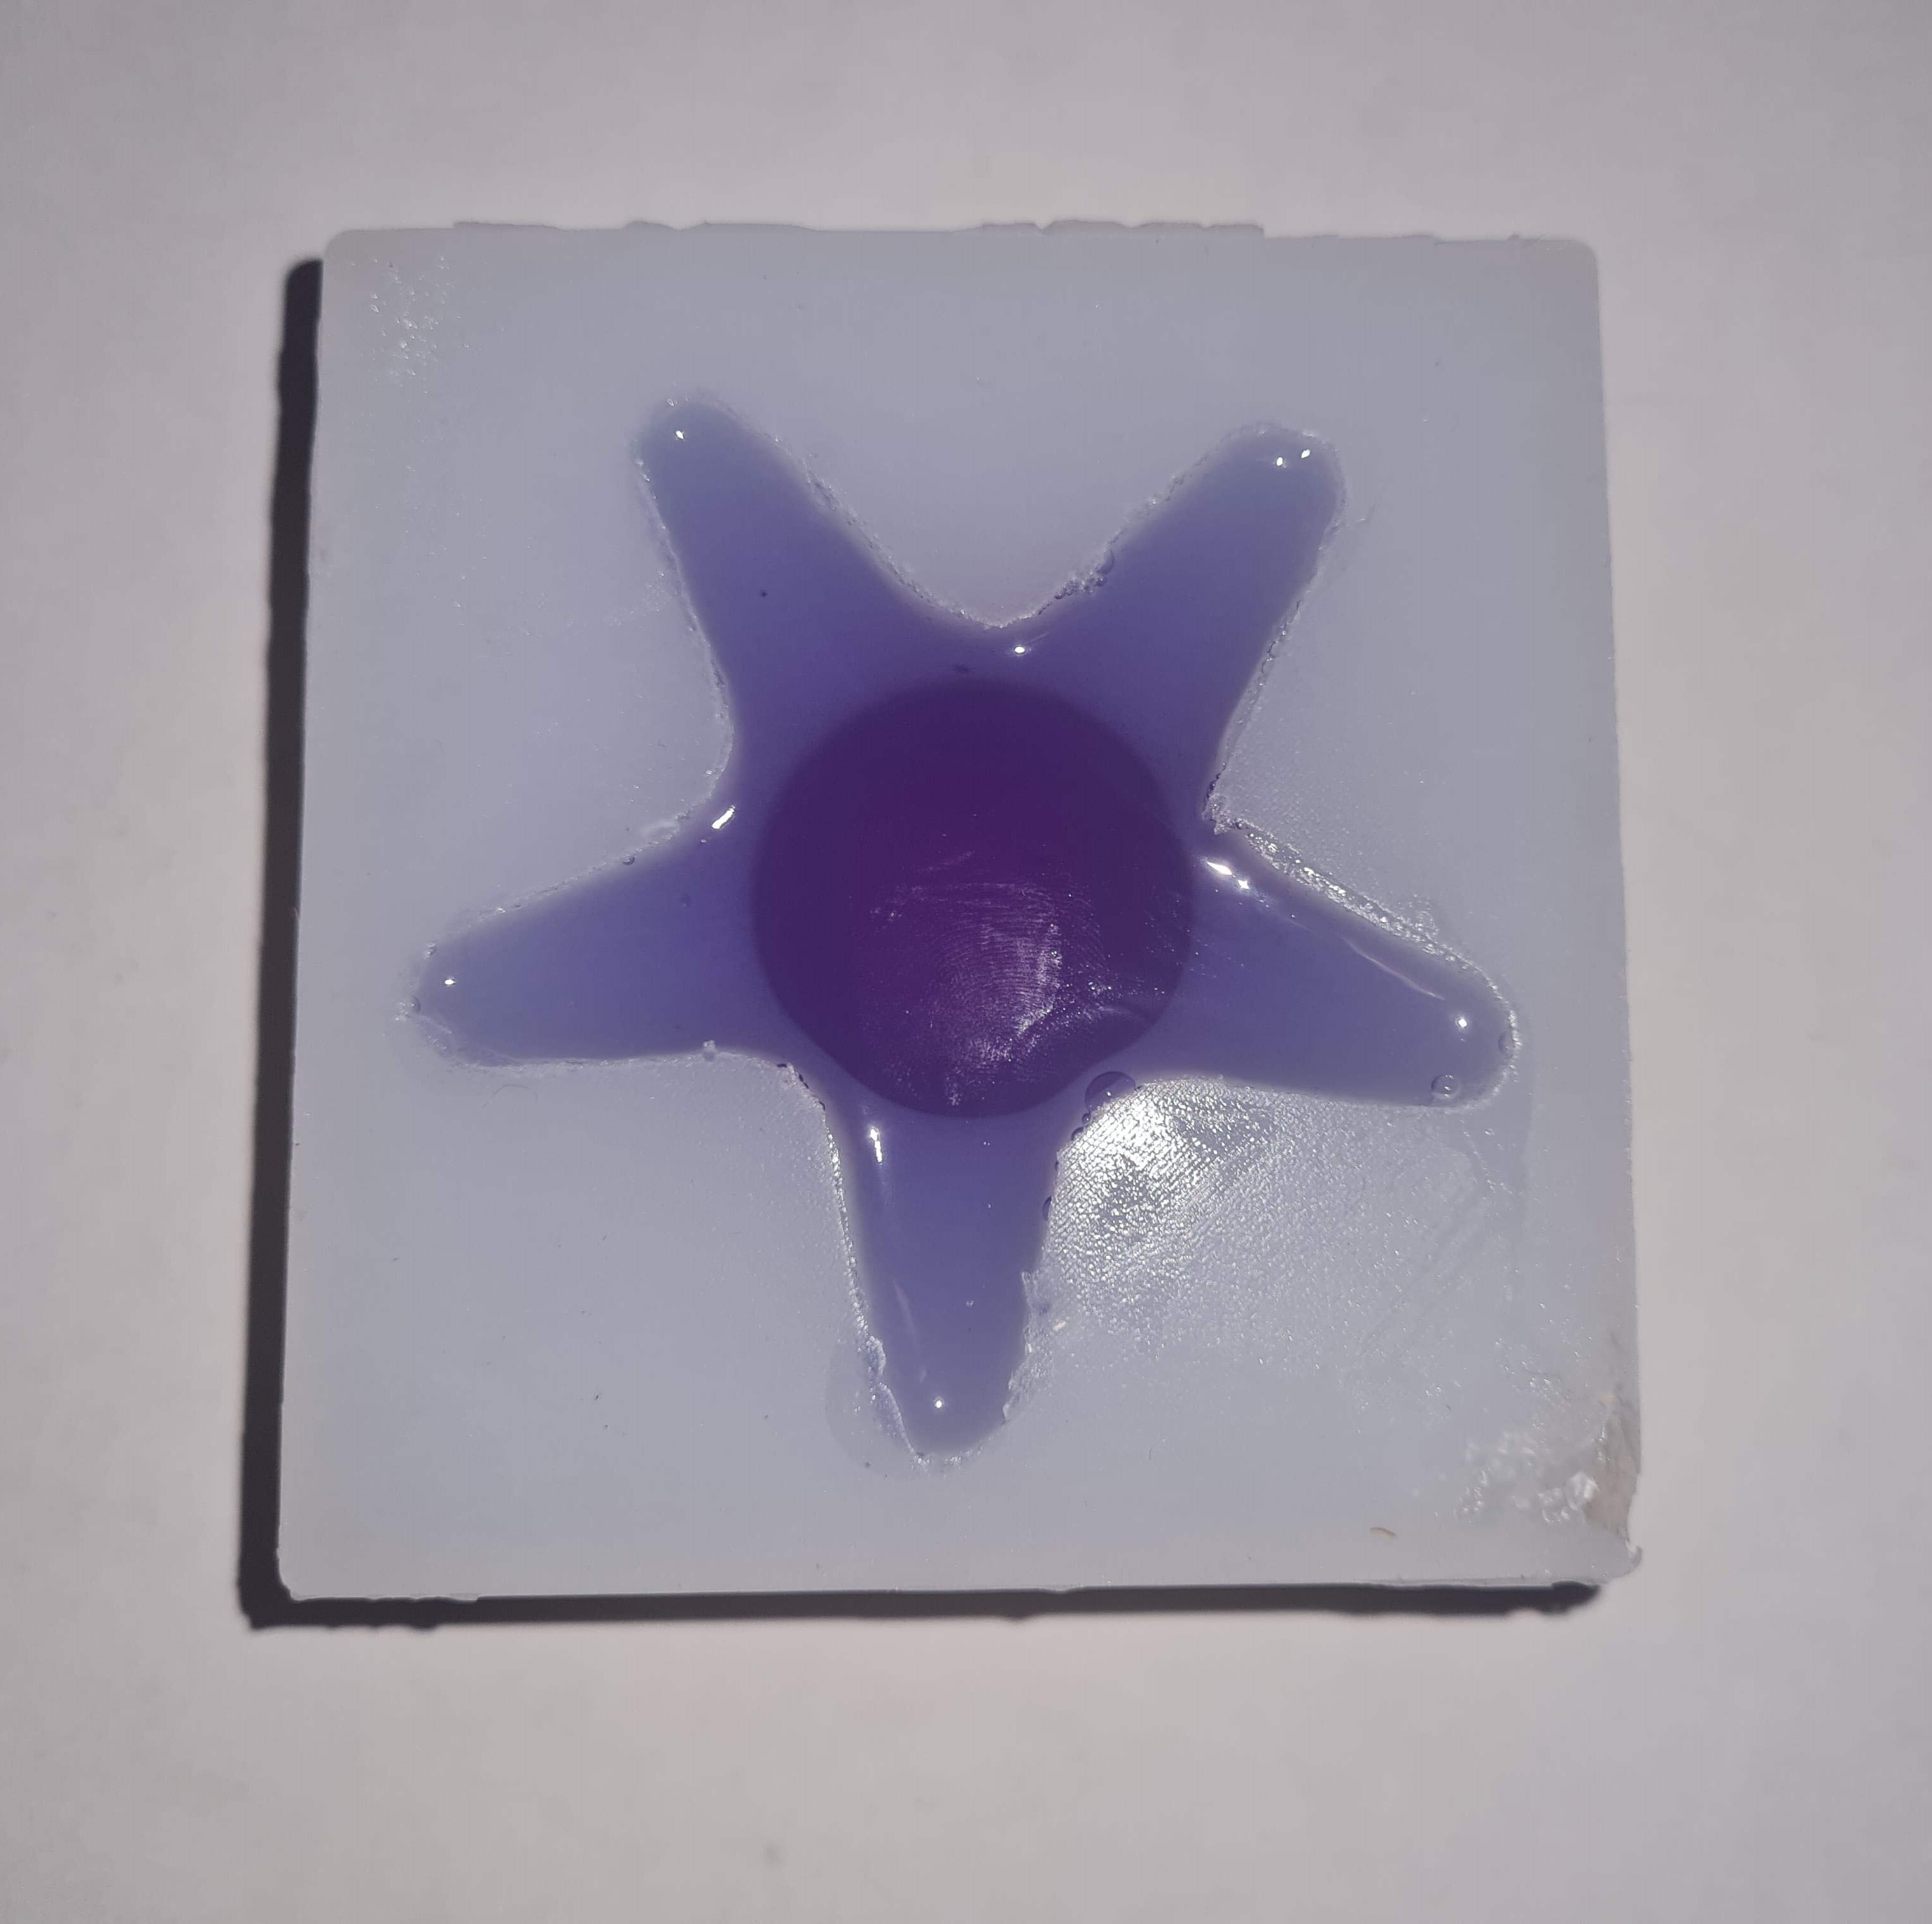
During the demolding process, I used a spatula to gently release the sides of the mold first. This careful approach helped to ensure that the edges separated cleanly without tearing or damaging the silicone. After loosening the sides, I pushed the bottom piece upwards, which allowed for smooth and easy removal of the mold. The tapered design of the mold significantly facilitated this process, ensuring that the silicone came out without any hassle.
The entire demolding procedure was efficient and straightforward, thanks to the thoughtful design and the use of appropriate tools. The successful demolding confirmed the effectiveness of the preparation and curing steps, resulting in a high-quality silicone mold ready for jelly soap casting.

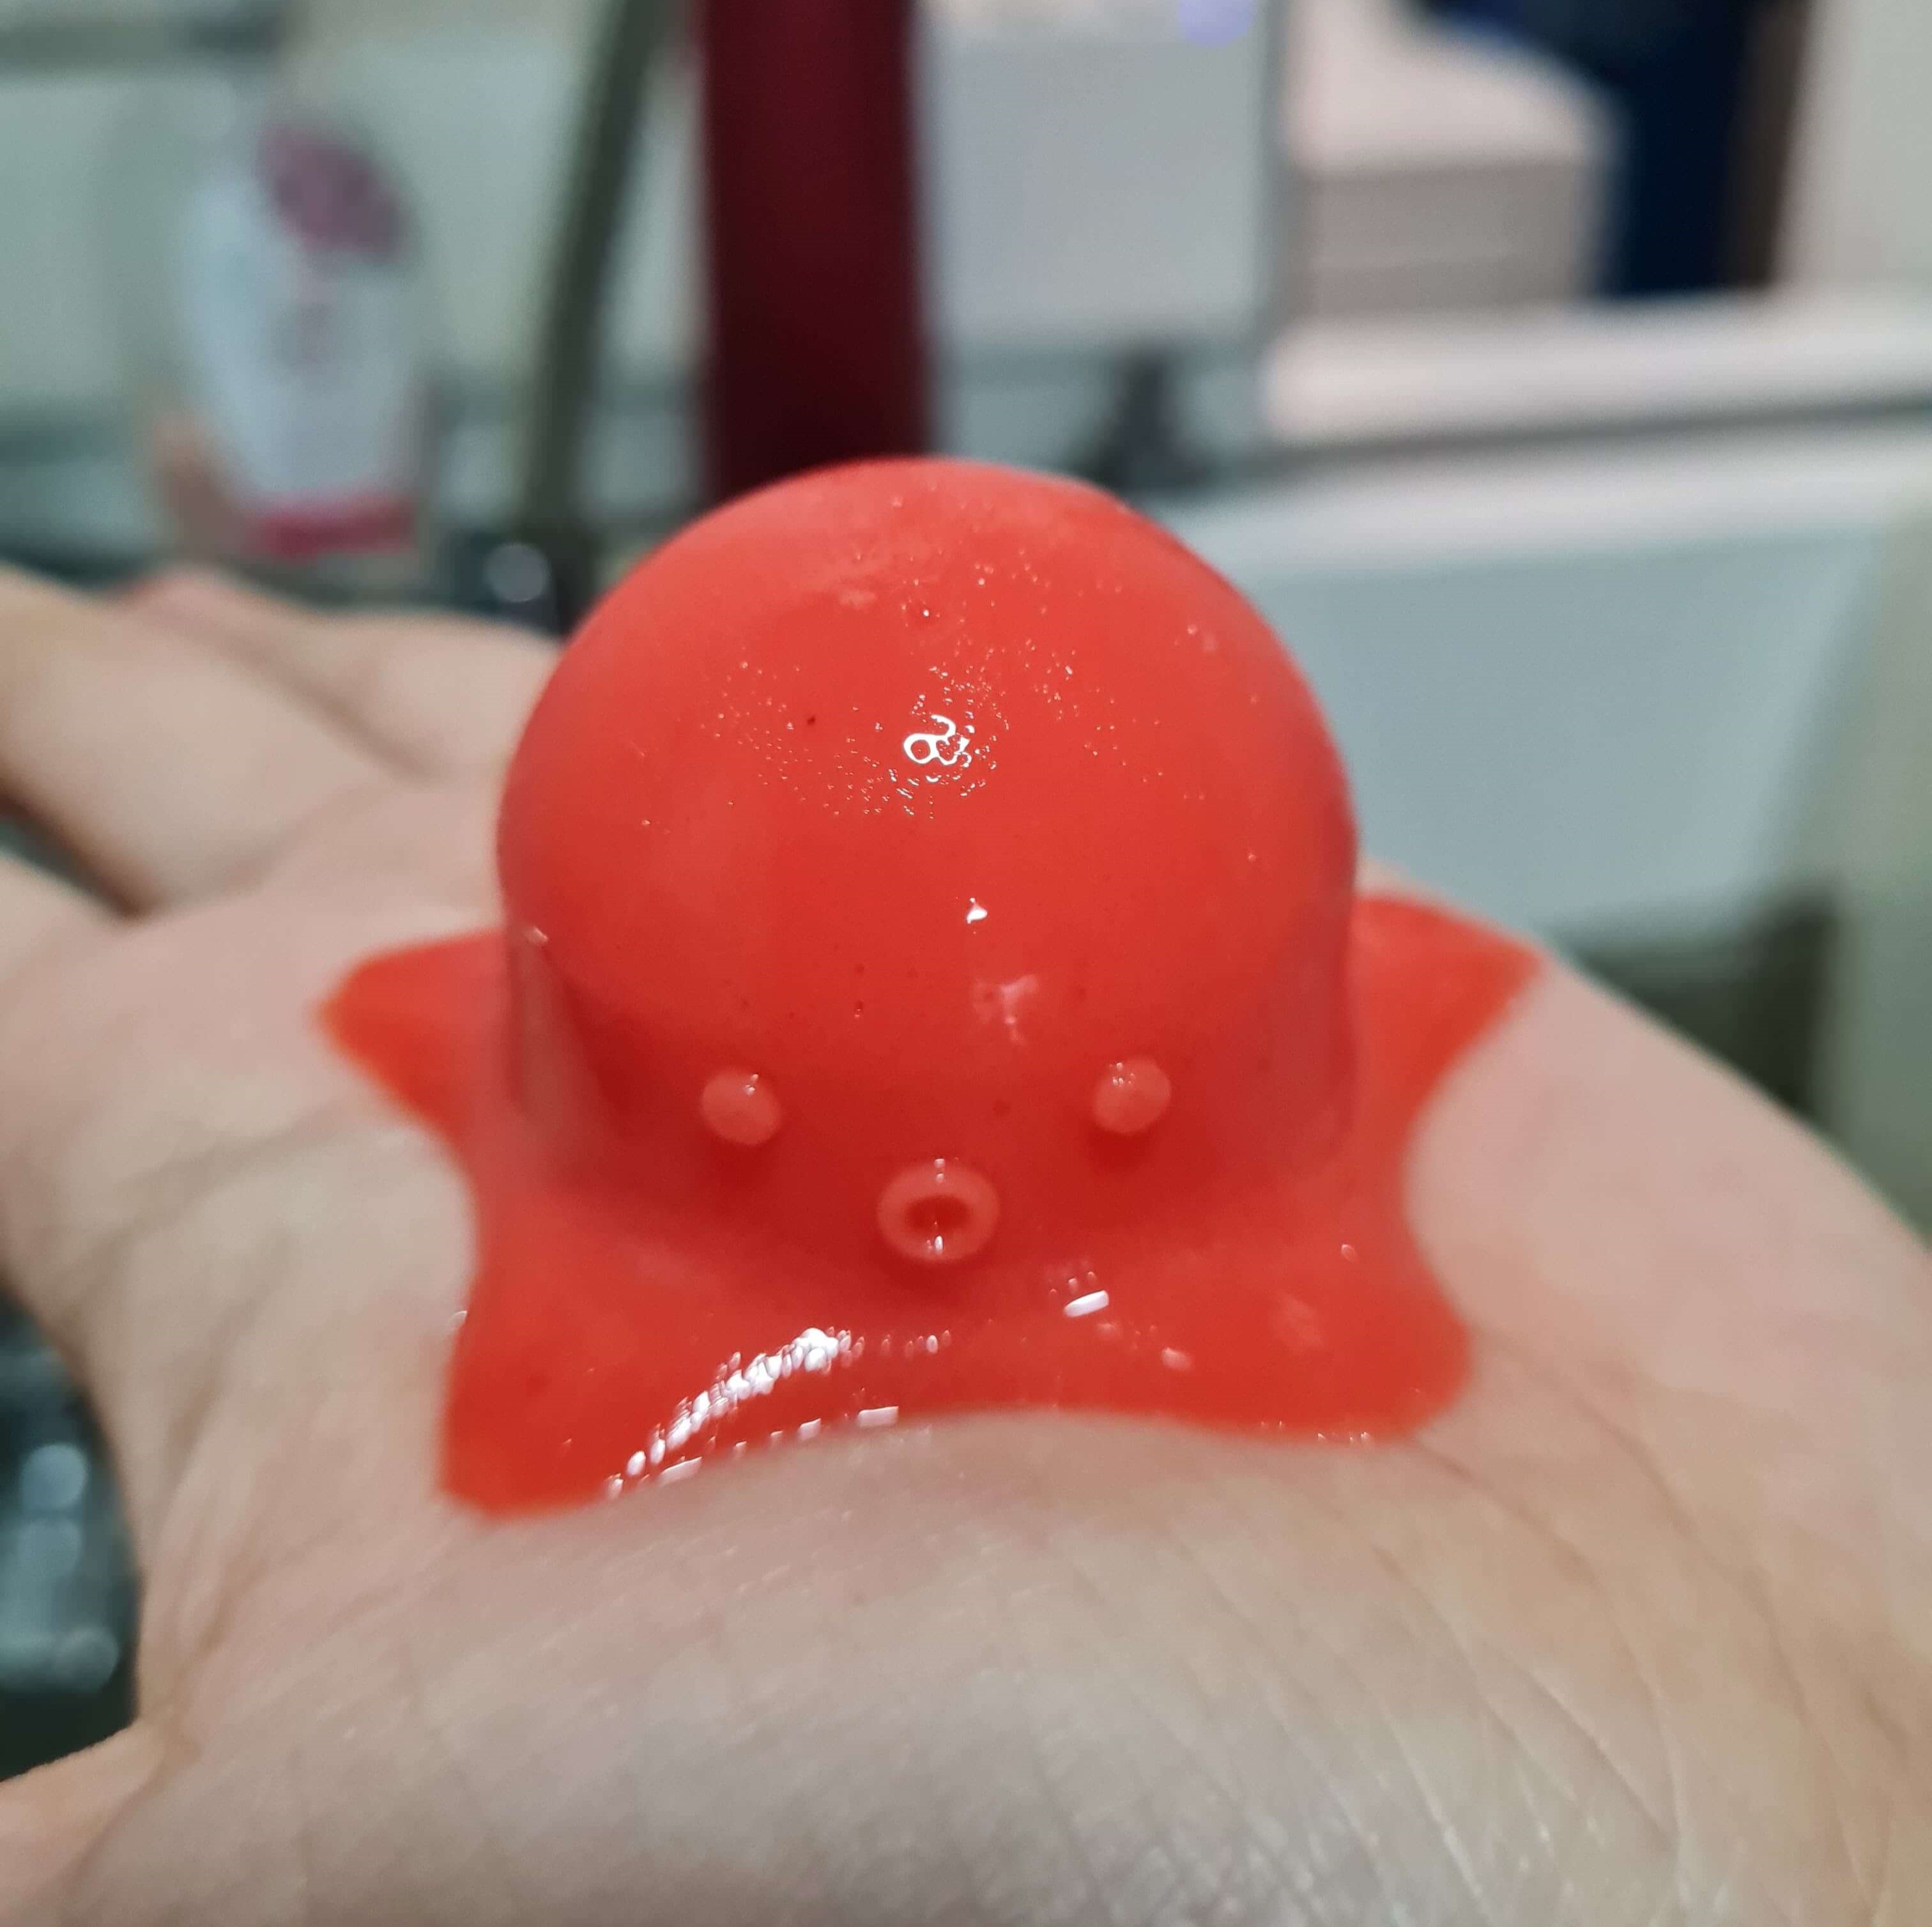
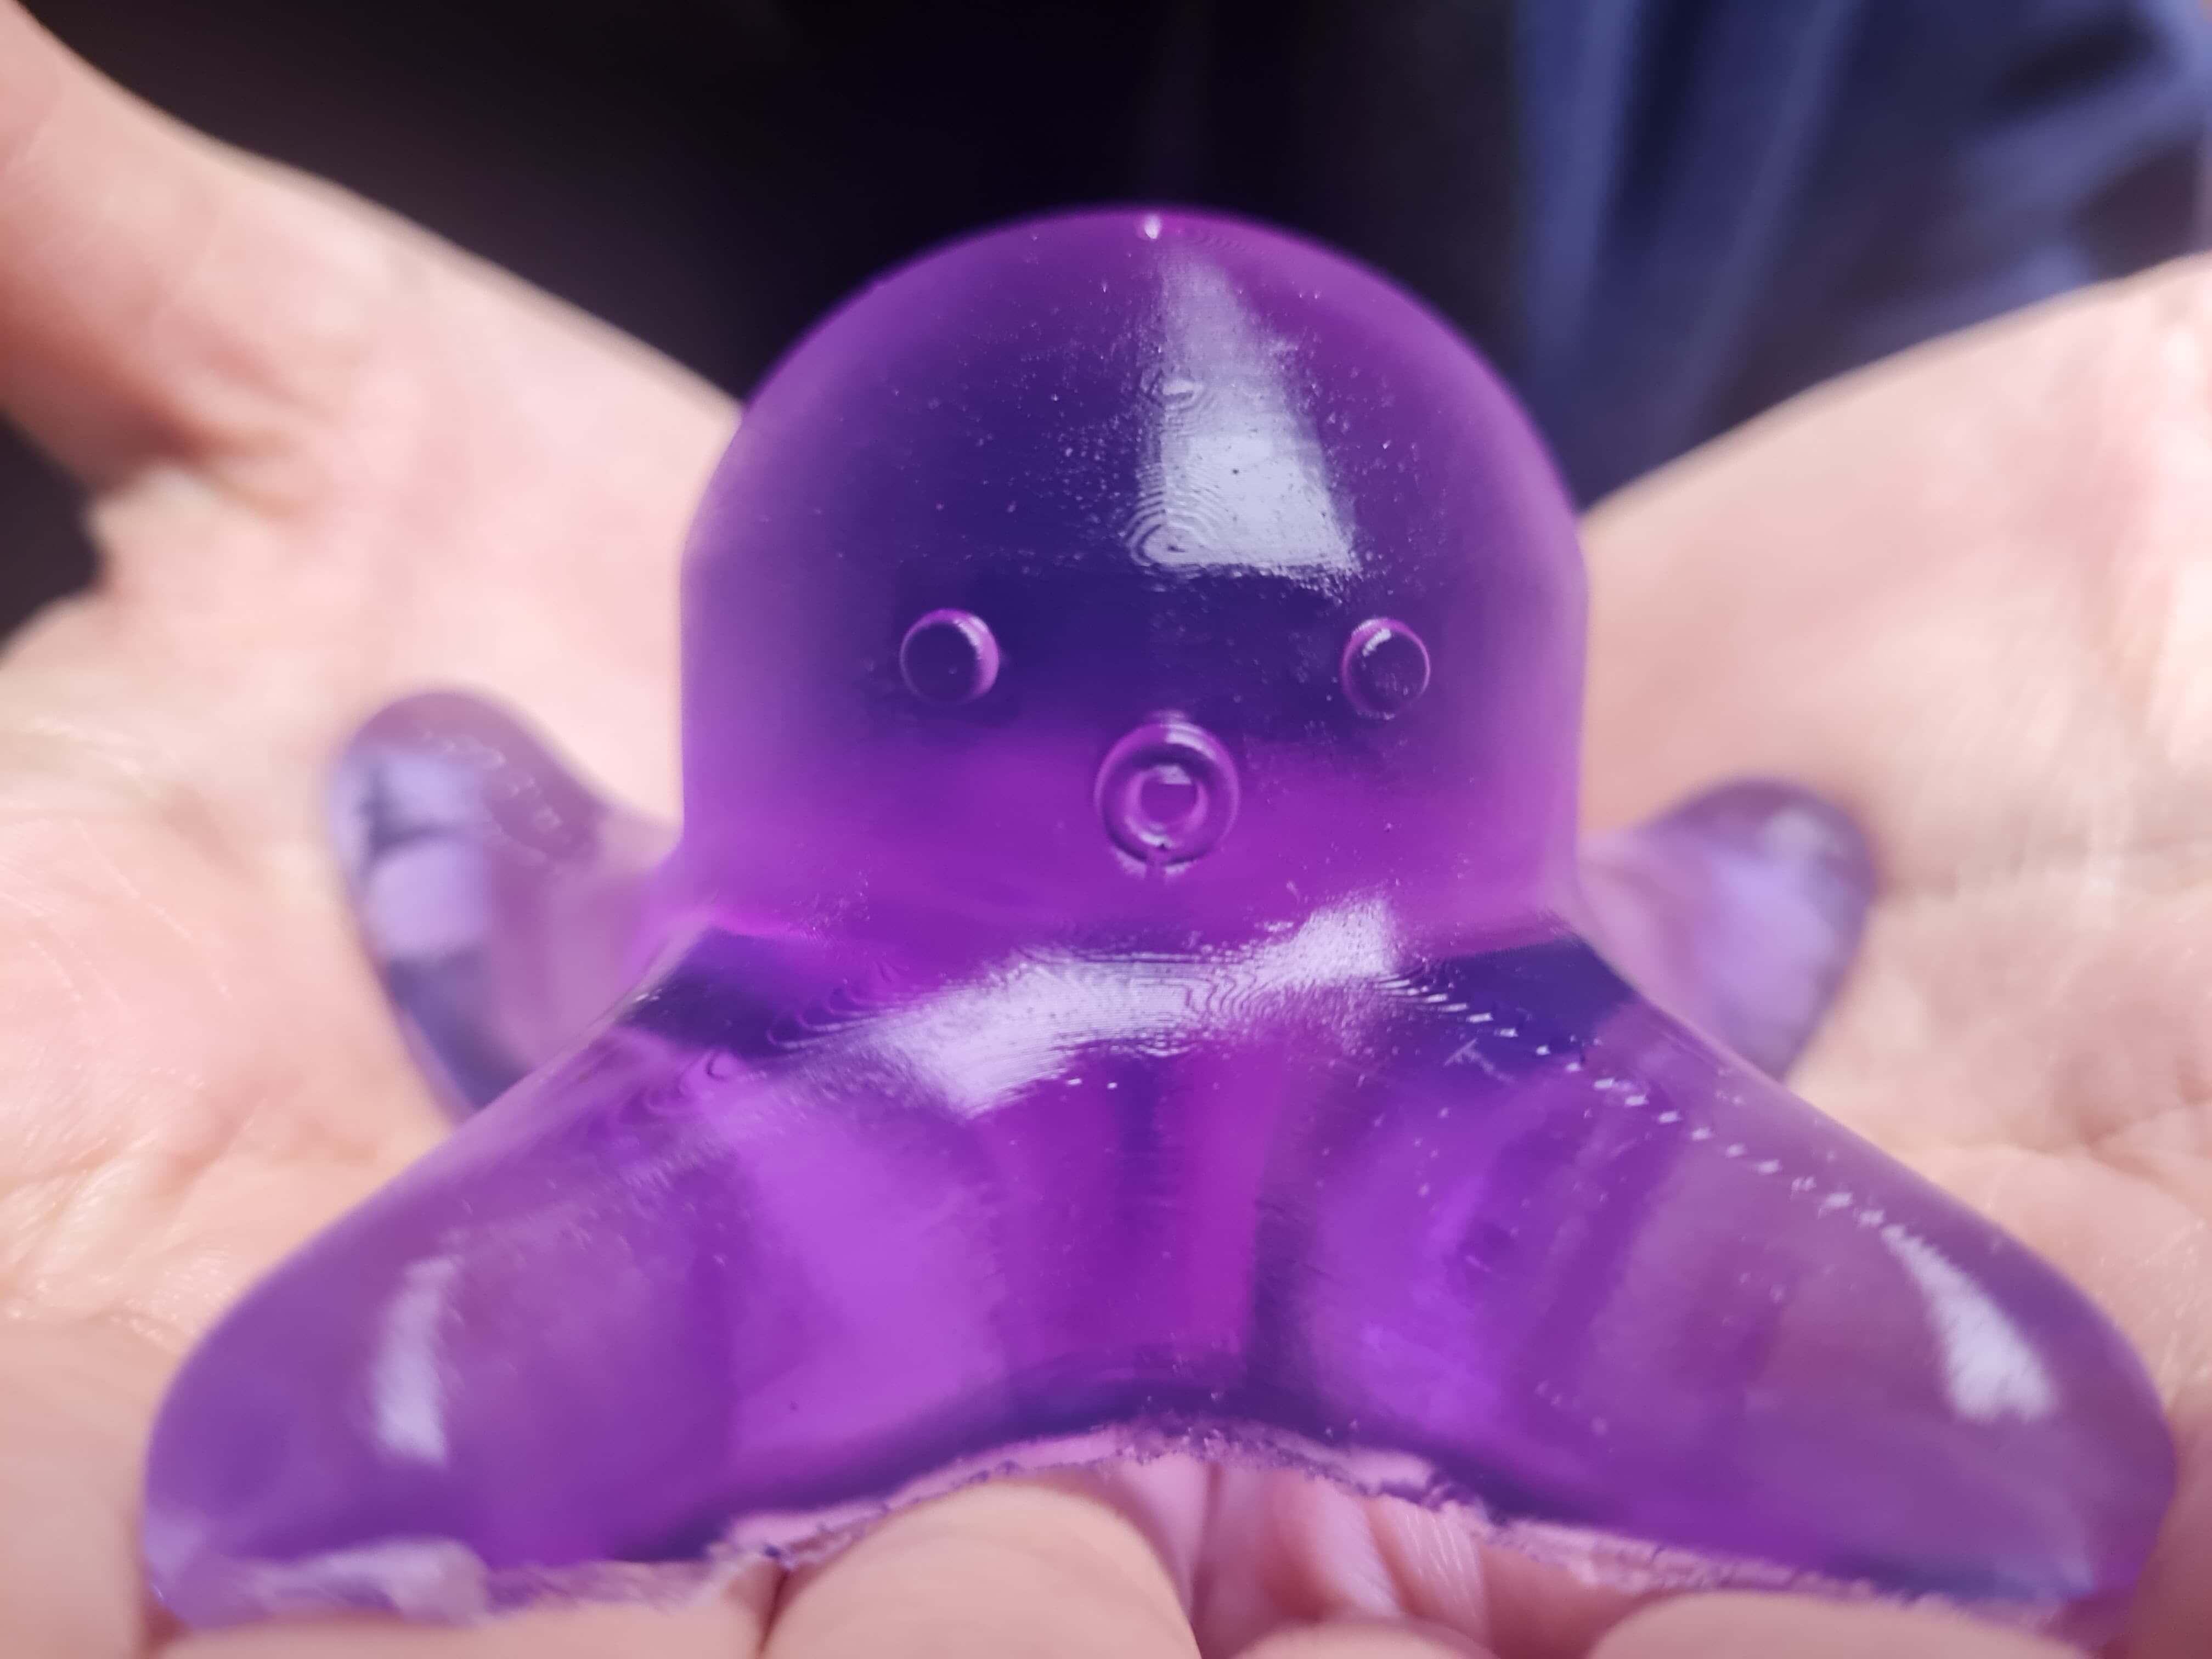
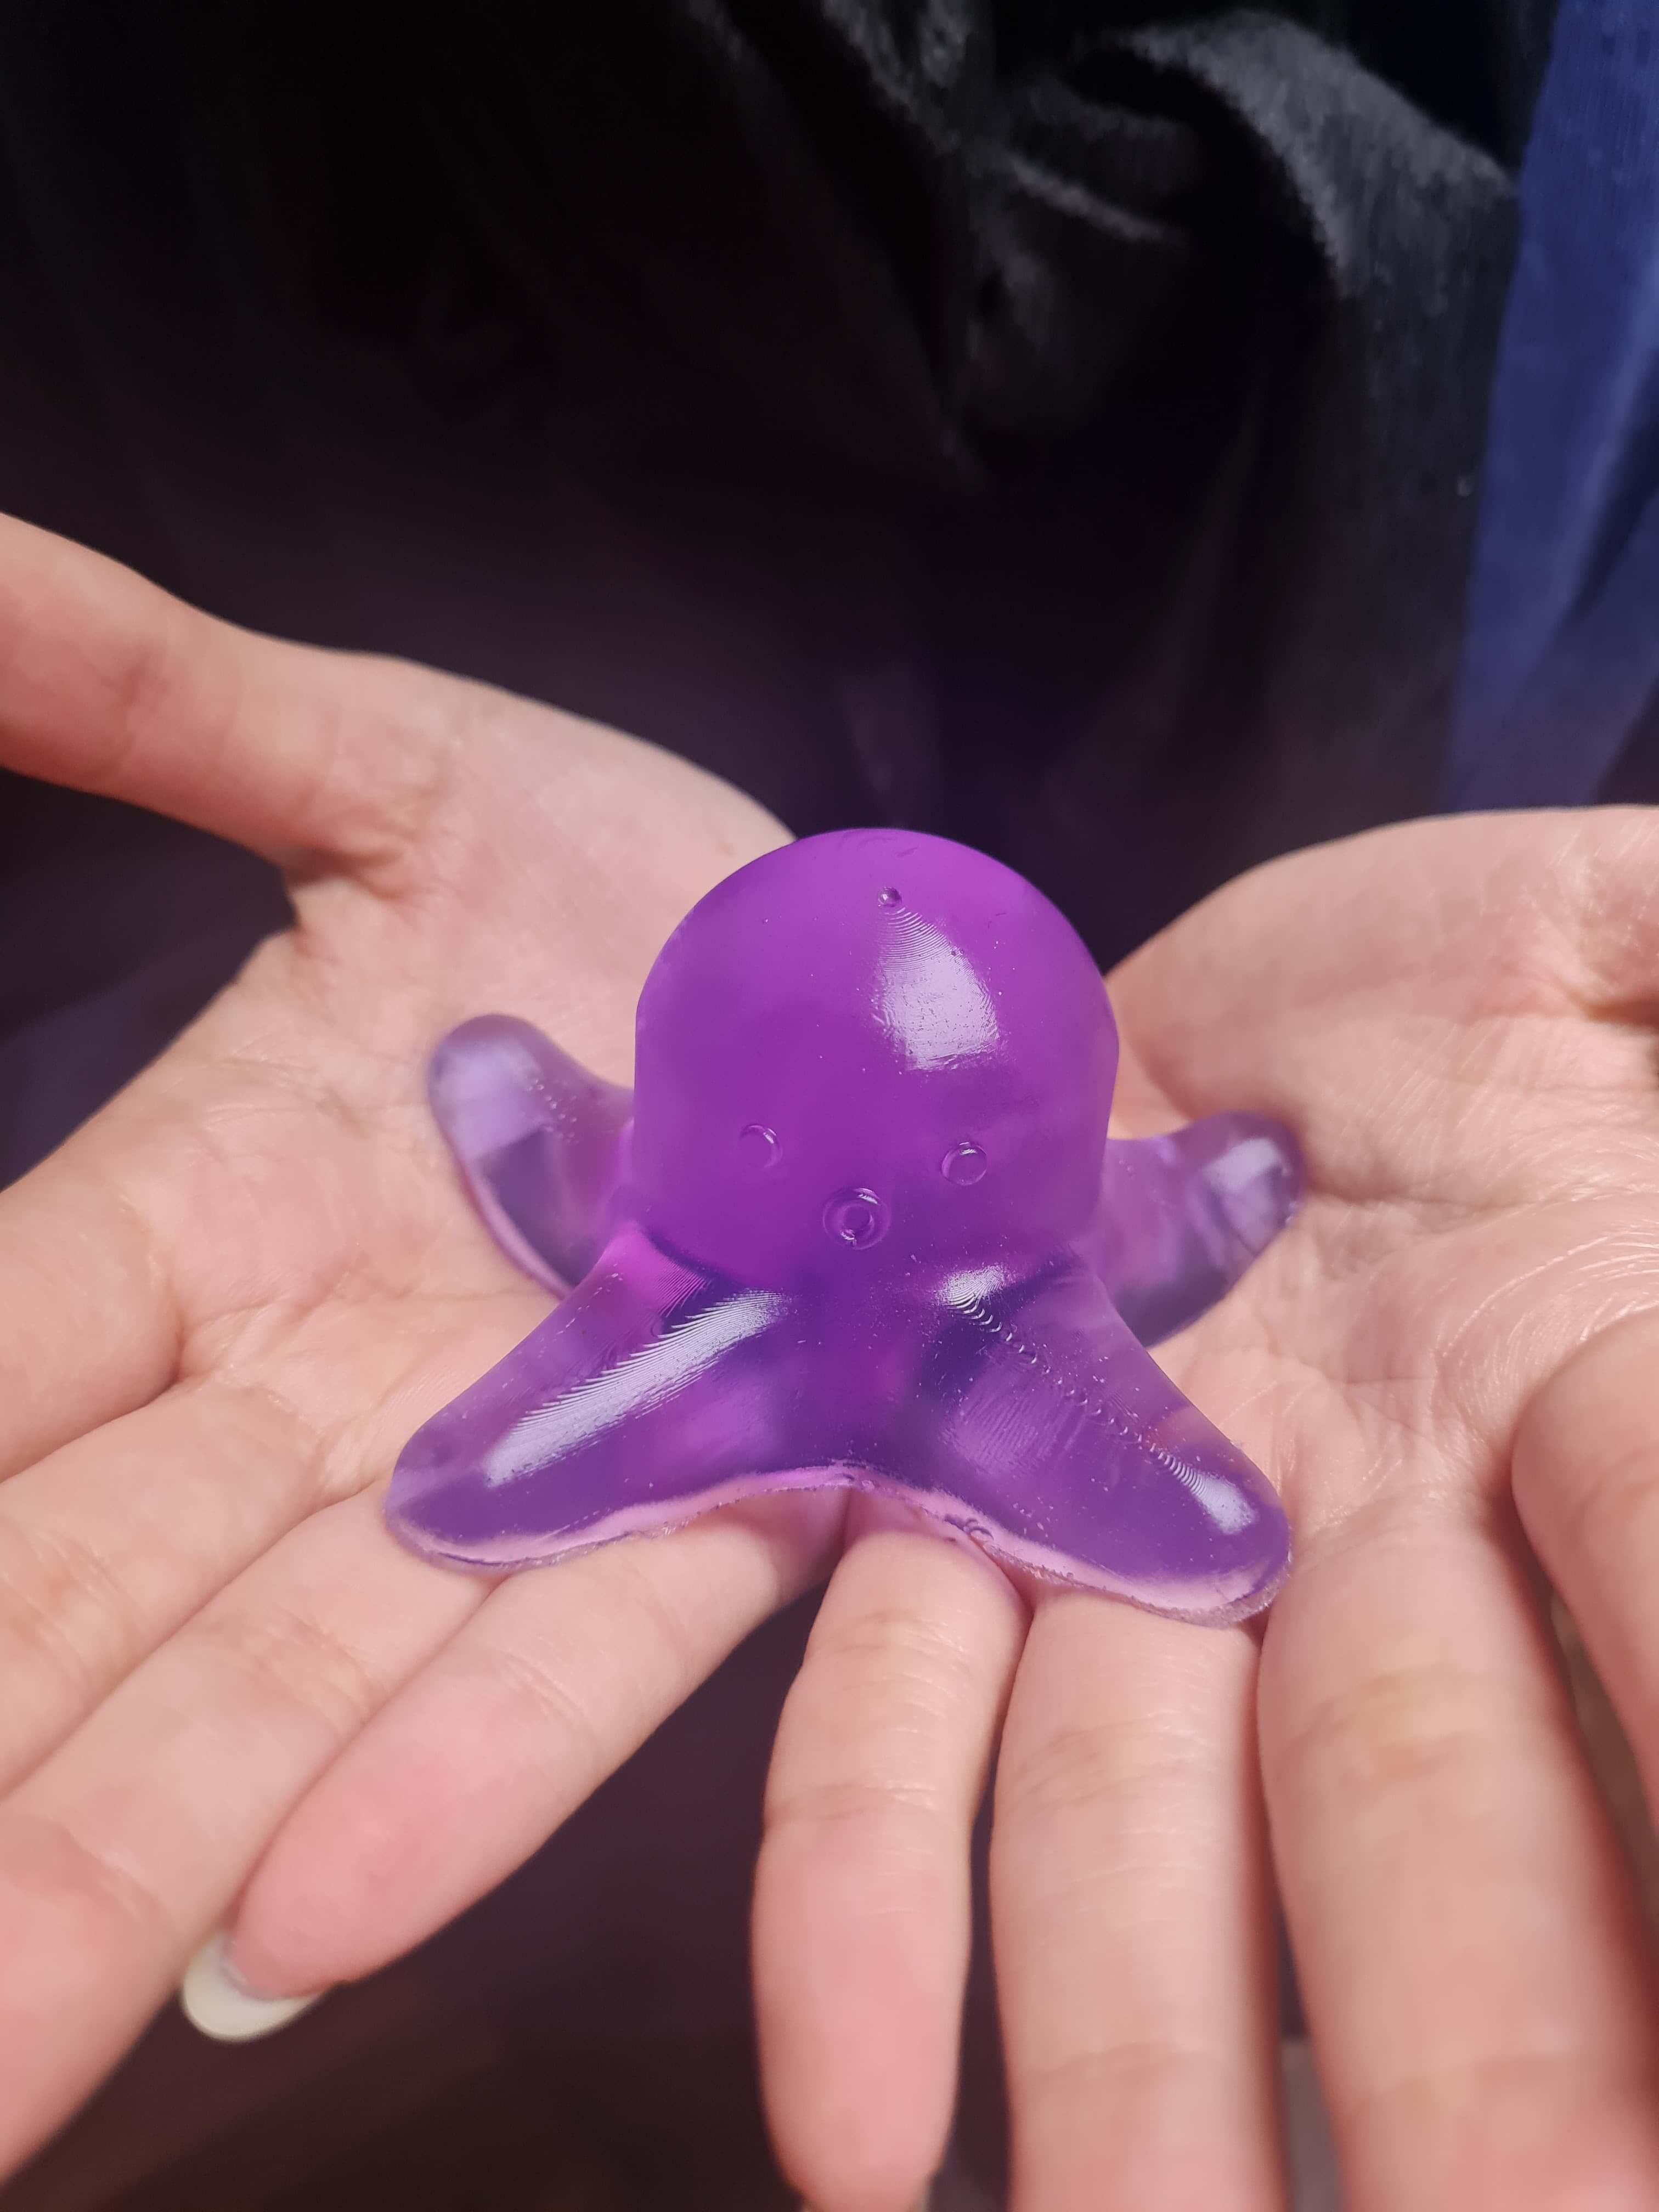
For this recipe, I used strawberry-flavored gelatin. Although it worked to some extent, it didn't produce the result I wanted. The flavors and sugars in the gelatin reacted poorly with the liquid soap. As a result, half of the mixture didn't harden properly, and the other half didn't make good jelly soap due to inconsistent texture and undesirable aromas.
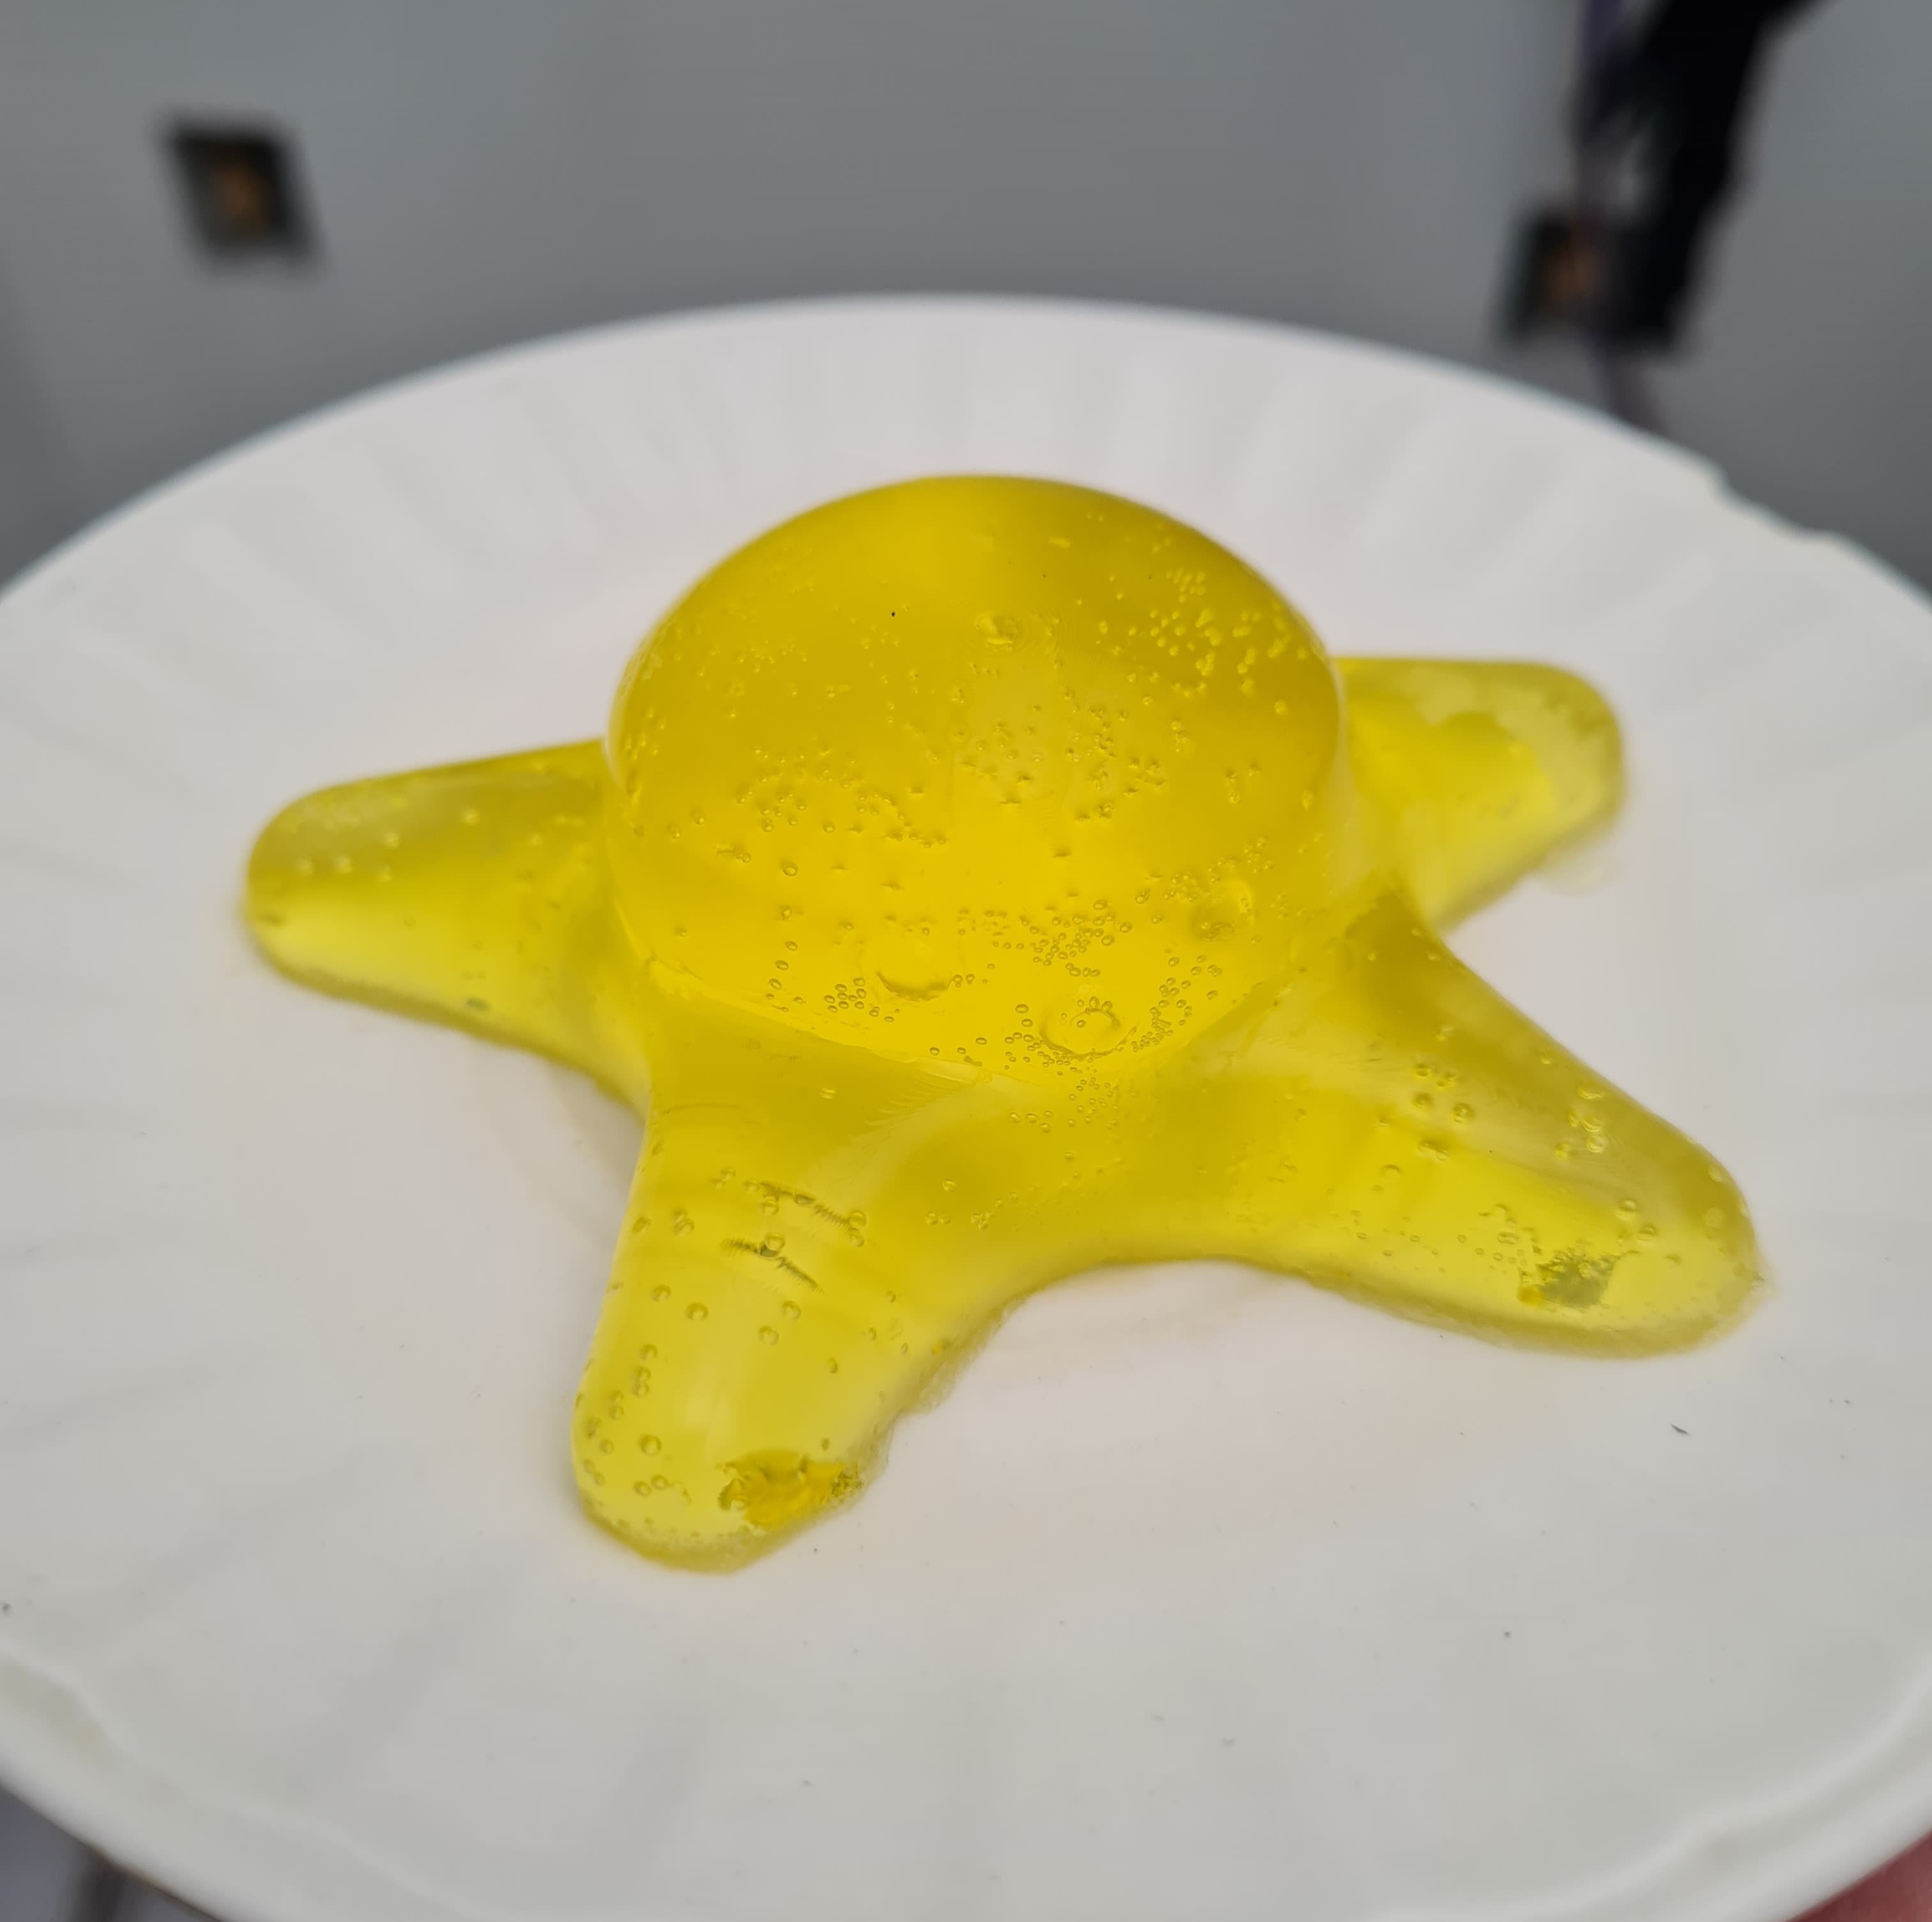
For this recipe, I used unflavored gelatin with clear yellow liquid soap. I used 1 cup of soap and 1 teaspoon of unflavored gelatin. The result was better, although the jelly soap was still very soft and delicate. It was a matter of finding the right ratio of liquid soap to gelatin. I mixed the gelatin with hot water and then combined it with the cold liquid soap. Furthermore, the jelly soap had too many bubbles, indicating that the mixing procedure was defective.
To improve the recipe, I needed to experiment with both the mixing procedure and the gelatin-to-soap ratio. This was essential to find a method that reduces bubbles, resulting in a smoother finish and the correct consistency.
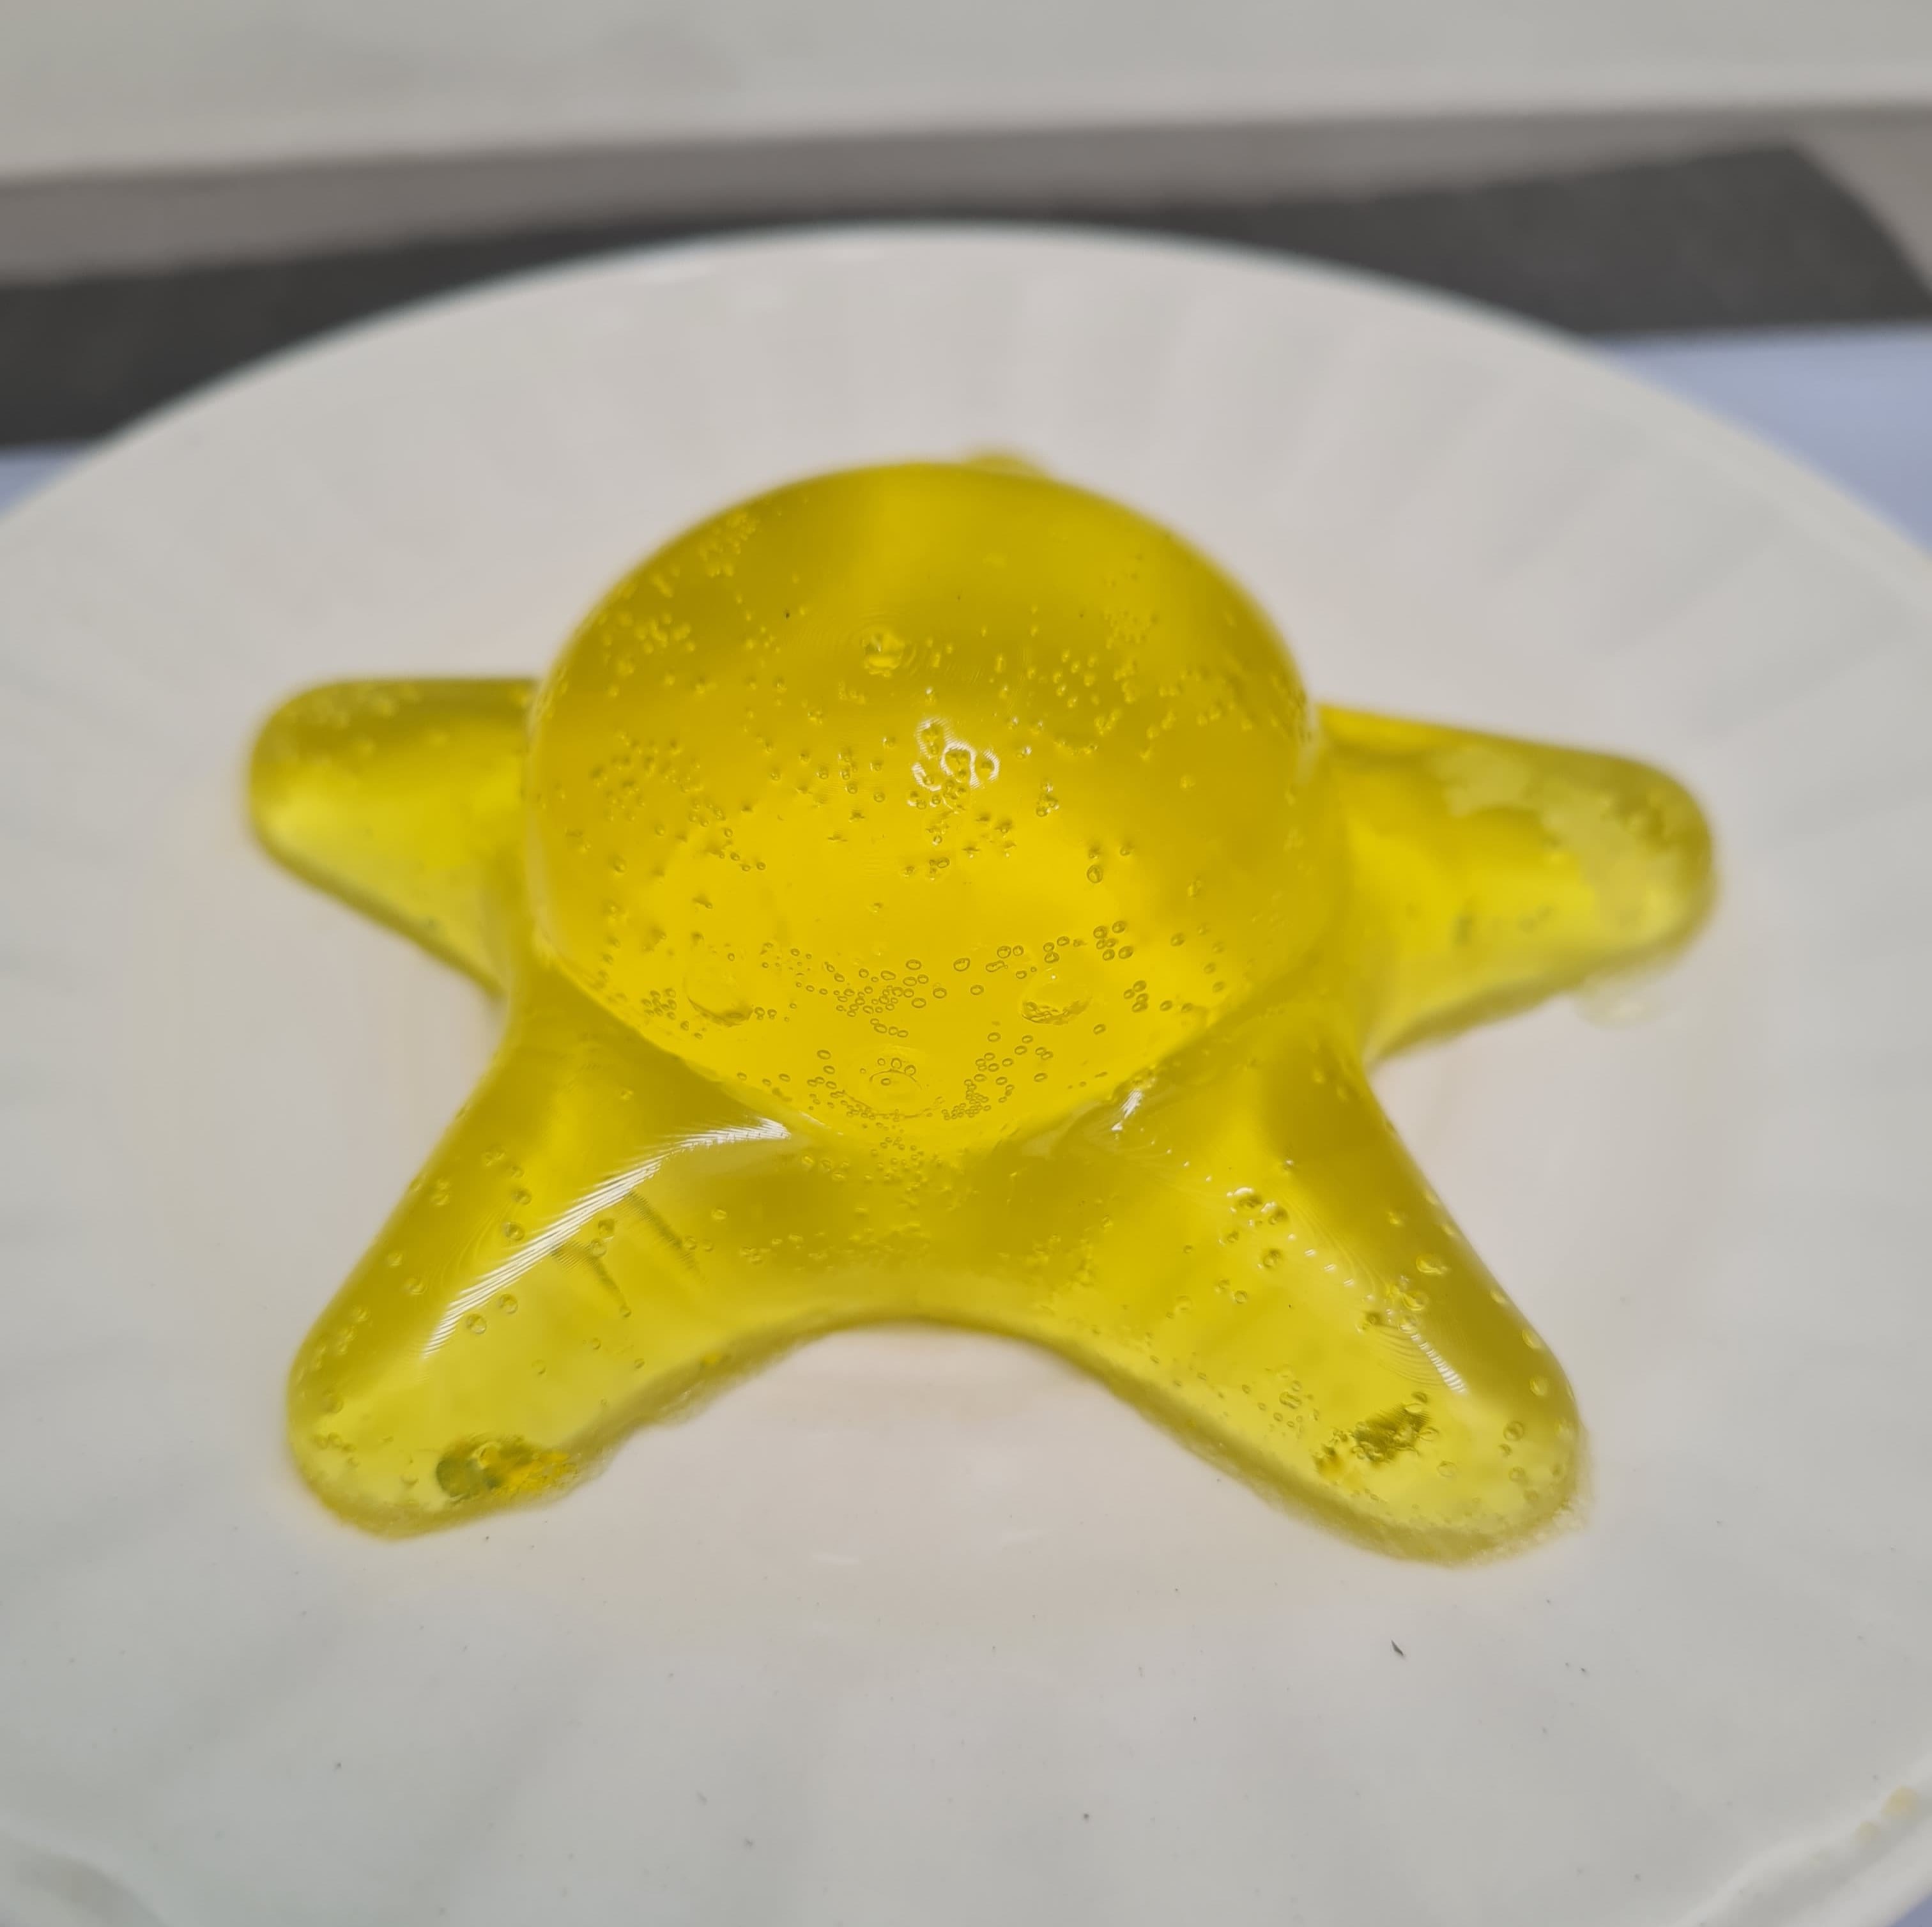
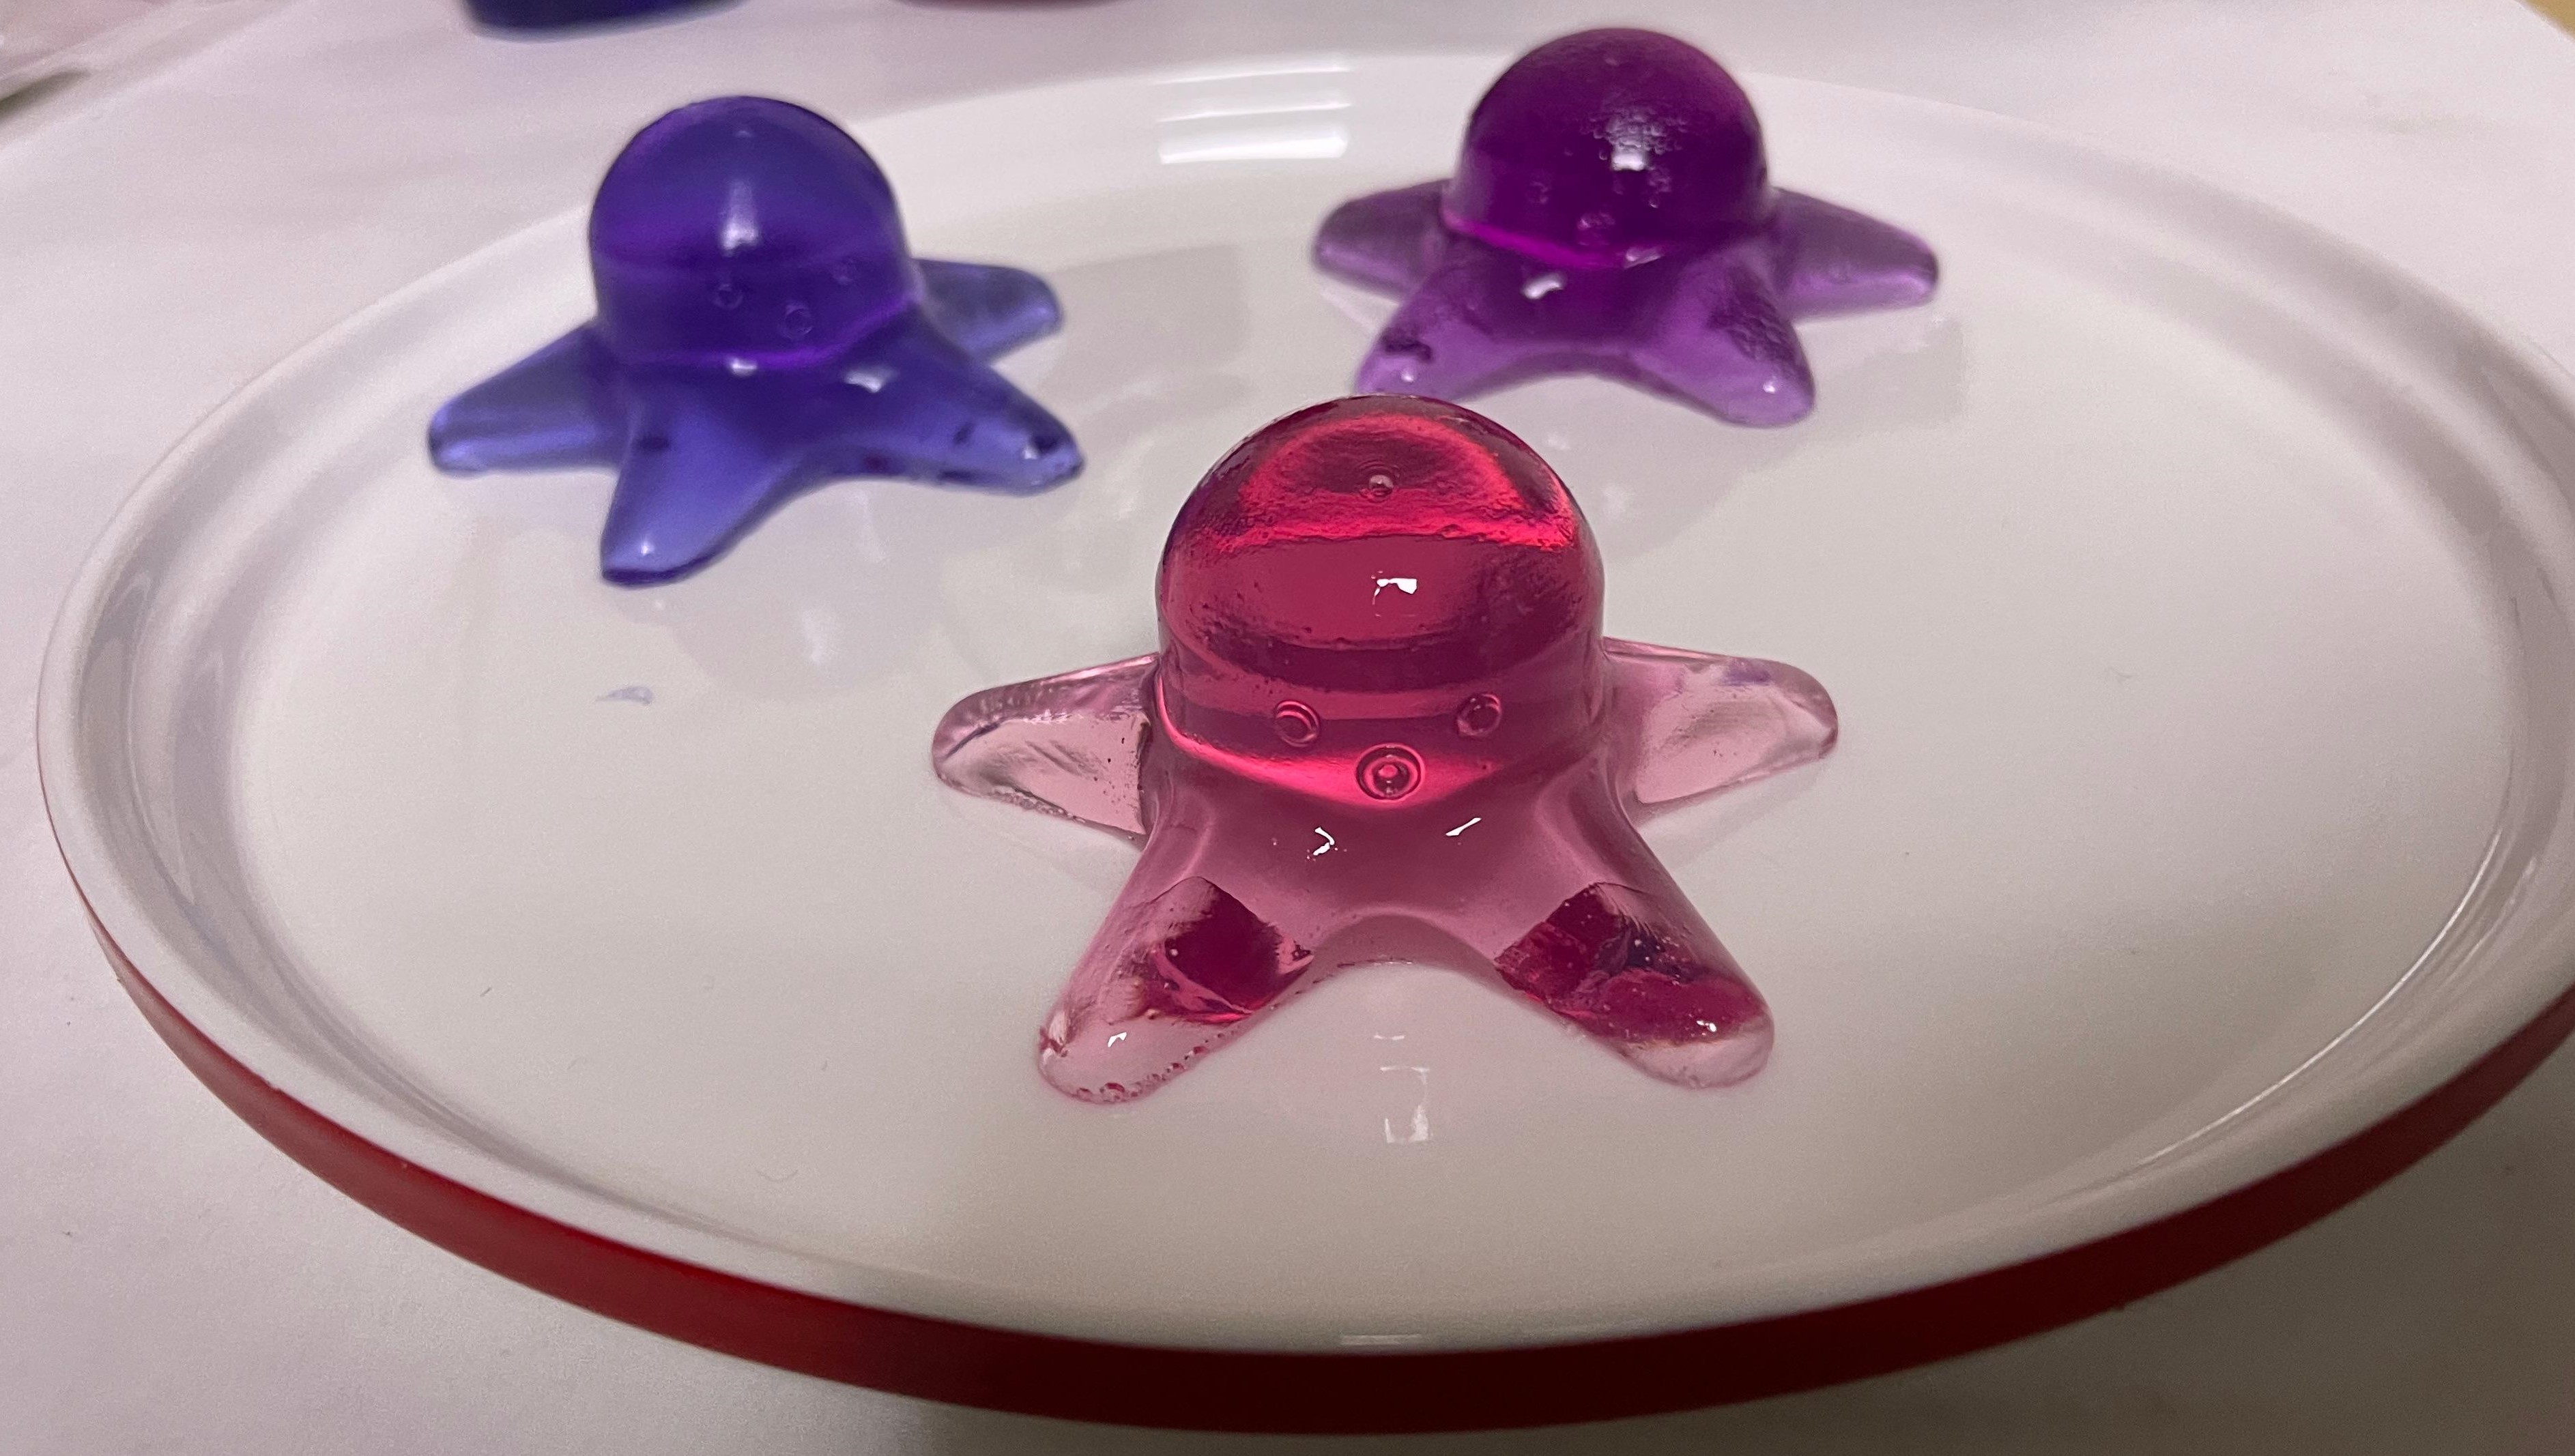
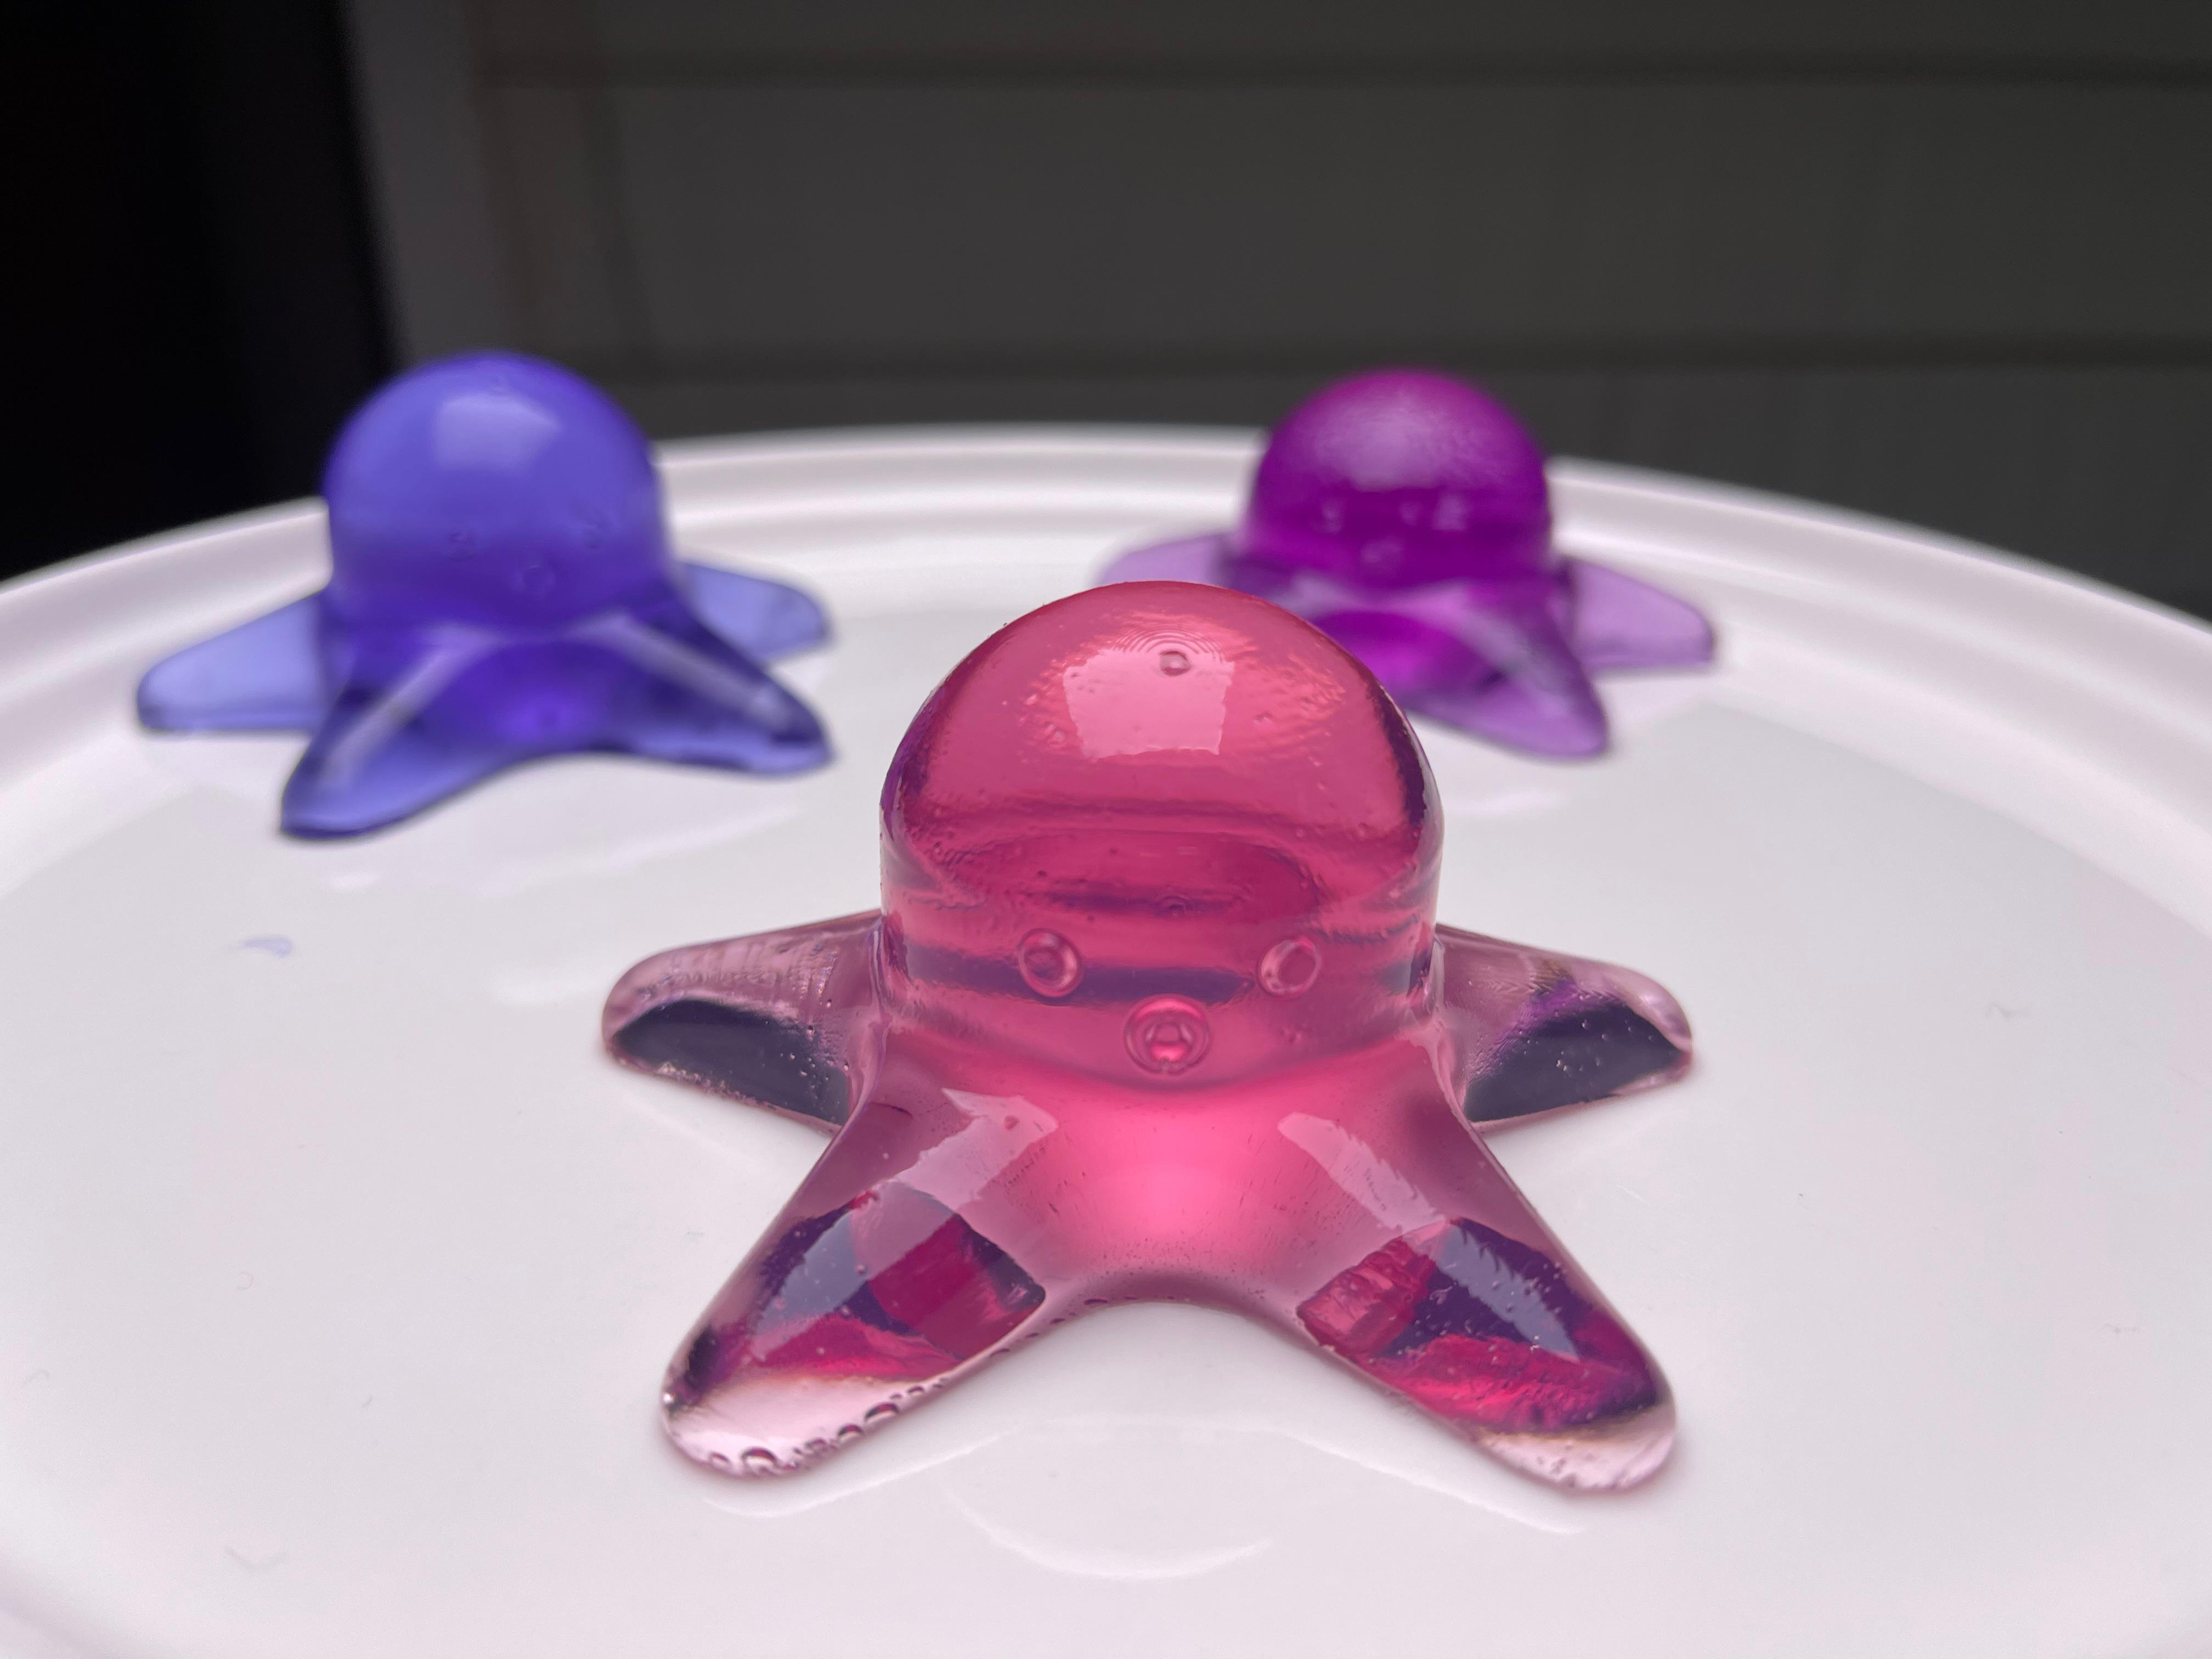
For the third version of the recipe, I noticed that mixing all the components at 60°C helped the unflavored gelatin dissolve properly and created a lighter mixture. As the mixture is runny at this temperature, it allows any bubbles to rise to the surface, resulting in a smoother jelly soap. The mixture I used was 1 cup of liquid soap with 3 tablespoons of unflavored gelatin. This adjustment improved the consistency and reduced the presence of bubbles in the final product.

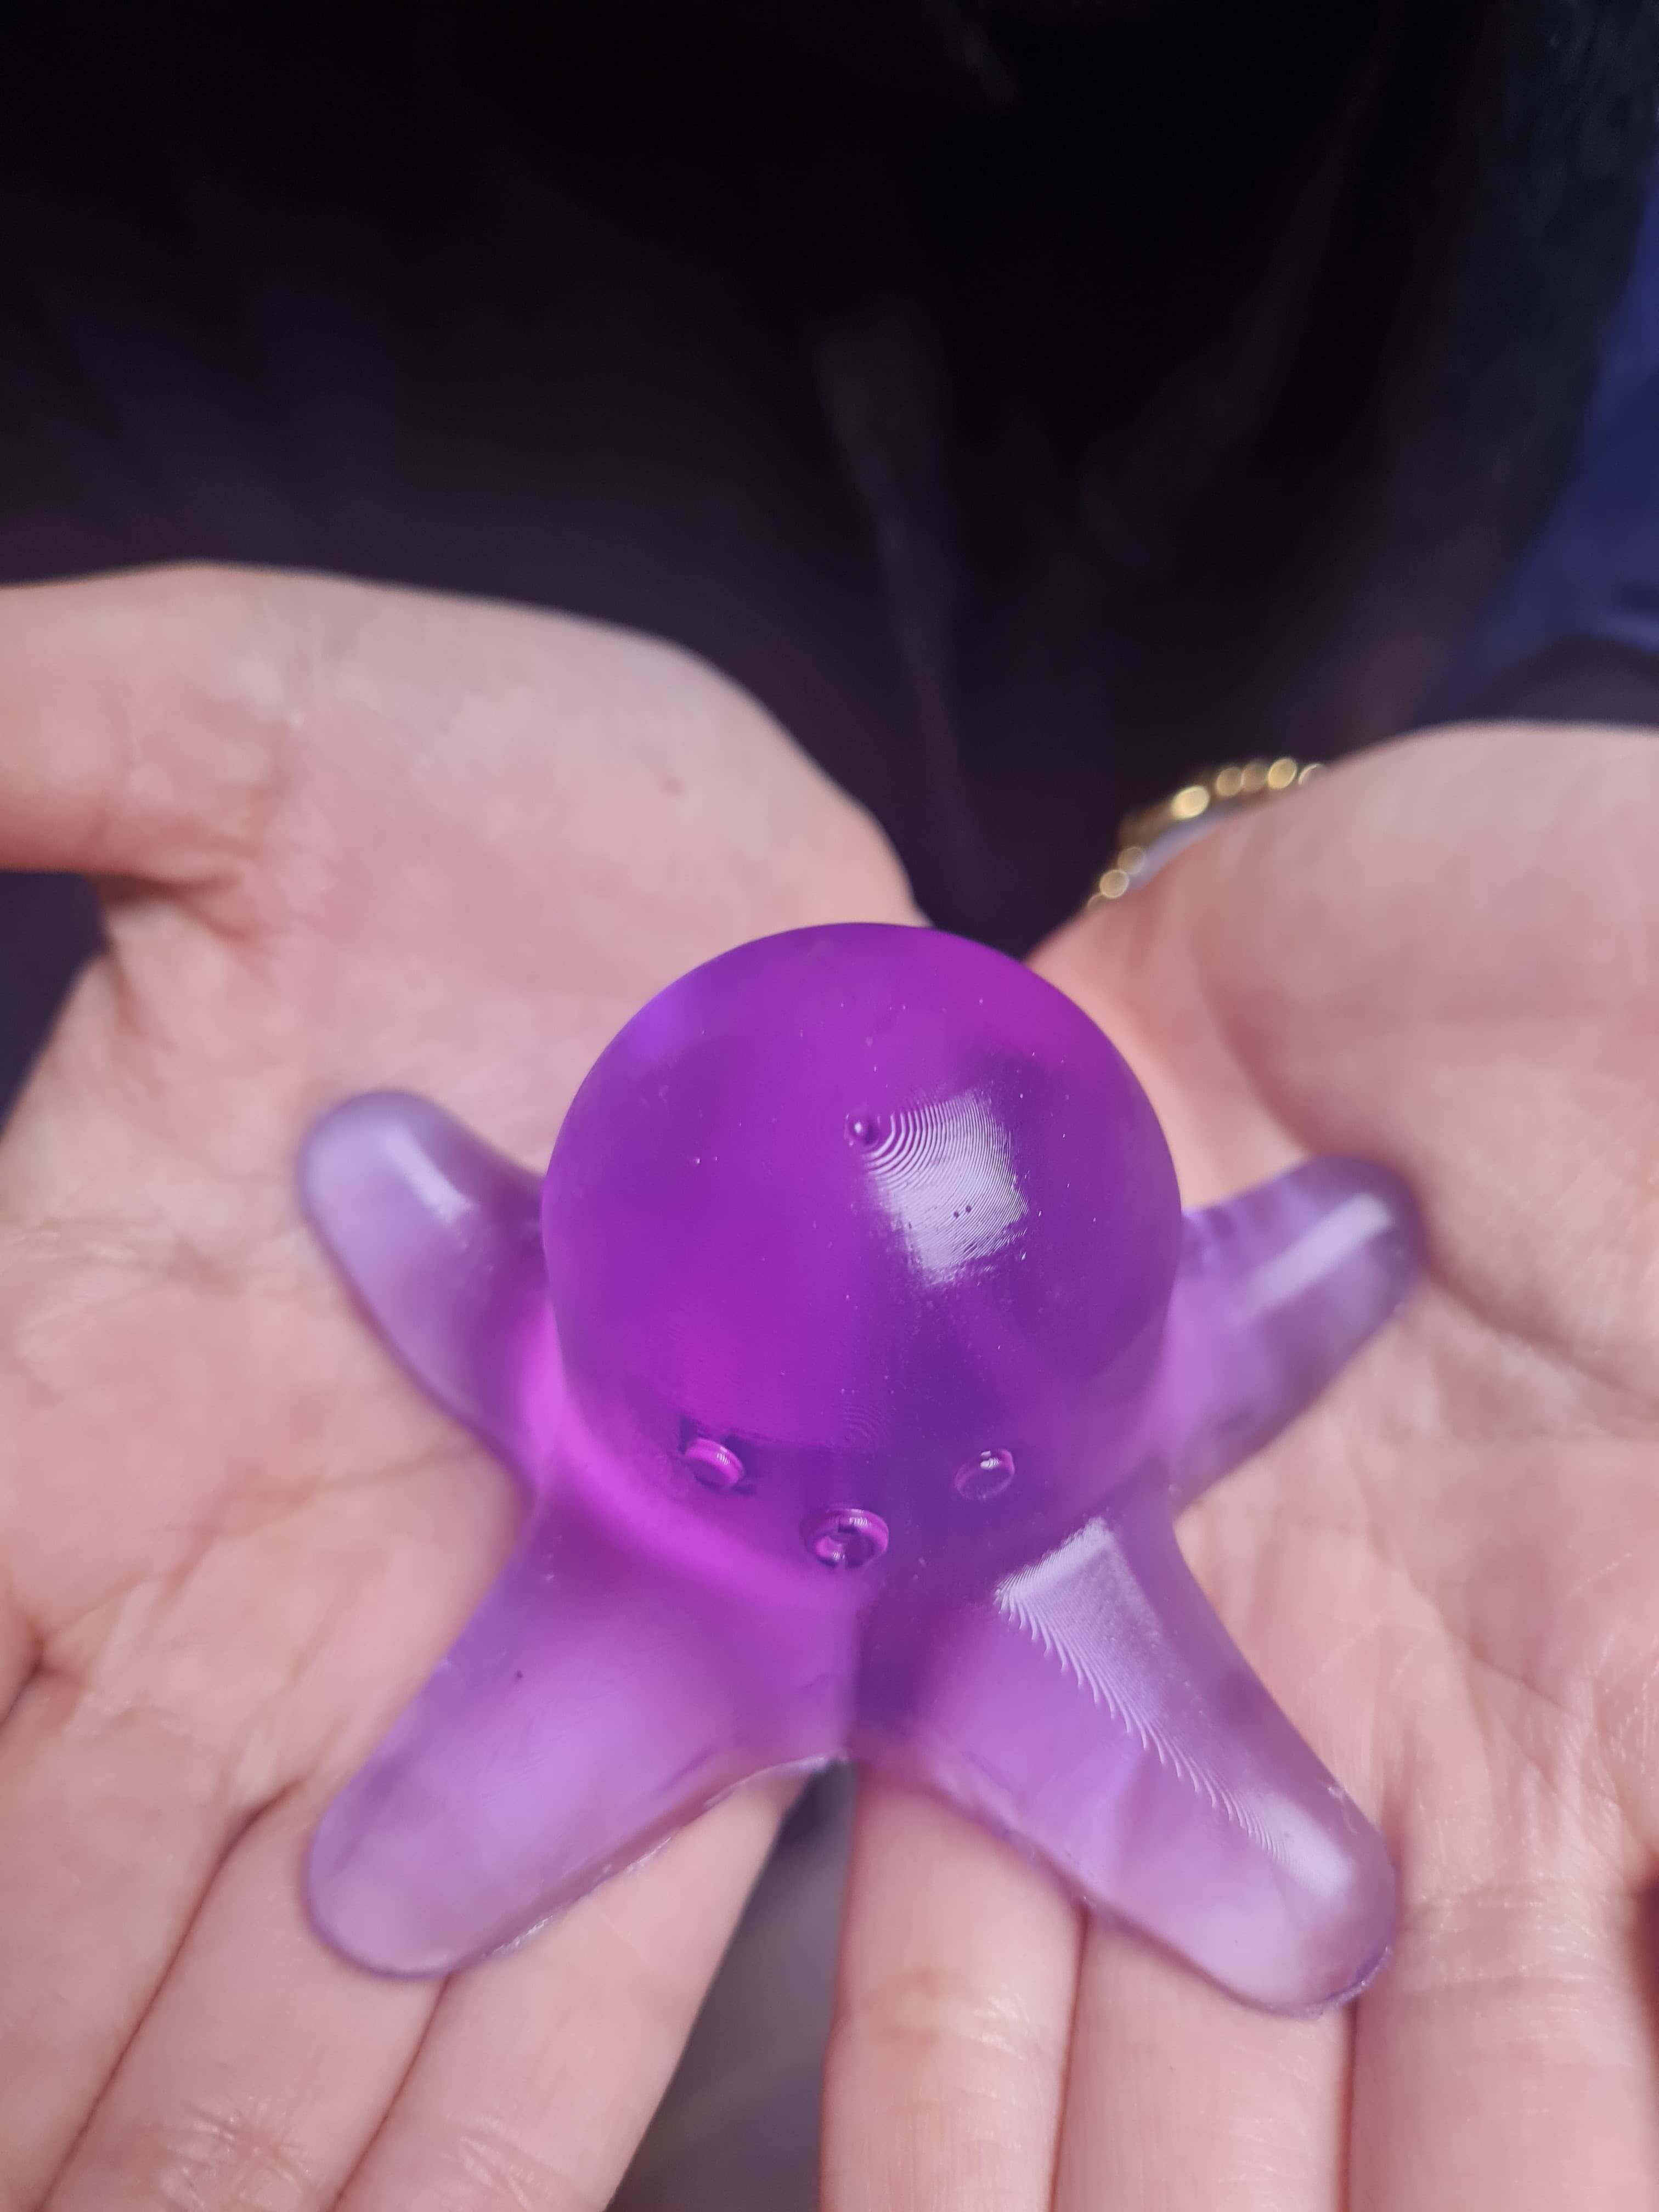
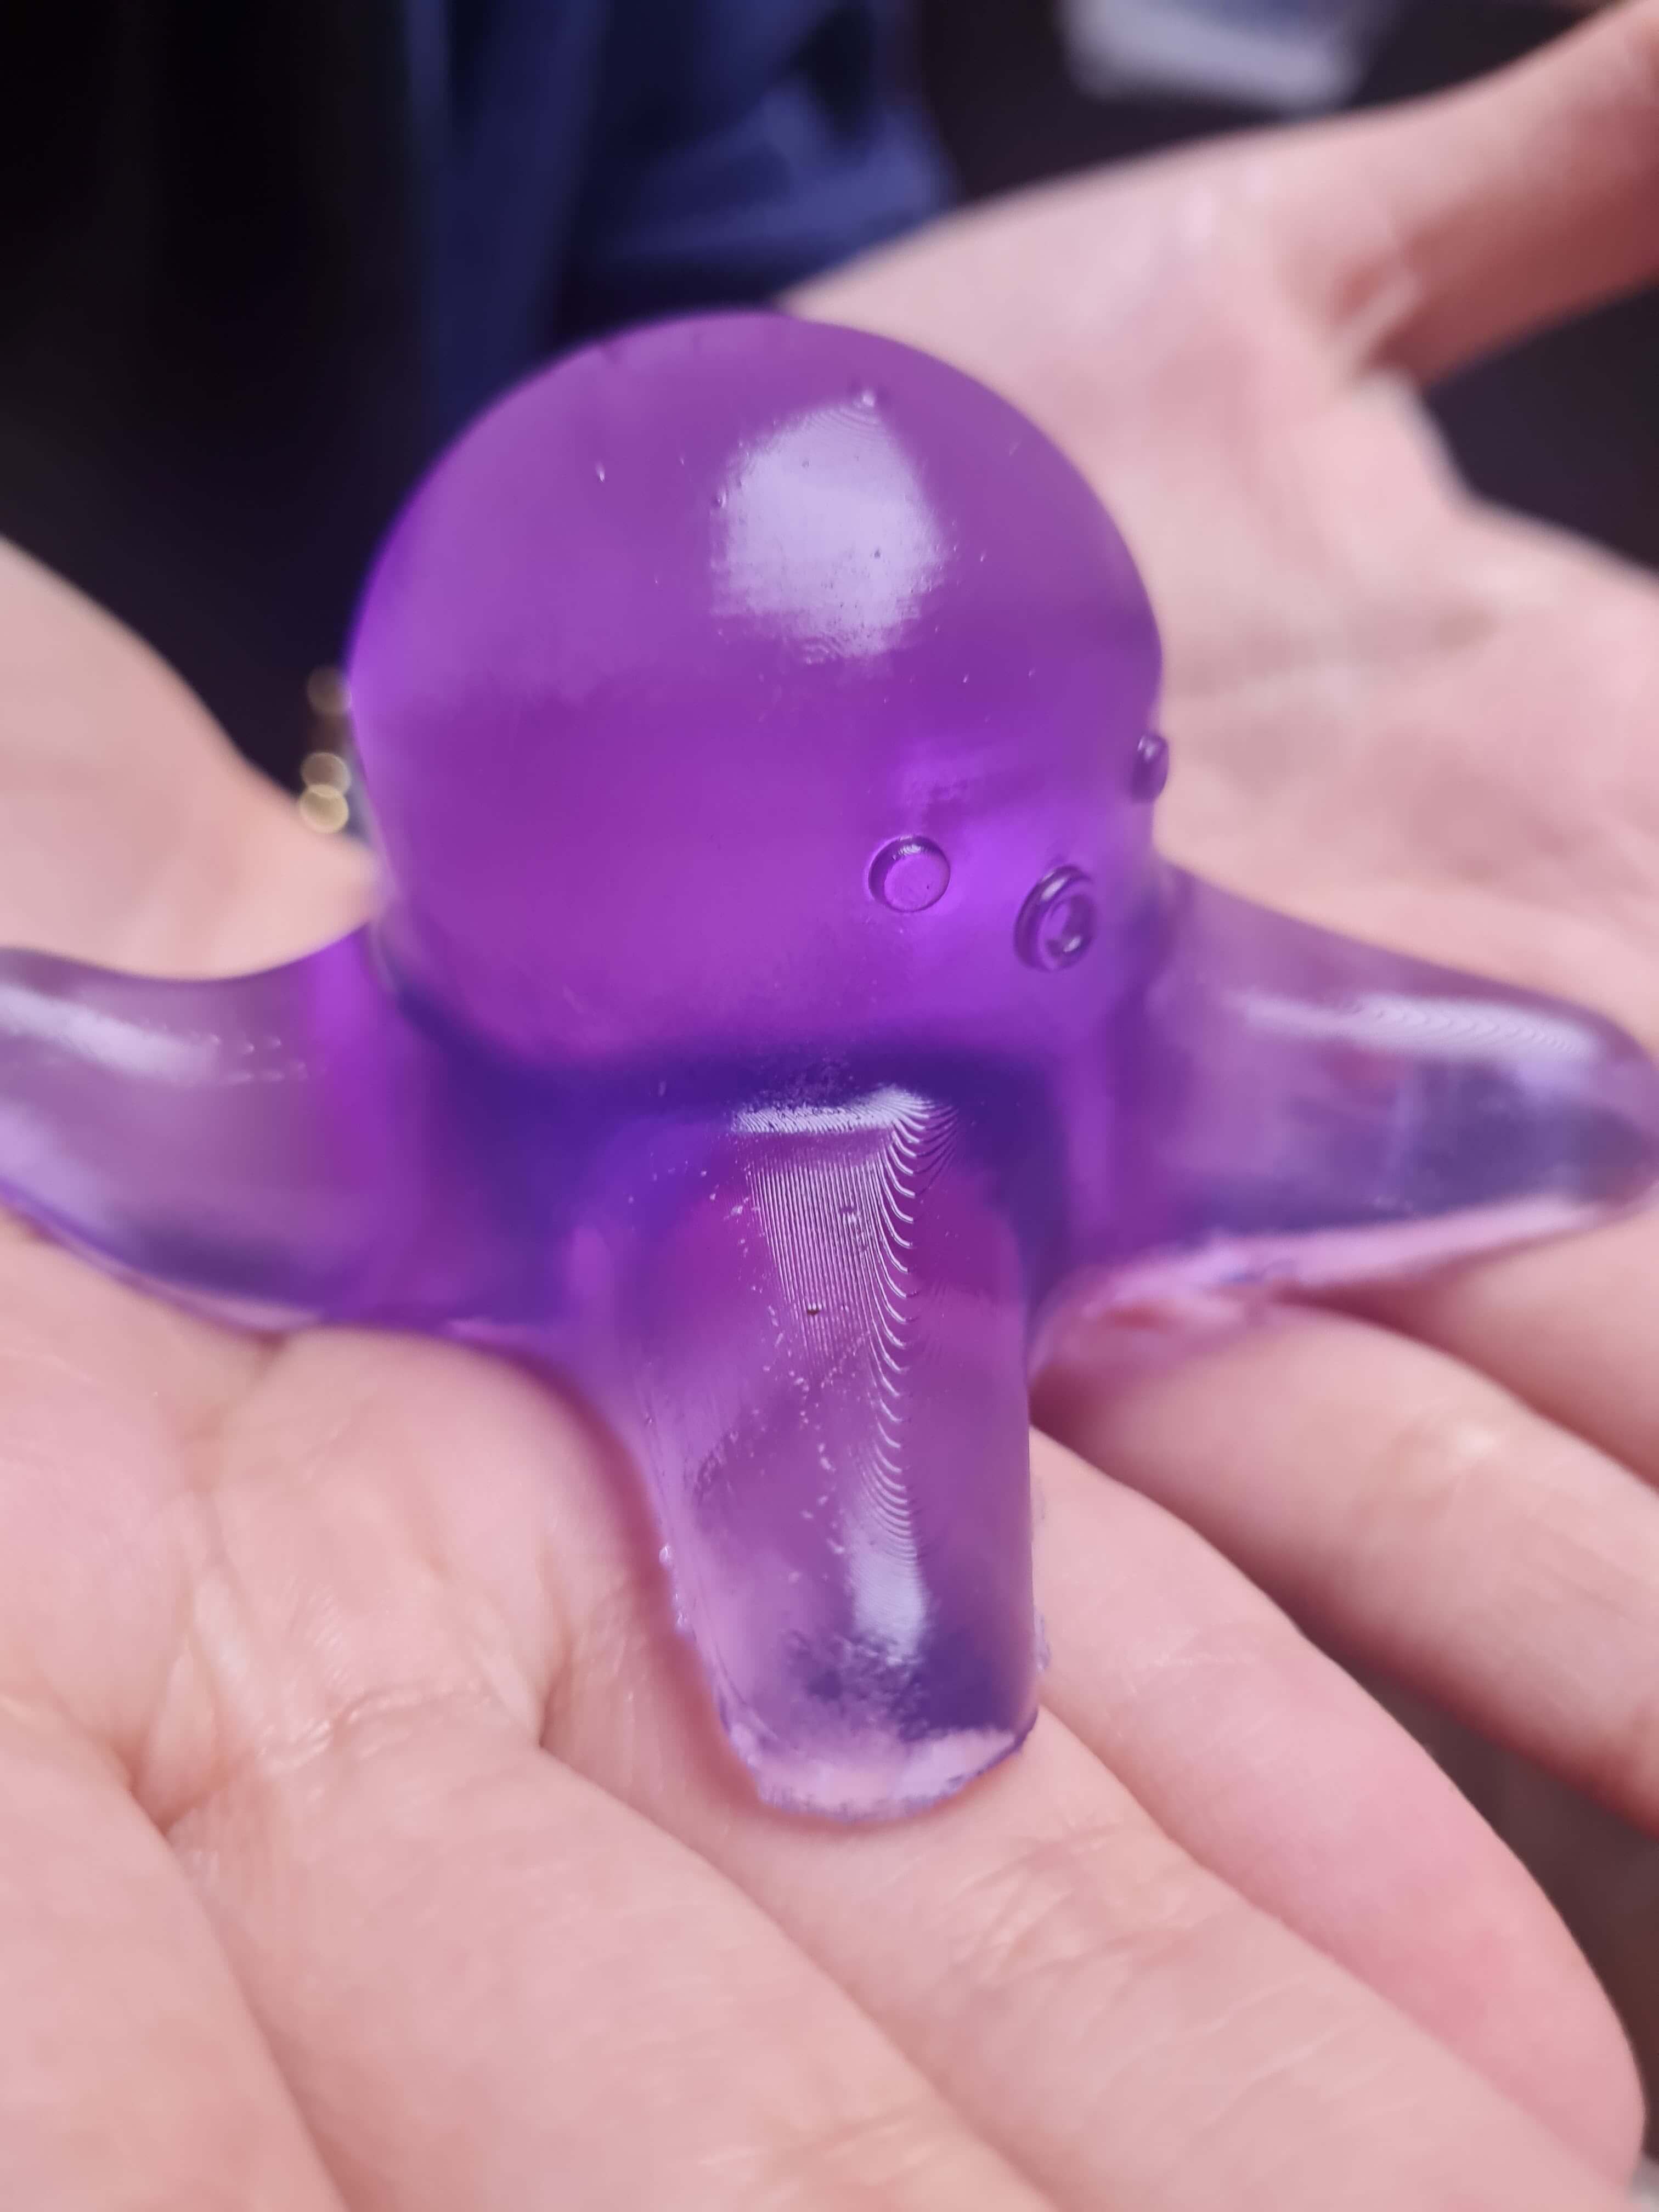
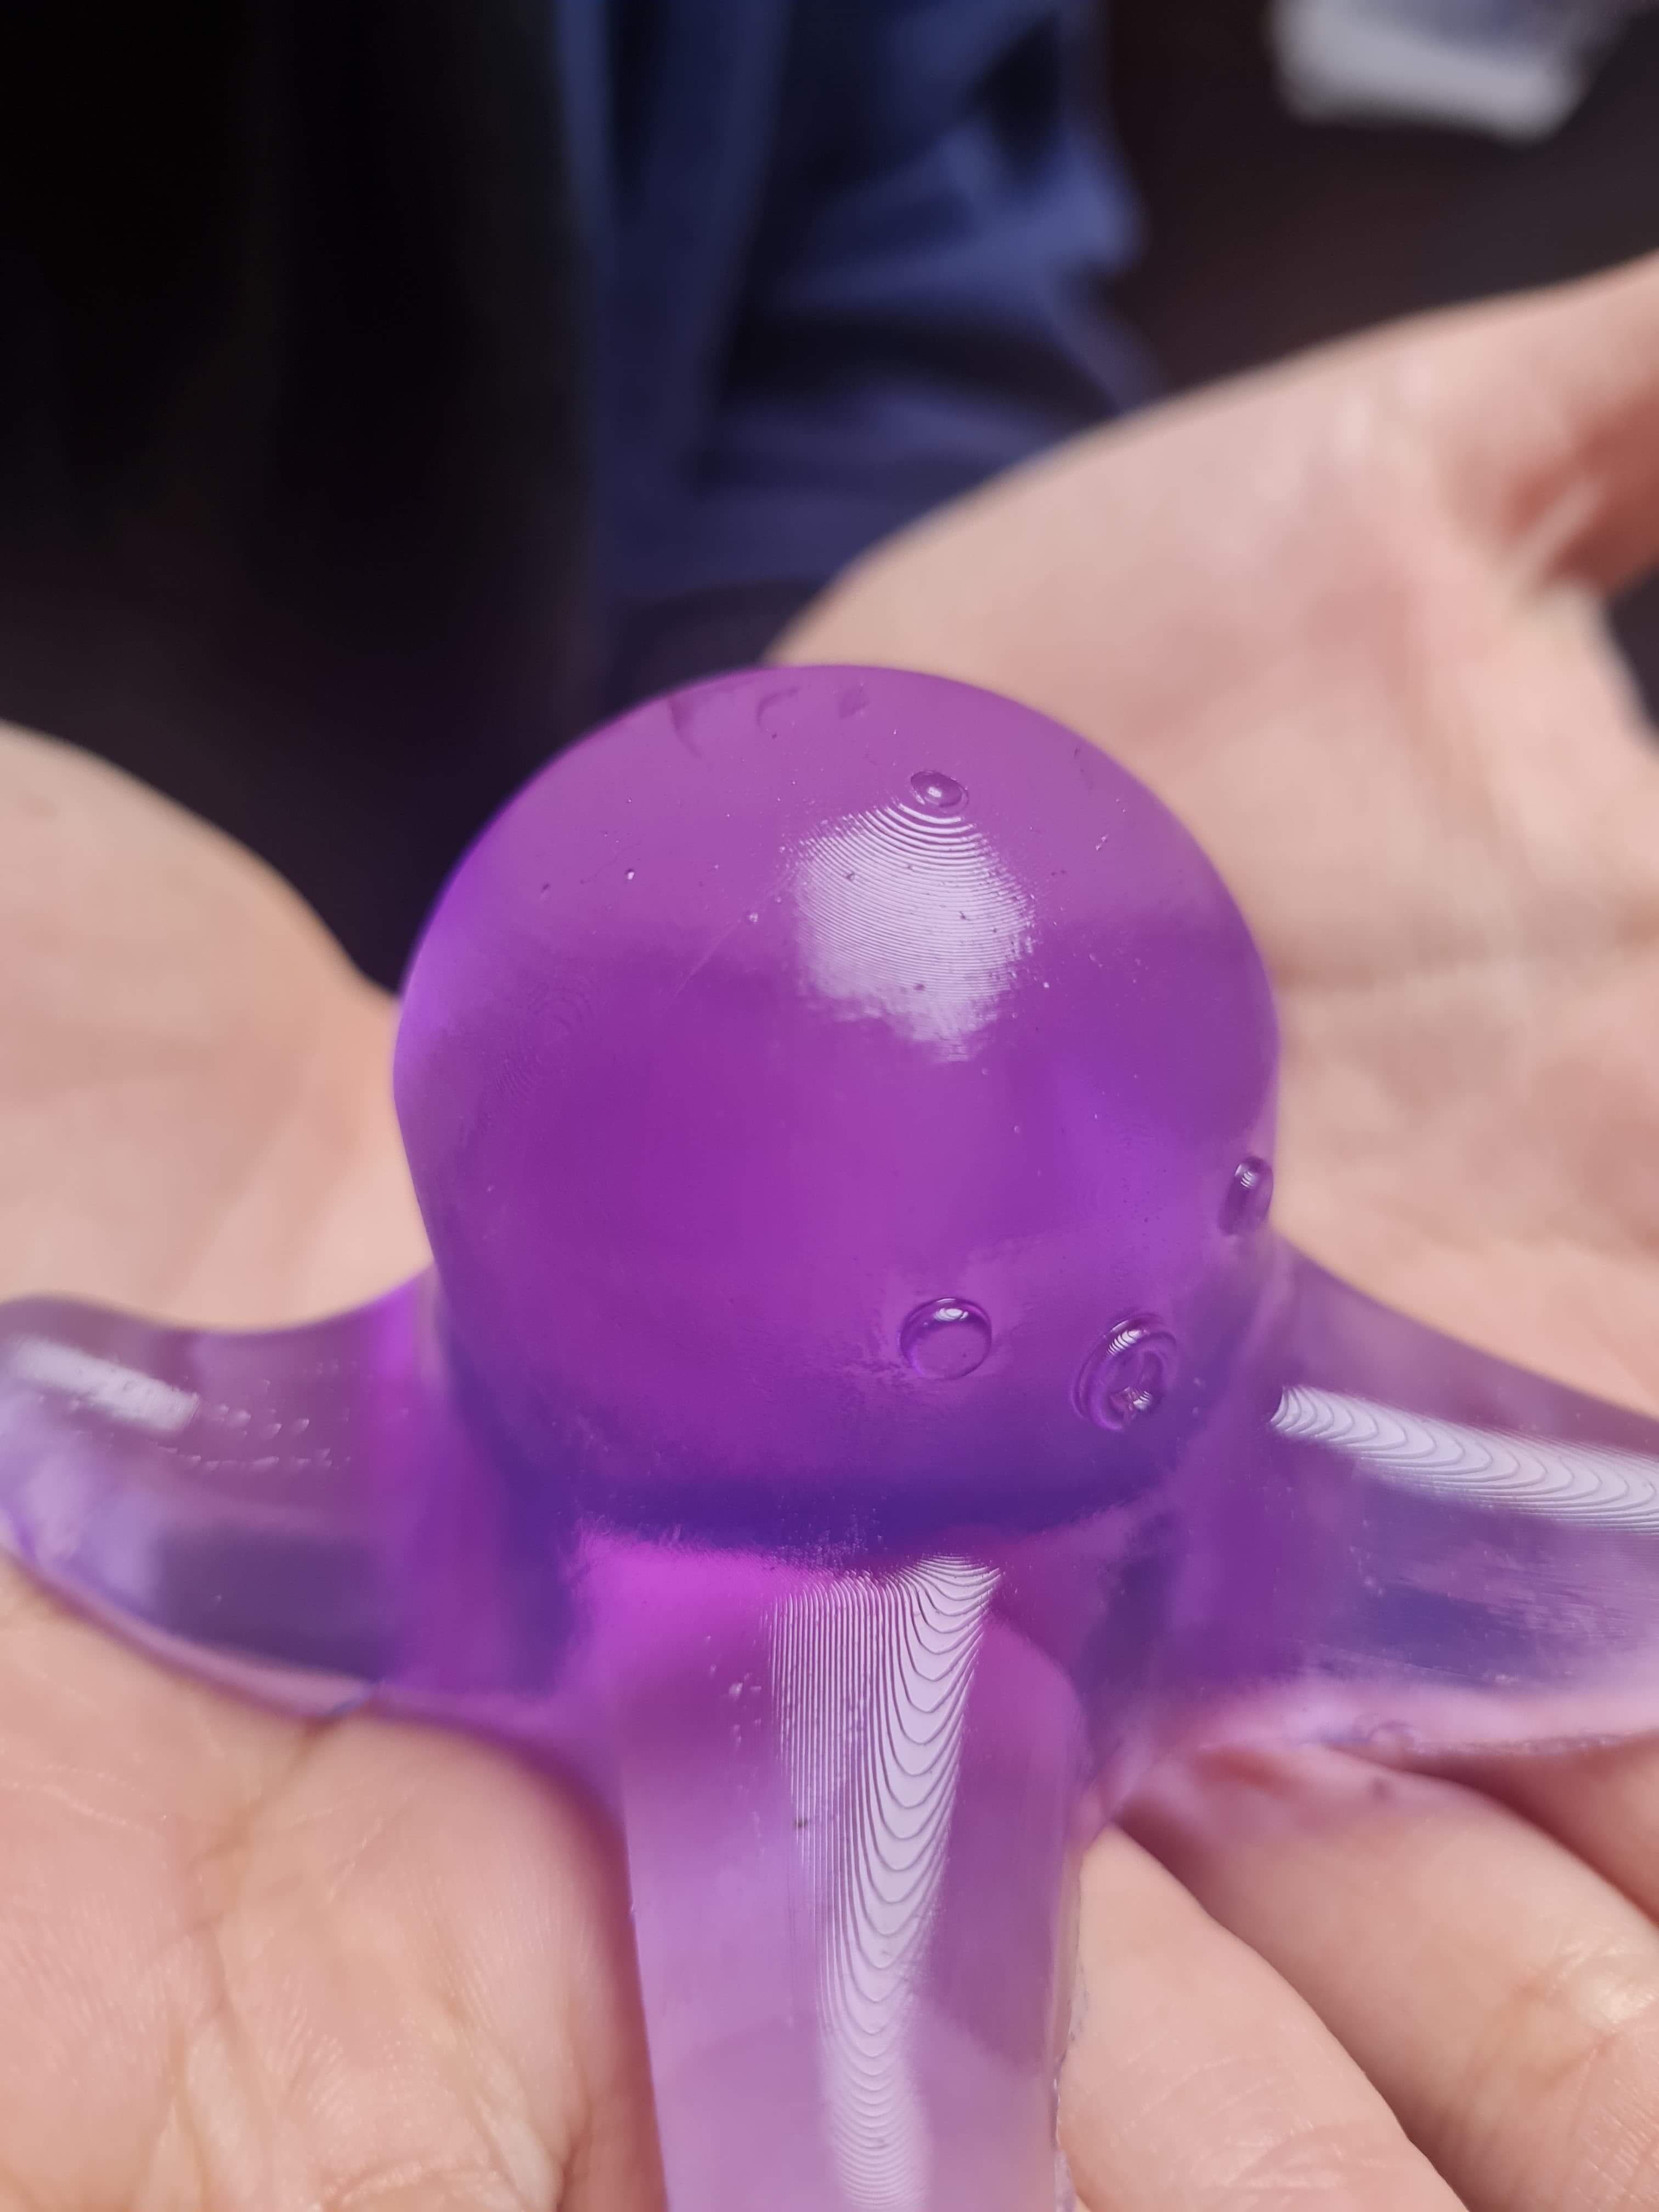
When working with jelly soap, mixing the recipe can generate bubbles. To minimize this, it is recommended to stir slowly and then spray USP alcohol on the surface to remove any bubbles from the mold. This will help ensure a smooth and consistent texture in your final jelly soap product.
This week's group assigment, I learned about various materials in the fab lab based on their safety data sheets and molding properties. Specifically, I analyzed RTV PLATINUM 1510 Silicone Rubber, Mold Release Wax, Polyurethane Rubber, as well as castings such as Glycerin Soap with Chlorhexidine, Chocolate, and Ceramic Plaster. Understanding the properties of each material provided a better overview of the options and applications for each.
Understanding the properties of each material provided a better overview of their options and applications. This material comparison helped me select the best silicone for my personal assignment.
I was in charge of casting a material and decided to use a glycerin soap bar. I melted the bar of soap using a double boiler for a consistent and slow melting process. Then, I poured the melted soap into the mold and waited for the results.
The density of the soap did not help in reproducing small details like the eyes and mouth of the octopus. I learned that the different flow properties of casting materials affect the final result. Higher density materials are poor at capturing small details, while lighter materials flow better into every feature of the model. However, I am moderately satisfied with the result. There is room for improvement.