This week, I'm going to build a application for my output devices board that i have designed, using the app I will going to display the temperature and the humidity on the mobile phone using MIT App Inventor.
1. Group Assignment
compare as many tool options as possible
2. Individual assignment:
write an application that interfaces a user with an
input &/or output device that you made
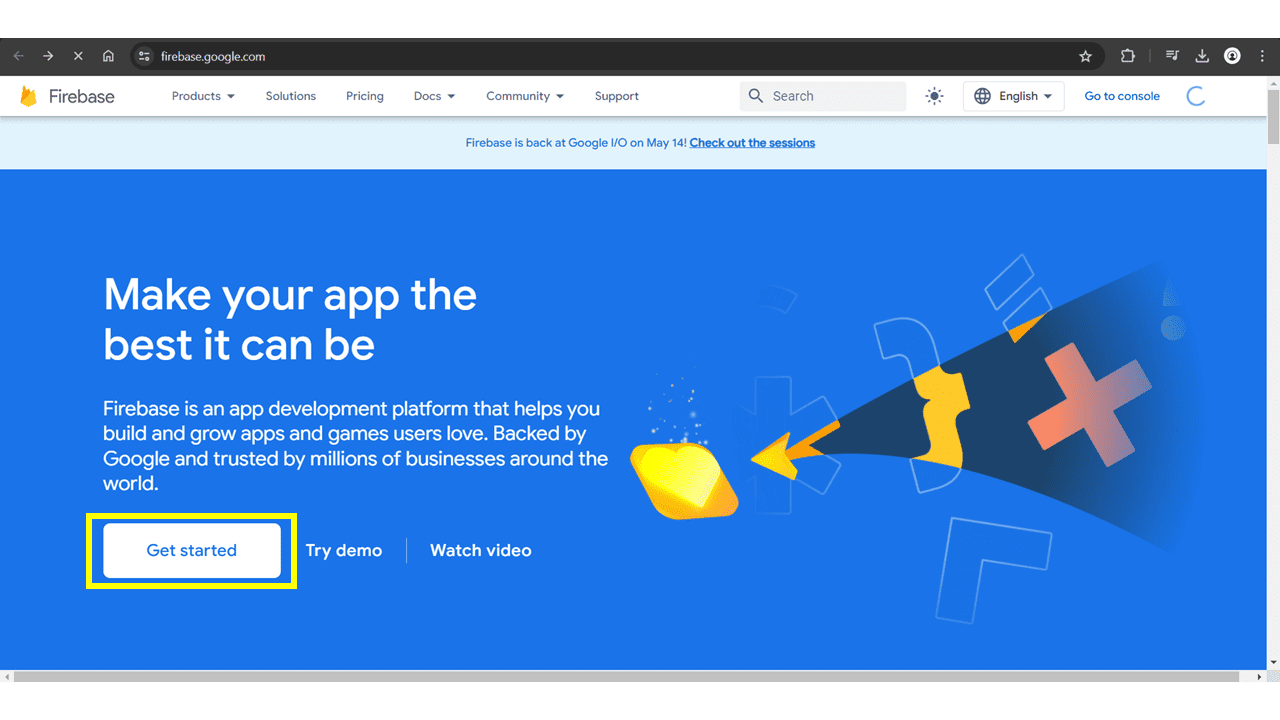
I used the firebase for storing real time data on cloud which can be accessed by the app which I will going to develop using MIT app Inventor, the Firebase creates the database and stores the values coming from the microcontroller. click on "Get Started" to create a project.
Click on Create Project Option.

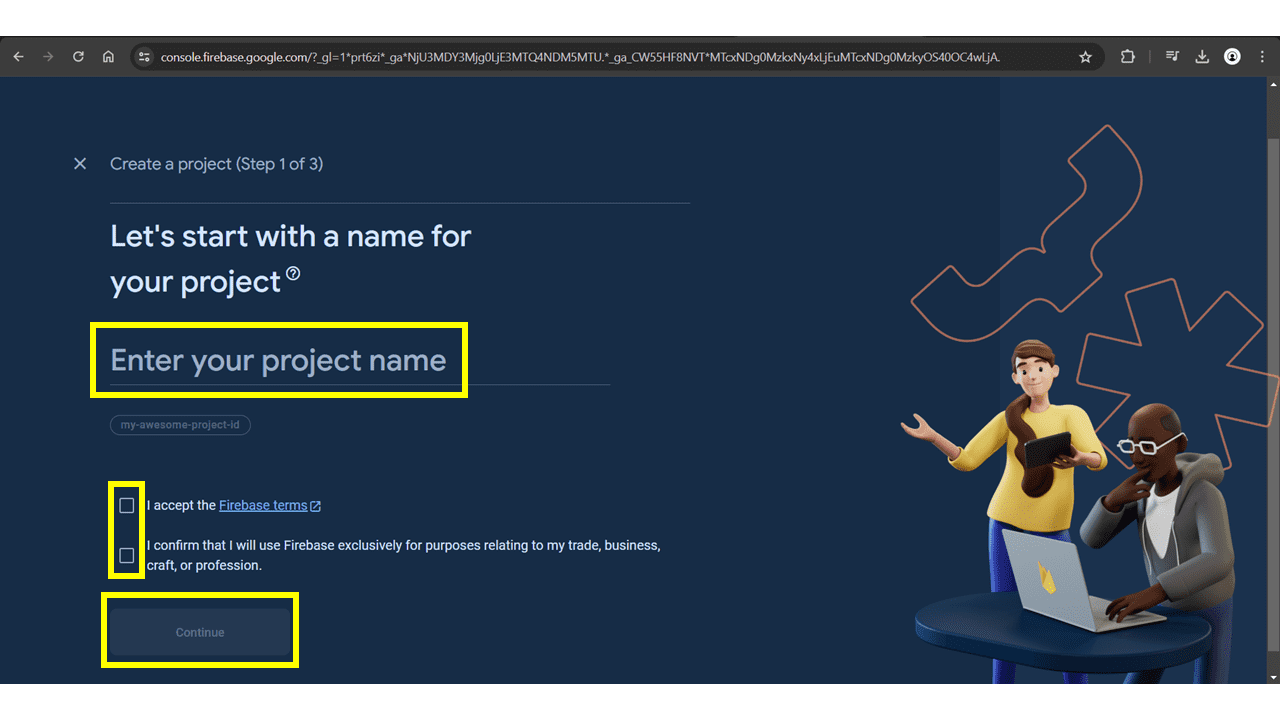
Enter the Name of the Project and accept app the conditions and click on continue button.
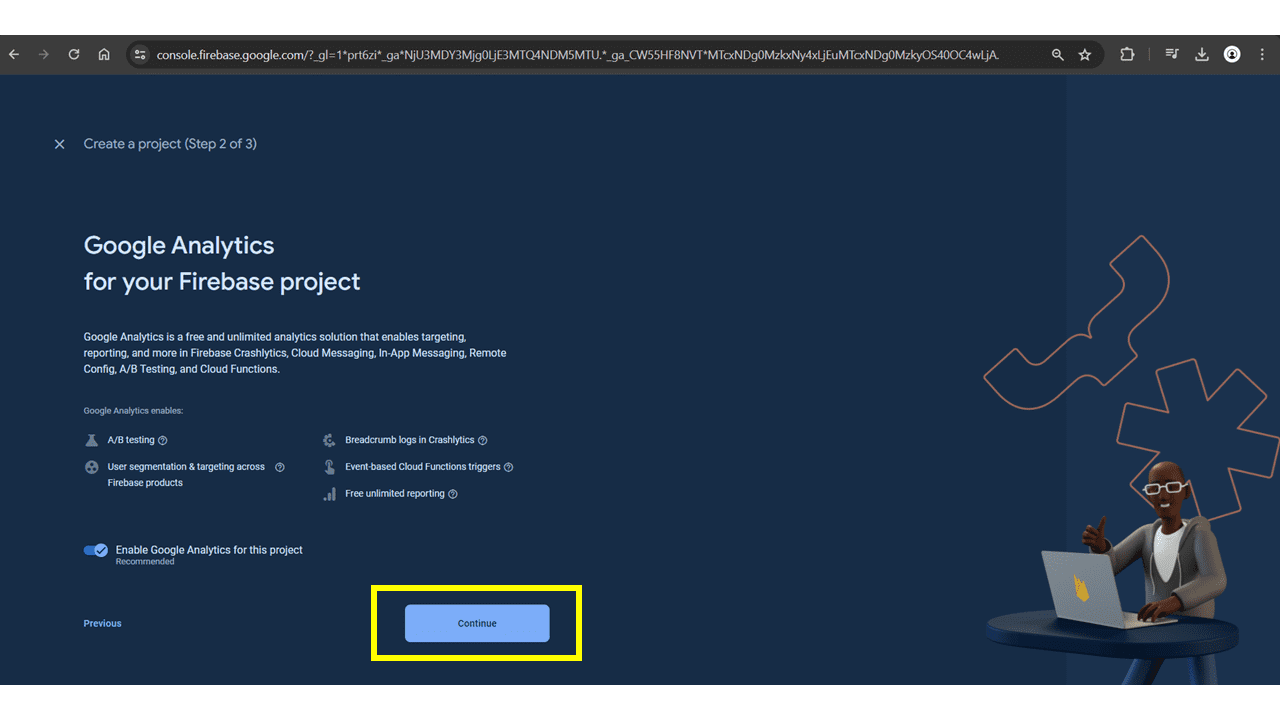
Enable Google Analytics For this Project and click on continue.
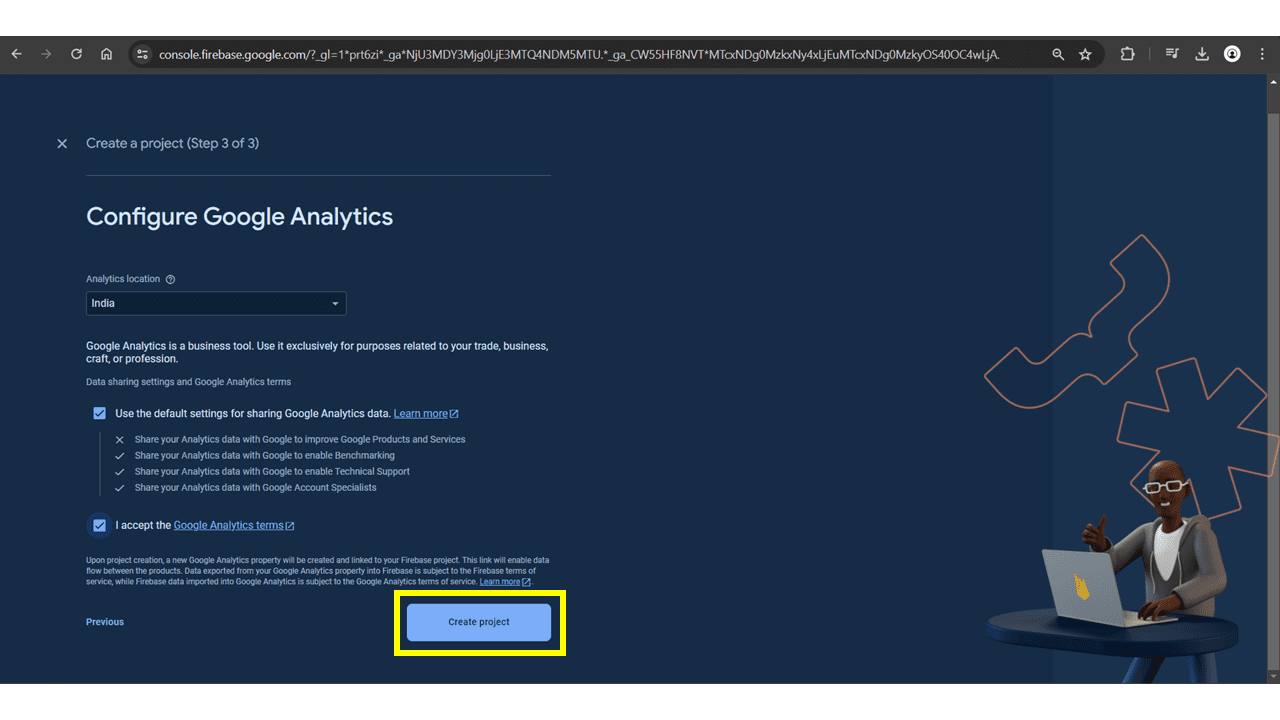
After that Click on Create Project Button.
It will shows Your Firebase Project is Ready Now, then click on continue.
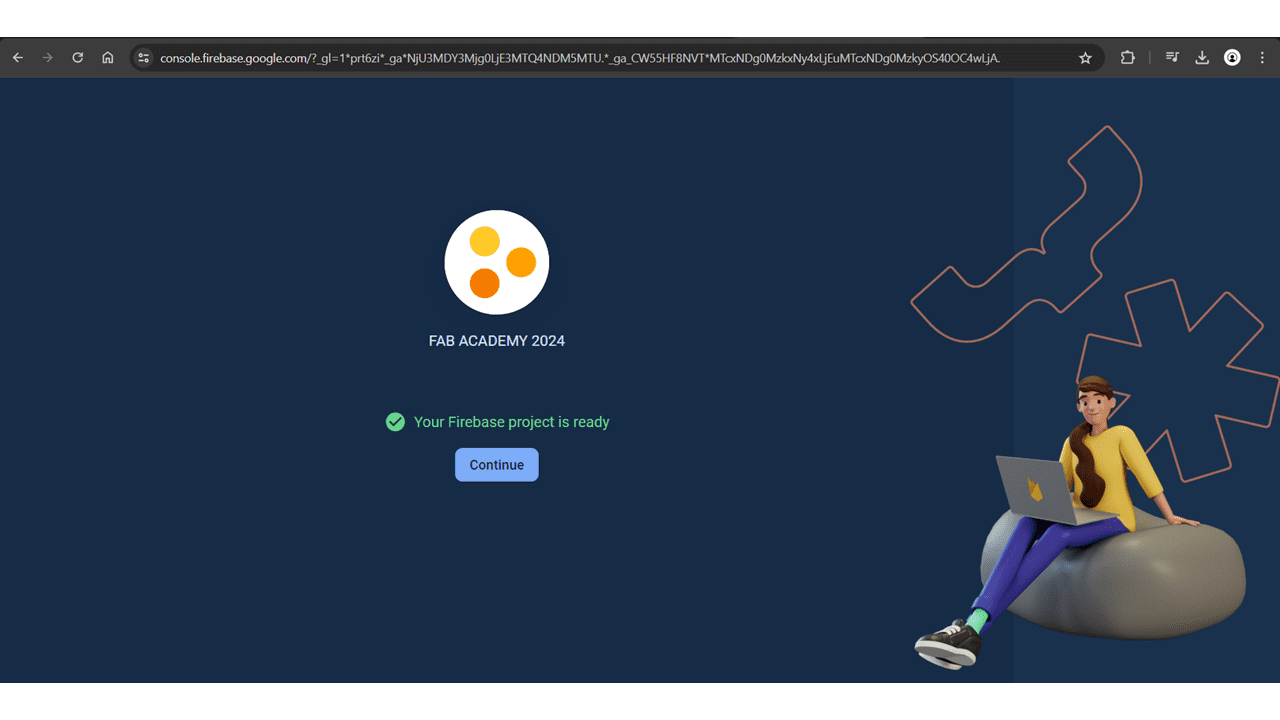
I have given the name as FAB ACADEMY 2024 for my project.
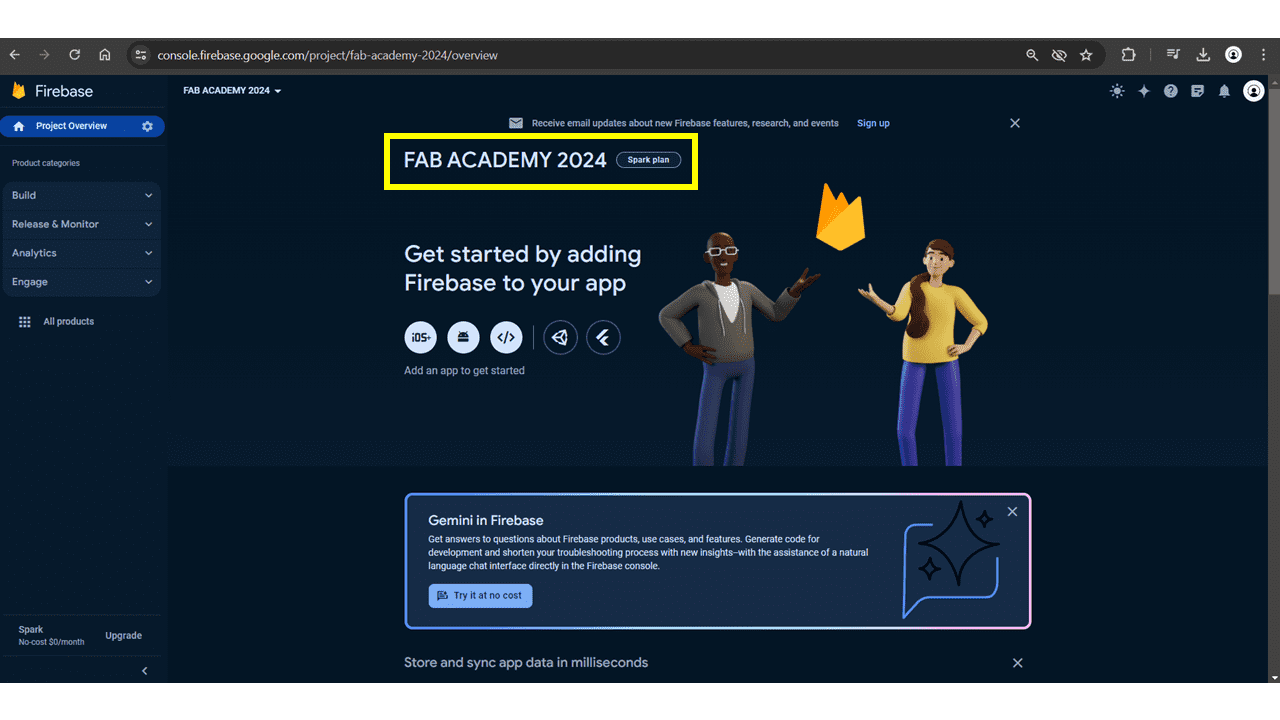
Go to Project Overview then Project Settings.
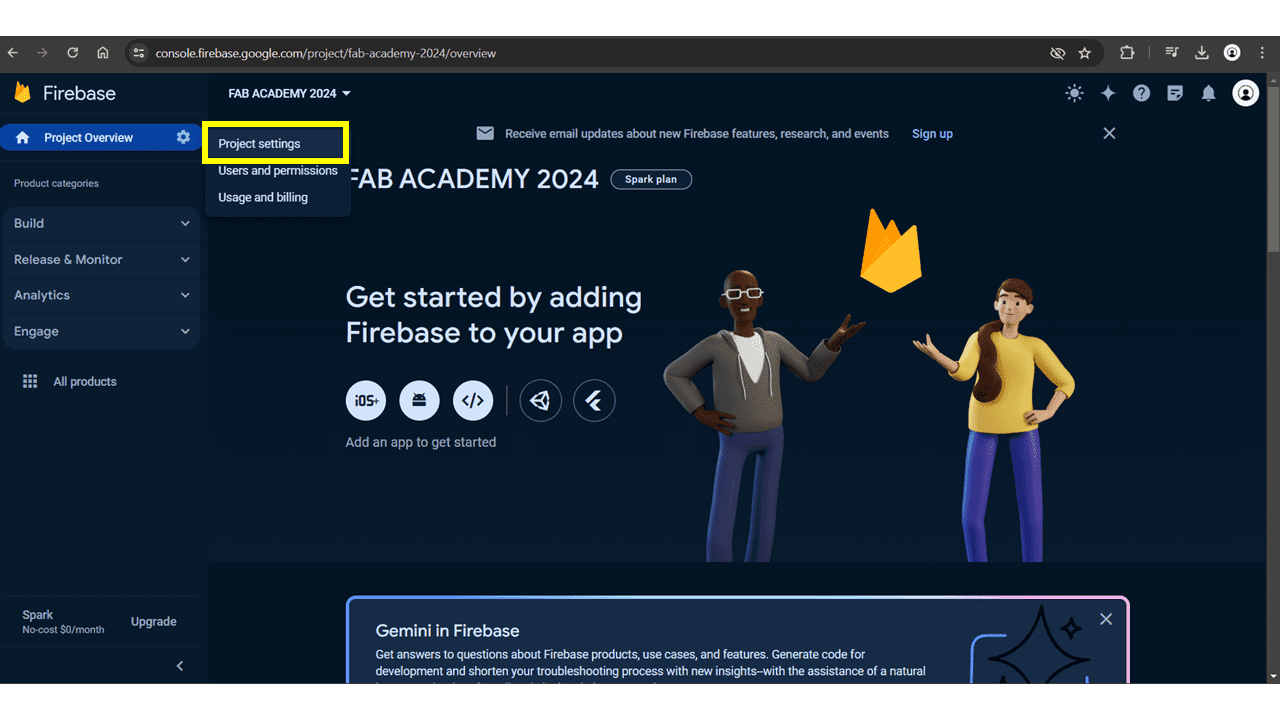
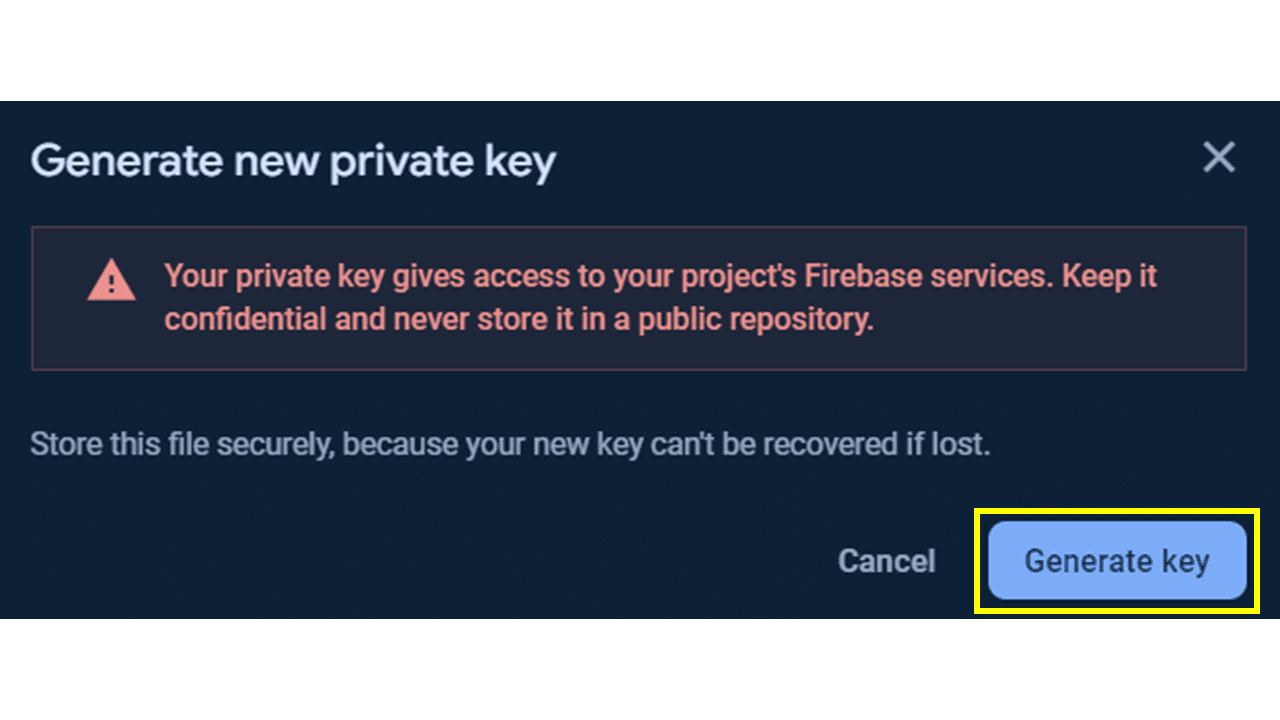
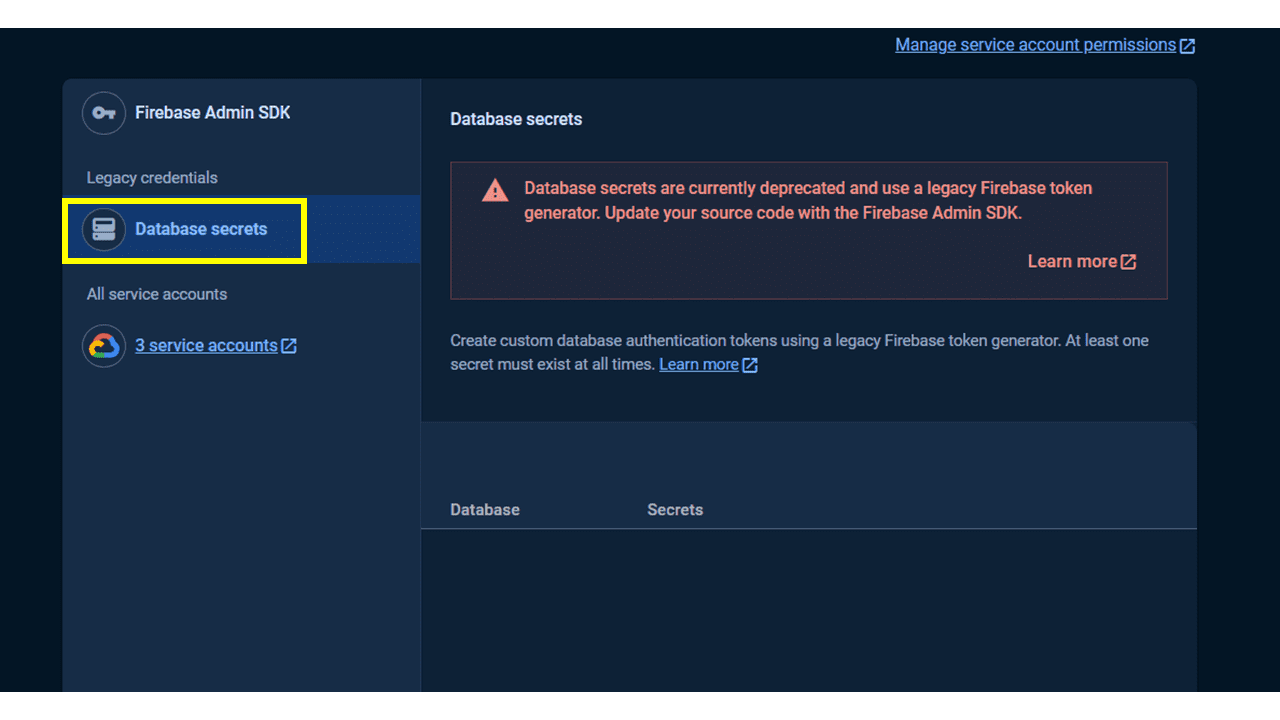
Navigate to Service Accounts, in that go to database secretes and generate new private key.

the following message will pop up, click on Generate Key.
Click on Database Secretes Again.
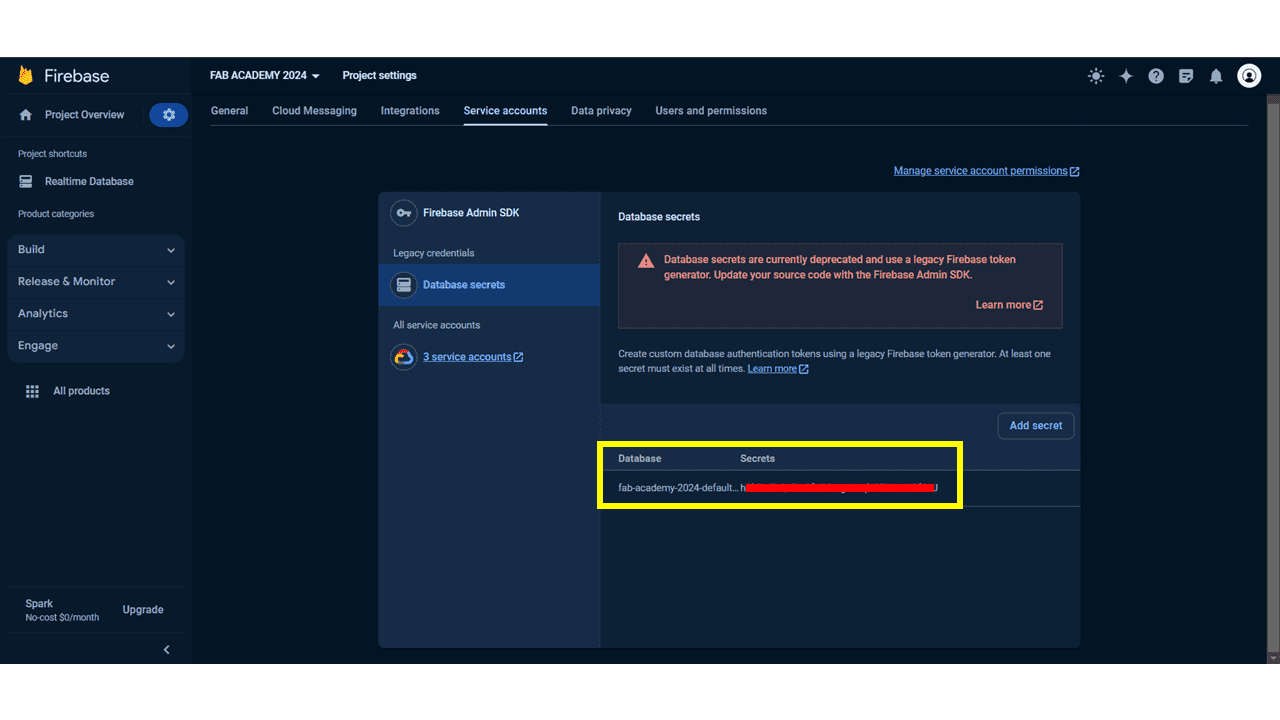
It will shows the generated key which we will going to use in code of microcontroller using Arduino IDE.
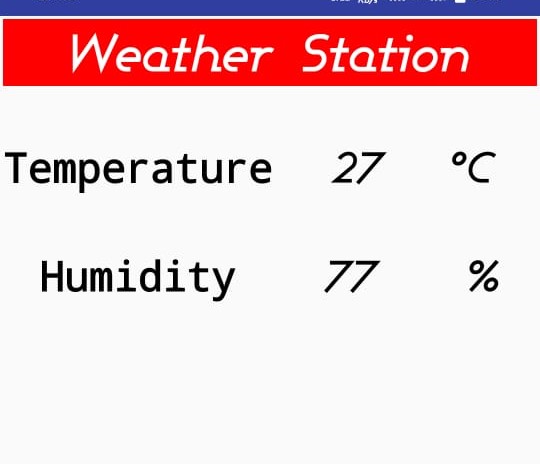
I used MIT App Inventor to build the app which can display the temperature and the humidity of our lab.
for building the app click on MIT App Inventor. it will redirect user to the website which is looks like below image, then just click on "create apps".

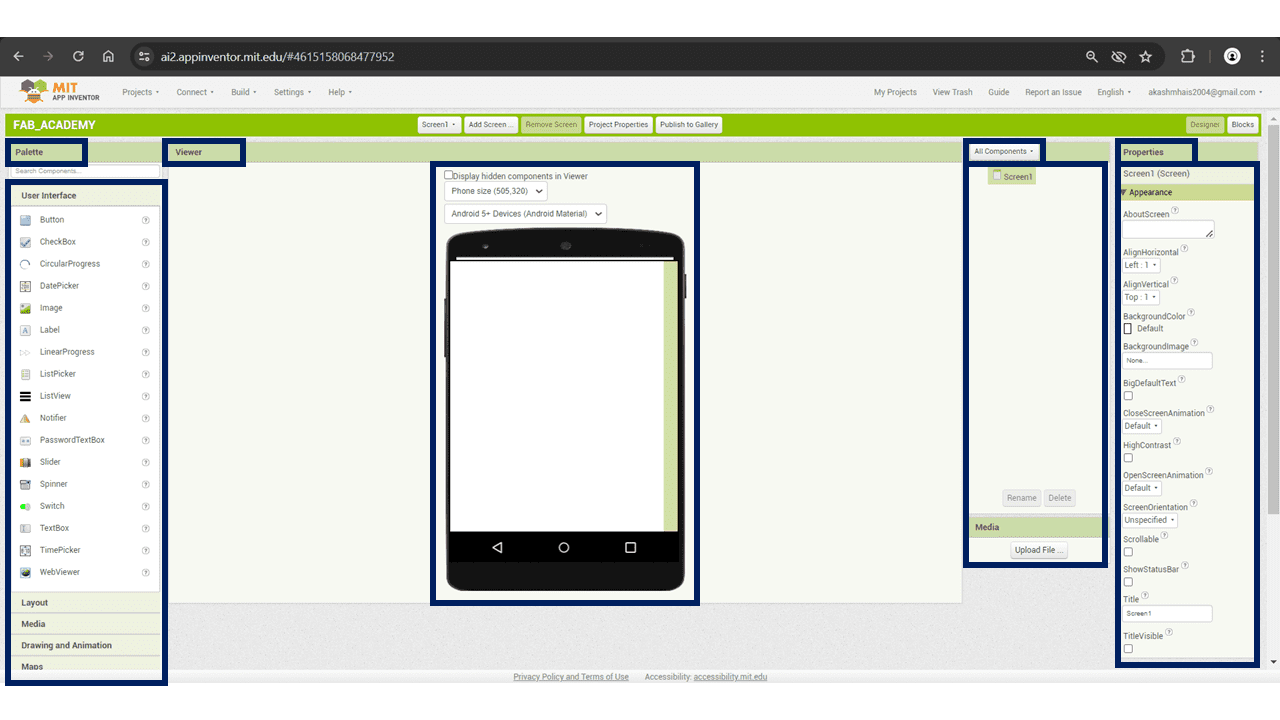
Create new project and give the name for it after that click on finish button to redirect on below screen. in which there are several options are available such as Palette, Viewer, All Components, Properties, etc.from Palette we have to take user interface items such as list picker, labels, switch, etc as per our requirement.
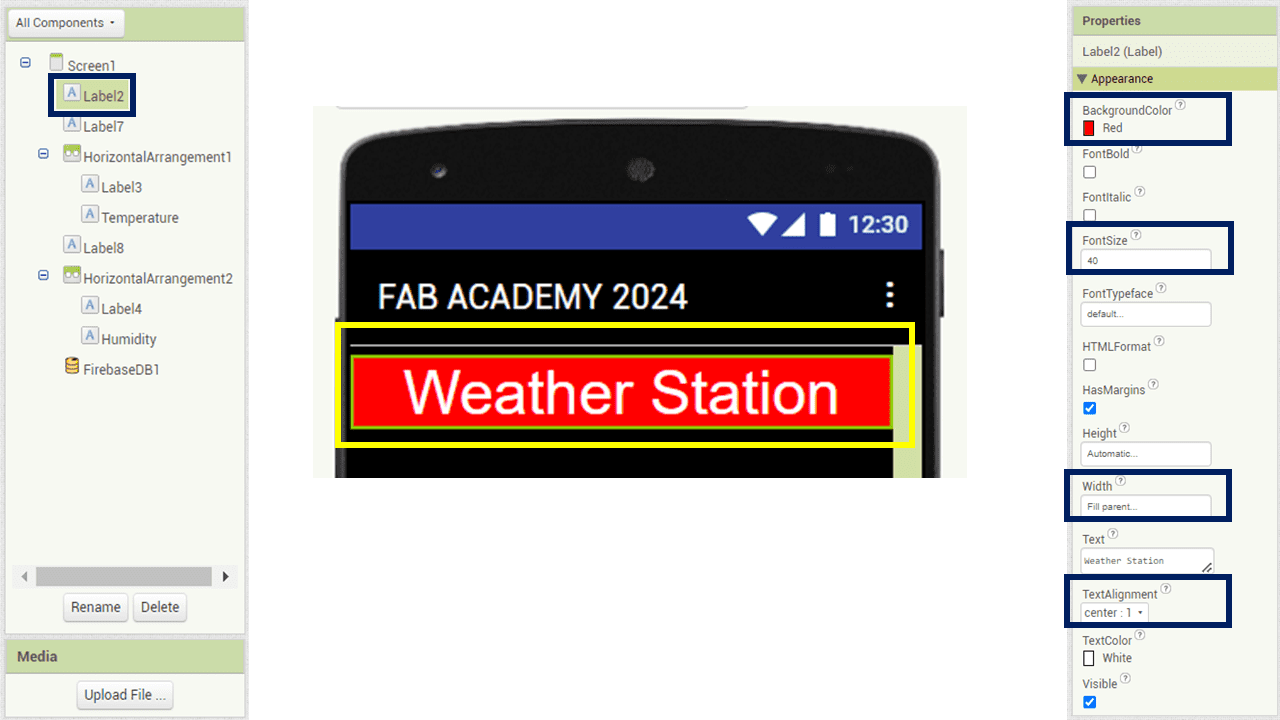
From Palette Option go to User Interface and drag Label from that and drop to the mobile screen shown in viewer tab. In Properties I have given red color to the Label, font size is 40, width is selected as fill parent and set the text as weather station.
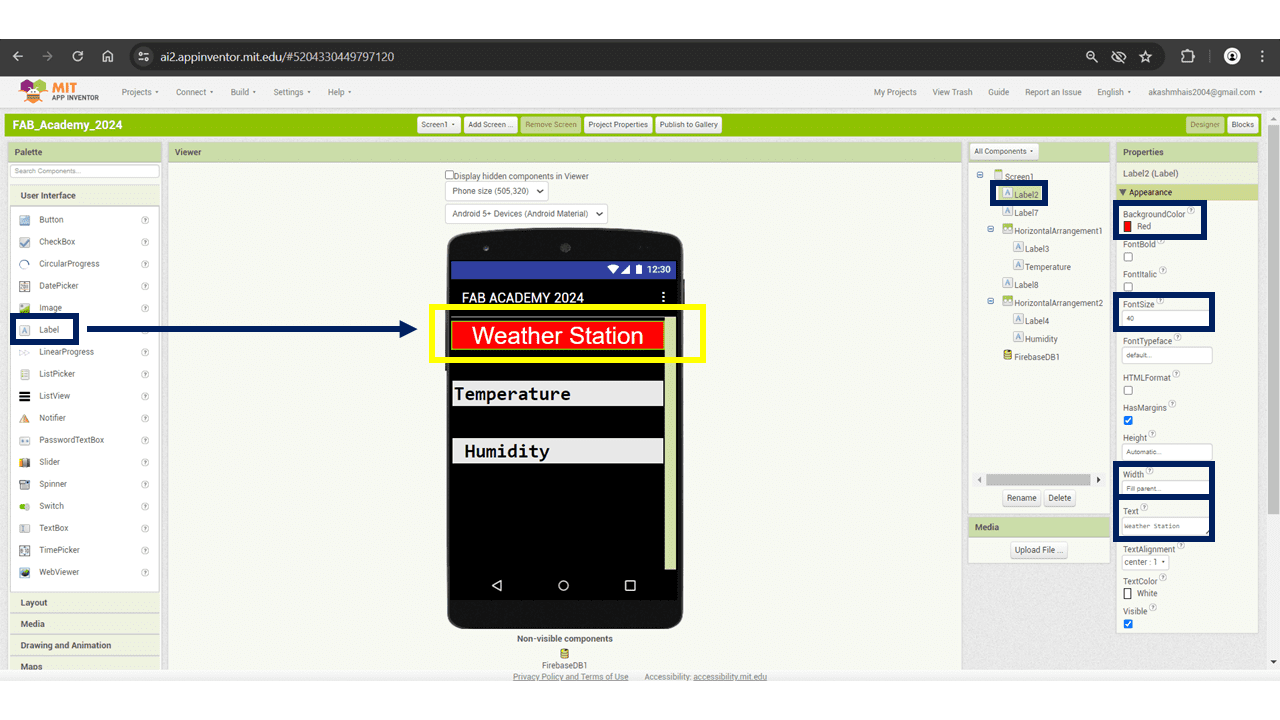
In this image the Component and Properties are shown.
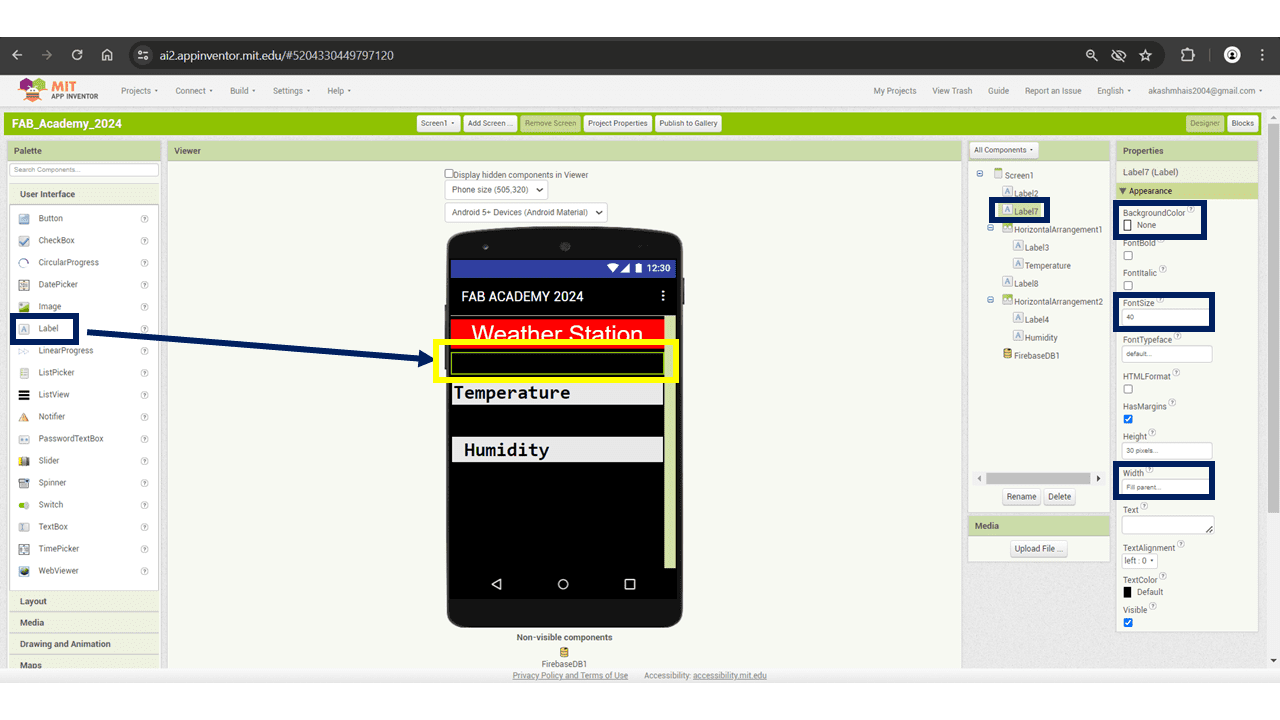
Then I added a blank label for some spacing. Because of it the the app looks somewhat better.
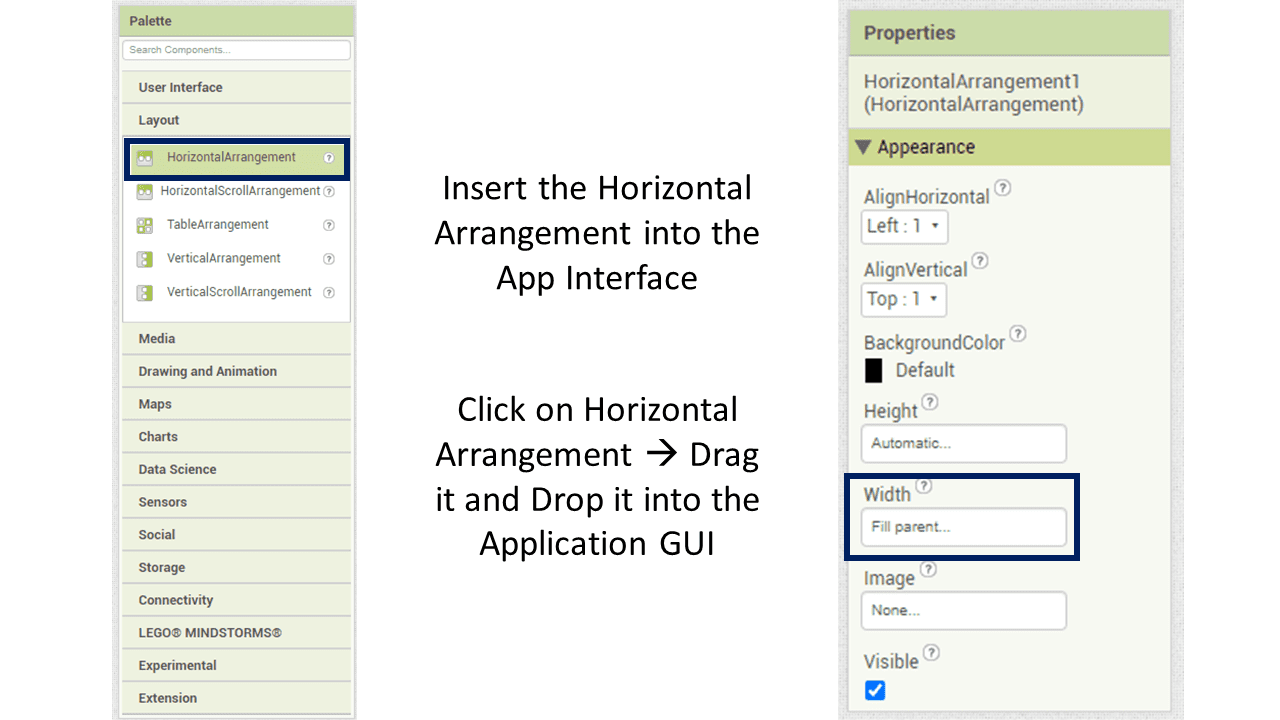
Go to Palette then Layout option and select the Horizontal Arrangement.
In that take a label from user interface tab and name it as Temperature.
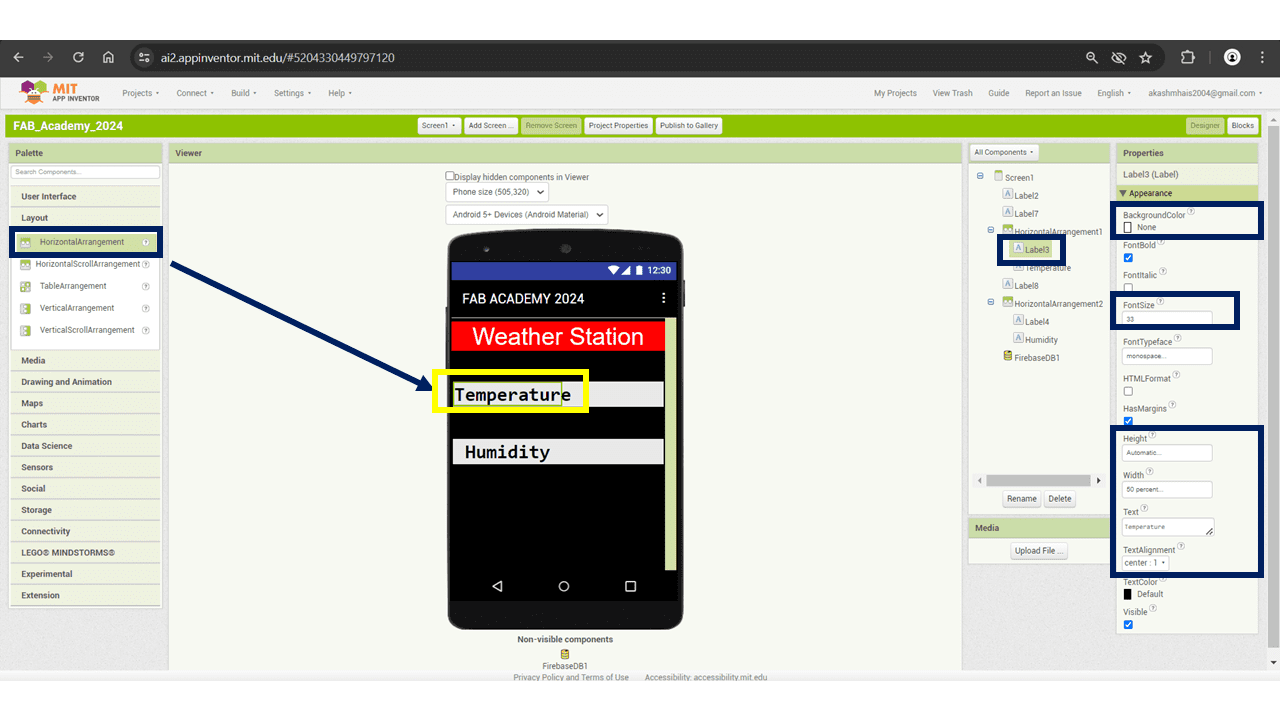
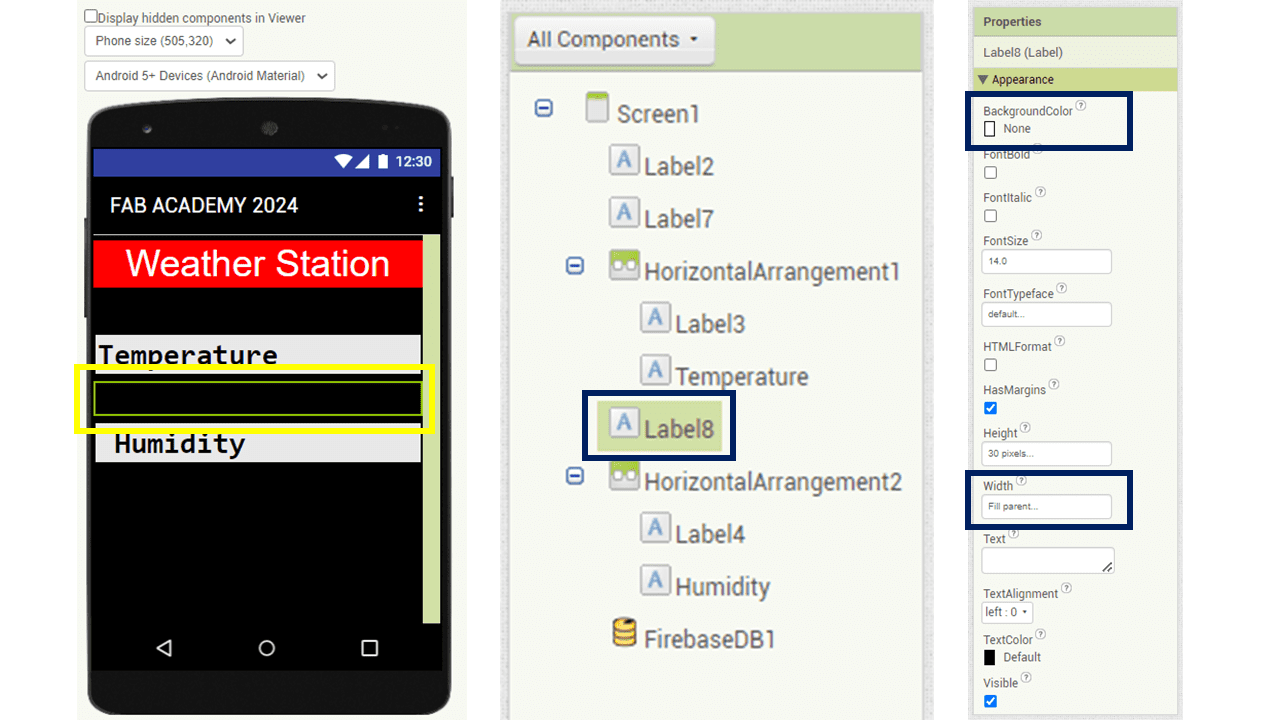
Then I added the another label next to that of Temperature for getting the temperature values in it and leave it as blank. we will going to take reading from sensor to show here the Temperature.

Again I used a blank label for some spacing. Because of it the the app looks somewhat better.
Again go to Palette then Layout option and select the Horizontal Arrangement.
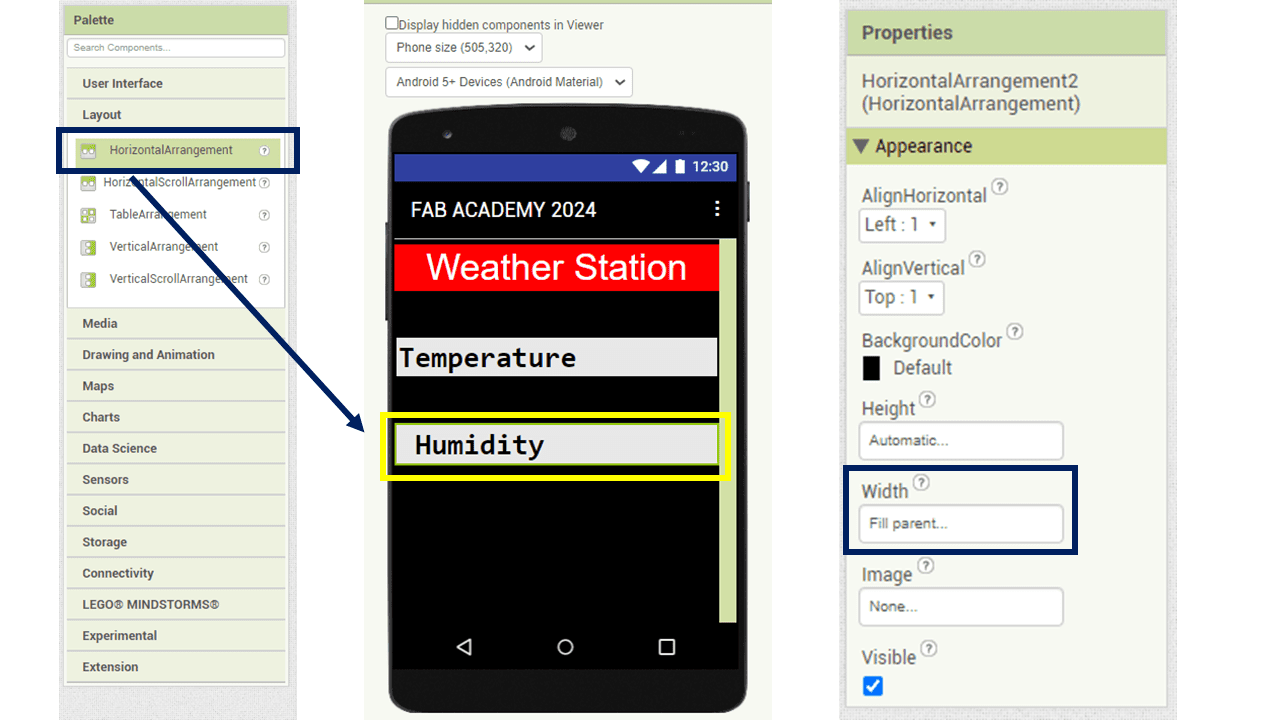
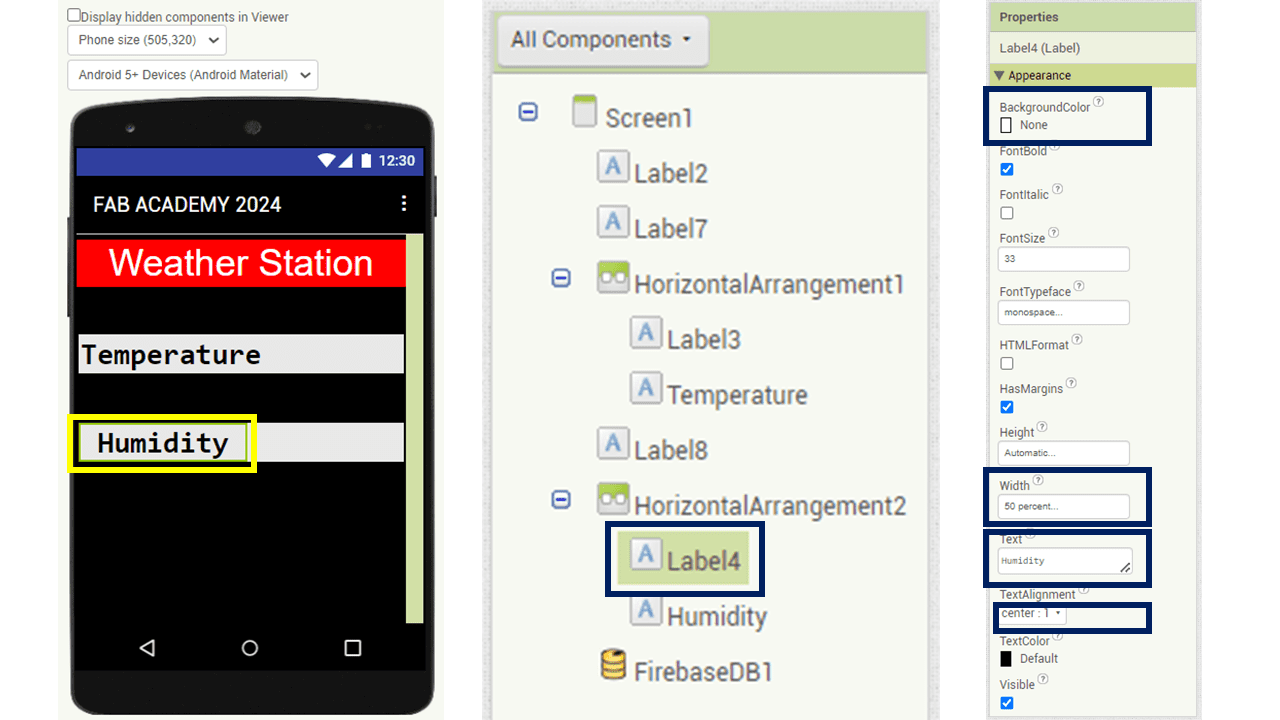
In that Drag a Label from the User Interface, and name it as Humidity, and use the properties as shown in below image.
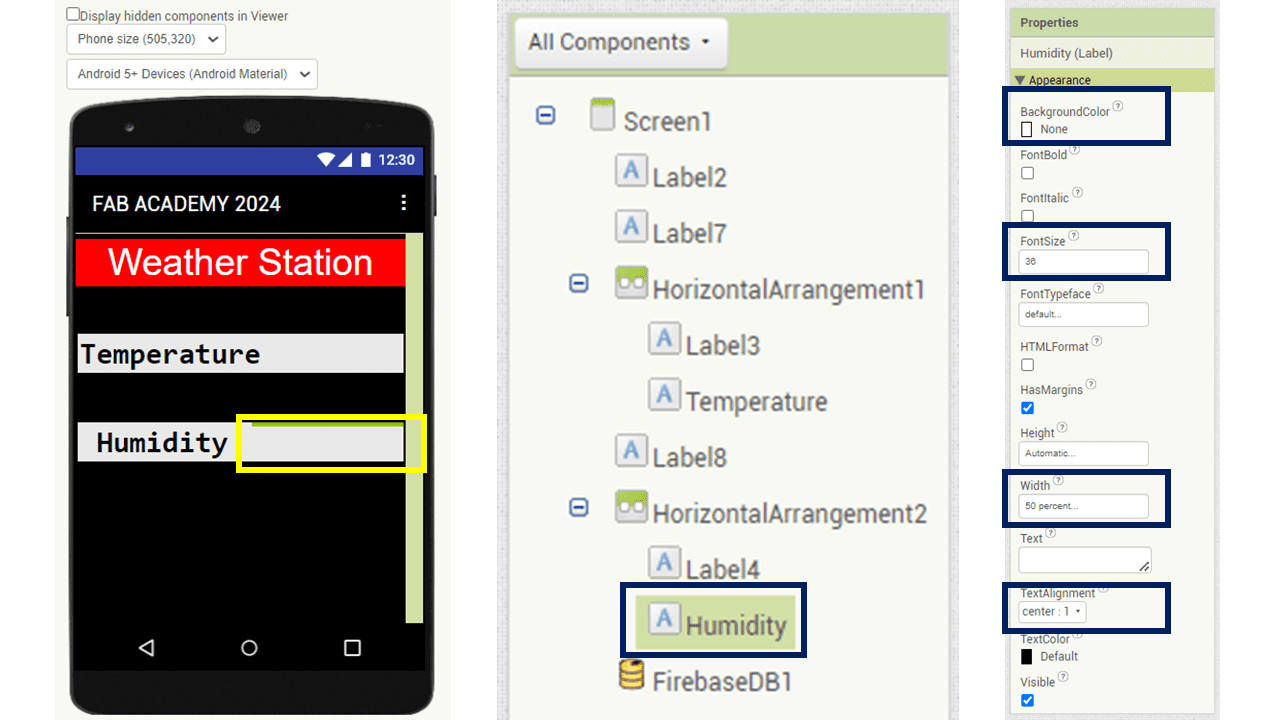
Then I added the another label next to that of Humidity for getting the humidity values in it and leave it as blank. we will going to take reading from sensor to show here the Humidity.
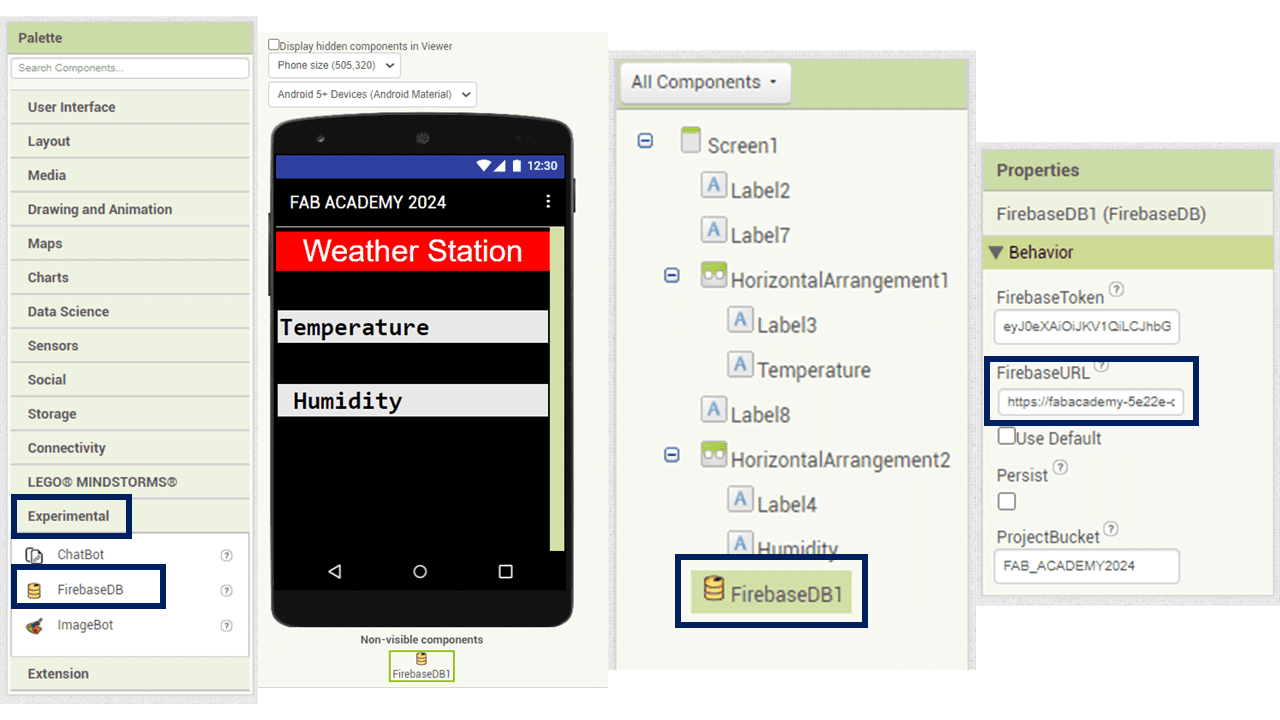
At the end for the connection with Firebase that I have created, go to Palette then Experimental and drag the FirebaseDB from it and drop into the app. It is invisible component of the app, it will only used to fetch the data from cloud database, here in properties paste the link of firebase in Firebase Link option.
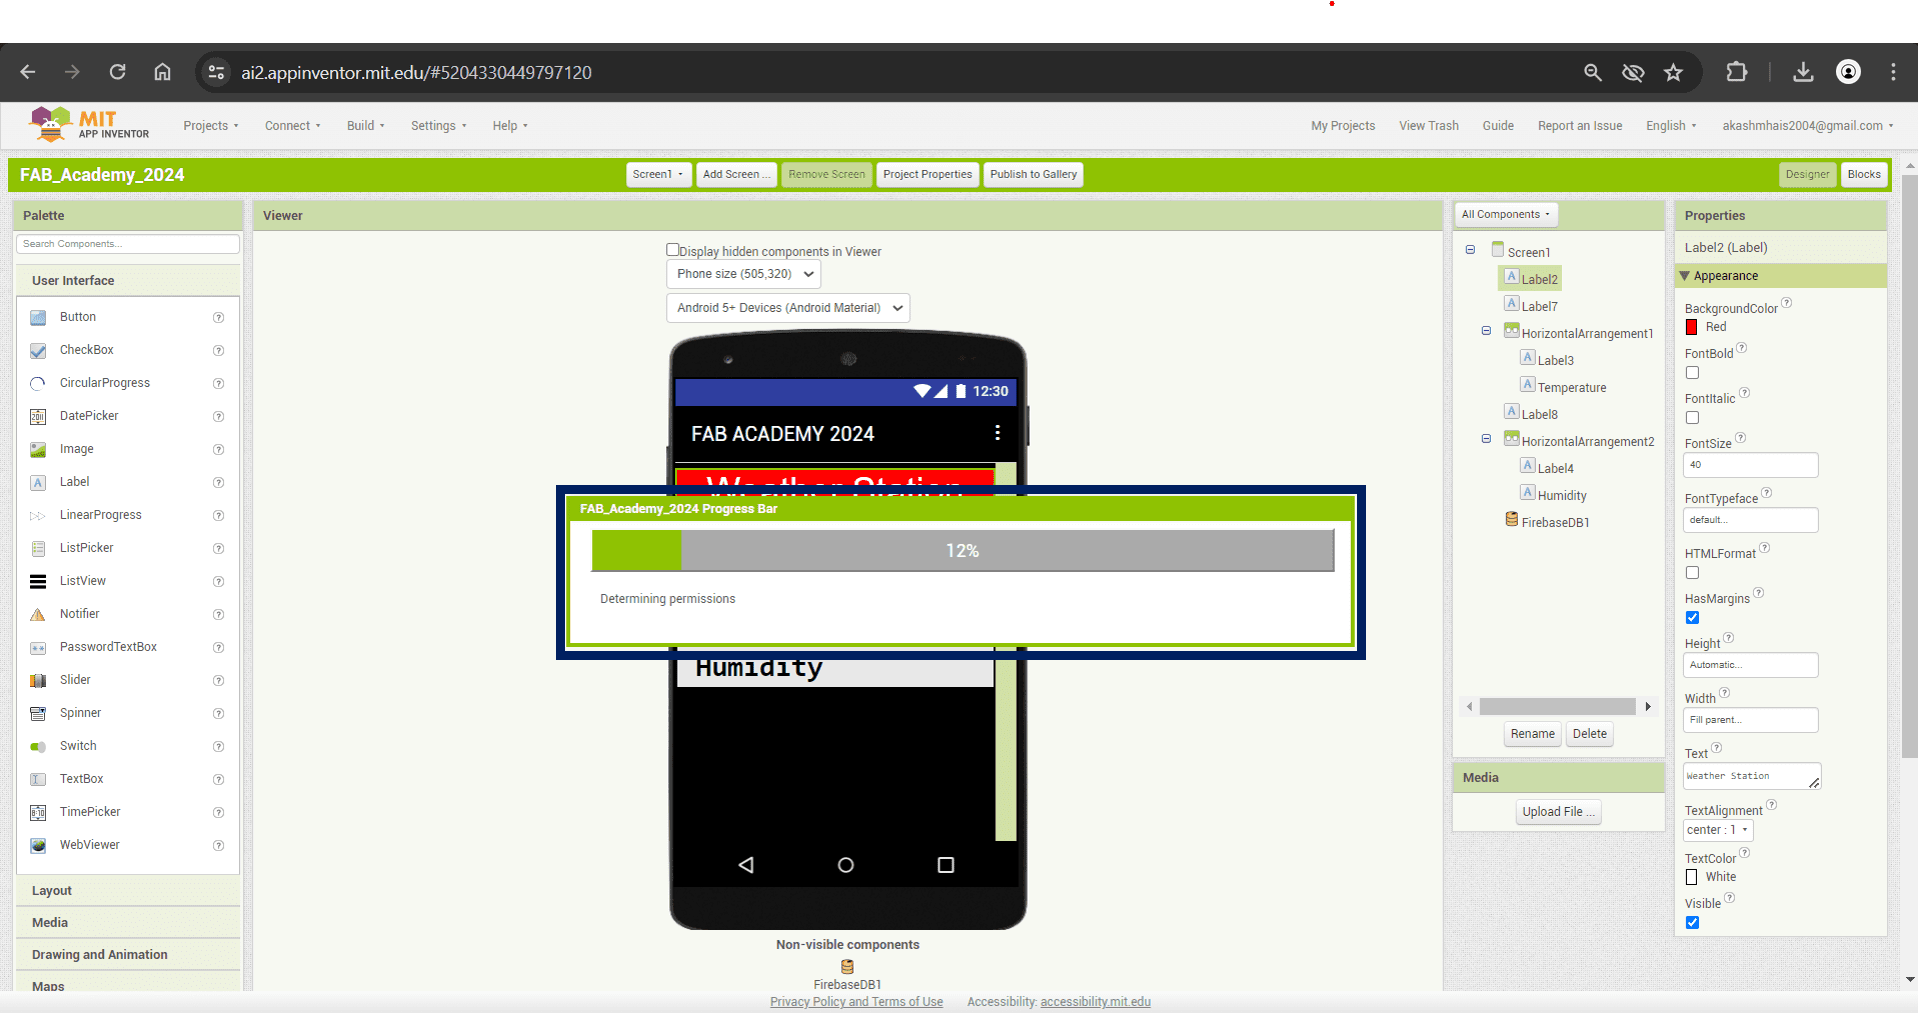
For Building the App for mobile phone click on Build Option and Select the .apk option for Android Phone.

It will take a minute for compiling and app making.
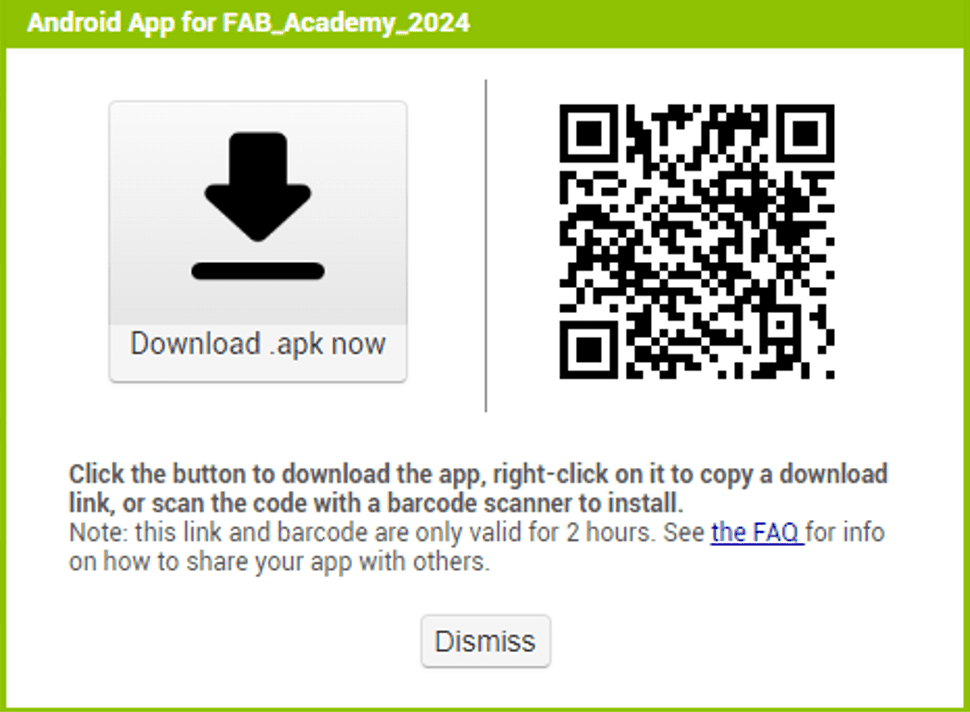
The app is now ready to use we can either download it directly or by scanning QR code.
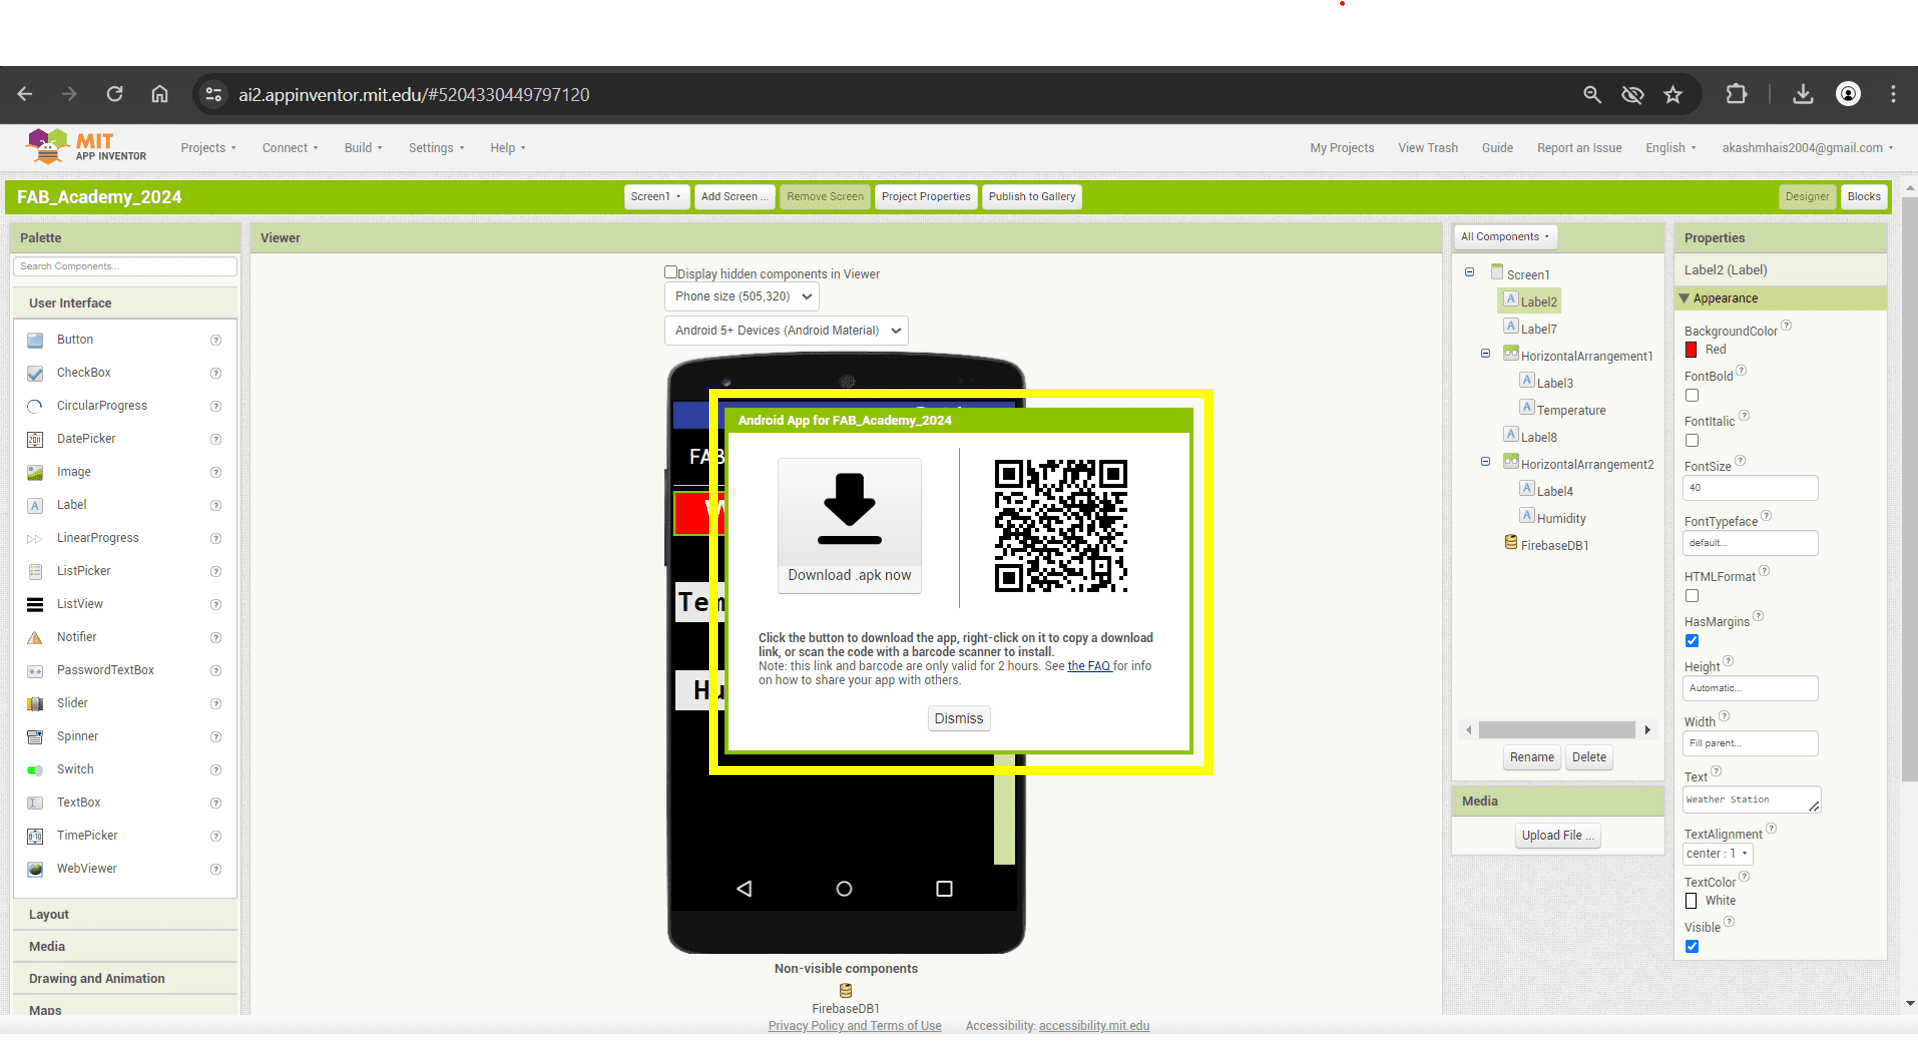
This is the QR code using this the app can be downloaded.
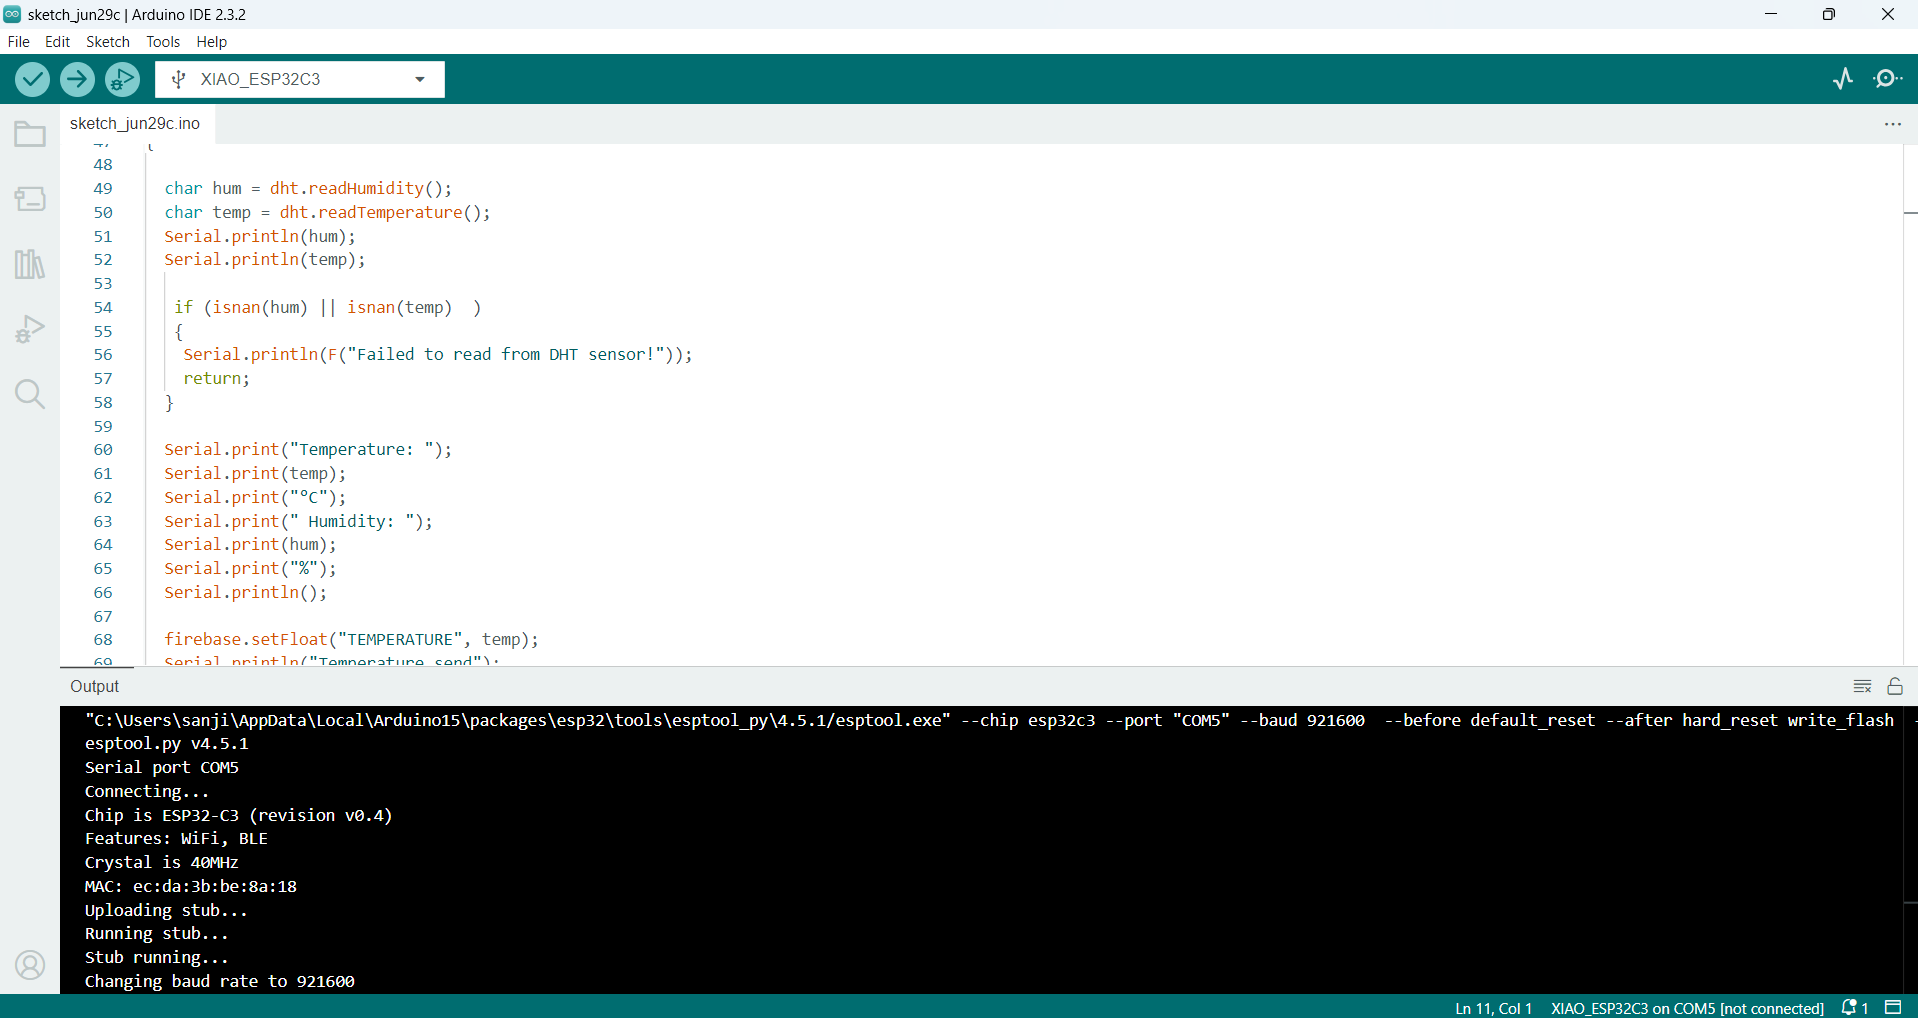
For Connecting the application with the app we have to do code the Xiao Esp32 C3 by using arduino IDE.
            #include < ESP32Firebase.h>

                #include  < WiFi.h>

                #include "DHT.h"


                #define _SSID "Vivo V20"          // Your WiFi SSID

                #define _PASSWORD "akash-mhais2004"      // Your WiFi Password

                #define REFERENCE_URL "https://fabacademy-5e22e-default-rtdb.firebaseio.com/"  // Your Firebase project reference url

                #define FIREBASE_AUTH "W3Hmqsrn87xGckUONbcbTn3okWcvIFCea3fNFdUG"


                Firebase firebase(REFERENCE_URL);


                #define DHTPIN 4


                #define DHTTYPE DHT11

                DHT dht(DHTPIN, DHTTYPE);


                void setup() {

                  Serial.begin(115200);

                  dht.begin();

                  WiFi.mode(WIFI_STA);

                  WiFi.disconnect();

                  delay(1000);


                  // Connect to WiFi

                  Serial.println();

                  Serial.println();

                  Serial.print("Connecting to: ");

                  Serial.println(_SSID);

                  WiFi.begin(_SSID, _PASSWORD);


                  while (WiFi.status() != WL_CONNECTED) {

                    delay(500);

                    Serial.print("-");

                  }


                  Serial.println("");

                  Serial.println("WiFi Connected");


                  // Print the IP address

                  Serial.print("IP Address: ");

                  Serial.print("http://");

                  Serial.print(WiFi.localIP());

                  Serial.println("/");

                }


                void loop()

                {


                  char hum = dht.readHumidity();

                  char temp = dht.readTemperature();

                  Serial.println(hum);

                  Serial.println(temp);


                   if (isnan(hum) || isnan(temp)  )

                   {

                    Serial.println(F("Failed to read from DHT sensor!"));

                    return;

                  }


                  Serial.print("Temperature: ");

                  Serial.print(temp);

                  Serial.print("°C");

                  Serial.print(" Humidity: ");

                  Serial.print(hum);

                  Serial.print("%");

                  Serial.println();


                  firebase.setFloat("TEMPERATURE", temp);

                  Serial.println("Temperature send");

                  firebase.setFloat("HUMIDITY", hum);

                  Serial.println("HUMIDITY send");

                  delay(200);


                 // firebase.setFloat(firebaseData,"/ESP32_APP/TEMPERATURE", temp);

                }
#_Output_:)
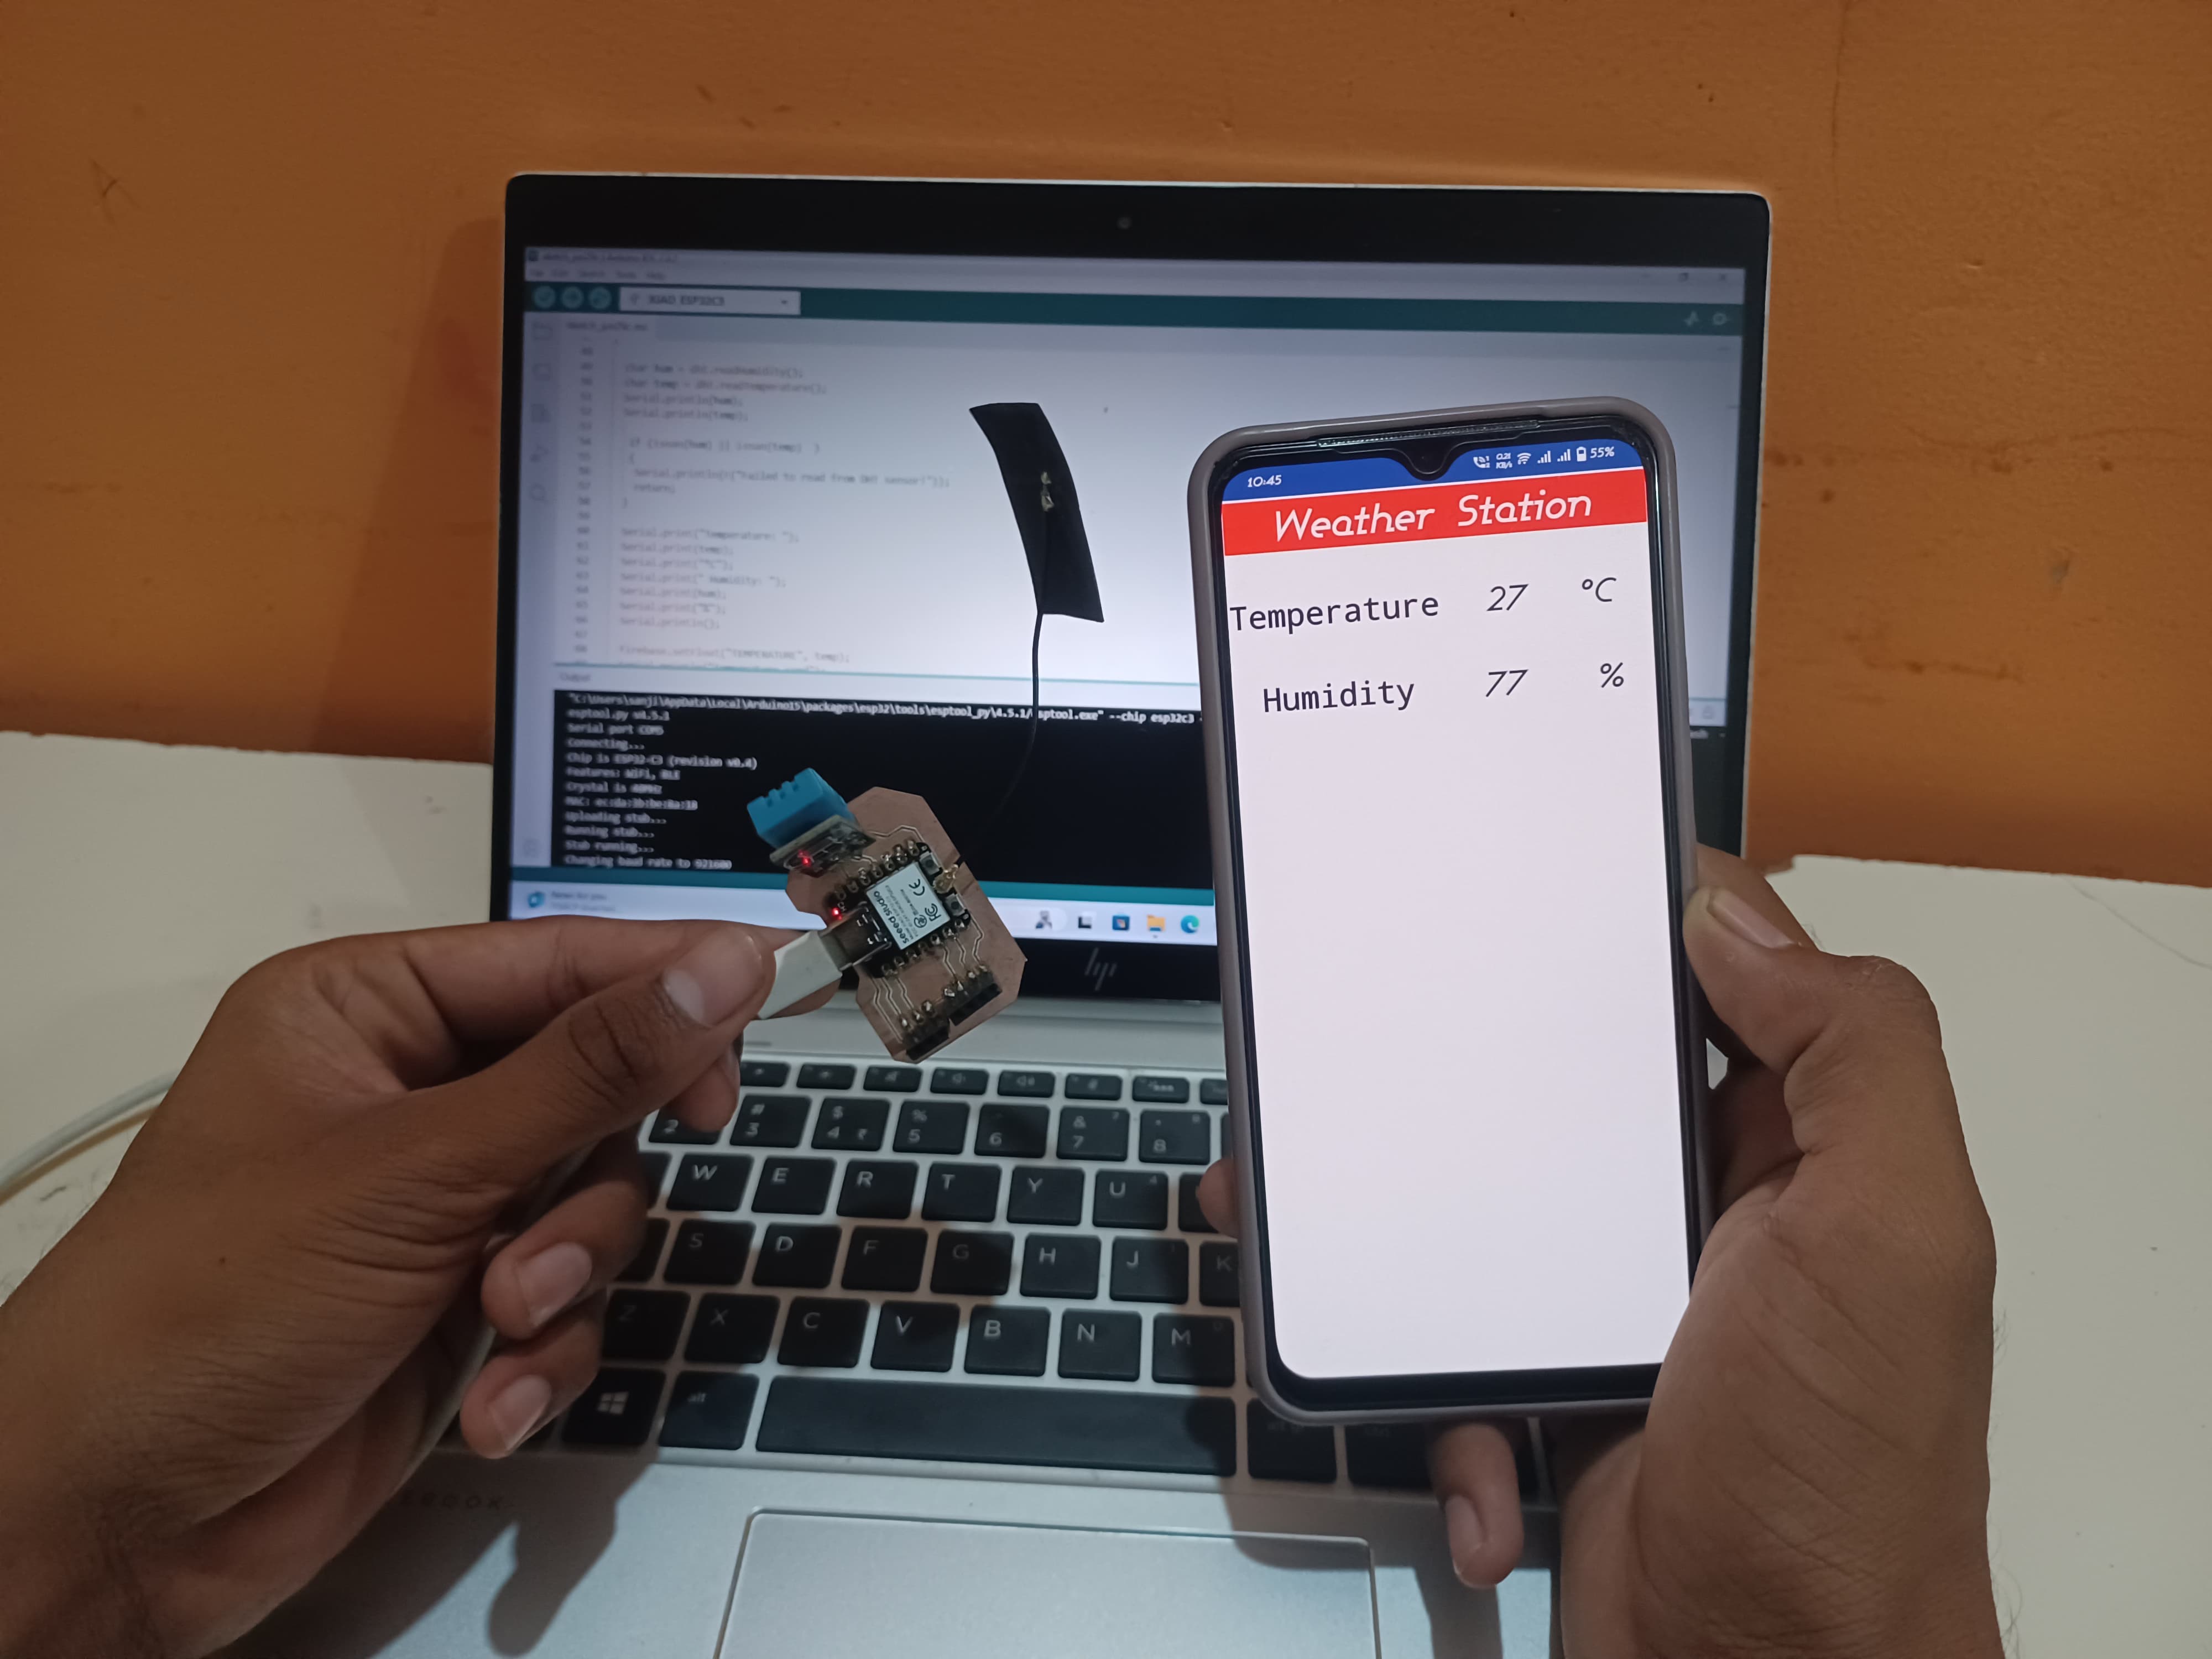
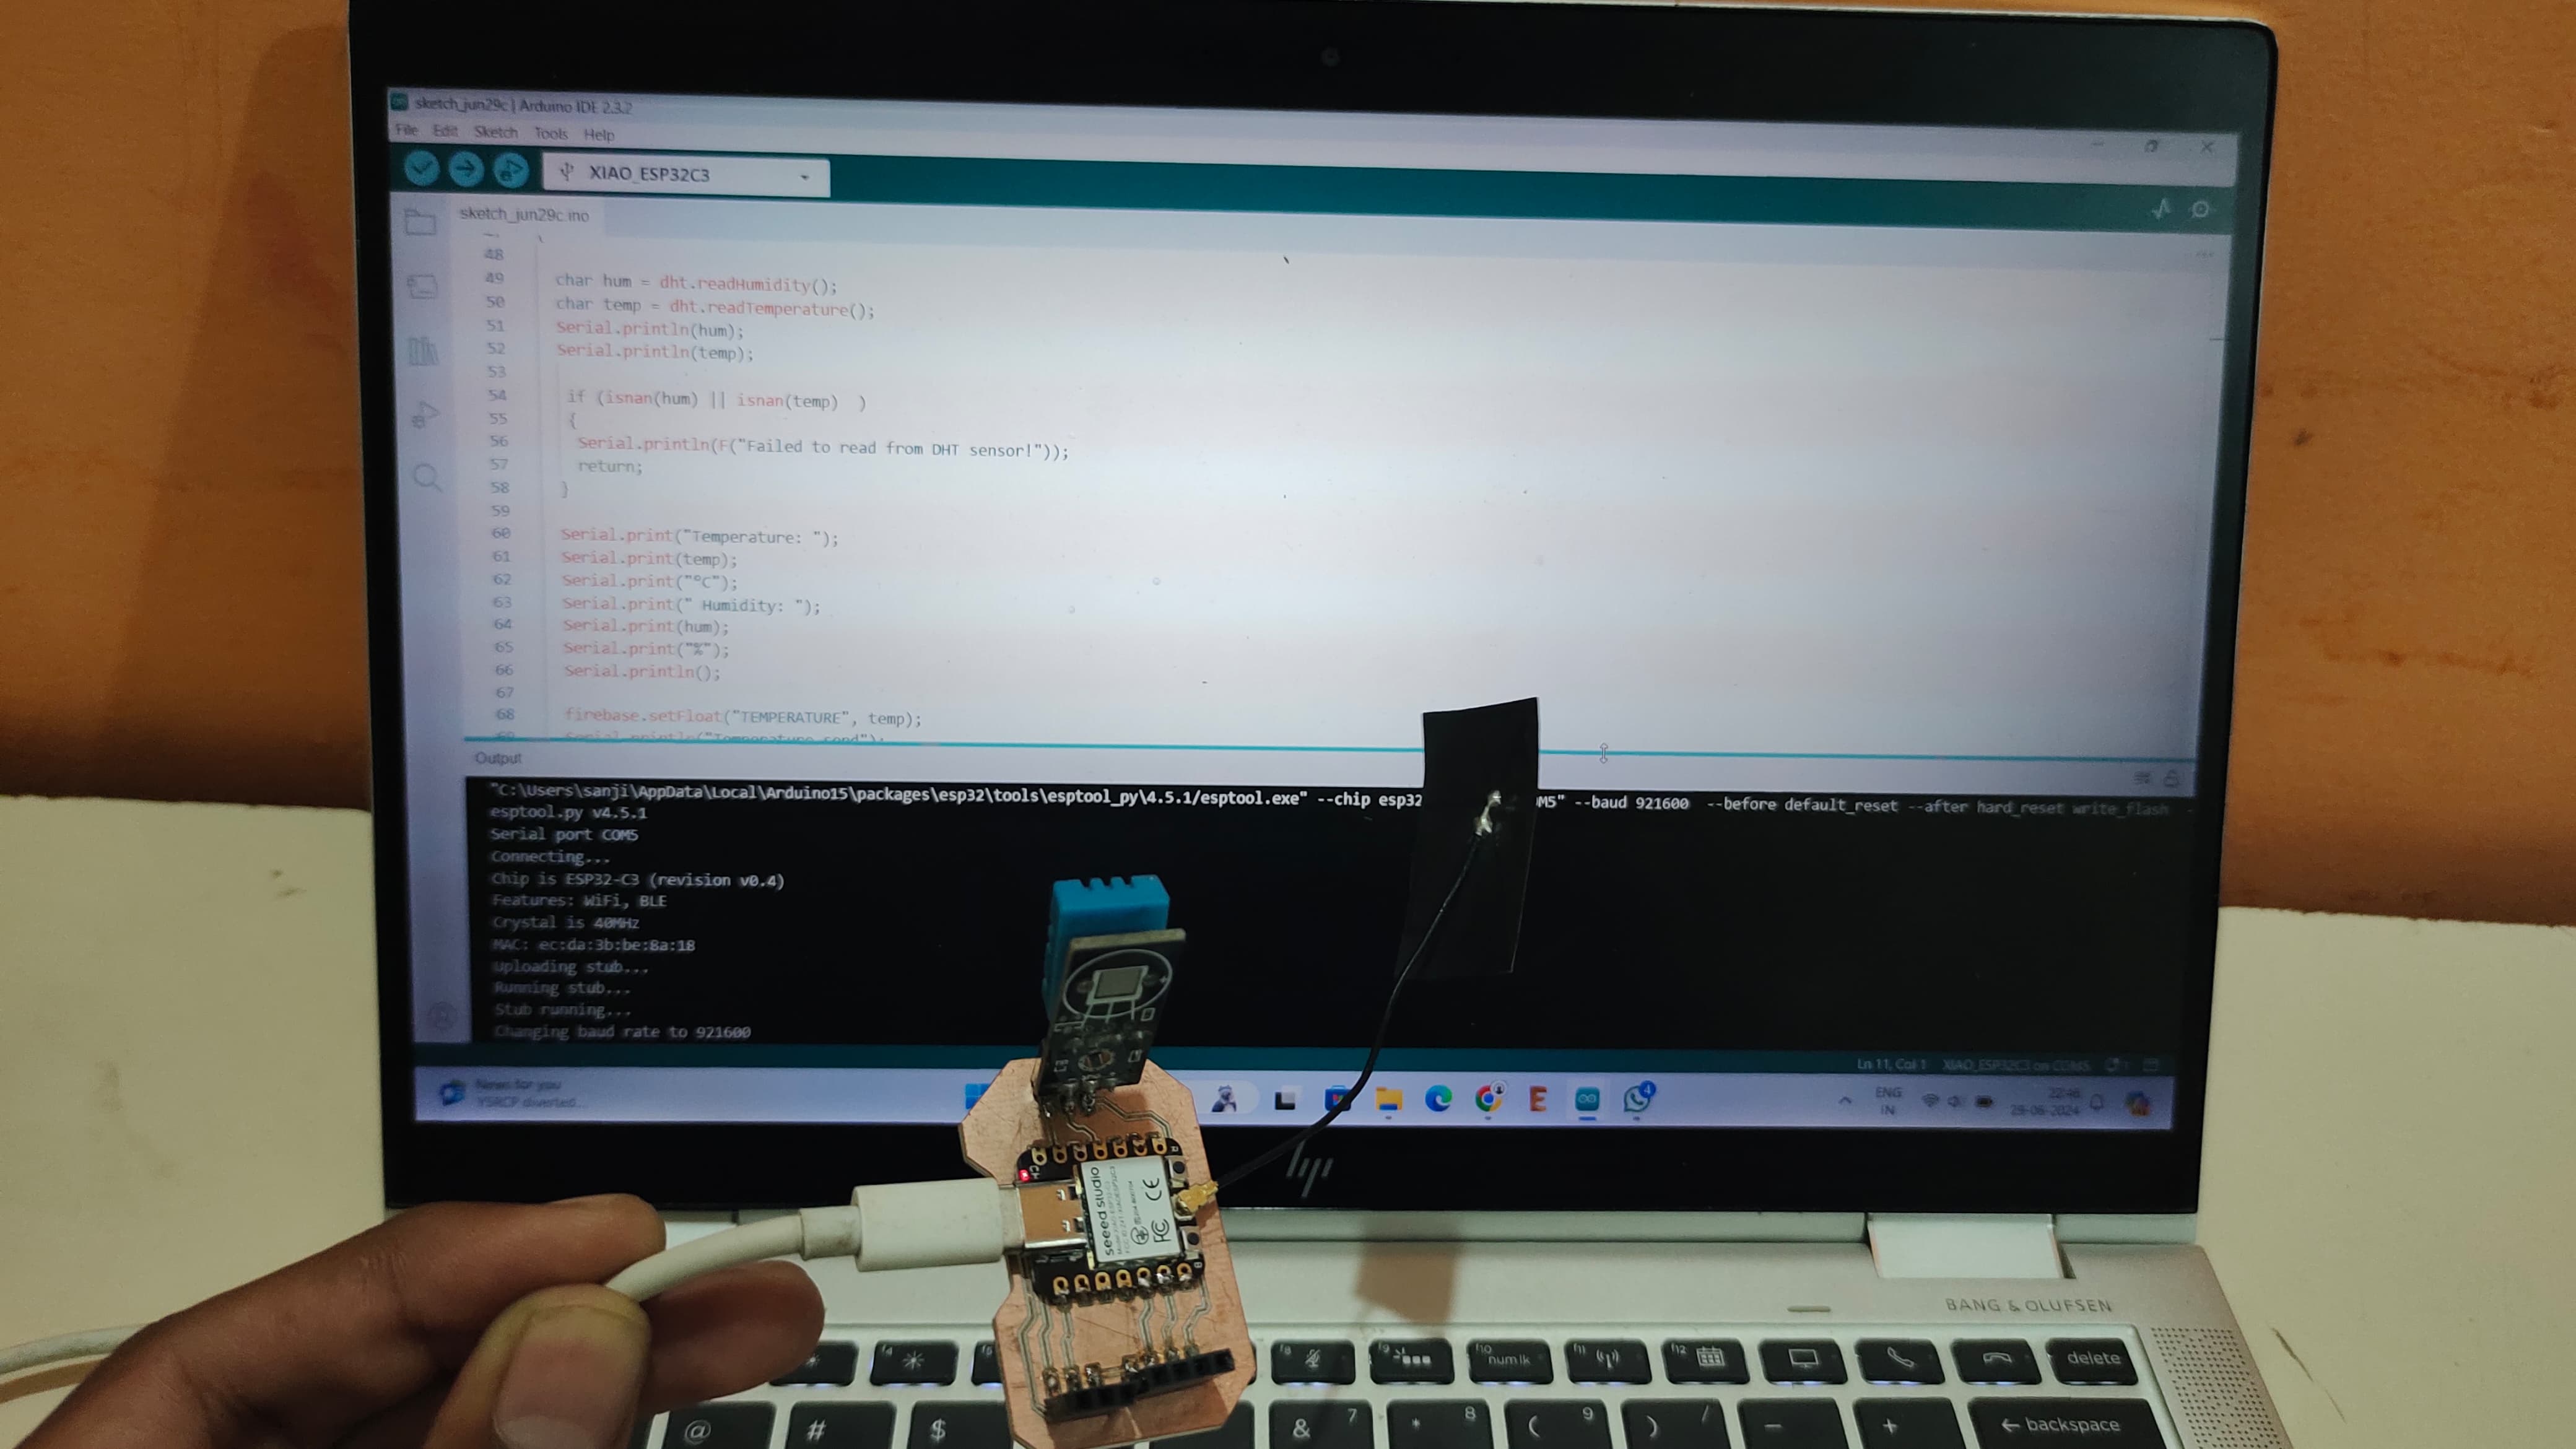
Output on App:
MIT APP Inventor - Application(.apk).