Measure the power consumption of an output device.
Document your work on the group work page and reflect on your individual page what you learned.
Individual assignment:
Add an output device to a microcontroller board you've designed and program it to do something.
Group Assignment
The group assigment link is available here on the fabalab page.
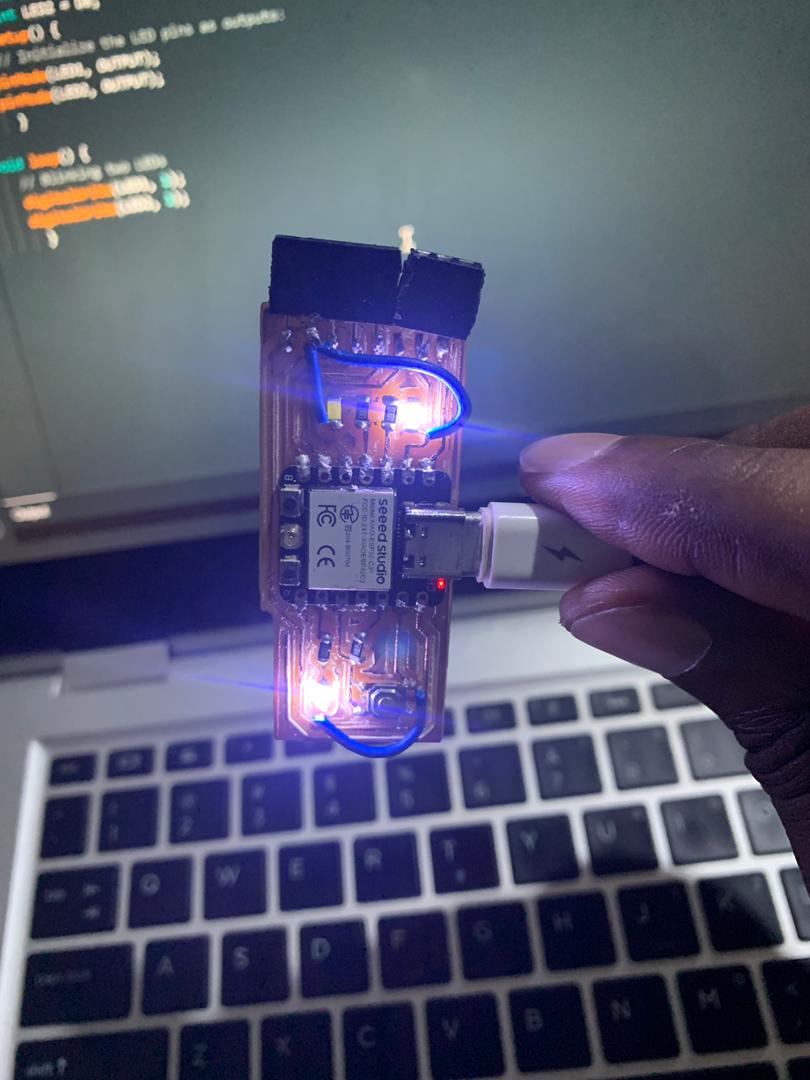
This week's assignment was to connect the output device to the microcontroller
circuit board that we designed in week 8. In my case, I used the XIAO ESP32C3
during the electronics design week, and the PCB produced this week was based on
the ESP32C3.
Materials
This week tasks was to connect an output devices to the microcontroller and program it to do anythins
, I choose to connect LCD1602 to my PCB I desinged in my week 8 and send any words from serial motor.
Board with XIAO ESP32C3
LCD1602
Jumper wires
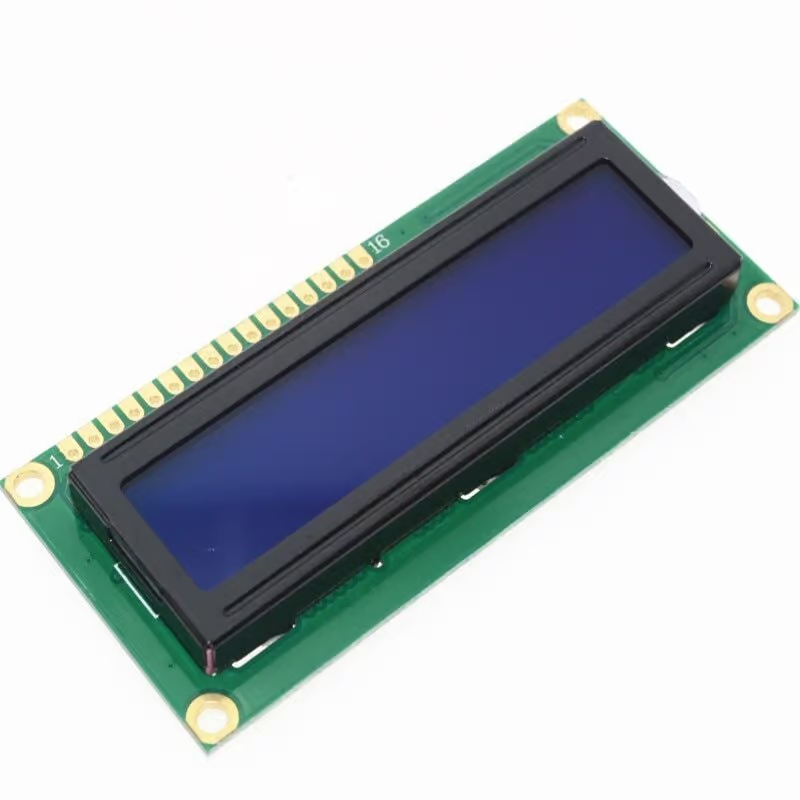
LCD1602
The LCD1602 is a popular alphanumeric liquid crystal display (LCD) module commonly used in various electronic projects for displaying text.
Here’s a detailed look at what the LCD1602 is and its key features:
Overview of LCD1602
LCD1602 stands for Liquid Crystal Display with 16 columns and 2 rows, capable of displaying up to 32 characters (16 characters per line). This module is widely used in DIY electronics, microcontroller projects,
and educational kits due to its simplicity, versatility, and ease of integration.
Key Features
Display Size and Characters:
The LCD1602 module has a display grid of 16 columns and 2 rows,
allowing for a total of 32 characters to be displayed at any given time.
Each character is typically represented in a 5x8 pixel matrix.
Backlight and Contrast Adjustment:
Most LCD1602 modules come with an LED backlight, which makes the display readable in low light conditions.
The contrast of the display can be adjusted using a potentiometer connected to the contrast pin (V0).
Interface:
The LCD1602 uses a parallel interface to communicate with microcontrollers. It can operate in 4-bit or 8-bit mode,
with the 4-bit mode being more common as it requires fewer data pins.
Commonly used control pins include RS (Register Select),
E (Enable), RW (Read/Write), and data pins D0 to D7.
Controller Chip:
The module is typically driven by the HD44780 controller or a compatible chip, which interprets the commands and data sent by the microcontroller to control the display.
Power Requirements:
The LCD1602 operates on a 5V power supply, making it compatible with most microcontroller platforms such as Arduino, Raspberry Pi, and others.
Basic Connection and Usage
To use an LCD1602 with a microcontroller like an Arduino, you typically need to:
Connect the Pins:
LCD VSS to 5V XIAOESP32C3
LCD GND to GND XIAOESP32C3
LCD SDA to D4 XIAOESP32C3
LCD SCL to D5 XIAOESP32C3
Initialize the Display:
Use a library such as LiquidCrystal for Arduino to initialize and control the display. This library provides functions for displaying text, clearing the display, and setting the cursor position.
Write Code
Code to display "Hello, World!" on the LCD:
                            #include

                                // set the LCD number of columns and rows
                                int lcdColumns = 16;
                                int lcdRows = 2;

                                // set LCD address, number of columns and rows
                                // if you don't know your display address, run an I2C scanner sketch
                                LiquidCrystal_I2C lcd(0x27, lcdColumns, lcdRows);

                                void setup(){
                                  // initialize LCD
                                  lcd.begin();
                                  // turn on LCD backlight
                                  lcd.backlight();
                                }

                                void loop(){
                                  // set cursor to first column, first row
                                  lcd.setCursor(0, 0);
                                  // print message
                                  lcd.print("Hello, FabAcademy");
                                  delay(1000);
                                  // clears the display to print new message
                                  lcd.clear();
                                  // set cursor to first column, second row
                                  lcd.setCursor(0,1);
                                  lcd.print("Hello, FabAcademy");
                                  delay(1000);
                                  lcd.clear();
                                }