Week 13
Molding and Casting
Assignments
Our task for this week is:
Group assesment
- Review the safety data sheets for each of your molding and casting materials
- Make and compare test casts with each of them
- Compare printing vs milling molds
Individual assignment:
- Design a mold around the process you’ll be using, produce it with a smooth surface finish, and use it to cast parts.
Group Assignment
The group assigment link is available here on the fabalab page.
To complete this week's task on molding and casting, I began by hand sketching the design for my project. This initial sketch helped me visualize the final product and plan the steps needed for the molding process. You can see my hand-drawn sketch in the image below.
Hand Sketch
Design Process
I started with a rough idea of what I wanted to mold and cast. My goal was to create a detailed and functional object.
I transferred my ideas onto paper, focusing on the key elements of the design. This step allowed me to refine my concept and consider the practical aspects of the molding process.
Using the sketch as a reference, I created a detailed plan for the mold. This involved deciding on the type of mold, the material to be used, and the design features that would ensure the object could be easily cast and removed from the mold.
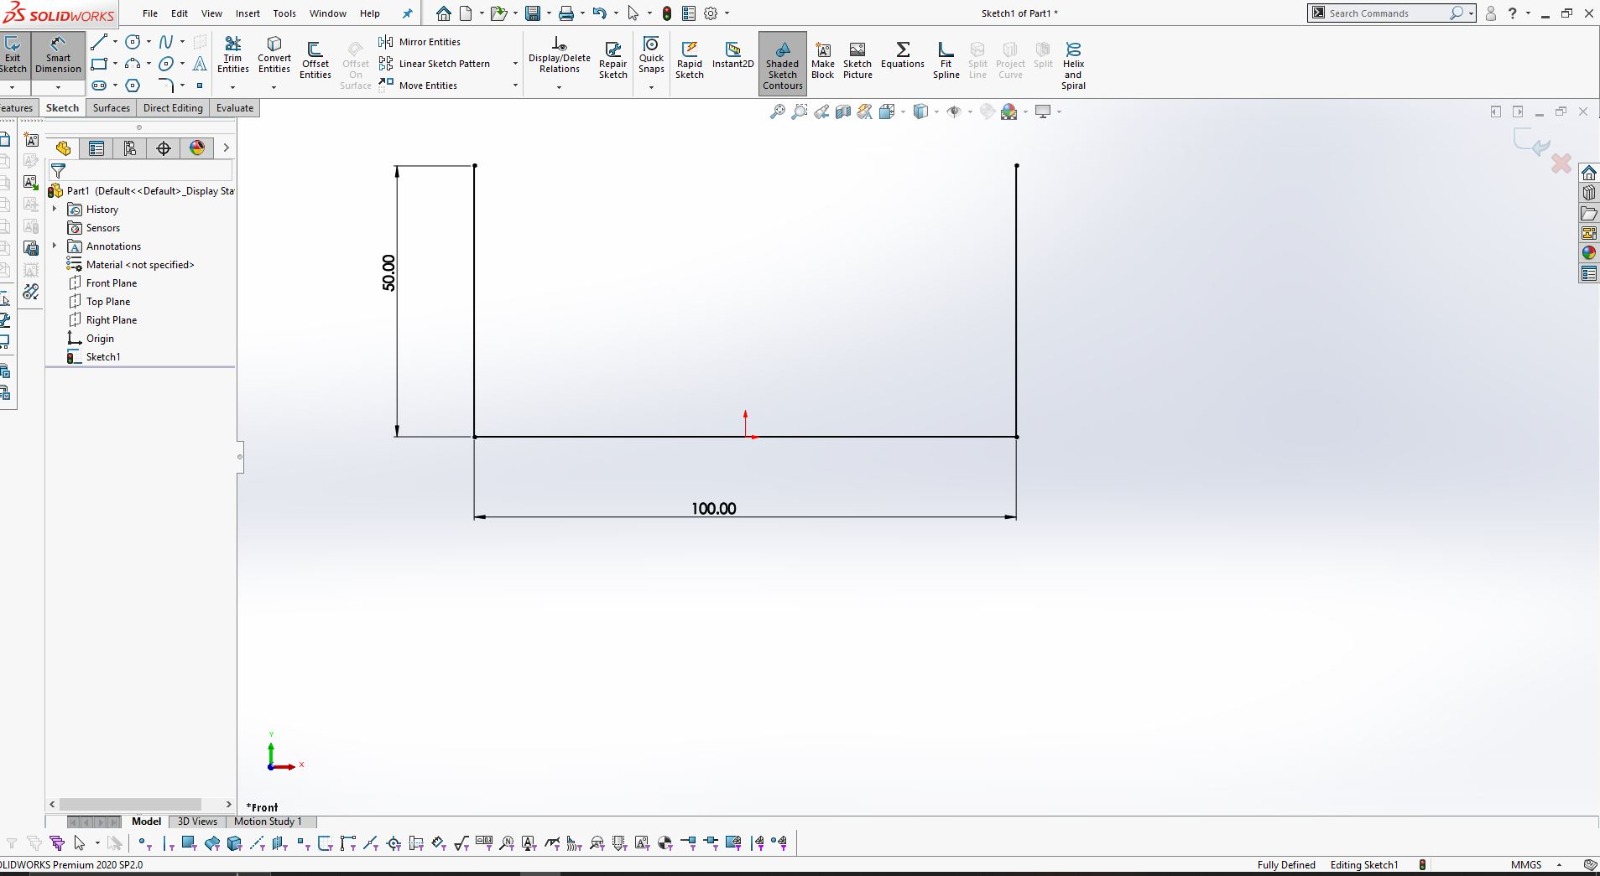
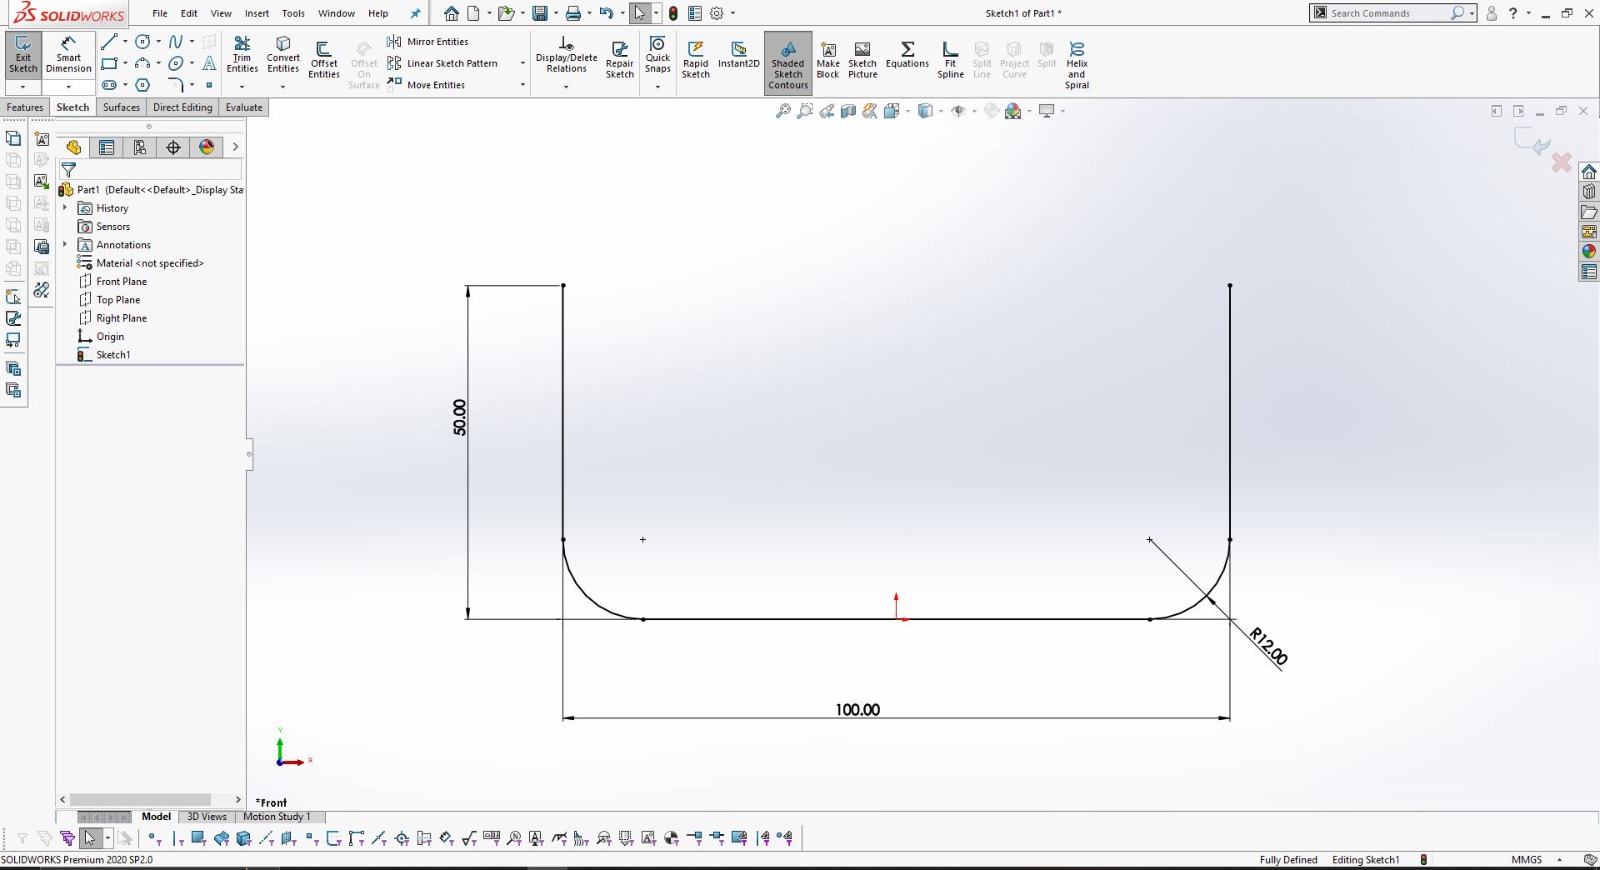
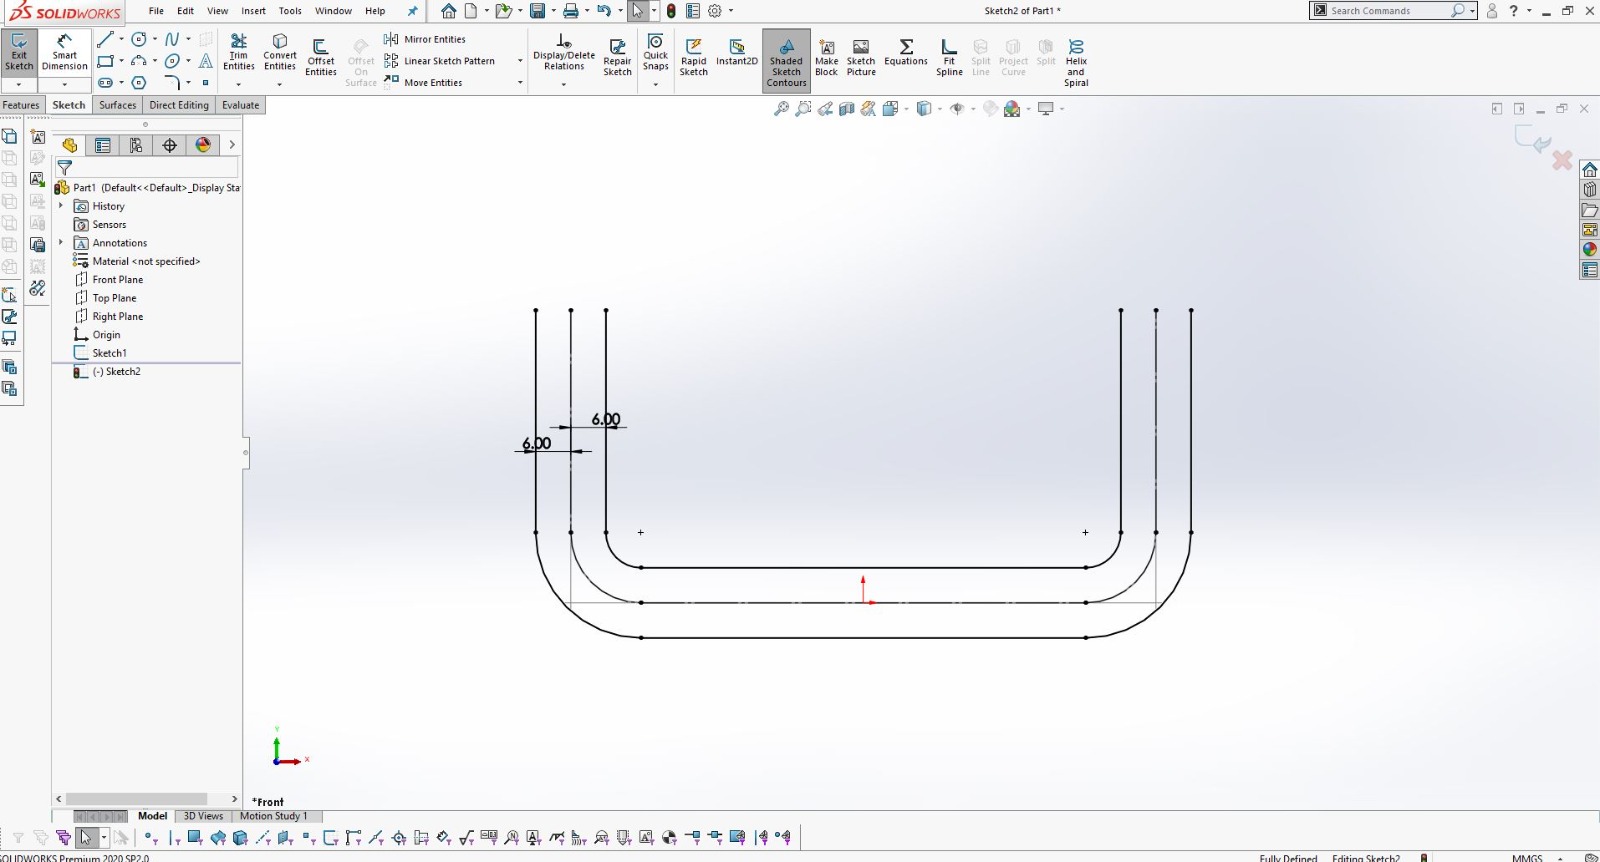
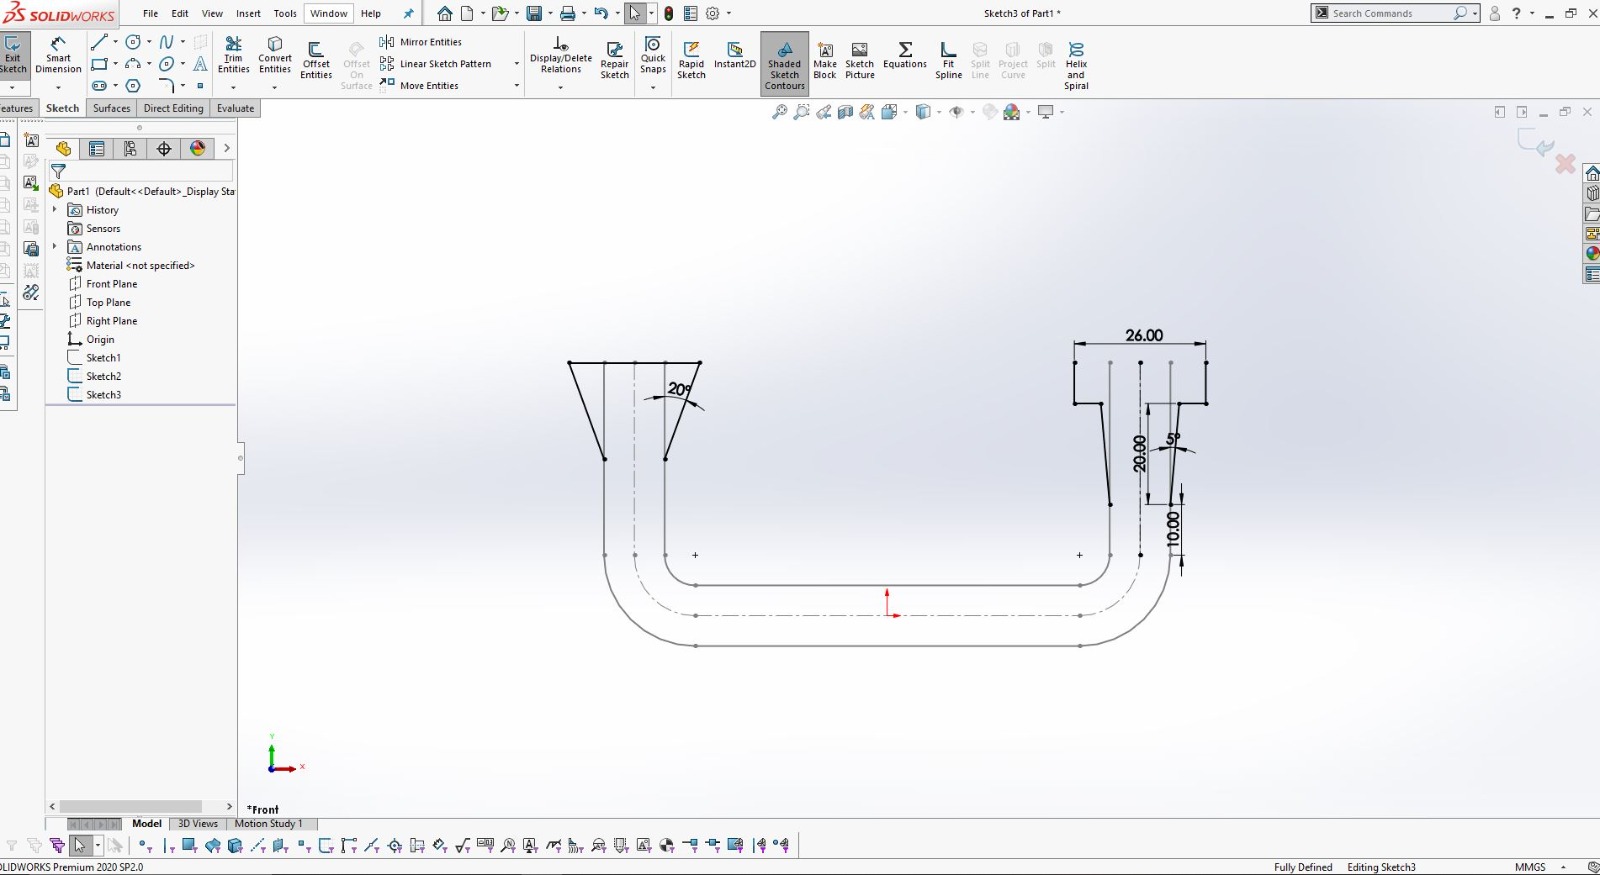
Using SolidWorks for 3D Design
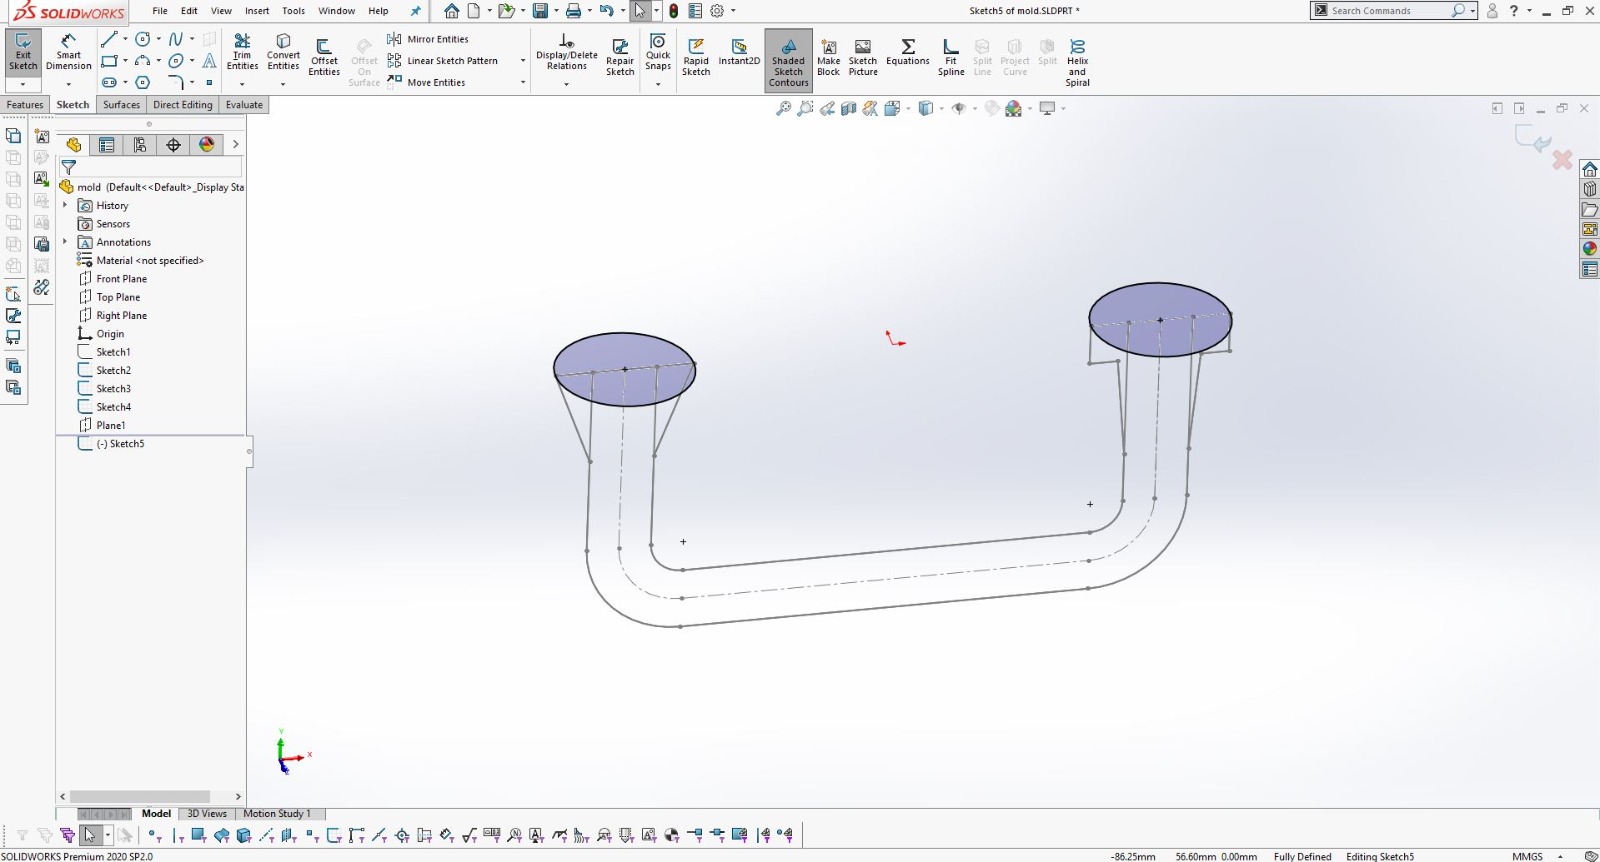
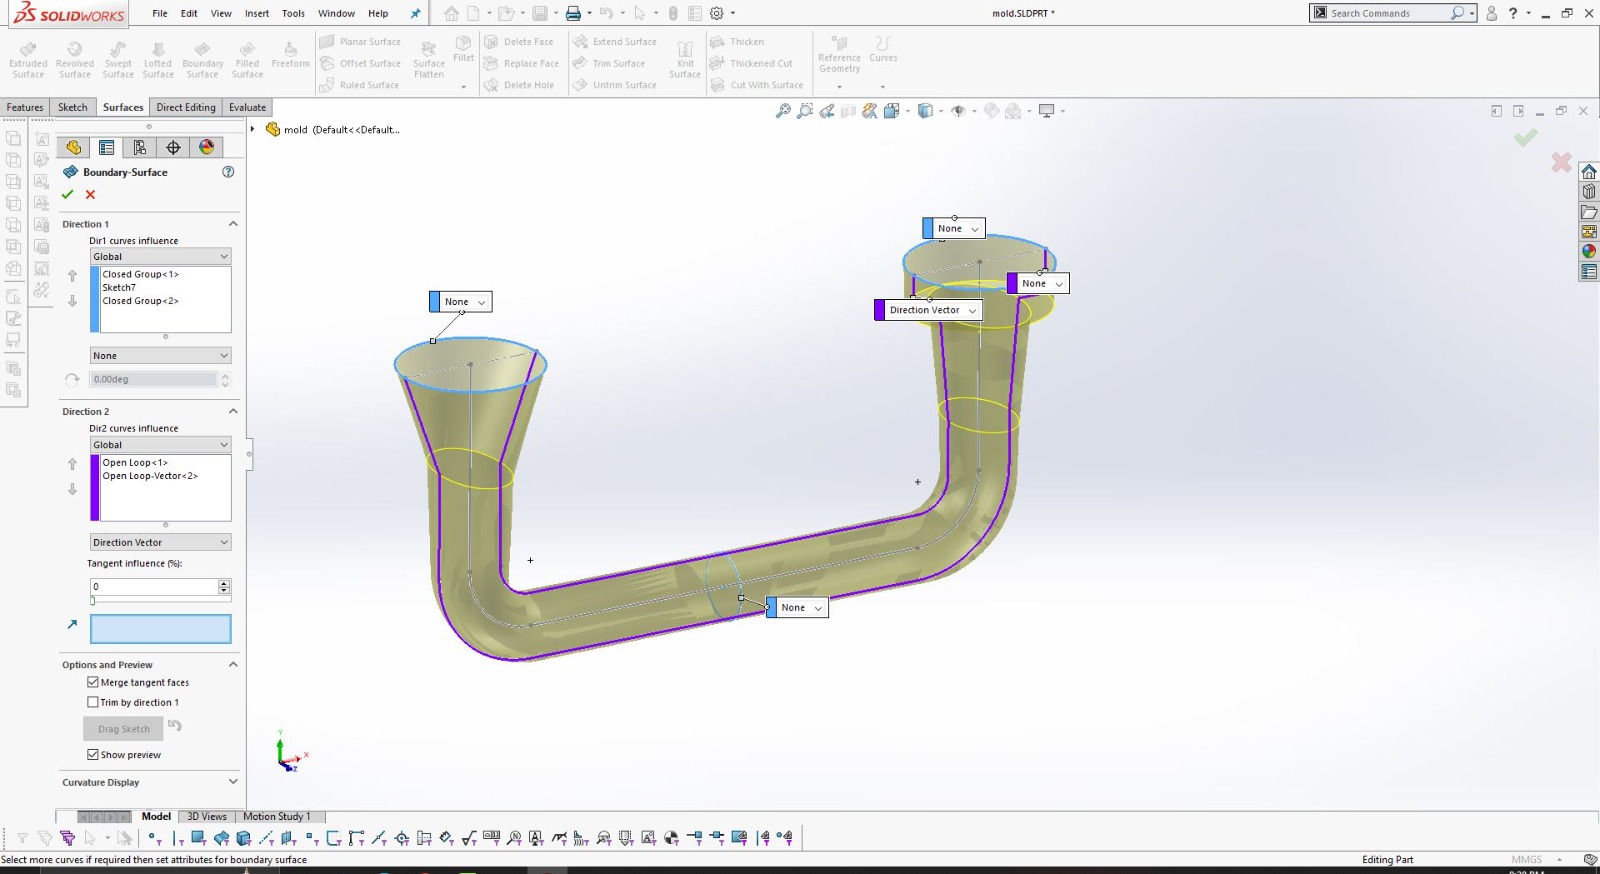
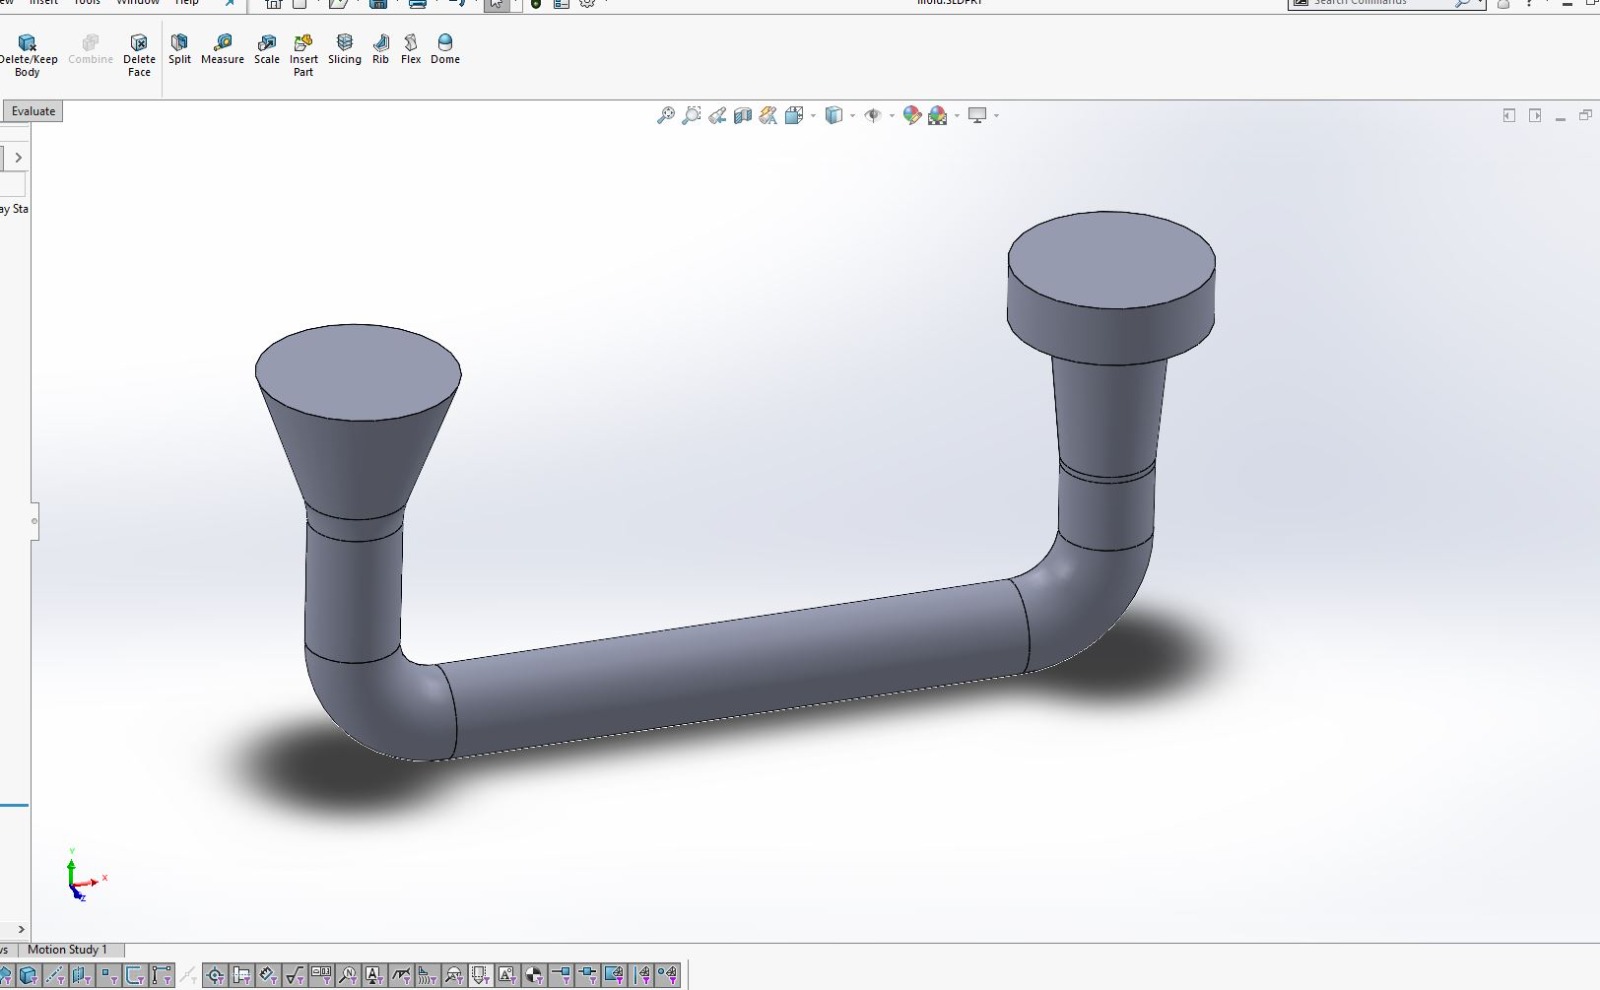
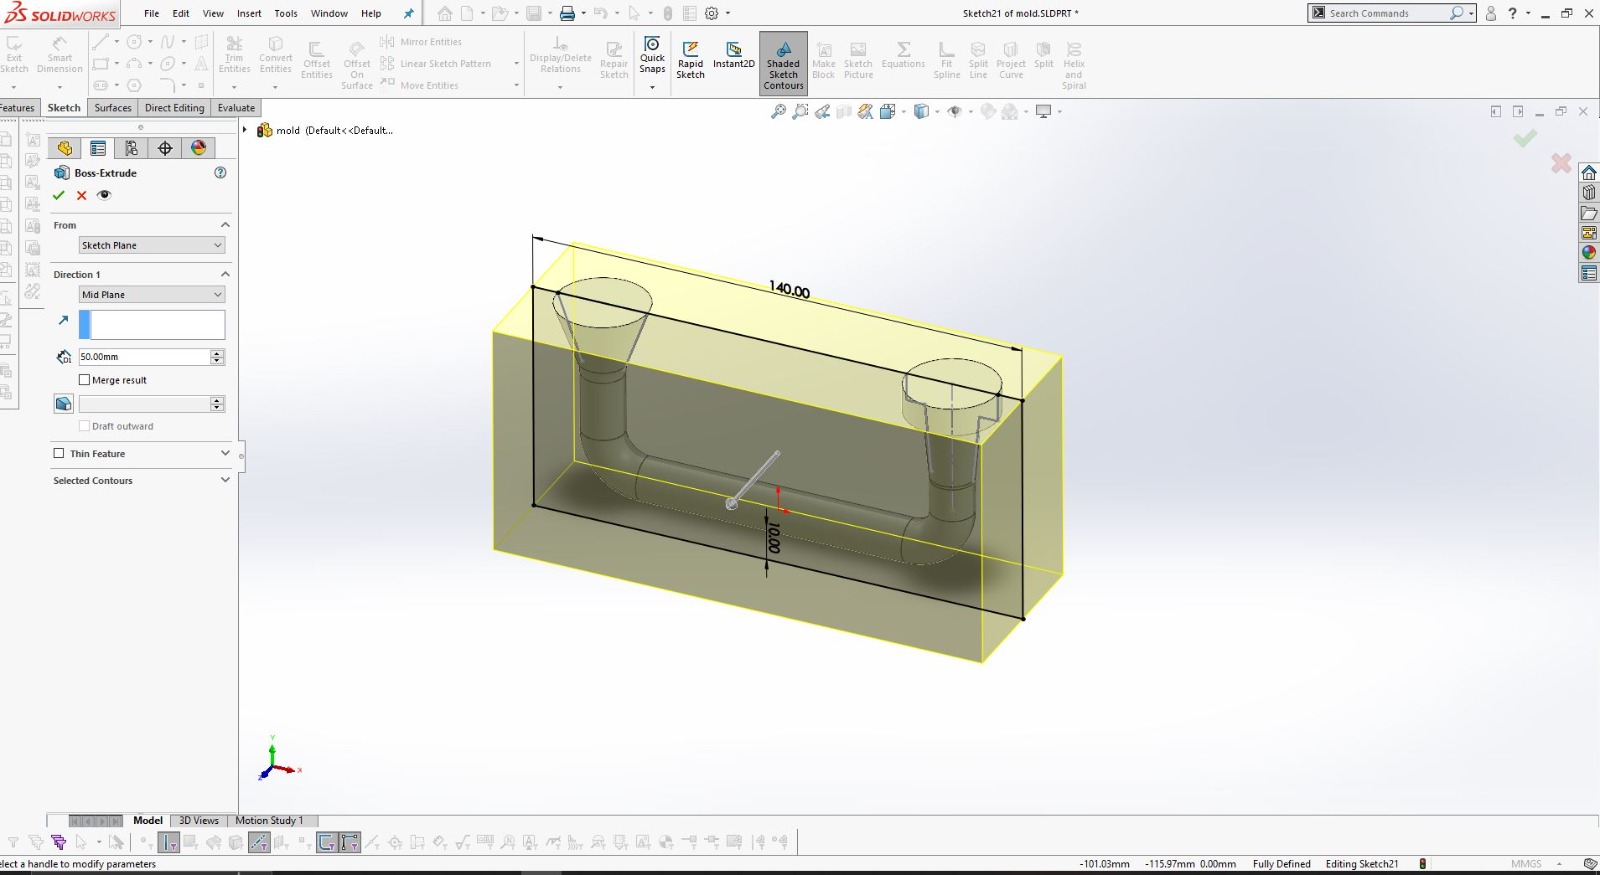
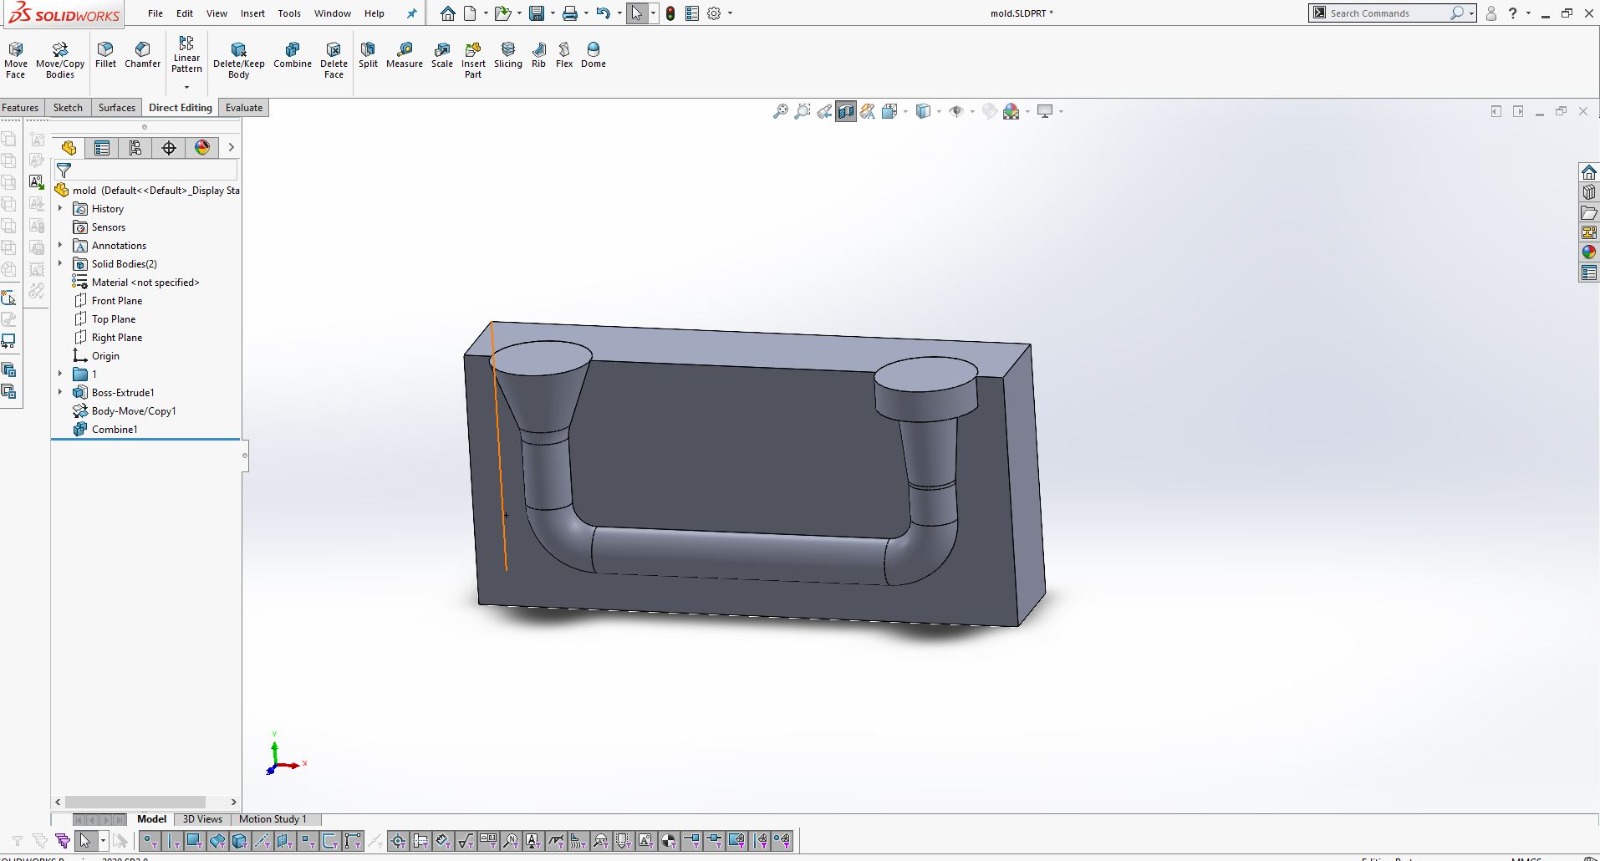
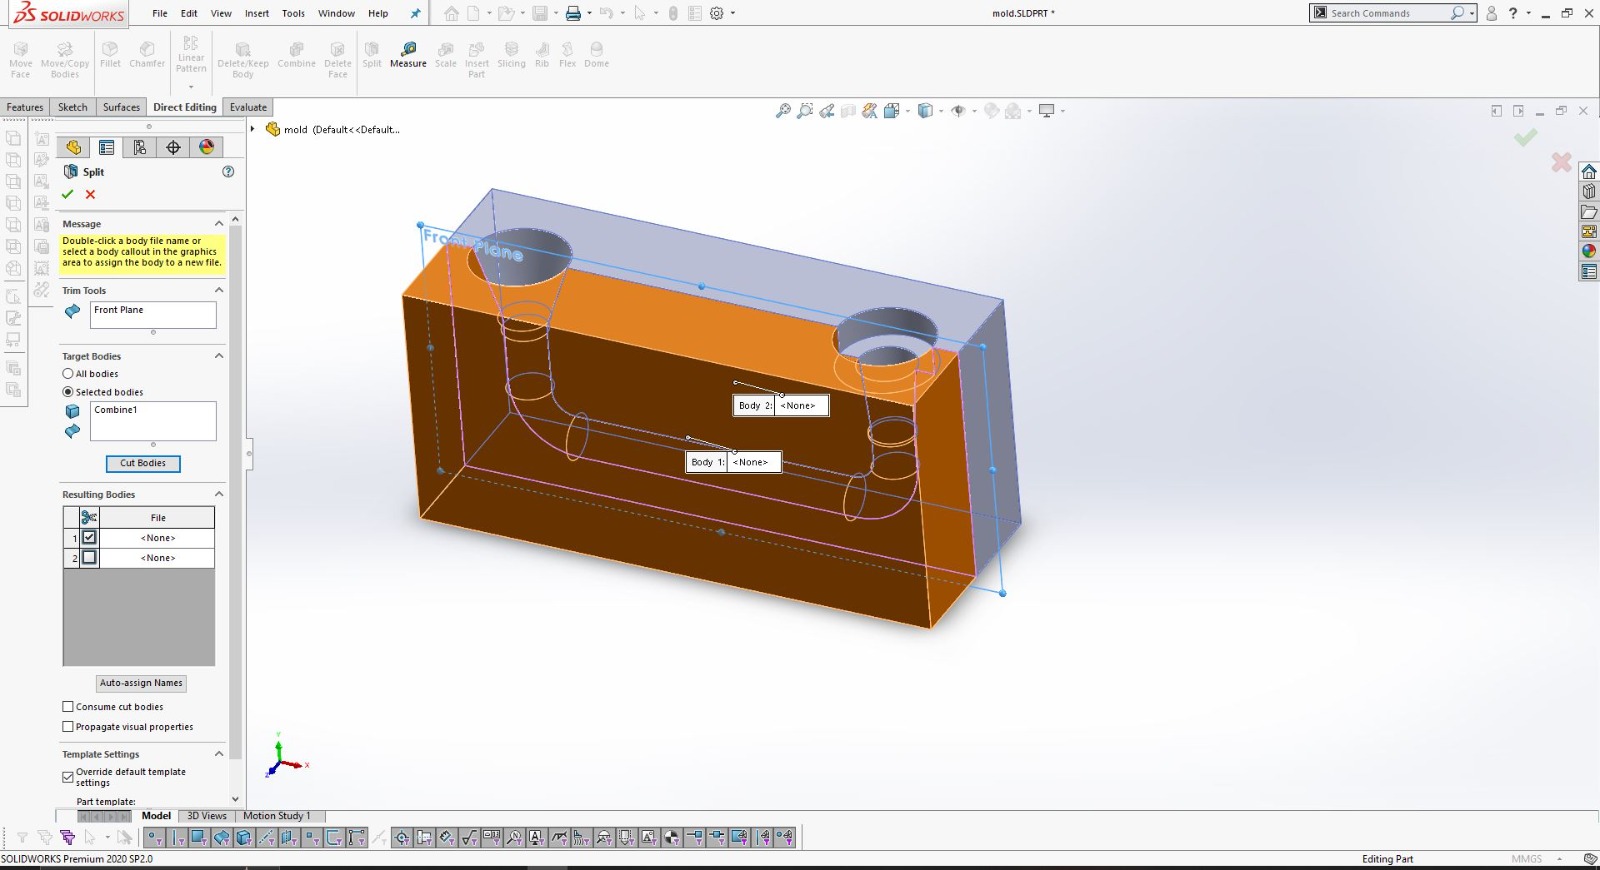
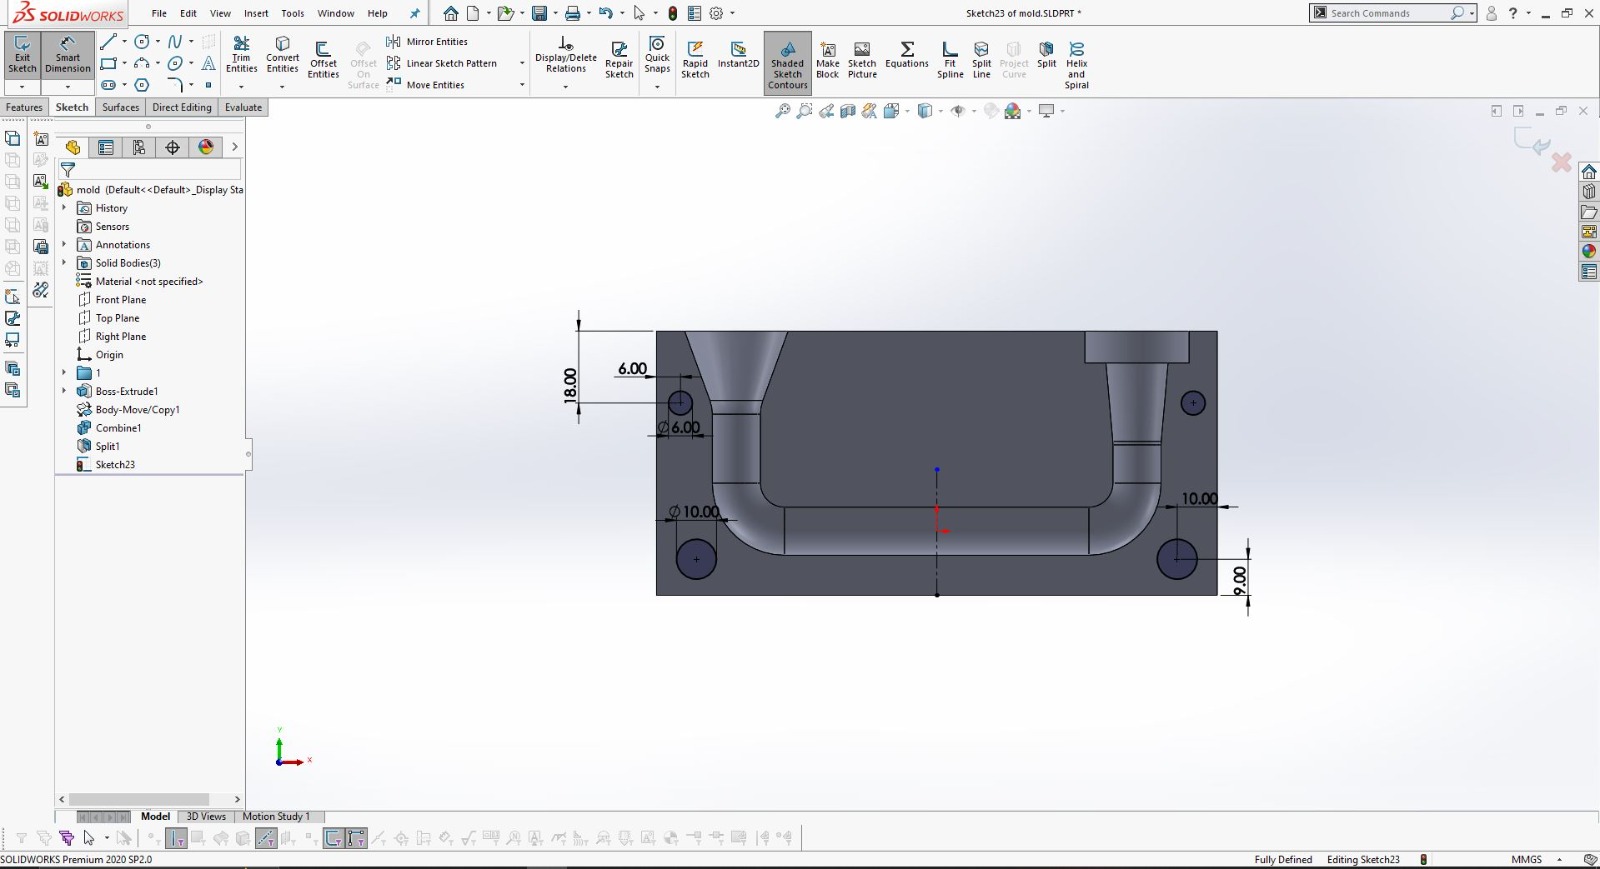
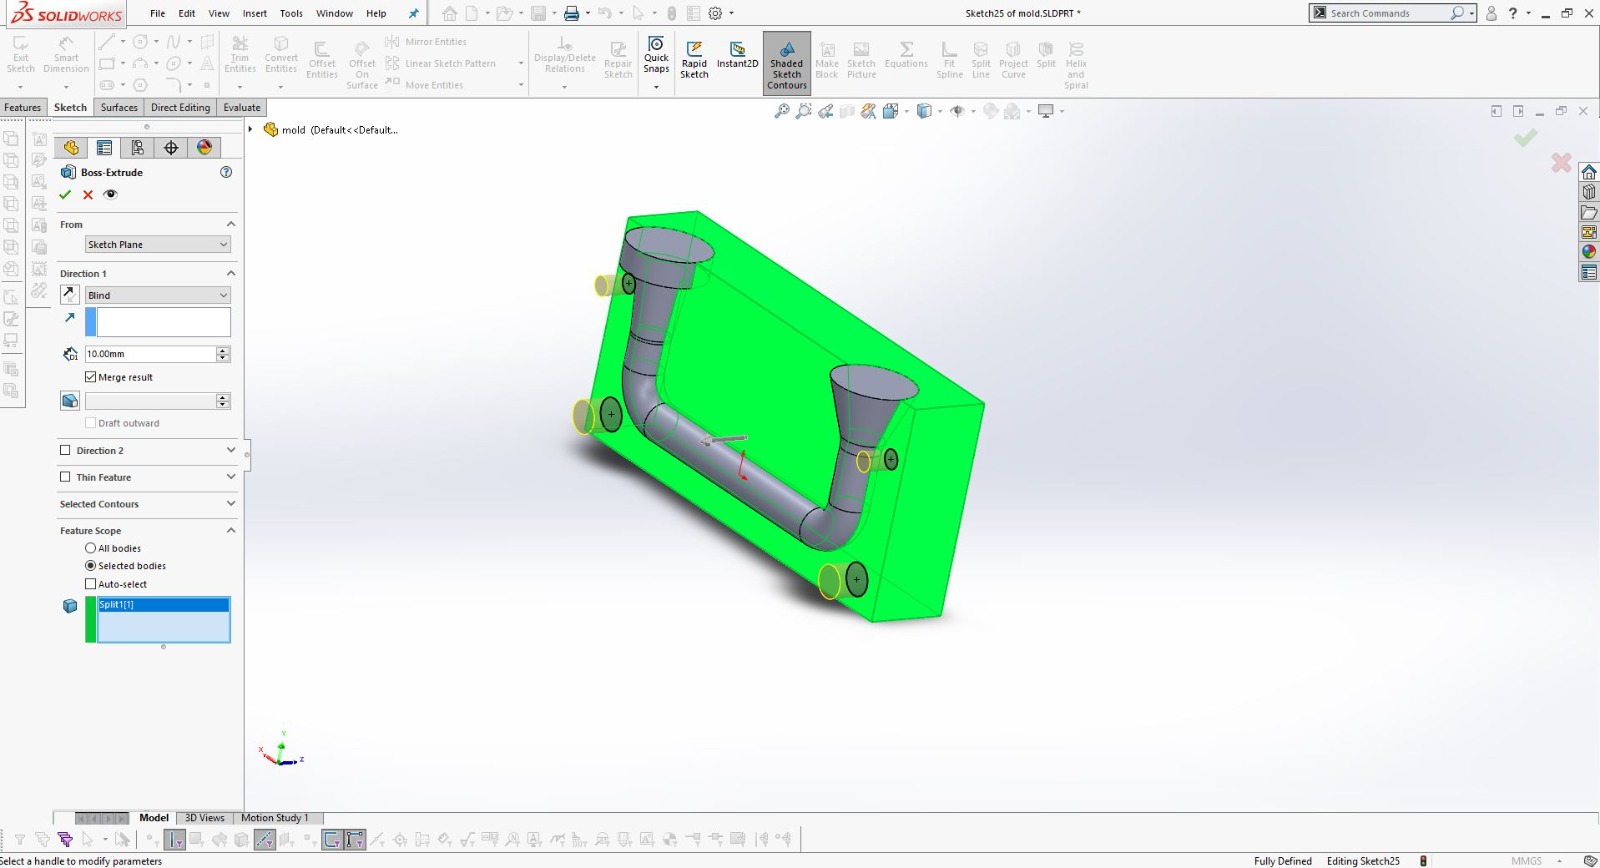
After finalizing the hand sketch, I moved on to creating a detailed 3D model using SolidWorks. This software allowed me to design precise components that could be 3D printed.
I designed the object in two parts to ensure it could be easily printed and assembled.
Using SolidWorks, I defined all dimensions and features accurately to match my initial sketch.
Preparing for 3D Printing
I exported the 3D model into a format suitable for 3D printing.
Each part was checked for any potential issues that could arise during printing, such as overhangs or unsupported areas.
3D Printing the Parts
I printed the two parts of the design using a 3D printer. This process took several hours, and I monitored the printer to ensure there were no issues.
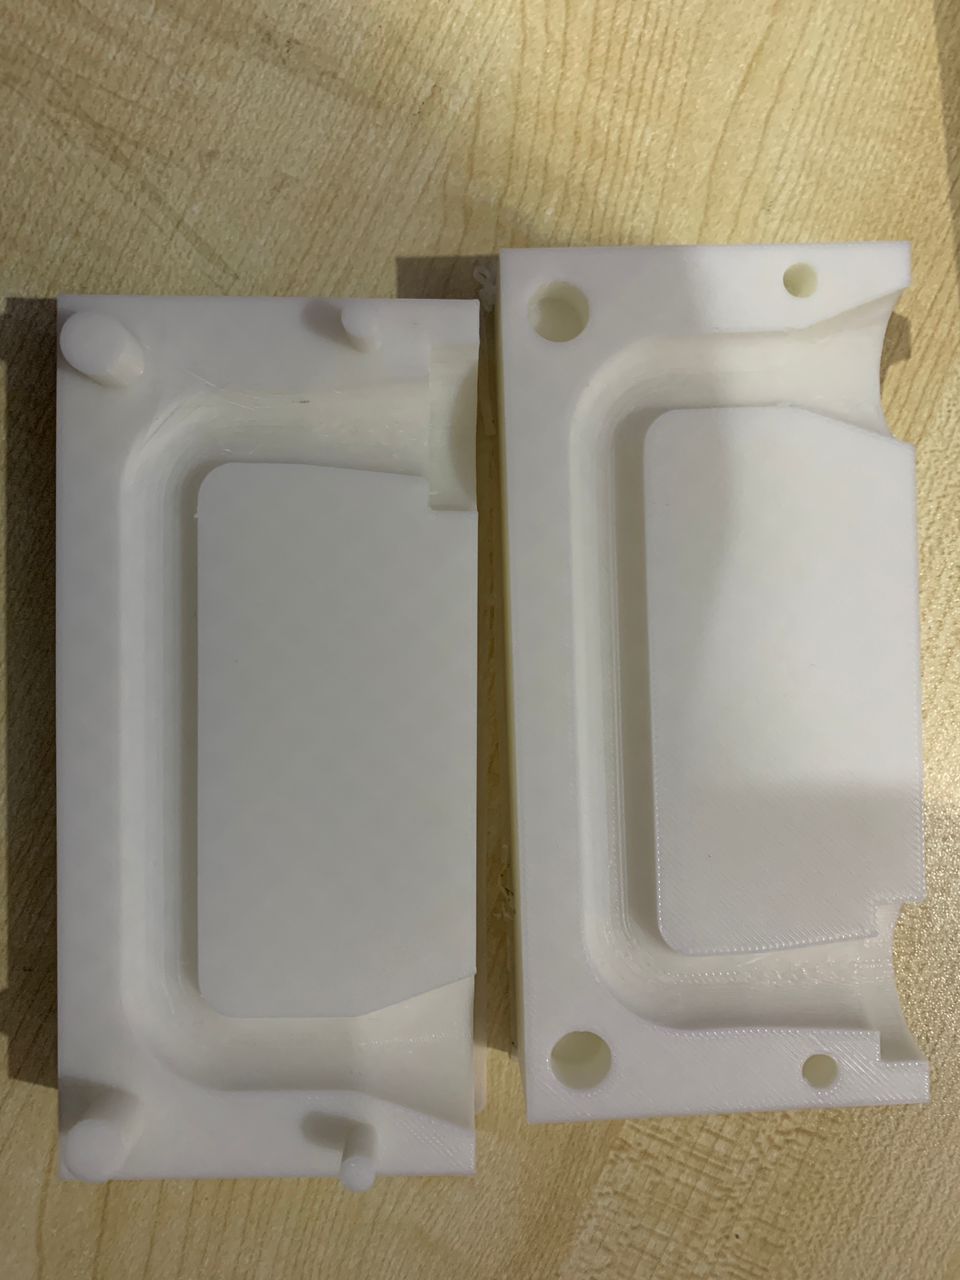
After printing, I carefully removed the parts from the printer.
I inspected each part for any defects and performed necessary finishing touches, such as sanding or trimming excess material.
I joined the two printed parts together. For a strong and seamless connection, I used epoxy to bond the pieces.
I ensured the parts were aligned correctly and clamped them in place until the epoxy set.
Once the assembled object was ready, I used it to create a mold. I selected an appropriate material for the mold to capture the details accurately.
The mold was carefully constructed to ensure easy removal of the final cast object.
Casting the Final Object
I prepared the casting material and poured it into the mold.
After the material had set, I removed the final object from the mold and inspected it for any imperfections.
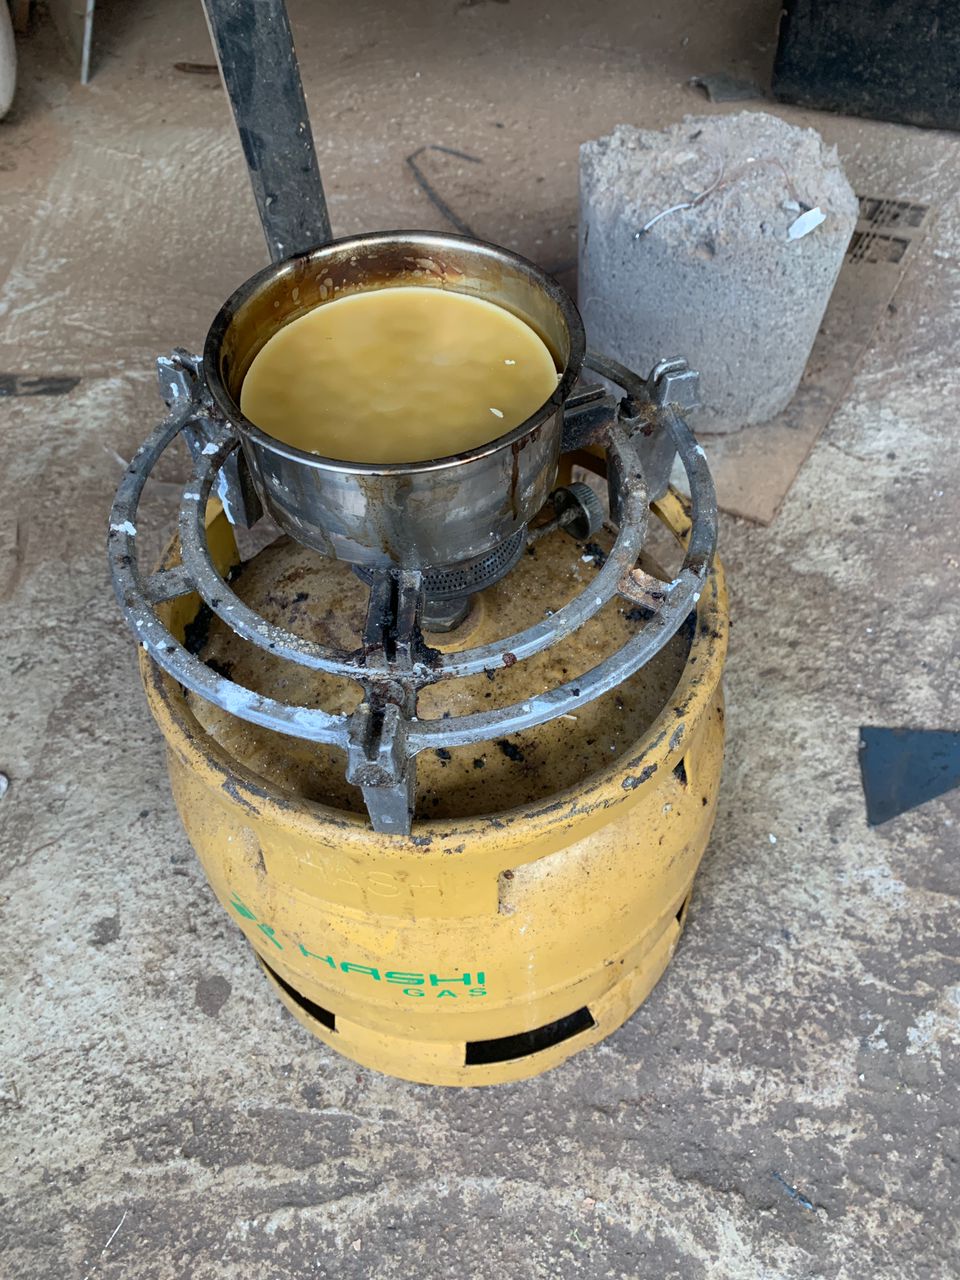
Video
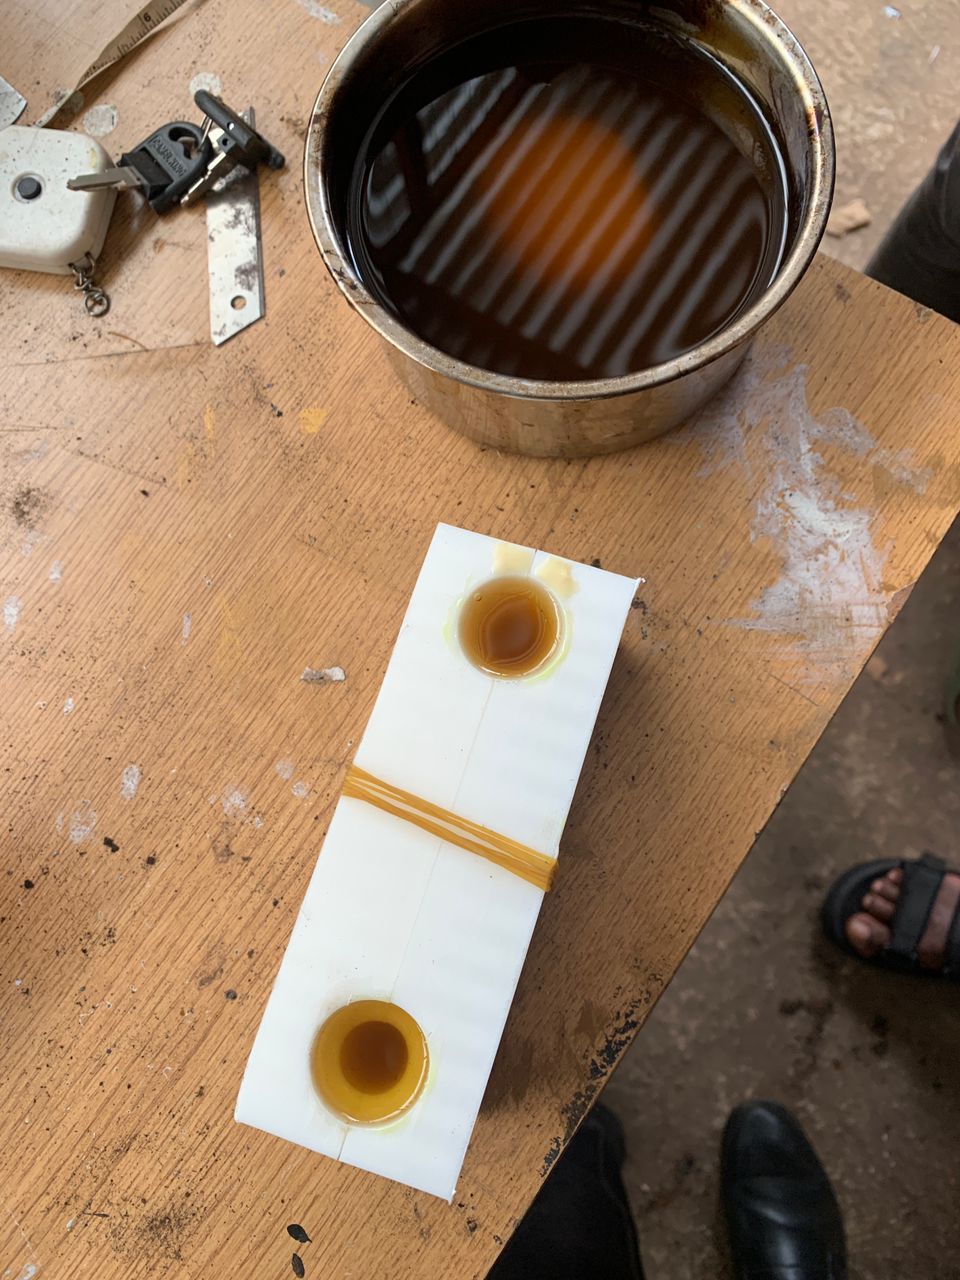
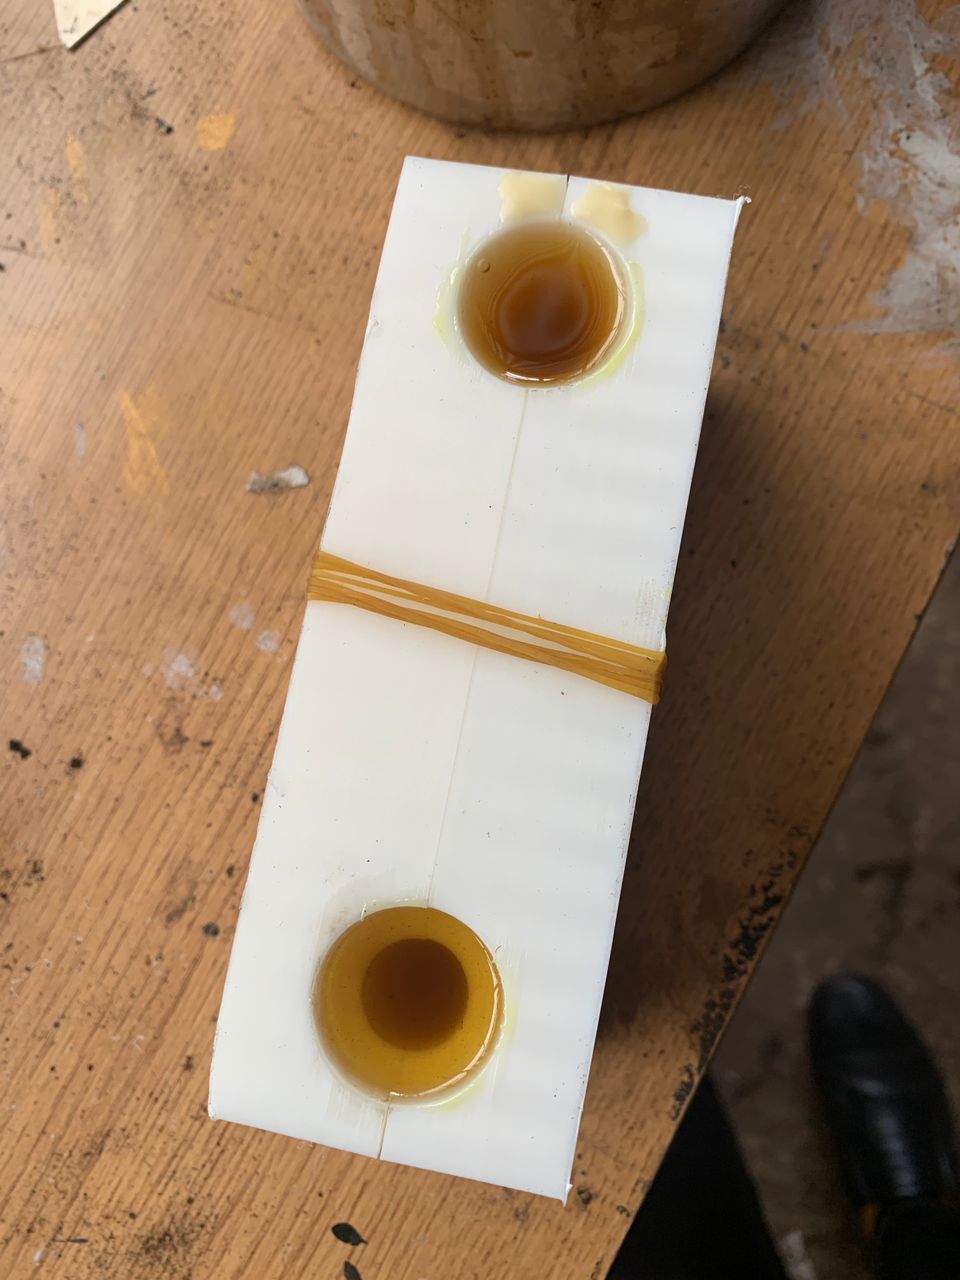
Output
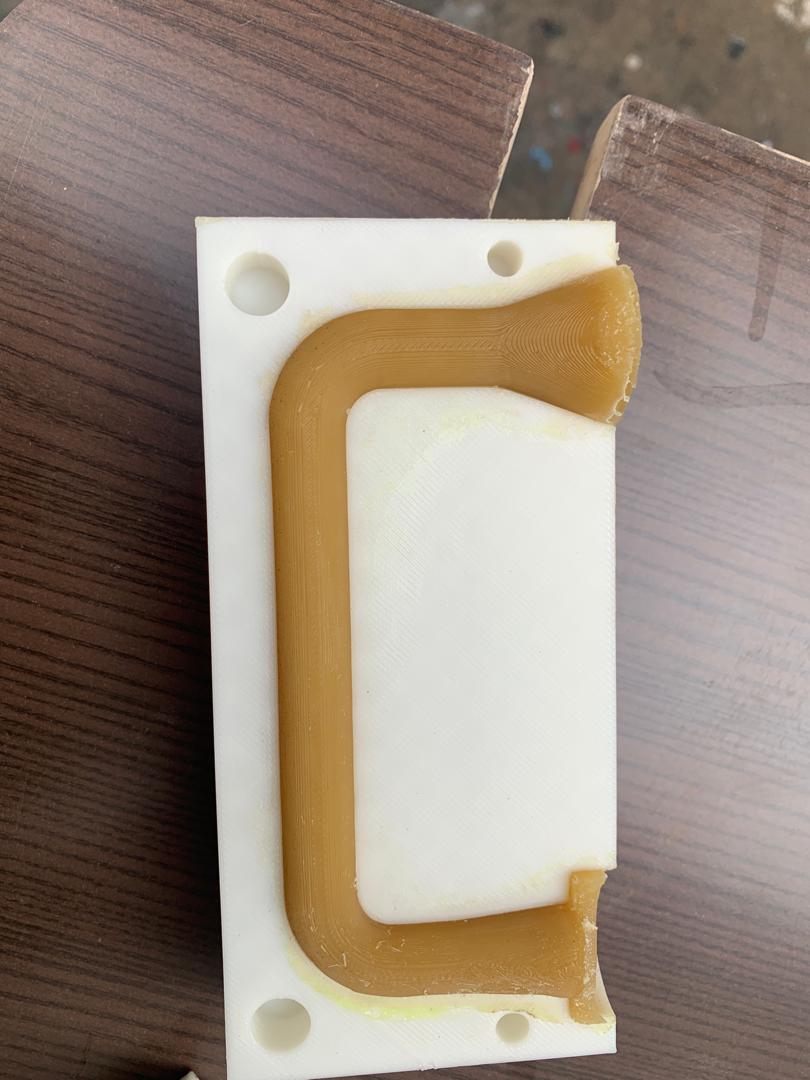
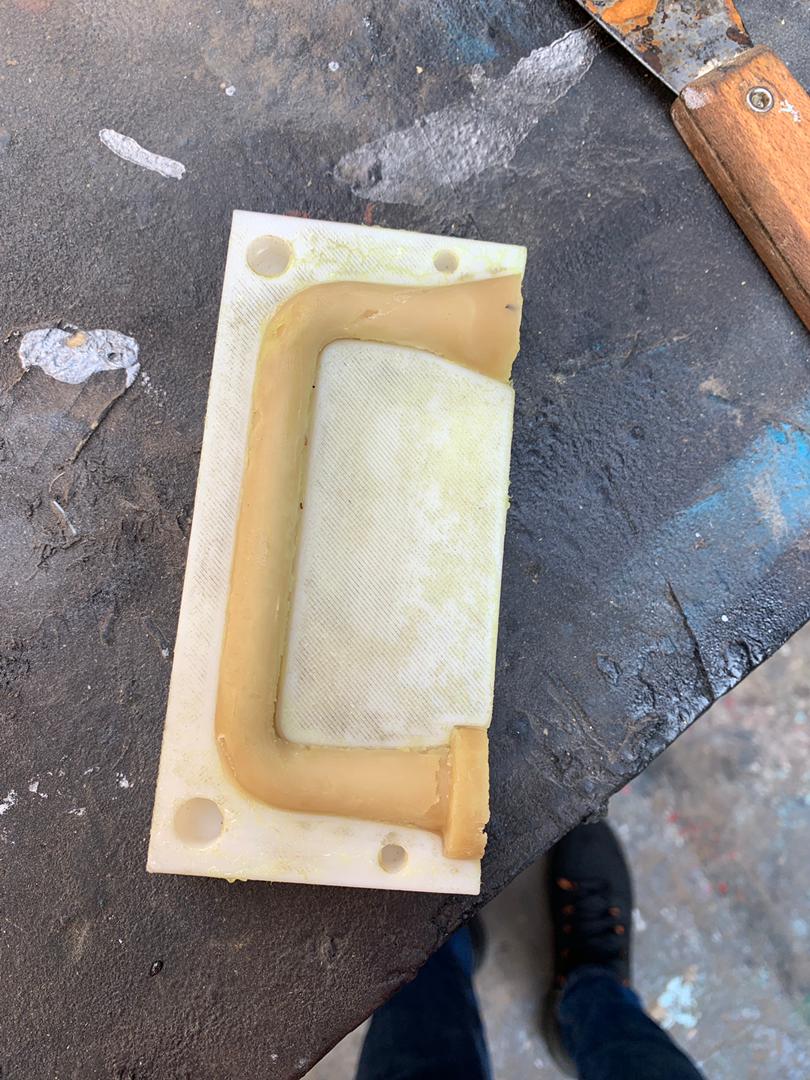
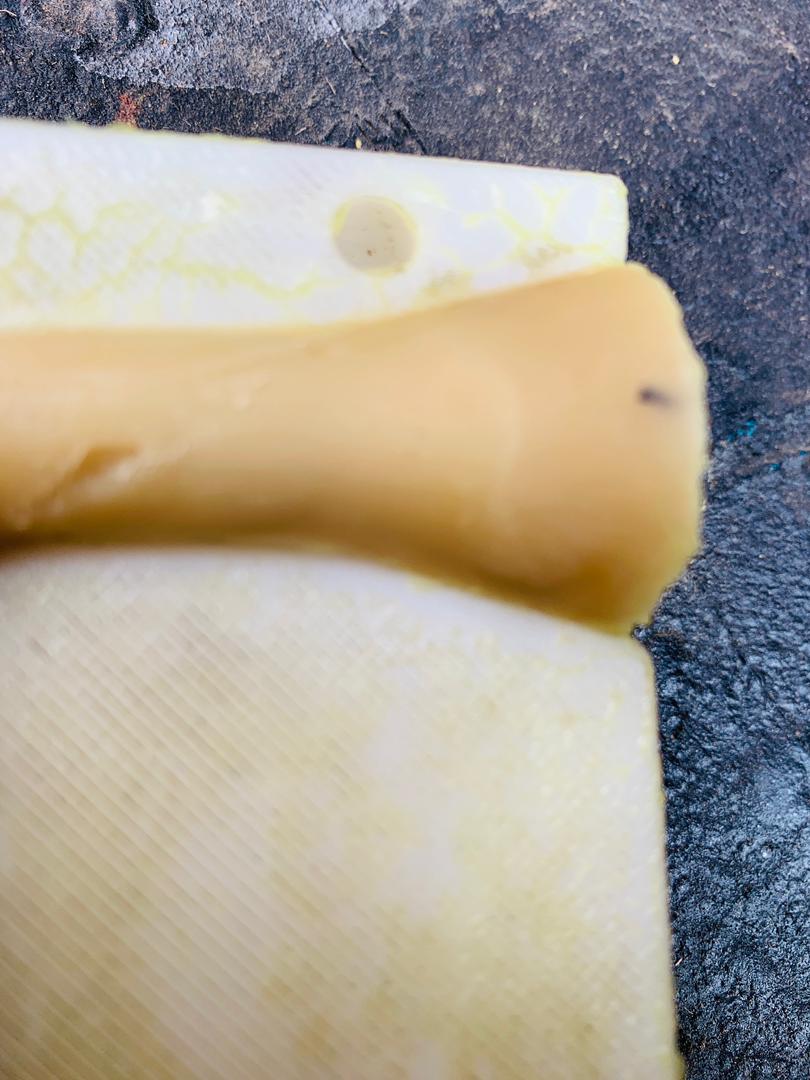
As you can see in this photo, the result is not satisfactory. It is not smooth enough for this assignment, so I need to apply different techniques.
Editing Molding result with FDM smooth
After receiving poor results due to the limitations of FDM in my initial mold, I decided to print another mold using a higher quality 3D printing method. I adjusted several settings to enhance the outcome, ensuring a smoother surface. These adjustments included increasing the print resolution, optimizing the layer height, and fine-tuning the temperature and speed settings. The result was a significantly improved mold with a smooth finish, meeting the desired standards for my project.
The output was satisfactory and showed a noticeable improvement in smoothing, but it still did not achieve the desired quality. Further adjustments and optimizations are necessary to reach the optimal result.
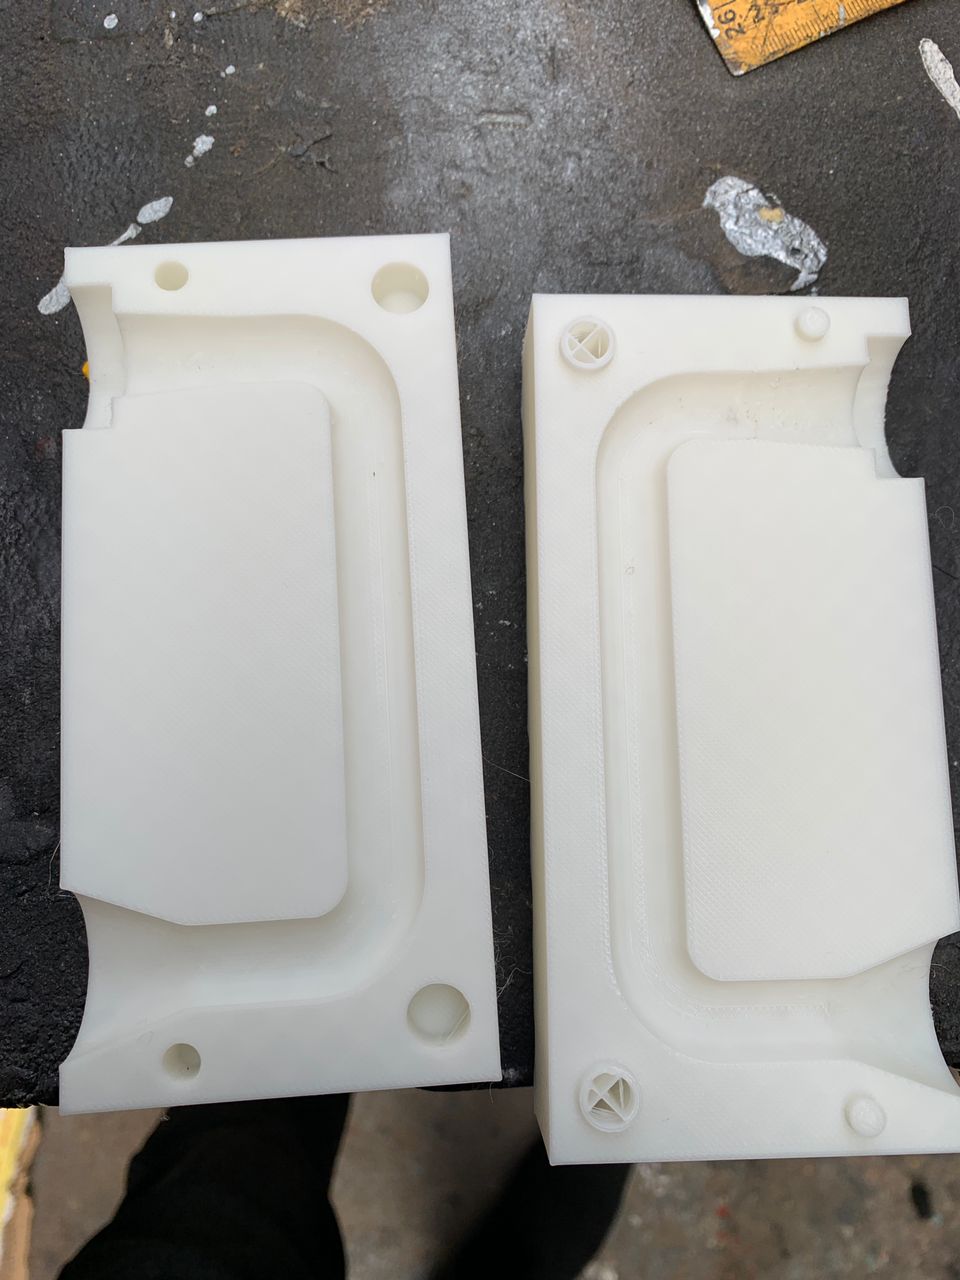
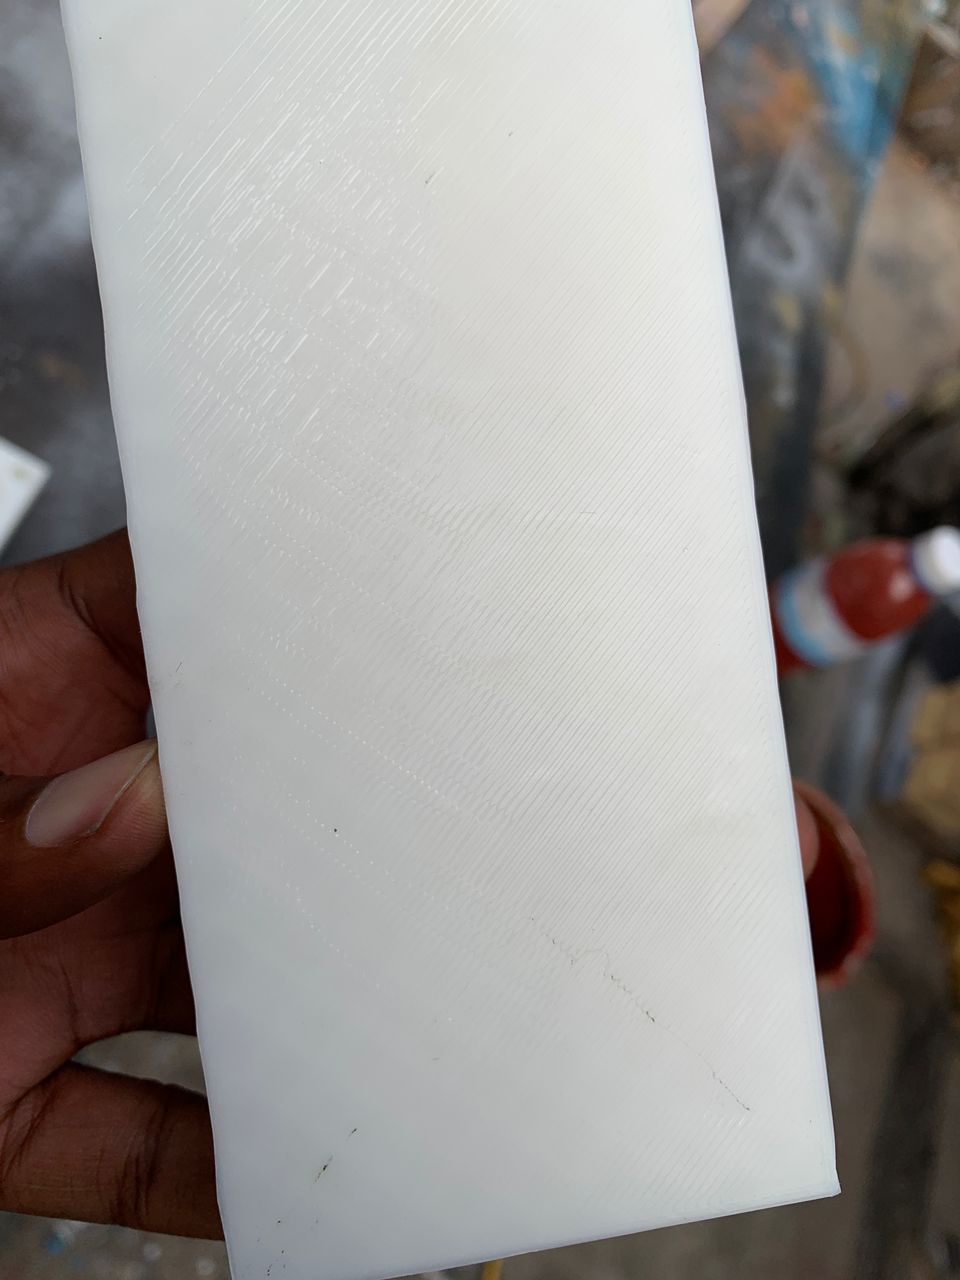
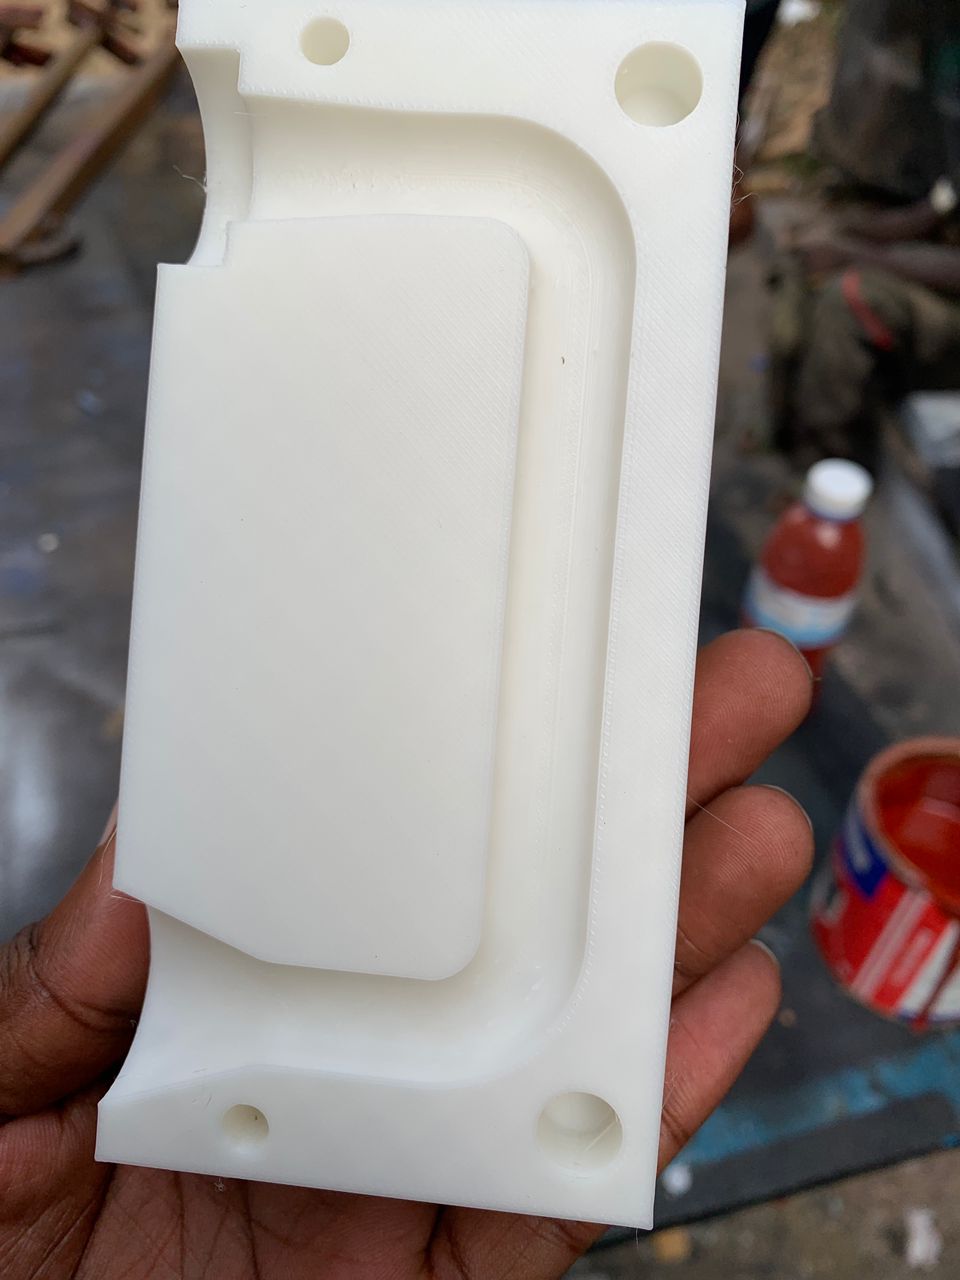
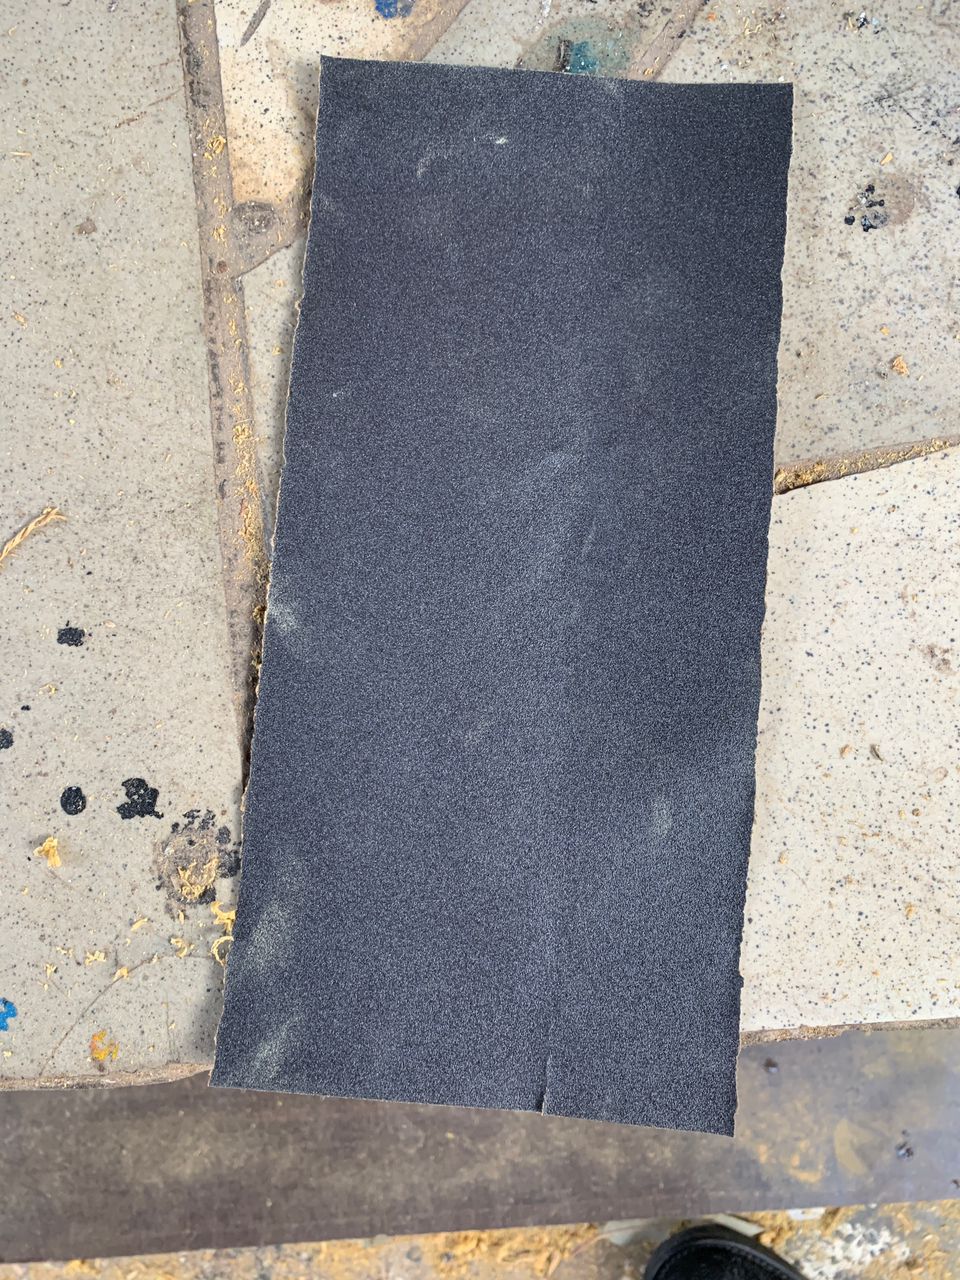
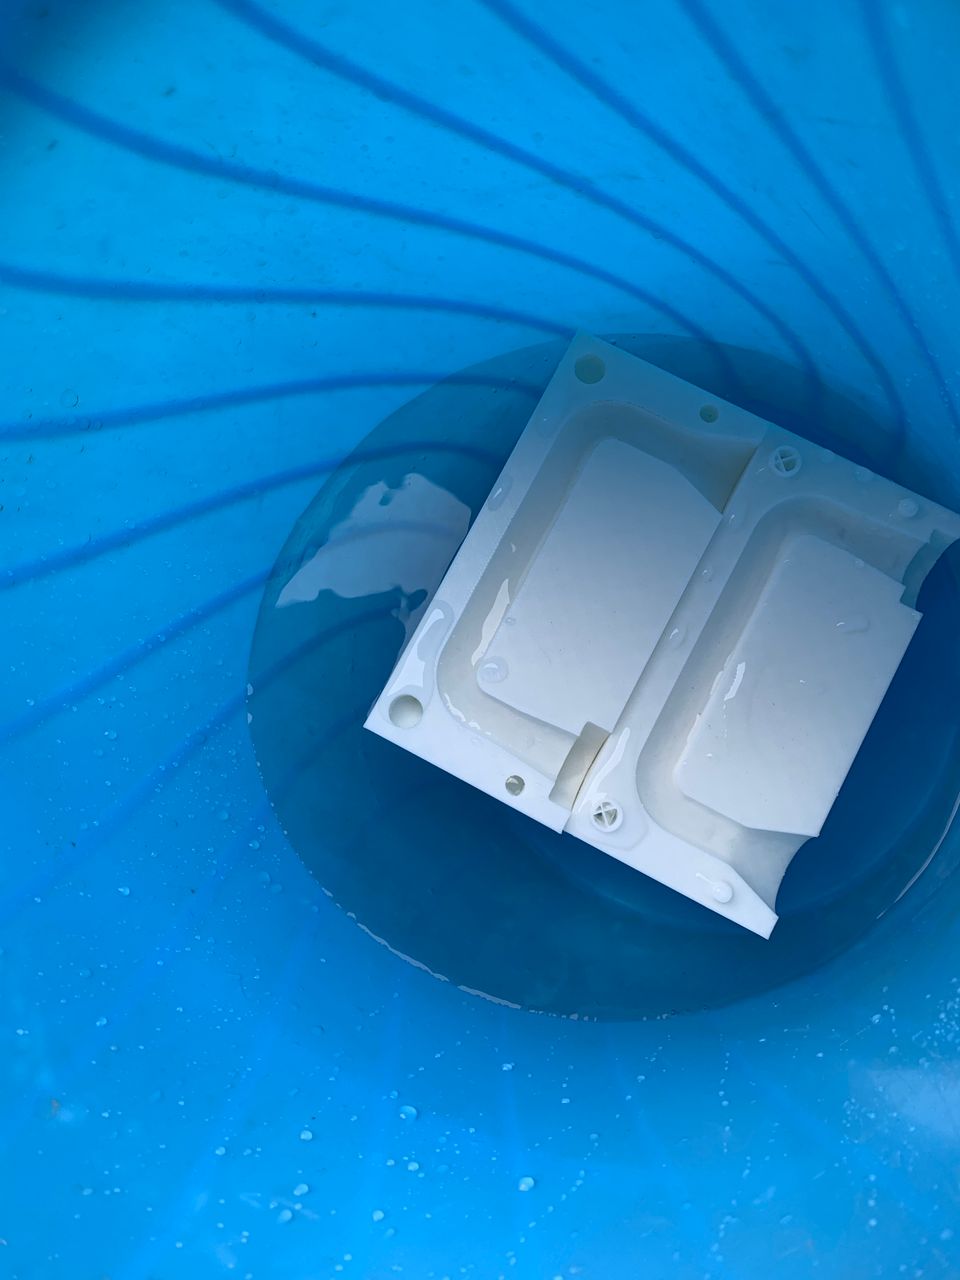
I chose to enhance the smoothing results by applying rubber material combined with water. This technique helps to improve the smoothness significantly by reducing surface imperfections and ensuring a more polished finish. Using rubber provides a gentle yet effective way to achieve the desired texture, while the water aids in minimizing friction and enhancing the overall process. This approach is particularly beneficial for achieving high-quality finishes on intricate designs or delicate surfaces.
Video
I have now achieved the desired level of smoothing. After numerous trials and adjustments, the final outcome meets the specifications and quality I aimed for. This process involved refining the techniques and tools used, ensuring every detail was attended to. The end result not only fulfills the project's requirements but also demonstrates an improved understanding and application of the smoothing process.
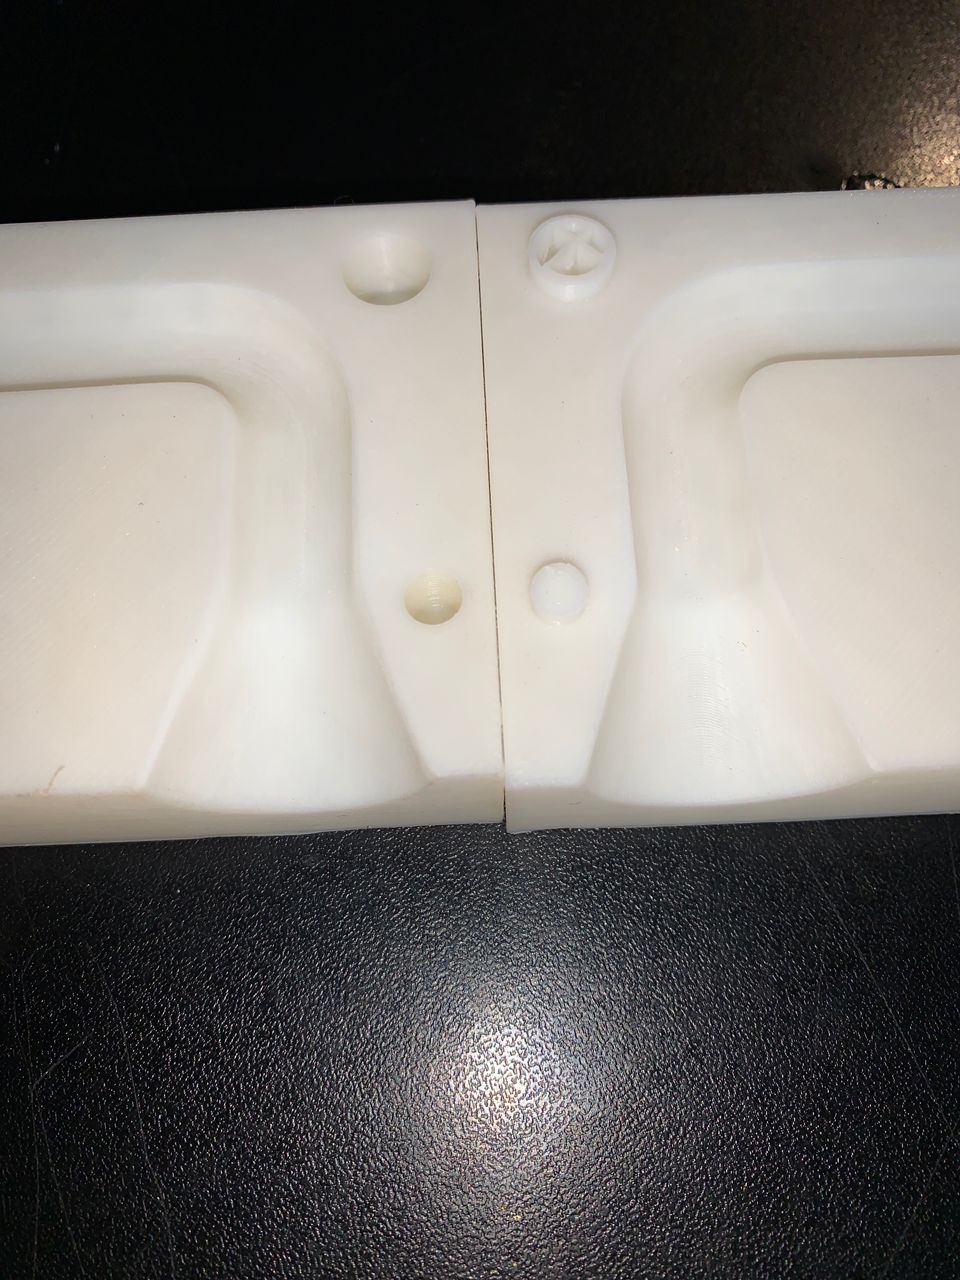
After completing the initial steps, I began the process of molding the material. This involved selecting the appropriate mold design, preparing the mold, and ensuring all materials were ready for use. I carefully followed the steps to mix and pour the molding compound, ensuring there were no air bubbles or inconsistencies. Once the mold was filled, I allowed it to cure for the recommended time. After curing, I demolded the piece, inspected it for any defects, and made any necessary adjustments to achieve the desired final product. This thorough approach ensured a high-quality outcome, crucial for the success of the project.
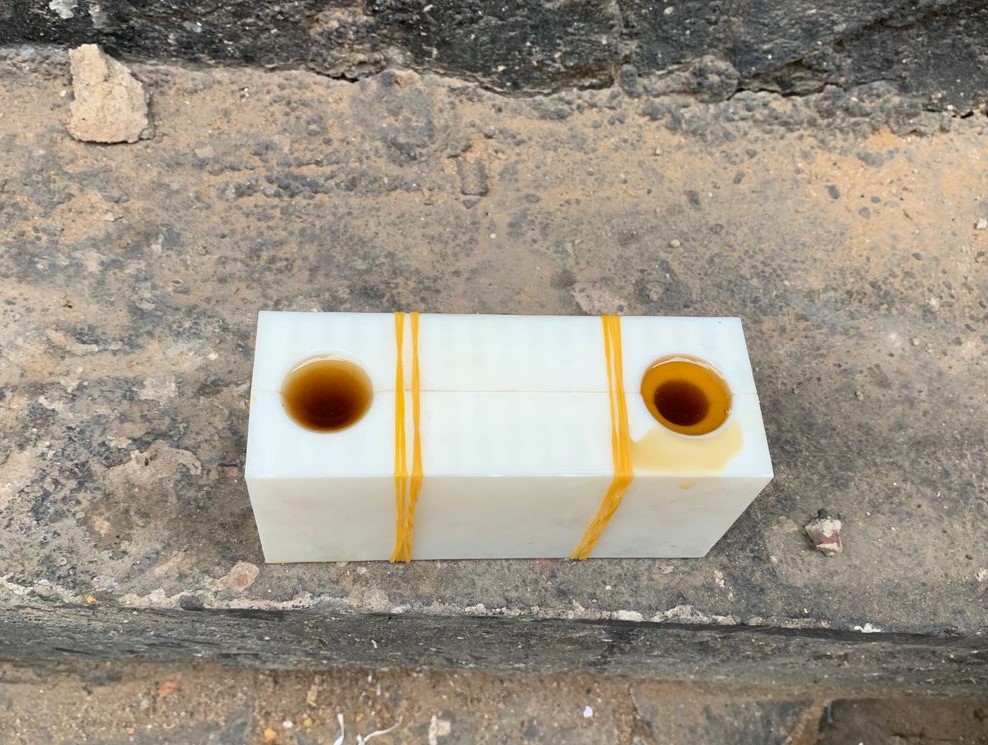
I have completed the improvements on the FDM-printed mold. The enhancements involved optimizing the design for better structural integrity, ensuring a smoother surface finish, and adjusting the dimensions for a more precise fit. Additionally, I refined the print settings to reduce material wastage and improve print quality. These improvements have resulted in a more durable and accurate mold, ready for the next stage of the project.
.jpeg)
.jpeg)
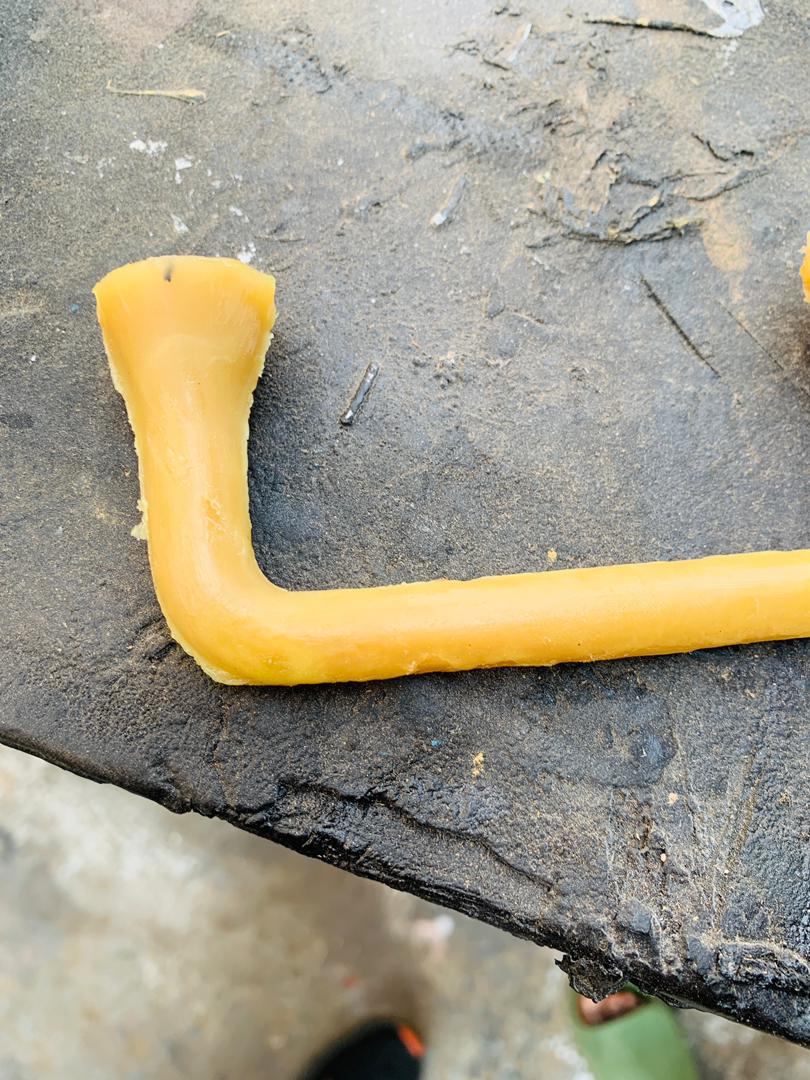
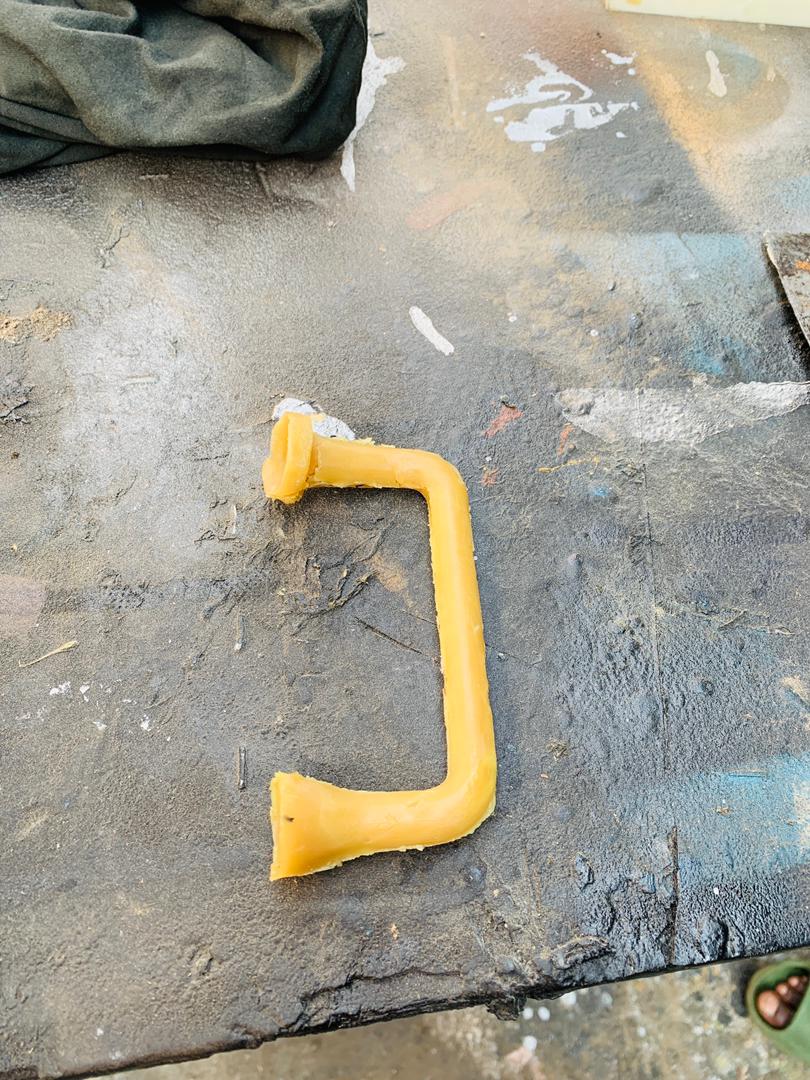
Comparison with FDM-printed mold and post-processed FDM-printed mold
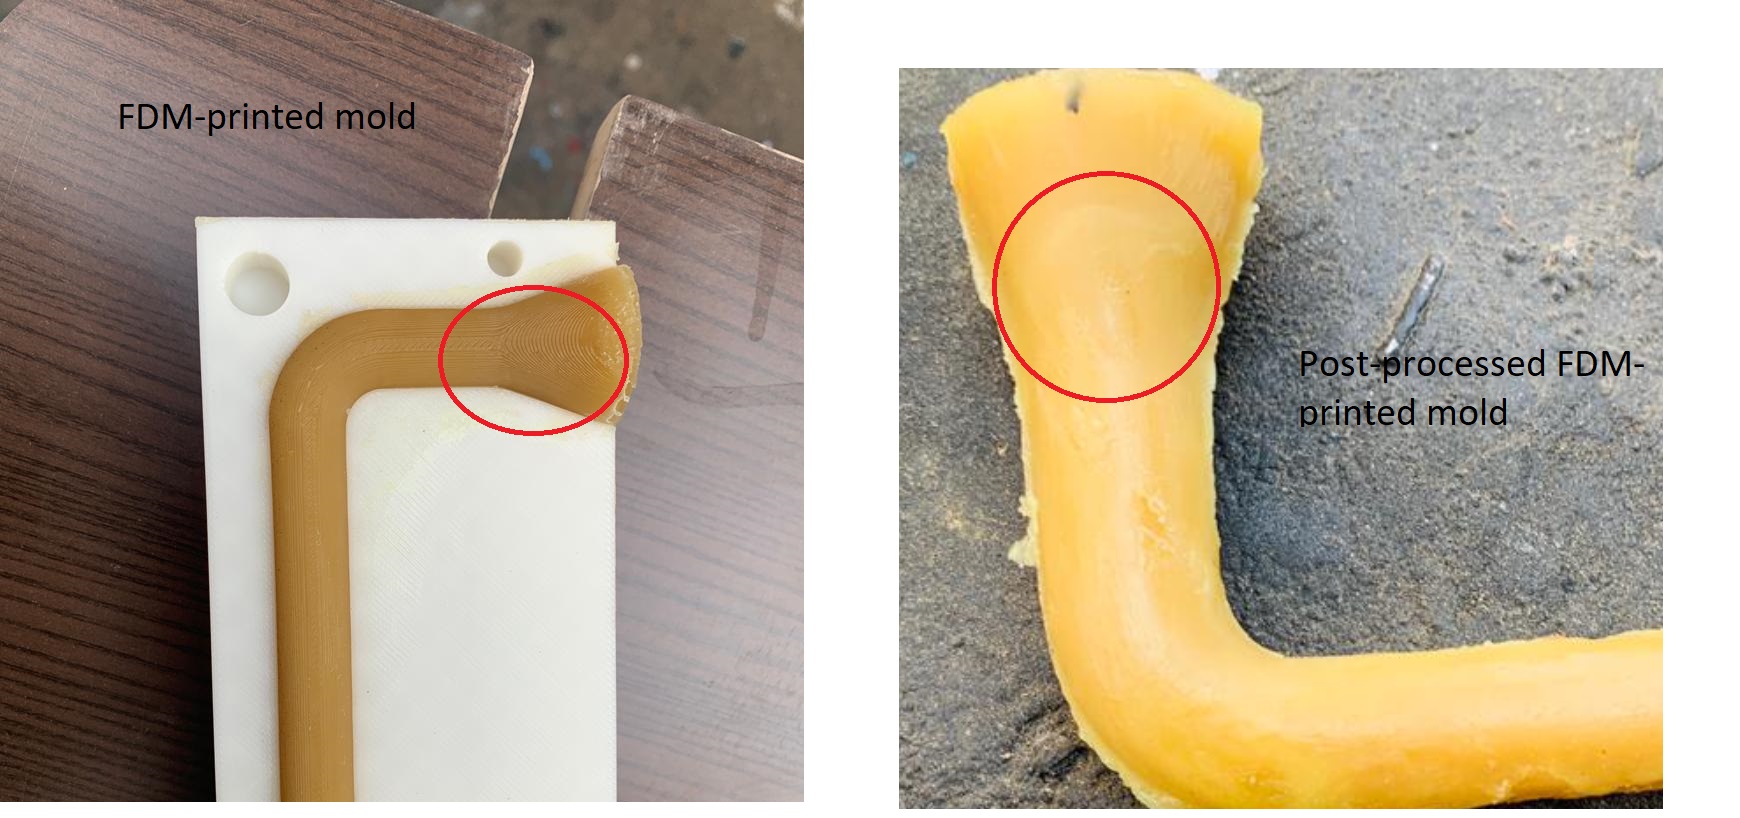
After applying different techniques, the above photo demonstrates how I improved the smoothness of my cast wax objects.
Download file
Click the button below to download file.
Download File 1Download File 2
