
Week 2
CAD: Computer-Aided design
Computer-aided design, commonly known as CAD, empowers engineers to create and engineer diverse projects across various industries. From metal fabrication and carpentry to 3D printing, CAD finds application in numerous manufacturing processes, facilitating precision and efficiency throughout the design and production stages. Modeling in both two-dimensional (2D) and three-dimensional (3D) formats, preferably with parametric capabilities.
This week has been both engaging and dynamic as I delved into designing various projects using a variety of design applications like Tinkercad, AutoCAD, among others, to fulfill my assignments.
Assignments
Our task for this week is:
- Model (raster, vector, 2D, 3D, render, animate, simulate, …) a possible final project, compress your images and videos, and post it on your class page
What 2D Model? A 2D geometric model is a geometric model of an object as a two-dimensional figure, usually on the Euclidean or Cartesian plane. Even though all material objects are three-dimensional, a 2D geometric model is often adequate for certain flat objects, such as paper cut-outs and machine parts made of sheet metal. Other examples include circles used as a model of thunderstorms, which can be considered flat when viewed from above.

What is 3D Model? 3D computer graphics, 3D modeling is the process of developing a mathematical coordinate-based representation of a surface of an object in three dimensions via specialized software by manipulating edges, vertices, and polygons in a simulated 3D space.

2D design
To begin learning design, I opted to start by designing a tech watch using paint software. Later, I further refined the design using Photoshop application.
What is Paint software?
Microsoft Paint is a simple raster graphics editor that has been included with all versions of Microsoft Windows. The program opens, modifies and saves image files in Windows bitmap, JPEG, GIF, PNG, and single-page TIFF formats
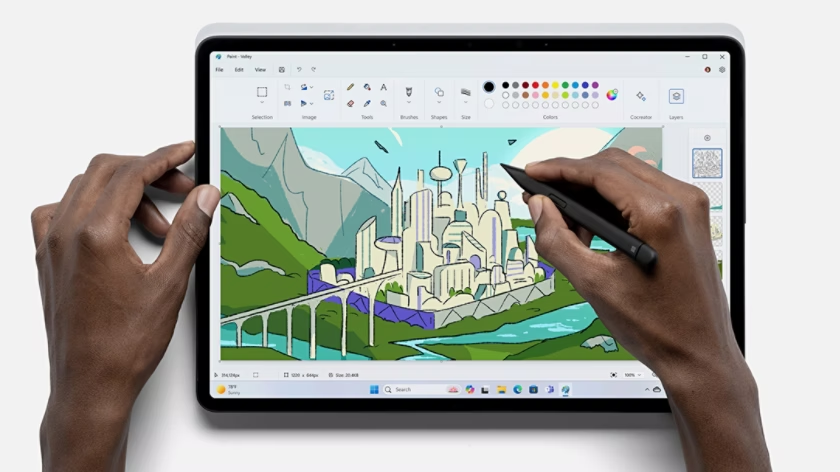
Start to use Paint software
You can open Paint in Windows 11/10/8/7 by following these steps:
- Click on the Windows Start button.
- Type "Paint" in the search bar, then press Enter.
- The Paint app should open.

Now you can start to desing your raster graphics or 2D models

I started by sketching my image on paper to serve as a blueprint for my design in painting software. Initially, my focus was on creating a tech watch capable of displaying dates and time, with plans to incorporate additional features such as measuring temperature and monitoring heart rate. I meticulously designed and painted the concept to bring it to life.
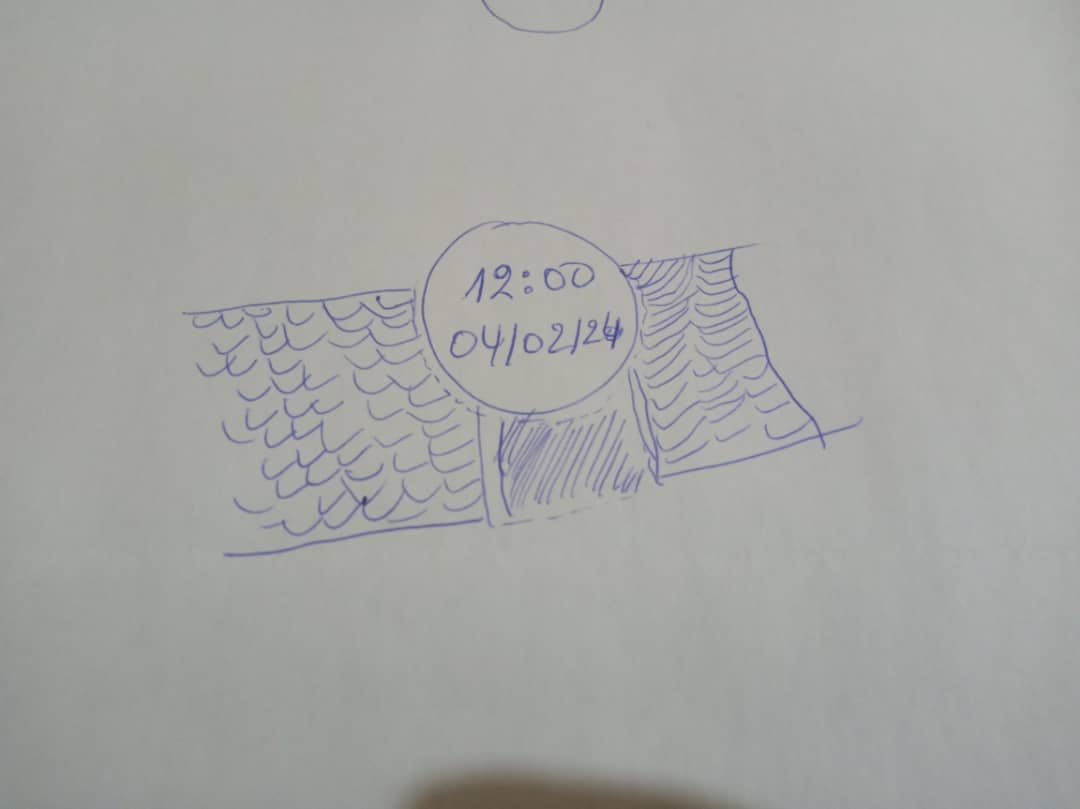
Creating art with paint software may seem straightforward, but it involves a nuanced process. I referred to this documentation to grasp fundamental techniques for designing with paint software. Explore more details here: How to Use Microsoft Paint (MS Paint).

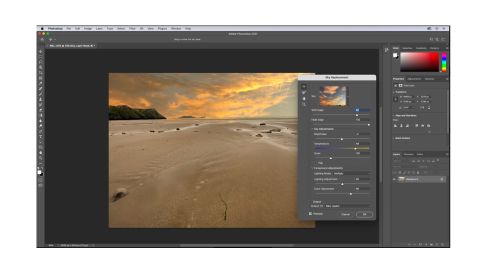
2D Modeling with photoshop software (raster)
Photoshop is an image creation, graphic design and photo editing software developed by Adobe.
The software provides many image editing features for pixel-based images, raster graphics and
vector graphics.
Adobe Photoshop was first released in 1988. Created by Thomas and John Knoll,
it was initially developed for
Macintosh computers but is now available for Windows and macOS platforms.
For more information read Here
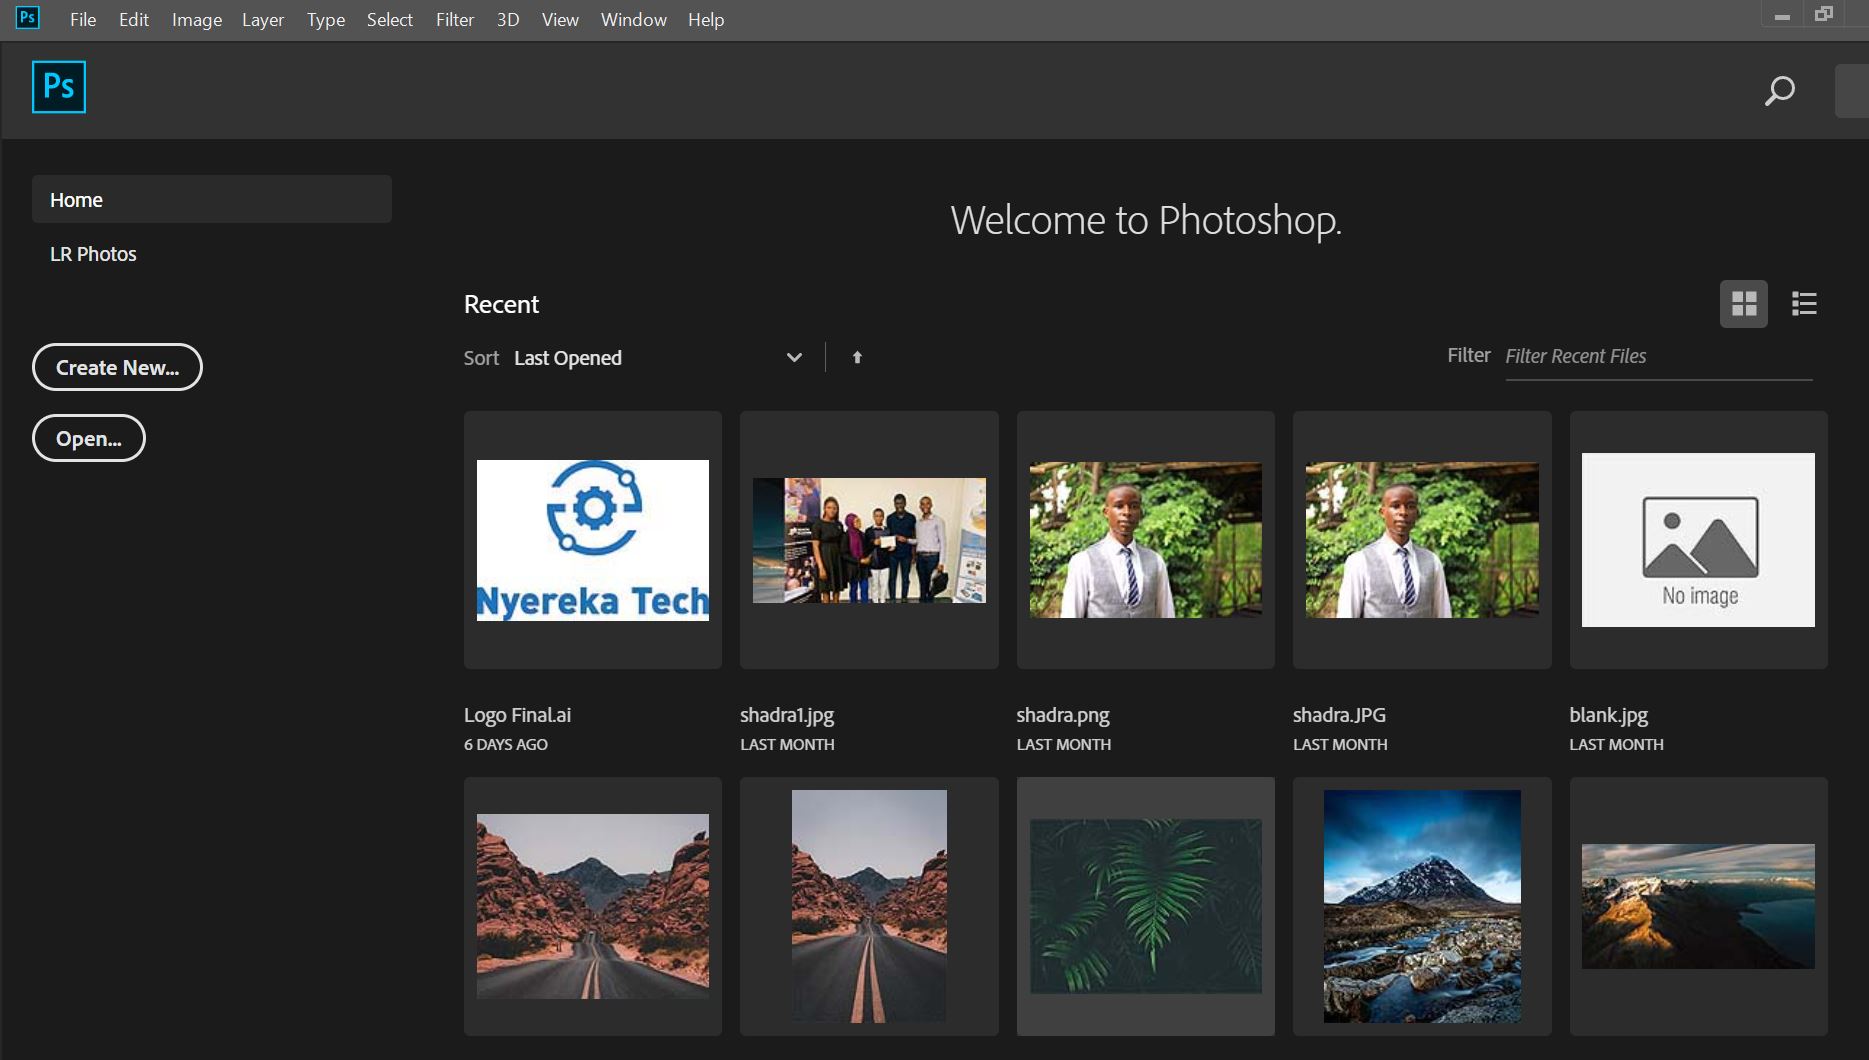
How to Download and install Photoshop in your PC?
Download app:
- Step1: To download Photoshop, follow this link.
It will take you to the official download page of Photoshop.
N.B:However, Photoshop also provides a 7 days trial period, so you can try it before purchasing. - Step2: In this step, you have to select the required package. Select the Photoshop option and click on the Start free trial option.
- Step3: In this step, we are required to create or log in to our adobe account.
Enter the details such as email id or password to log in or signup.
- Step4: now, we need to add payment details. If we have selected a trial option,
it will not charge us any amount until the trial period;
after that, it will charge according to selected plans.
- Step5: This step will take you to the Download page of the Photoshop elements.
If you want to skip the step4 (Adding Payment details), you can follow this link.
Scroll down this page and navigate to Adobe Photoshop Elements and & Adobe Premium Elements.
- Step6: Now, Select your platform for which you want to download Photoshop.
It is available for Windows and Mac OS platforms.
Install APP:
To install Photoshop on your system, run the downloaded application and follow the installation prompt. For the Windows platform, follow the below steps:
- Step1: Run the installer file. It will prompt you to make changes in your hard drive, select Yes to continue.
- Step2: Login to Adobe Account. This step is required to sign-in to the application. We can sign-in using Adobe, Google, Facebook, or Apple id. It will send a security code to the entered id to verify your user id. Enter the password and click connect to continue the process.
- Step3: Accept the Terms and Conditions. Accept the terms of use and click continue. The installation process will automatically be started in the installer window.
- Step4: Select the Language and Installation Location
- Step5: Activate Photoshop. Click on the Start Free Trial option.
- Step6: Finalize the Process
After honing my design skills through hands-on experience, I transitioned to using Photoshop to recreate the same image I had previously created on Paint.
This wasn't my first time using the Photoshop app on my computer.
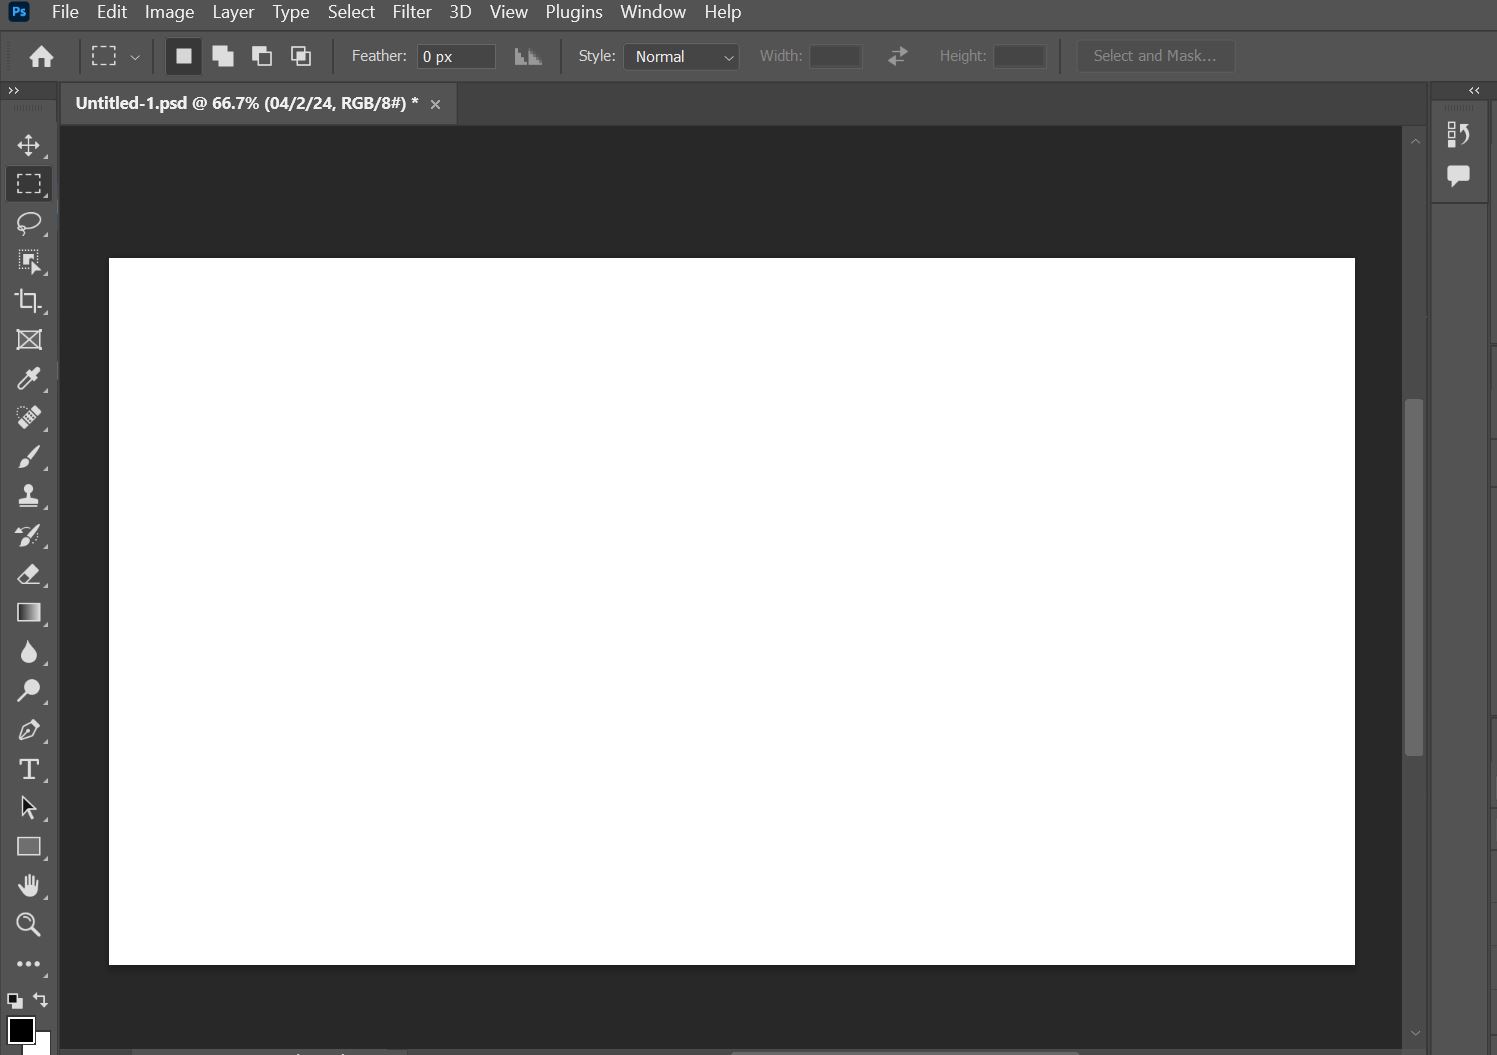
Designing my tech watch wasn't as challenging as expected for a first-timer on
this software. I initiated a new project in Photoshop.
Here's my process for creating a new scratch design:
>
- Define Goals: Clearly outline what the scratch design aims to achieve.
- Research: Gather inspiration, analyze trends, and understand user preferences.
- Sketch Ideas: Brainstorm and sketch initial concepts on paper or digitally.
- Create Base Design: Use Photoshop tools to develop the basic structure and layout.
- Add Details: Incorporate intricate elements, colors, and textures for depth and realism.
- Review and Refine: Critically evaluate the design, make adjustments for coherence and functionality.
- Finalize and Export: Once satisfied, save the project and export the design in the desired format.
This structured approach ensures a smooth workflow and a polished end result.
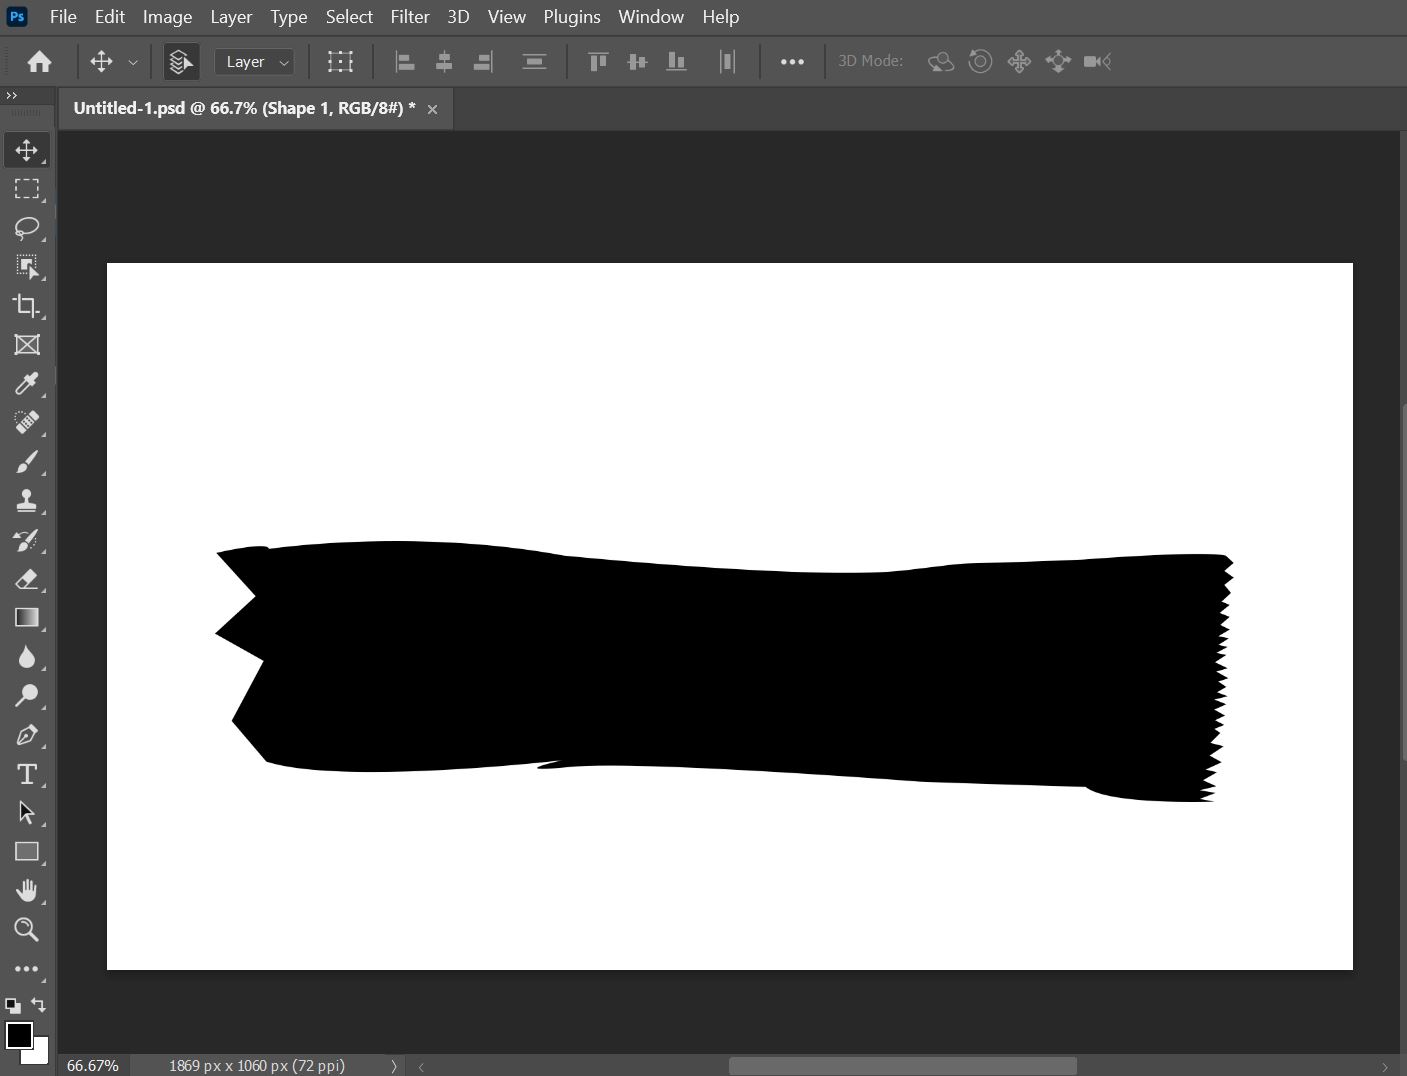
The next step was to design a sleek and ergonomic watch strap. By utilizing the Pen tool in the software's left-hand toolbar, I was able to achieve the desired shape with precision and accuracy.
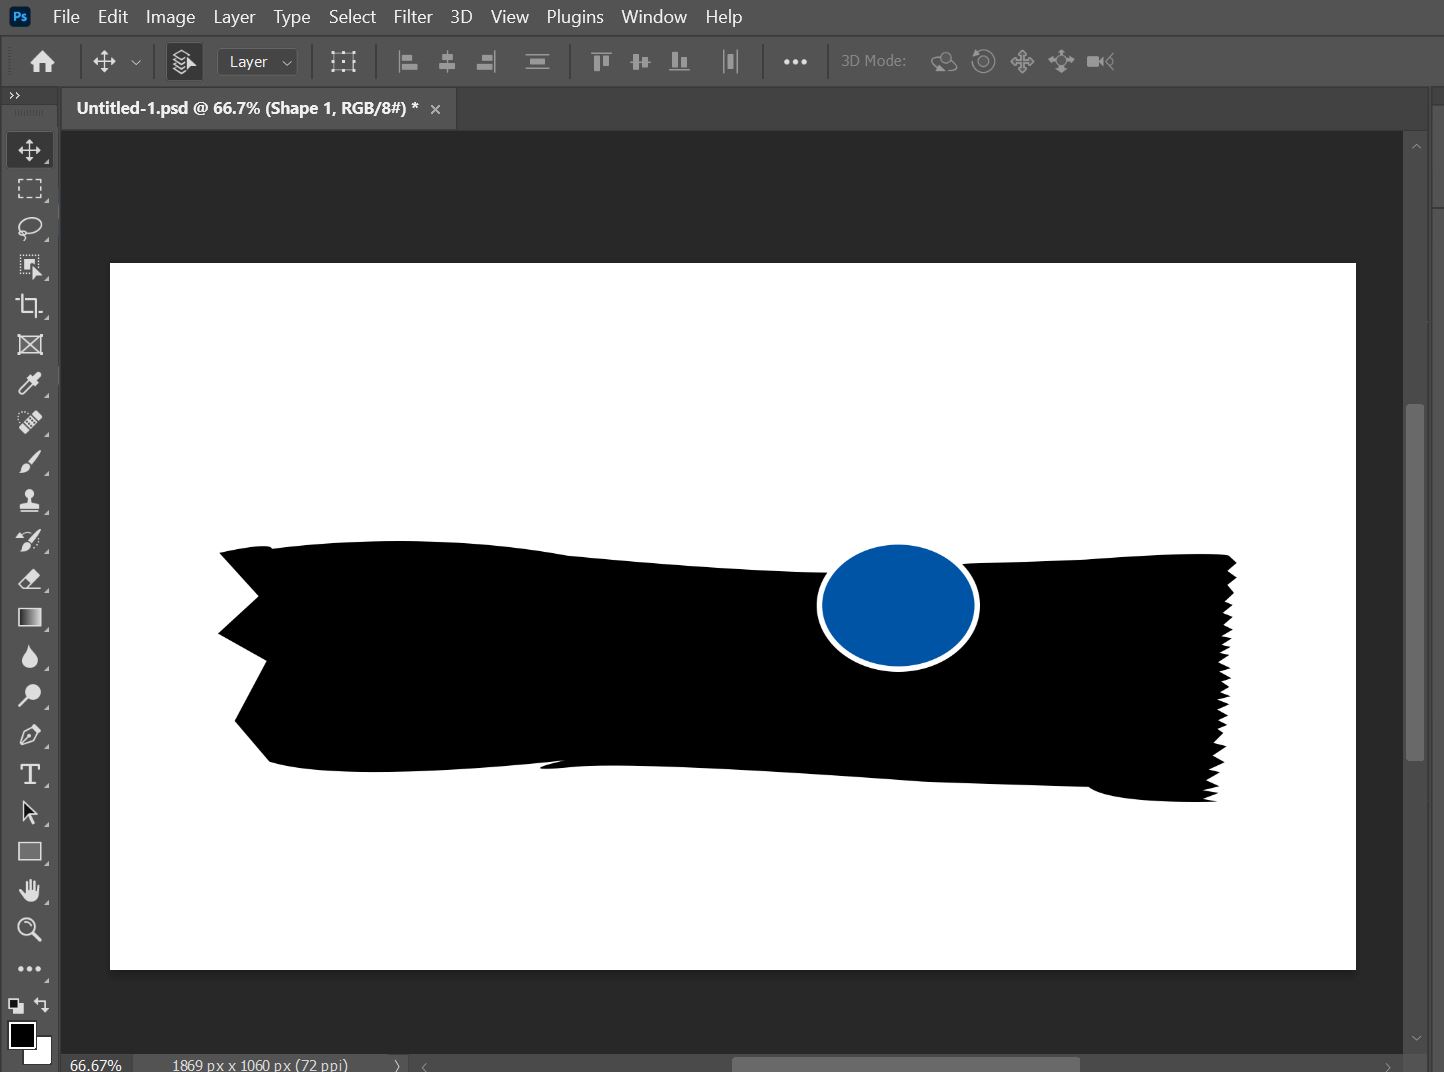
The third step involved integrating a surface display into my tech watch design to showcase time and dates. I utilized the ellipse tool in Photoshop for this purpose, ensuring precise and visually appealing placement of these essential elements.
The fourth step involved adding the watch's wristband to make it wearable on the arm. I utilized the pen tool in Photoshop for precision in designing the wristband, ensuring a comfortable and stylish fit for the tech watch.

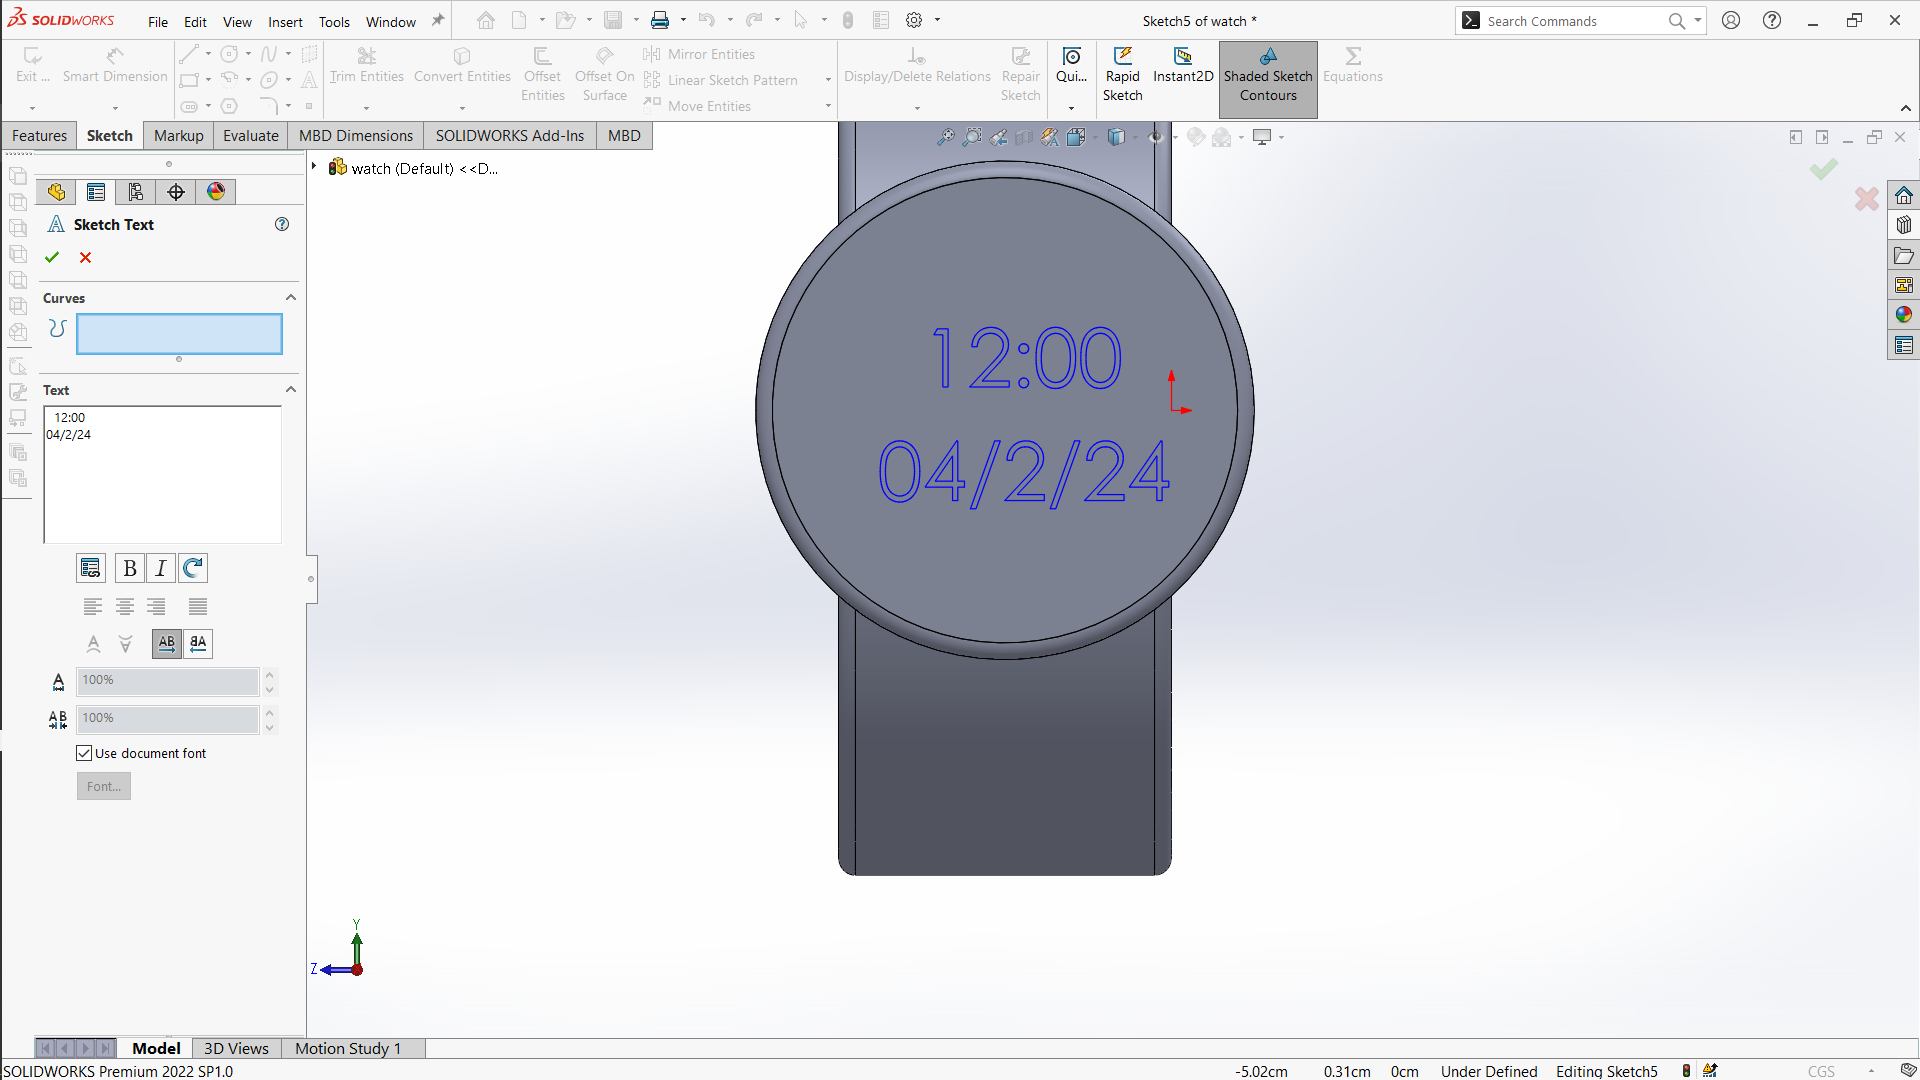
The final step involved adding the dates and time to the watch design using the type tools in Photoshop. To enhance it further, consider specifying the font style, size, and placement for a professional and polished look.
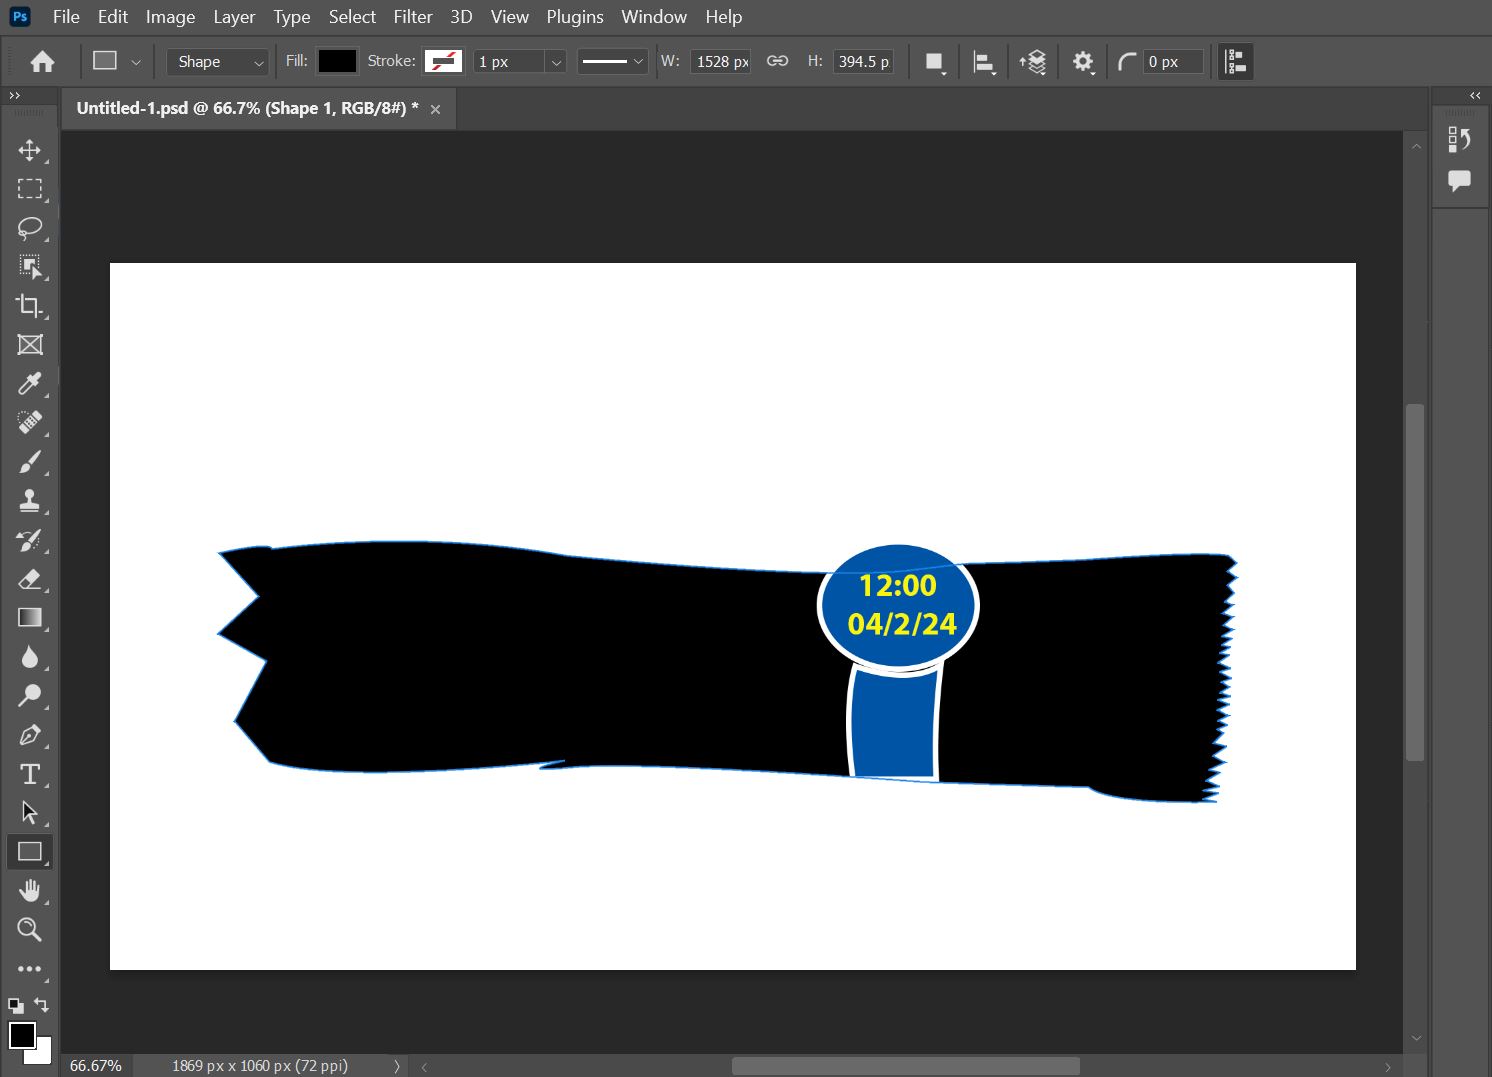
Finally, I've successfully completed my 2D model design using Photoshop. Here's the final sketch for you to see and evaluate. I'm open to any feedback or suggestions for improvement!
You can easily download my tech watch design in Photoshop from this link.
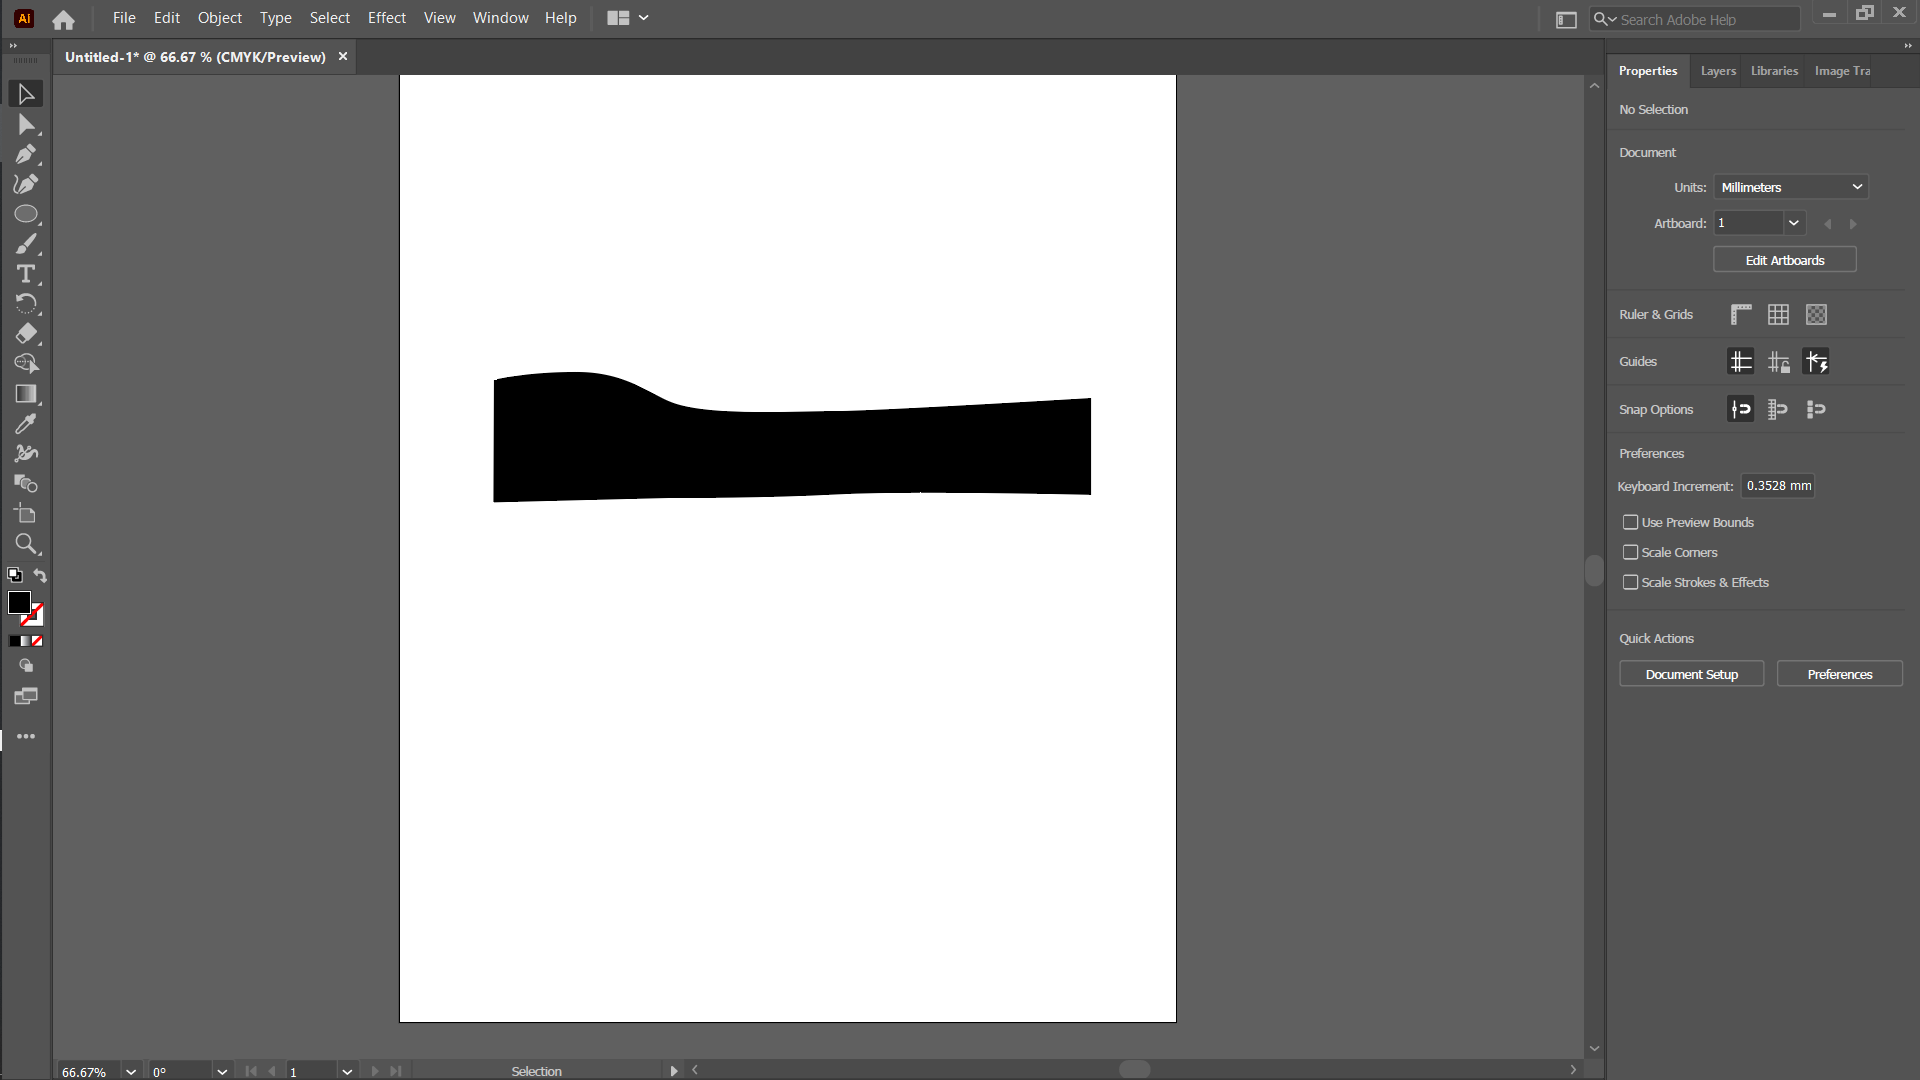
2D vector software
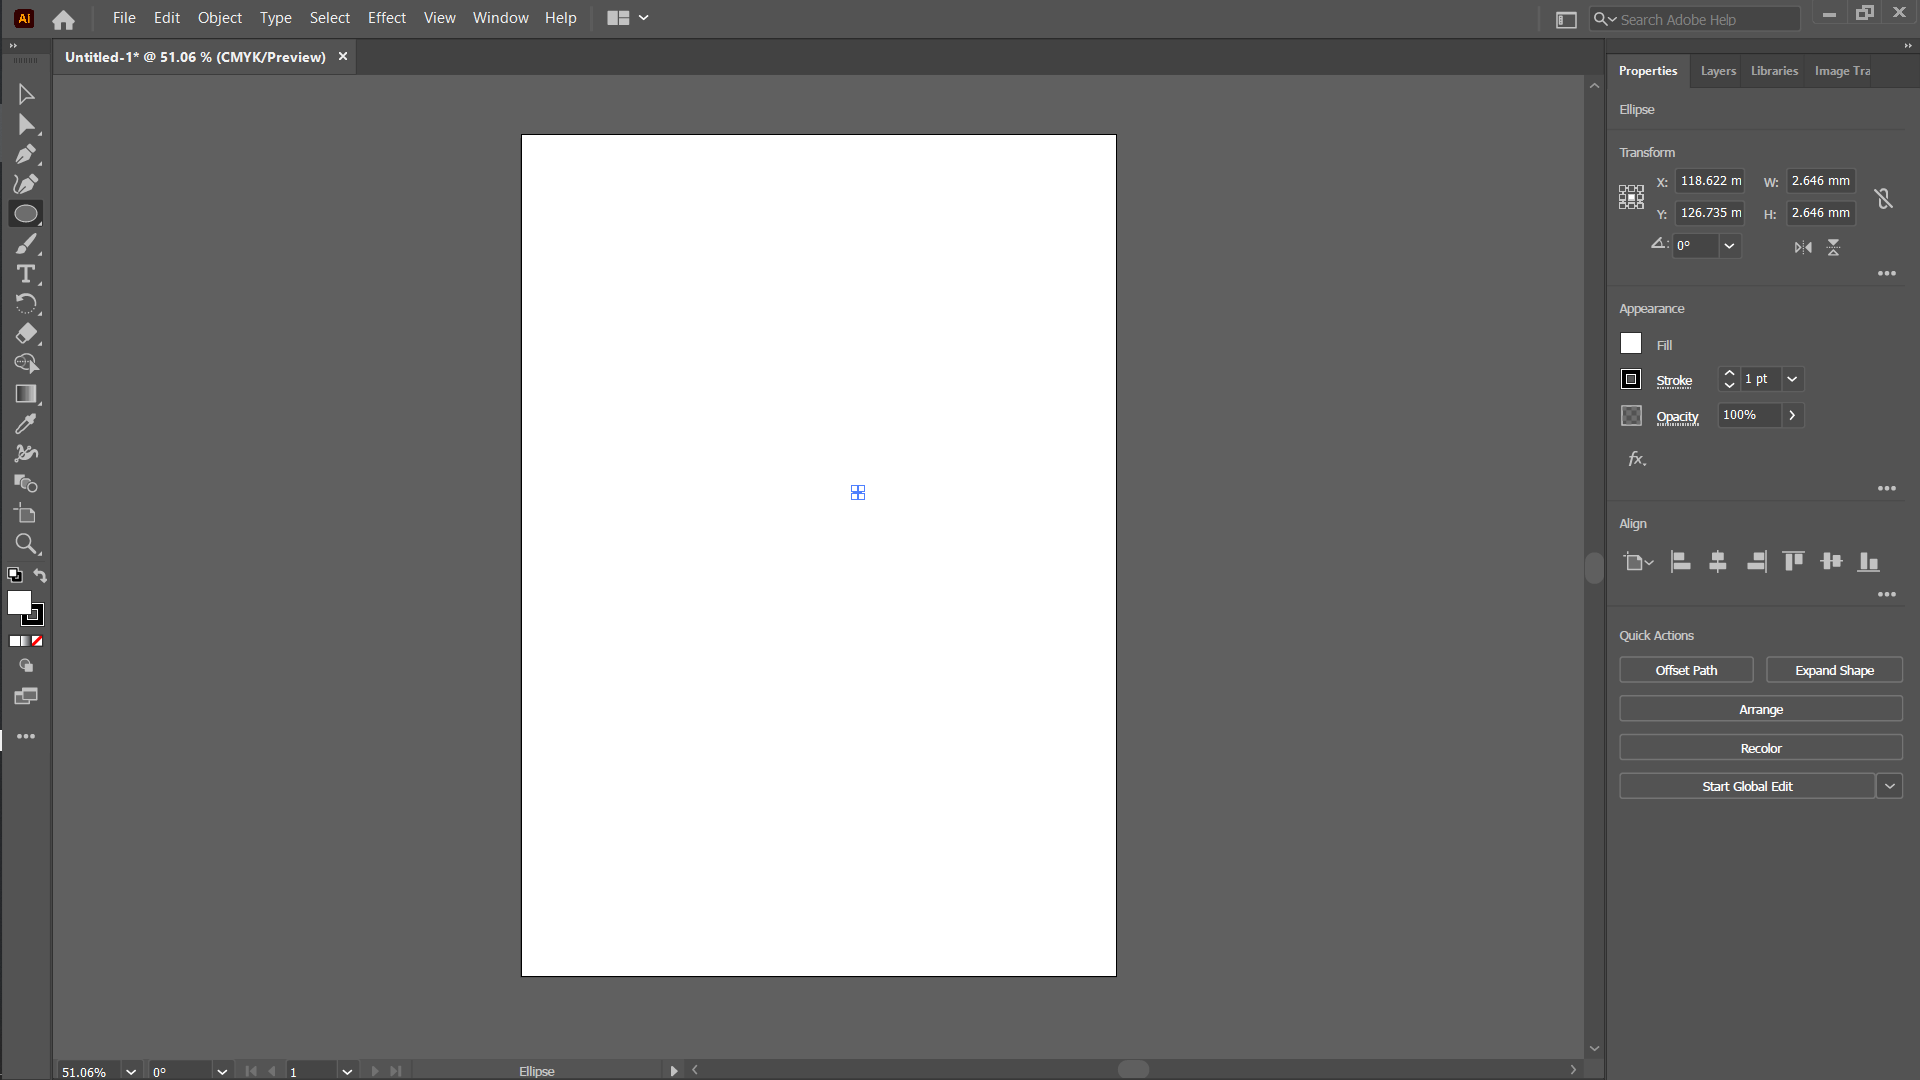
Learning 2D vector design was initially a challenge for me as I had never used Illustrator before. However, I dedicated myself to mastering the basics and eventually succeeded in designing my watch using this application.
Since my personal computer had limited space, I began by using a computer with Illustrator already installed. I started by learning the fundamental tools and features of Illustrator. This foundational understanding allowed me to progress to more complex tasks.
With persistence and practice, I managed to design my watch. Below, you can see the images of my progress and the final design.
Creating the sketch
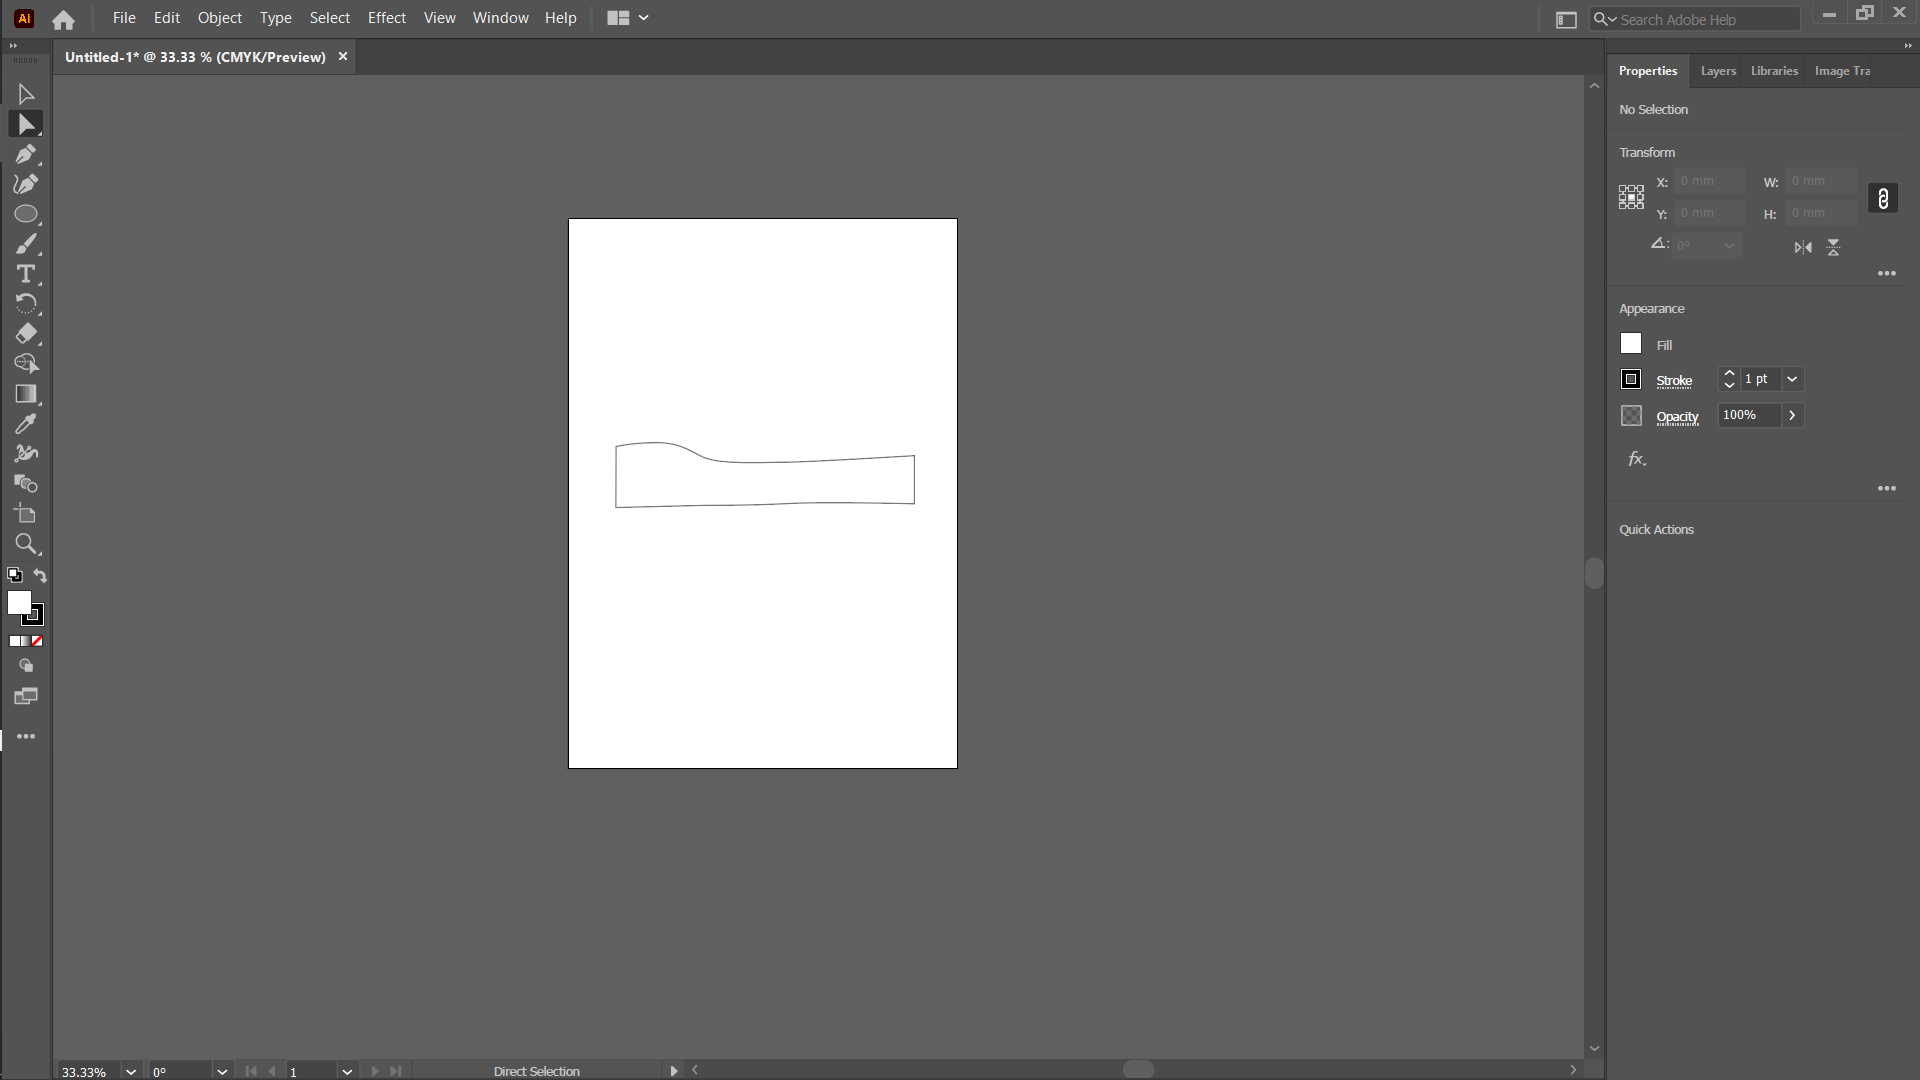
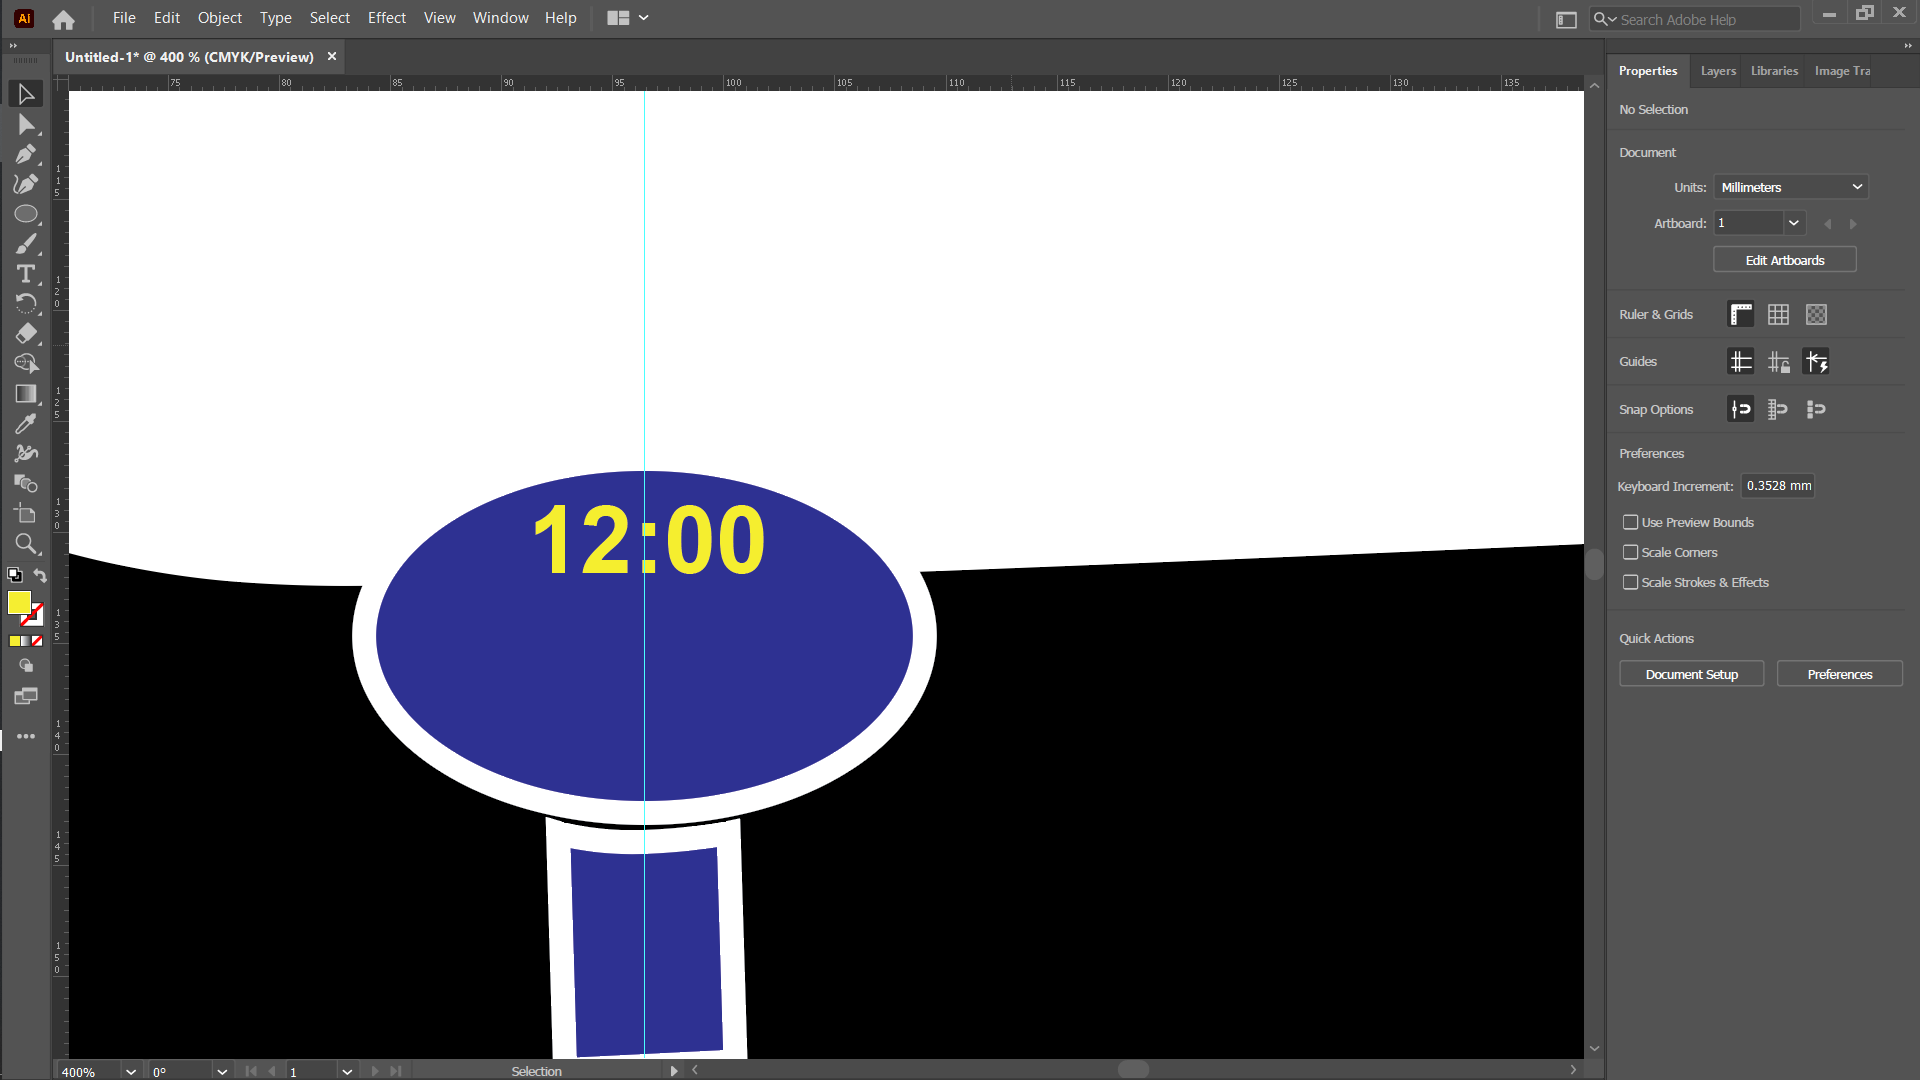
Designingthe arm
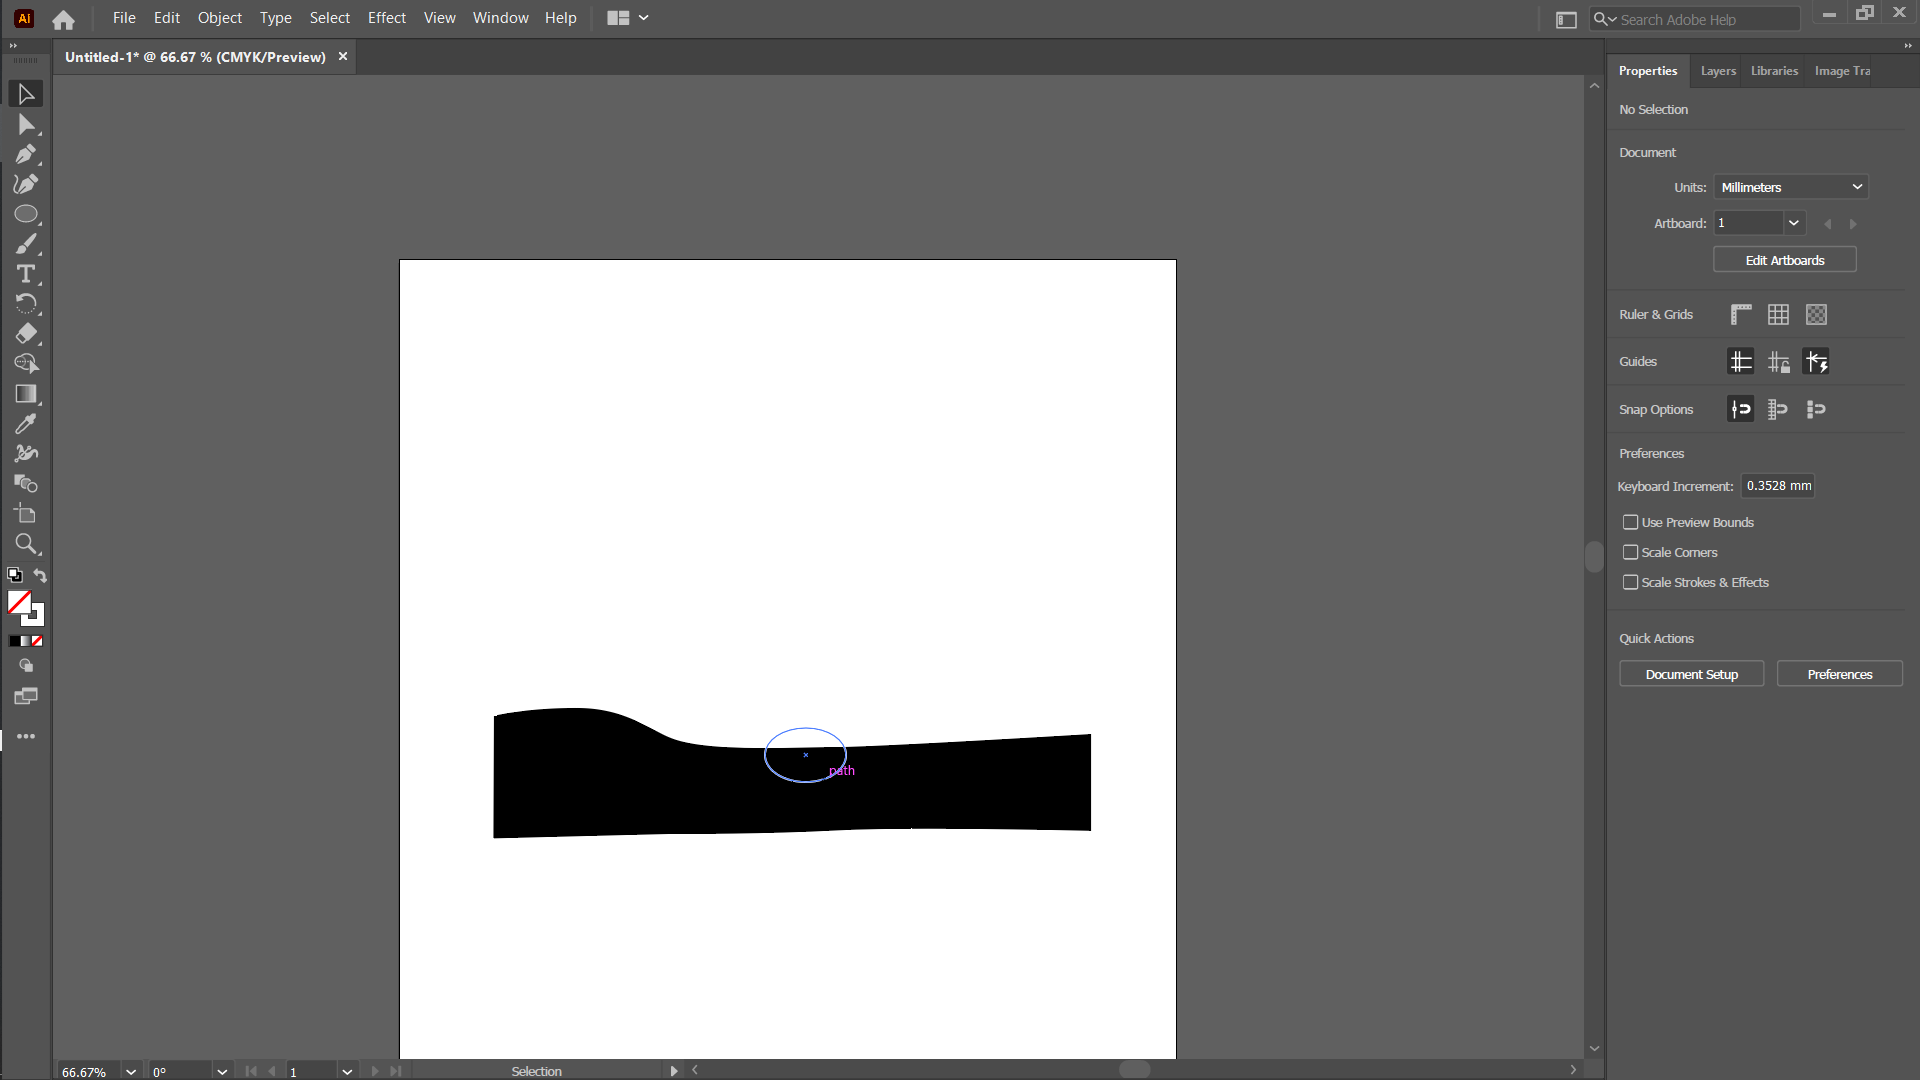
Watch base
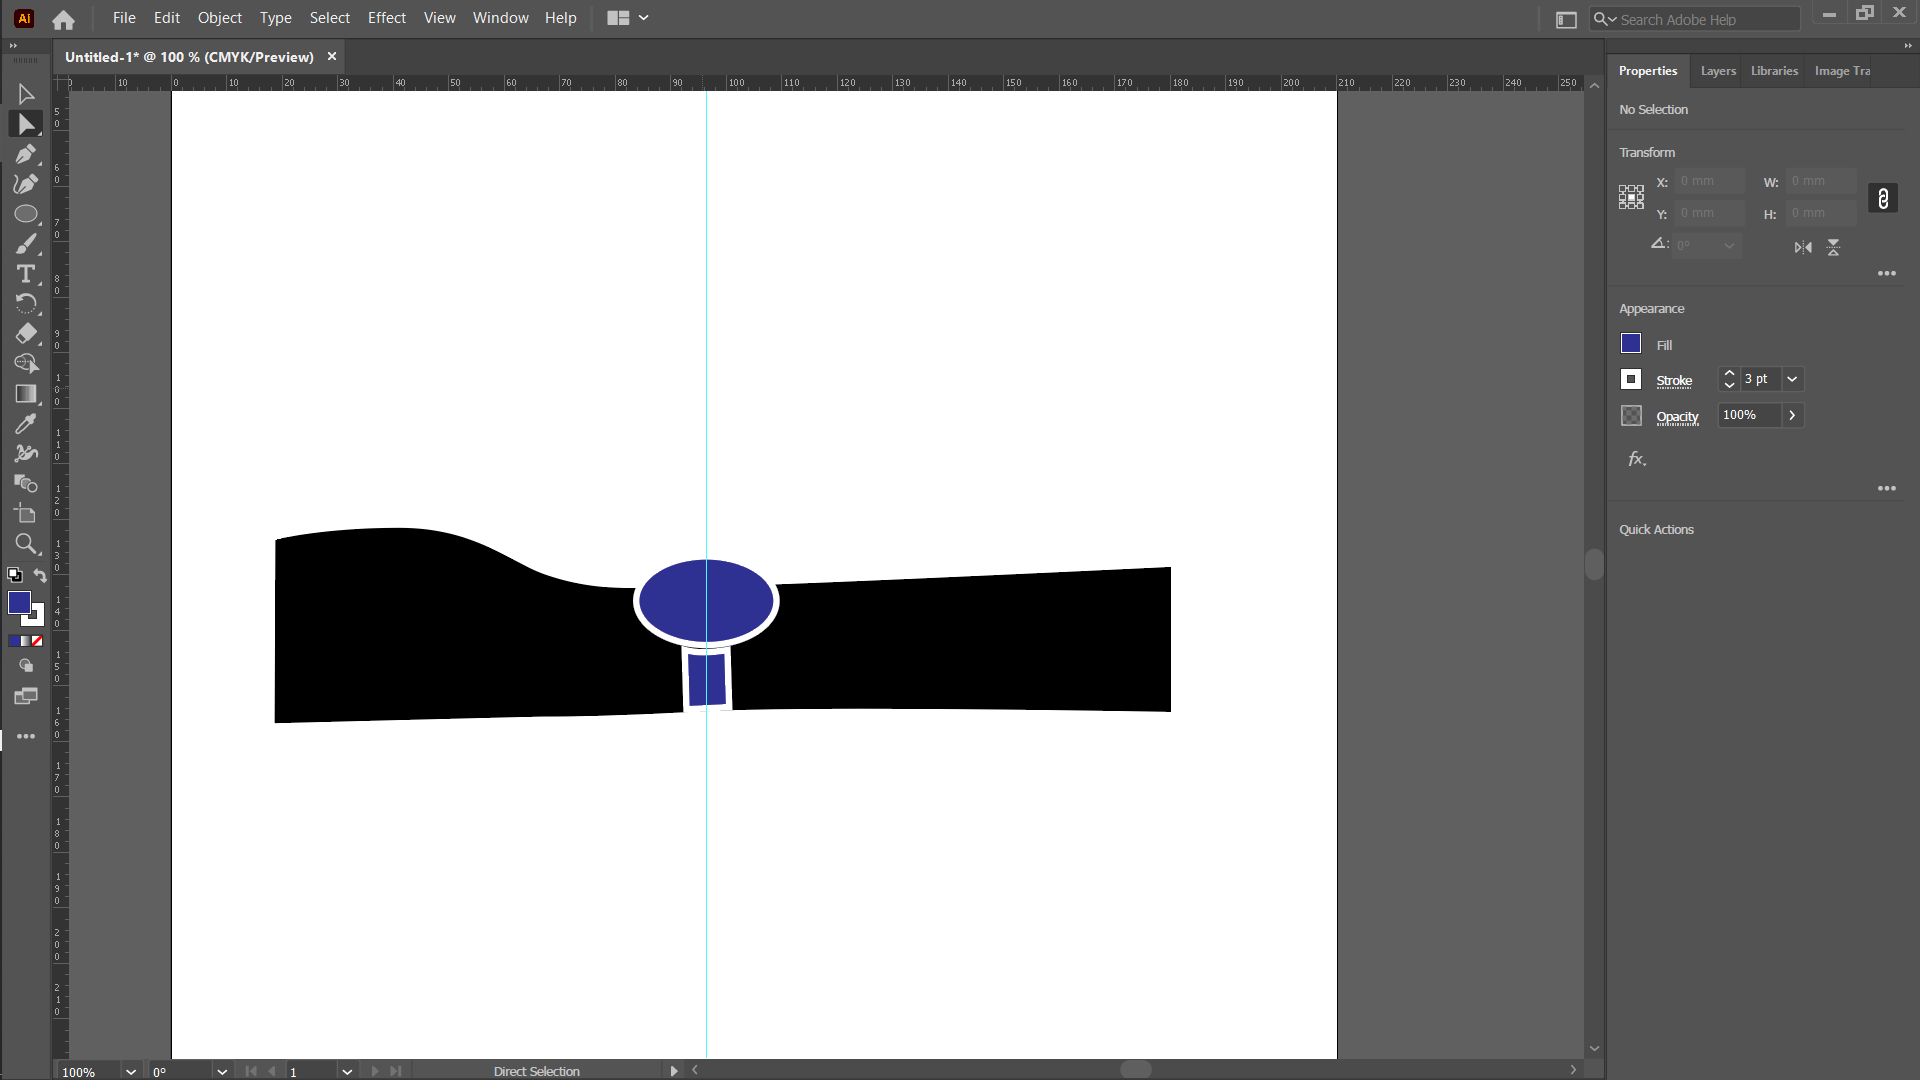
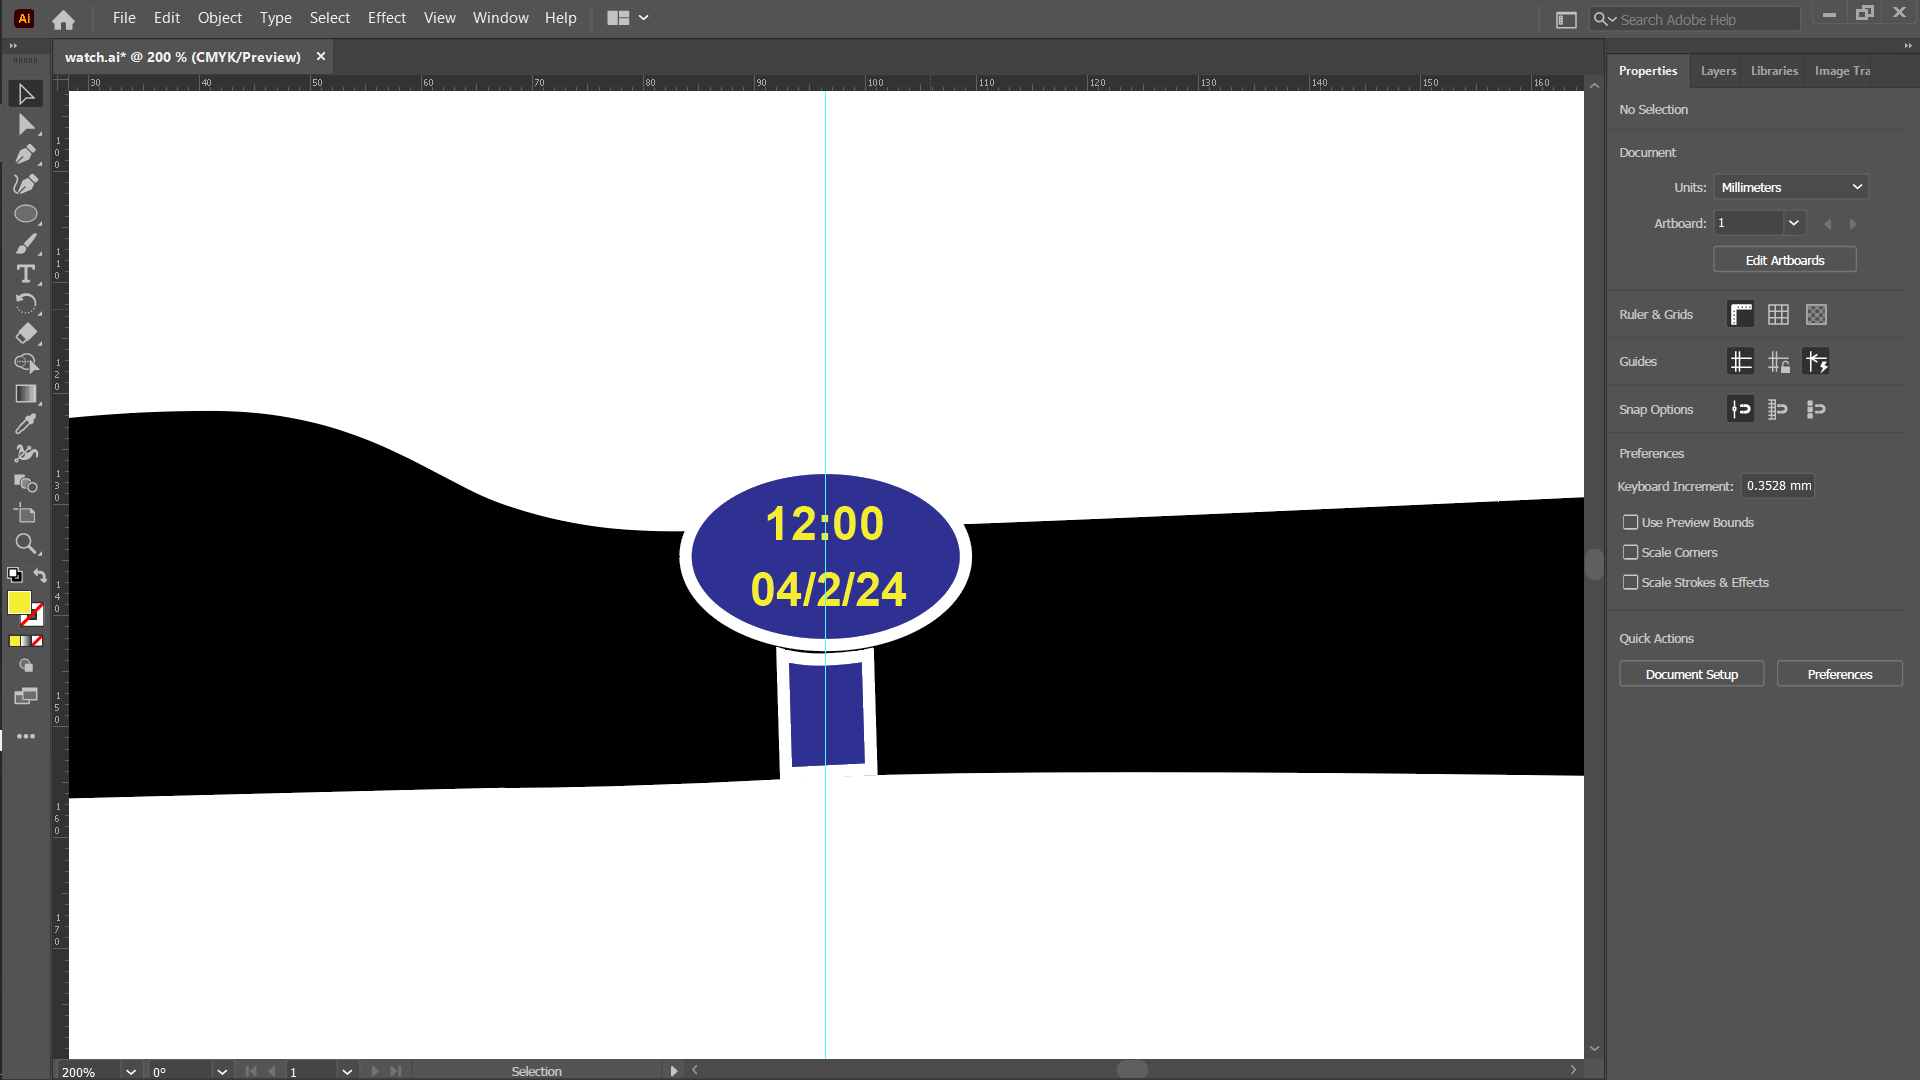
Add time and dates as writing and add the color to my watch
3D Modeling with SolidWORKS
SOLIDWORKS is an industry-leading CAD (Computer-Aided Design) and CAE (Computer-Aided Engineering) software used by millions of engineers across the world.
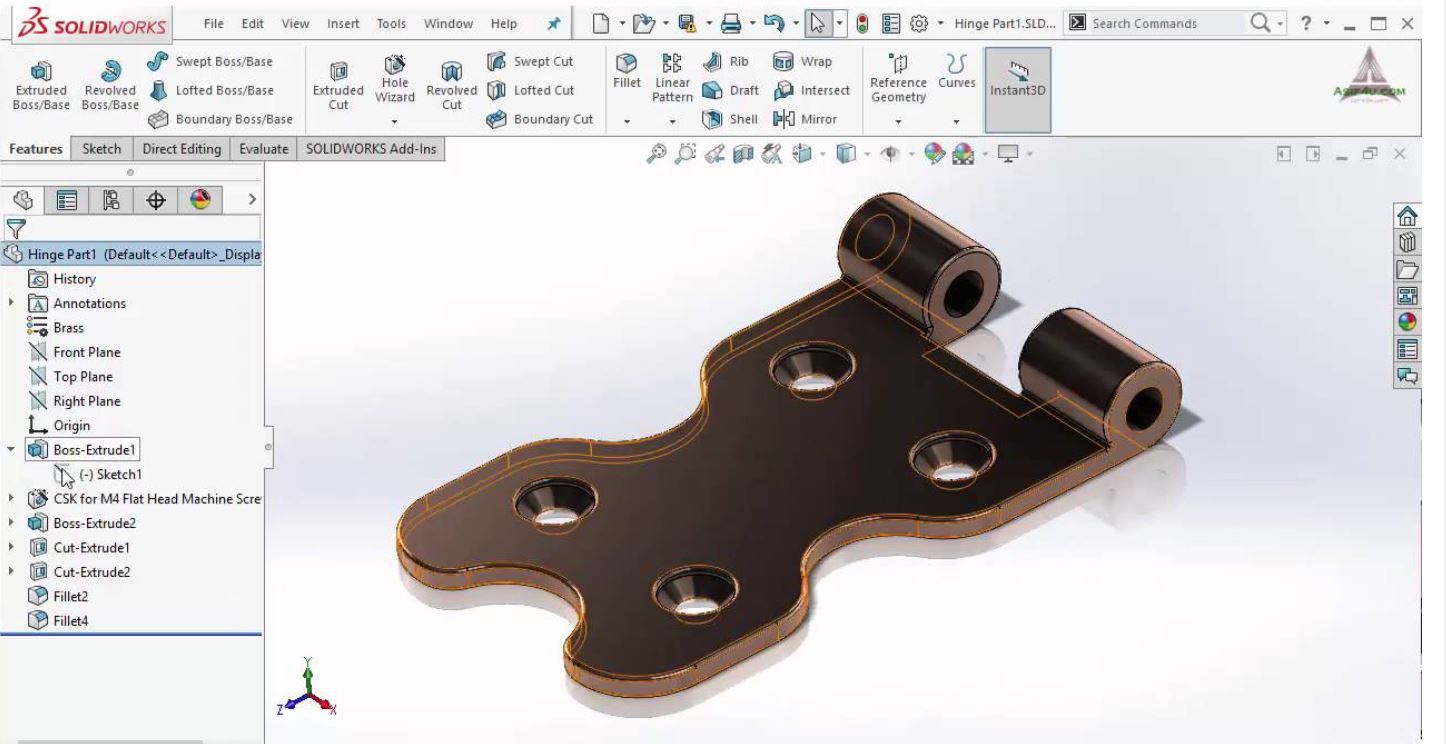
SOLIDWORKS uses parametric design, which is why it’s such an effective for designers and engineers. This means that the designer can see how changes will affect its neighboring components, or even the overall solution. For example, if the size of a single component is increased, this would affect the joint or hole it is attached to. This allows designers to spot and correct issues quickly and easily.
SOLIDWORKS Features
- Simple but sophisticated 3D CAD design
- Use templates and the CAD library for improved efficiency
- Automation and design reuse to speed up the process
- Cost estimation tools allow you to keep track in real-time
- Ensure potential risks are caught early with interference check
- Quickly produce 2D drawings for production
- Easily create animations and photorealistic renderings
how to get started with solidworks?
Please visit the official Soldwark website to download the application. You can use the following link for easy access: Free download
To install the SolidWorks application, follow this online tutorial that was incredibly helpful for me when I first started using it. It provides step-by-step guidance to ensure a smooth setup process and helps you get started with using the software effectively. Install Solidworks
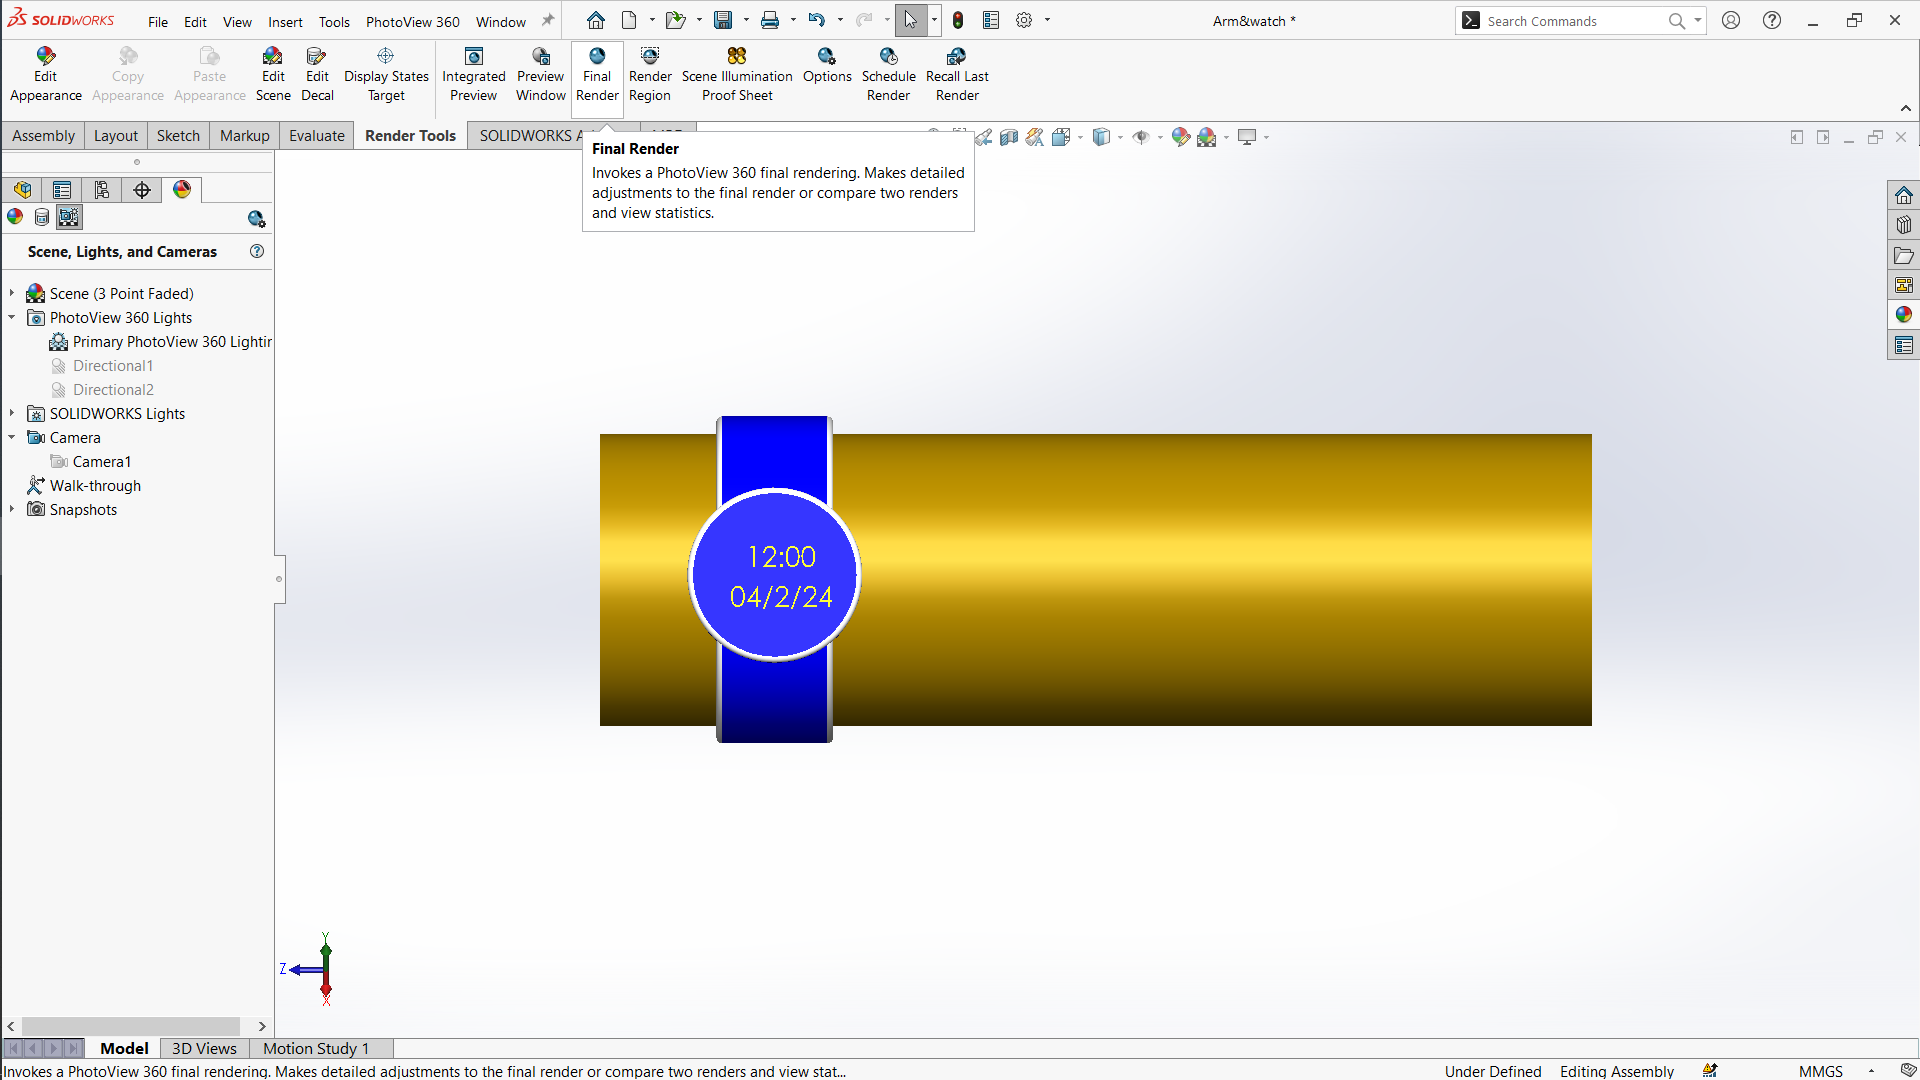
Design watch in solidworks
Designing a watch in SolidWorks involves creating multiple parts that make up the watch, such as the watch case, dial, hands, strap, and other components. Here's a step-by-step guide to help you get started with designing a basic watch in SolidWorks:
Step 1: Planning and Sketching
Before starting with SolidWorks, it’s essential to have a clear idea of the watch design. Sketch the basic design of the watch, noting down the dimensions and key features.
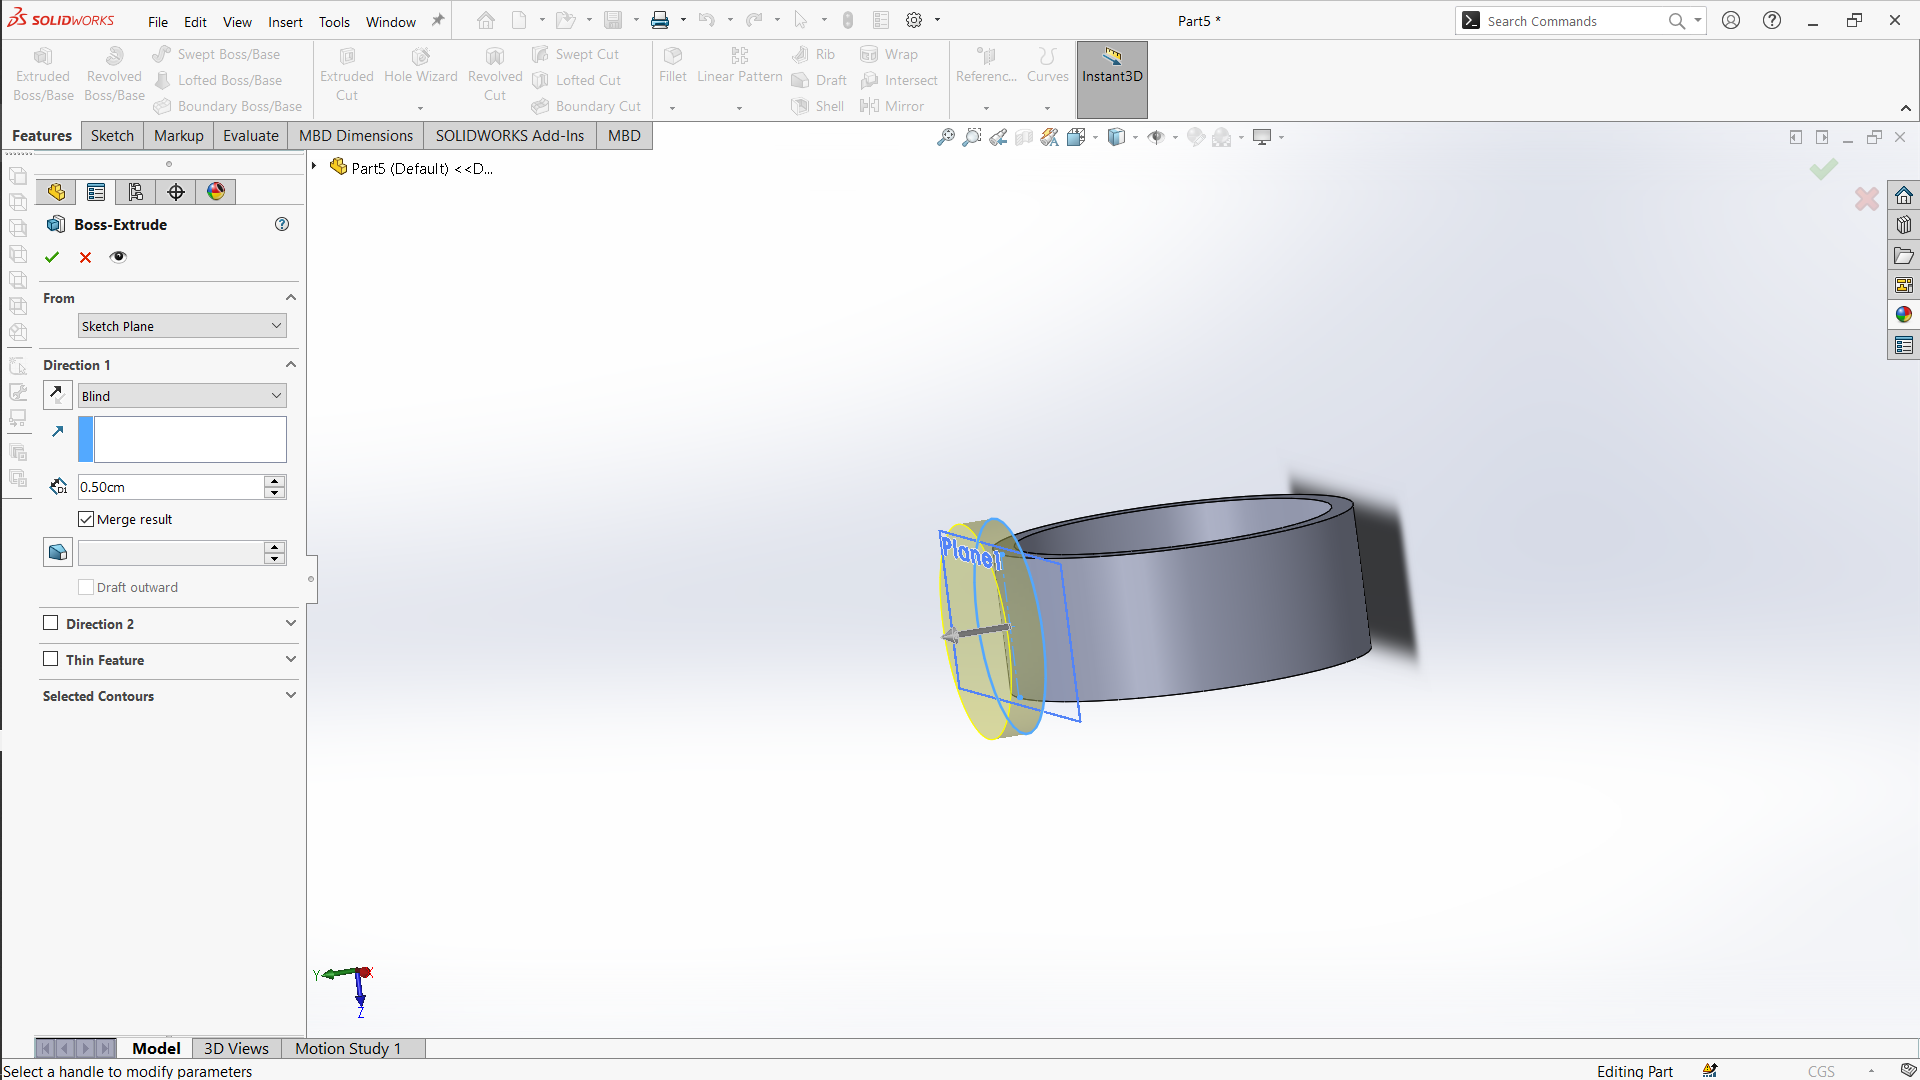
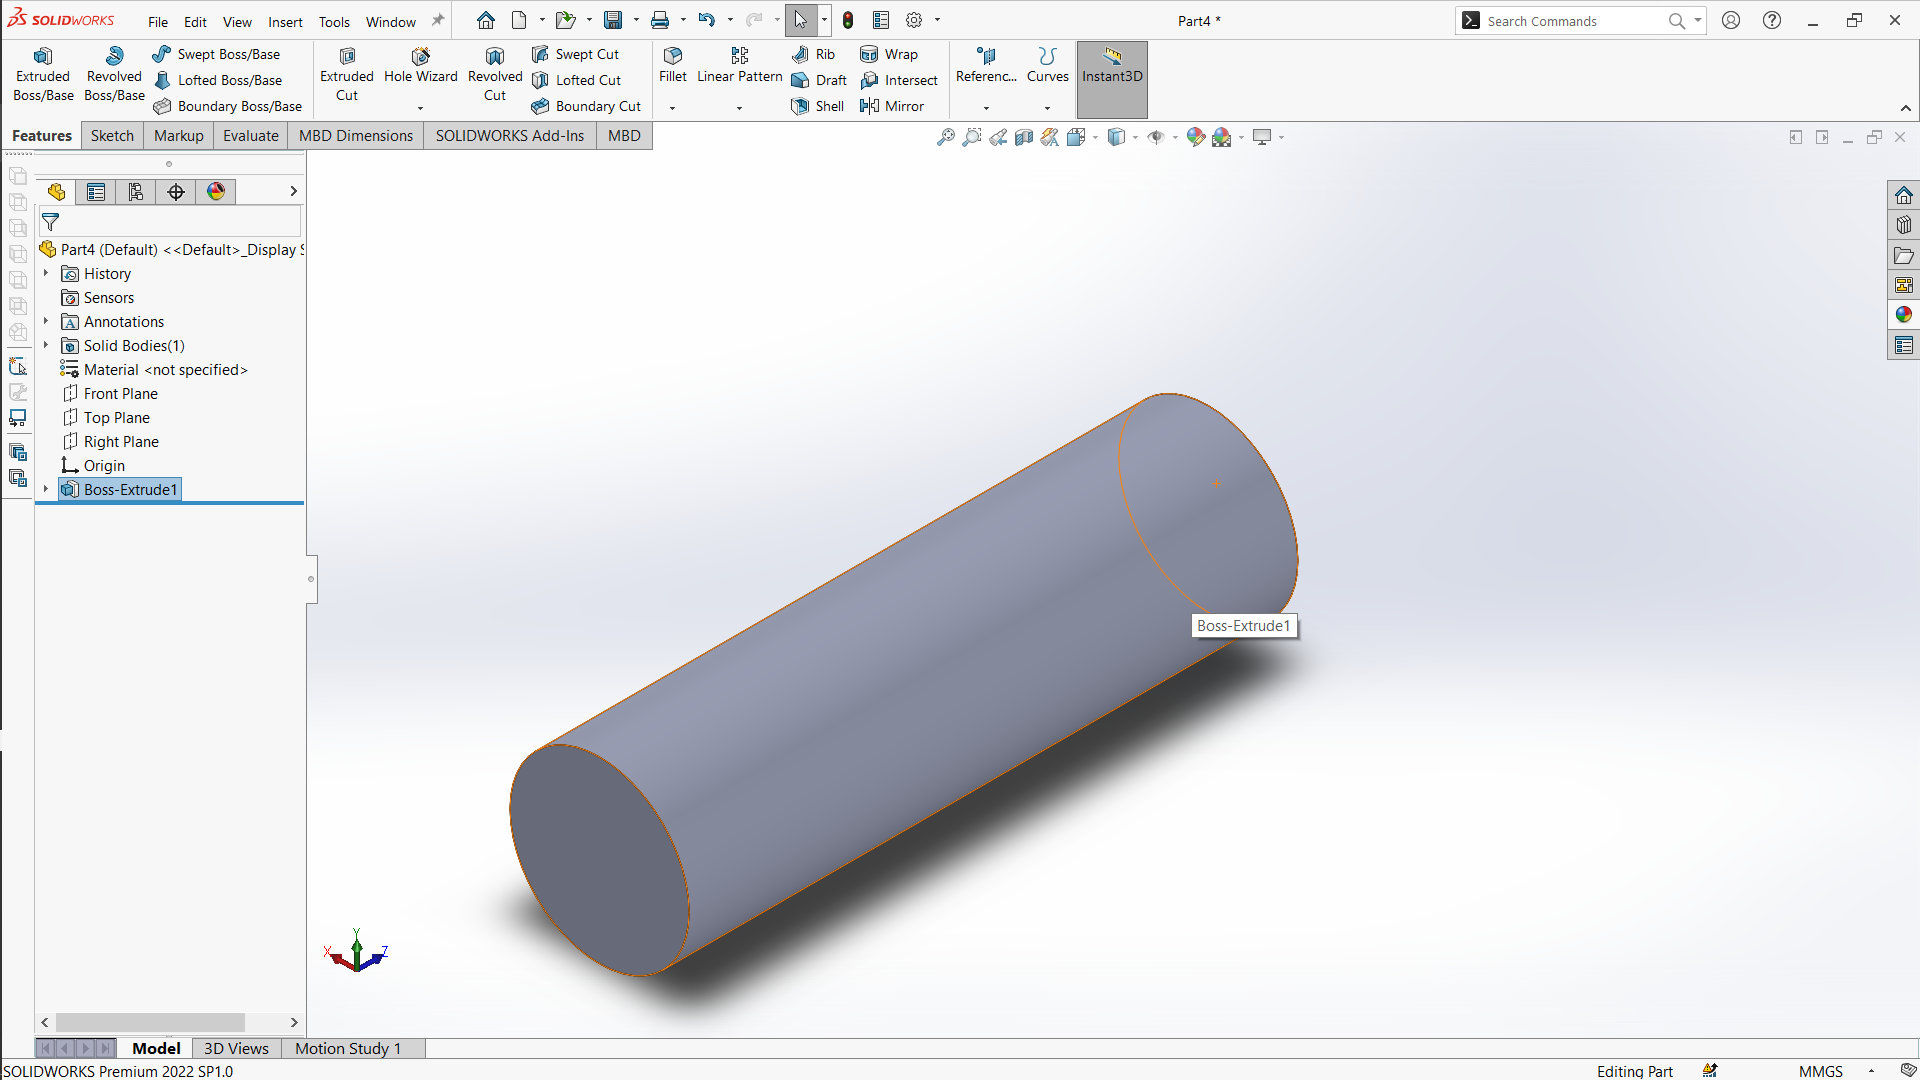
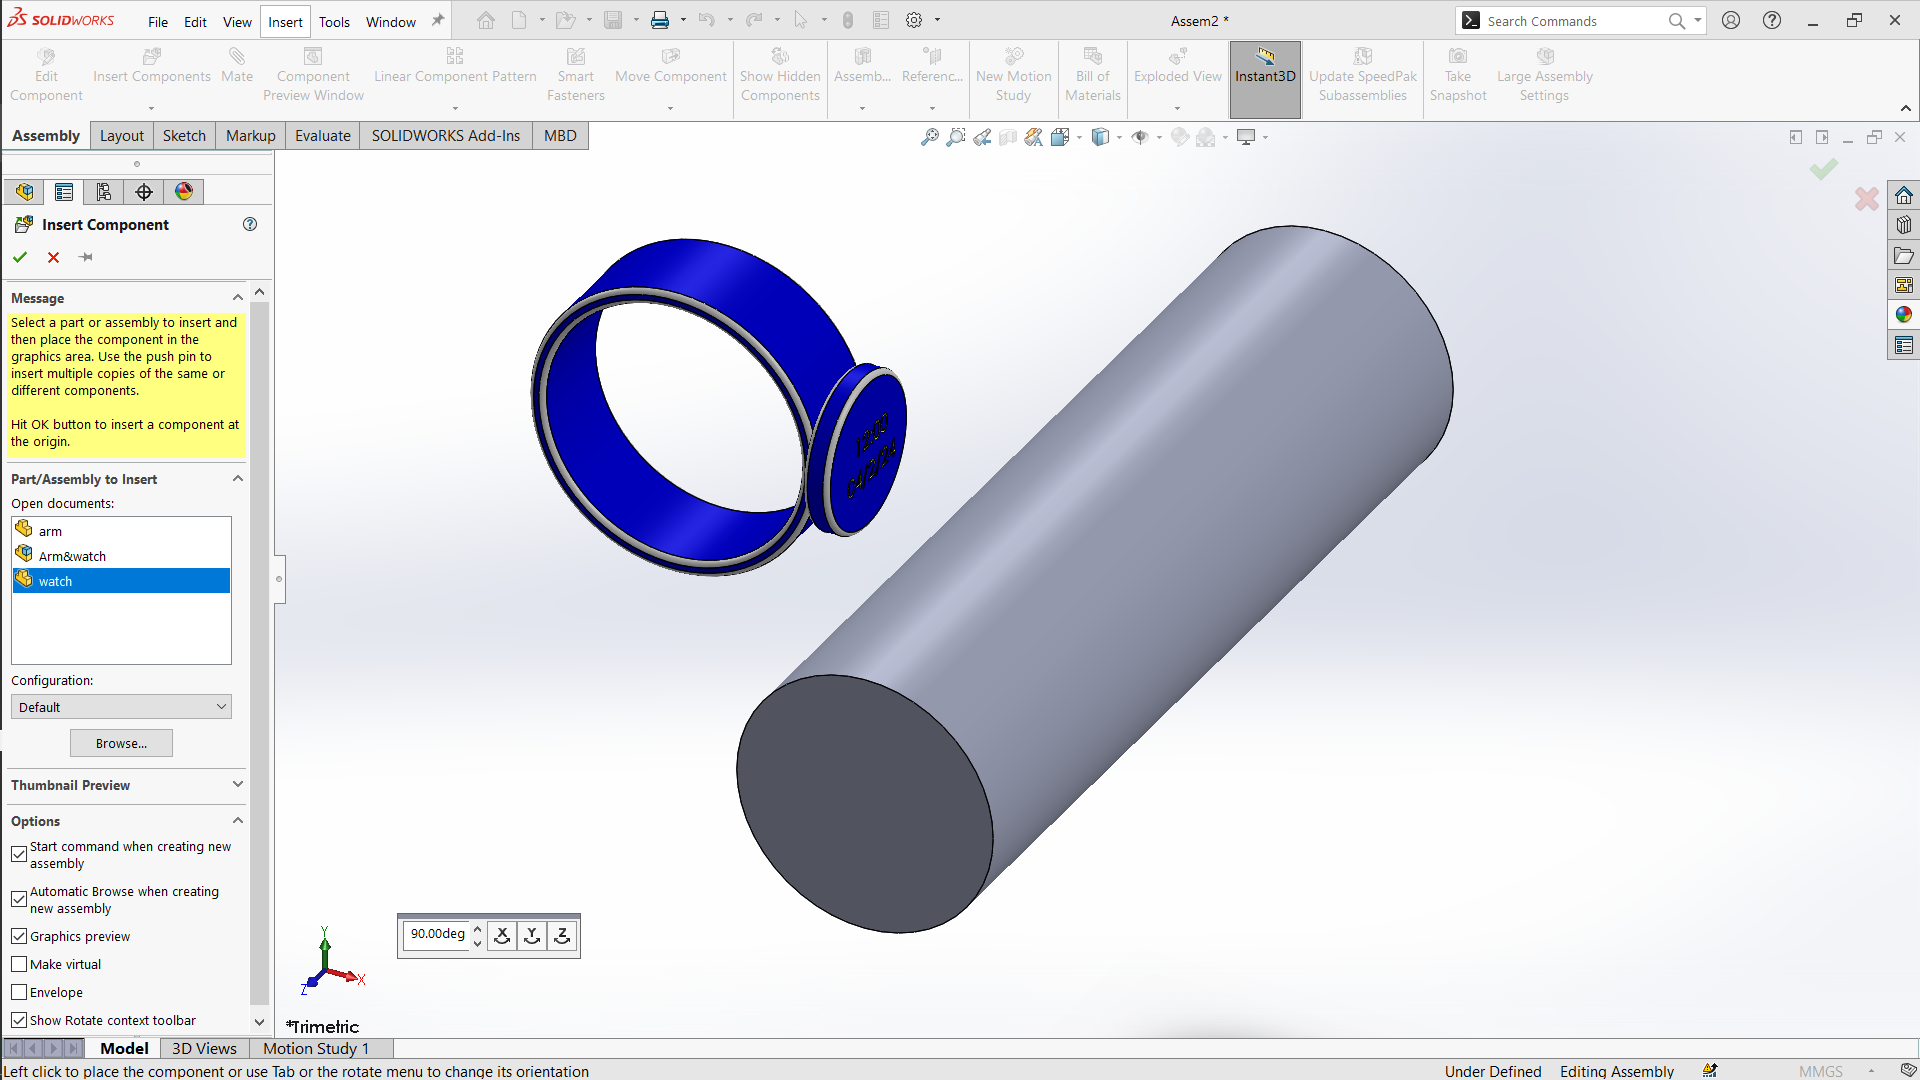
Step 2: Creating the Watch Case
Open SolidWorks and start a new part.
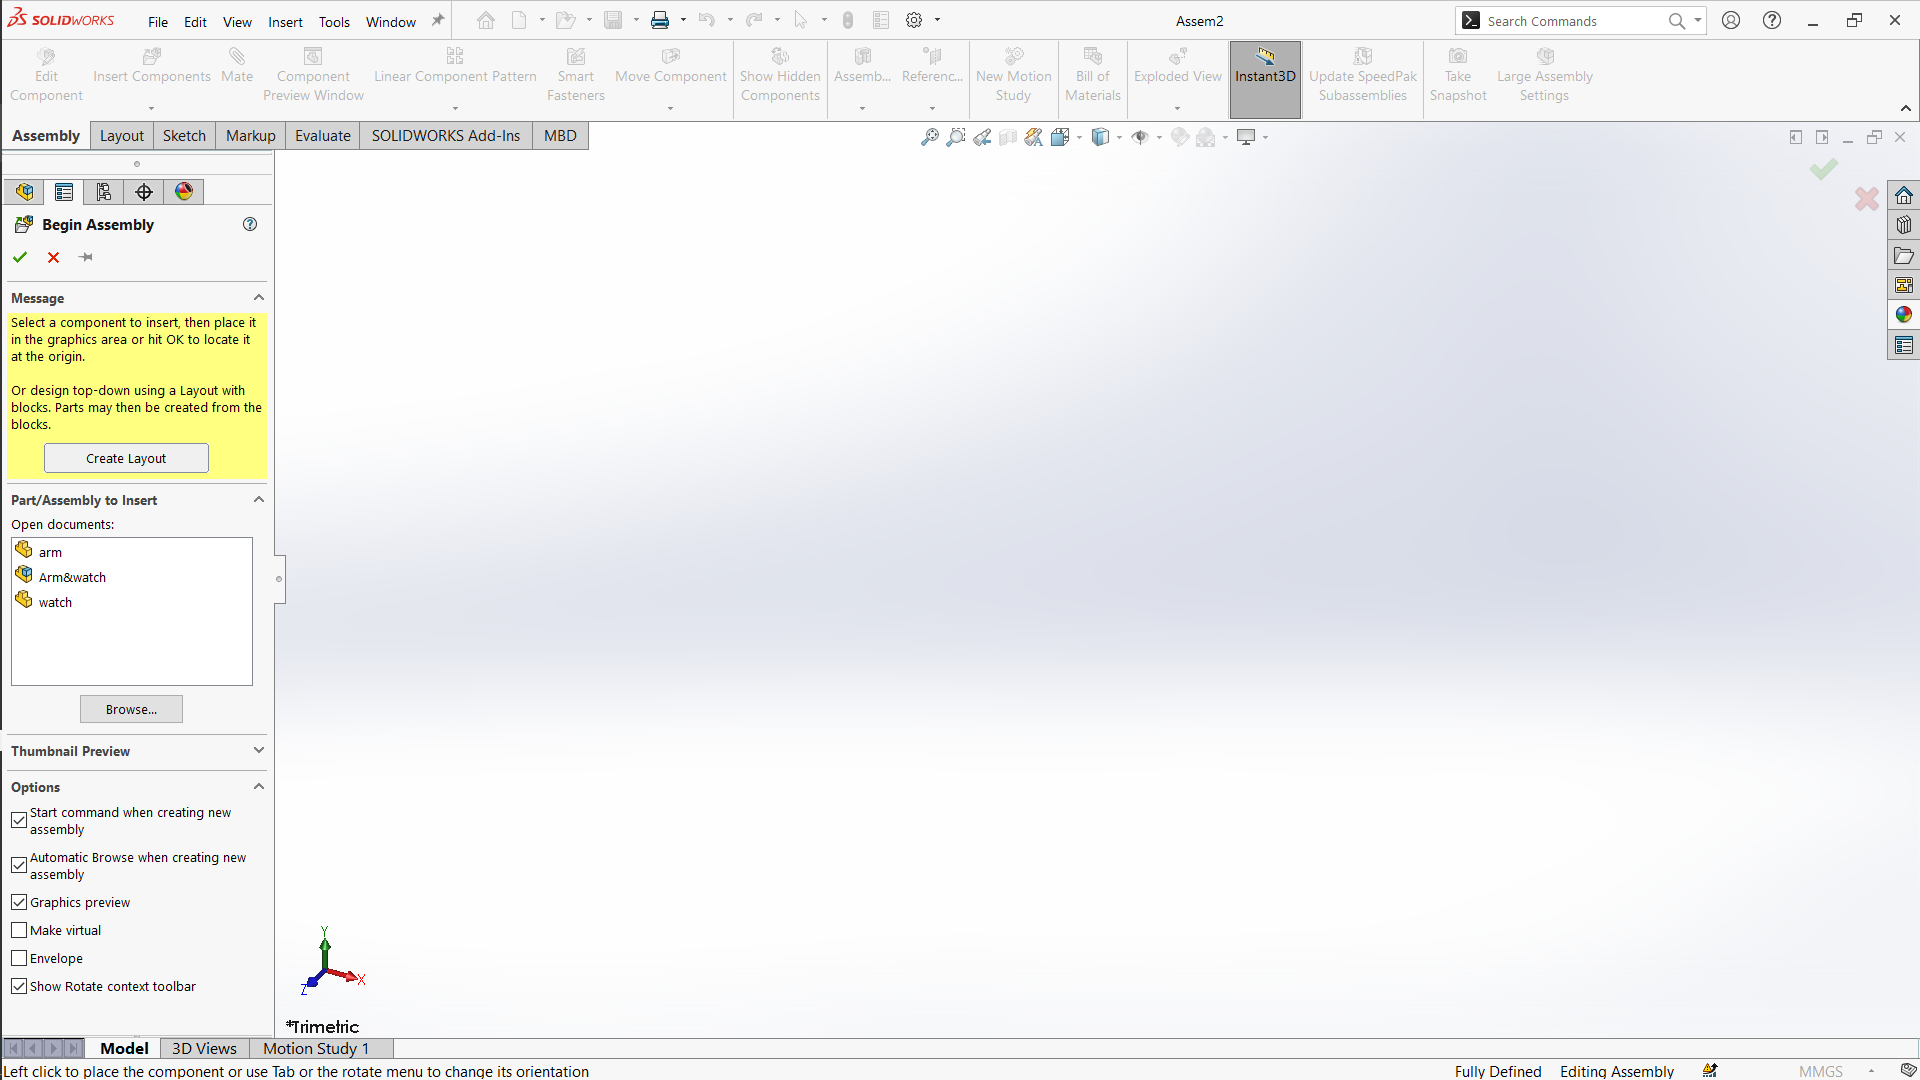
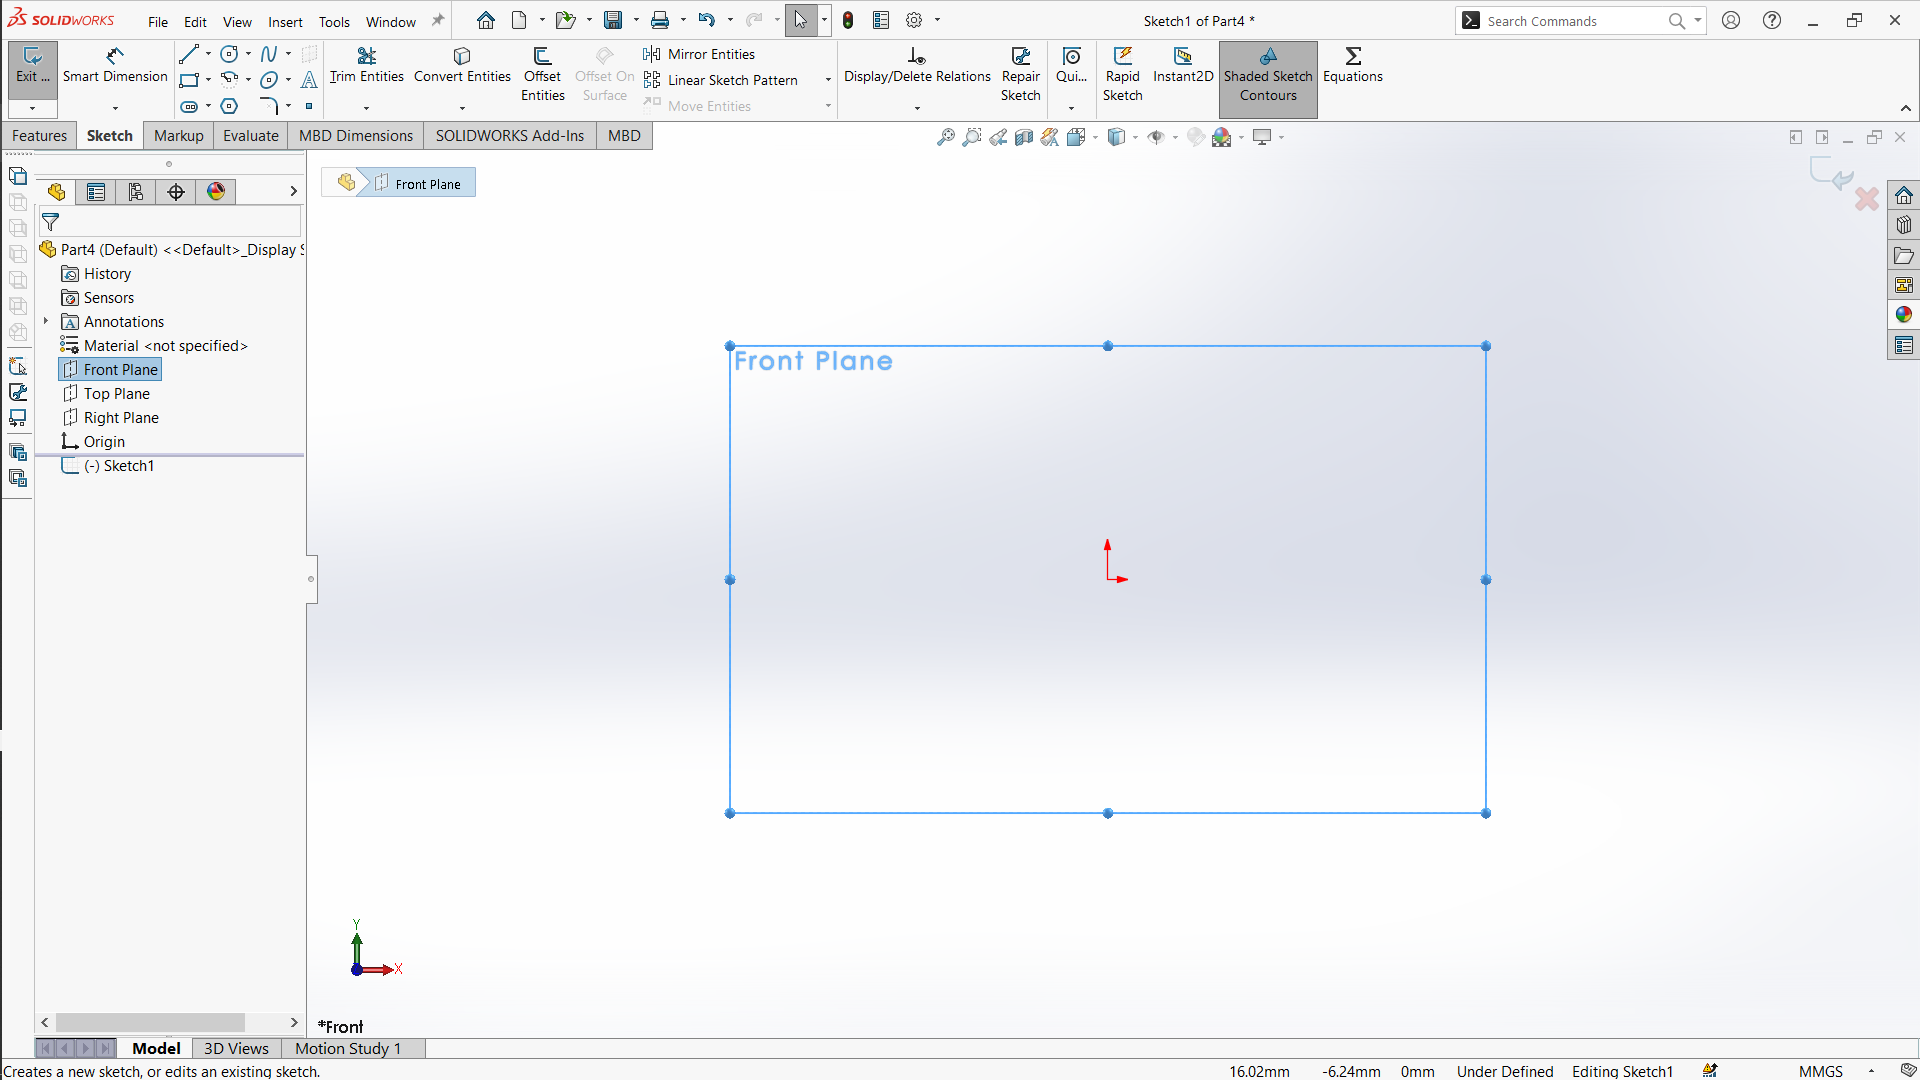
Sketch a circle on the Front Plane. This circle will be the outline of the watch case.
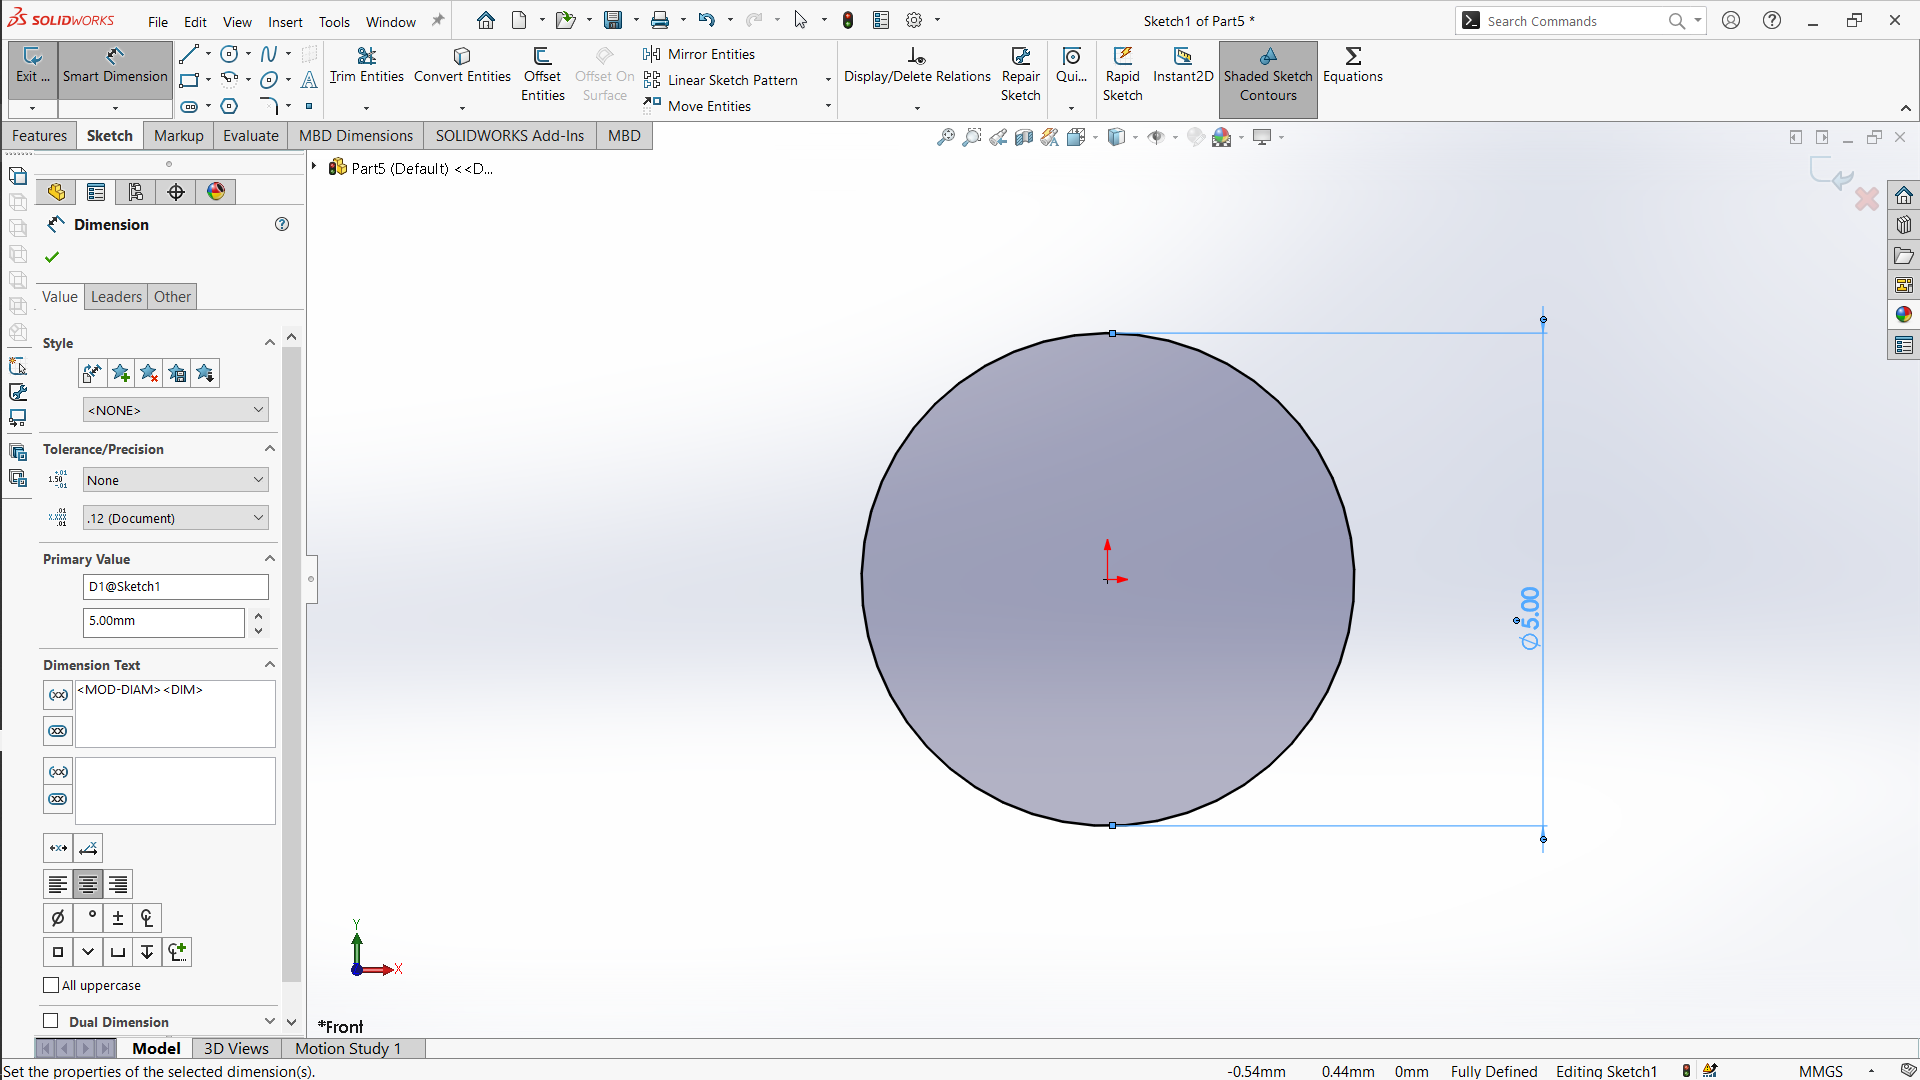
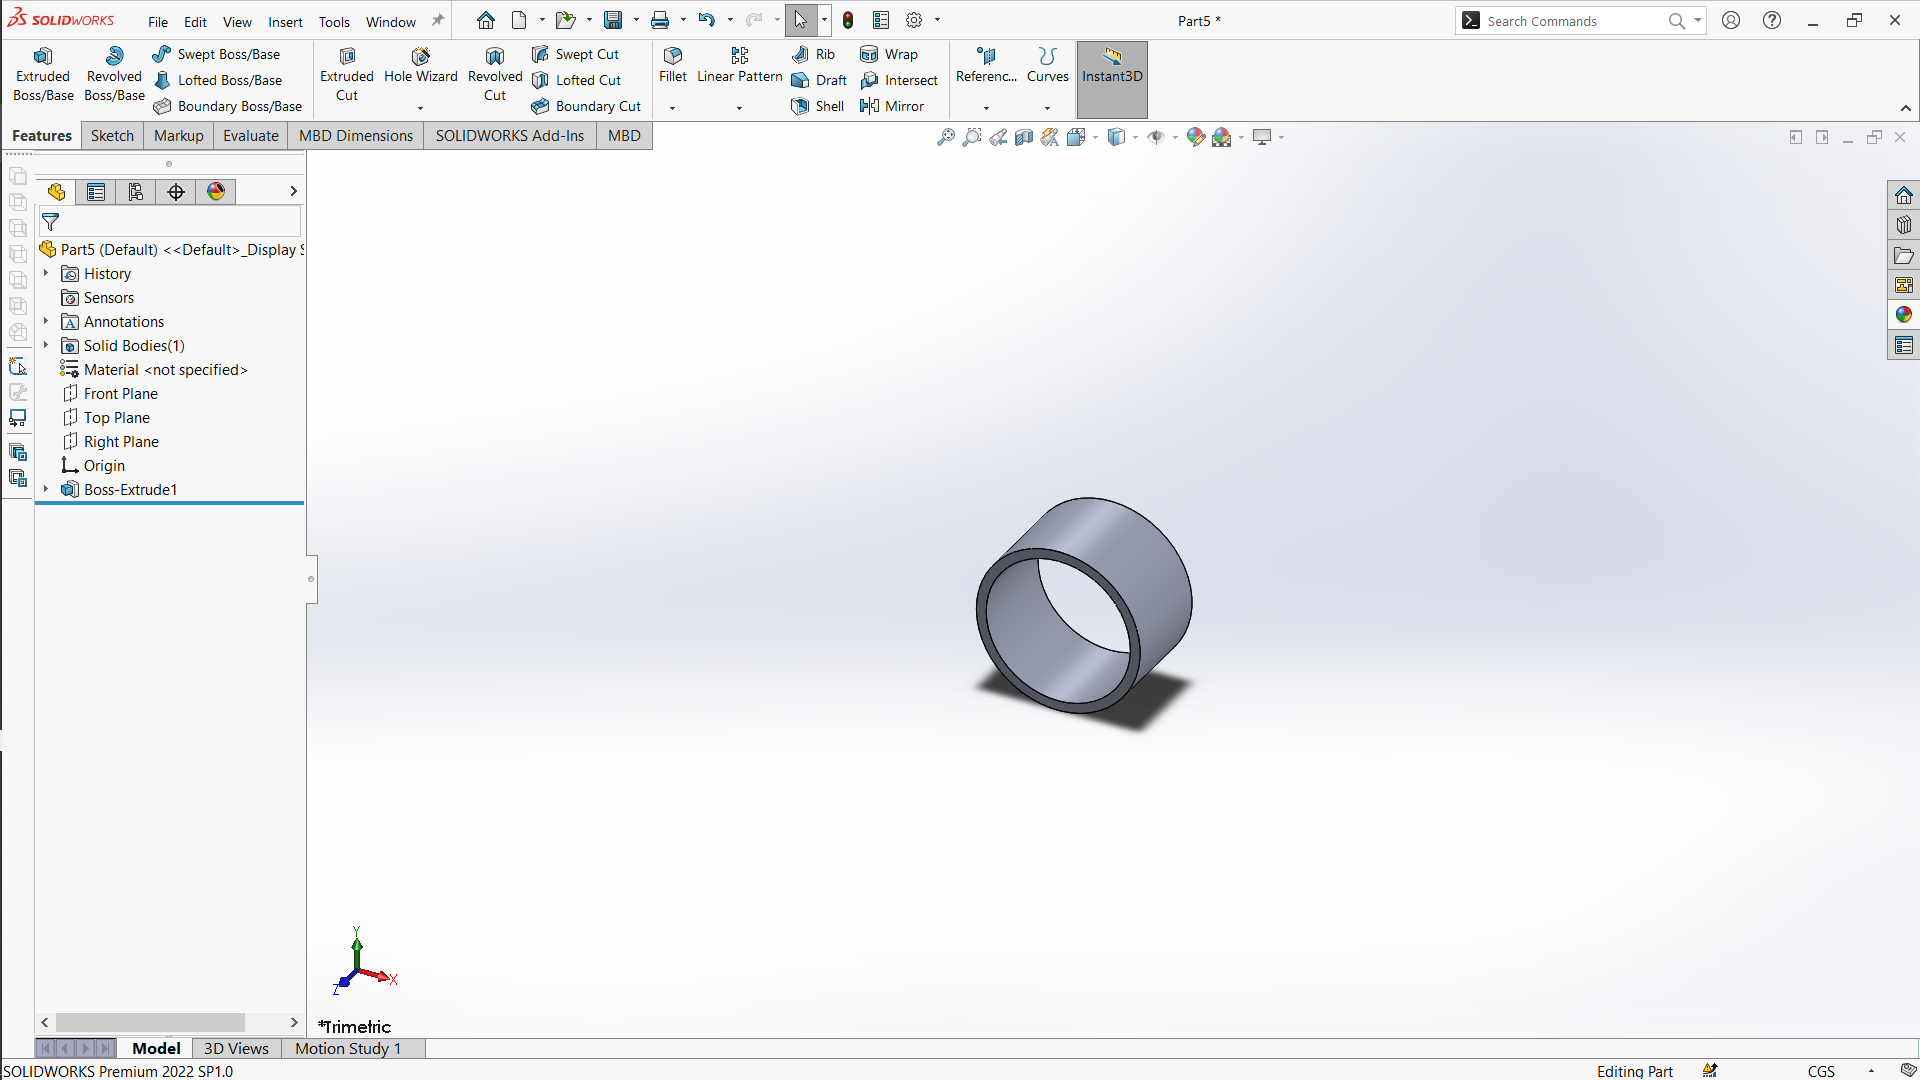
Use the Extrude Boss/Base feature to give thickness to the case.
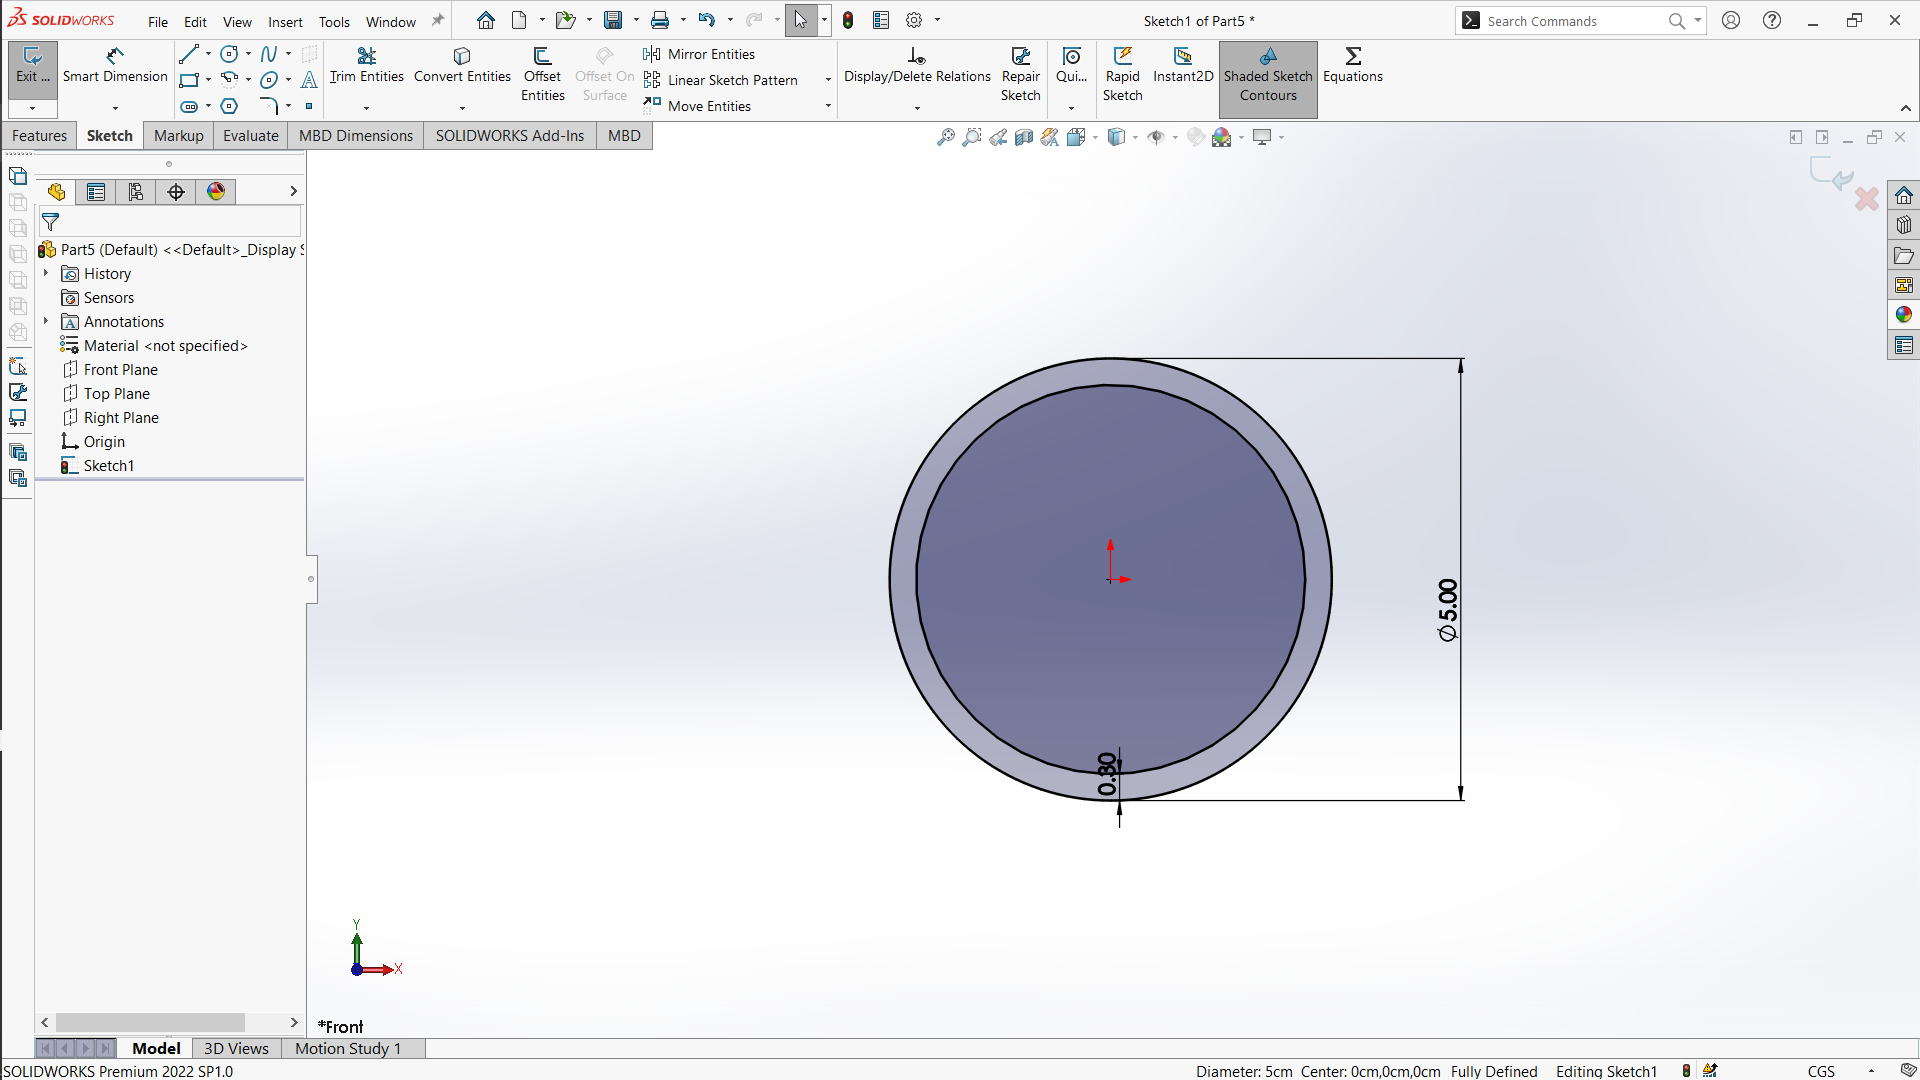
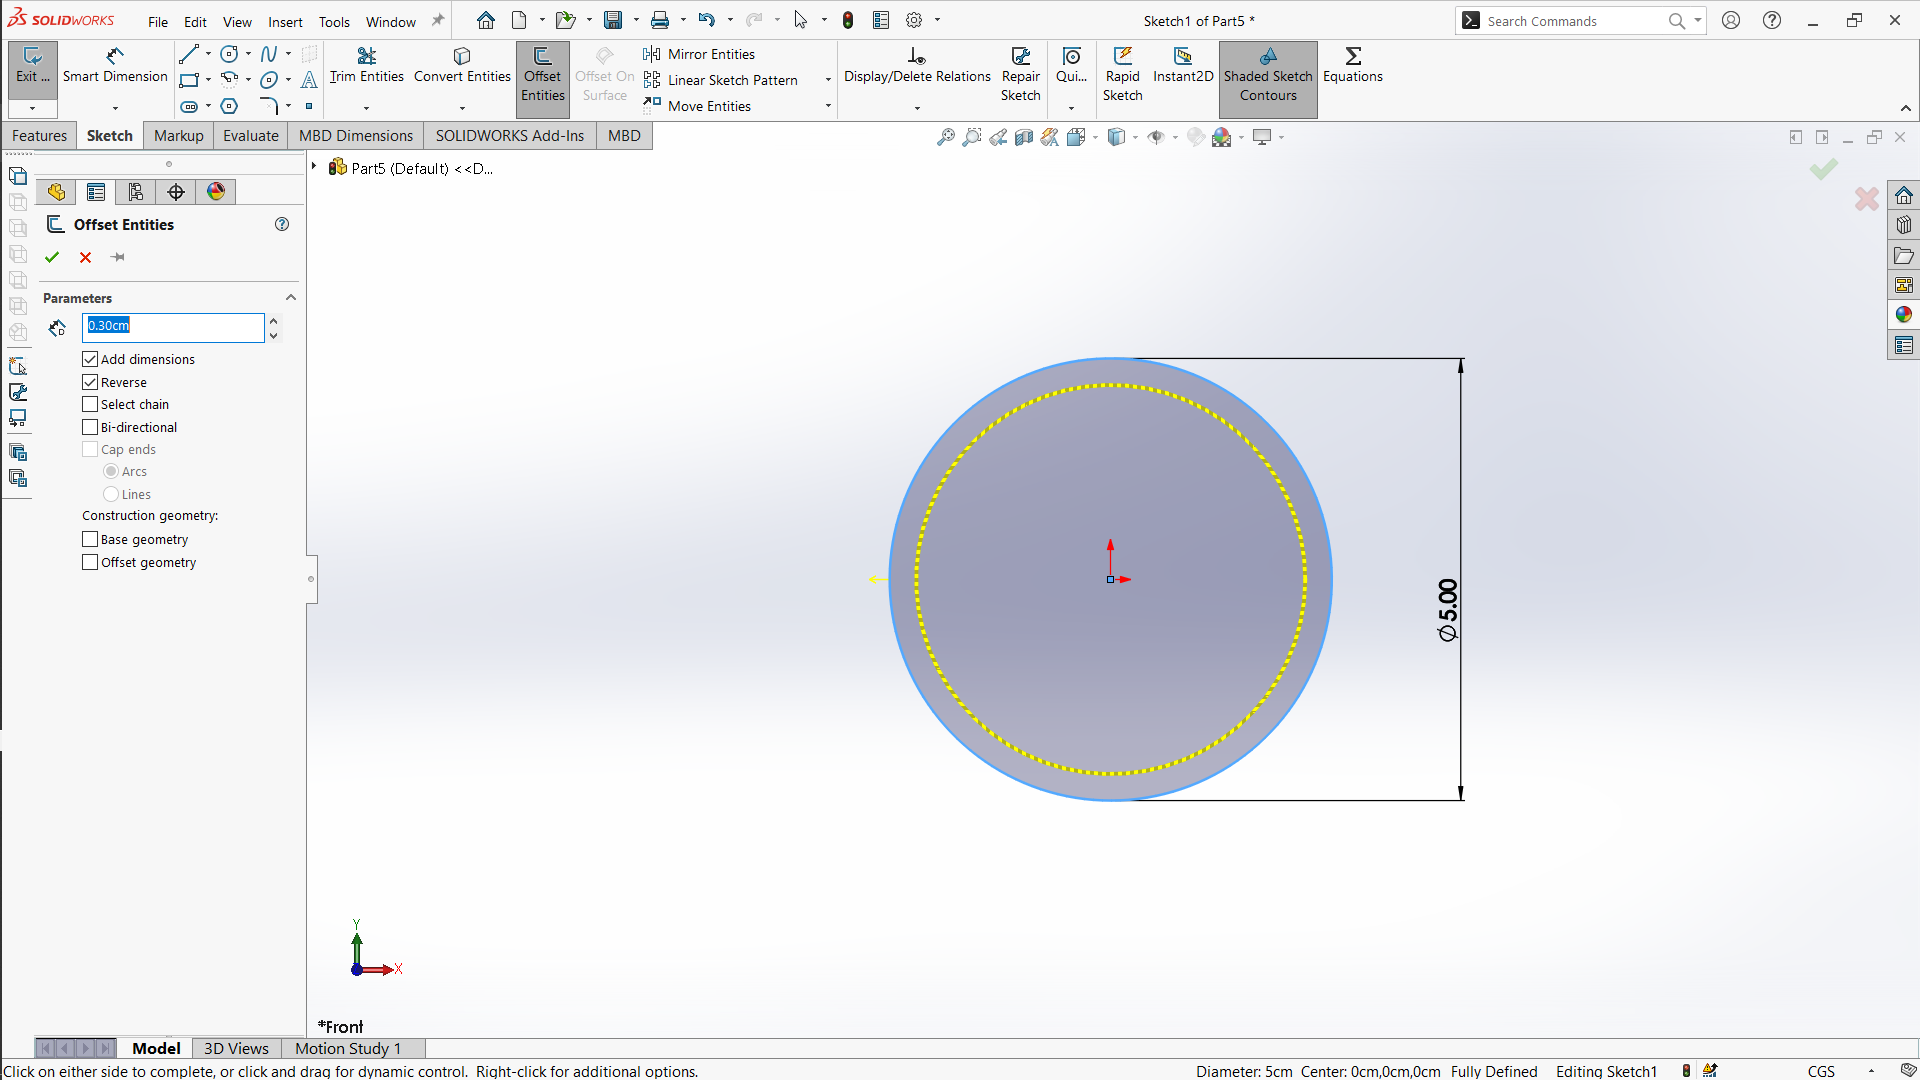
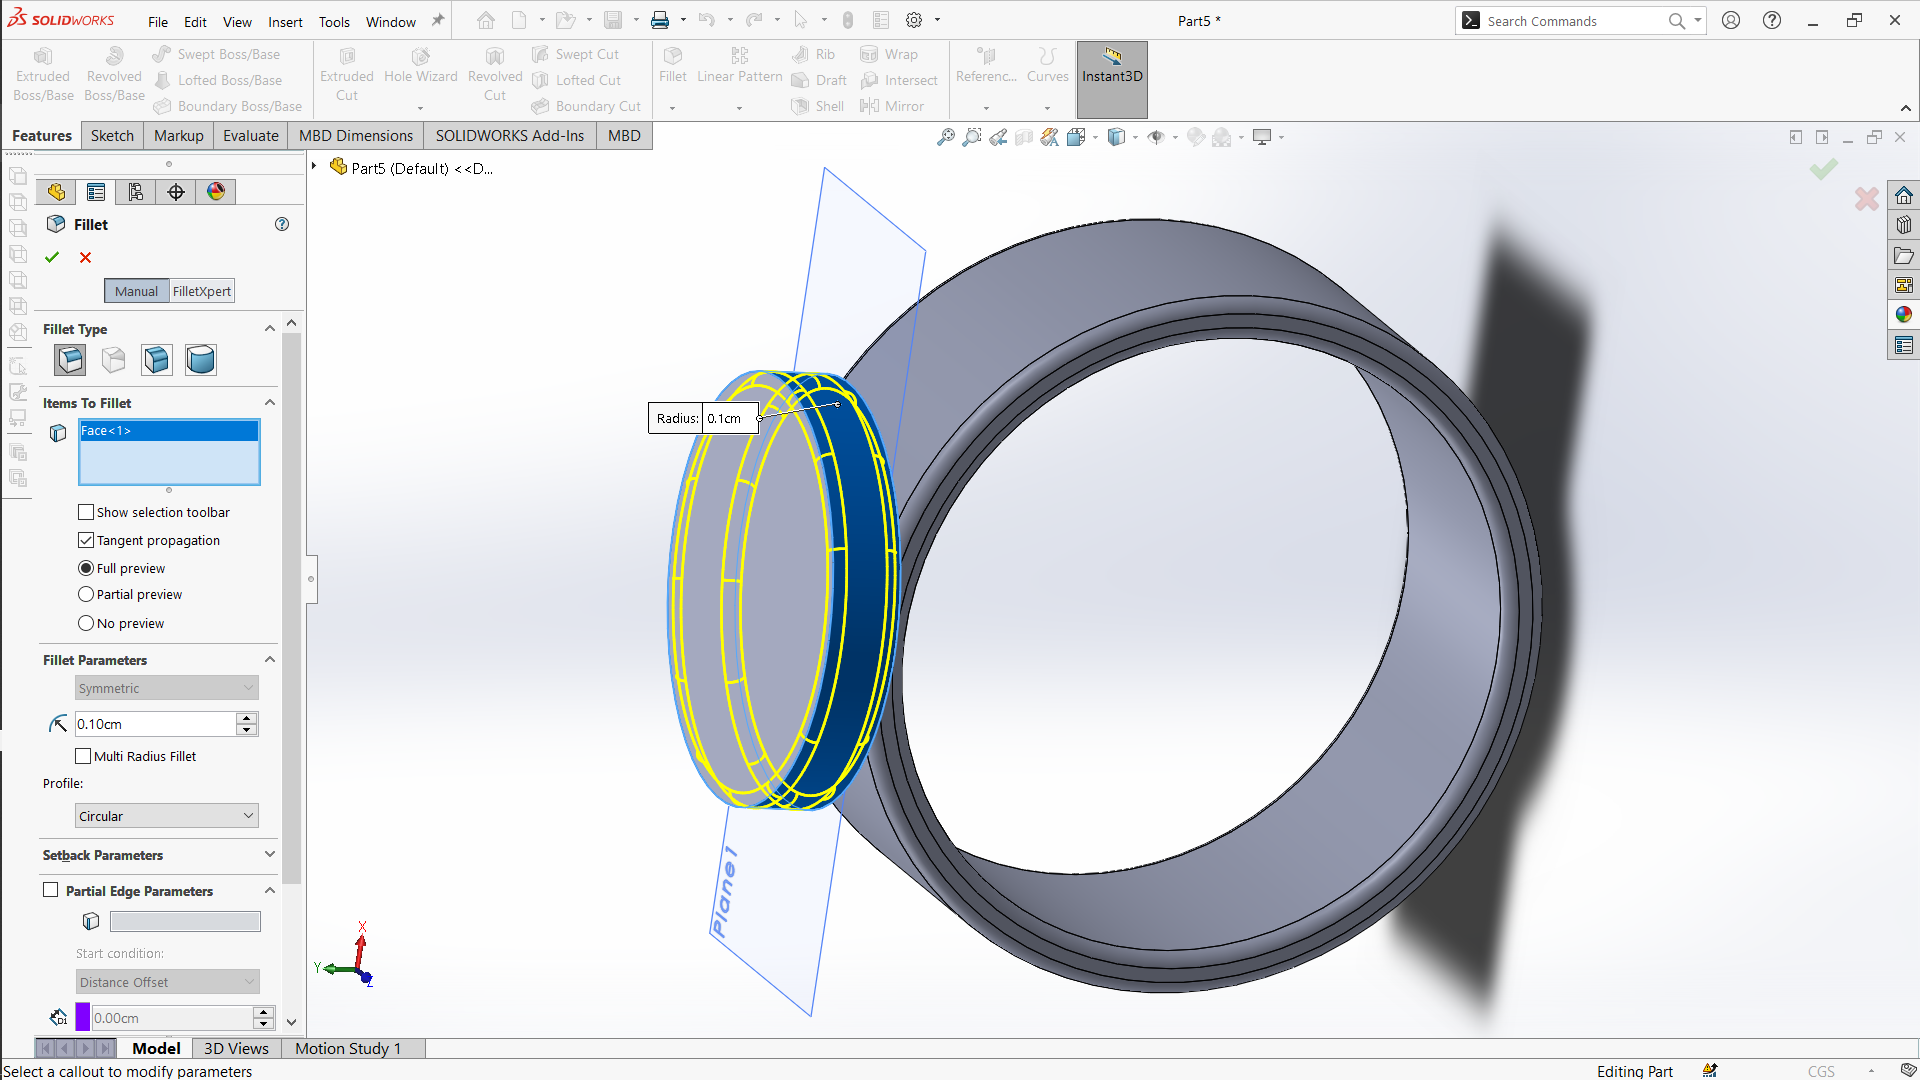
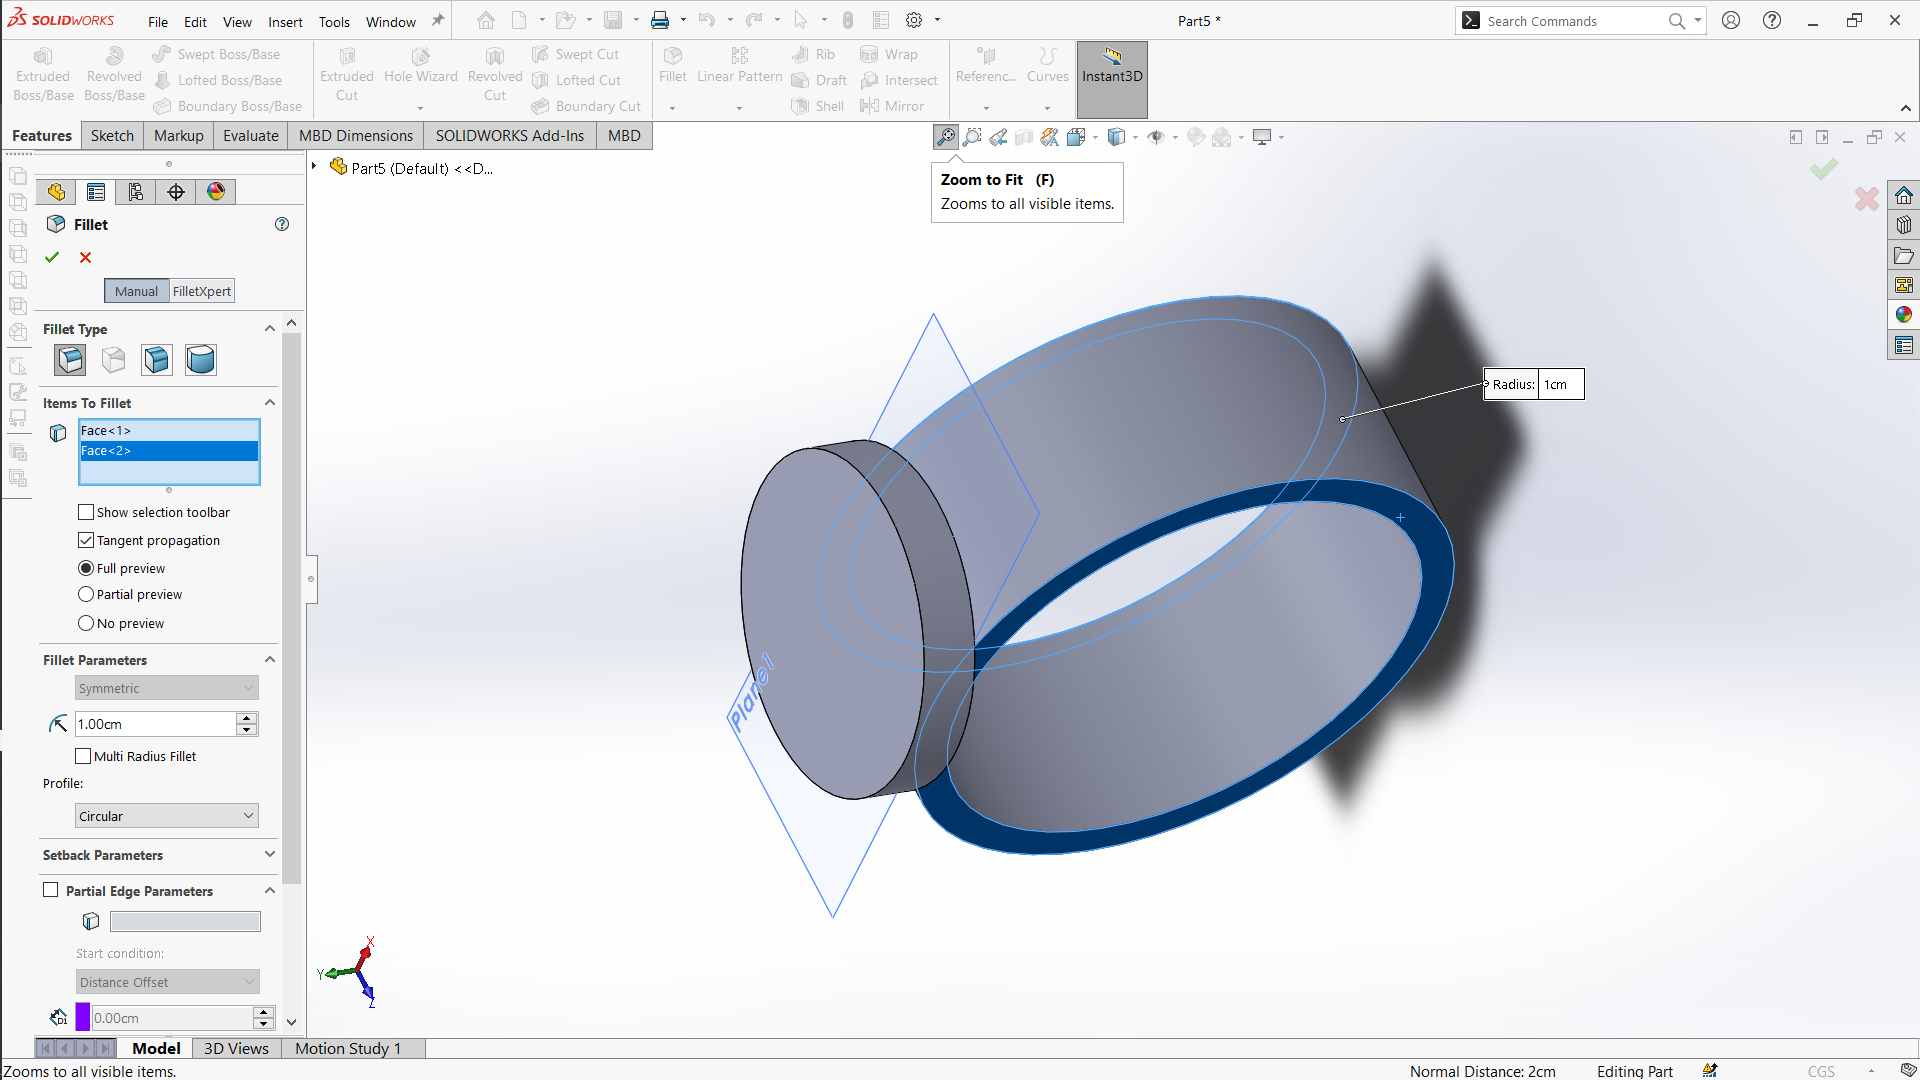
Create a smaller concentric circle on the front face to represent the bezel or glass area.
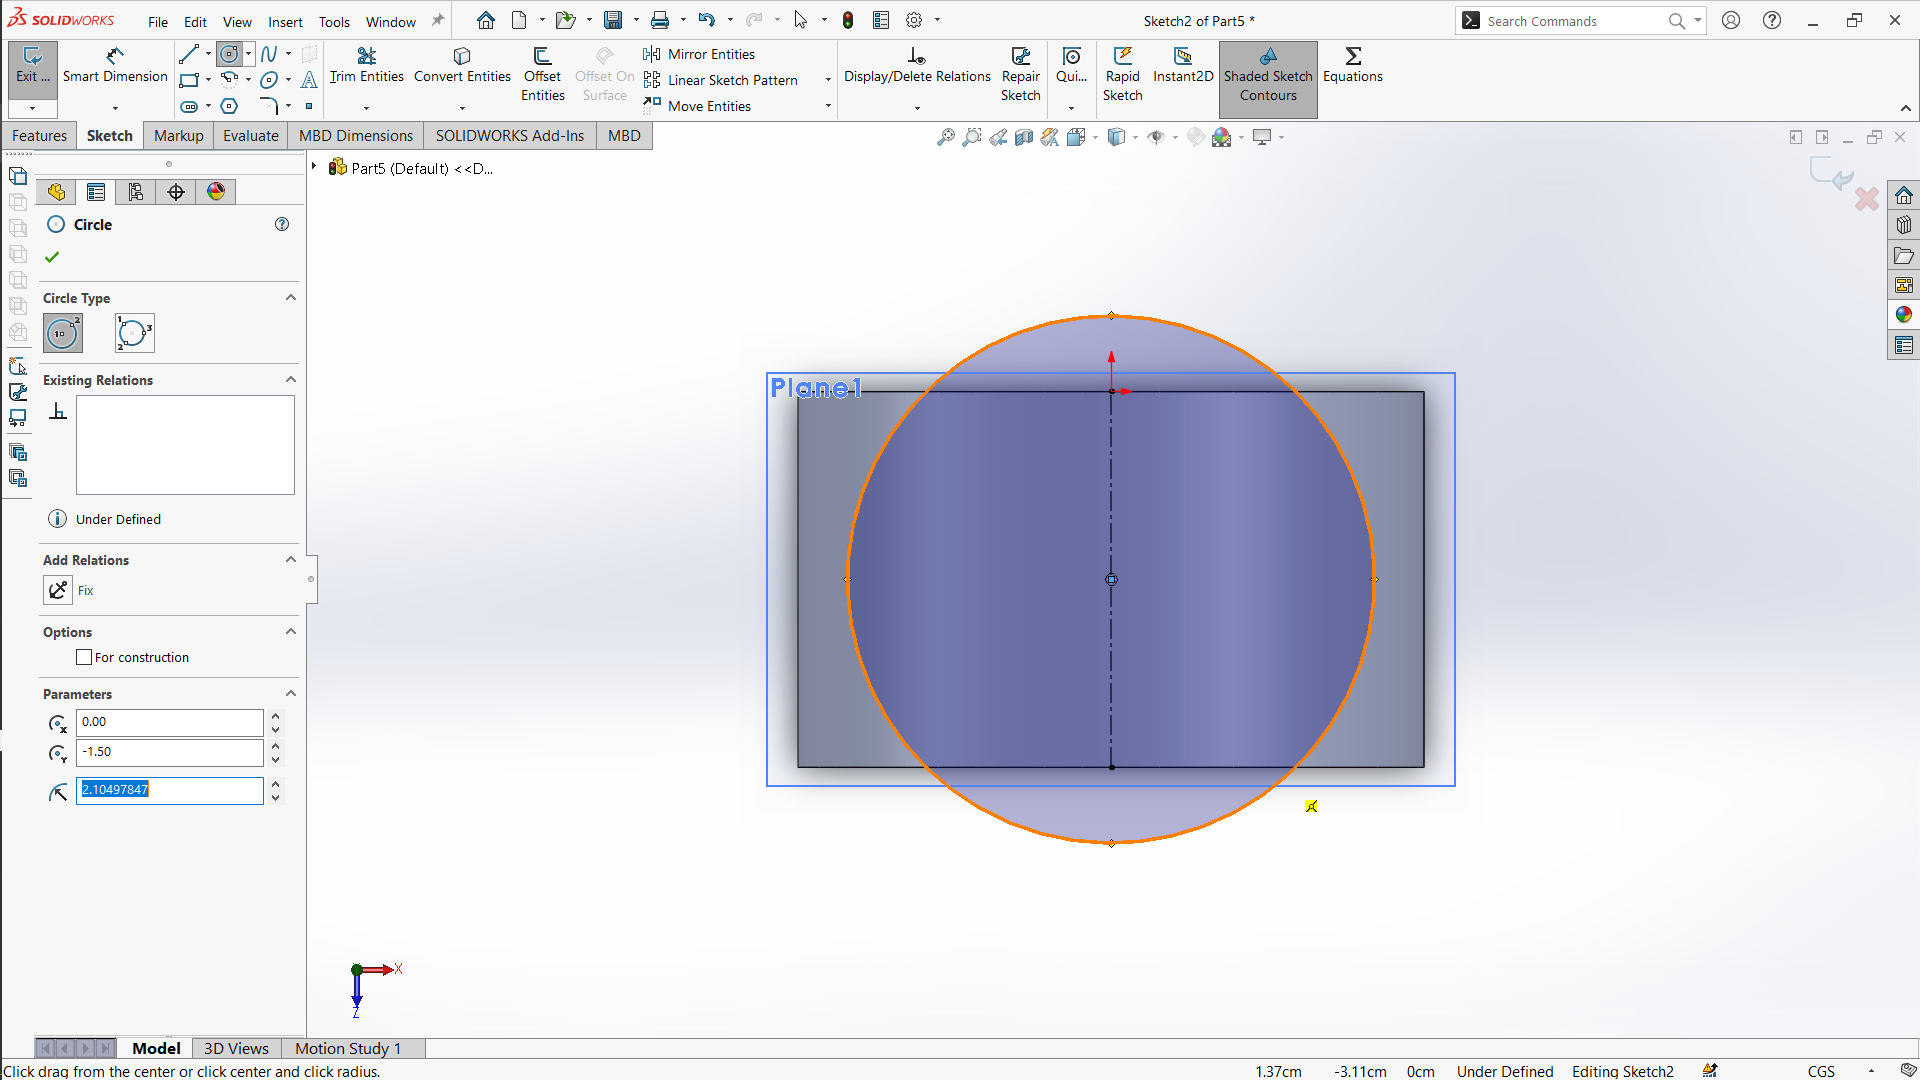
Use the Extrude Cut feature to remove material and create the bezel area.
Use the Extrude Cut feature to remove material and create the bezel area.
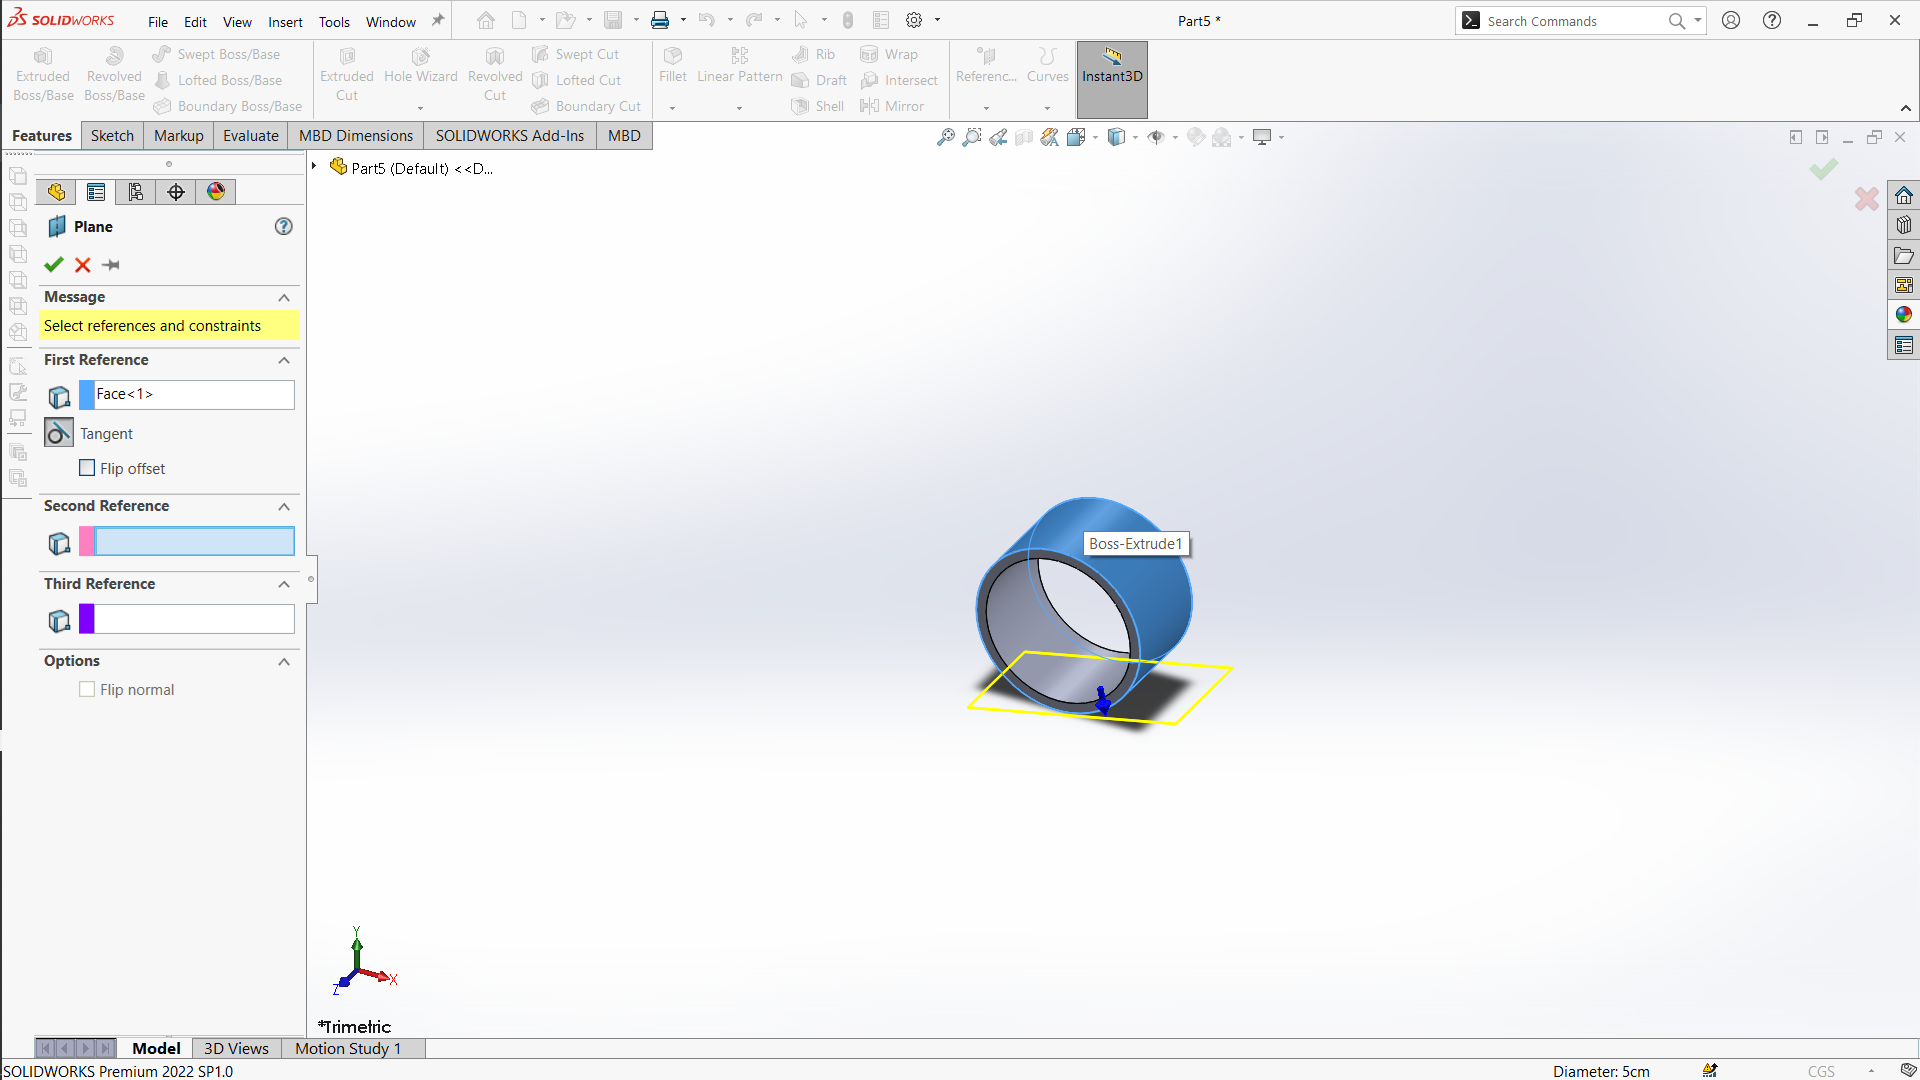
Sketch the lugs on the sides of the watch case. Use the Extrude Boss/Base feature to give them thickness.
Ensure the lugs are symmetrical and positioned correctly.
Sketch the shapes of the hour, minute, and second hands.
Use the Extrude Boss/Base feature to give thickness to each hand.
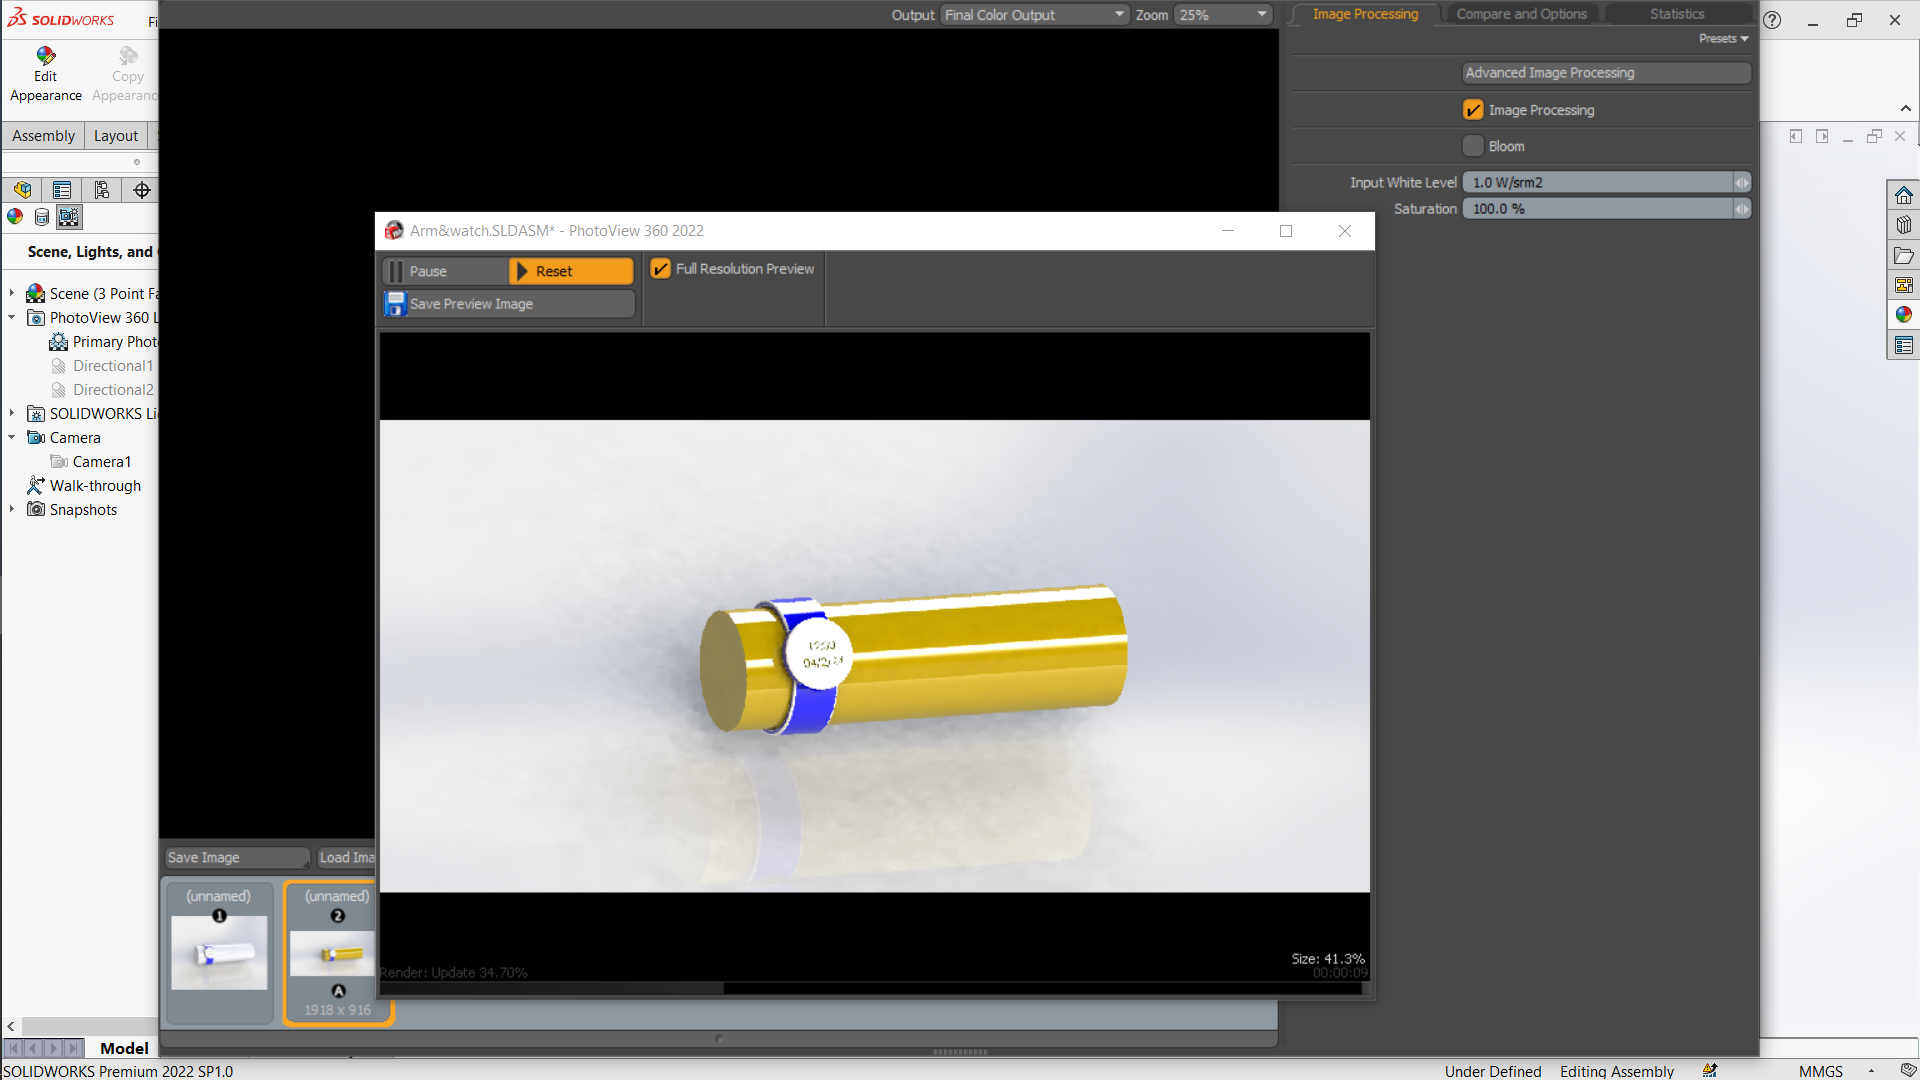
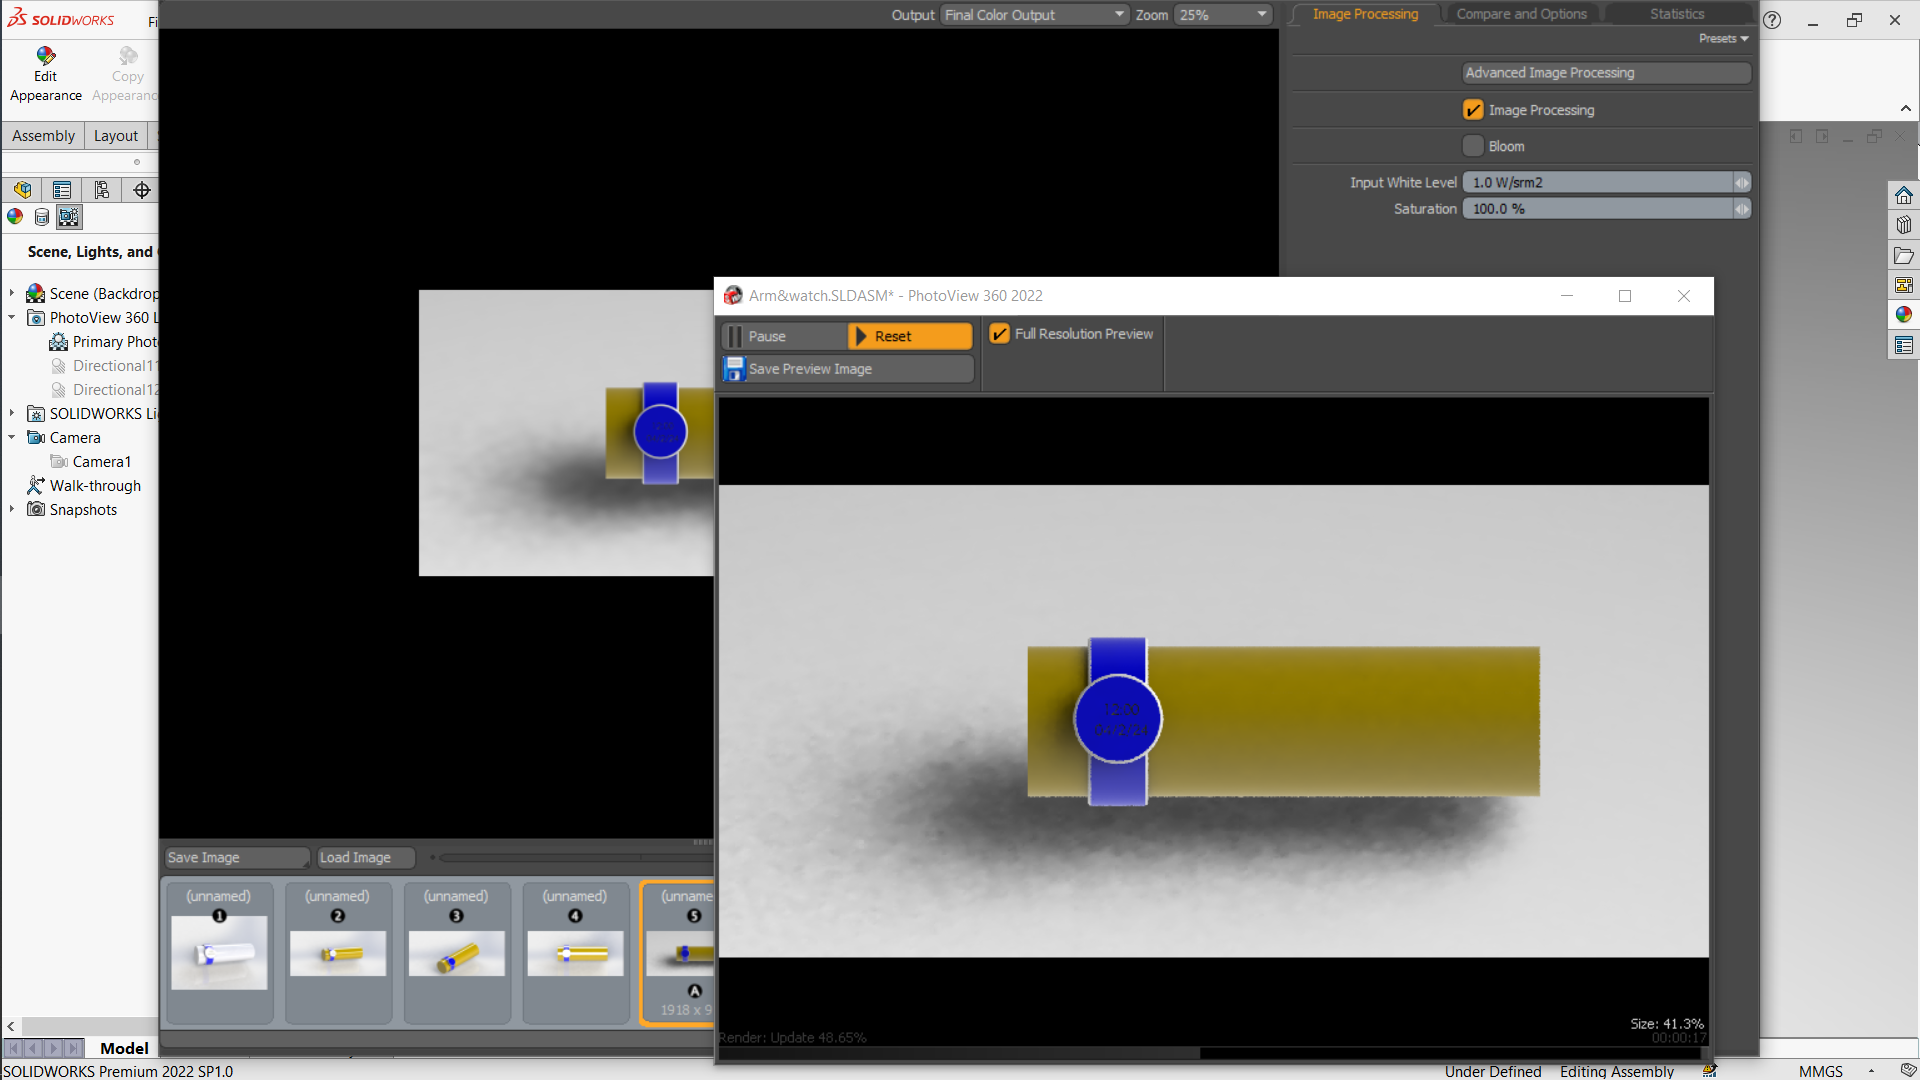
Rendering
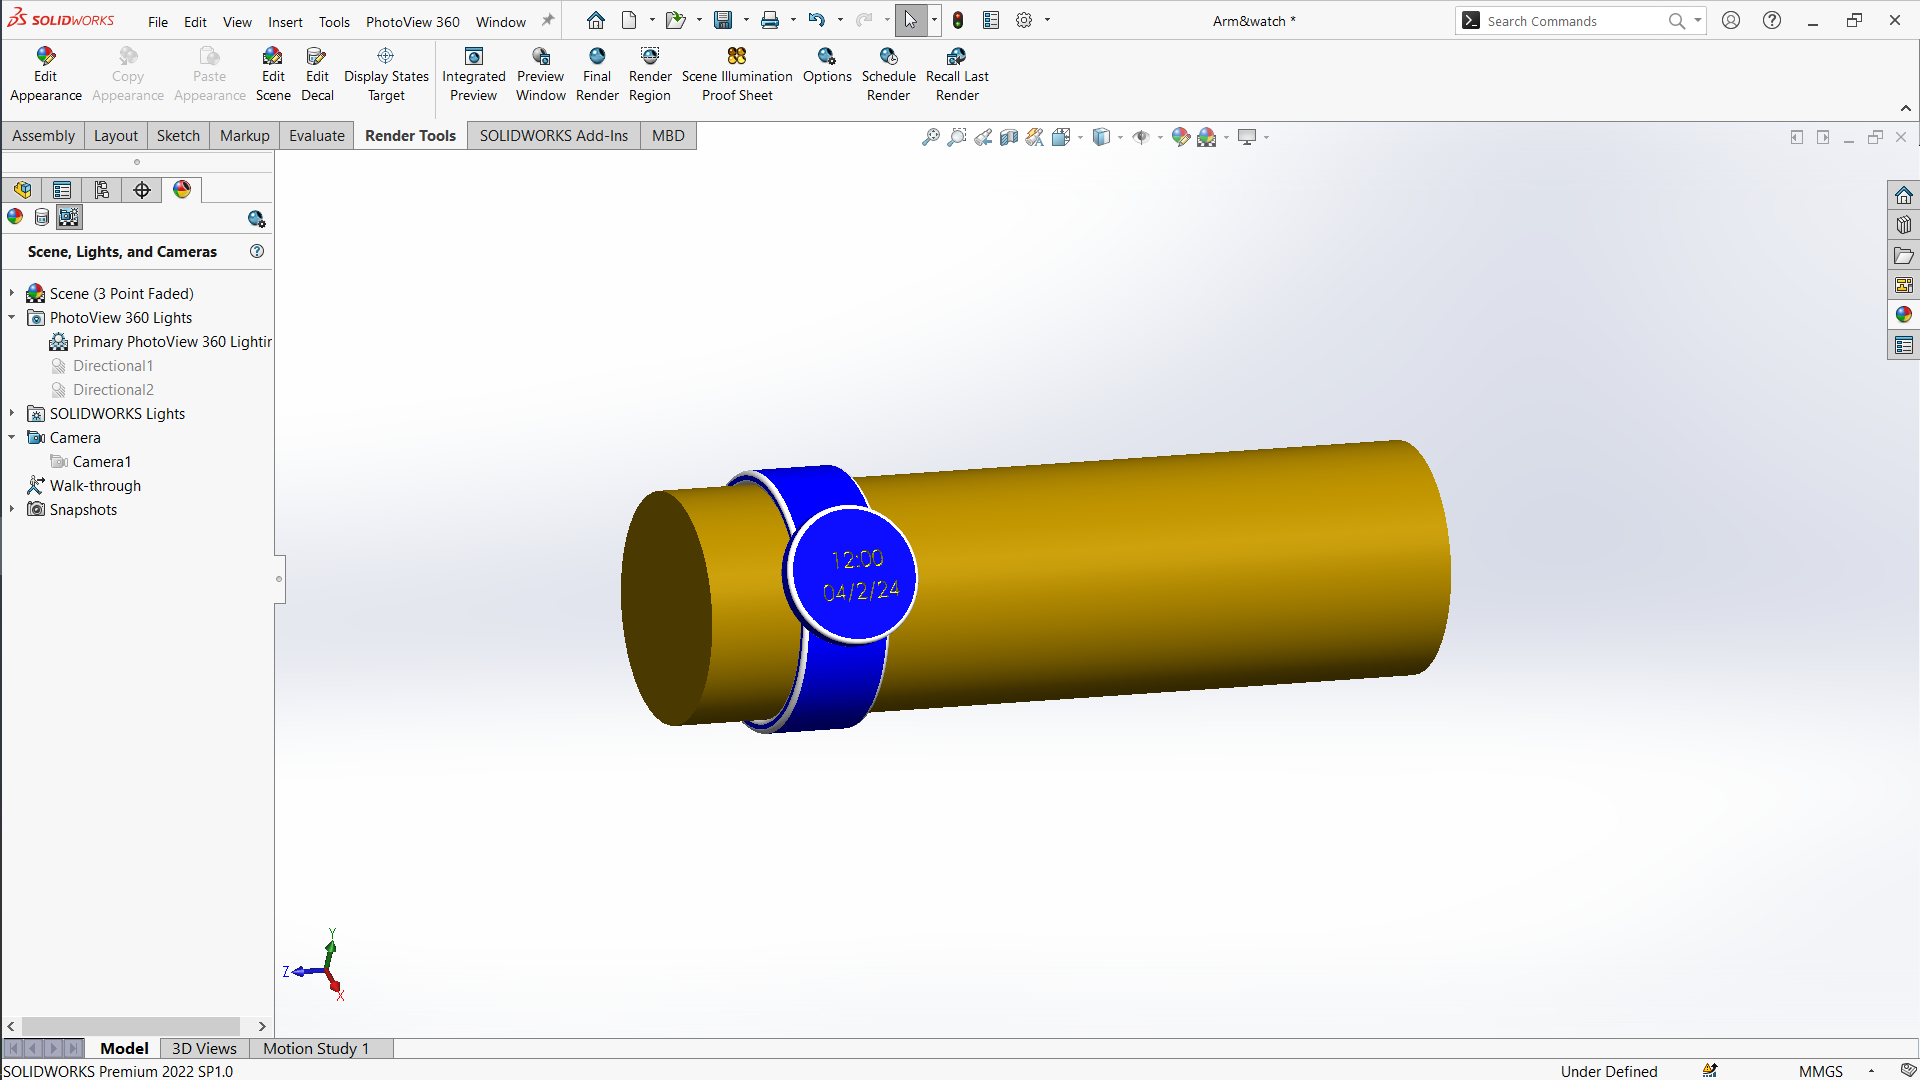
Rendering with SolidWorks was a challenging yet rewarding experience. Initially, I found the process difficult, but through perseverance and the support of Fab Academy, I managed to master it. This experience significantly enhanced my skills in 3D modeling and rendering.
Learning Journey
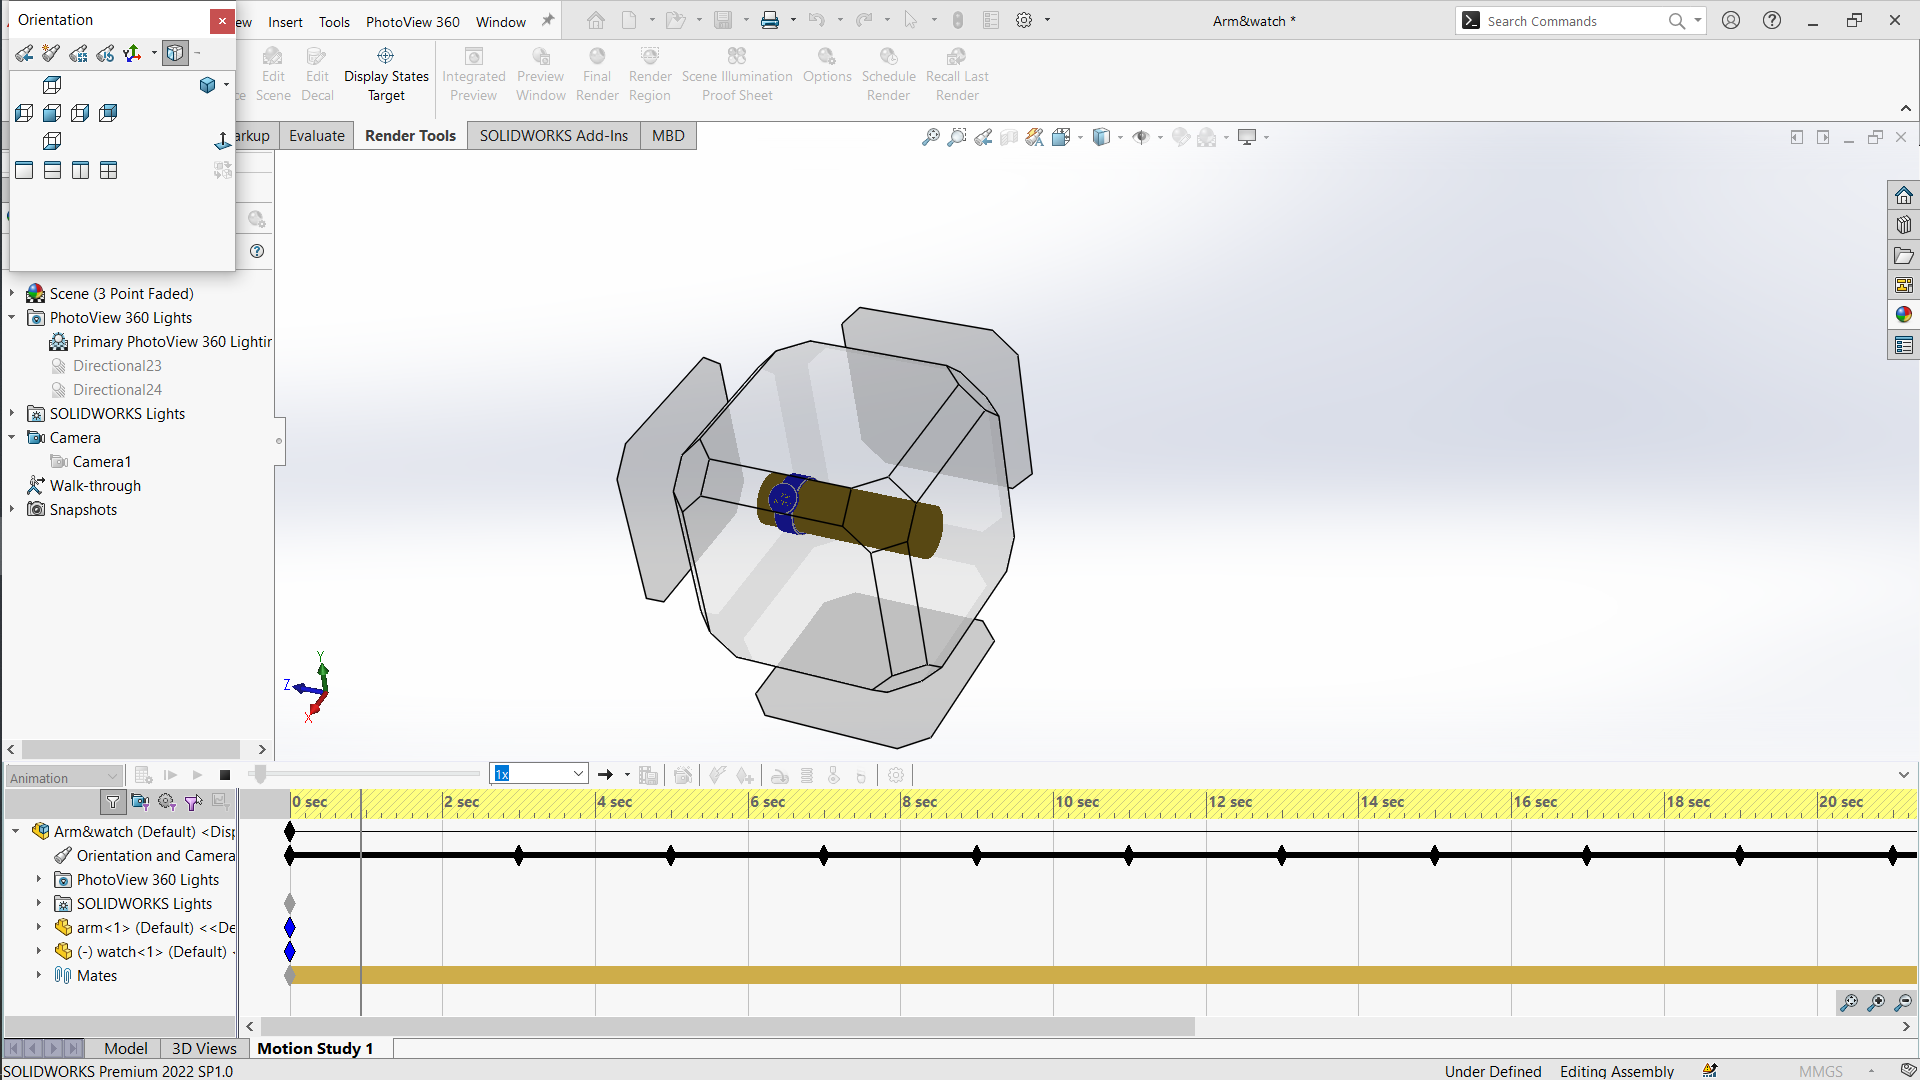
The SolidWorks interface was initially overwhelming. Navigating through the numerous tools and options required patience and practice.
Understanding the different rendering techniques, such as photorealistic rendering, was challenging. I had to learn about lighting, materials, textures, and camera settings to achieve realistic results.
I utilized online tutorials and Fab Academy resources to learn the basics of SolidWorks rendering. These materials provided step-by-step instructions and practical examples that were immensely helpful.
The guidance from my instructors was invaluable. They provided personalized feedback and tips that helped me overcome specific challenges.
Practical
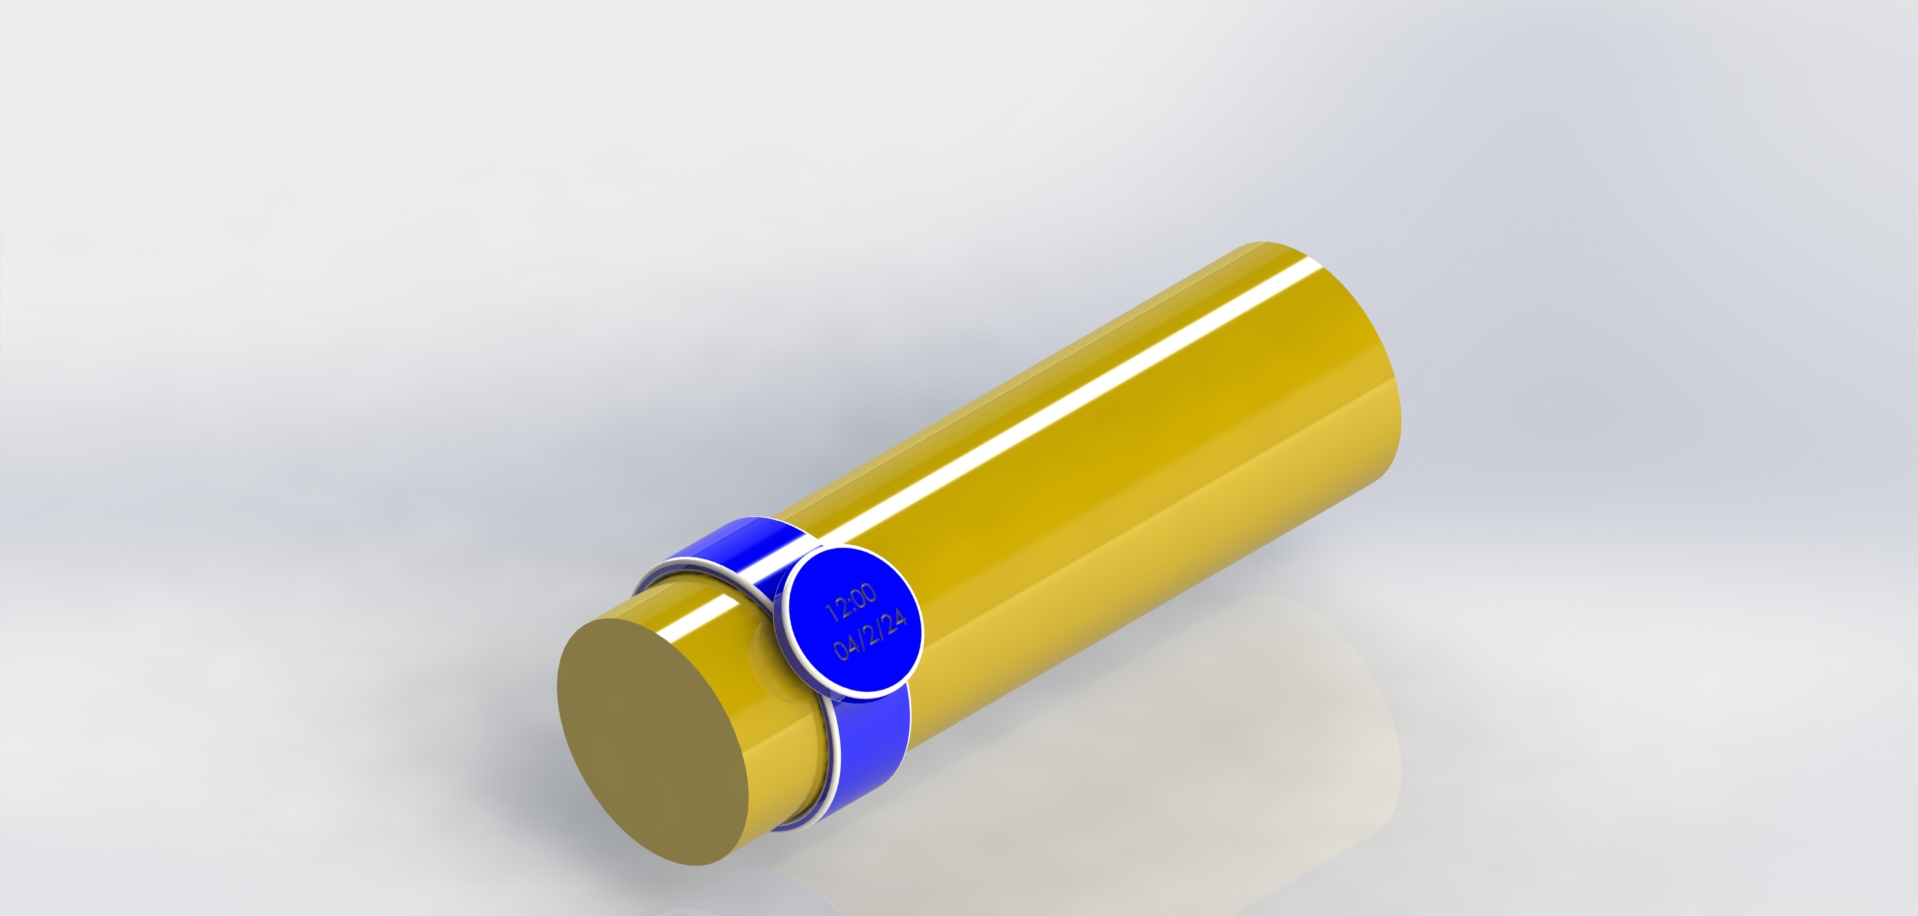
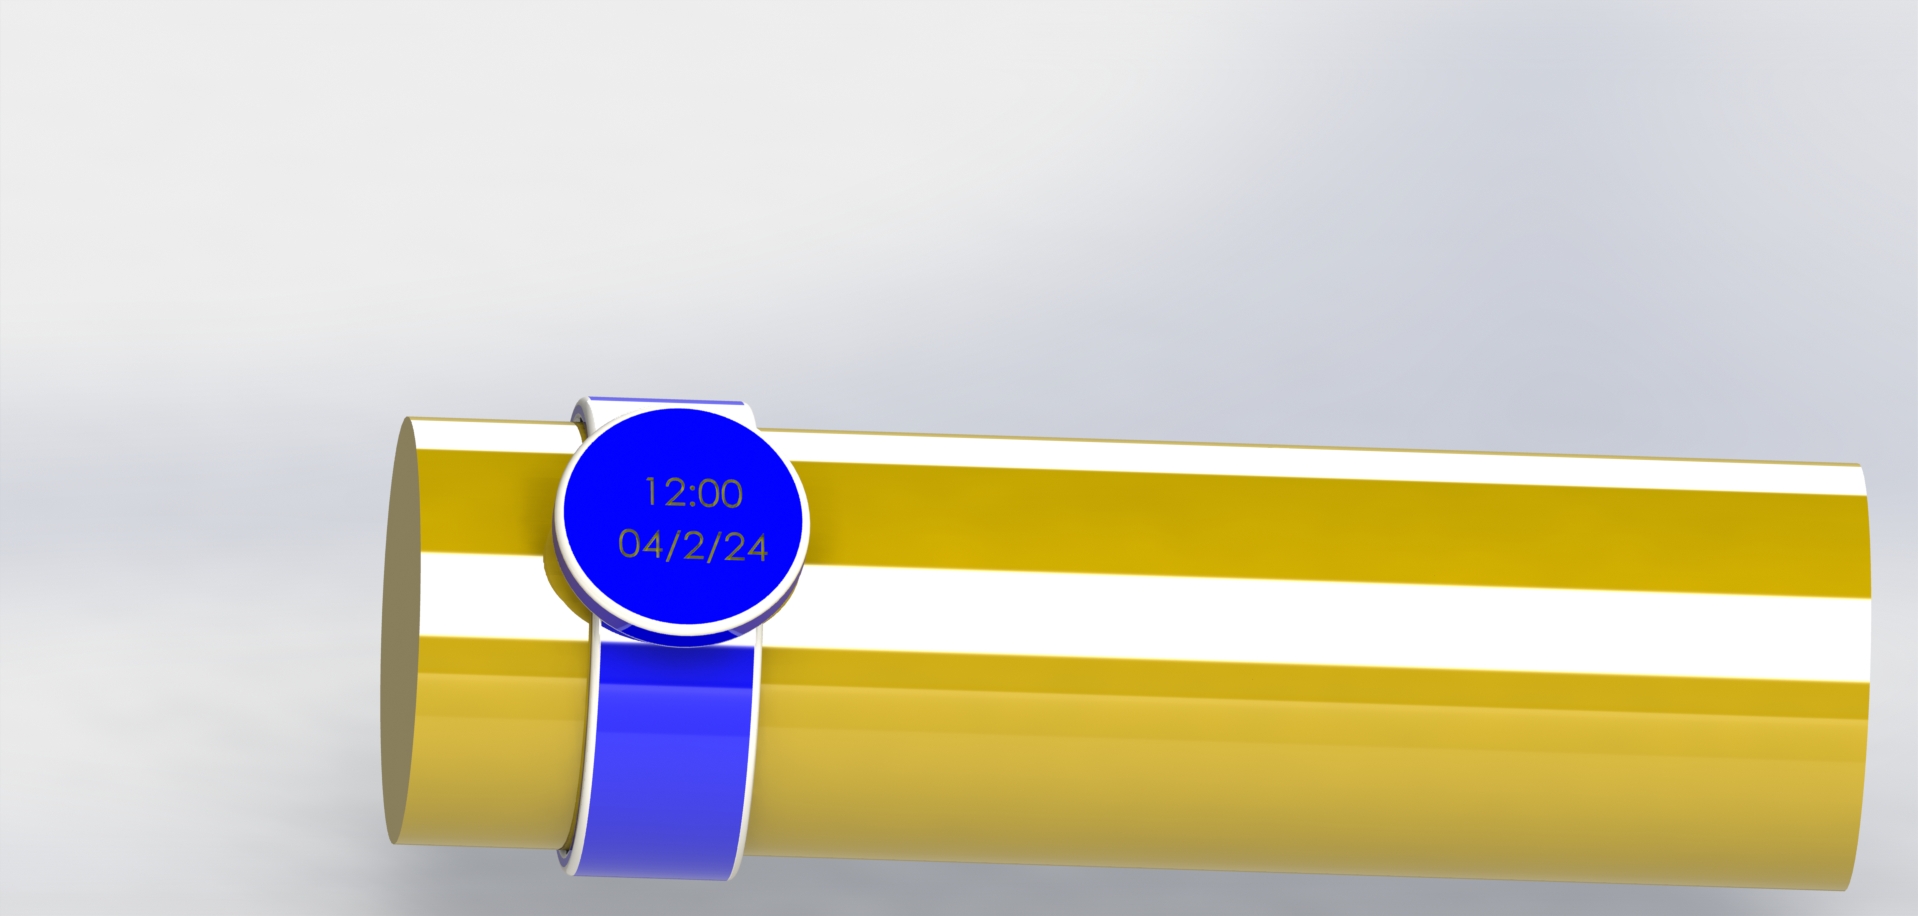
I chose my watch design as the project to apply my rendering skills. This allowed me to focus on a specific model and experiment with various rendering techniques.
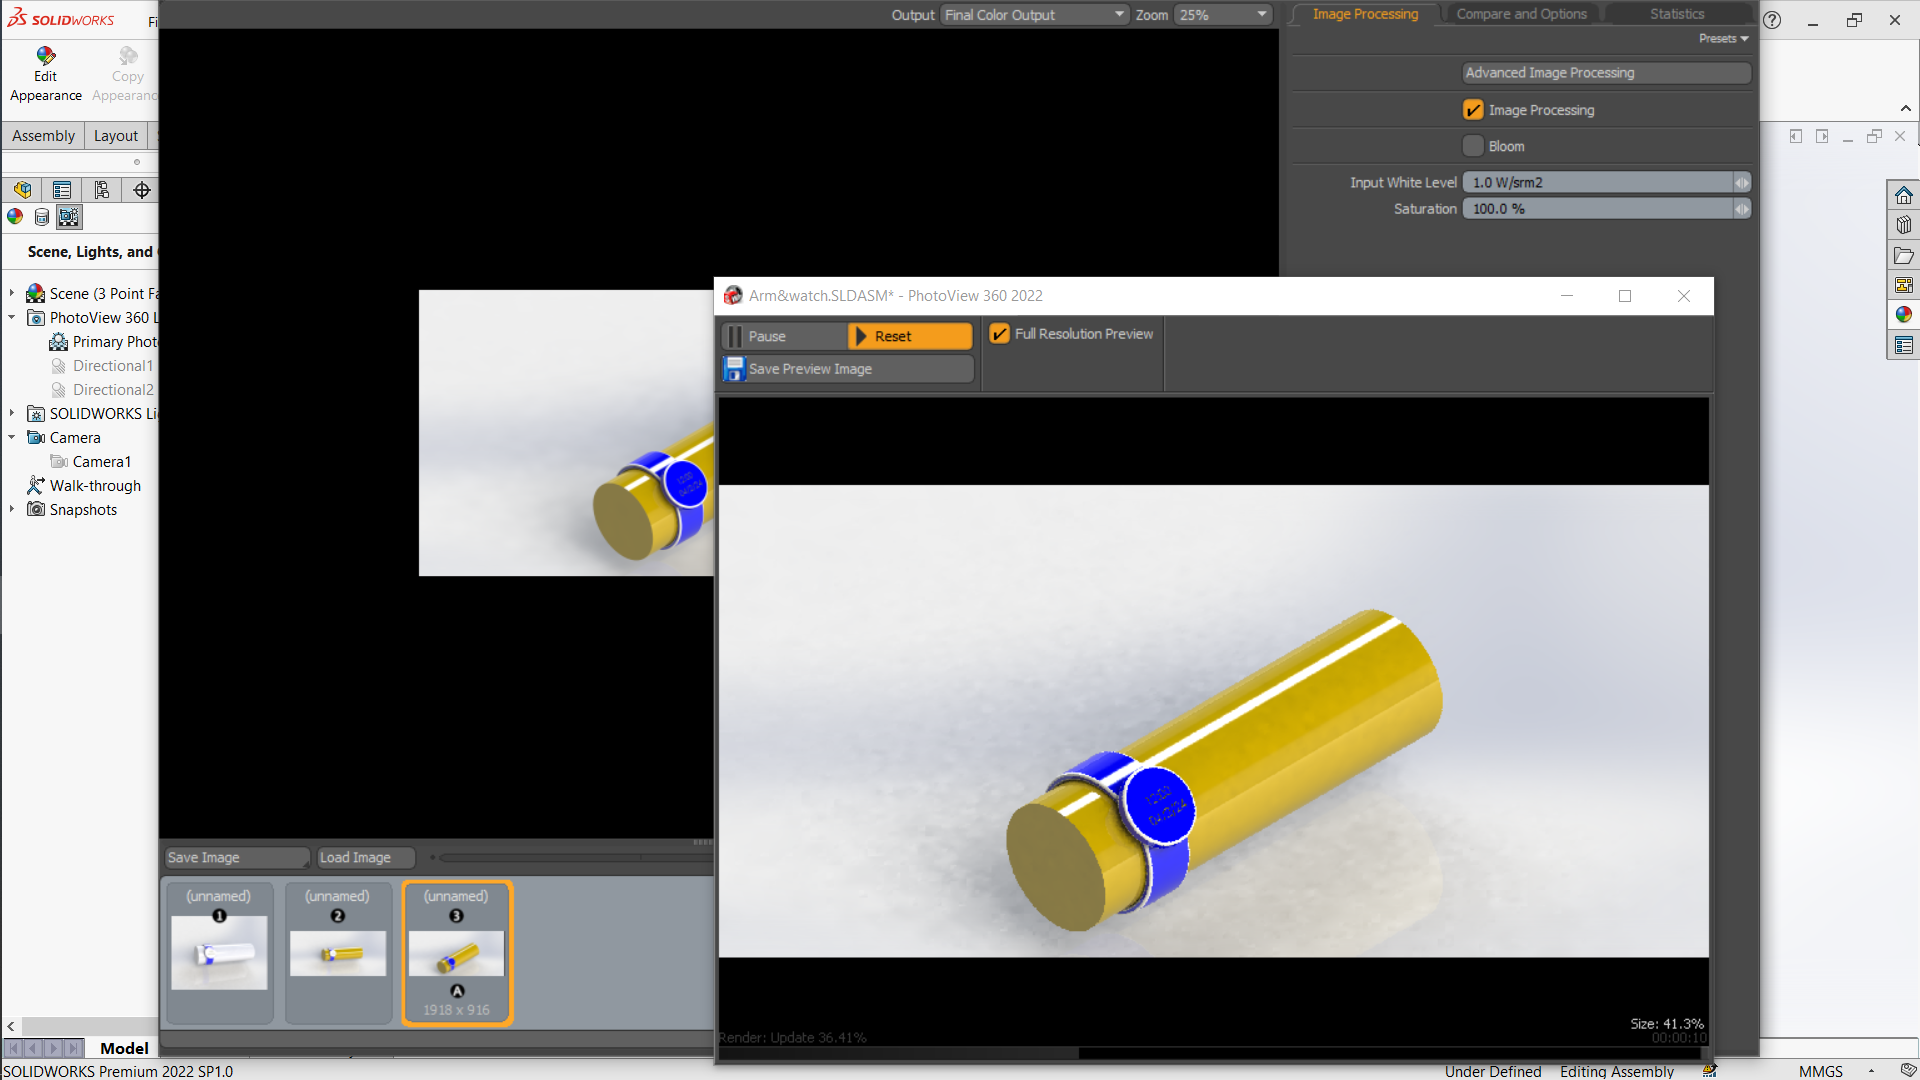
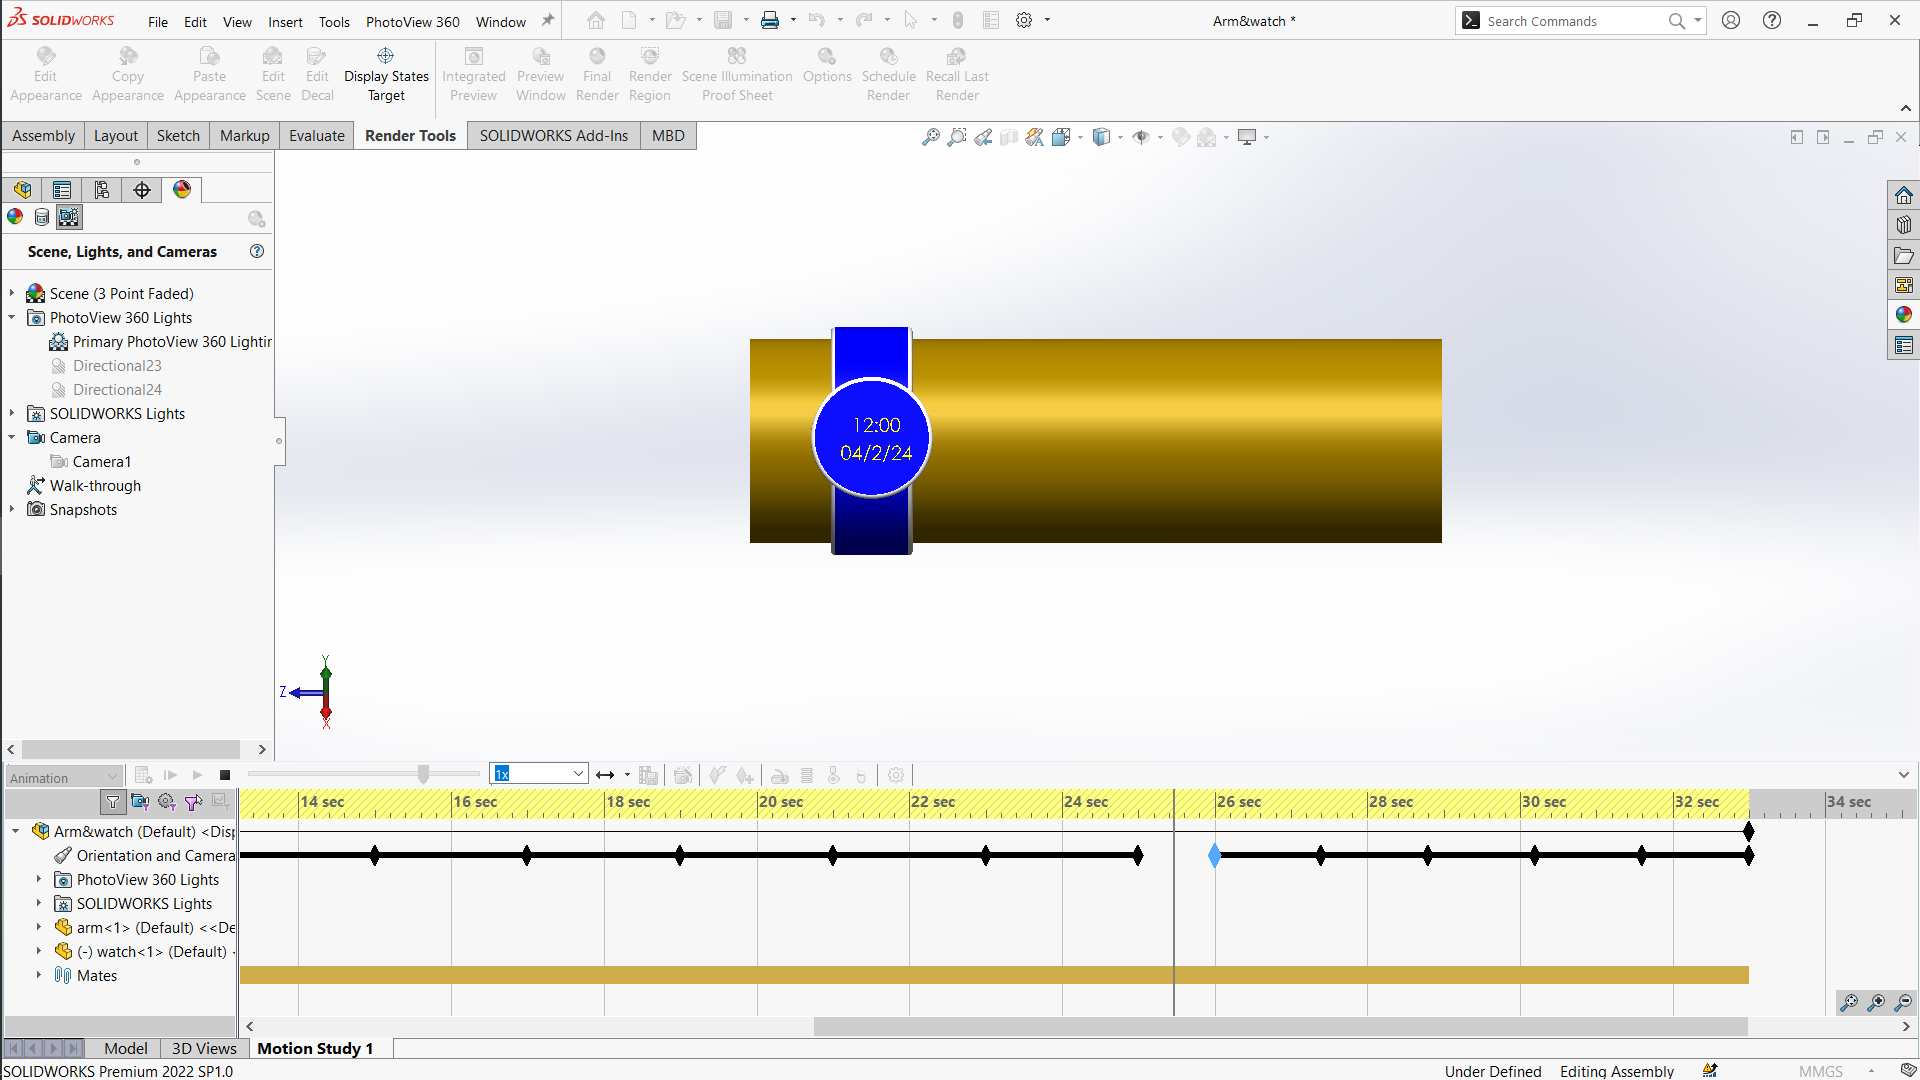
The rendering process involved multiple iterations. Each iteration helped me understand the nuances of lighting, material properties, and camera angles better.
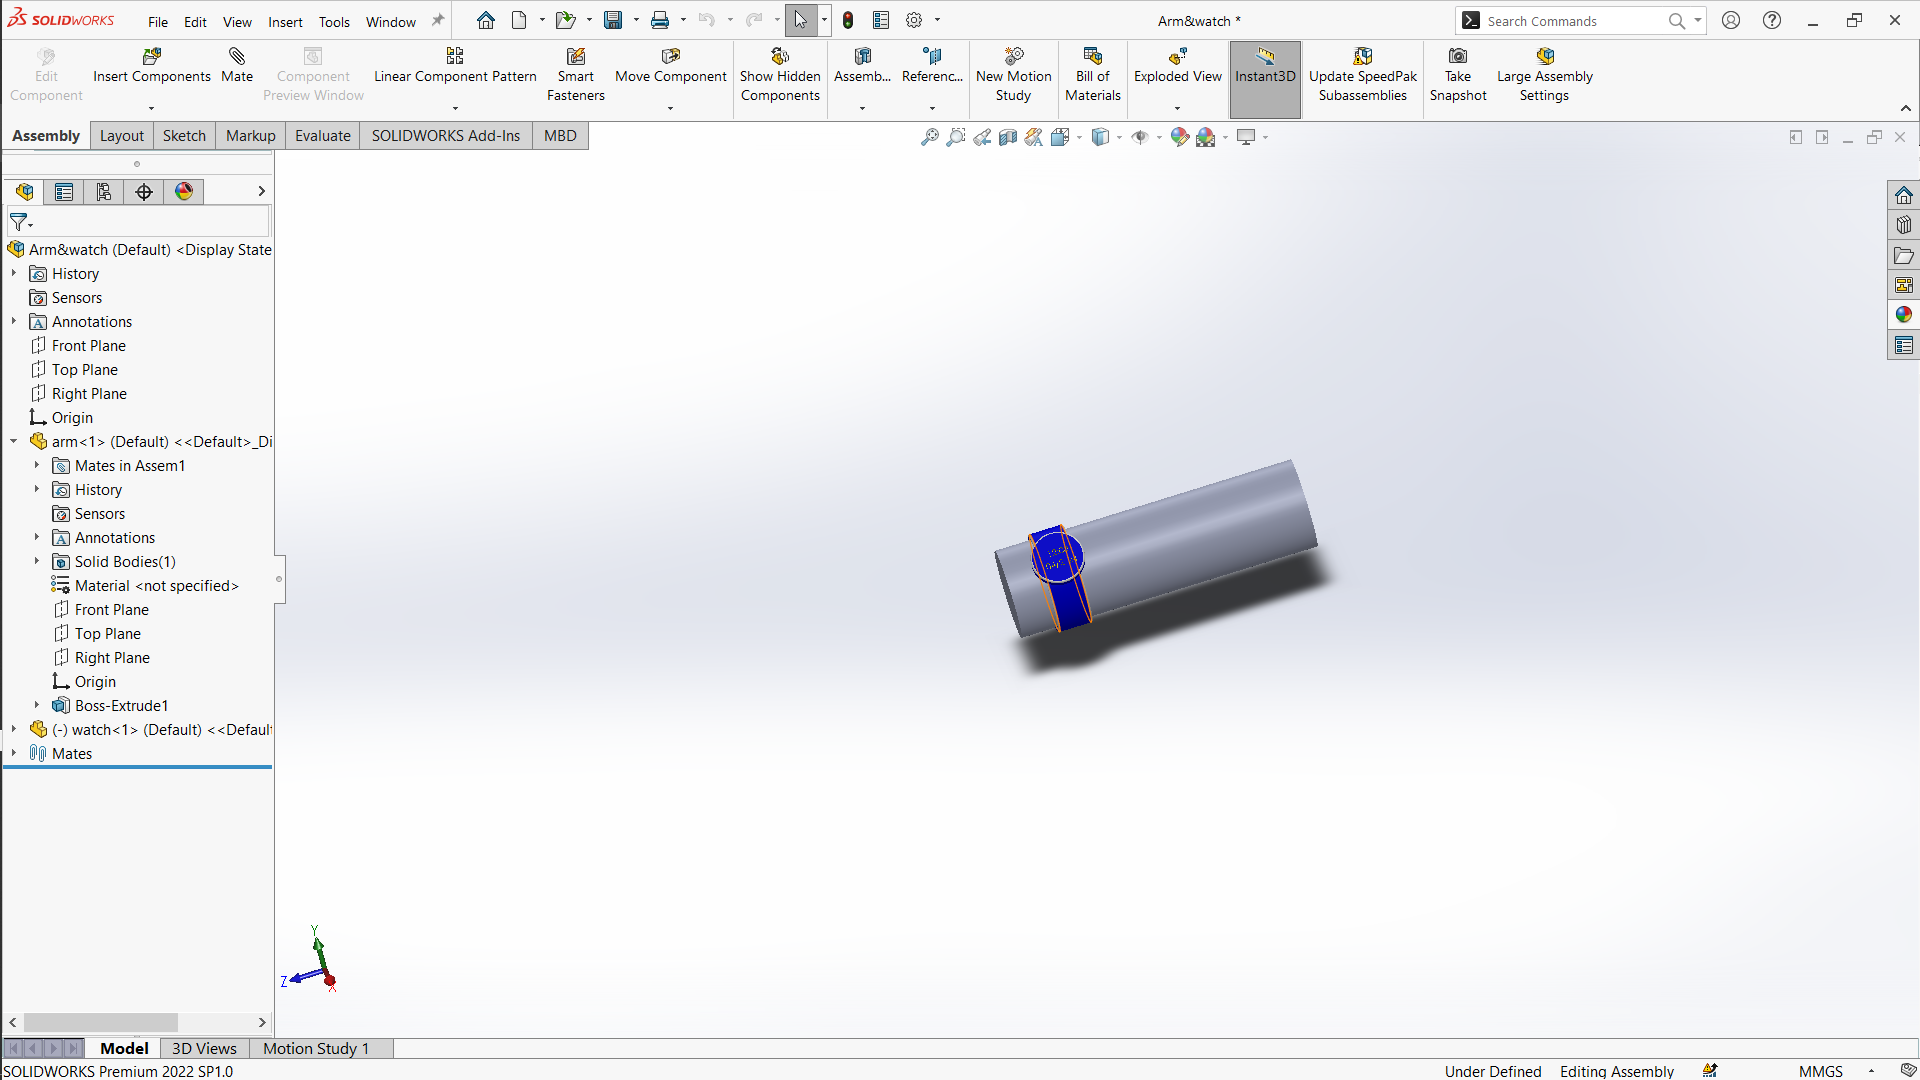
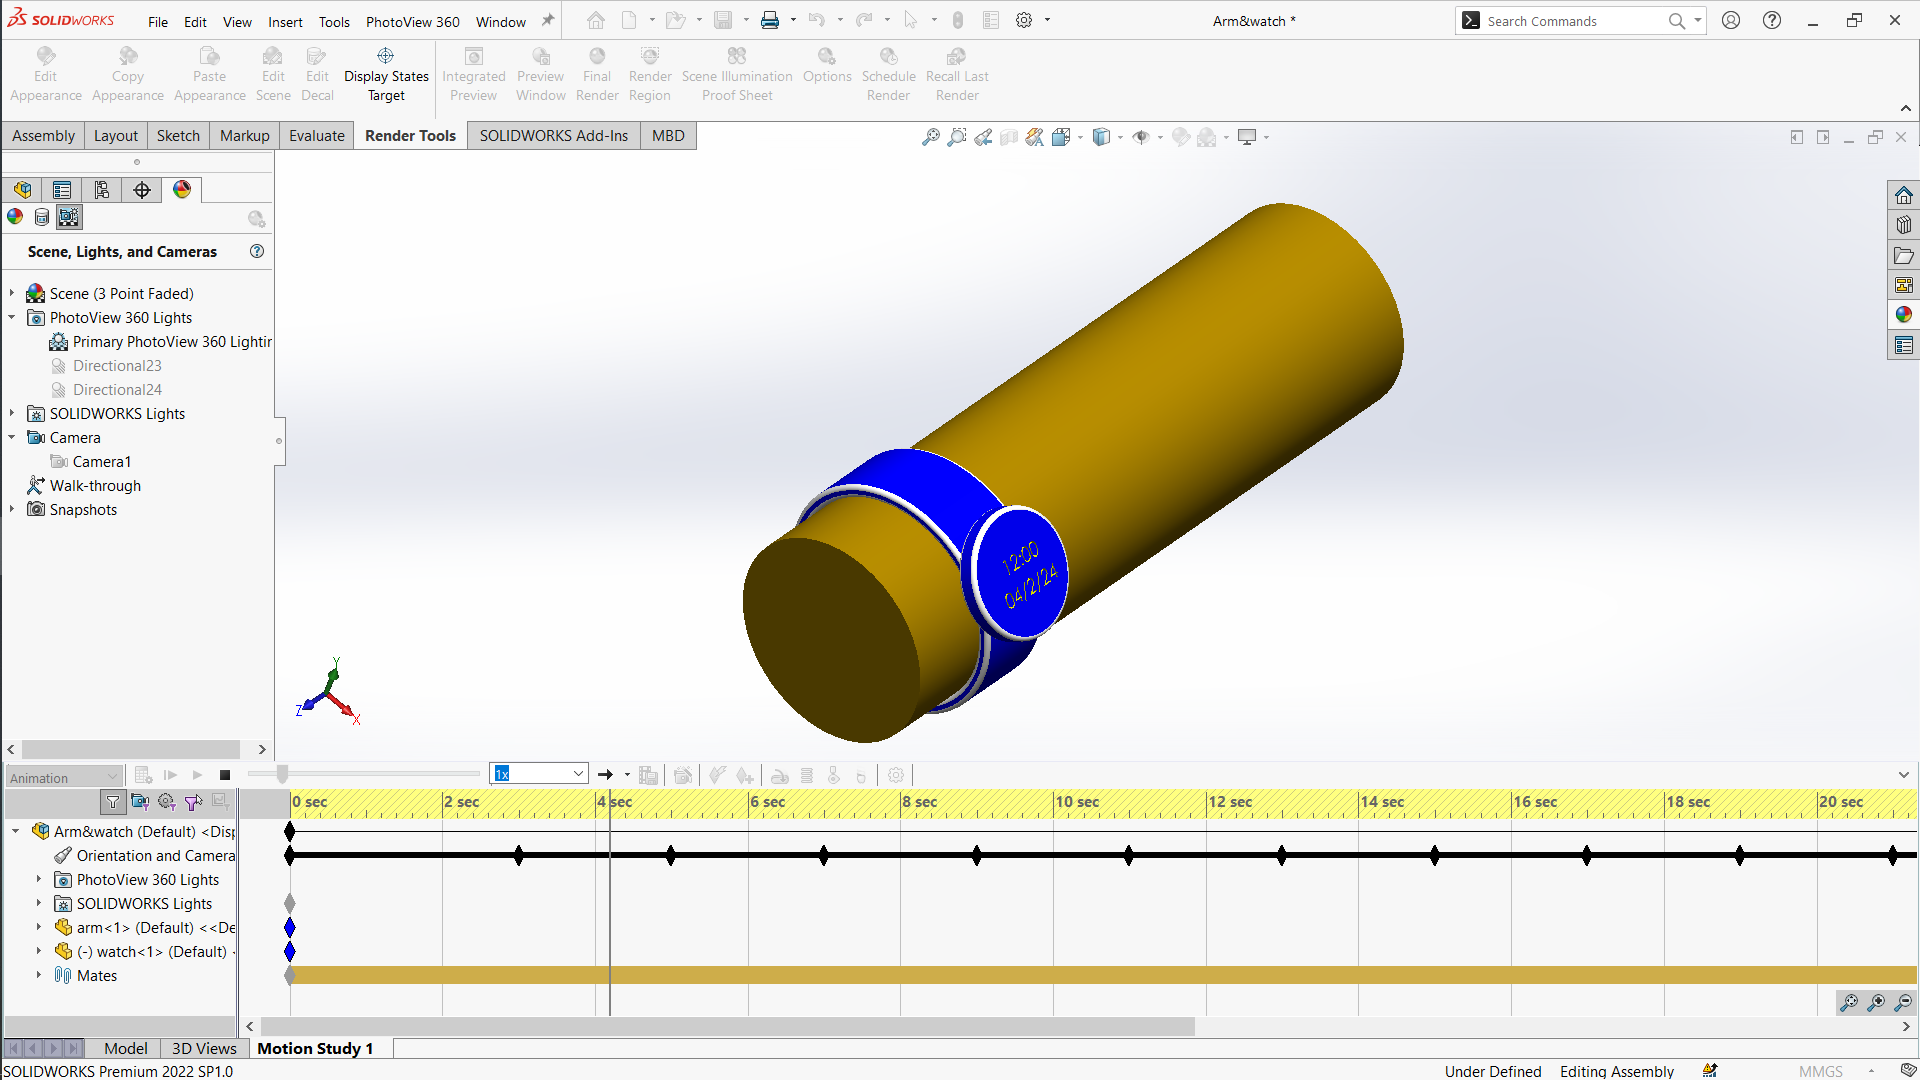
Before rendering, I ensured that my 3D model was detailed and accurate. This involved refining the geometry and ensuring that all components were correctly positioned.
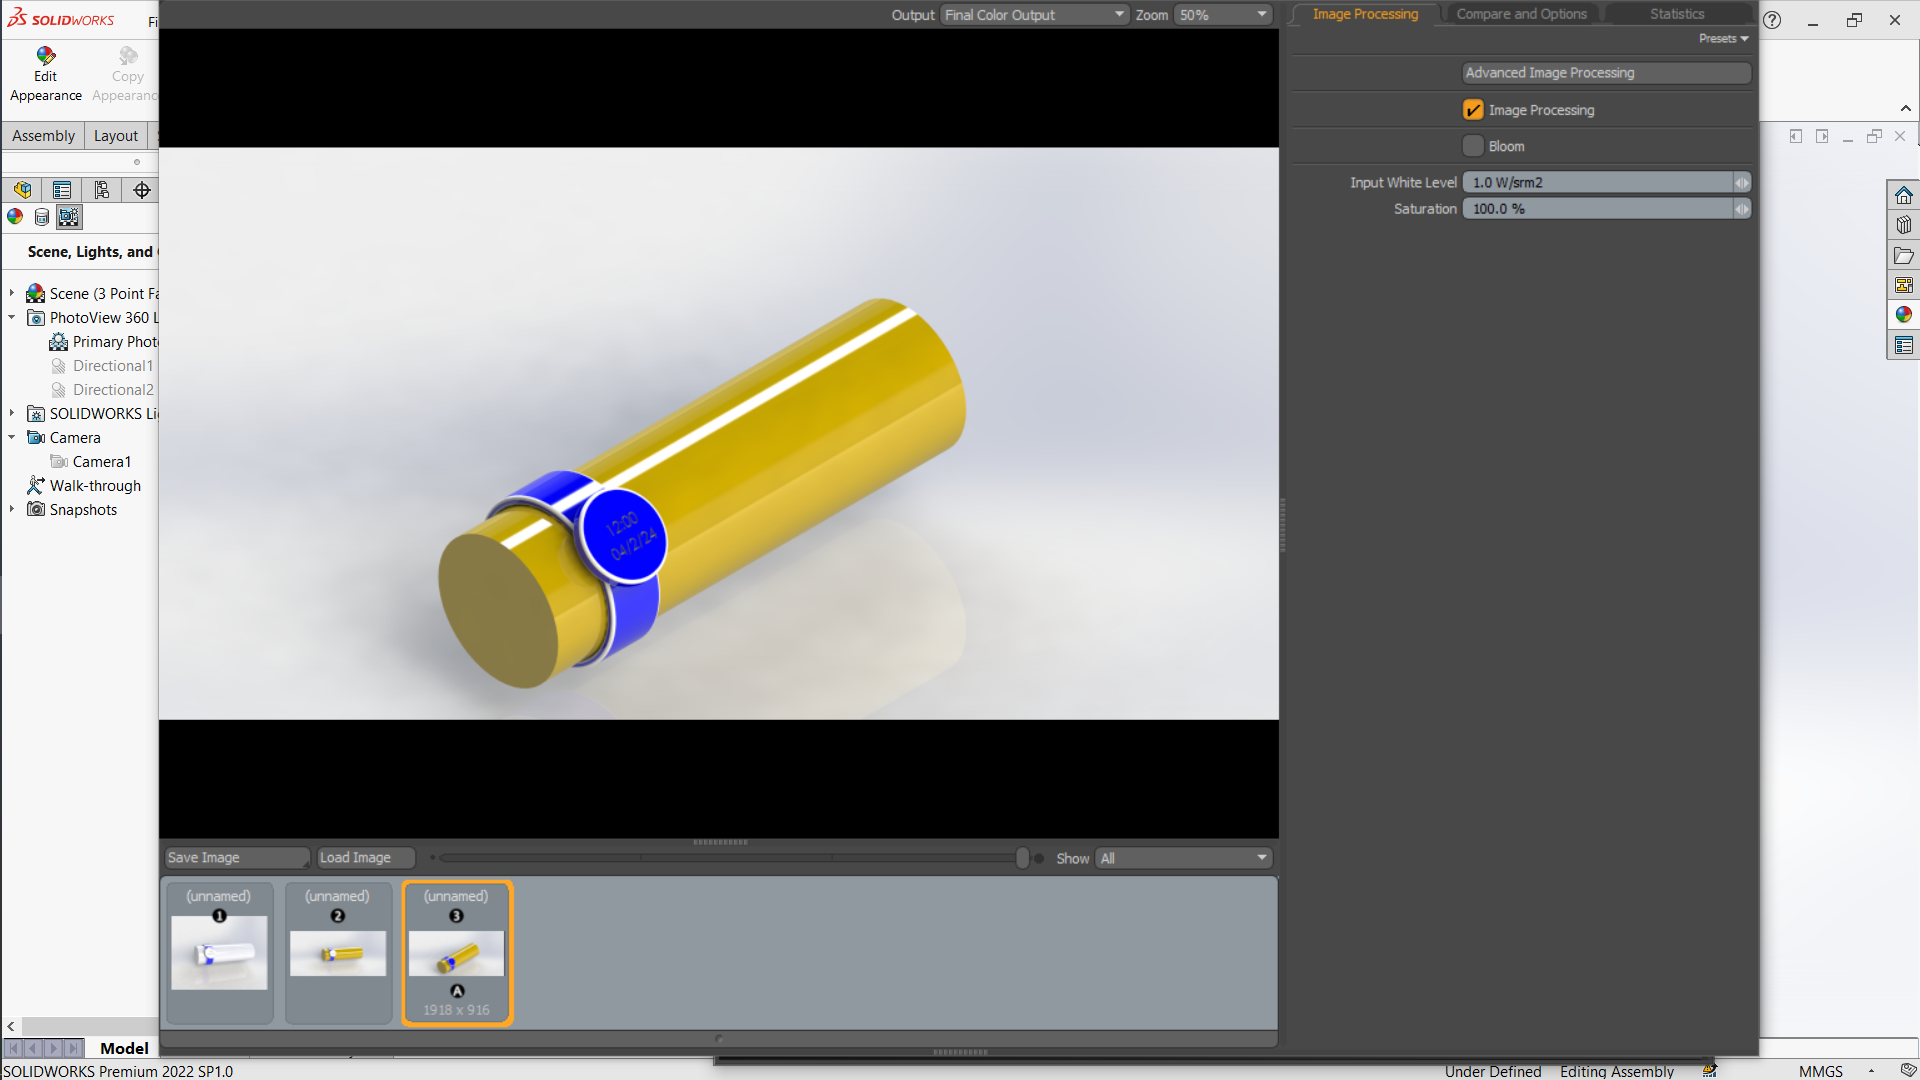
I experimented with different materials and textures to achieve the desired look. This included selecting appropriate colors, reflectivity, and surface finishes.
After setting up the scene, I rendered the model and performed post-processing to enhance the final output. This included adjusting the brightness, contrast, and sharpness of the rendered images.
The rendering process is iterative and requires continuous learning. Staying updated with the latest techniques and software updates is crucial for ongoing improvement.
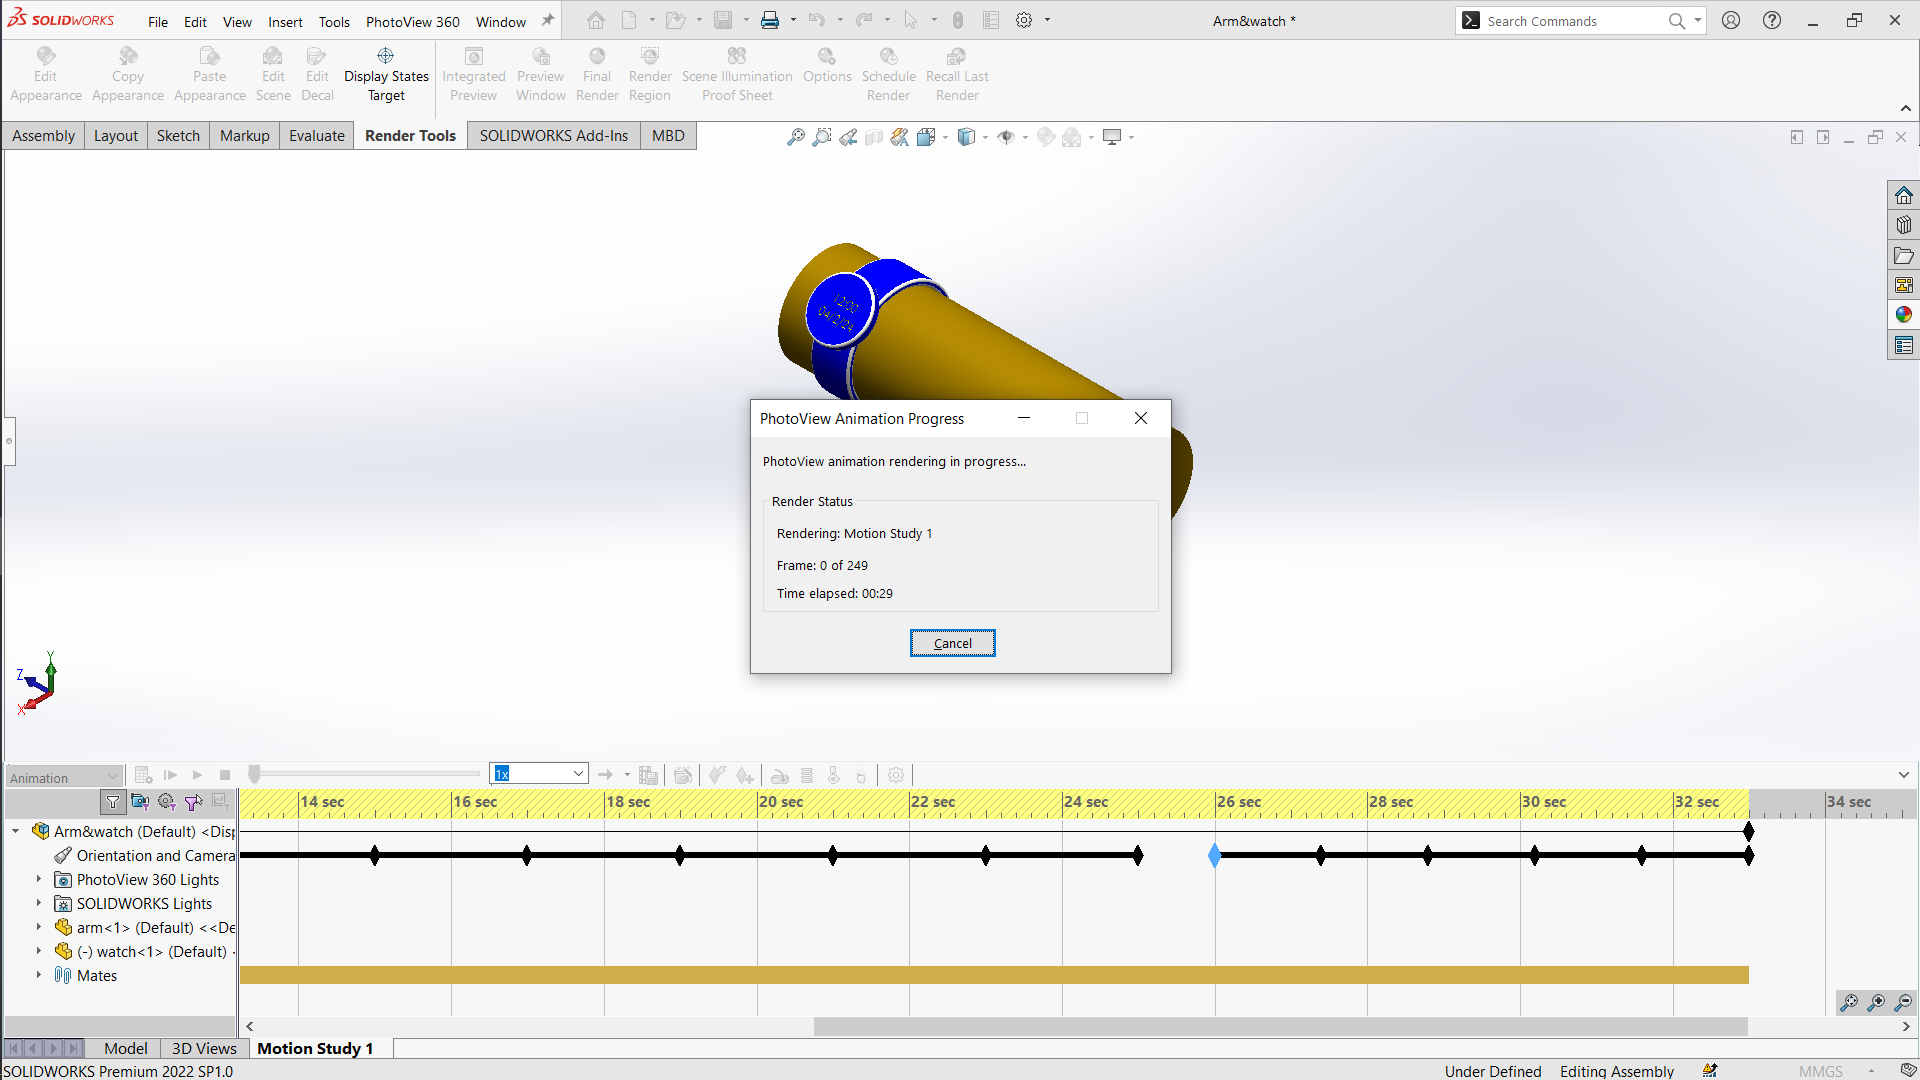
Video Output
Assignment Solidwork Files
Download file 1Download file 2
Download file 3
Download file 4
Download file of Illustrator