Week7: Computer-Controlled Machining
About the assignment
Group Work
Personal Work
I. Group Work
What to do?
Question: Do your lab's safety training test runout, alignment, fixturing, speeds, feeds, materials, and toolpaths for your machine
What we did as a group
We milled a part of a known size during the training to observe the runout and alignment of the machine. The measurements were taken to compare the milled part with the original design size. We also did lab’s safety training.
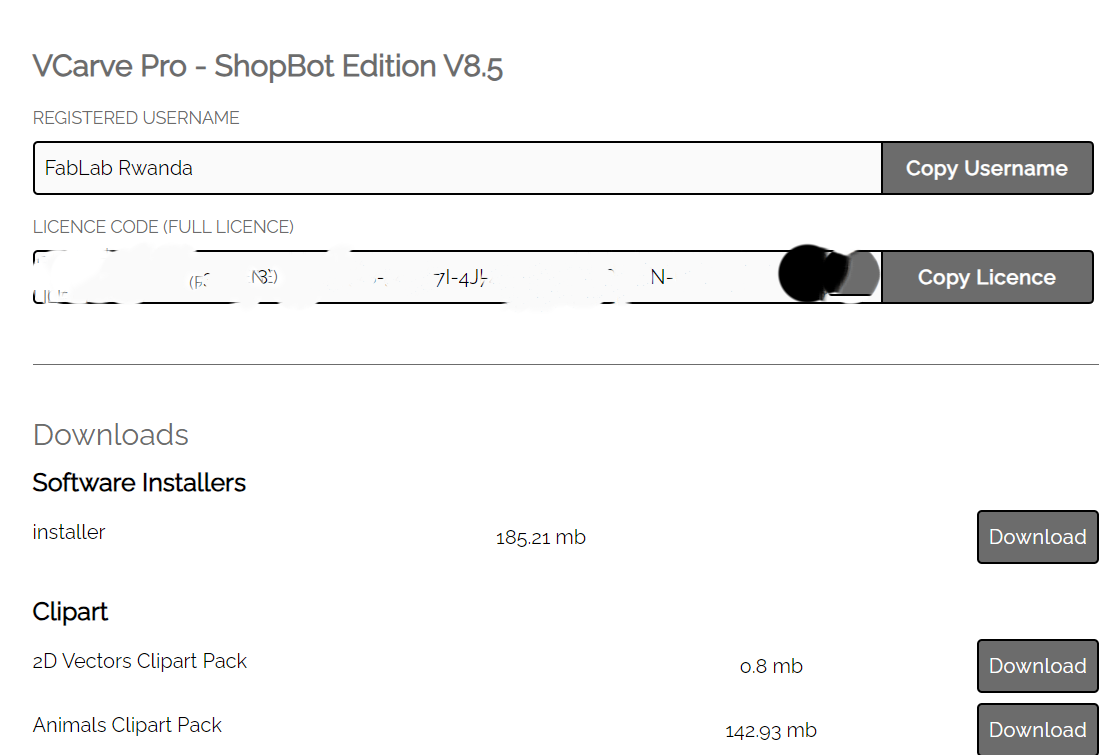
Link to Group Work PageTo do the group work, we started by installing the software to use for computer-controlled machining assignment. The software we used is VCarve Pro - ShopBot Edition V8.5
VCarve Pro - ShopBot Edition V8.5 is a software package designed for CNC (Computer Numerical Control) machining. It is a version of VCarve Pro tailored specifically for use with ShopBot CNC routers. VCarve Pro is known for its user-friendly interface and powerful features for 2D and 2.5D CNC machining. The ShopBot Edition of VCarve Pro includes additional features and optimizations for seamless integration with ShopBot CNC machines, making it easier for users to create and toolpath designs for their ShopBot router.
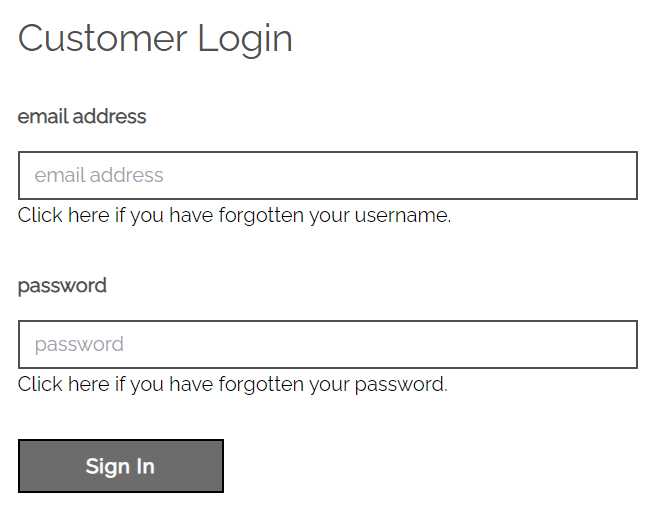
We started by downloading the software from the link here: https://portal.vectric.com/. To access the download requires login credentials of which we have, email and password used to create account.
Downloading VCarve
STEPS TO DOWNLOAD VCARVE
Login (It requires credentials to login)
Continue with Download by clicking download
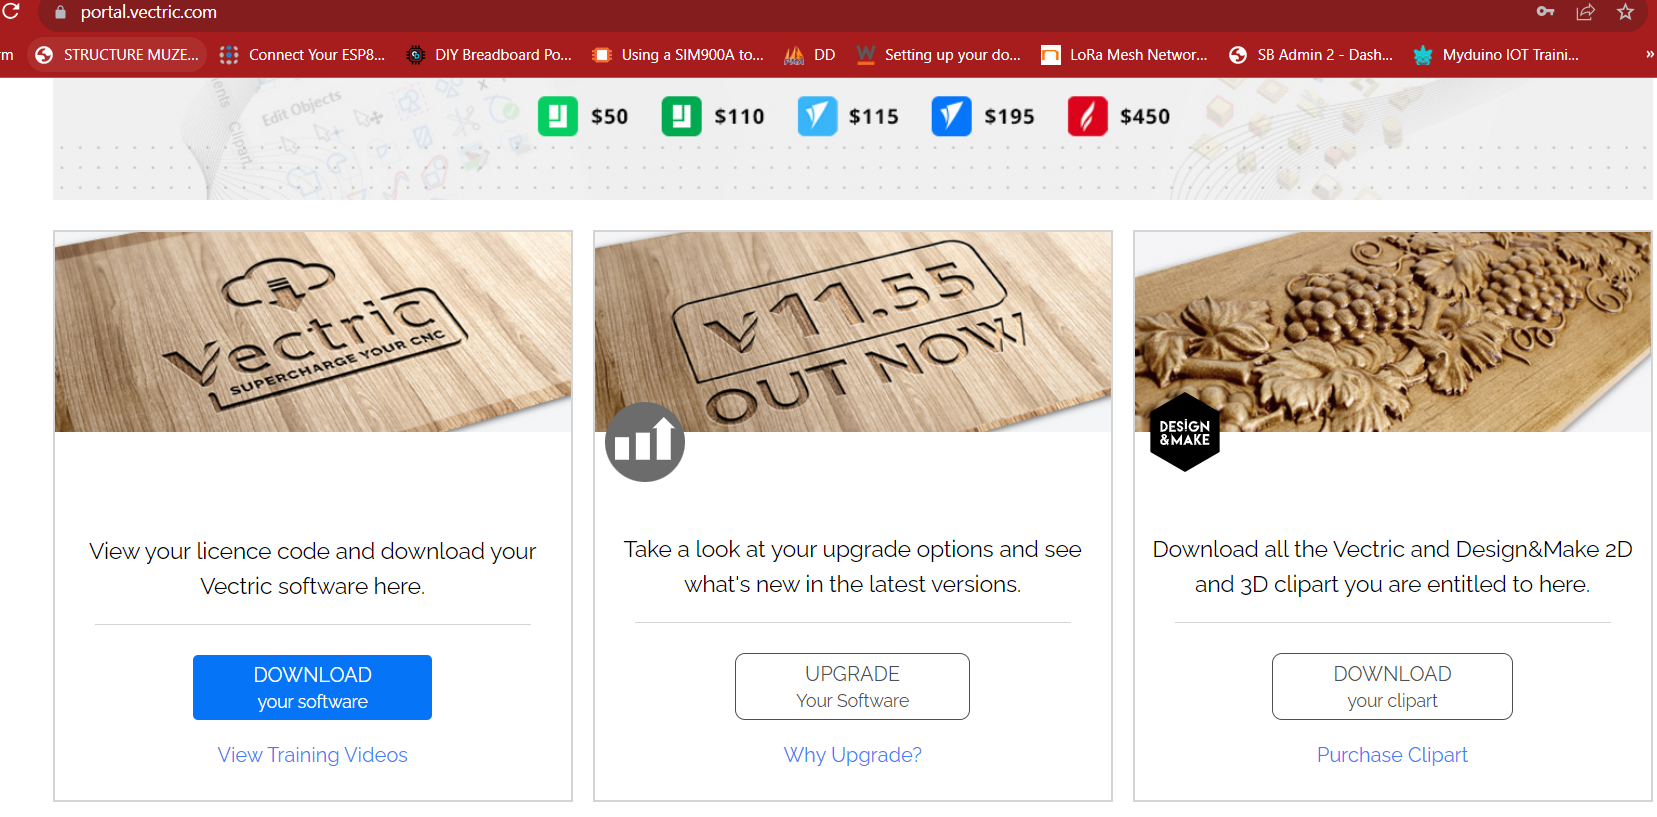
Continue with View License and Download.
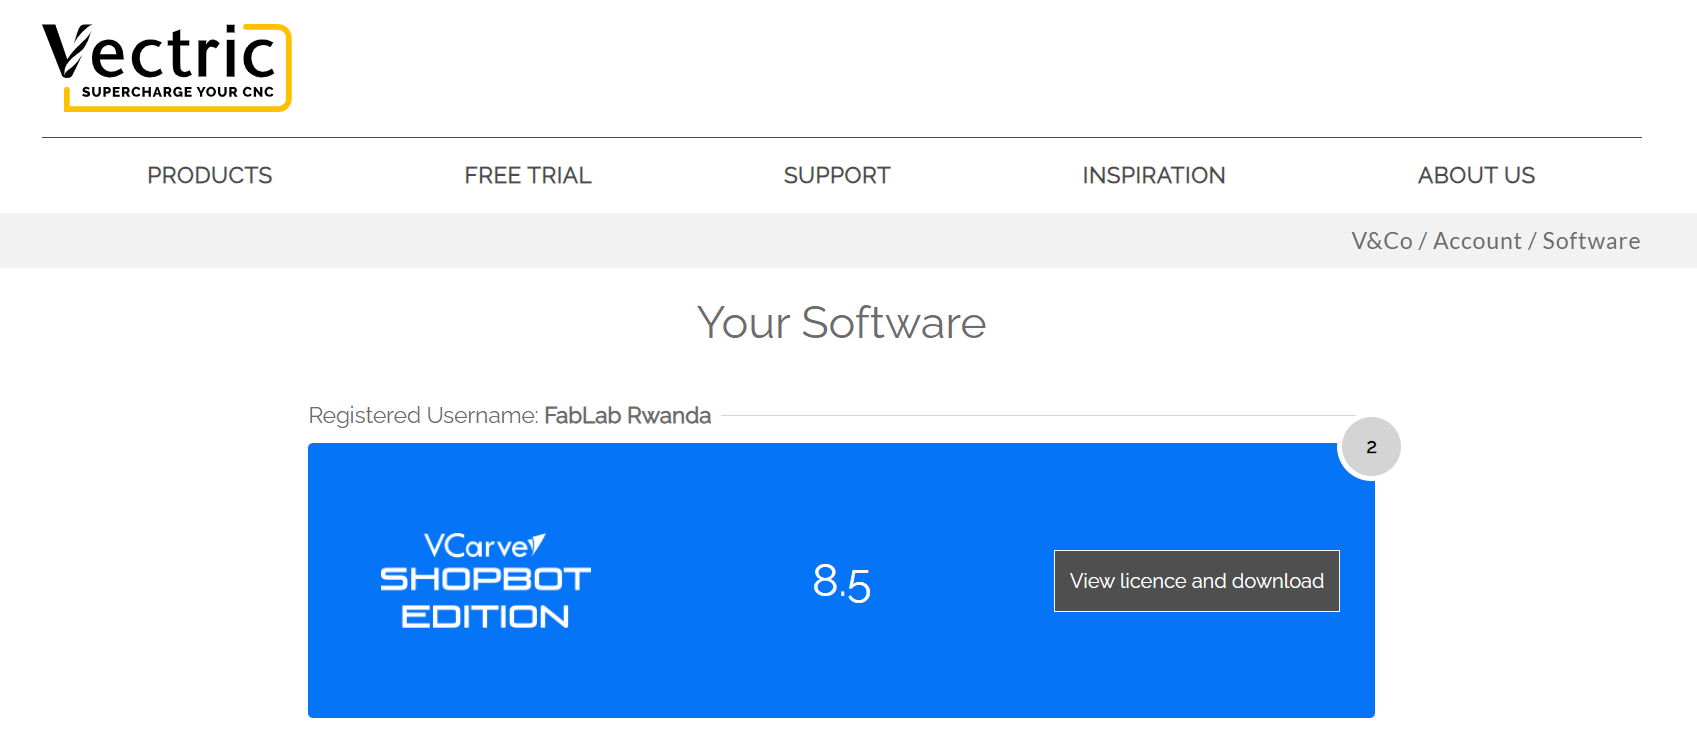
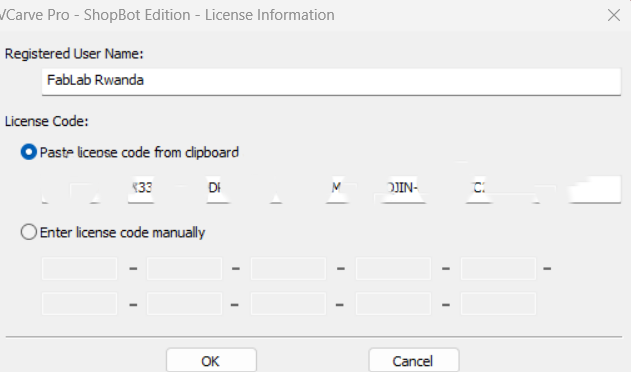
Accessing Regitered Username and License then Download.
Start installation.
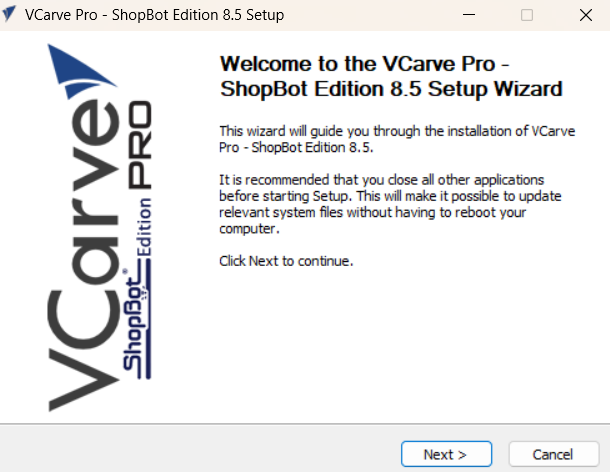
Continue with installation.
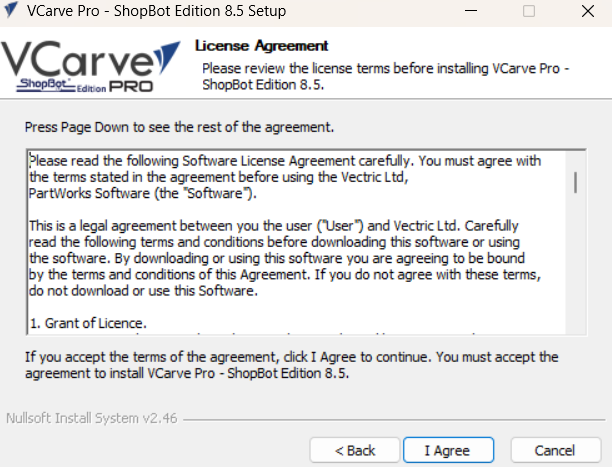
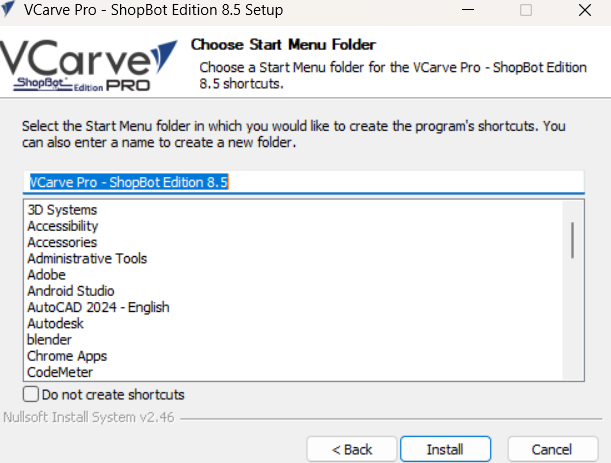
Click Next to continue.
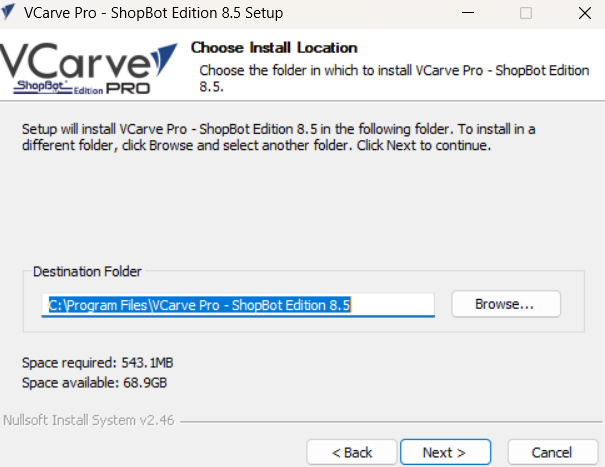
Now click on install and wait for installation.
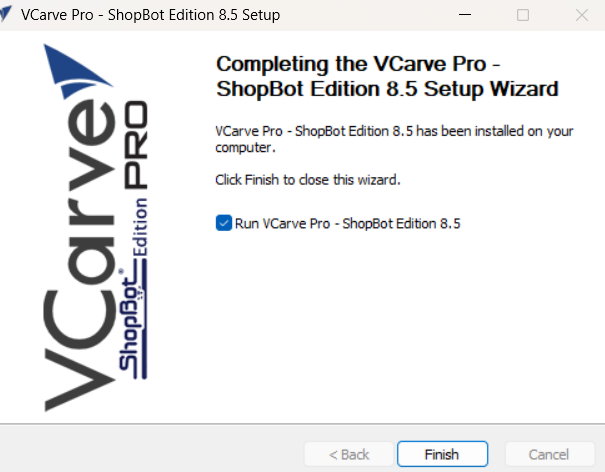
Now click finish to finish the download.
Open the shortcut, add the License and click OK
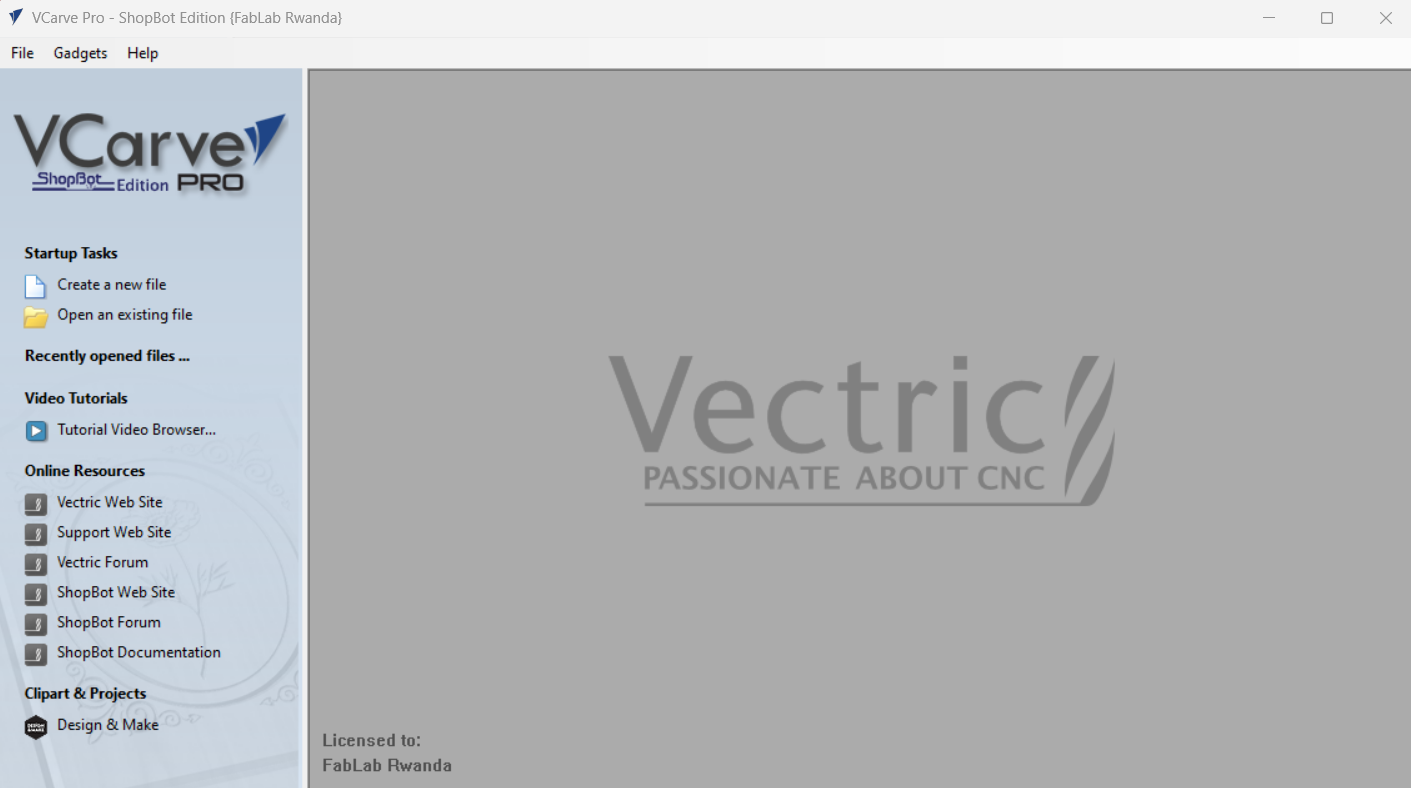
Landing page of VCarve Software
HOW TO PROCEED
To proceed, You click on Create an new file to start
This will land you on the next step to access the software tools.
USING TOOLS IN THE SOFTWARE
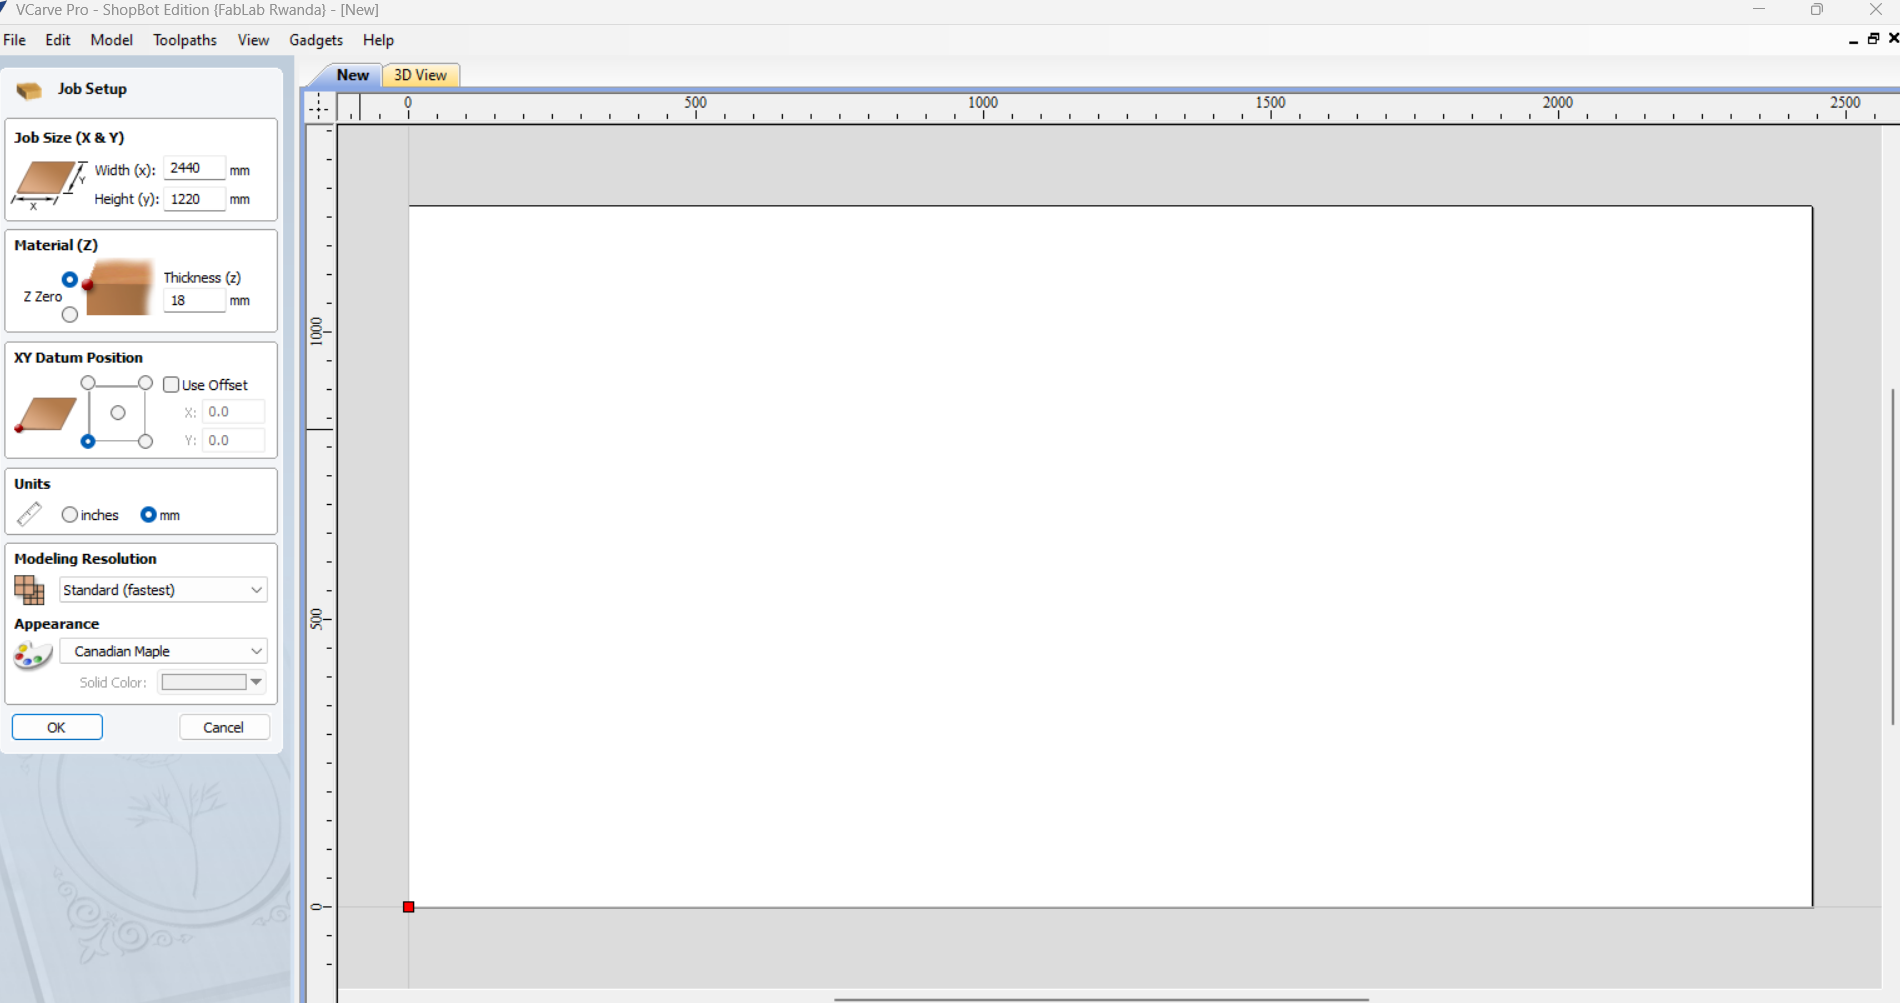
Setting Bed size of Material (width,height and Thickness;2440mm X 1220mm X 18mm).
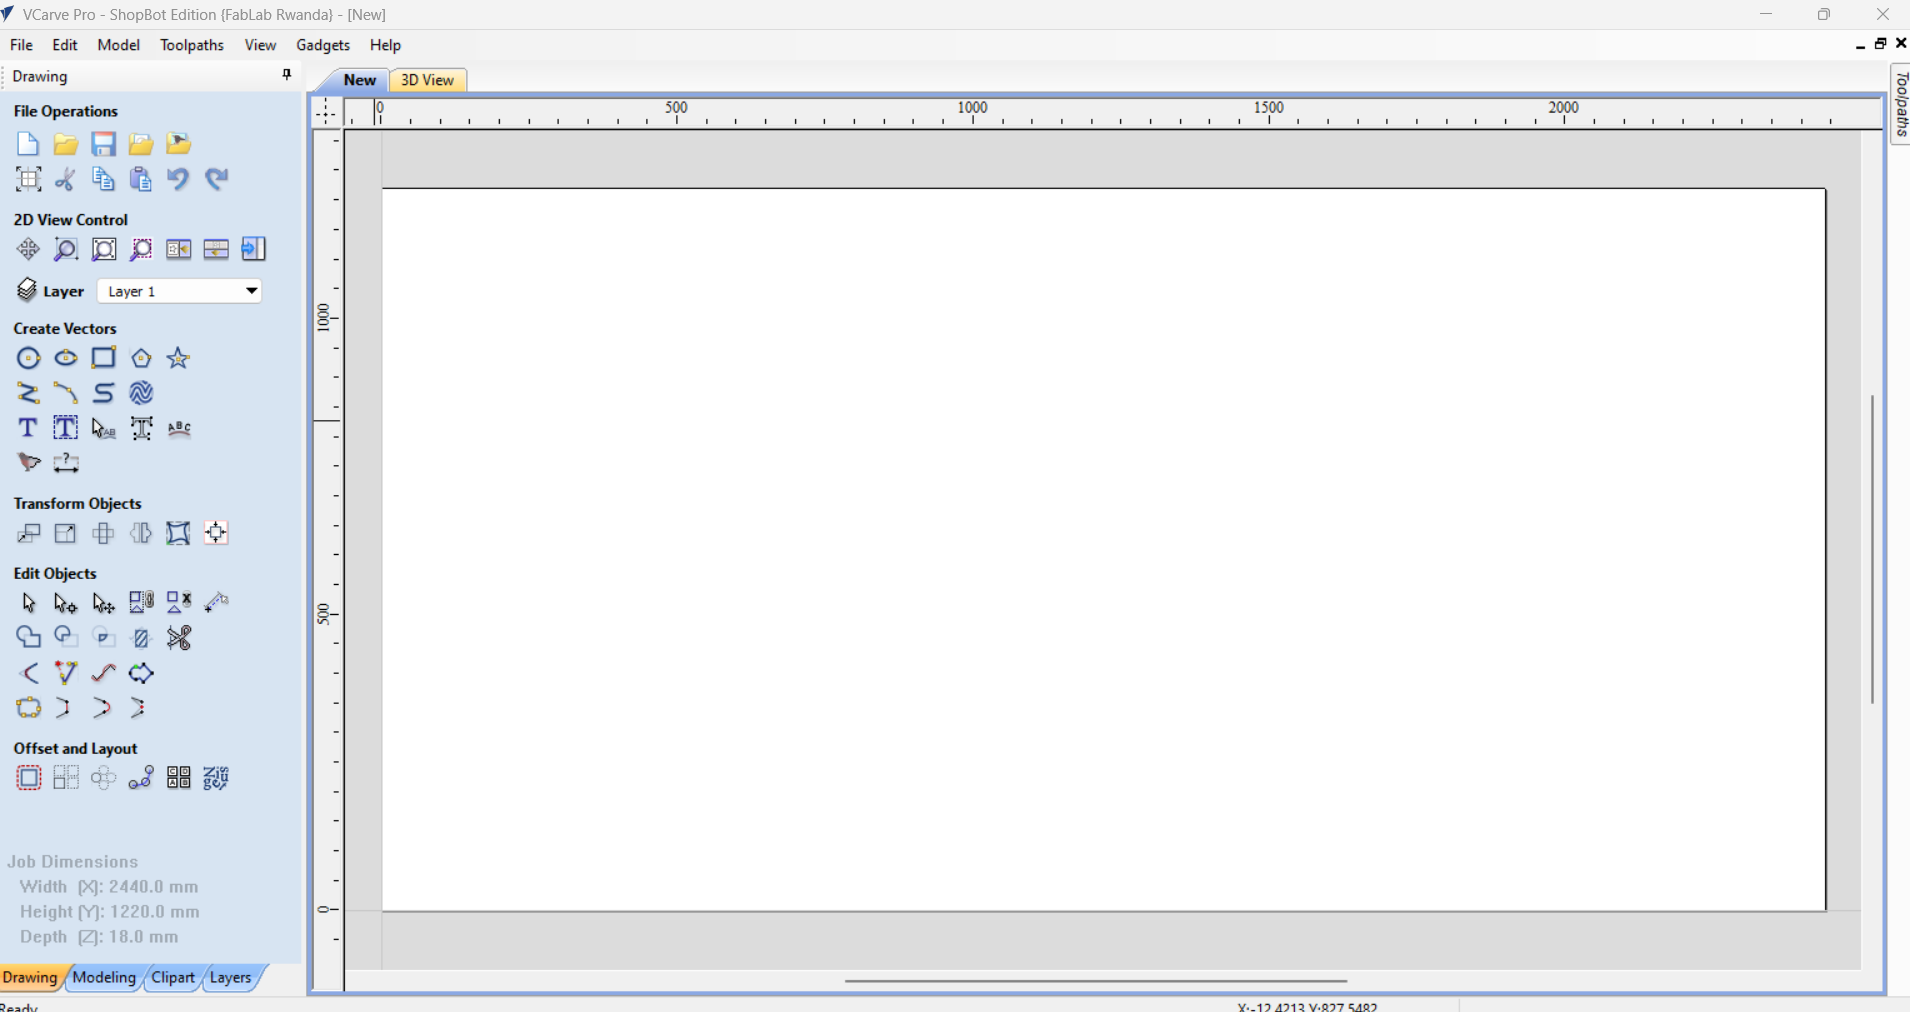
Accessing tools, line, shapes, trim, mirror, rotate, toolpath and many more.
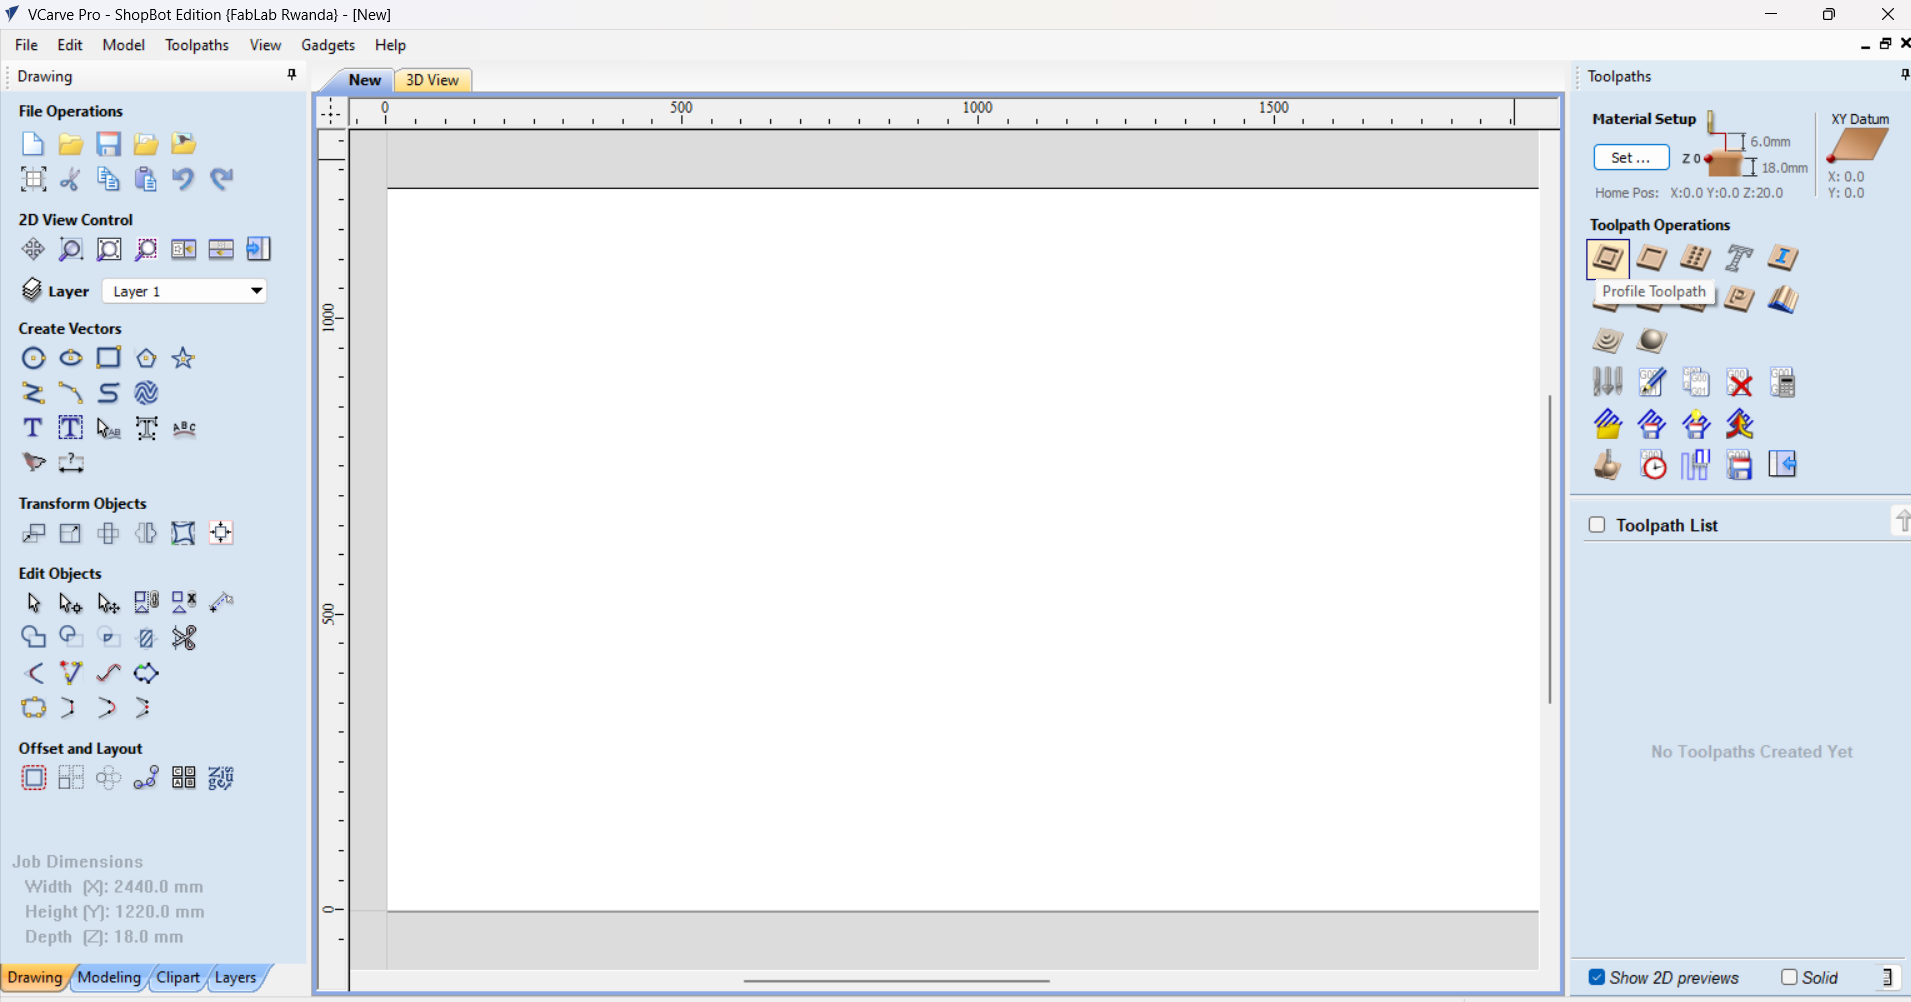
Clicking on show toolpaths, then Select profile toolpath.
Fill cut depth (18.2mm to cut to bottom of material) and continue to set the tool
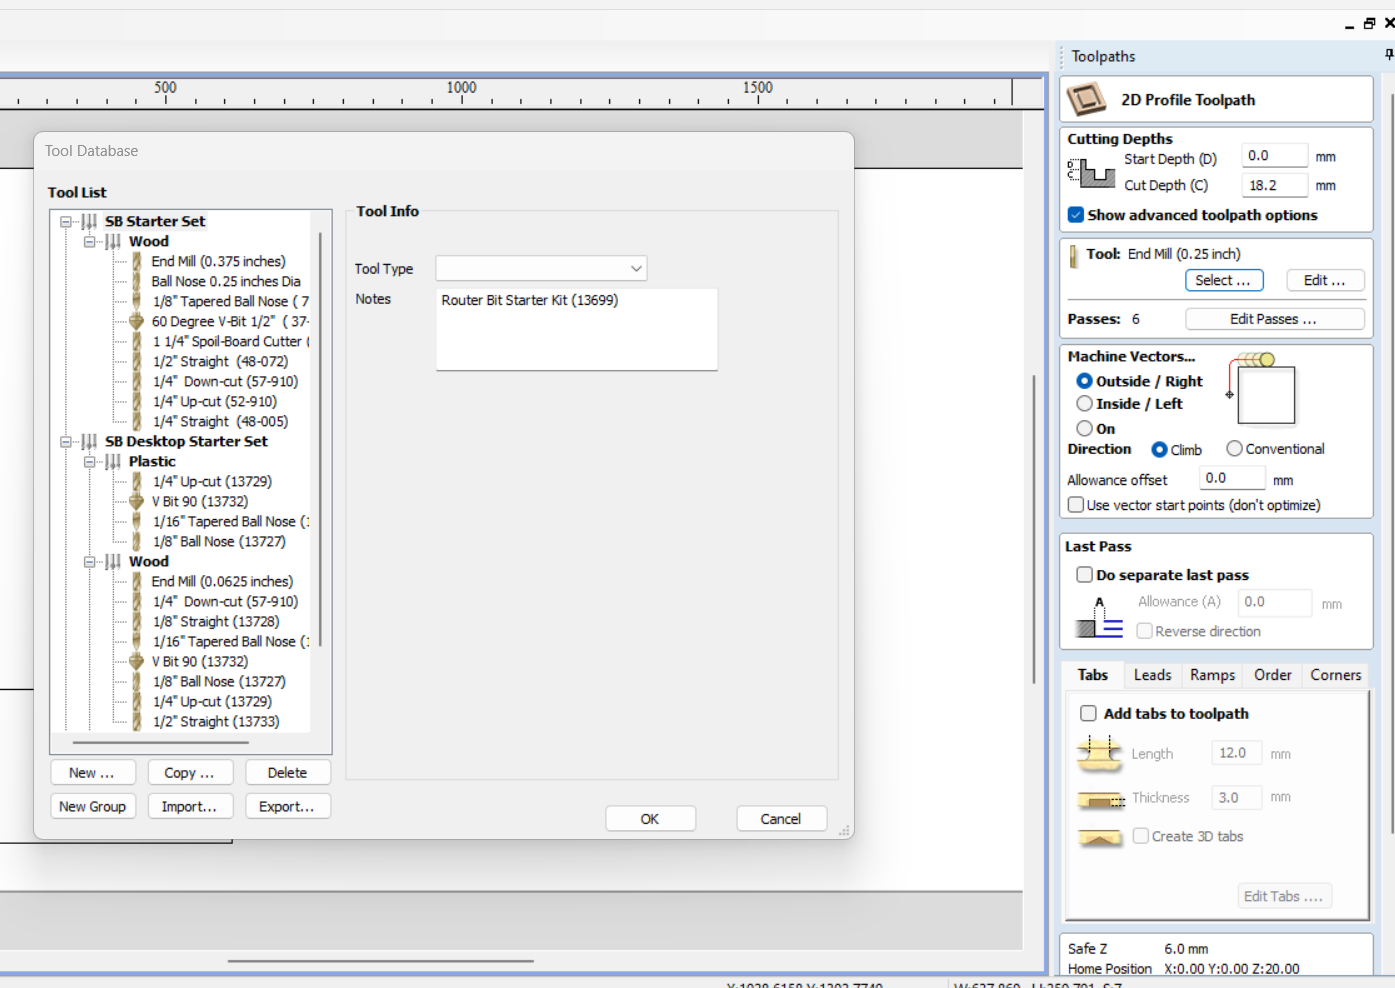
Choose or add new tool to use and edditing parameters

Edditing passes (steps to pass through to the bottom of cut depth)
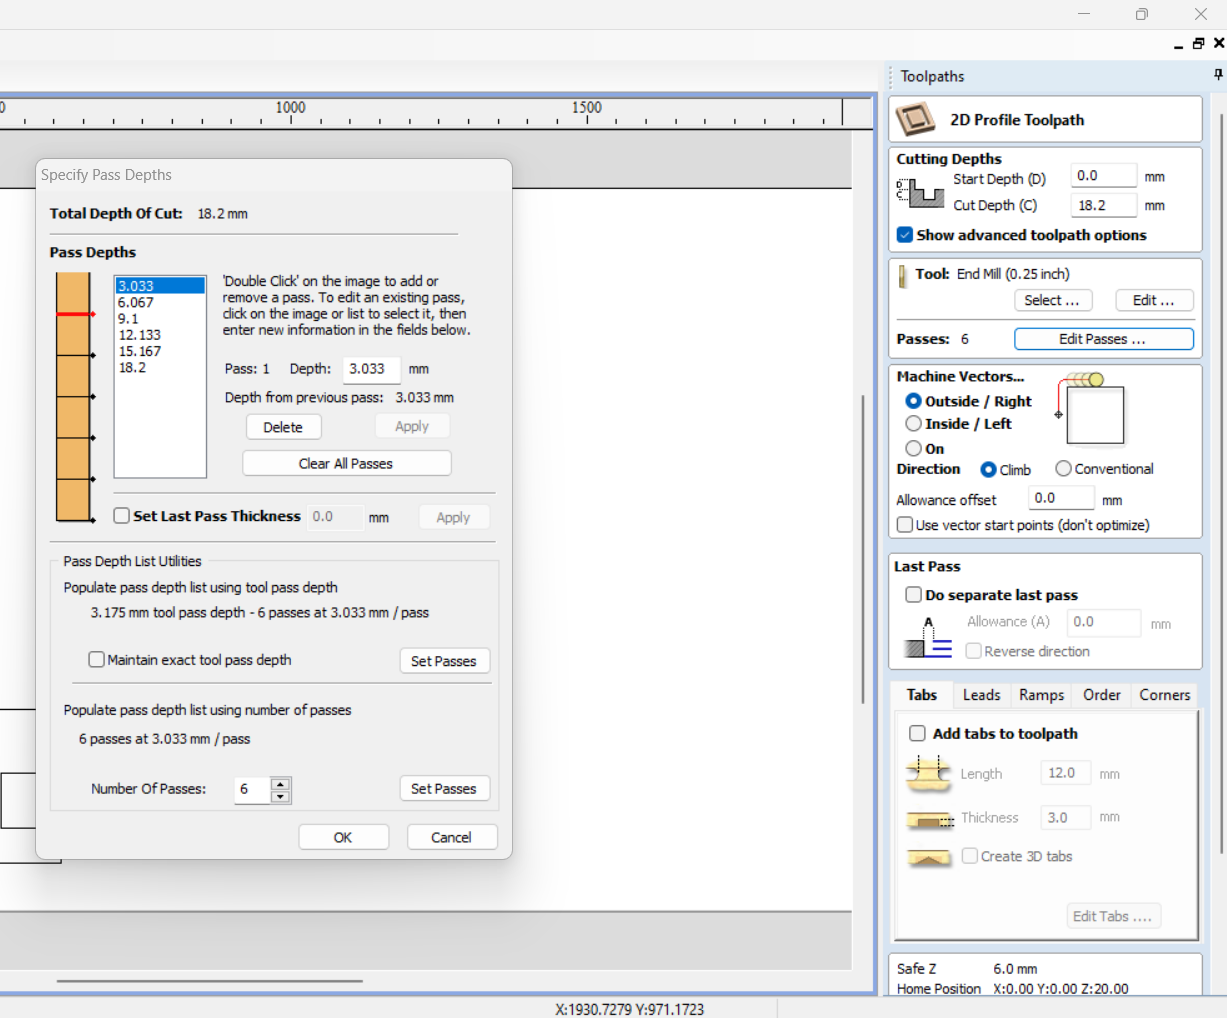
Clicking calculate opens like this, but we keep be because we added 0.2mm as coefficiency to reach the bottom.

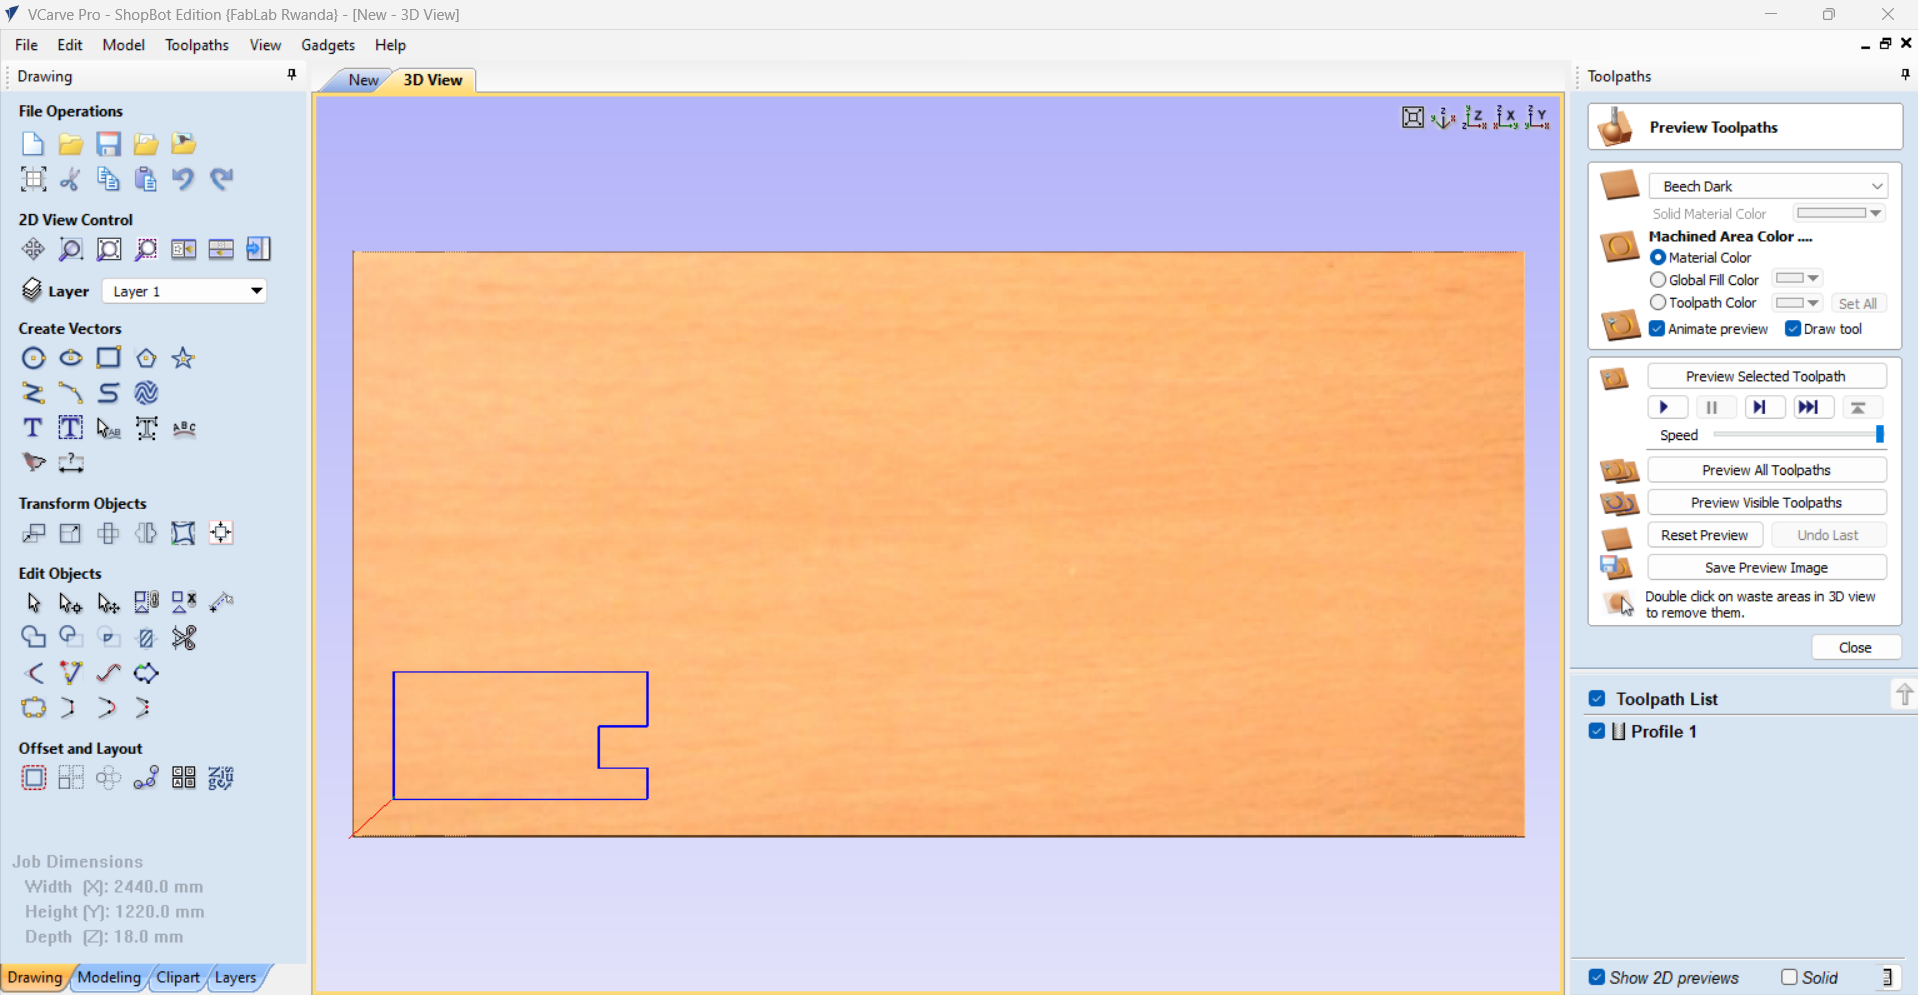
This is the output by the shape we drew as a group.
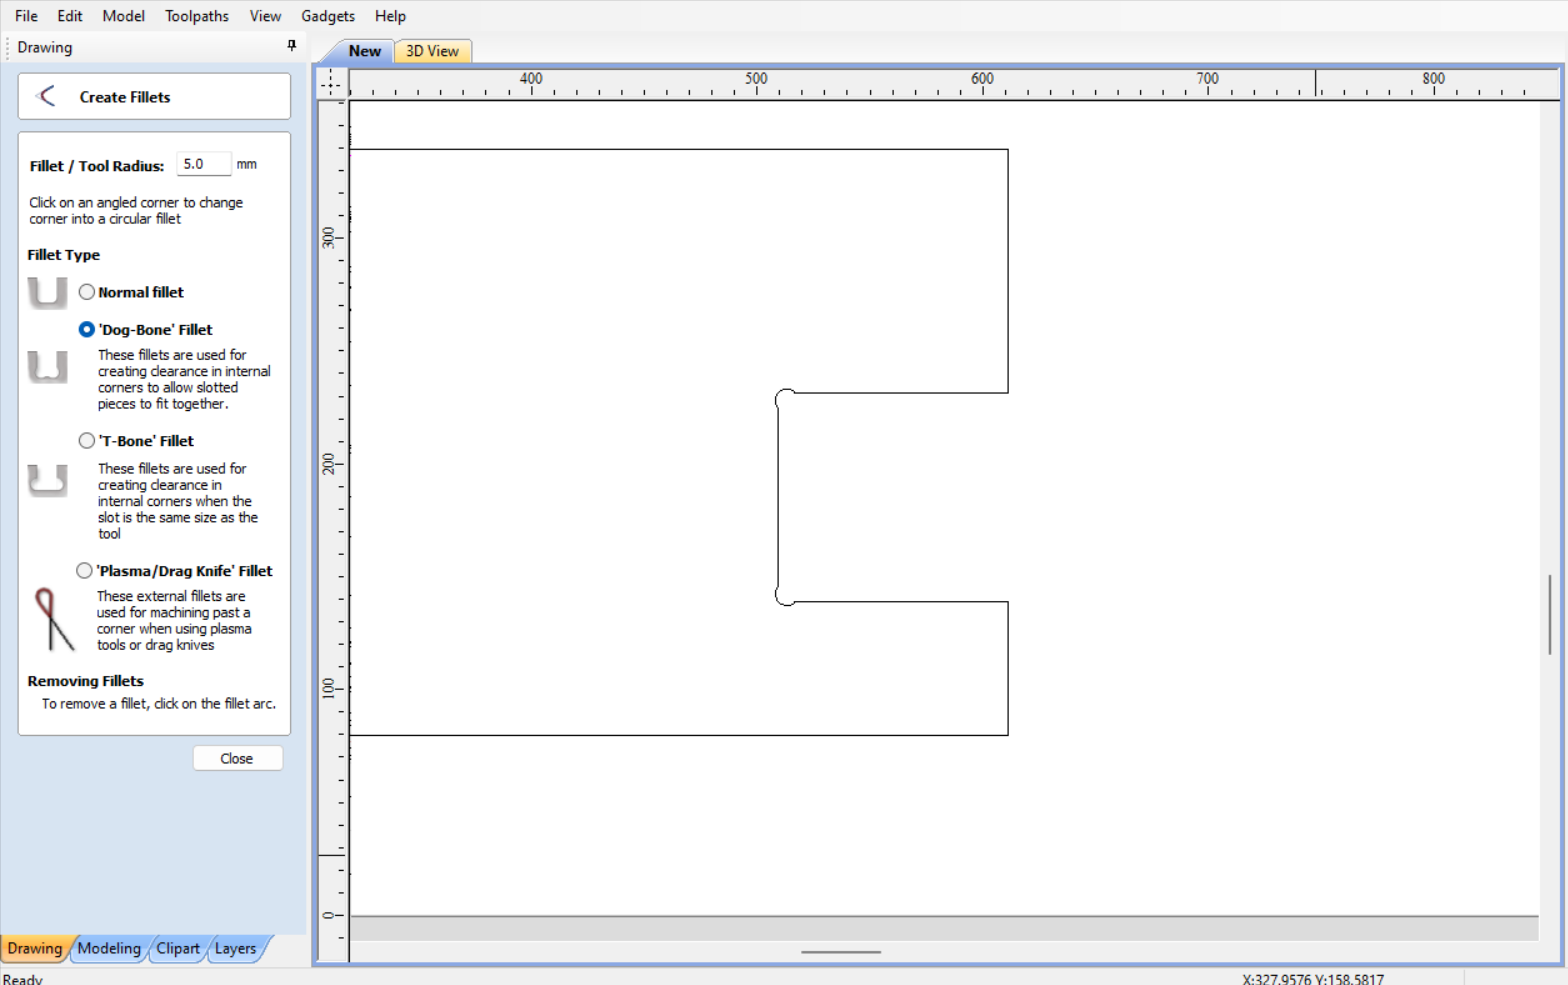
Edditing the design corners by filet for fitting in assembly
This is the completed desin ready to be saved for controlled machining
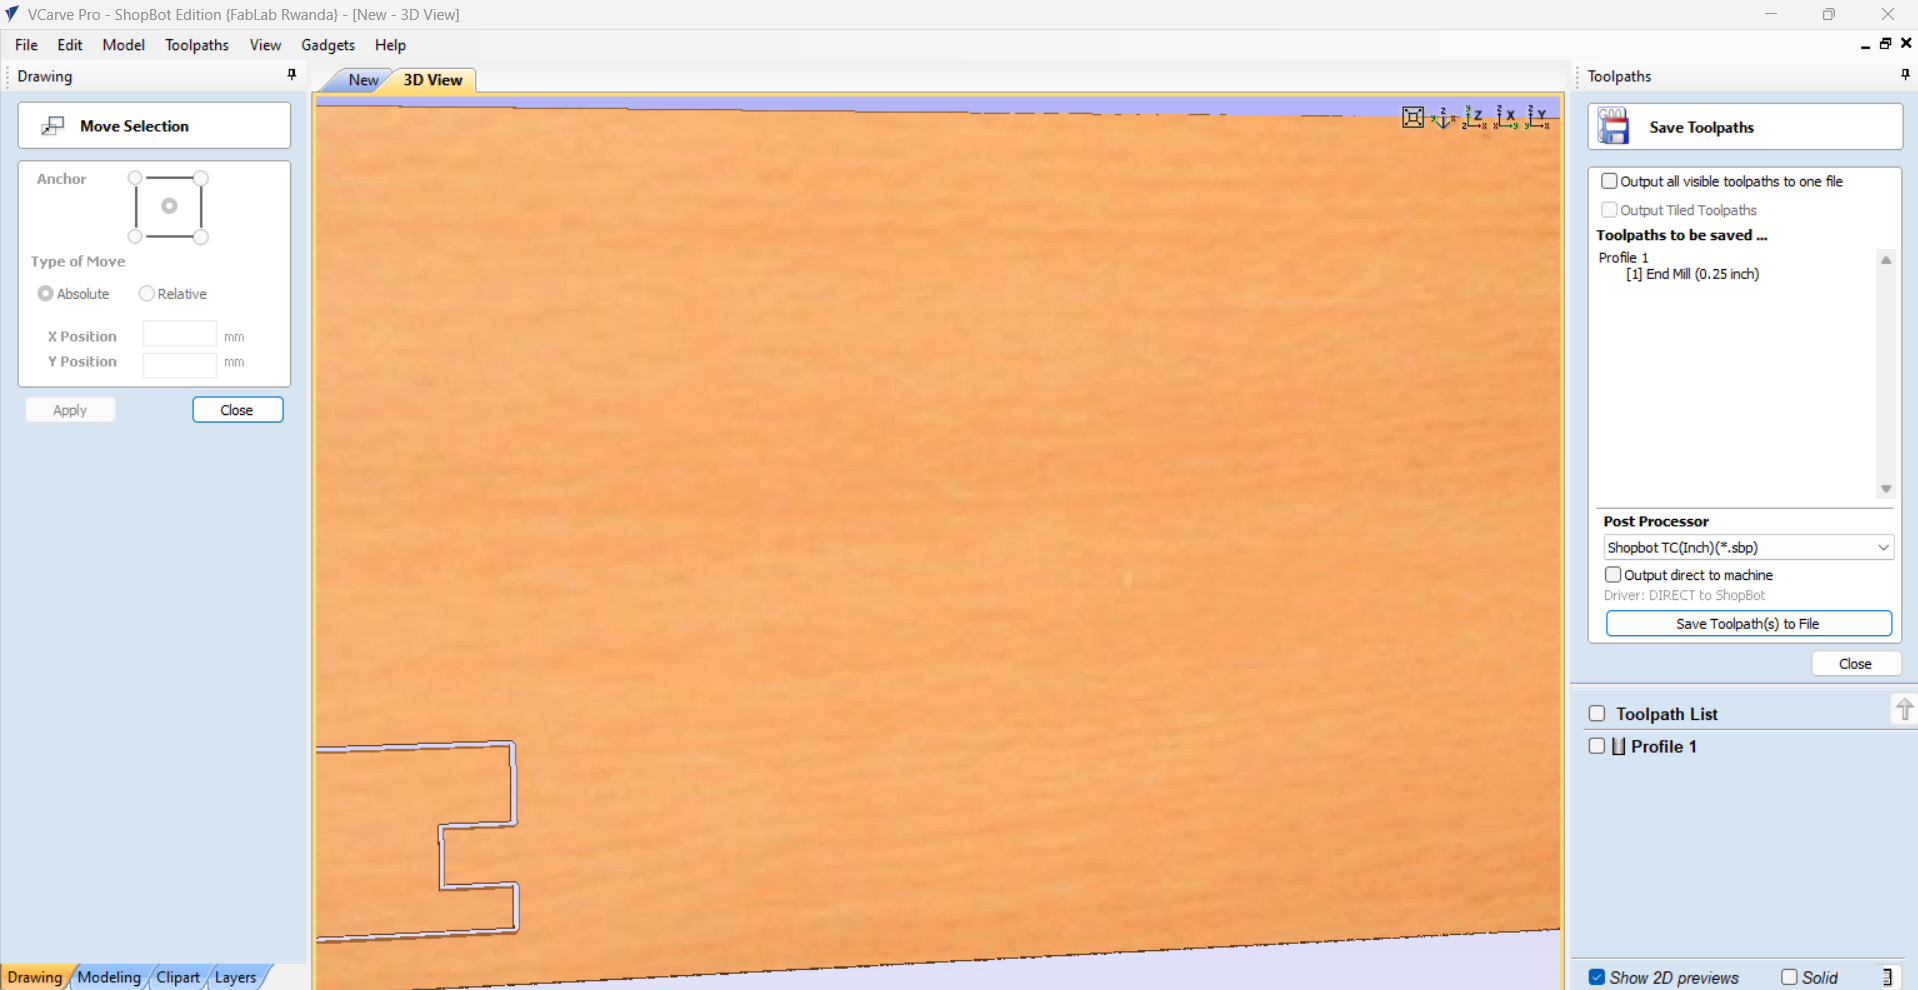
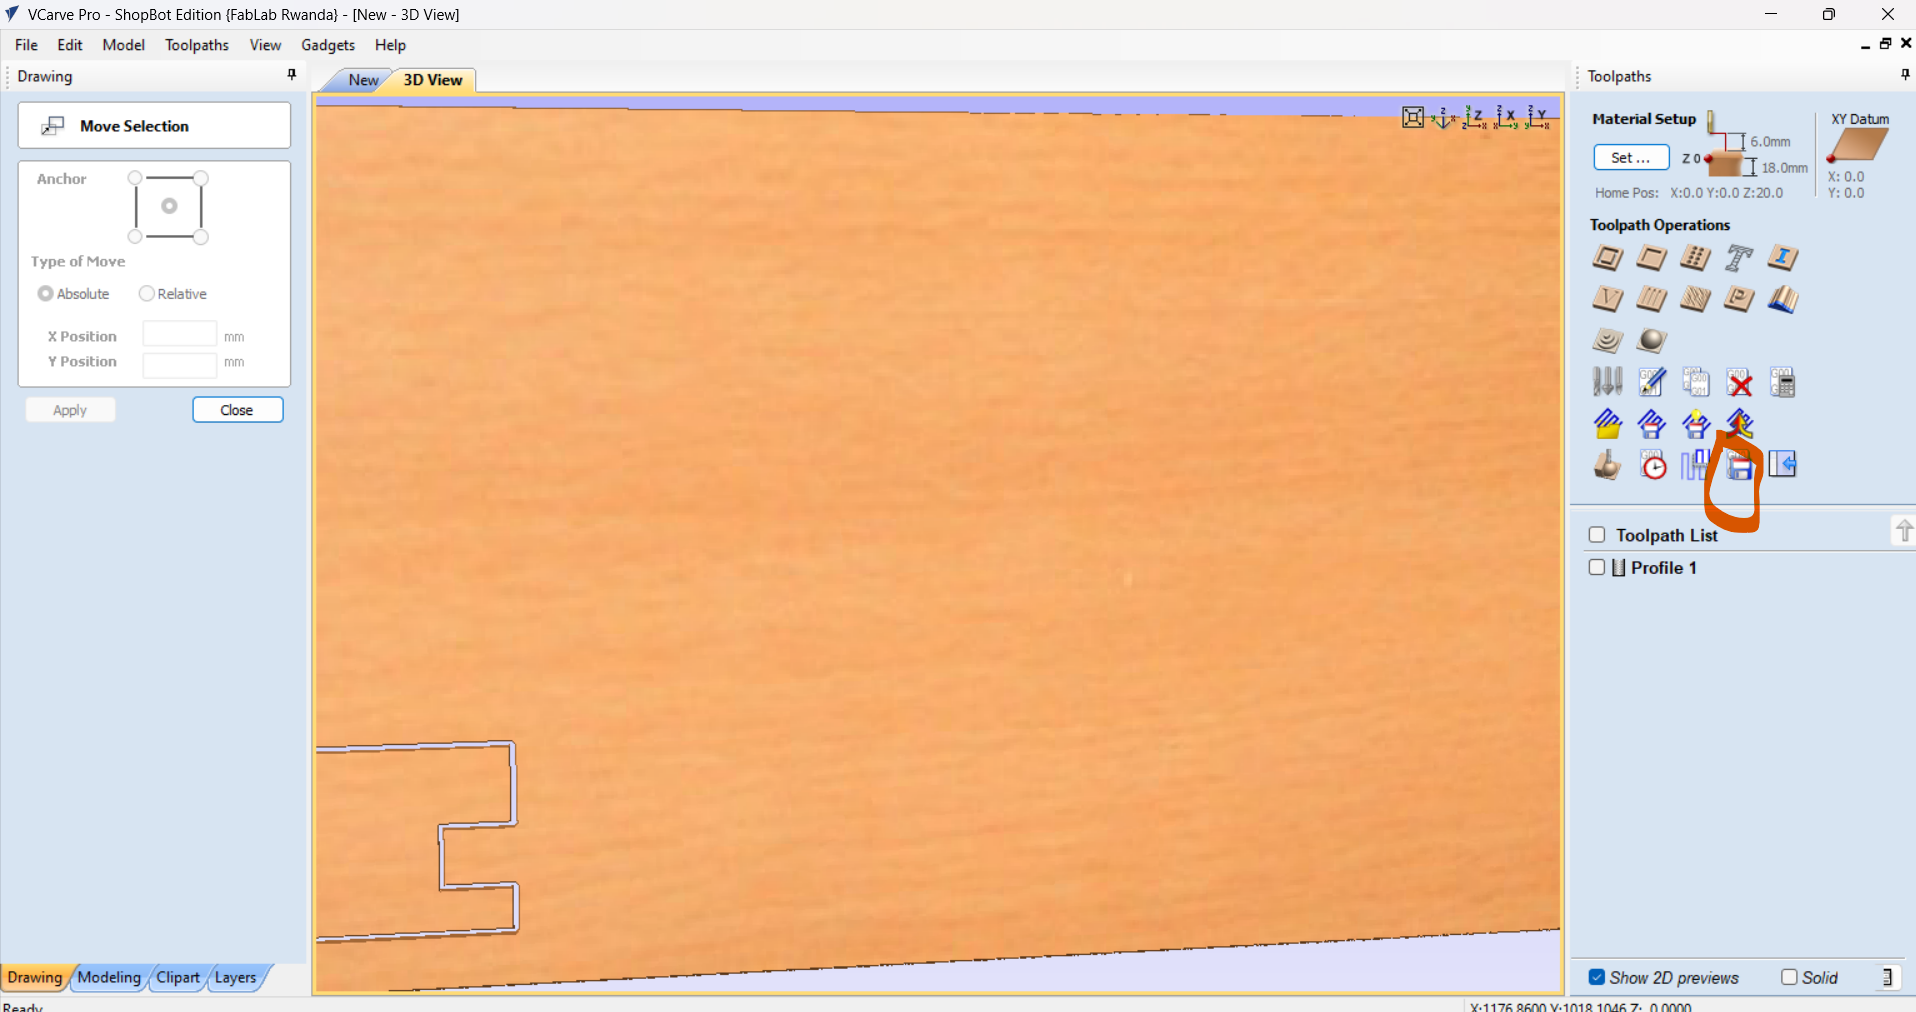
Now save the toolpath by clicking on indicated tool.
I. Personal Work
Personal work:Make (design+mill+assemble) something big (~meter-scale)
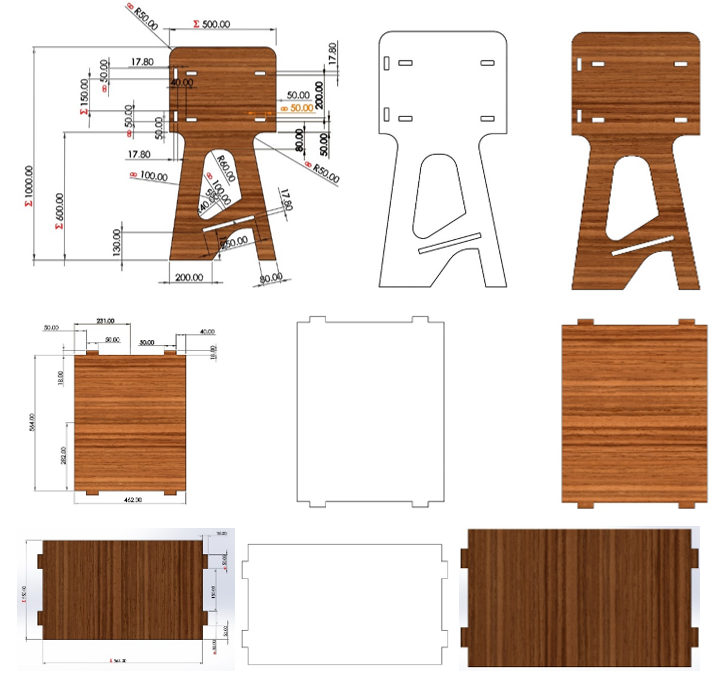
Started With the design in Solidworks an open shelf
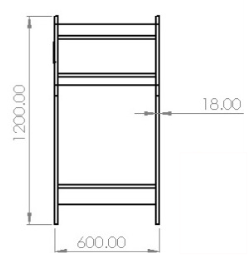
Front view of the design
Topview design

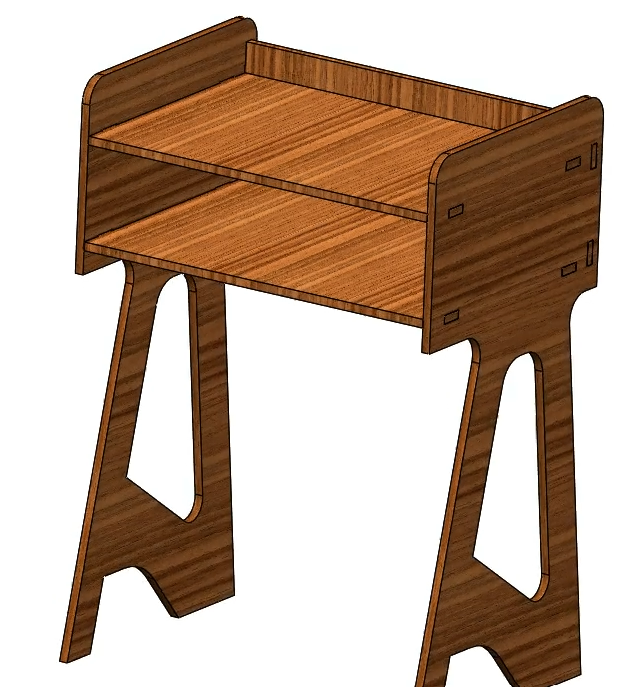
Perspective in 3D software (SOLIDWORKS)
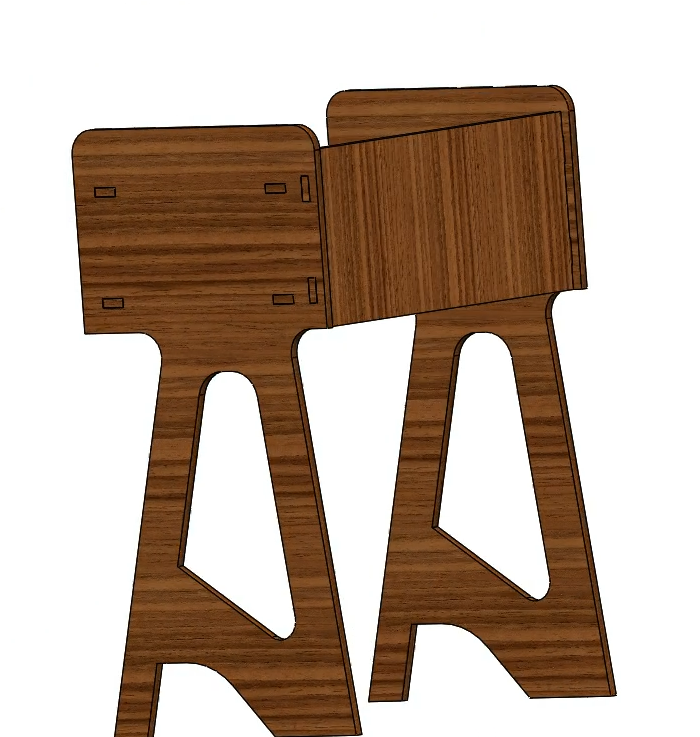
Perspective sideview
Dimensions, wireframe and a part model
Video of design in parametric
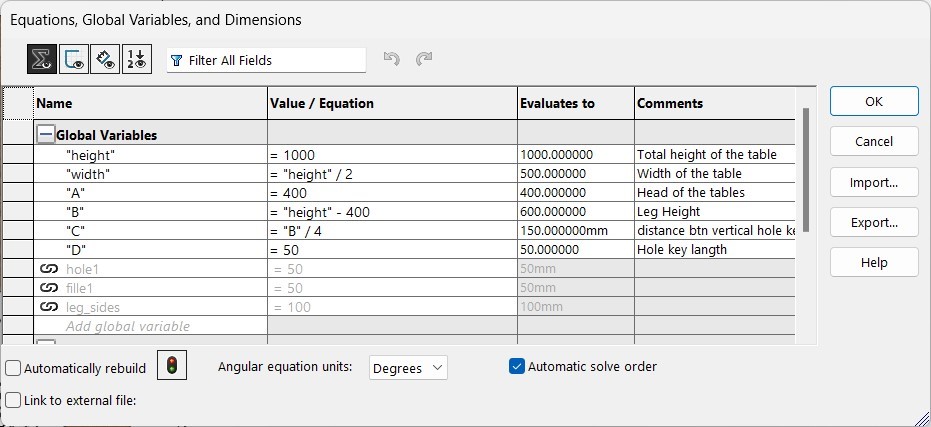
4.b. Parametric (Global variables and linked values), Global variables and linked values for Legs
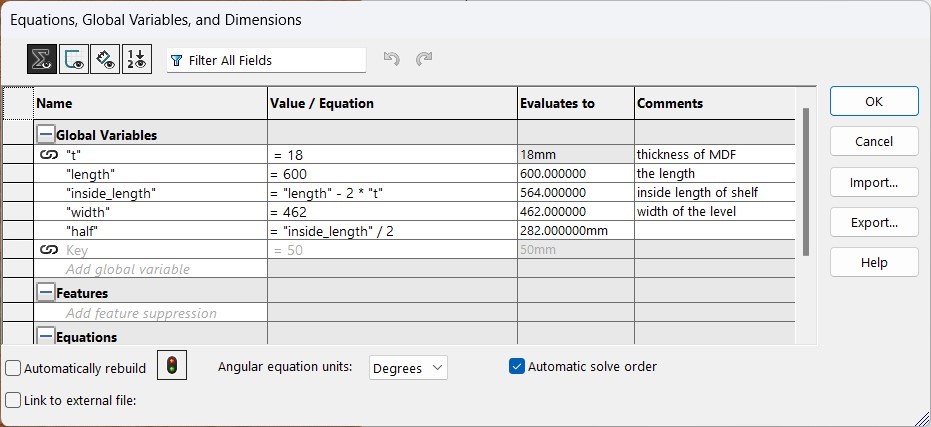
Global variables and linked values for level
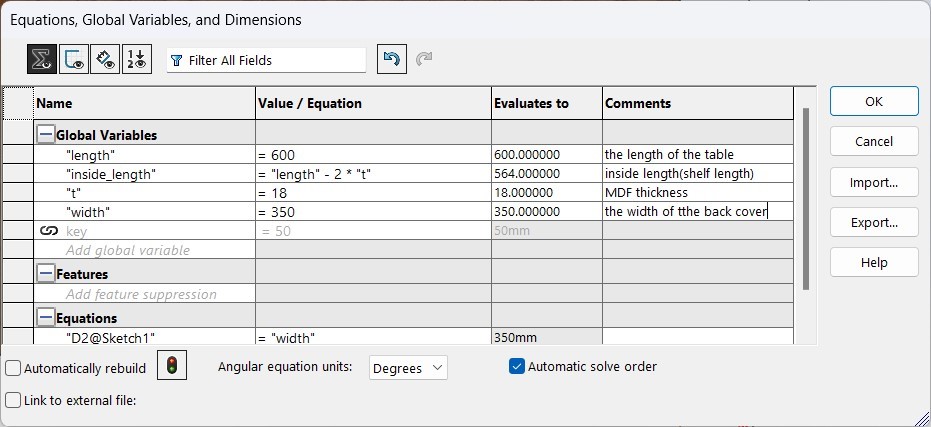
Global variables and linked values for back cover
Saving a files into .DXF extension from solidworks software
These files can be read by VCurve where we will set the toolpath for controlled cutting with ShopBot.
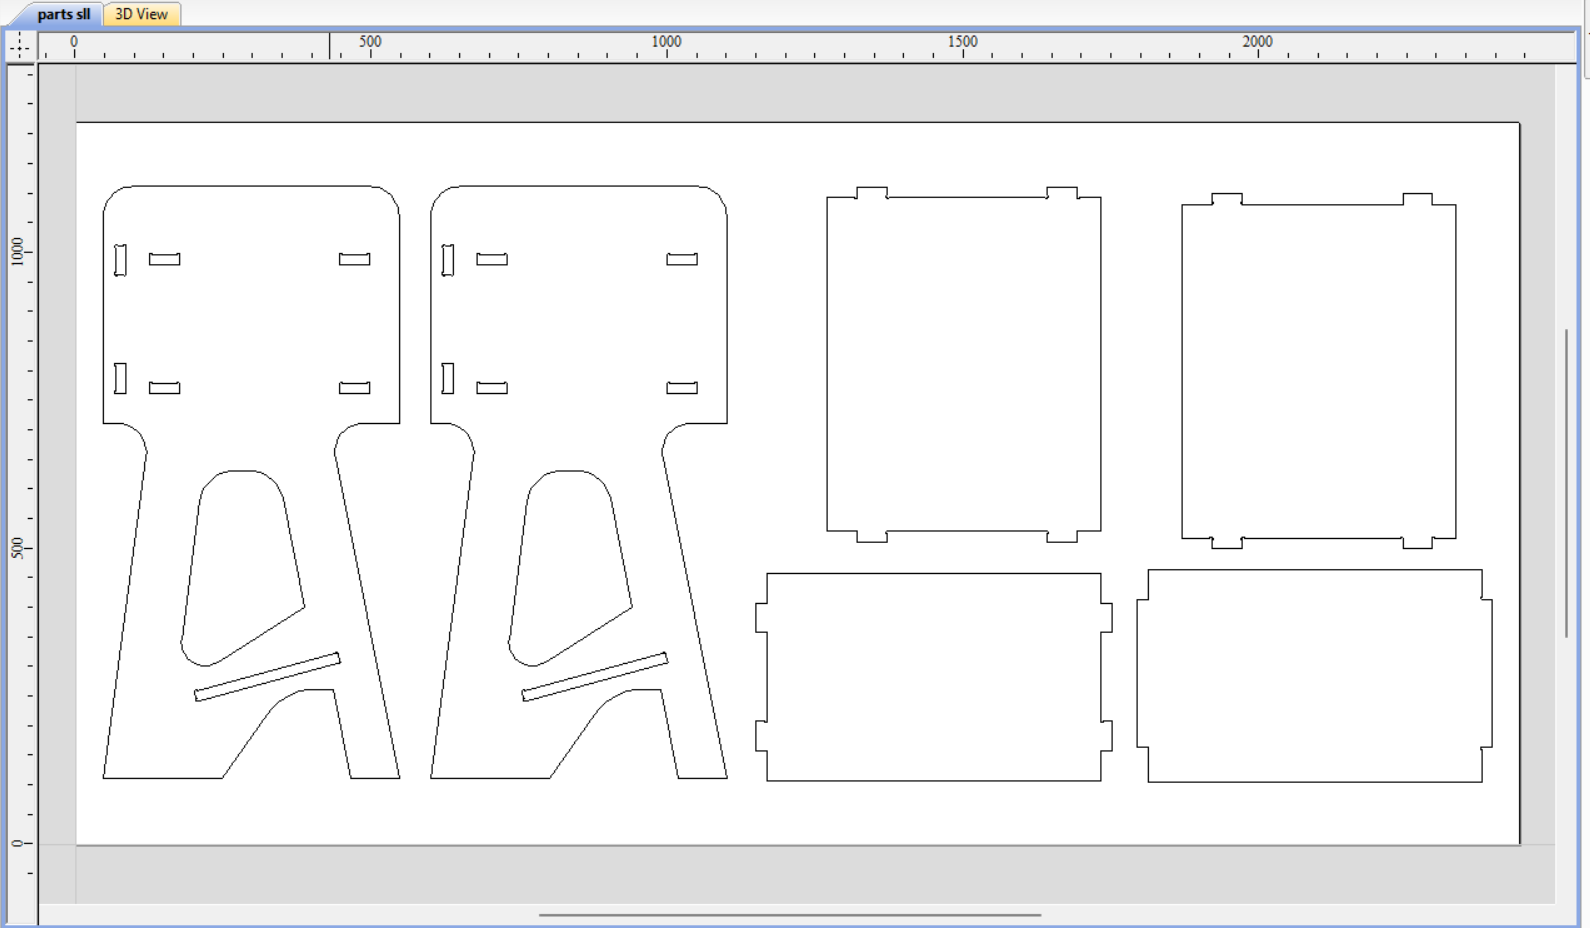
The next thing was to import all the saved parts with .DXF in Vcurve software as seen in the next image.
Parts of the design in Vcurve
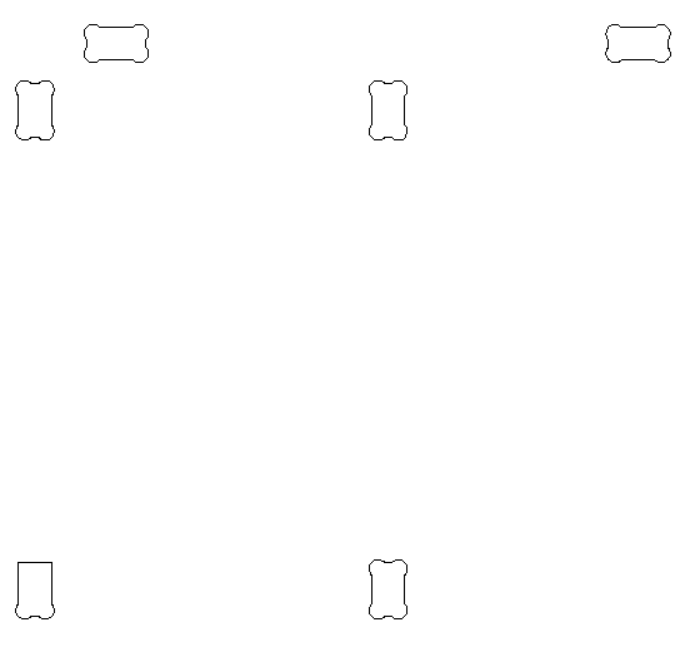
Using fillets tool in joints (Dog-bone)
The fillet is 1/2 of the tool diameter, here is 3mm.
Toolpath preview of all parts of my design
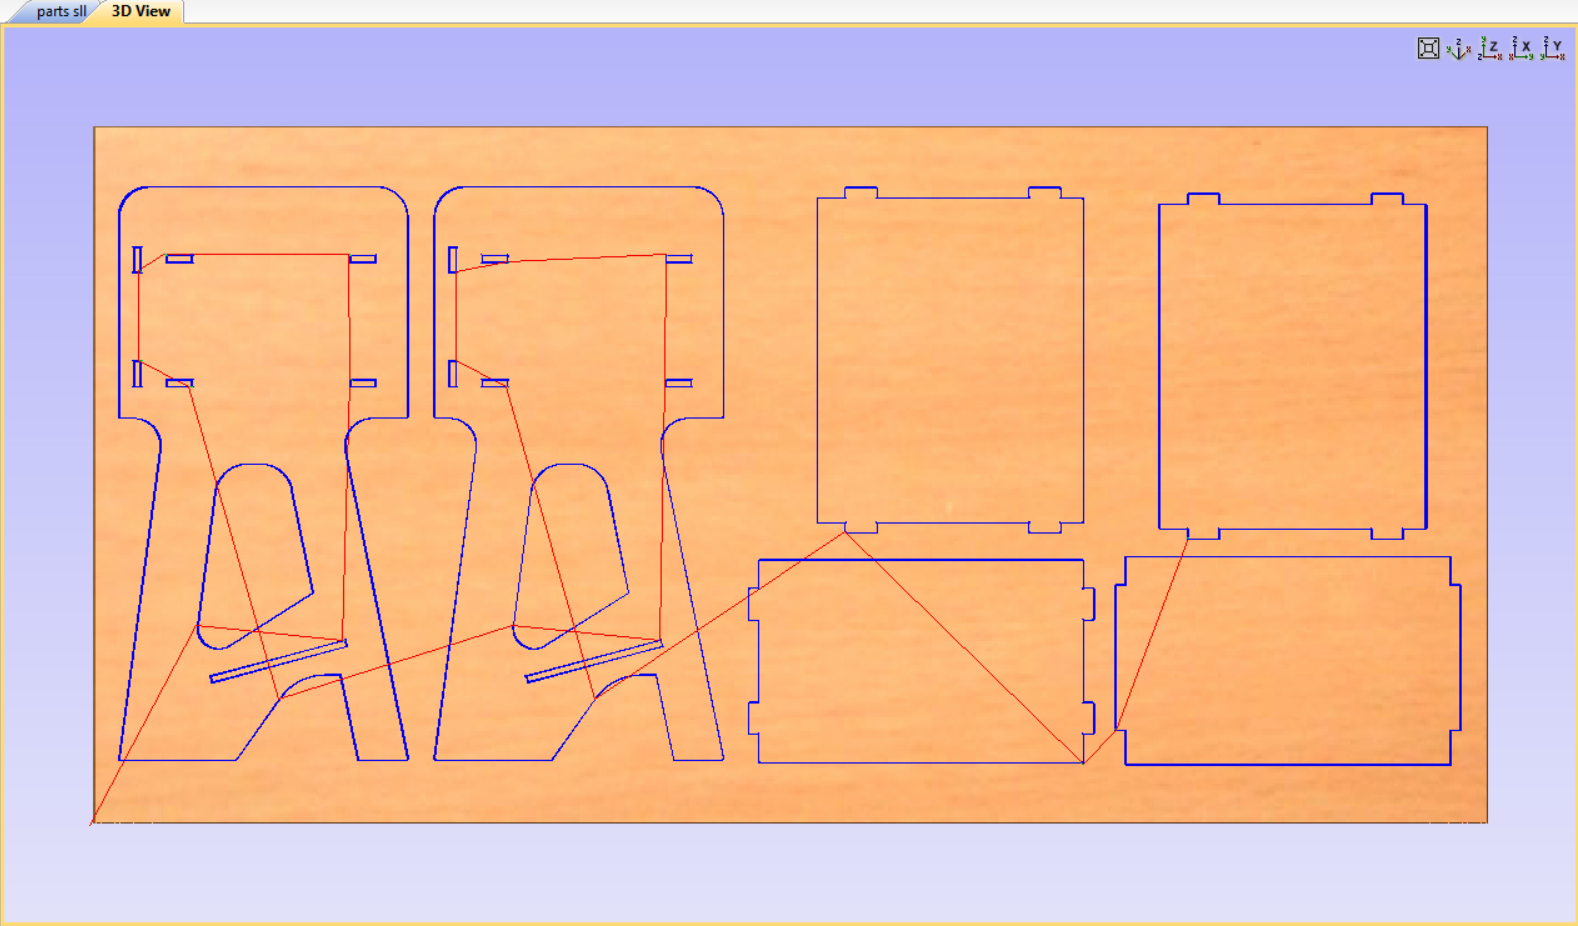
The tool used is End Mill (6mm), 3 passes and inputs to cut the wood
After setting all inputs then saved toolpath with .sbp extension
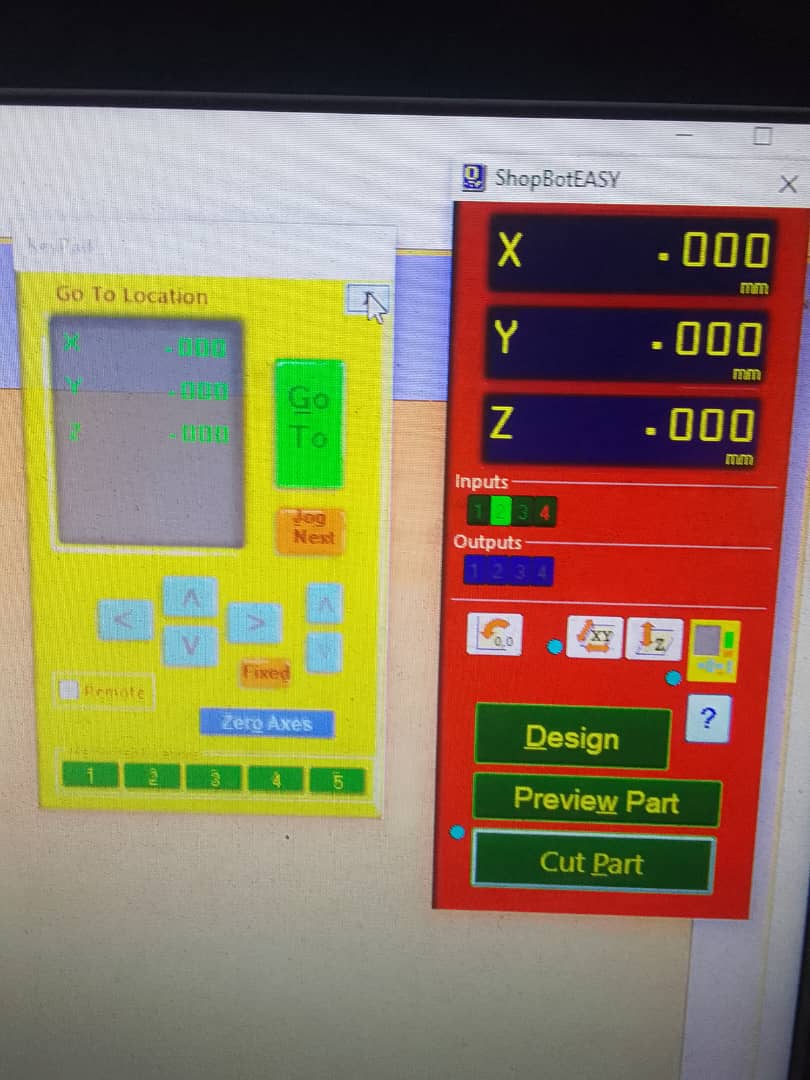
The machine used is ShopBot (Here is its controller)
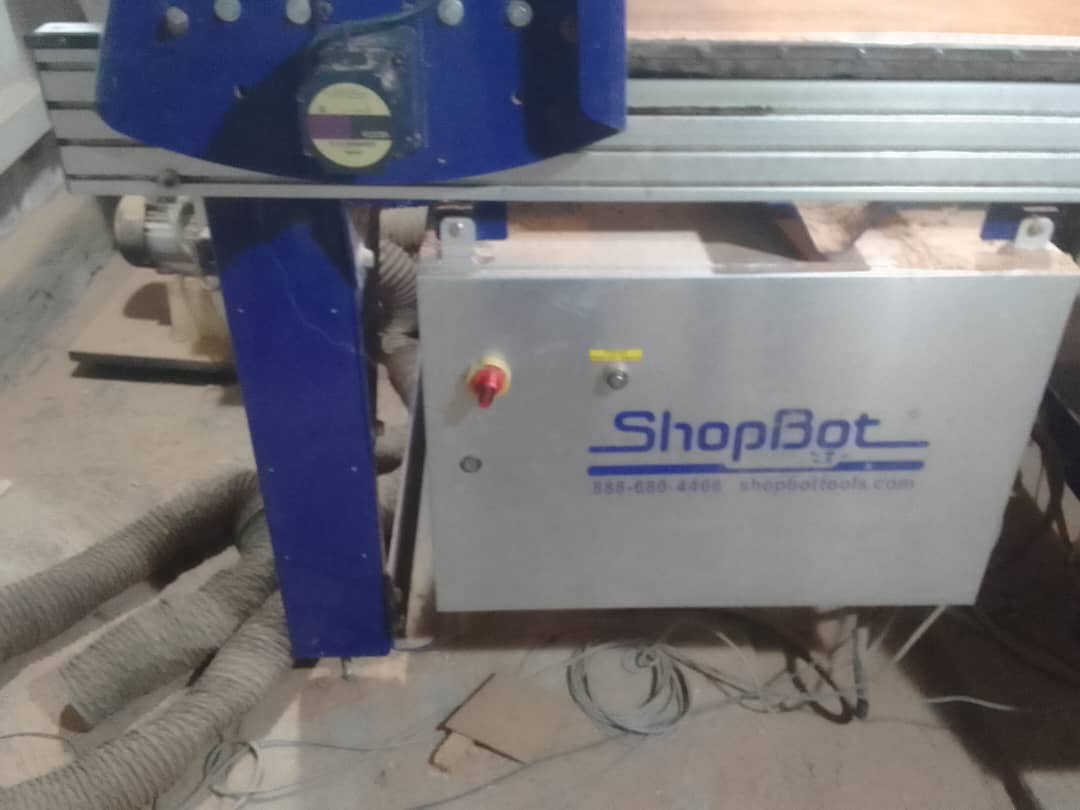
Once you've saved the file, it automatically launches the Shopbot controller. Then, using the controller, set the origin. Turn on the CNC router switch, and secure the machine to the computer by pressing the reset button (usually blue). This allows you to control the gantry with the controller handles. Next, position the tool precisely at the origin of the sheet material to set the XYZ coordinates for the machining process.
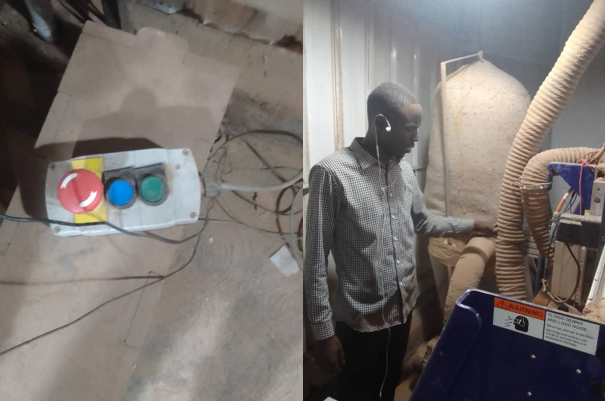
To zero the axis (origin) on the controller panel, locate the small yellow keypad. Clicking on it opens another panel. From there, select the "Zero Axis" option, which opens a new panel for selecting the axis to be set at zero, marking the origin of the work. Choose all three axes (XYZ), click on "Zero," and then close the yellow keypad.
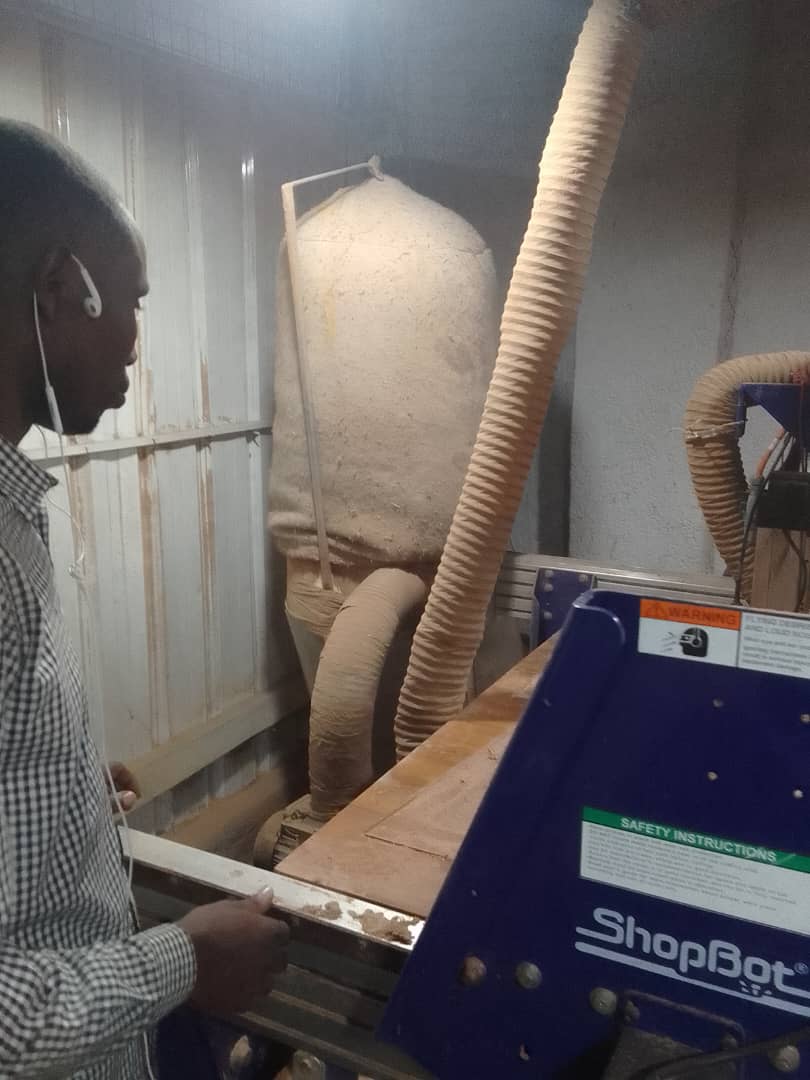
Inspecting the cutting machine process
Video of cutting with Shopbot machine
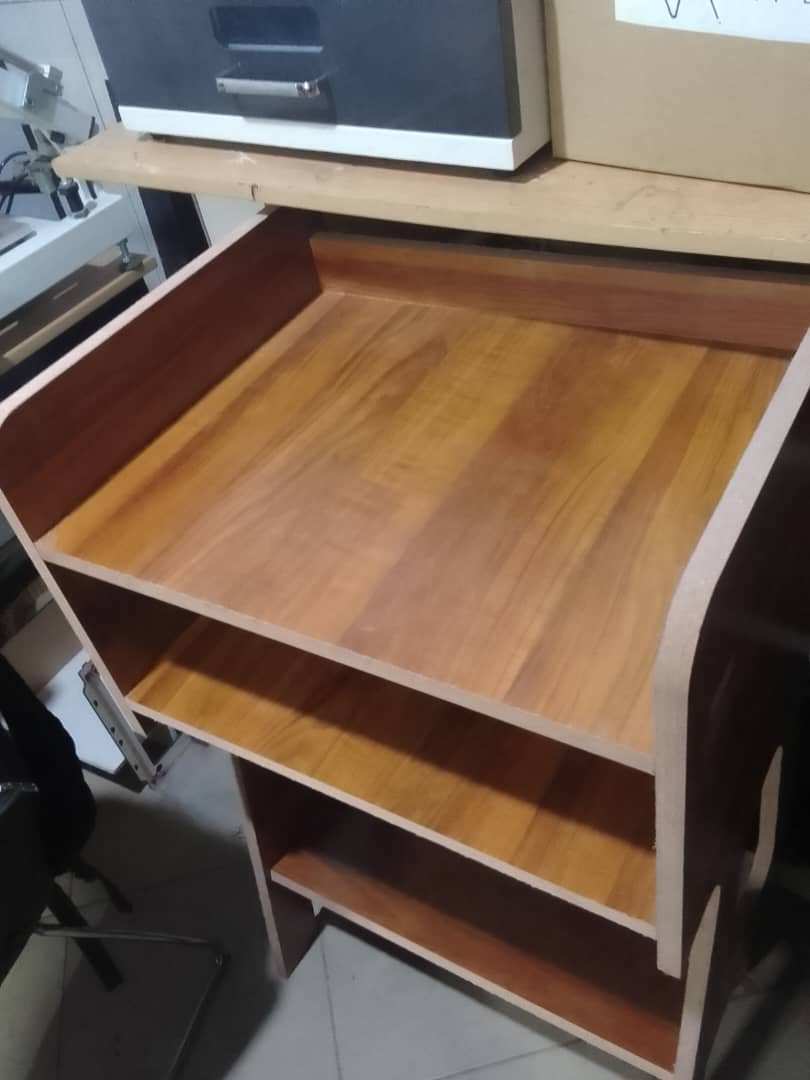
Collecting the cuts parts and assembly
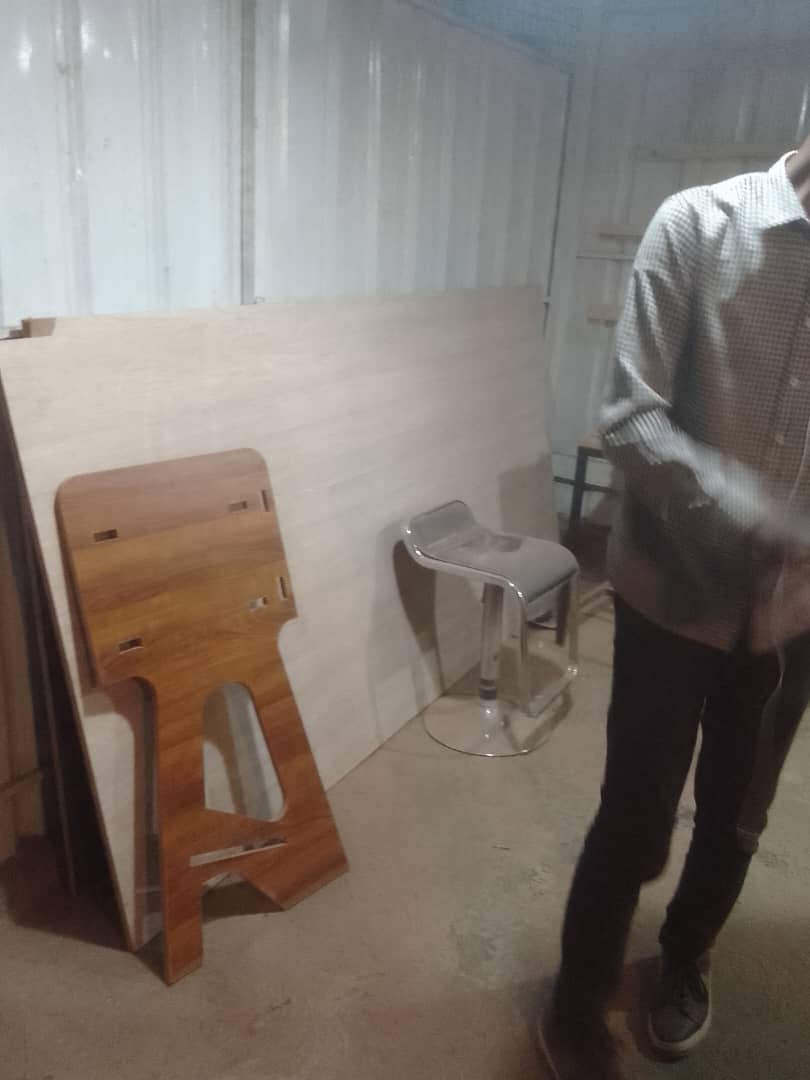
Perspective frontview
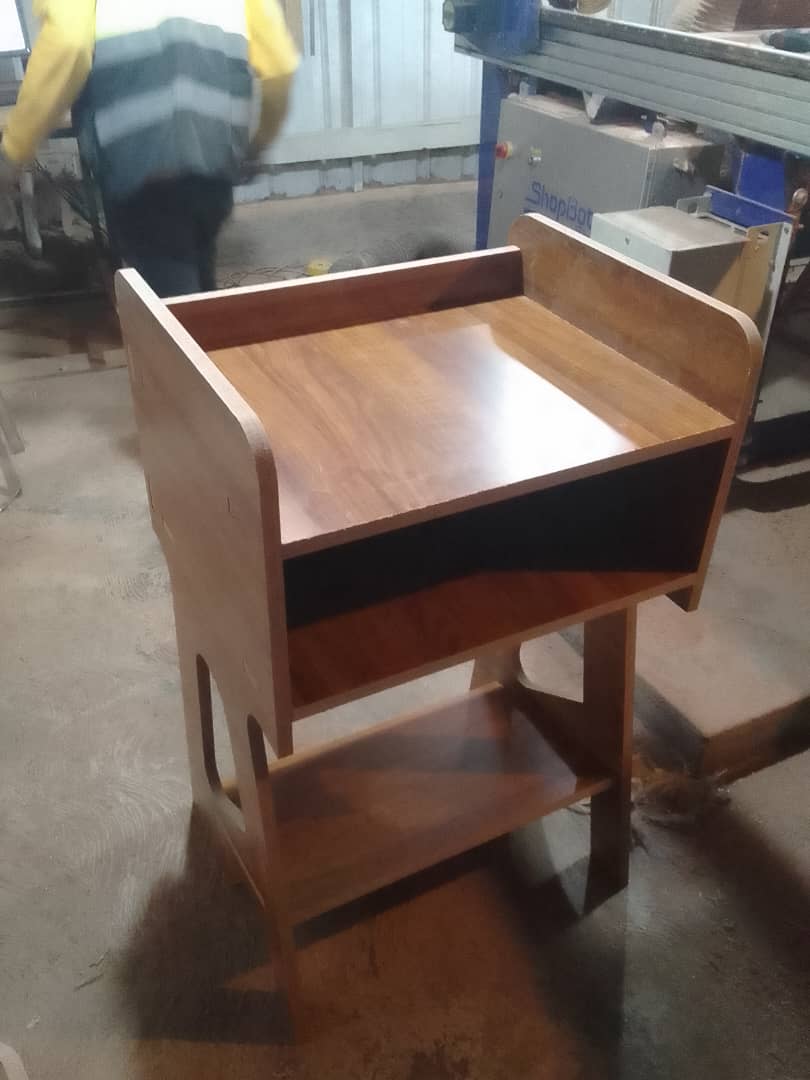
Perspective frontview
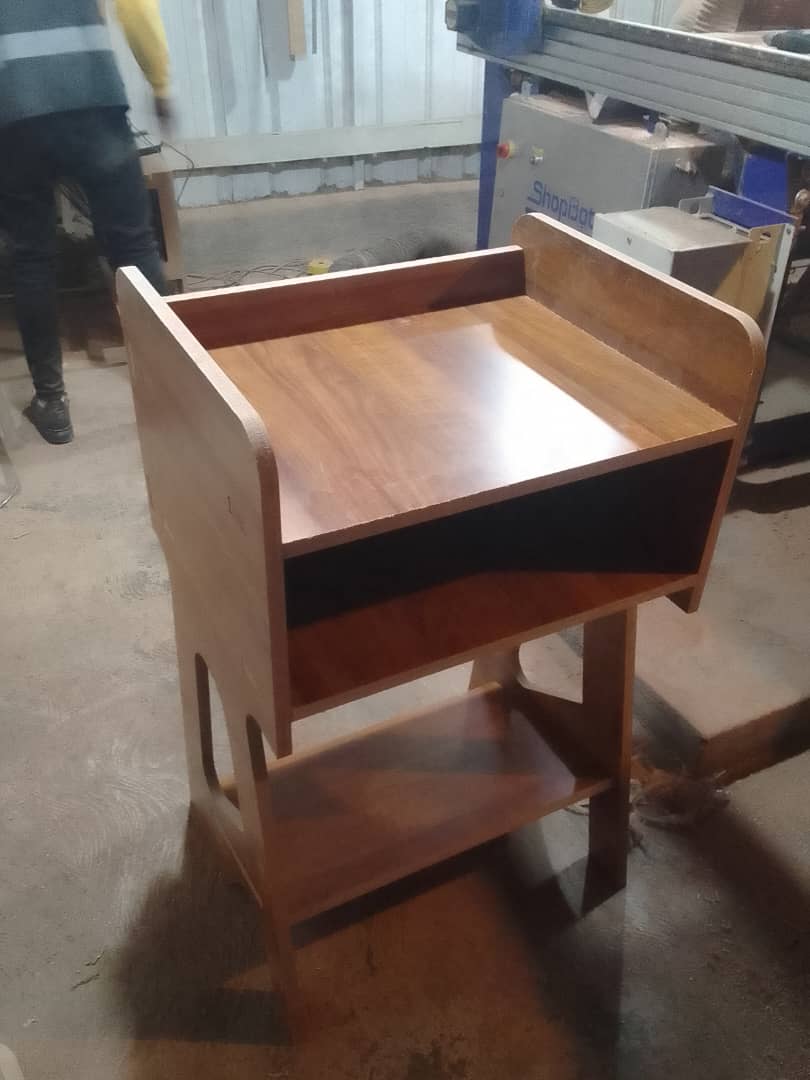
The open shelf now placed in showroom