Prevention and Control of Malaria with Smart Solar-Powered Mosquito Killer with air quality monitoring facility.
Project video
Project presentation

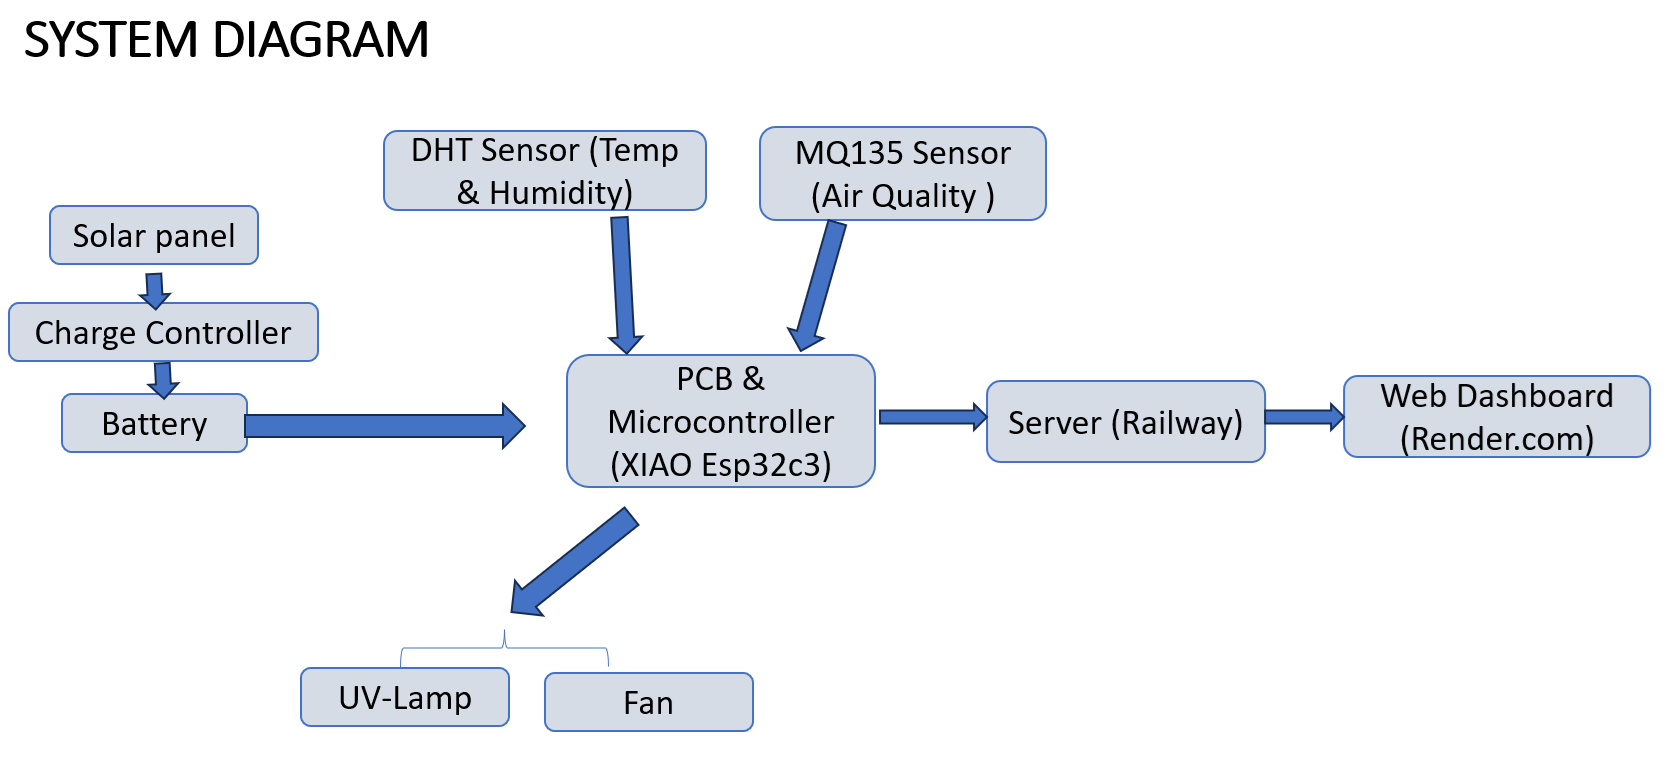
Project Background
Malaria is a significant public health challenge in Rwanda, with the World Health Organization reporting 216 million cases and 655,000 deaths globally in 2010, with a major impact on African children. Despite Rwanda's population exceeding 12 million, it is densely populated, putting the entire population at risk, particularly 1.8 million children under 5 years and 443,000 pregnant women yearly. Notably, since 2012, malaria incidence has risen sharply, reaching 403 cases per 1,000 in 2016. Pregnant women and children under 5 are most vulnerable, facing challenges such as lack of autonomy, geographical inaccessibility, and financial constraints in accessing healthcare. The rise in mosquito-borne diseases, including malaria, underscores the importance of safe and effective mosquito control methods, with solar-powered mosquito killers emerging as an environmentally friendly solution. Implementing such devices in Rwanda and across Africa could contribute to malaria eradication, aligning with Sustainable Development Goal 3.3.5 to end epidemics and promote well-being by 2030.
What is a Smart Solar-powered Mosquito Killer?
The smart solar-powered mosquito killer is a standalone device that is powered by the renewable energy of the sun that it operates on during the day and uses a rechargeable backup battery during the night. This device uses an advanced technology of embedded systems that enhances its ability of automation as it uses light systems for trapping and killing mosquitoes with Kerosene.
How do solar-powered Mosquito killers work?
The smart solar-powered mosquito killer device features a solar
panel that operates the device during the day and recharges a
battery to sustain its nighttime functionality. The power system
supports the illumination of a specialized low-wavelength light
designed to attract mosquitoes. This light serves the singular
purpose of attraction and works in conjunction with kerosene,
which, upon attracting mosquitoes, suffocates them.
As the
sun sets, the lighting system is automatically activated,
initiating the attraction of mosquitoes towards the light. As
these mosquitoes approach the enticing light, a fan within the
device sucks them in. Subsequently, they fall into a container
positioned beneath the fan, which contains kerosene. The
mosquitoes are effectively collected in the container.
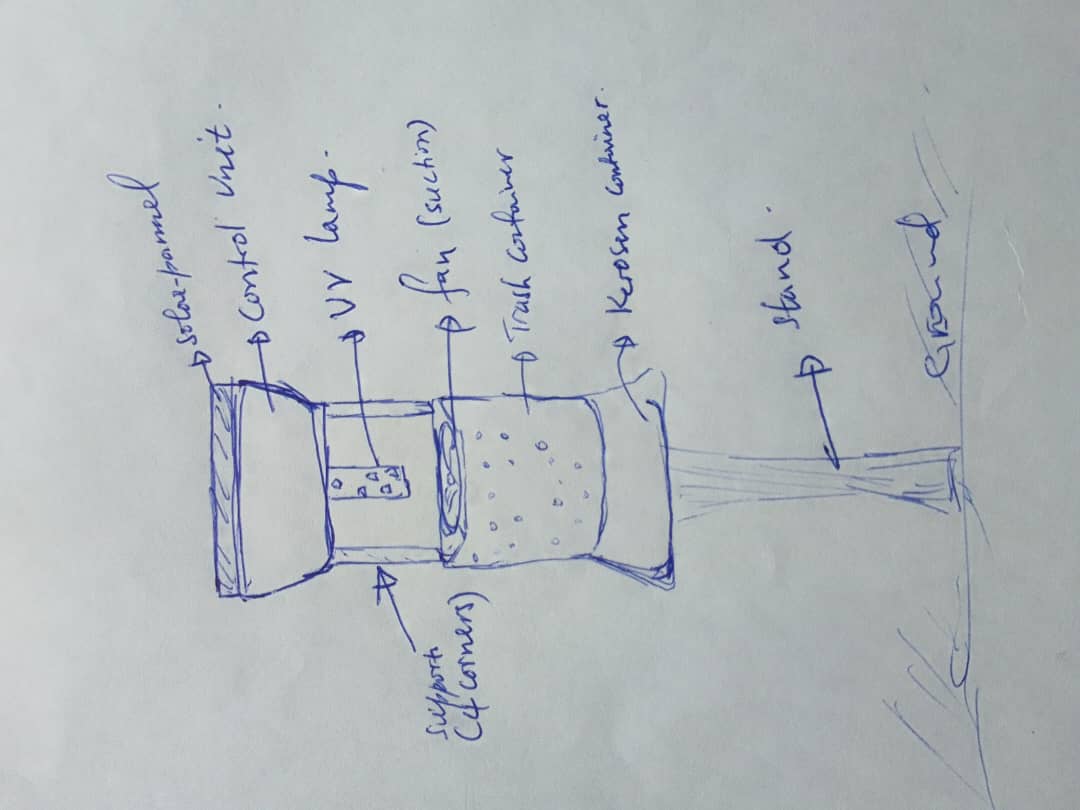
Skeched Smart Solar-Powered Mosquito Killer.
I decided to remove Kerosene so that It does not affect the air quality sensor readings, instead I only used the fan will suck the mosquitoes.
Based on various research papers, UV light and blue light have been found to be the most attractive to mosquitoes. Here are some articles written about this research:
- Transmitted Light as Attractant with Mechanical Traps for Collecting Nocturnal Mosquitoes in Urban Bangkok, Thailand
- Comparison of Mosquitoes Response to Different Diodes Wavelengths
- Comparing Light—Emitting—Diodes Light Traps for Catching Anopheles Mosquitoes
Adding an air quality monitoring facility to the smart solar-powered mosquito killer in Rwanda is crucial for several reasons:
- Health and Safety: Poor air quality is a significant health risk, contributing to respiratory diseases, cardiovascular issues, and other health problems. By monitoring air quality, specifically pollutants like NO2, NH3, and CO2, the device can provide valuable data to help identify and mitigate these risks.
- Environmental Awareness: Monitoring air quality helps raise awareness about environmental conditions. It allows communities and authorities to understand the extent of air pollution and take appropriate actions to improve air quality.
- Data-Driven Decision Making: Collecting real-time air quality data can support policy-making and the implementation of public health interventions. Authorities can use this data to develop strategies to reduce pollution and protect vulnerable populations.
- Complementary Benefits: Integrating air quality monitoring with mosquito control offers a holistic approach to improving public health. While the primary goal is to reduce malaria transmission, the additional benefit of monitoring air quality addresses another critical aspect of community health.
- Sustainable Development Goals (SDGs): This integration aligns with the United Nations' Sustainable Development Goals, particularly SDG 3 (Good Health and Well-being) and SDG 13 (Climate Action). It supports efforts to reduce health risks from both vector-borne diseases and environmental pollutants.
- Local Relevance: Rwanda, with its rapid urbanization and industrialization, faces challenges related to air pollution. Including air quality monitoring ensures that the project addresses a relevant and pressing issue, making it more impactful and beneficial for the local population.
- Enhanced Functionality: The dual functionality of the device—mosquito control and air quality monitoring—makes it more valuable and cost-effective. It maximizes the utility of the device, providing multiple benefits from a single installation.
Materials
| Item Description | Specification | Quantity | Source | Price (usd) |
|---|---|---|---|---|
| Micro-controller (Seeed Studio XIAO Esp32 S3) | 1 | Local | 17 | |
| DHT Sensor 22 | 1 | Local | 4 | |
| DS3231 I2C Real Time Clock | 1 | Local | 5 | |
| UV Lamp attracting mosquitoes | 1 | Local | 4 | |
| Fan | 1 | Local | 5 | |
| MQ135 Air Quality Gas Sensor | Operating Voltage: 2.5V to 5.0V; Detect: NH3, Nox, CO2,etc...; | 1 | Local | 10 |
| GSM/GPRS sim800 (Option for remote) | 1 | Local | 12 | |
| 20×4 LCD Display with I2C | 1 | Local | 6 | |
| Solar panel | Vmax=12v, P=2watts | 1 | Local | 8 |
| 3S 12V 18650 10A BMS Charger Li-ion Lithium Battery Protection Board | 1 | Local | 3 | |
| Li-ion Bateteries | V=3.7Volts each | 3 | Local | 6 |
| Single Channel Relay module | Works under AC250V 10A or DC30V 10AA | 1 | Local | 2 |
| Cover, PCB board and other small components like resistors and led | Fablab stock | |||
| Total Amount | 82 |
The MQ135 Air Quality Gas Sensor is a module designed to detect various harmful gases in the air, such as Ammonia (NH3), Sulfur (S), Benzene (C6H6), Carbon Dioxide (CO2), and other volatile organic compounds (VOCs) and smoke. It is commonly used in air quality control equipment and environmental monitoring systems to measure the concentration of these gases.
PRODUCT DEVELOPMENT
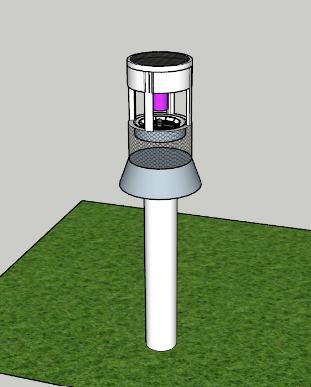
Design in 2D & 3D software

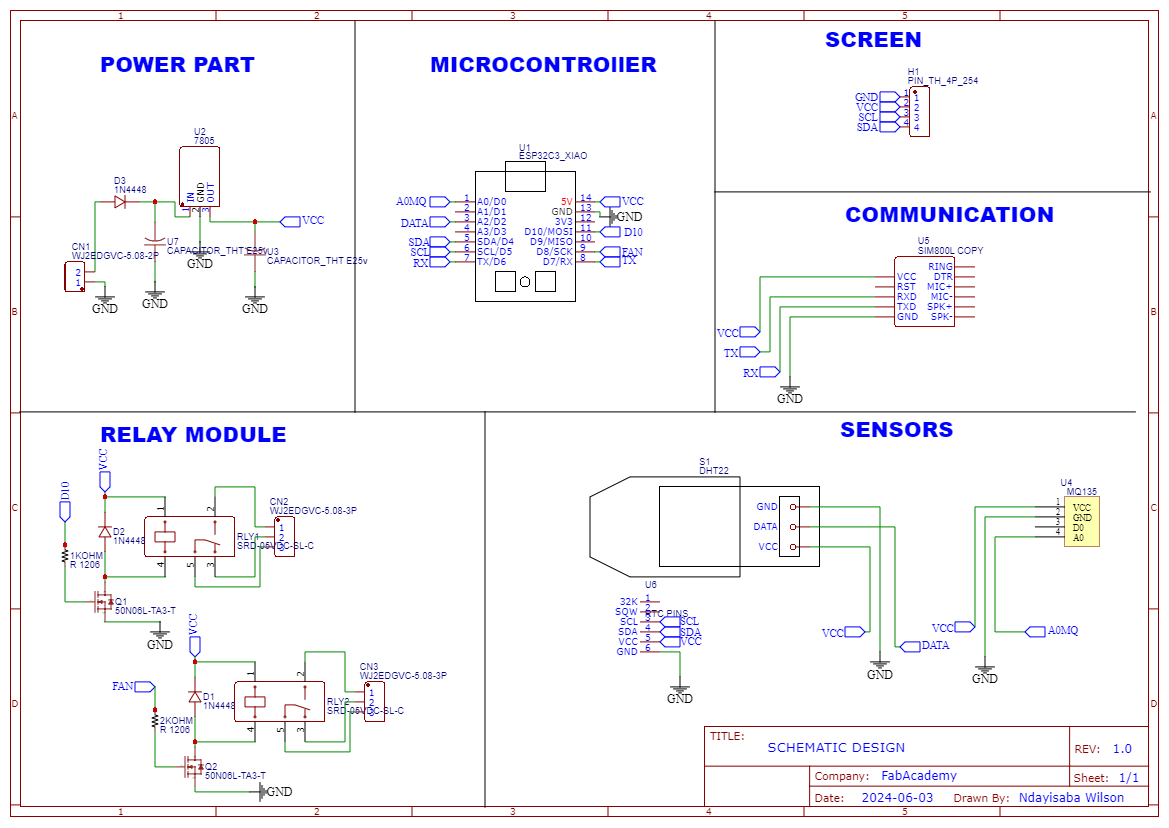
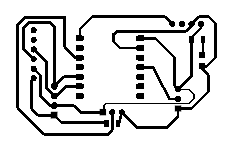
PCB & Schematic Design in EasyEDA software
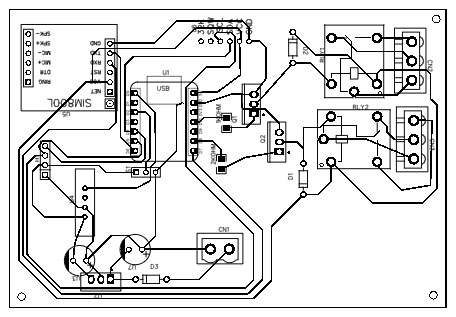
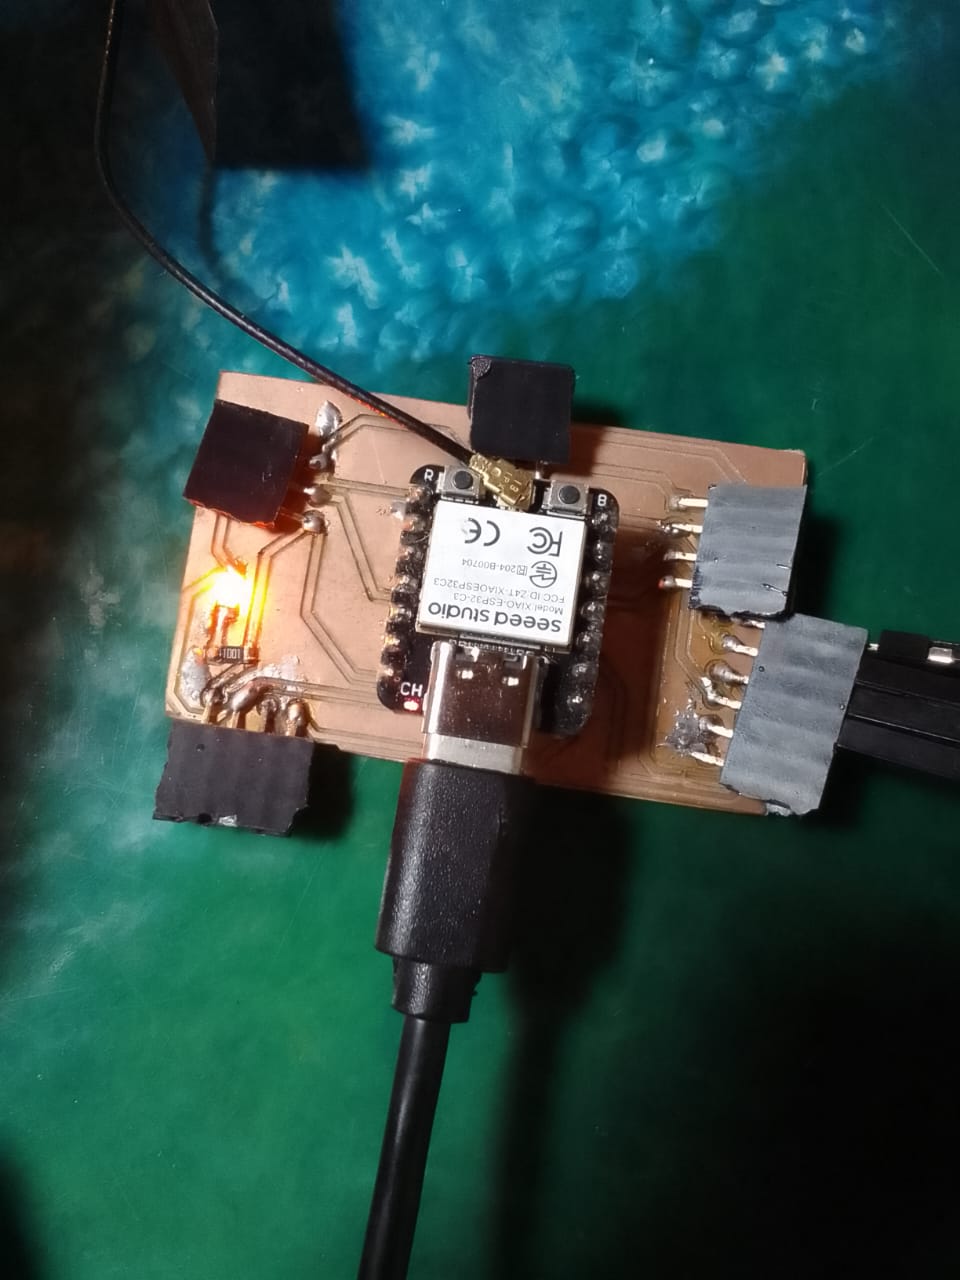
Printed PCB & Soldered PCB for my Project
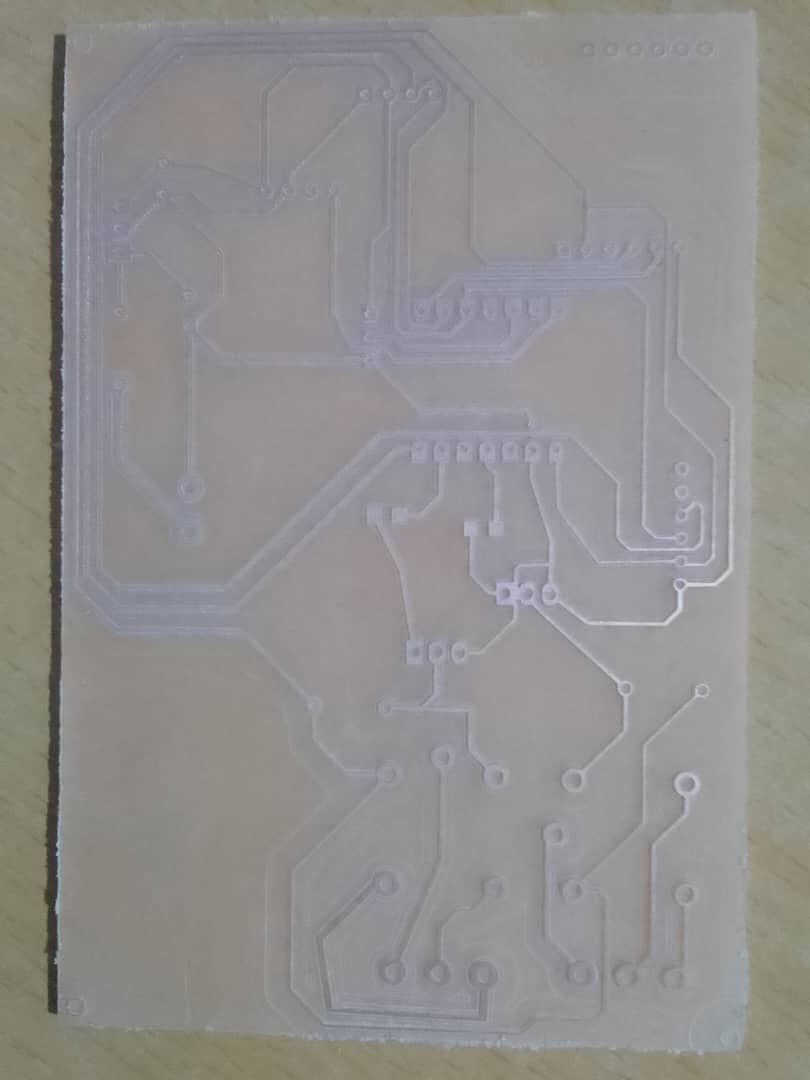
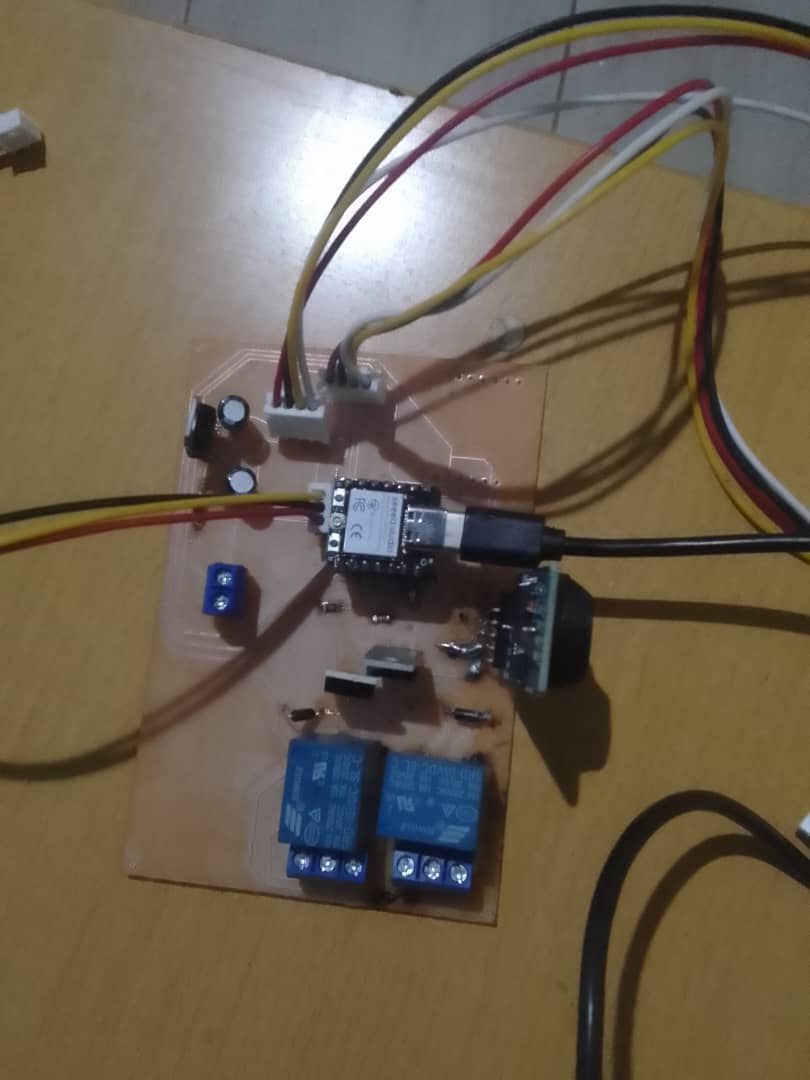
Traces on this pcb were small and could easily get broken during maintenance. This is why i deceided to do a small one that incorporate the main chapters that we have.
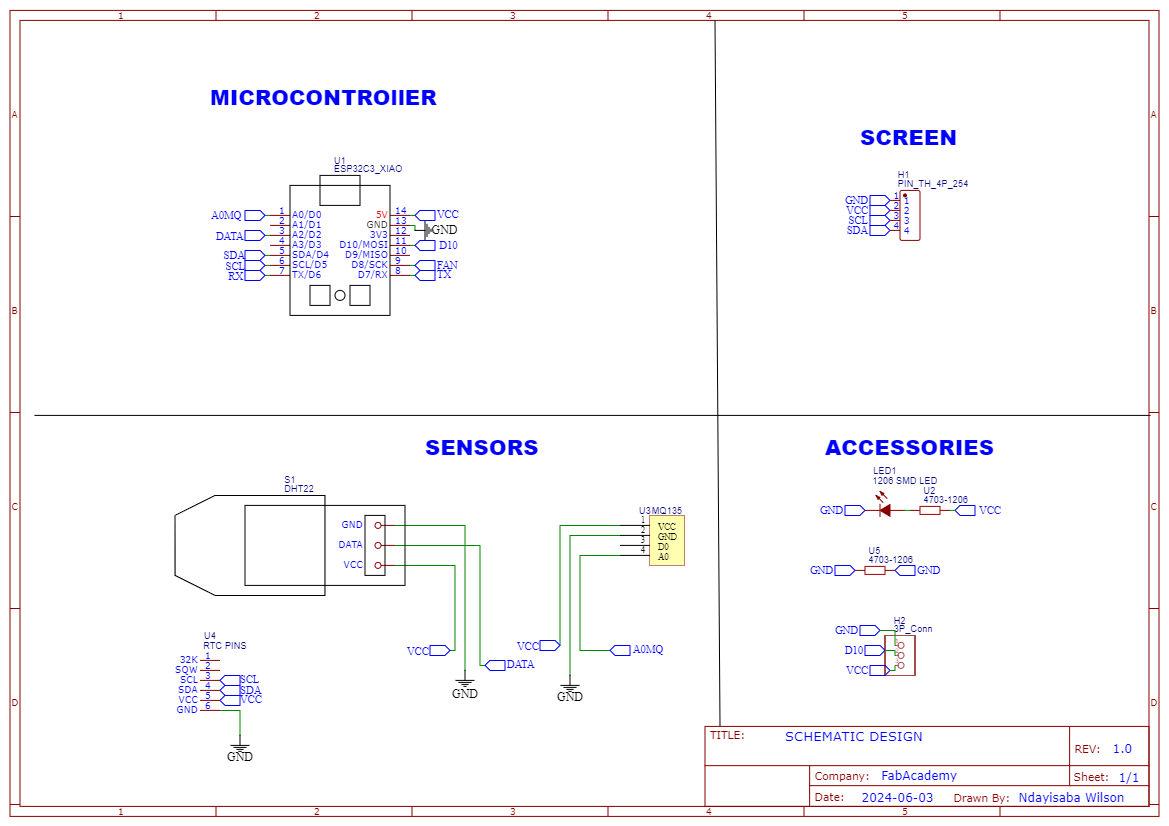
Schematic done well.
Assembling of Electronics components
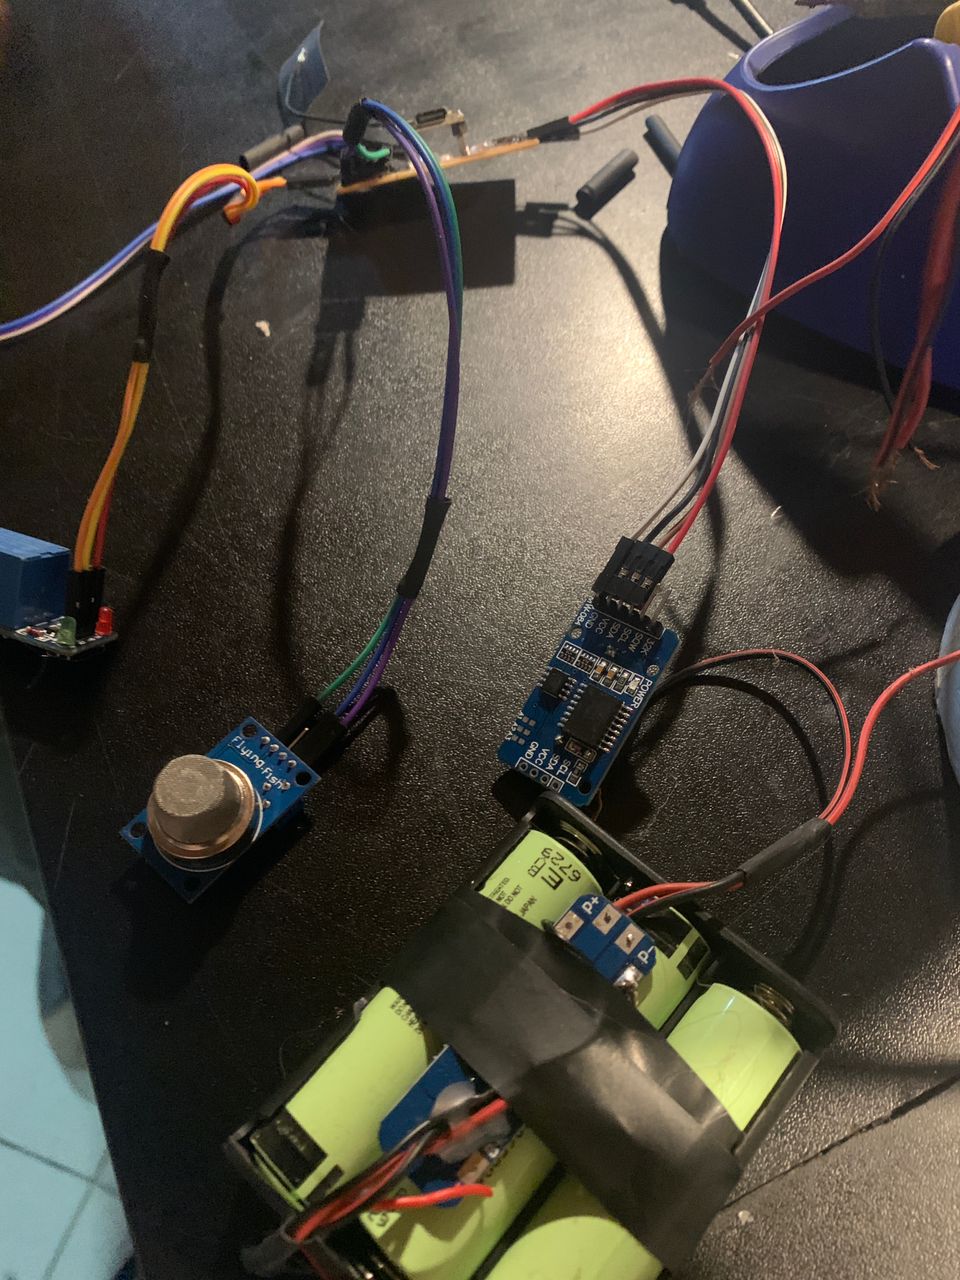
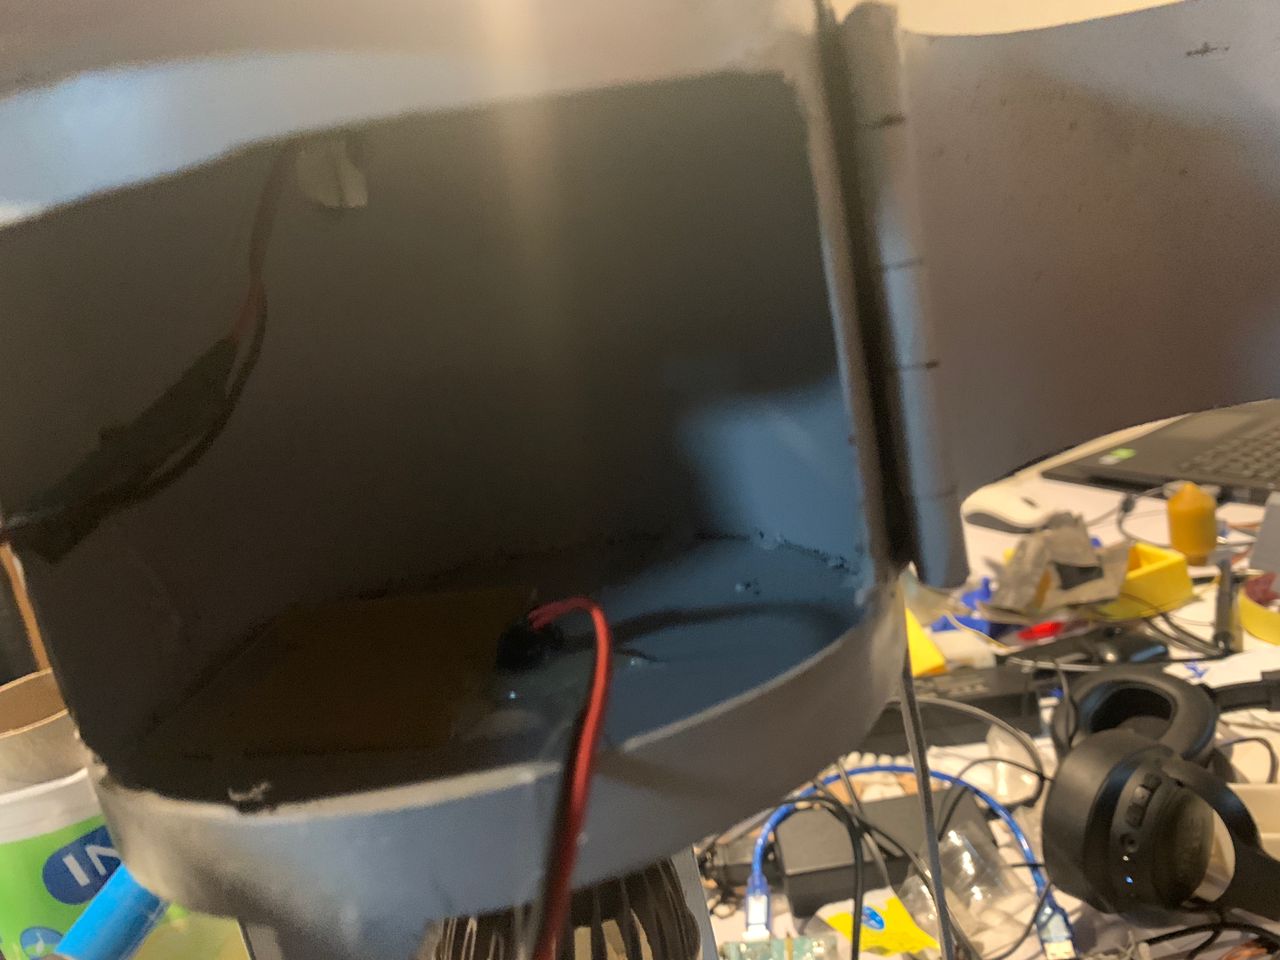
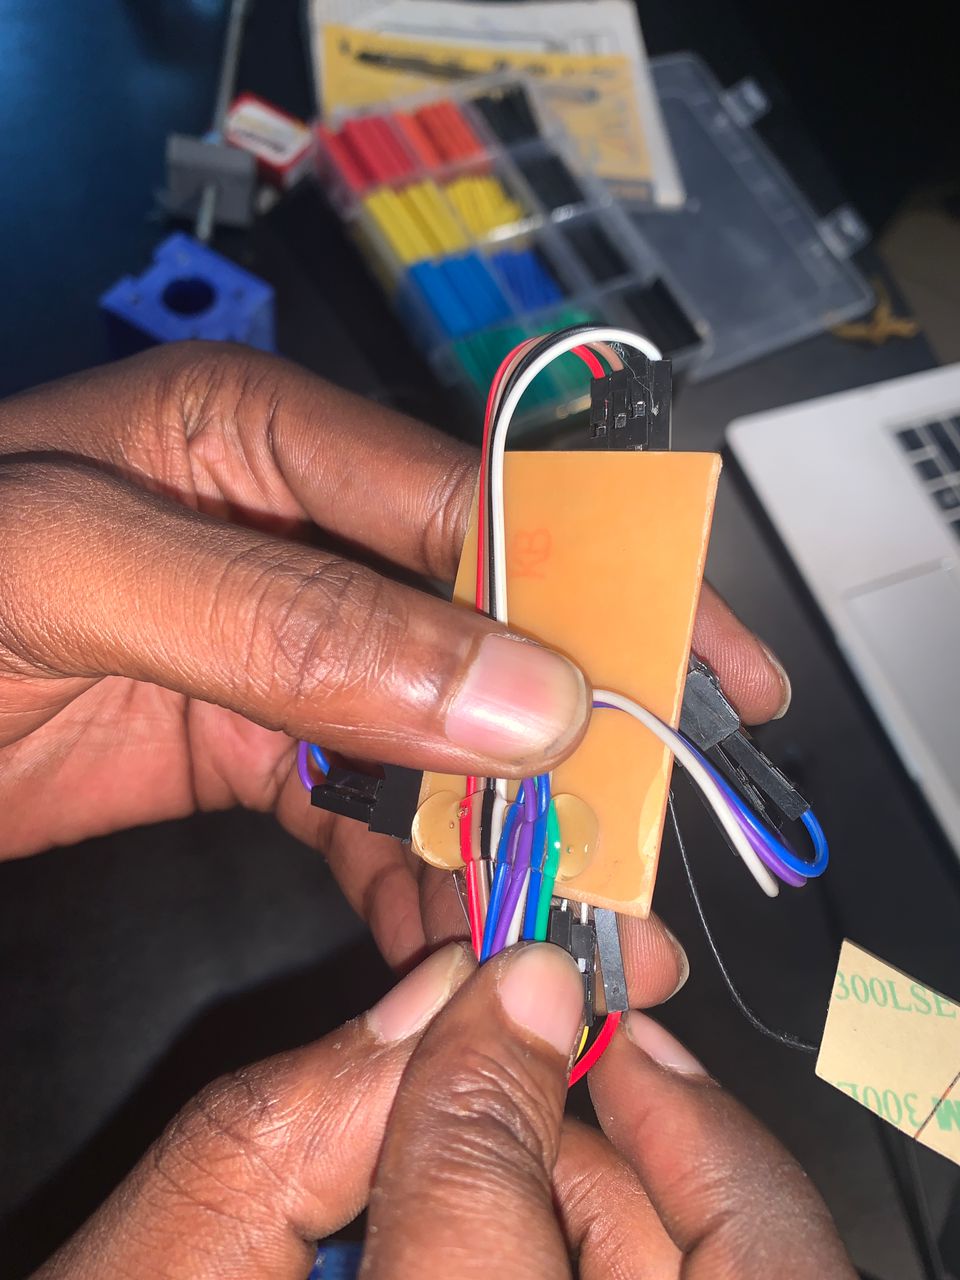
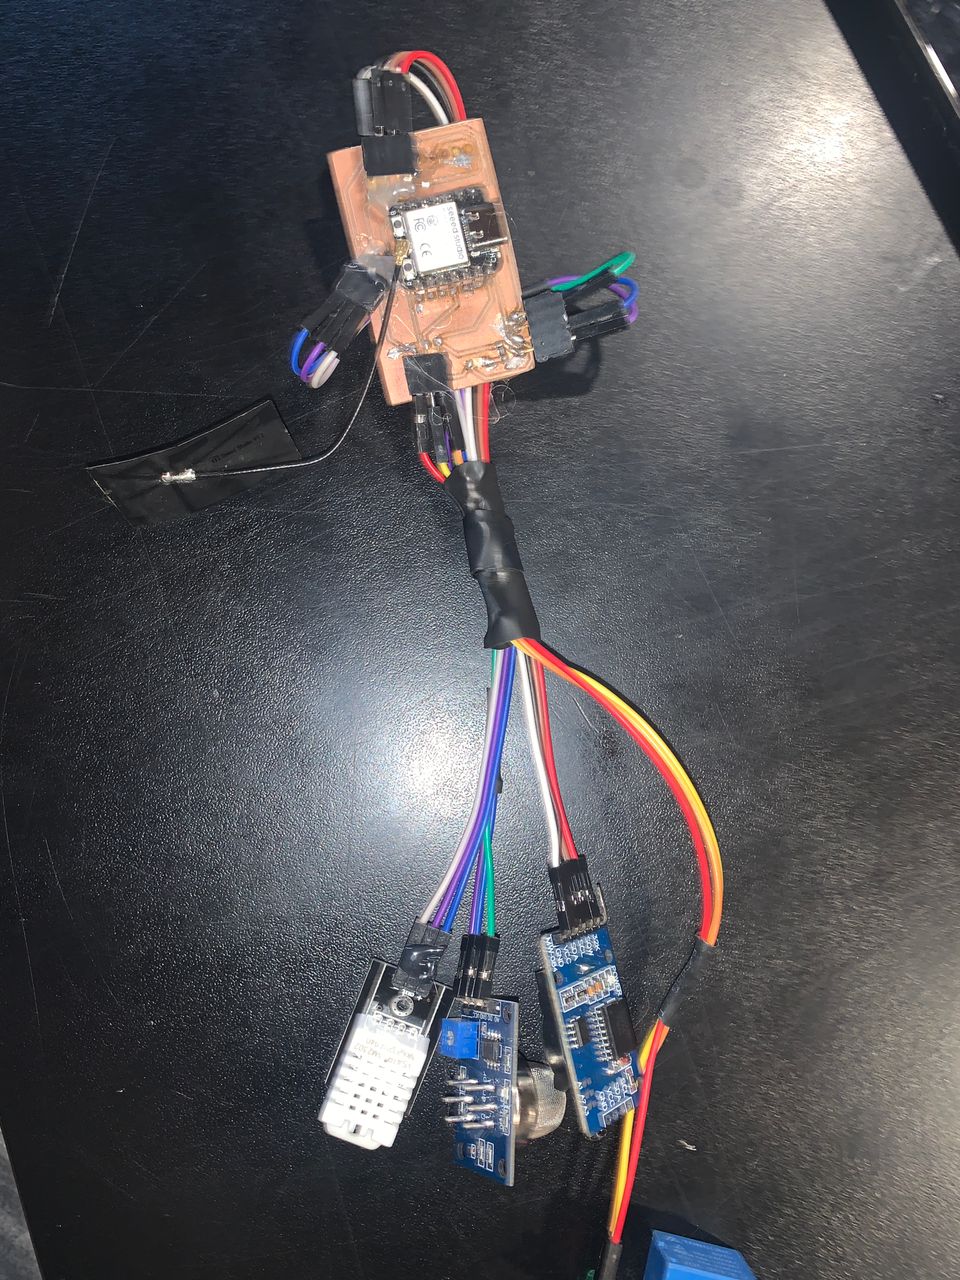

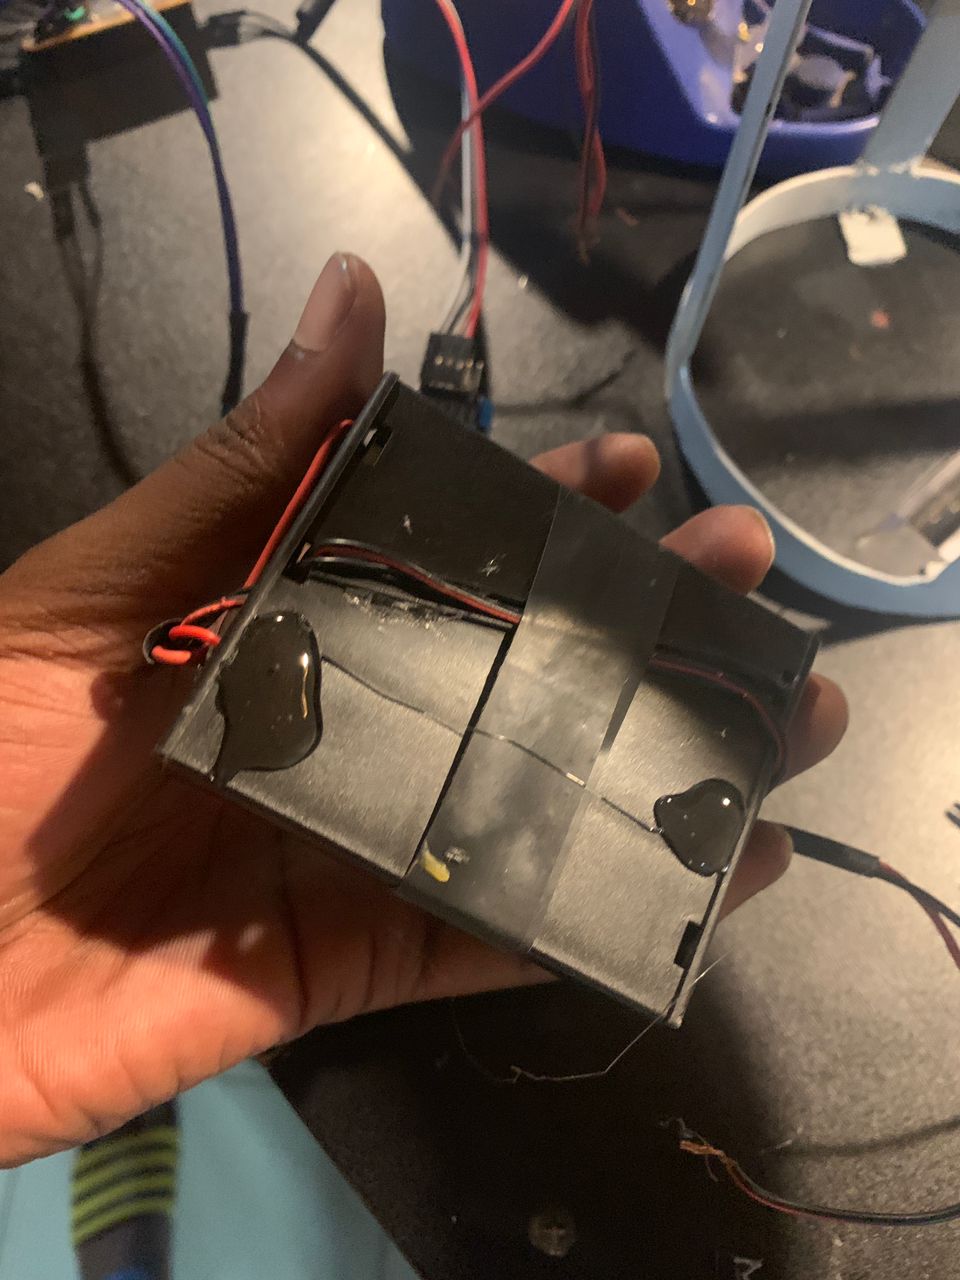


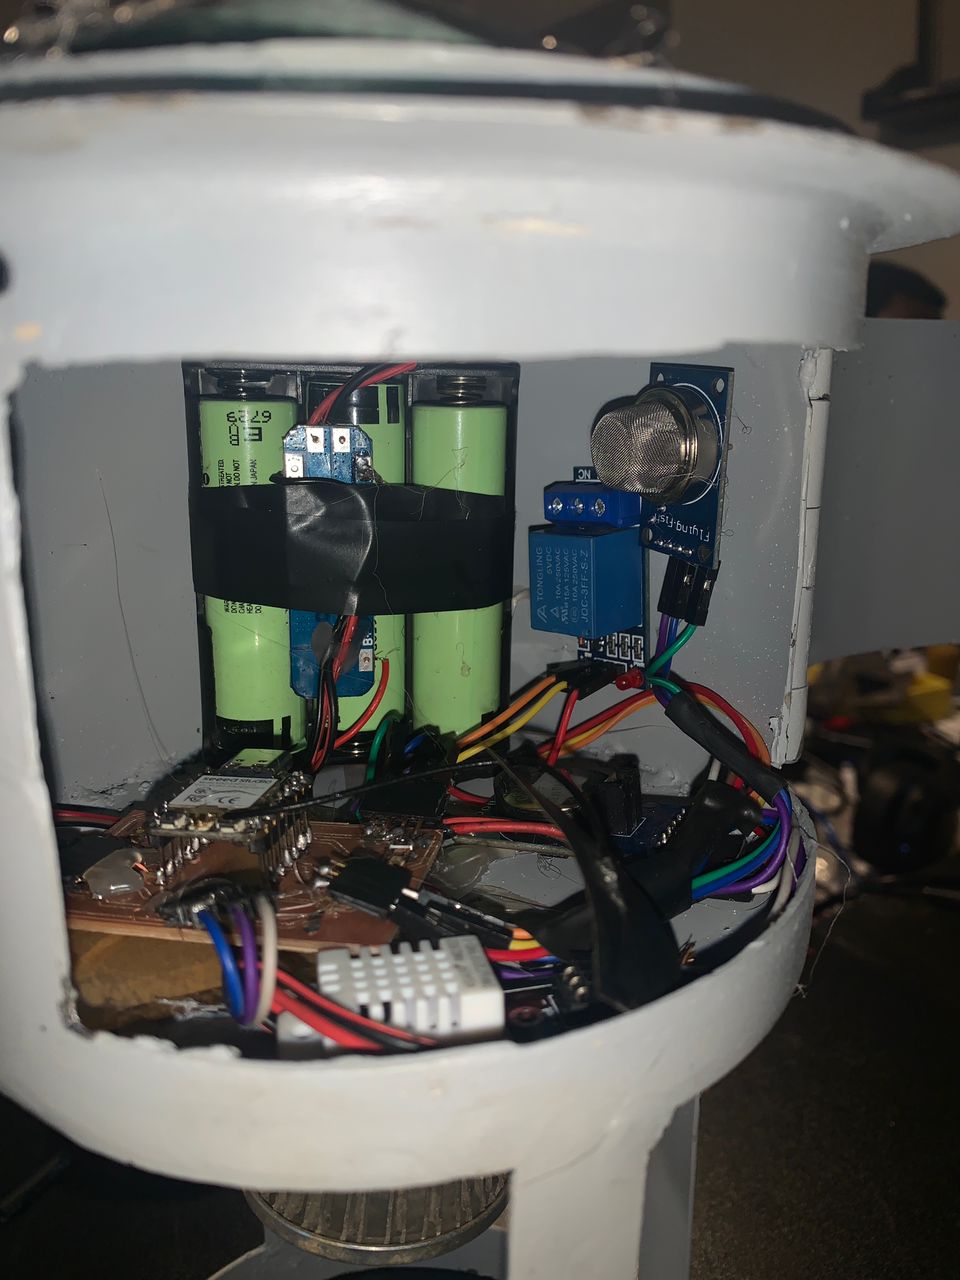
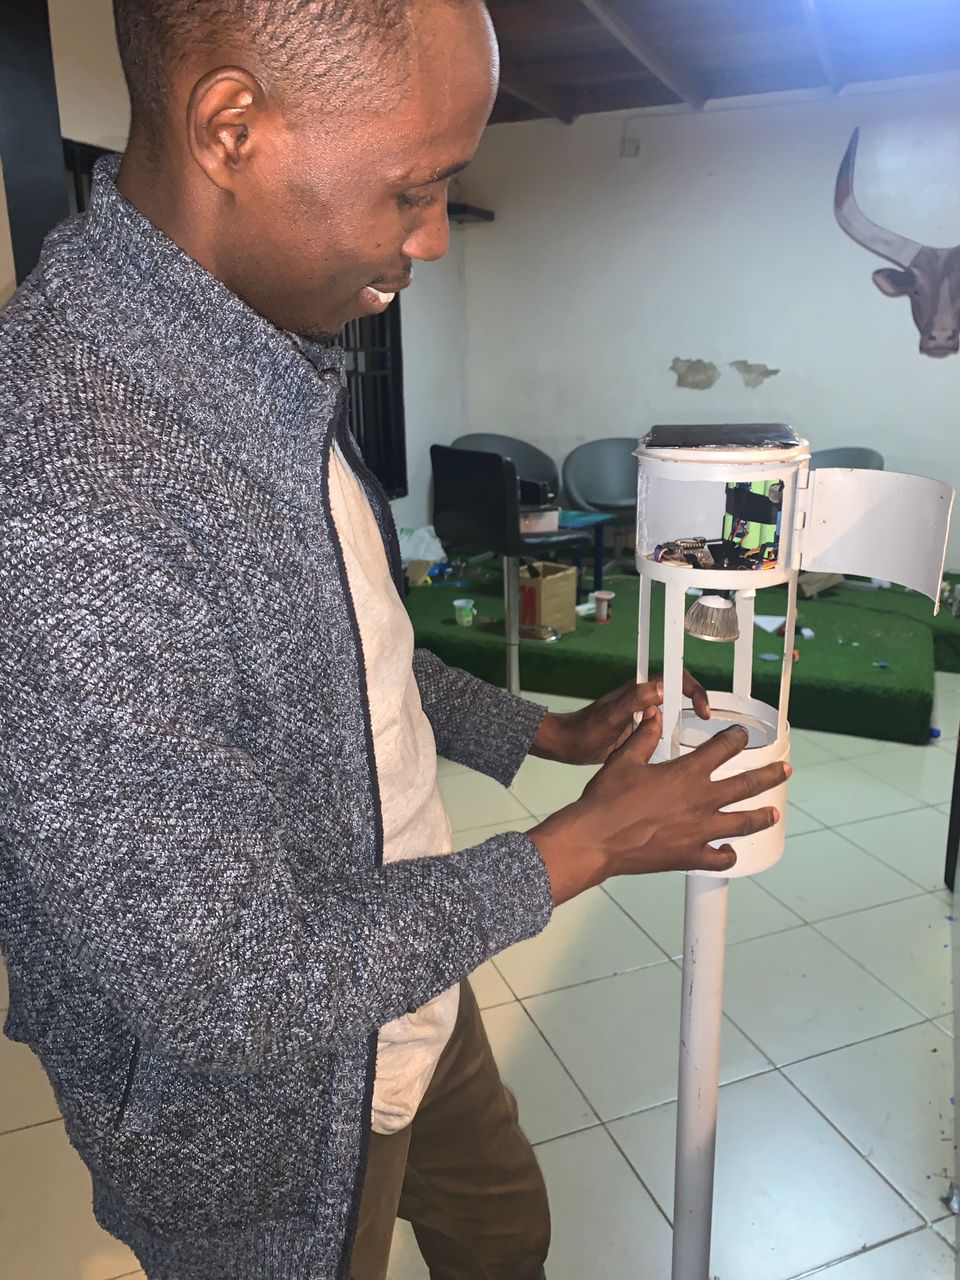
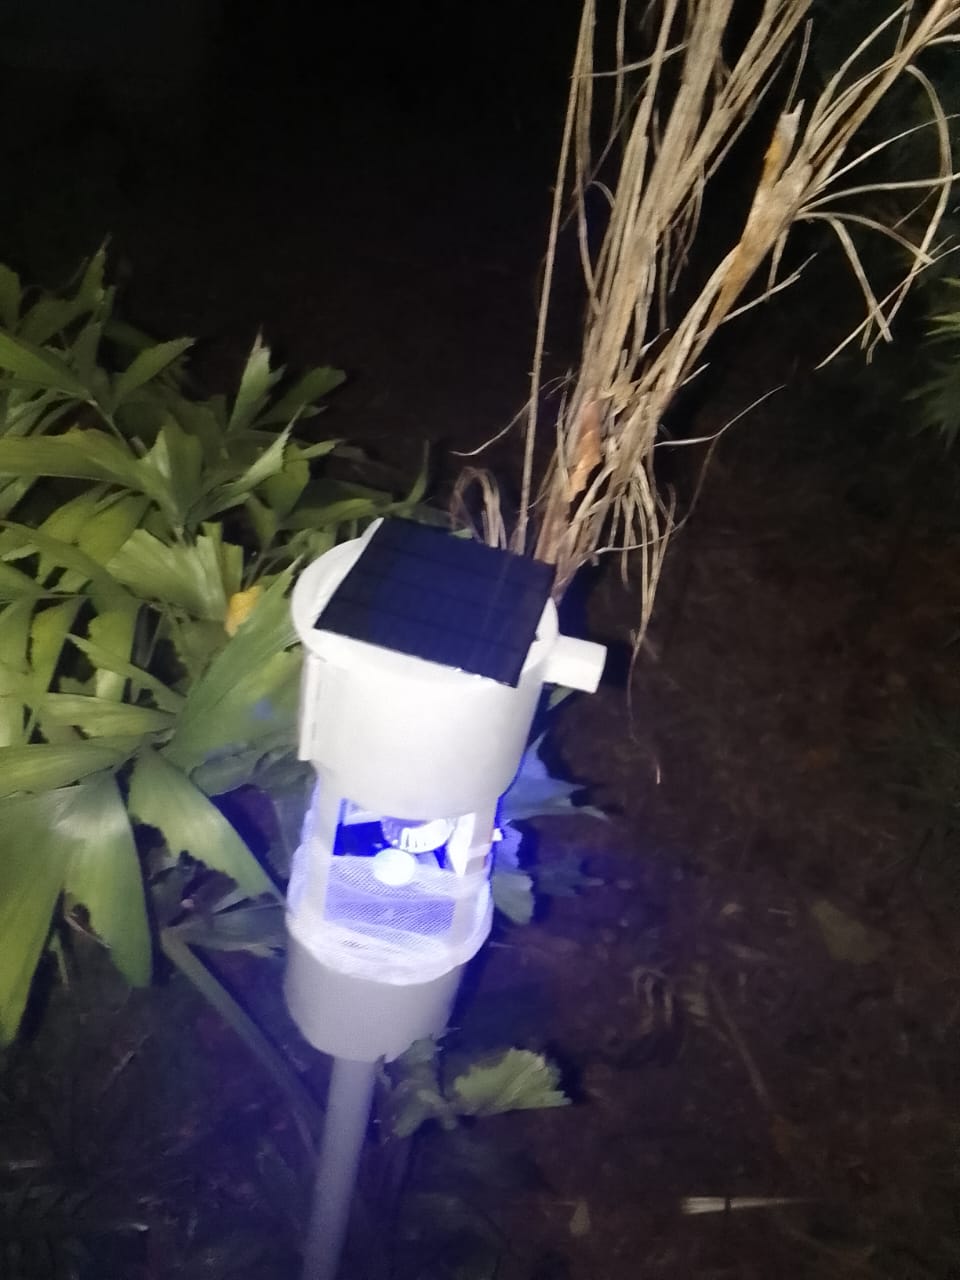
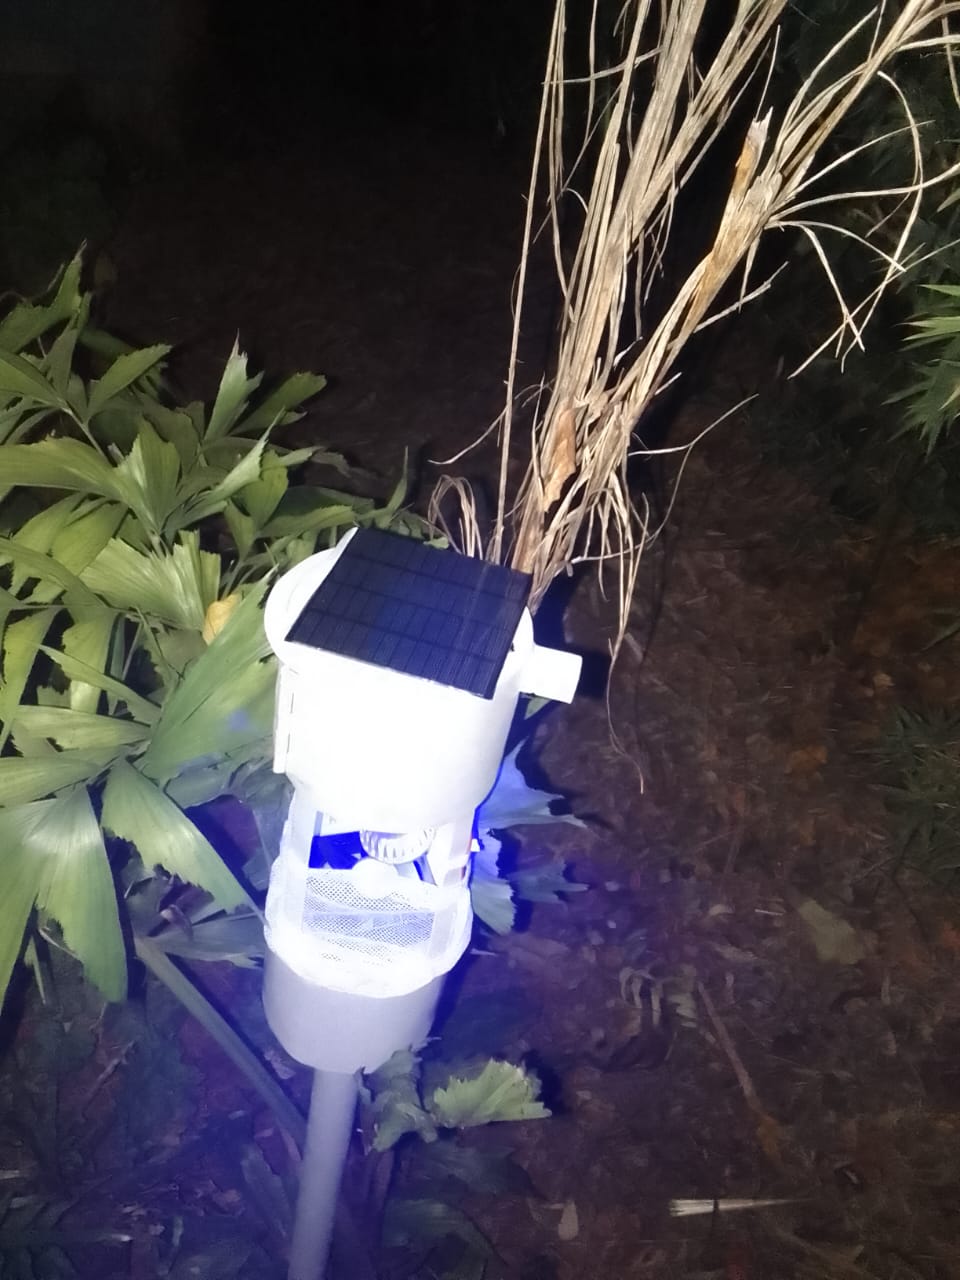
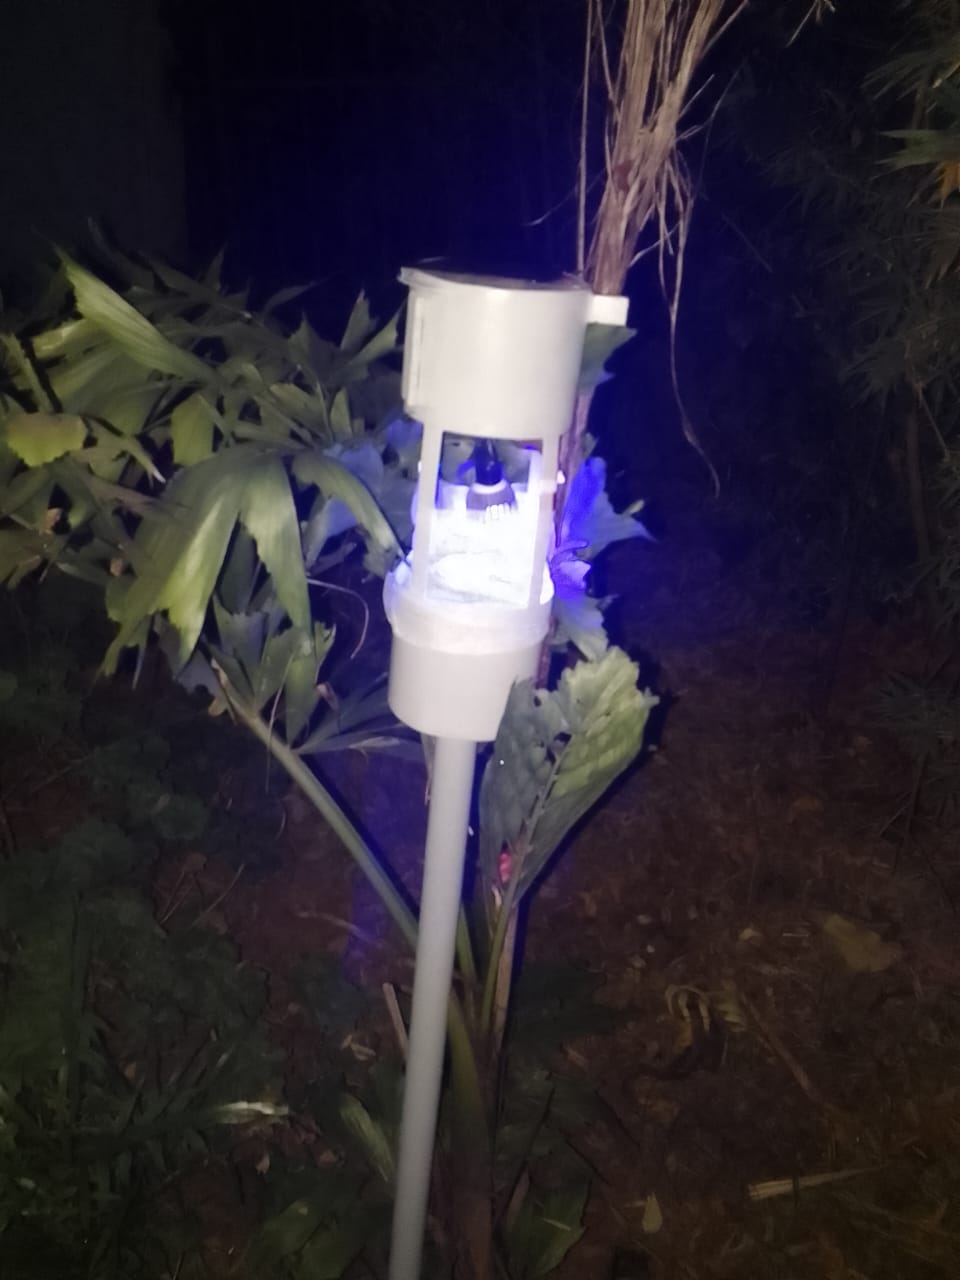
Calibration of MQ-135 Gas Sensor
I place the MQ135 sensor in a clean air environment and observe the readings. Tested it early in the morning before movement of cars in neighbourhood and observed the readings.
Function getResistance() in below code:
- Reads the analog value from the MQ135 sensor pin.
- Converts the analog value to voltage.
- Calculates and returns the resistance of the sensor.
                  #include <Wire.h>
                  #define MQ135_PIN A0

                  float RL = 10.0; // Load resistance on the board
                  int numReadings = 10; // Number of readings for averaging

                  void setup() {
                    Serial.begin(115200);
                  }

                  void loop() {
                    float sensorResistance = getAverageResistance();

                    // Print the sensor resistance to the Serial Monitor
                    Serial.print("Sensor Resistance: ");
                    Serial.print(sensorResistance);
                    Serial.println(" ohms");

                    delay(2000); // Update every 2 seconds
                  }

                  // Calculate resistance of the sensor
                  float getResistance() {
                    int sensorValue = analogRead(MQ135_PIN);
                    float voltage = sensorValue / 4095.0 * 3.3; // for 12-bit ADC
                    float resistance = (3.3 - voltage) * RL / voltage;
                    return resistance;
                  }

                  // Get average resistance
                  float getAverageResistance() {
                    float totalResistance = 0;
                    for (int i = 0; i < numReadings; i++) {
                      totalResistance += getResistance();
                      delay(50); // small delay between readings
                    }
                    return totalResistance / numReadings;
                  }
Here is the result in Serial Monitor after waiting for some hours to wait for sensor to be stable
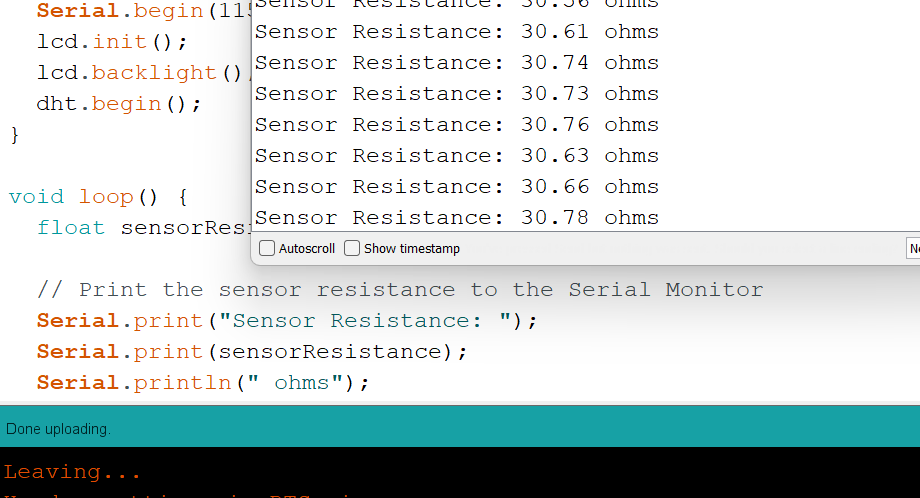
Decided to take the resistance as 3.7 as the average of the data we are taking
This resistance will be used in the codes to calculate quantities of CO2, NH3 and NO2 as the chosen values to use.
PROGRAMMING A DEVICE OF MY PROJECT
Code for the device
                #include <Wire.h>
                #include <LiquidCrystal_I2C.h>
                #include <RTClib.h>
                #include <DHT.h>
                #include <WiFi.h>
                #include <HTTPClient.h>
                #include <ArduinoJson.h>

                #define DHTPIN D2
                #define DHTTYPE DHT22
                #define MQ135_PIN A0
                #define FAN_PIN D9
                #define LAMP_PIN D10

                const char* ssid = "xxxxxxxxx"; // Here you have to put username of your WiFi
                const char* password = "xxxxxxxxx"; // Put Password of Your WiFi

                const char* serverName = "https://fabacademy-airquality-monitoring.onrender.com/sensordata";

                DHT dht(DHTPIN, DHTTYPE);
                RTC_DS3231 rtc;
                LiquidCrystal_I2C lcd(0x27, 20, 4); // Adjust the address if needed

                float Ro = 30.7;           // Initial Ro value, which will be calibrated which sensor resistor recorded
                float RL = 10.0;           // Load resistance on the board
                float cleanAirFactor = 3.6; // Sensor's Rs/Ro ratio in clean air

                unsigned long lastTime = 0;
                unsigned long timerDelay = 180000; // 180 seconds

                void setup() {
                  Serial.begin(115200);
                  lcd.init();
                  lcd.backlight();
                  dht.begin();

                  if (!rtc.begin()) {
                    Serial.println("Couldn't find RTC");
                    while (1);
                  }

                  if (rtc.lostPower()) {
                    rtc.adjust(DateTime(F(__DATE__), F(__TIME__)));
                  }

                  Ro = calibrateMQ135(); // Calibrate MQ135 sensor

                  pinMode(FAN_PIN, OUTPUT);
                  pinMode(LAMP_PIN, OUTPUT);

                  WiFi.begin(ssid, password);

                  while (WiFi.status() != WL_CONNECTED) {
                    delay(1000);
                    Serial.println("Connecting to WiFi...");
                  }

                  Serial.println("Connected to WiFi");
                }

                void loop() {
                  DateTime now = rtc.now();

                  float sensorResistance = getResistance();
                  float ratio = sensorResistance / Ro;

                  // Estimate gas concentrations
                  float co2 = calculateCO2(ratio);
                  float no2 = calculateNO2(ratio);
                  float nh3 = calculateNH3(ratio);

                  // Read DHT22 sensor
                  float humidity = dht.readHumidity();
                  float temperature = dht.readTemperature();

                  // Display on LCD
                  lcd.setCursor(0, 0);
                  lcd.print("Time: ");
                  lcd.print(now.hour(), DEC);
                  lcd.print(':');
                  lcd.print(now.minute(), DEC);
                  lcd.print(':');
                  lcd.print(now.second(), DEC);

                  lcd.setCursor(0, 1);
                  lcd.print("Date: ");
                  lcd.print(now.year(), DEC);
                  lcd.print('/');
                  lcd.print(now.month(), DEC);
                  lcd.print('/');
                  lcd.print(now.day(), DEC);

                  lcd.setCursor(0, 2);
                  lcd.print("CO2: ");
                  lcd.print(co2);
                  lcd.print(" ppm");

                  lcd.setCursor(0, 3);
                  lcd.print("NO2: ");
                  lcd.print(no2);
                  lcd.print(" ppm");

                  lcd.setCursor(0, 4);
                  lcd.print("NH3: ");
                  lcd.print(nh3);
                  lcd.print(" ppm");

                  lcd.setCursor(0, 5);
                  lcd.print("Temp: ");
                  lcd.print(temperature);
                  lcd.print(" C");

                  lcd.setCursor(0, 6);
                  lcd.print("Humidity: ");
                  lcd.print(humidity);
                  lcd.print(" %");

                  // Control actuators based on time
                  if ((now.hour() > 18 || (now.hour() == 18 && now.minute() >= 30)) && now.hour() < 24) {
                    digitalWrite(FAN_PIN, HIGH);
                    digitalWrite(LAMP_PIN, HIGH);
                  } else {
                    digitalWrite(FAN_PIN, LOW);
                    digitalWrite(LAMP_PIN, LOW);
                  }

                  // Send data to server every 60 seconds
                  if (WiFi.status() == WL_CONNECTED && (millis() - lastTime) > timerDelay) {
                    HTTPClient http;
                    http.begin(serverName);
                    http.addHeader("Content-Type", "application/json");

                    StaticJsonDocument<200> doc;
                    doc["NO2"] = round(no2 * 100) / 100.0;
                    doc["CO2"] = round(co2 * 100) / 100.0;
                    doc["NH3"] = round(nh3 * 100) / 100.0;
                    doc["humidity"] = round(humidity * 100) / 100.0;
                    doc["temperature"] = round(temperature * 100) / 100.0;
                    doc["deviceId"] = "1";

                    String jsonData;
                    serializeJson(doc, jsonData);

                    int httpResponseCode = http.POST(jsonData);

                    if (httpResponseCode > 0) {
                      String response = http.getString();
                      Serial.println(httpResponseCode);
                      Serial.println(response);
                    } else {
                      Serial.print("Error on sending POST: ");
                      Serial.println(httpResponseCode);
                    }

                      http.end();
                      lastTime = millis();
                    }

                    delay(1000); // Update every second
                  }

                  // Calculate resistance of the sensor
                  float getResistance() {
                    int sensorValue = analogRead(MQ135_PIN);
                    float voltage = sensorValue / 4095.0 * 3.3;
                    float resistance = (3.3 - voltage) * RL / voltage;
                    return resistance;
                  }

                  // Calibrate the MQ135 sensor
                  float calibrateMQ135() {
                    float val = 0;

                    for (int i = 0; i < 50; i++) {
                      val += getResistance();
                      delay(100);
                    }
                    val = val / 50.0;
                    return val / cleanAirFactor;
                  }

                  // Placeholder functions for gas concentration calculations
                  float calculateCO2(float ratio) {
                    // Use the appropriate formula based on the MQ135 datasheet
                    return pow(10, ((-0.42 * log10(ratio)) + 1.92));
                  }

                  float calculateNO2(float ratio) {
                    // Use the appropriate formula based on the MQ135 datasheet
                    return pow(10, ((-0.71 * log10(ratio)) + 0.98));
                  }

                  float calculateNH3(float ratio) {
                    // Use the appropriate formula based on the MQ135 datasheet
                    return pow(10, ((-0.57 * log10(ratio)) + 1.53));
                  }
Here is the result in Serial Monitor after waiting for some hours to wait for sensor to be stable
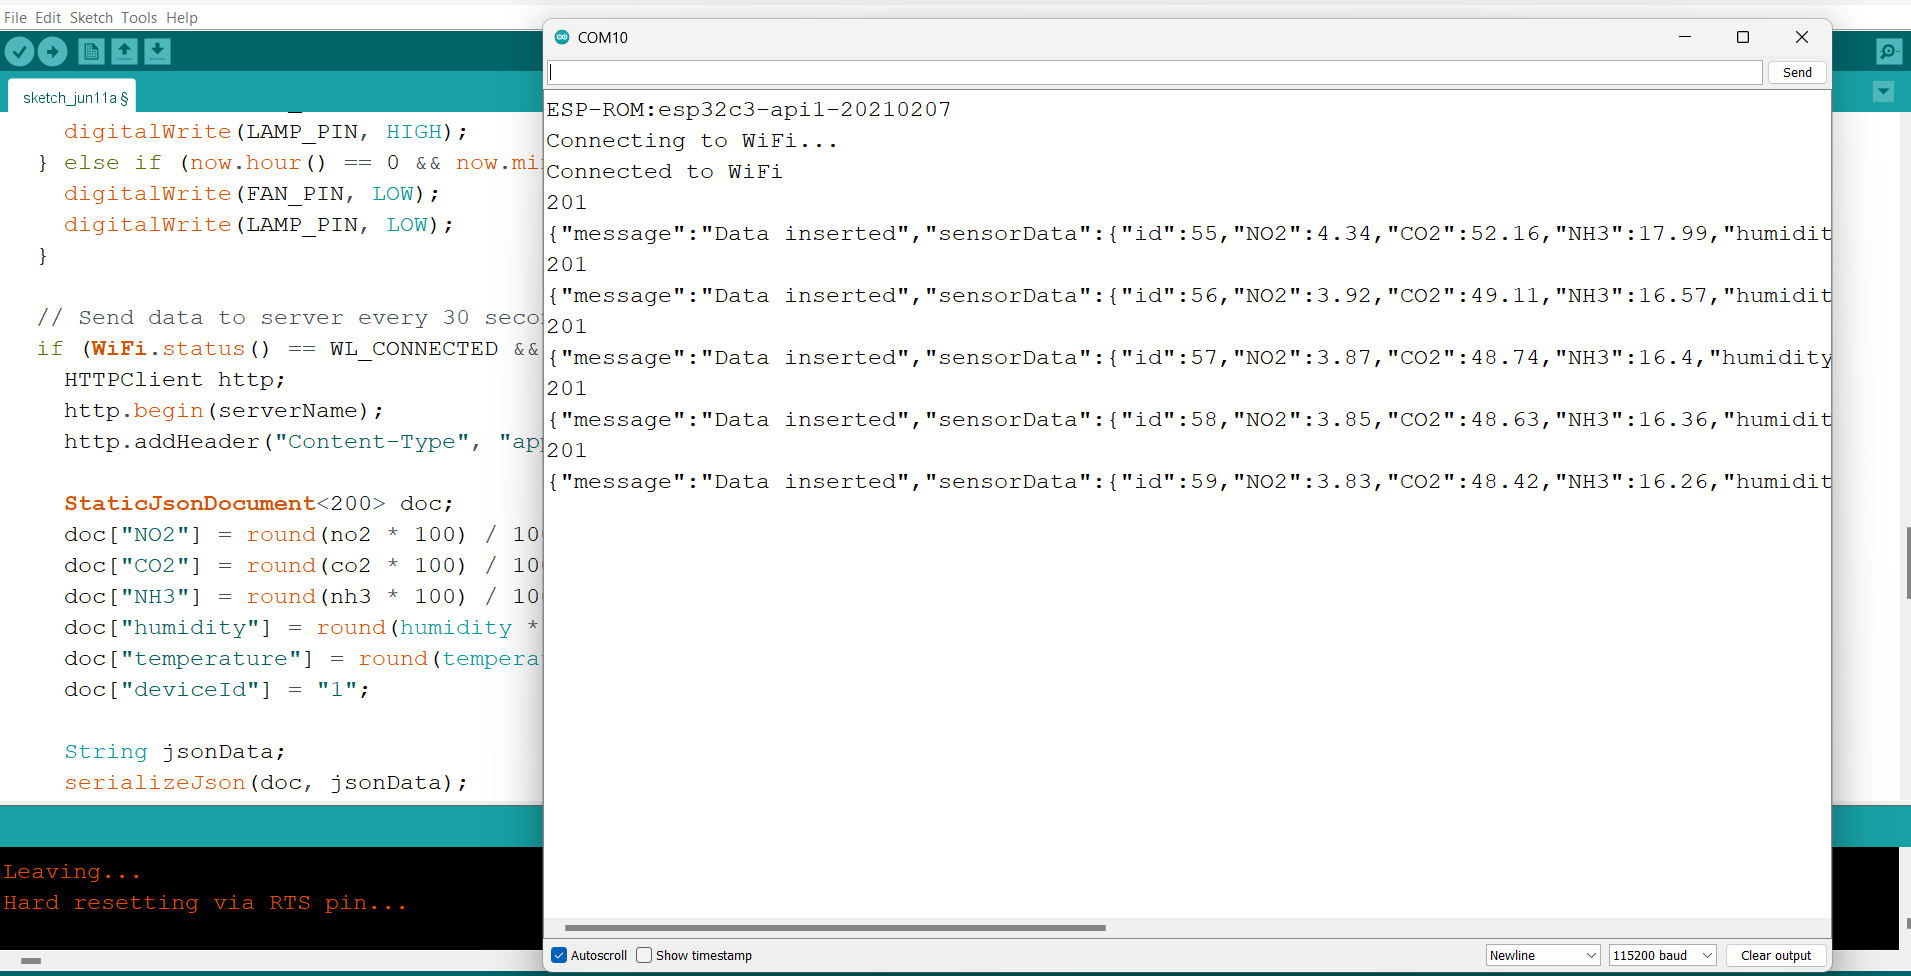
The image above shows how the device is sending data in the cloud with the code shown
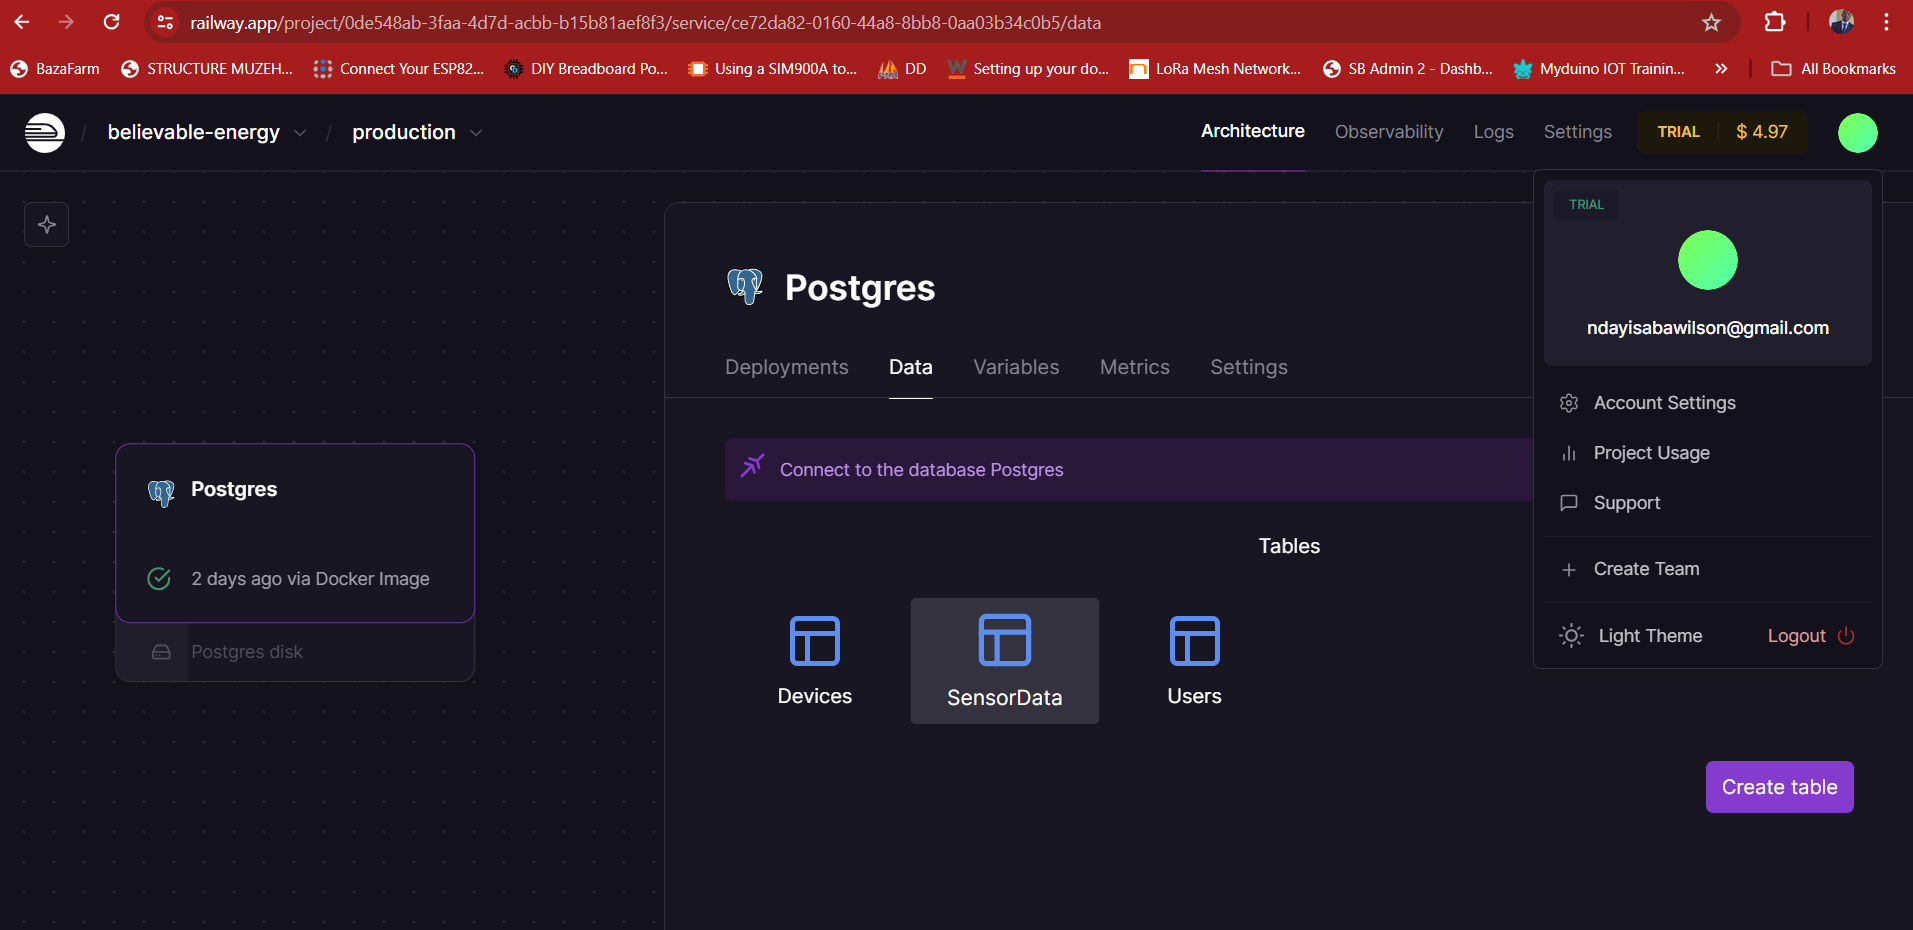
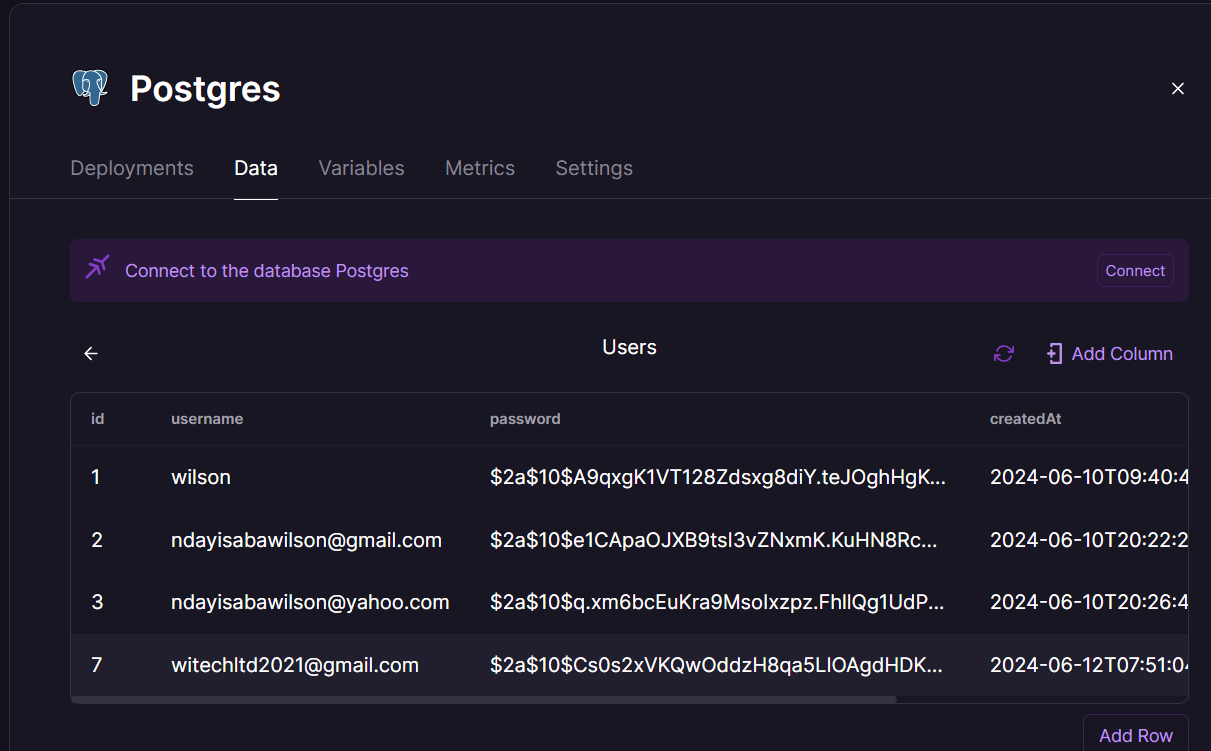
Screenshots of login page and registration of a device

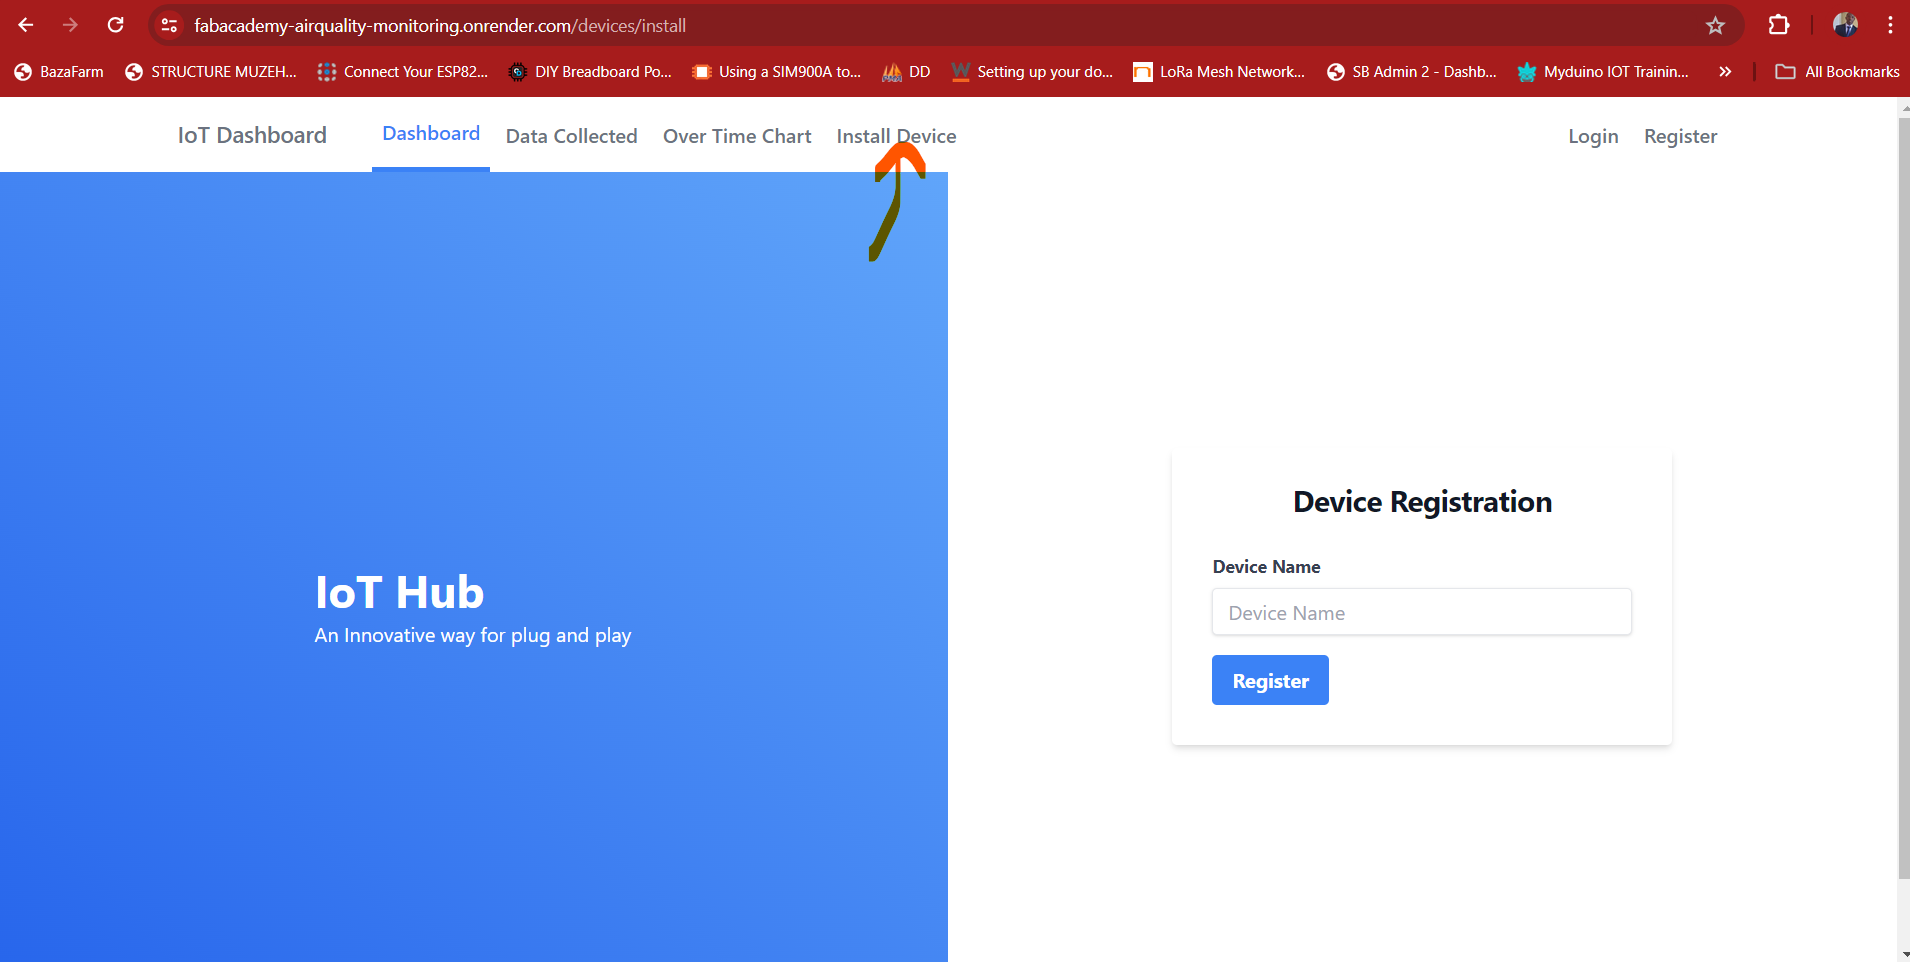
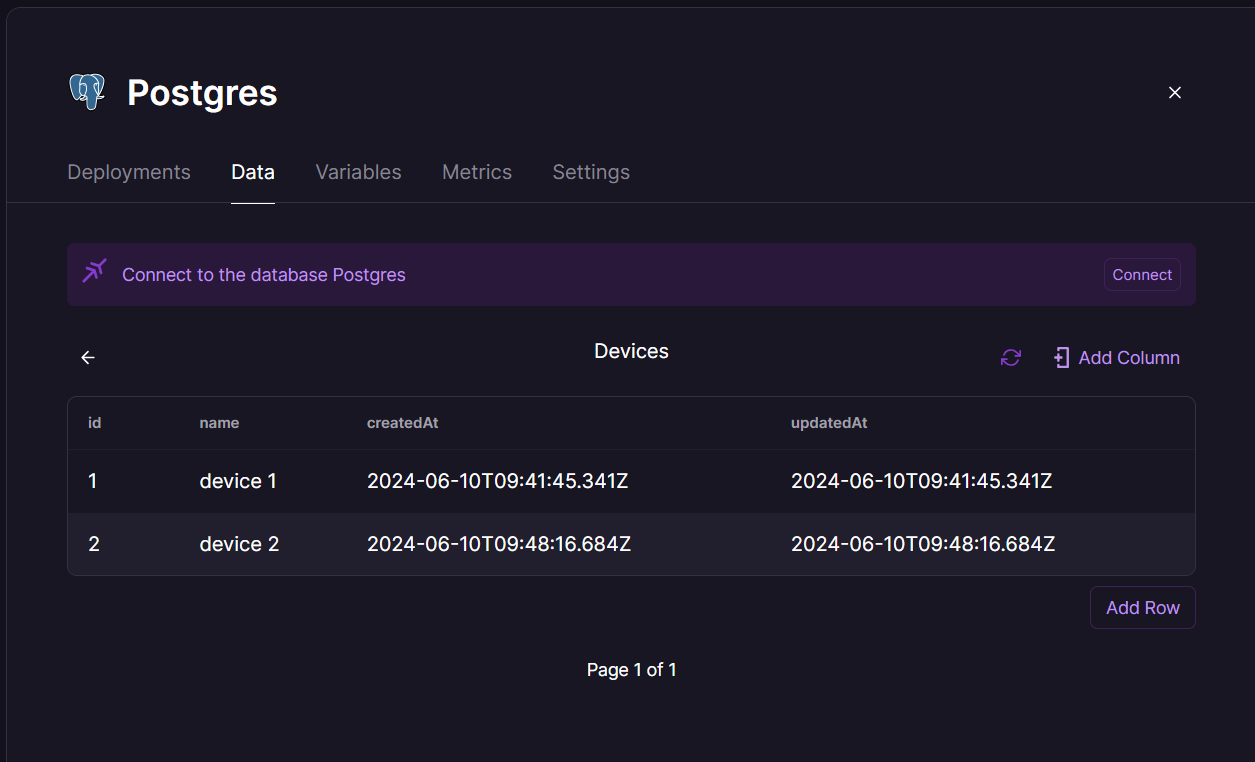
Data collected dashboard pages developed
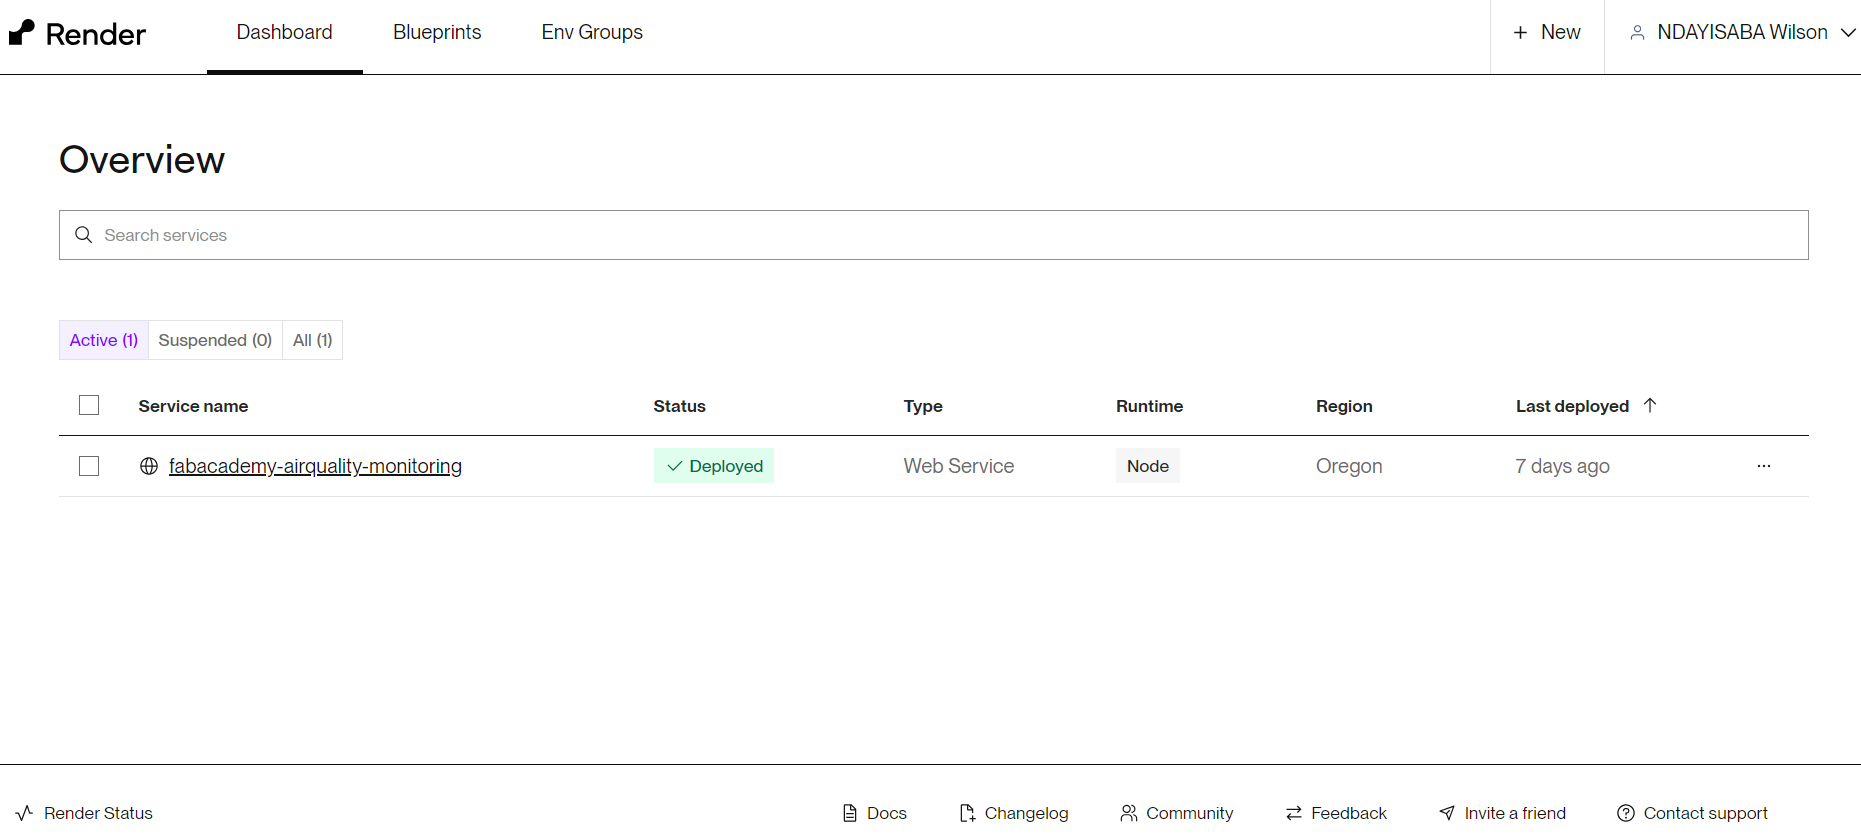

All data table and chart

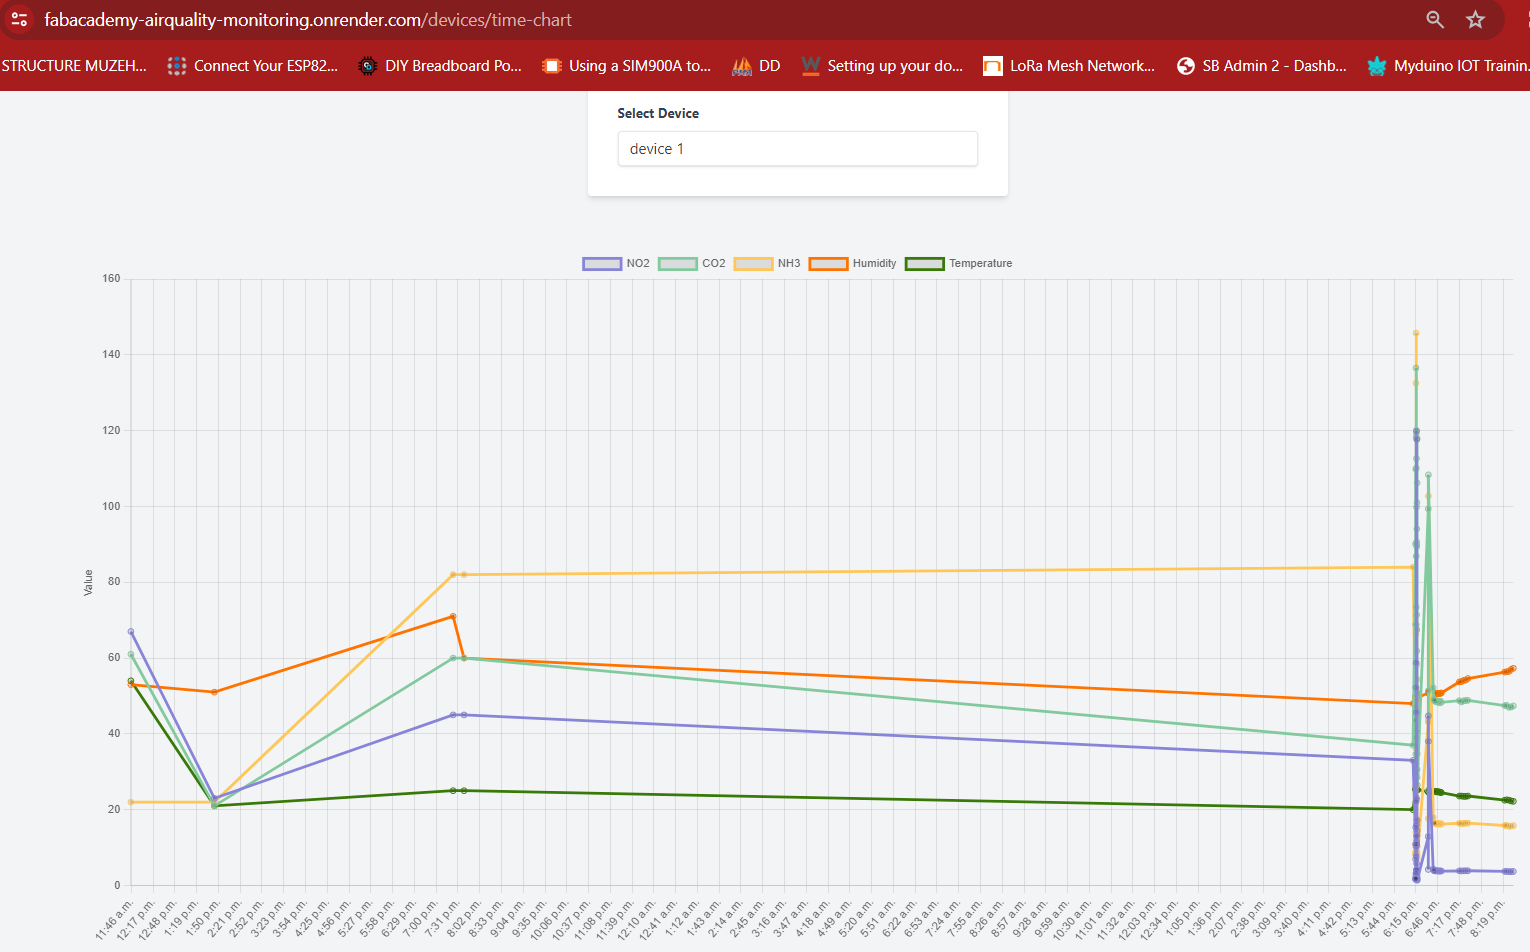
You can access the dashboard where it is hosted here: https://fabacademy-airquality-monitoring.onrender.com
How to access the dashboard?
To access the dashboard, it requires login. You can create an account to access the dashboard or use the already created account here: Email Address: ndayisabawilson@gmail.com , password: wilson
Source code directory
All the code can be found on my github here: https://github.com/Wilsonndayisaba/fabacademy-airquality-monitoring
About the license
The MIT License: The MIT License is a permissive free software license. It is one of the most popular open-source licenses and is known for its simplicity and permissiveness.
Substractive process in my project
To meet the project requirement I decided to see how I can brand my product with a mosquito image. I found online jpg image that interested me to use.

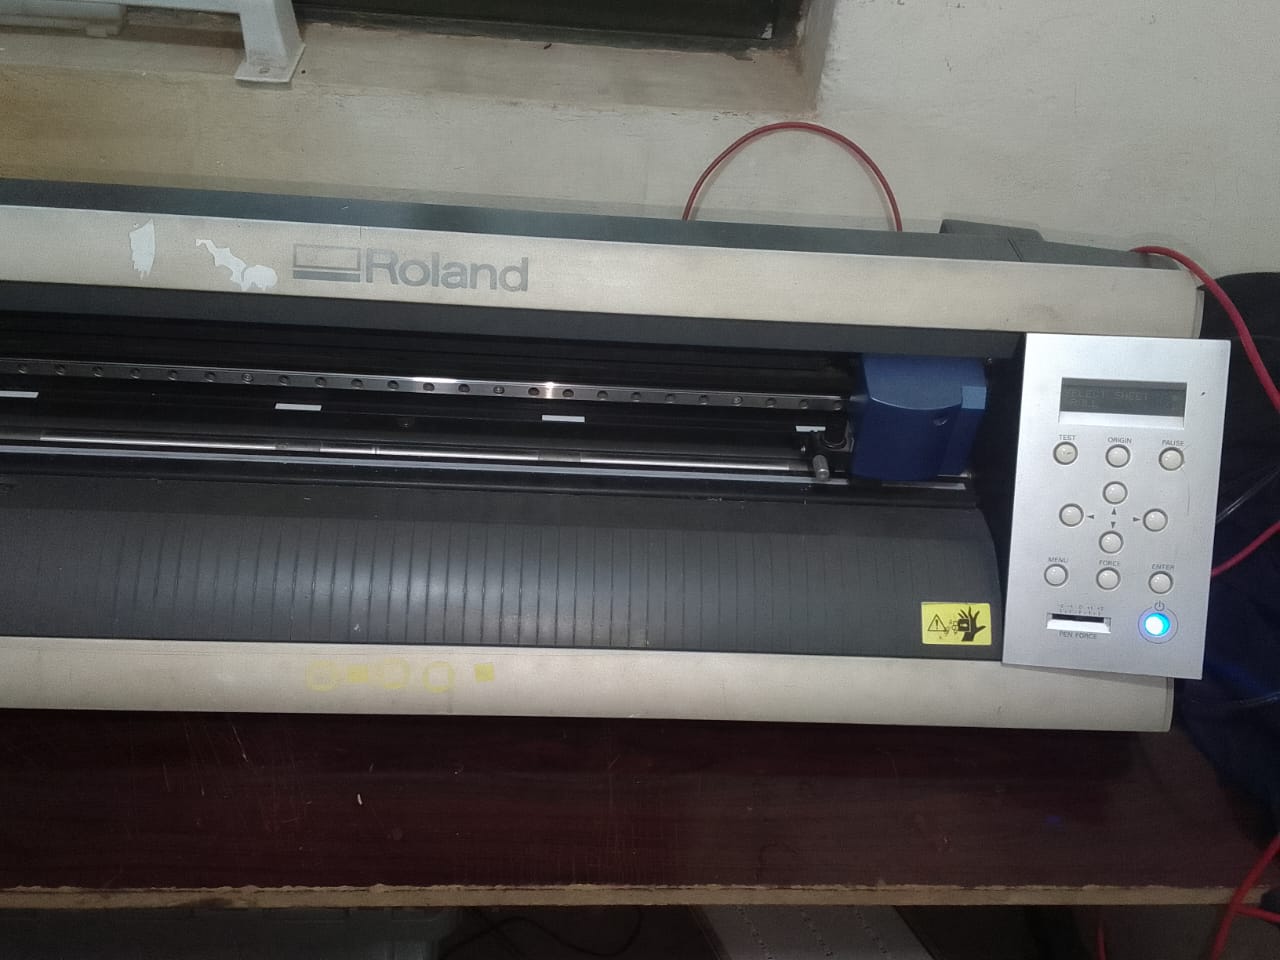
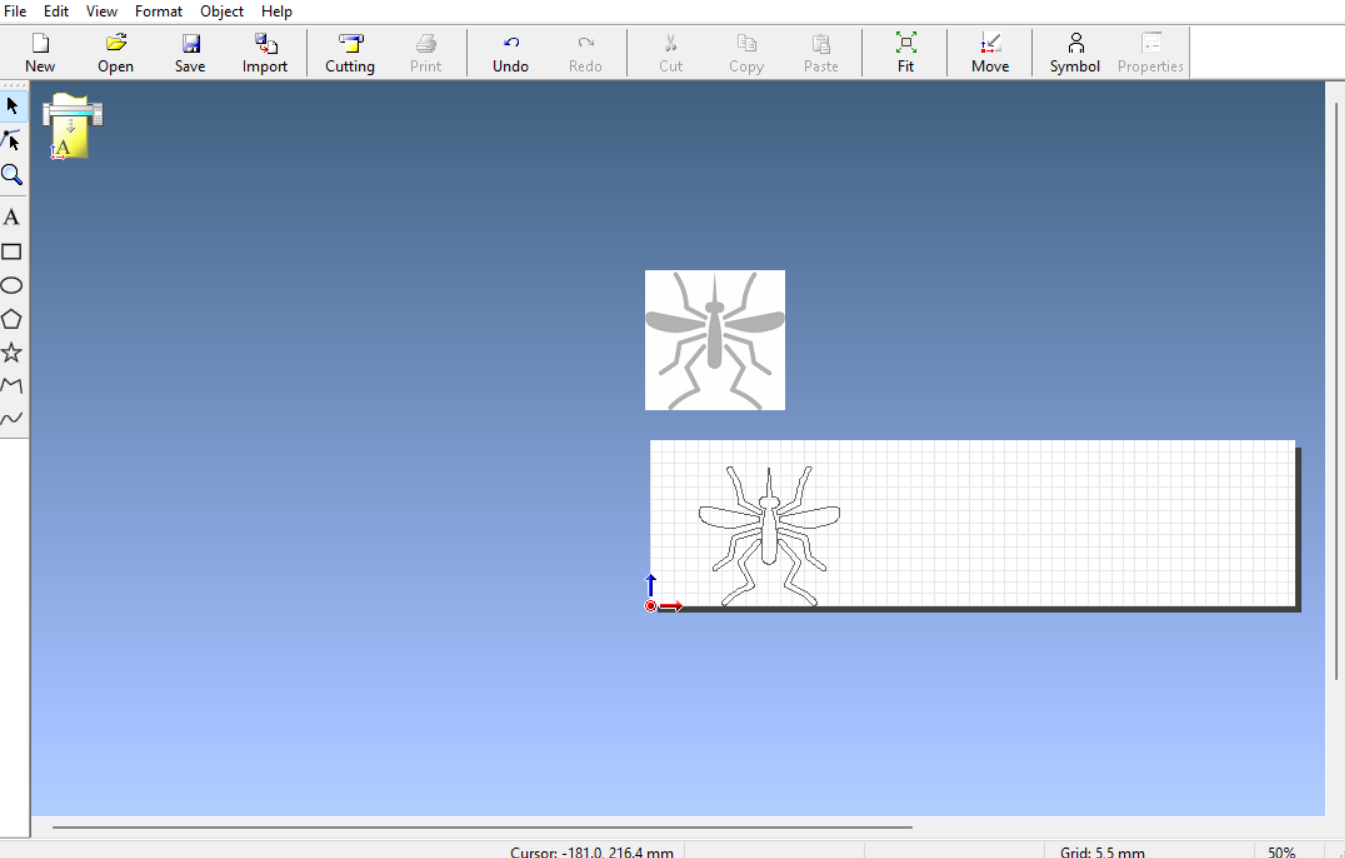
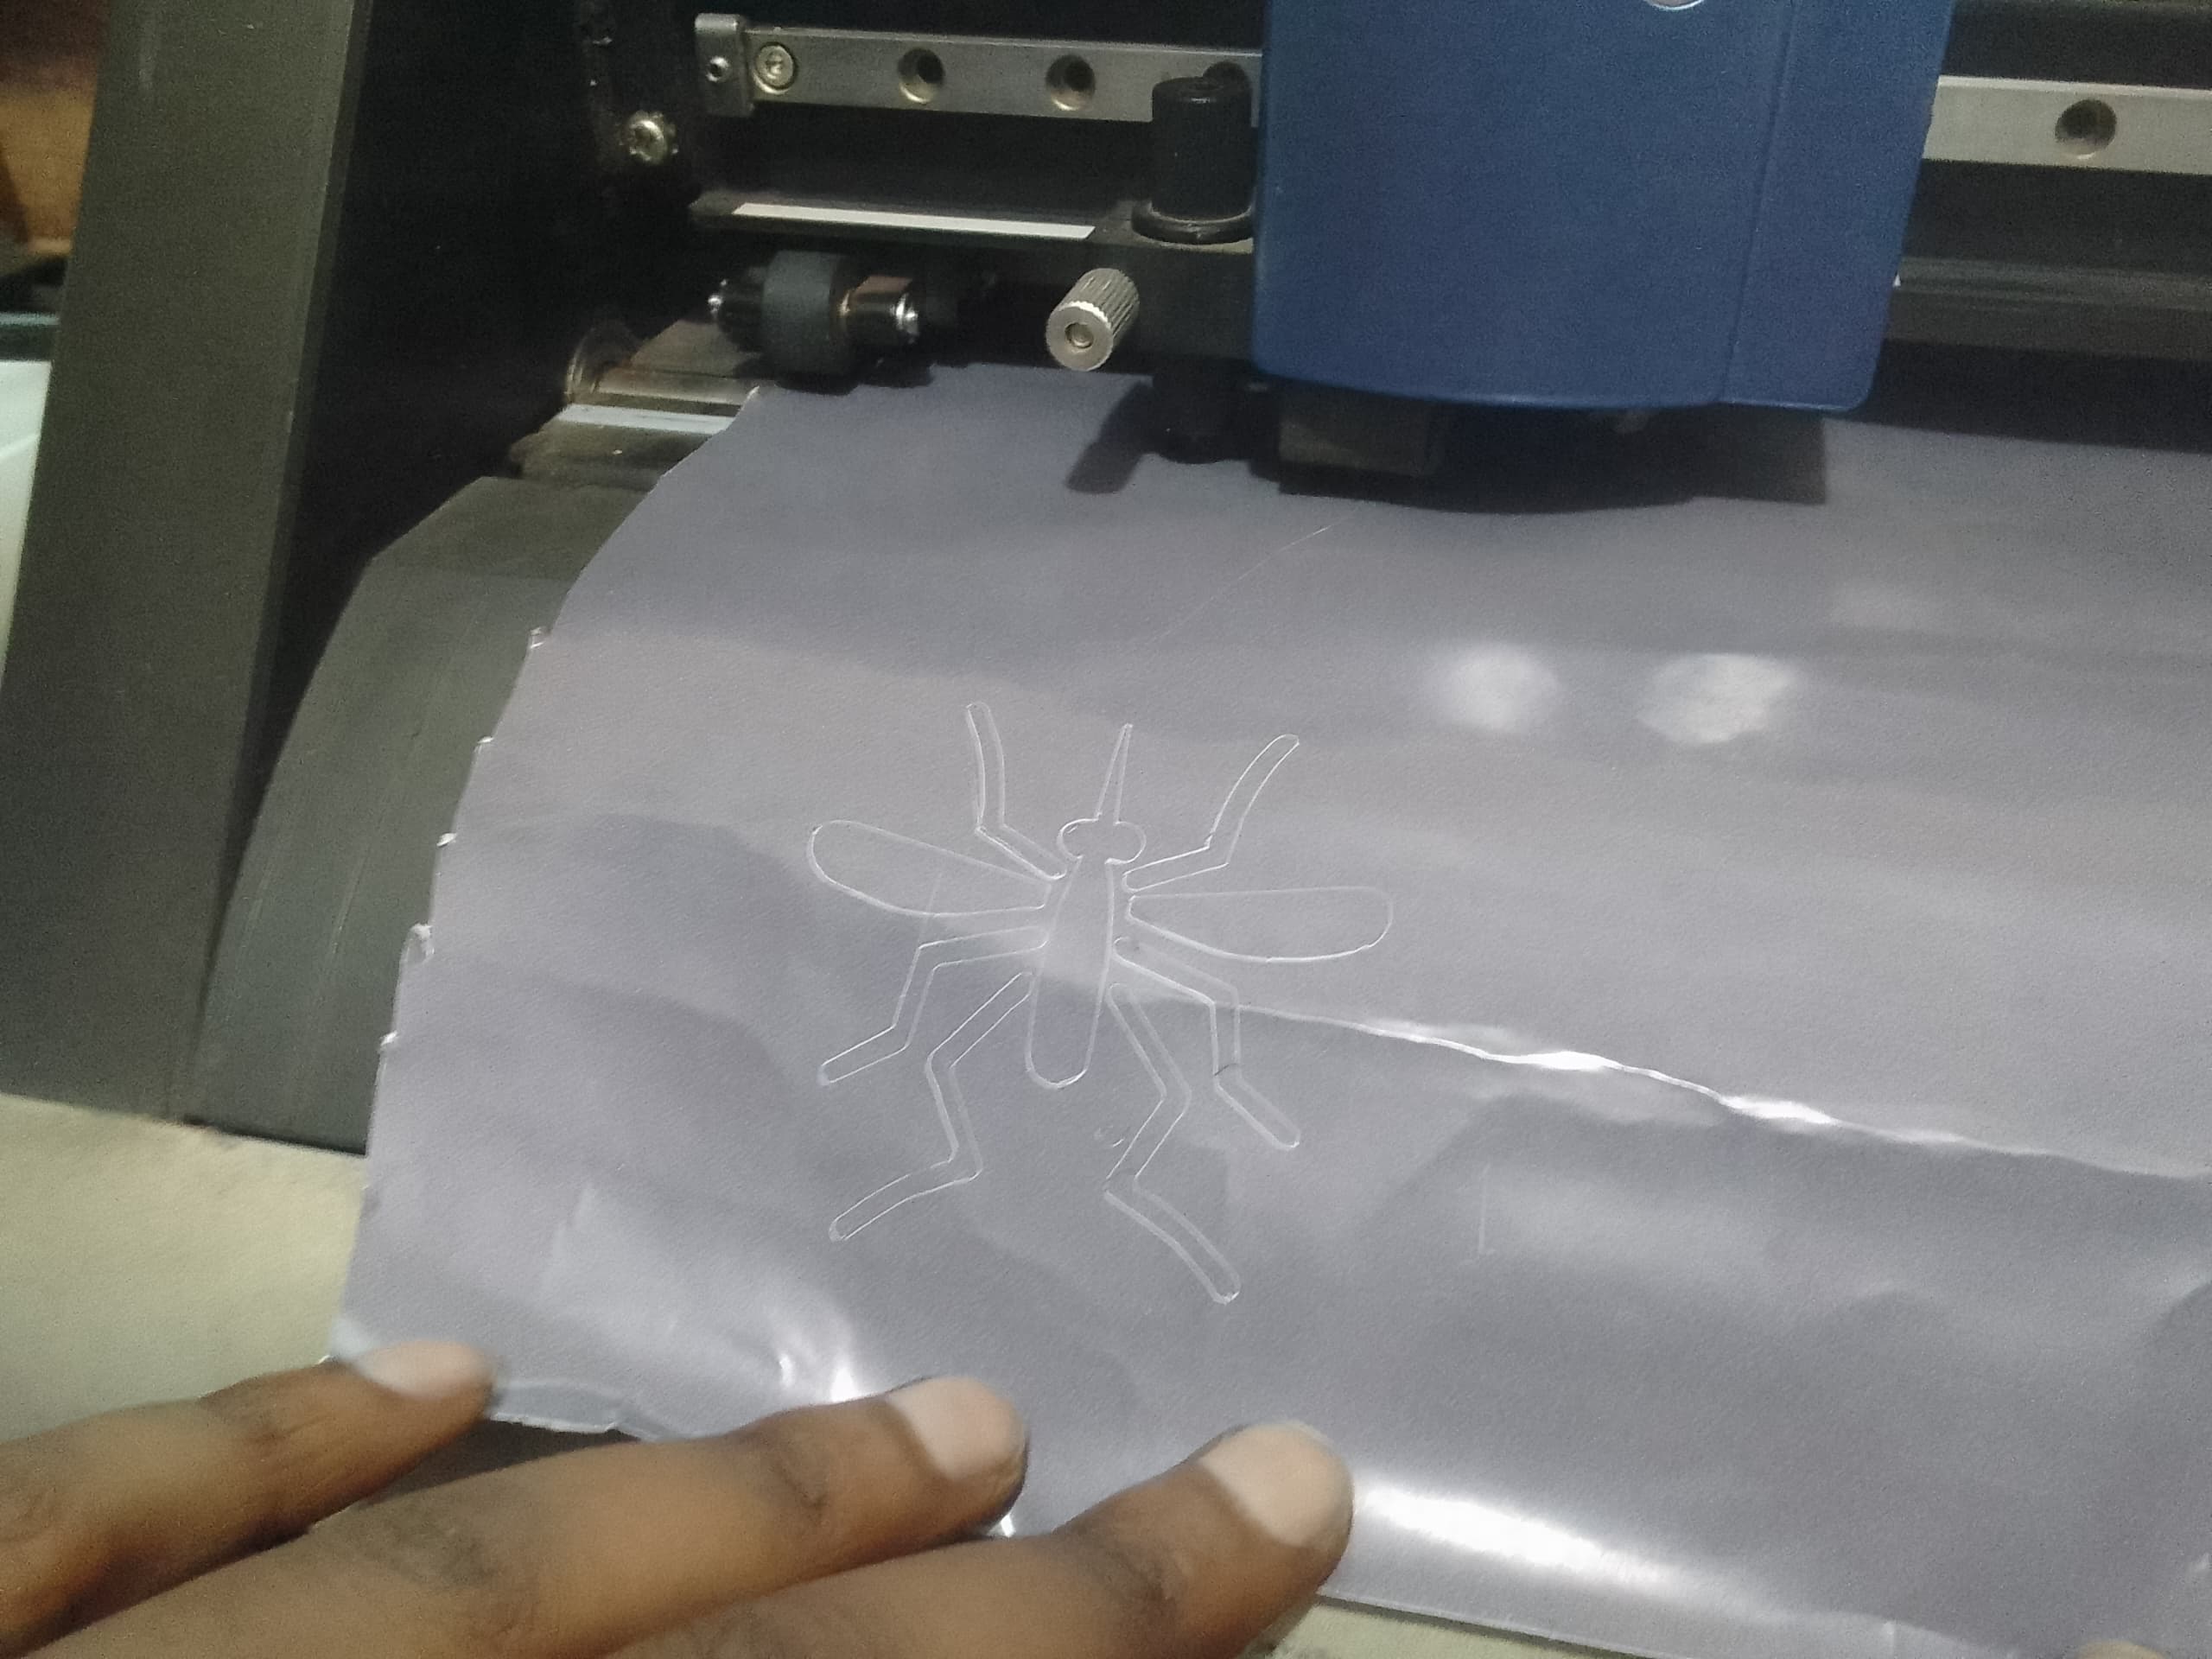

Finally I marked the printed image on the device of my project
