3D scanning and printing.
Group work
For this assignment, our group aimed to test the design rules for our 3D printer by focusing on three key aspects: angles, bridging, and overhangs. The goal was to understand how these factors affect the final printed product. We used various test prints to observe how well the printer handled different angles, the ability to bridge gaps without support, and the quality of overhangs. This exercise provided us with valuable insights into the capabilities and limitations of our 3D printer.
Individual Reflection
In this assignment, our group tested the design rules for our 3D printer. We explored various aspects of 3D printing, including angles, bridging, and overhangs. For more details on our group work, please visit the Group Work Page.
- Angle Testing: We tested how the printer performed with different angles. Understanding the limitations of our printer at various angles helped us determine the optimal designs for our prints. Steeper angles posed more challenges.
- Bridging Capabilities: Bridging tests showed us how well the printer could span gaps without support. It was interesting to see the variations in print quality depending on the length of the bridge and the material used. Proper bridging is essential for certain designs and helps minimize the need for supports.
- Overhang Quality: Overhangs are critical in many 3D prints, and testing their quality allowed us to see the maximum overhang angle our printer could handle without significant defects. This knowledge is crucial for designing parts that do not require excessive support structures.
- Print Quality: Our experience with different angles, bridging, and overhangs helped us understand how to achieve smoother surfaces and better print quality. Tweaking the slicer settings can significantly impact the final print quality, especially for complex geometries.
- Practical Application: This assignment provided hands-on experience with 3D printing, helping us understand the practical aspects of working with different designs and settings. It emphasized the importance of experimenting and adjusting parameters to achieve the desired results.
About Individual assignment
3D Scanning
3D Printing
3D SCANNING
3D scanning is the process of capturing the shape and appearance of real-world objects or environments to create digital 3D models. This technology allows you to replicate physical objects in a digital format, which can then be used for various purposes.
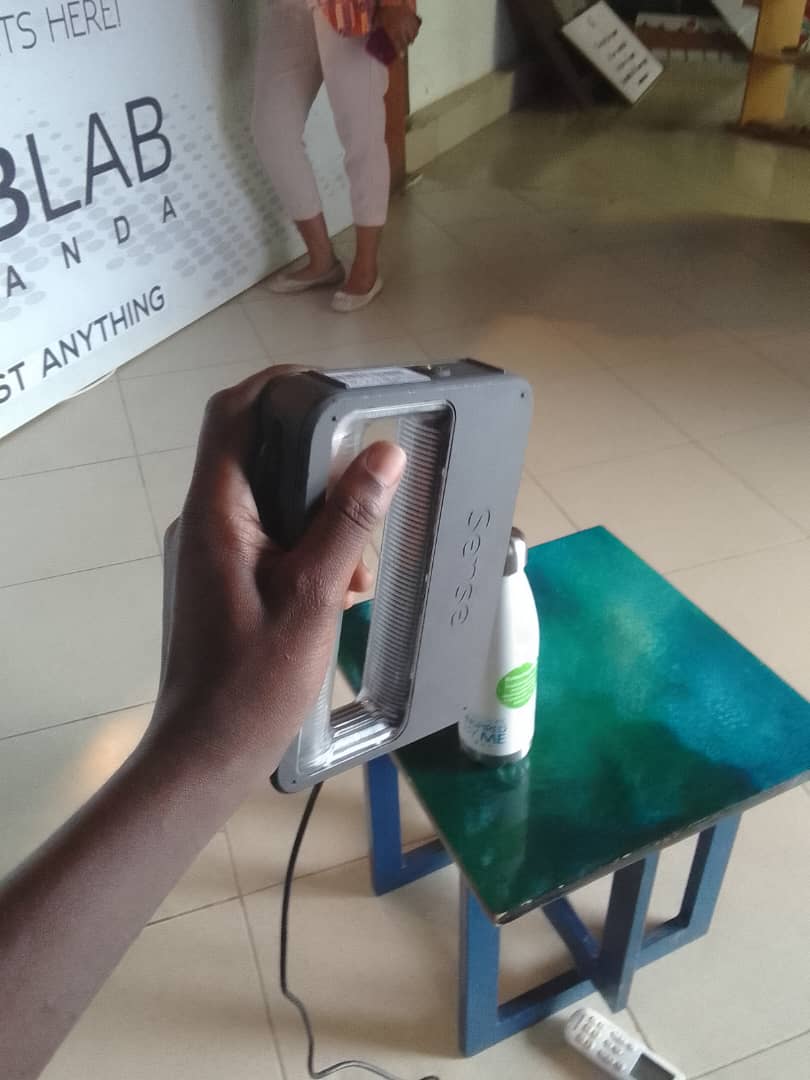
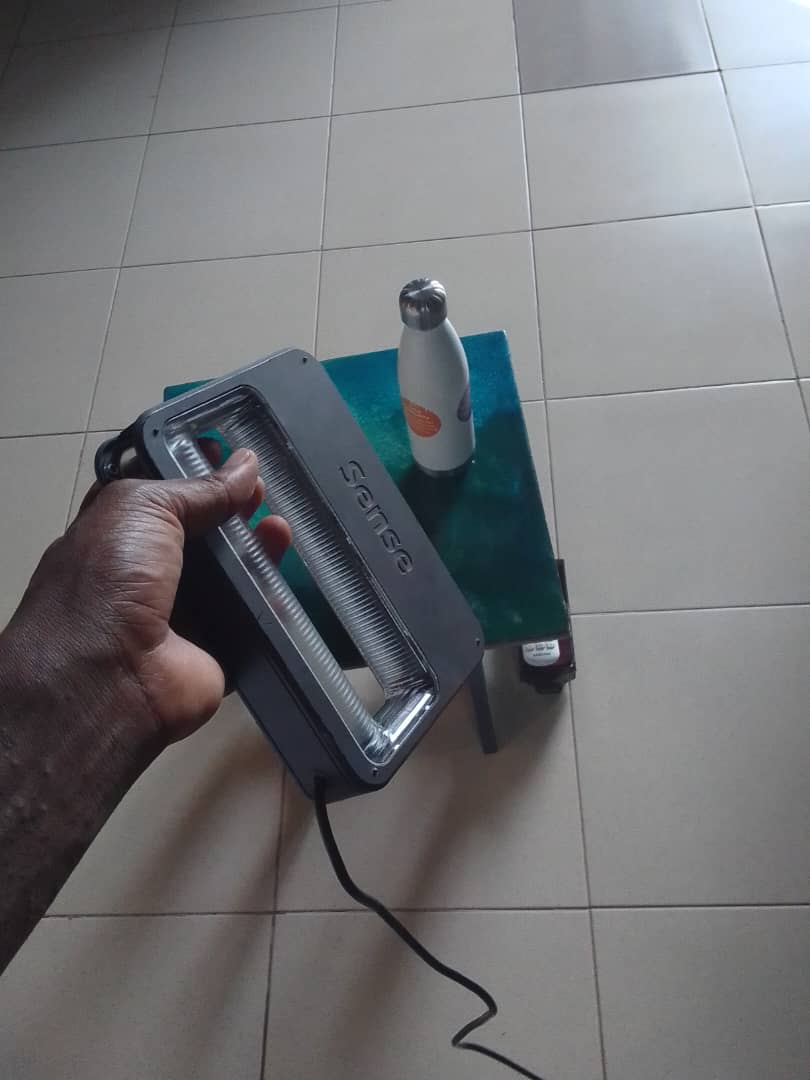
Here is a 3D Scanner we have in Fablab Rwanda. This scanner is Called Sense.

The scanner above needs a software called sense to use it. The software can be downloaded from this link: https://support.3dsystems.com/s/article/Sense-Scanner?language=en_US
Download and Installation
Opening the link, I downloaded the highlited for my computer windows 10.

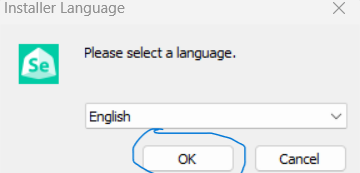
After download, then start installation process. click OK to start.
Click next to continue

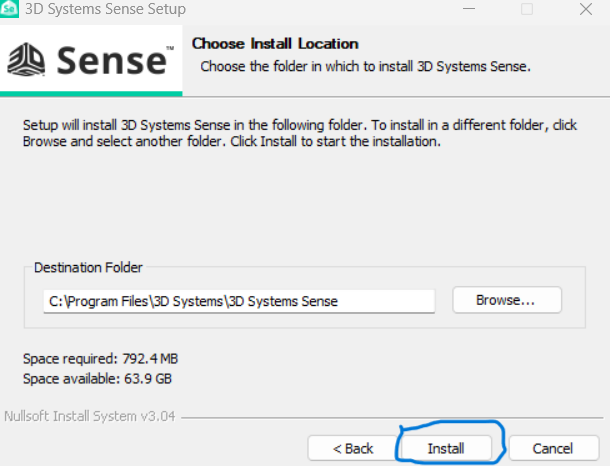
Click install to installation of Sense software
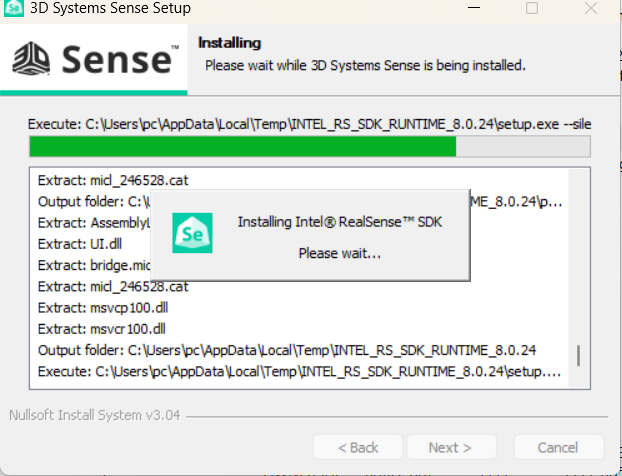
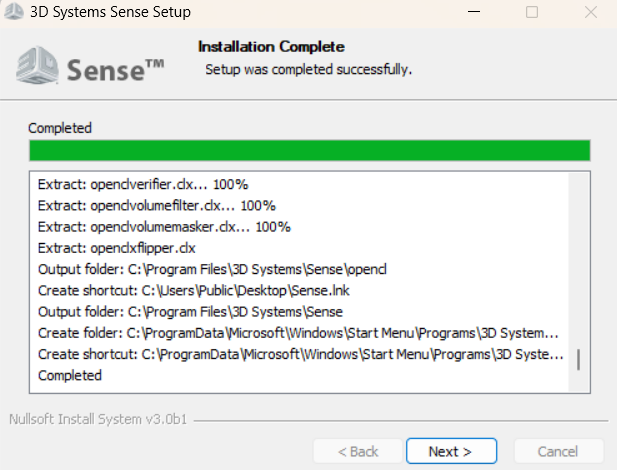
Installing different tools of sense
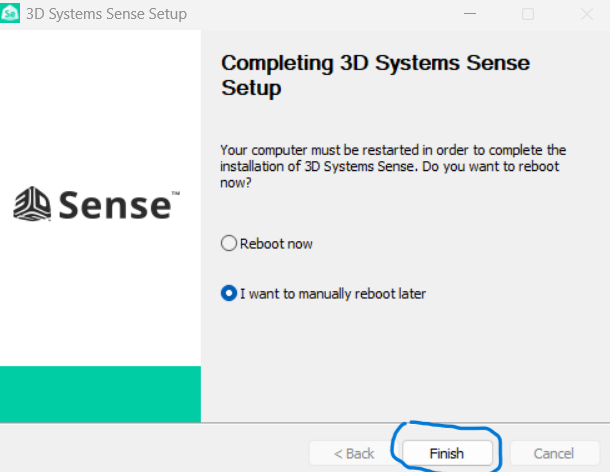
Click finish to finish the installation
Here, click to open user interface of sense as shown in the image.
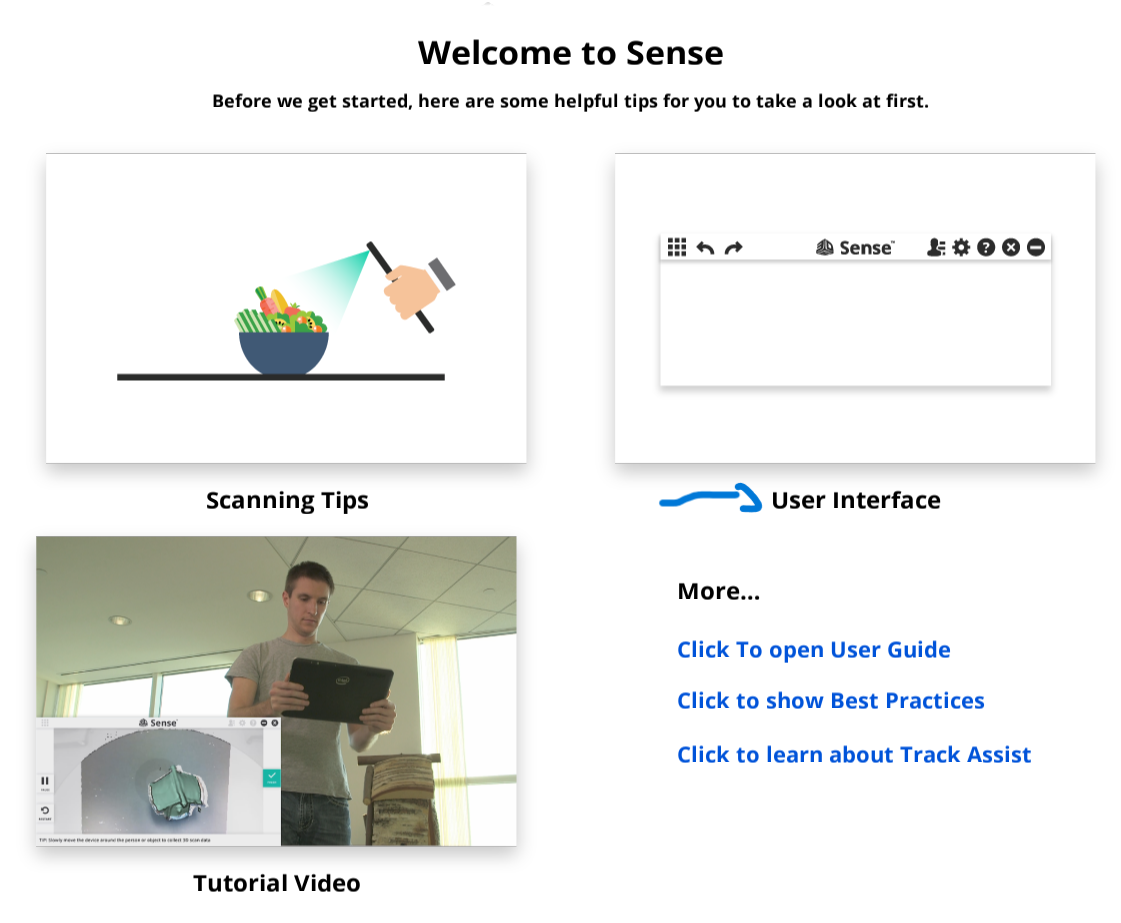
This is the user interface of sense software

STAT USING SENSE SCANNER WITH DOWNLOADED SOFTWARE
The scanner must be connected to a computer to connect with the software Sense. Sense software detects sense camera when connected.
Automatic Installation of tools when open at the first time
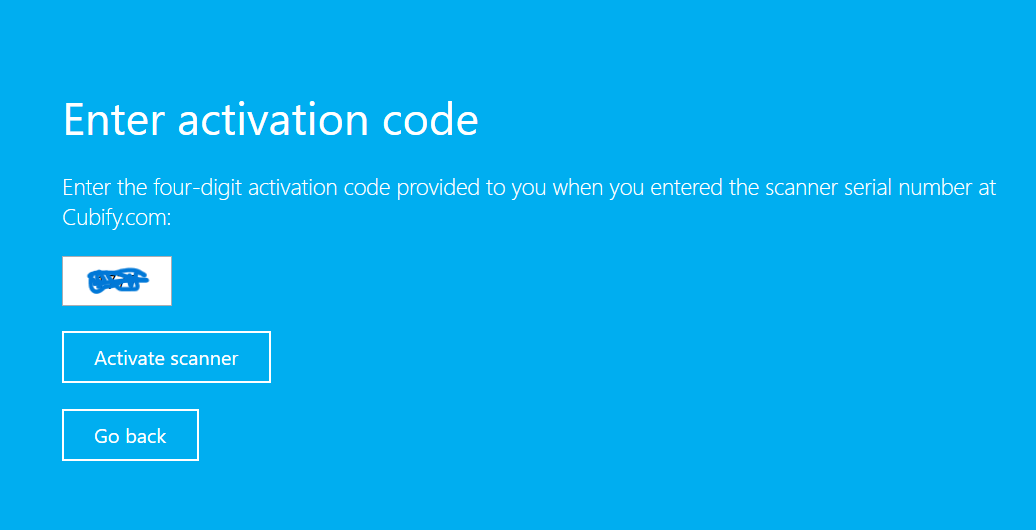
Activation of sense software.

Using the activation code given to activate it
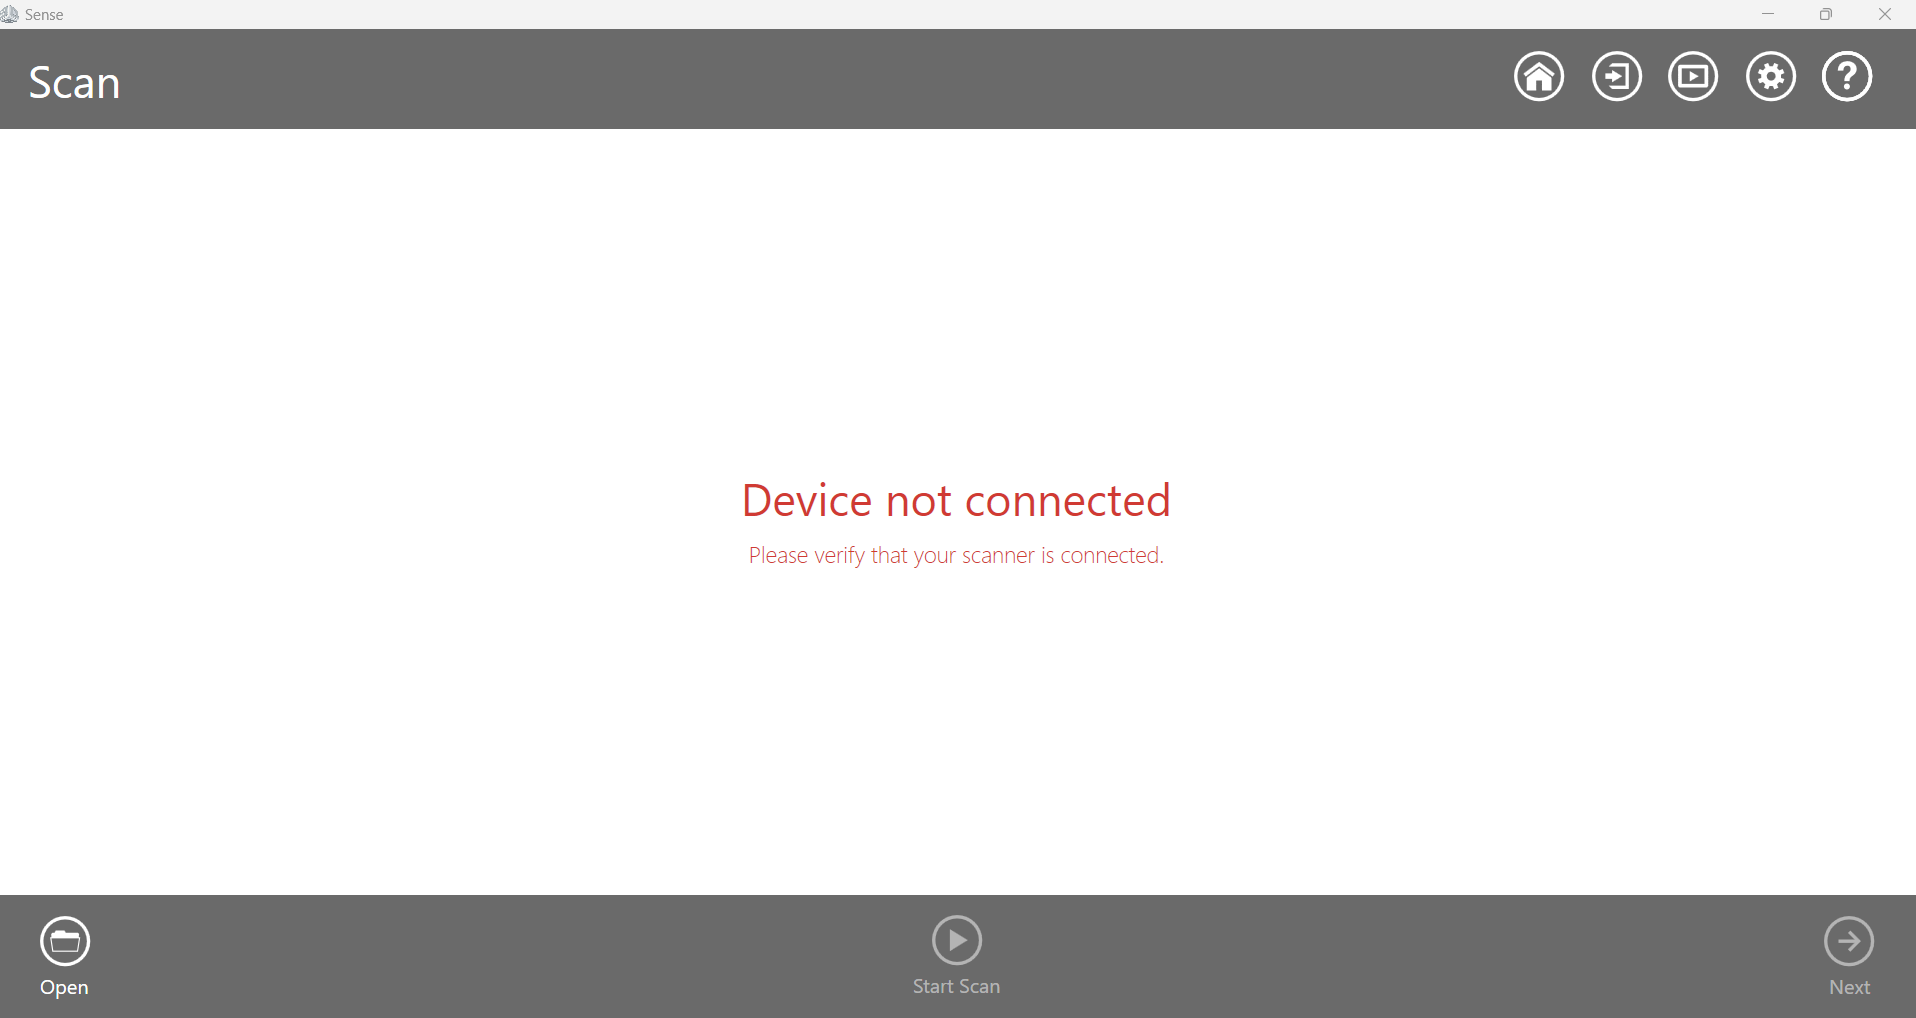
Sense software opens and shows device not connected when Scanner is not connected
The object to scan is the bottle here.

When detected, the scan and object by moving arround it slowly pointing the scanner on the object.
Continue moving arround it slowly pointing the scanner on the object untill reaching the full round.
This is the result, then I trimed off the unwanted parts.

This is the scanned bottle in sense after trimming unwanted parts.
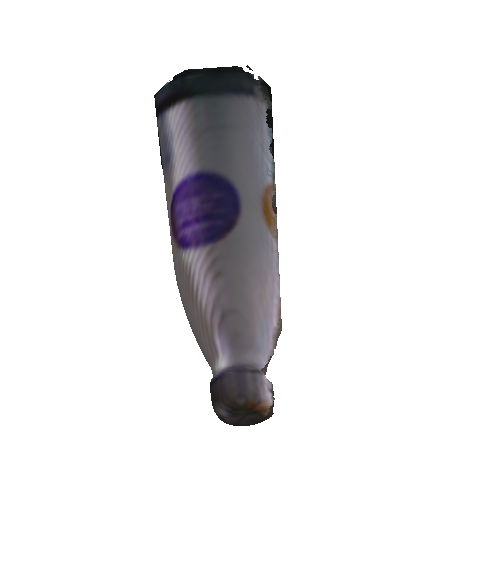
This a rotated version in scan
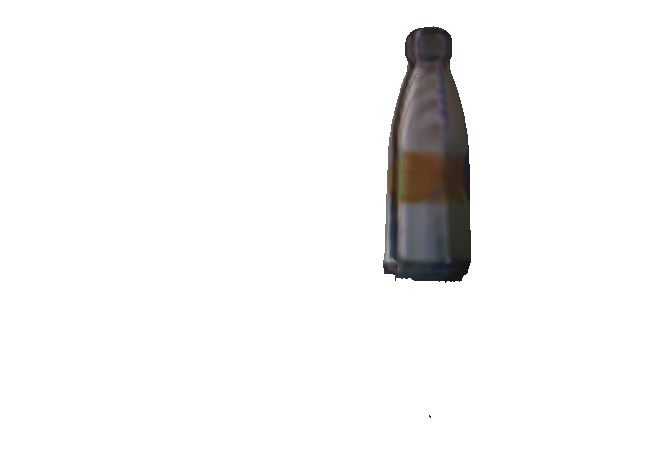
Final saved file, in .stl format

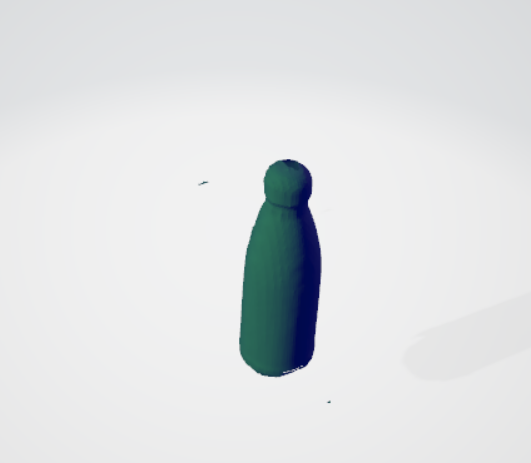
Opening in 3D viewer and changing the view color. of the final file
3D PRINTING
3D Printing, also known as additive manufacturing, is a process of creating three-dimensional objects from a digital file. The printer builds the object layer by layer, using materials such as plastic, resin, metal, or ceramic, based on the digital design. This technology allows for the creation of complex shapes and structures that would be difficult or impossible to achieve with traditional manufacturing methods.
Responding to the following individual challenge;
Design and 3D print an object (small, few cm3, limited by printer time) that could not be easily made subtractively.
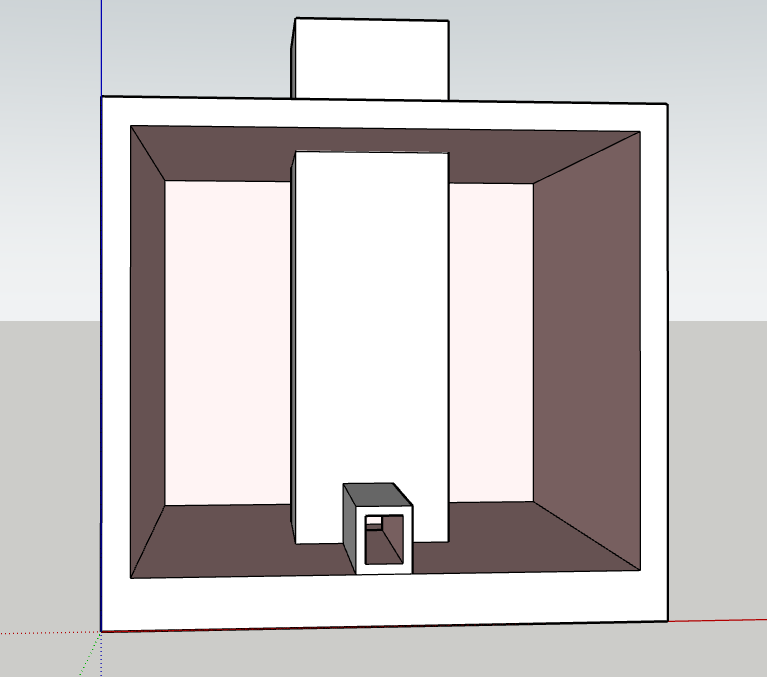
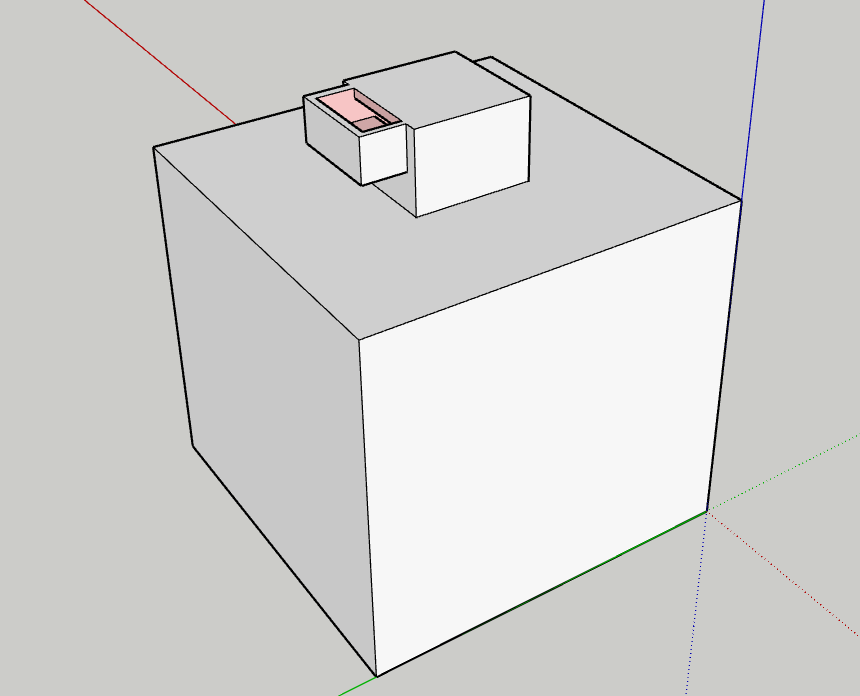
I started by designing the object in 3D design software, Sketchup.
The following is my design will all views;
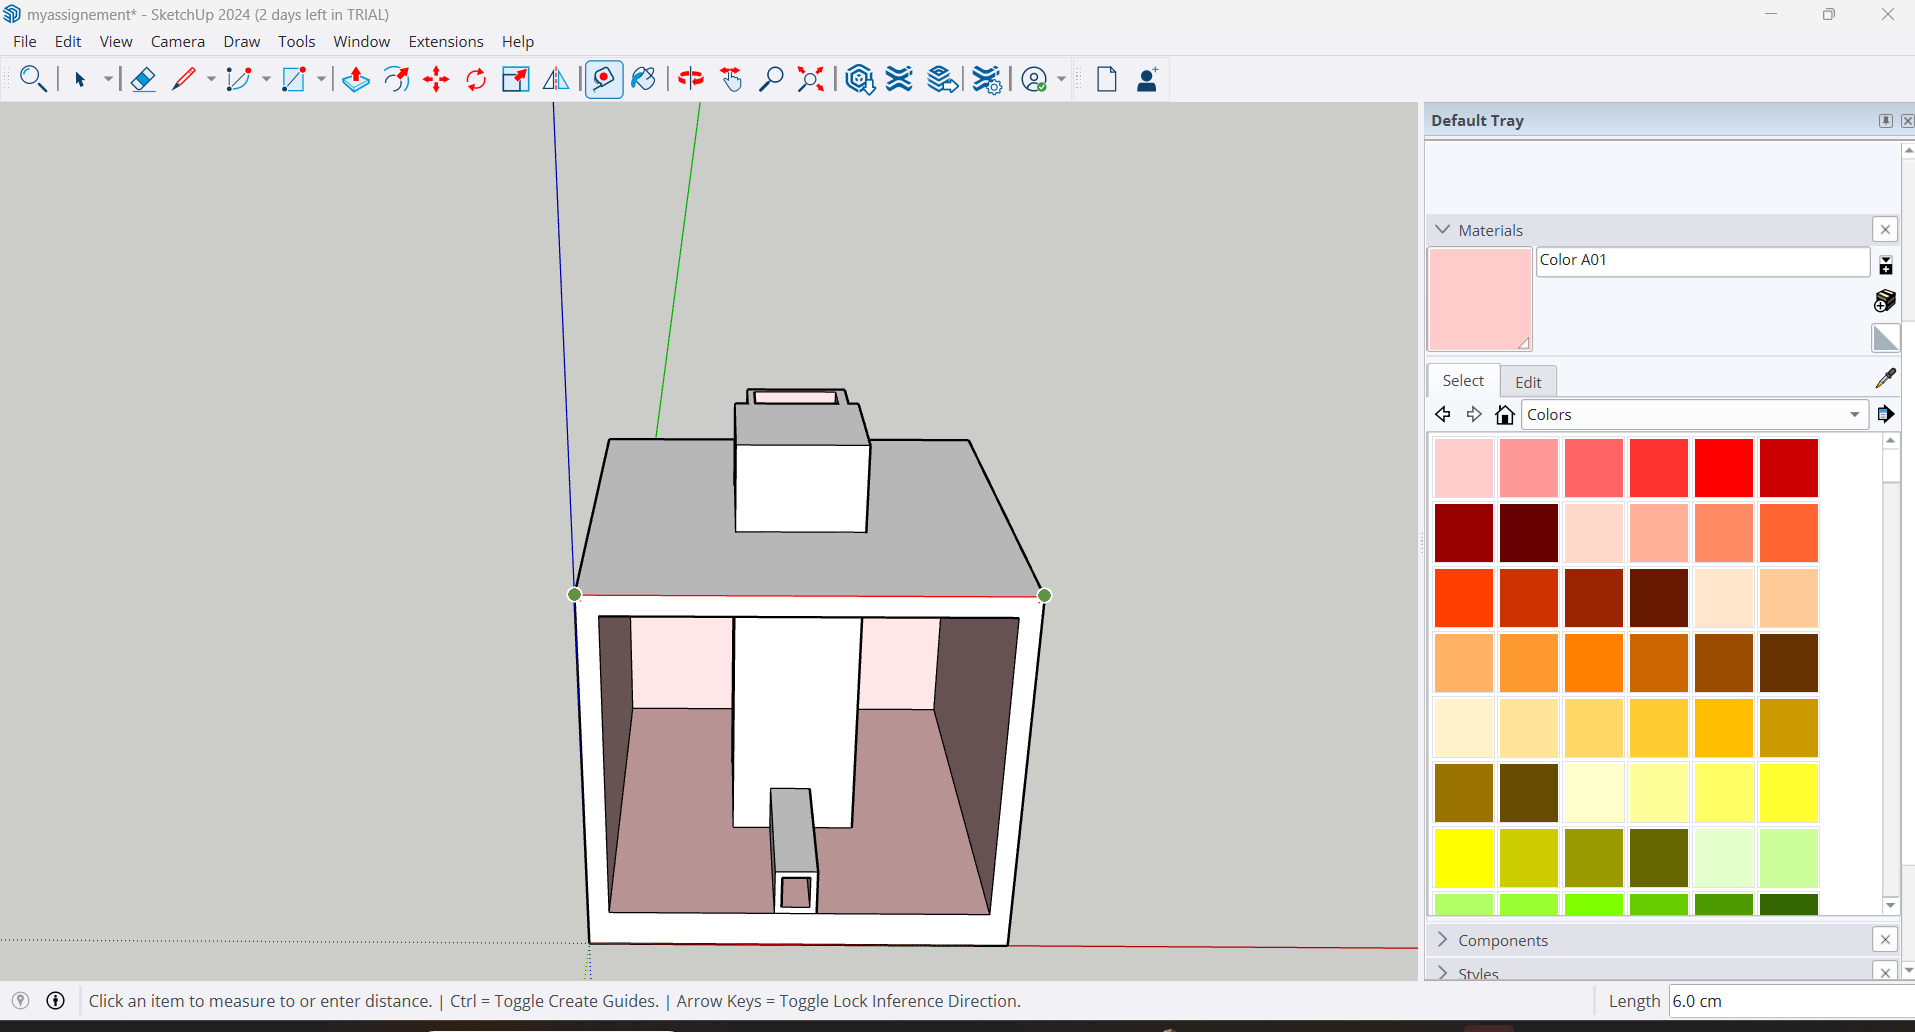
Design in sketchup software, internal areas colored (showing width of the design)
Design showing measurement of the height
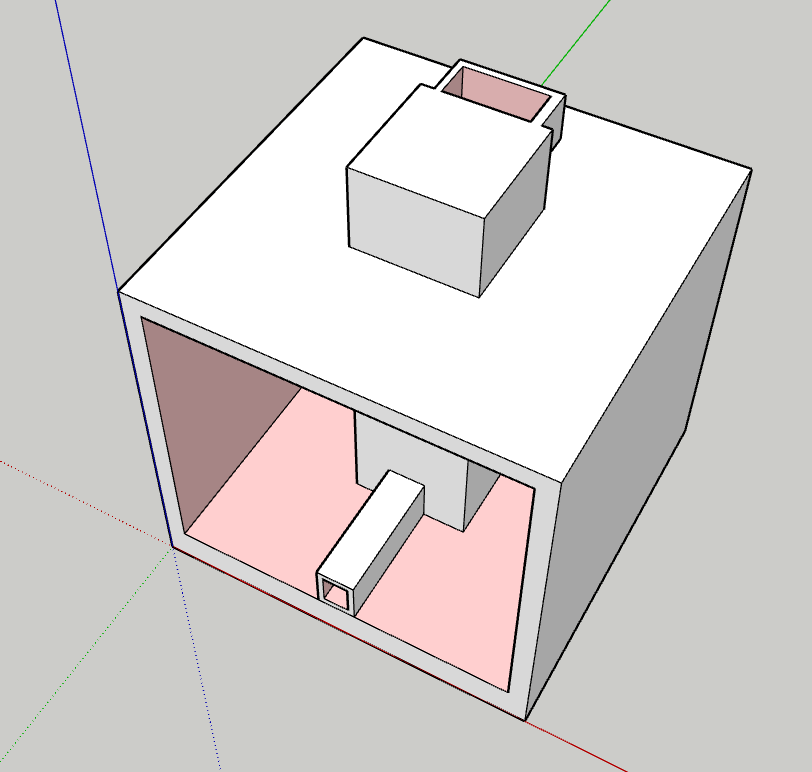
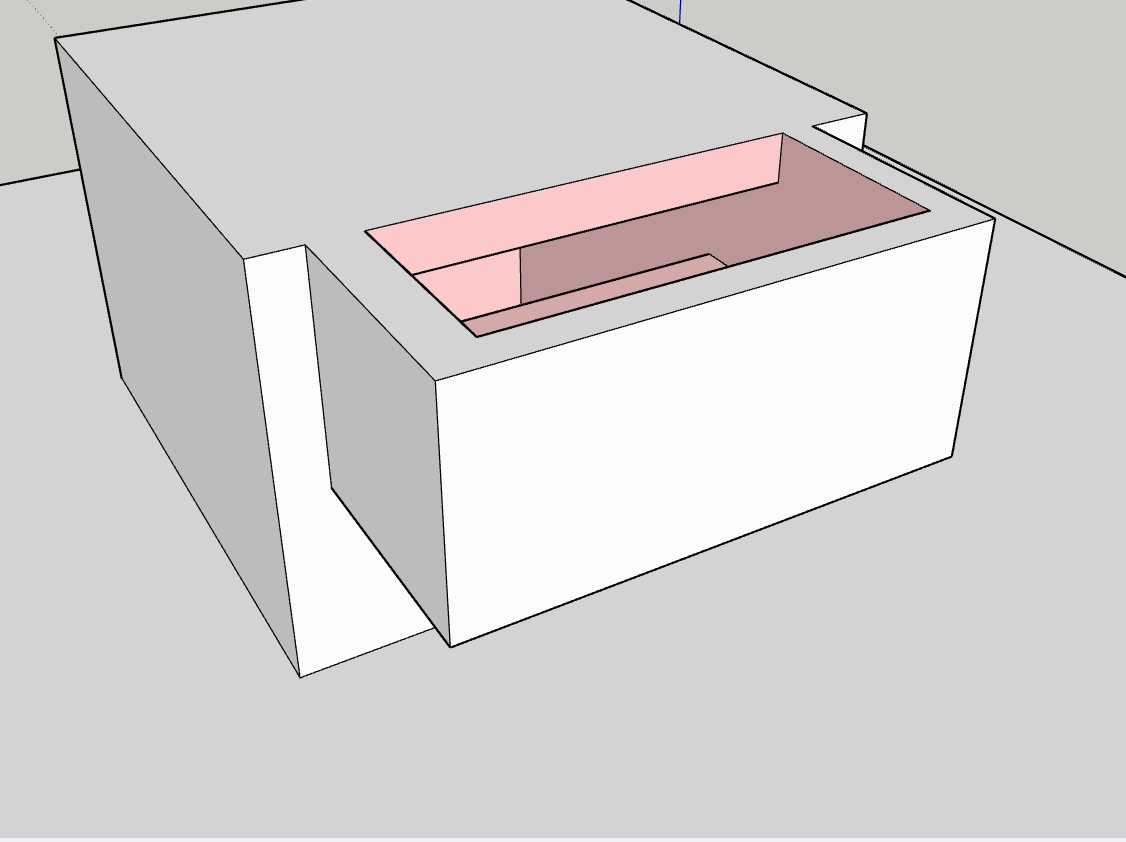
Perspective, right side view
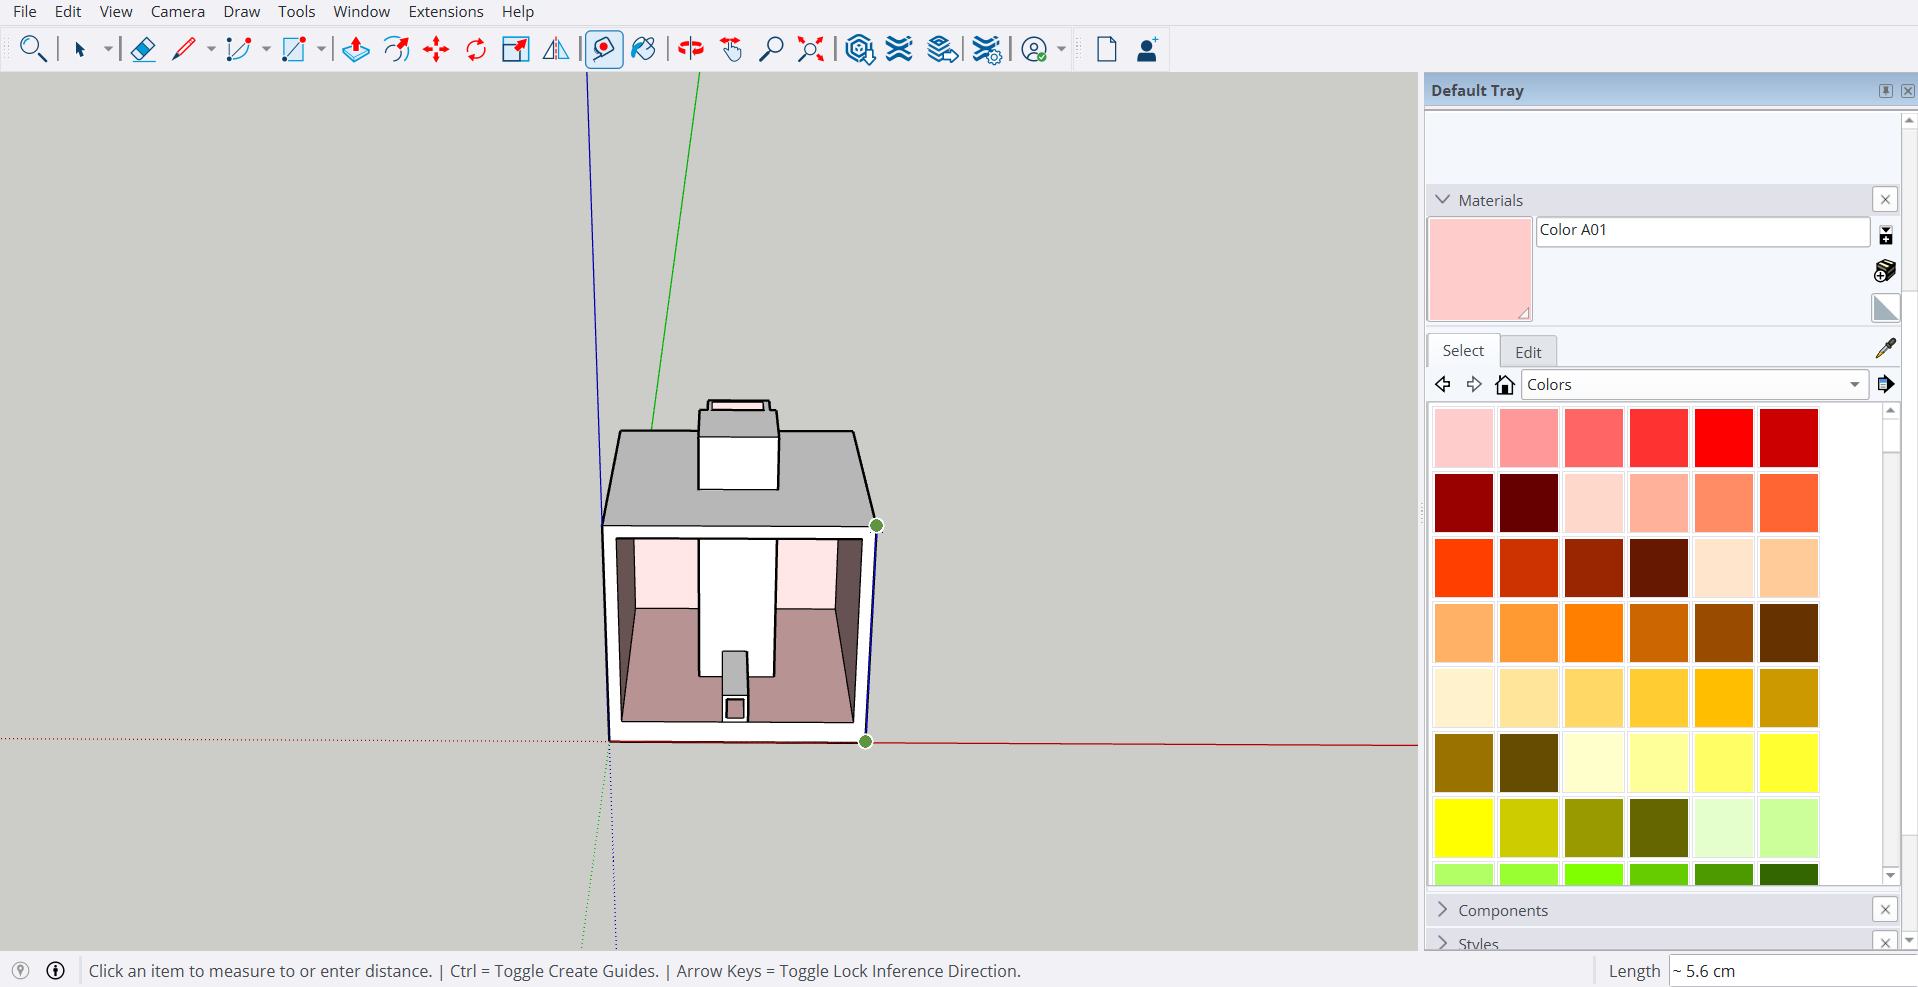
Front View of the design
Top part details.
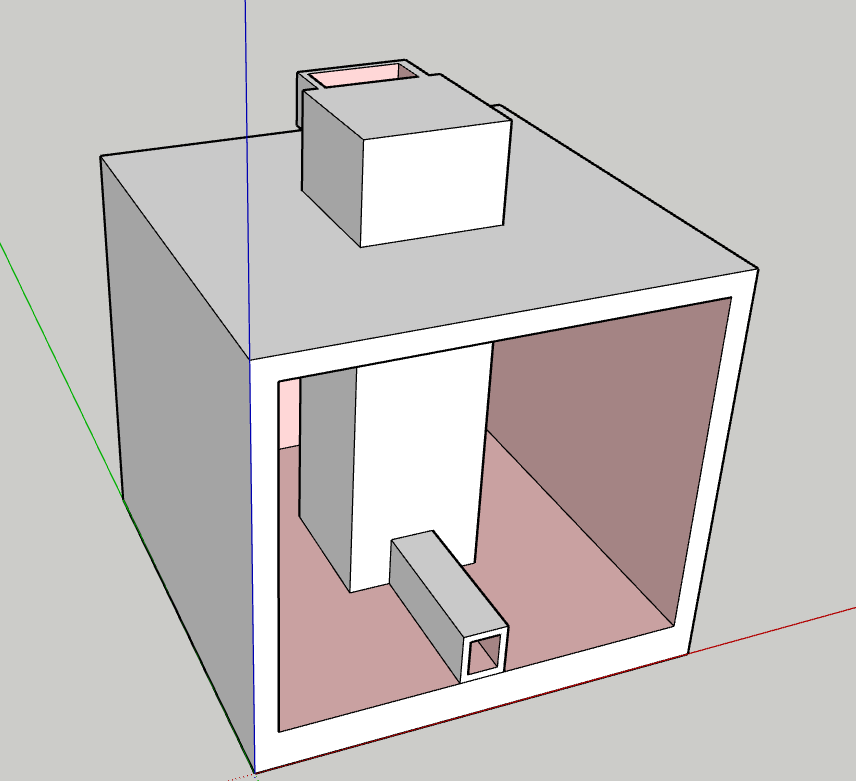
Perspective, Left side view
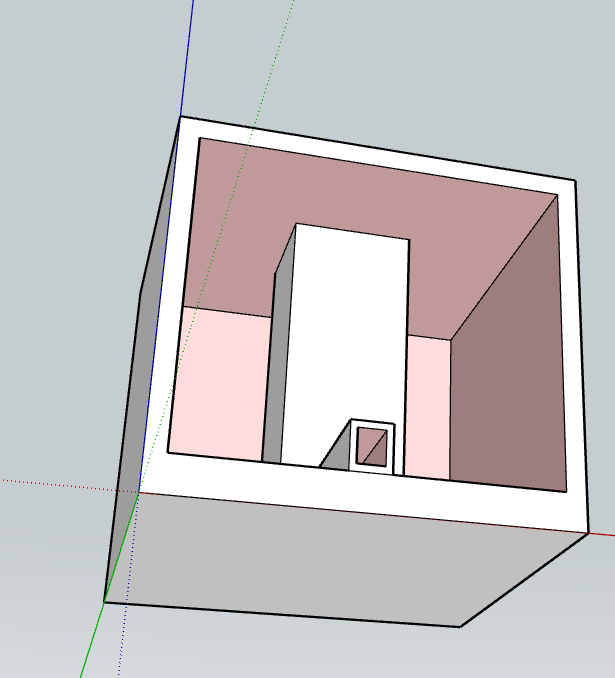
Perspective, bettom left View.
Perspective, Rear-Right View
3D printing
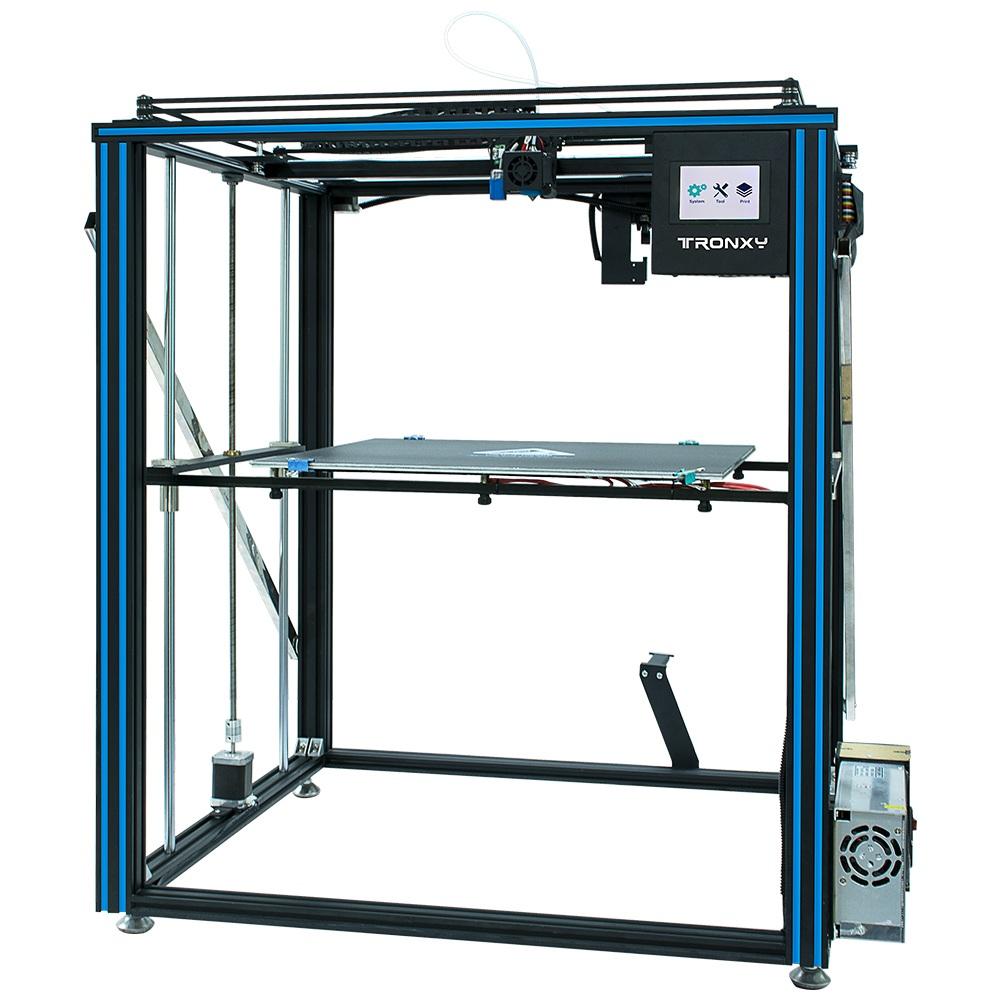
The 3D printer we used is TRONXY X5SA-500PRO, Aluminum 3D Printer 500*500*600mm
This the 3D ptiner we used;
Printing my design;
Stl File;
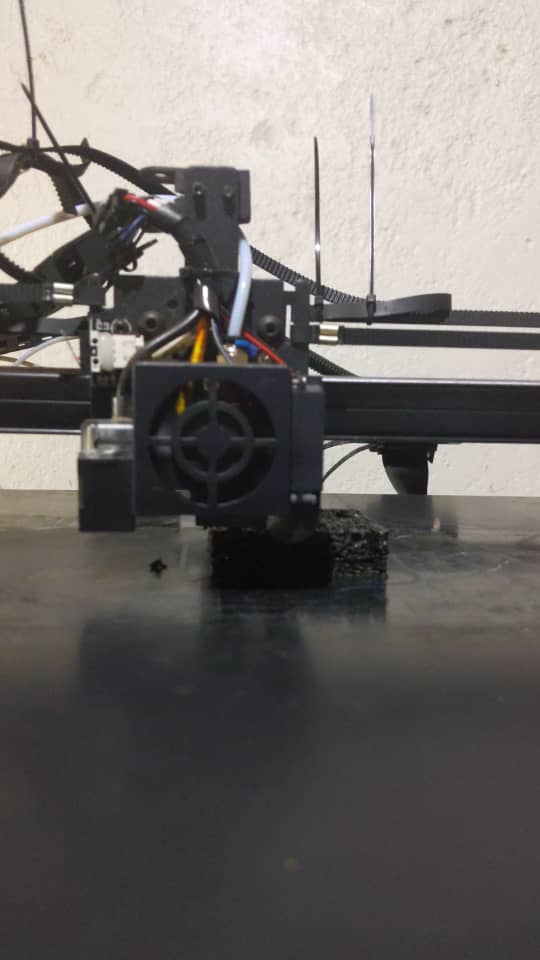
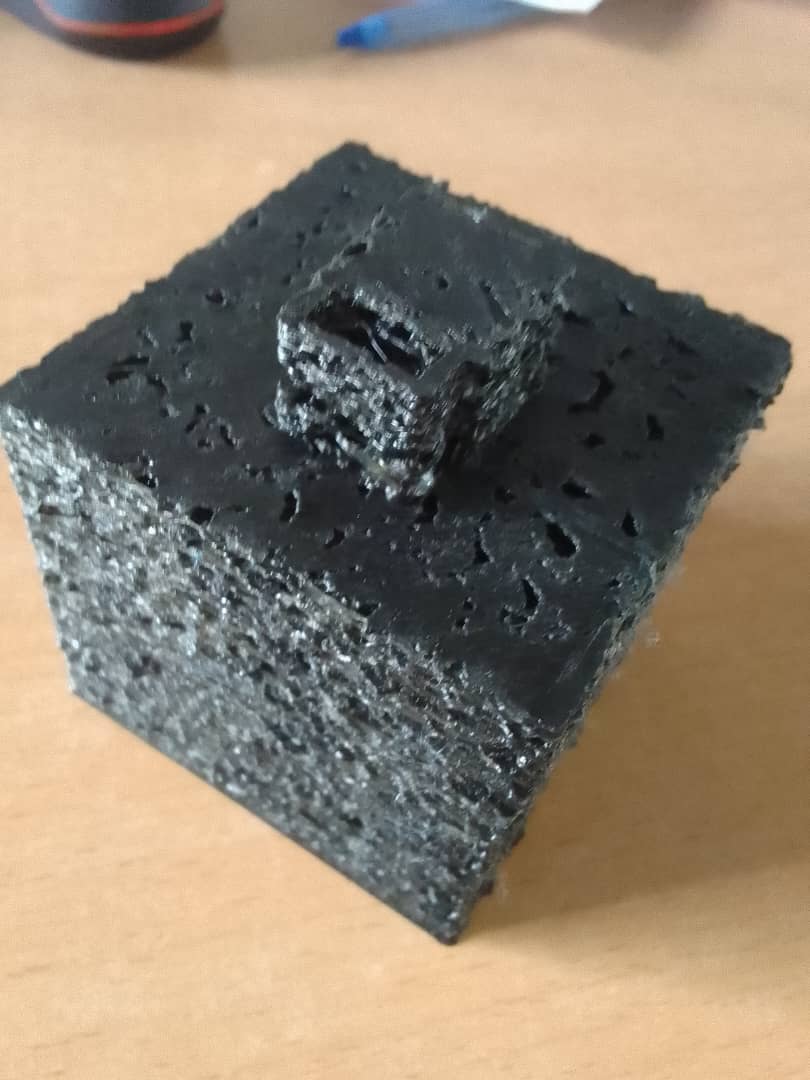
Perspective, Rear-Right View, 3D printed (The nozzle of this printer has a problem)
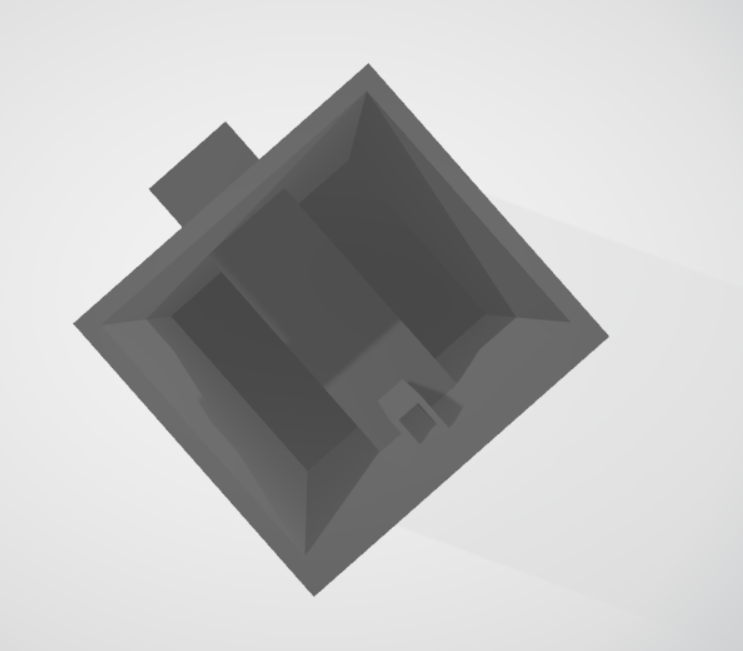
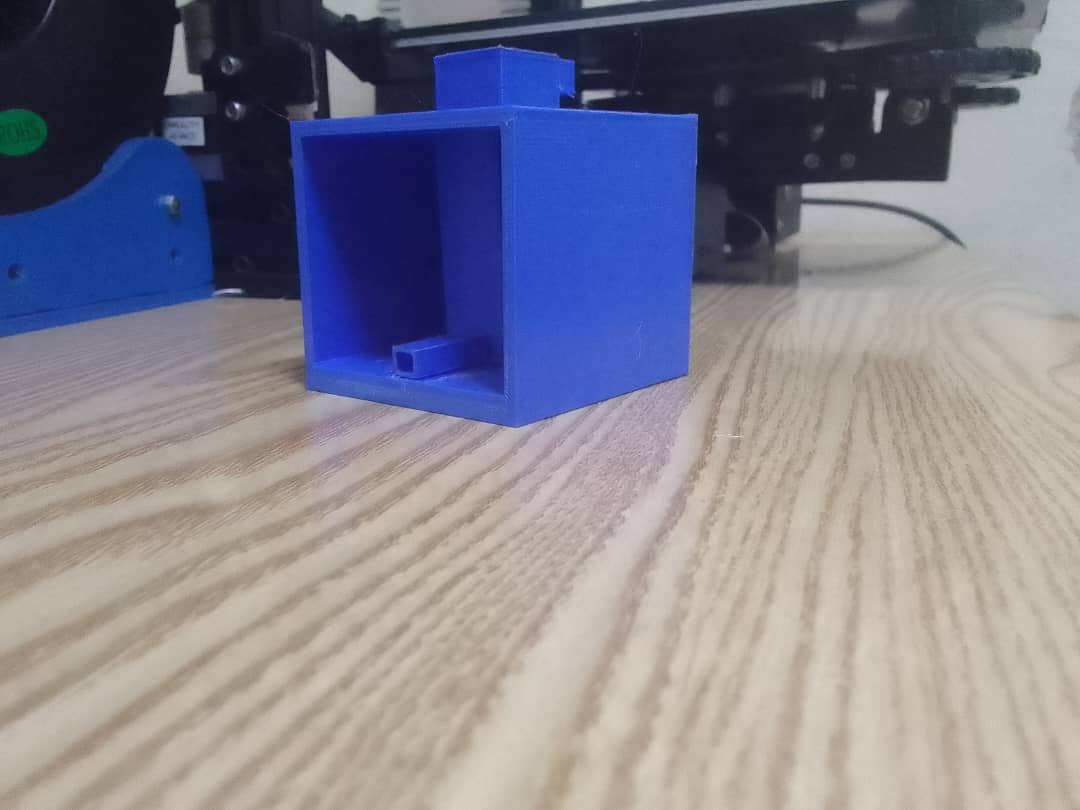
Tried another 3D printer with good nozzle (Creality CR-20 Pro).

3D printed Perspective

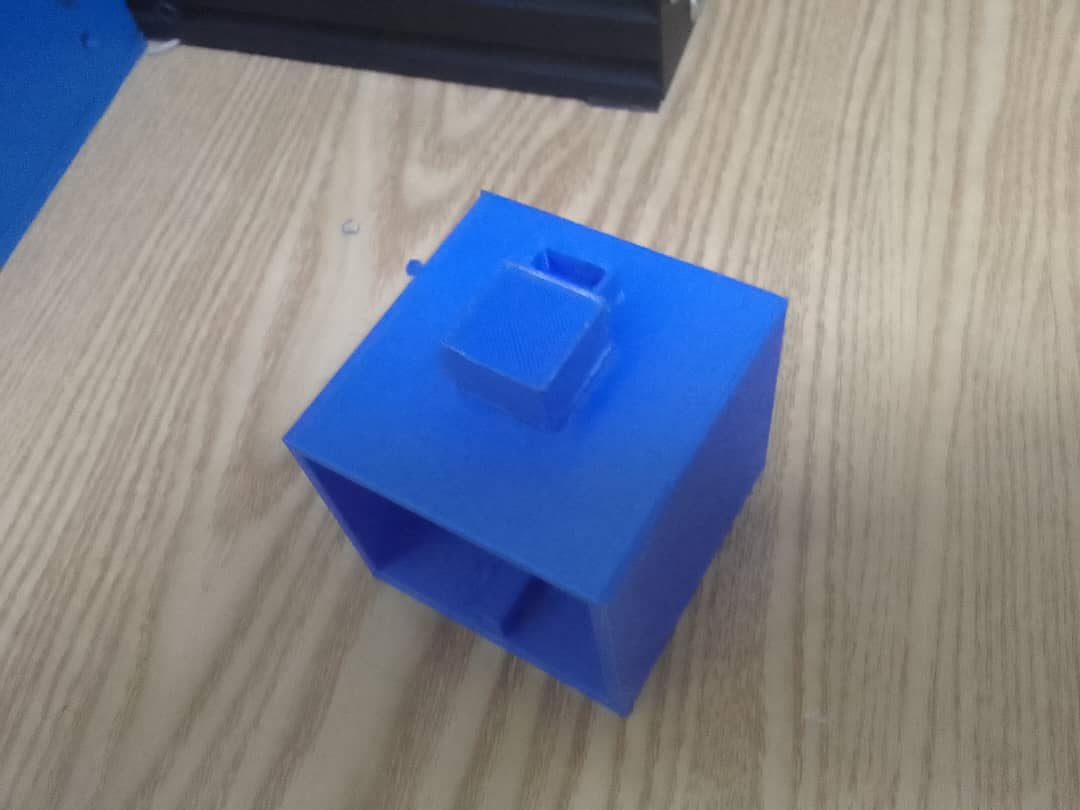
3D printed Perspective
3D printed Perspective top View
Video showing details of the design