Week 3
Computer Controlled Cutting
individual assignment
- Design, lasercut, and document a parametric construction kit, accounting for the lasercutter kerf, which can be assembled in multiple ways.
- Cut something on the vinyl cutter.
Group assignment
- Characterize your lasercutter's focus, power, speed, rate, kerf, joint clearance and types.
- Document your work to the group work page and reflect on your individual page what you learned. due to conflicting time schedules this will be done individually and sow here in page.
Laser Cut Construction Kit
to start of with I modeled a test pice with different size slit's provided that the thickness of the cardboard was 2.6mm, this experiment Showed me that the slit width should be aproximately 2.35mm. This presumes that the kerf of the laser is somewhere between 0.2mm and 0.25mm

Next I drew up some shapes and extruded them to 2.6mm thickness of the cardboard then I added the slits and designated the correct parameters to make them the right size. this did take a bit of finagling to get right, I mostly had issues geting the slits to be the right length for the pieces not to clash when assembeled. but armed with a calipes and an easily changable paramater I got it done.
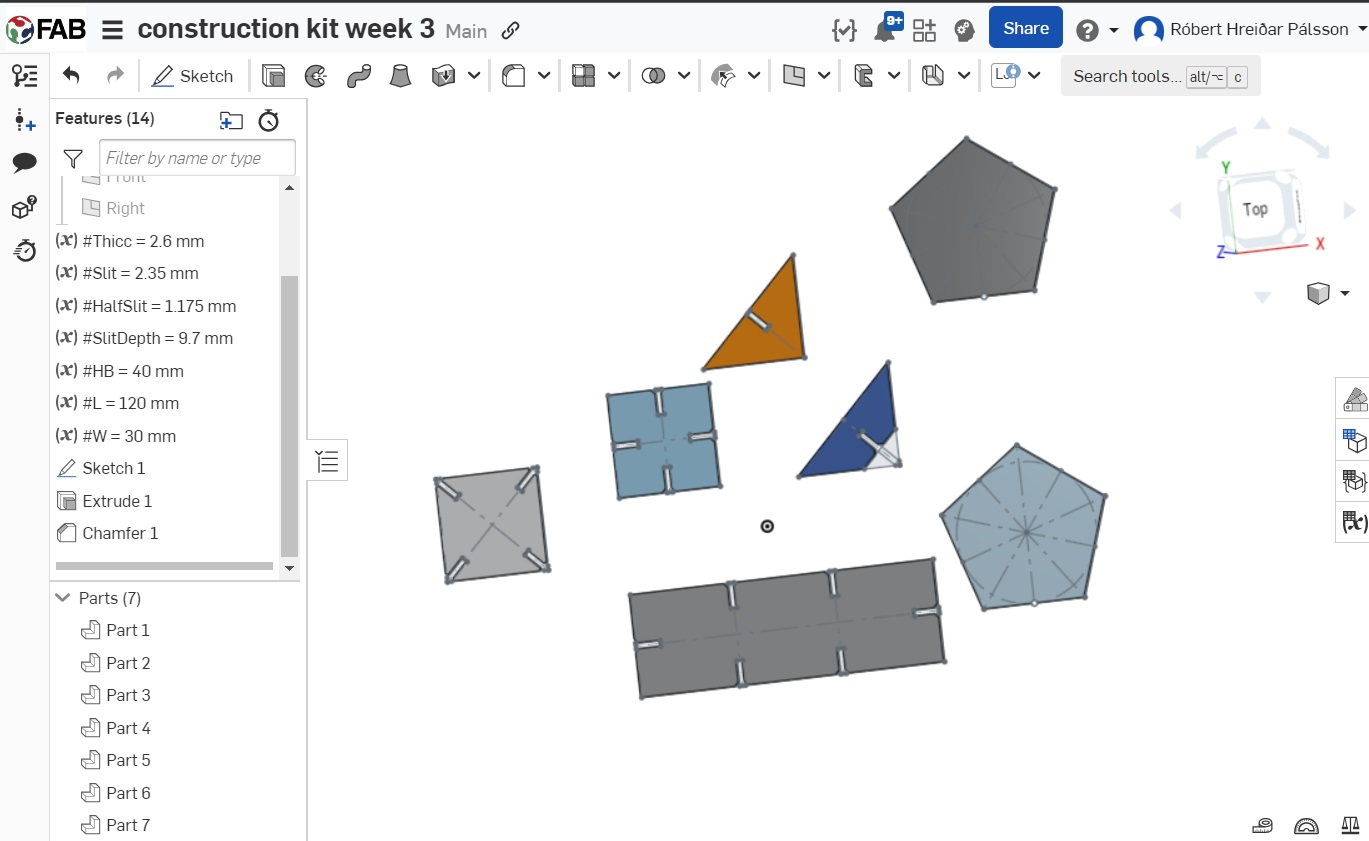
Then afer extruding everything and tweaking the parameters to my satisfaction I created a drawing in onshape so I could line the pieces up neatly on a sheet and exportid that as a DXF.
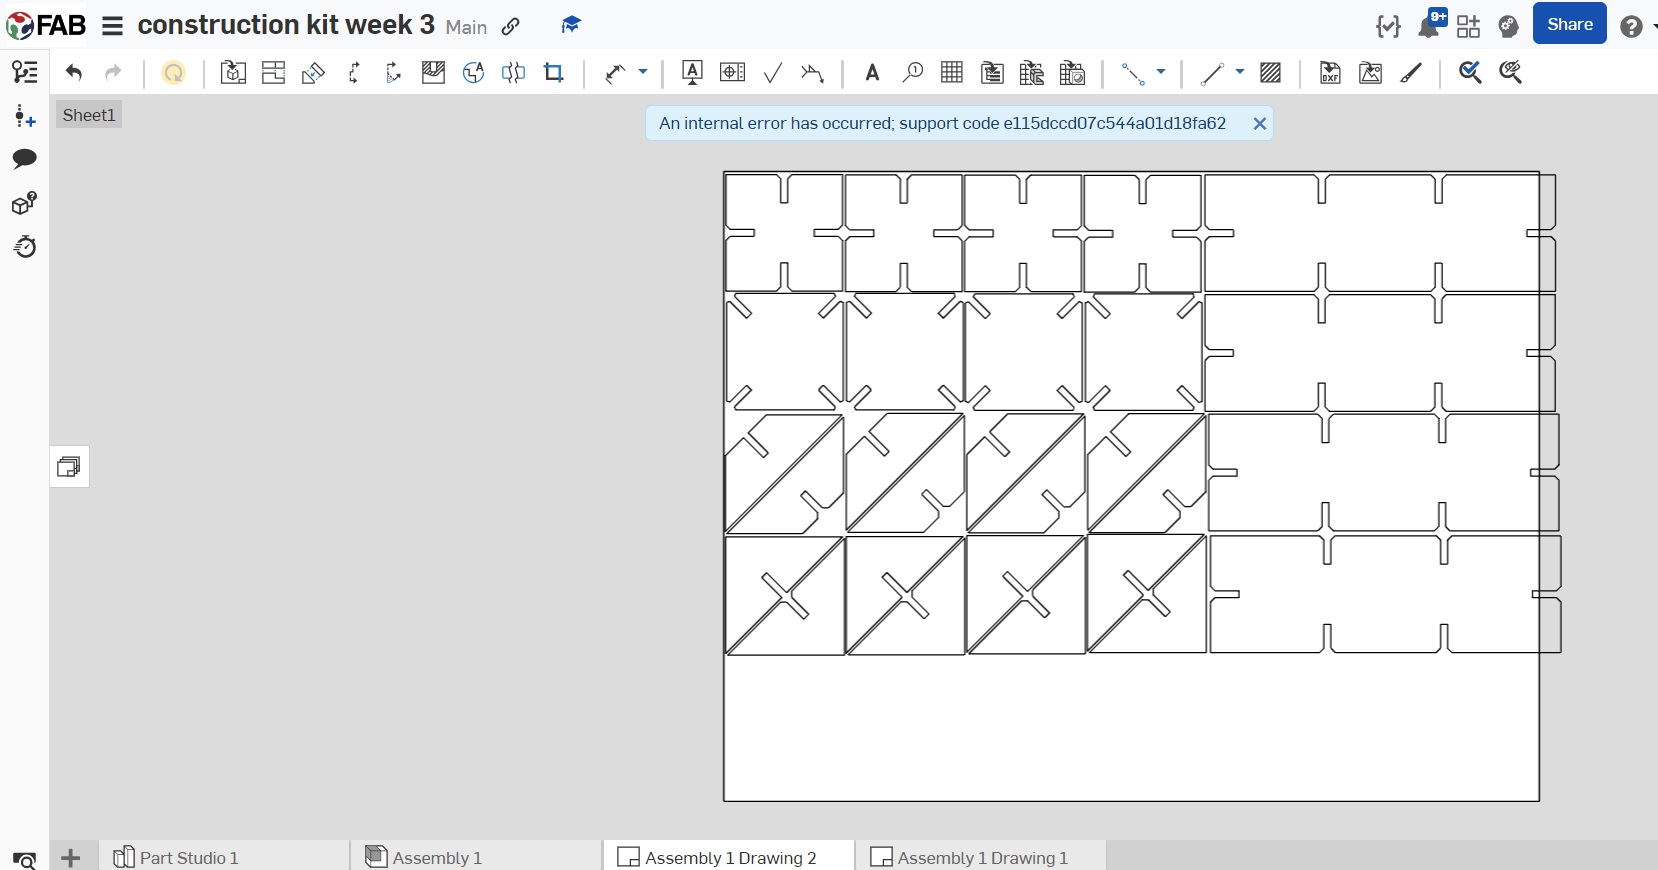
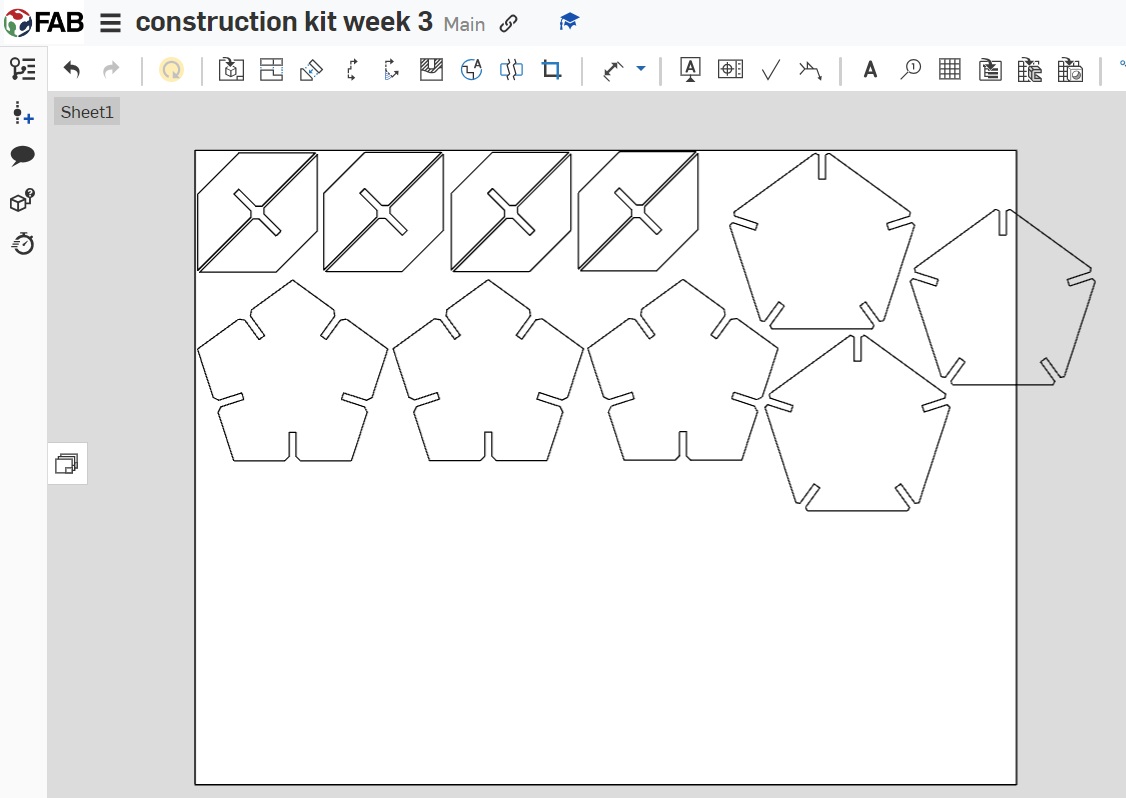
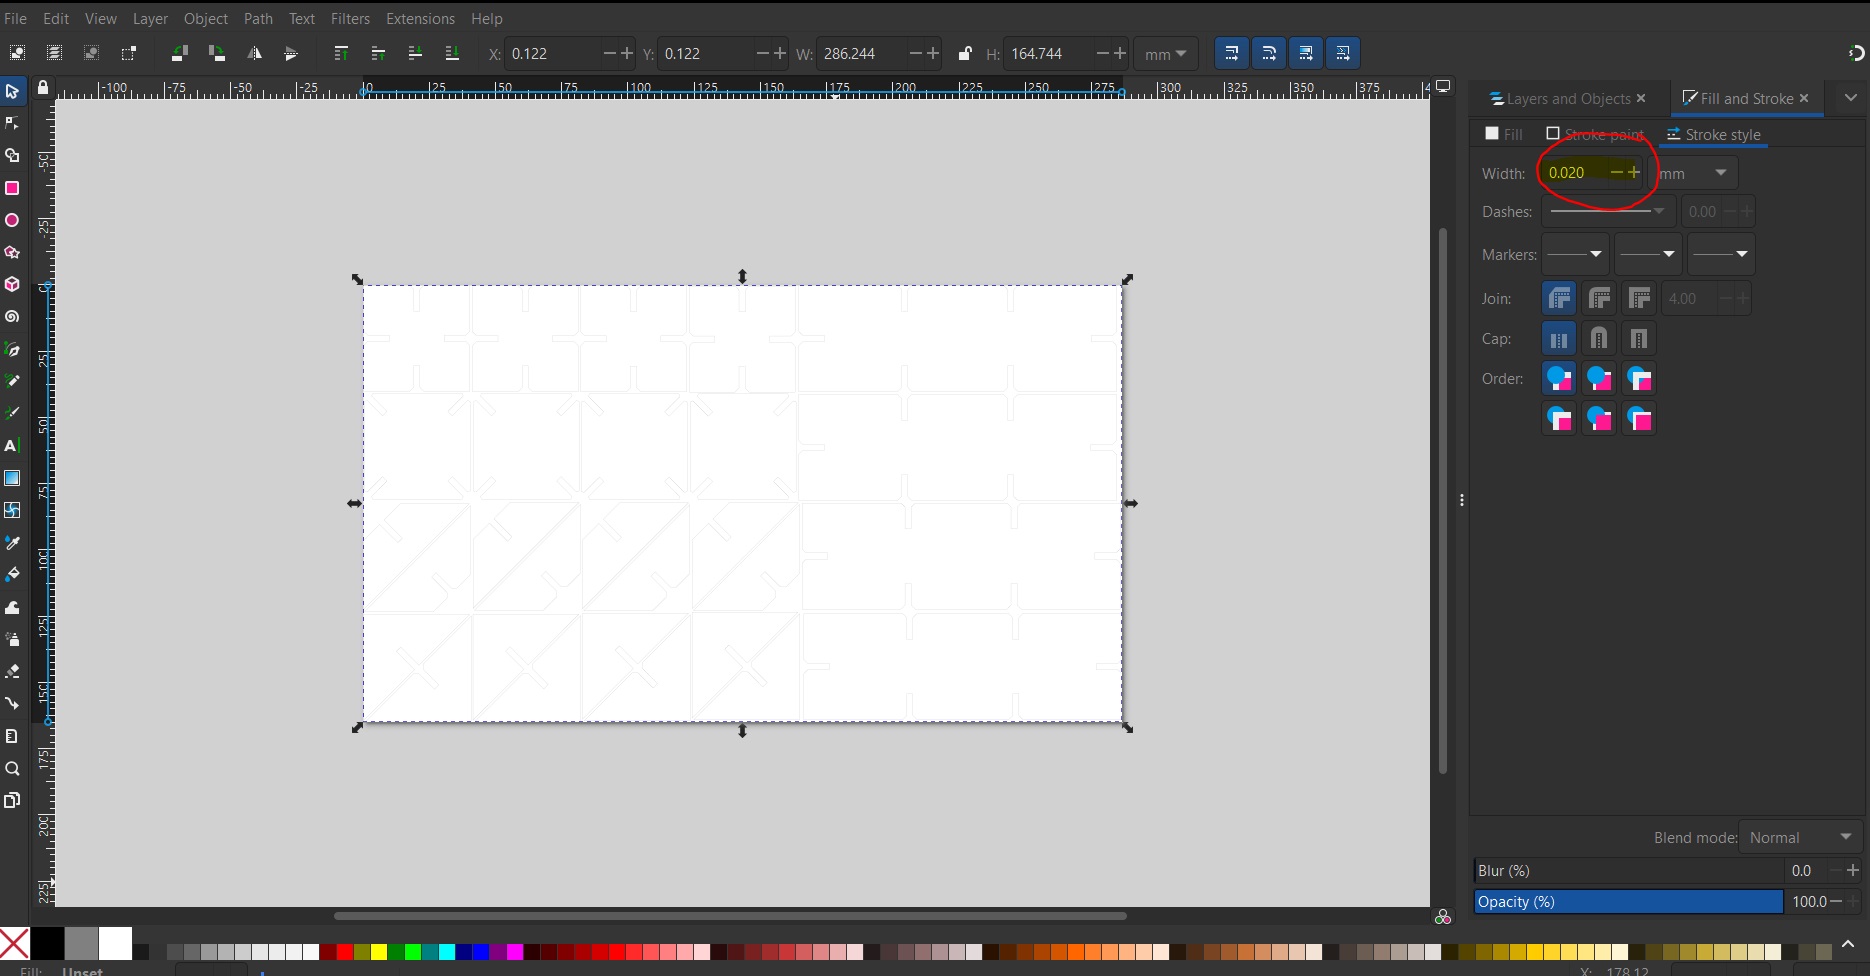
then it was just a simple matter of importing the aforementioned DXF's into inkscape where I then Resized the workspace to fit the file using ctrl+shift+R and changed the line width to 0.020mm and saved both drawings as PDF's
then it wa on to the laser to cut but out the pieces, this was pretty straight forward a I have had some experience with the laser before and had previously had a little refresher cource from Andri Sæmundsson. I Started by selecting the piece of cardboard I wanted, then set the focus by hitting the focus button and hitting go then pressing the up and down arrows until the tip of the calibration jig was just touching the surface of the workpiece, then I set the home point for the laser by hitting the X/Y off button and moving the laser to the top left corner of my workpiece.
all there was left to do now was to open the file on the computer next to the laser, hitting print and then properties and inputting the dimentons of my file, and entering the speed.power.frequency parameters as 30.80.500 a per the helpfull markings on the wall in the laser room at my node. then I simplie pressed print again and the big green GO button on the Laser
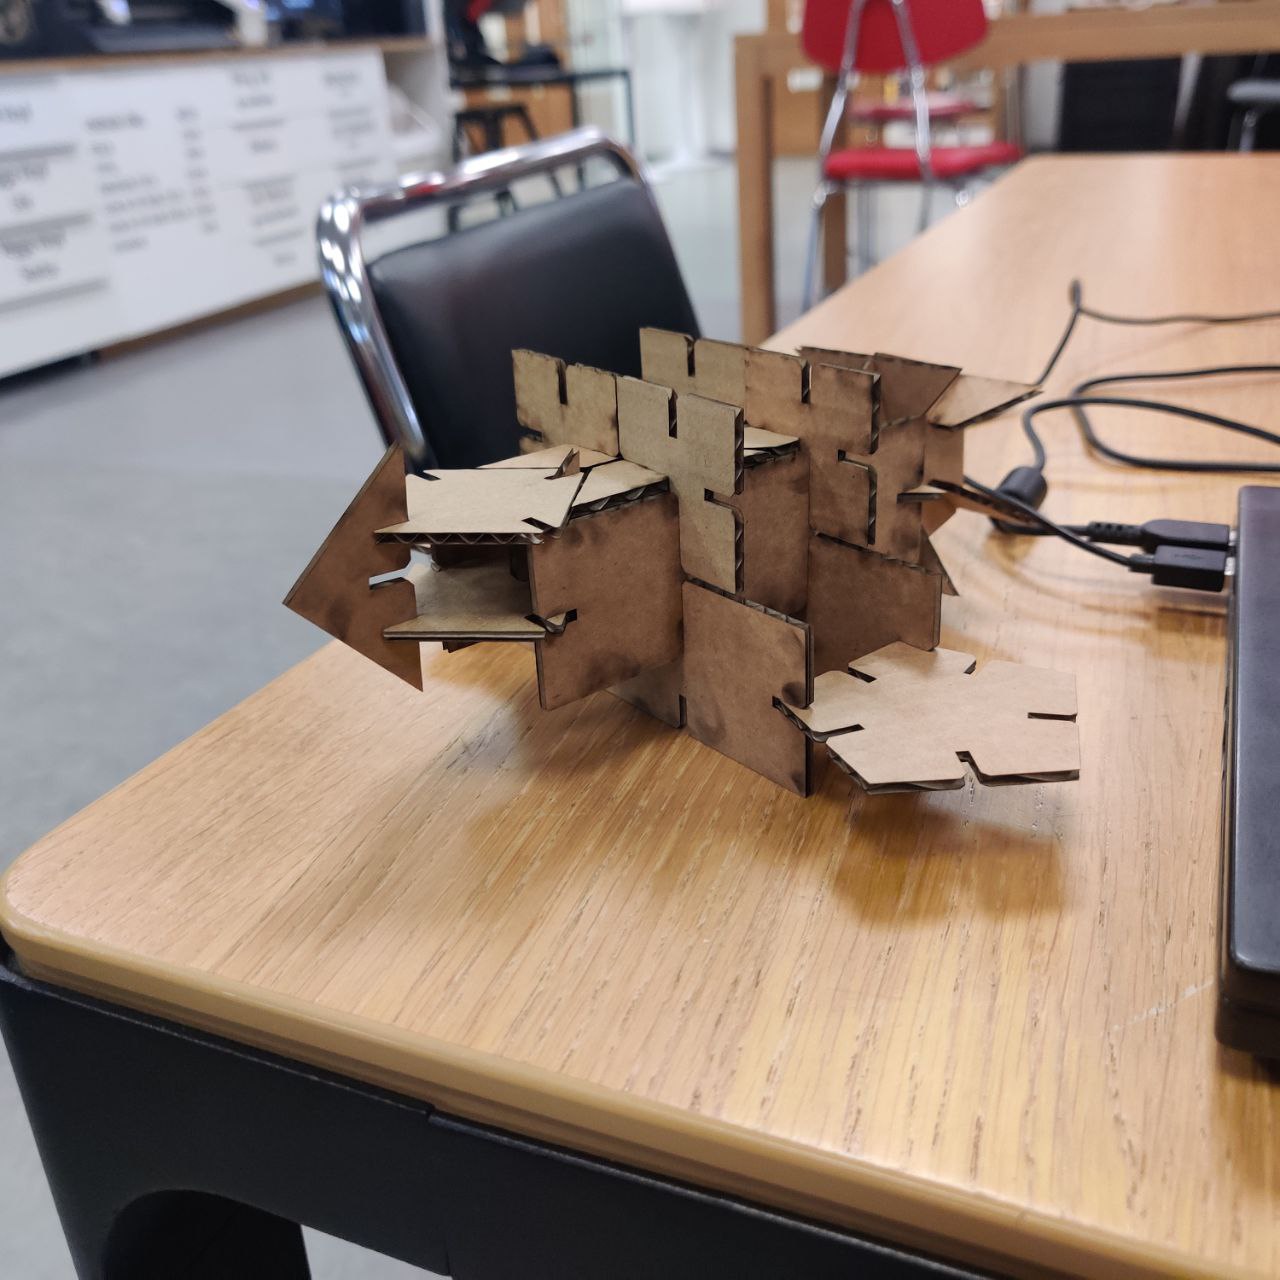
this whole process left me with a fun little construction kit that holds together really well and can even end up making some pretty fun structiures. as an example I made this little funny looking space ship shown below
 construction kit sheet 1
construction kit sheet 2
Vinyl Cutter Operation
for this I just grabbed some images of the internet that I wanted to makes some stickers out of and Used the trace bitmap feature in inkscape to create a vector from these images.
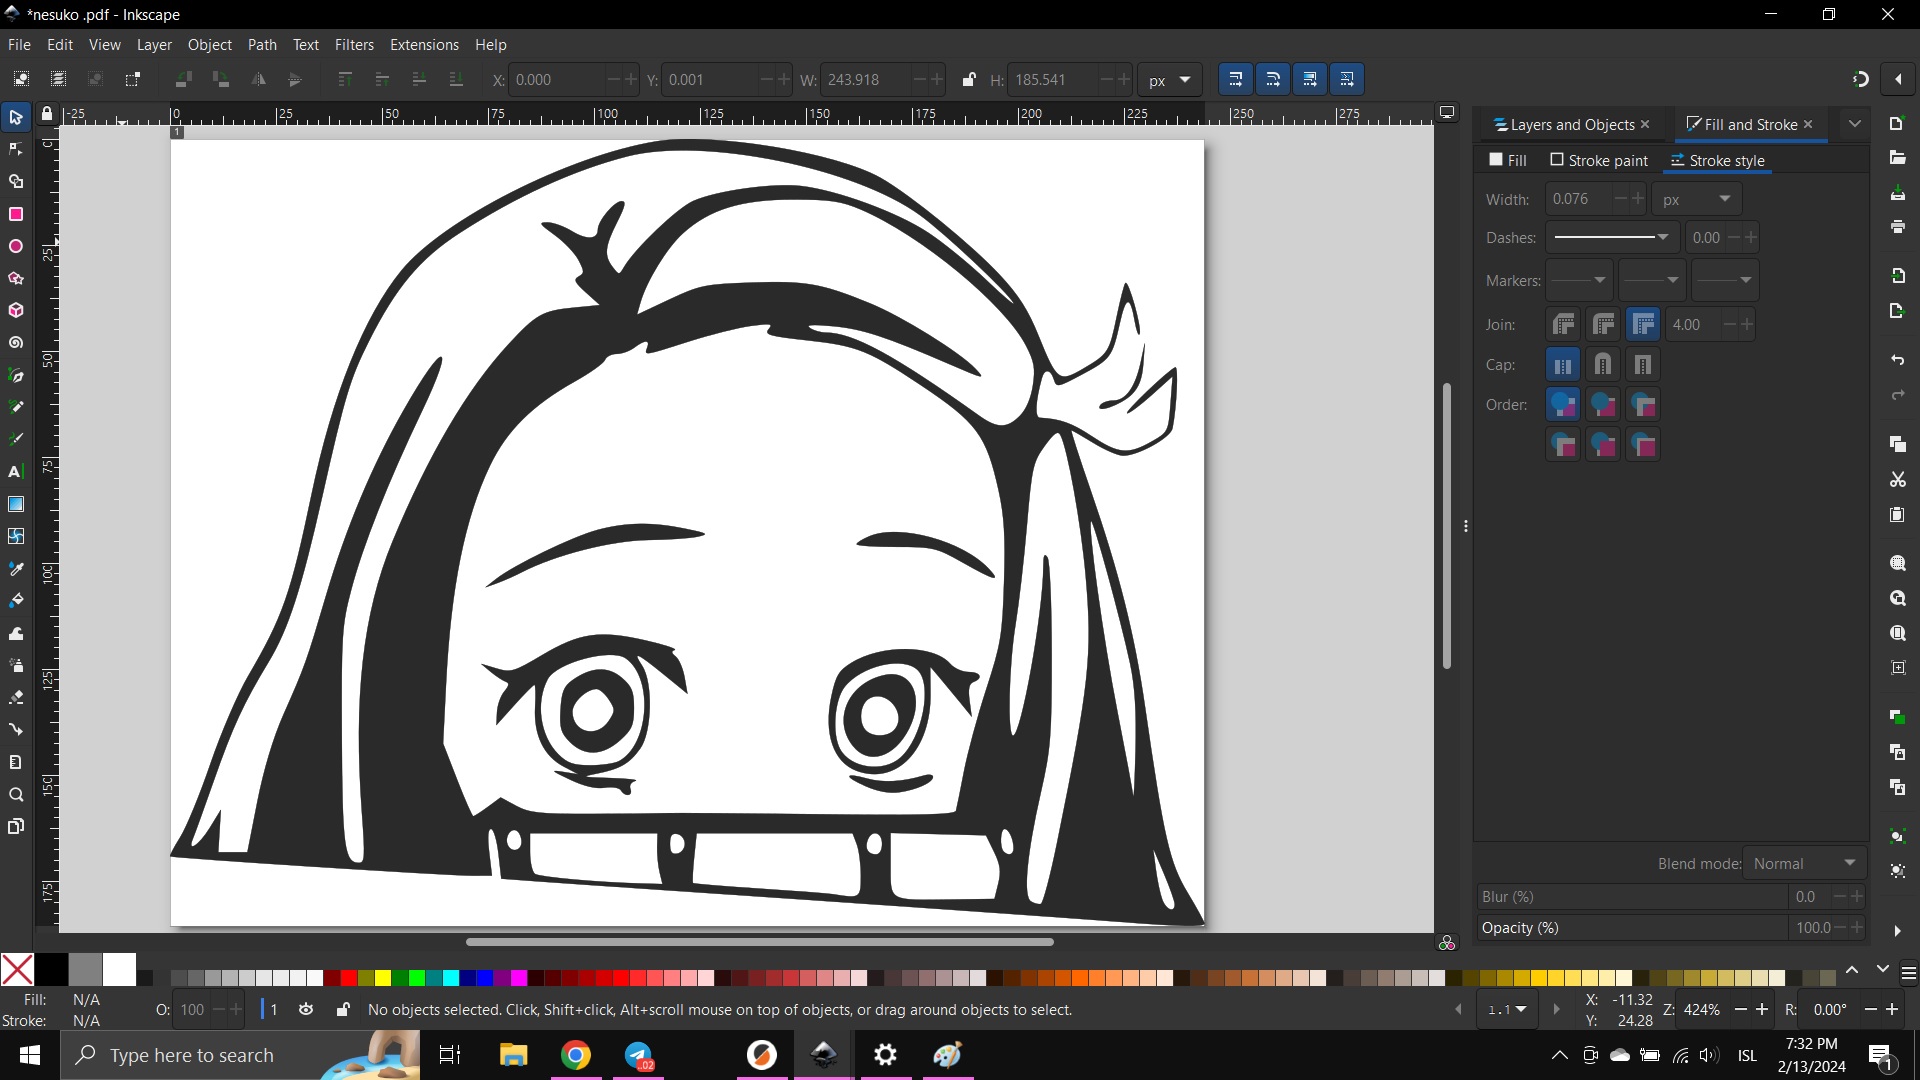
next step was to delete the original image from the layer list and removing the fill to show only my newly traced bitmap
then I simply removed the fill and made the stroke black so I could see it
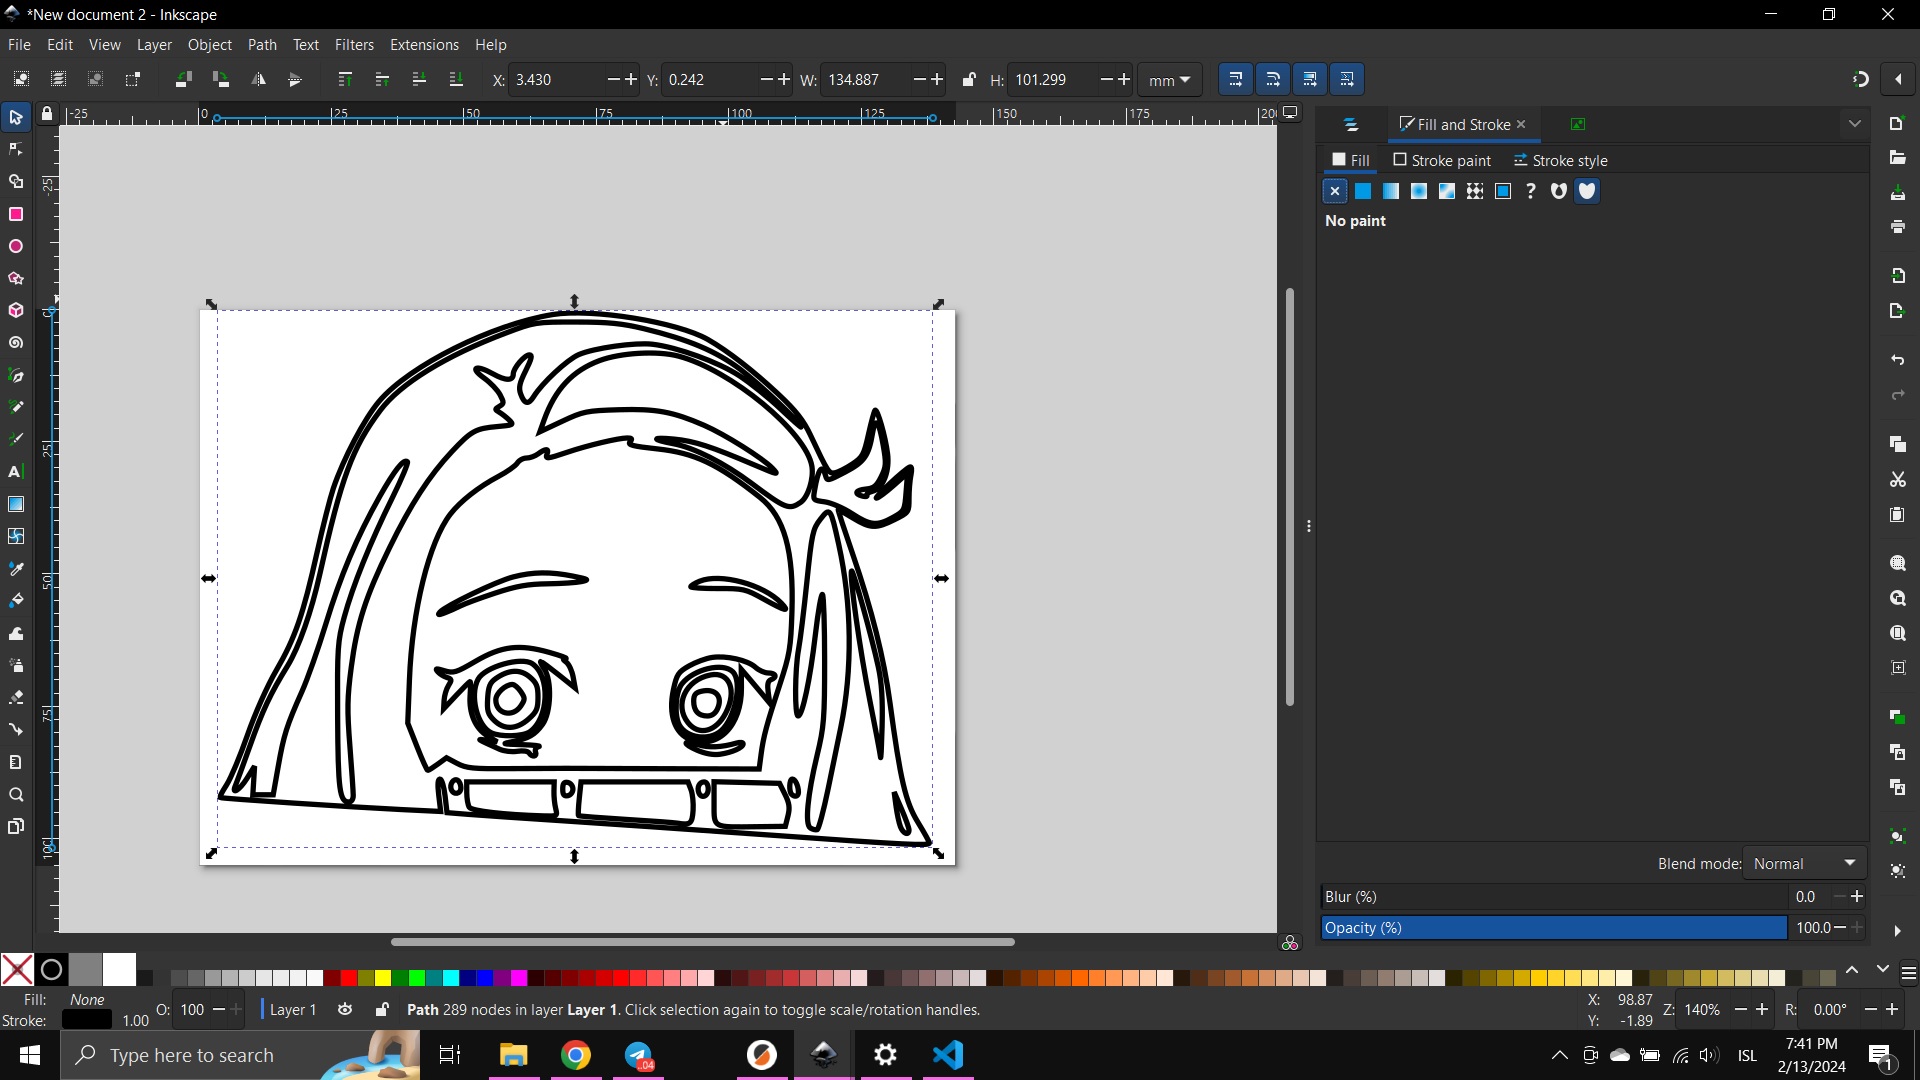
then much like for the laser cutter I set the stroke width to 0.020mm and saved the file as a pdf
then on to the vinyl cutter where I started by doing a test piece to see if the knife was correctly calibrated
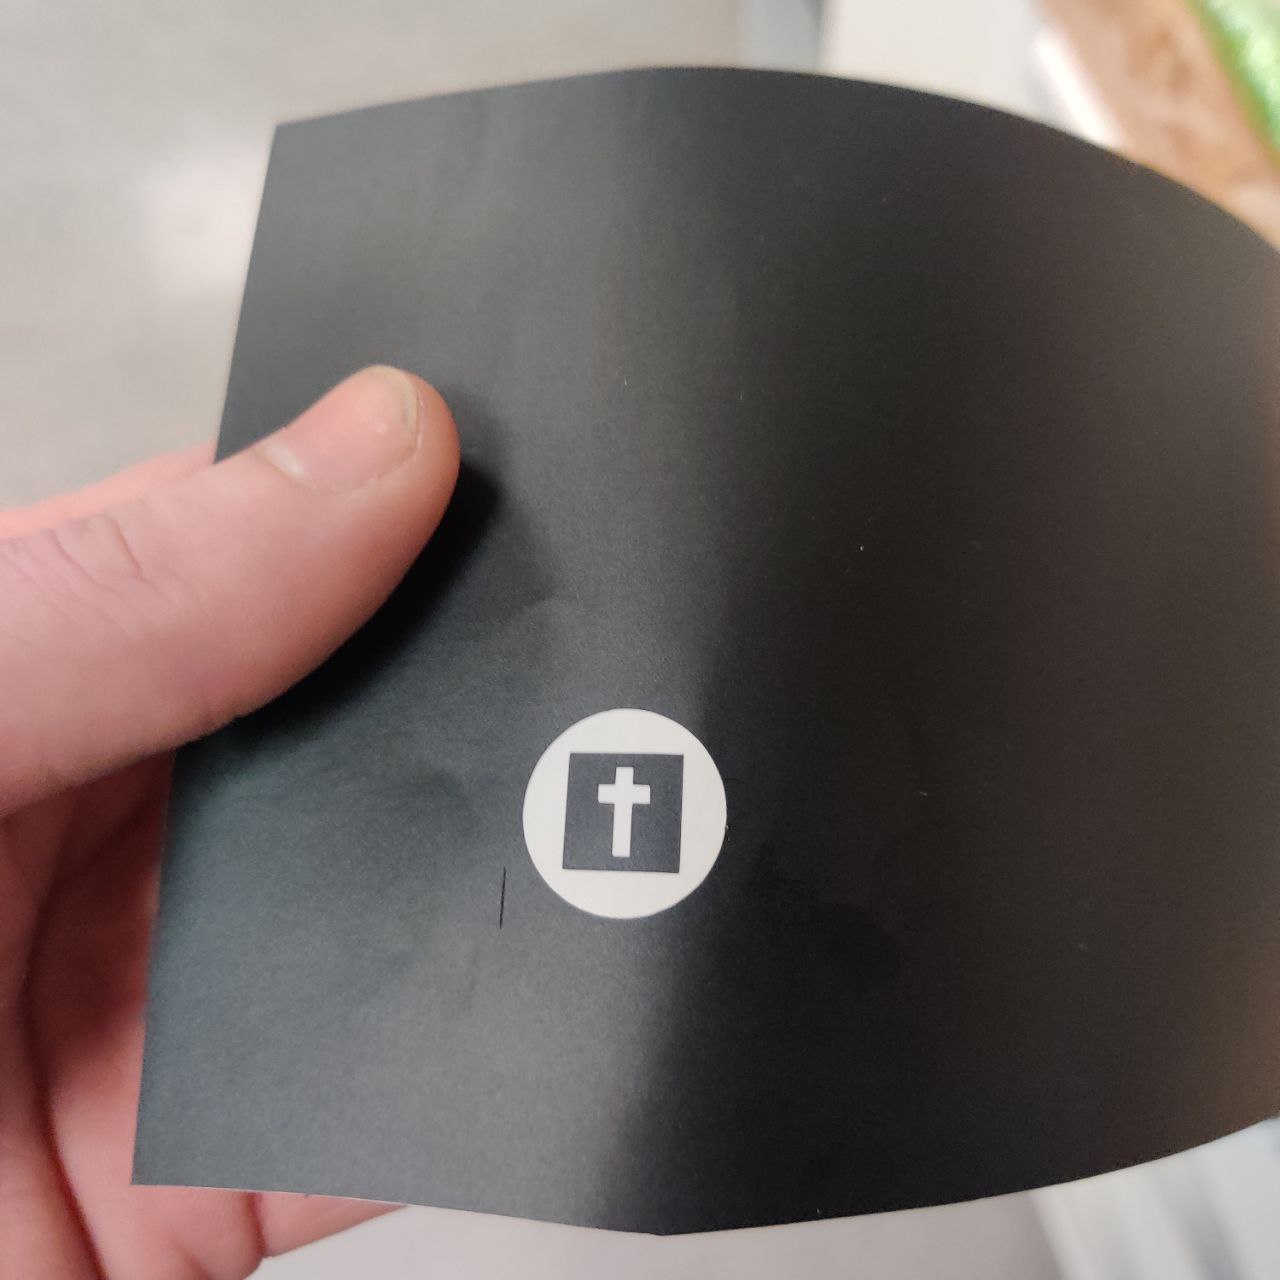
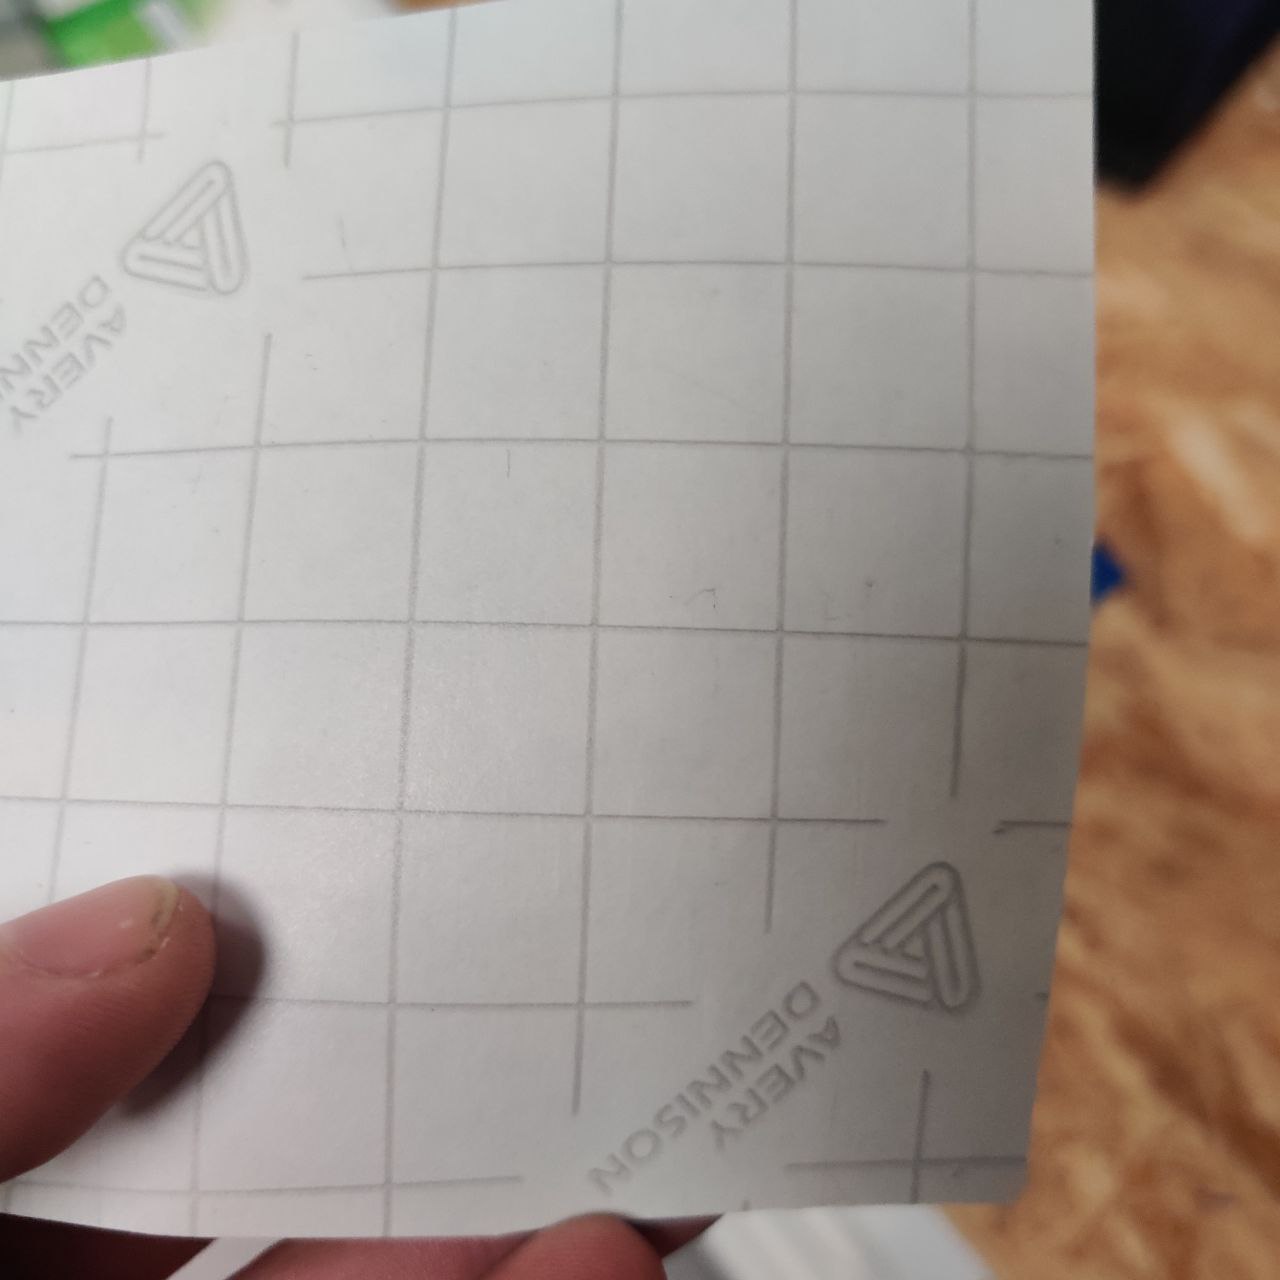
seeing as the test piece was able to be plucked and there were no noticable dents in the back of the piece I was clear to proceed
however had I had to recalibrate it I would have to remove the knife and readjust how far it sticks out of it's housing by twisting the little black collar around the blade shown in the pictures below,
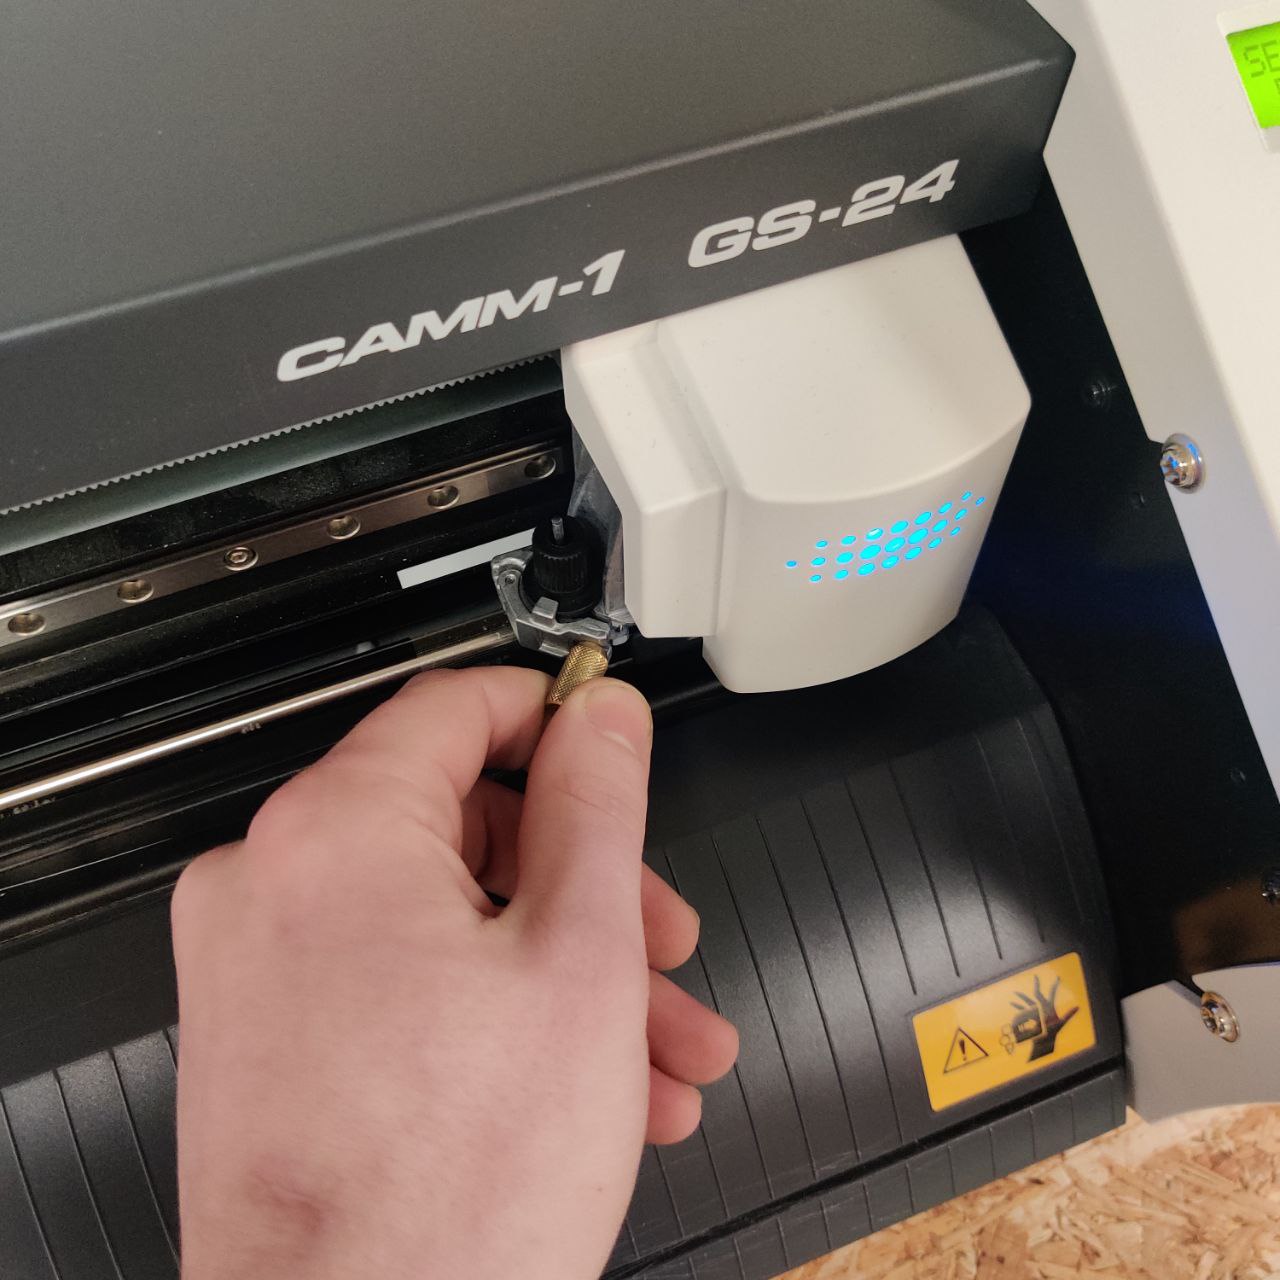
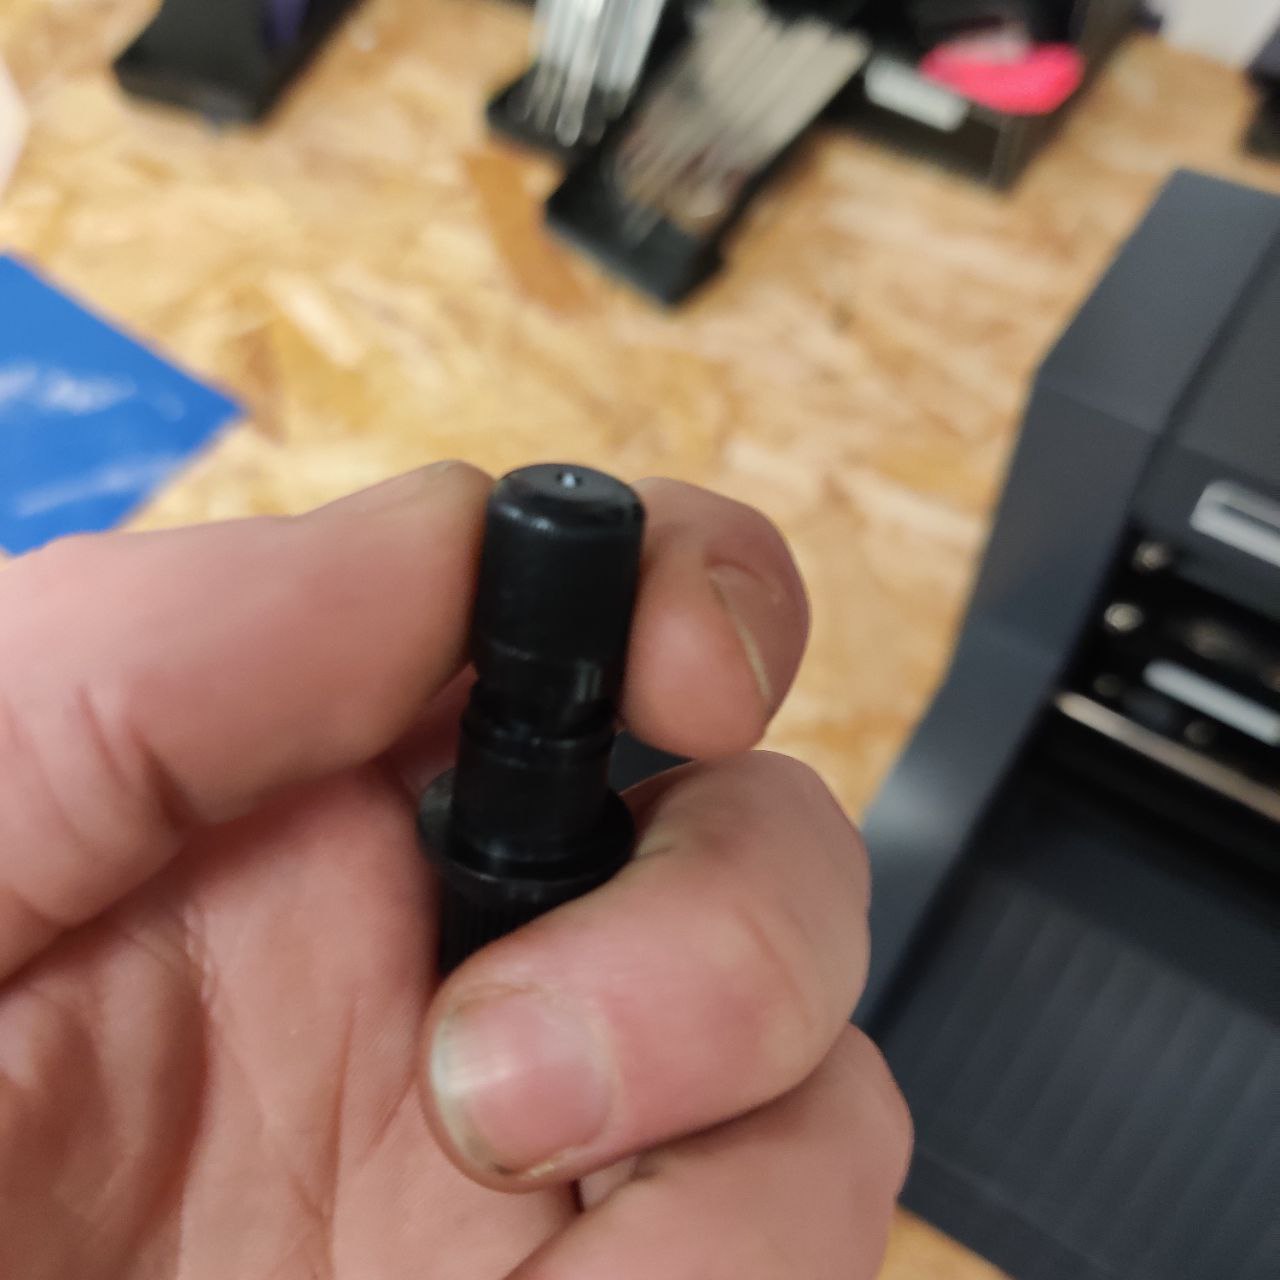
now on to the operation of the vinyl cutter, what i did next was insert a piece of vinyl into the machine and told the machine that I was using a piece, this made the machine go and measure the piece in question
then I opened the pdf from before on the vutter computer and imported the measurements from the printer through the print properties and I was good to hit print
almost done now, next I had to take the image I had now cut and pluck away the excess material with the tools shown below
 when that was done I was left with this clean looking vinyl sticker that I added some transfer paper too so I could stickit where ever I might want i nthe future don't mind the colour change i had to cut it out again as the first time it was a bit too smal to pluck
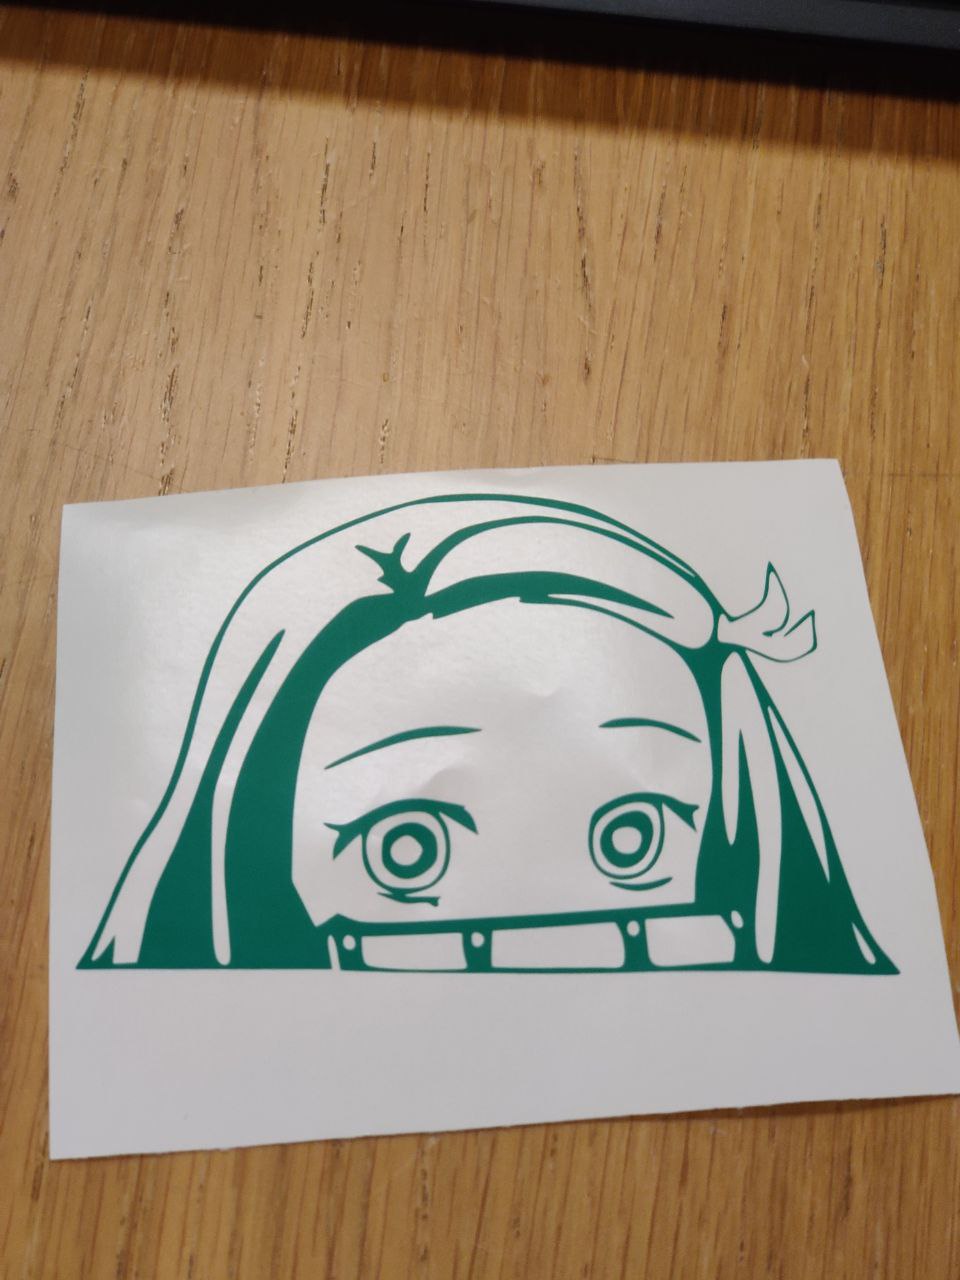
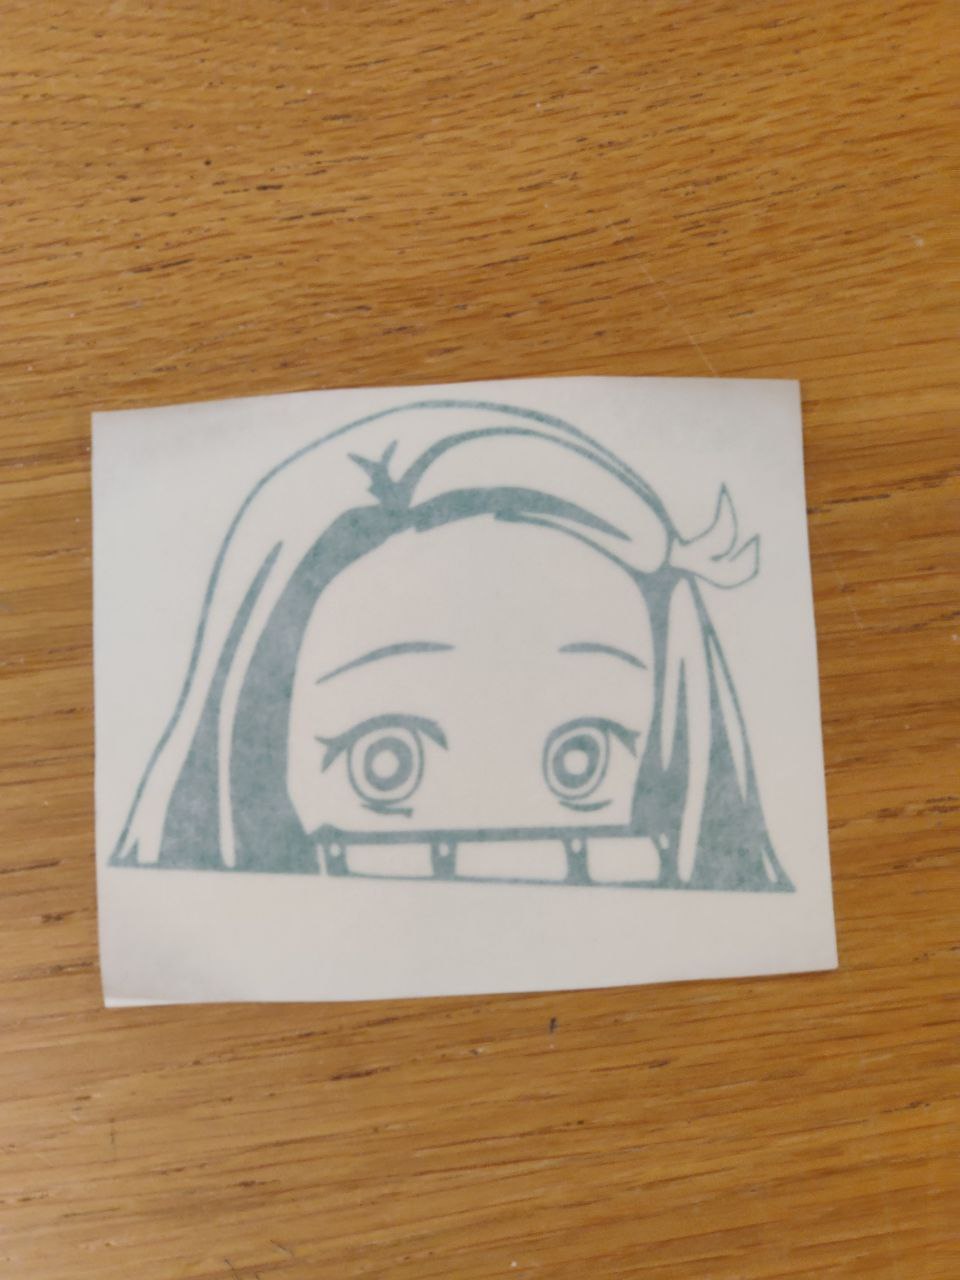
this was not the only sticker I did using the vinyl cutter so below you can see some other examples I made
 Nezuko sticker vector