Week 2
Computer aided design
Assignment
- model (raster, vector, 2D, 3D, render, animate, simulate, ...) a possible final project,
- compress your images and videos,
- and post a description with your design files on your class page
3D software
I started of By brushing up on my 3D modeling skills, I had some previous experience with onshape so I decided to stick with that as I have grown to enjoy many of it's features.
For this weeks assignment I decided to cad up a Little test platform for the piezo misters so I could figgure out how best to Isolate the electronics and make sure everything that needs to be is waterproof.
I started of by scetching a square and using the variables L=70mm & W=70mm and then extruding it using the variable H=50mm this gave me a cube with the desired dimentions.
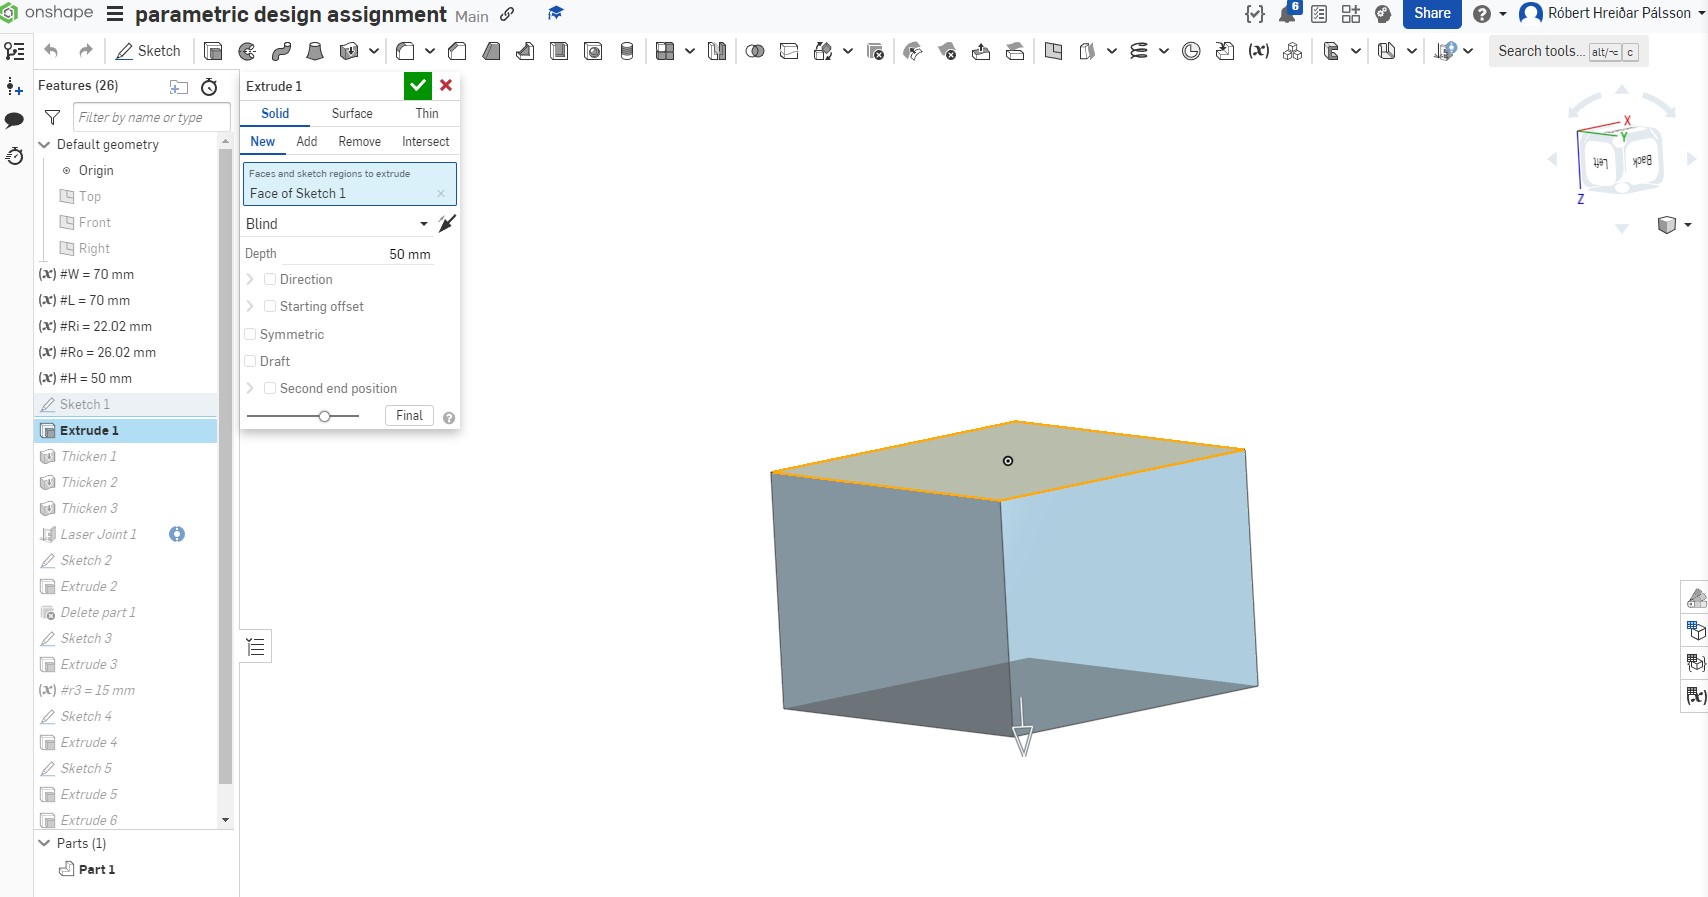
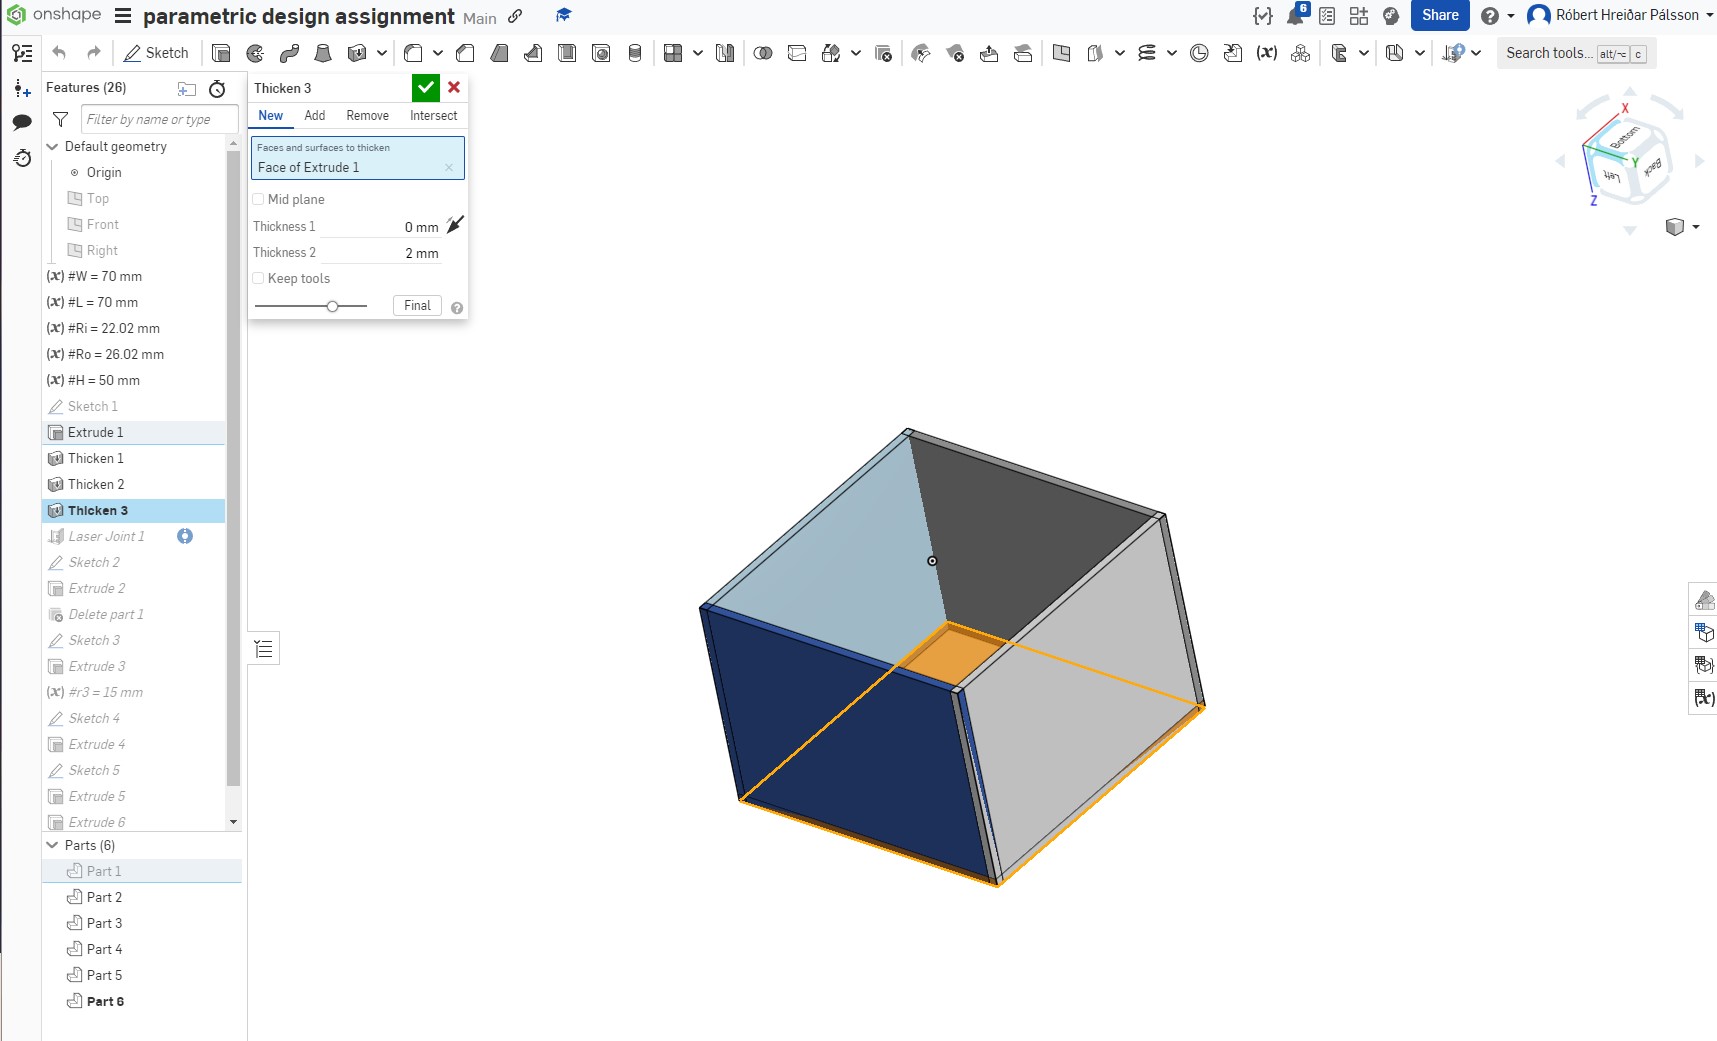
then I Used the thicken tool to thicken the sides of the cube by -2mm. the negative number is important as I want the thickened sides to intersect for the next step.
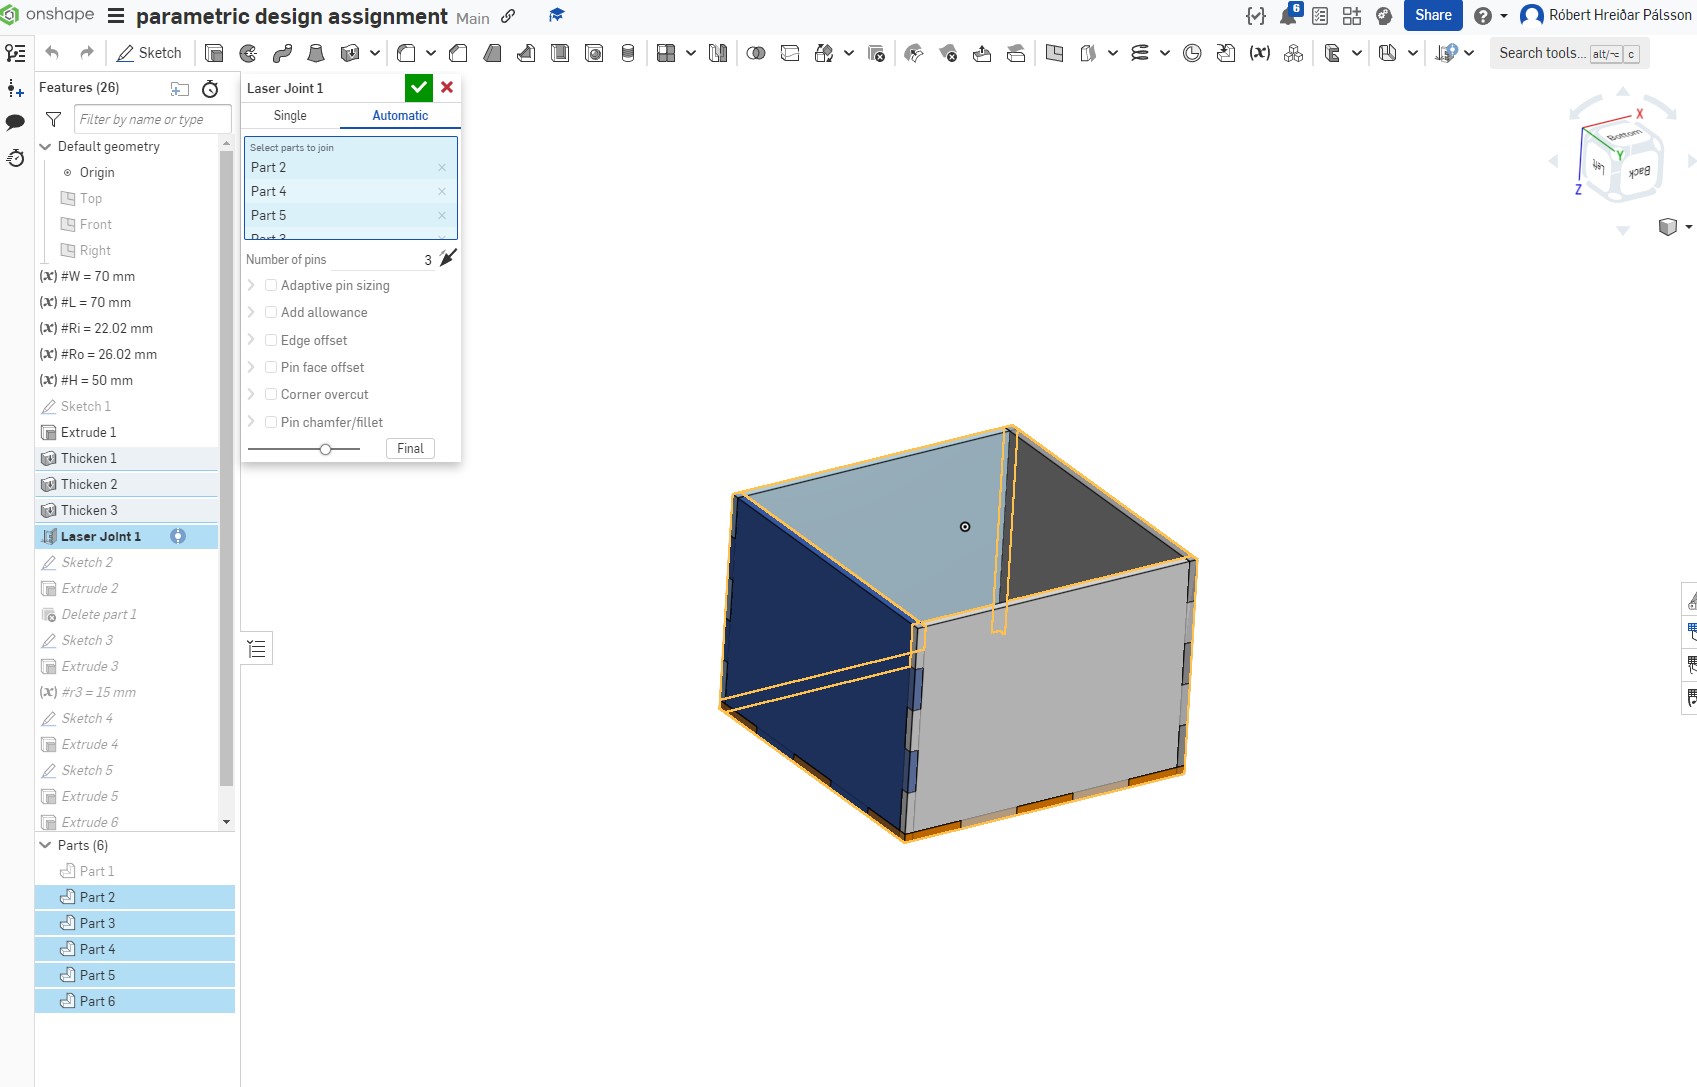
then I simply Used an open source tool you can find in the search tools tab in the tool bar, the tool is called laser joints and it lets you easily create finger joints for laser cutters by simply selecting the overlaping parts you want to join.
and then all I did was ad another sketch and a few extrudes later I had What I am hoping will be a functional test platform for the watering system
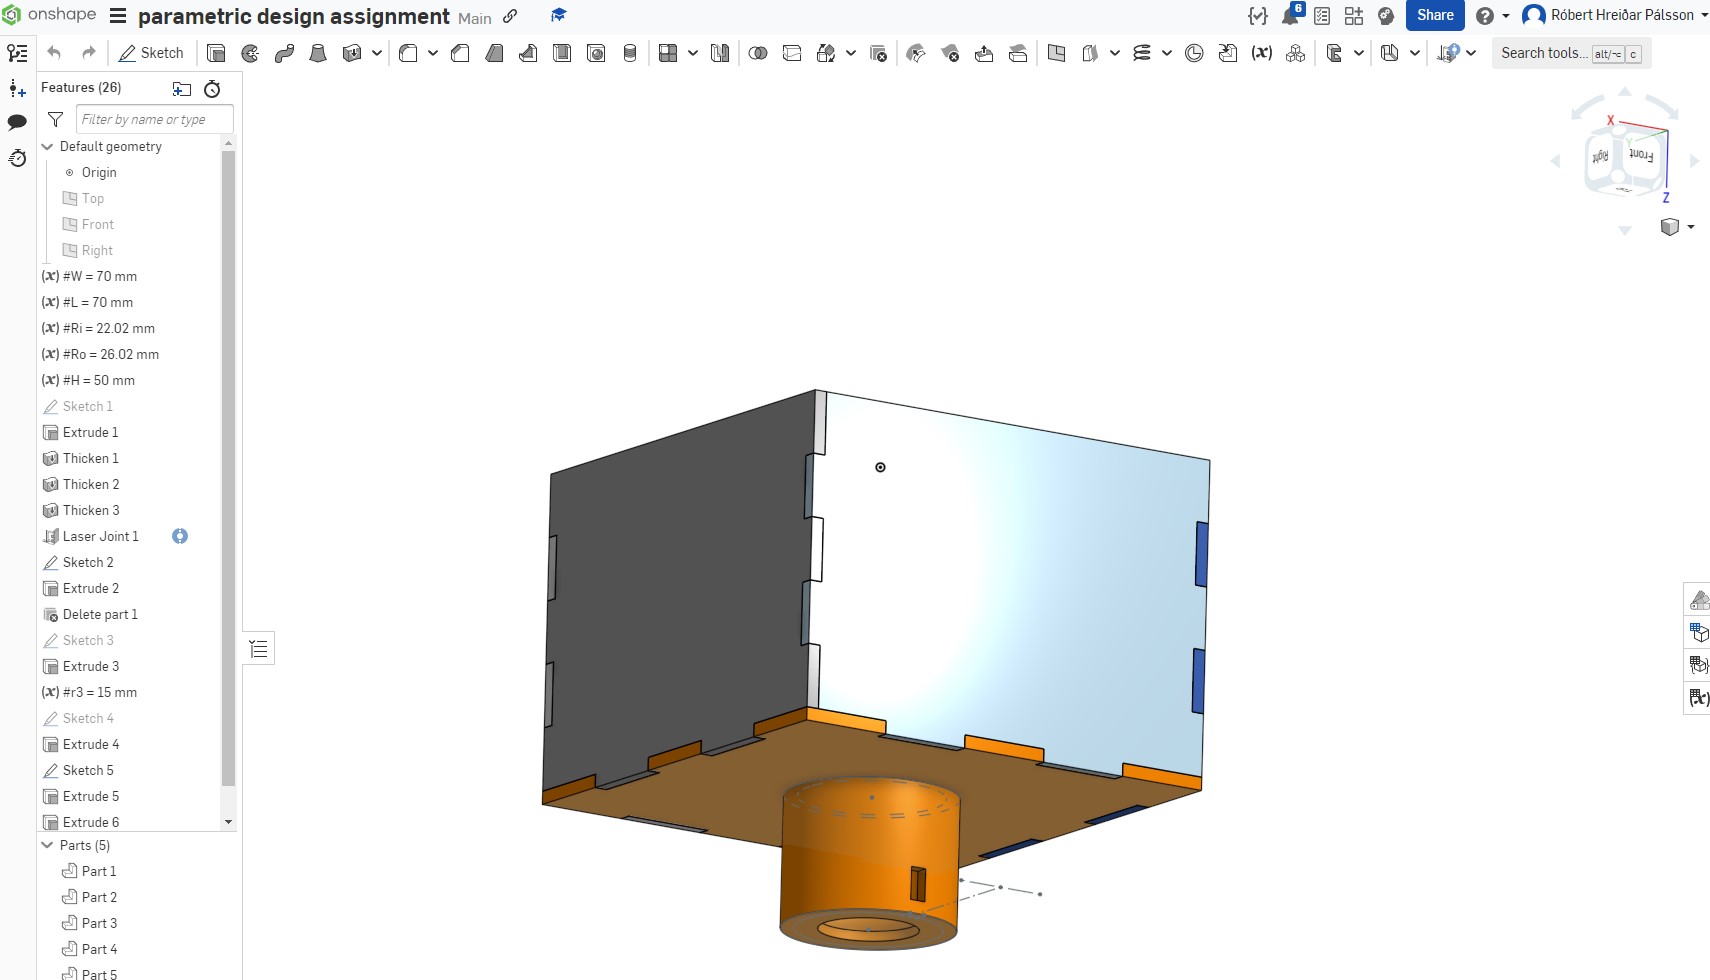
I didnt stop there though as I realized that it might be a good idea to add a stand so I quickly cadded one up and joined the two peices it in assembly
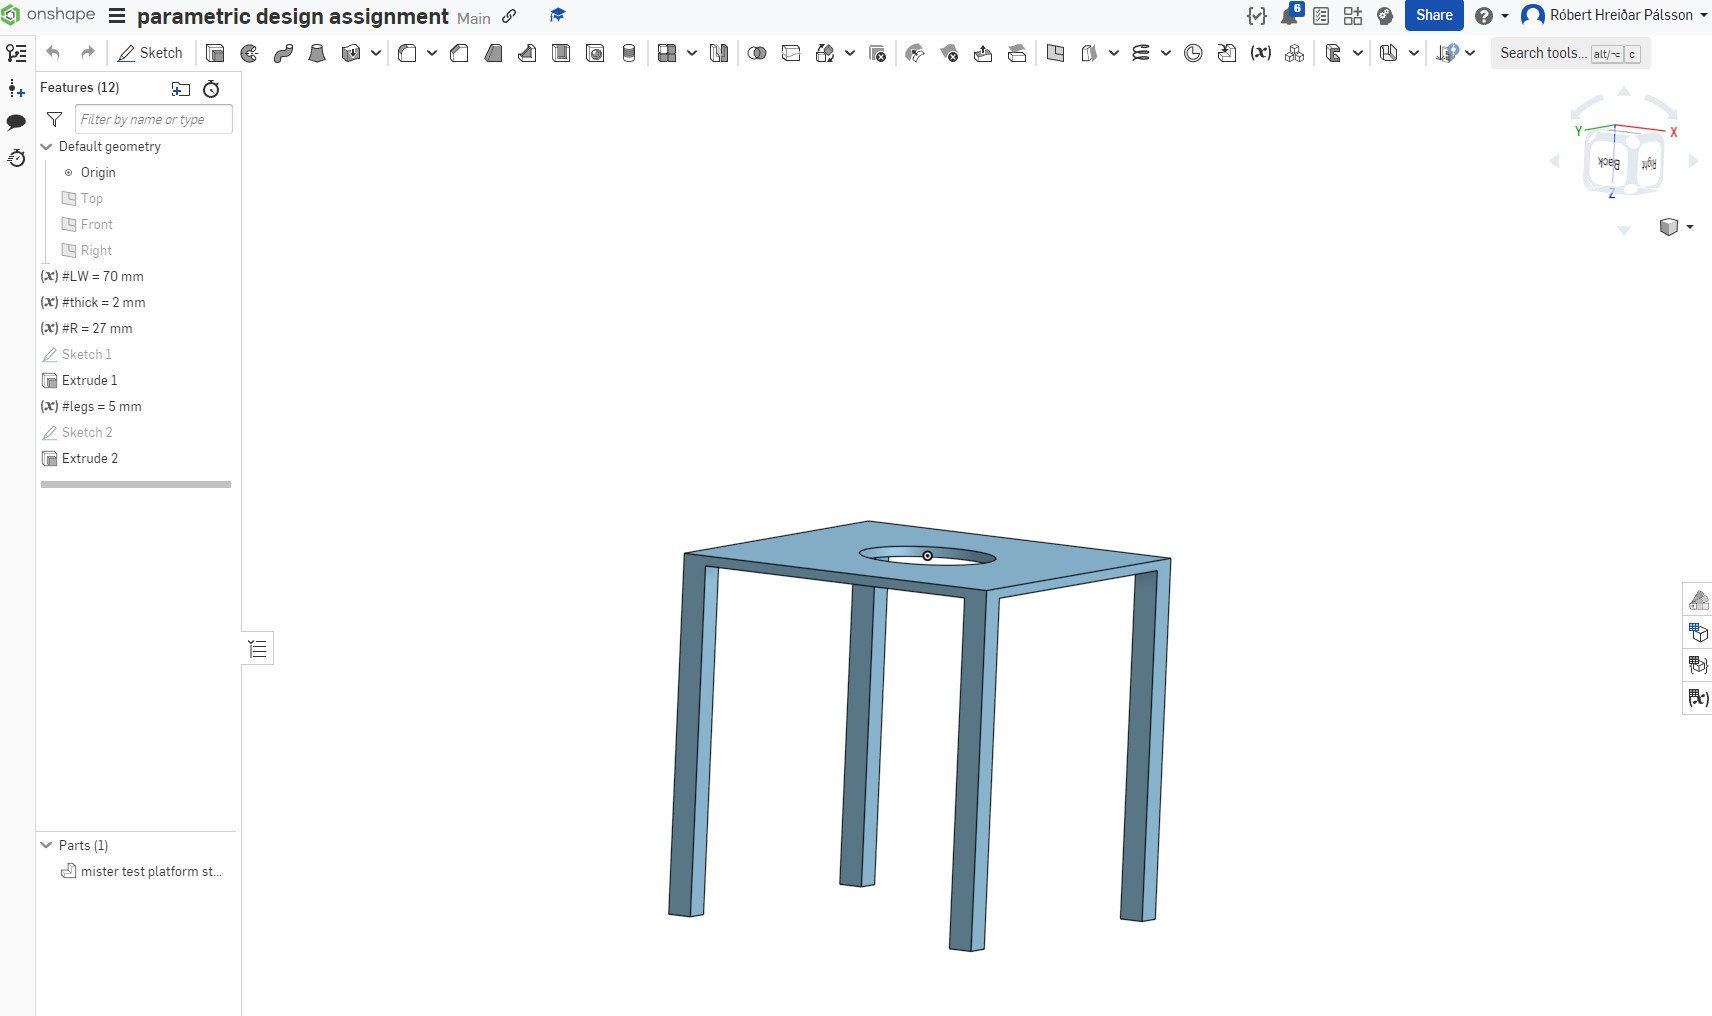
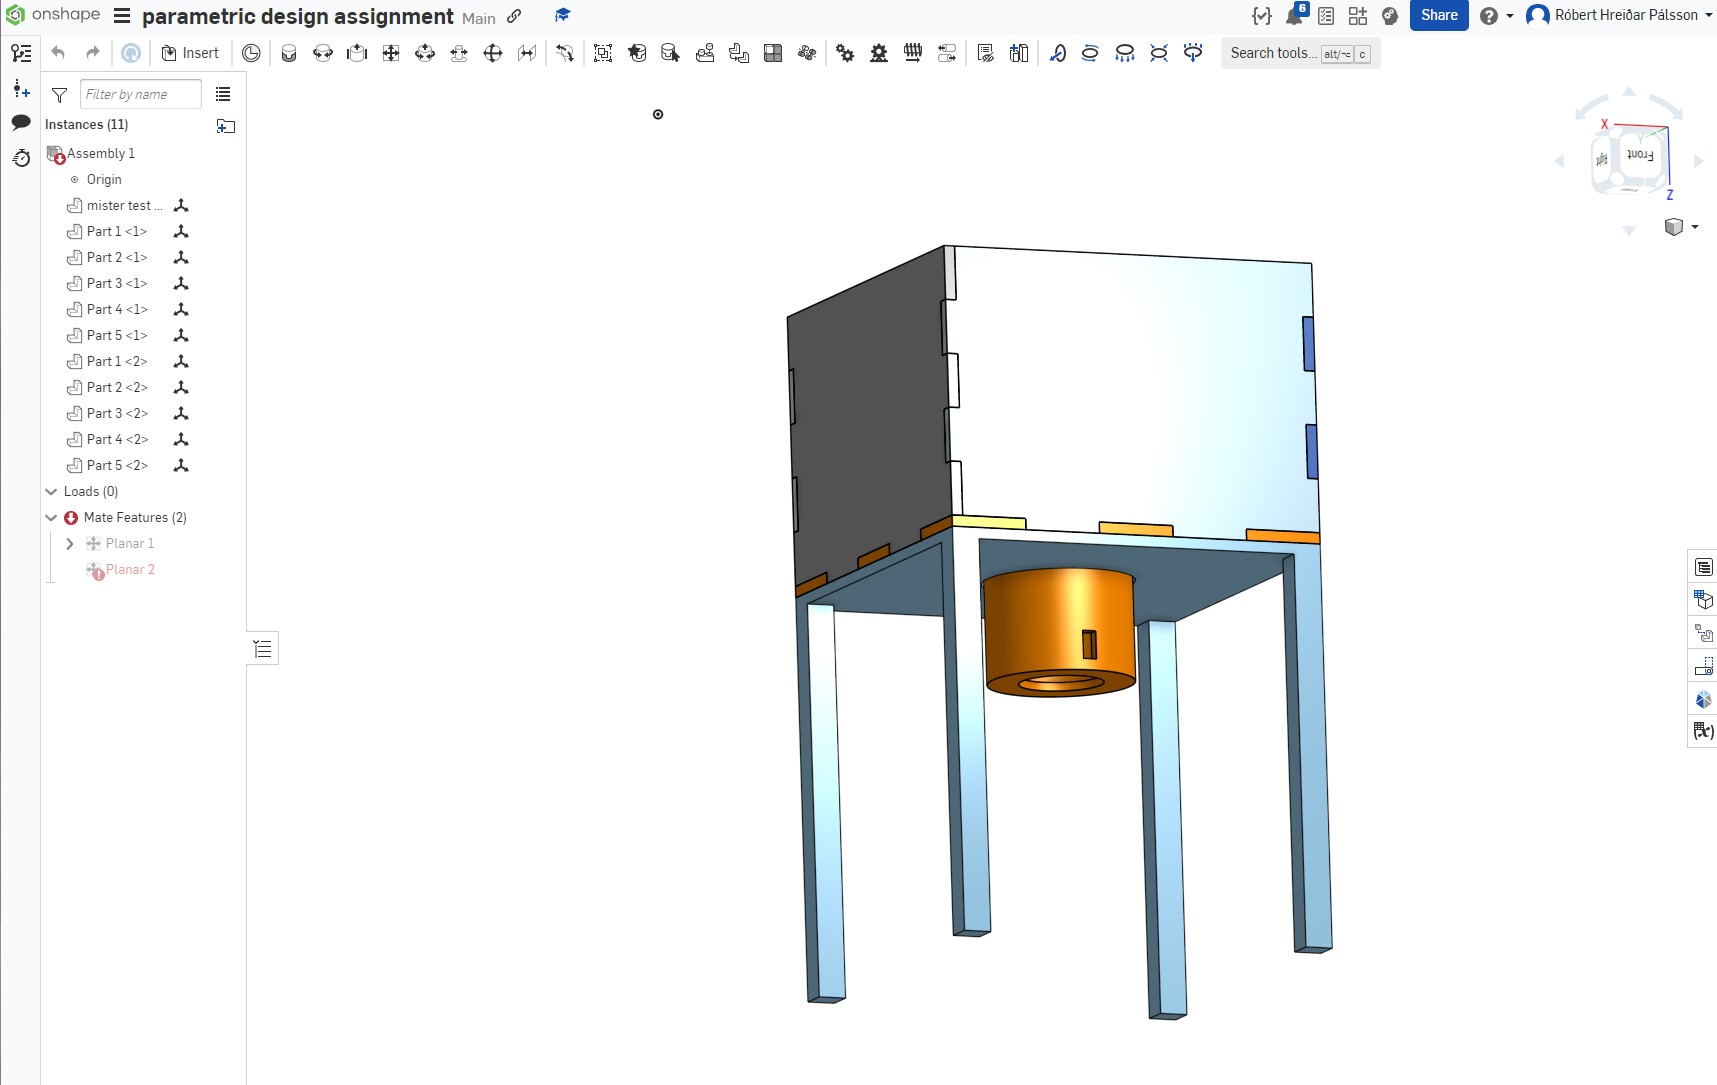
Then realizing that I needed to make the cylinder seperatly as I Cannot really lazer cut that out of plexy I quickly cadded that up as well so I can 3D print it seperatly.
2D Software
I settles on using inkscape seeing as that seams to be what most of the people arround me are using and that makes getting the answers to my questions that much easier.
I Started By watching the Little tutorial I found on youtube that went over the basics like introducing the tools and the how to use them, also bitmap tracing.the video in question is linked here below.
Inkscape TutorialThen I started playing a little bit with the software using splines to create shapes and mirroring that shape to make these little mushroom fellas. IO then Joined everything to make it one big image. maybe I could use this graphic or something symilar as a logo for my final project.
Then I took advantage of the vector editing capabilities of inkscape to import a .dxf file of my 3D Drawing from onshape and getting it ready for the laser cutter by changing the stroke width to 0.02mm