Week 07: Computer controlled machining
Grupal Assigment
Proper Attire and Safety Precautions:- Impact-proof safety goggles
- Noise protection headset
- 100% cotton lab coat/overalls
- Avoid hanging accessories, shorts, and wear safety boots/shoes
- Breathing mask
- Remain attentive and close to the machine
- Avoid wearing gloves during operation
- Keep closet door closed during operation
- Operate the machine exclusively with trained staff
- Avoid putting hands near the cutting area during operation
- Use vacuum extractor for dust and chips
- Do not touch the green round button next to the vacuum extractor
- Beware of static electricity during vacuuming
- Thoroughly inspect the machine before starting
- Asia Robotica Shop-1325:
- URL: Asia Robotica Shop Pro
- Dimensions: 3x1.8x1.7 meters
- Motor Power: 4 HP at 24000 rpm
- Power Supply: 220v/2F/3.5KW
- Material Fixtures: Clamps
- Generic Made by University:
- No URL provided
- Dimensions: 3x1.8x1.7 meters
- Motor Power: 4 HP at 24000 rpm
- Power Supply: 220v/2F/3.5KW
- Material Fixtures: Nails
DESIGN
For this practice I installed AUTOCAD , VCARVE and SOLIDWORKS
Sketching
I looked for ideas on how to crearte a movable object, fortunately I fond this resources that had the BluePrint and a simillar process at Carter's Lasercut Iris Box but with Lasercut"
This helped me a lot to comprehend the mechanism behind the object, but fortunately or unfortunately, none of the images had measurements. So, I had to make some adjustments to adapt this process to a different project. First, I had to mark the dead spaces so I wouldn't get confused in the process and also to utilize the space to add some pieces and not waste any spacee"
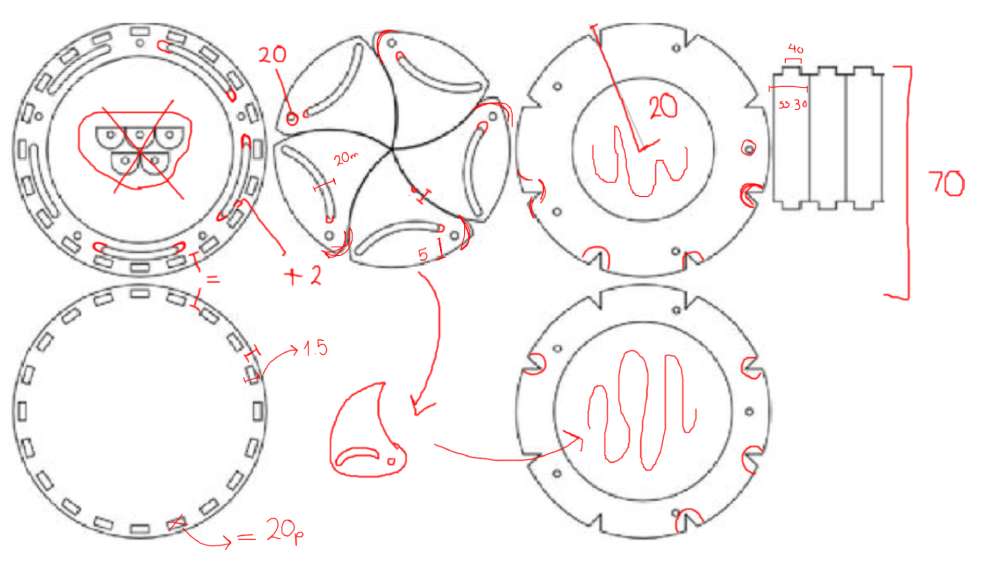
To start this process, and in order to adapt my model, I had to start by tracing the figures and then solve how they were related to each other.
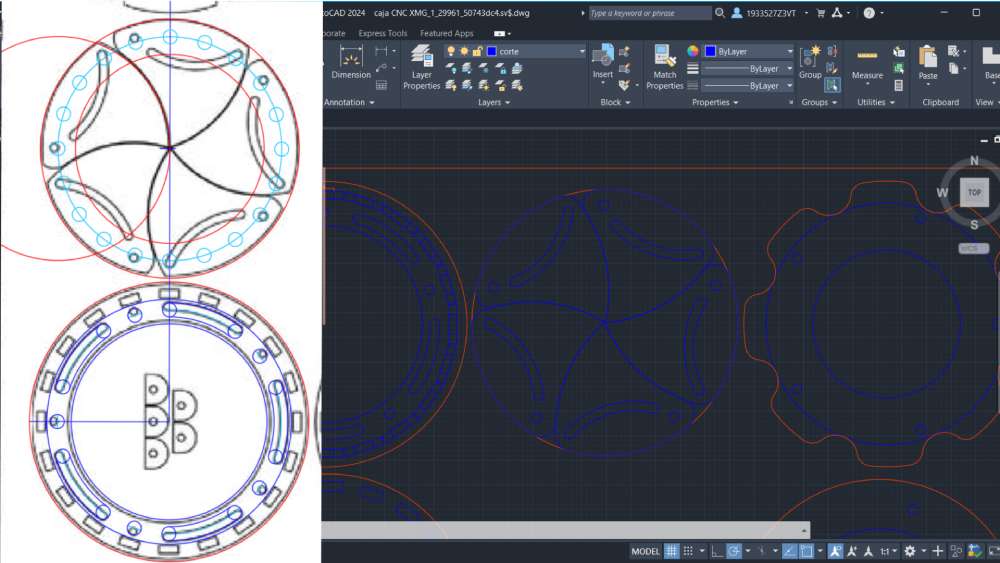
I also found out that the circles of the rails were not separated enough to make the box completely open, so I measured from the middle and expanded the rail, and finally used an array to create the other five
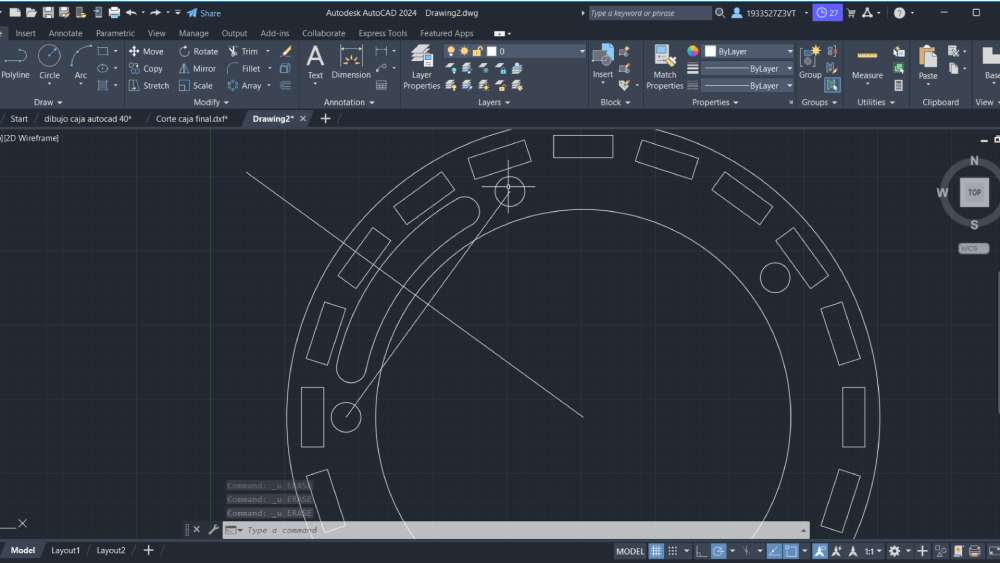
At the same time, once I knew how to trace the pieces and the measures, I started making the models in SolidWorks to really see how they looked.
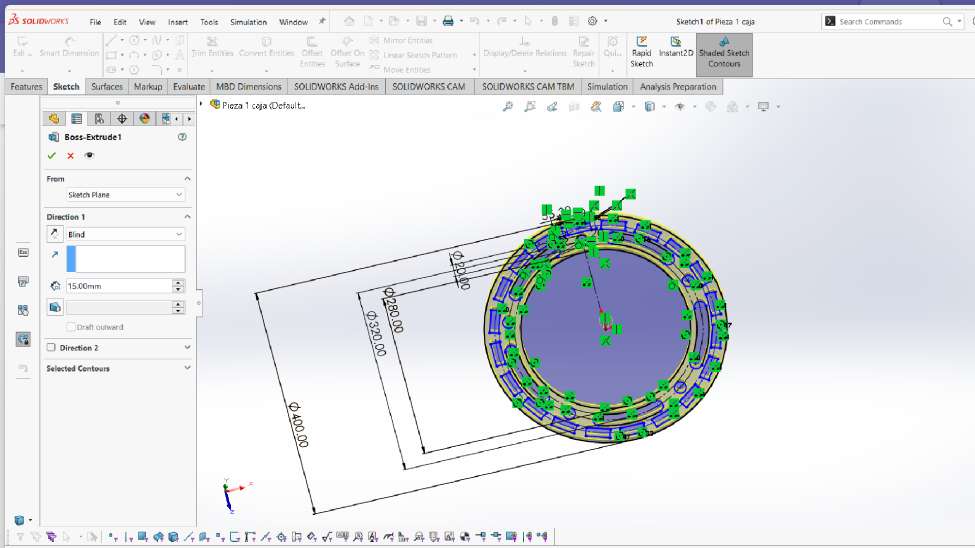
And assemble them to check that they could open without any problems.
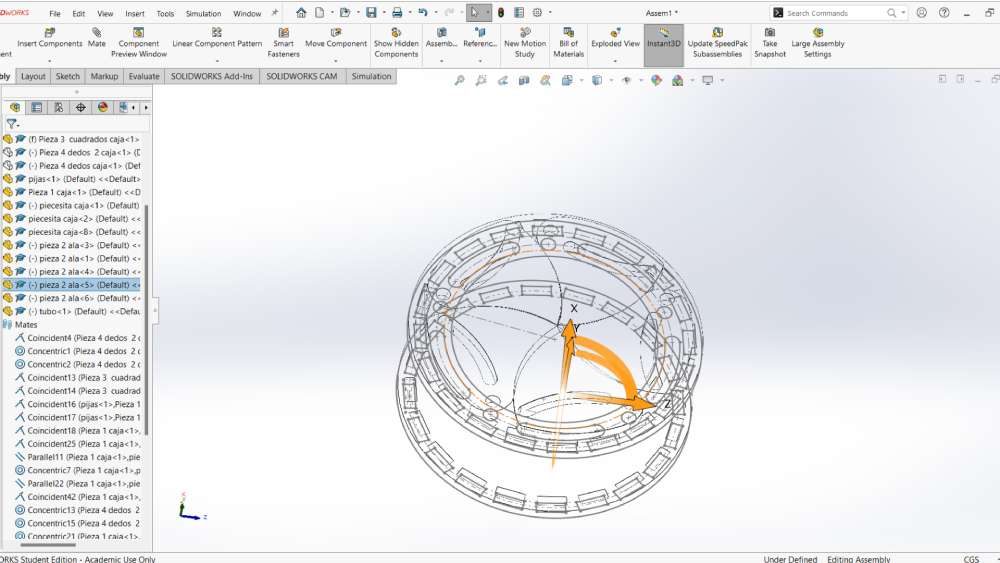
That's where I realized that the fins were also colliding with each other, and I had to go back to the plans to correct them and be able to have the final piece that was going to be cut. And so with all the pieces.
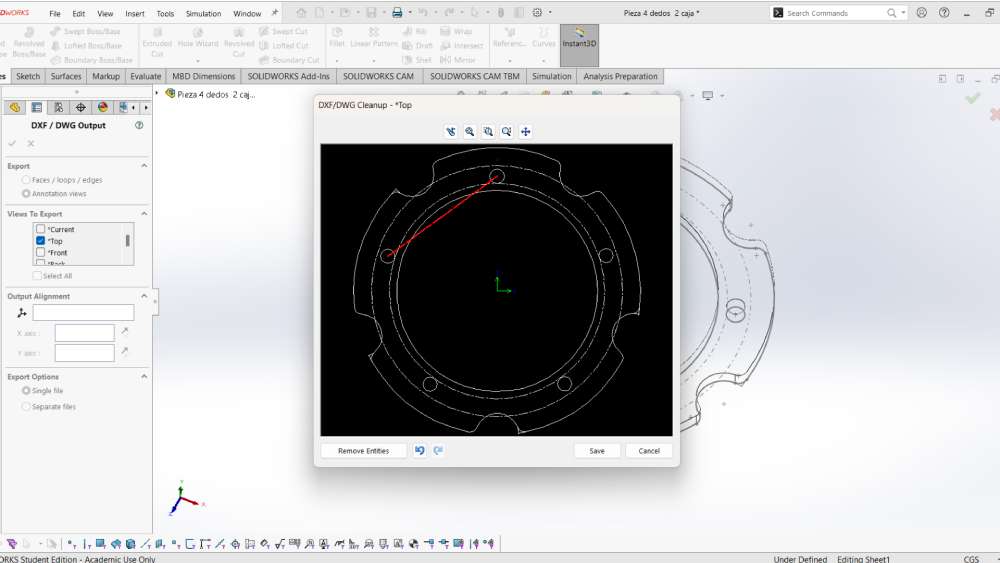
Once I confirmed that the pieces worked, I exported the SolidWorks documents to AutoCAD and removed all the unnecessary dimensions or edits (it's important that they are in DXF format) to organize them and use the least amount of material possible, optimizing the sheets "
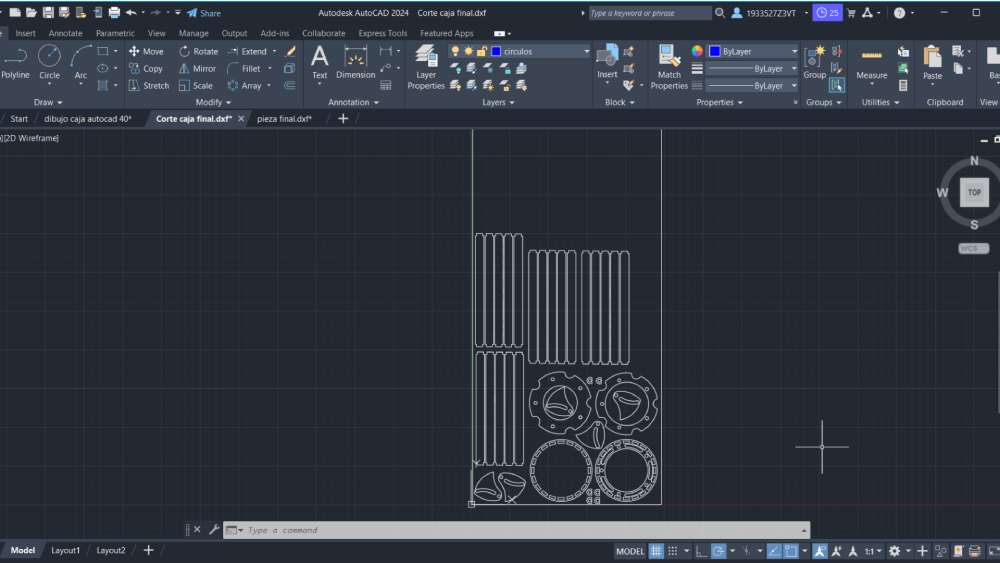
Then I import the file in VCarve
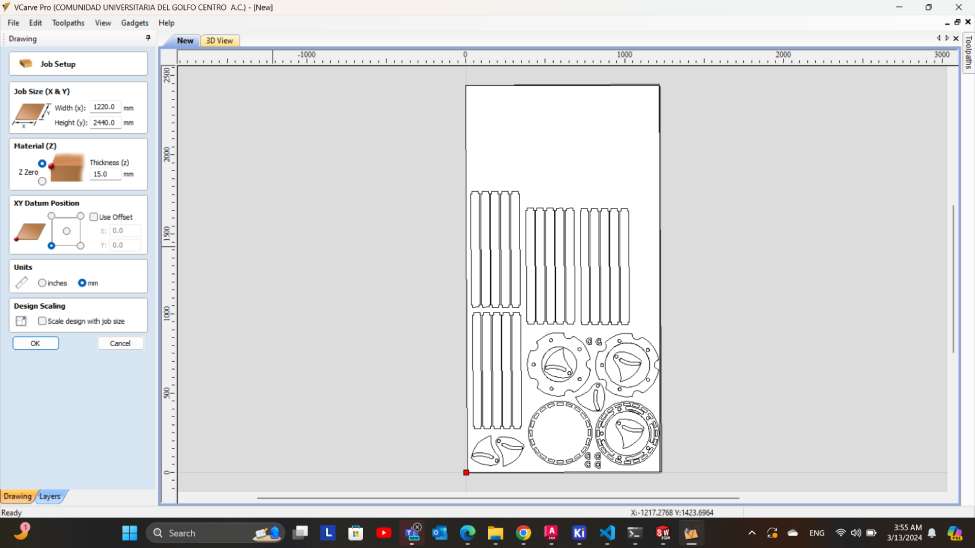
And selected the toll End Mill 0.25
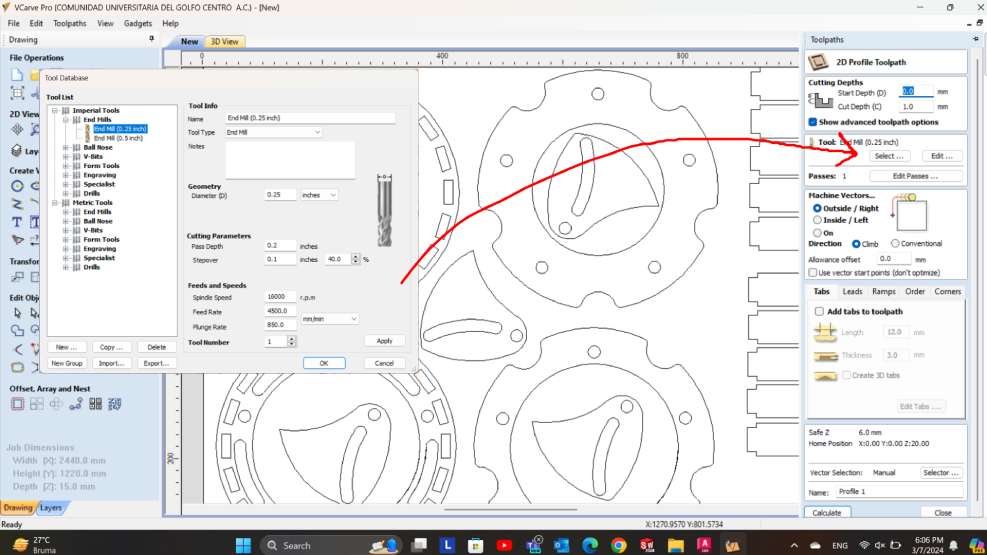
In the VCarve program, I exported the organized file, but I also imported piece by piece until it was arranged to my liking. It was very important that all vectors were closed and grouped to make the toolpaths.
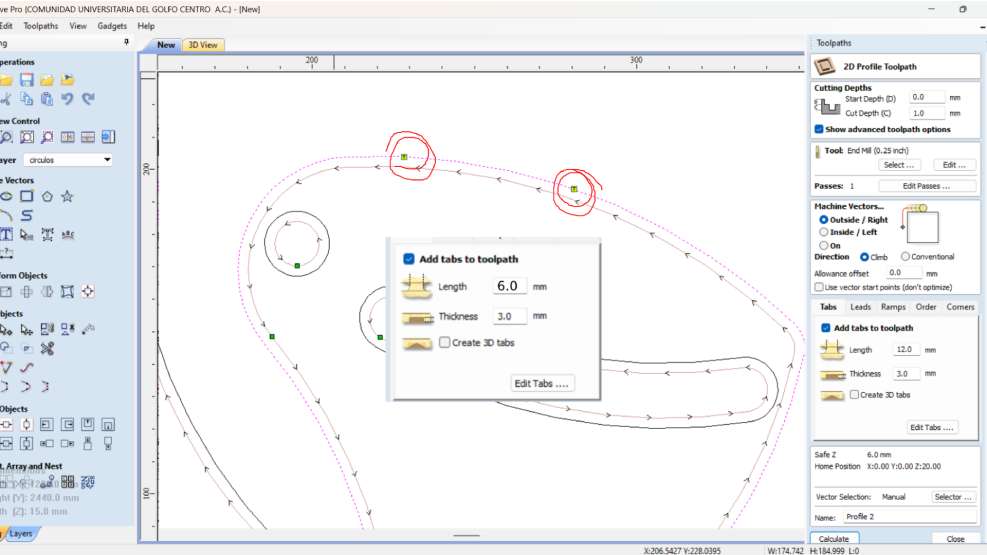
In the commands, I selected the tool with the preset parameters of the group activity and placed pads to prevent the pieces from detaching before the CNC finished cutting all the pieces.
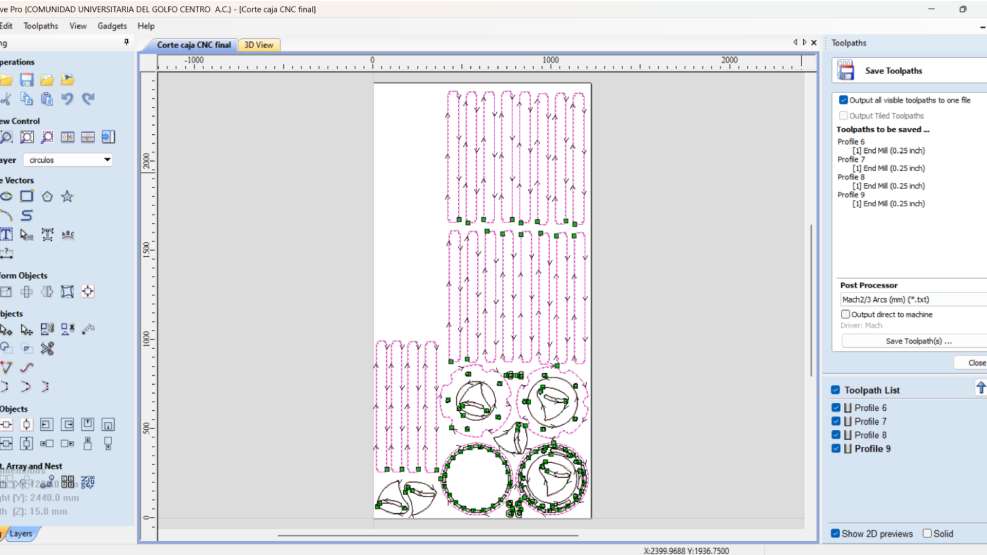
Then, I verified the machine's trajectory and saved the commands for the MARCH2/3, making sure to place all the small pieces in internal cutting and the edges in external cutting
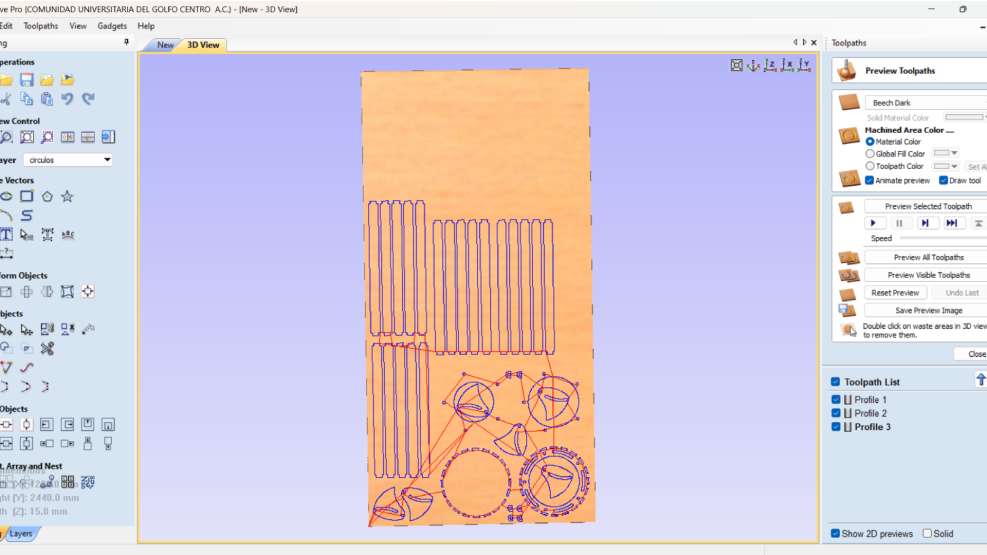
CNC cutting
Install Program depending on the machine that you are going to useASR2400
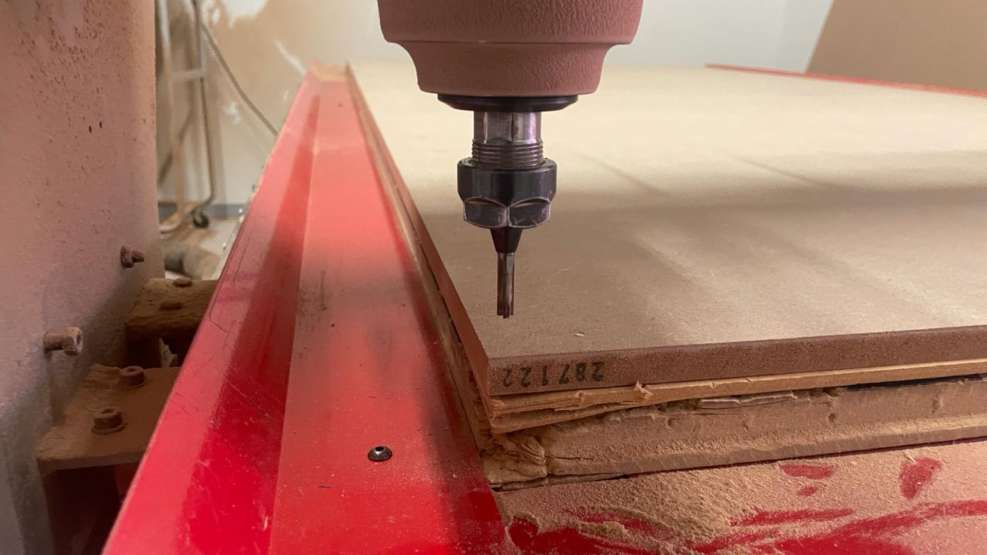
With the program already downloaded, I connected the USB to the machine (important to reset before starting a new project), secured the table to the table to begin cutting, and calculated the X, Y, and Z axes to adjust the program coordinates.
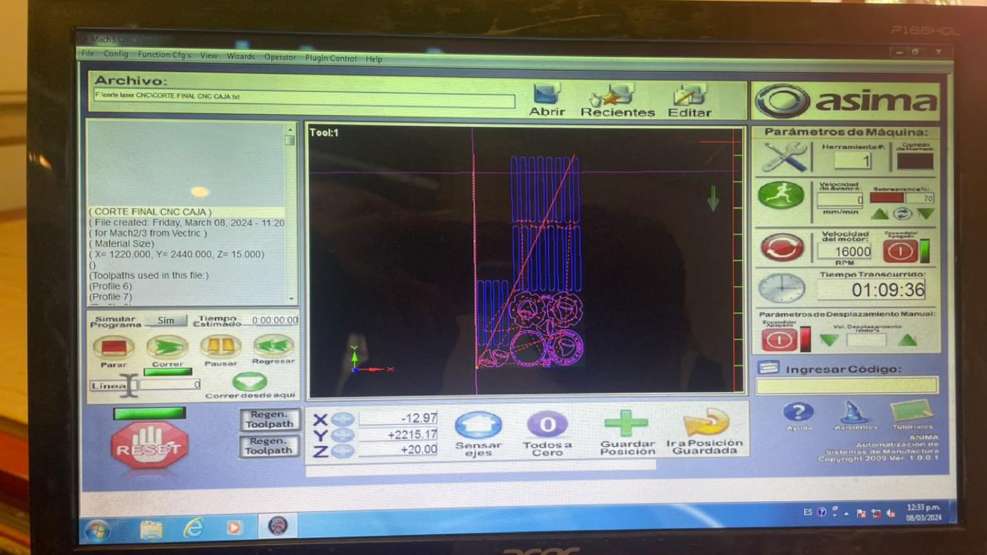
Make sure the the distance between the cutter and the matirial is set propperly at 0,0
I then sent the plans to cut, and the whole installation and cutting process lasted approximately 1 hour and 15 minutes to finish with the plan and the pieces in place once the CNC stopped.
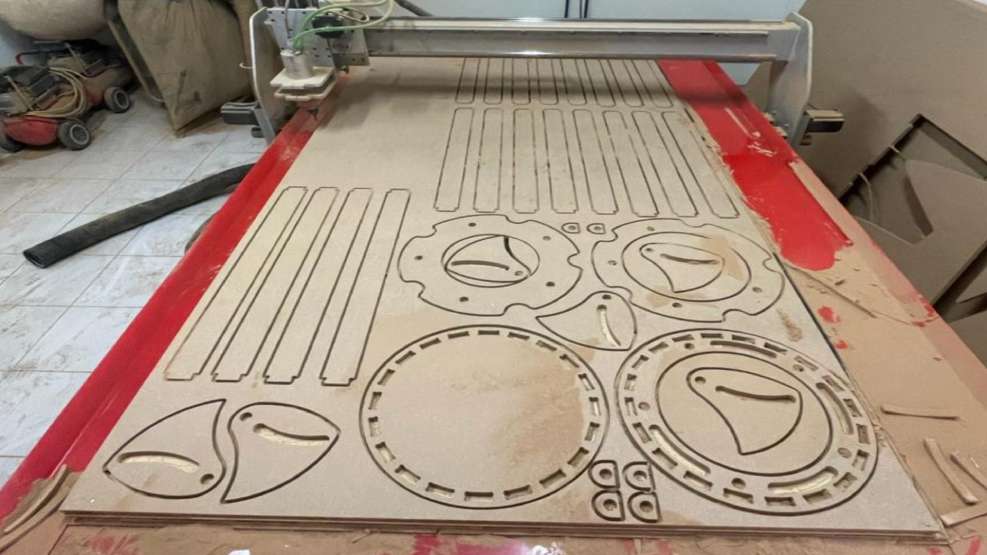
- Spindle speed that I used were 16000 rpm
- And the tool I personaliced in as End mill 1/4" max rpm
- And 3 Depth pass to finish on time
- Giving me this table to compare resultes with the ones in the group assigment
Cutting tools
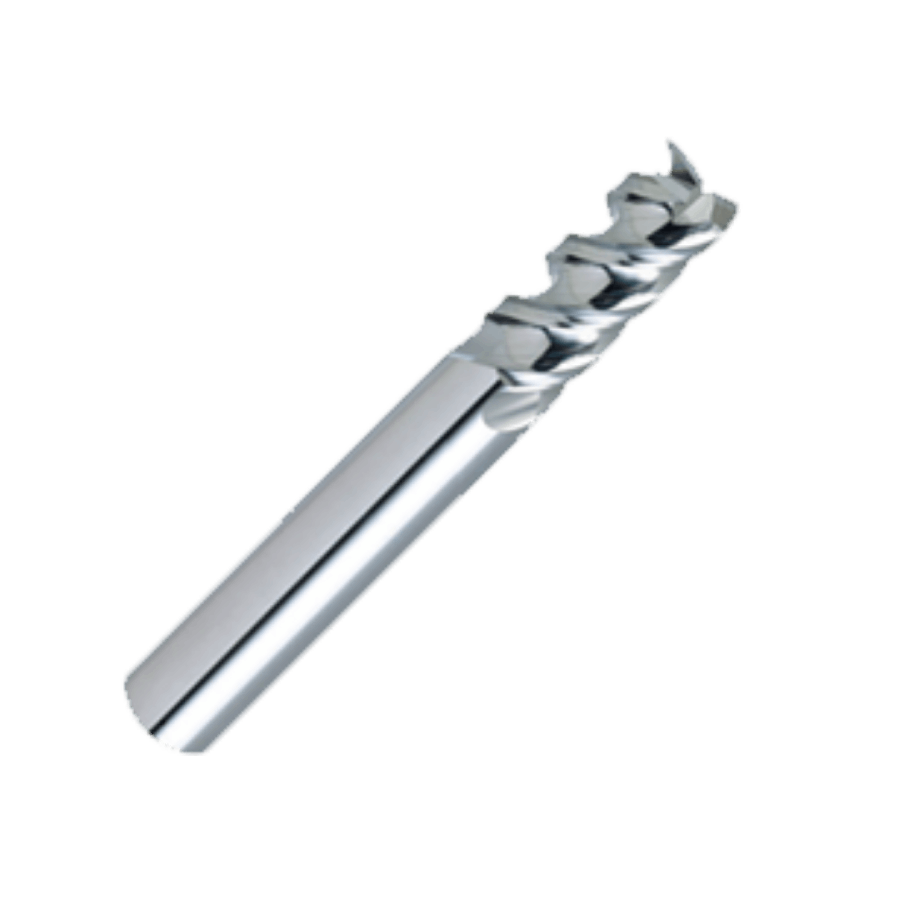
wood endmill 0.25 cutter
| Tool diameter | End mill 1/4" | Max 2800 flutes | 0.25 inch |
|---|---|---|---|
| Depth of pass | How much tool cuts per pass | 50% of the 0 of the tool | 0.125 inch |
| Stepover | Distance of tool between each pass | Depends on the application | 40% |
| Spindle speed | How fast the spindle turns | Less then 18000 rpm | About 16000 rpm |
| Feedrate | Feed per 100th or chip Load | Recommendation depends on tool or chipload xrpm x #flute | 200 rpm |
| Plunge | Forward | To start 1 | |
| Rate | Speed | Use 900 mm/min |
Safety equipment
We will use safety equipment to protect ourselves, since the machine rotates at very high revolutions and may cause some fragments of the material to be thrown out. In addition, the material we will be using is MDF and when using the machine it produces a very fine dust that can irritate the throat.
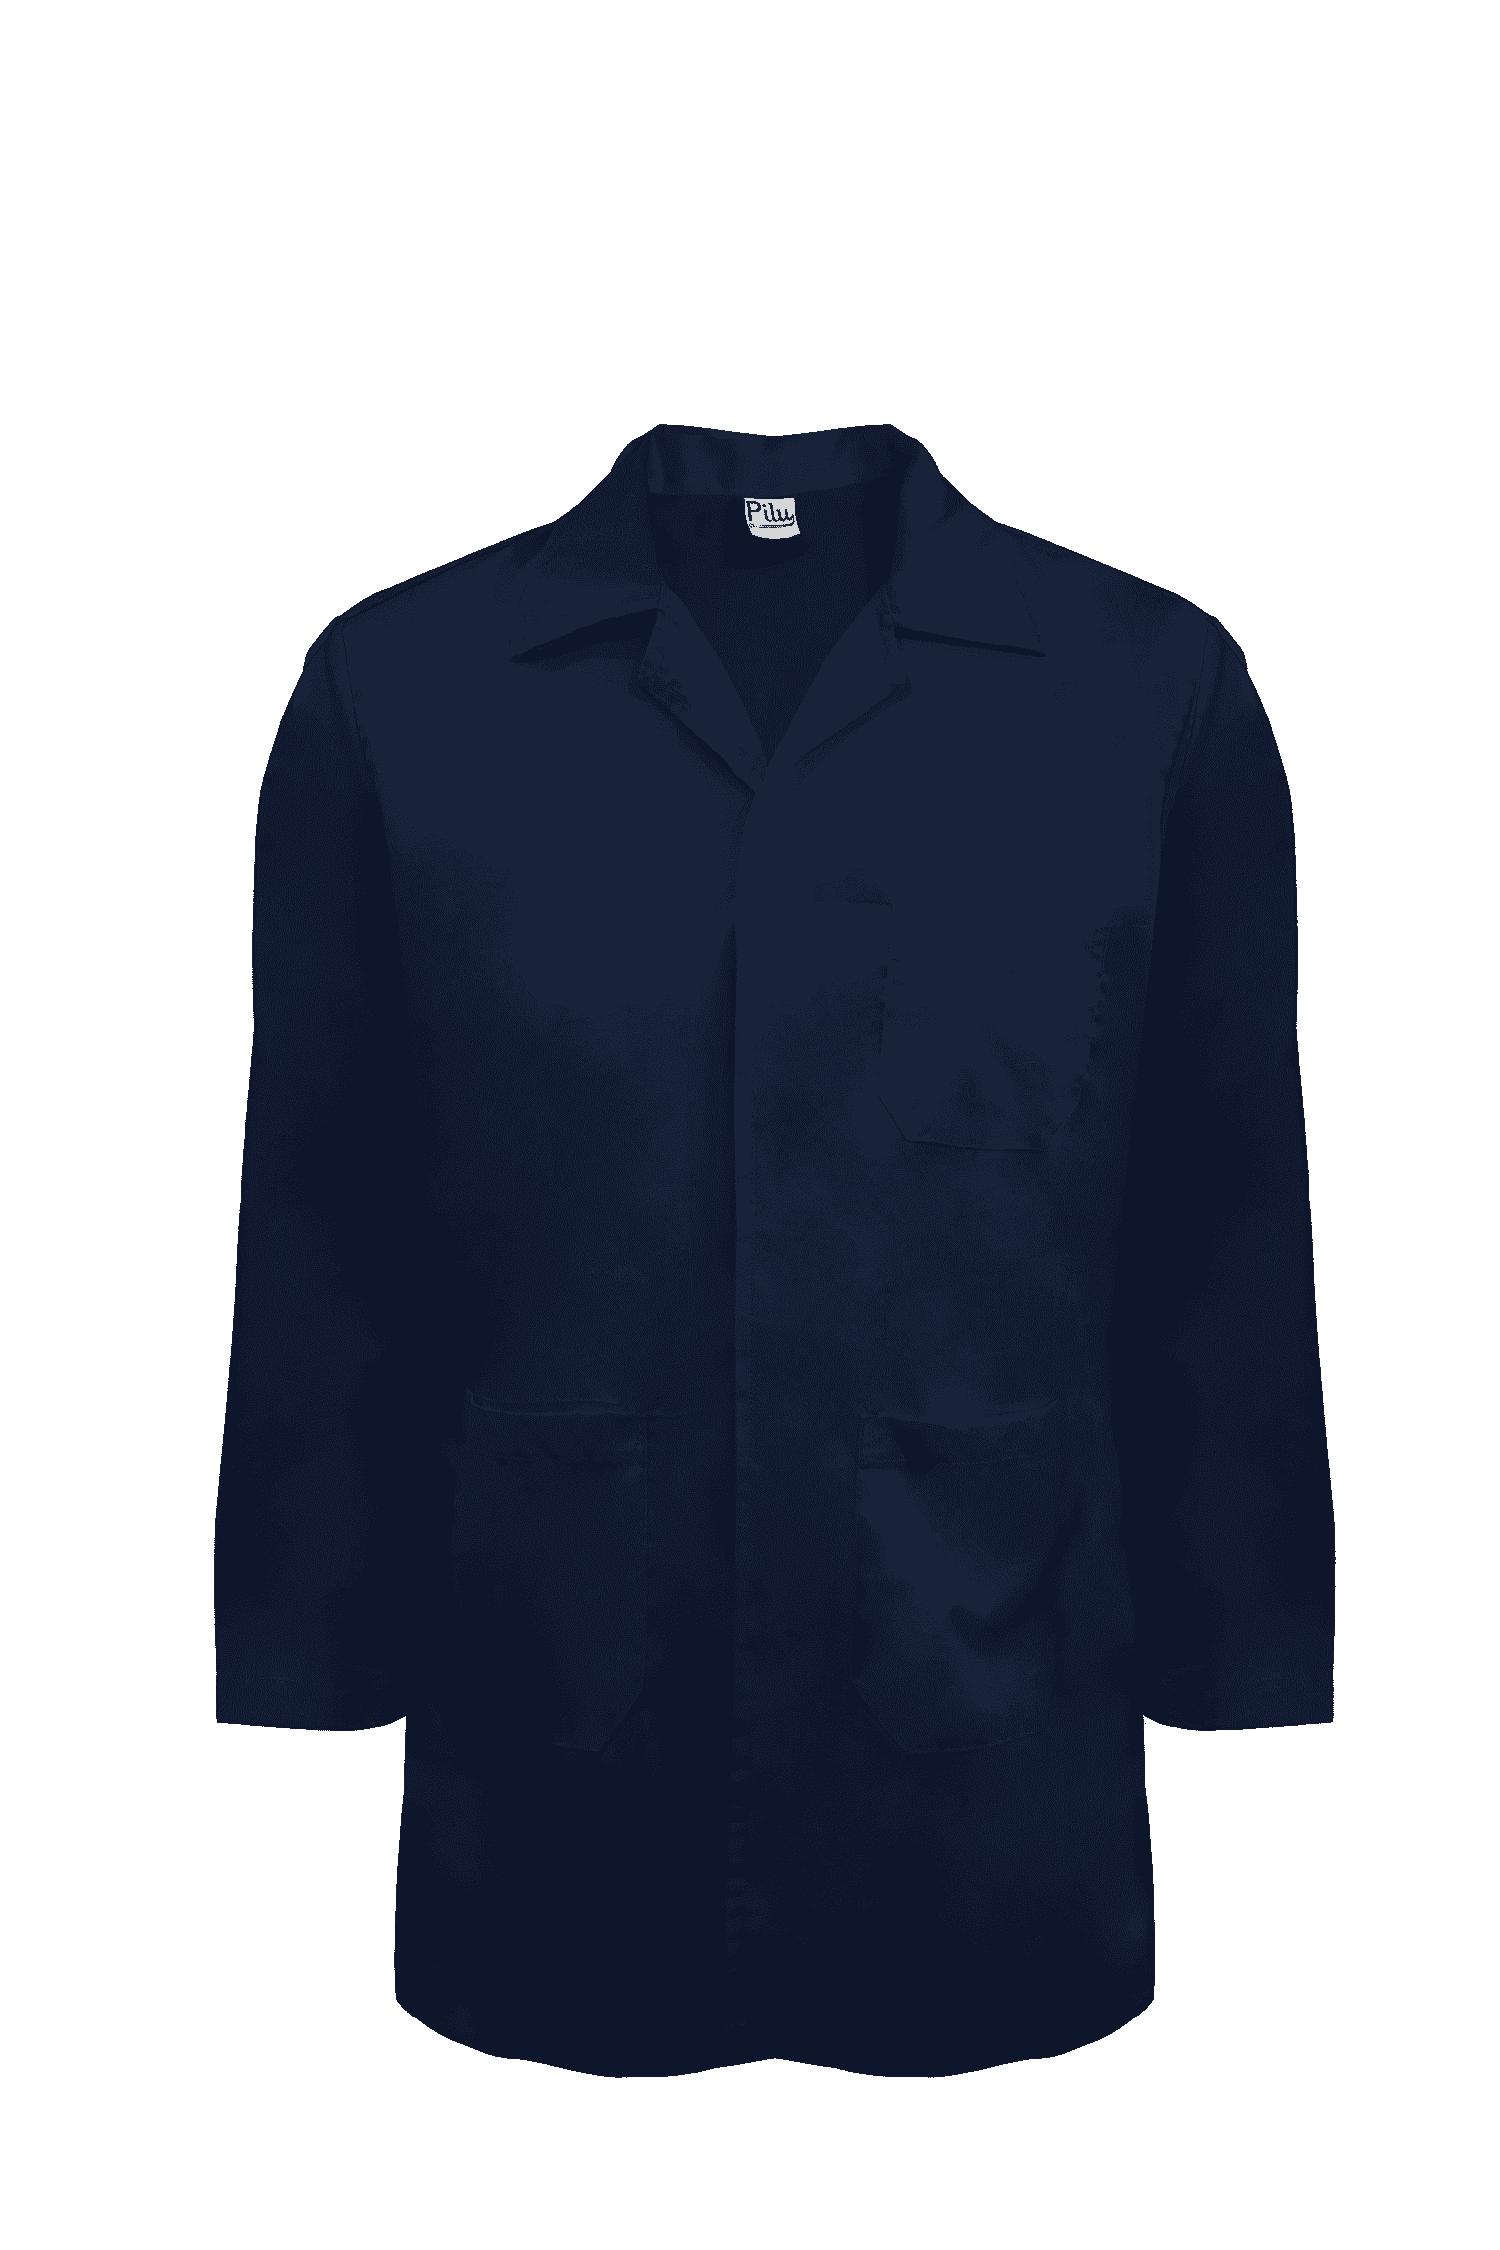
mechanic's coat
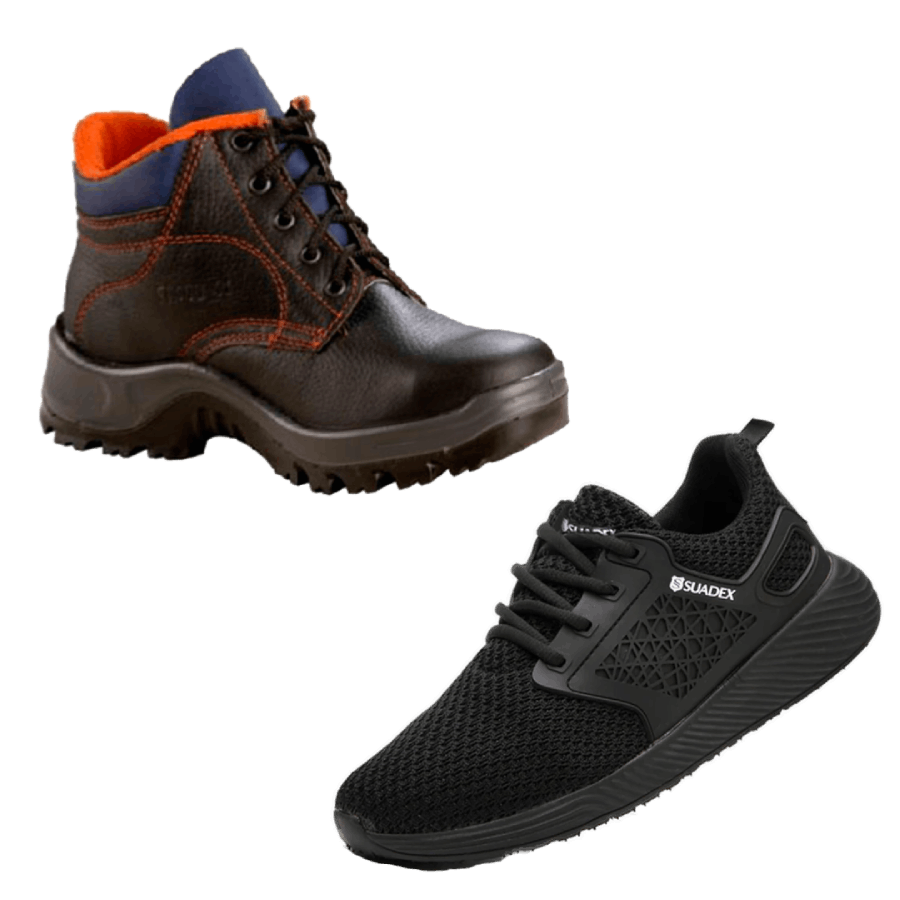
security shoes
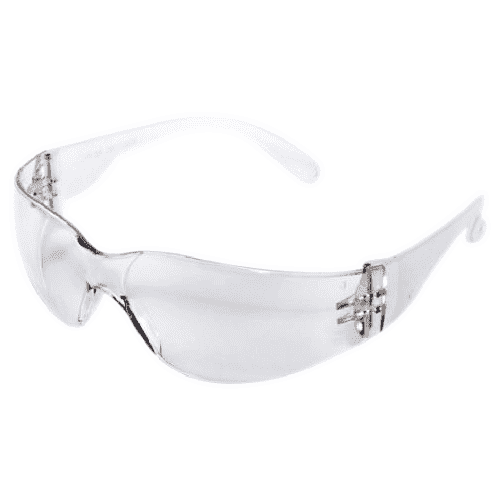
safety glasses
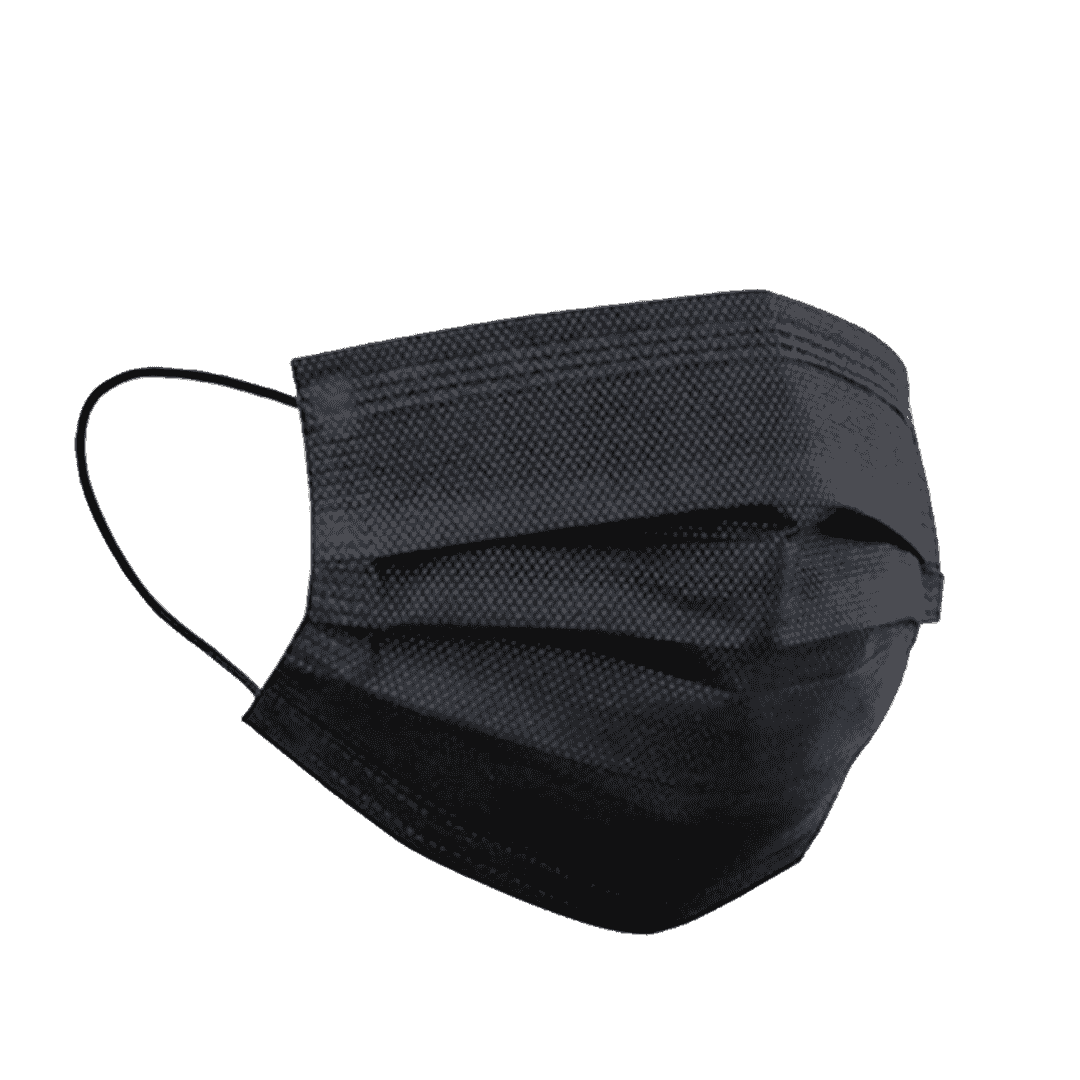
face mask
Building
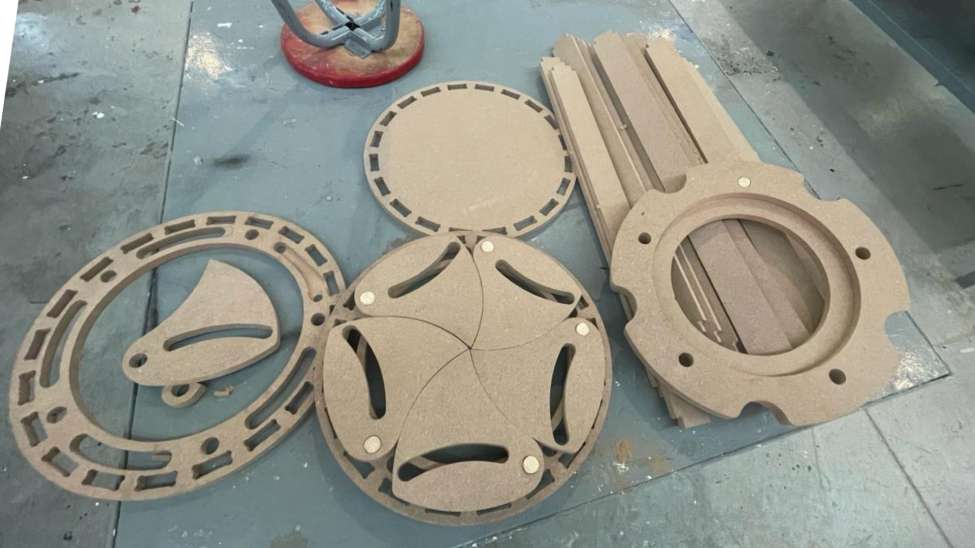
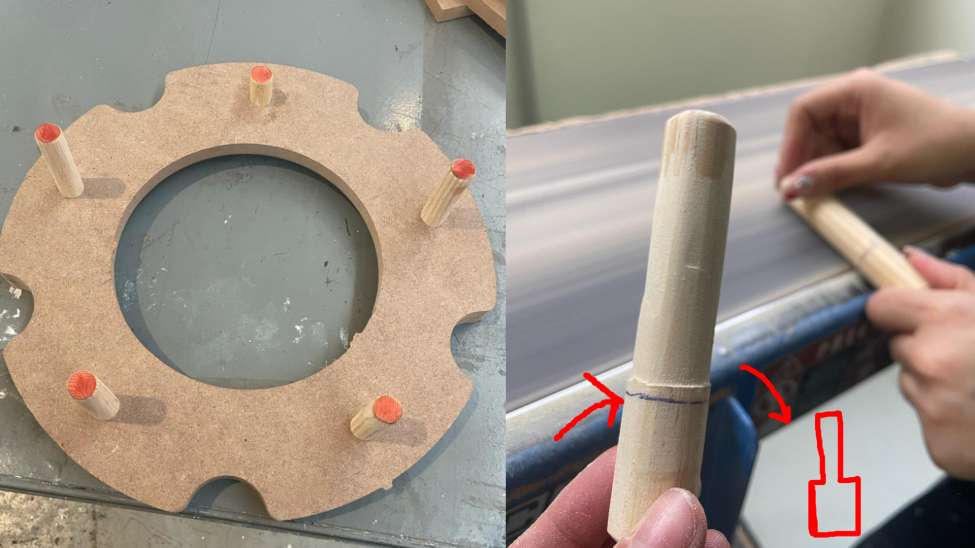
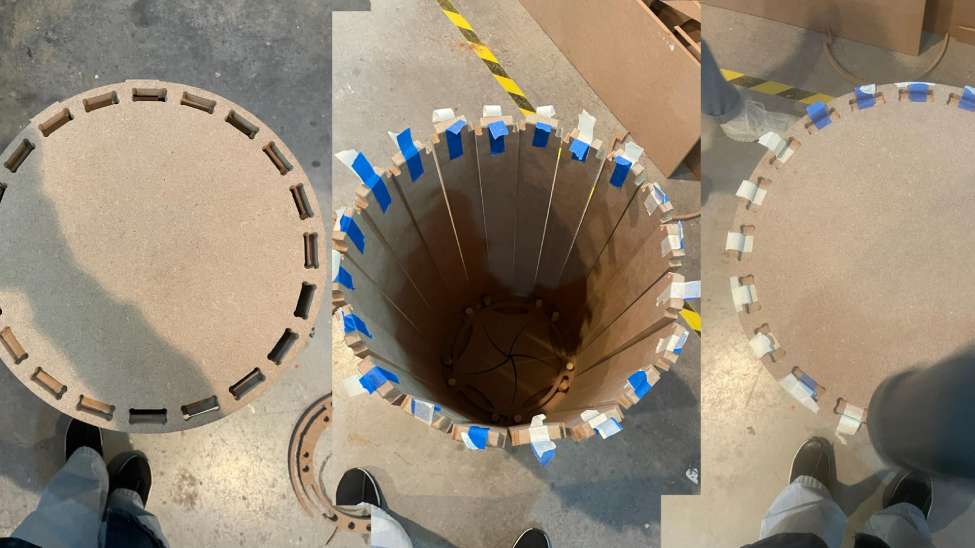
First, I laid out everything on a table to measure and test the pieces in order. Then, for the joints, I took measurements of 2cm and bought pipes with the same diameter. Unfortunately, they were too tight, so I had to sand them. However, some pieces needed to fit tightly to support the parts, while others needed to be loose to slide along the rails. So, I decided to make plugs by measuring the length needed for stability and sanding the ones that needed to be movable. This allowed the pieces to lock and move without the need for nails
.jpg )
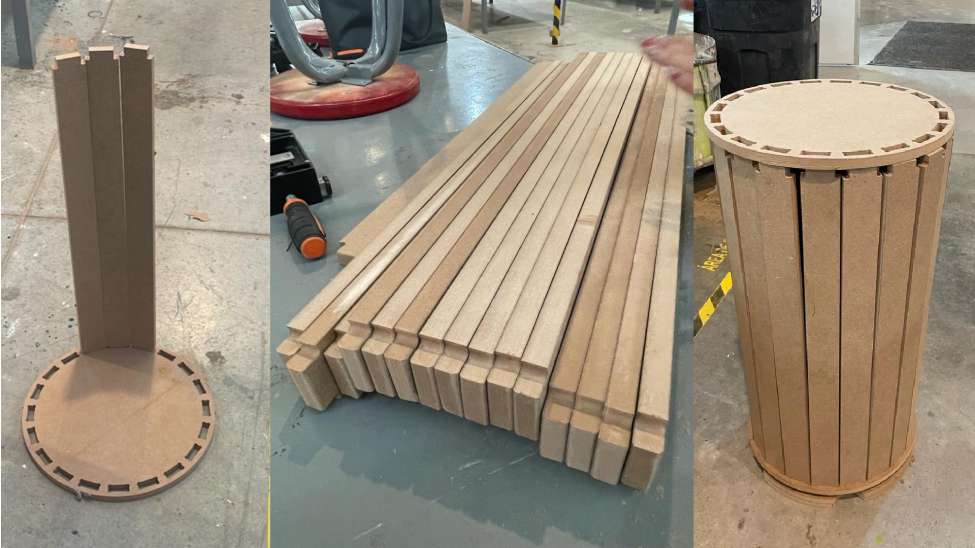
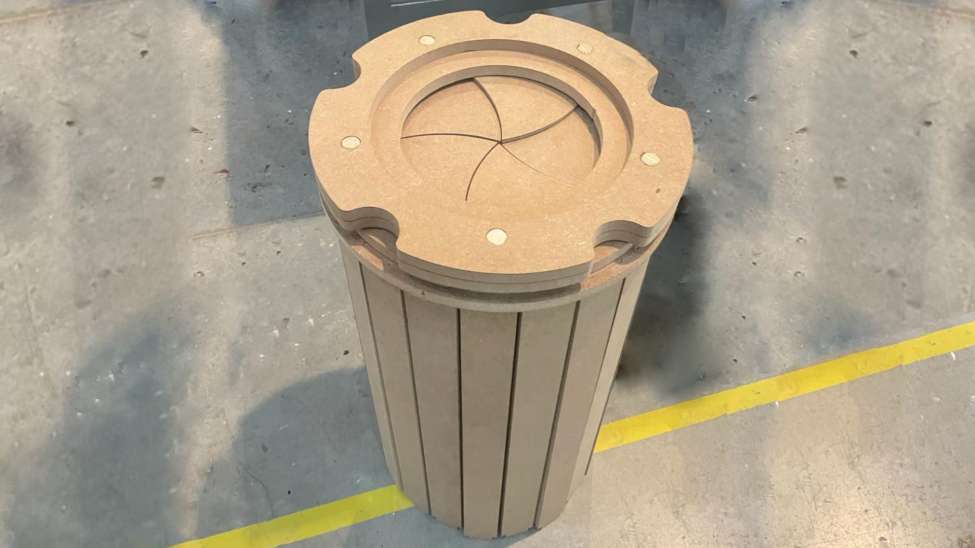
FINAL RESULT:
Reflection Summary
This week, I explored AutoCAD, VCarve, and SolidWorks to design a movable object, inspired by Carter's Lasercut Iris Box. These tools allowed me to visualize and create complex models, focusing on sketching, measurement adjustments, and model assembly to understand design processes and mechanisms.
Challenges and Solutions
Adapting Measurements: Adjusted measurements from existing resources to fit my project, ensuring compatibility and functionality.
CNC Cutting Issues: Addressed tight joints by creating plugs for stability and mobility, and modified designs to enhance resilience and assembly ease.
Future Applications
The skills learned in design software and CNC cutting have broad applications across industries. Mastering digital modeling and physical prototyping enhances innovation and problem-solving capabilities. Moving forward, I aim to refine design techniques, improve measurement precision, and explore advanced features of design tools for future projects in design and manufacturing.
