7. Computer-Controlled Machining
On this week we worked on Computer controlled machining where we make something big..
The group assignment
Here is the group assignment task where we learn together.
Security first
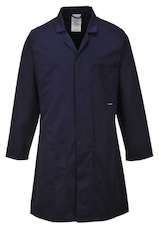
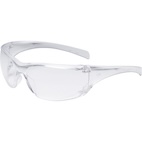
Security is very important, so in order to be safe during the process of cutting on the machine, we need the next:
- Lab Coat
- Security glasses
- Safety boots

Designing
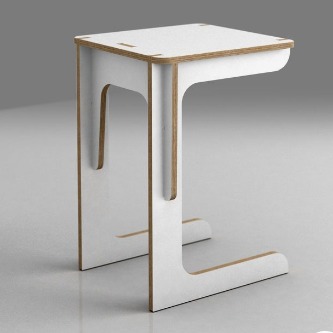
The first step was to think on something "big" so after watching a little bit of Pinterest, I found this table that I thought it could be maked.
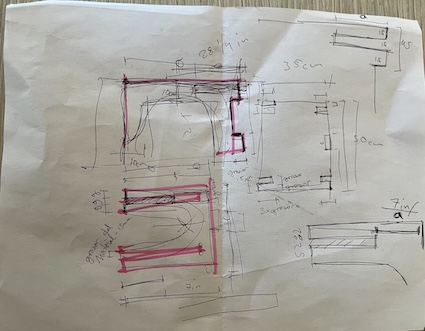
Then I created this "sketch" that is difficult to understand but for me was very useful and was a good reference.
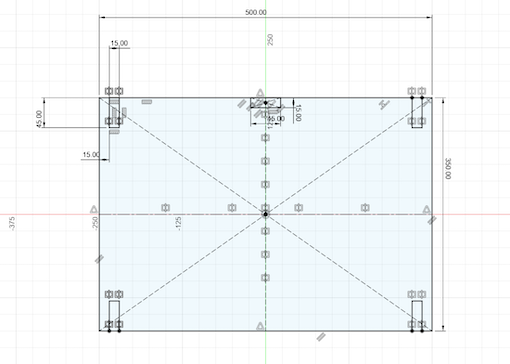
After having the idea clear, It's time to design. Again on this task I used Fusion360 to make the design. The first thing I made was the principal platform (where the user will work) and the result was this:
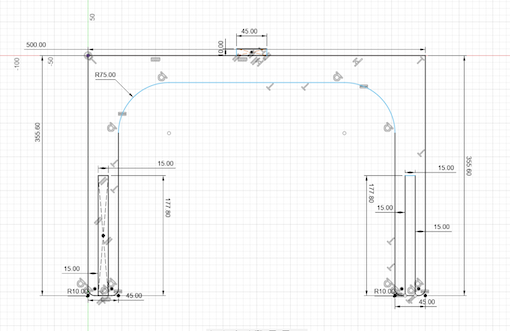
The second thing to design was the main support, this support is the one that is going to have the two legs of the table:
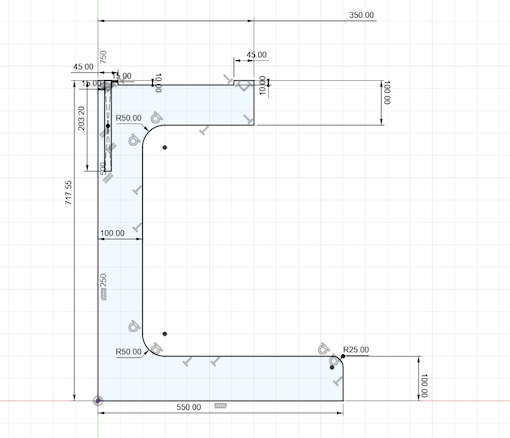
And the last part was the legs, which are equals so with one designed, the other one will be the same:
Now it's time to export those pieces as .dxf in order to import them on Vcarve.
Using V carve
VCarve is a software that provides a powerful but intuitive software solution for creating and cutting parts on a CNC Router. It works with complex 2D patterns with profile, pocket, drill and inlay toolpaths, plus gives you the ability to create desings with v-carving textures.
For using V-carve the first step is to import the files that we designed, those files are .dxf so are needed to import.
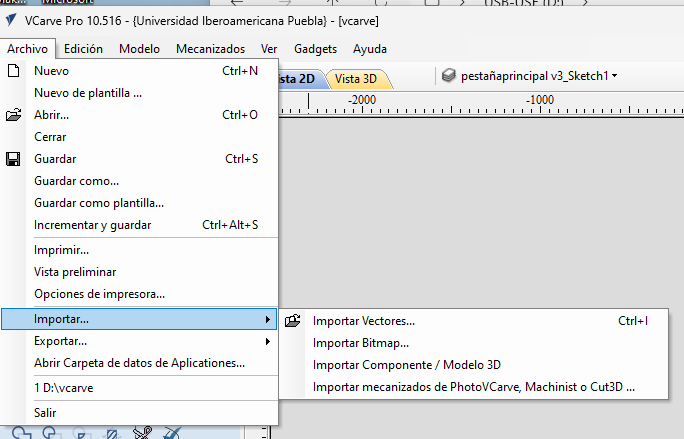
For using V-carve the first step is to import the files that we designed, those files are .dxf so are needed to import.
Now it's time to change the material settings:
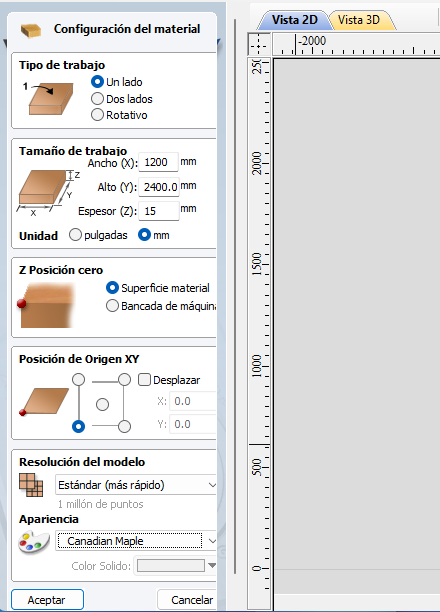
Now it's time to change the material settings:
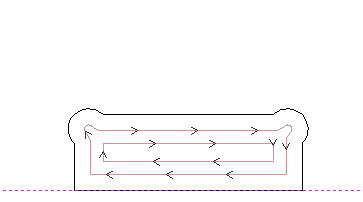
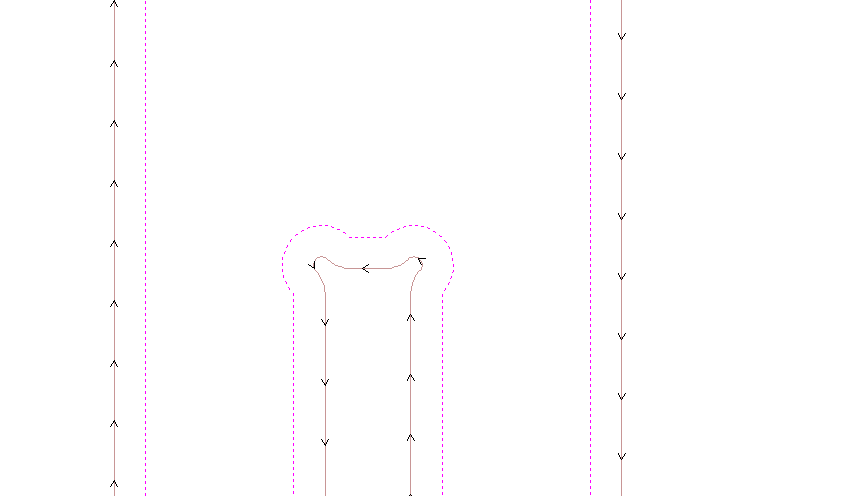
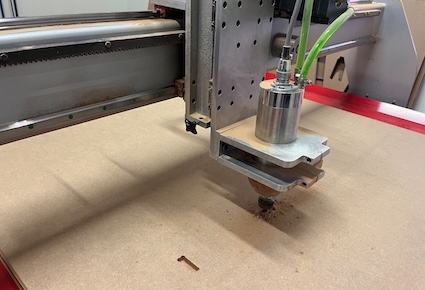
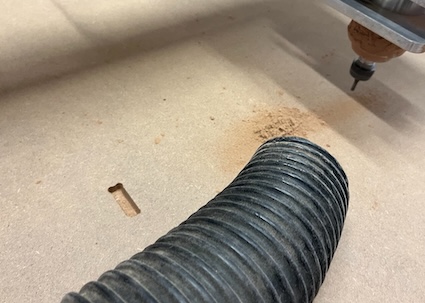
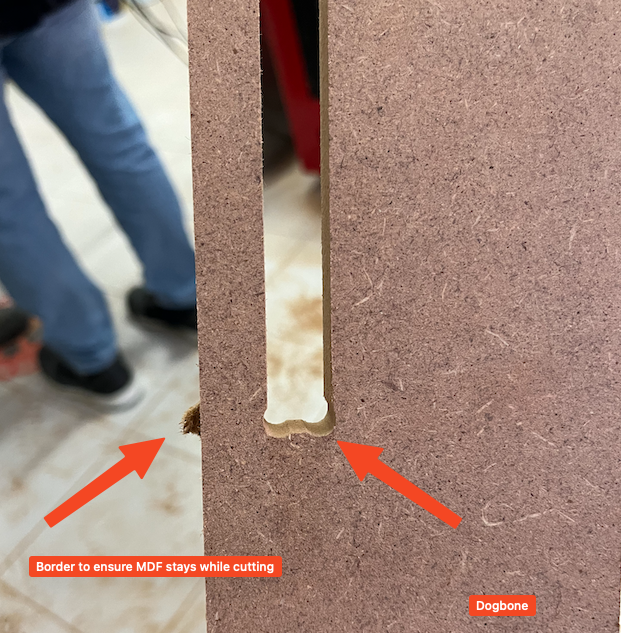
Dogbones
A dogbone refers to a specific joint design technique used to compensate for the cutting tool's radius. When cutting a rectangular slot or a similar shape with a circular tool, the inner corners of the slot may end up rounded due to the diameter of the cutting tool. To address this issue and ensure a precise fit of the pieces, small curved cutouts are added at the inner corners, creating the appearance of "dogbones."
On this step we select the "DogBone" and then set every one of them on the joints of the design. This is how they look like:
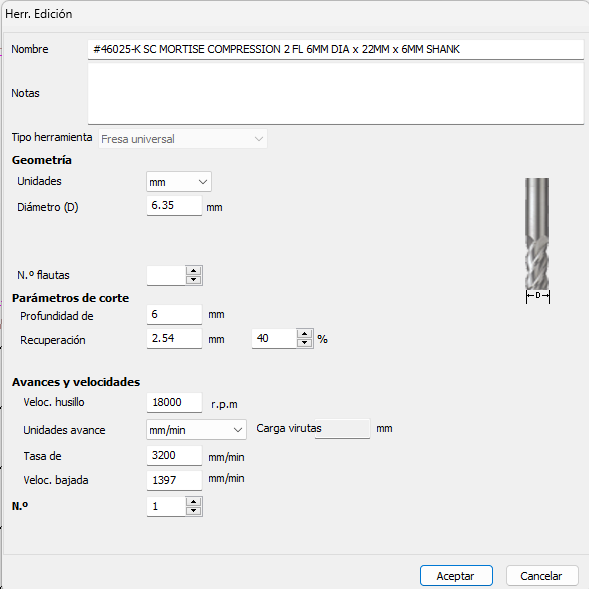
Now it's time to set the tool settings, for this the next parameters are needed:
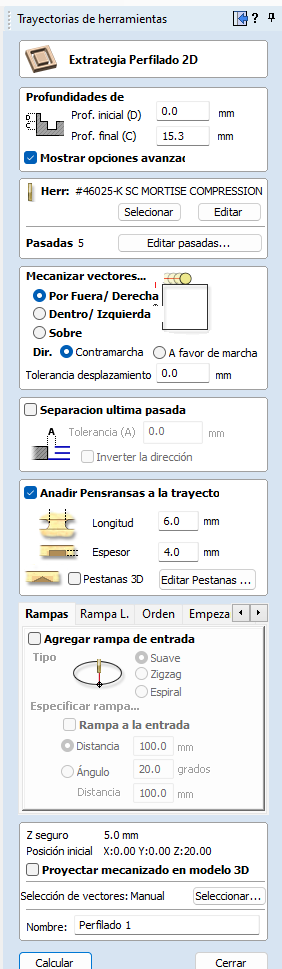
Then it's time to the wood profiling settings in which I used the next:
Let's talk about carving. Carving is a process where you reduce some part of the wood but not cross it, it is not a complete cut.
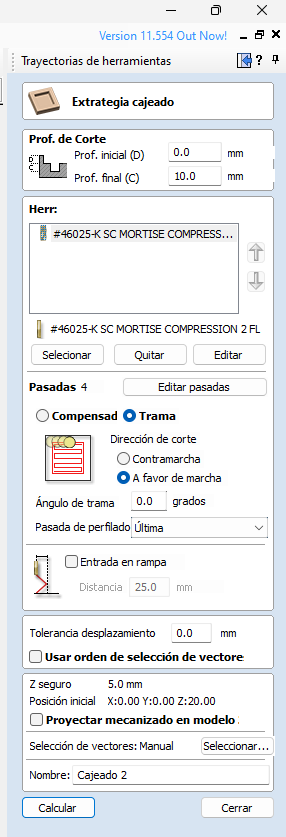
Let's talk about carving. Carving is a process where you reduce some part of the wood but not cross it, it is not a complete cut.
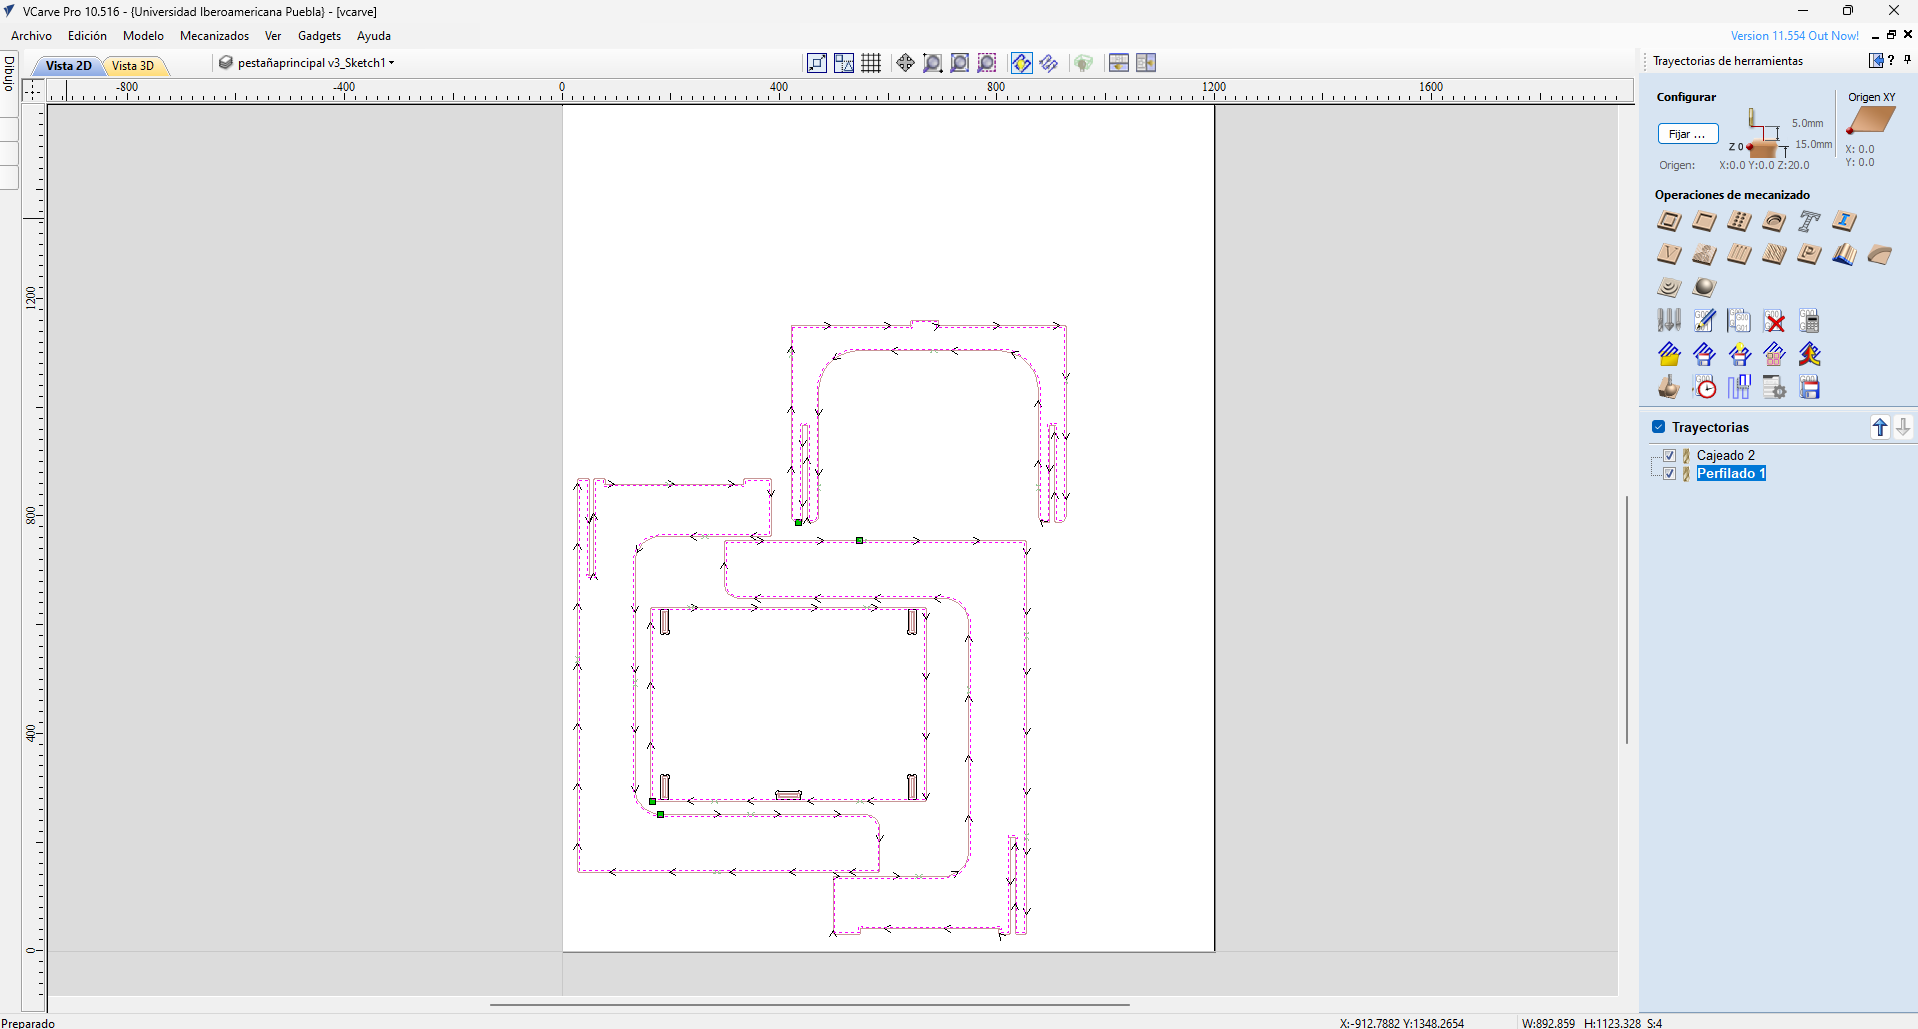
Finally select all trajectories:

And we have all the document ready:
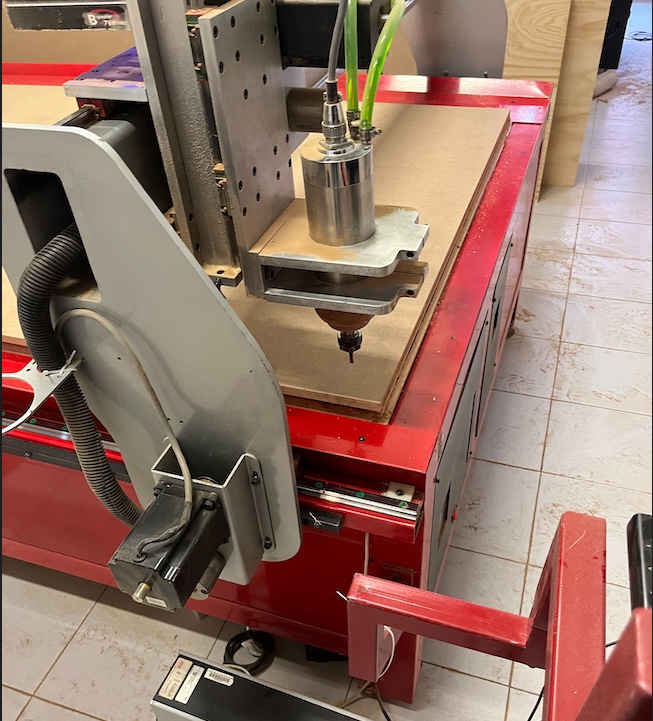
Cutting on the machine
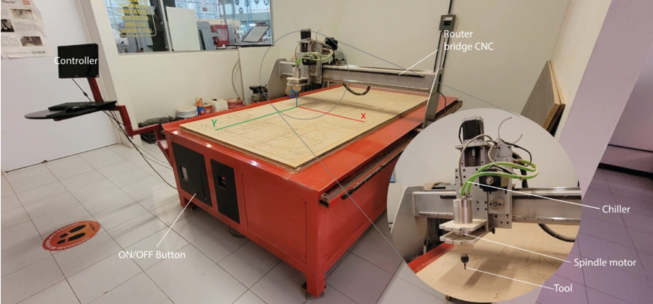
Time to cut on the machine, for this process I used a CNC with the next details:
- Machine: Generic Made by University
- Dimensions:3x1.8x1.7mts
- Motor Power:4 HP at 24000 rpm´s
- Power Supply:220v/2F/3.5KW
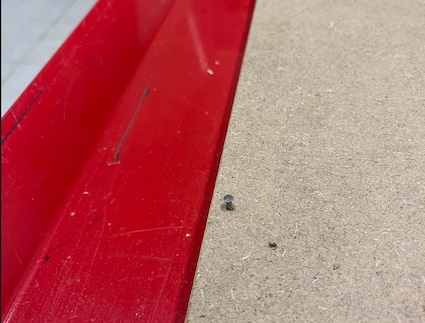
- Material Fixtures:Nails
The material that I used for this project was MDF. This material is an engineered wood product made by breaking down hardwood or softwood residuals. The machining recommendations is to se high-speed steel (HSS) or carbide bits to reduce dust.
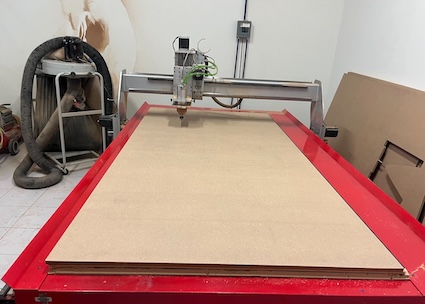
Then the MDF needs to be nailed in order to not move during the cutting process.
Zero part:The Zero part is where the machine will consider the 0, 0, 0 coordinates according with the created file. On this case I set the Zero piece on This point:
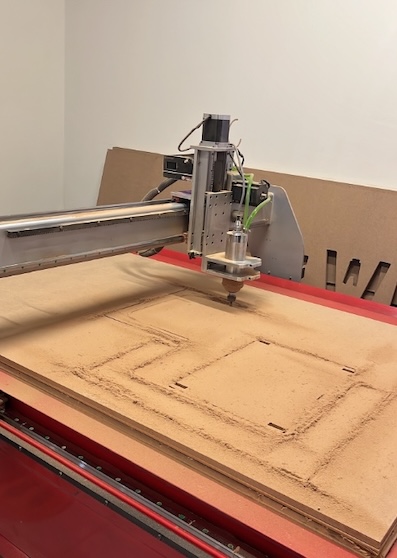
Time to cut. For this it's needed to start the program and the spinddle in the machine will start.
Cleaning is an important part on this process. I prefer to clean when the machine is working rather than cleaning after cutting.
The machine is still working...
Finally the machine finish and we need to take out the pieces. This should be done with caution in order to not break a piece.
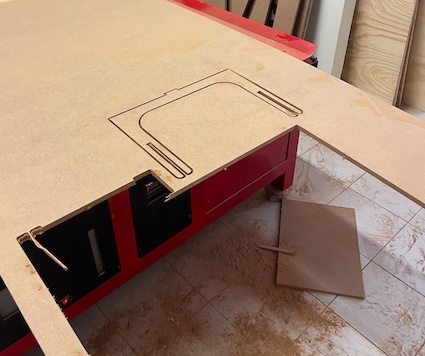
Dog-bones after cutting seems like the next image, and we added some supports so that the piece does not "fly away".
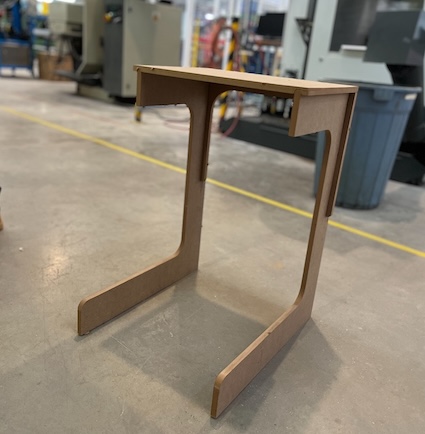
after assembly it, we have this table that is light and useful

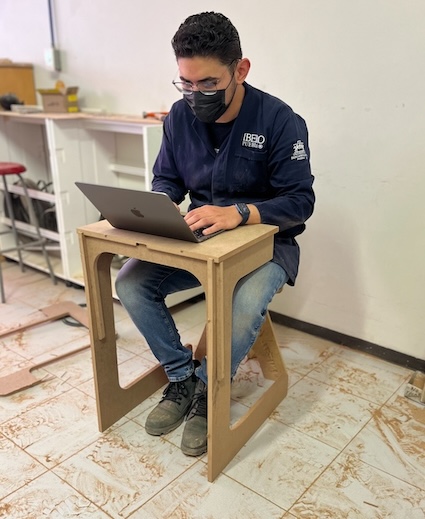
Using it. Here it's me using it
Problems during the elaboration
When I removed the pieces I realized that from the middle part of the machine to the top, the MDF had buckled or the machine at that distance the Z was a little out of calibration, so the pieces had to be cleaned, I did it with my knife hand.
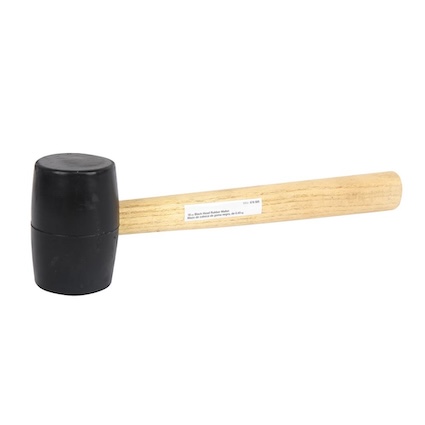
I needed to use a ruber mallet in order to set all the pieces on pressure because some pieces were kind of difficult to set with only my strength, so this ruber mallet was really useful. This is not a problem but for me was not something that I had in mind.