5. 3D Scanning and Printing
On this week we worked on 3D scanning and printing. This task is kind of fun and is interesting to know how to use the 3D printer.
The group assignment
Here is the group assignment, click here
3D PRINTING
The instruction for the 3D print of this week was to print something that can not be done with a method of substraction of material, nor a machine like a router, laser cutting, and others...
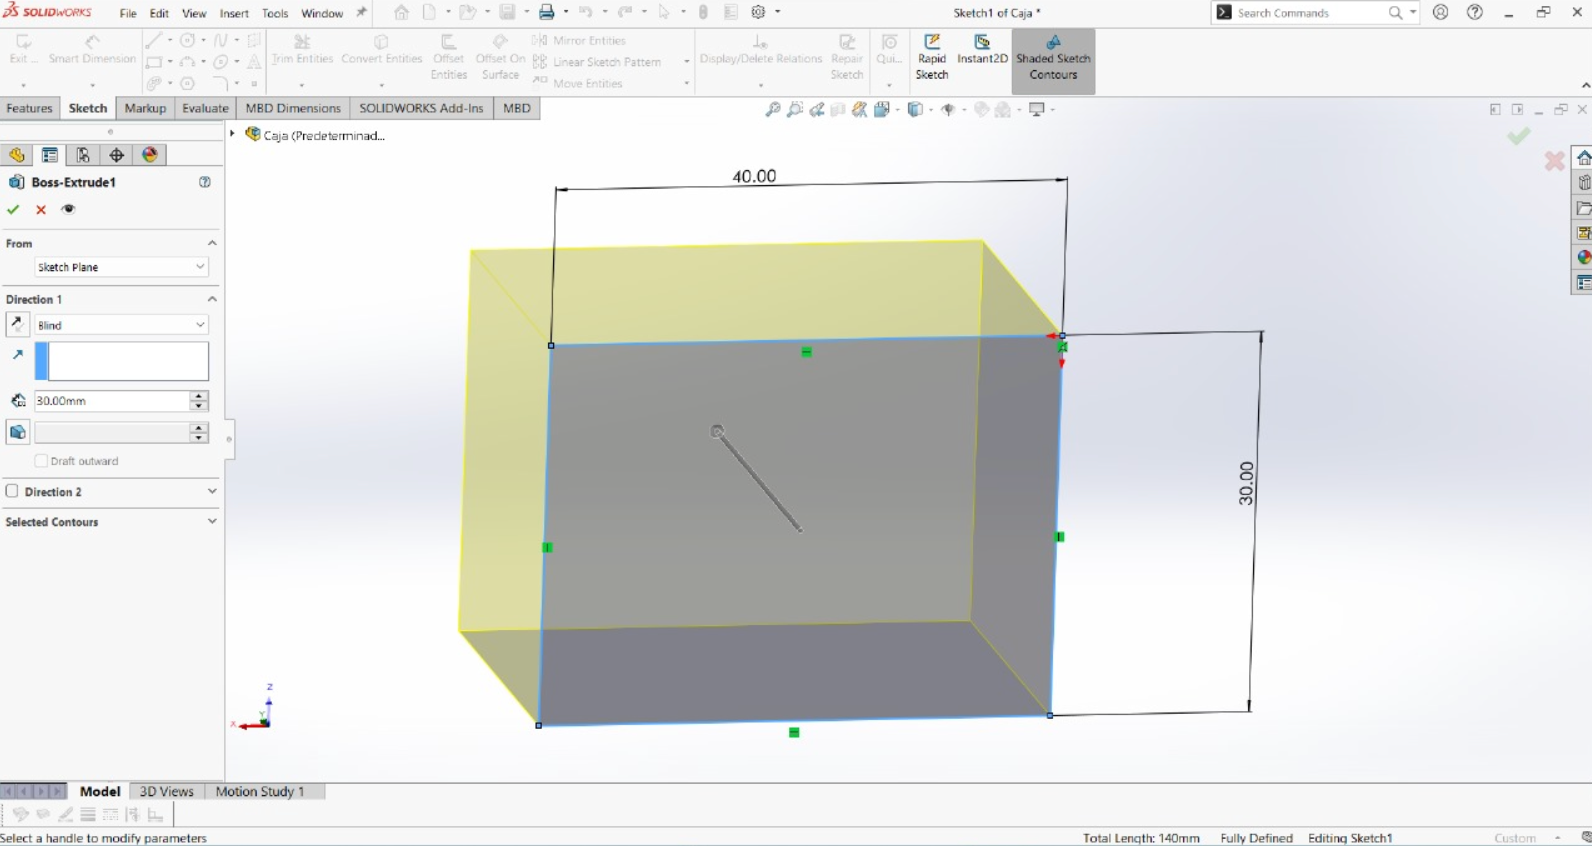
For the design I thought that it could be a good idea to create a box with legs. In this case I'll be using SolidWorks model software.
Starting creating the box with extruding a rectangle
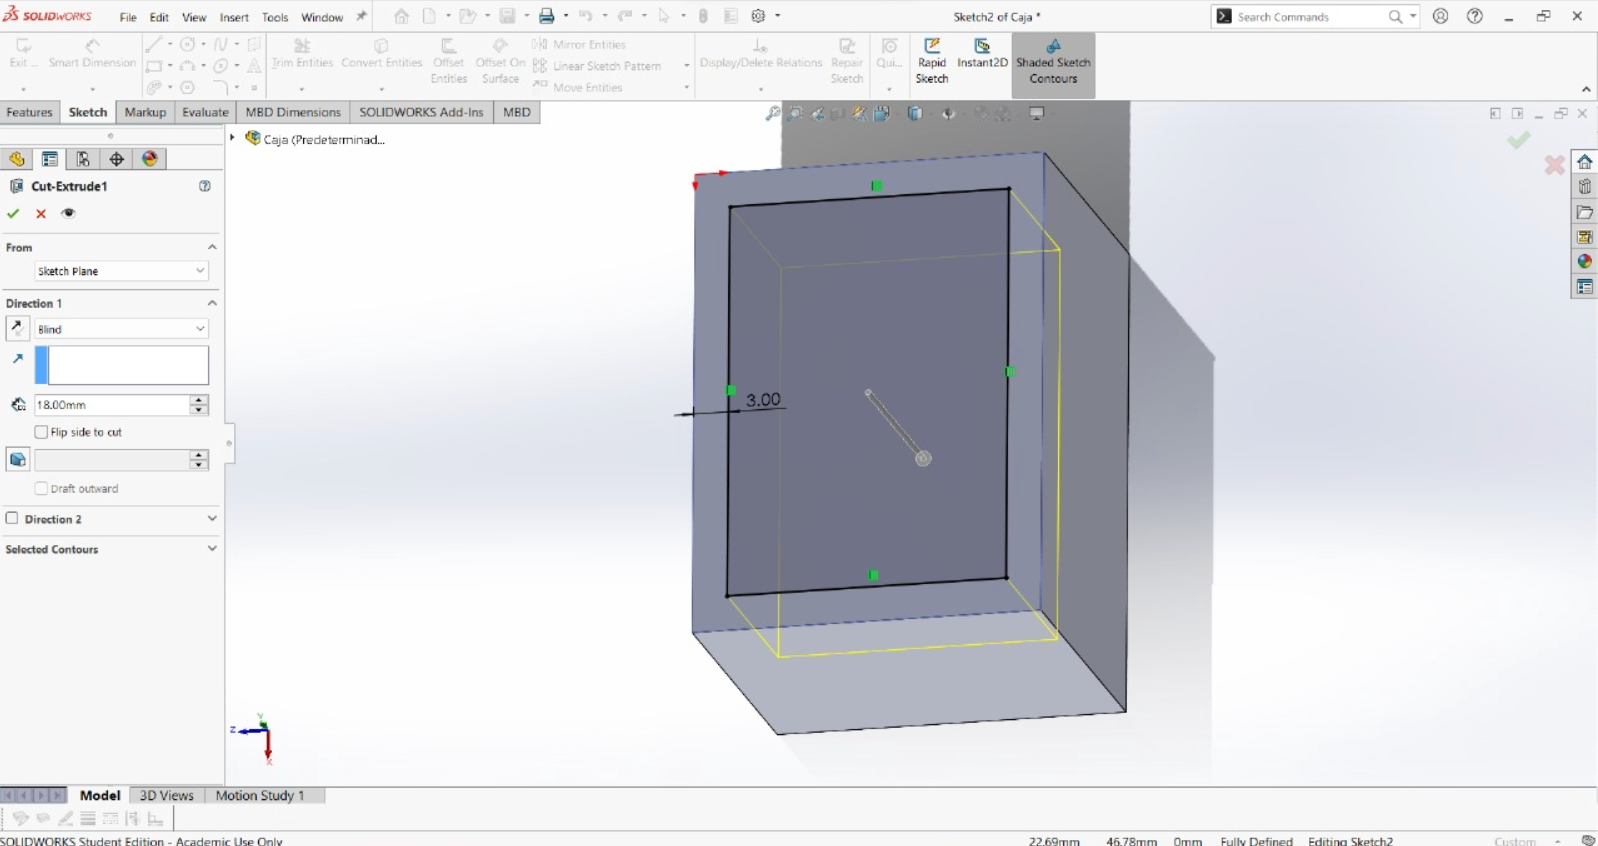
Then the next step is to create a hole in the box to have the ability of keeping things.
After that it was needed to create the space for the "legs" which are going to be joints with free movement.

Time to create the "arms" of the box which are going to give a better look and actually better grip.
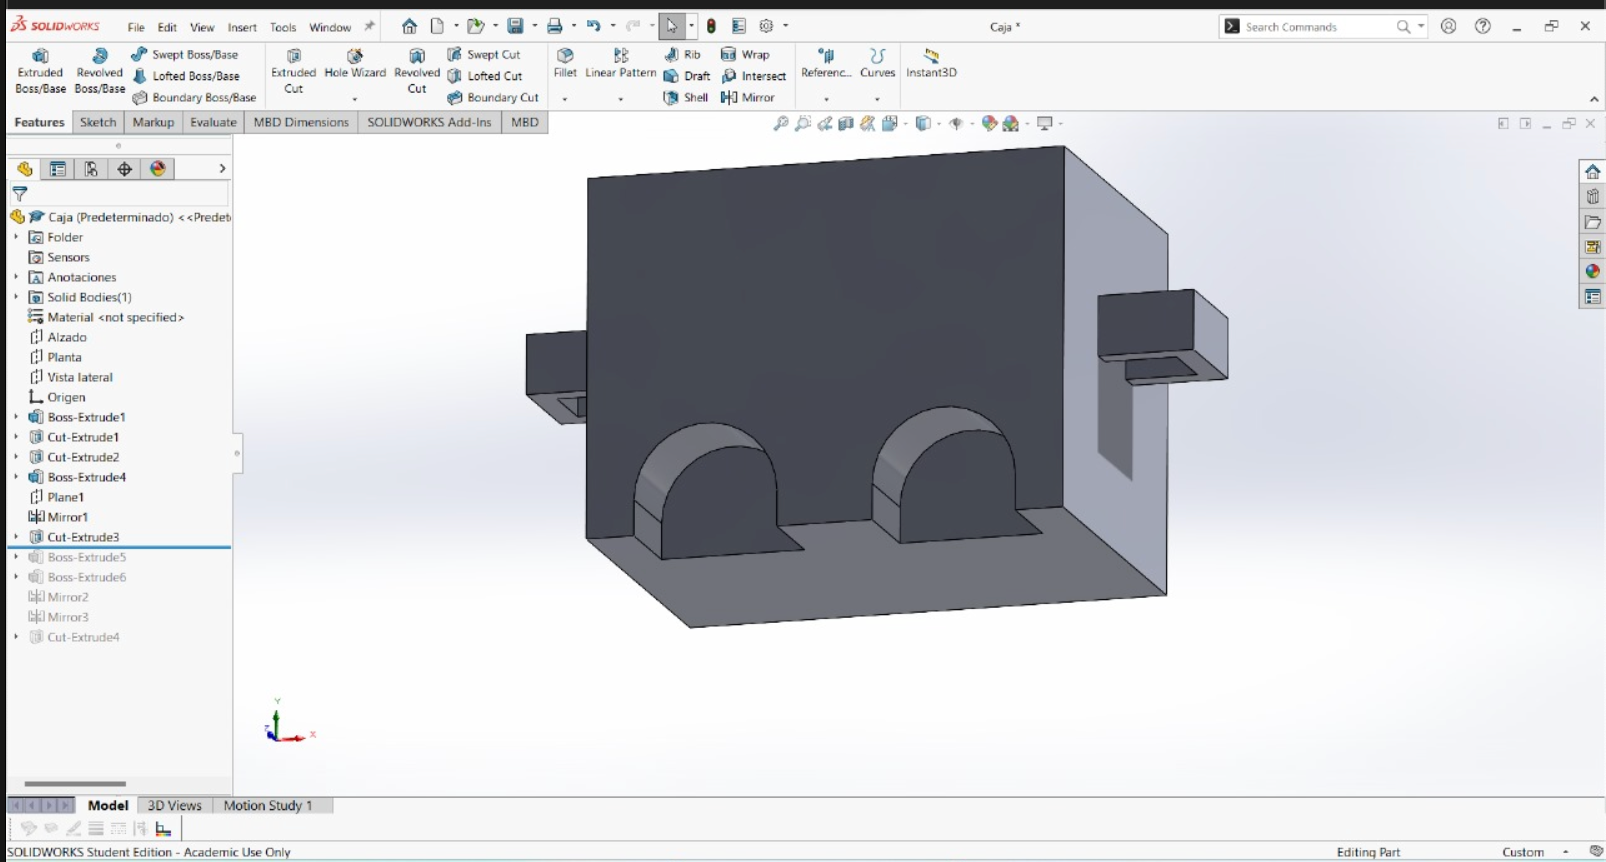
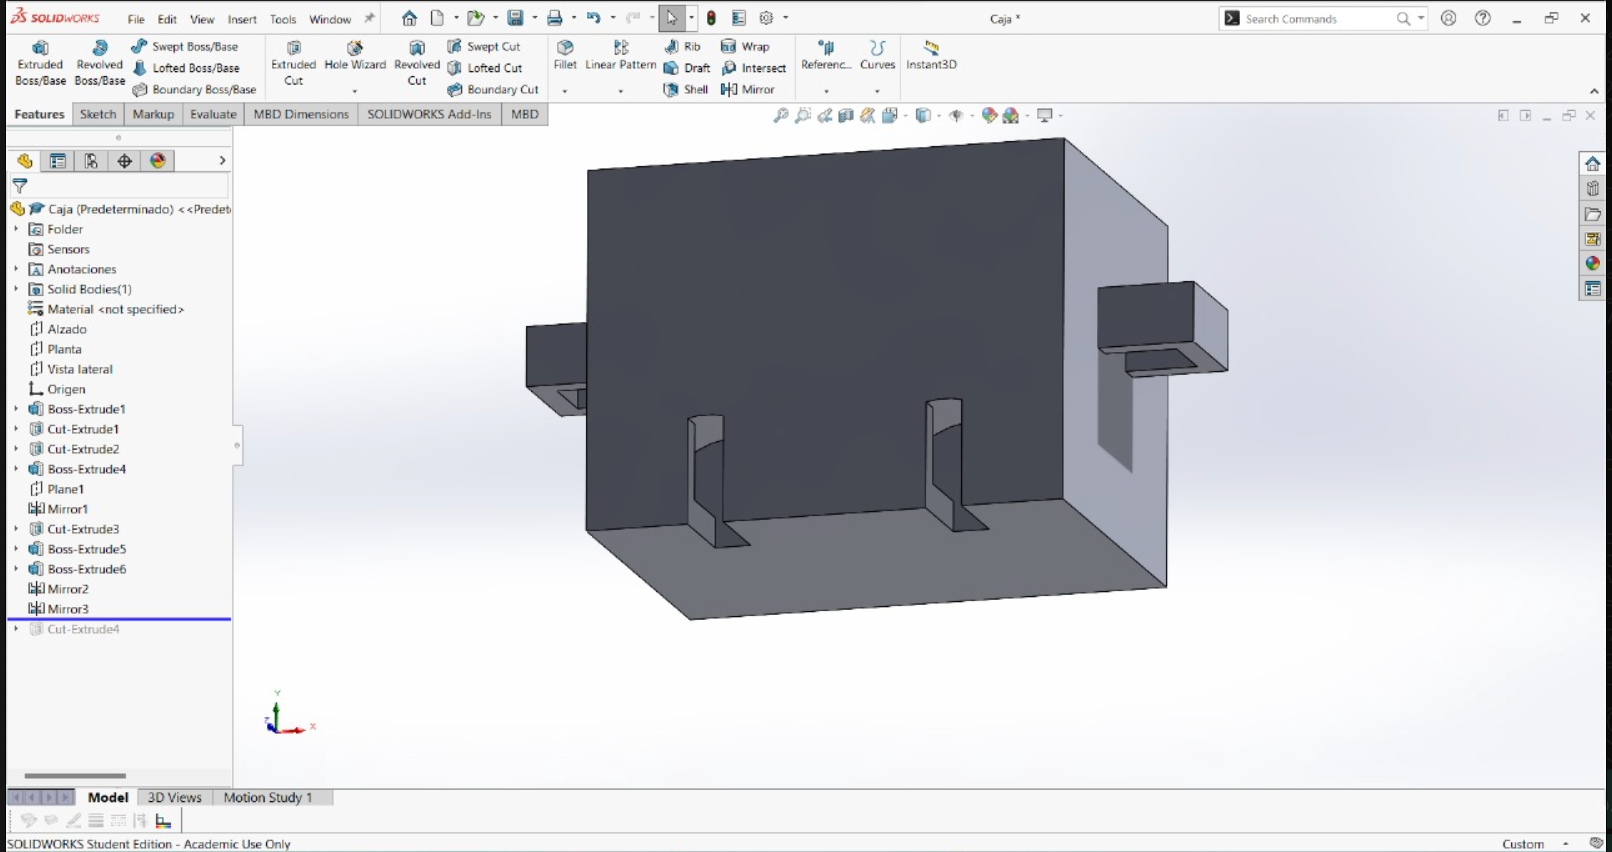
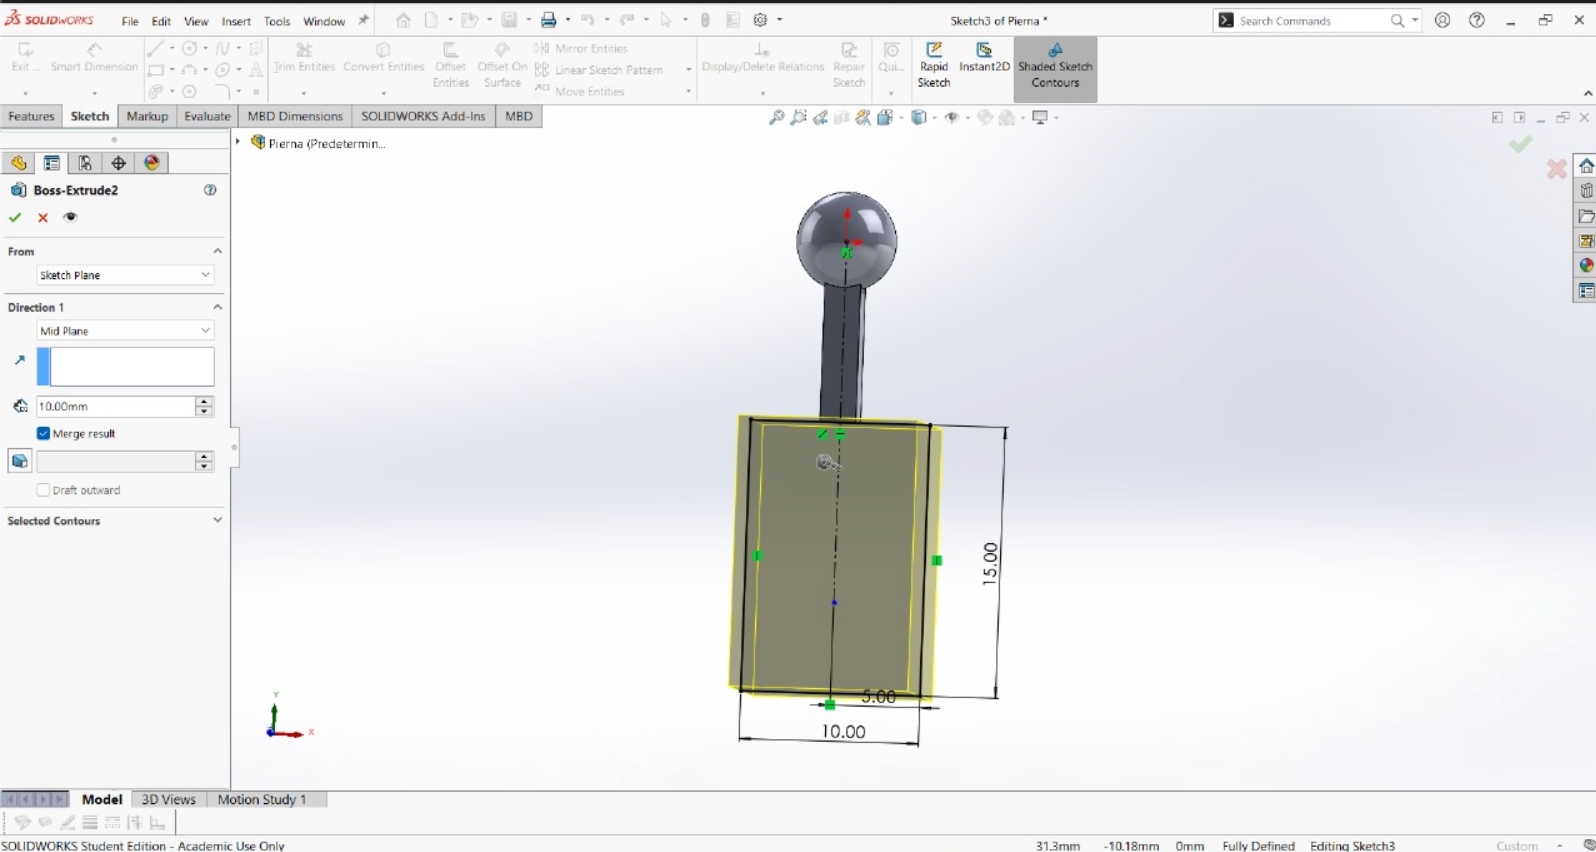
For the legs is needed to create a space where the joint will be and is not going to give space for it to leave the body.
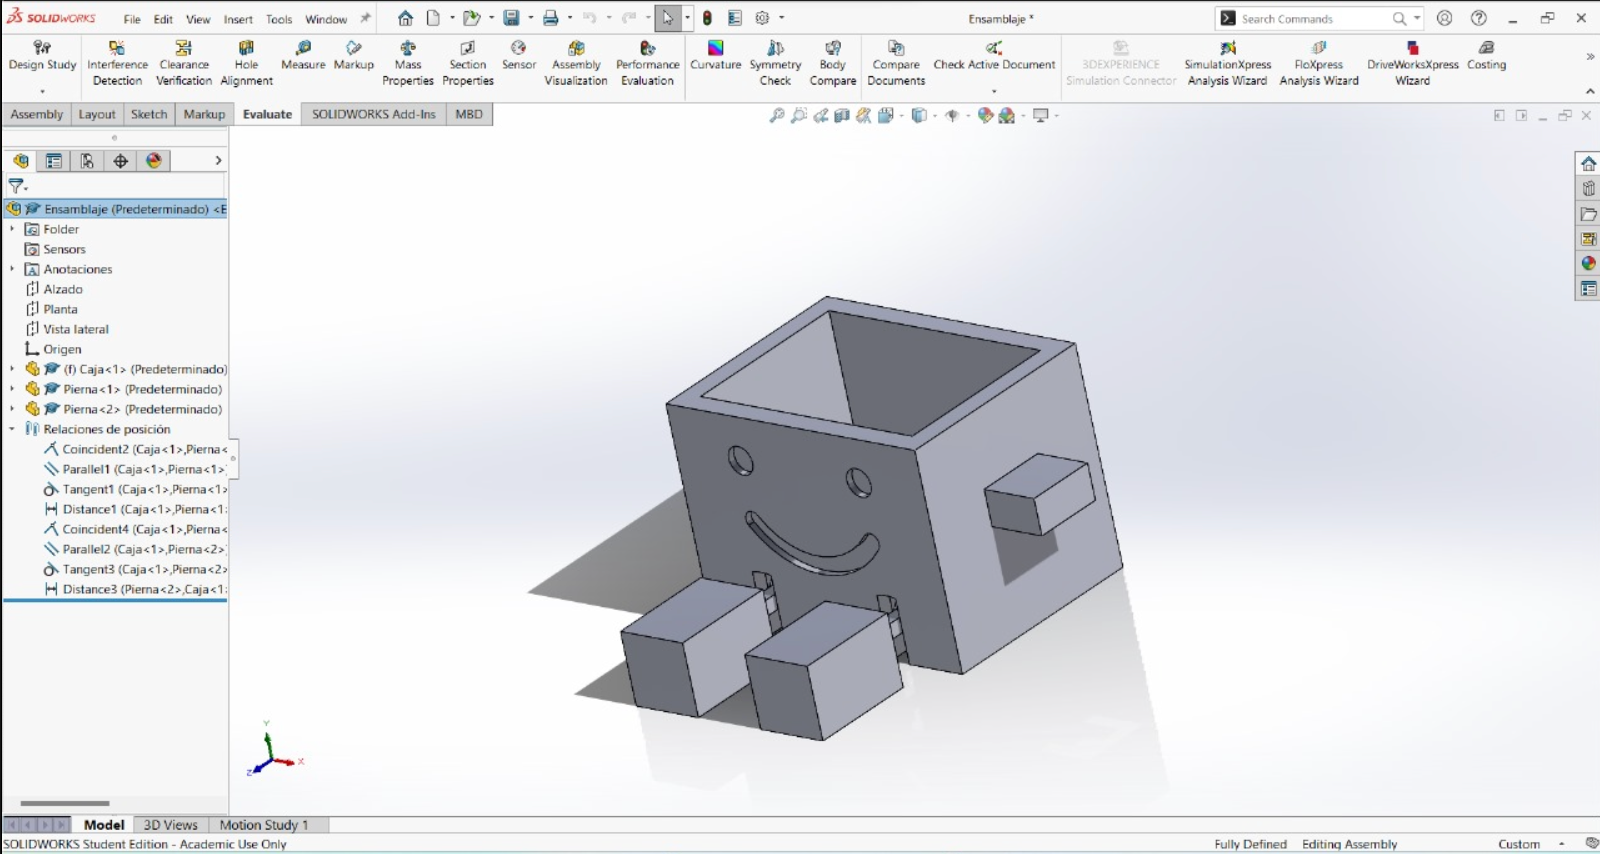
Then for giving design I added a little smile with eyes.

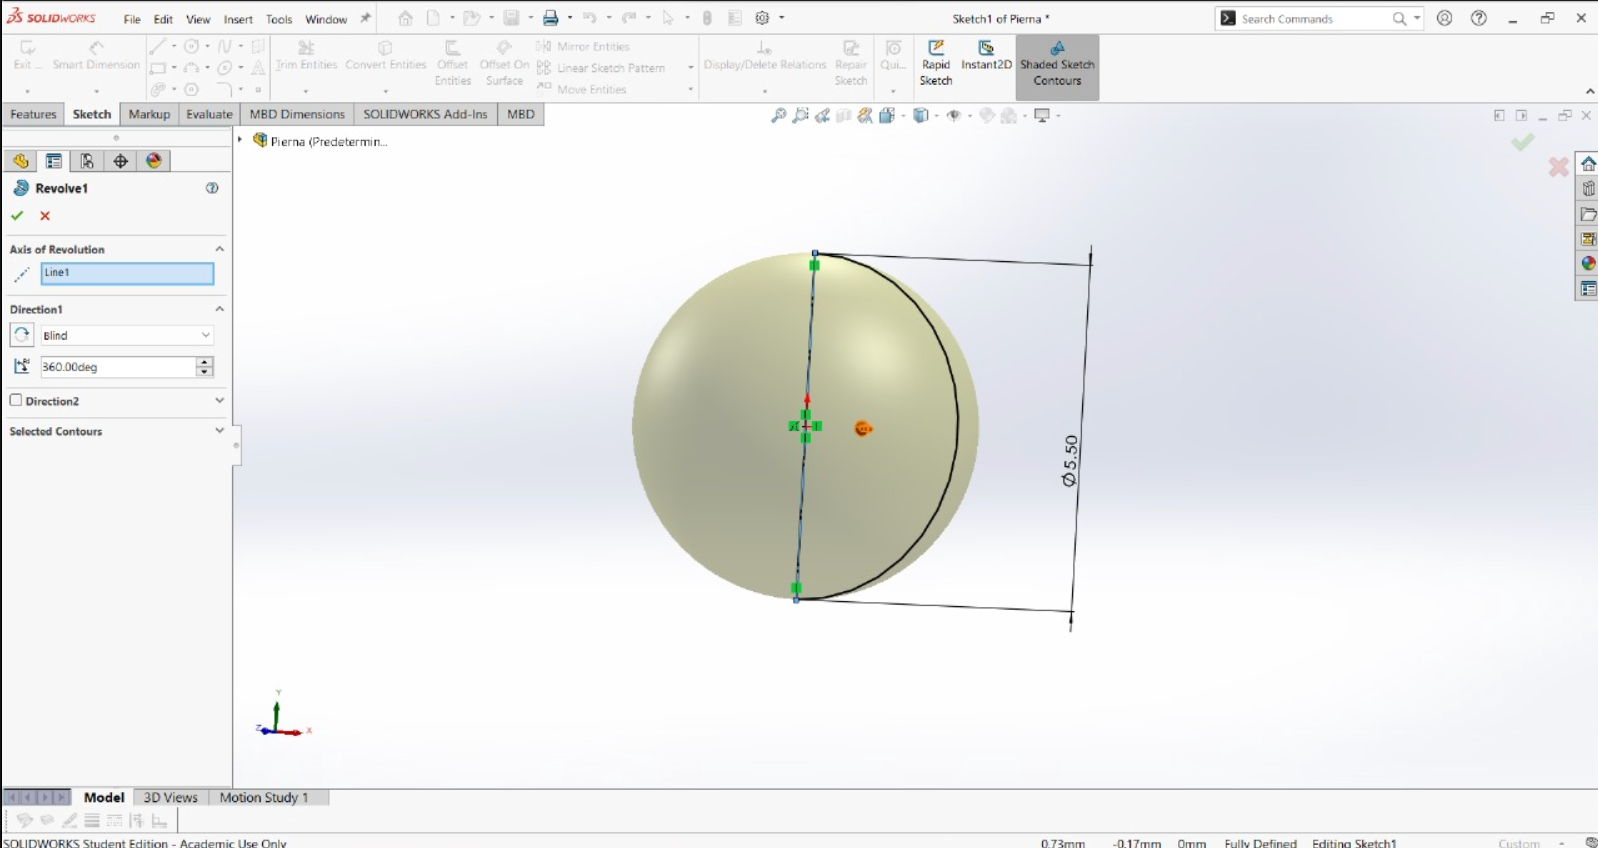
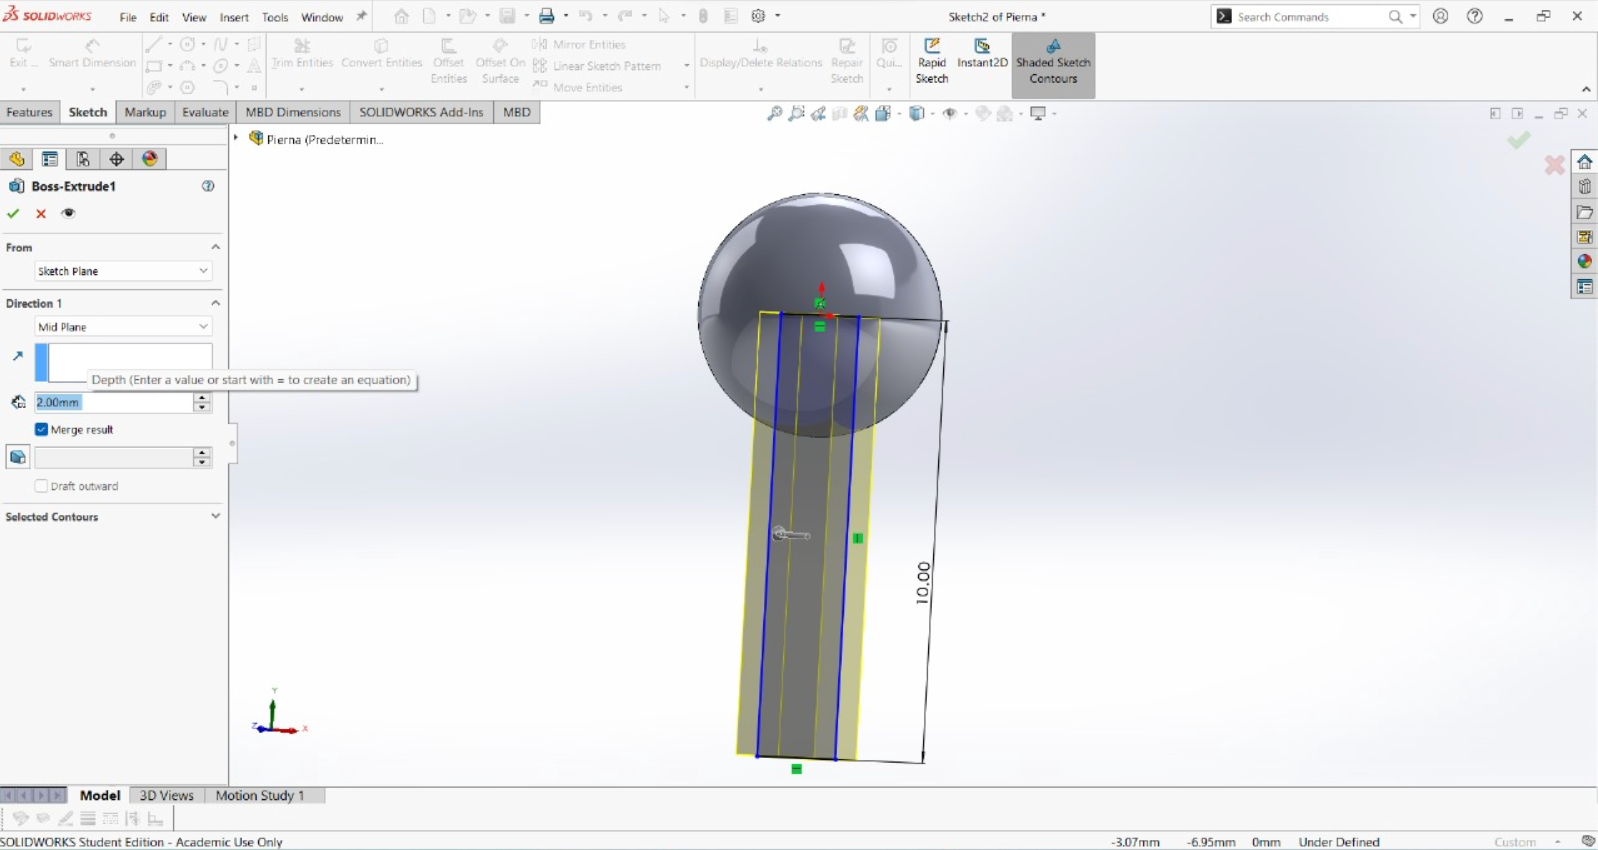
For giving the ability to articulate and move as a leg, a ball to move inside the joint is needed for this movement.
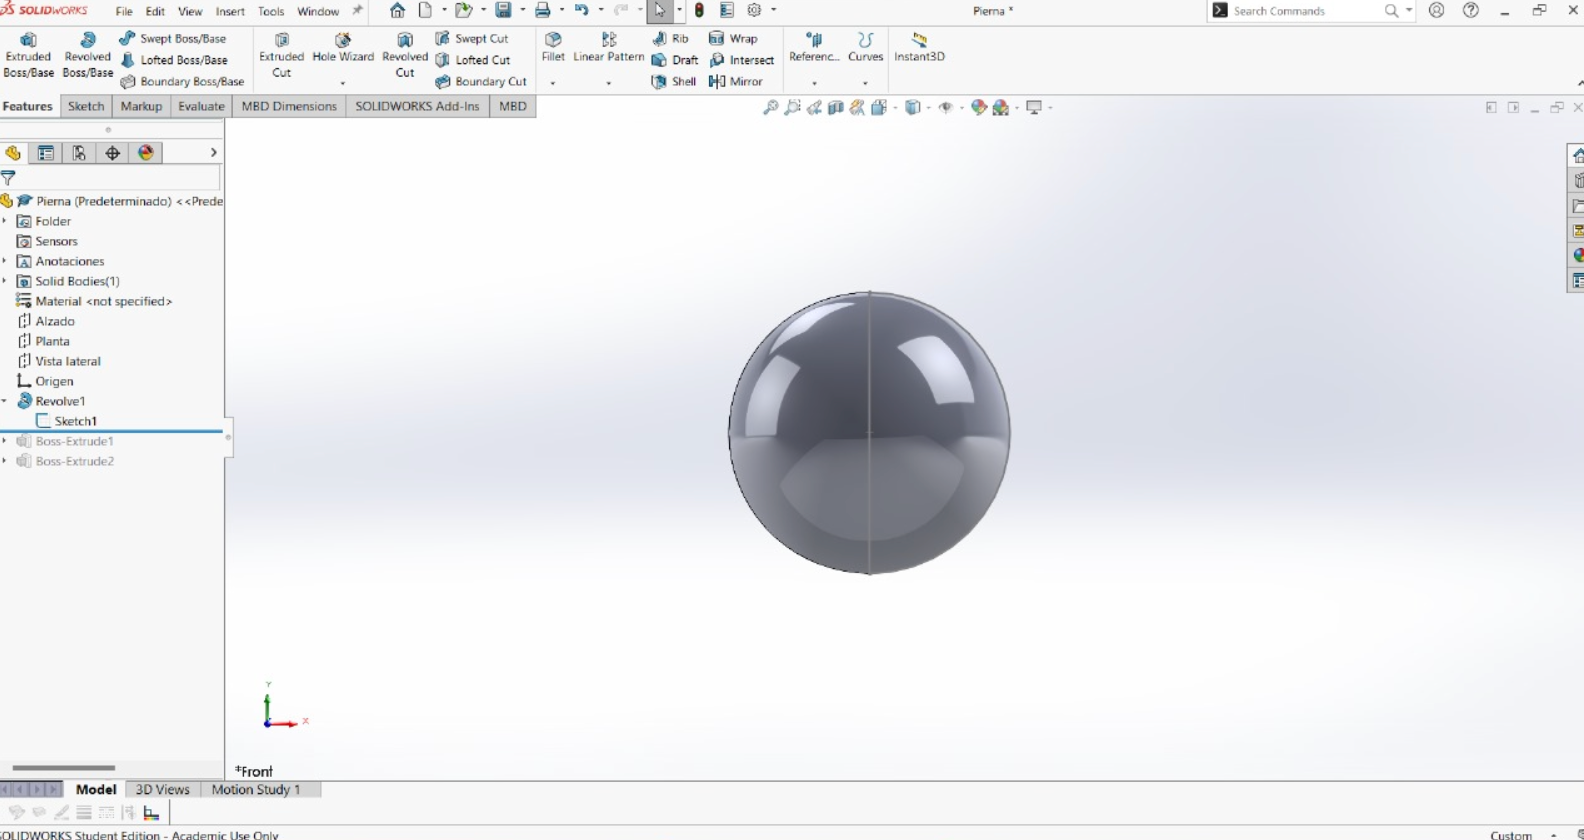
For giving the ability to articulate and move as a leg, a ball to move inside the joint is needed for this movement.
The leg complete.
The leg is the "curious" part of this piece because is going to have movement, this joint have the ability to move freely, this part of the piece is part that cannot be done with other machine because in order to get this free movement and making the leg to stay inside the body, a 3D print model is needed. For this I consider an space of more than a milimeter, this for making sure that the ball inside the box won't have troubles moving inside.
All together with 2 legs.
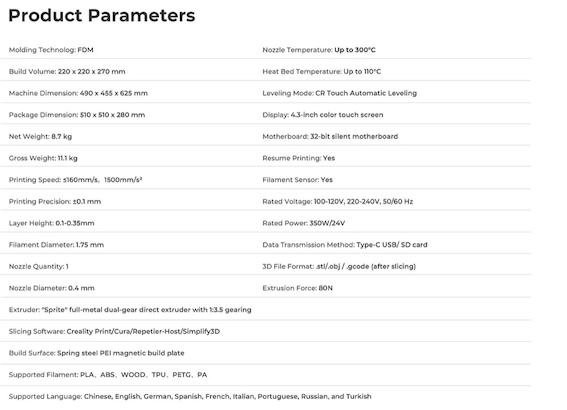
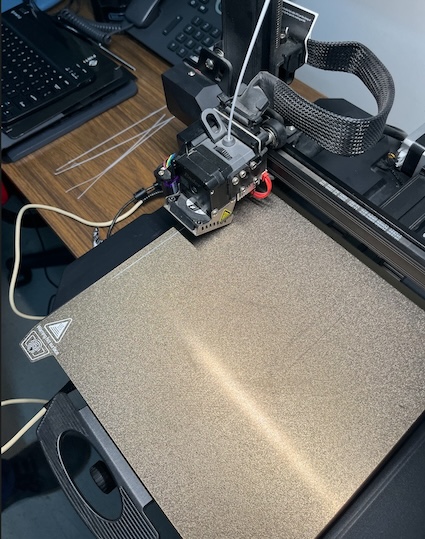
Now it's time to know the printer. The printer that I'm going to use to print every thing that appears here on this page is a Ender 3 S1 Pro which have the next parameters:
Then for using it, I needed to export the file as a .stl which allows to be readed by Ultimaker Cura which is the slicer of objects and interprets what the printer is going to do. Cura is a Free, open-source software with slicing features with a huge range of settings and tools for 3D printing.
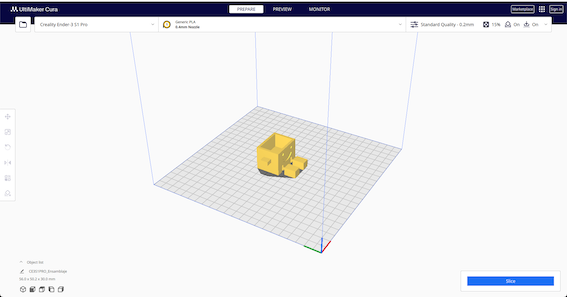
The first step is to import to Cura the .stl file.
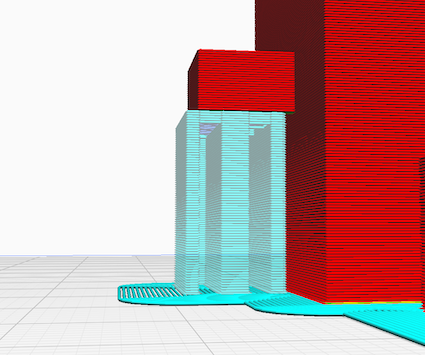
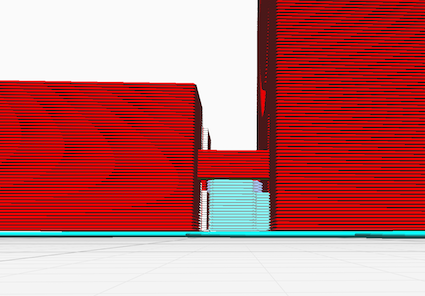
Supports to the piece are a very important part of printing on 3D. Because this piece has some parts that the weight of gravity can cause to fall so it is important to use supports. On this piece I'll be using normal supports that activates automatically, this are the two most important supports for this print:
Now slicing it and checking how it seems to be printed.
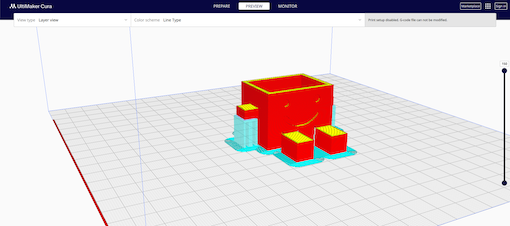
In this case it shows the time and it seems that the figure is well sliced and supported so it's time to print. For printing is necessary to save to an external disk the file, which is going to be a .gcode type.
For all the things printed on this week I'll be using PLA which is rigid, has good strength, and provides good print quality. It is suitable for a wide range of applications and is ideal for printing decorative objects, prototypes, and parts not subjected to loads or high temperatures.
The heat parameters for PLA are:
- Bed: 50-60 °C
- Extruder: 190-220 °C
We input the file to the ProtoPrint that is going to make the printer work.
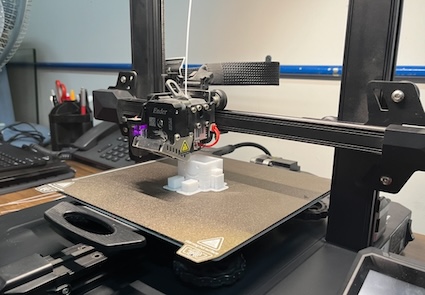
Now it starts to print.
Almost done.
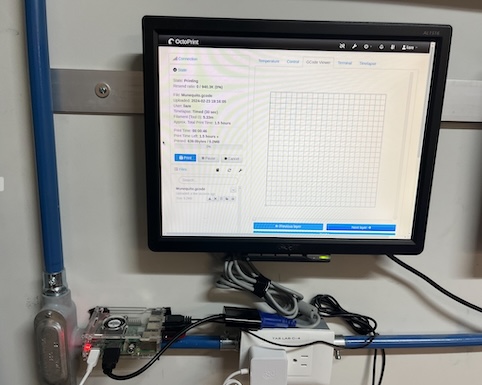
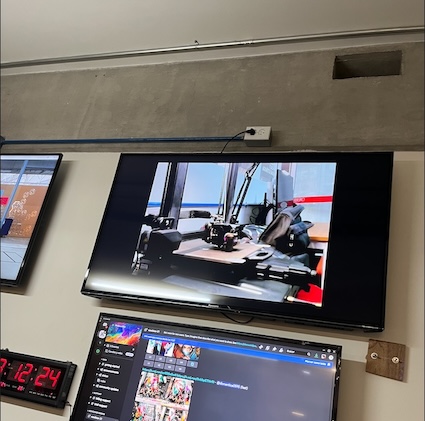
On the lab we can look on a screen how is the print going.
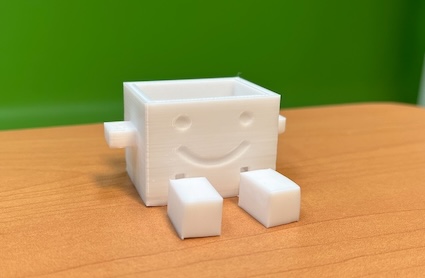
The final result.
Now a GIF of how it works.
3D SCANNING and actually printing
For 3D scanning I decided to go to scan an scale model of my local parish which have a curious structure to be a catholic church. The model is kind of big.
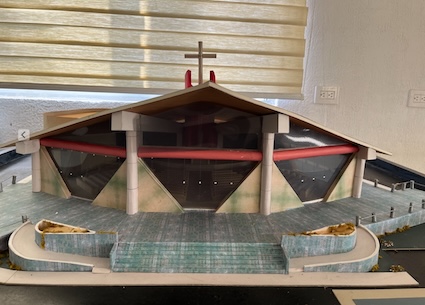
On this 3D scanning I used Polycam. and an Iphone to scan the model. Polycam is a Freemium application which can use from the camera of the Iphone to the LiDAR sensor.
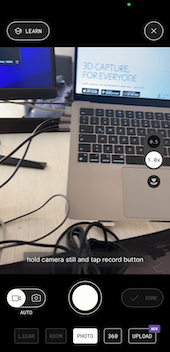
After more than 300 photos
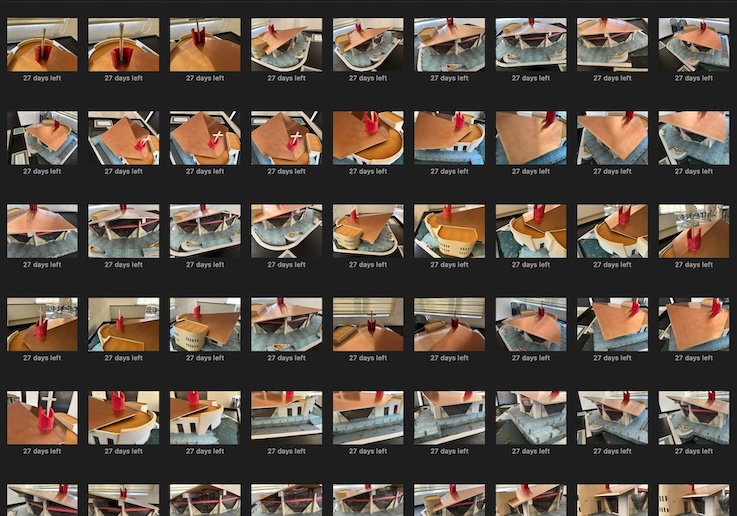
We got this:
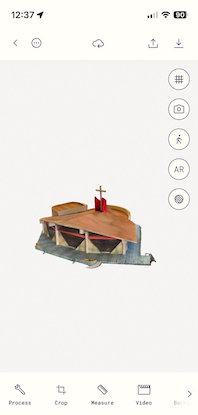
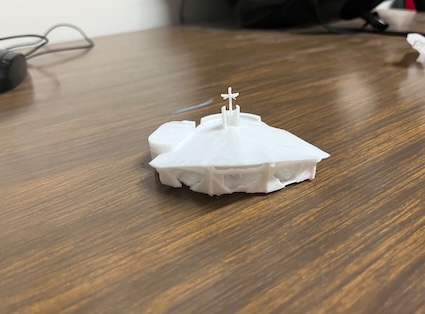
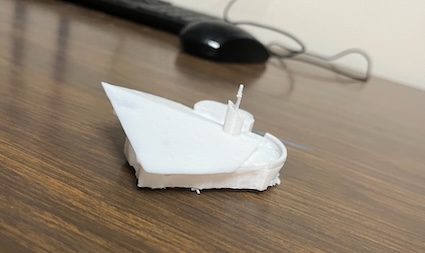
Now it's time to print it, so the app give us the ability to export the model on .stl on it's premium version, so after paying the subscription it's time to print.
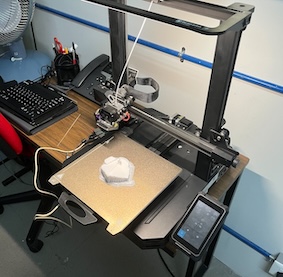
Now the final result pics!