Interface and Application Programming
For this week's assignment, we designed an interface using the QT Designer program, which allows for the visual design of the interface. Additionally, in parallel, we used Visual Studio Code to establish a communication bridge between our interface and Arduino IDE.
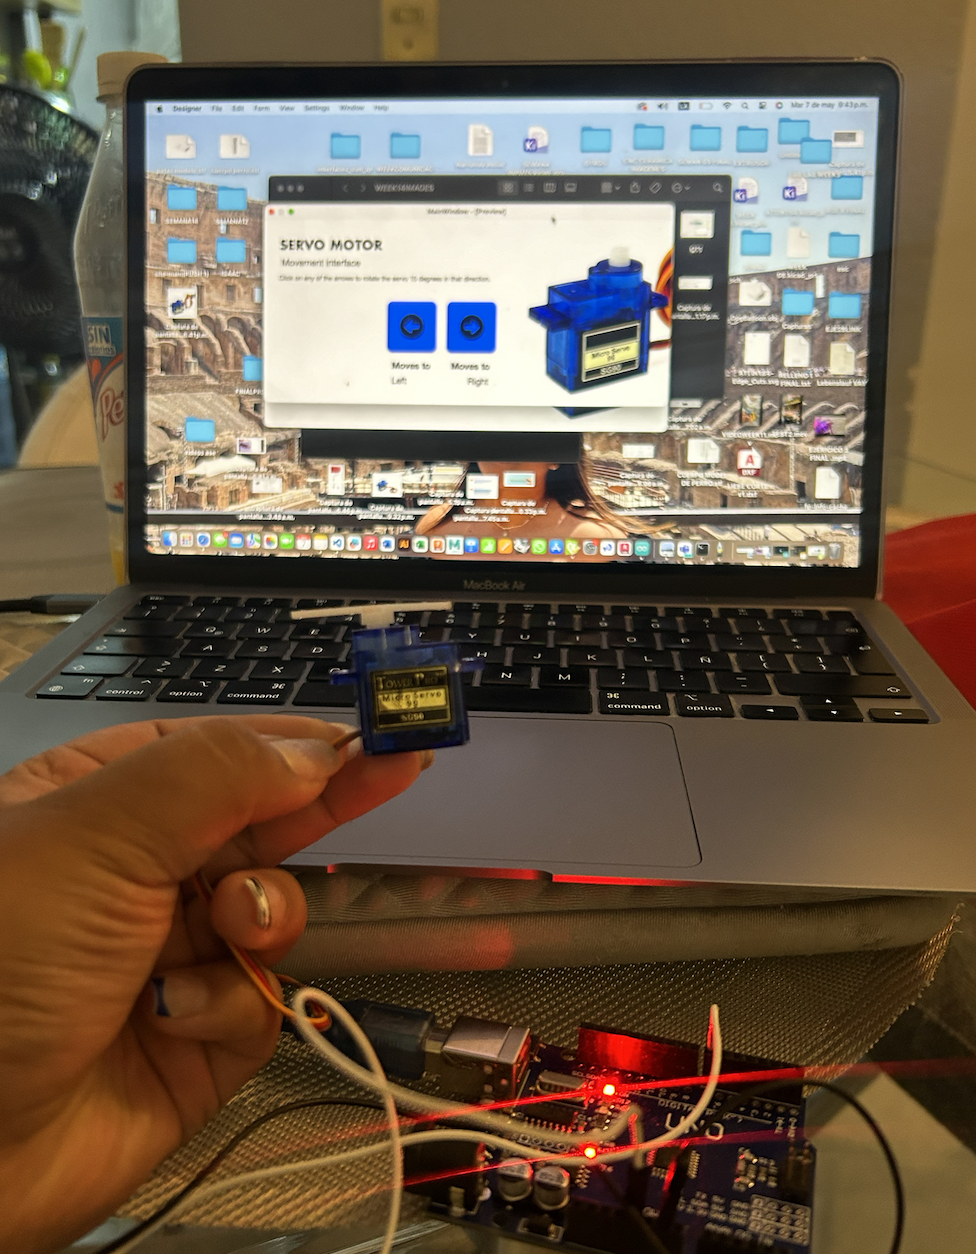
I chose to use a servo motor this week and based on this, create an interface to rotate the servo.
Team Practice
Here its the link of our team practice.
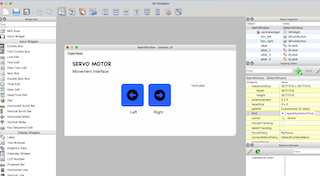
QT DESIGNER
Learning Process
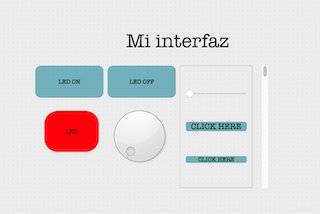
Initially, we learned how to use the application in class, including adding labels, text, images, buttons, colors, and more, to explore the program and learn how to utilize it effectively.
Step 1
Based on my idea of using the servo motor, I created a clean design for the interface. I added a label with an image of the servo, some buttons with arrow icons, and explanatory text for the interface.
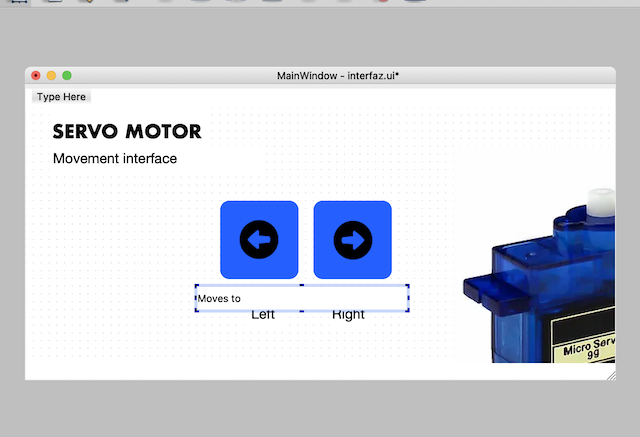
Step 2
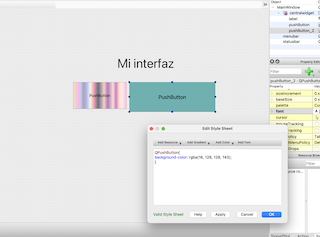
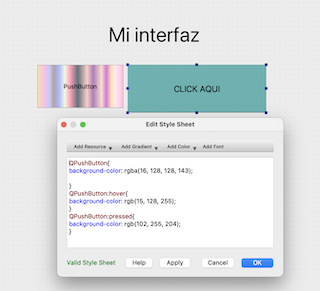
Once the design was completed, I added color changes to the buttons when they are selected and clicked, to differentiate their states.
Step 3
Then, from my computer terminal (since I have a Mac), I navigated to my folder and created an environment in the computer terminal using the command "Code .". This opened Visual Studio Code with all the information from my QT design.

Visual Studio Code
Within Visual Studio, I created a new folder named "app.py". This folder will contain the code that will communicate everything created in QT Designer with the Arduino programming.
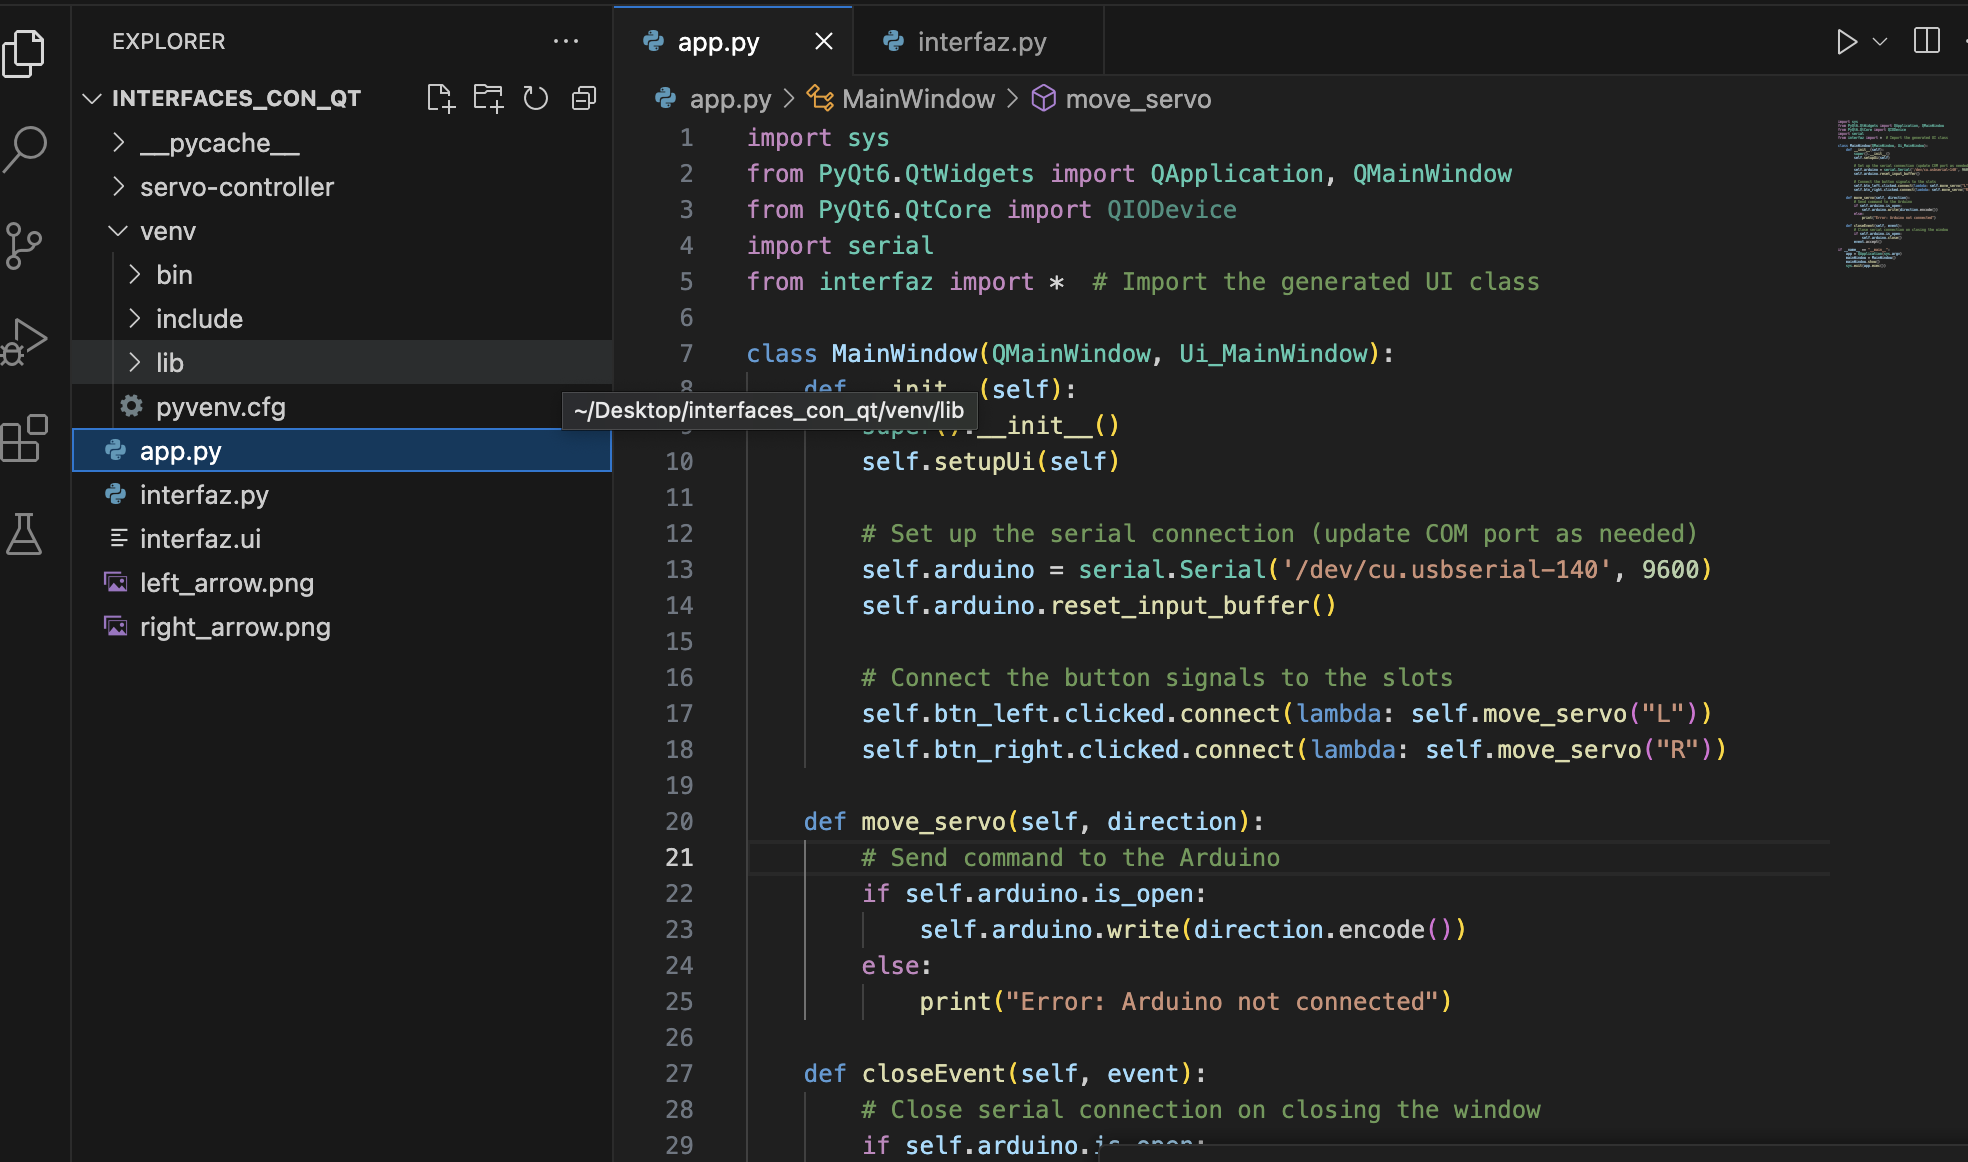
CODE " app.py"
import sys
from PyQt6.QtWidgets import QApplication, QMainWindow
from PyQt6.QtCore import QIODevice
import serial
from interfaz import *  # Import the generated UI class

class MainWindow(QMainWindow, Ui_MainWindow):
def __init__(self):
    super().__init__()
    self.setupUi(self)

    # Set up the serial connection (update COM port as needed)
    self.arduino = serial.Serial('/dev/cu.usbserial-140', 9600)
    self.arduino.reset_input_buffer()

    # Connect the button signals to the slots
    self.btn_left.clicked.connect(lambda: self.move_servo("L"))
    self.btn_right.clicked.connect(lambda: self.move_servo("R"))

def move_servo(self, direction):
    # Send command to the Arduino
    if self.arduino.is_open:
        self.arduino.write(direction.encode())
    else:
        print("Error: Arduino not connected")

def closeEvent(self, event):
    # Close serial connection on closing the window
    if self.arduino.is_open:
        self.arduino.close()
    event.accept()

if __name__ == "__main__":
app = QApplication(sys.argv)
mainWindow = MainWindow()
mainWindow.show()
sys.exit(app.exec())
ARDUINO
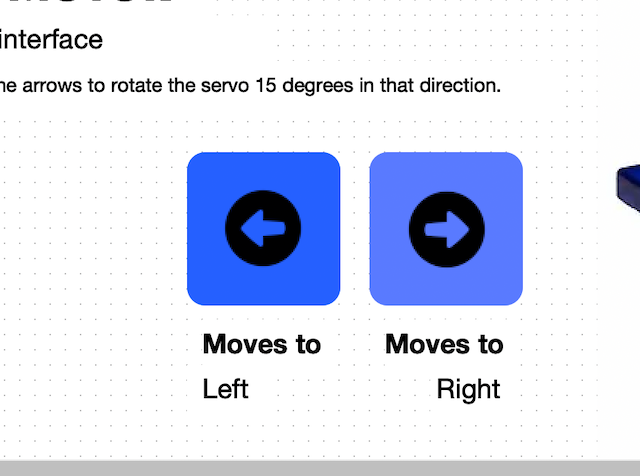
To control an Arduino servo motor, I wrote code that instructs it to move 15 degrees to the left and 15 degrees to the right when the 'L' and 'R' buttons are pressed, respectively. This code is intended to be used in Visual Studio Code to establish communication with the Arduino Uno.
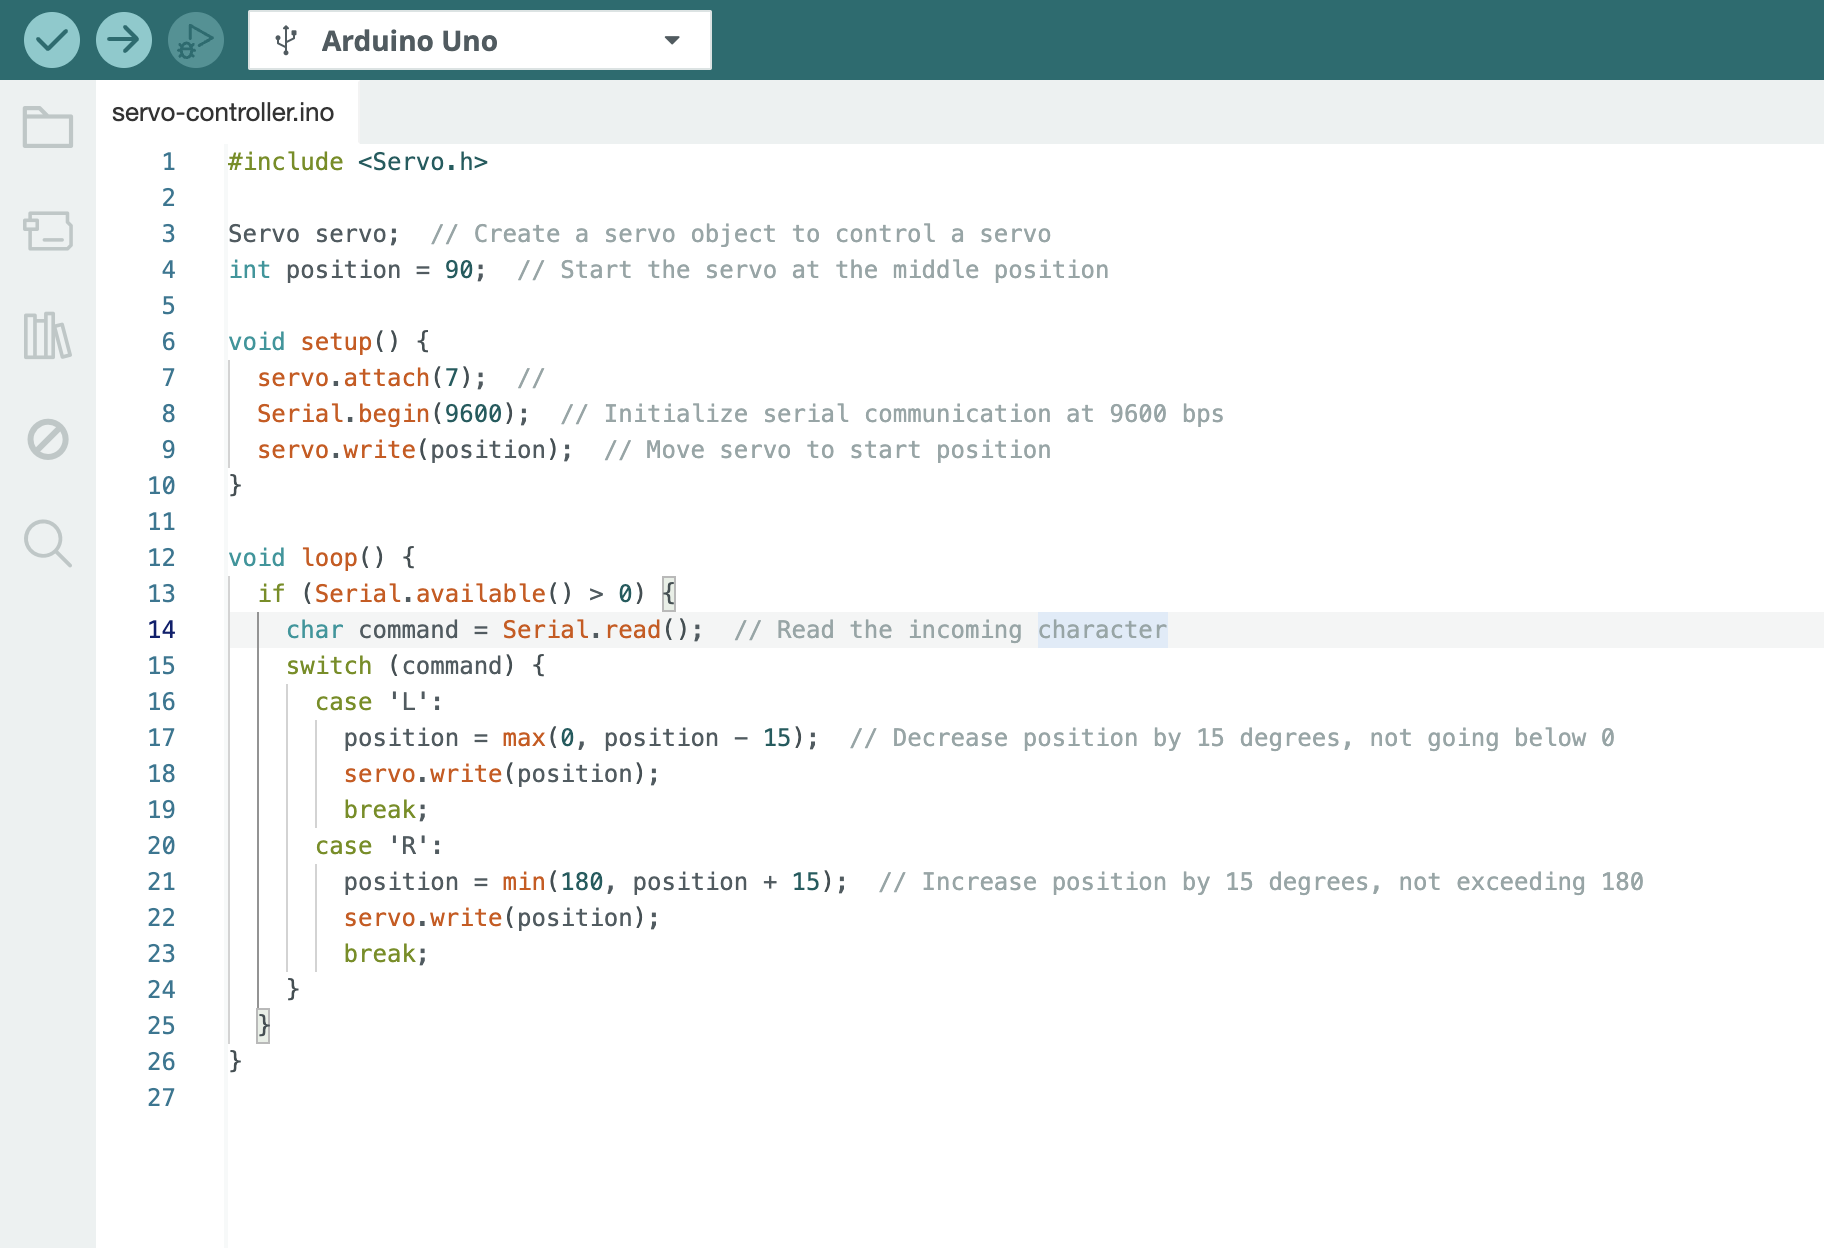
SERVO MOVEMENT CODE
#includeServo servo; // Create a servo object to control a servo int position = 90; // Start the servo at the middle position void setup () { servo.attach(7); // Serial.begin (9600); // Initialize serial communication at 9600 bps servo.write(position); } void loop() { if (Serial available() > 0) E char command = Serial.read(); // Read the incoming character position = max(0, position - 15); // Decrease position by 15 degrees, not going below o servo write(position); position = min(180, position + 15); // Increase position by 15 degrees, not exceeding 180 servo write(position); } } }
Terminal to display the interface.
Use the terminal to visualize the interface, acting as the communication bridge between Visual Studio Code, Arduino, and QT.

| Code Type | Code |
|---|---|
| It is used to activate a Python virtual environment called 'venv', which allows isolating the project's dependencies from the global system environment. | source venv/bin/activate |
| This is used to update the information from QT to Visual Studio Code. | pyuico -x interfaz.ui -o interfaz.py |
| This visualizes the ready interface. | python app. py |
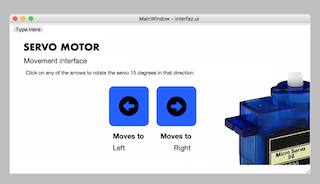
FINAL RESULT
And there is! SERVO MOTOR MOVEMENT INTERFACE!