Embedded Programming
Here is the programming process I undertook with the board I created in my sixth week. In this section, I will present my entire programming process in the ARDUINO and THONY programs.
Team Practice
Here its the link of our team practice.
EXERCISES WITH ARDUINO
I completed three different exercises using the Arduino interface.
Open a new document in Arduino, where various programming designs will be established and programmed on the previously soldered board.
EXCERCISE 1
For this exercise, I created a code that controls three LEDs (LED1, LED2, and LED3) connected to pins D0, D6, and D7, respectively. Additionally, there is a button connected to pin D1. When the button is pressed, a fading animation occurs on the LEDs, and at the end of the animation, the LEDs turn off.
Step 1
#define LED1 D0
#define LED2 D6
#define LED3 D7
#define BUTTON D1

int buttonState = 0;
int lastButtonState = 0;
Step 2
Configure the LED pins as outputs and the button pin as an input.
void setup() {
pinMode(LED1, OUTPUT);
pinMode(LED2, OUTPUT);
pinMode(LED3, OUTPUT);
pinMode(BUTTON, INPUT);
}
Step 3
Read the current button state and check if it has changed. If the button state is HIGH (pressed), call the fadeLEDs function, including a 50-millisecond delay for button debounce.
void loop() {
  buttonState = digitalRead(BUTTON);

  if (buttonState != lastButtonState) {
    if (buttonState == HIGH) {
      // Realizar acciones cuando el botón está presionado
      fadeLEDs();
    }
    delay(50);  // Debounce
  }

  lastButtonState = buttonState;
}
Step 4
Define the fadeLEDs function, which performs a fading animation on the LEDs. Specify the animation duration (fadeDuration), the number of steps (steps), and the delay between steps (delayBetweenSteps). Use the analogWrite function to vary the luminosity of the LEDs based on the brightness calculated at each step. After the animation, the LEDs turn off.
void loop() {
  buttonState = digitalRead(BUTTON);

  if (buttonState != lastButtonState) {
    if (buttonState == HIGH) {
      // Realizar acciones cuando el botón está presionado
      fadeLEDs();
    }
    delay(50);  // Debounce
  }

  lastButtonState = buttonState;
}
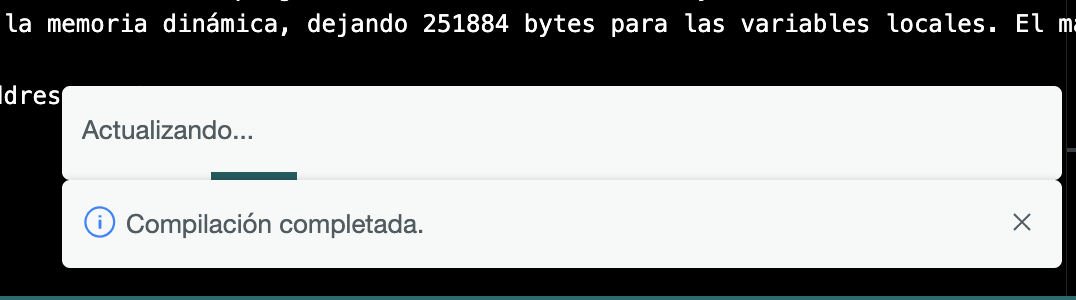
CODE UPLOAD
To test that the code is useful, the code is loaded and compiled to the board to be able to test its functionality.
VIDEO EXCERCISE 1
EXCERCISE 2
For this code, controlling three LEDs (LED1, LED2, and LED3) connected to pins D0, D6, and D7, respectively, with a button connected to pin D1. When the button is pressed, a "breathing" animation occurs on each of the LEDs, and at the end of the animation, the next LED in the sequence starts its animation.
Step 1
Create a new document in Arduino.
Step 2
Define constants for the LED and button pins. Declare variables buttonState and lastButtonState to track the current and previous button states. Create an array leds containing the pins of the three LEDs, where numLEDs stores the number of LEDs, and currentLED tracks the current LED in the sequence.
#define LED1 D0
#define LED2 D6
#define LED3 D7
#define BUTTON D1

int buttonState = 0;
int lastButtonState = 0;

int leds[] = {LED1, LED2, LED3};
int numLEDs = sizeof(leds) / sizeof(leds[0]);
int currentLED = 0;
Step 3
Configure the LED pins as outputs and the button pin as an input.
void setup() {
for (int i = 0; i < numLEDs; i++) {
pinMode(leds[i], OUTPUT);
  }
pinMode(BUTTON, INPUT);
}
Step 4
If the button state is HIGH (pressed), call the breatheLED function with the current LED and then switch to the next LED in the sequence. Include a 50-millisecond delay for button debounce.
void loop() {
  buttonState = digitalRead(BUTTON);

  if (buttonState != lastButtonState) {
    if (buttonState == HIGH) {
      breatheLED(leds[currentLED]);
      currentLED = (currentLED + 1) % numLEDs;  // Cambia al siguiente LED
    }
    delay(50);  // Debounce
  }

  lastButtonState = buttonState;
}
Step 5
Define the breatheLED function, which performs a "breathing" animation on a given LED. Use the analogWrite function to vary the luminosity of the LED based on the brightness calculated at each step. After the animation, turn off the LED (analogWrite(ledPin, 0)).
void breatheLED(int ledPin) {
  const int fadeDuration = 2000;  // Duración de la animación en milisegundos
  const int steps = 100;         // Número de pasos de la animación
  const int delayBetweenSteps = fadeDuration / steps;

  for (int i = 0; i <= steps; i++) {
    int brightness = map(i, 0, steps, 0, 255);
    analogWrite(ledPin, brightness);
    delay(delayBetweenSteps);
  }

  for (int i = steps; i >= 0; i--) {
    int brightness = map(i, 0, steps, 0, 255);
    analogWrite(ledPin, brightness);
    delay(delayBetweenSteps);
  }

  // Apagar el LED al finalizar la animación
  analogWrite(ledPin, 0);
}
VIDEO EJERCICIO 2
EXCERCISE 3
For this code, control an RGB LED (NeoPixel) and simulate a traffic light style using traditional LEDs.
Step 1
New arduino sketch.
Step 2
Include the Adafruit_NeoPixel library and define some variables and constants. Assign pins to variables for easy reference later in the code.
#include

// Definir pines
int Power = 11;
int PIN = 12;
#define NUMPIXELS 1
#define BUTTON D1
#define LED_RED D2
#define LED_YELLOW D3
#define LED_GREEN D4
Step 3
In the setup() function, initiate communication with the NeoPixel, configure the pins as needed, and set the initial state of the Power pin.
Adafruit_NeoPixel pixels(NUMPIXELS, PIN, NEO_GRB + NEO_KHZ800);

void setup() {
  // Iniciar comunicación con el NeoPixel
  pixels.begin();

  // Configurar pines
  pinMode(Power, OUTPUT);
  pinMode(BUTTON, INPUT_PULLUP);
  pinMode(LED_RED, OUTPUT);
  pinMode(LED_YELLOW, OUTPUT);
  pinMode(LED_GREEN, OUTPUT);

  // Establecer el estado inicial del pin Power
  digitalWrite(Power, HIGH);
}
Step 4
In the loop() function, check if the button (BUTTON) has been pressed. If so, call the changeNeoPixelColor() function to change the color of the NeoPixel, and wait until the button is released to avoid multiple actions while keeping it pressed. Then, call simulateTrafficLight() to simulate the operation of a traffic light.
void loop() {
  // Verificar si se ha presionado el botón
  if (digitalRead(BUTTON) == LOW) {
    // Cambiar el color del NeoPixel
    changeNeoPixelColor();

    // Esperar hasta que se libere el botón para evitar acciones múltiples al mantenerlo presionado
    while (digitalRead(BUTTON) == LOW) {
      delay(10);
    }
  }

  // Simular el funcionamiento de un semáforo con LEDs tradicionales
  simulateTrafficLight();
}
Step 5
The changeNeoPixelColor() function generates random values for the red, green, and blue color components and updates the NeoPixel color with those values.
void changeNeoPixelColor() {
  // Cambiar el color del NeoPixel a valores aleatorios
  int red = random(0, 255);
  int green = random(0, 255);
  int blue = random(0, 255);
  pixels.setPixelColor(0, pixels.Color(red, green, blue));
  pixels.show();
}
Step 6
The simulateTrafficLight() function simulates the operation of a traffic light using traditional LEDs.
    void simulateTrafficLight() {
  // Simular el funcionamiento de un semáforo con LEDs tradicionales
  digitalWrite(LED_RED, HIGH);
  delay(2000);
  digitalWrite(LED_RED, LOW);

  digitalWrite(LED_YELLOW, HIGH);
  delay(1000);
  digitalWrite(LED_YELLOW, LOW);

  digitalWrite(LED_GREEN, HIGH);
  delay(2000);
  digitalWrite(LED_GREEN, LOW);
}
VIDEO EXCERCISE 3
EXERCISES WITH THONY
I completed one of the three exercises using in this time Mycrophyton THONY interface.
1. Download the Thonny program to be able to use it.


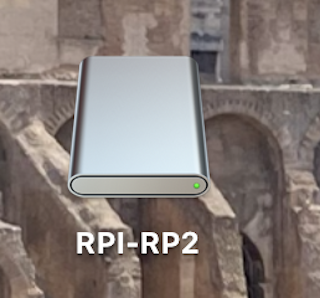
2. Next, for the board to function, press the letter "B" on the board when connecting it to the computer.
3. Release the button, and the board will appear on the computer; insert the document for the XIAO RP2040 board obtained from our teacher.
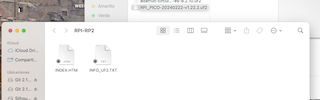
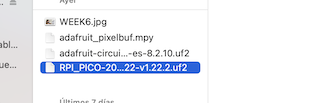
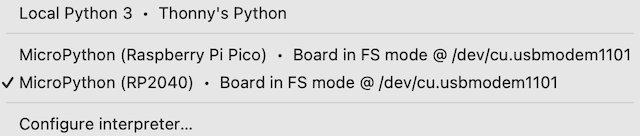
4.Once the document is pasted, the board's name will automatically change to Python, indicating that it is working.
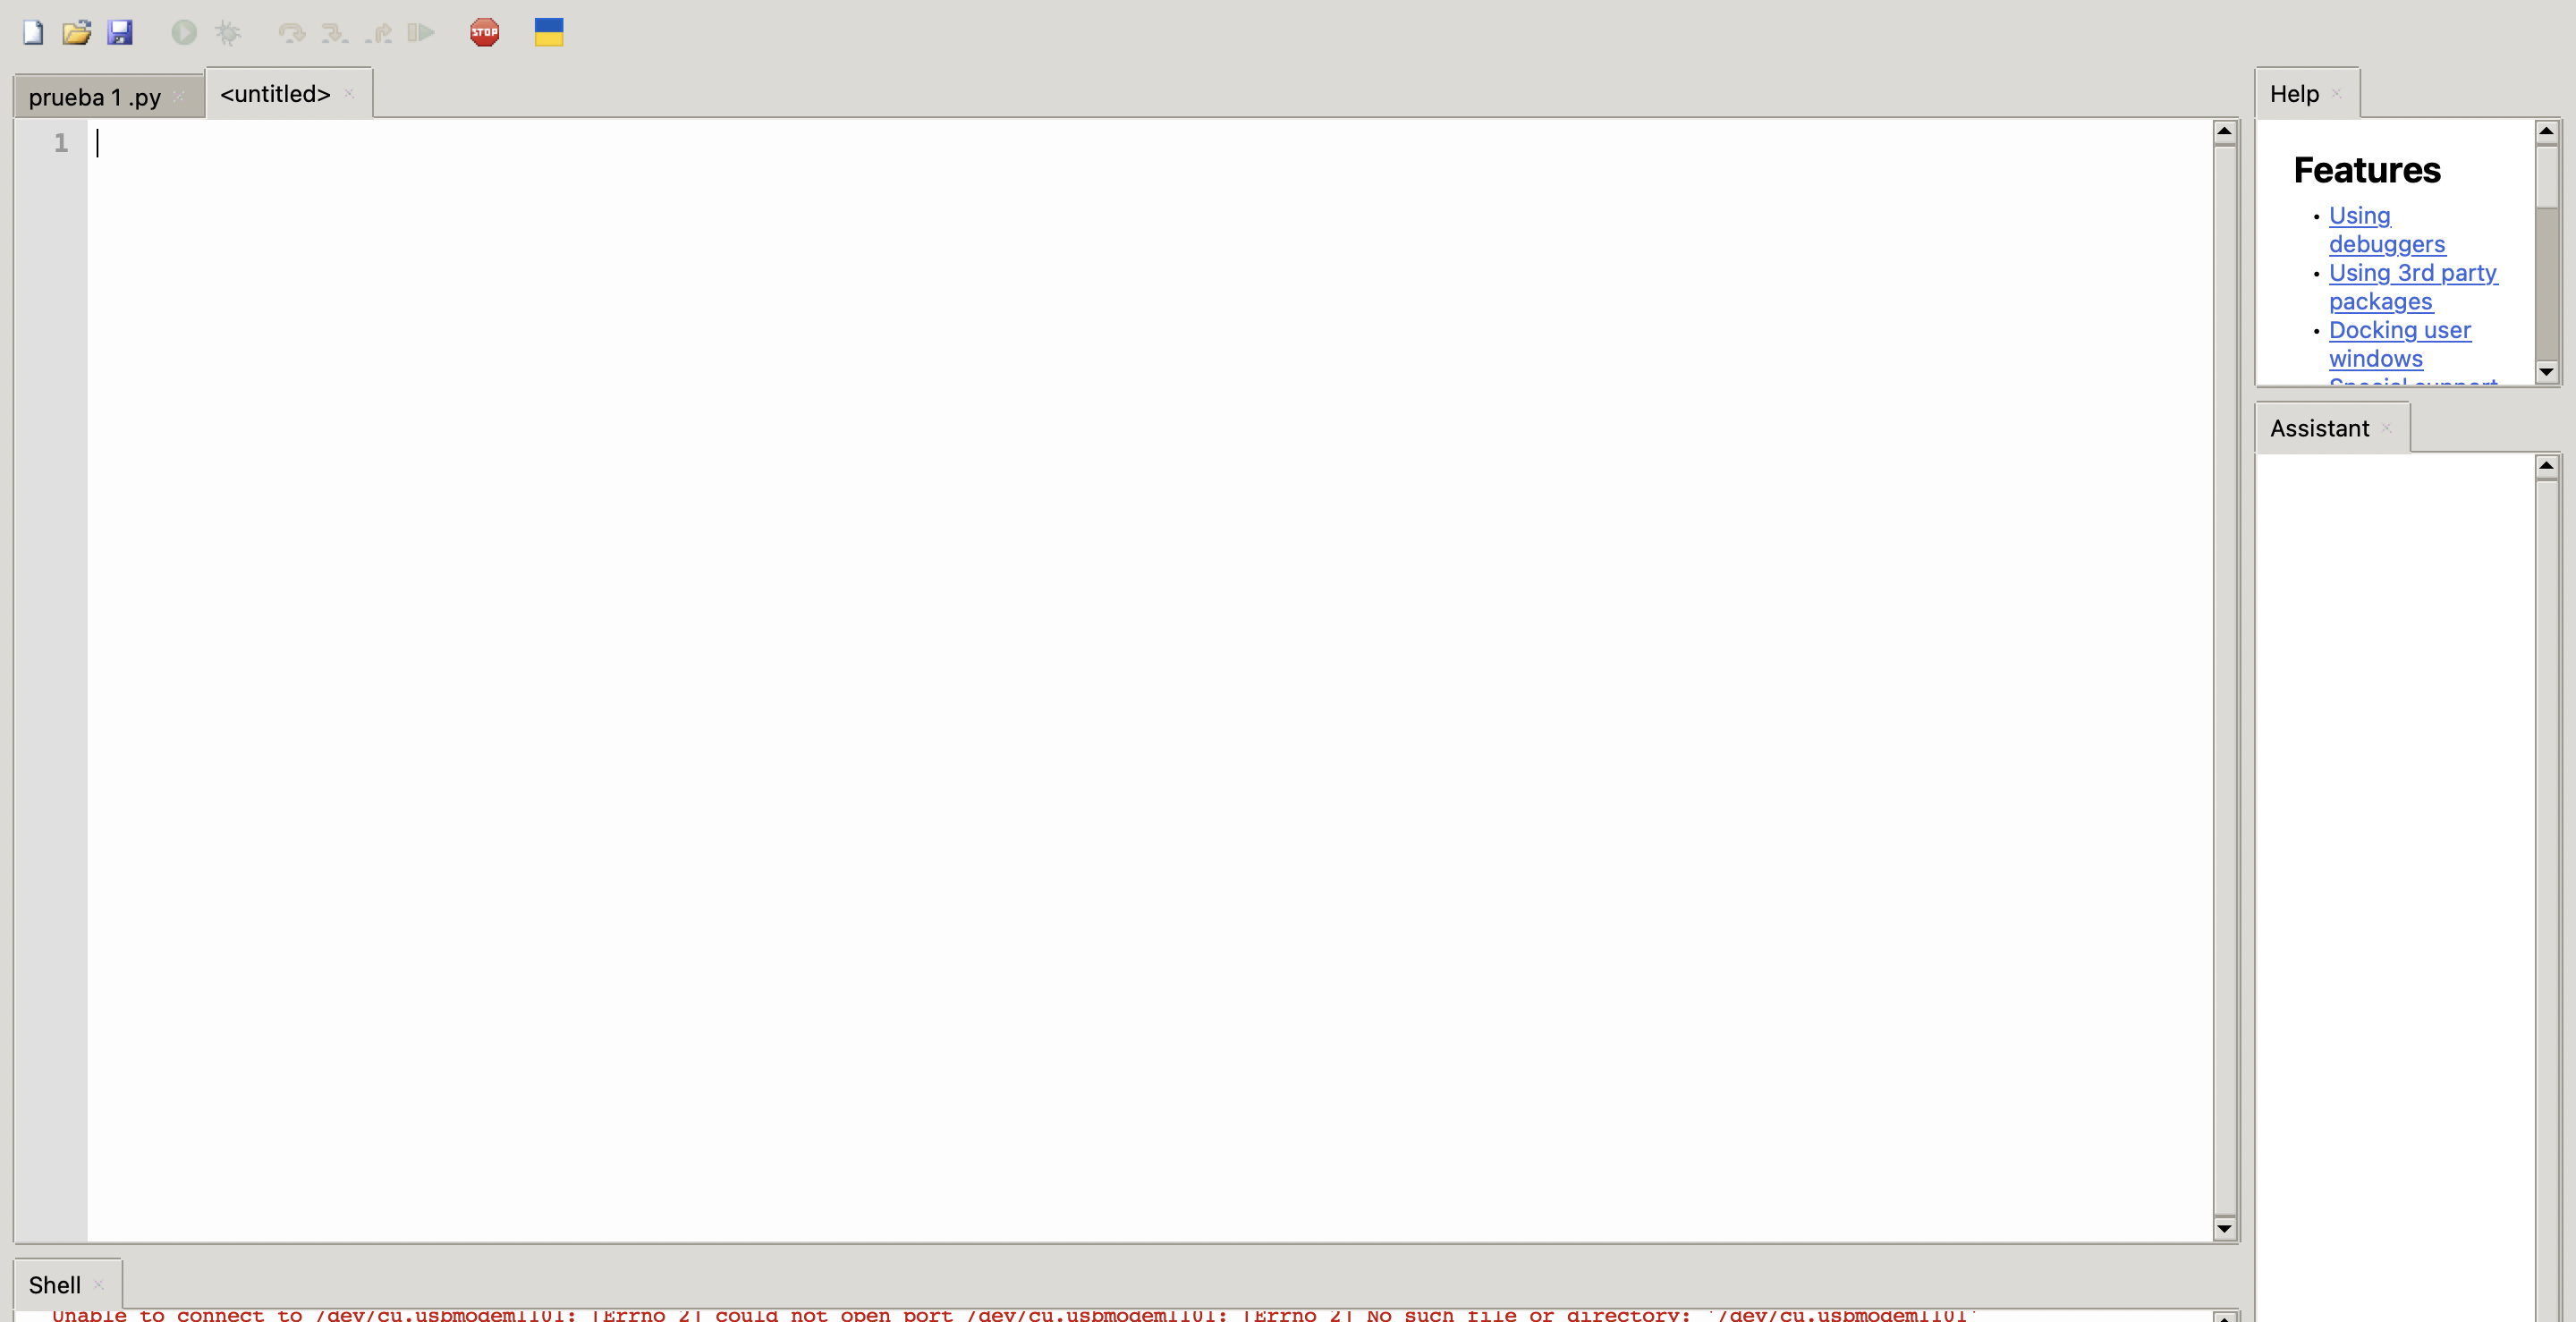
5.Open the Thonny interface, and it will be ready for use.

EXCERCISE 1
For this exercise, I created a code that when the button is pressed, a gradual brightness transition occurs in the LEDs, known as the "fade in" and "fade out" effect. This process creates a smooth visual effect of dimming and illuminating the LEDs. The program runs indefinitely, constantly monitoring the button's state and responding with the LED animation when a press is detected.
Step 1
First, the Pin and PWM modules from the machine library are imported. Additionally, the time module is imported to use functions related to time.
from machine import Pin, PWM
import time
Step 2
Create instances of the PWM class for pins 0, 12, and 13, assigning them to the variables LED1, LED2, and LED3, respectively. Configure pin 5 as a digital input and assign it to the variable BUTTON.
LED1 = PWM(Pin(0))
LED2 = PWM(Pin(12))
LED3 = PWM(Pin(13))
BUTTON = Pin(5, Pin.IN)
Step 3
Define a function called fade_leds that will control the fade-in and fade-out of the LEDs. Set the total duration of the transition to fade_duration (in milliseconds), the number of steps to steps, and the waiting time between steps to delay_between_steps.
def fade_leds():
    fade_duration = 2000
    steps = 100
    delay_between_steps = fade_duration / steps
Step 4
Create a loop for the fade-in, gradually adjusting the brightness of the LEDs. Brightness is calculated proportionally to the current step. LED1, LED2, and LED3 adjust their brightness using duty(brightness). A specific time is waited between each step.
for i in range(steps + 1):
        brightness = int((i / steps) * 1023)
        LED1.duty(brightness)
        LED2.duty(brightness)
        LED3.duty(brightness)
        time.sleep_ms(delay_between_steps)
Step 5
Create a loop for the fade-out, gradually decreasing the brightness of the LEDs. Similar to the previous loop but in reverse order.
for i in range(steps, -1, -1):
        brightness = int((i / steps) * 1023)
        LED1.duty(brightness)
        LED2.duty(brightness)
        LED3.duty(brightness)
        time.sleep_ms(delay_between_steps)
Step 6
Completely turn off the LEDs by setting the brightness to 0.
LED1.duty(0)
LED2.duty(0)
LED3.duty(0)
Step 7
Start an infinite loop (while true:). Read the state of the button (button_state), and if it is pressed (value 1), call the function fade_leds. Include a 50-millisecond wait time for debounce. Capture a keyboard interrupt exception (KeyboardInterrupt) to end the program if the user presses Ctrl+C. In this case, print a message and break the loop.
while true:
    try:
        button_state = BUTTON.value()
        if button_state == 1:
            fade_leds()
        time.sleep_ms(50)
    except KeyboardInterrupt:
        console.log("Program interrupted by the user.")
        break
FINAL RESULT VIDEO
Final video result.