3D SCANNING AND PRINTING
Here its my 3D design and printed process.
Team Practice
Here its the link of our team practice.
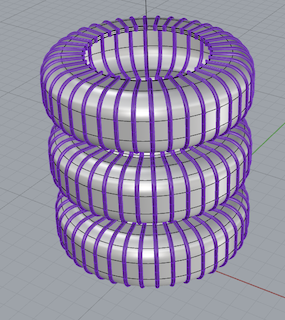
Step 1
First, I designed my piece using the Rhinoceros program.
Step 2
Unfortunately, the file did not work when I tried to import it into the Ultimaker Cura program, which is the 3D printer's software.
Step 3
It didn't work because it was filling the entire piece when it was supposed to be hollow, so I had to redo my design in Fusion 360 from scratch.
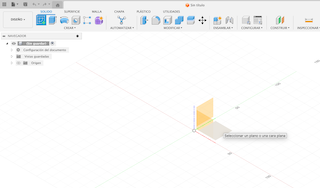
Step 4
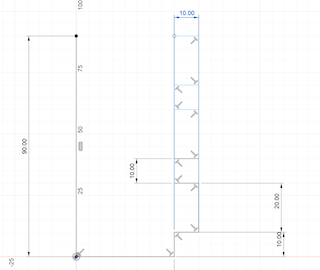
I started by generating a new document in the program and adding a new sketch on the front face.
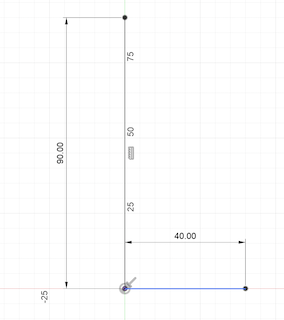
Step 5
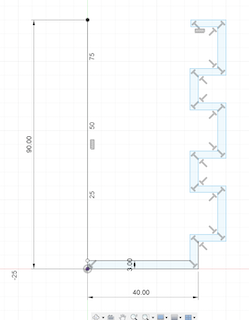
In the sketch, I drew half of my piece using the "line" tool to create the design, allowing me to set a preferred width and height with the "dimension" tool.
Step 6
This allowed me to edit measurements and create symmetry in the piece.
Step 7
Using the "trim" tool, I removed unnecessary parts of the sketch and generated a single drawing.
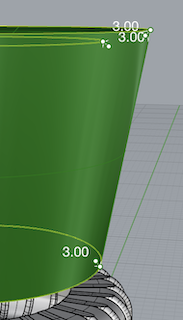
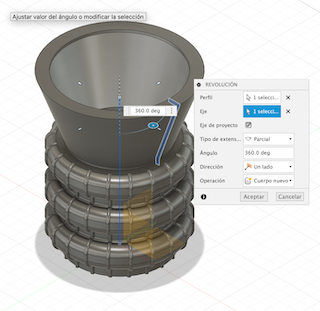
Step 8
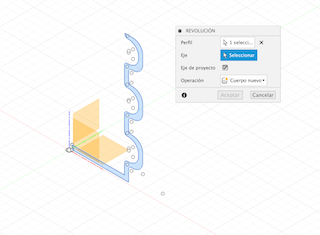
With the drawing ready, I switched to the perspective view and selected the "revolve" tool, then chose my sketch and revolved it 360 degrees for a complete rotation.

Step 9
Once done, I duplicated the initial sketch on another layer and edited it to leave only the outline without the filling, using the "trim" tool to select the disposable part.
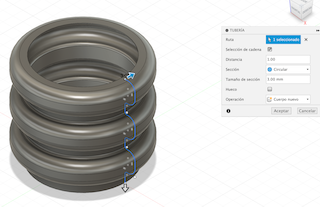
Step 10
With the "flat pipes" tool, I selected the crown of my piece and generated a pipe 2mm thick as a new part.
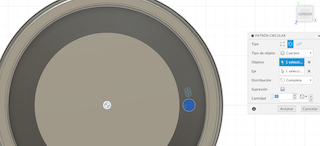
Step 11
I selected the first pipe and, in the top view, used the circular pattern tool, creating 20 identical patterns around the first piece.

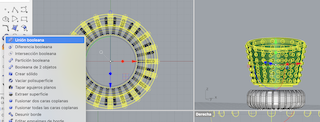
Step 12
Then, I selected everything and applied a Boolean operation to make a single piece.
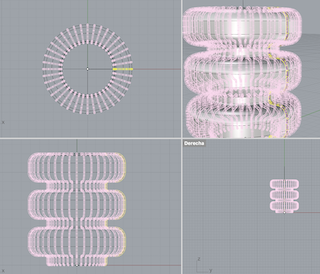
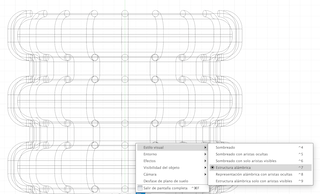
Step 13
I created a new sketch in the front view, changed the piece's display type to wireframe to better visualize it.
Step 14
I sketched the dimensions of the previous piece so that the new one could fit using the "lines," "dimension," and "trim" tools.
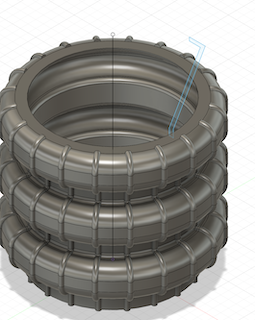
Step 15
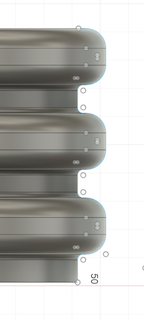
I repeated the same process as with the first piece and revolved it 360 degrees.
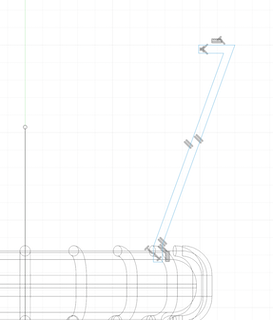
Step 16
Then, I created a new sketch again in the front view and in the same position as the second piece, drew half of a circle to revolve later.

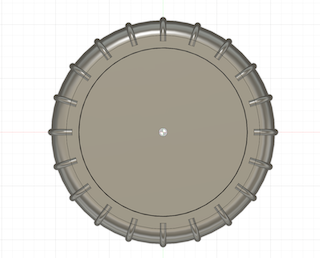
Step 17
With the circle established, I went to the top view and, using a circular array, repeated the piece 360 degrees 20 times.
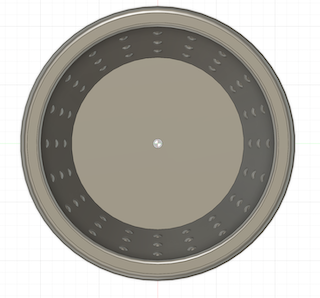
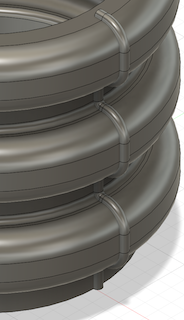
Step 18
I then selected the circles with the upper piece and merged them into a single piece.
Step 19
Once the piece was ready, I exported it in two parts as STL files for printing.
3D SCANNING AND PRINTING
Step 1
First, I downloaded and installed Ultimaker Cura software for Mac.
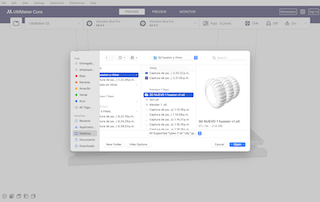
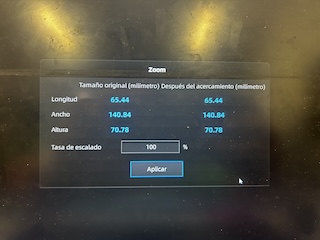
Step 2
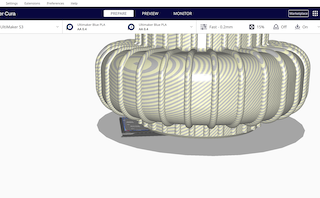
Once ready, I opened the first model, positioned it at the origin (0,0), and scaled it to my preferred dimensions in mm.
Step 3
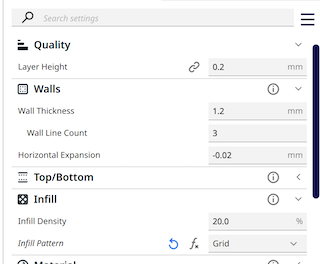
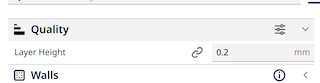
I went to specific parameters and made the following changes:
| Component | Function |
|---|---|
| Quality | 0.2 |
| Walls | 3 walls for structure |
| Infill | 20.0 with Grid style |
Step 4
I printed it without support because the piece's shape didn't require it.
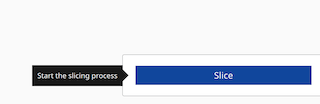
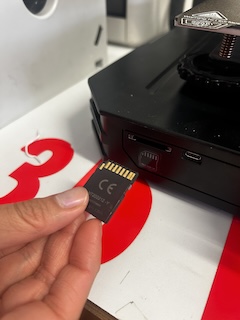
Step 5
I previewed the piece with the SILCE botton, and when satisfied, I exported it to an SD card to transfer it to the printer.
Step 6
I followed the same steps for my second piece and exported it to the same SD card.
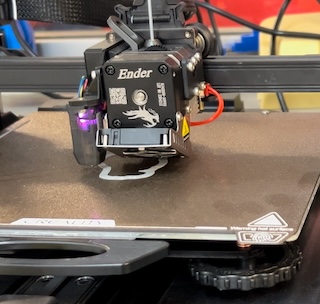
3D PRINTING
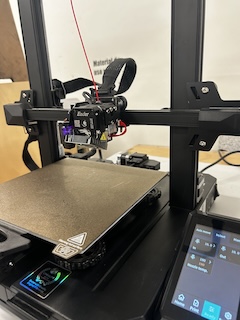
Step 1
Once the documents were ready on the SD card, I inserted it into the Ender printer.
Step 2
I turned on the machine and, on the touch screen, went to print and selected my first file.
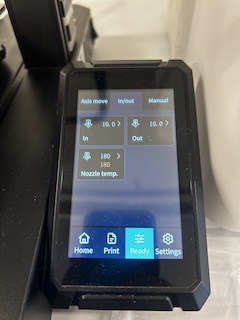
Step 3
Then, I went to Home and pressed play.
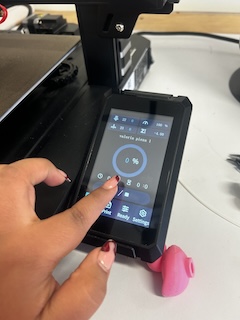
Step 4
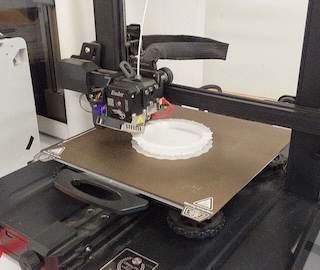
The printer first heated the bed and then started printing.
Step 5
I waited for the first piece to finish and then proceeded with the second.
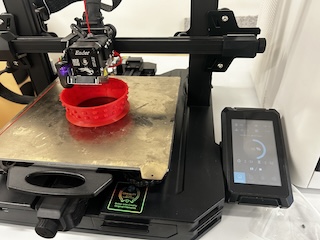
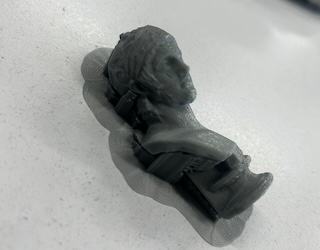
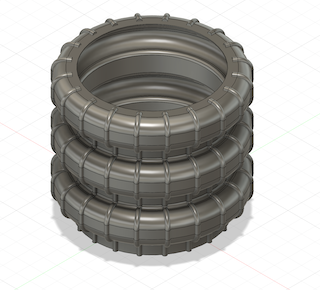
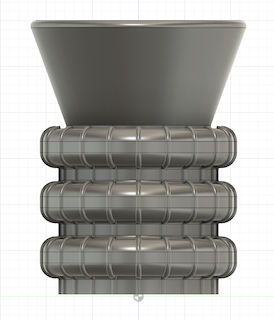
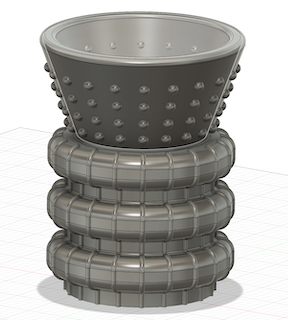
FINAL PIECES
These are the final desing and print result.
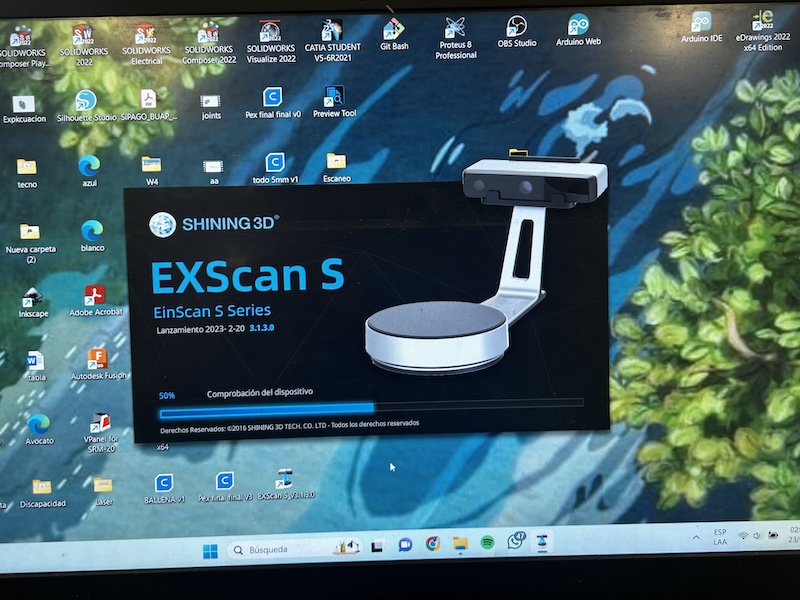
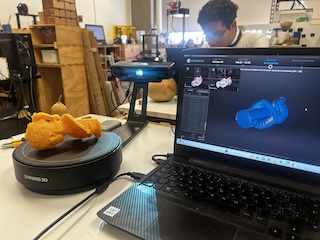
3D SCANNER
Step 1
First, download the "EXScan SE" program for the 3D scanner.
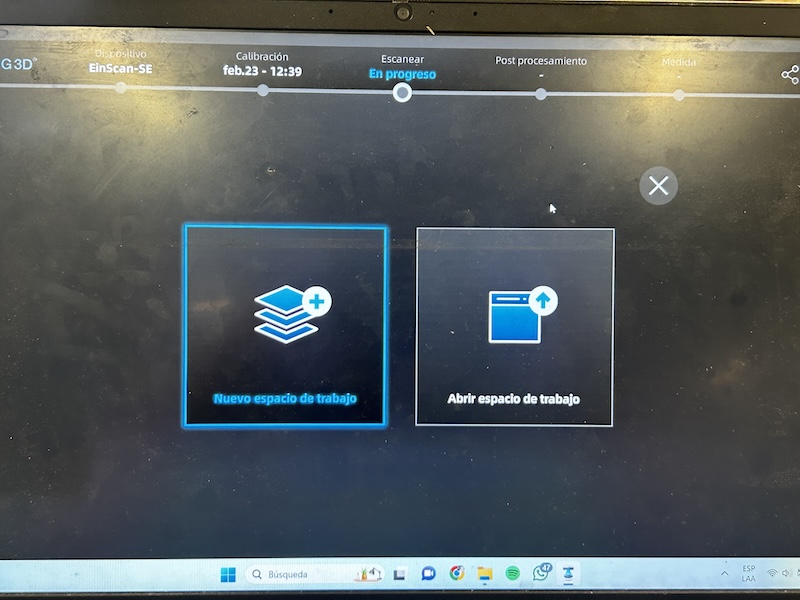
Step 2
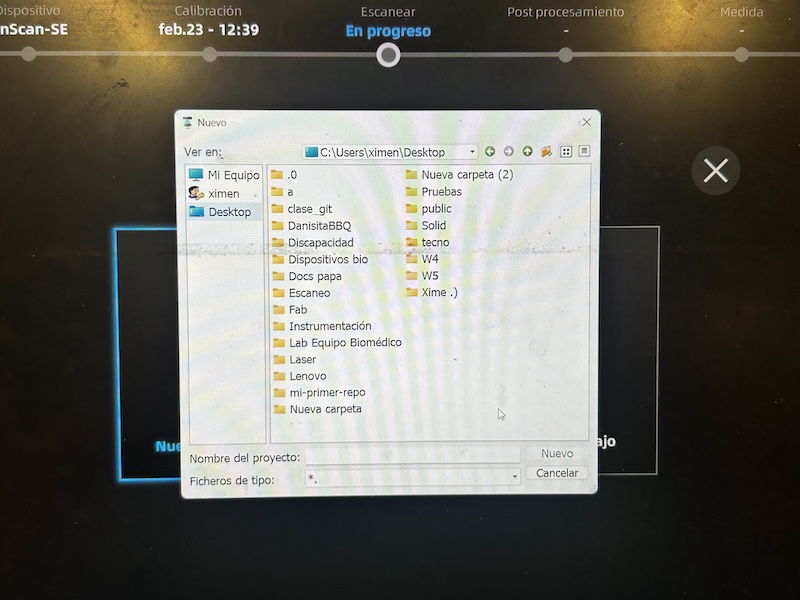
Once in the program, open a new workspace.
Step 3
Choose the location on the computer to save the file.
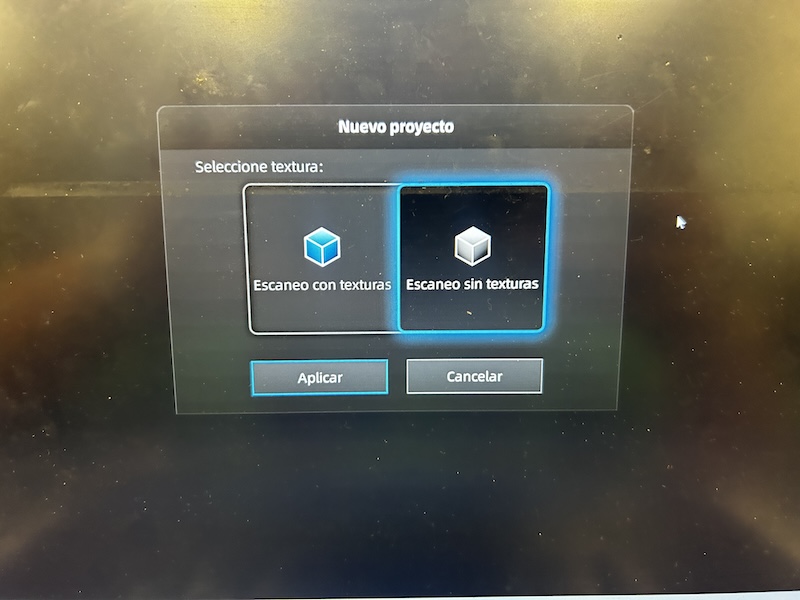
Step 4
Select scanning without textures.
Step 5
Place the object to scan on the scanner plate.
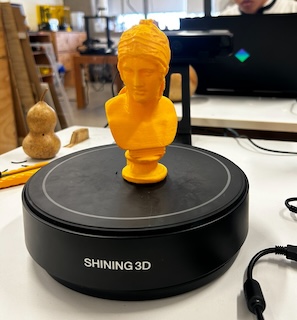
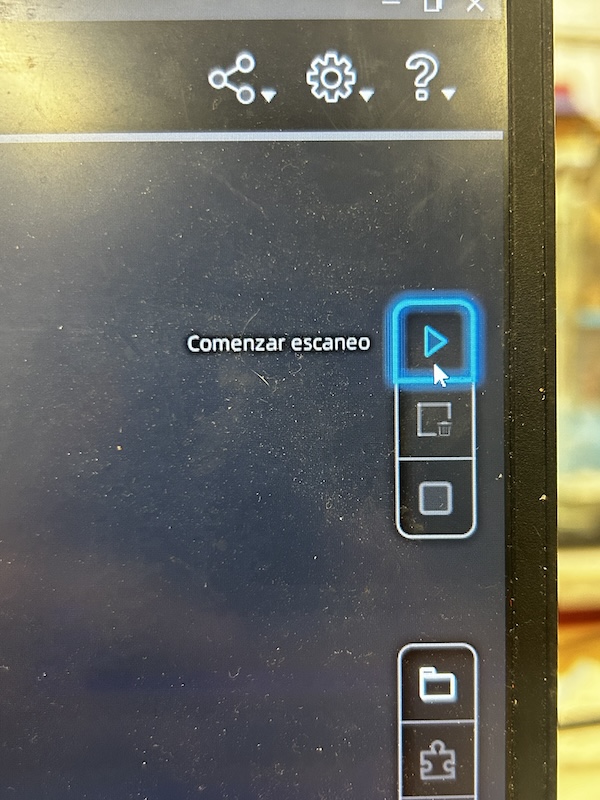
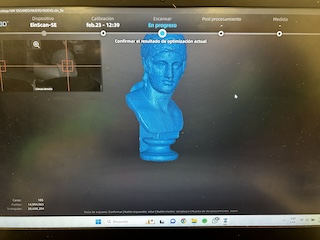
Step 6
Start the scanner, and it will rotate slowly 25 times.
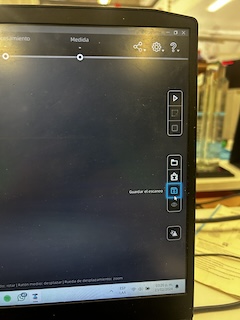
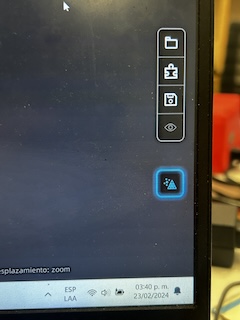
Step 7
Once done, save it. If there are areas left unscanned, reposition the object and start scanning again.
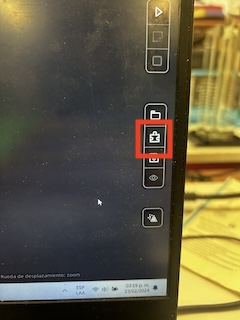
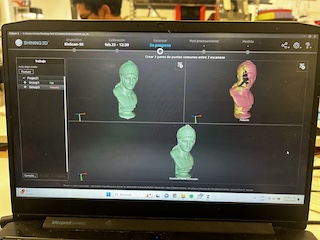
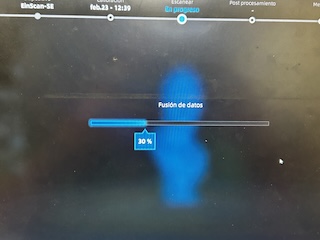
Step 8
After the second scan is complete, go to the puzzle icon, where the two previous scans are inserted and merged into one.
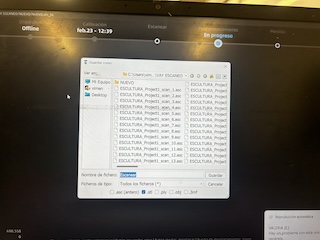
Step 9
Export it as an STL mesh, and it's ready to be printed.
3D SCANNER 3D PRINT
Step 1
The same steps are taken to print the piece and export it to the printer.