3D MODELLING DESING
Here its my 3D design process.
Step 1
I researched the anthropometric measurements of a flexed and at-rest arm (biceps) because it is the area where I want to place my product.
Step 2
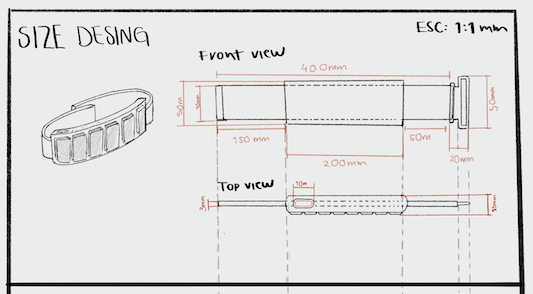
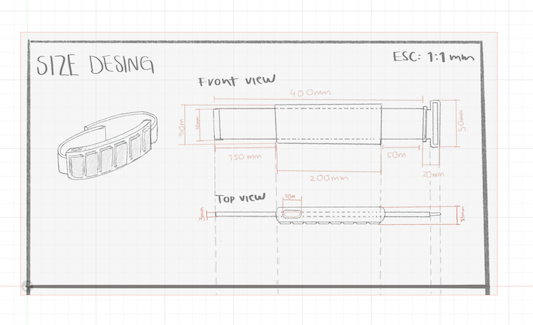
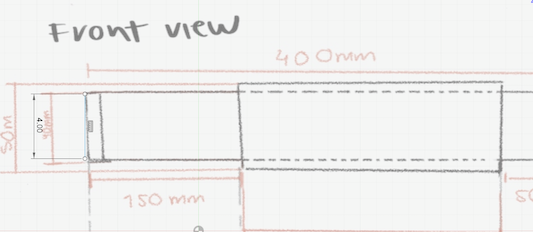
I designed my proposal in procretate with the measurements I deemed appropriate for a general bicep, ensuring it is adjustable. To sketch with lines in Procreate, follow these steps: 1.Open Procreate and create a new canvas. 2.Select a brush and adjust the size and color. 3.Start drawing using the Apple Pencil or your finger. 4.Use zoom and rotation functions for precision. 5.Experiment with layers to organize elements. 6.Use the Undo function for corrections. 7.Save your work when satisfied. Enjoy practicing!
Step 3
I downloaded Fusion 360, which is the program I will use to design my proposal.

Step 4
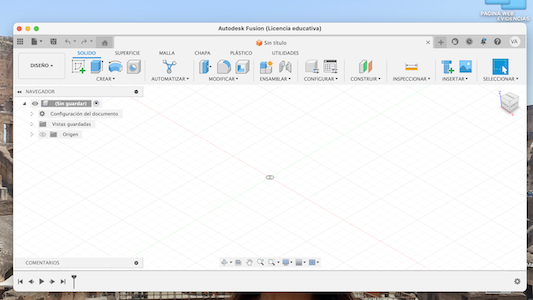
I opened a new document in millimeters.
Step 5
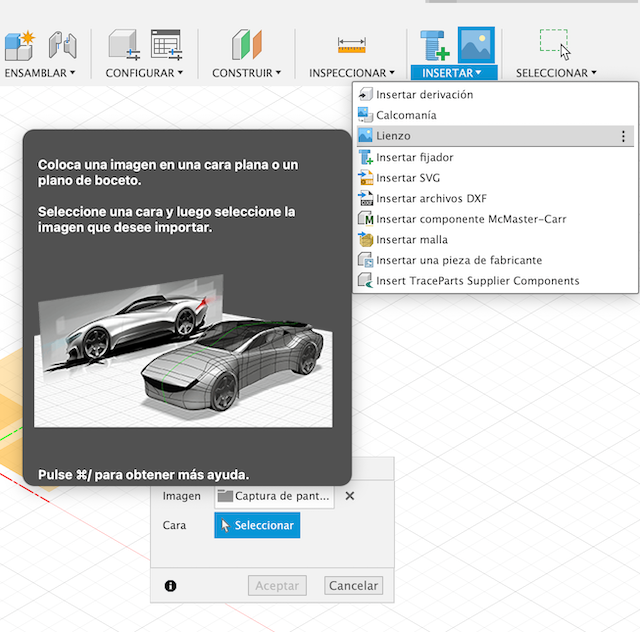
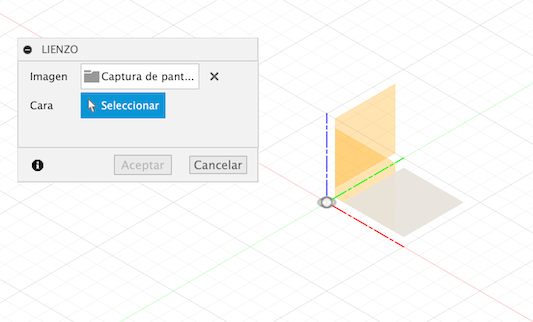
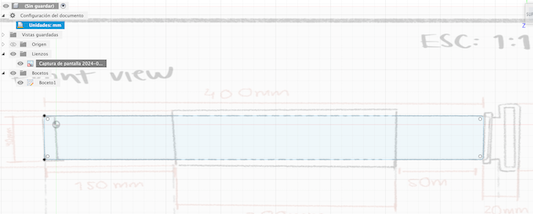
I inserted the image I previously designed with the measurements (millimeter plan).
Step 6
I adjusted the image on the plane. Open the command line at the bottom of the interface. Type "Picture" and press "Enter" to initiate the picture command.

Step 7
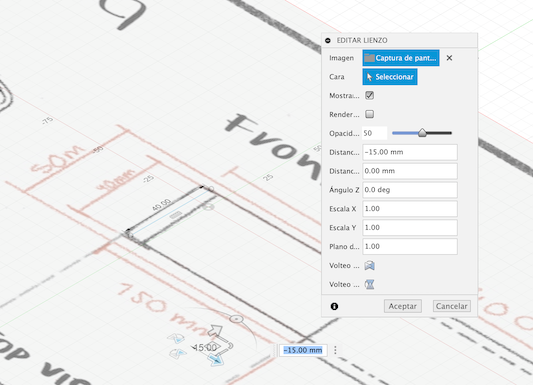
I increased the transparency of the image.
Step 8
I generated a new sketch on the same face, select new sketch and chose the face you want.
Step 9
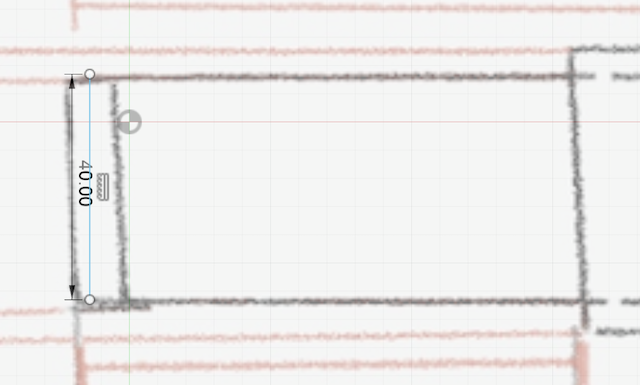
I created a line over the text to adjust the scale of the image, select line and add one wherever you want.
Step 10
I adjusted the scale based on the line to use real measurements, selec scale and take your picture.
Step 11
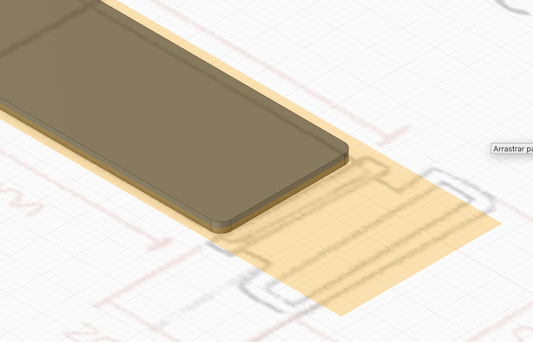
Once the image scale was adjusted, I began with the model in parts.

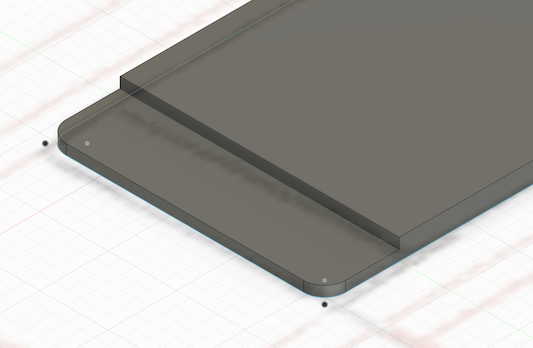
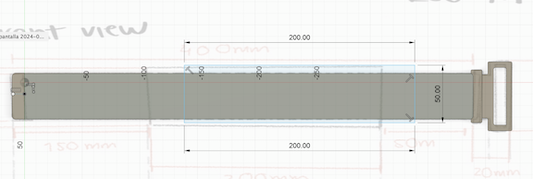
Step 12
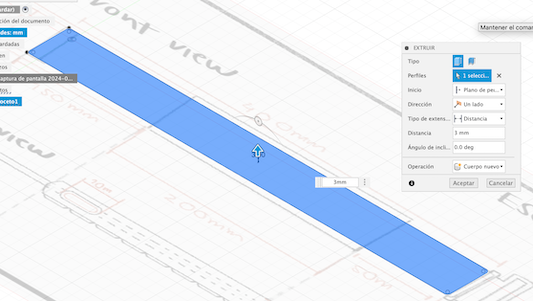
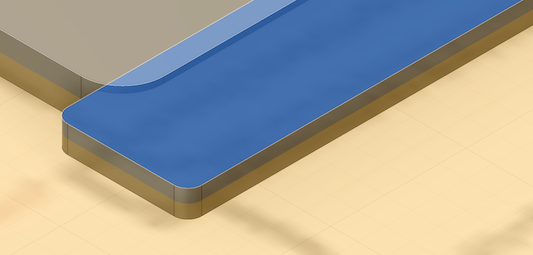
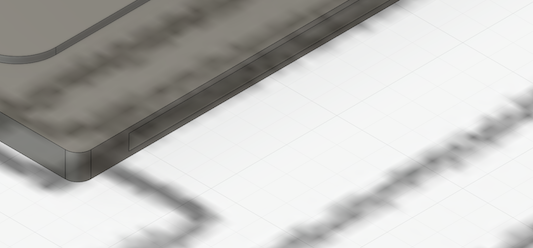
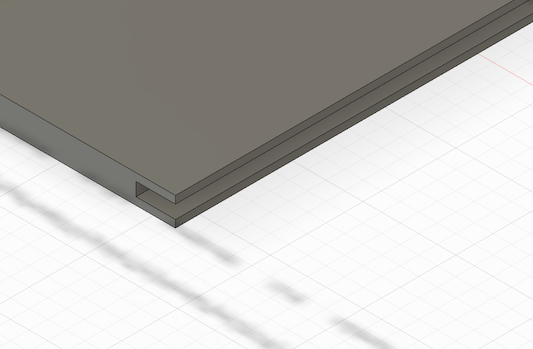
First, I made the part of the band without the sensors, considering the measurements.
Step 13
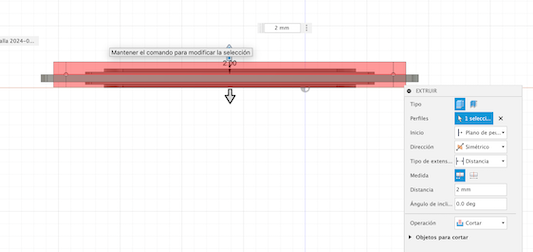
I did it in a flat view and then extruded it to give it a specific thickness, in this case, 3 mm. Look for extrude and chose your 2D object.
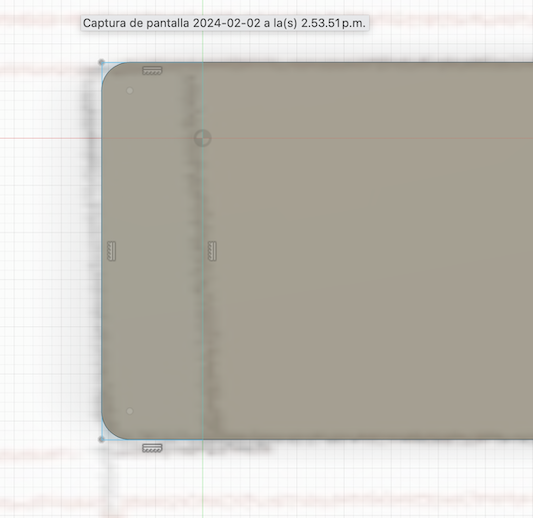
Step 14
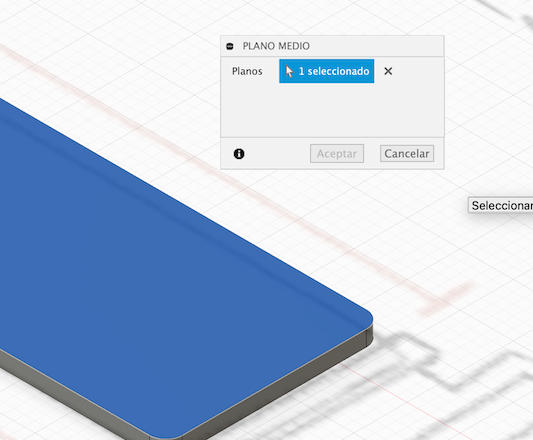
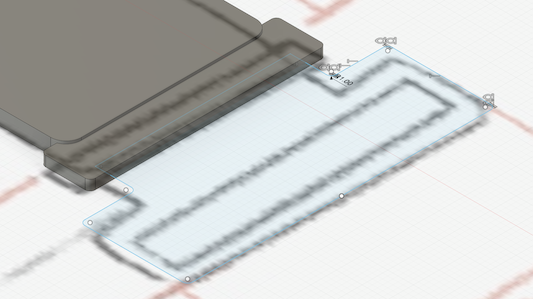
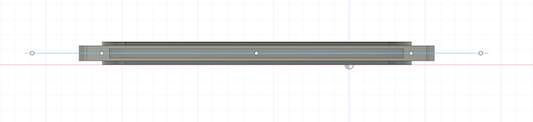
I inserted a plane right in the middle of my base to develop the design of the clasp.

Step 15
I made a new sketch on this plane. Select new sketch and the face you want to sketch it.

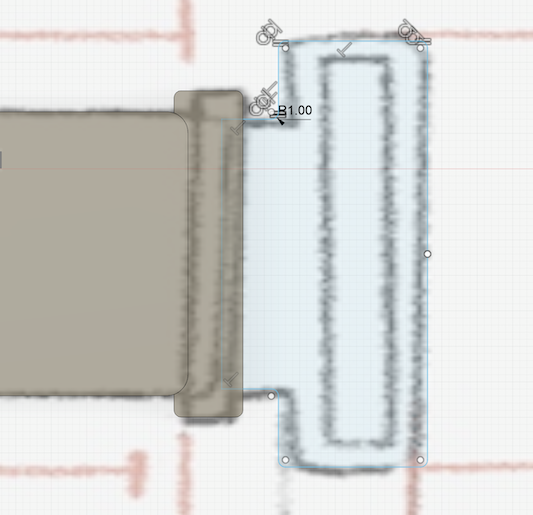
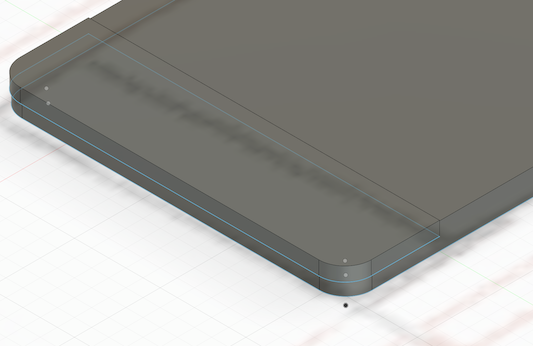
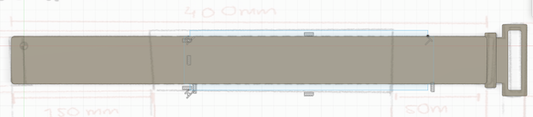
Step 16
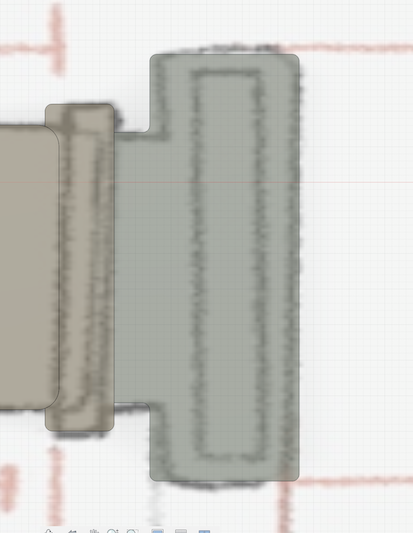
I created the part where the clasp will be inserted, extruded it, and generated the cut.

Step 17
I recreated that same part by extracting the base of the clasp.

Step 18
I repeated the same action with what follows from the clasp.

Step 19
Once the piece was extruded, I generated a new one on top of it to create a cut.
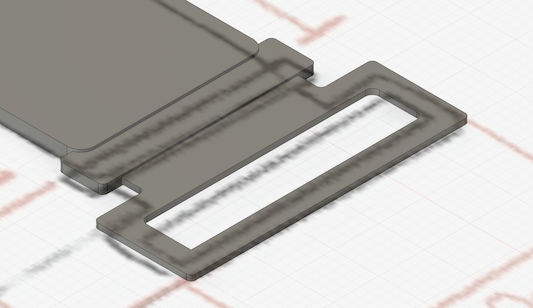
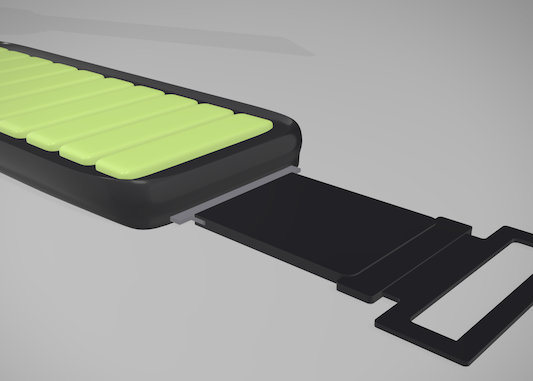
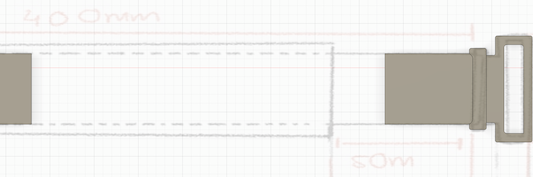
Step 20
With the clasp ready, I added the magnet part to the piece.
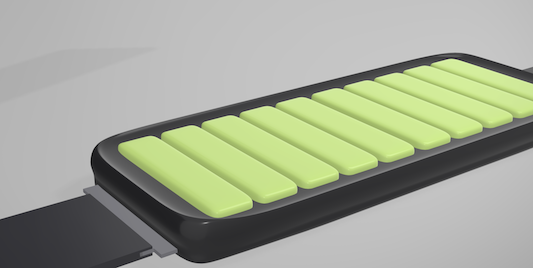
Step 21
With the base ready, I started designing the sensor area.
Step 22
I performed the same operation, creating a plane in the middle of the previous figure and started tracing part by part the sensor area.
Step 23
I made a cut first, then made the lateral cuts where the sensor area will be inserted into the band.
Step 24
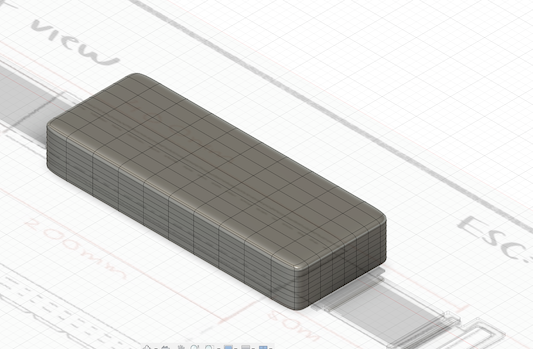
With the area established, I made the "box" for the sensors.

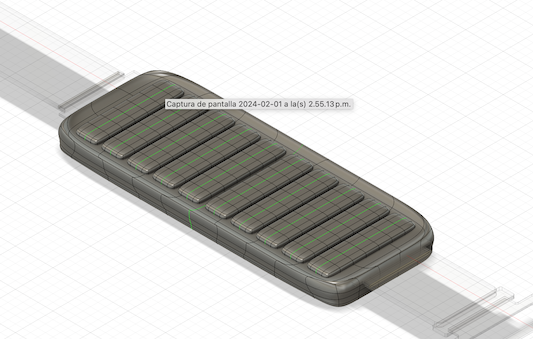
Step 25
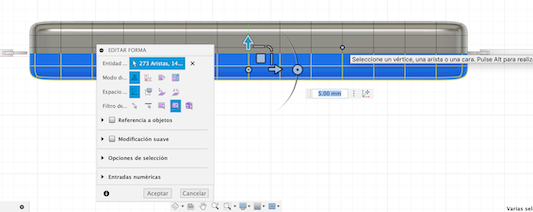
I started by creating a rectangular shape and edited it to make it organic to the desired shape.
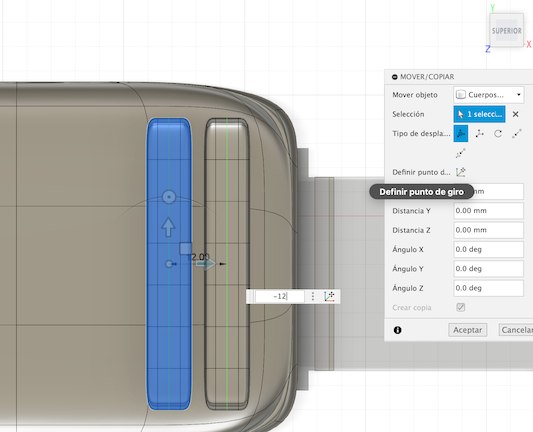
Step 26
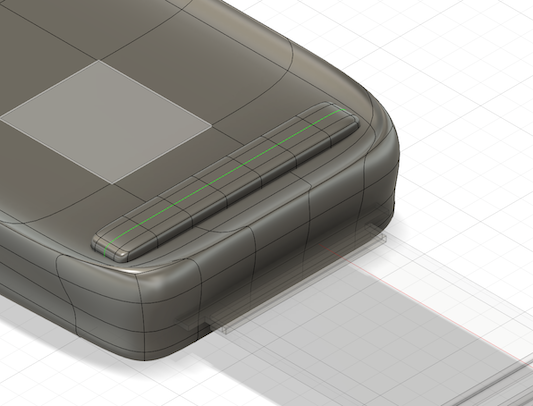
I added another shape for the sensor area and arranged them.
Step 27
After this, I converted my document into an obj file to export it.
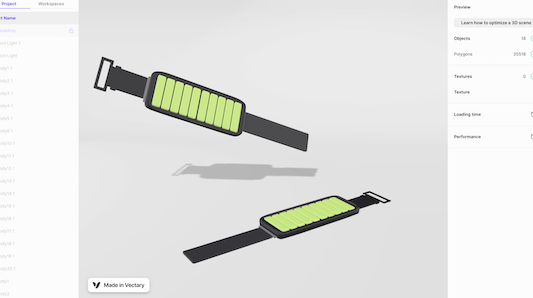
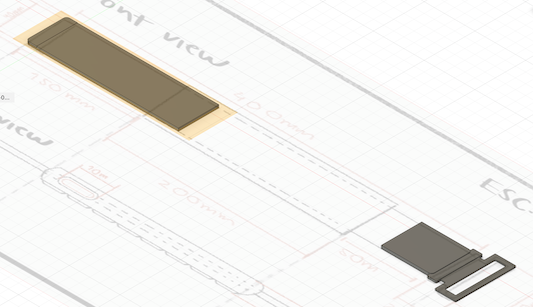
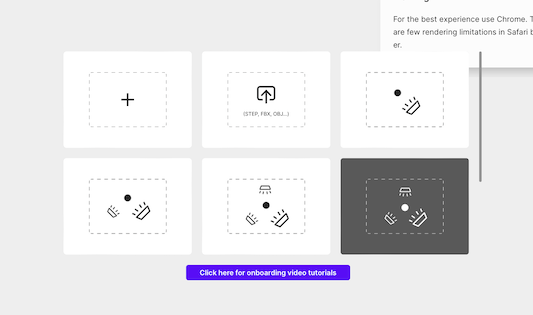
Step 28
I entered my document into a website called app.vectary to add color and background and get some quick renders.
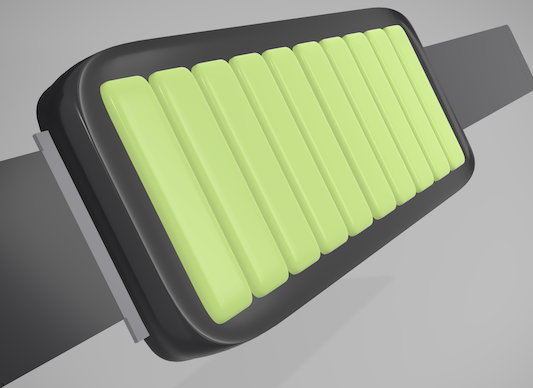
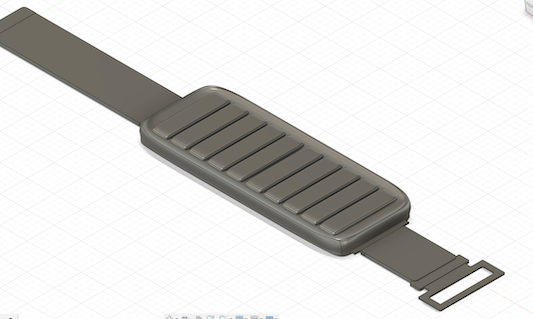
Step 29
With this, I completed the first model of my proposal.