1. GIT
This week, I worked on learning more about programming with Git, with the goal of creating this website and being able to document each of the steps I will take during the process of developing my project, at the same time i started working on my project, in wich I have develop my ideas.
LINK GIT DOWNLOAD
GitforMacIntroduction to Git
In this first week, I embarked on the challenge of learning Git with the goal of creating my own website for FabLab. With limited experience and a basic understanding of HTML and CSS, the process seemed both exciting and intimidating. My initial task was to grasp the importance of Git. In simple terms, it is a version control system that enables tracking changes in files over time. With this understanding in mind, I set out to delve into the world of Git.
I started by installing Git on my computer and creating an account on GitLab. The installation process was straightforward, but understanding the initial configuration and how Git links together took a bit more time. I learned terms like commit, branch, and more, and quickly began to grasp how they related to my project.
LINK VISUAL CODE DOWNLOAD
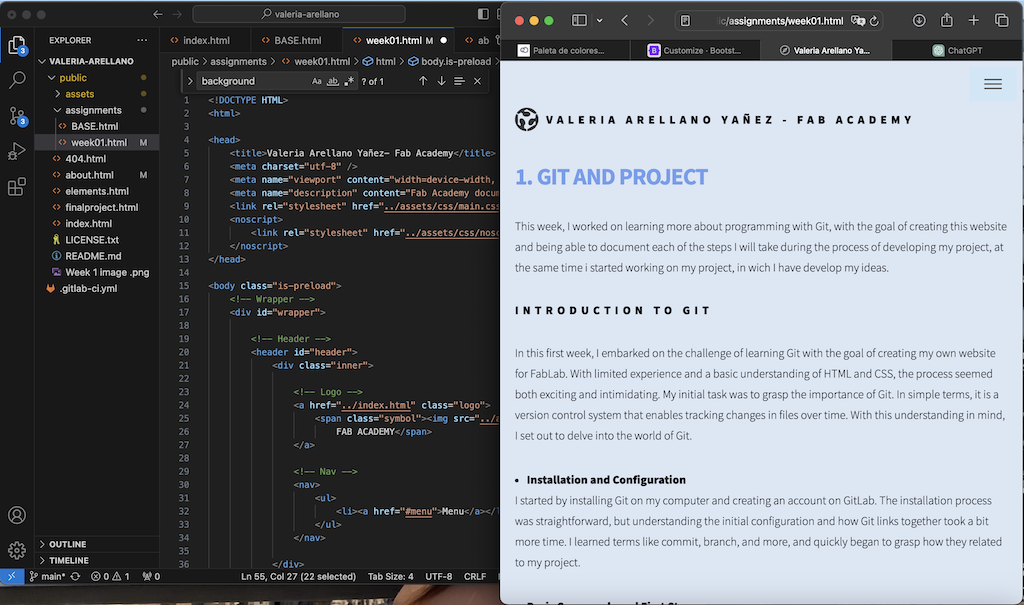
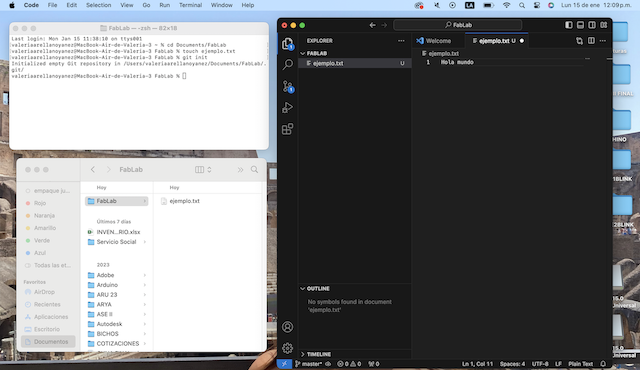
Visual CodeOur instructor, Rafael, provided us with an HTML page template for uploading our work. To proceed, we had to clone the template and then upload it to the Fab Academy GitLab. The "git clone LINK" command was used to replicate the repository from the web onto our computer.
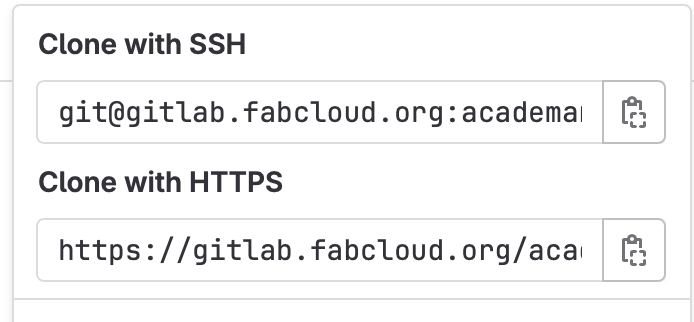
The first step on this process is to clone and connect the GitLab repository to the computer, for this it was necessary the next clone too:
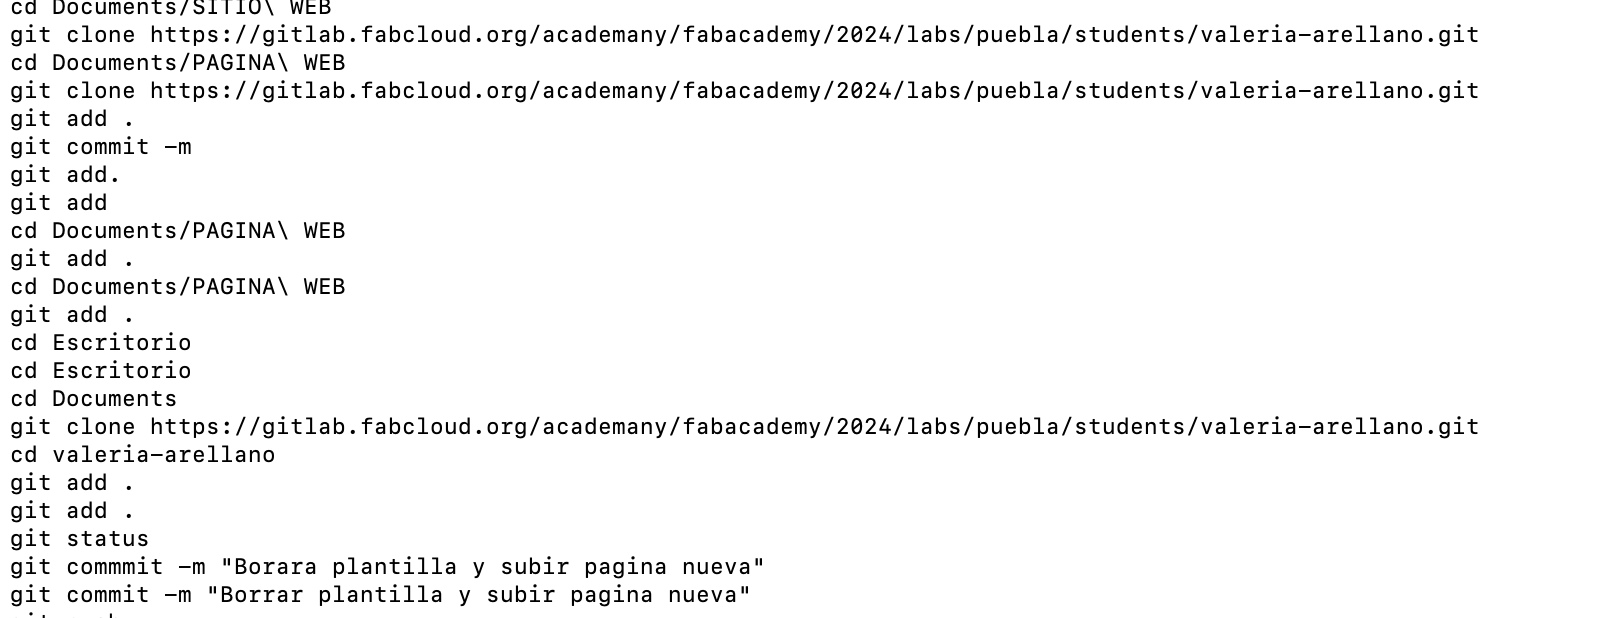
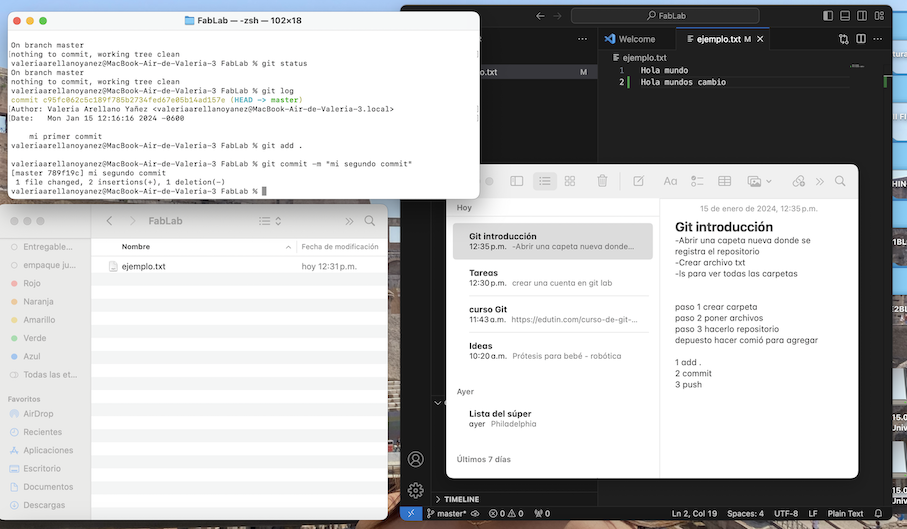
In the final step, I uploaded all the files to the GitLab repository. This was accomplished by employing the "git add ." command, which added every file to the index. Subsequently, the "git commit -m 'CHANGE NAME'" command was utilized to create a commit with the specified name for the change. Finally, the "git push" command was executed to upload all the changes to the GitLab repository.
To learn more, we practiced by cloning a repository, creating pull requests, and delving into merge conflicts. The ability to work effectively with other developers and resolve conflicts became an essential skill.
Code Example
EVIDENCE
I have uploaded some images here as evidence of my git process.
2. MY WEBSITE
Efficient web project management requires robust tools that facilitate collaboration and change tracking. In this essay, I'll describe the step-by-step process I followed to edit my website, using Git cloning as the foundation provided by my instructor Rafa, and how Visual Studio Code became my main ally throughout this process.
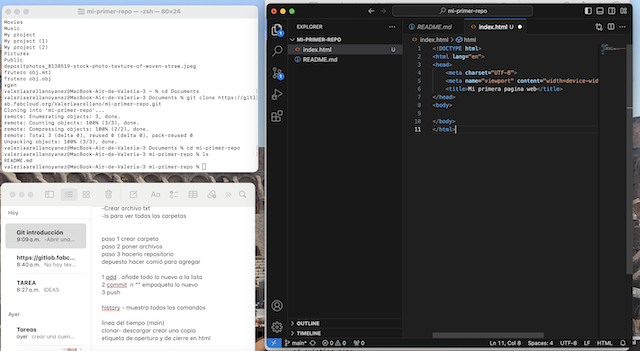
The initial stage involved cloning the Git repository provided by my instructor. I used the command git clone in the terminal, where repository represents the URL of the repository shared by my instructor Rafa. This step allowed me to obtain a local copy of the project on my machine, providing the base on which I would make my edits.
Visual Studio Code became my preferred development environment. I ran code . in the terminal to open the project directly in Visual Studio Code. This seamless integration between Git and Visual Studio Code facilitated a smooth development experience.

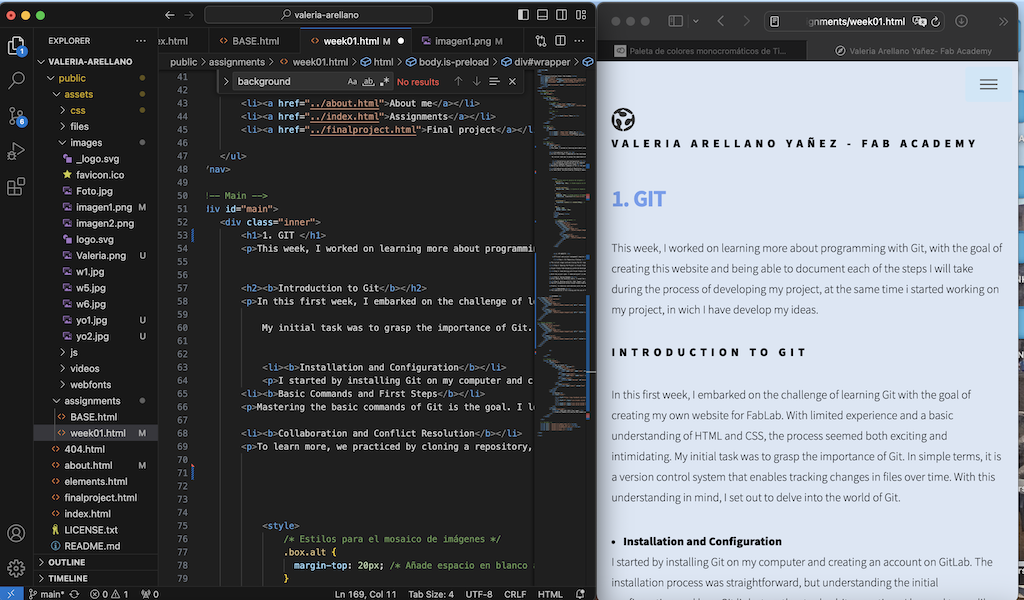
With the project open, I immersed myself in editing the source code. Visual Studio Code provided an intuitive interface and features such as syntax highlighting, autocompletion, and debugging tools that made modifying HTML, CSS, and JavaScript files easy.

After making the necessary edits, I saved the changes directly in Visual Studio Code. This step is crucial to ensure that the modifications made are properly reflected in the local files. Code>command S . to save in visual code
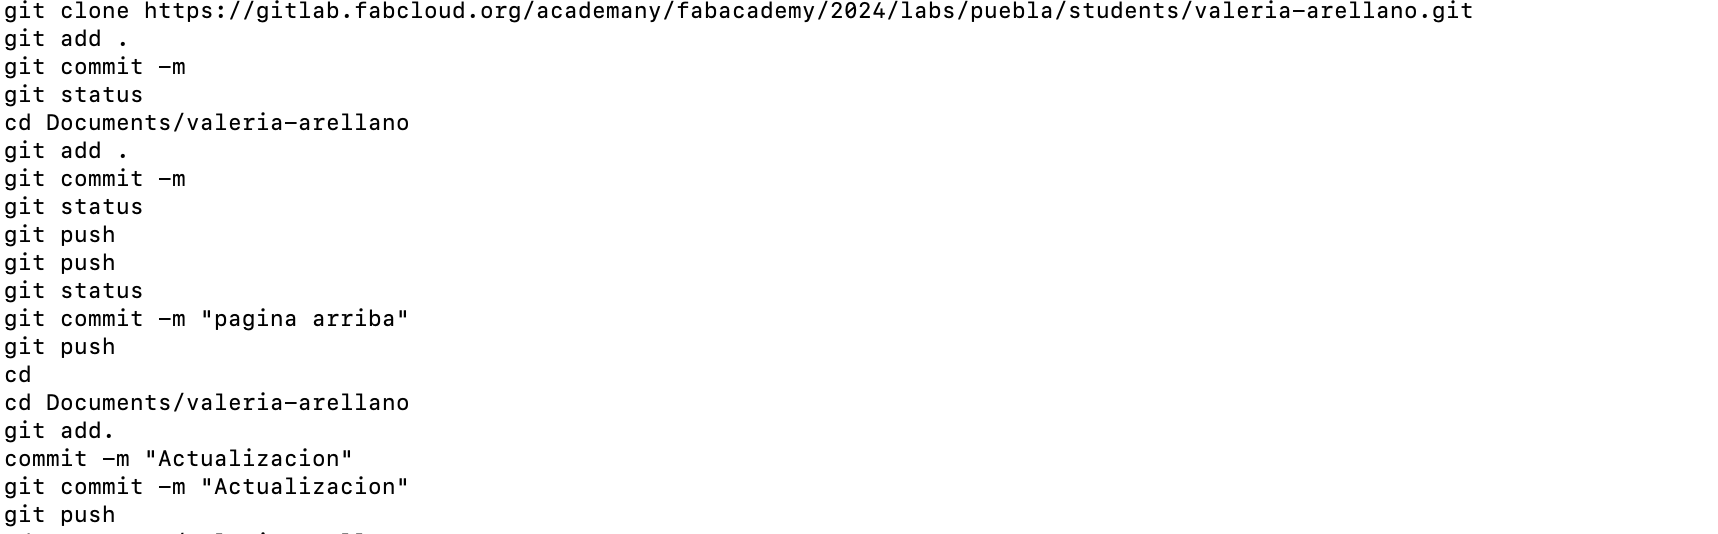
The Git integration within Visual Studio Code made version control easy. I used the command git add . to add all changes to the staging area. Subsequently, I ran git commit -m "Descriptive message of the changes made" to commit with a clear and descriptive message. The git status command was helpful to check the status of my changes and to see which files were modified, staged, or not tracked. Additionally, I used cd to navigate between different directories in the command line interface.
More about commands
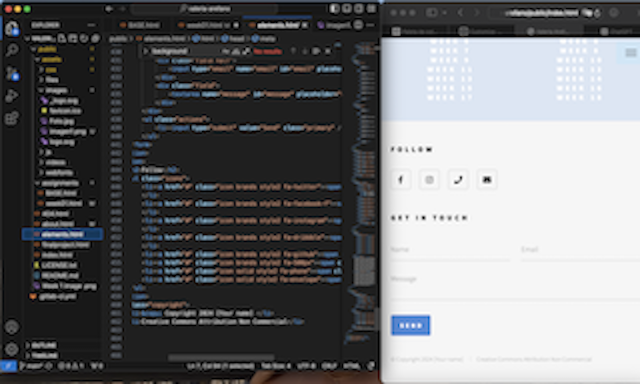
In web programming, the div tag (short for "division") is used to define divisions or containers in an HTML document. The div tag doesn't have its own semantic meaning; instead, it is used as a generic container to group and structure other HTML elements, such as text, images, forms, or other elements.
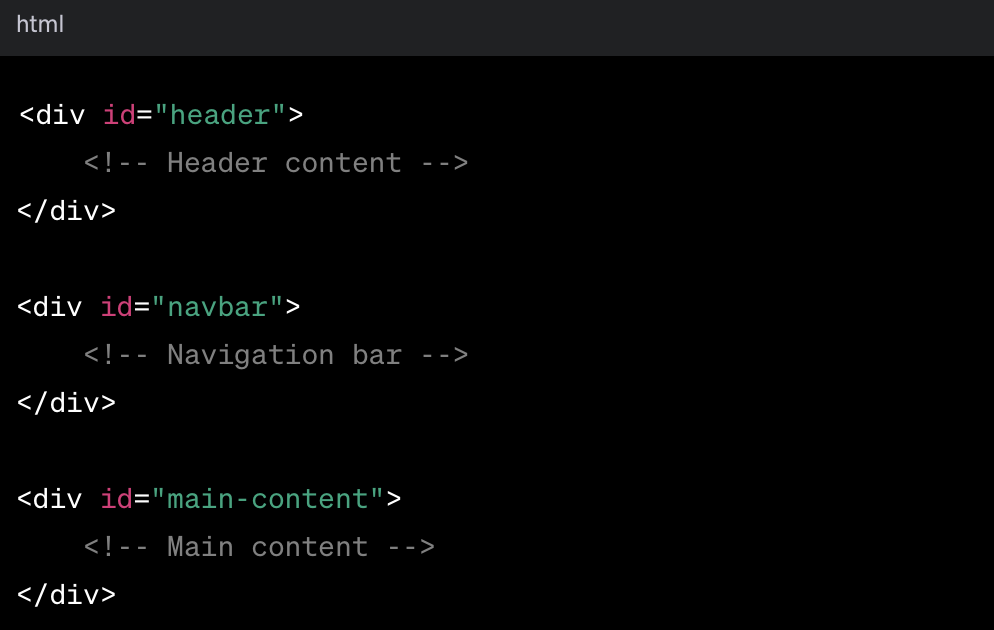
Style and Design: div elements are often used as containers to apply CSS styles and layout to specific groups of elements. You can apply classes or IDs to div elements and then style them using CSS.

Finally, to share my contributions with the remote repository, I executed git push origin
The combination of Git cloning and the use of Visual Studio Code proved to be an effective strategy for editing my website. This process not only facilitated collaboration but also provided an enriched development environment that enhanced my productivity and made implementing my instructor's guidance easier. The experience highlights the importance of choosing the right tools for web development and project management.
Code Example
I have uploaded some images here as evidence of my website creation process.
its important to say that here I have some of my pic process in wich I have created my whole website, like addinng information in text or like adding images and different colors