✨My golden wilcard week✨
As we come to an end, for this week's assignment, we can choose different fabrication methods to learn. In my fabulous particular case, I'm diving into the dazzling world of chic design and glamorous furniture! I'll be doing Welding, where heat is used to join metal parts together, melting the workpieces and adding a filler material to form a strong, stylish joint.

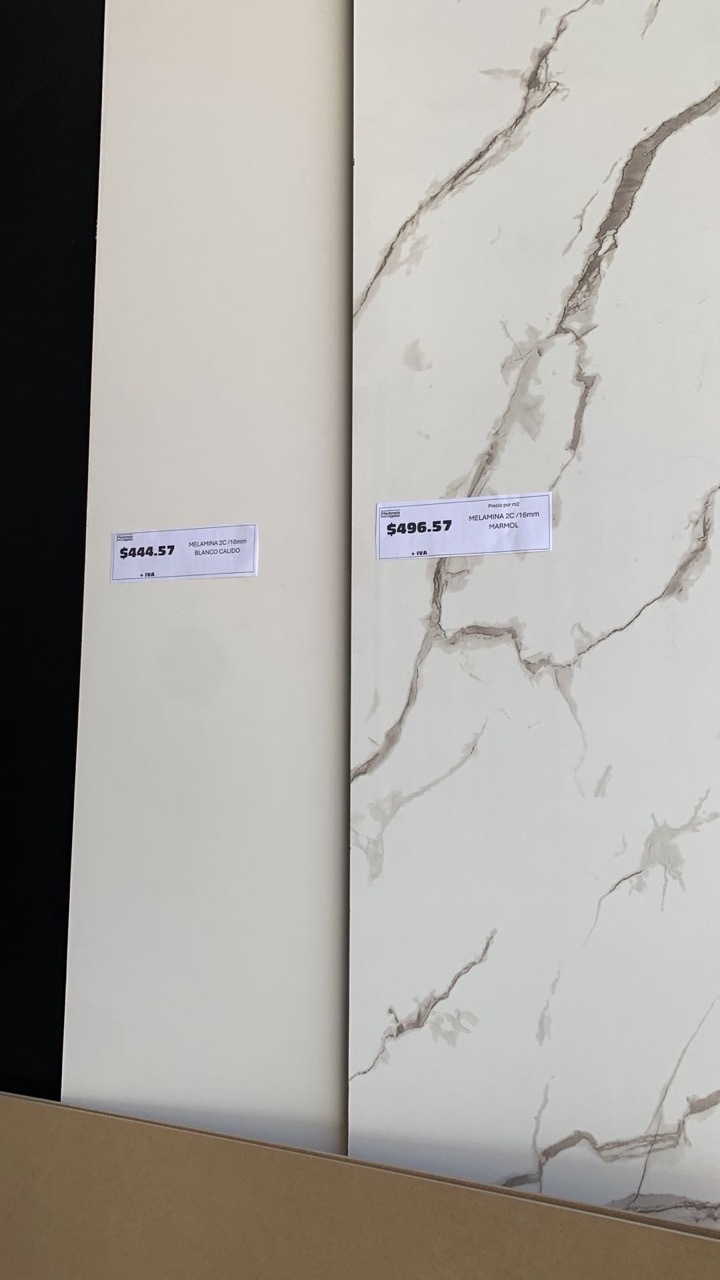
For this practice, I'm creating a custom metal frame and legs for a melamine table I found on sale last week. I decided to do a table because me and my cute boyfriend are making the furniture for our house, everything is just too expensive.
I'm using steel because it is durable, welds beautifully, and provides the perfect foundation for my fabulous tabletop. Literally you can climb in it and it will resist perfectly.
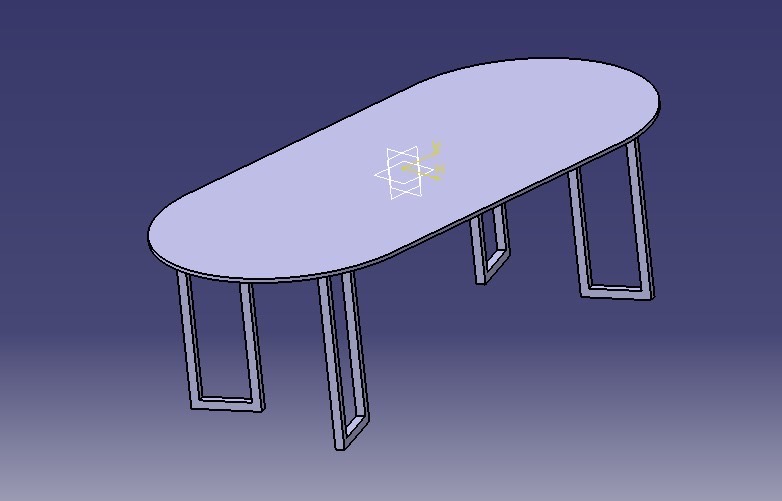
But first things first, I need a design for the table frame. I started using CATIA to design an elegant oval wooden tabletop, ensuring it fits perfectly and looks absolutely stunning. Let’s get ready to create something truly fabulous and add a sprinkle of sparkle to our beloved home!
Okay sweetie that was cute, how did u designed it?
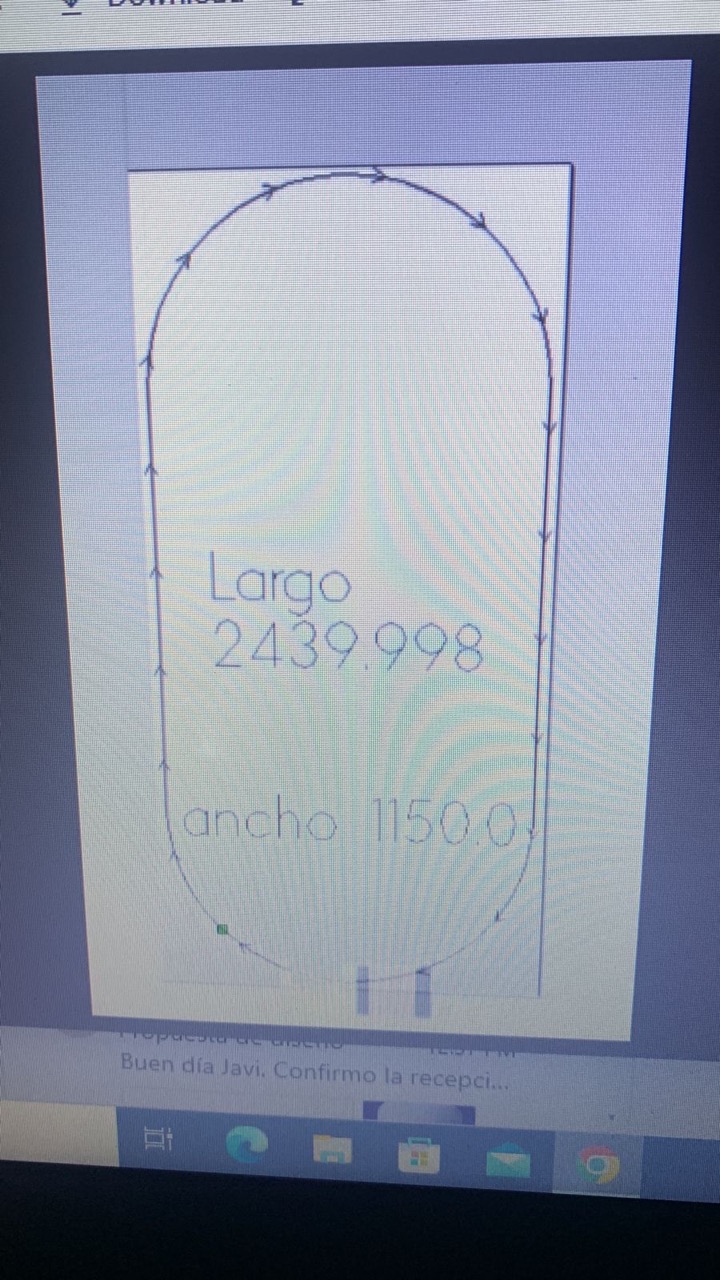
First I found an amazing table for sale at the wood market here at Puebla it only costed me 16.6 Dolars!!! YASSS honey!!! After that I used the measurements to make the oval design.
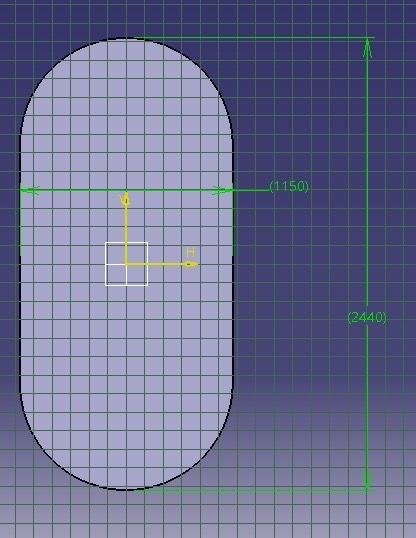
Let's create a chic and elegant oval table board using CATIA! We’re going to make it with melamine, measuring 2.440m long and 1.150m wide, and with a thickness of 18mm. ✨
First launch your CATIA software and start a new part file by selecting File > New > Part.
Then switch to the Part Design workbench and select a plane (the XY plane is perfect) to start your fabulous sketch.
After as you know... click on the Sketch icon to enter sketch mode and choose the XY plane as your canvas for this beautiful design.
Then use the Ellipse tool from the sketch tools, place the center of the ellipse at the origin (0,0) like setting the stage for your masterpiece. Draw an ellipse and make it 2.440m long and 1.150m wide. Perfection!
After, select the Constraint tool to ensure your ellipse has the exact dimensions: 🌈Major axis: 2.440m (2440mm) 🌈 Minor axis: 1.150m (1150mm)
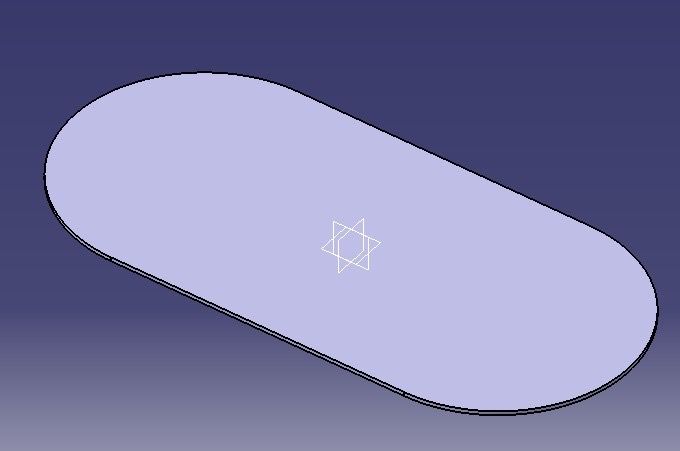
You shall use the Pad tool to bring your sketch to life in 3D then, enter the thickness of 18mm for that solid, sturdy look.
Finally rotate and zoom to admire your glamorous model. Save your fabulous file by going to File > Save. And there you have it! perfect melamine catia designed board!
For the cutting process, as it was 18mm melamine I couldn´t cut it in the school´s router, which my amazing friends at the wood market happened to take super seriously so they lended me their router, I just had to send them the file so they helped me cutting it and delivered to my house... DUUH I DON´T HAVE A BRONCO TRUCK!!! What a girl has to dooooo right?!
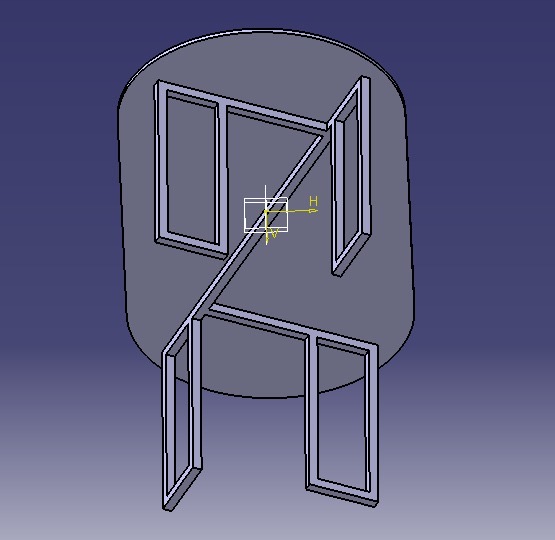
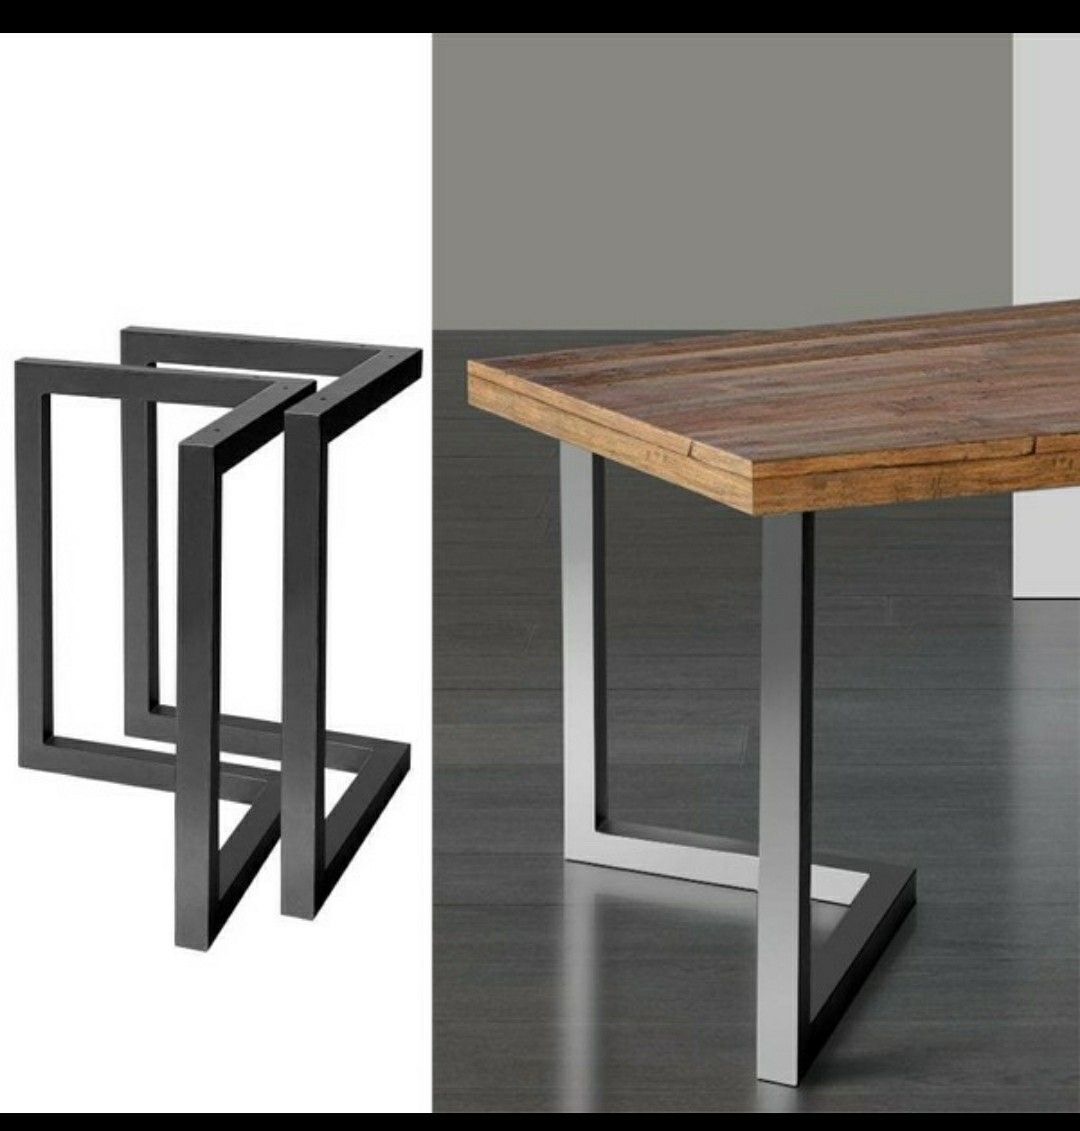
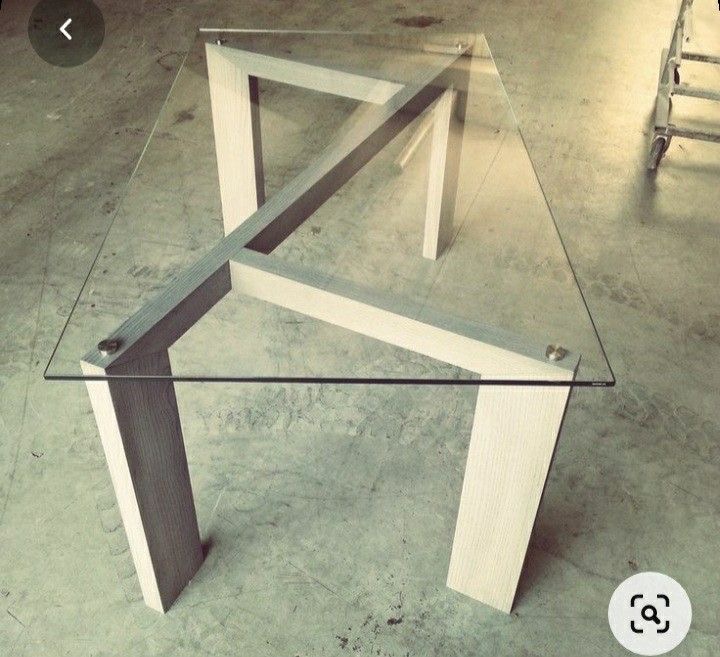
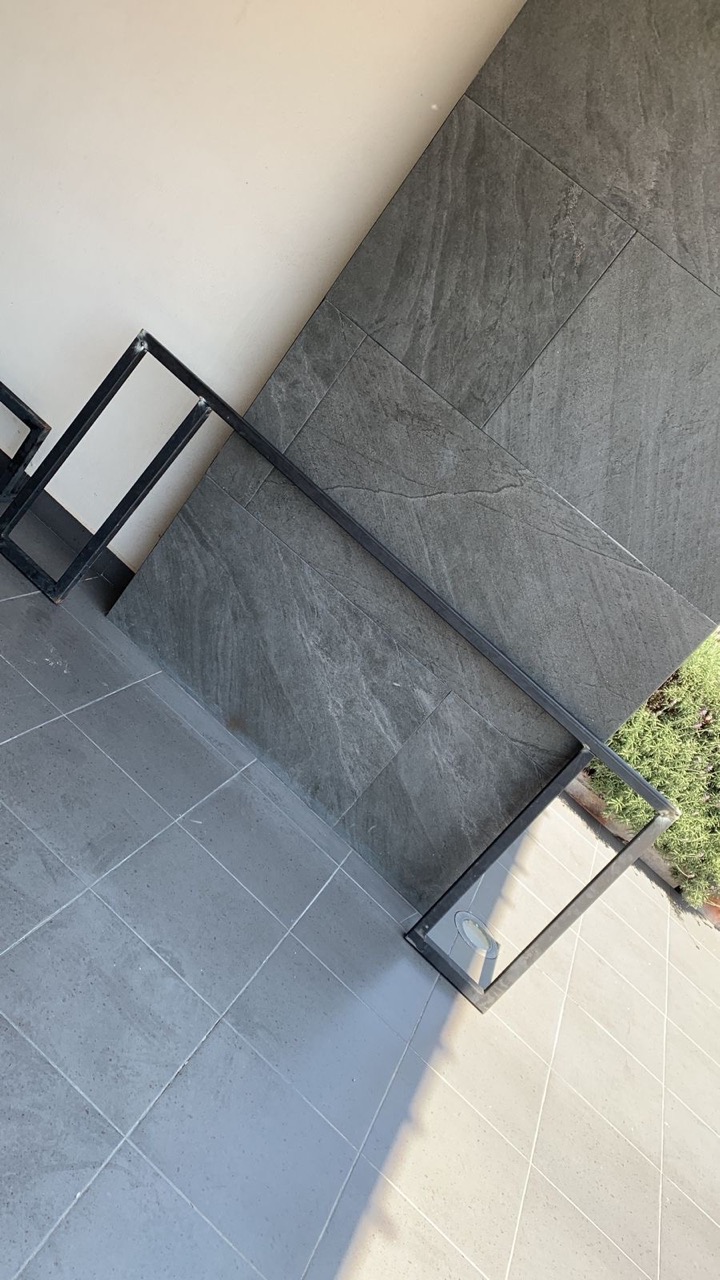
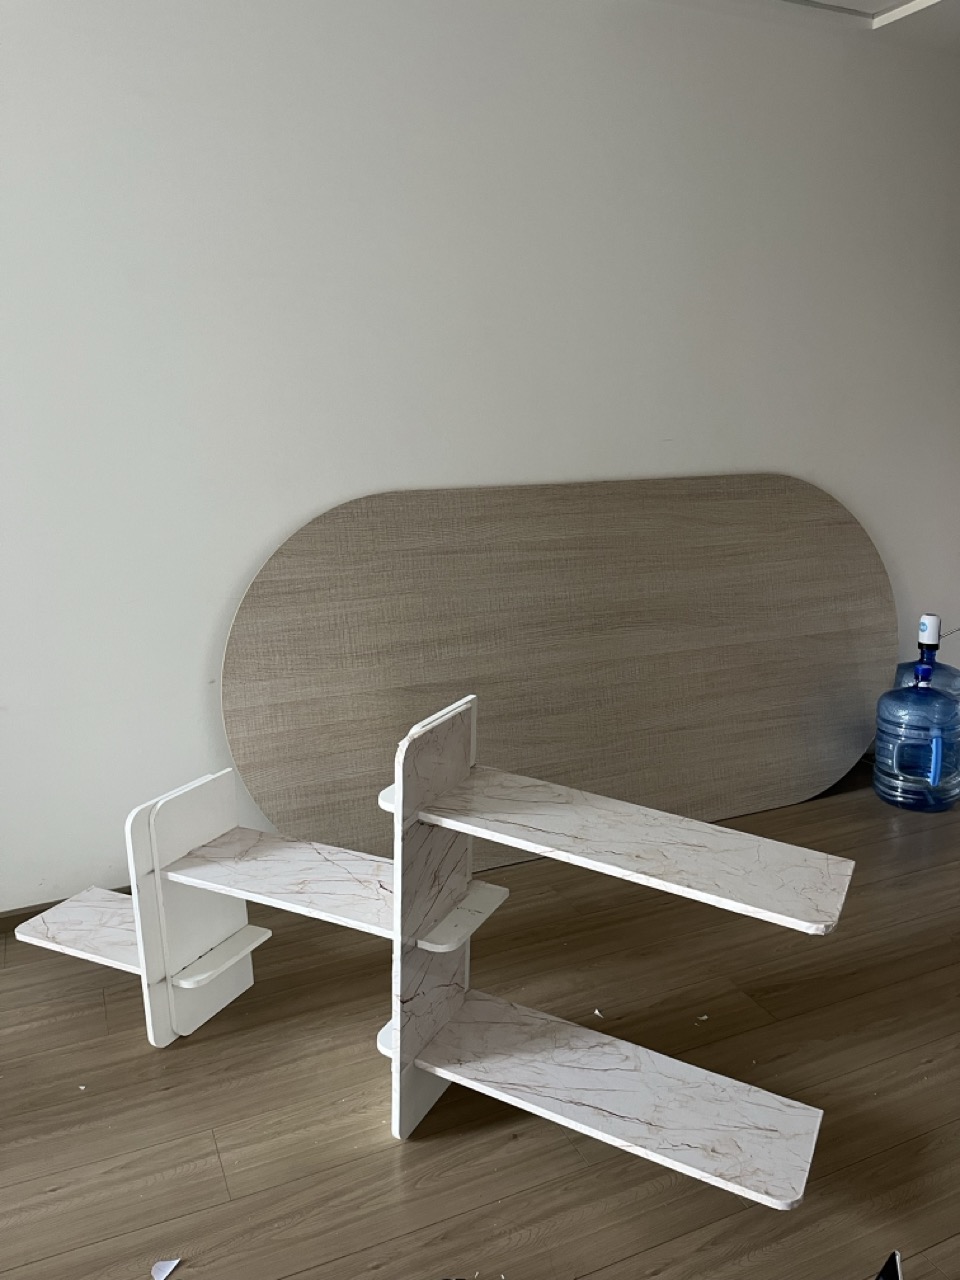
To create the table legs, I envisioned a minimalist and industrial design to play with the touch of glamorous gold paint. I used these images as inspiration.
A week before assembling it, I went to a metal scrapyard here in Puebla and found 3 meters of AR tubing, 1.5 inches x 1.5 inches, gauge 14 AWG. To complete my design, I only needed to buy 3 more meters, which cost me a total of $14.1 (These tubes came in black, which was no problem because I cleaned them with thinner first)
I designed the legs to be diagonal and detachable to ensure the table's stability, so it wouldn’t wobble when heavy items are placed on either side.


Something interesting about the tubes is that they all have internal tension that releases when you cut them. Because of this, you must place them in a specific way when cutting, as improper handling can make the metal snap forcefully, which can be dangerous.
And now everything about the welding procedure...👩🏽🏭
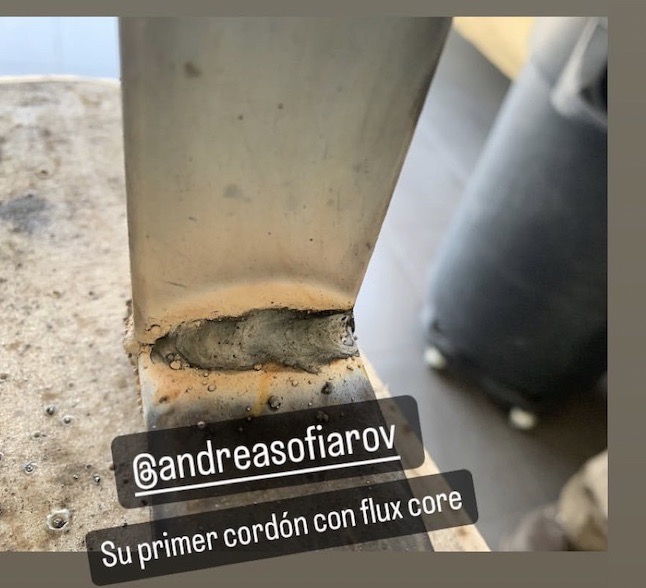
Okay so for the fabrication I used FLUX CORE which is similar to the MIG/MAG welding (also known as GMAW or wire welding), However this type of welding doesn´t use gas and is an incredibly effective and fast technique which was totally why I picked this technique. Okay okay... also because it was the welding machine my boyfriend had and I wanted to learn from the best lol!
INSERT FLASHDANCE MUSIC THEME HERE
All about the MIG/MAG welding
It's a type of arc welding that uses a solid wire electrode. Both the arc and the weld pool are protected from the atmosphere by a gas supplied from an external source. This process is divided into two types: MIG, where the shielding gas is inert, and MAG, where the shielding gas is active. Nowadays, it's the most popular method due to its high productivity and ability to achieve super fast welding speeds. Perfect for the most ambitious and fabulous projects!
ALL ABOUT THE FLUXCORE
Flux core welding is like using a magical wire filled with flux that creates its own shielding gas when heated, so you don’t need any extra gas—super convenient and portable! ✨ I used this welding method cause´ 1️⃣Super Strong and Durable ▶️ Flux core welding makes strong, reliable welds perfect for holding up those fabulous table legs. ️⃣2️⃣Deep Penetration▶️ It gets deep into the metal, which is just what you need for thicker materials like 14 gauge tubing. ️⃣3️⃣ Versatile ▶️ Whether you’re working indoors or outdoors, it’s amazing because you don’t need a gas supply. 4️⃣ Easy Peasy ▶️ It’s super user-friendly, making it perfect for beginners or DIY projects. 5️⃣ Budget Friendly ▶️ No extra gas needed, so you can save those coins for something else cute. 💖✨
Alright, ladies! To weld with flux core, I used 75 amps and 12V. I know this is the voltage because, when we examined the circuit used to power the micro wire, we saw that the motor is 12V and connected to the positive terminal of the welder. Here's why we estimate the 12V --> our welder is super basic, transformer-based, and totally old school. It’s not an inverter welder, so we can only regulate the amperage, not the voltage. And that's why! 💖🌸
And now all about the procedure.... Here's how to do it step by step, and then we'll add a fabulous finishing touch with a beautiful golden color!
First, you´ll need to prepare your workspace. Make sure your workspace is clean and well ventilated. Put on your safety gear: welding helmet, gloves, and protective clothing.
Then make sure you set up your FLUX CORE welder by connecting the welder to the power source and attach the ground clamp to your workpiece. Remember to attach the ground clamp to your workpiece and to load the wire electrode (usually made of mild steel) into the welder. Adjust the wire feed speed and voltage according to the thickness of the steel.
Super important part: clean the steel pieces to remove any rust, oil, or paint and arrange your steel pieces in the desired configuration for the table frame.
For the welding process you shall hold the welding gun at a 15-degree angle, pull the trigger to start the arc and begin welding along the joint and move the gun smoothly to create a consistent weld bead.
Once welding is complete, clean the frame to remove any welding slag and debris. I did it by hand and didn´t broke any nails in the process. Also super important: after I finished, I passed an old rag with thinner to make sure the painting was going to apply smoothly.
Then, you have to choose your fabulous color (let’s say a golden perfection primer + paint can) and always remember using a high-quality metal paint and apply it evenly to the frame.
- As an advice you shall apply multiple thin coats, allowing each coat to dry before applying the next. After the final coat of paint is dry, inspect the frame for any touch ups.
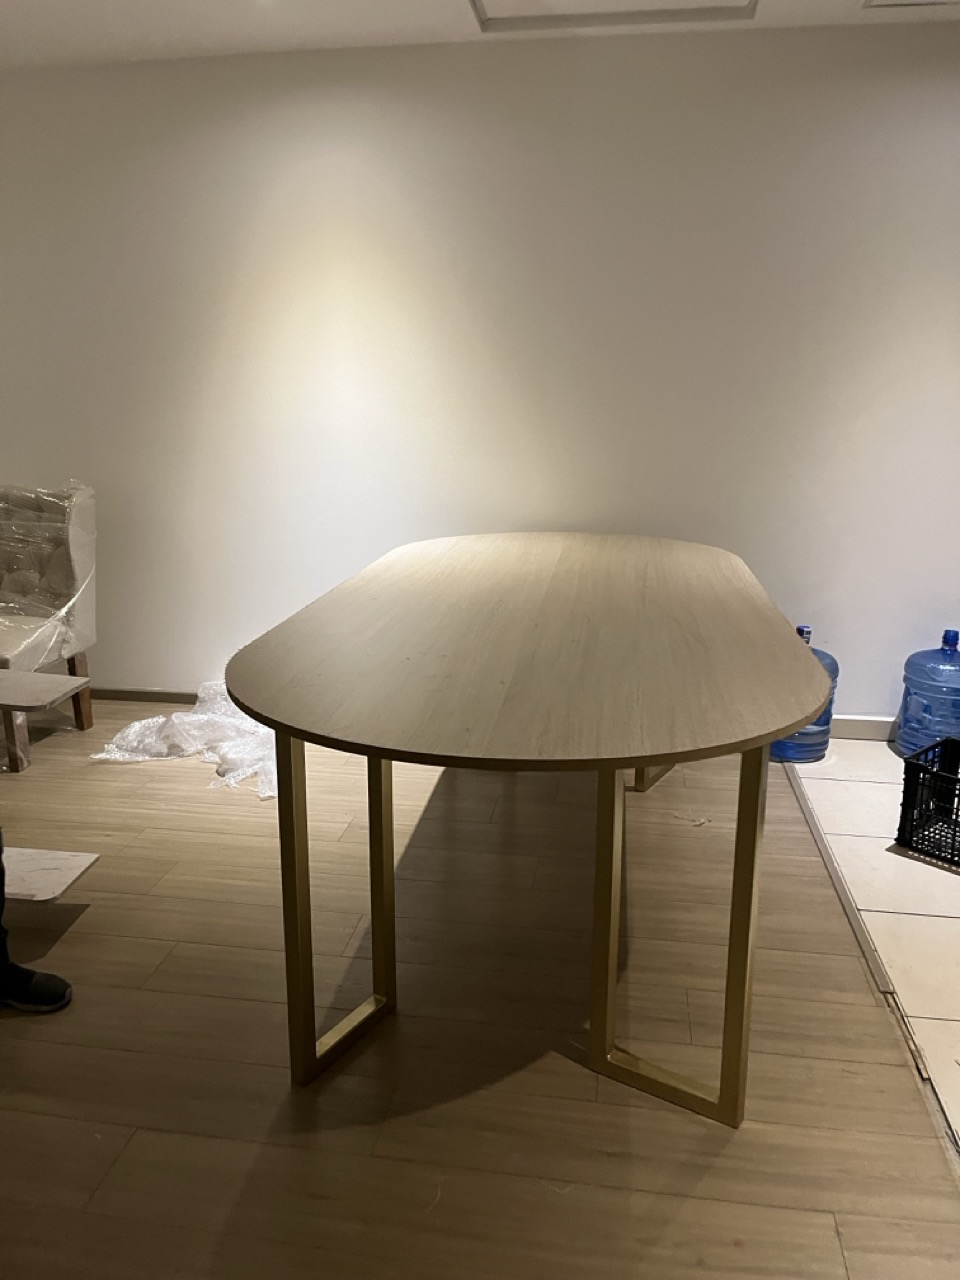
- Finally attach the gorgeous oval melamine board to the painted frame and secure it with screws or brackets, ensuring everything is stable and aligned.
🛠️🌟Take a look at my assembling and final result pics🌟🛠️
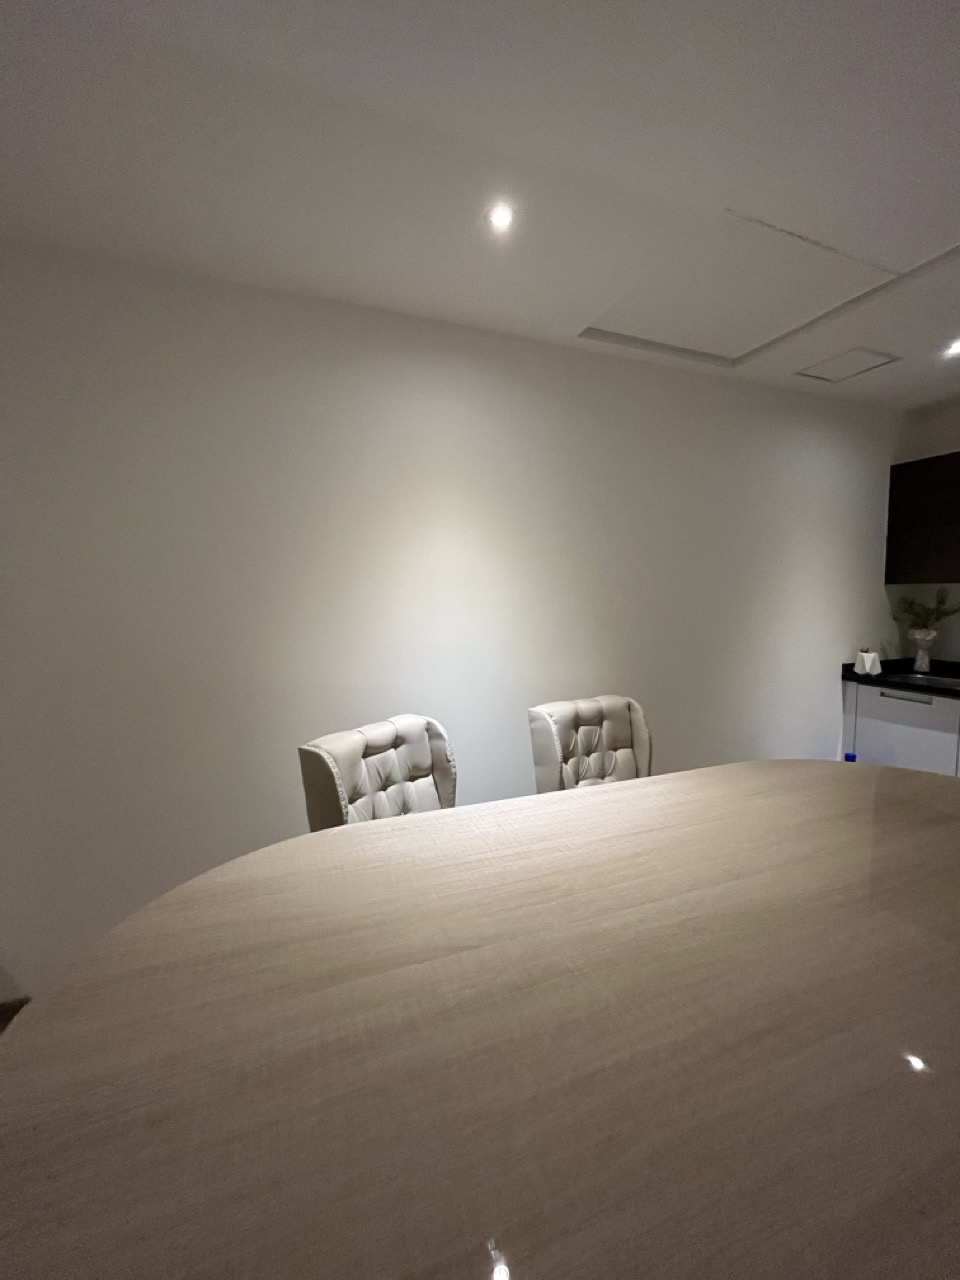

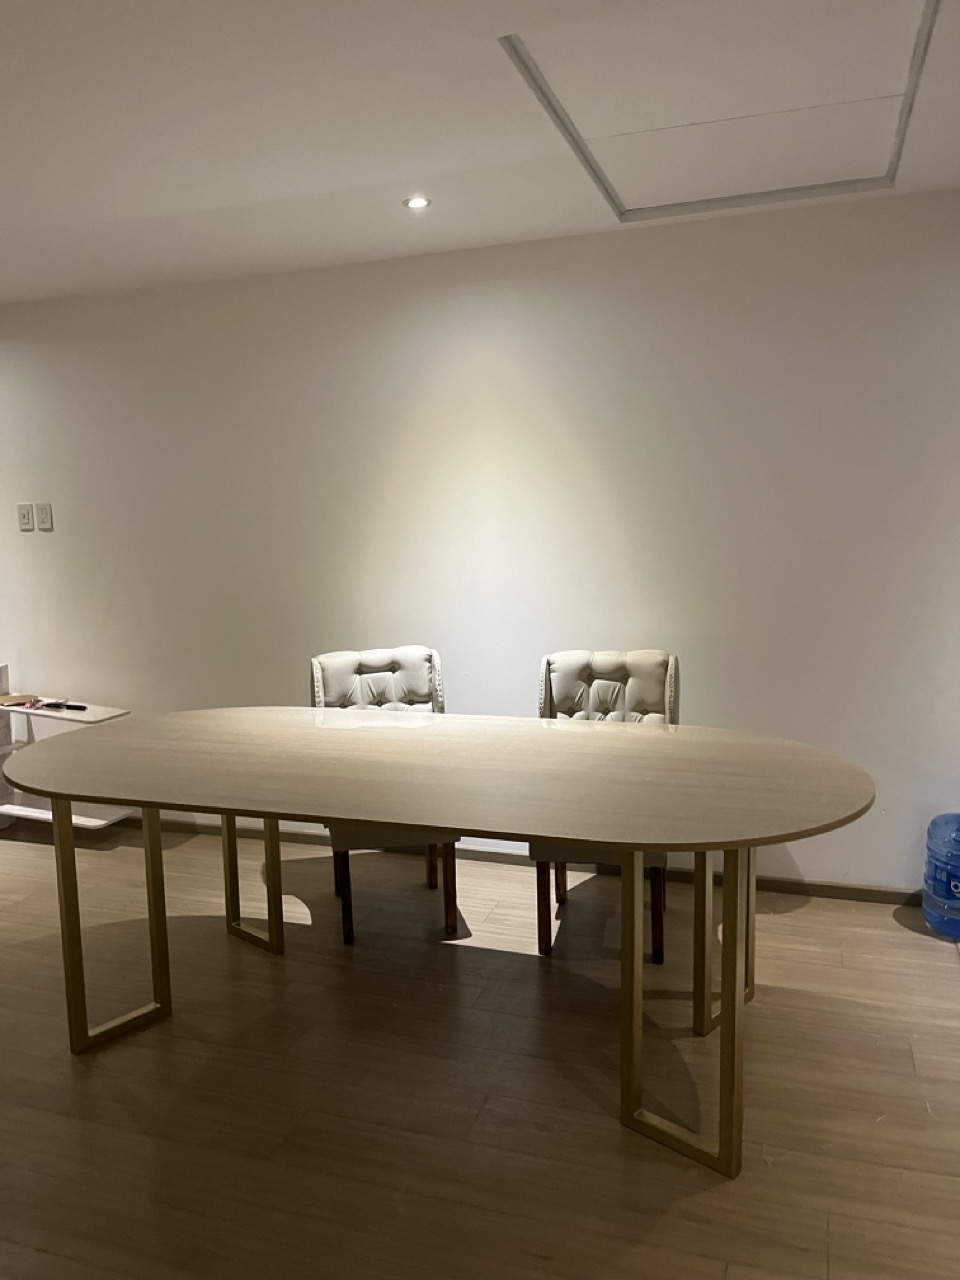
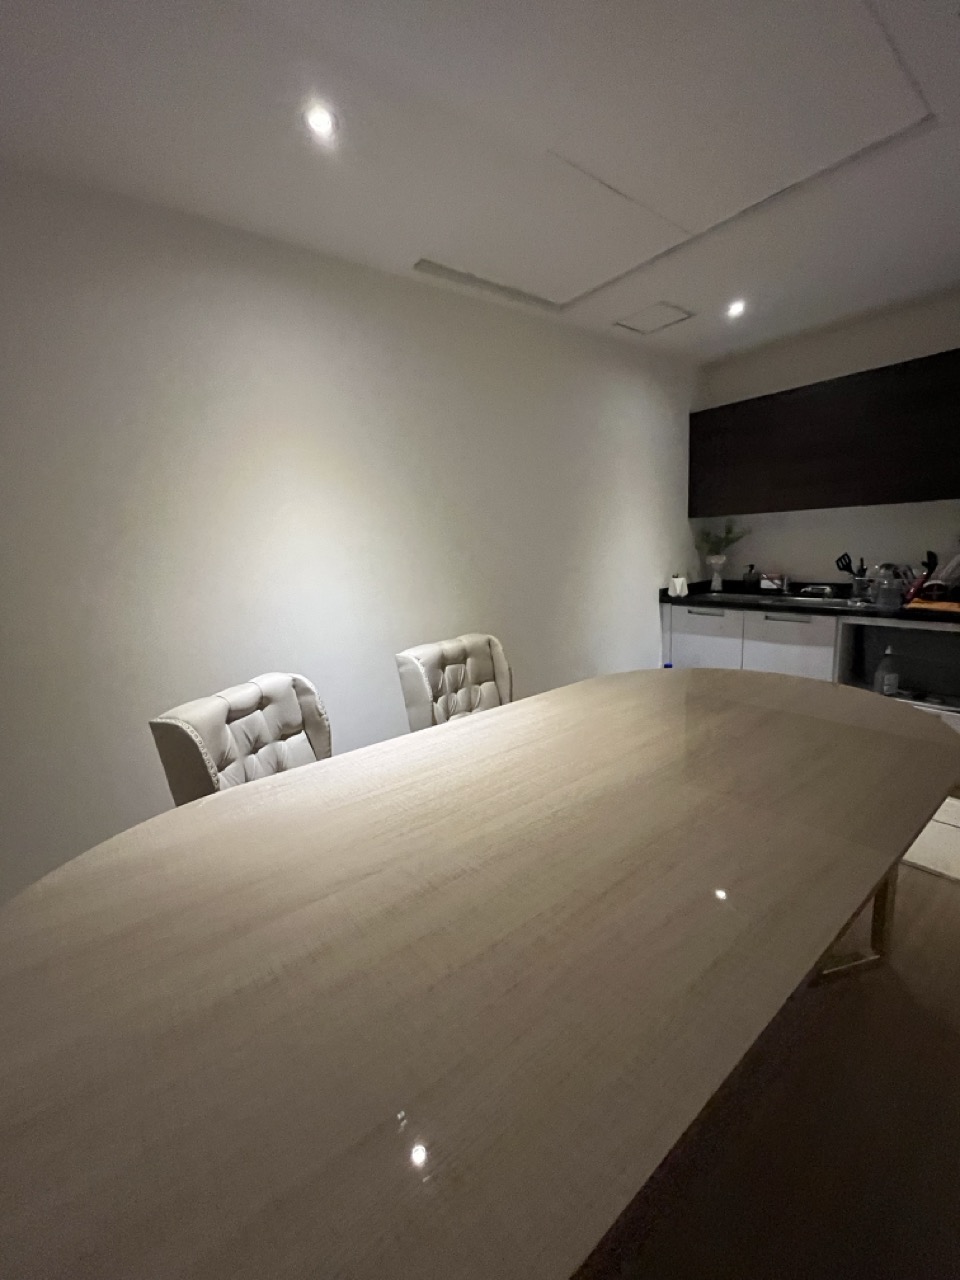
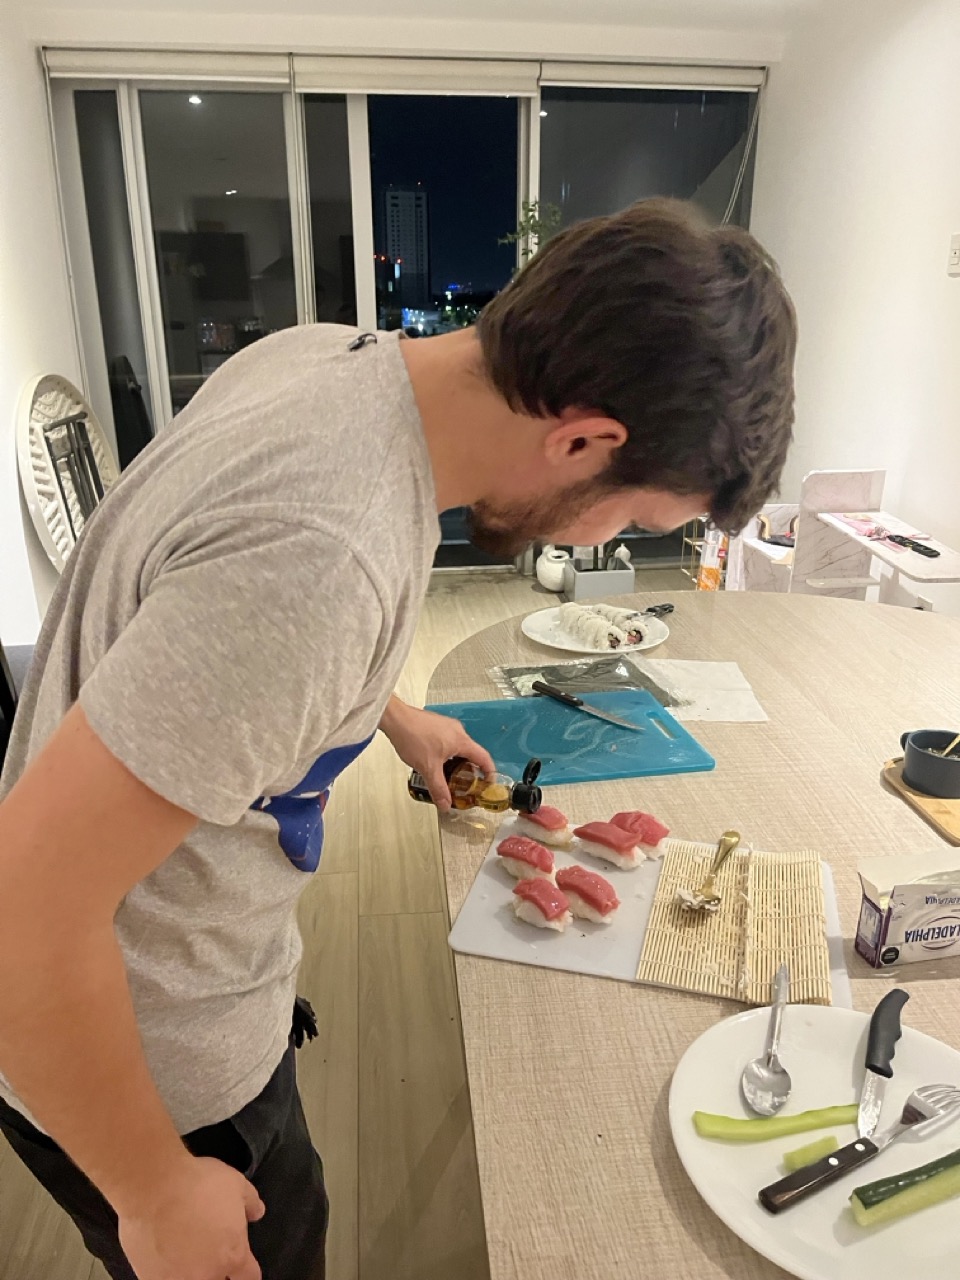
🐚After all of the welding and put together of the table, my boyfriend and I decided to show off our hard work with a delicious japanese meal: Nigiris🍣💞
SO THIS ASSIGNMENT DID NOT END HERE. I ALSO DID AN EMBROIDERY SITUATION
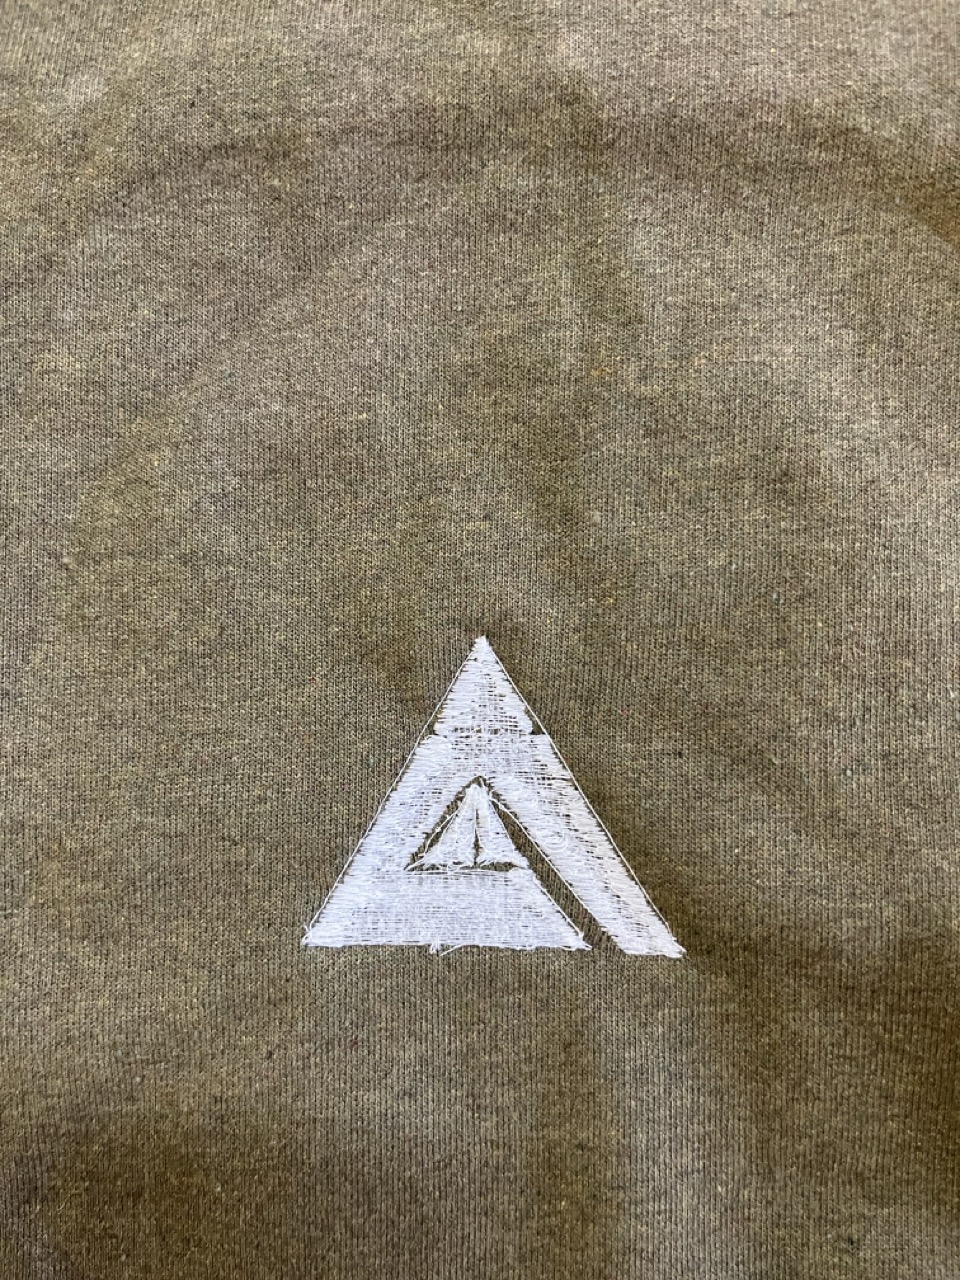
Okay so I did this logo in the embroidery assignment situation because it was a branding job I was encharged with ( I love digital design and people like my work so I work like this yay) and totally wanted to rock it with the brother se700 embroidery machine lol.
THIS ARE THE STEPS:
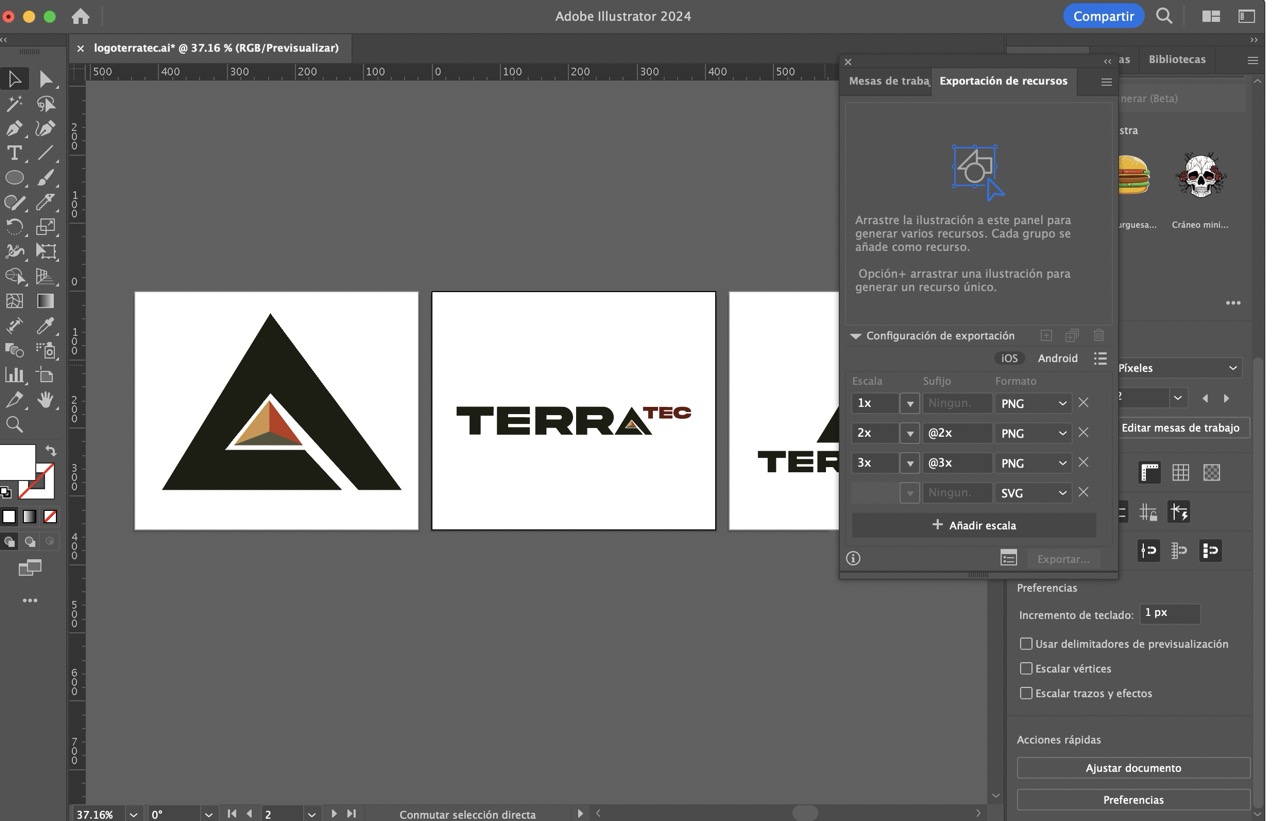
Step 1 Preparing the File in Illustrator ☞Design Your Logo: Create your beautiful logo in Adobe Illustrator. ☞Save the File: Save it as an SVG, which is compatible with Inkscape.
Step 2: Import the File into Inkscape ☞Open Inkscape: First launch Inkscape on your computer. ☞Import Your SVG File: ❥Go to File > Open and select your saved SVG file.
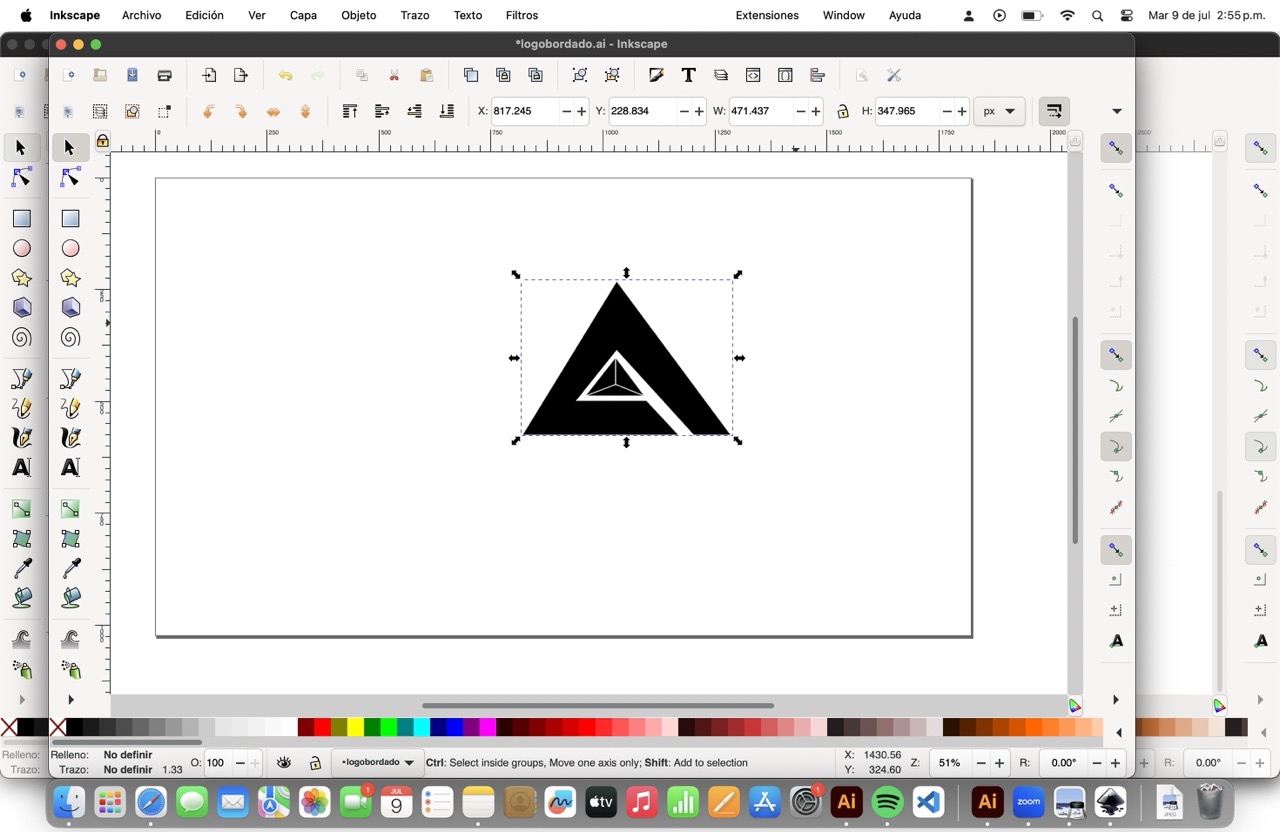
Step 3: Prepare the Design in Inkscape ☞Ensure the Design Size: Make sure your design fits within the embroidery area. ❥You can resize it using the Select tool and adjusting the dimensions. ☞Convert Objects to Paths: ❥Select everything (Ctrl+A). ❥Go to Path > Object to Path.
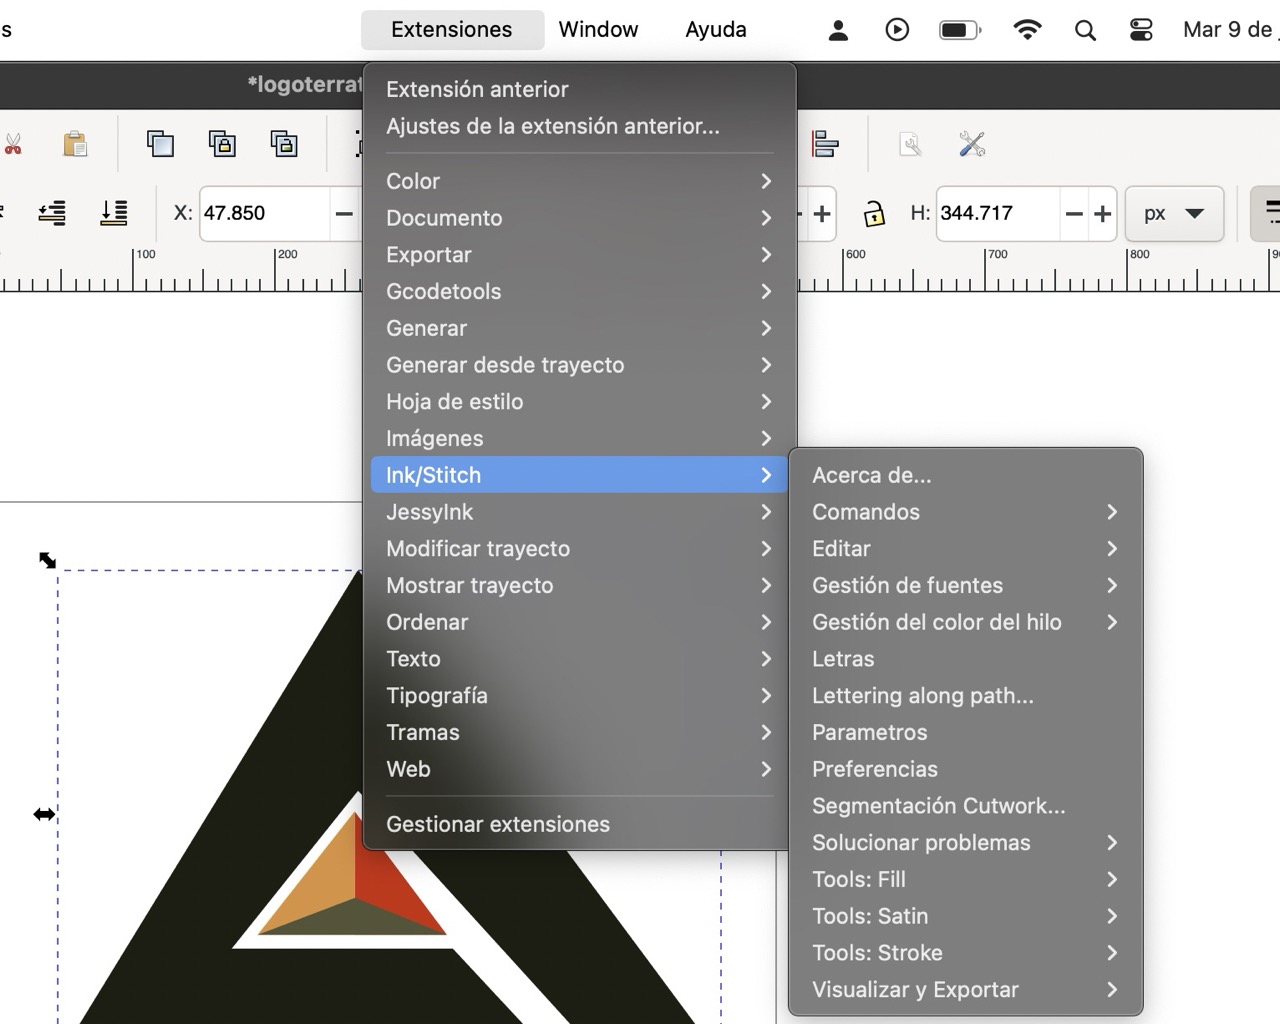
Step 4: Use Ink/Stitch to Prepare the Embroidery WHY?? well here´s what Ink/Stitch Does ☞It converts vector designs to embroidery patterns. ☞Adjusts embroidery settings like stitch type, density, and direction. ☞Simulates embroidery to preview the result. ☞Saves files in formats compatible with embroidery machines (e.g., PES). So to use this amazing program ☞ Install the Ink/Stitch Extension if you haven't already: ❥Download Ink/Stitch from their official website. ❥Follow the provided installation instructions. ☞Access Ink/Stitch: ❥Go to Extensions > Ink/Stitch > Params to set your embroidery parameters.
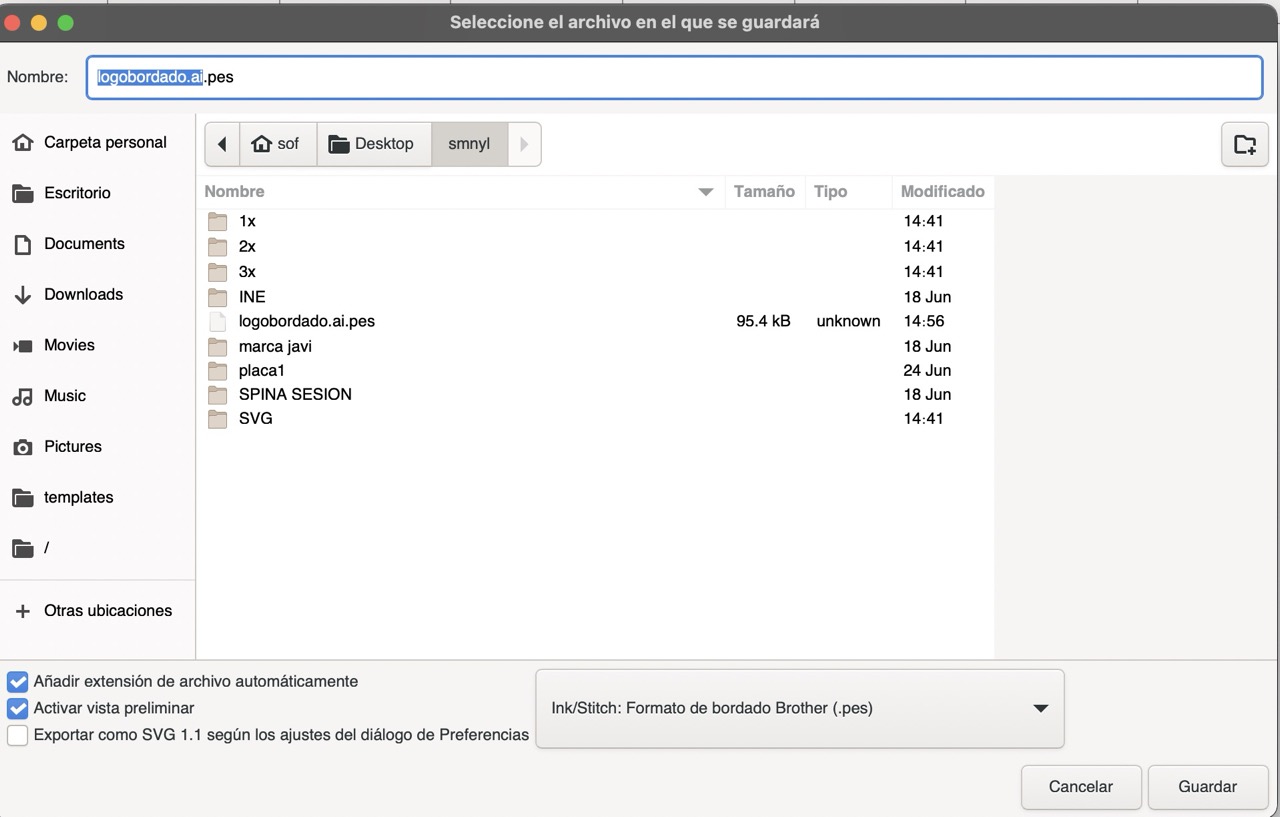
☞Adjust the Settings: ❥Choose the stitch type, density, and other settings to match your vision. ☞Save the File in a format your machine can read (PES): ❥Go to Extensions > Ink/Stitch > Save As > select PES. nk/Stitch is an Inkscape extension that converts vector designs into embroidery files. It simplifies creating and adjusting embroidery patterns right from Inkscape.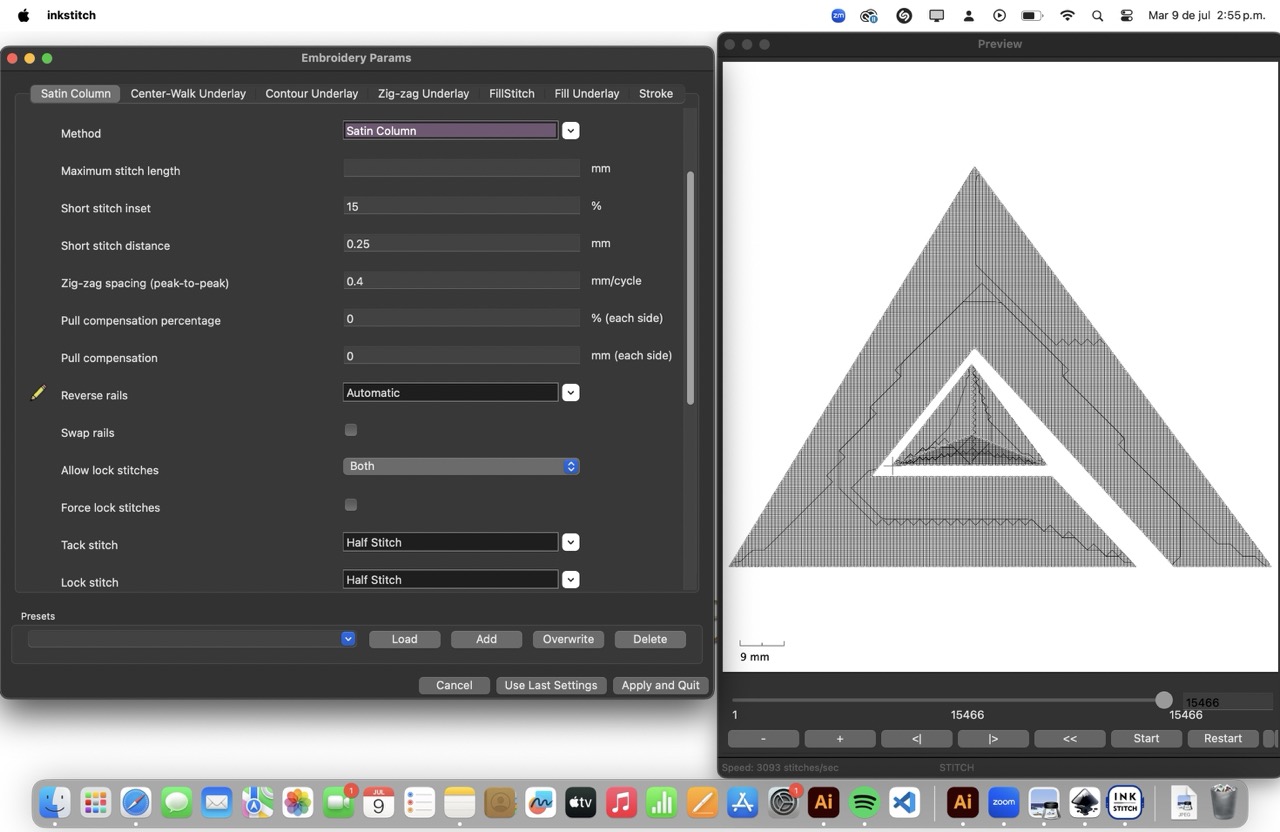
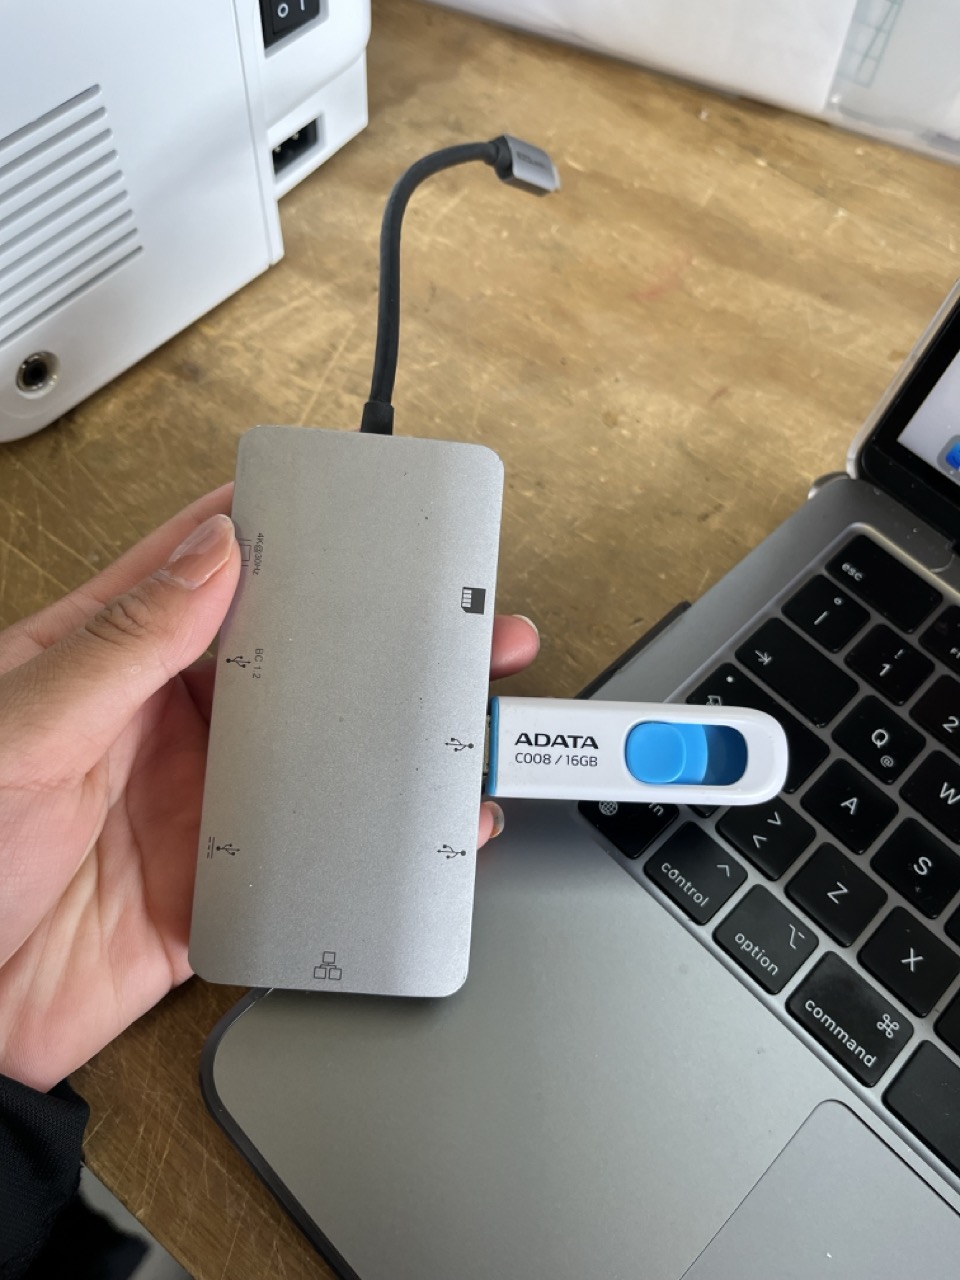
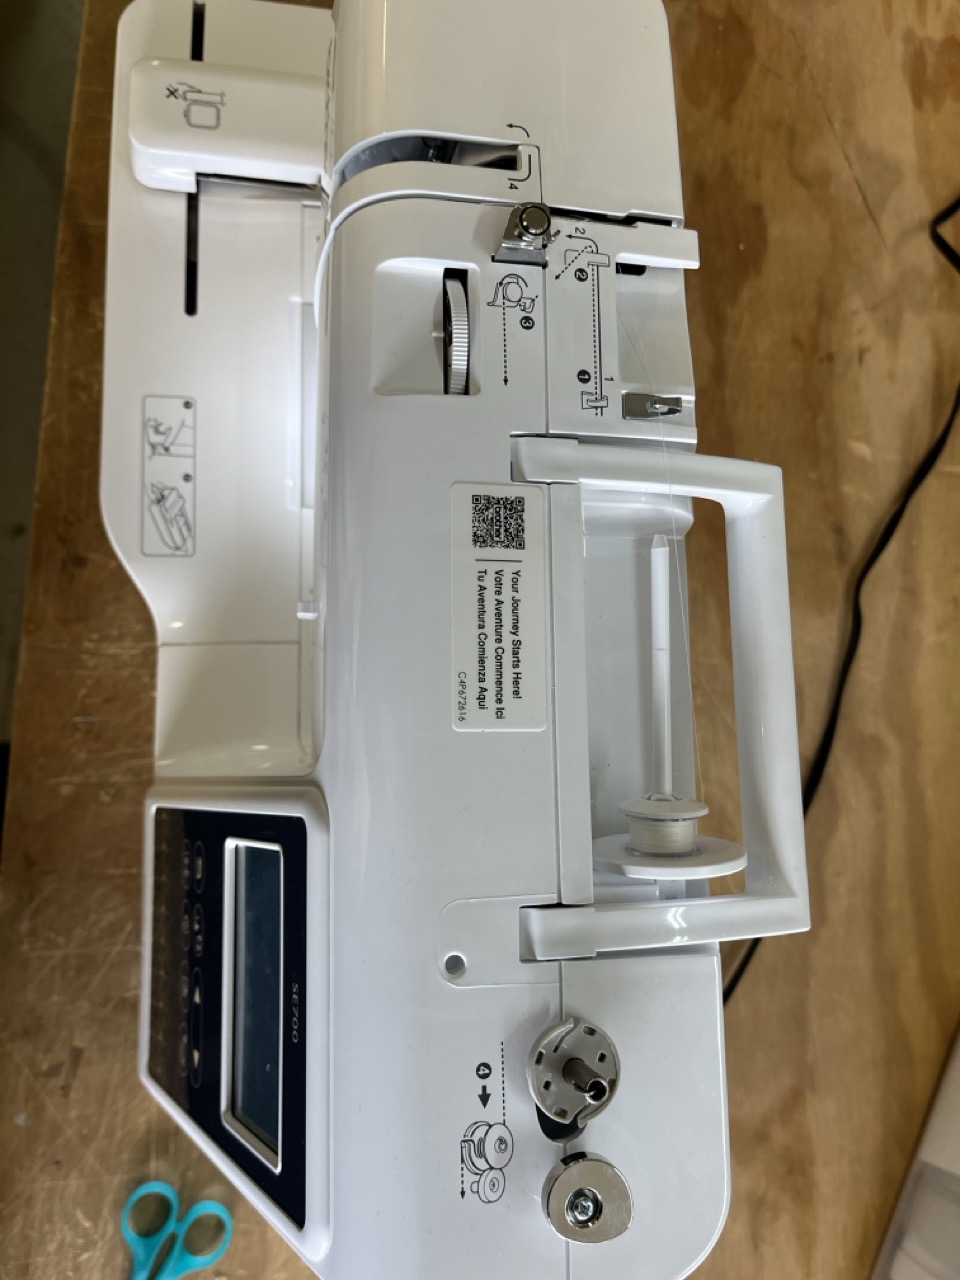
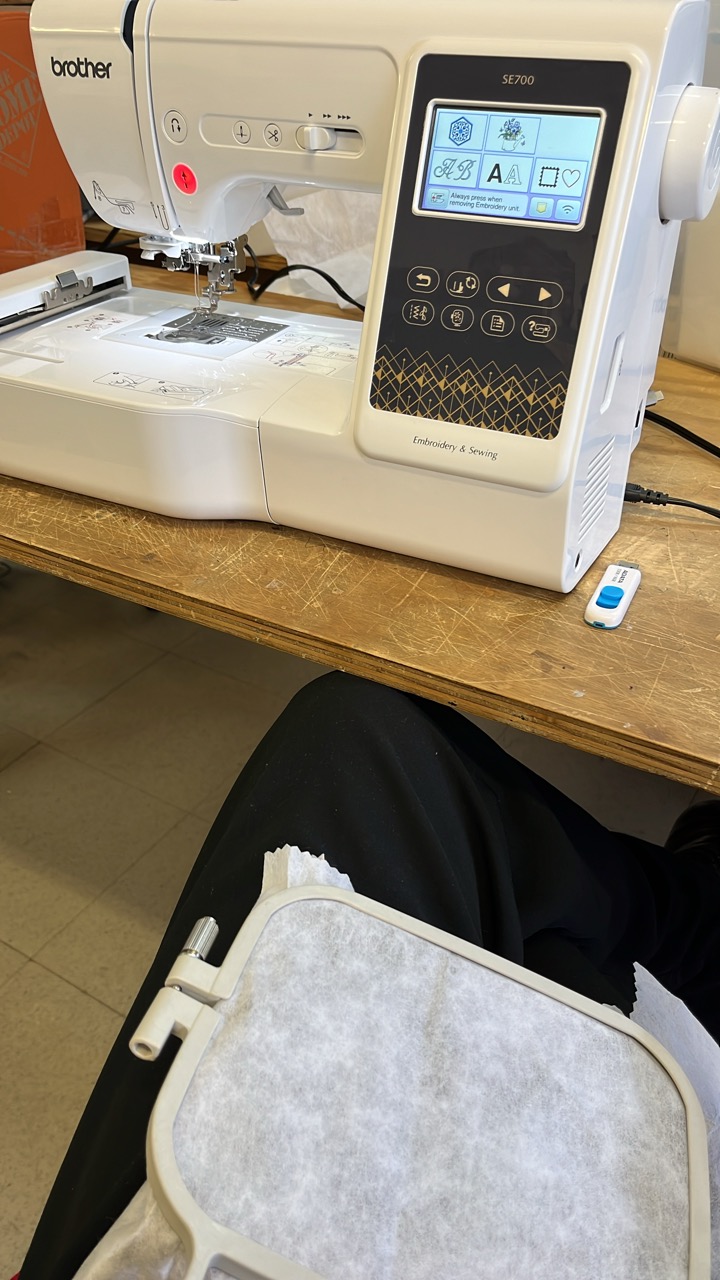
Step 5: Transfer the File to Your Brother SE700 🌸Transfer the PES File: ❥Use a USB drive or connect your machine to your computer, following the manual's instructions. 🌸Load the File on your machine and adjust the embroidery settings as needed.
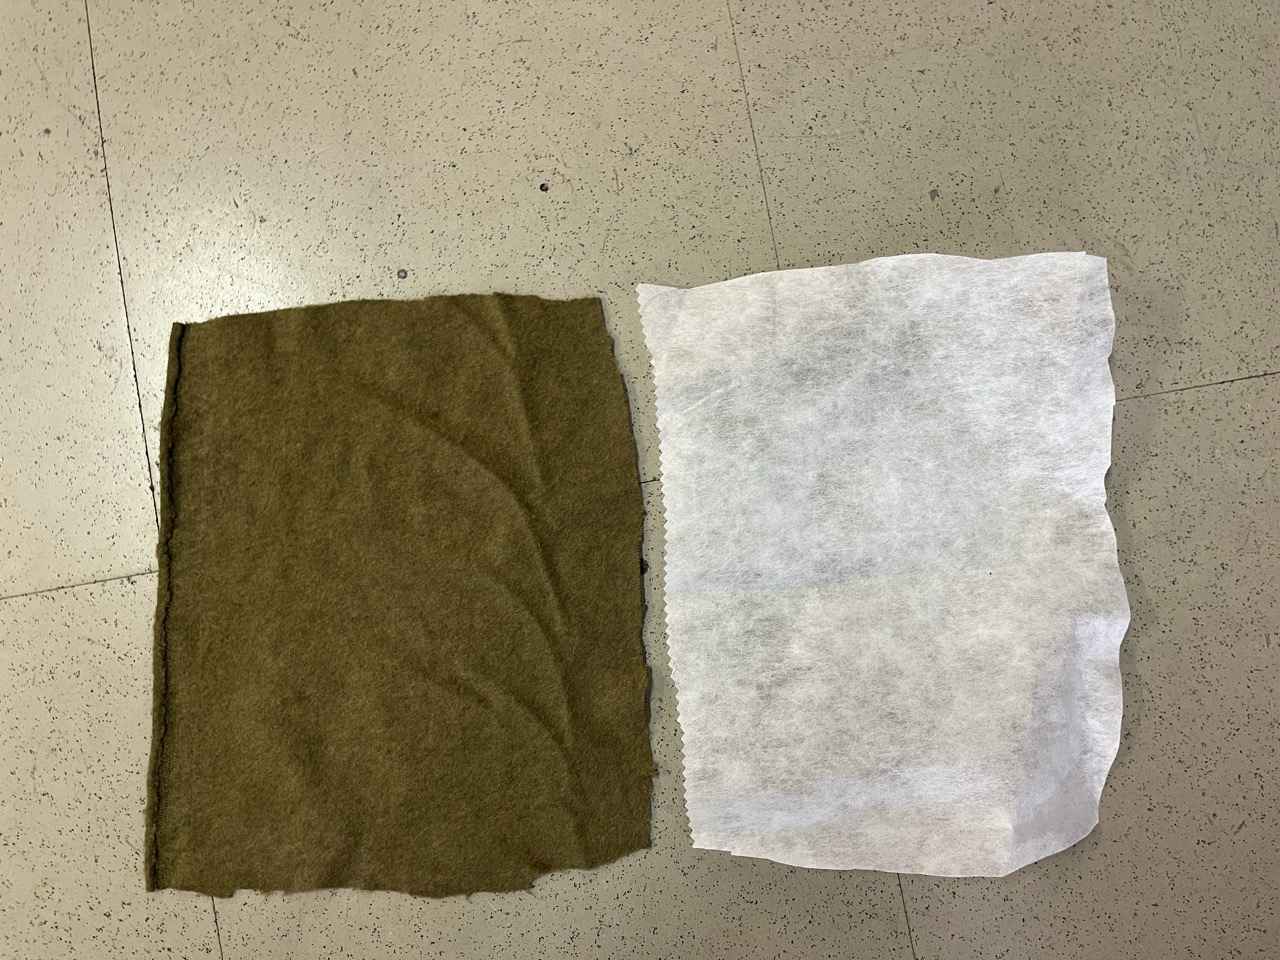
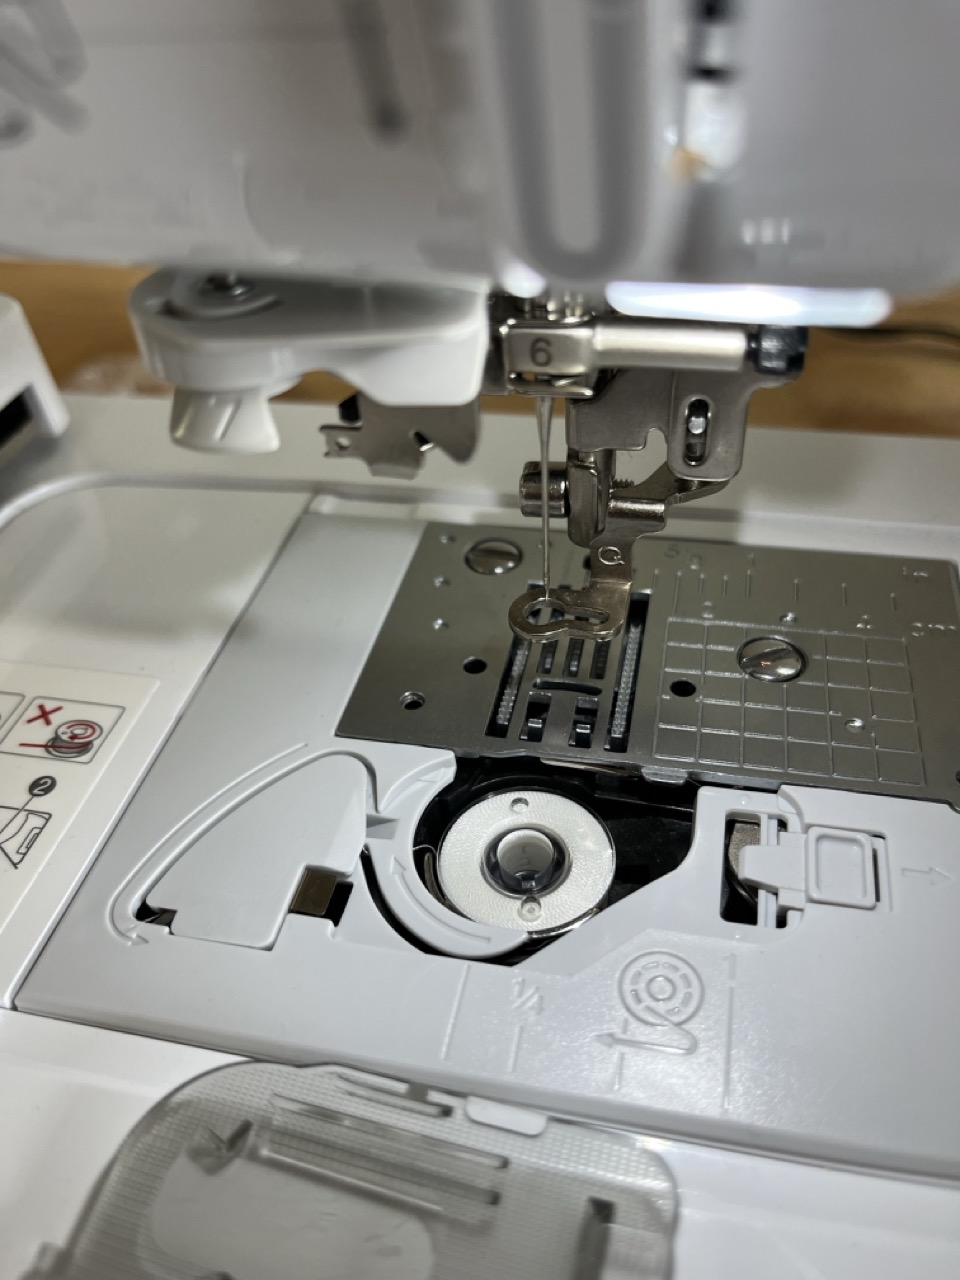
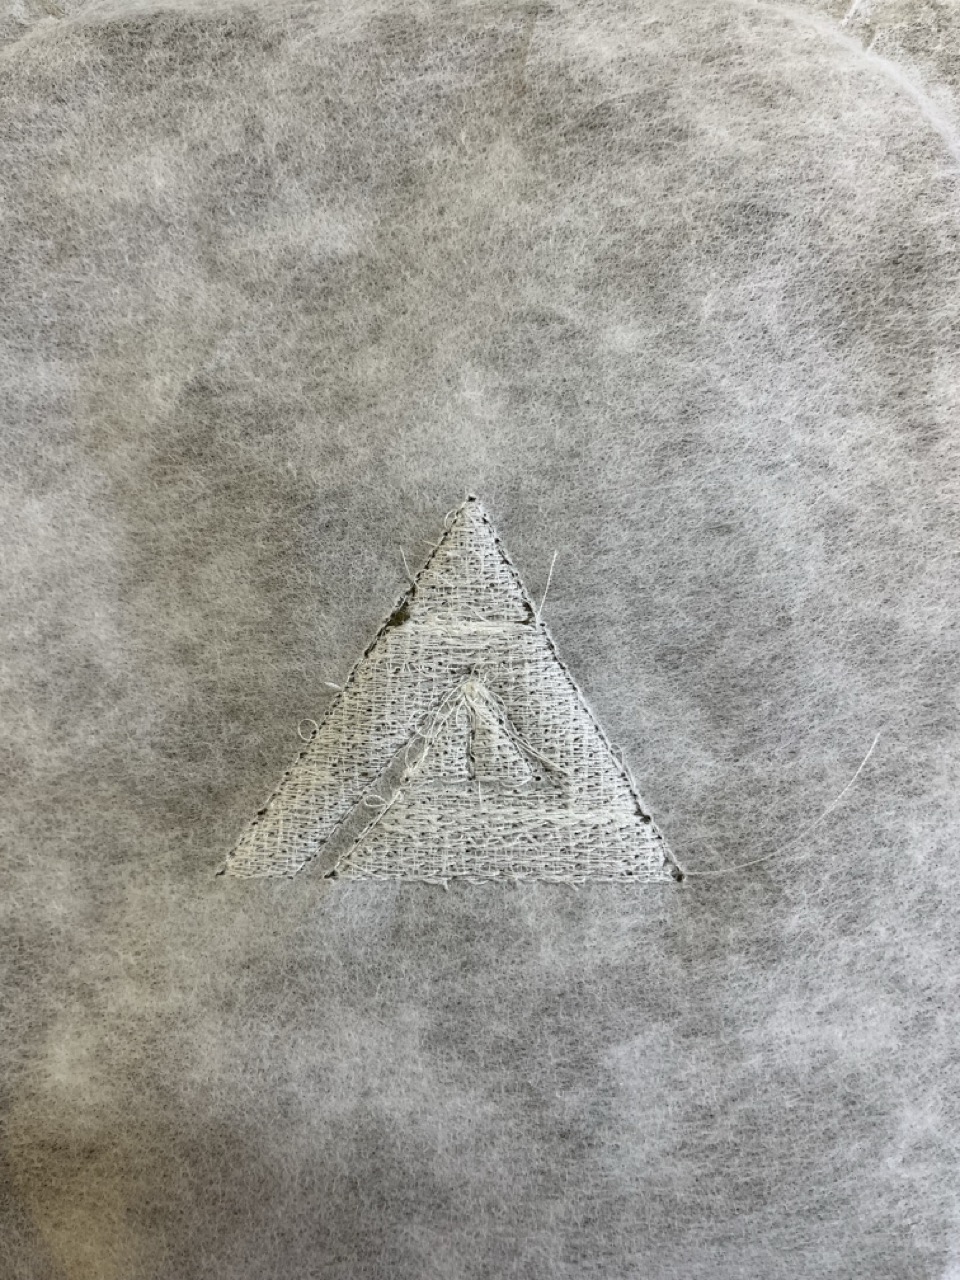
🌸Prepare the Fabric: ❥Hoop the fabric securely and make sure the pellon fabric is beneath, insert the hoop into the Brother SE700, load your design file in a USB, thread the machine with the desired color, select the design on the machine’s interface, and press start. Monitor the stitching to ensure it runs smoothly.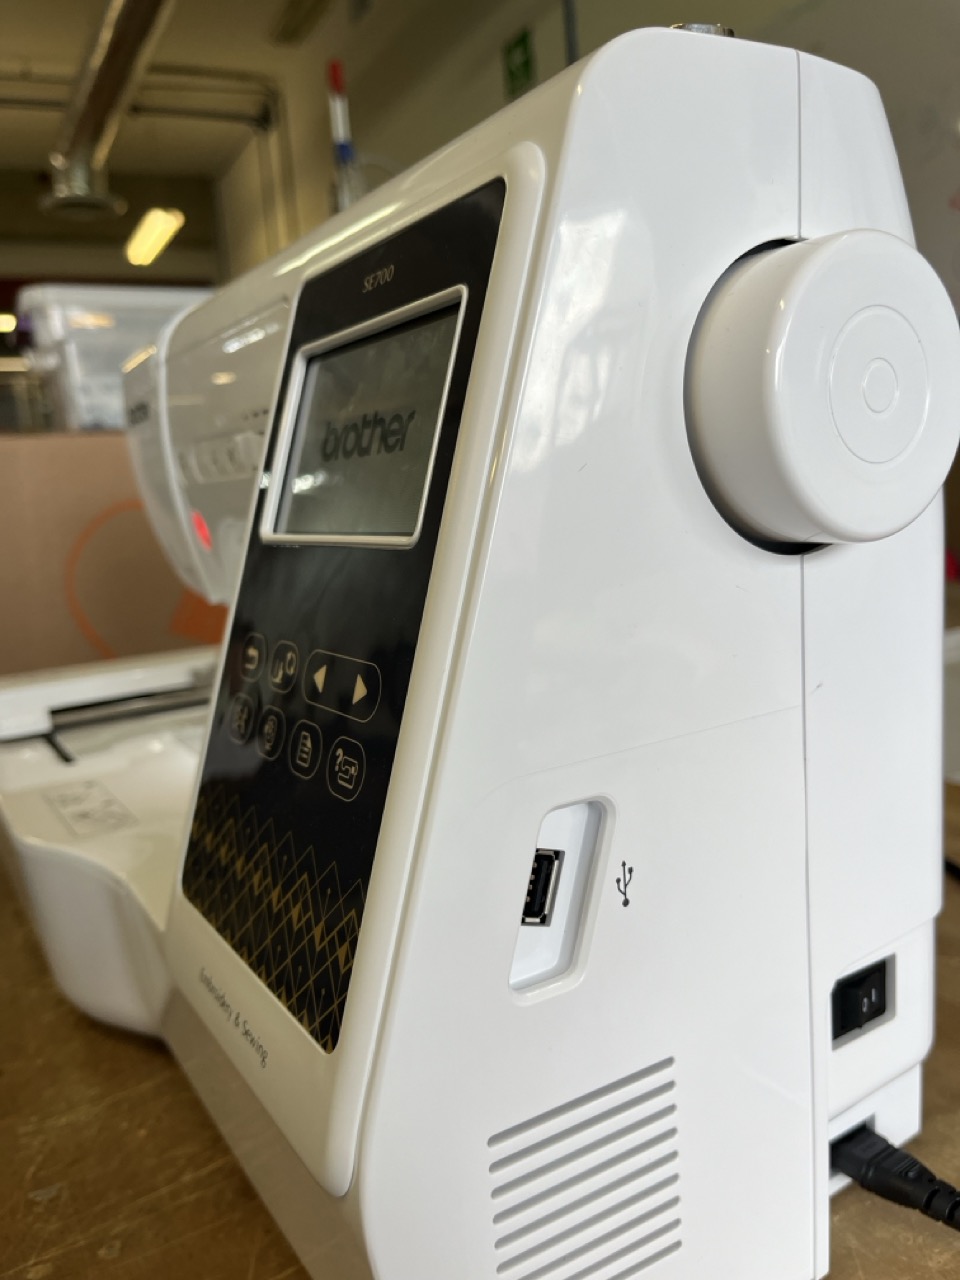
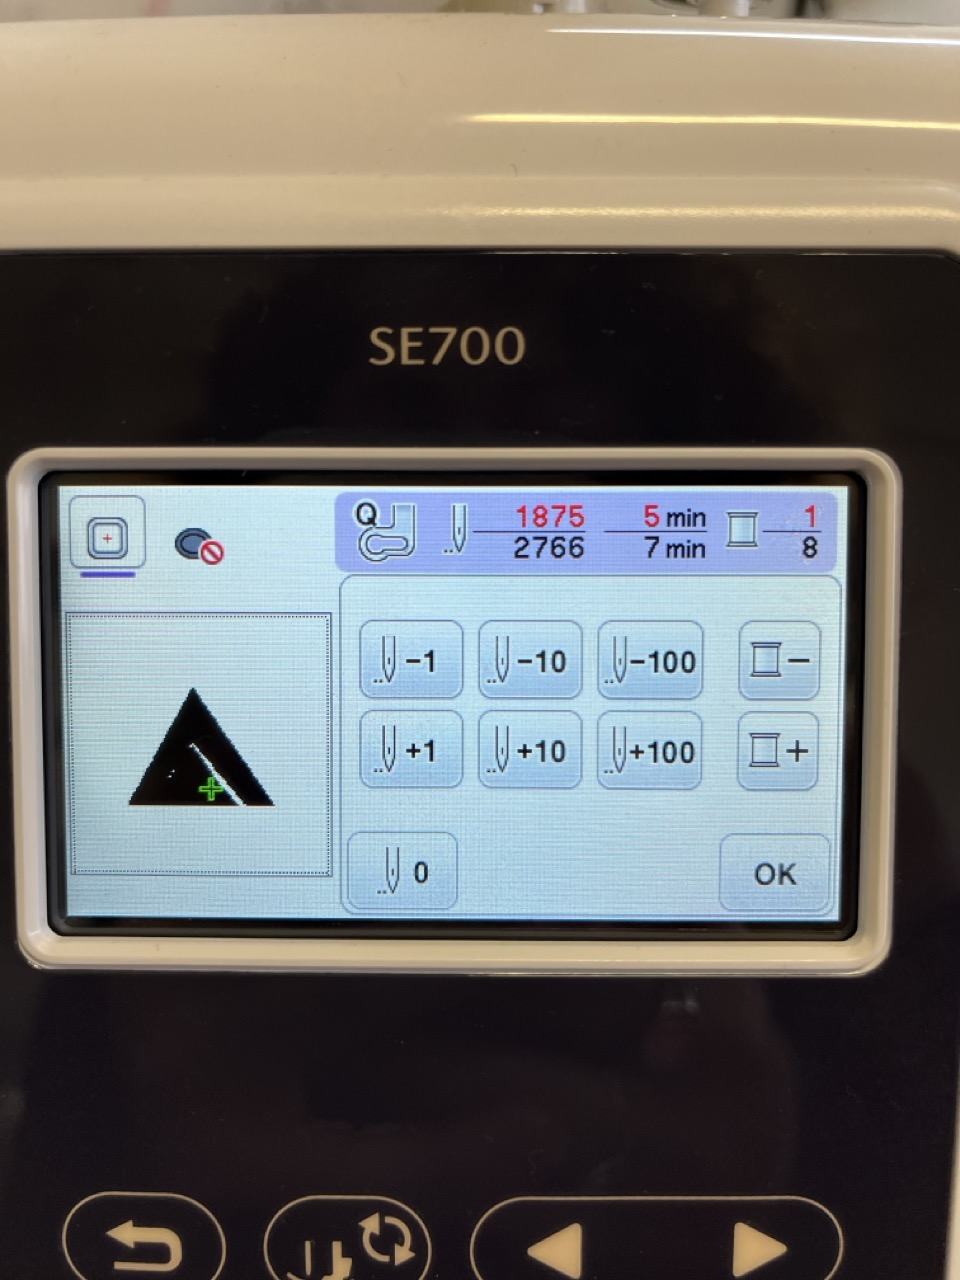
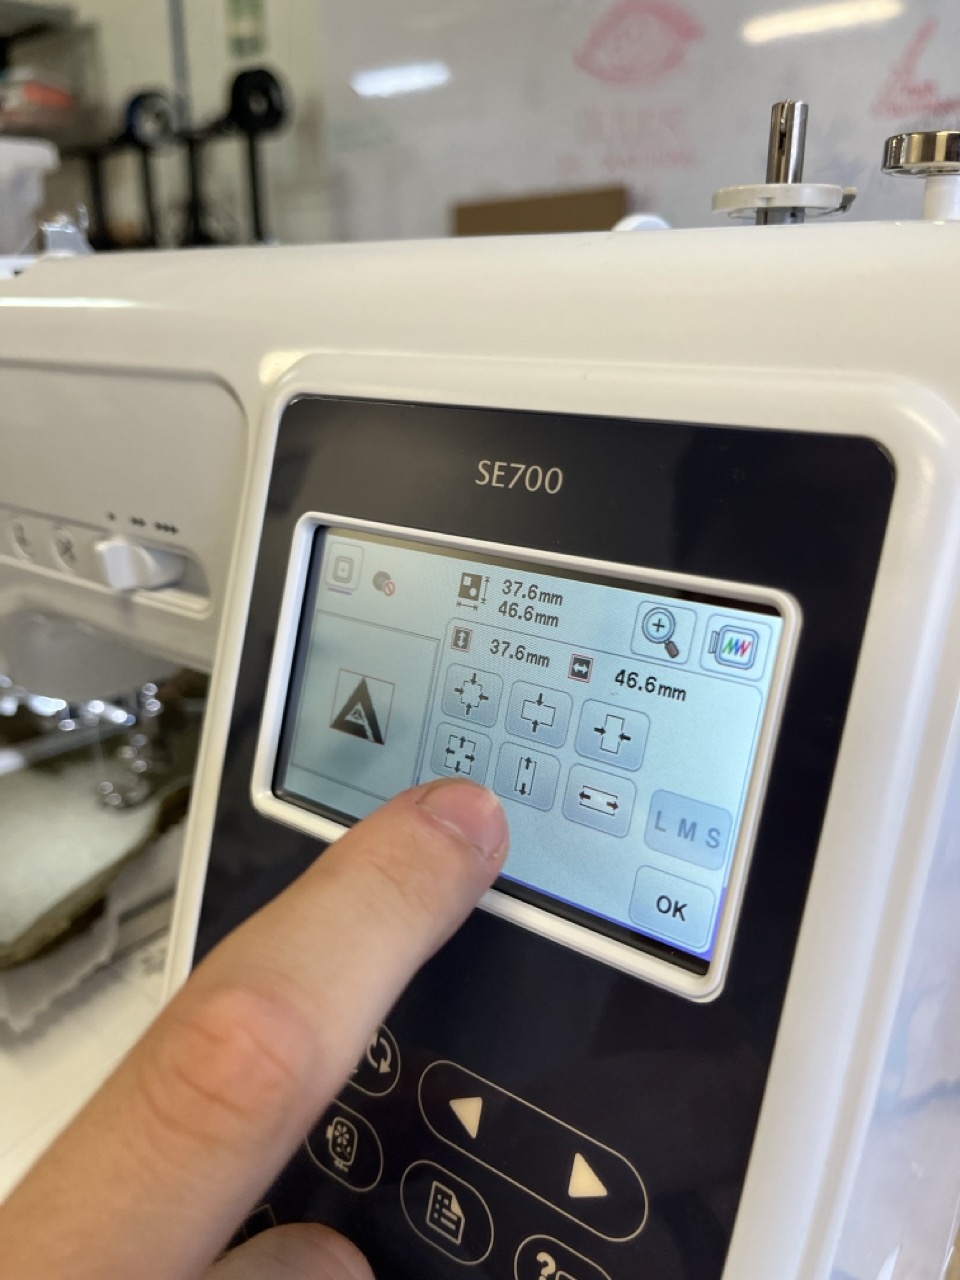 🌸Attach the Hoop to the Machine and select your design.
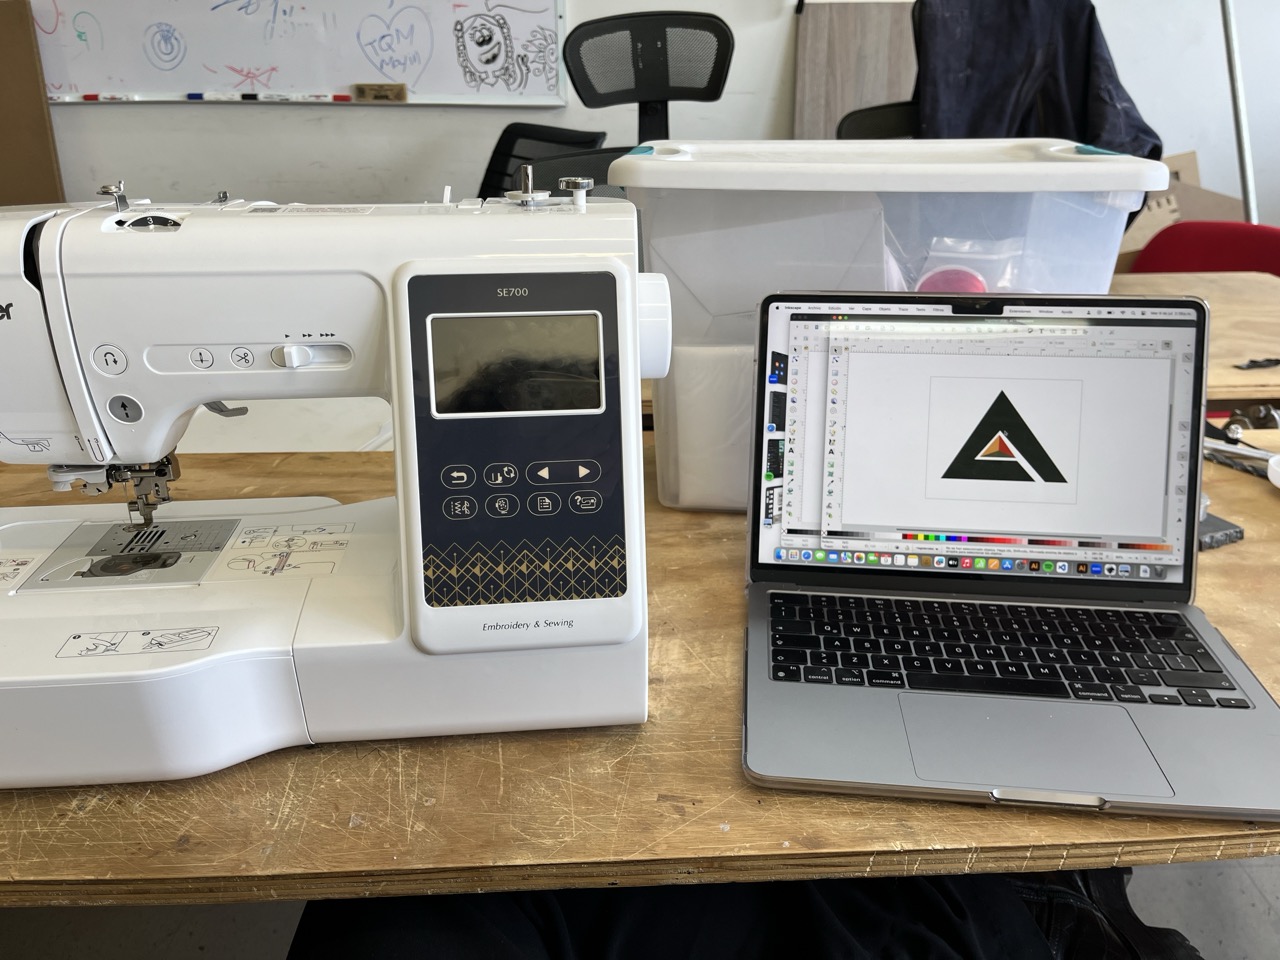
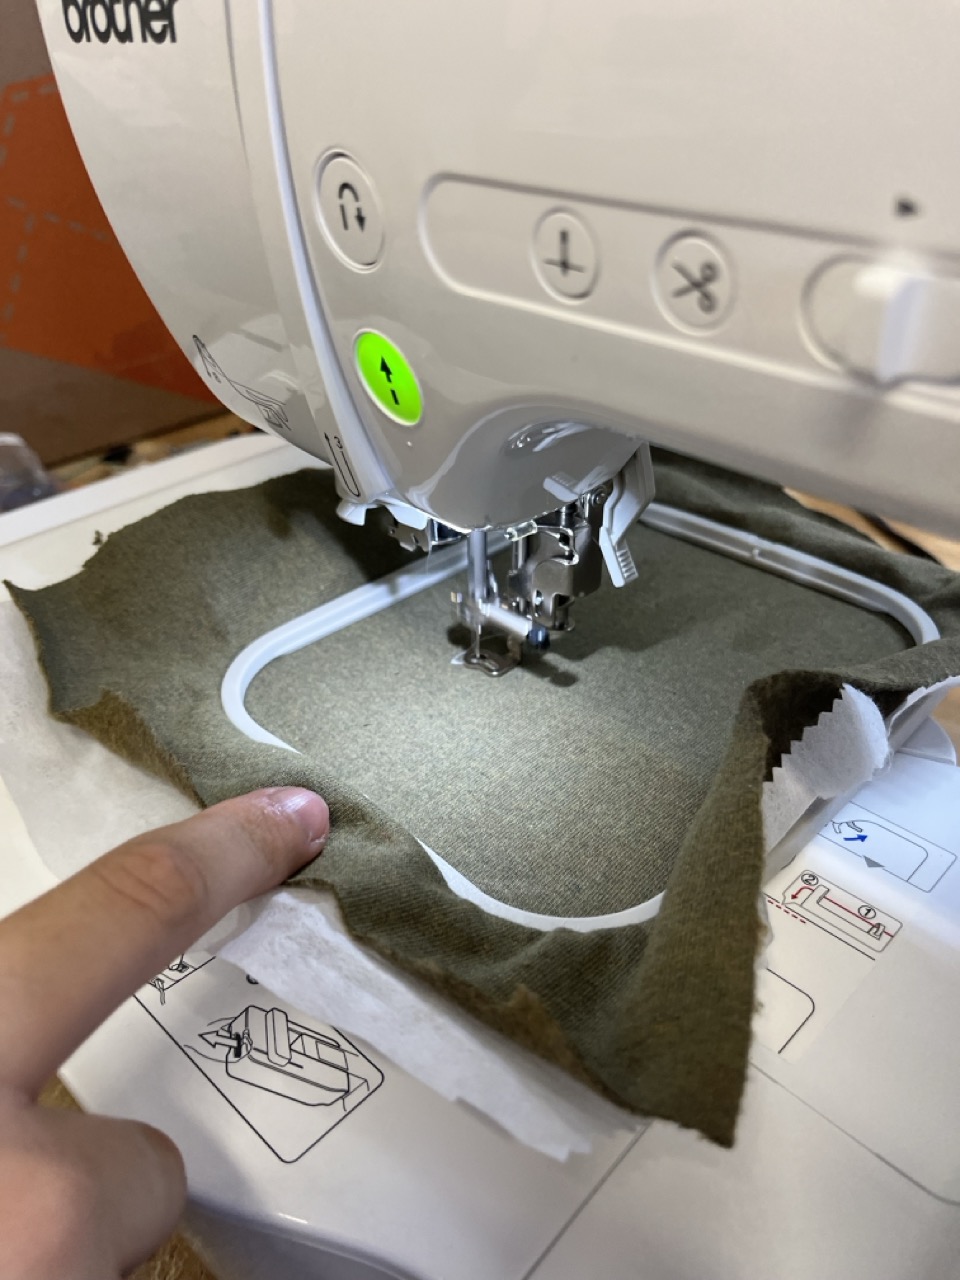
 🌸Keep an eye on the machine to ensure everything runs smoothly.
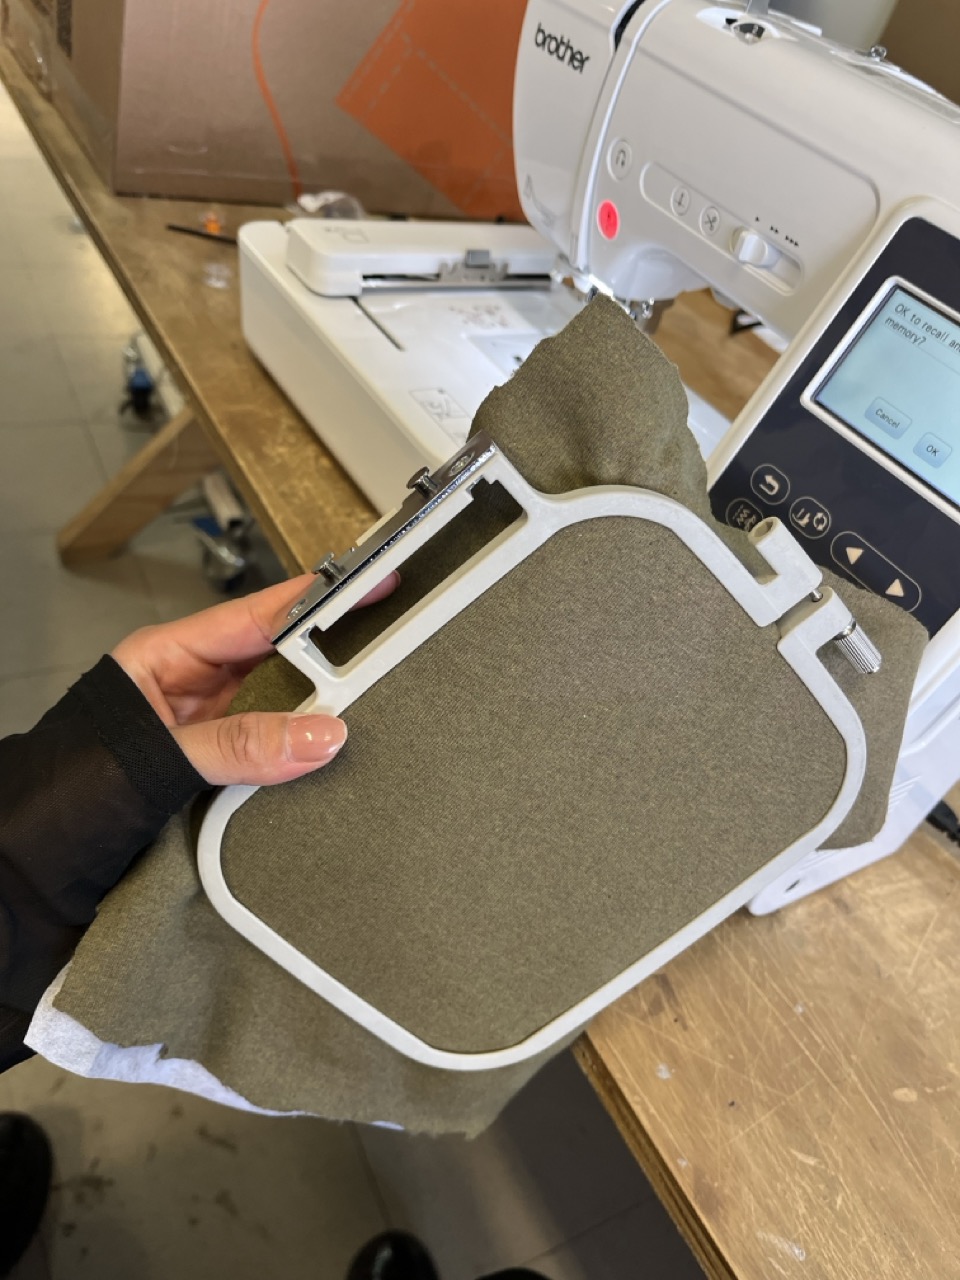
 AND NOW IT´S DONE!
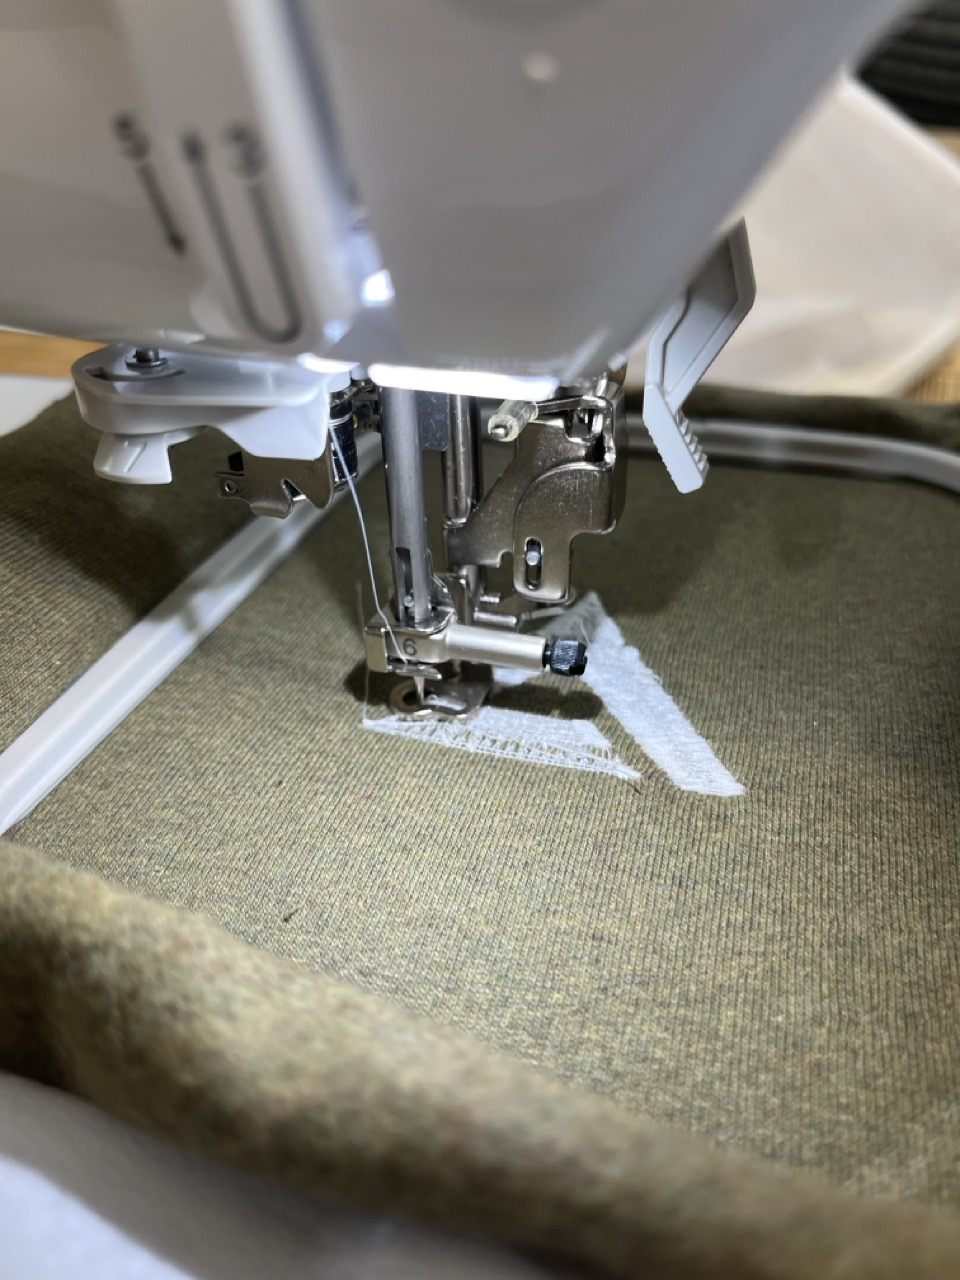

MY FINAL RESULT OH YEEESSS
CHEAT SHEET
🌞First please please PLEASEEEE use the pellon fabric beneath your fabric because if you forget about it this won´t work out.
🌞The stitches should accurately follow your design without distortion.
🌞The fabric shouldn’t pucker or bunch up, and the stitches should be evenly spaced.
🌞Continuous stitching without frequent thread breaks or loose threads.
🌞The colors should match your design with no misalignment.
THIS FACTORS AFFECT THE RESULTS: ✅Tension Settings: Proper thread tension is crucial. Too tight or too loose can cause issues. ✅Needle Type: Using the correct needle for your fabric prevents damage and ensures clean stitches. ✅Thread Quality: High-quality thread reduces breakage and improves the overall look. SO ALWAYS MAKE SURE ALL OF THIS IS OK