Totally git!
Hey, girl! So, you're diving into the whole GitLab thing for the first time, and you want to share your fabulous webpage with the world? Amazing! Here's the lowdown in a way that's as chill as your favorite playlist
Get That GitLab Party Started
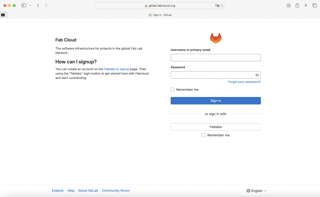
Log into your GitLab account – it's like your backstage pass to the coding world.
Hit the '+' sign in the top menu and choose "New project." Give your project a cool name, some deets, and decide if it's gonna be a private VIP party or open to everyone. Click "Create project." (In this case Fab Academy gave me my repository with a fab account they provided me)
Set Up Your Local Squad (aka Git)
Open your terminal (don't worry, it's just like a cooler version of texting).
Type in these lines to tell Git who you are:
Kickstart the Jam
Navigate to where your webpage files are in your terminal. Use cd to move around like a pro.
Now, let's start the party:
Copy the fancy GitLab URL they gave you (it's like the location of your online party).
Connect the Local and Online Vibes
Paste that URL into your terminal like it's the hottest gossip:
And then shout:
Show Off Your Webpage Swag
Drop your webpage file into the mix:
Head back to GitLab – your webpage is now stealing the spotlight in your repository.
Mic Drop – You Did It! 🎤
Go to your GitLab page, find your index.html, and click on it. Your webpage is now live, girl! Now, you've created your first GitLab repository, uploaded your fab webpage, and you're officially the DJ of your coding party. Keep rocking those commits, and remember, the coding world is your runway! 🚀💻✨
My 🌸✨sassy✨🌸 cheat sheet:
Feel free to take a look so you can understand it better.
Step by step
Girl, so if you want to add files into your new Git repository remember to:
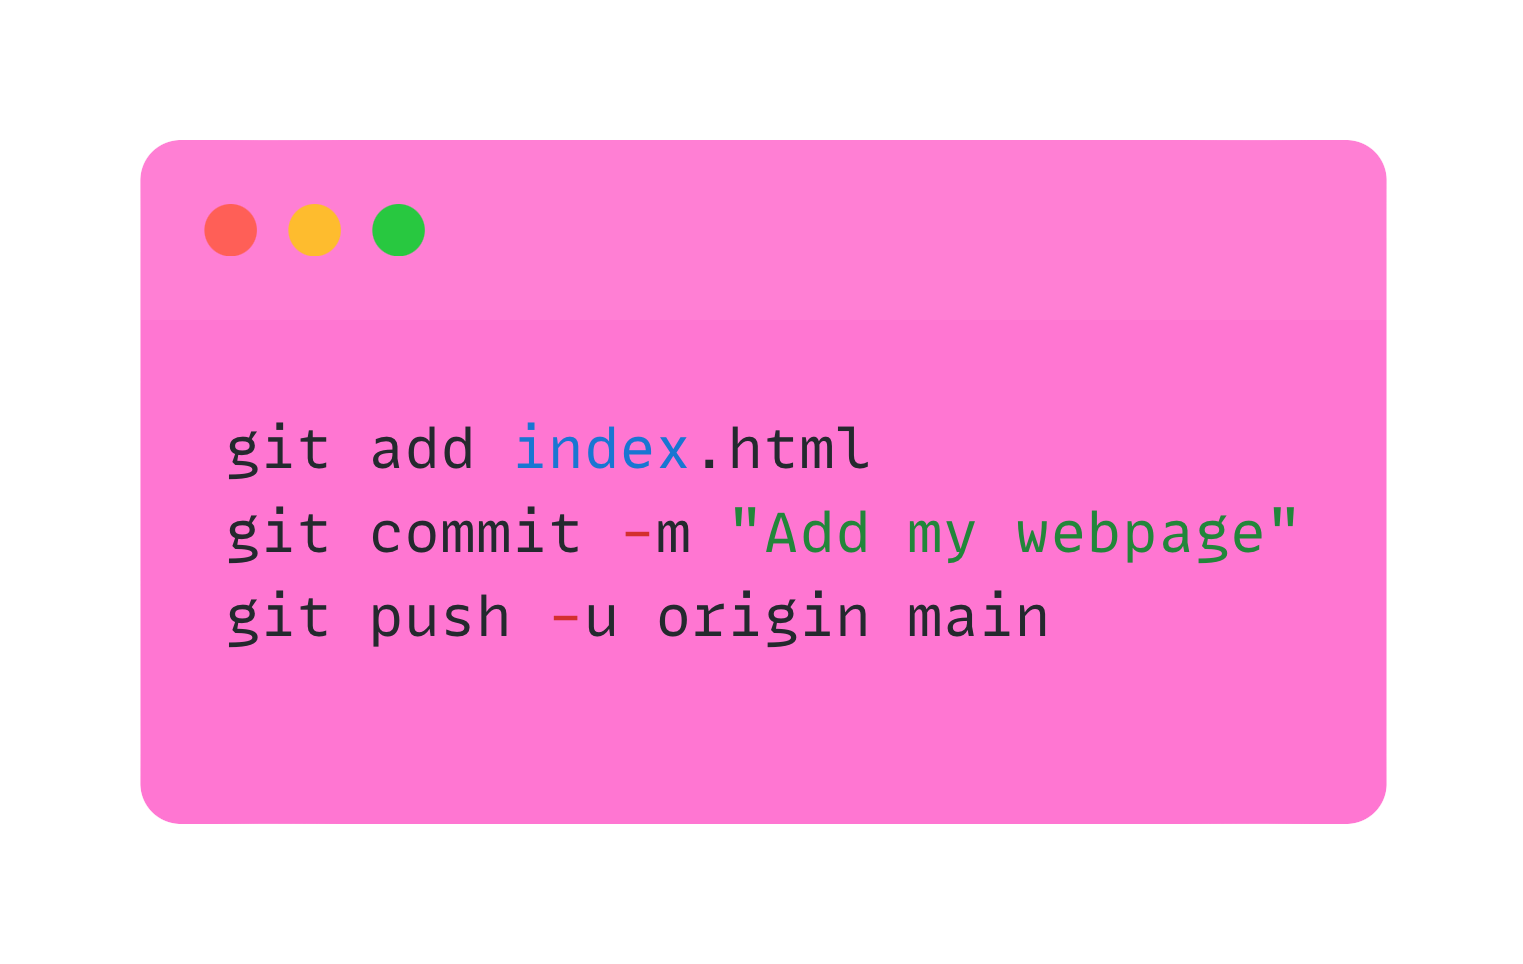
- Use the git add command to add the files you want to push into the staging area. You can add specific files or add all files using a wildcard "."
- Once the files are added to the staging area, you need to commit them to the local repository with a descriptive message using the git commit command:
- If you haven't linked your local repository to a remote repository yet, you need to do so using the git remote add command. Replace
with a name for your remote repository and with the URL of your remote repository. - Finally, use the git push command to push your committed changes from the local repository to the remote repository:
Replace