14. Interface and Application Programming
In our group webpage (click here), you will find a comparison about four different interface tools.
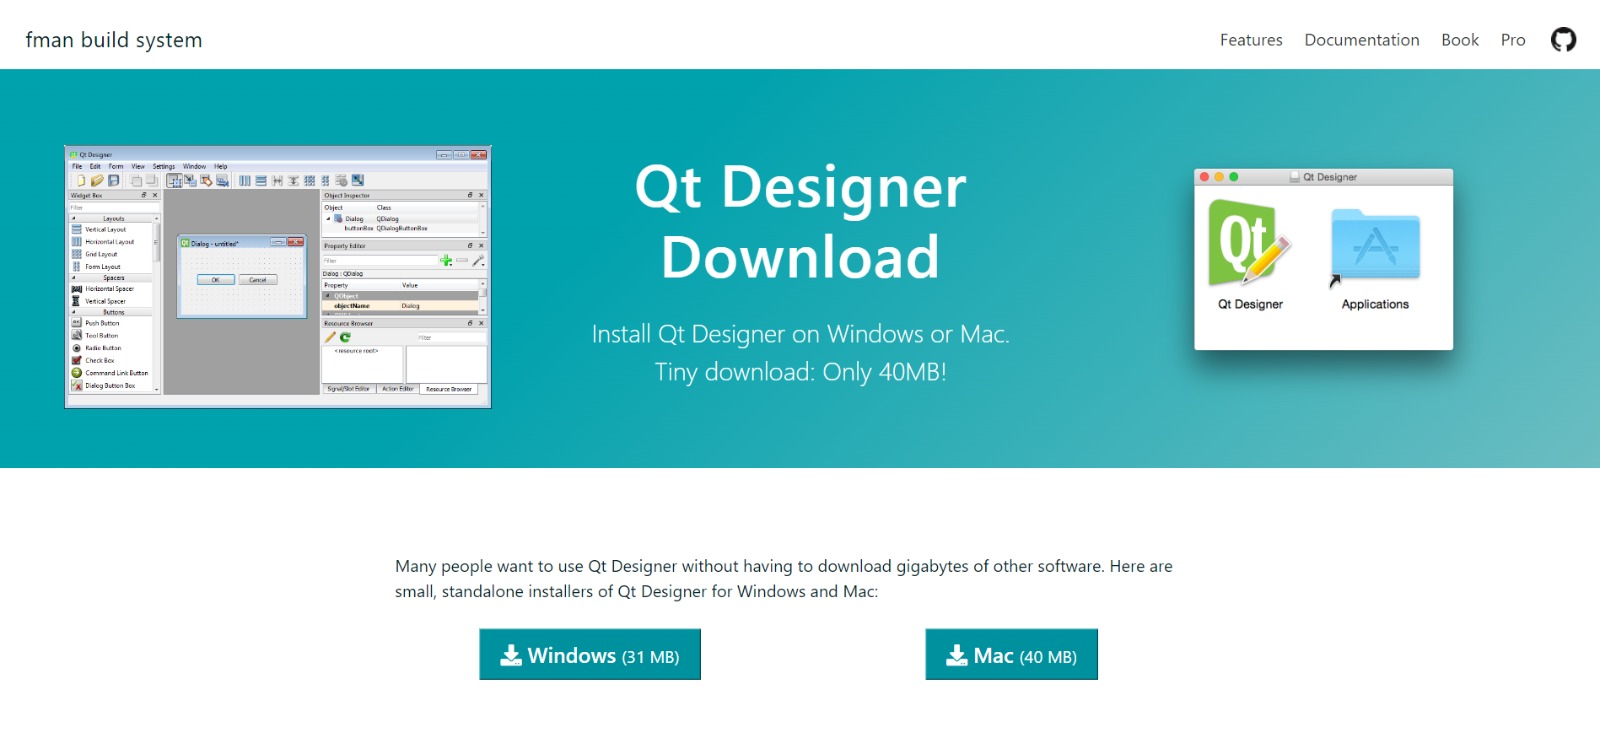
First download Qt Designer
This is the interface. To begin, select Main Window and create it because we are going to make a graphic user interface (GUI).
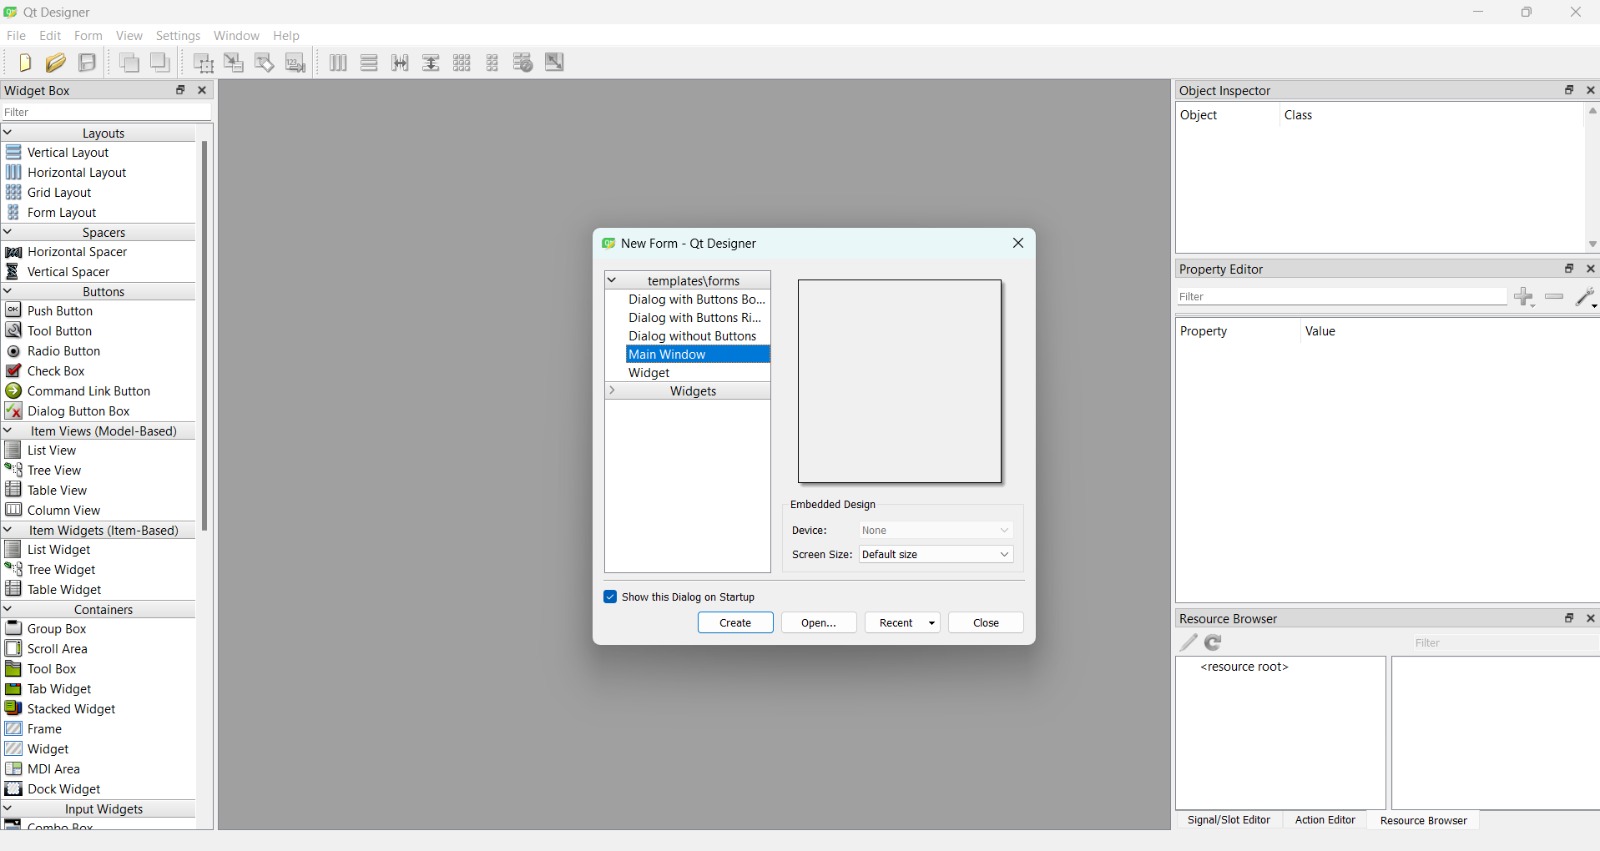
All the way to the left, we'll find many objects, each of them called widgets. We'll start with the basics.
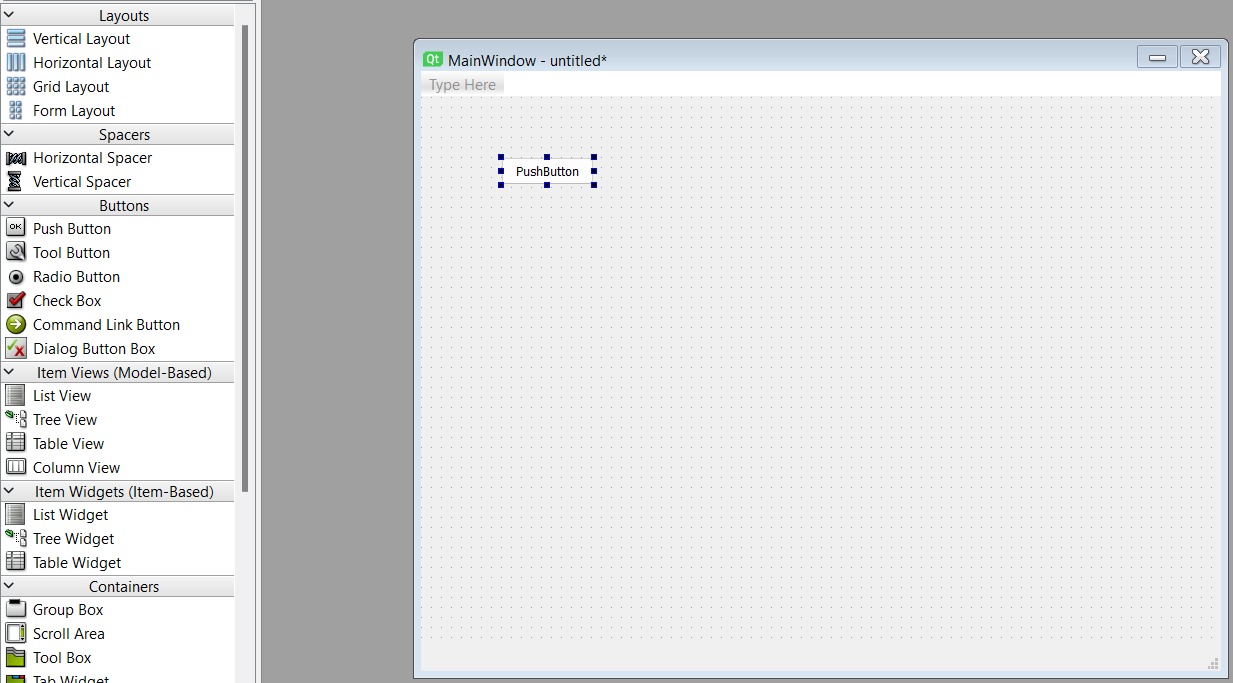
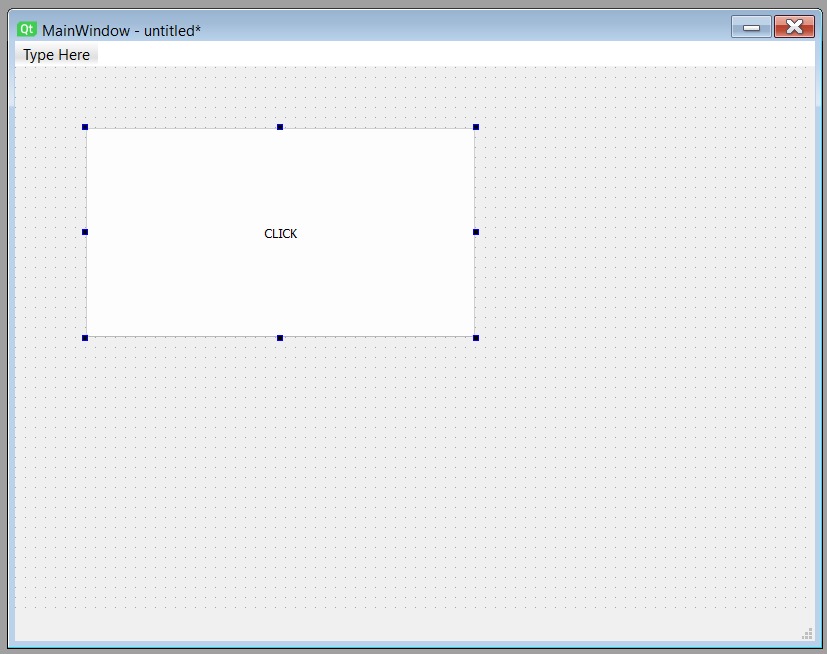
Drag and drop Push Button to the Main Window to place it.
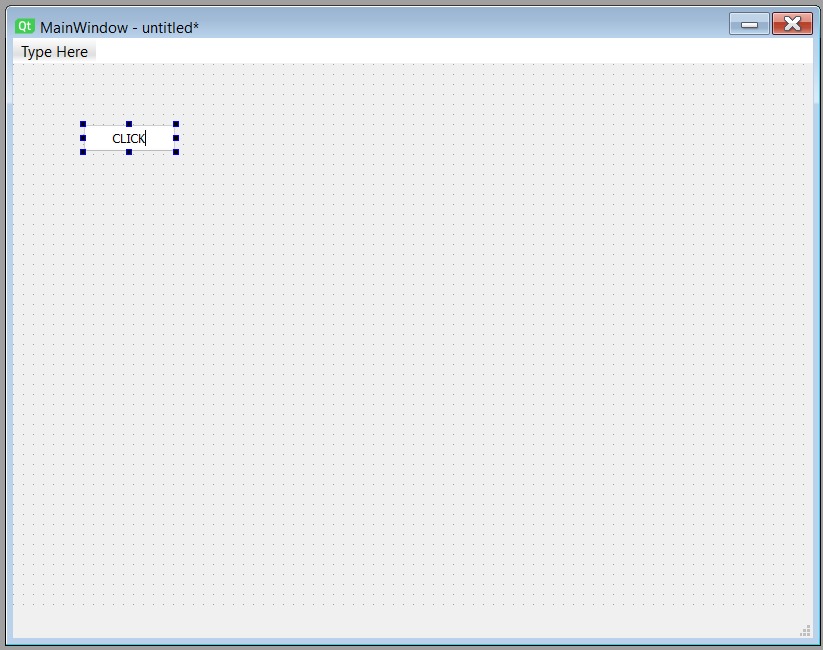
Double-click on it to change its name and drag blue squares to resize it.
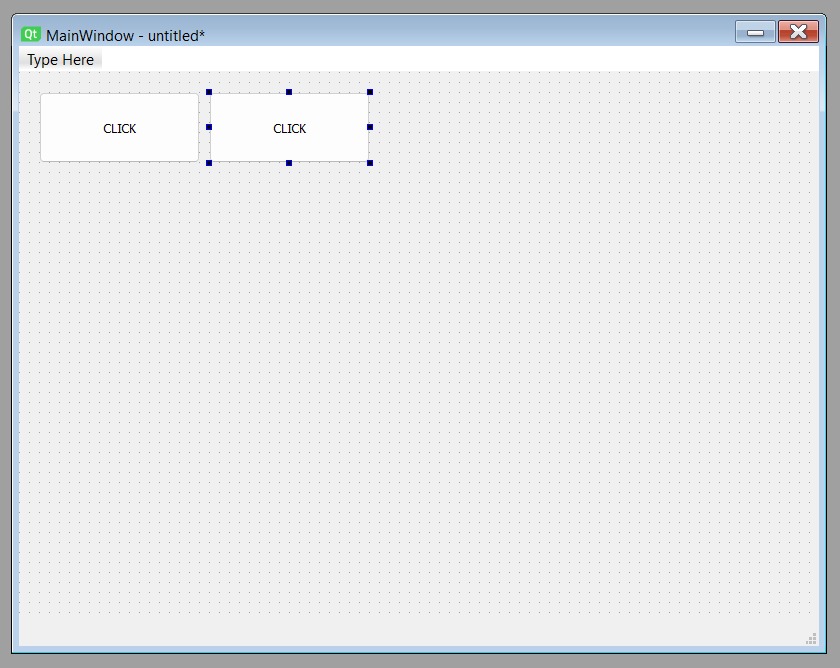
If you want to create a new widget with the same features (name, size, properties, etc.), you can copy and paste it.
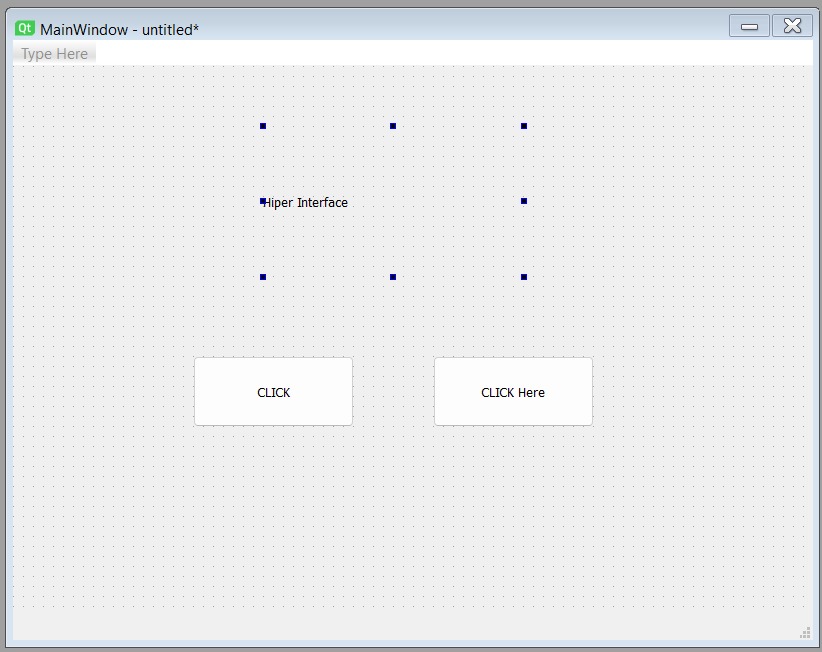
In the Display Widgets tab, drag and drop Label to write and indication or any text you want to show to the user.

Likewise, double-click on it to change its name and drag blue squares to resize it.
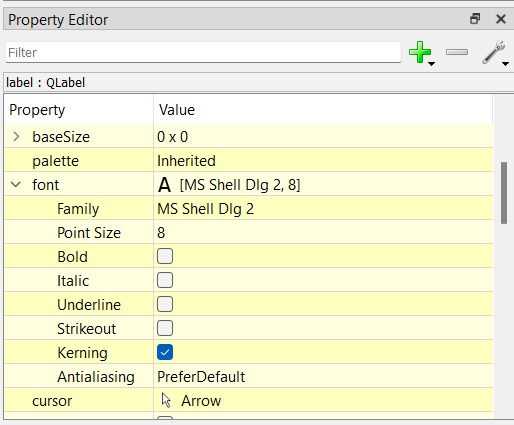
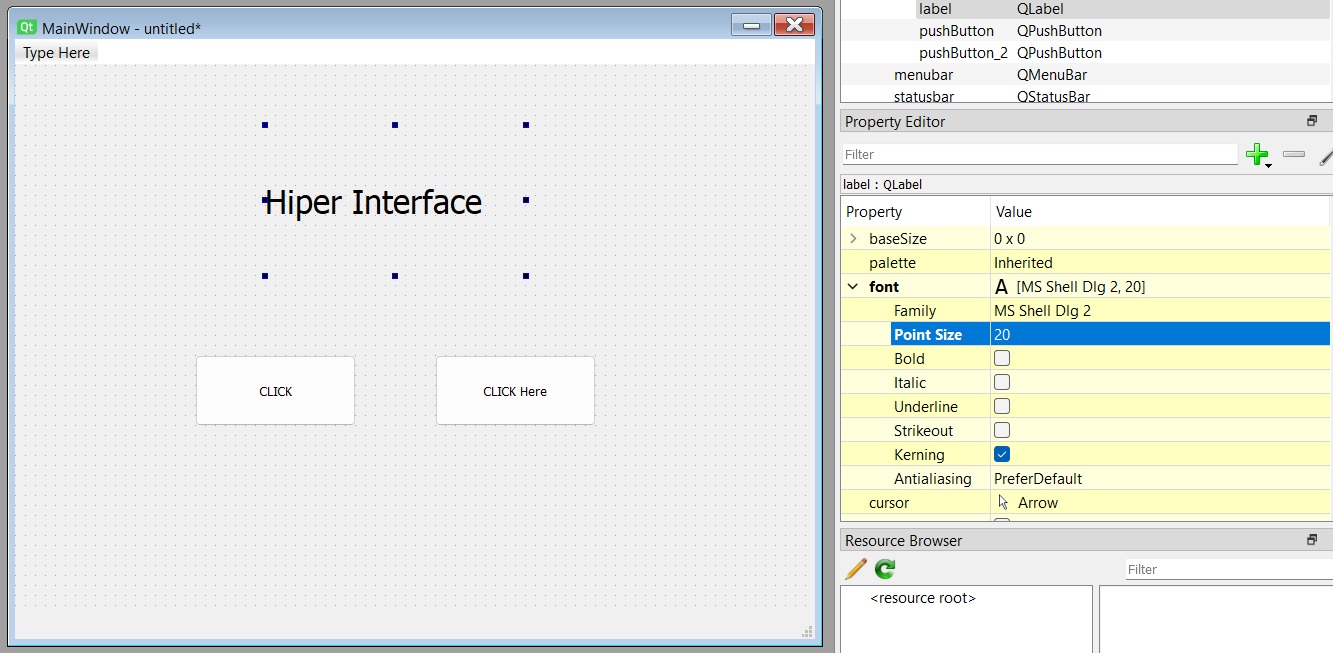
But it doesn't change the text size, don't worry, to the right you'll find the property editor. It's a yellow box, where you can expand the font section and choose the font size by modifying the "Point Size".
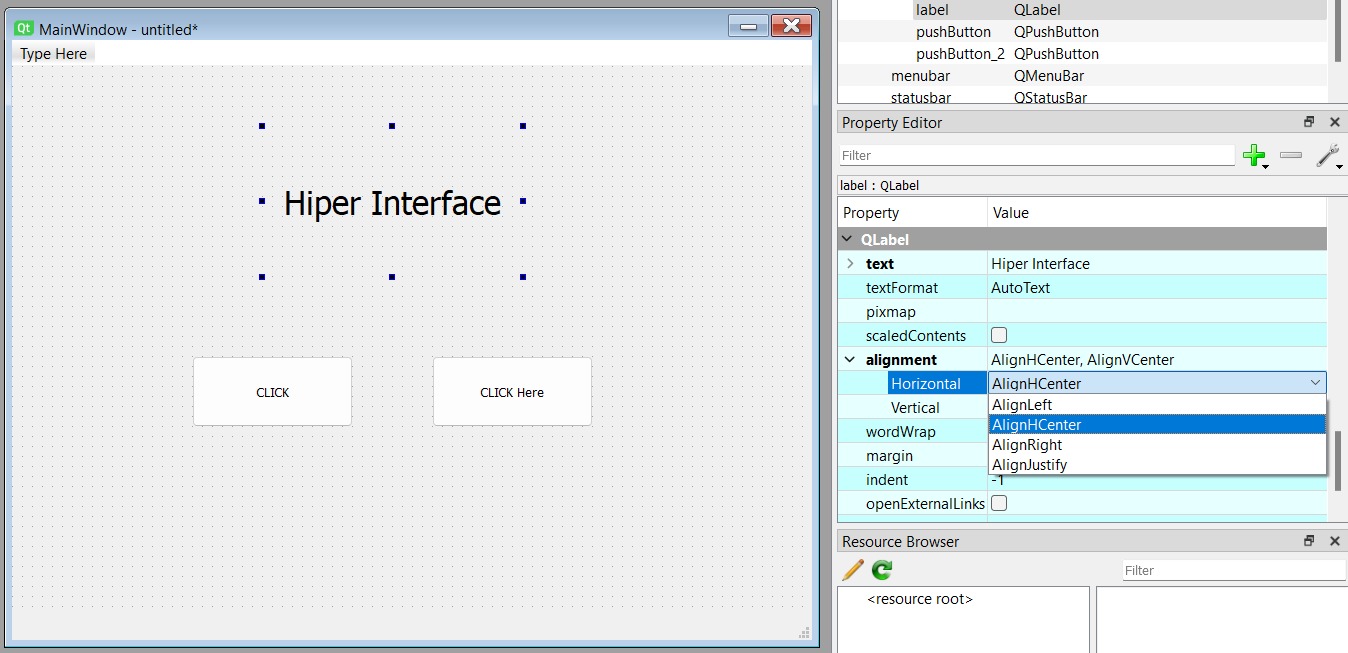
And further down, you'll find the blue options (text properties) where you can align the text, justify it, modify the text, etc.
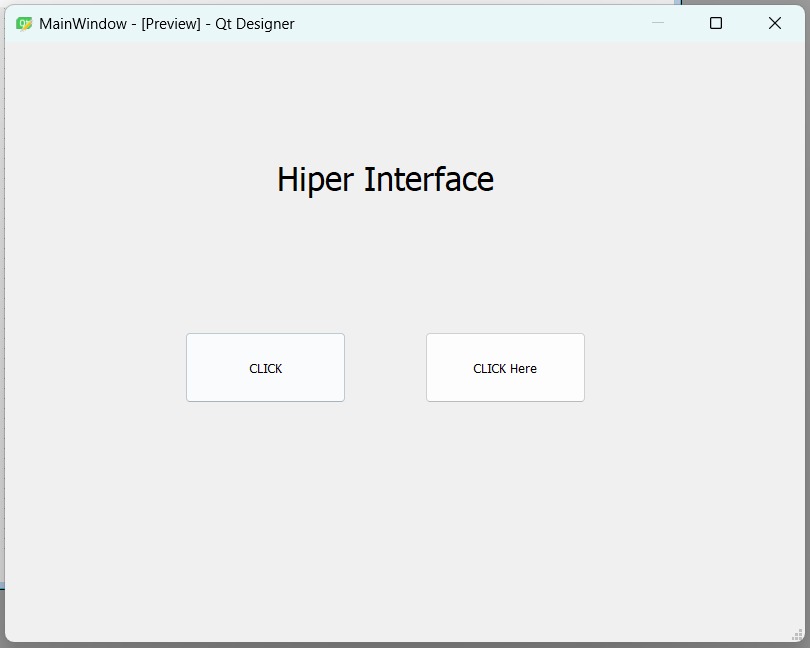
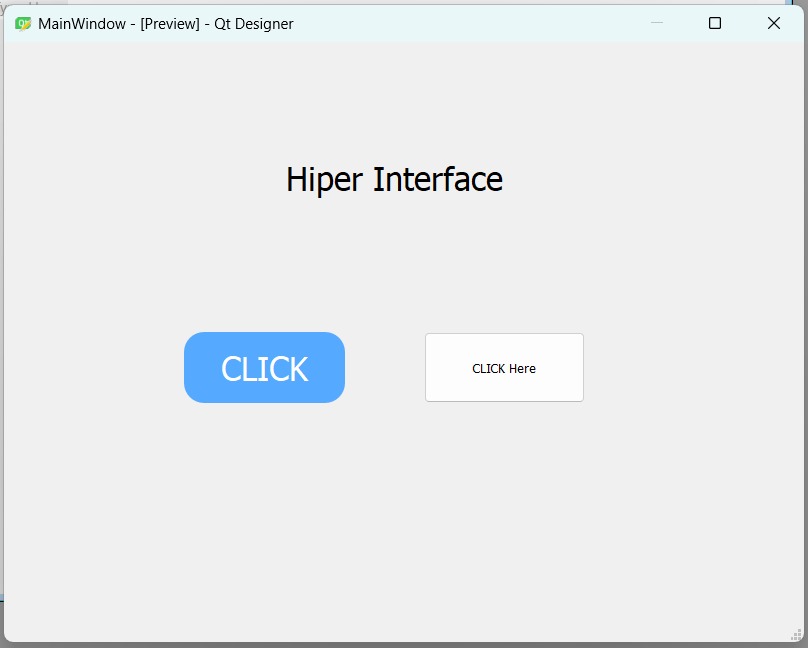
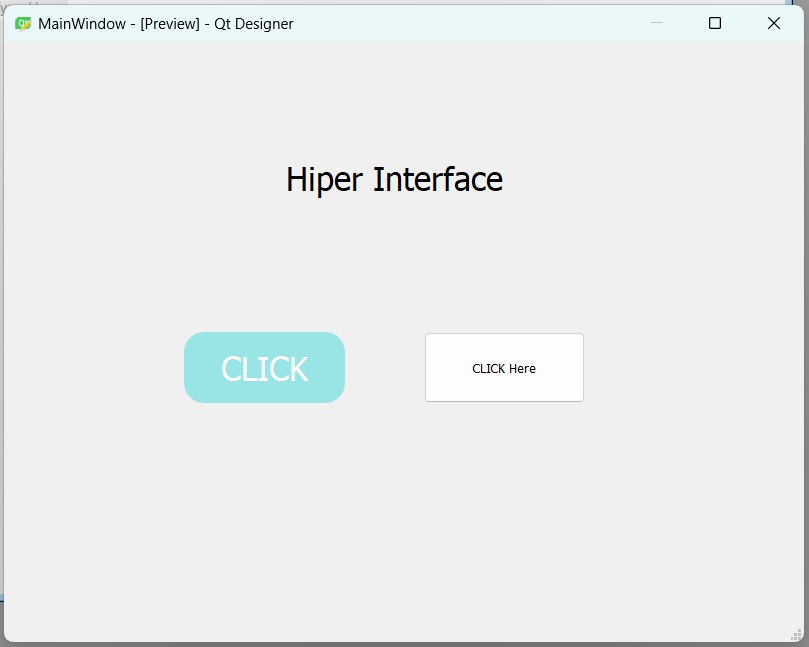
To preview the interface, press the command ctrl + R.
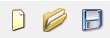
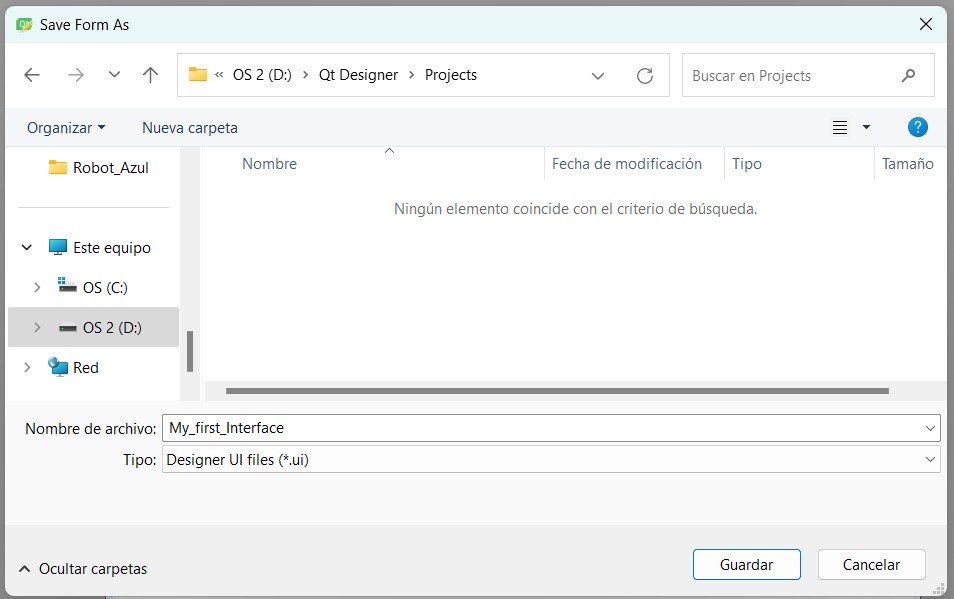
In the top left corner, we find the save option shaped like a floppy disk, however, you can also use the command ctrl + S.
I created a folder within Qt for my projects and saved it.
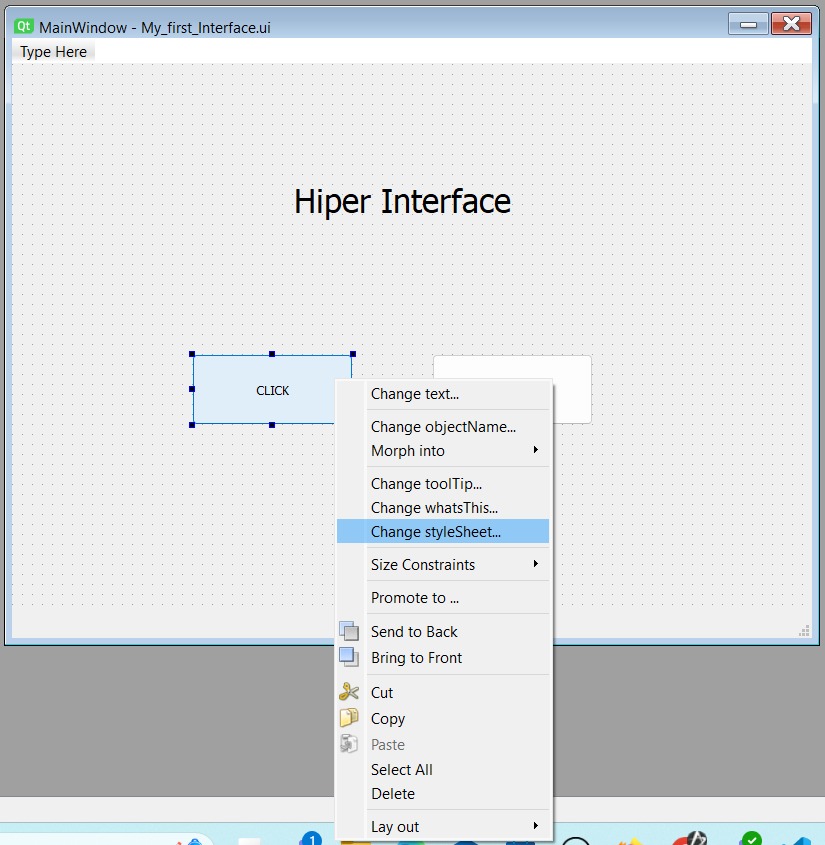
To change the button's style, select it and right-click, choose the option Change styleSheet.
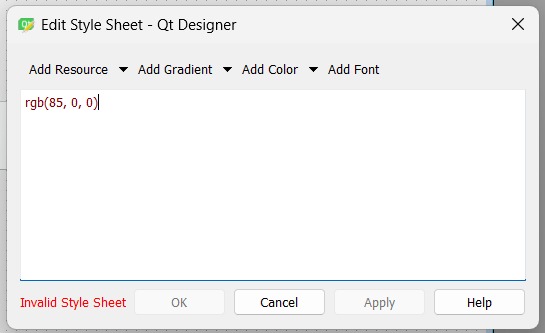
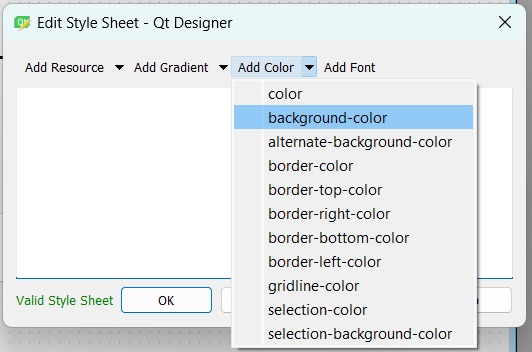
Here you can play with the designs. You can add a Resource to add your .css file. If not, you can apply quick designs (add gradient, add color, add font). In my case, I simply clicked on "Add Color", so the "Invalid" message appears. In other words, you have to click the down arrow to display all the options and select the one you want, otherwise you won't be able to make changes.
It's valid because the program correctly recognizes what to color.

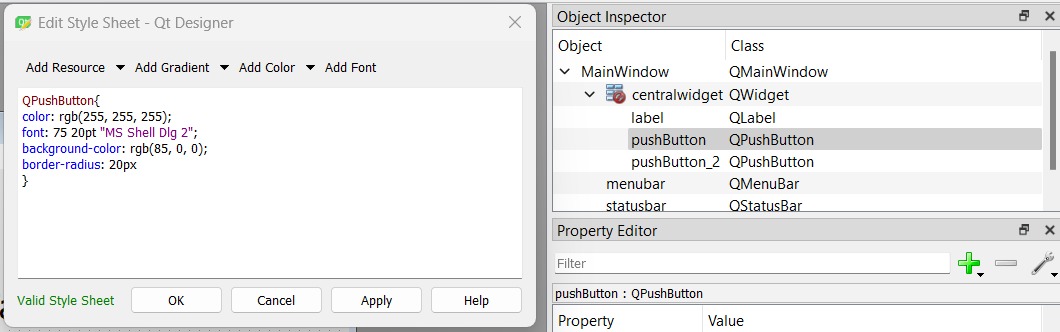
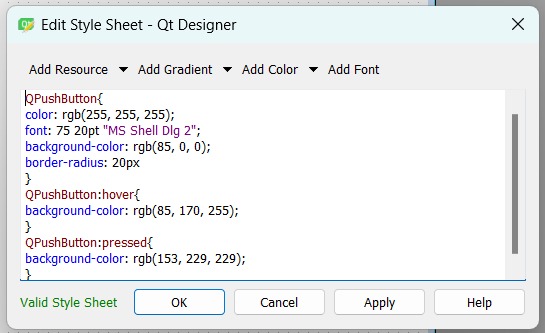
Now we need to add the properties to make it feel like a button. Simply add our design code within braces with the name of the QPushButton class, which is what we find in our Object Inspector tab. Note: if you don't write the name correctly, it won't work.
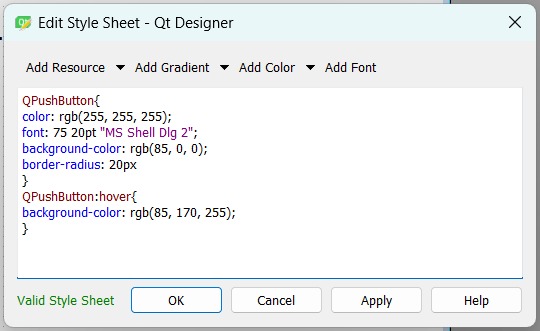
Here I added the design to recognize when you have the cursor over the button.
And the code to show that the button has been pressed:
Now if we want to edit the same style for many widgets, we'll add a frame found in the container section. Then drag and drop the widget or widgets you want to modify.
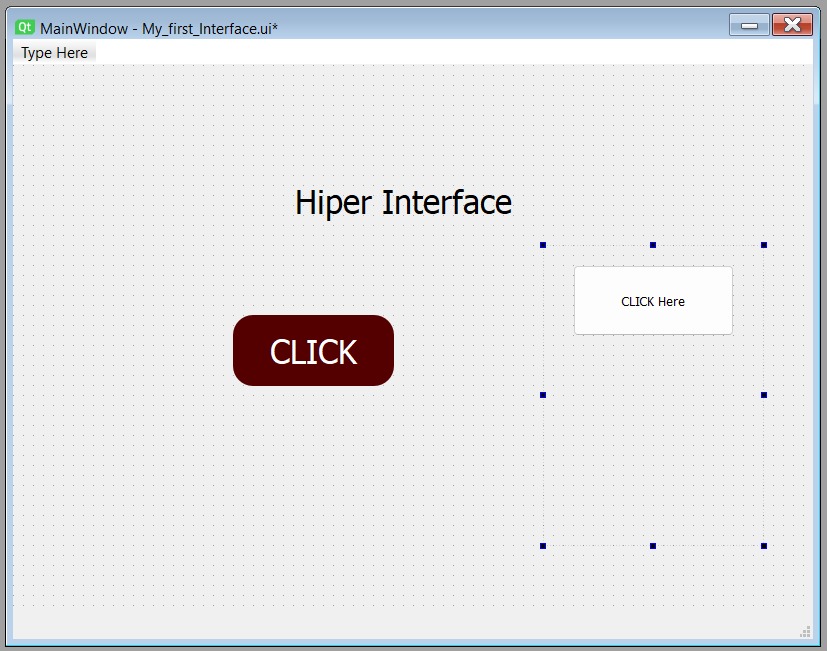
Then, copy the style of the button that we previously made, right-click on the frame, and select "Edit Style Sheet" to paste the button style code and thus automatically edit each button I add to the frame.


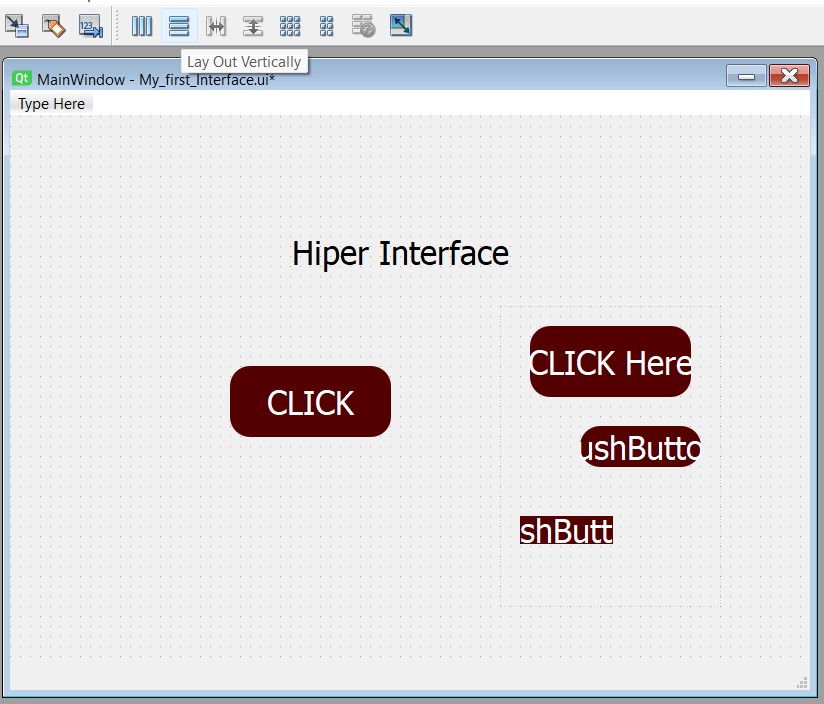
But when adding another button, it starts to look like this.
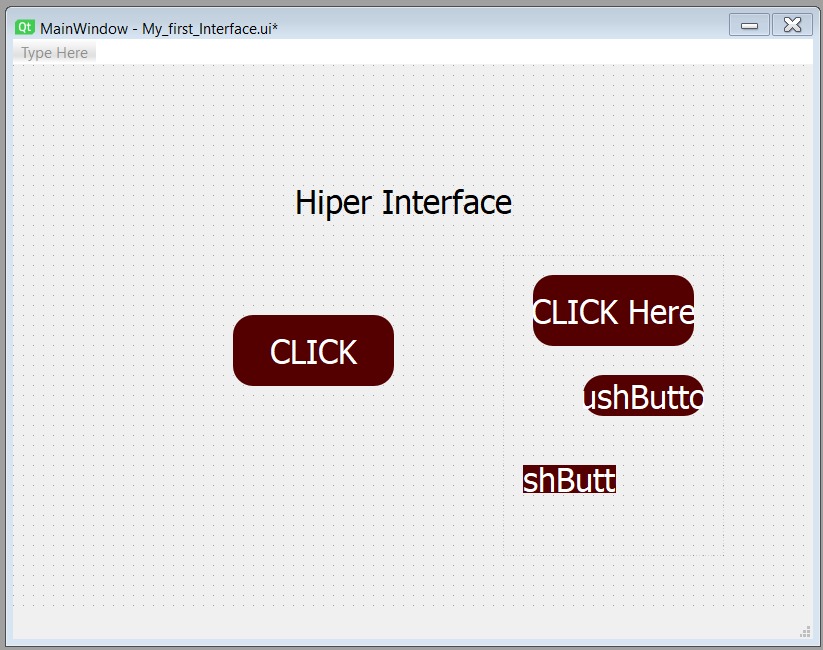
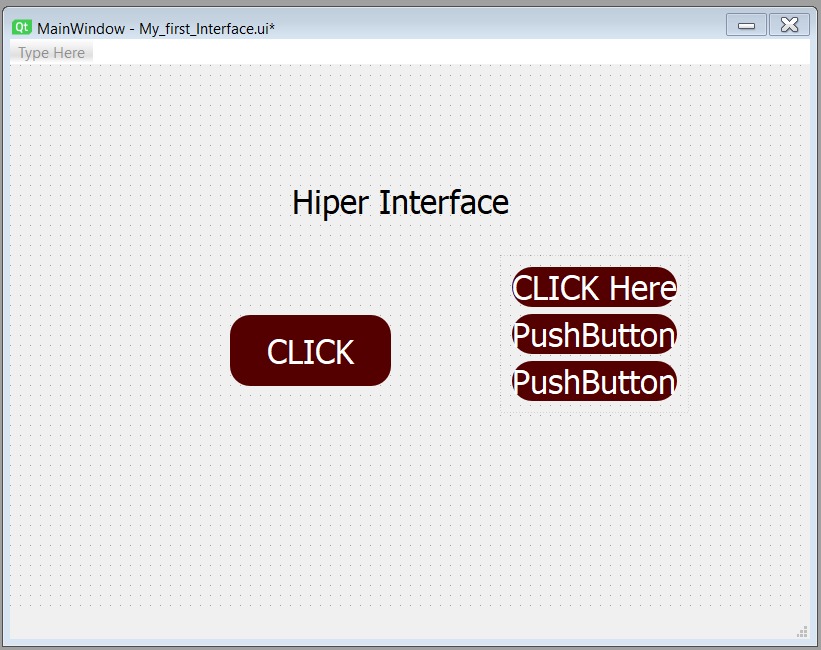
No problem, above we find the option to align our widgets. Select the frame and then "Lay Out Vertically". Much Better!
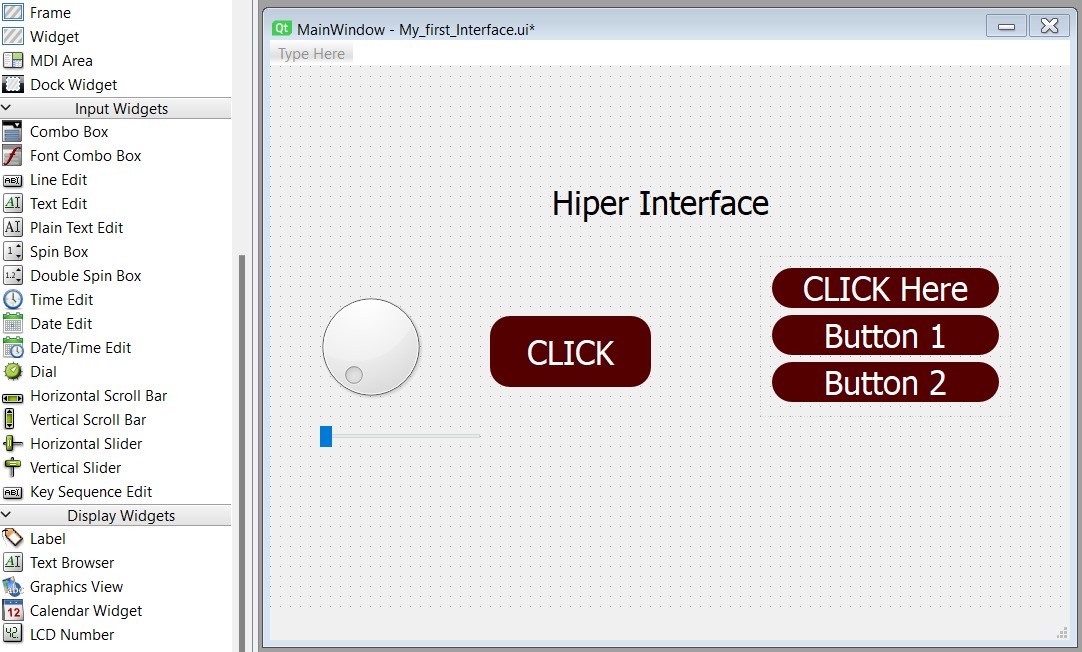
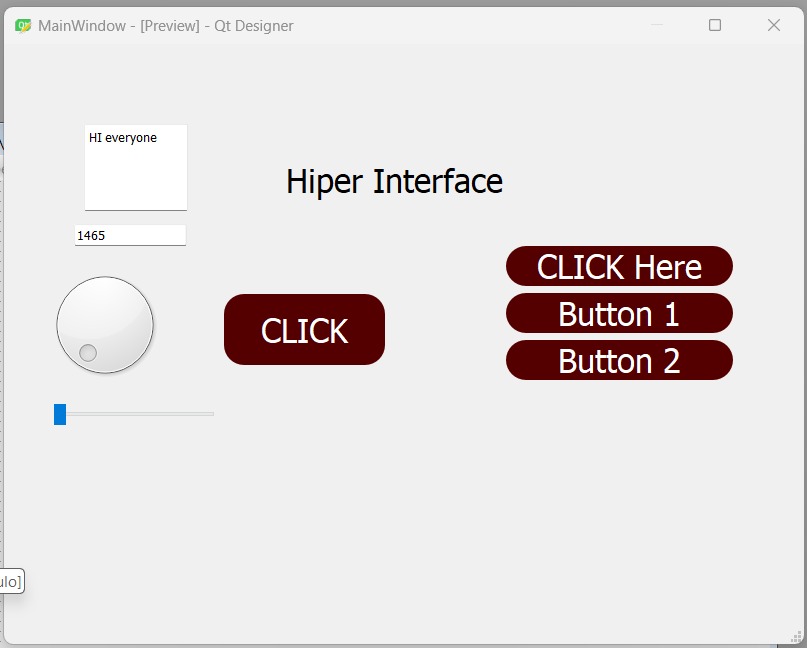
You can also add dials and sliders.
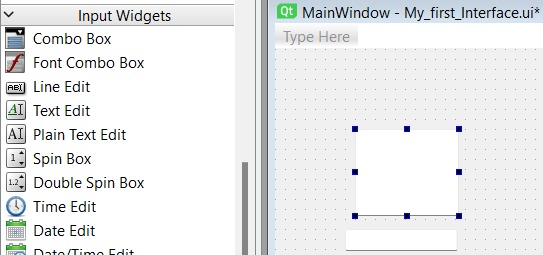
To allow the user to write, we use the "Text Edit" or "Plain Text Edit" tools.
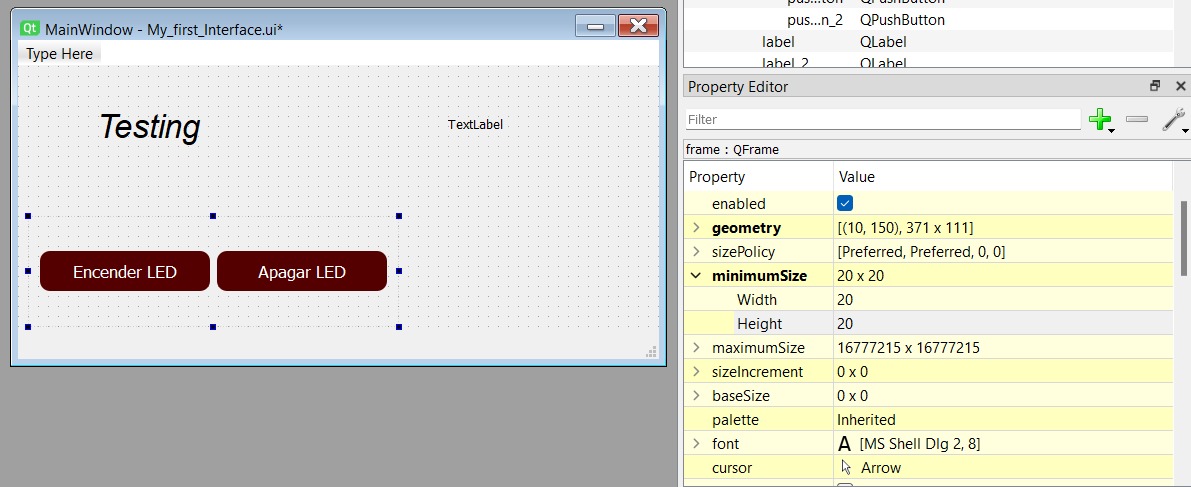
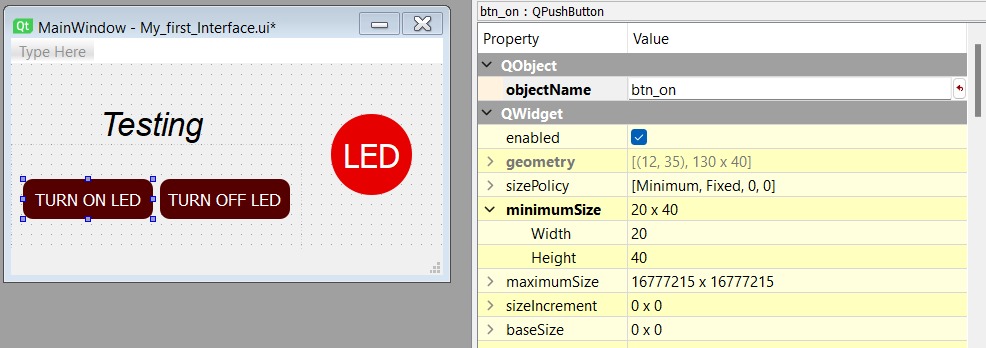
As a practice, I'll create an interface to test turning some LEDs on and off. I applied previous knowledge and used a new feature. You can set the minimum size of widgets so that modifying the size of the frame doesn't affect their standard size values. Like this:
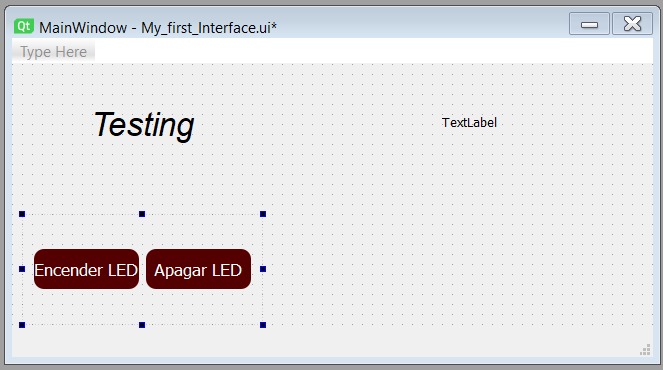
This is how our interface looks for testing.
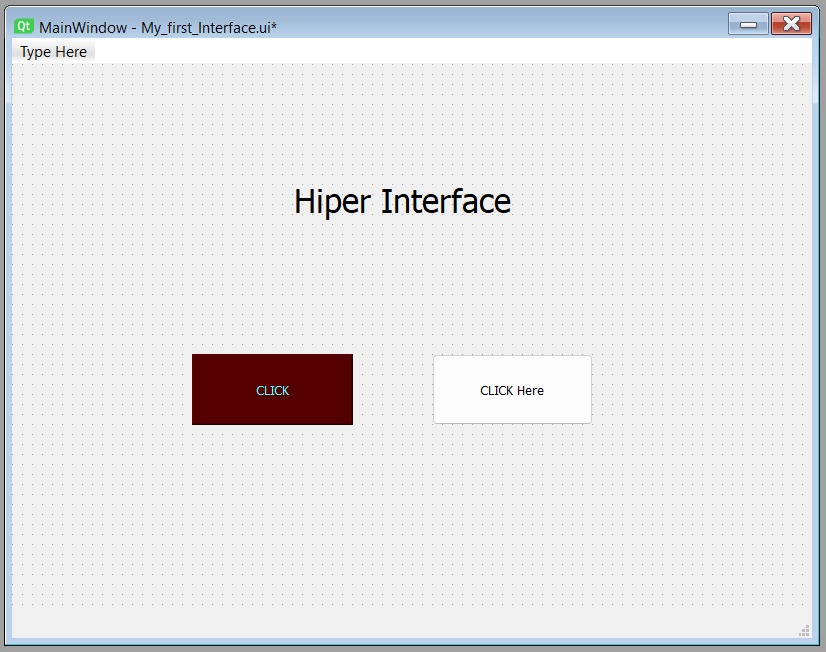
Before proceeding to program, it's recommended to change the objectName of the buttons or objects for interaction so that it's easily recognizable in the code. In this case, we change the name of "Turn On LED" to "btn_on".
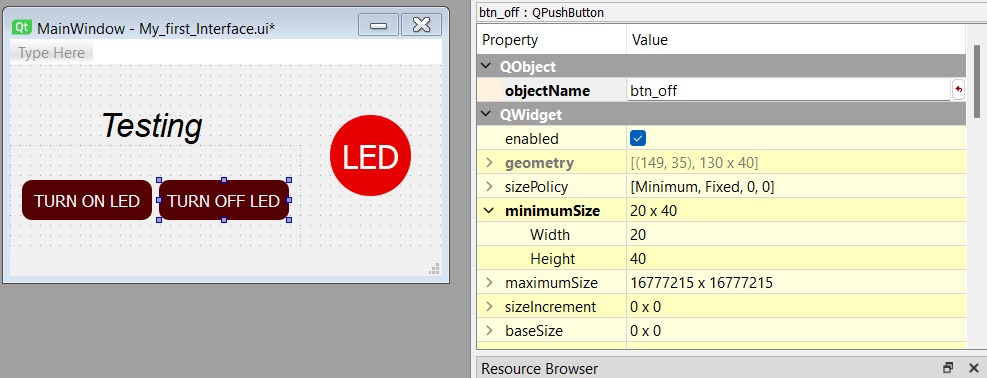
Save your interface in the folder of your preference; this will be a .ui file. For example: My_first_Interface.ui
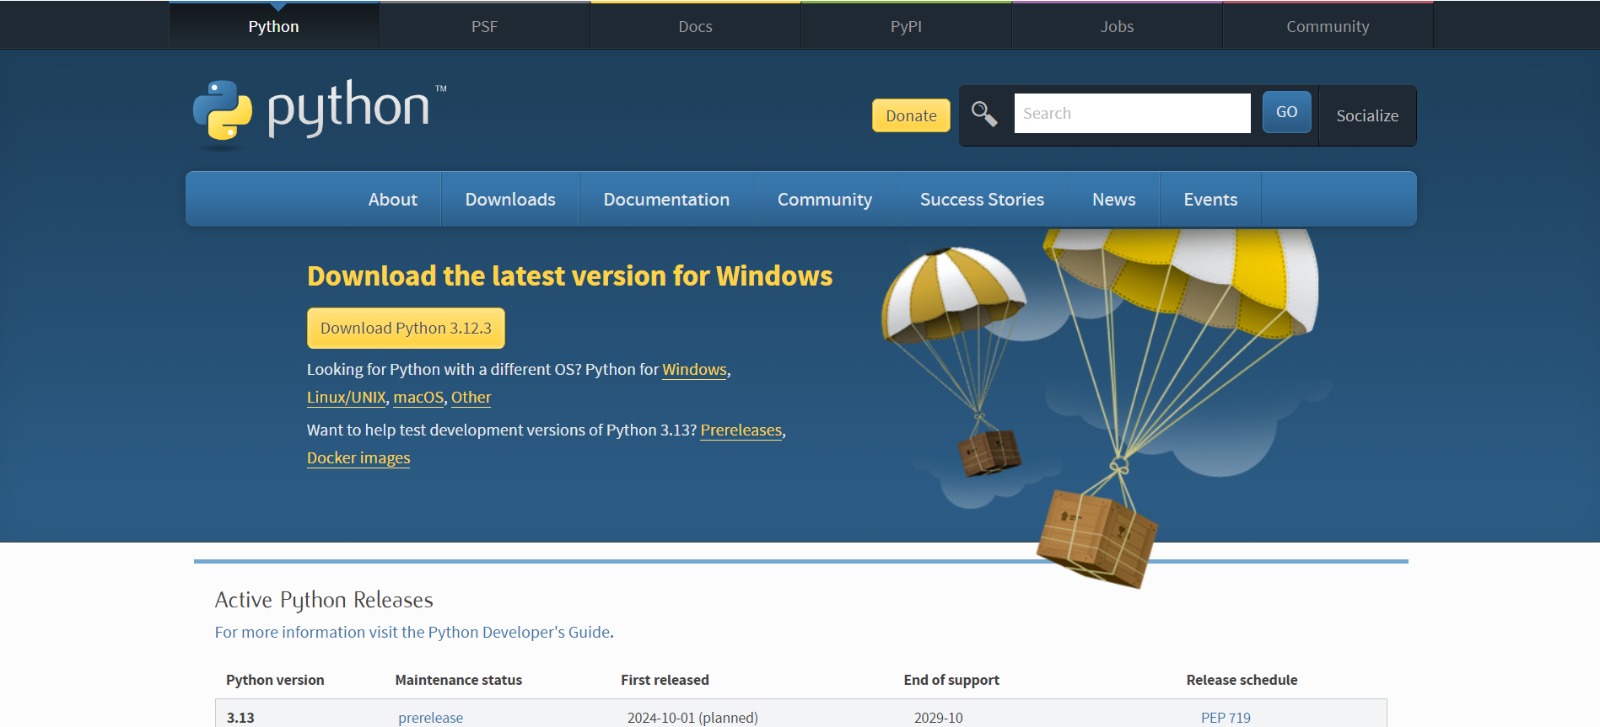
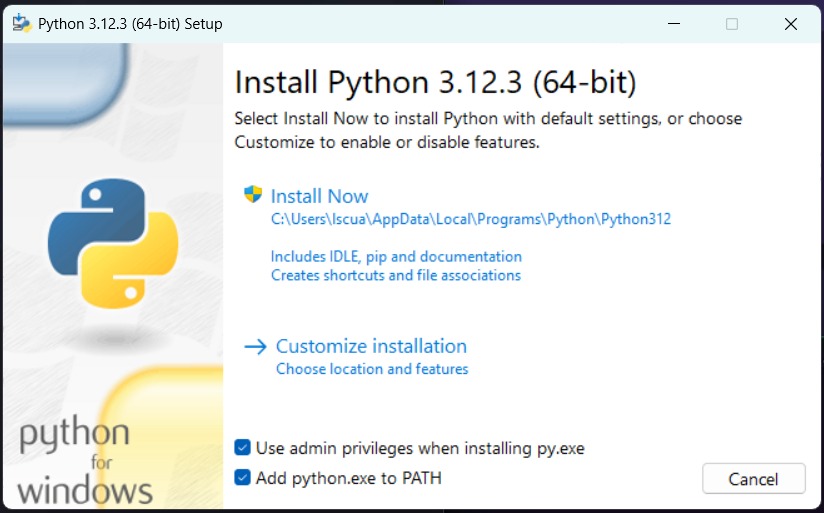
Now, install Python (CH). When installing it, it's important to select the option "Add python.exe to PATH" to ensure that Python and its scripts can be accessible from any command line.
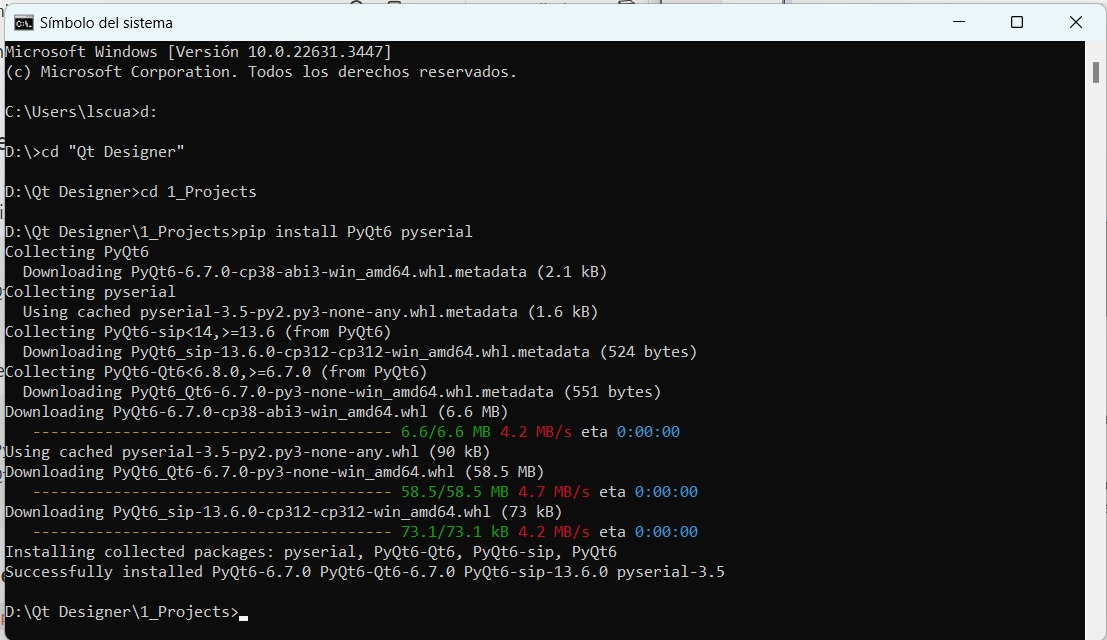
*In Windows, open the CMD terminal and navigate to your folder using the "cd" command. When you're there, install PyQt6 and pyserial using pip: pip install PyQt6 pyserial
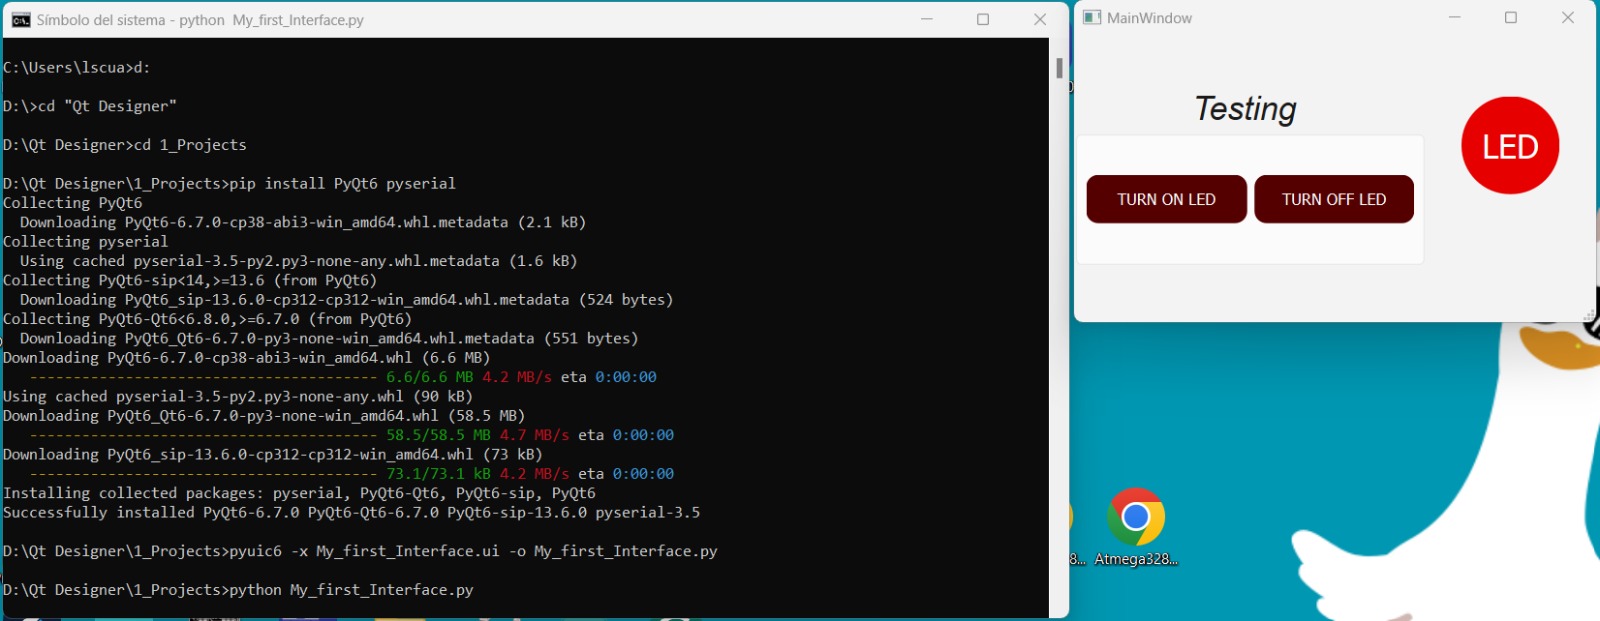
Now, we'll convert the interface (UI) to Python. Use the command 'pyuic6' to convert your .ui file to a .py file. If you've installed PyQt5, use 'pyuic5' instead. pyuic6 -x interfaz.ui -o interfaz.py || pyuic6 -x My_first_Interface.ui -o My_first_Interface.py Example:

To see how your interface looks, run: python interfaz.py || python My_first_Interface.py Example:

WOW!
Every time you make a change in the interface, you should save your .ui file and redo the steps from the asterisk (without re-downloading PyQt6 pyserial).
Changes
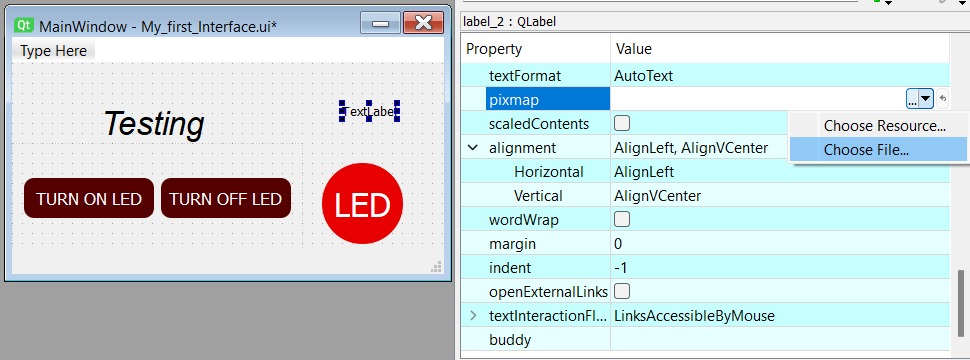
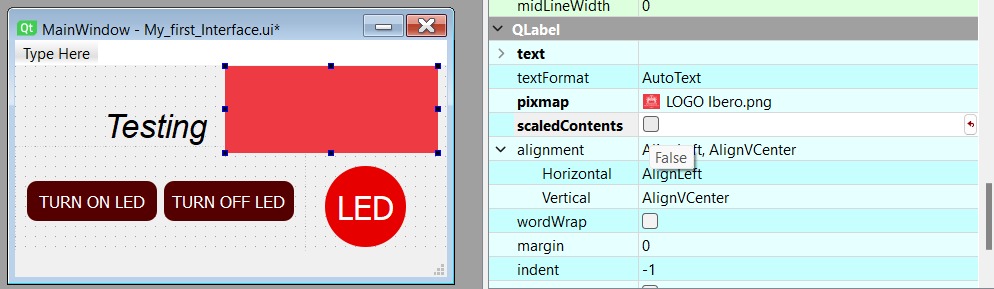
For example: Adding images to the interface. We add a label to our interface and the image we want to use to our project folder.

In Qt Designer, select the label, and in properties, look for 'pixmap', then in the dropdown, expand the options and select "Choose File"''.
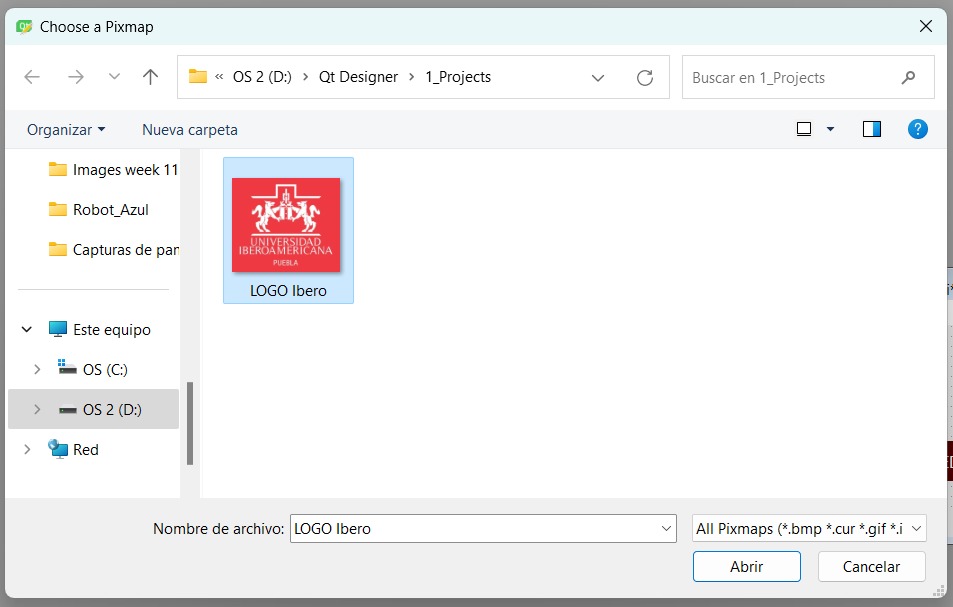
Select the image, which should be in PNG format.
The image is too big, so check the "scaledContents" box.
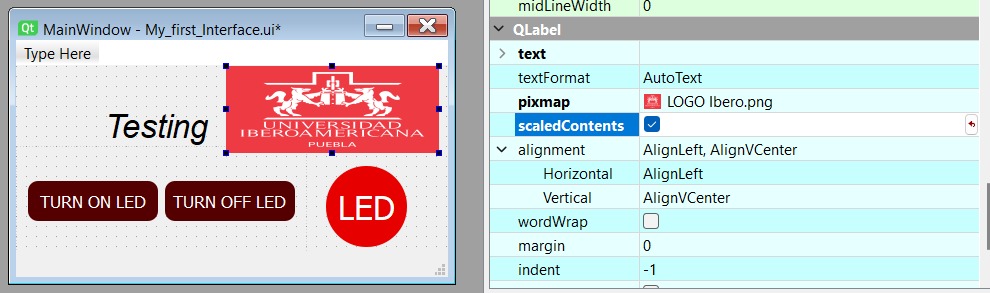
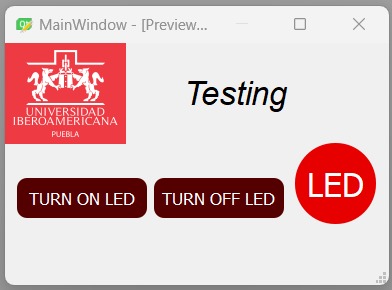
Move the blue squares until it looks as you like, and you're done!
With the 'code .' command, the code opens from Visual Studio.


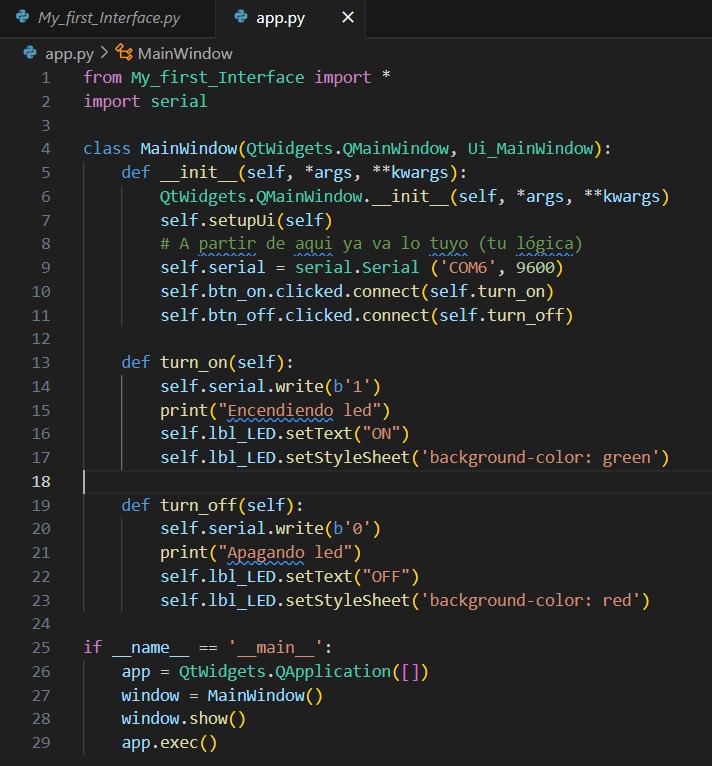
Create another .py file to add the following code provided by our teacher. In order to separate the interface (Frontend) from the MCU programming (Backend) [Check the file section]. Note: in the first line, it should be the name of your other program 'My_first_Interface.py' without the .py extension.
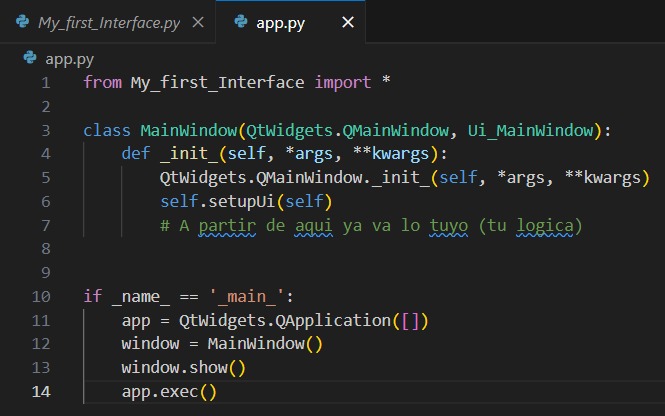
Important: We make this separation so that the command 'pyuic6 -x My_first_Interface.ui -o My_first_Interface.py' only changes the interface and not our programming logic.
Programming || Linking the interface with the MCU
In the terminal, install pyserial to start communication with the command 'pip install pyserial'.

And import it into your code.

Write the logic of your code and also the programming code in the Arduino IDE. Important: Don't open the serial monitor when you want to open the application as it won't open.
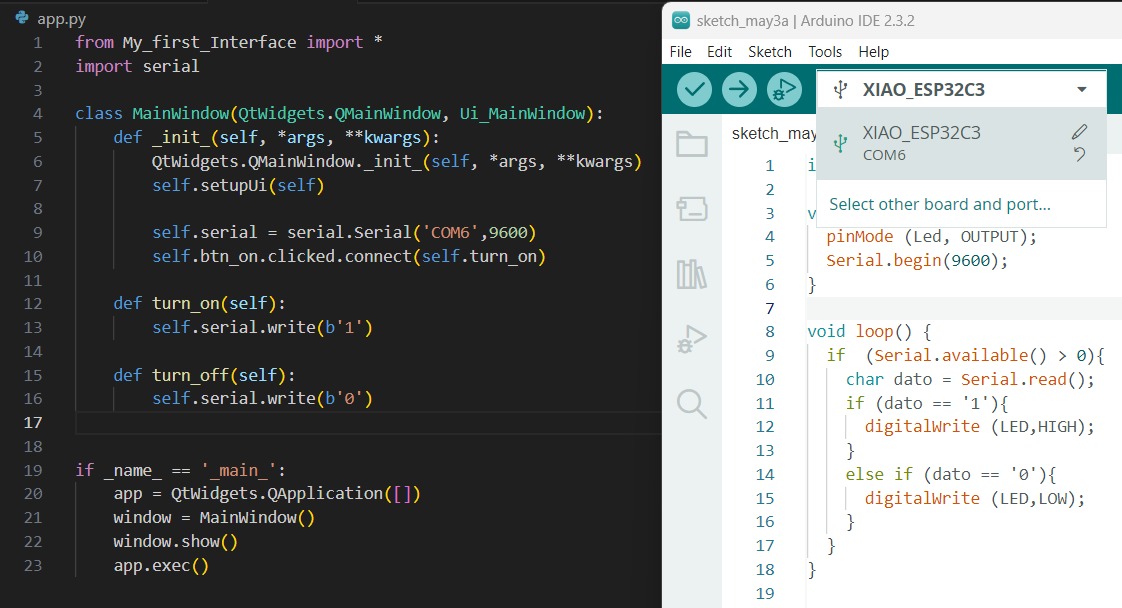
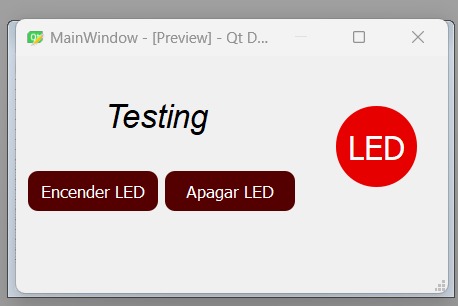
Finally, modify the code a bit so that the changes are reflected in the LED of our interface.
Run your complete application with the command: 'python app.py'. Look!
Another try
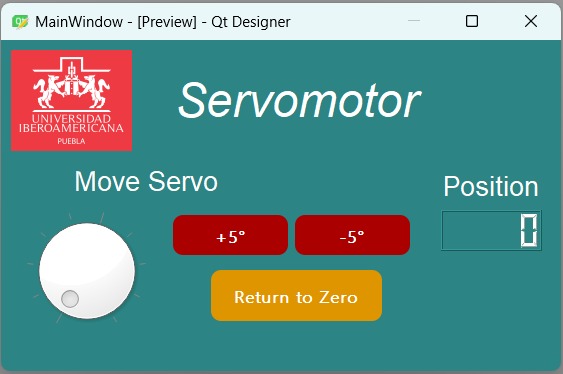
With the knowledge from the practice, I wanted to develop an interface that moves a servo; I think it will be quite useful in the future. Here's the preview:
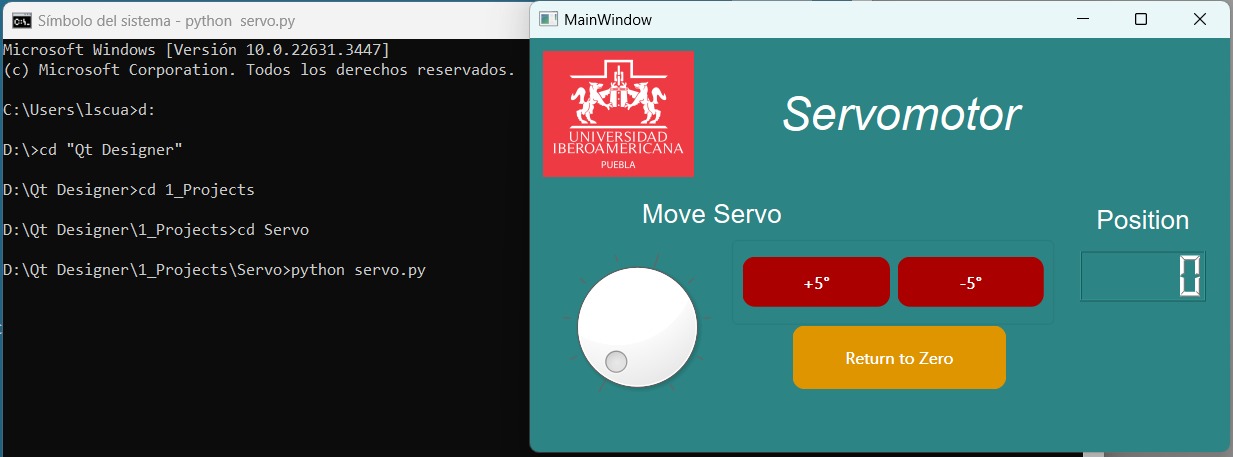
We create the .py file and open the interface to check that everything is going well.
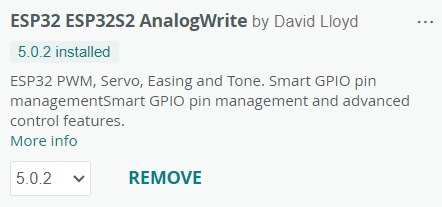
I noticed it wasn't working with the Arduino Servo.h library, so while researching for the XIAO ESP32C3, they recommended installing another library.
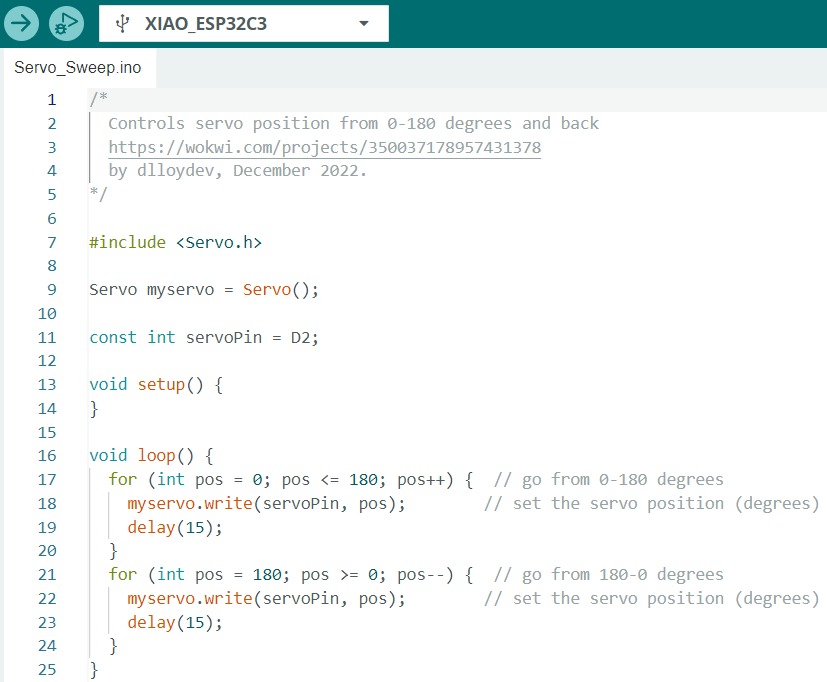
And I uploaded an example code from the library to check if the servo works.
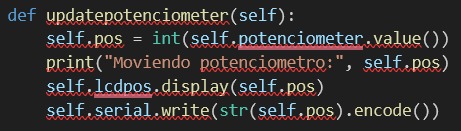
Programming the dial was a problem because it wasn't serially communicating integer values. So, one of the advising professors helped me write the following line of code: self.serial.write(str(self.pos).encode()). This line converts the value of self.pos to a string using str(), then encodes this string into bytes using .encode(), allowing the Arduino program to recognize the data.

Therefore, we had to change the way of receiving the data in Arduino using the Serial.parseInt function, which only parses the numeric characters of the input, ignoring any others. After reading all the numbers, they are concatenated into a string (which is what we are sending from Python), then it proceeds to be converted into an integer, and this is returned as the result of the function.

And here is the result!
Files
- Servo (ui, py, app.py)
- LED (ui, py, app.py)
- Here you will find a nice step by step guide to create the Backend (Click here)