12. Molding and casting
First of all, you will find a review of the safety data sheets for our molding and casting materials on our group webpage (click here).
What have I learned?
Molding
- Process of creating a mold that represents the negative shape of an object.
- Molds can be made of plastic, silicone, sand, or metal.
- Materials like polymers, metals, and resins are poured or injected into the mold and solidify.
- Example: Injection molding uses metal molds.
Casting
- Method where a liquid substance is poured into a mold and allowed to harden.
- The solidified object, called a casting, is removed from the mold.
- Common materials: metals, epoxy, concrete, plaster, and clay.
- Ideal for creating complex shapes that are difficult or expensive to produce by other methods.
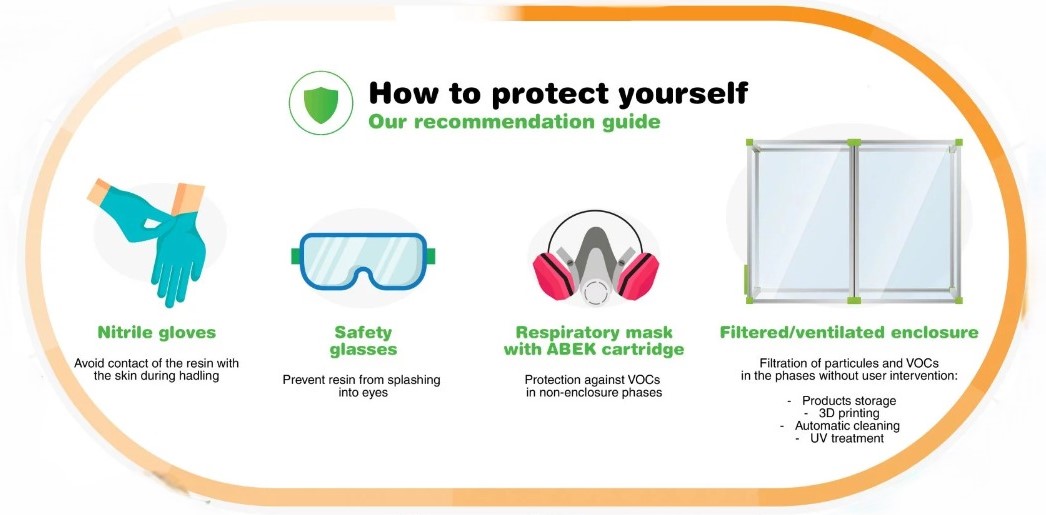
IMPORTANT
Additionally, this is what I learned when handling any material:
- First, read the safety data sheet.
- Never smoke, drink, or eat while working with these materials to avoid any traces of resin or hardener entering the body.
- Always wear gloves and safety glasses when handling resin.
- Wash your hands thoroughly with soap and water after handling the materials, even if you were wearing gloves.
- In case of irritation, allergic reaction, or contact with eyes, seek medical attention immediately.
Mold Design
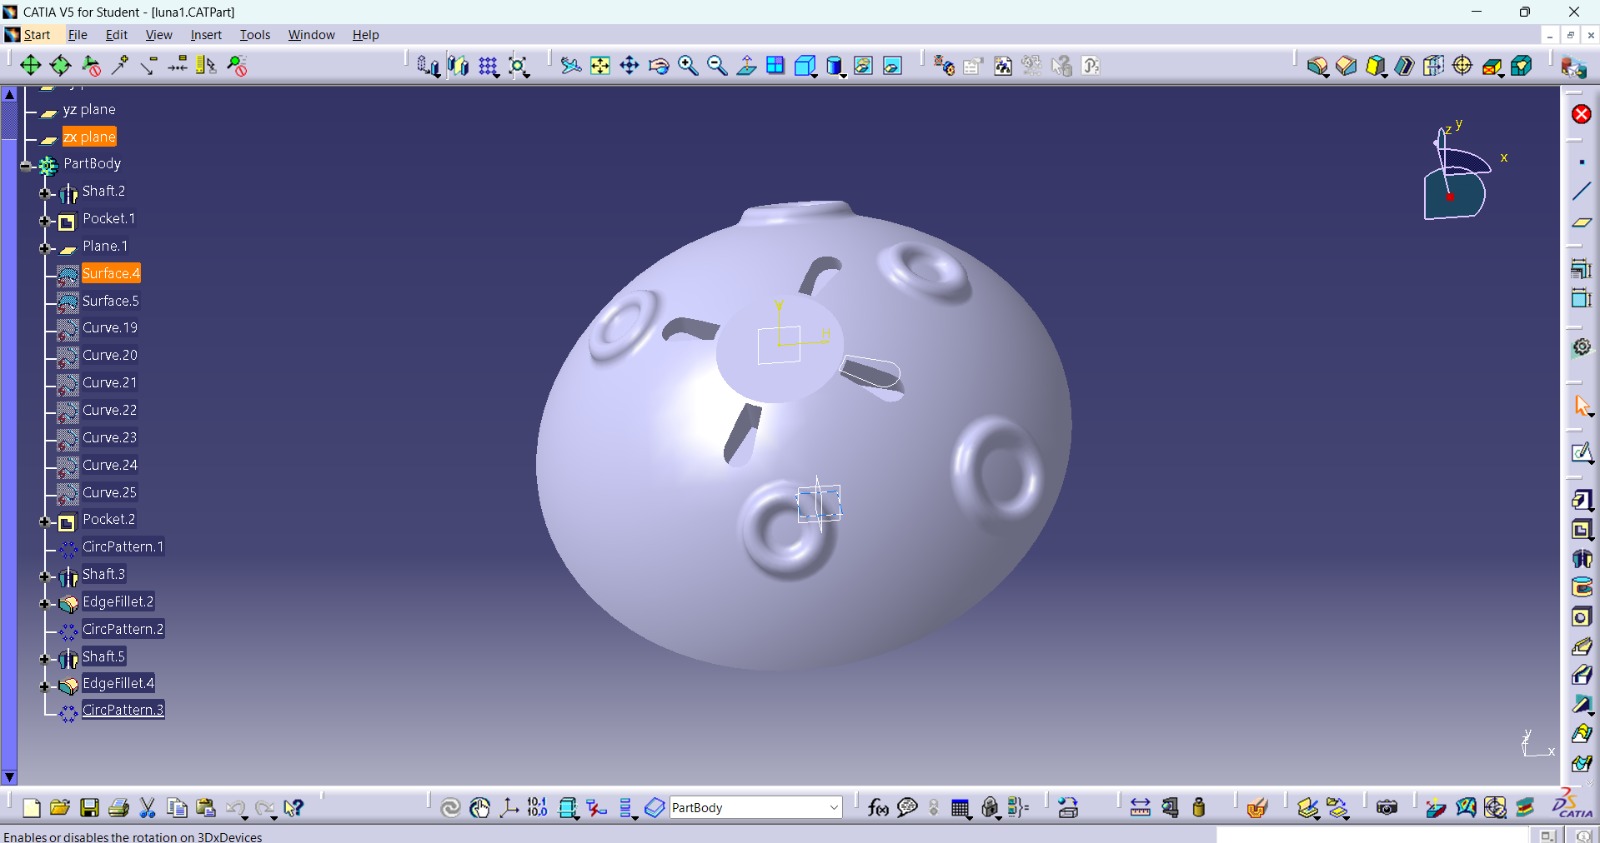
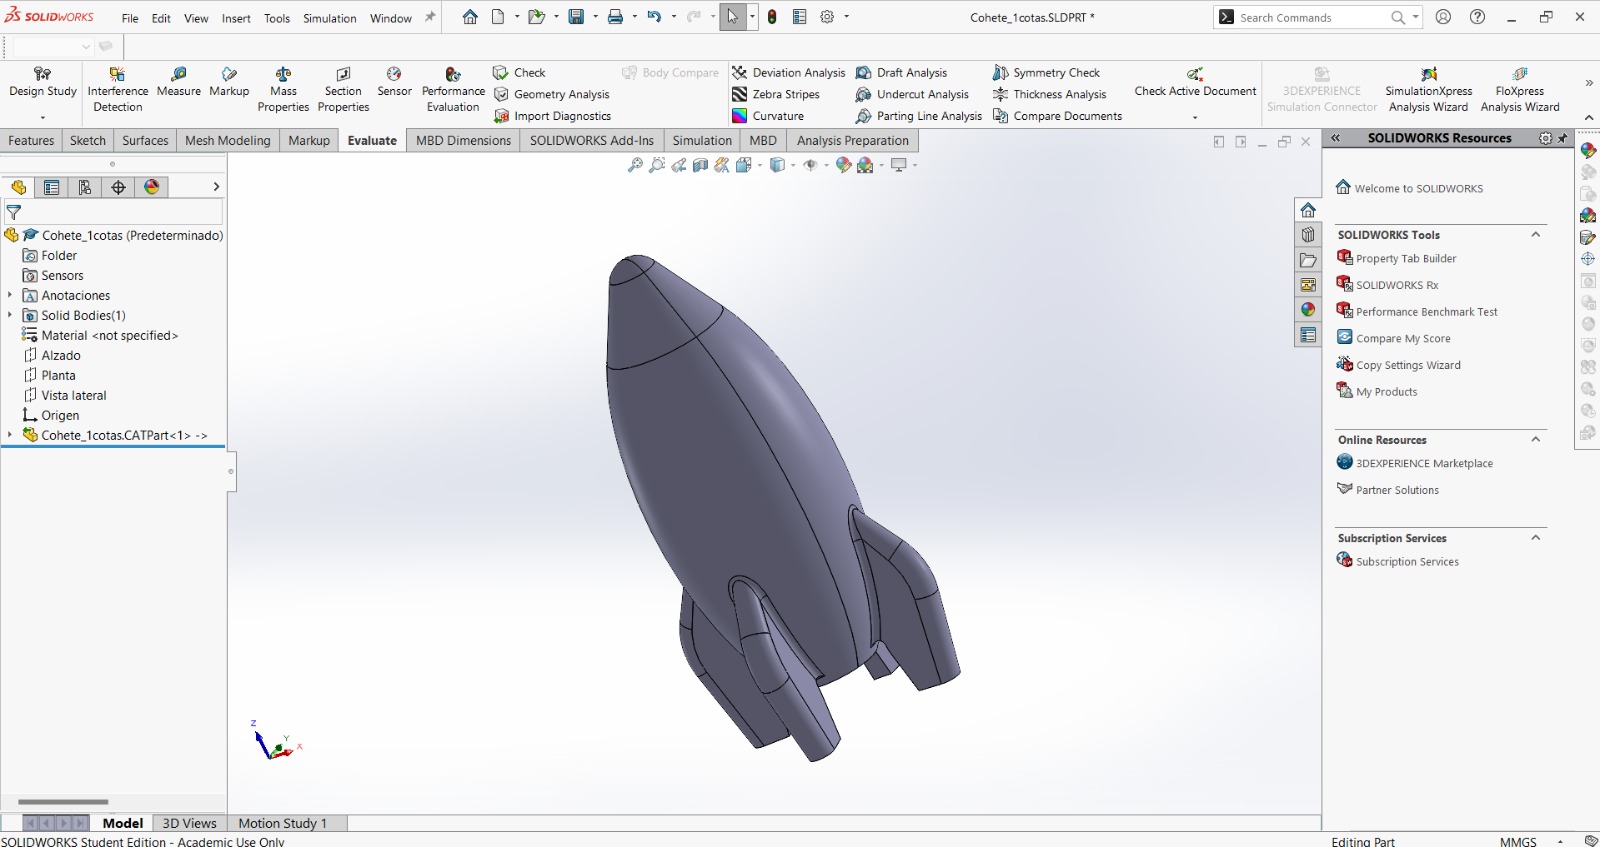
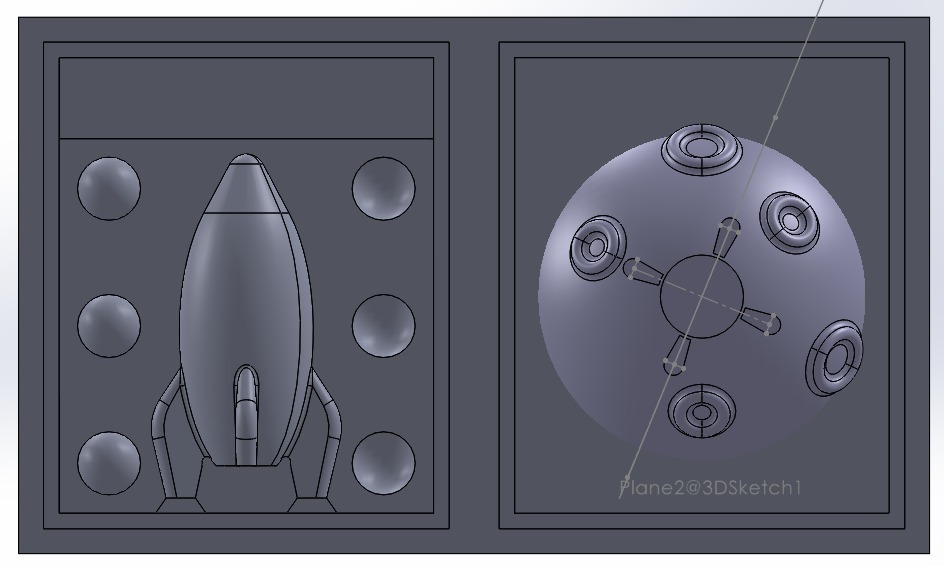
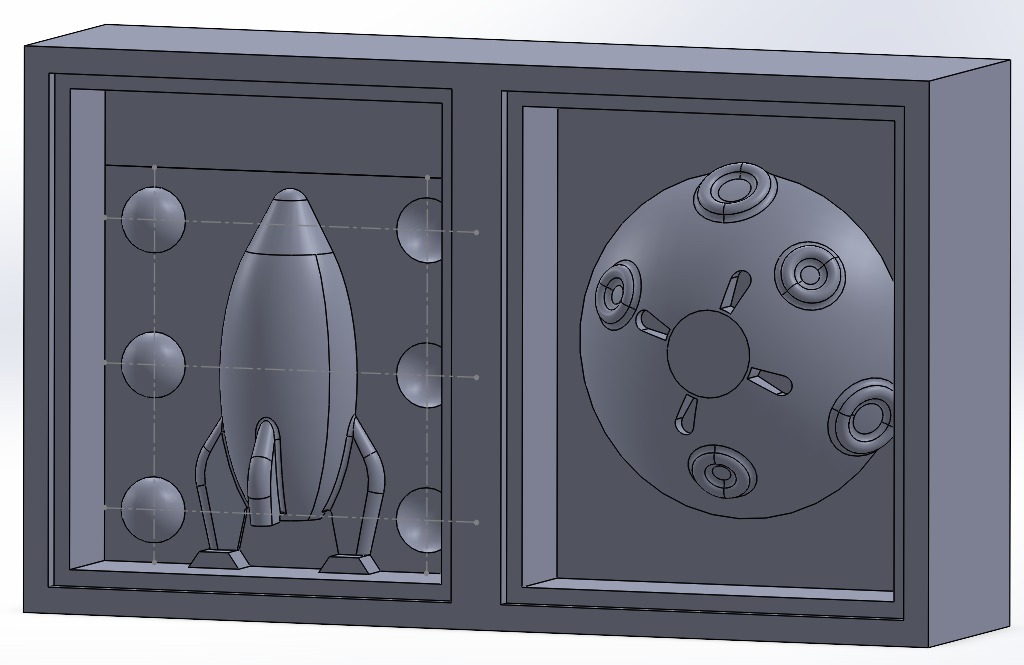
For this assignment, I wanted to create the mold of a spaceship that will land on its moon. I previously designed these plans in a university class, where Catia use was strictly required.
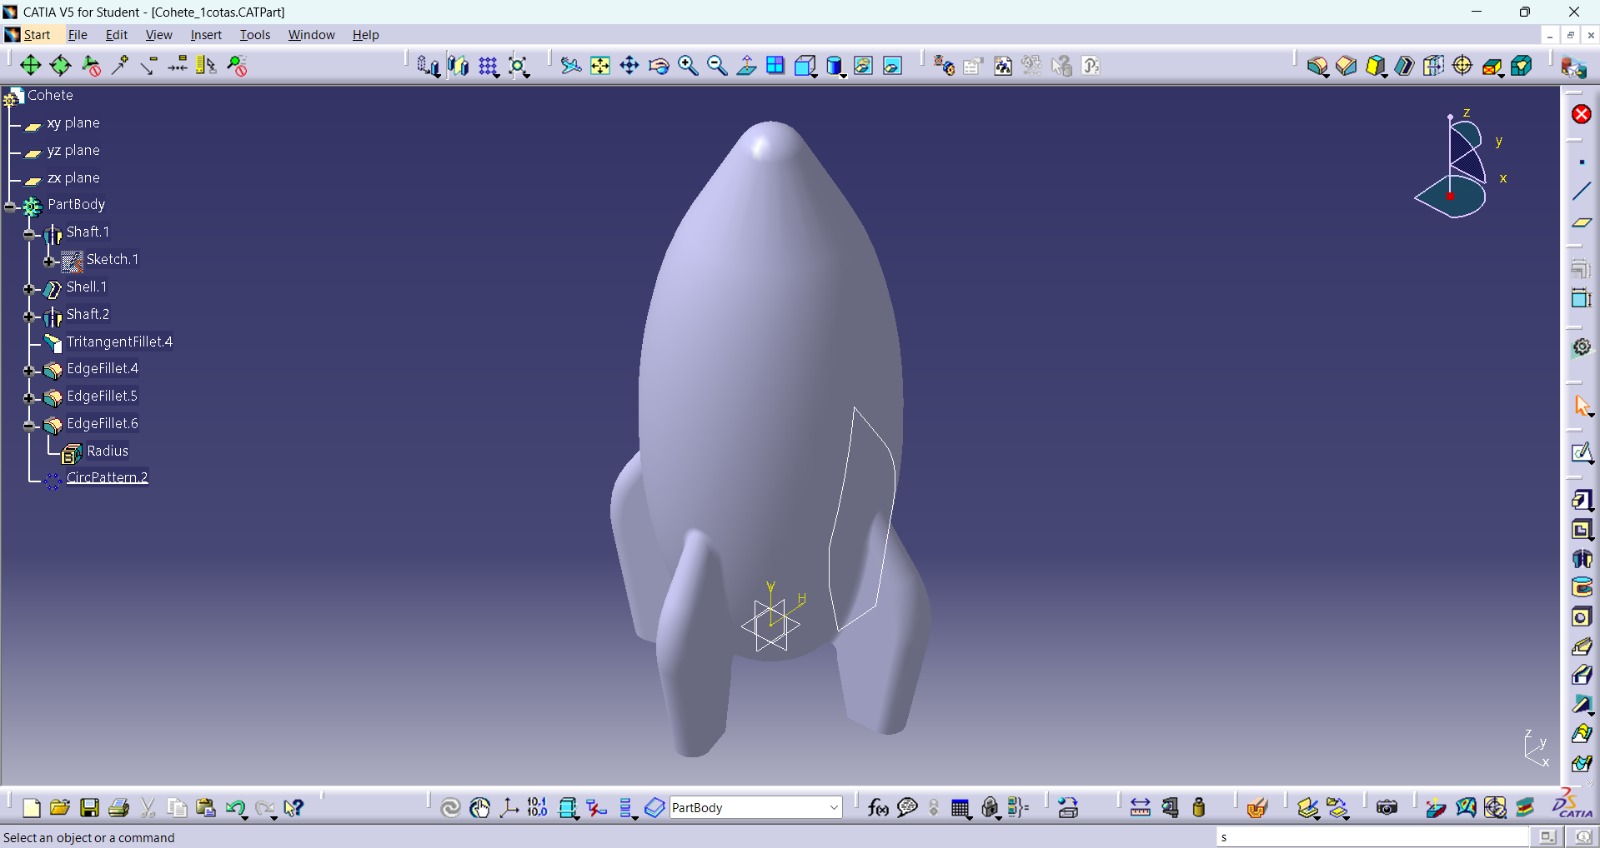
However, since I found SolidWorks easier to use, I simply opened the Catia file in SolidWorks as if it were any other part, and it exported without any issues.
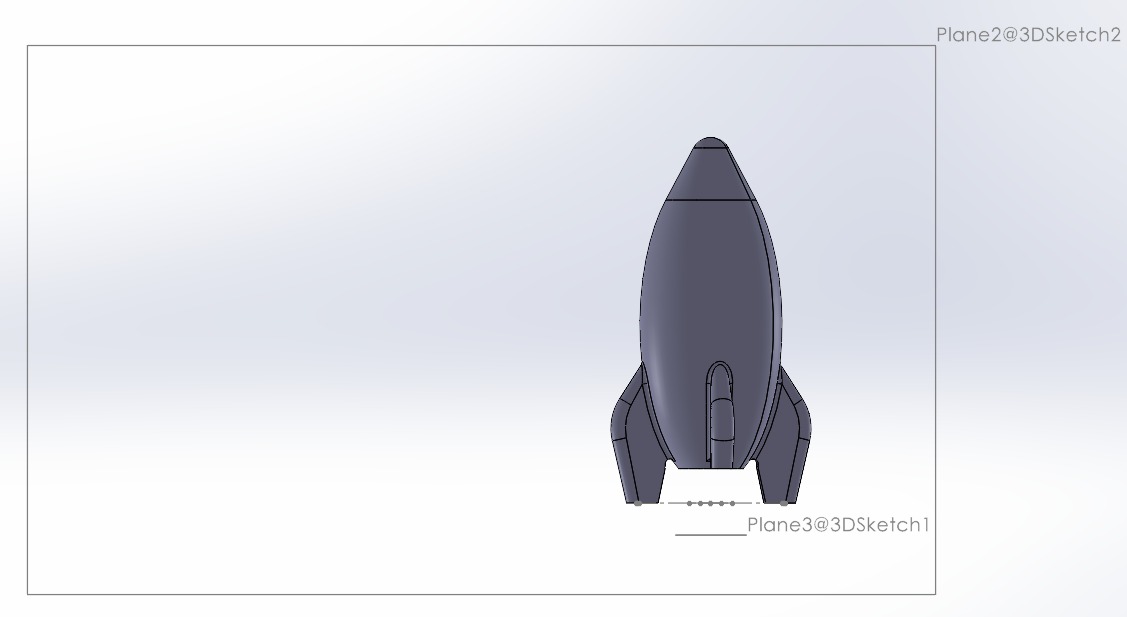
Now we need to mark the axes of the part so that I can create plans and place it on a block.
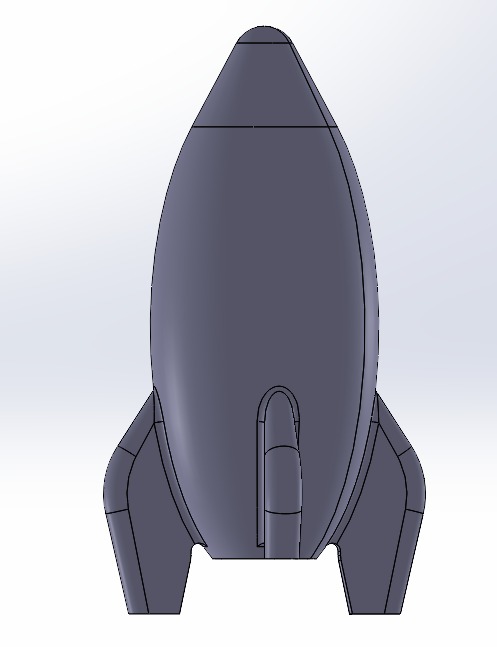
Here, the axes can be better appreciated. I chose the base as a reference to create a plane parallel to the base of the rocket. From this, I obtained a perpendicular plane that also had the previously created axes as references.
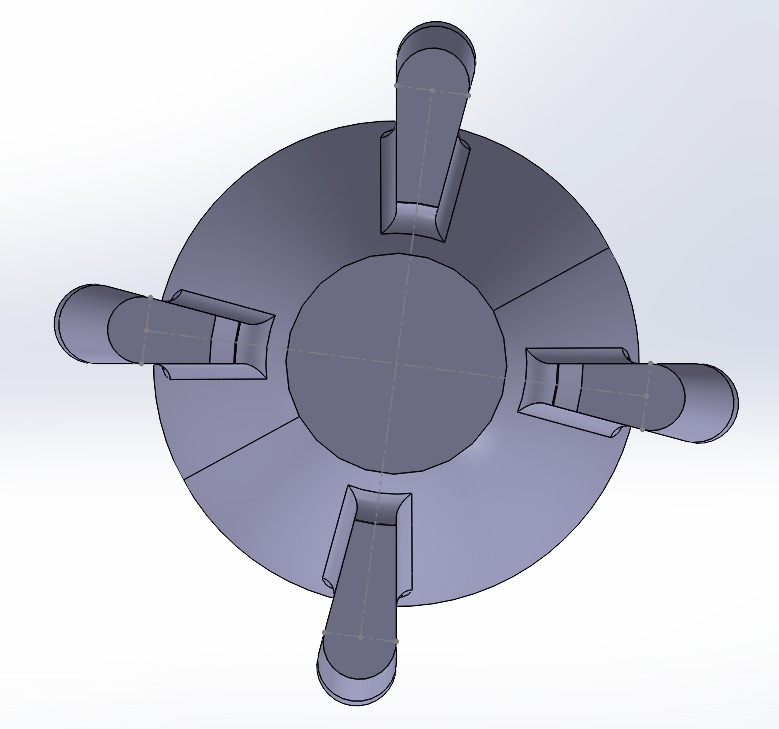
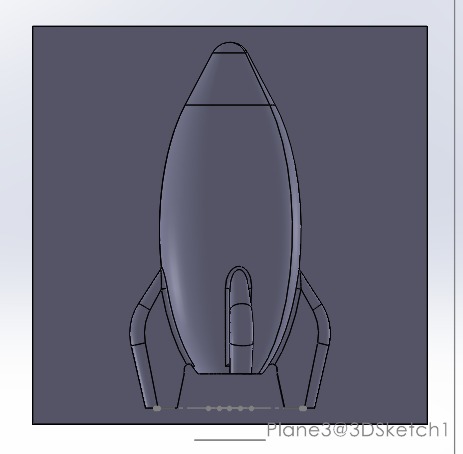
Subsequently, I created a rectangle in the second plane and extruded it by 0.01 mm with the purpose of drawing reference lines for the future joints of my rocket. Finally, I placed trapezoids on the rocket's wings, which serve to easily fill the figure.
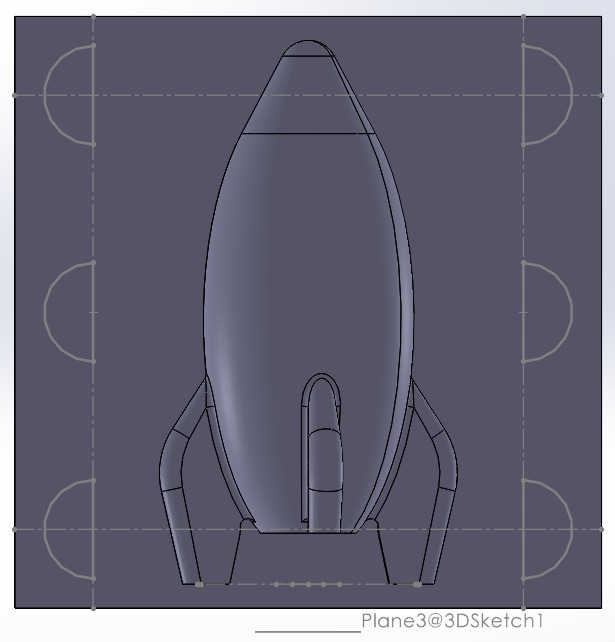
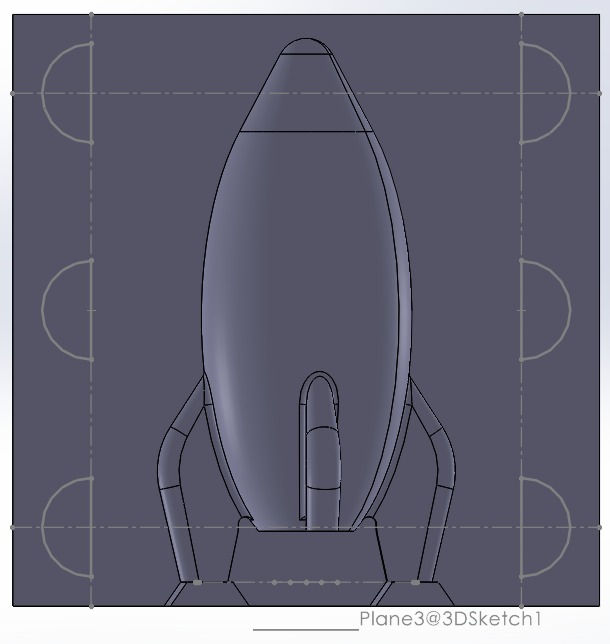
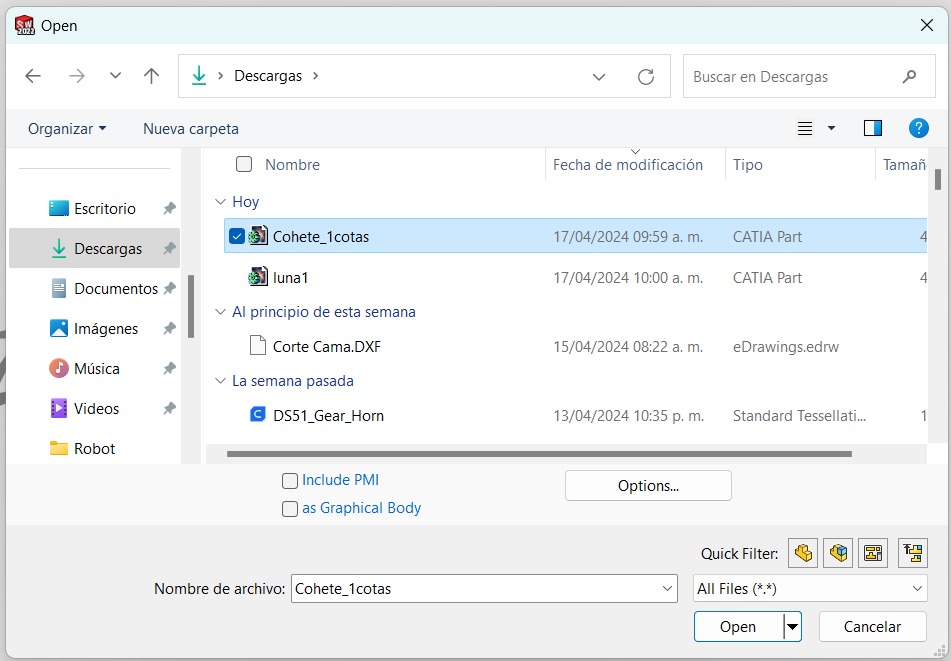
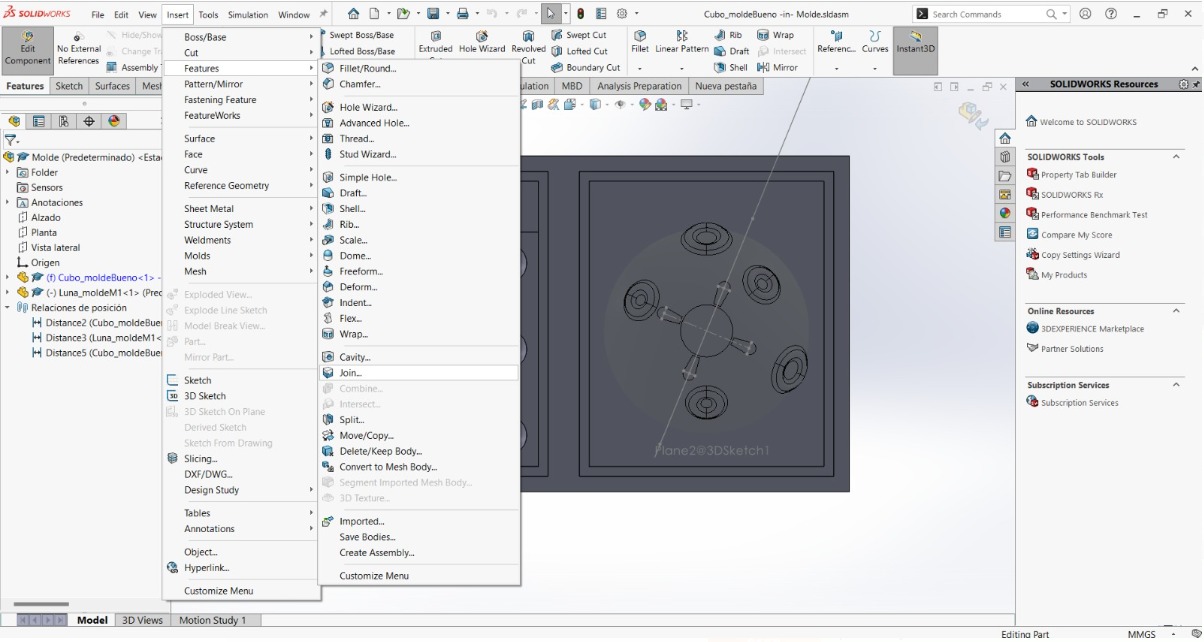
After these steps, in a SolidWorks assembly, I inserted all the parts of my mold, which are: the rocket, the moon, and a block with the measurements of my wax plate. To the latter, I added a small step to avoid damaging the mold when removing it. After assembling, I edited the block (edit part) using the "Join" feature to embed all the assembly pieces into the block. This way, I was able to edit the part and use cutting and revolved extrusion tools to make the joints of my rocket.
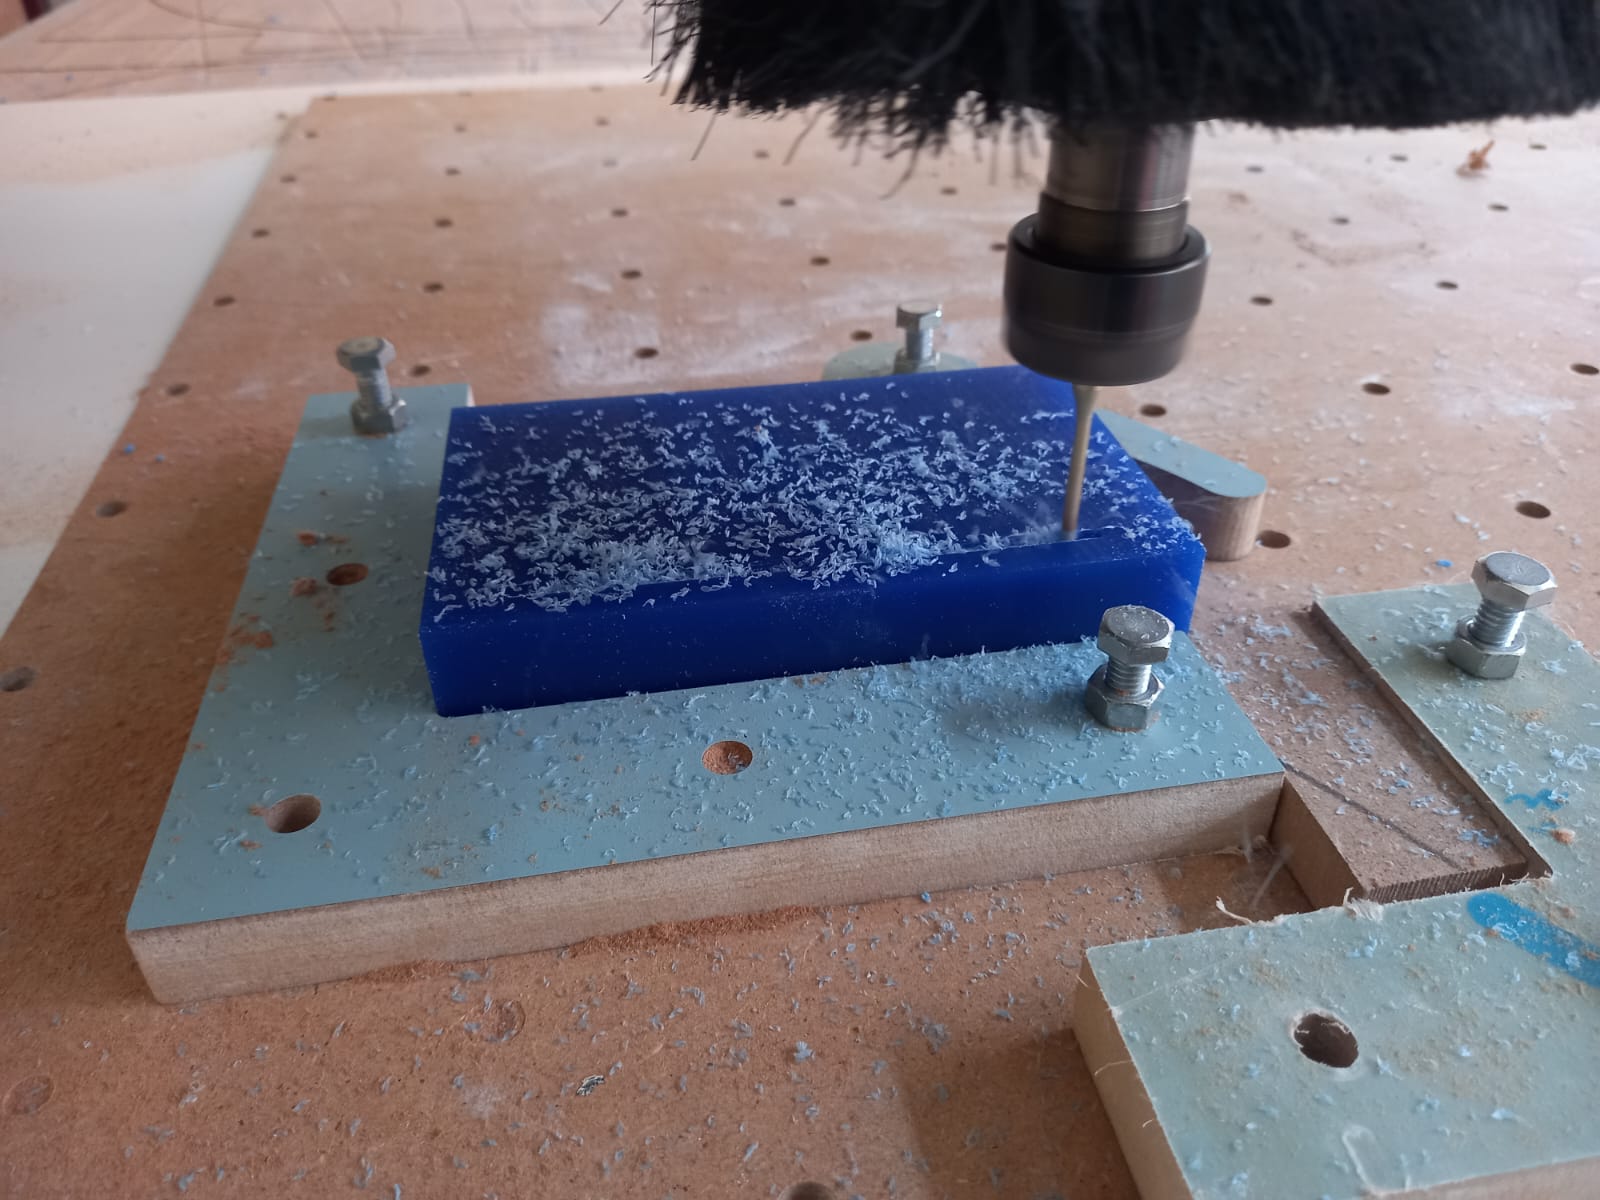
Machining
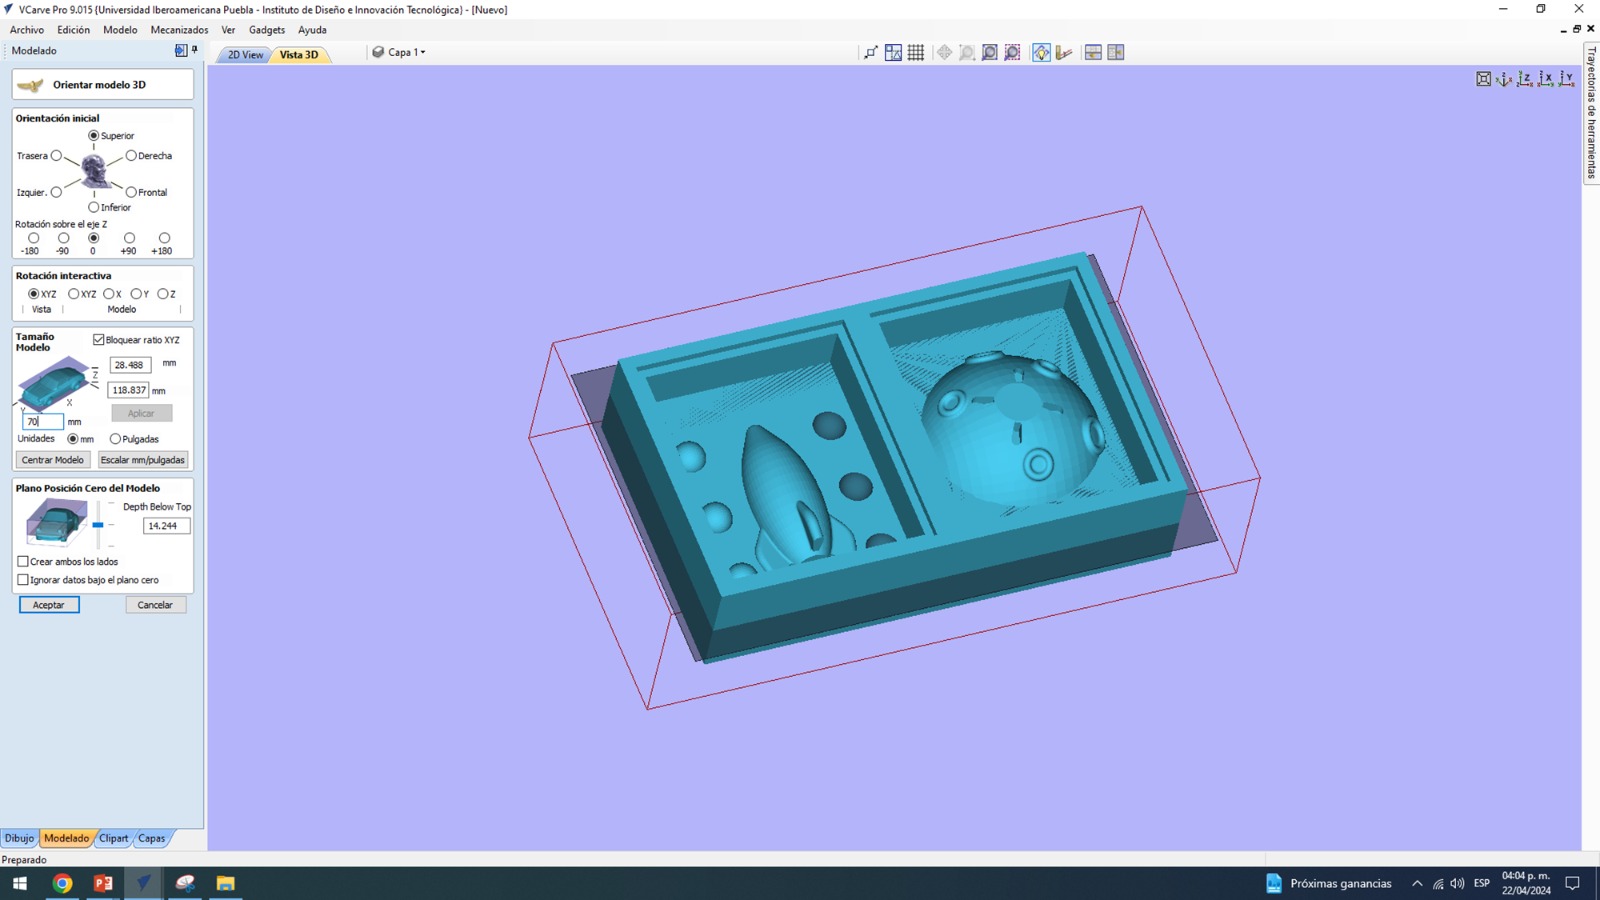
For machining, I used VCarve software, where I modified the Job Size section with the measurements of my block.
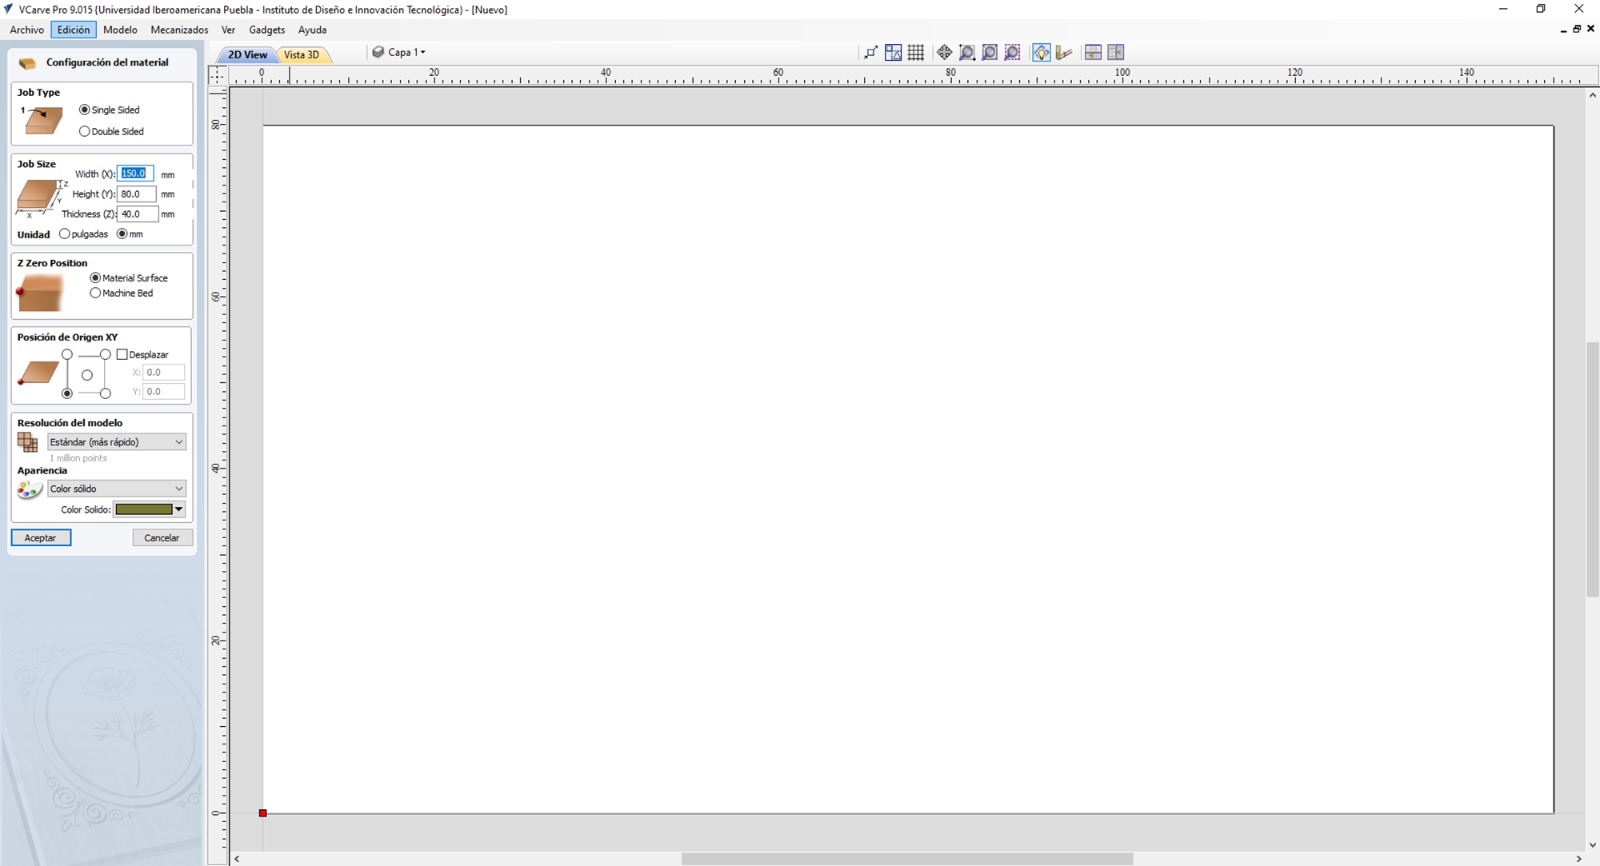
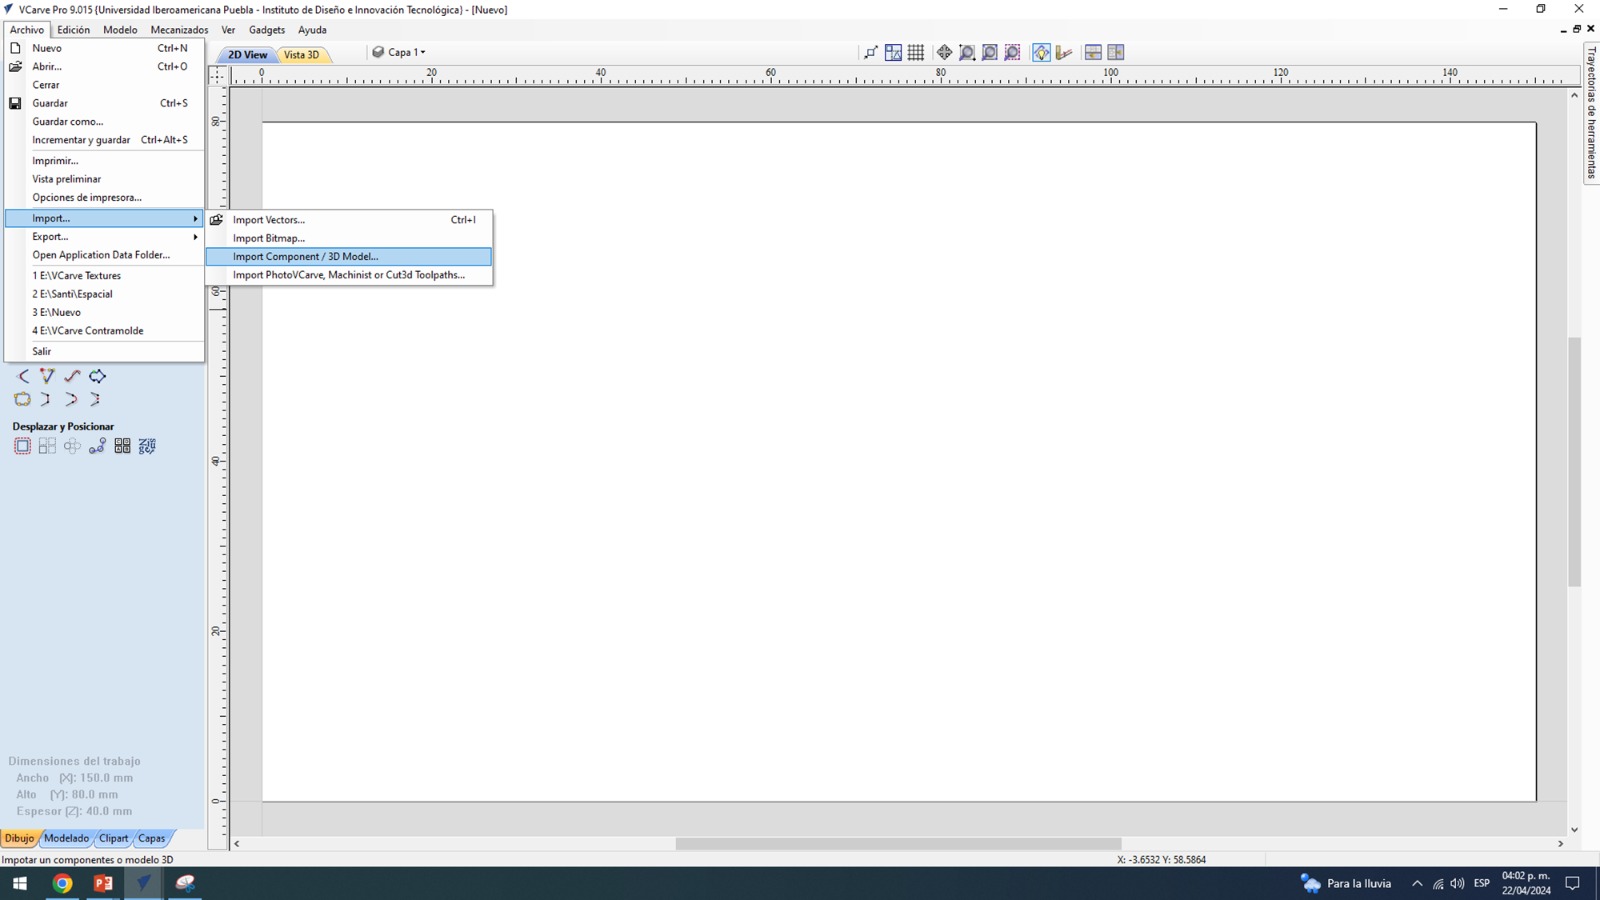
I proceeded to import the component/3D Model.
Here, I used core model option "Centrar modelo" but I want to make a parenthesis. In theory, I designed my part to be the size of the block. However, this week was very challenging in terms of managing machine time and student workload, so I had to scale the figure to 2:3 of its size :C. This sacrificed some of the area of the wings intended for filling the mold and the joints of the rocket with the moon.
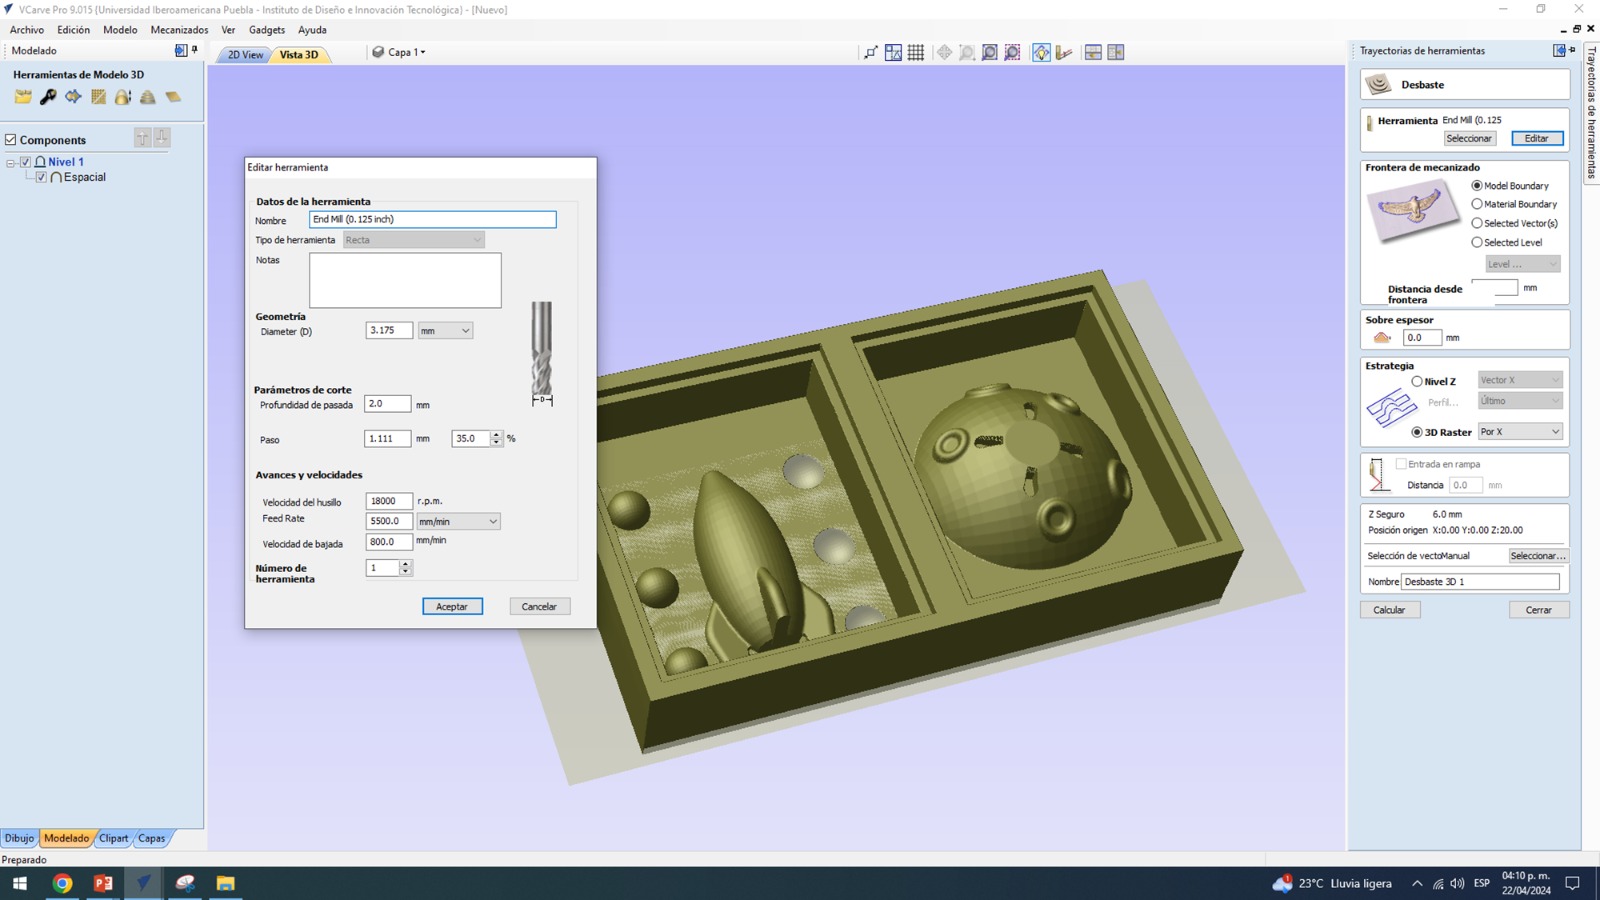
For roughing, I used the following tool configuration according to the supplier's specifications. Roughing is used to shape and quickly subtract material, but as we can see, it leaves rough edges haha, so we need a finish.

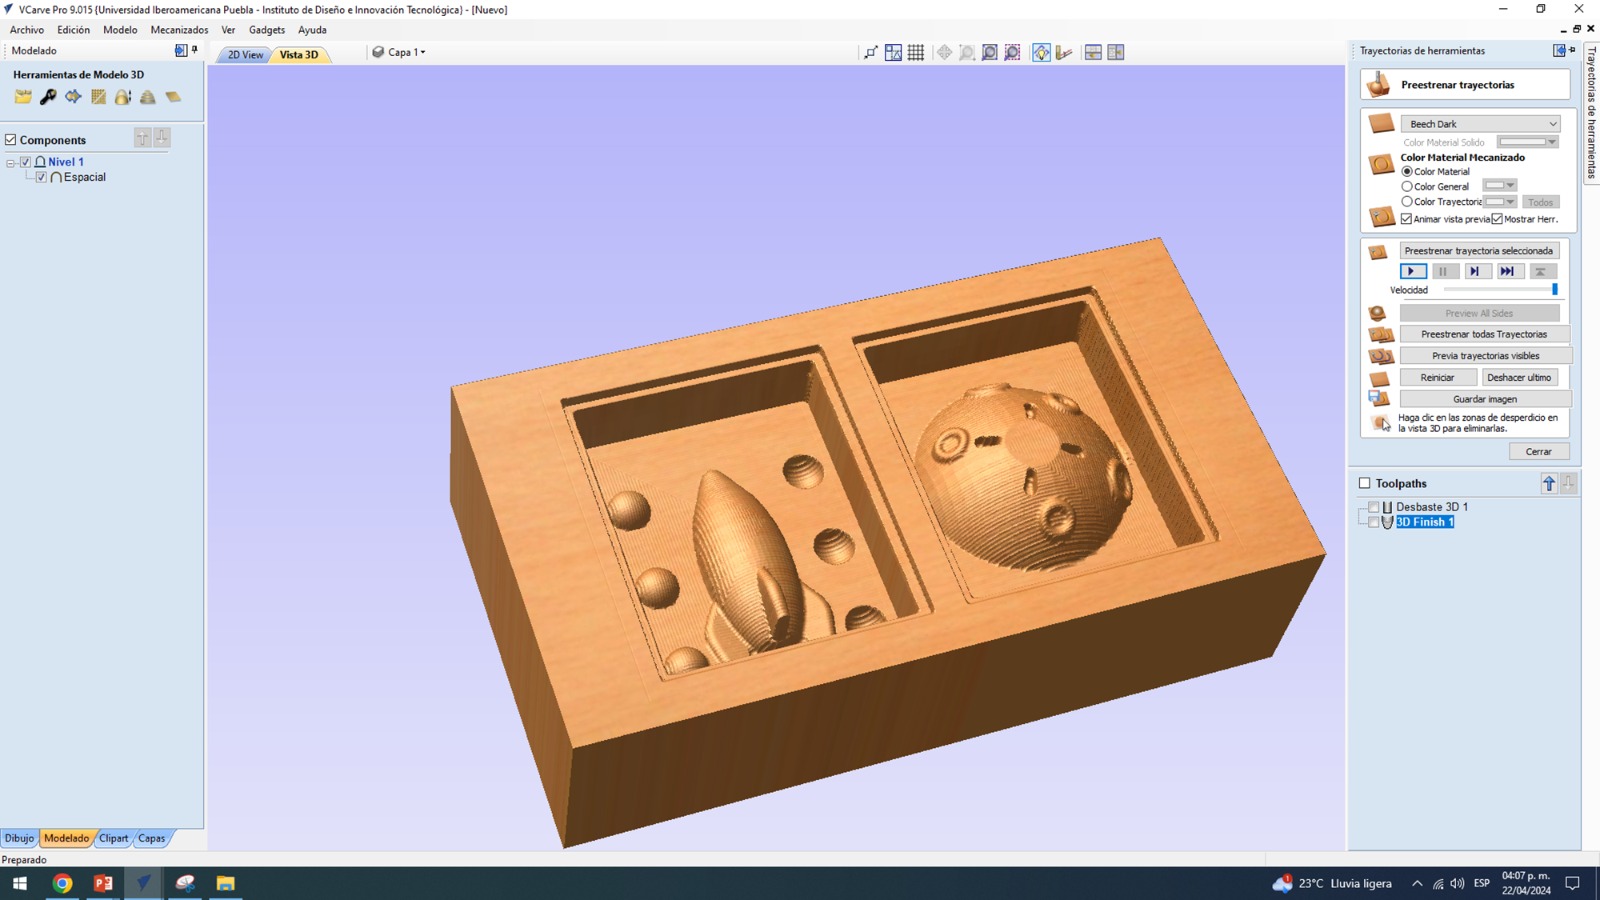
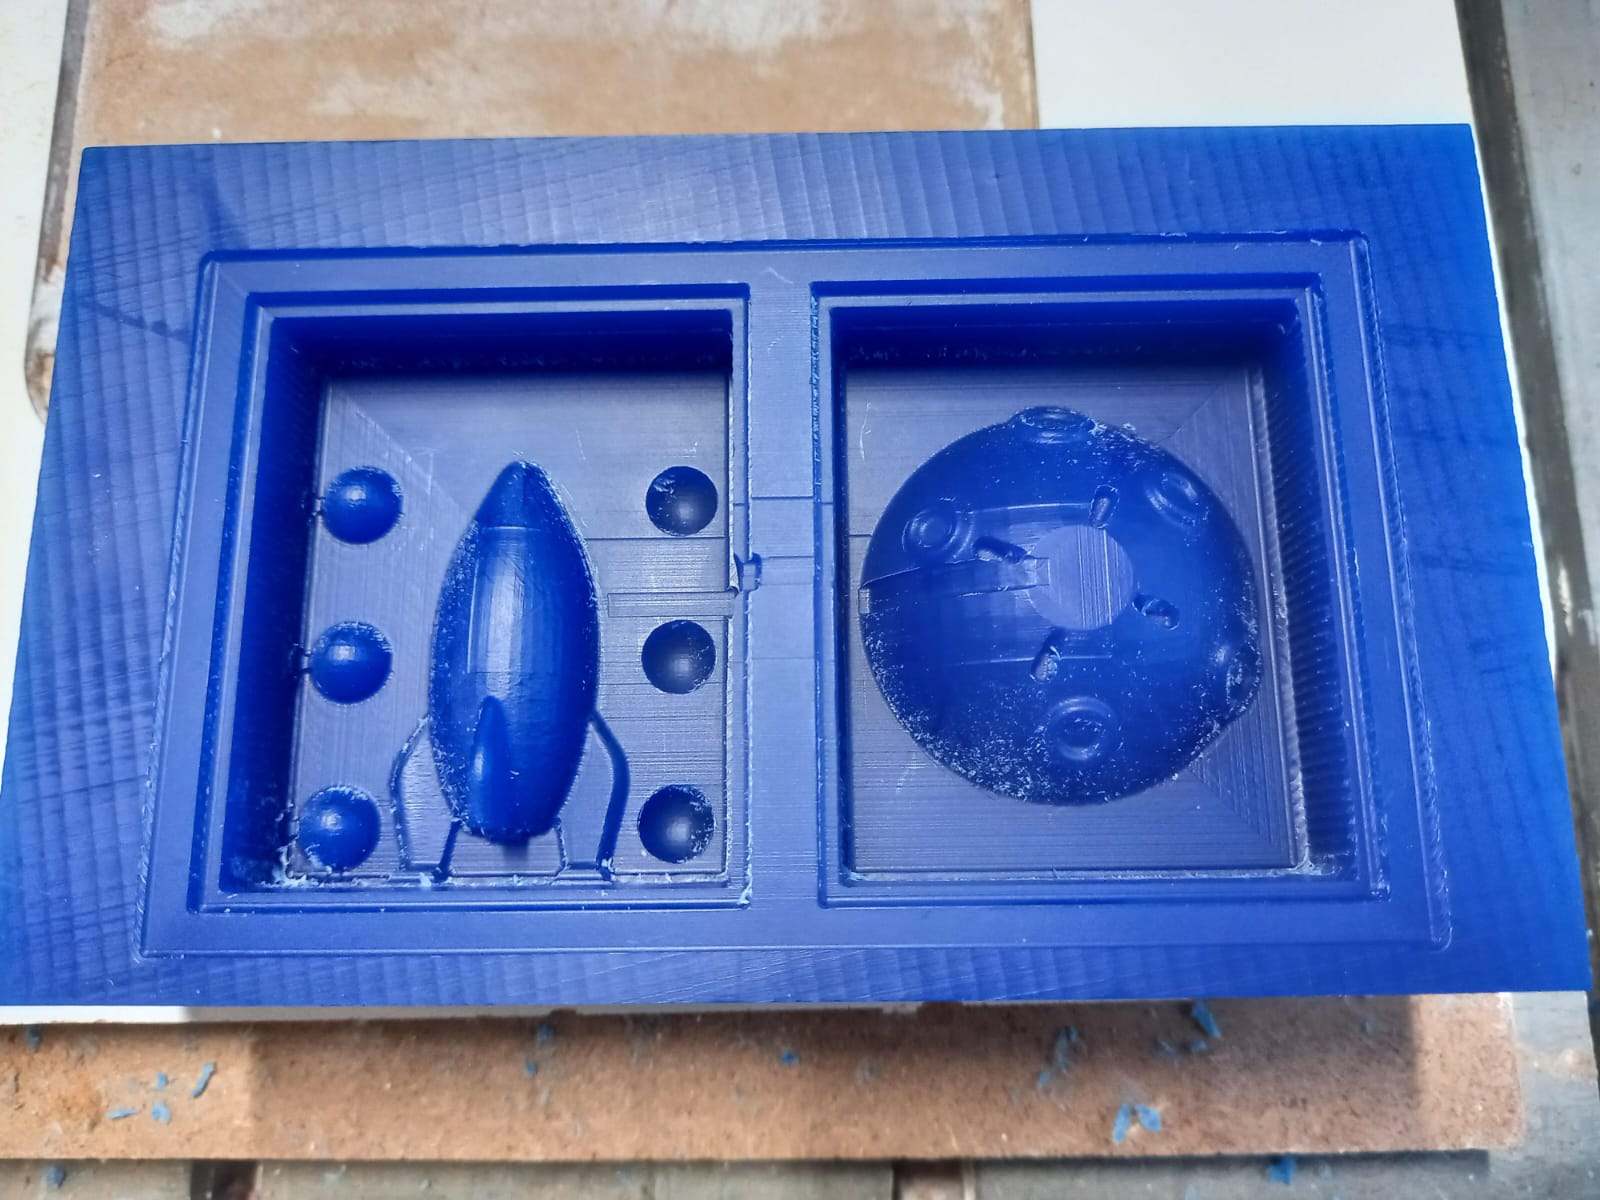
For finishing, I used the following parameters, resulting in a much better piece!

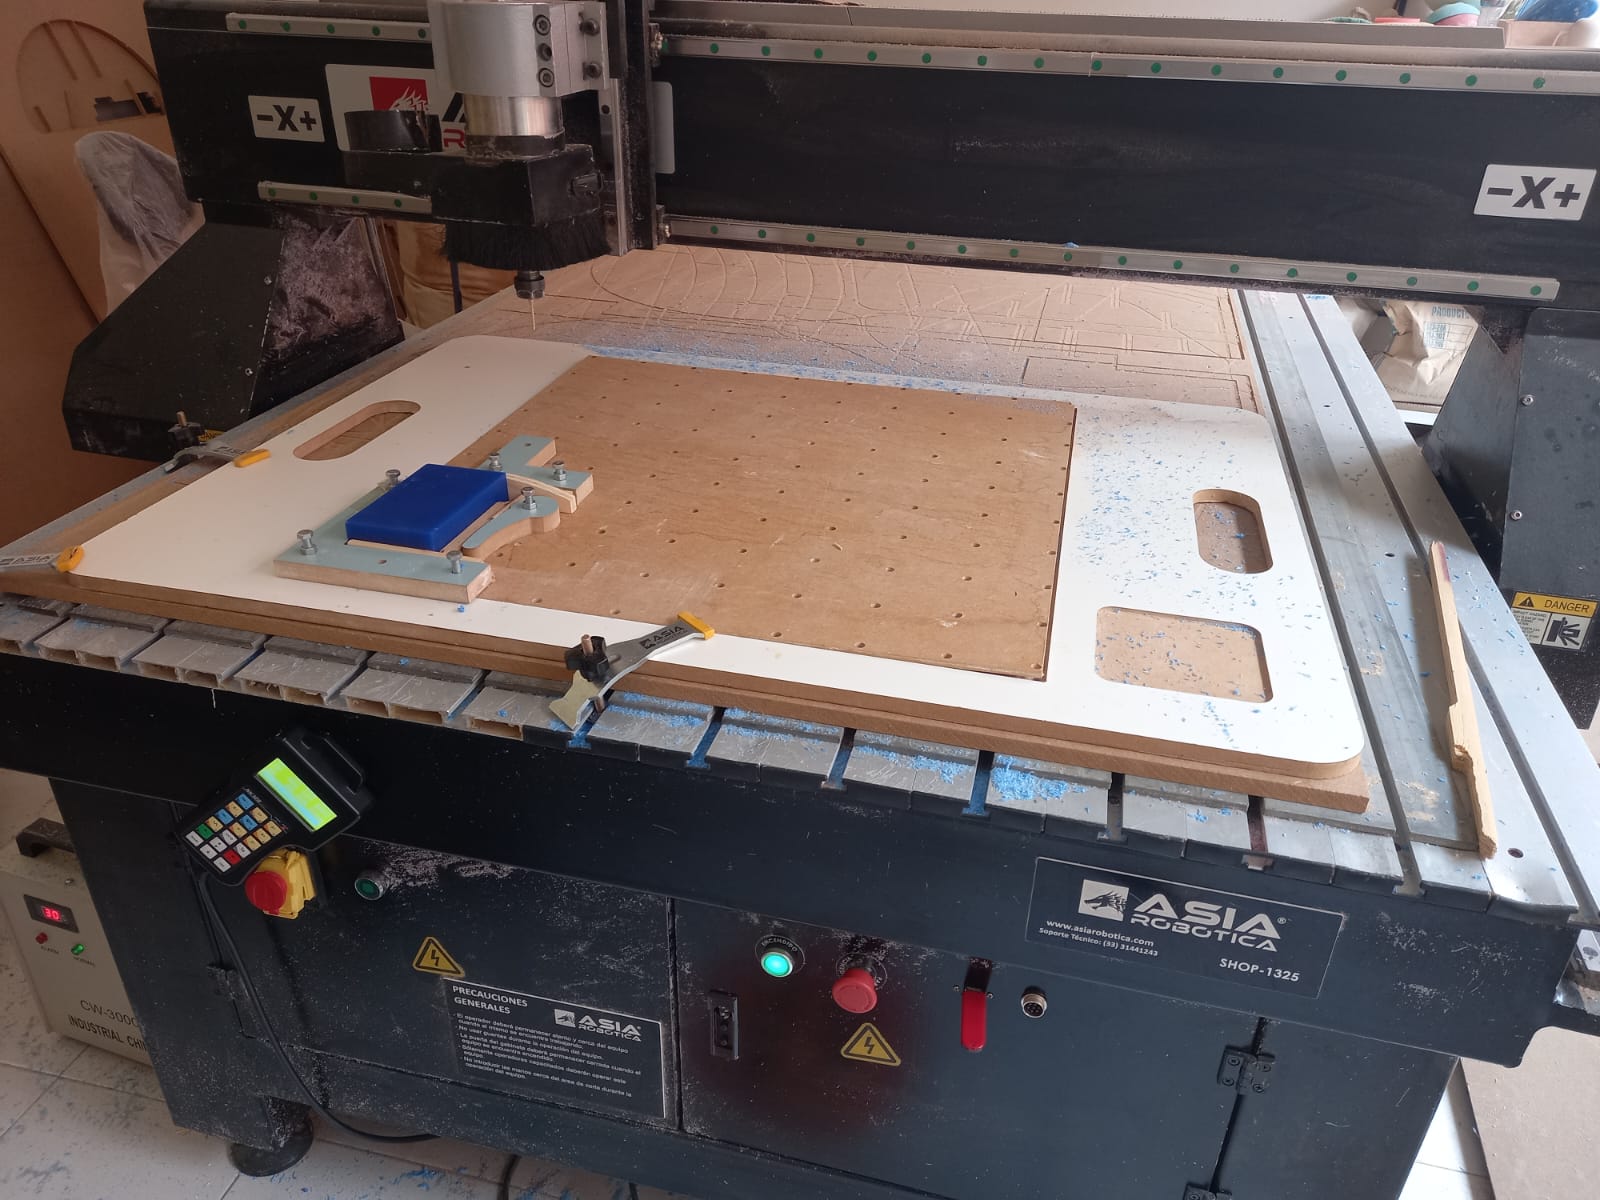
On this occasion, I used the Asia Robotics machine.
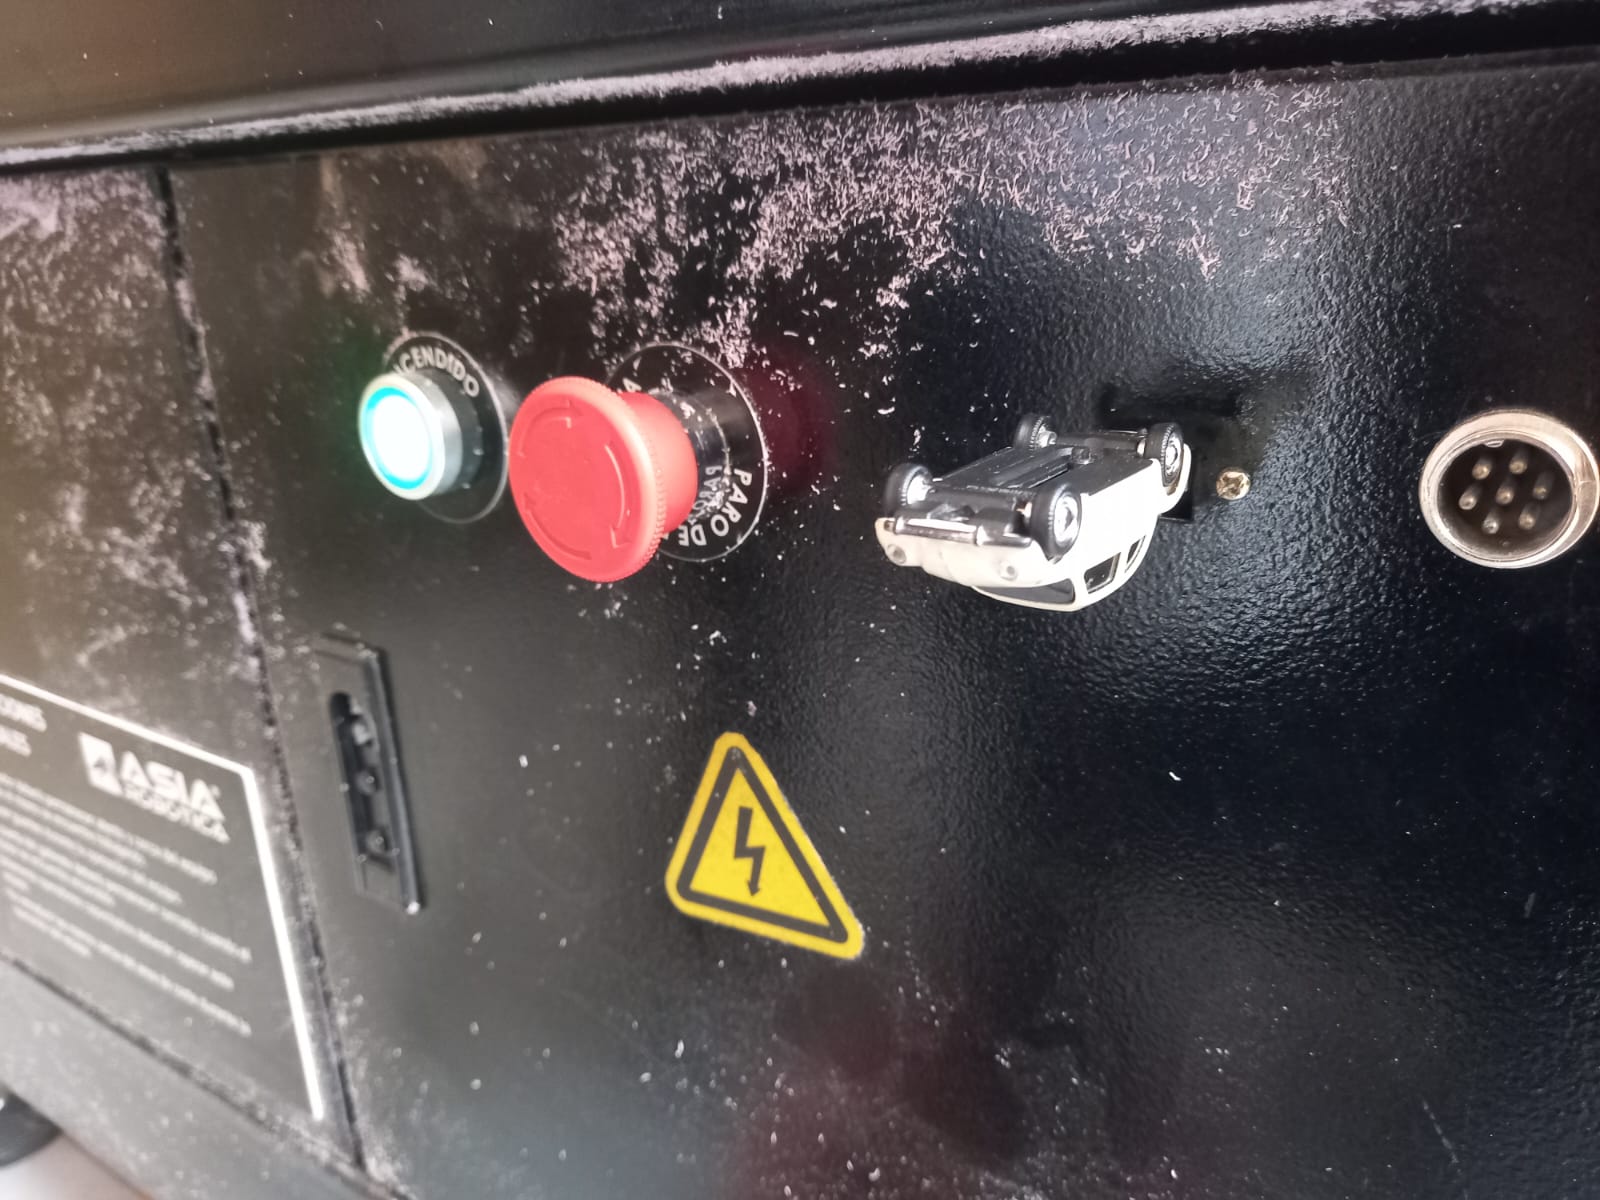
Which has a control panel that allows for easy handling

In this image, we can see the green power button, the red emergency stop button, and the USB port, which is pretty cool haha.
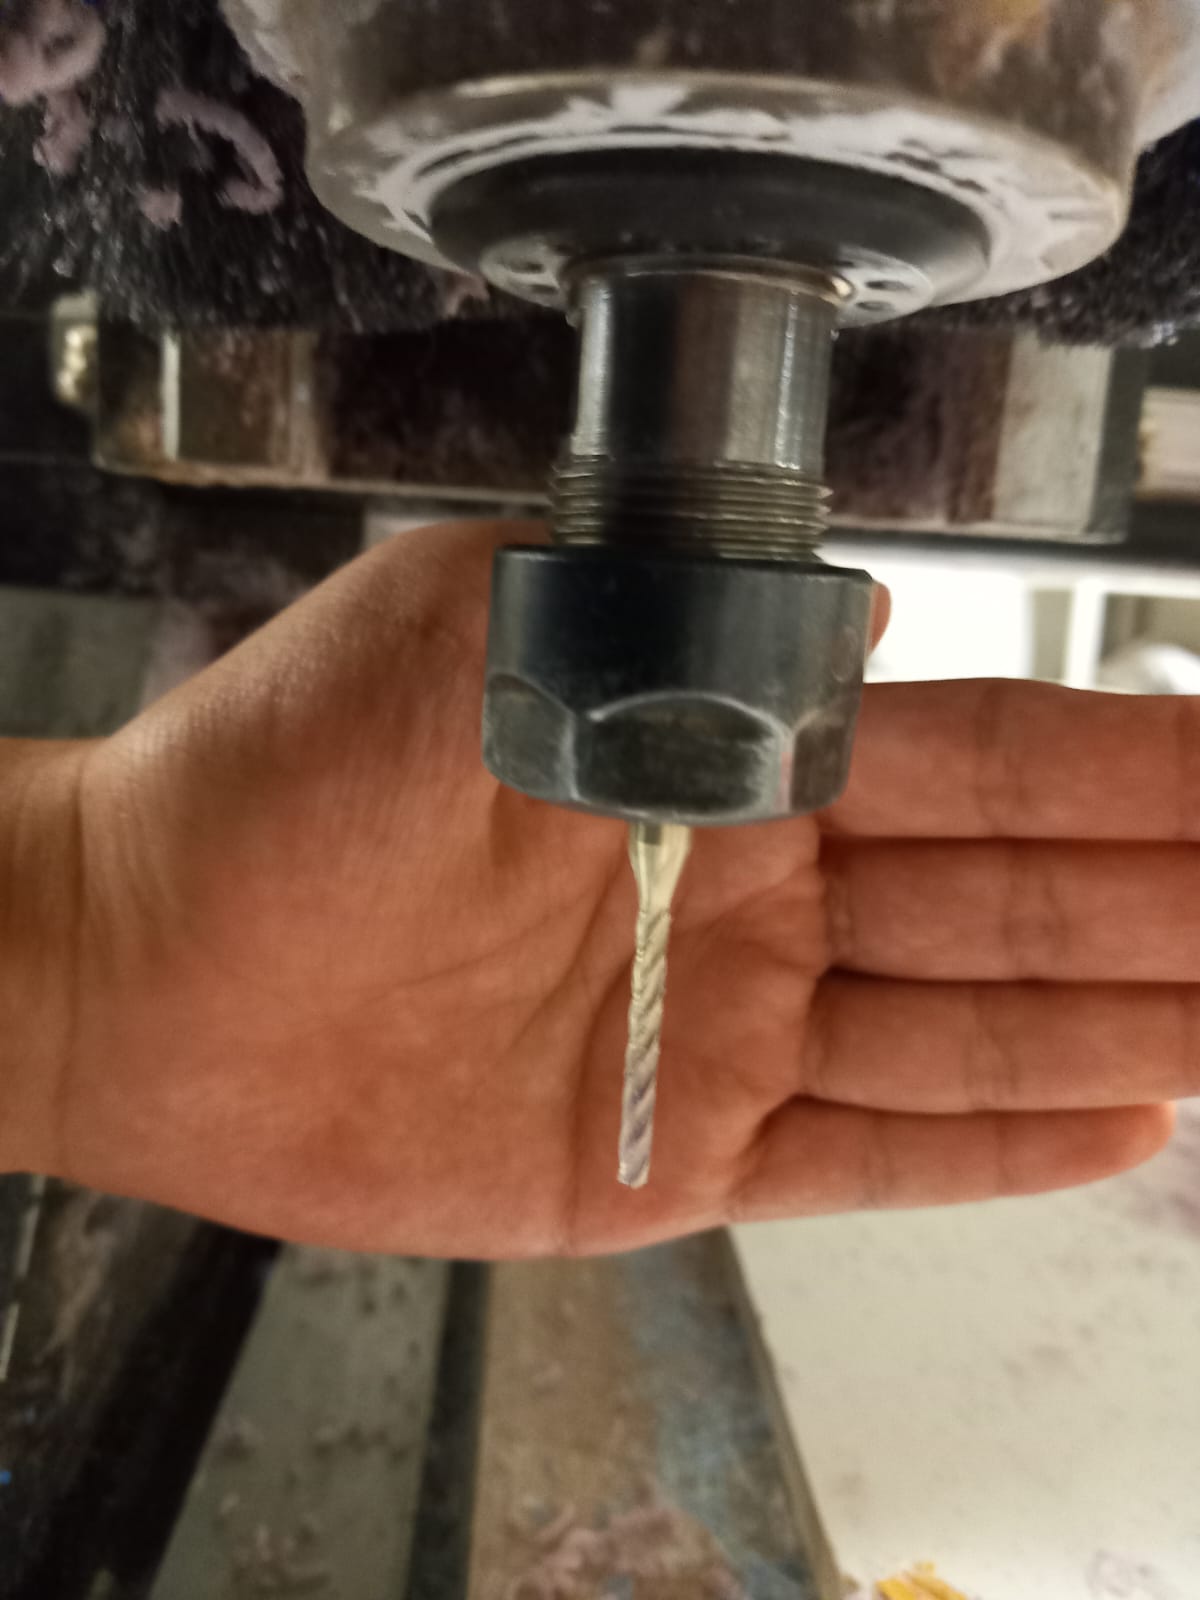
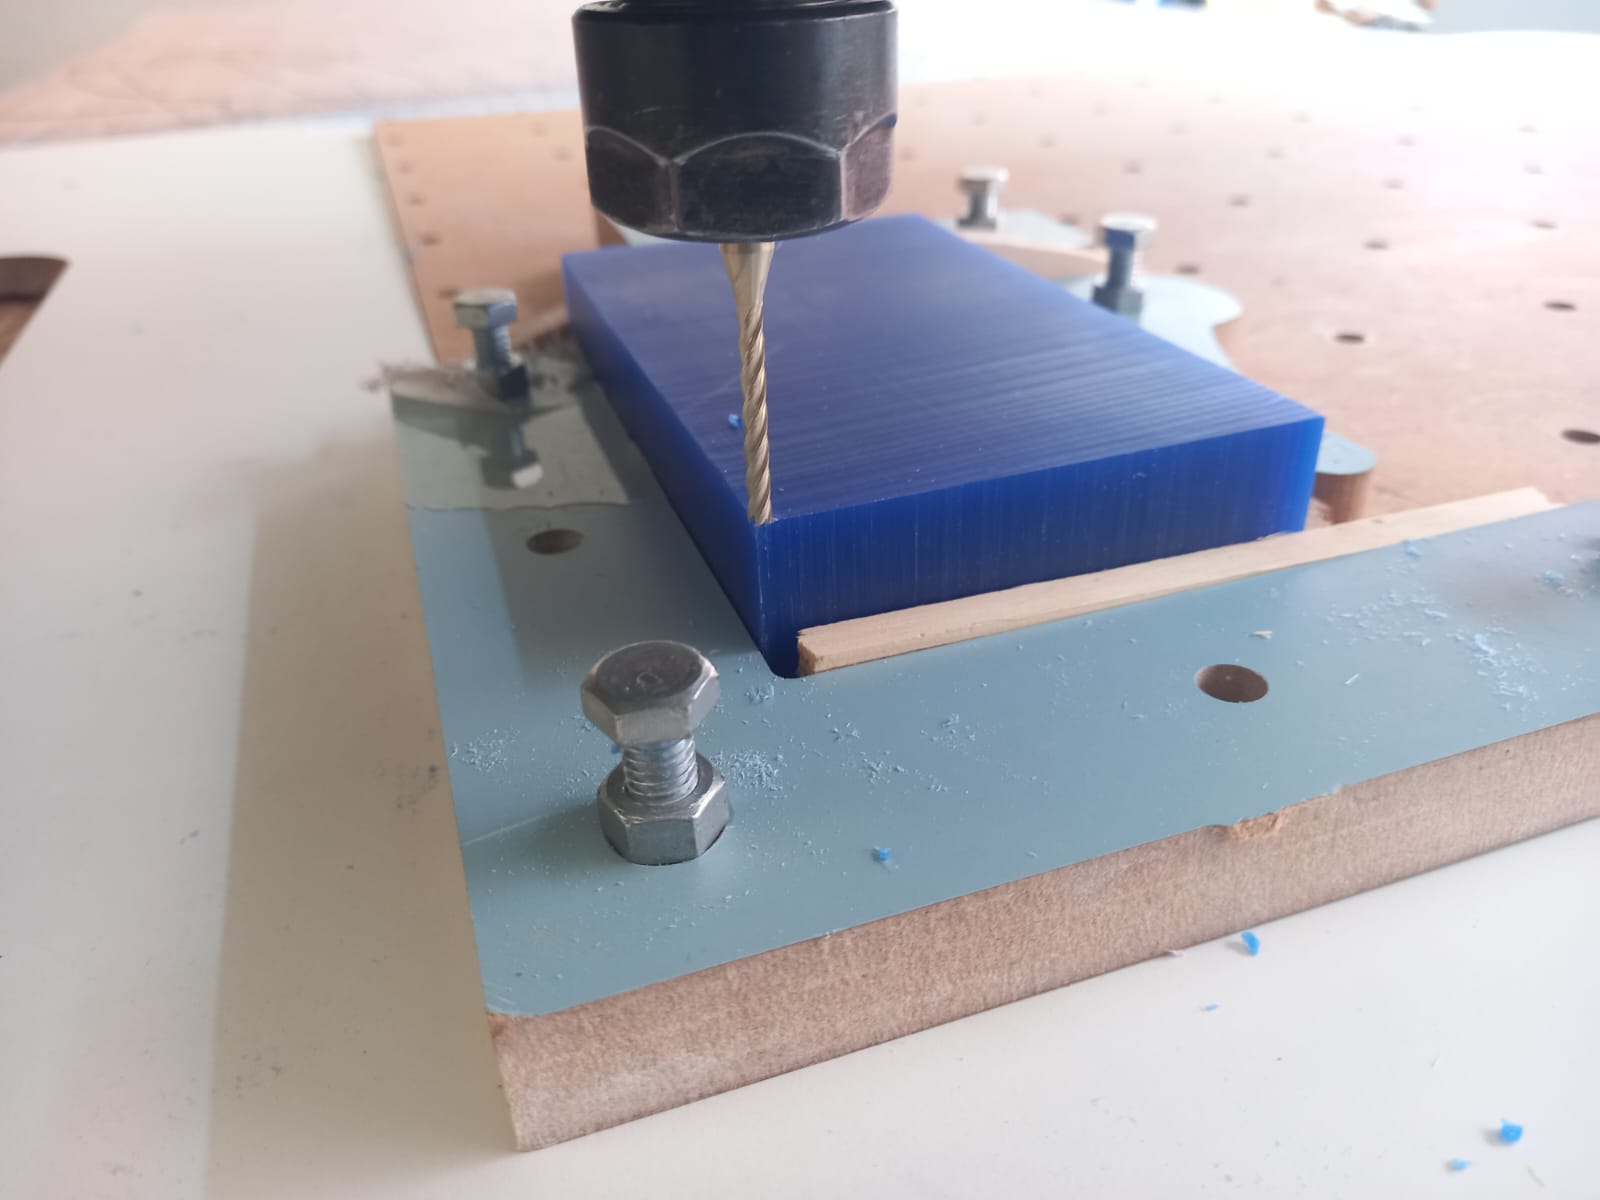
Before starting, I switched to the roughing tool and placed it right in the corner of my part, using the center of the tool as a reference point. This is very important! In my particular case, I had a problem, but I'll explain it in the next image when I talk about the finishing process haha.
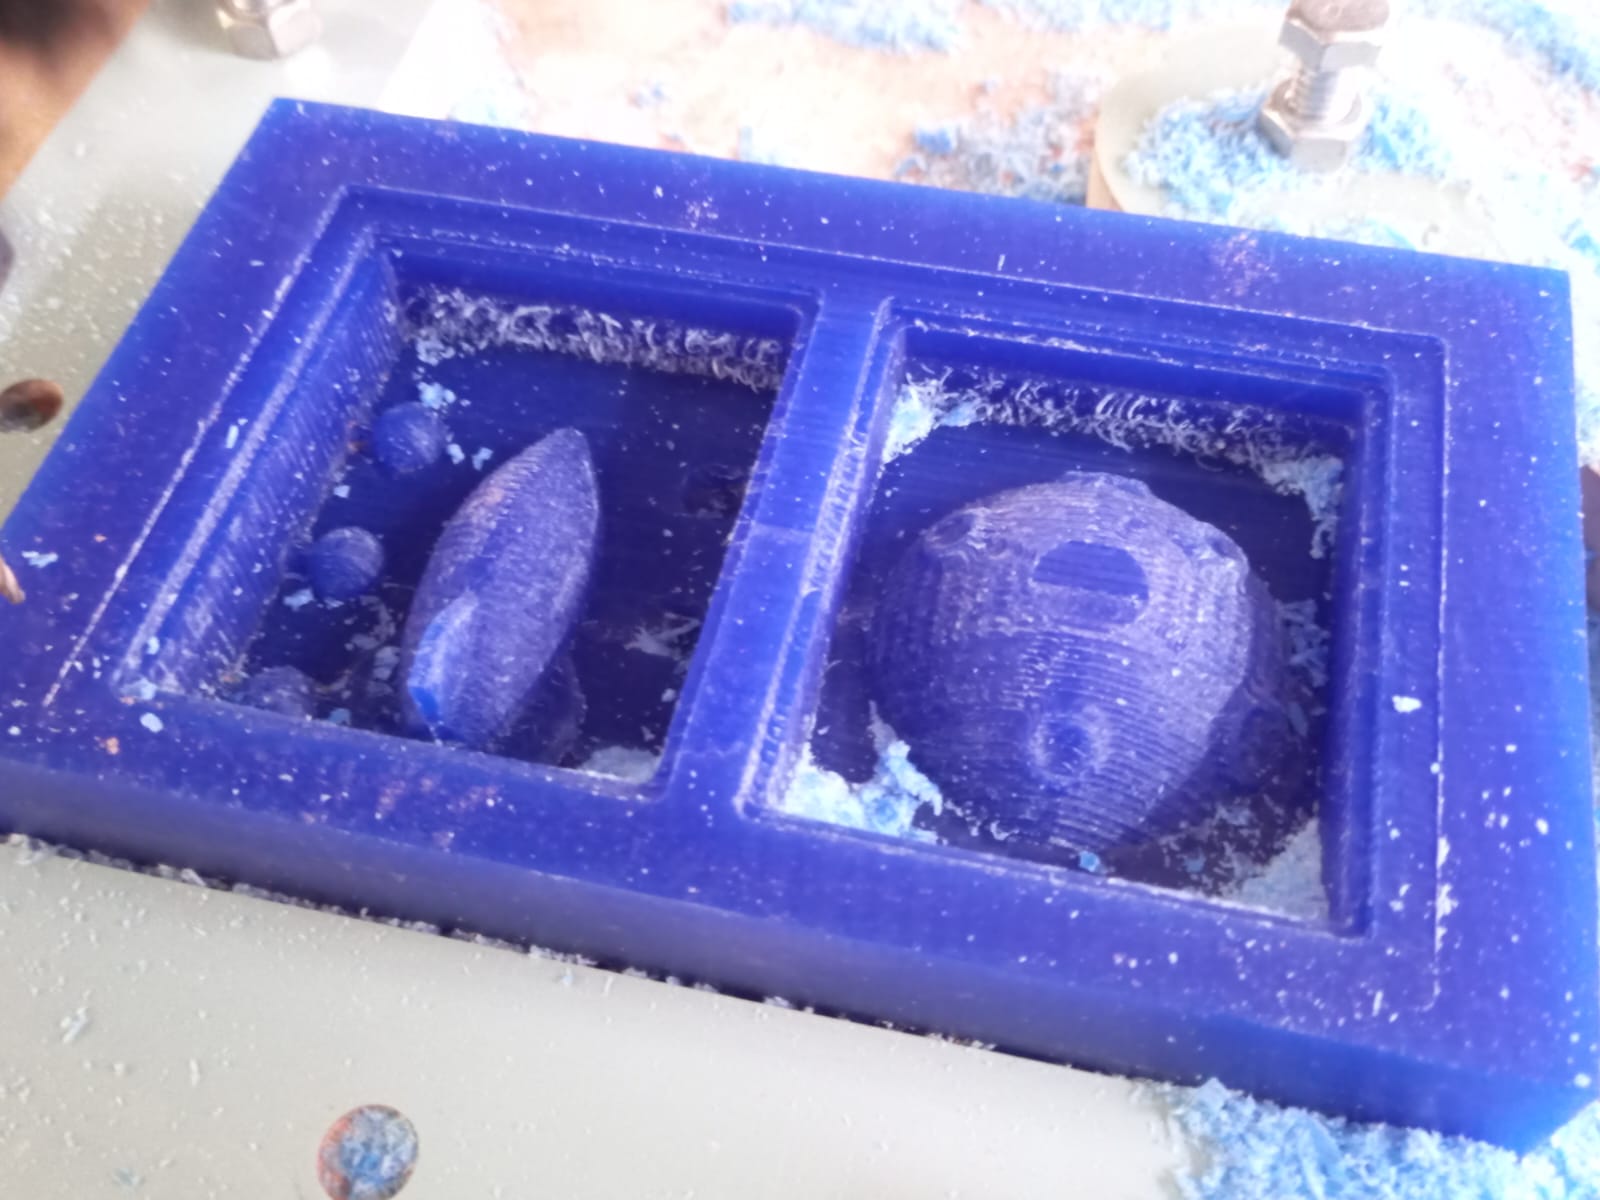
It took approximately 1 hour and 15 minutes to complete the roughing process. It feels rough, and the lines are quite pronounced.
OH NO!
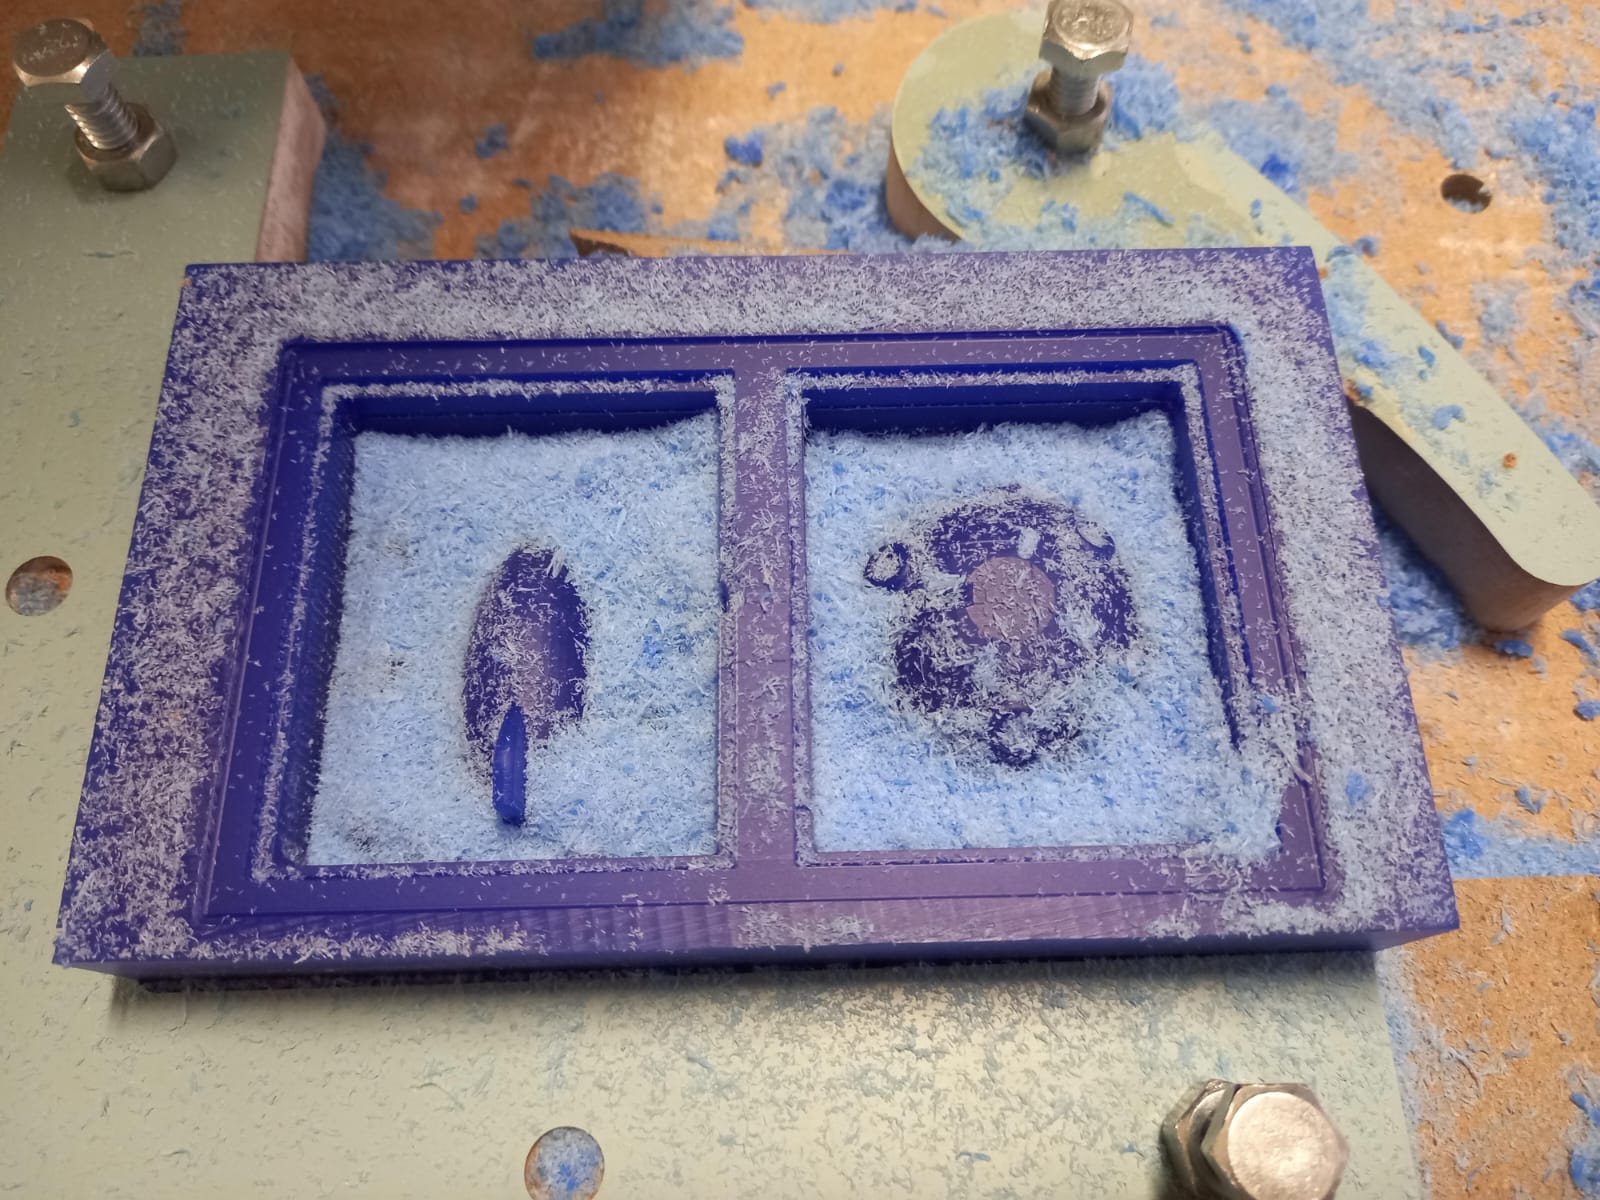
Well, something unfortunate happened while I was changing the finishing tool, which is why there aren't many photos of that process. I had a bit of a crisis haha. What happened was, when setting the zero point on the z-axis, we didn't press the correct button, so the x-axis and y-axis got set in a different position from the original. I tried to reset everything with the finishing tool, and that caused it to eat away part of the moon and the division between these two molds, which is why it looks bitten on one side. But how did we fix it? What I did was switch back to the roughing tool and place it back in the corner just as it was left during the first machining. Here, using the center of the tool as a reference point was very helpful for setting xy. Then, we switched the tool back to the finishing one, and this time we set the z-axis with the hope of recovering the piece, and as we can see in the image, it was a complete success! Finishing took 25 minutes to complete.
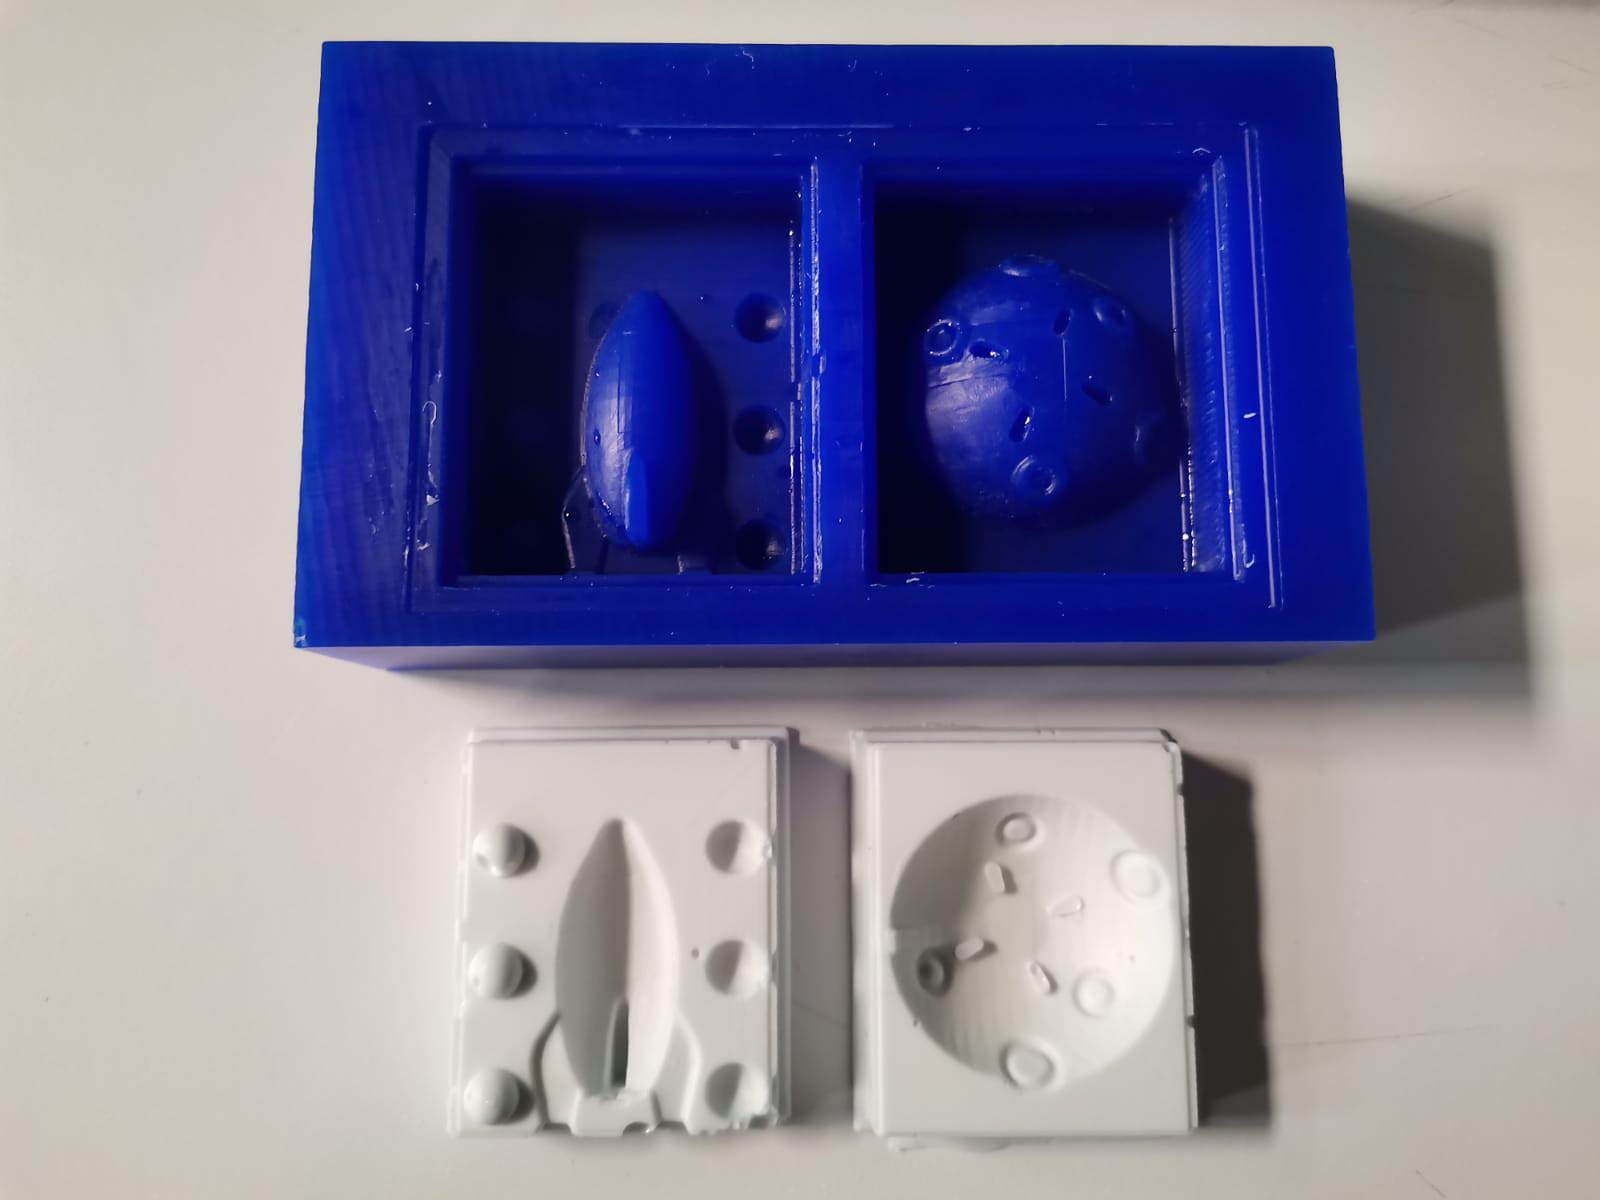
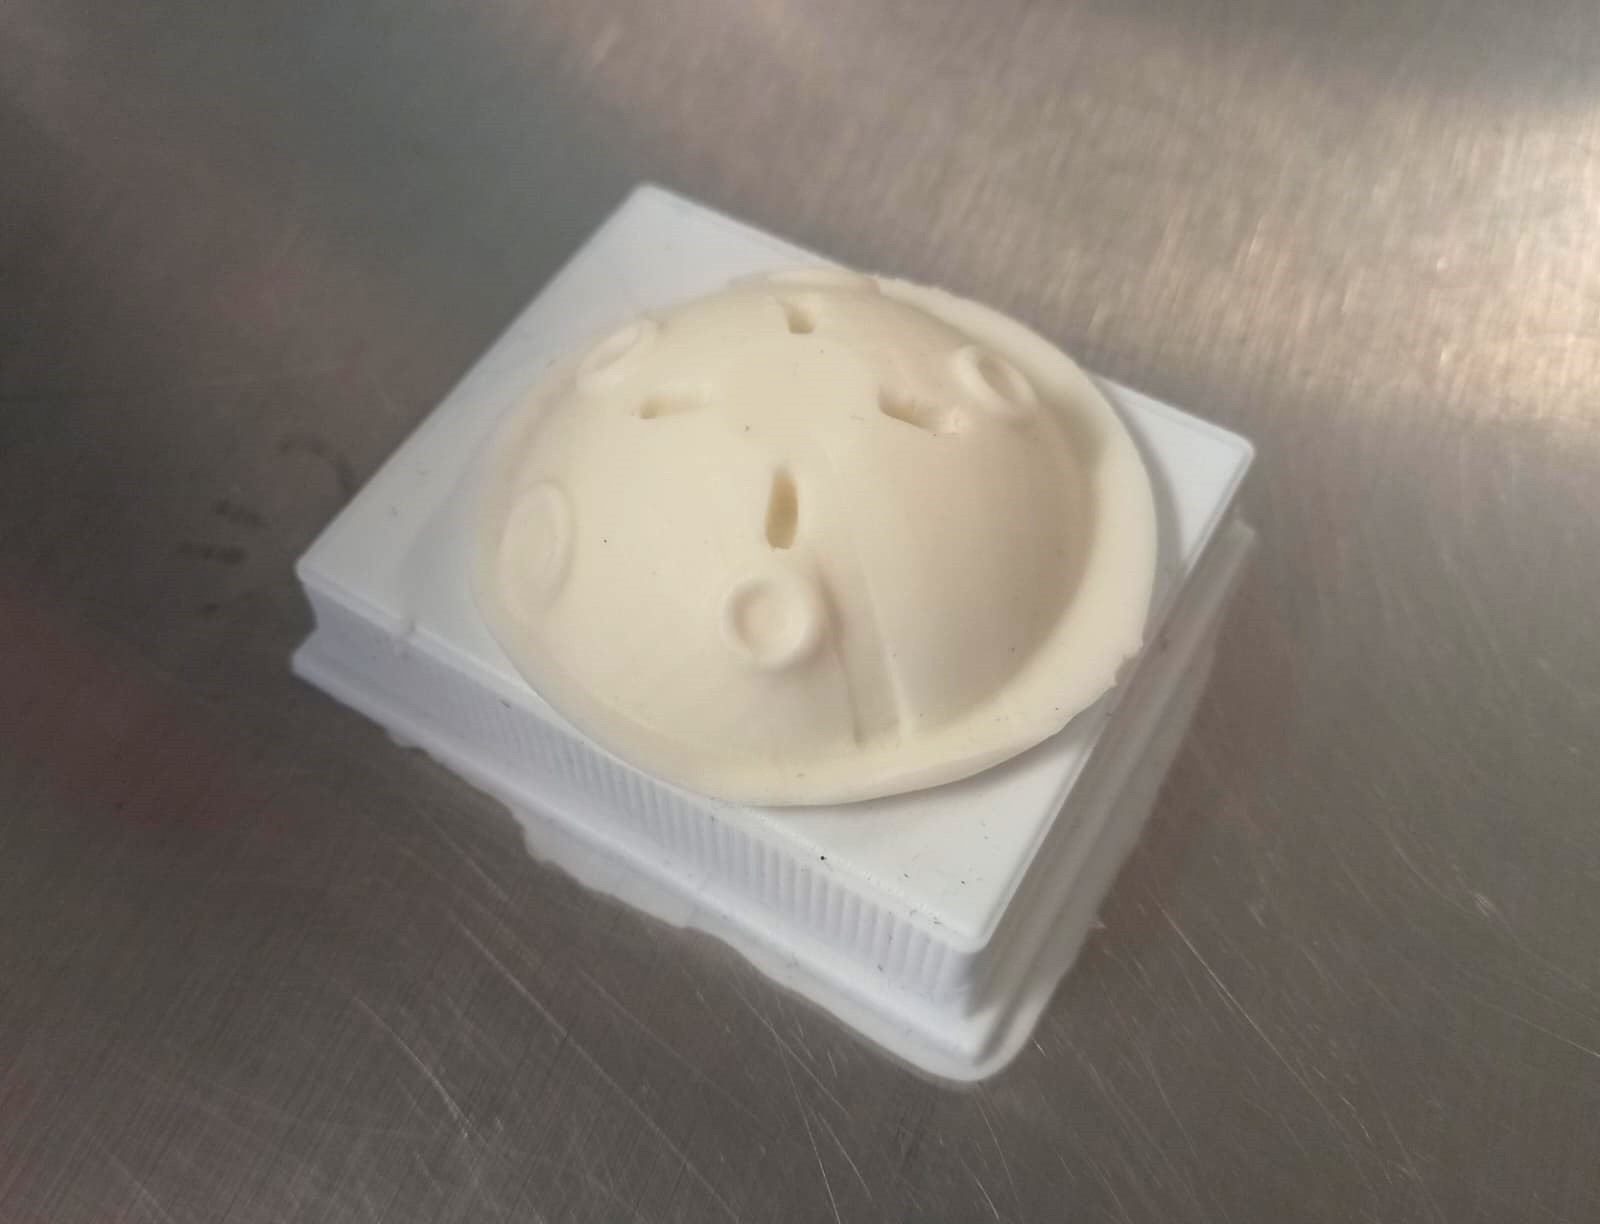
Mold
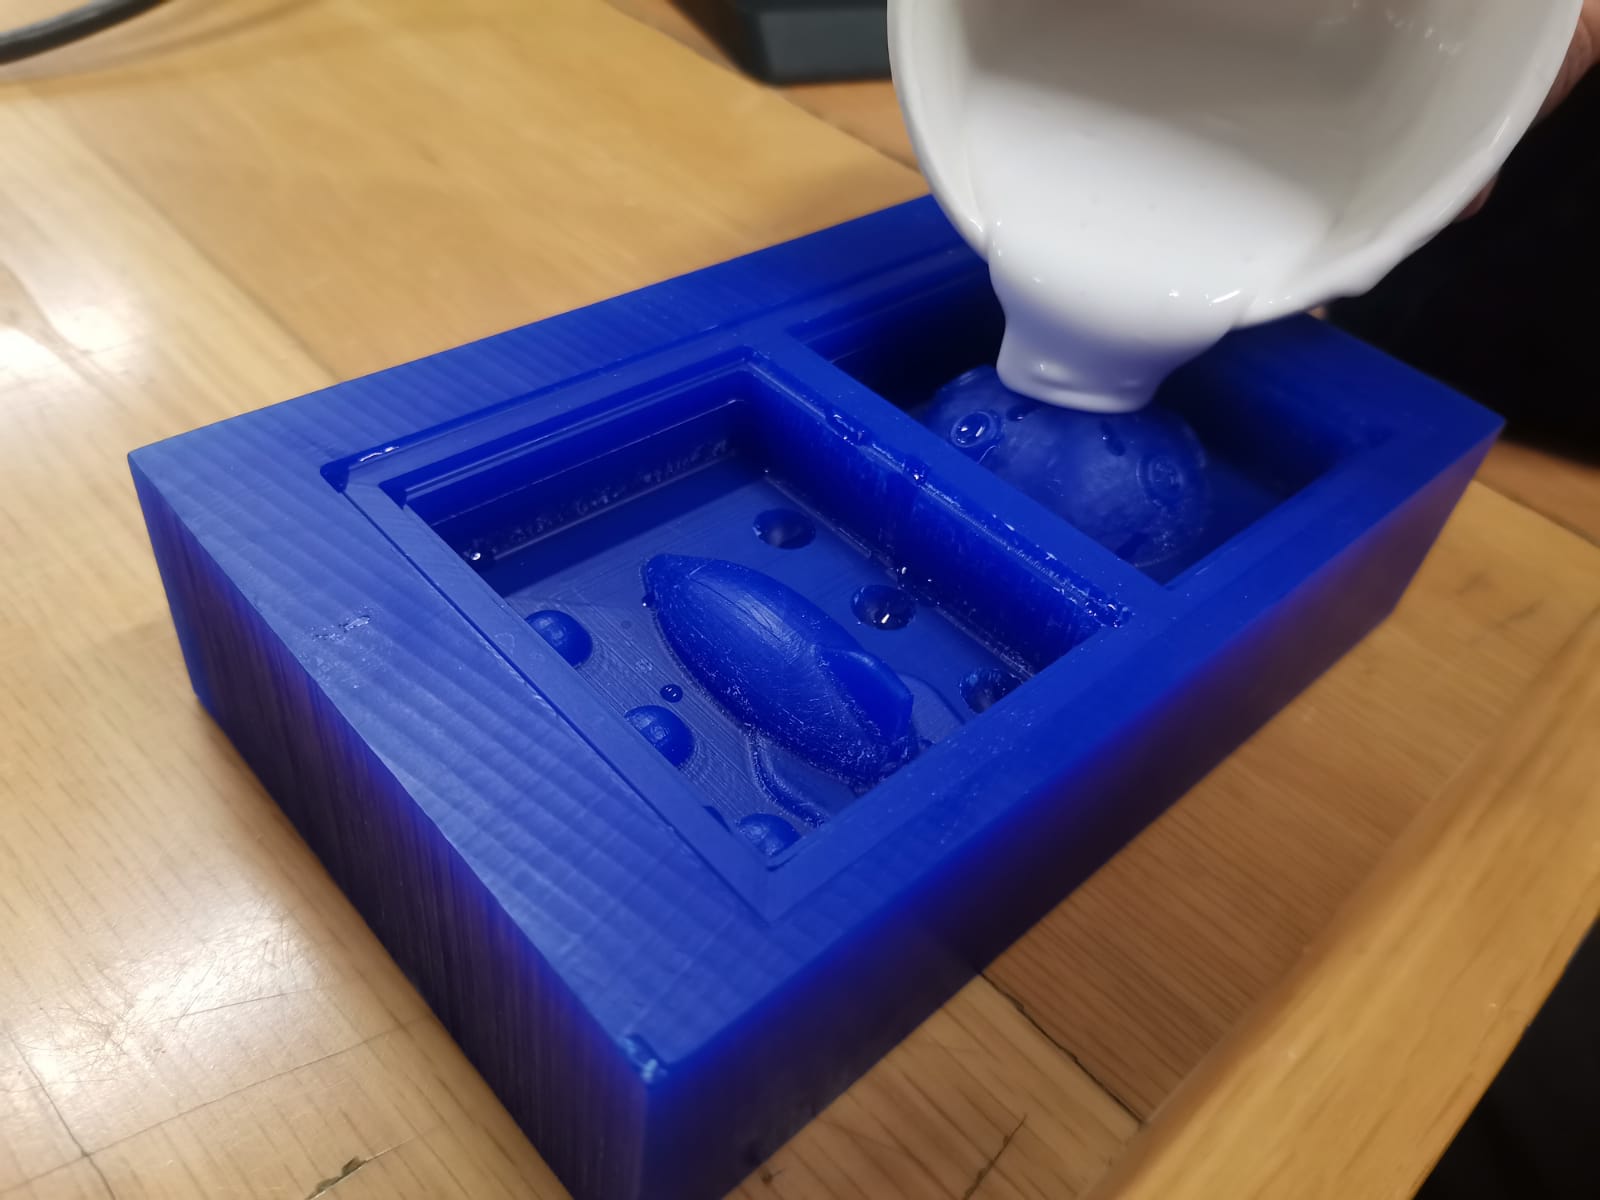
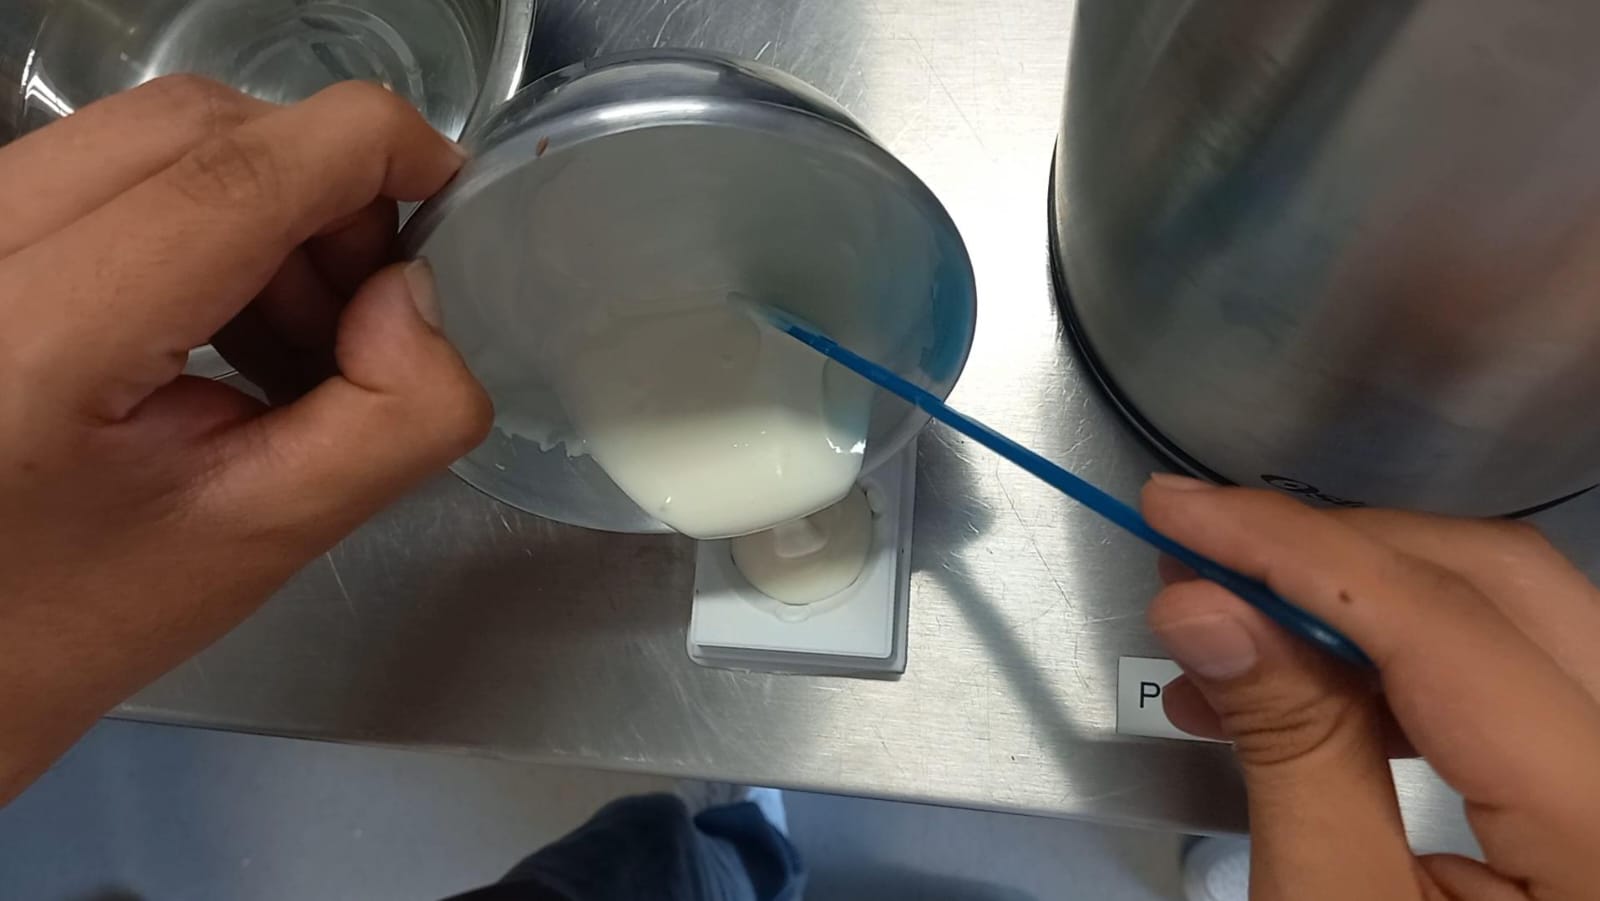
The silicon stuff usually comes in two parts, known as Part A and Part B. Here, we mixed it up with 100 parts A to 10 parts B. This ratio is super important for the silicon to set right and get the properties we want. Also, here is the link to the datasheet to check the material we used.

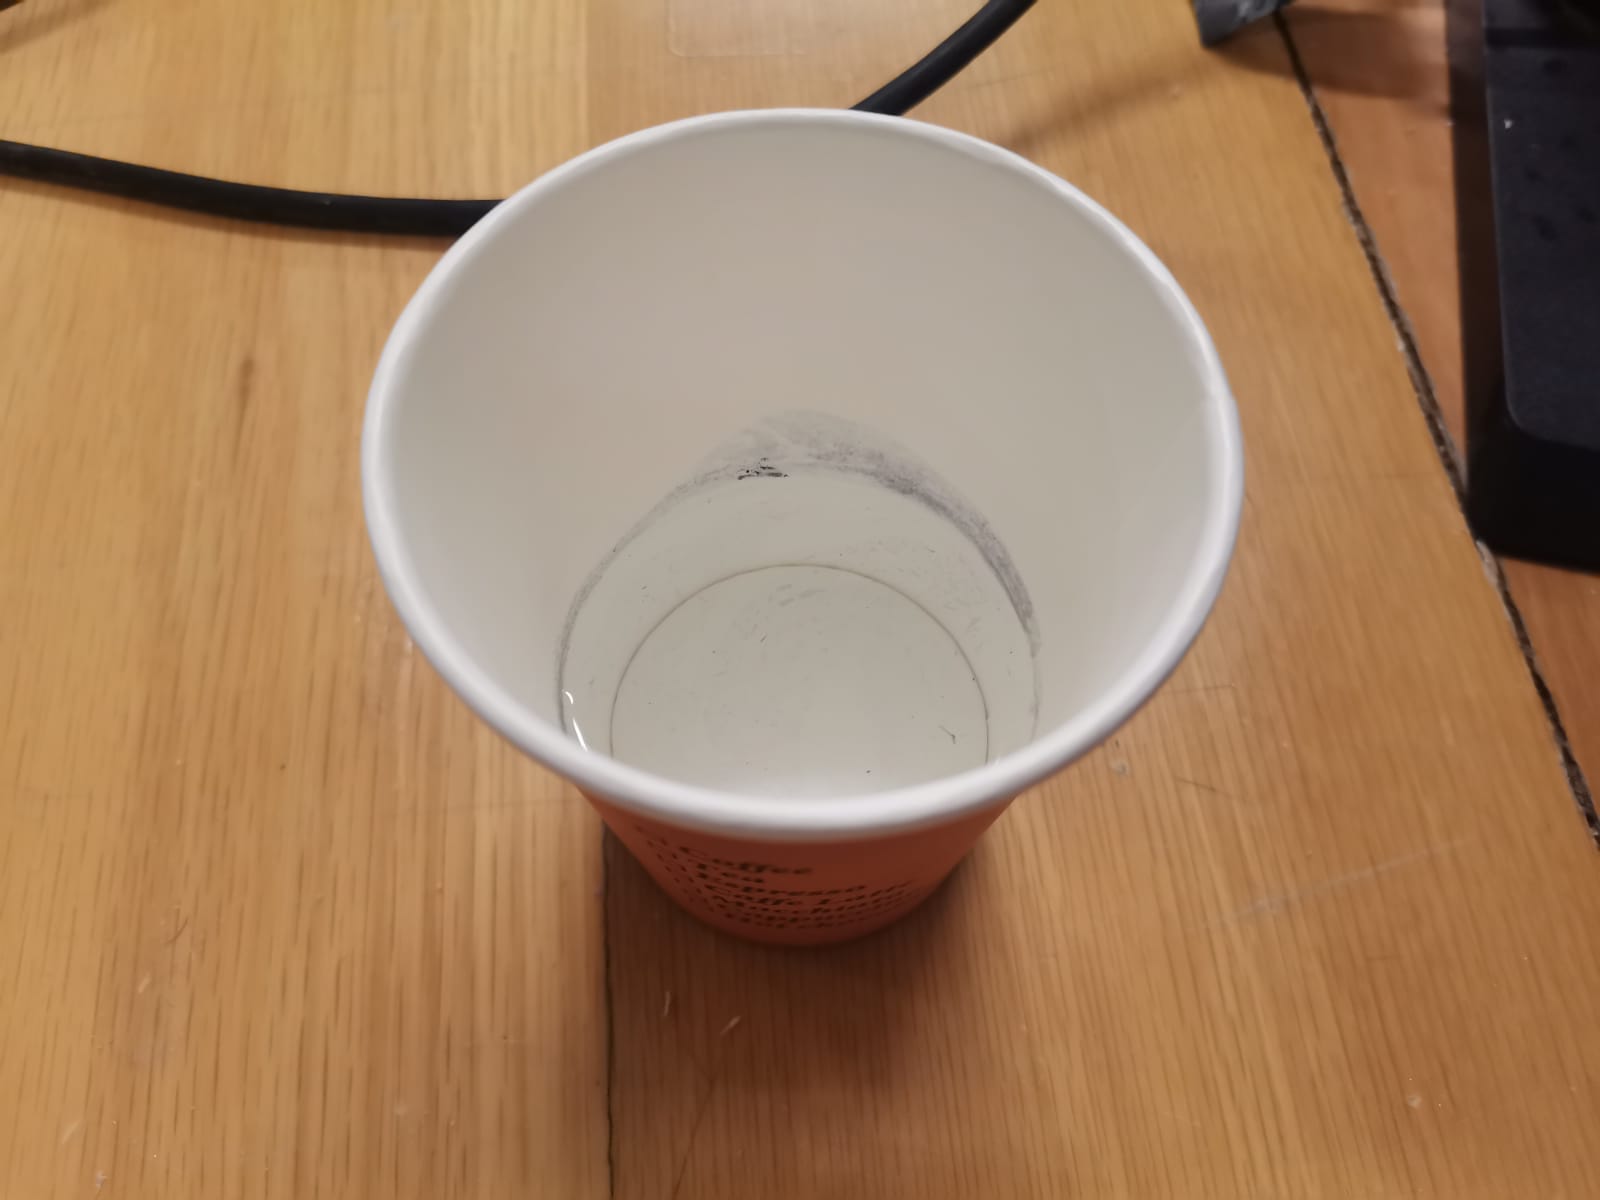
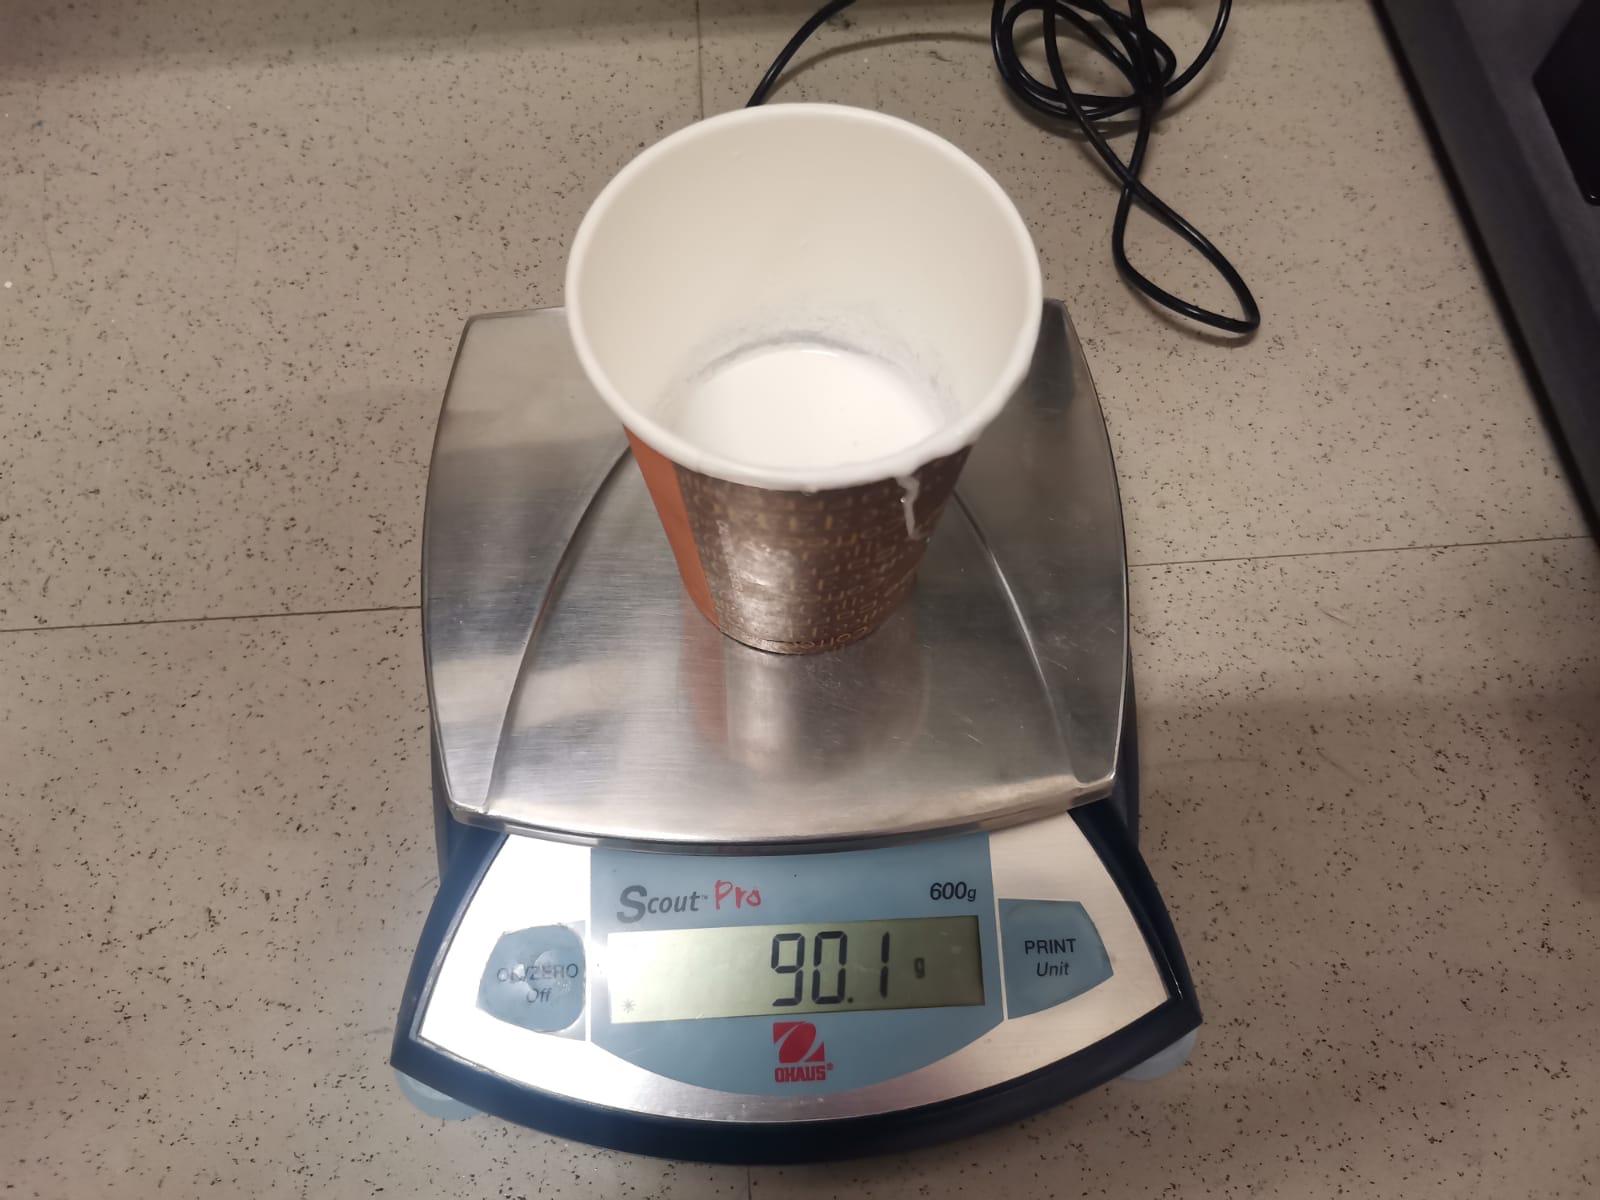
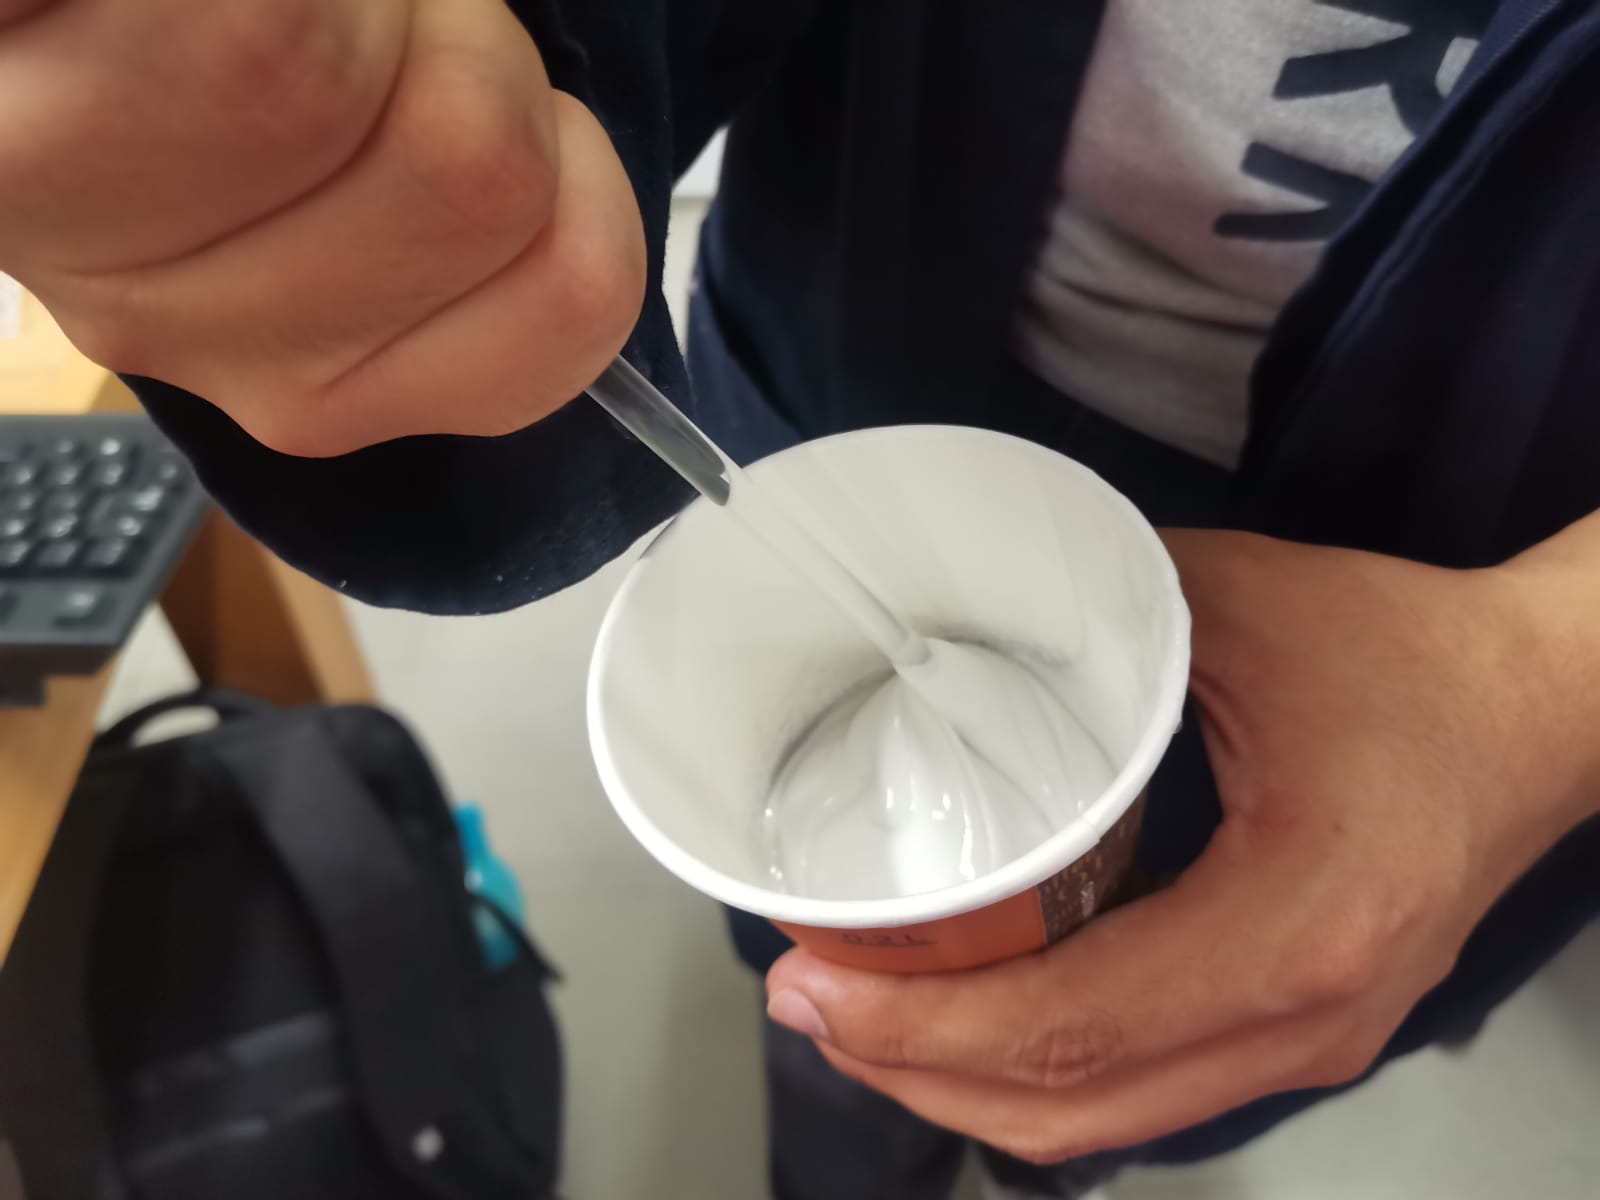
We filled the mold with water and poured it into a glass to get an idea of the amount of silicone we need to prepare. Still, we marked the glass and weighed it hehe.
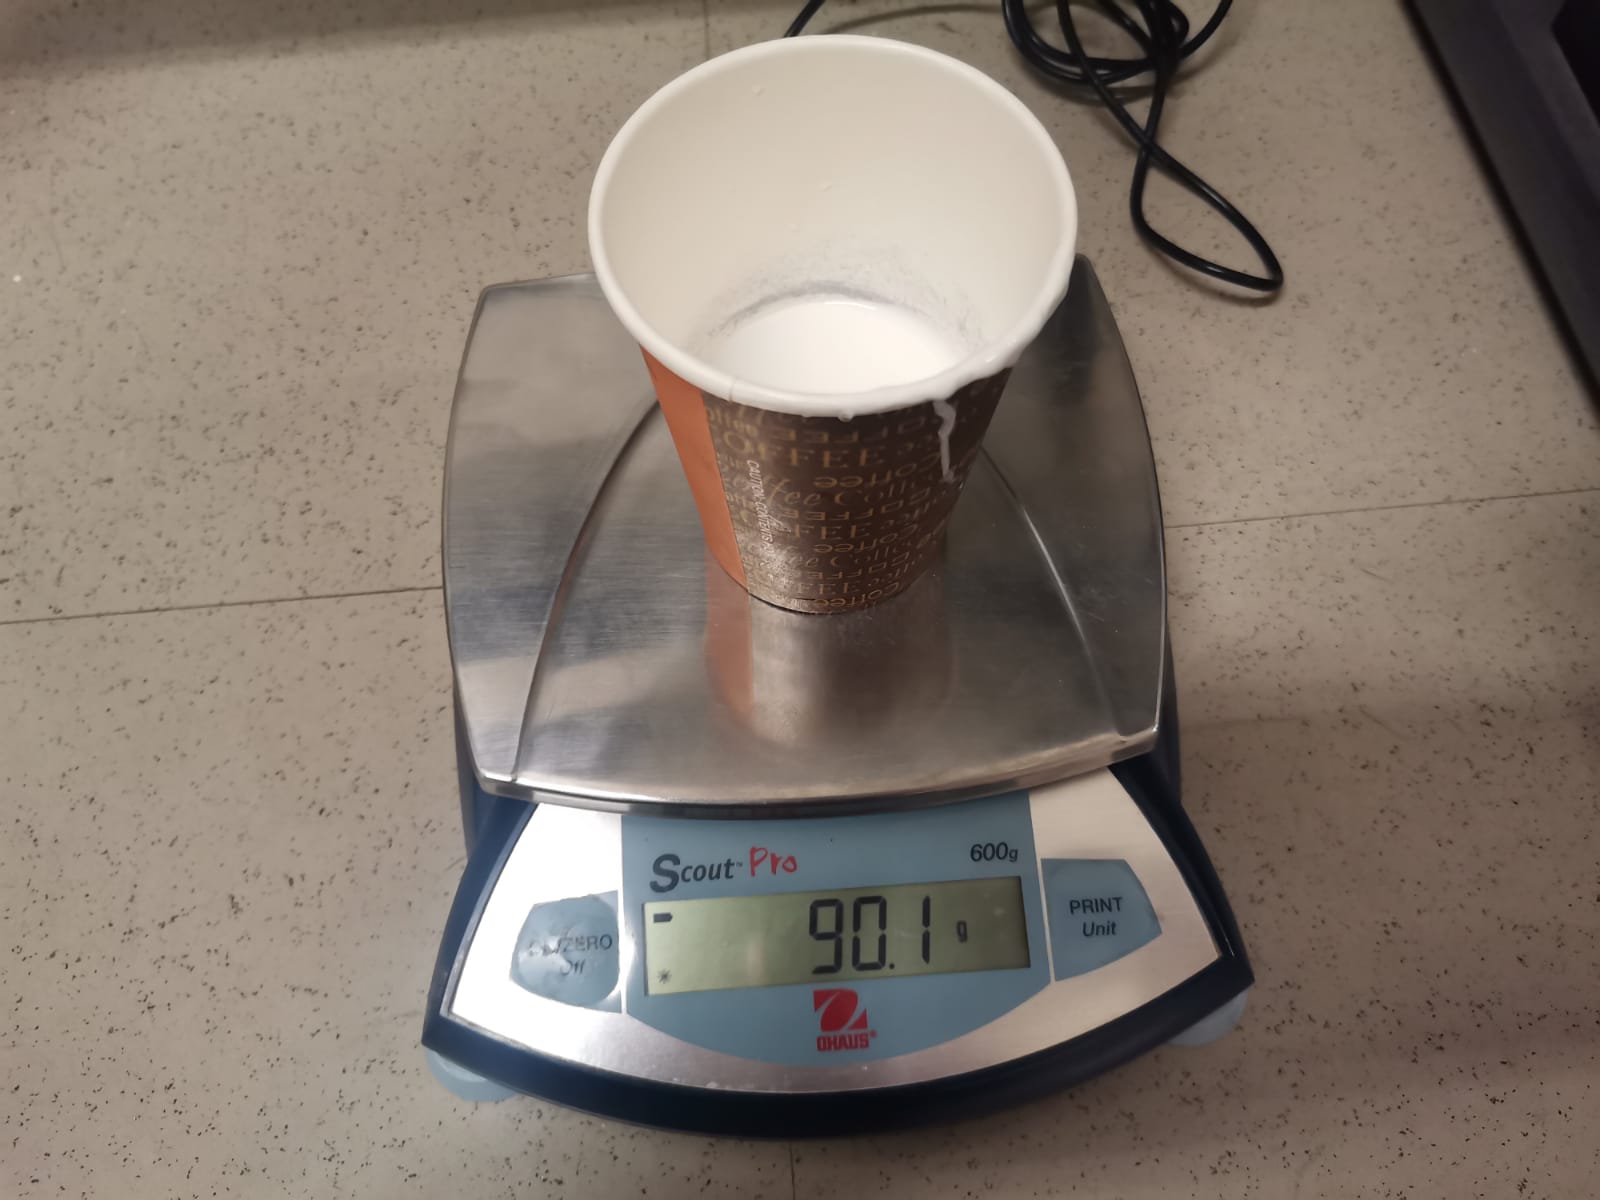
We added the same amount of water but with silicone (Part A).
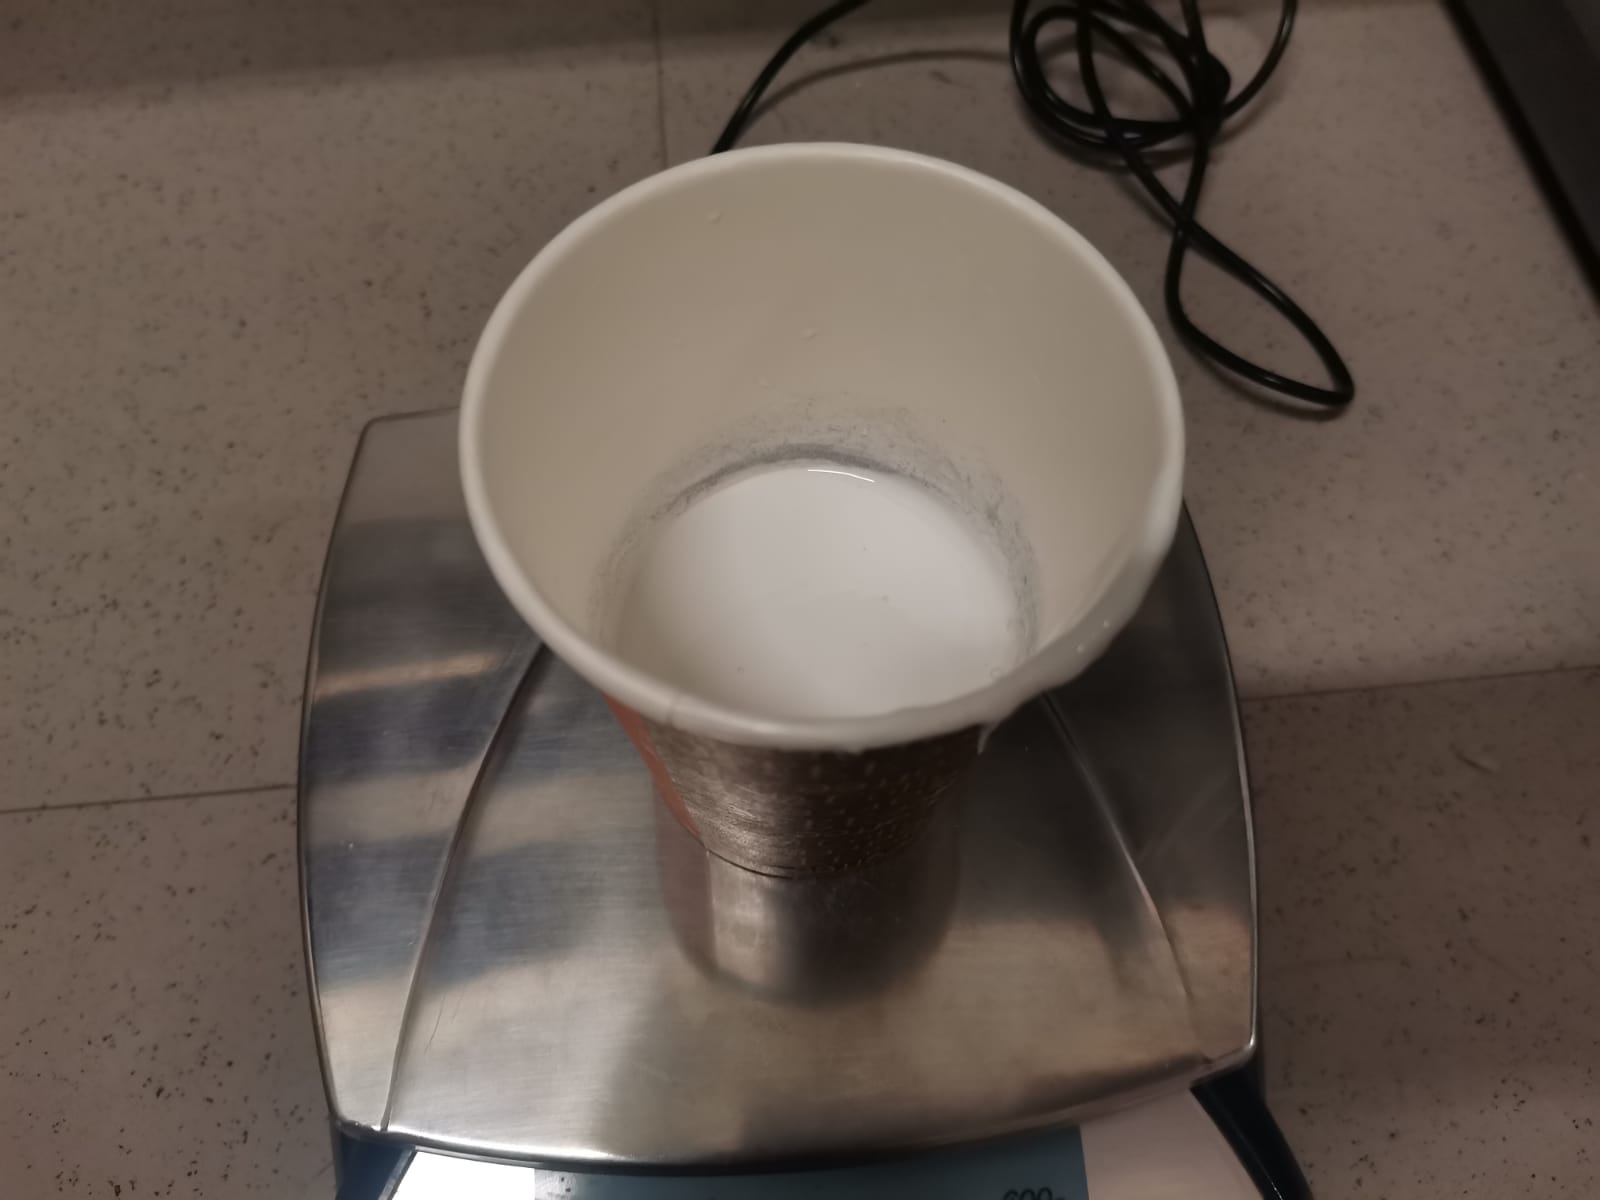
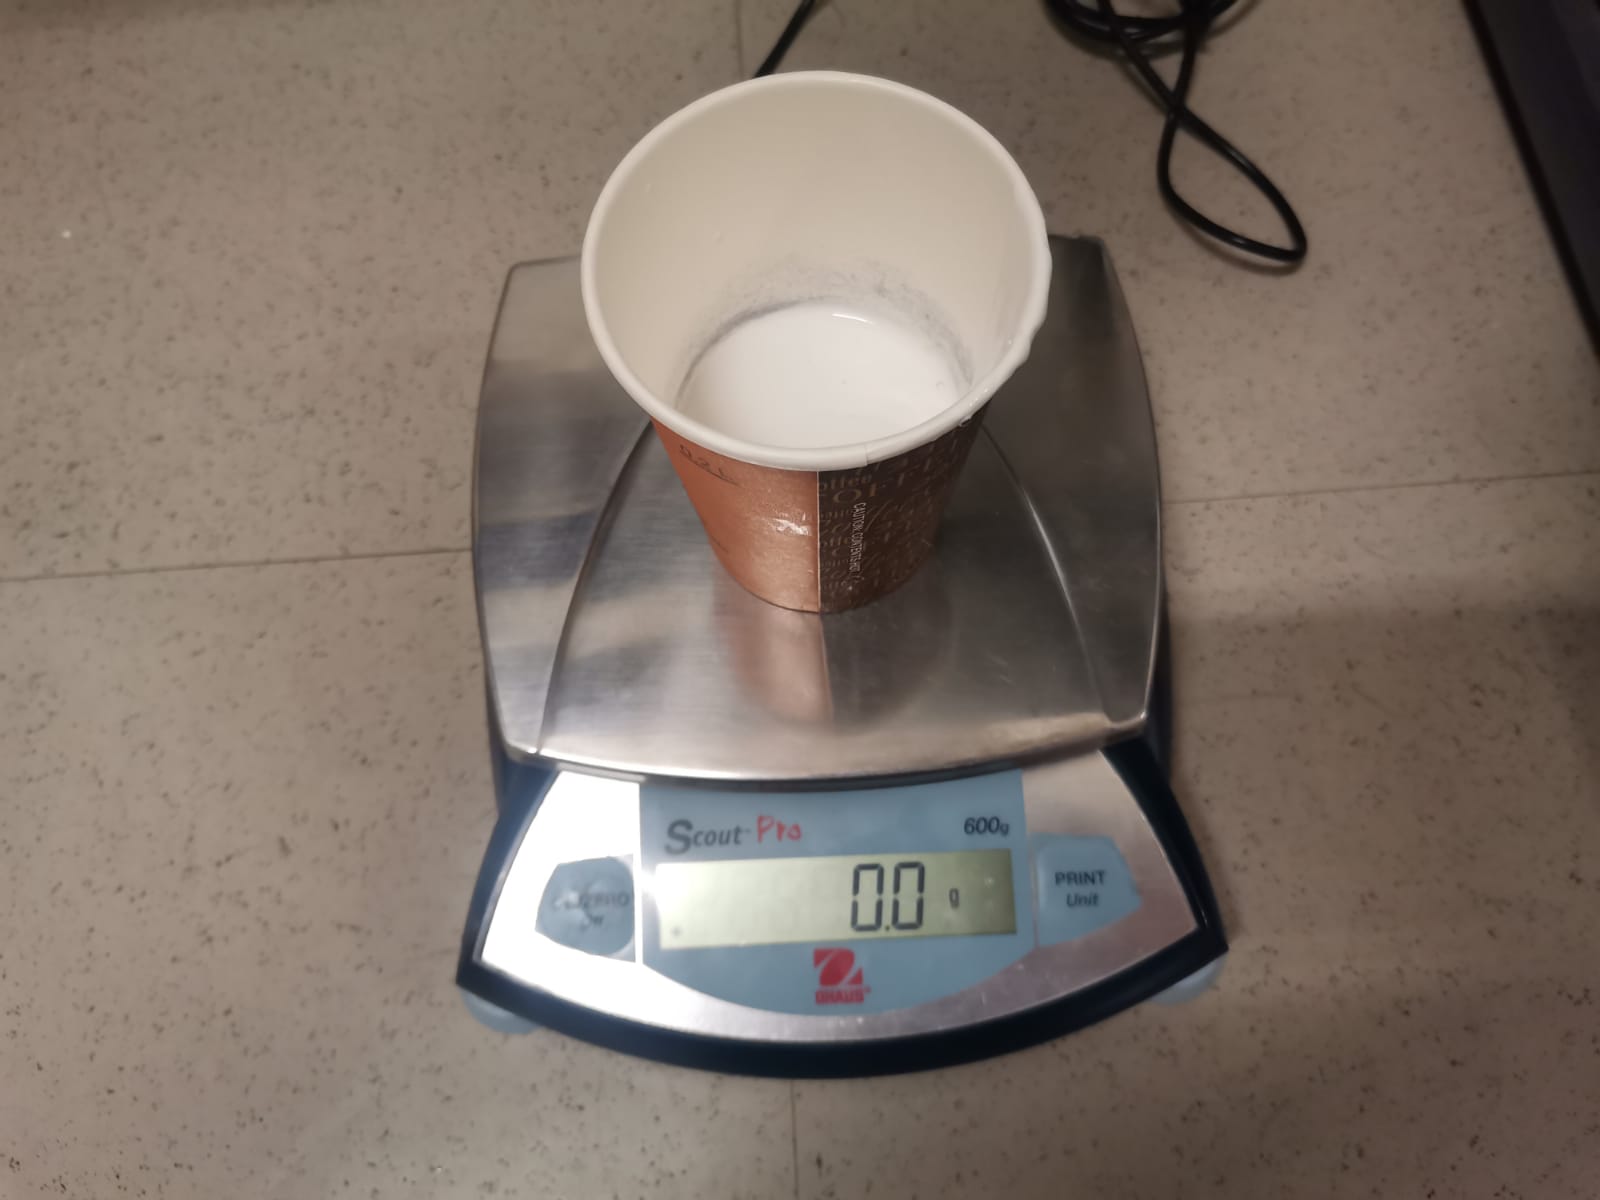
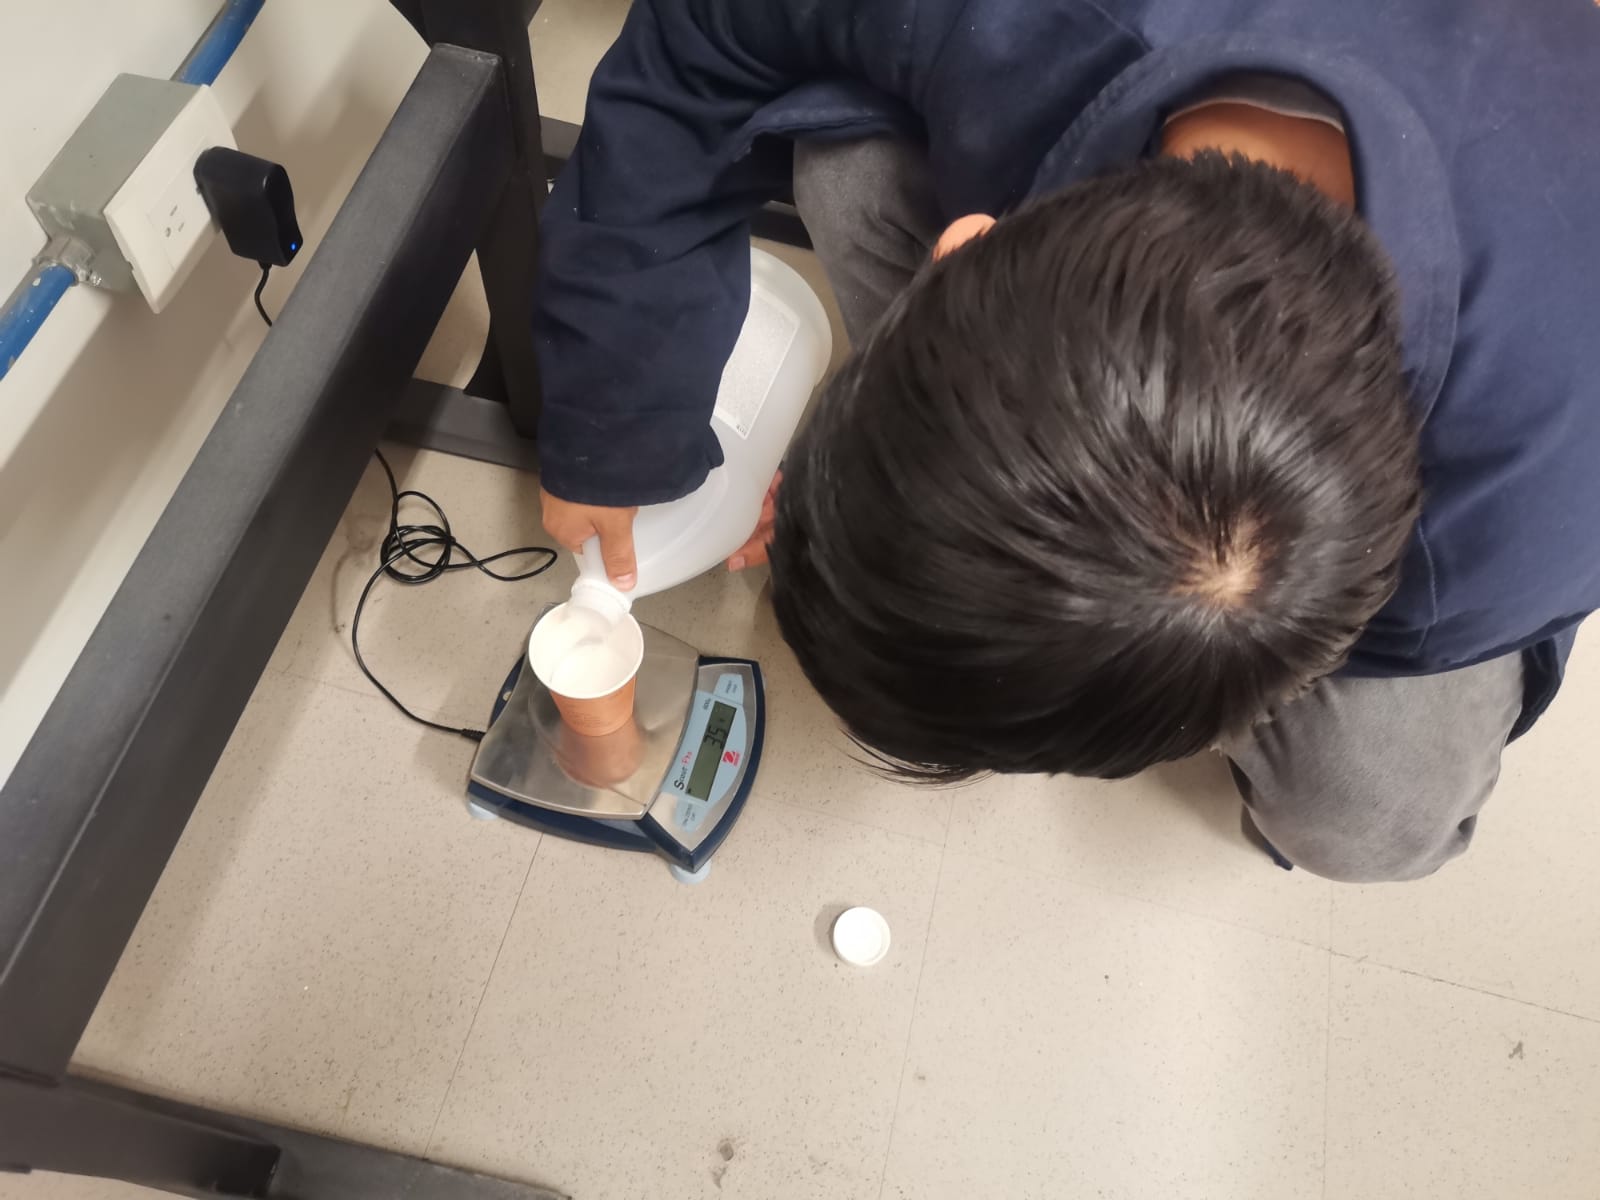
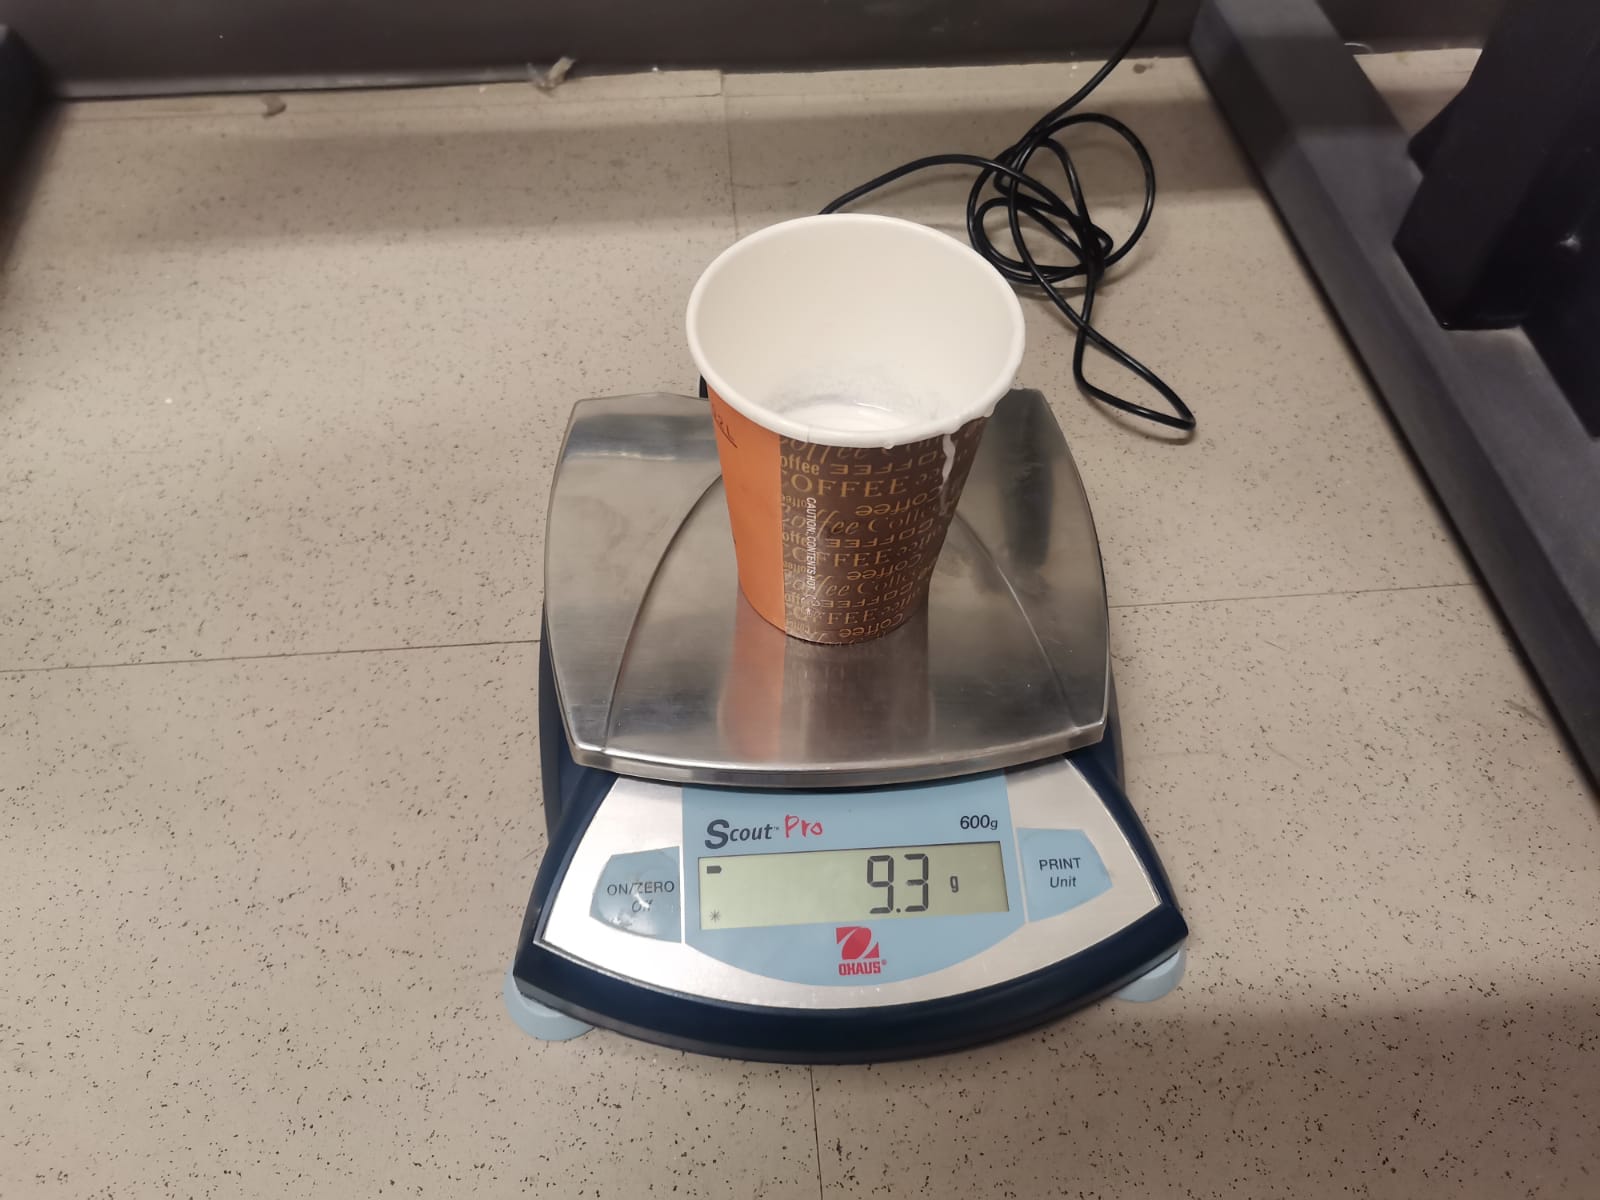
Then, I tared the glass with the scale and added 10% of Part to our mixture.
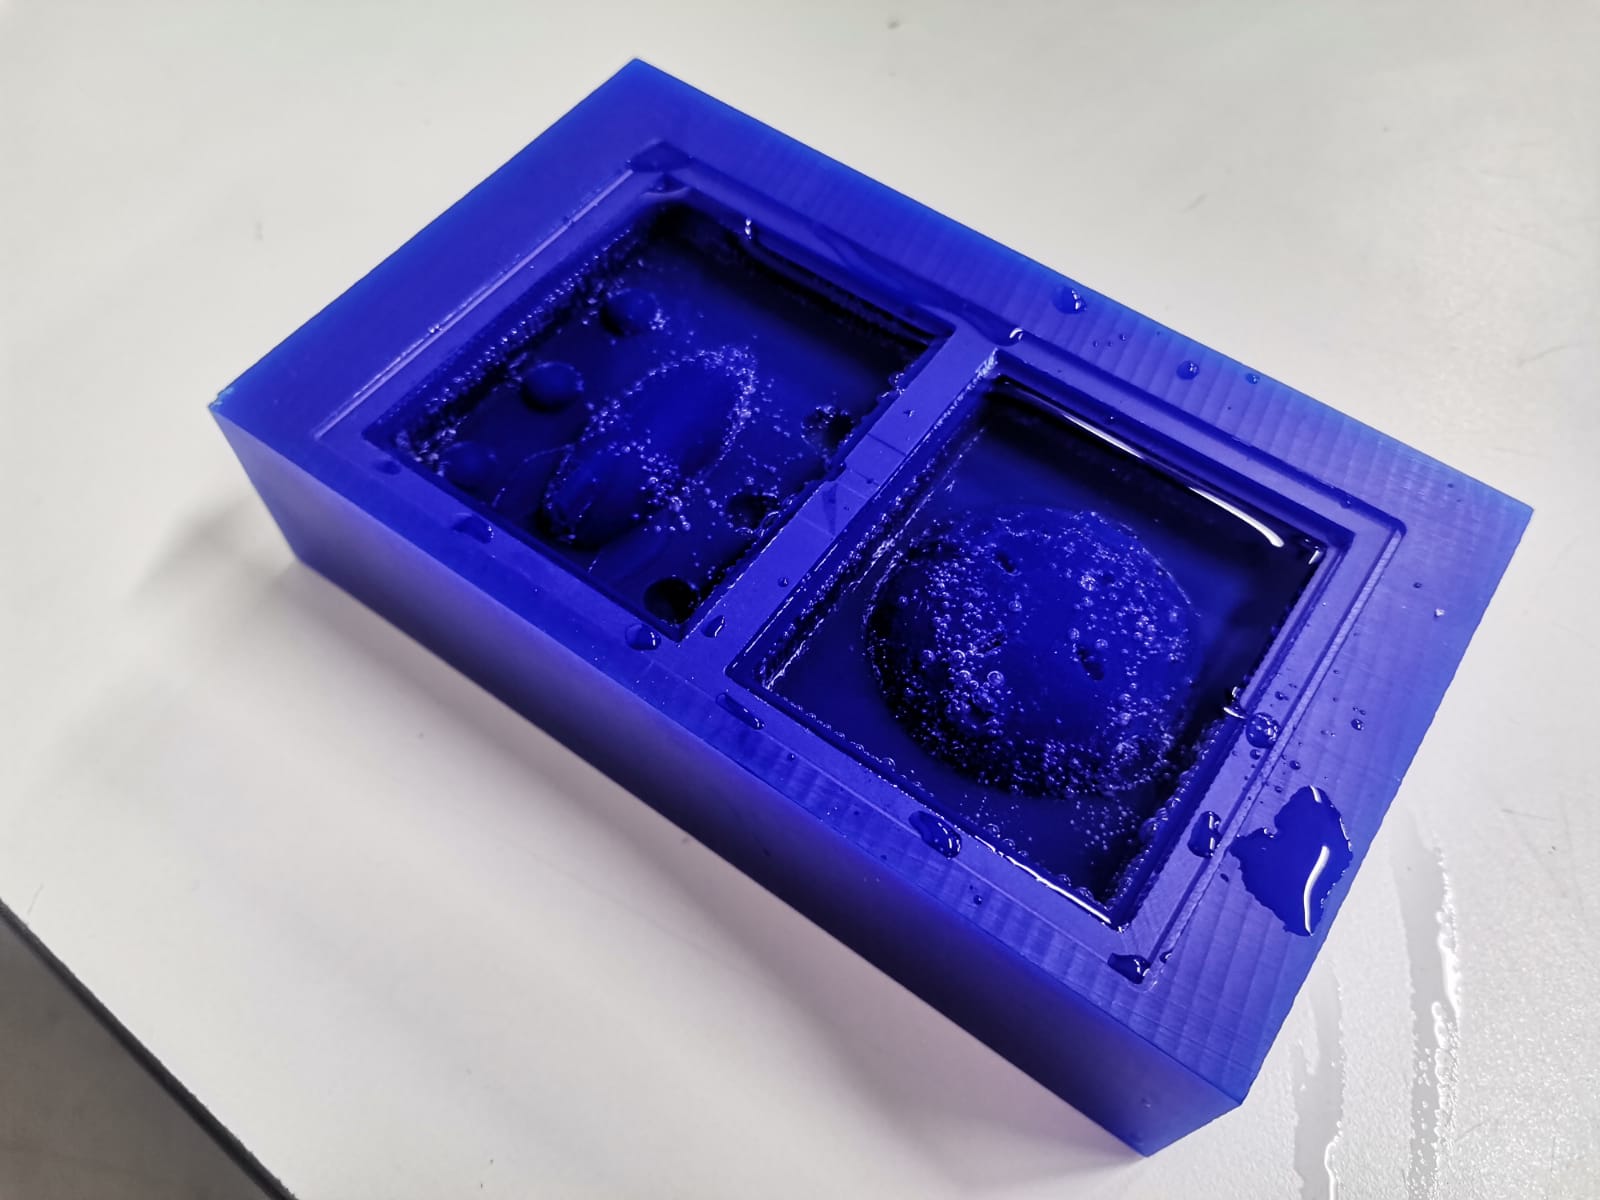
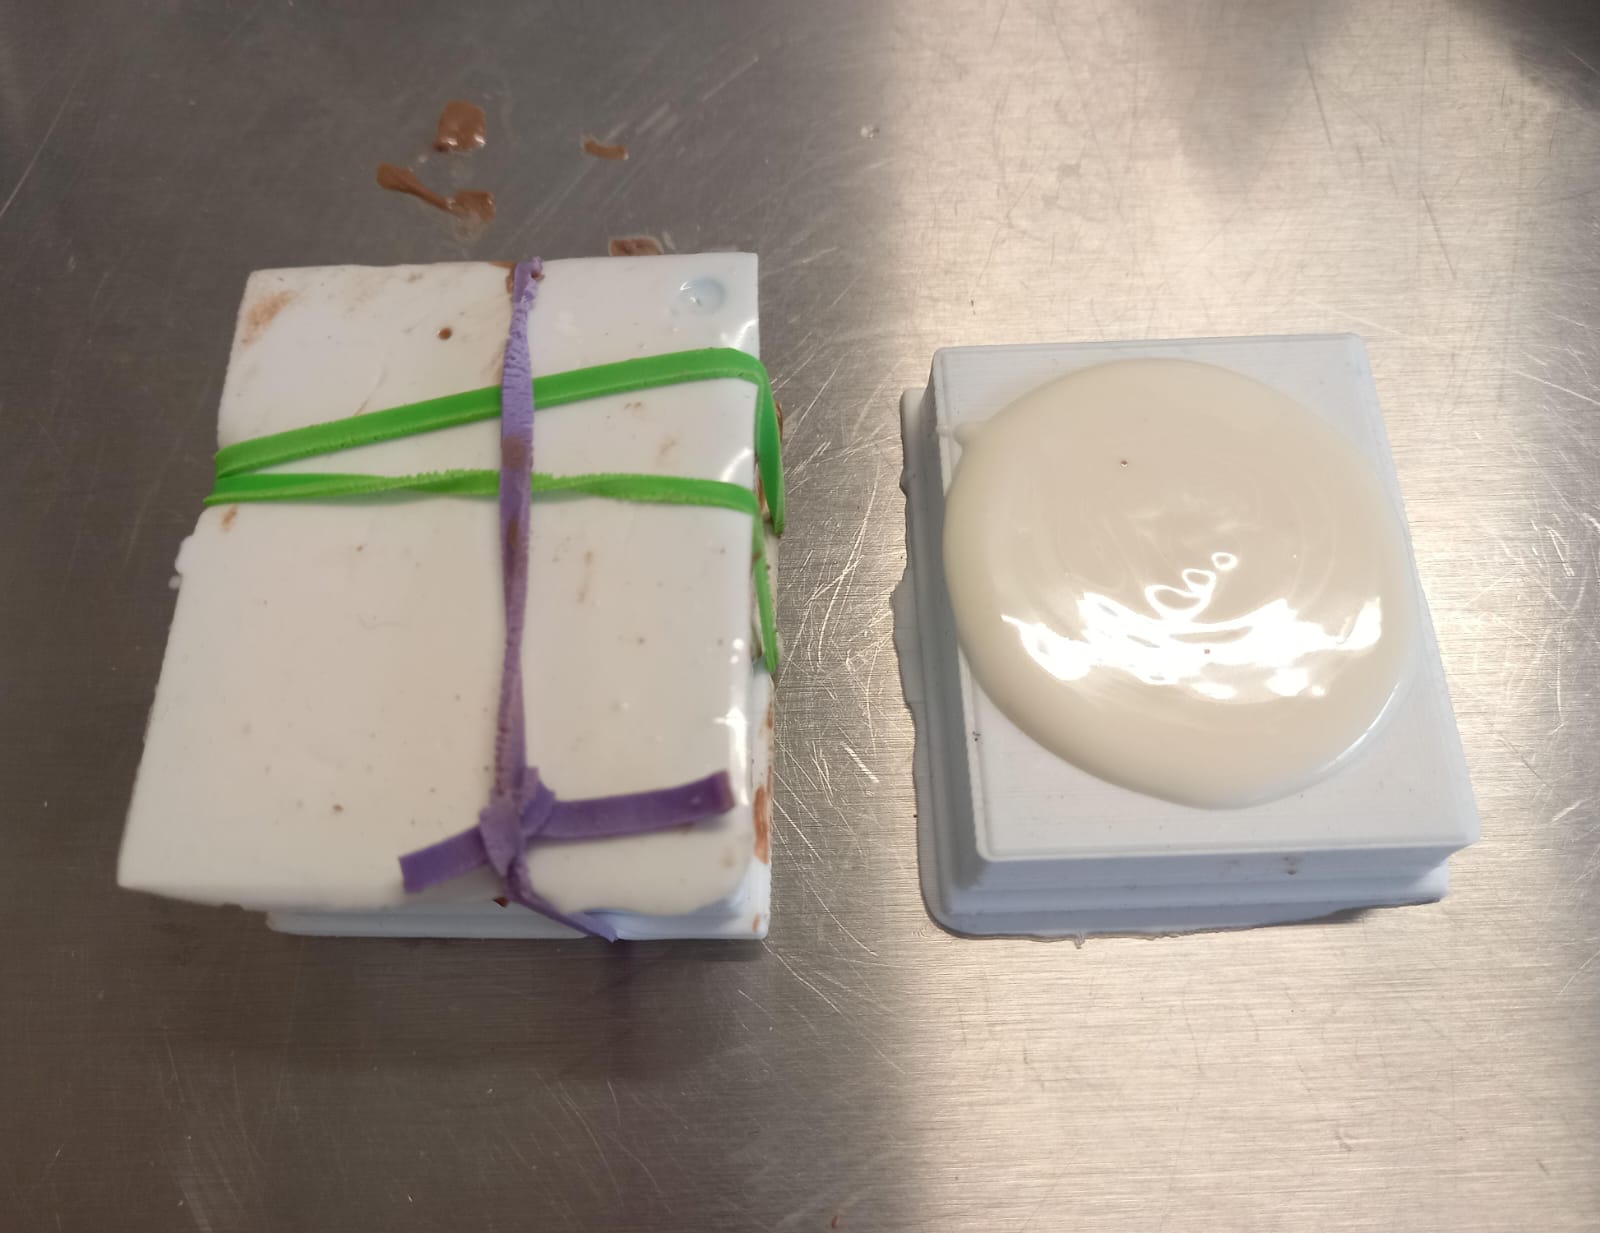
We carefully mixed it to avoid bubbles and poured it into the mold when the liquid was thick and we waited 6 hours!
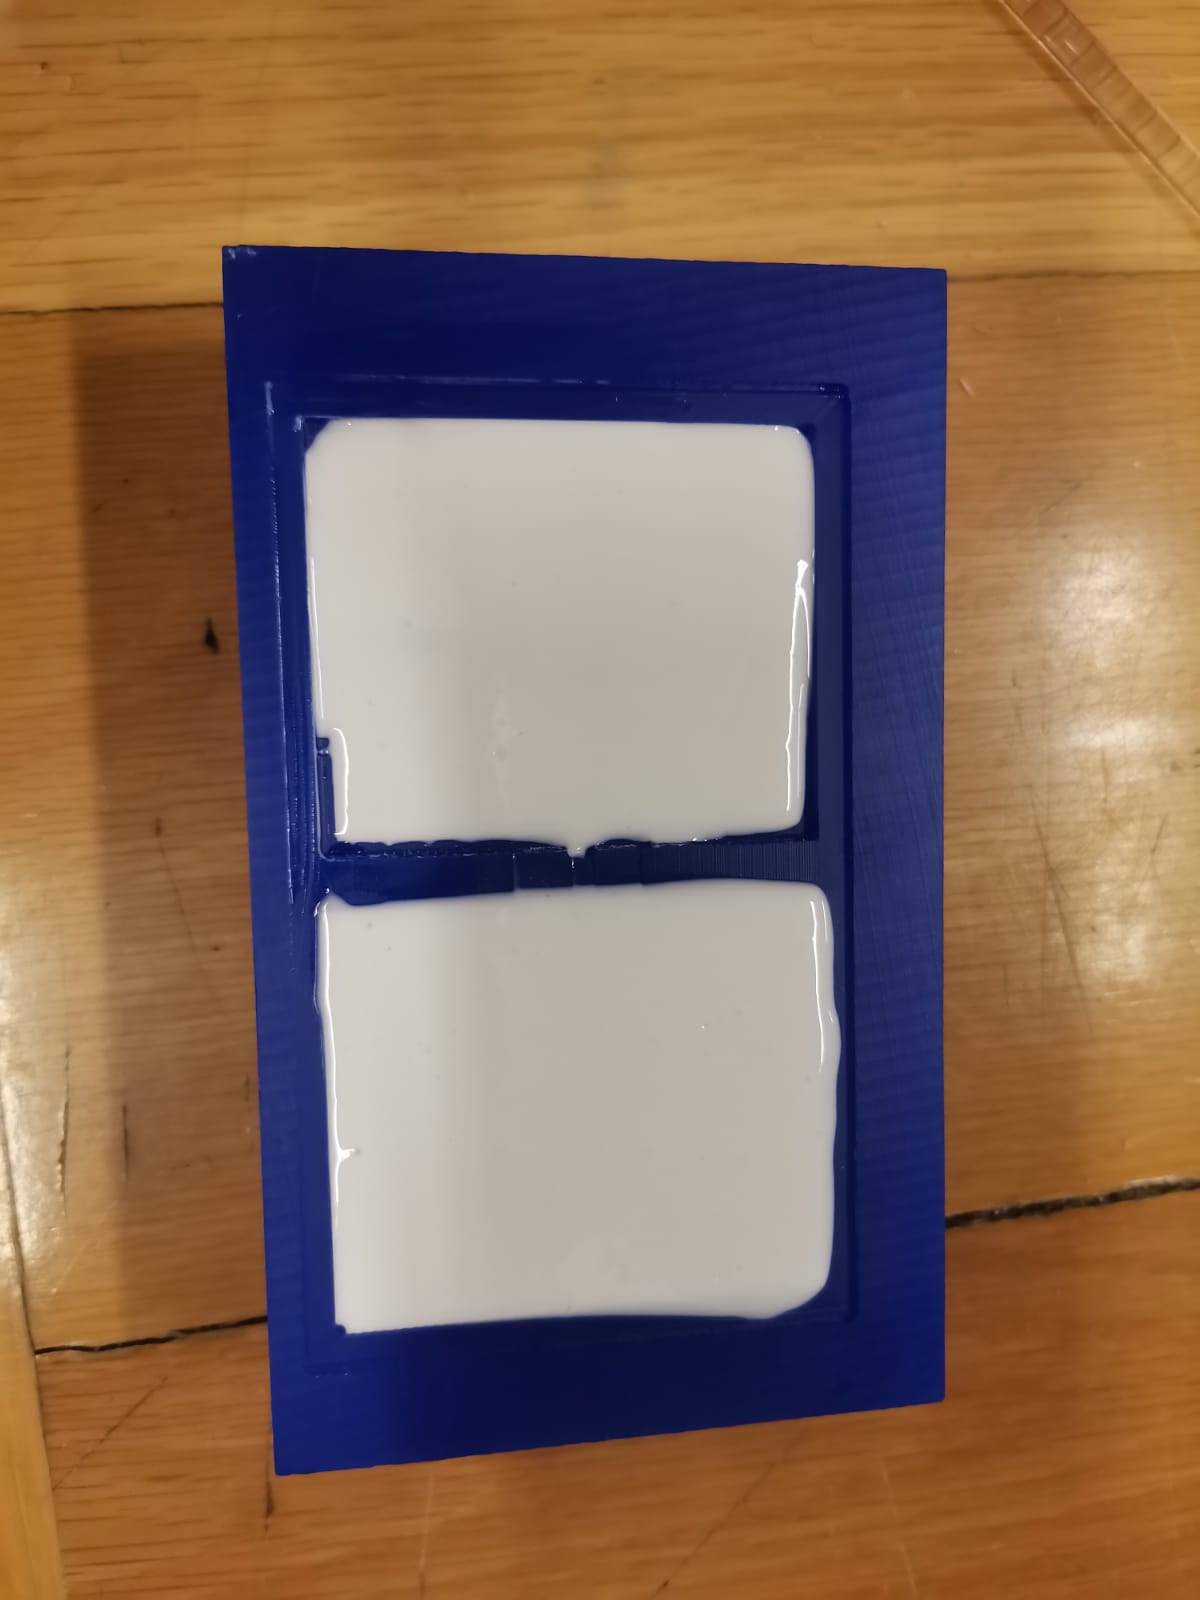
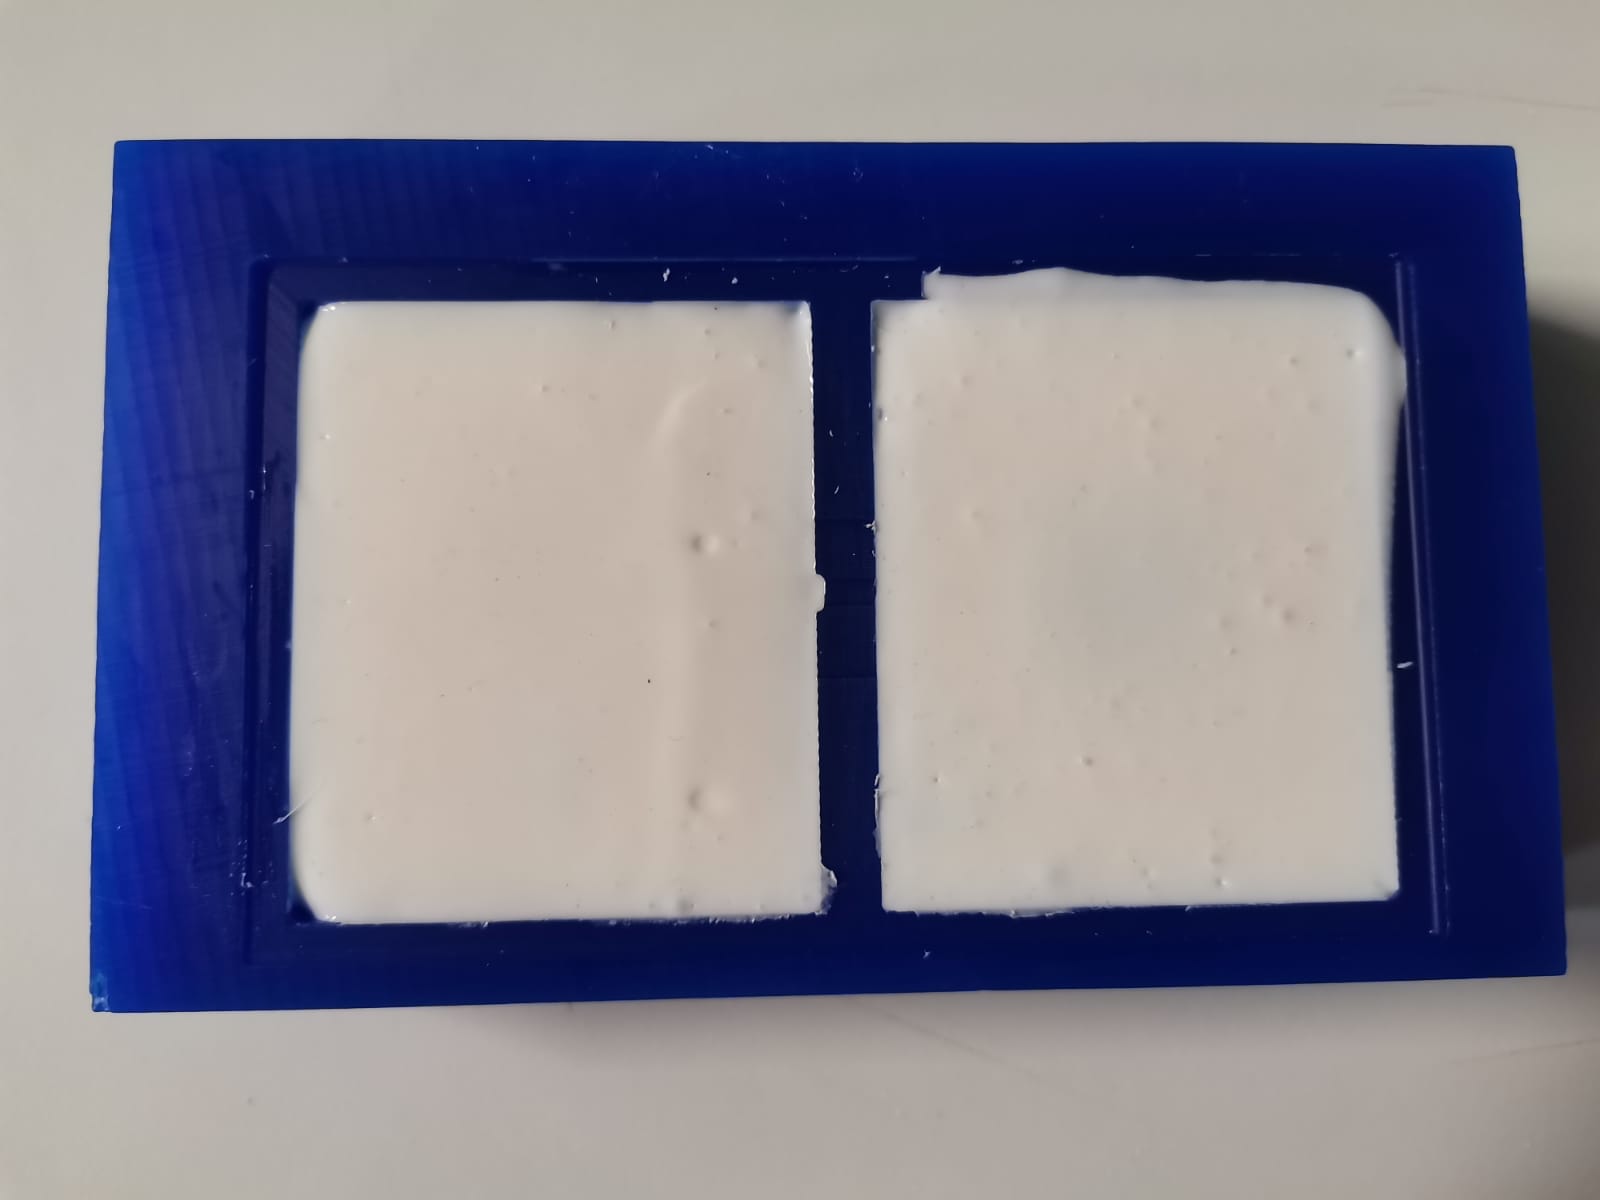
After 6 hours, they look really good. Now it's time to use them. They're not food-grade, but I was excited to see chocolate figures. So, I put on my chef's hat.

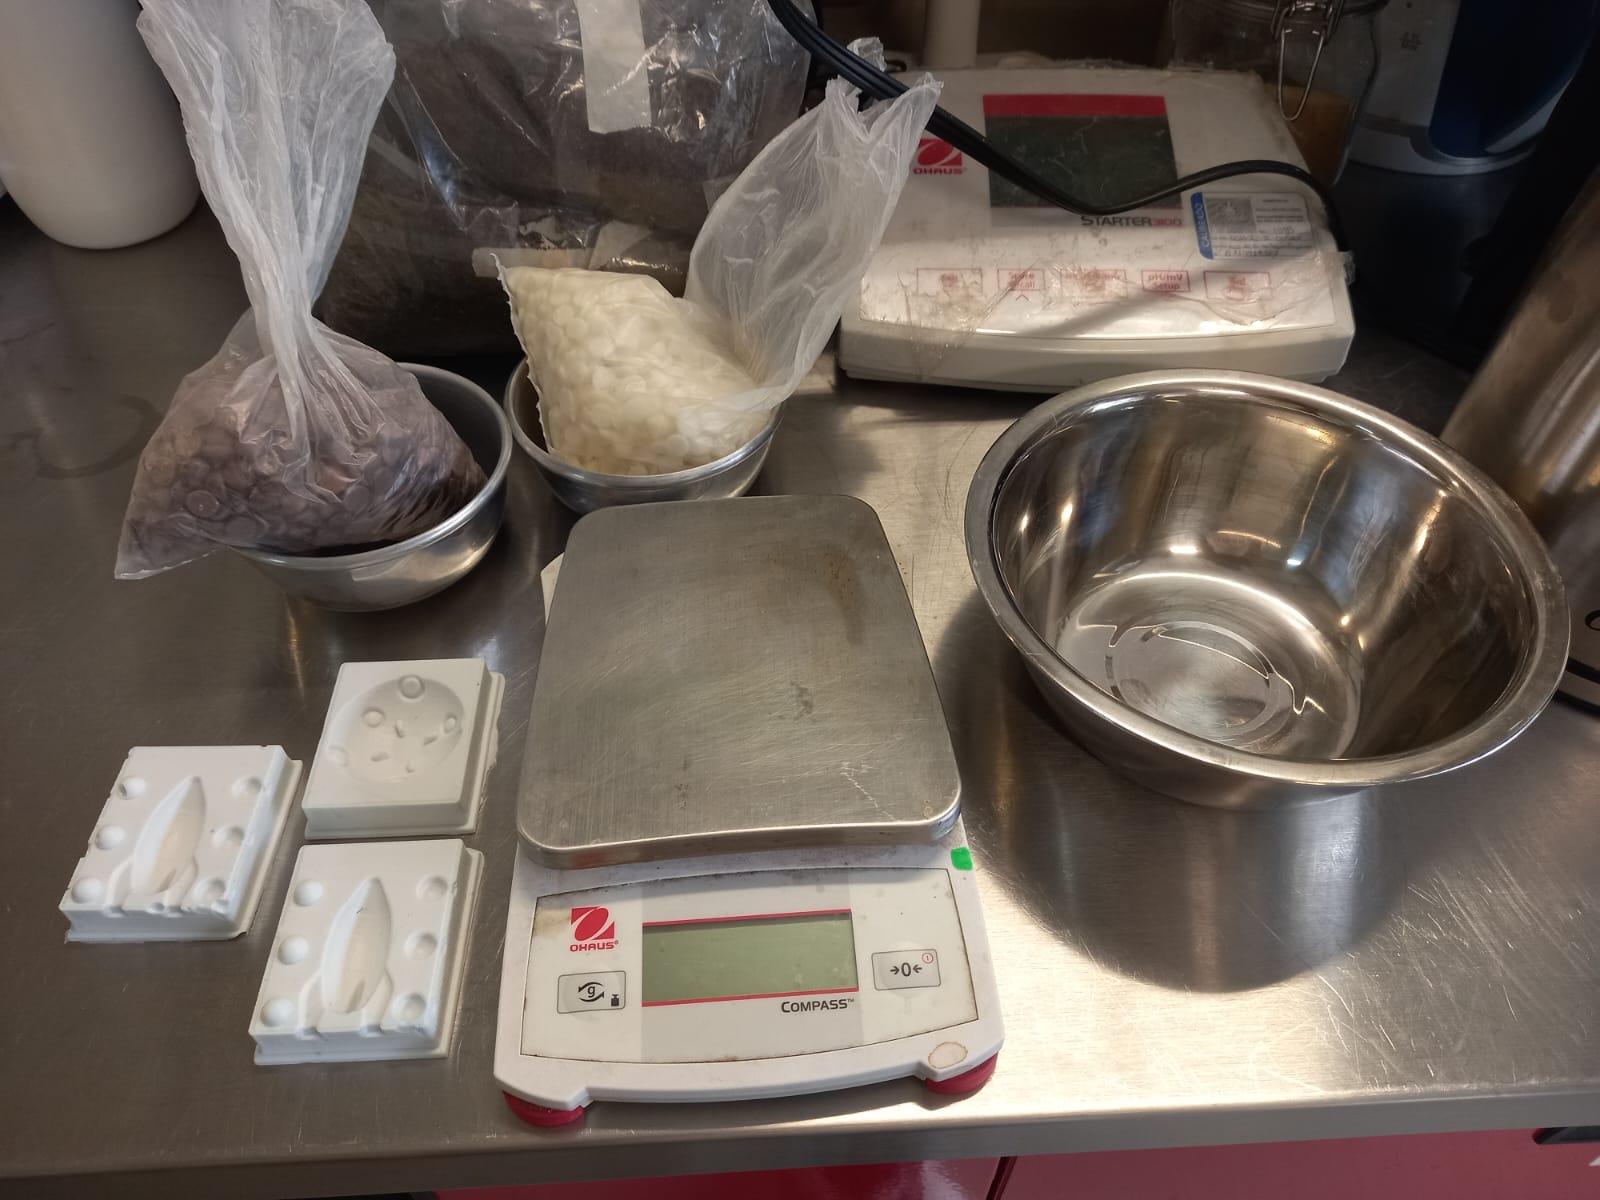
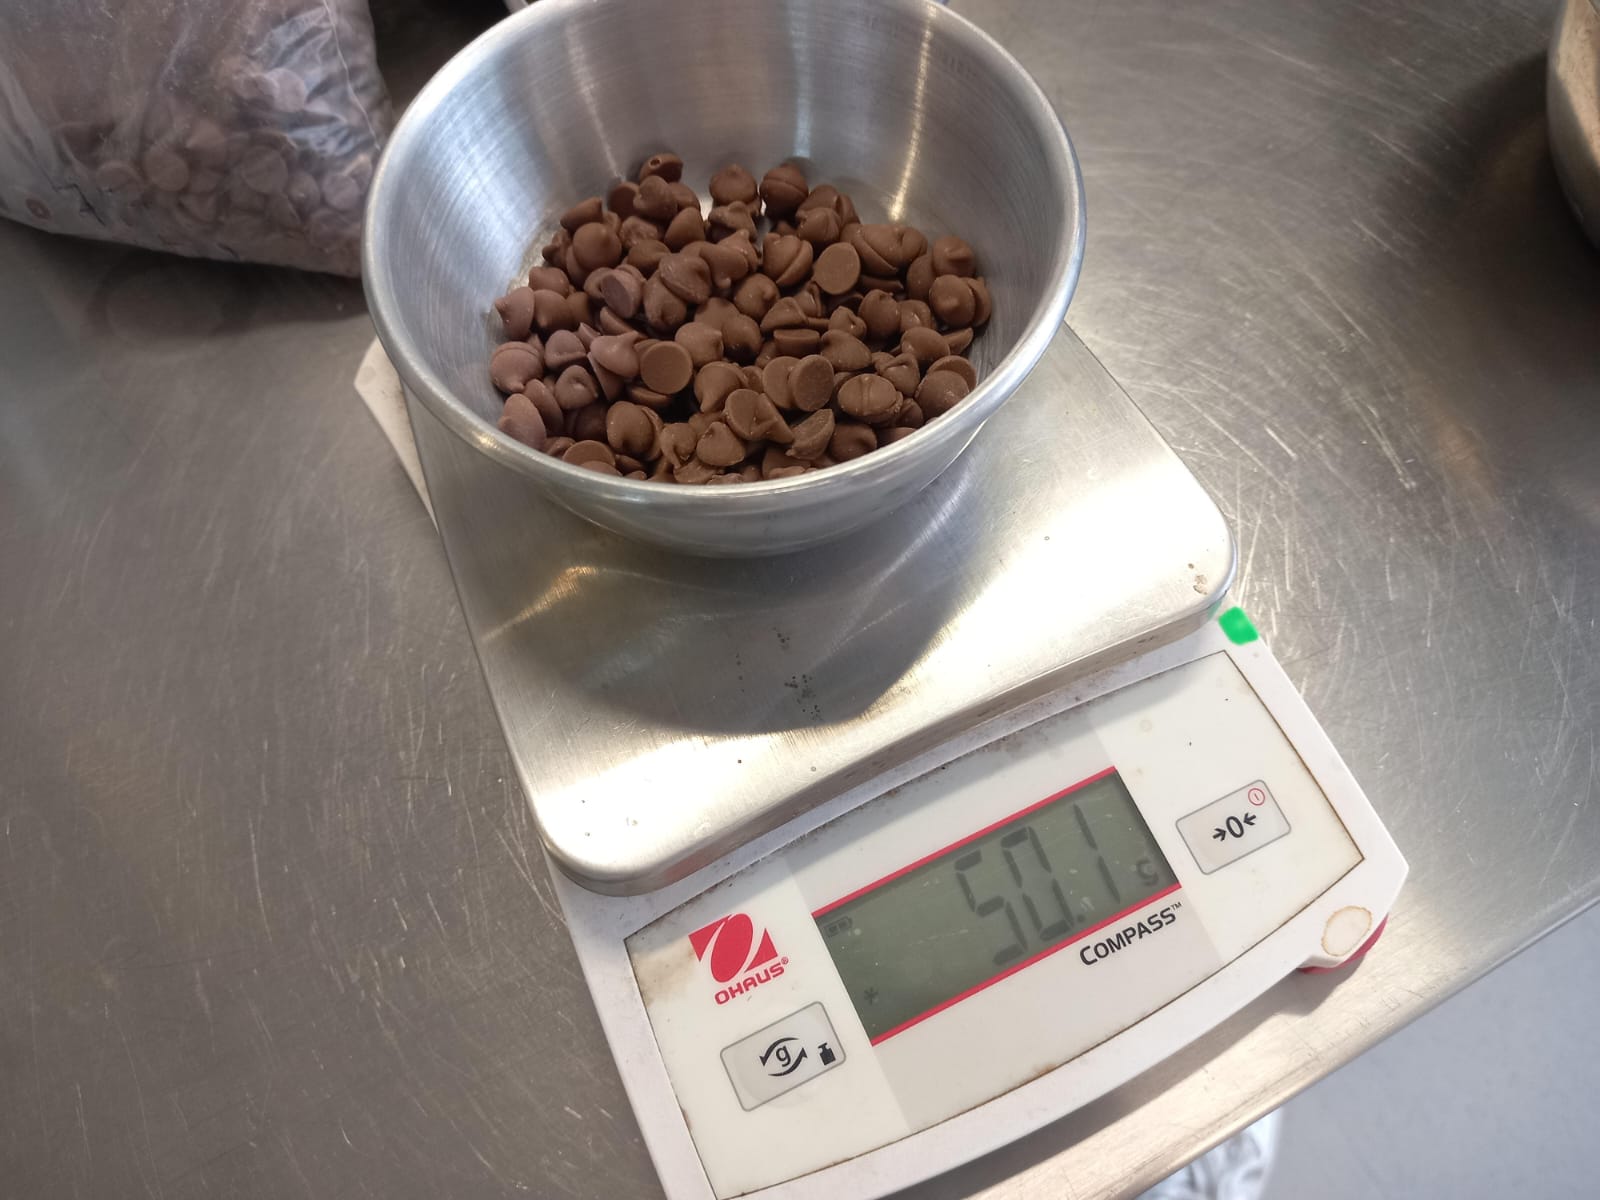
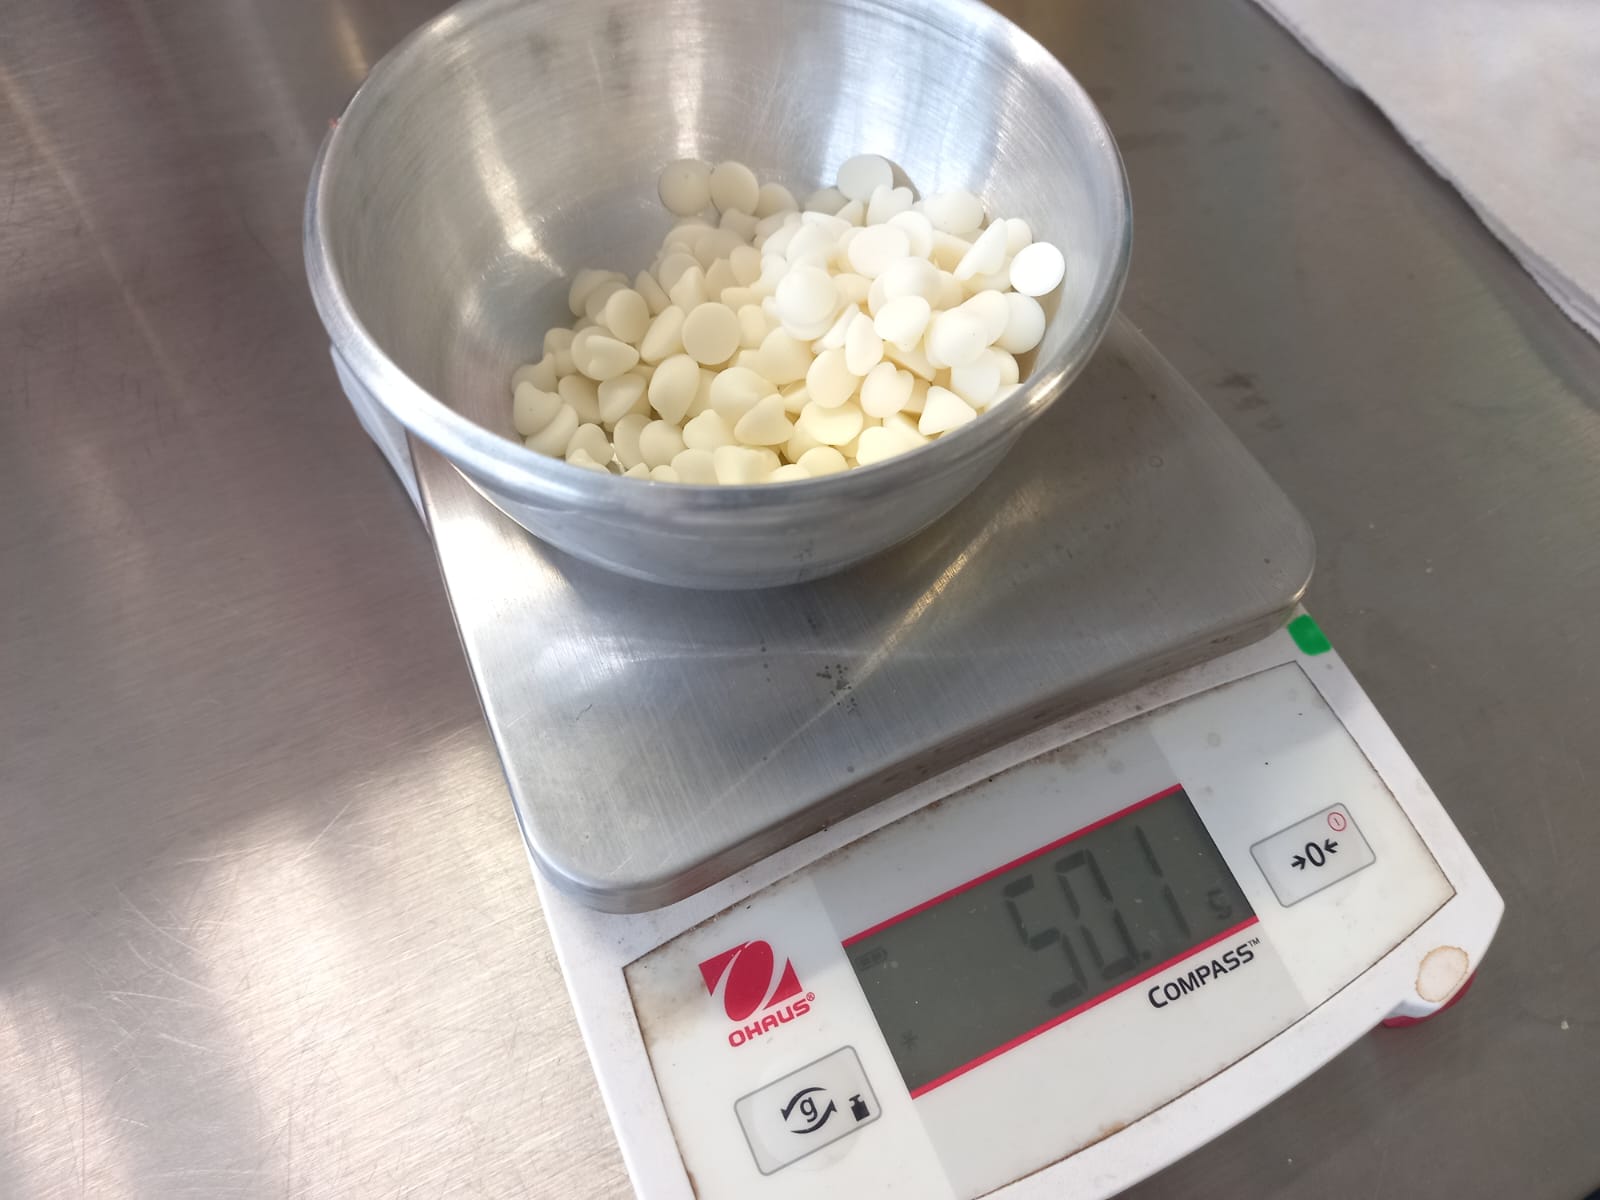
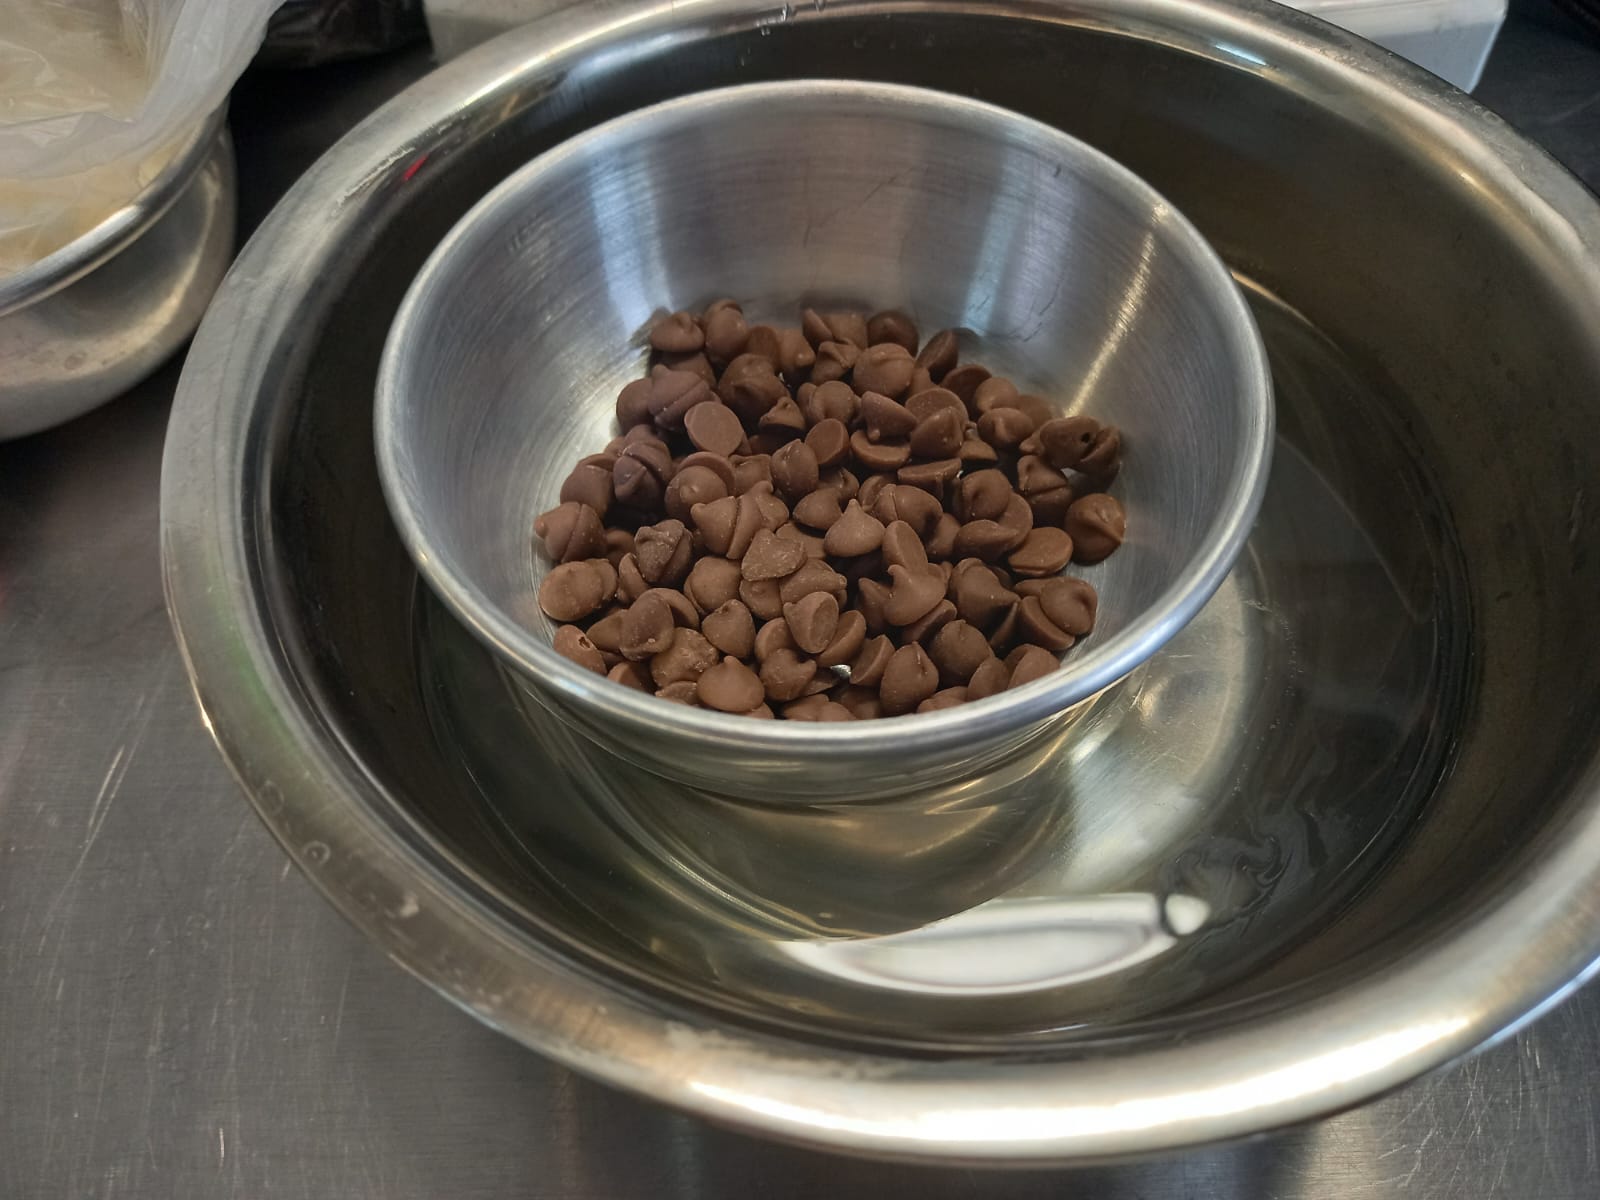
We'll need 50 grams of milk chocolate and 50 grams of white chocolate.
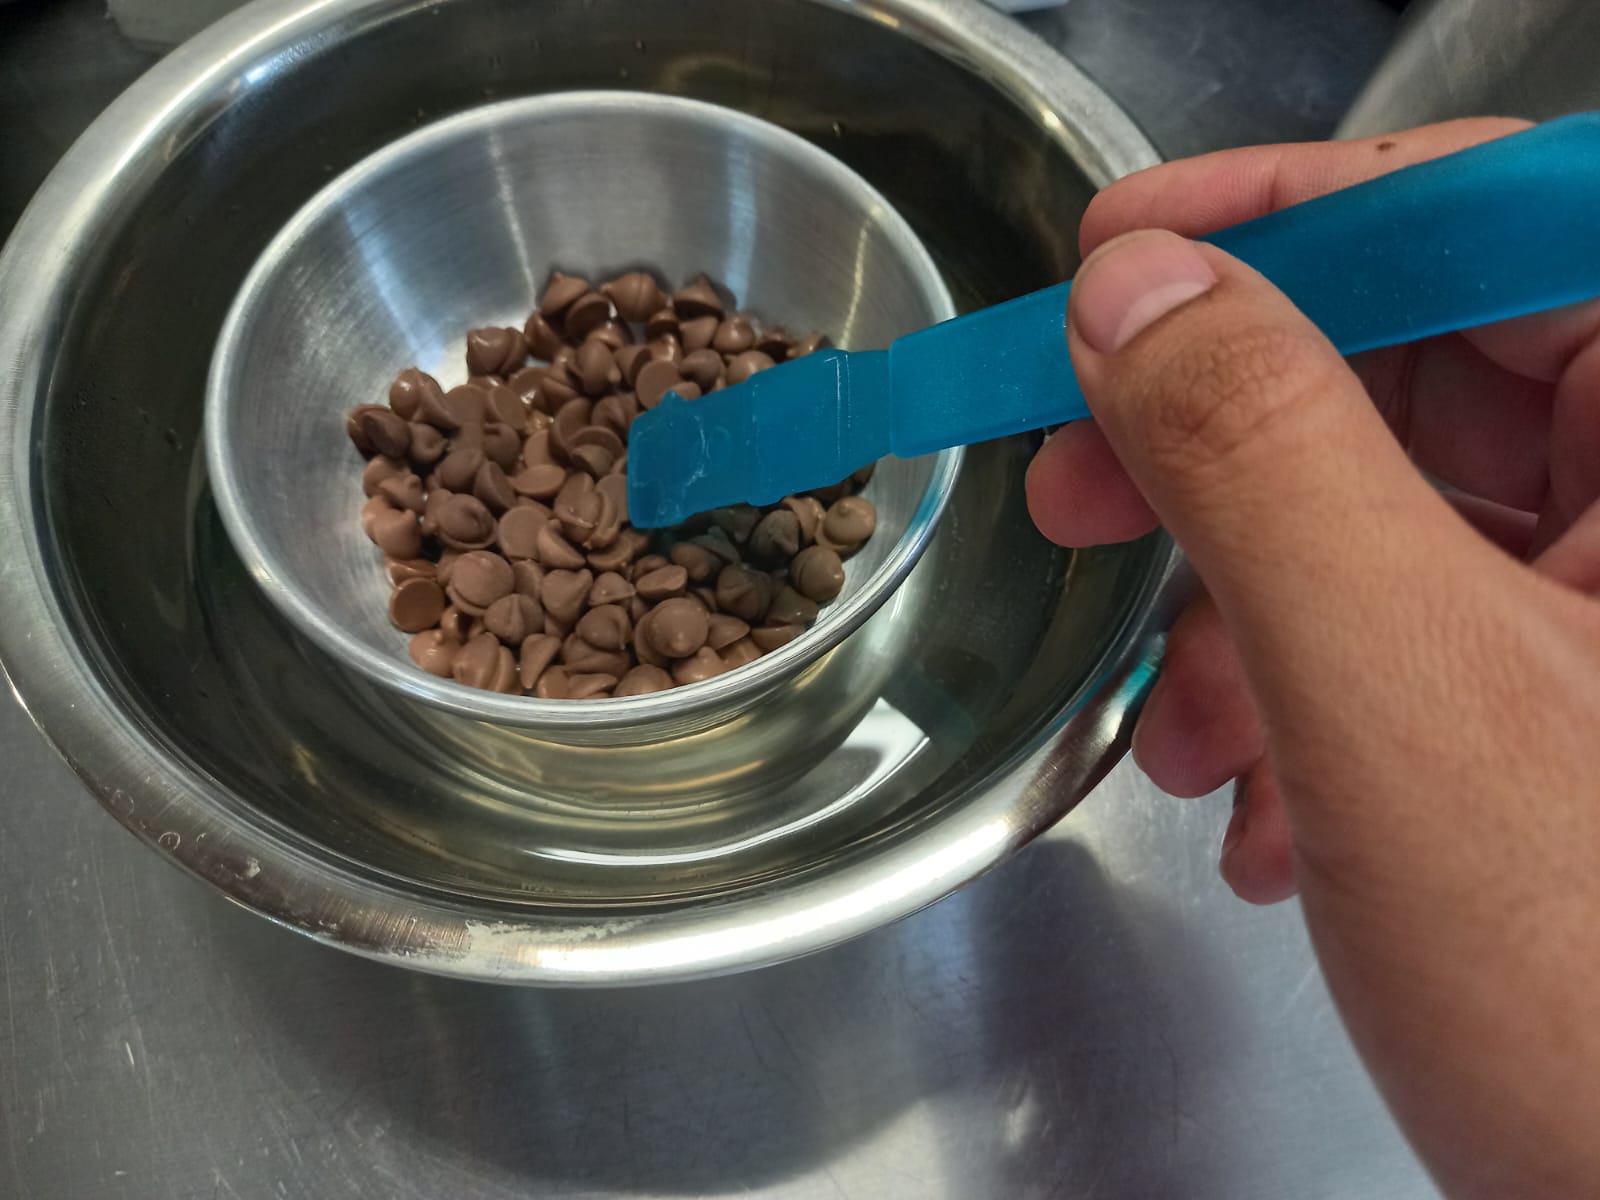
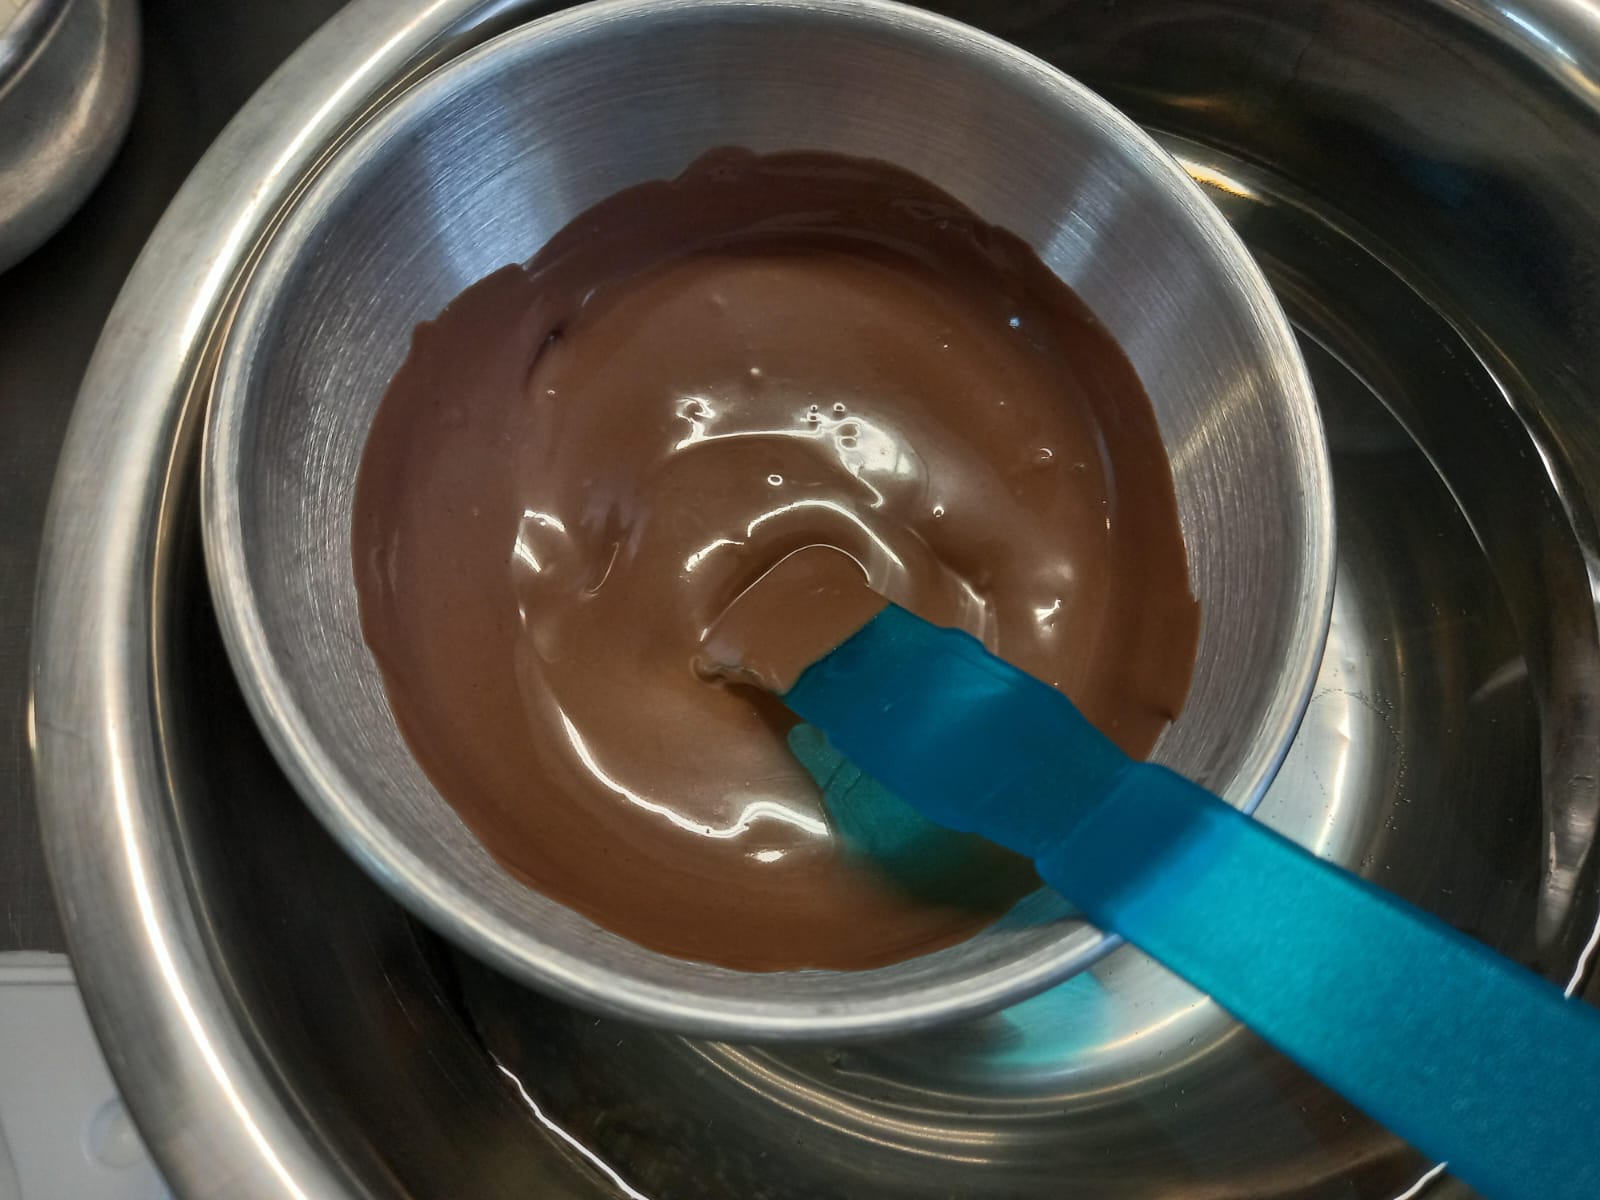
After weighing the chocolate, we proceed to use a double boiler, stirring slowly with a spoon to melt the chocolate quickly.
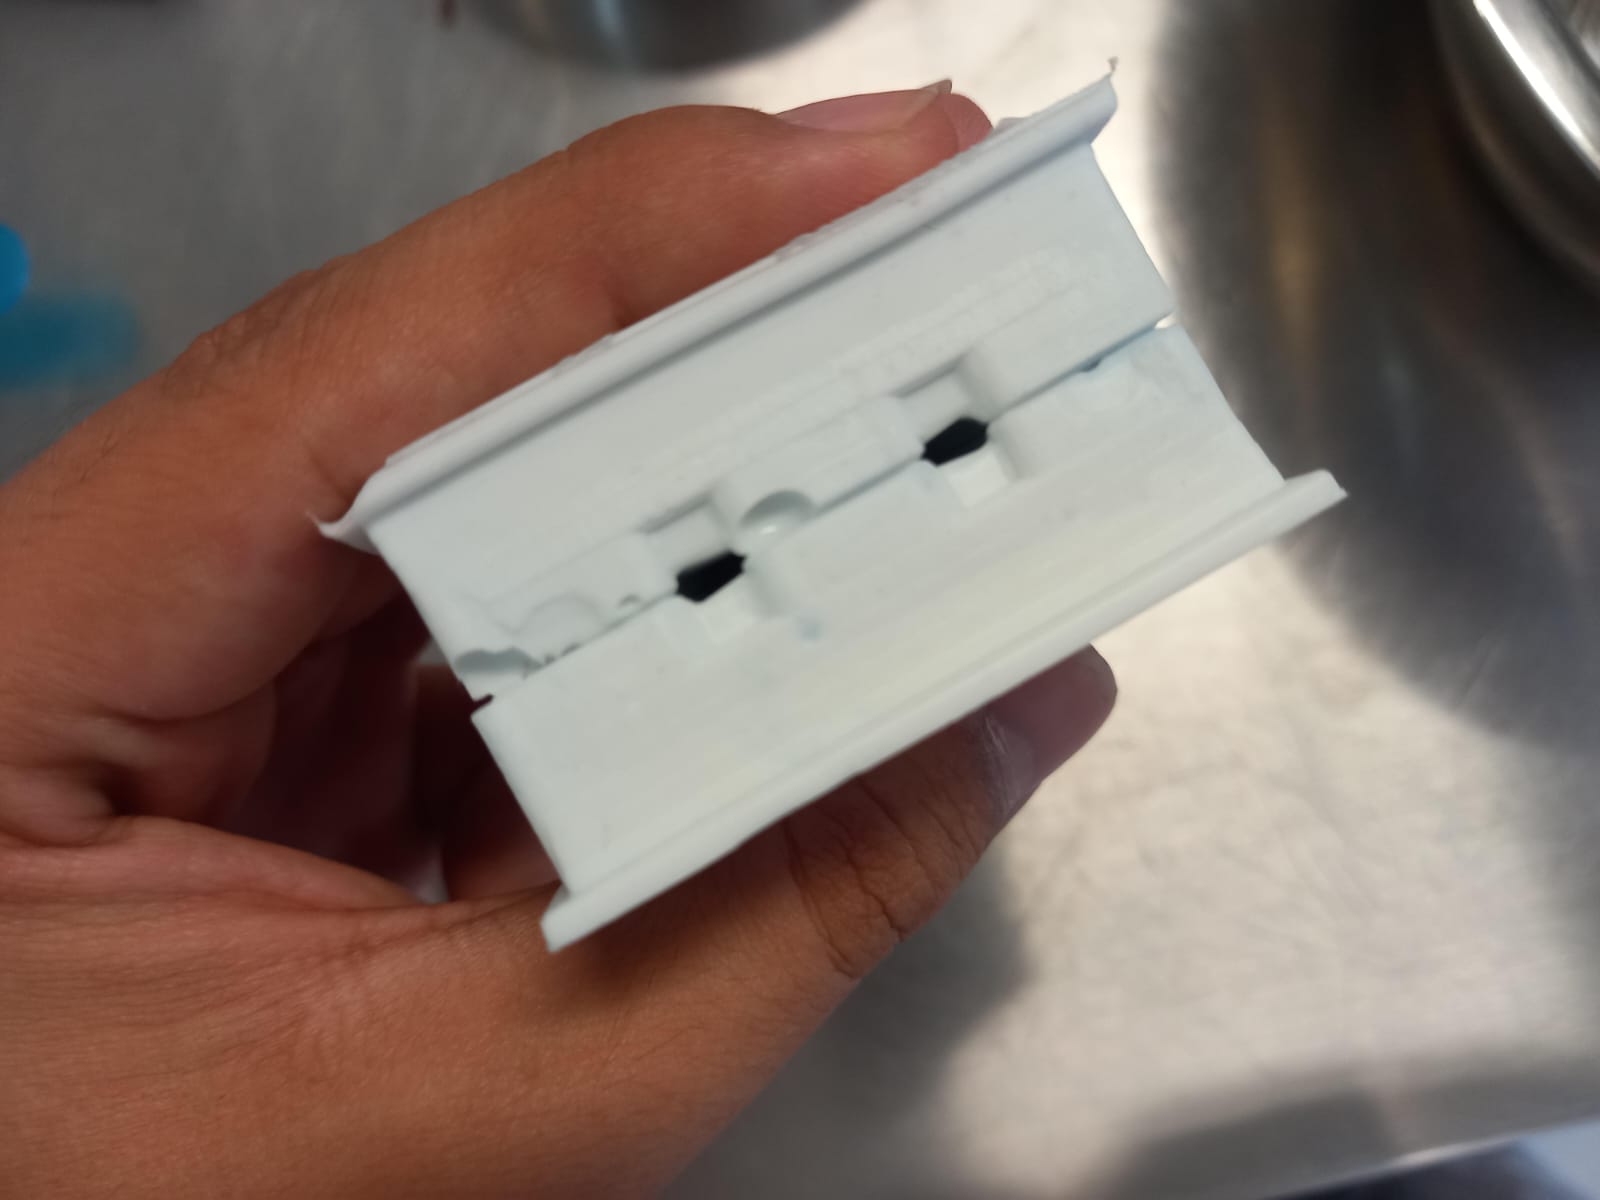
At this point, I noticed that the holes were too small to pour the chocolate, so I tried using a syringe, but there was too much air left inside the mold.
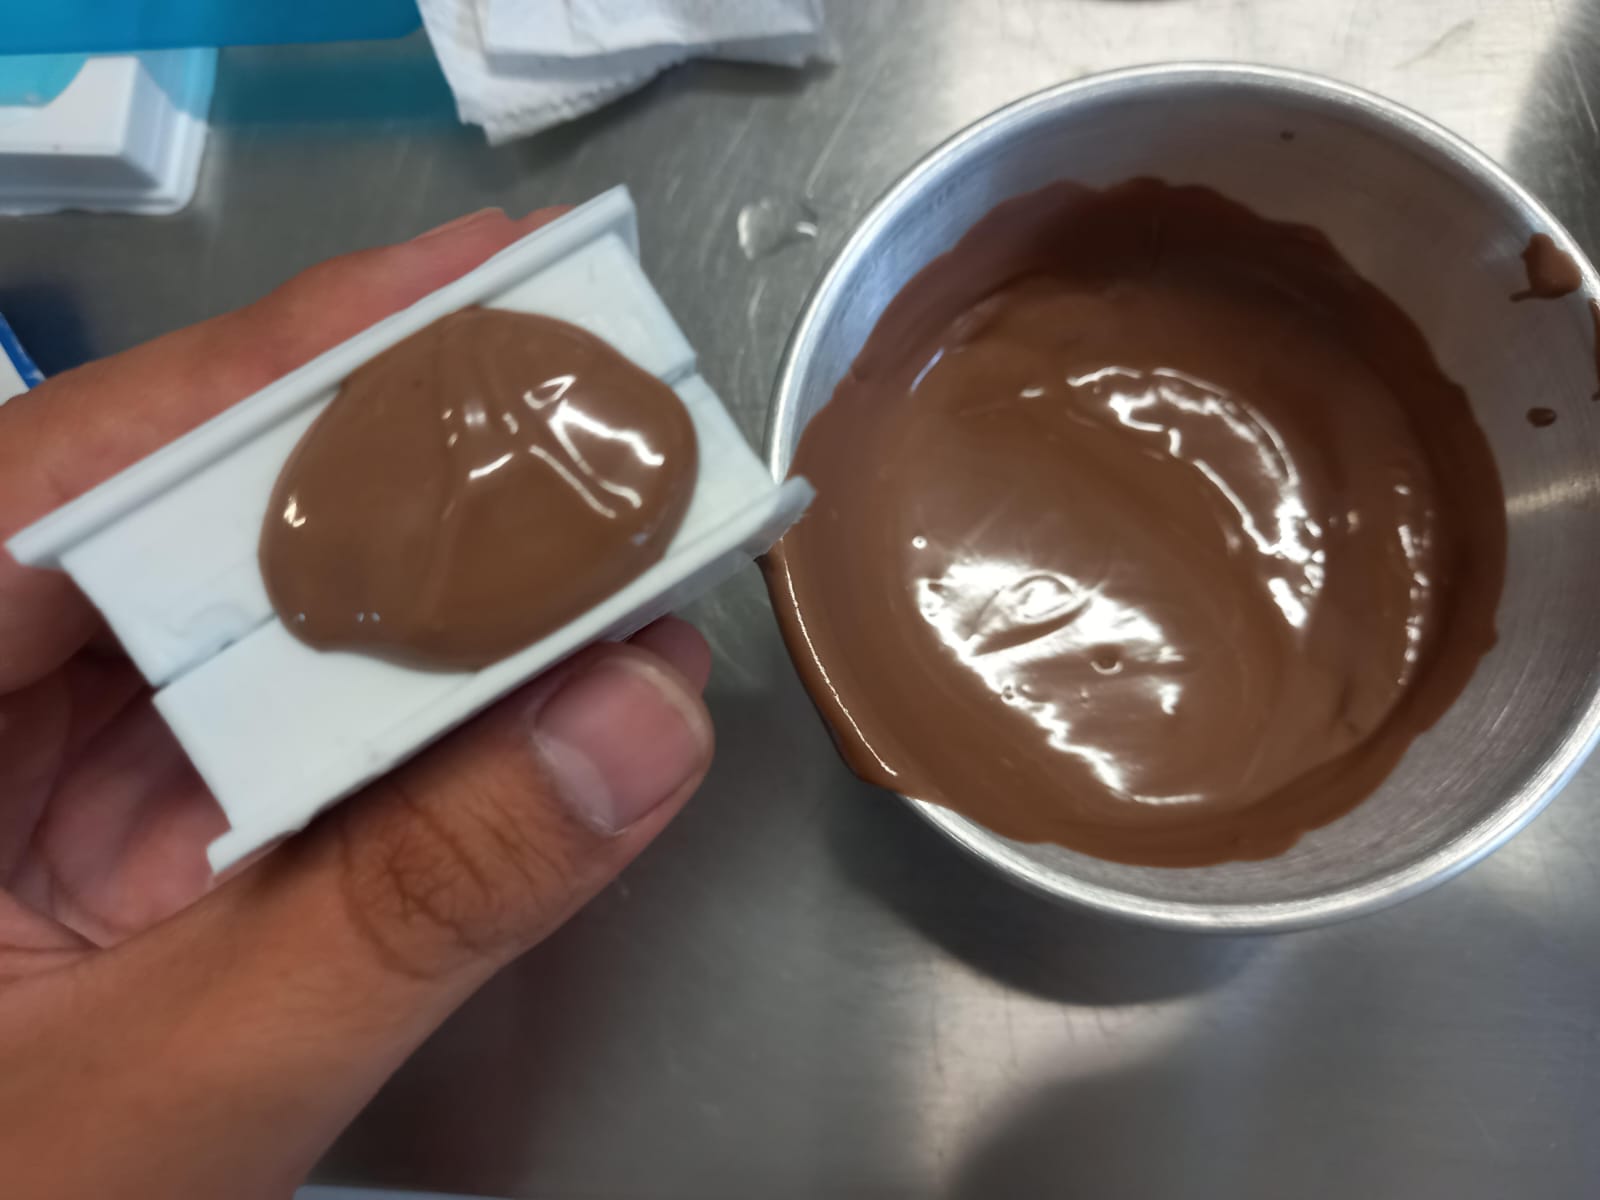
Hence, I poured it slowly with a spoon or spatula into the molds, quickly closing both halves of the rocket to prevent the chocolate from spilling.
We secure them with rubber bands, and I personally recommend putting them in the refrigerator for 10 to 15 minutes.
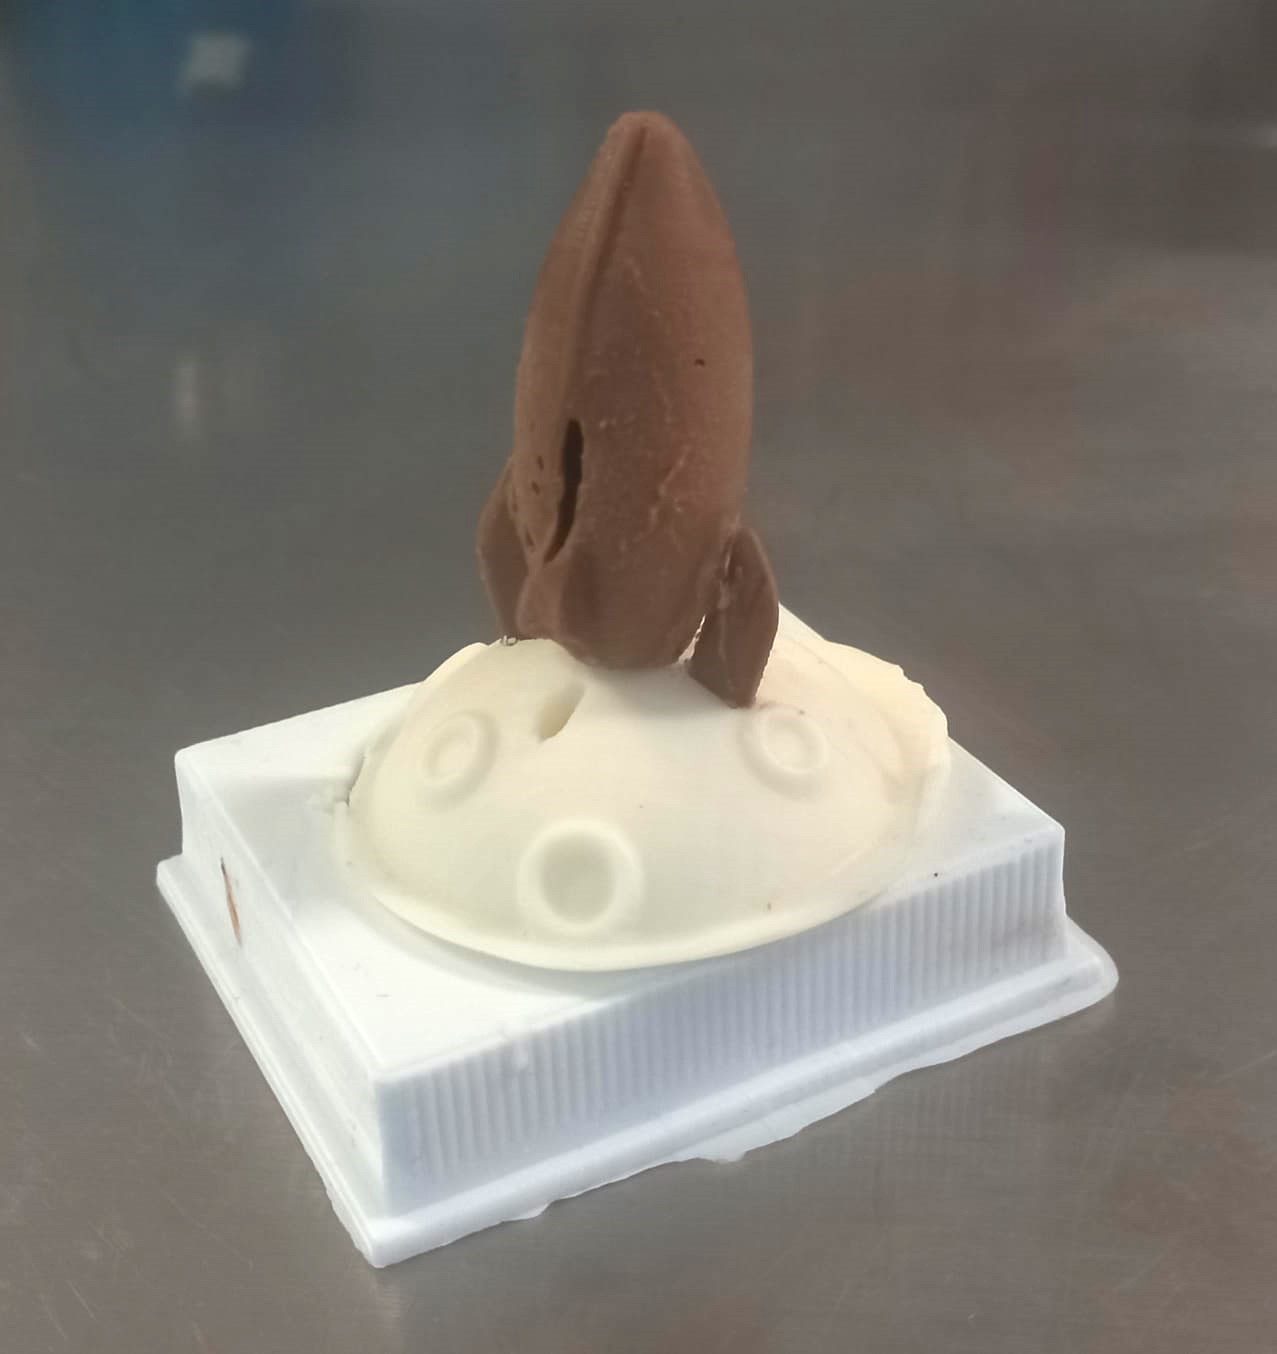
And voila! I love the final result. One rocket didn't have its wings properly made, and the other did, but my clumsiness when removing the mold caused them to break haha. However, amazingly, the two pieces assembled well.
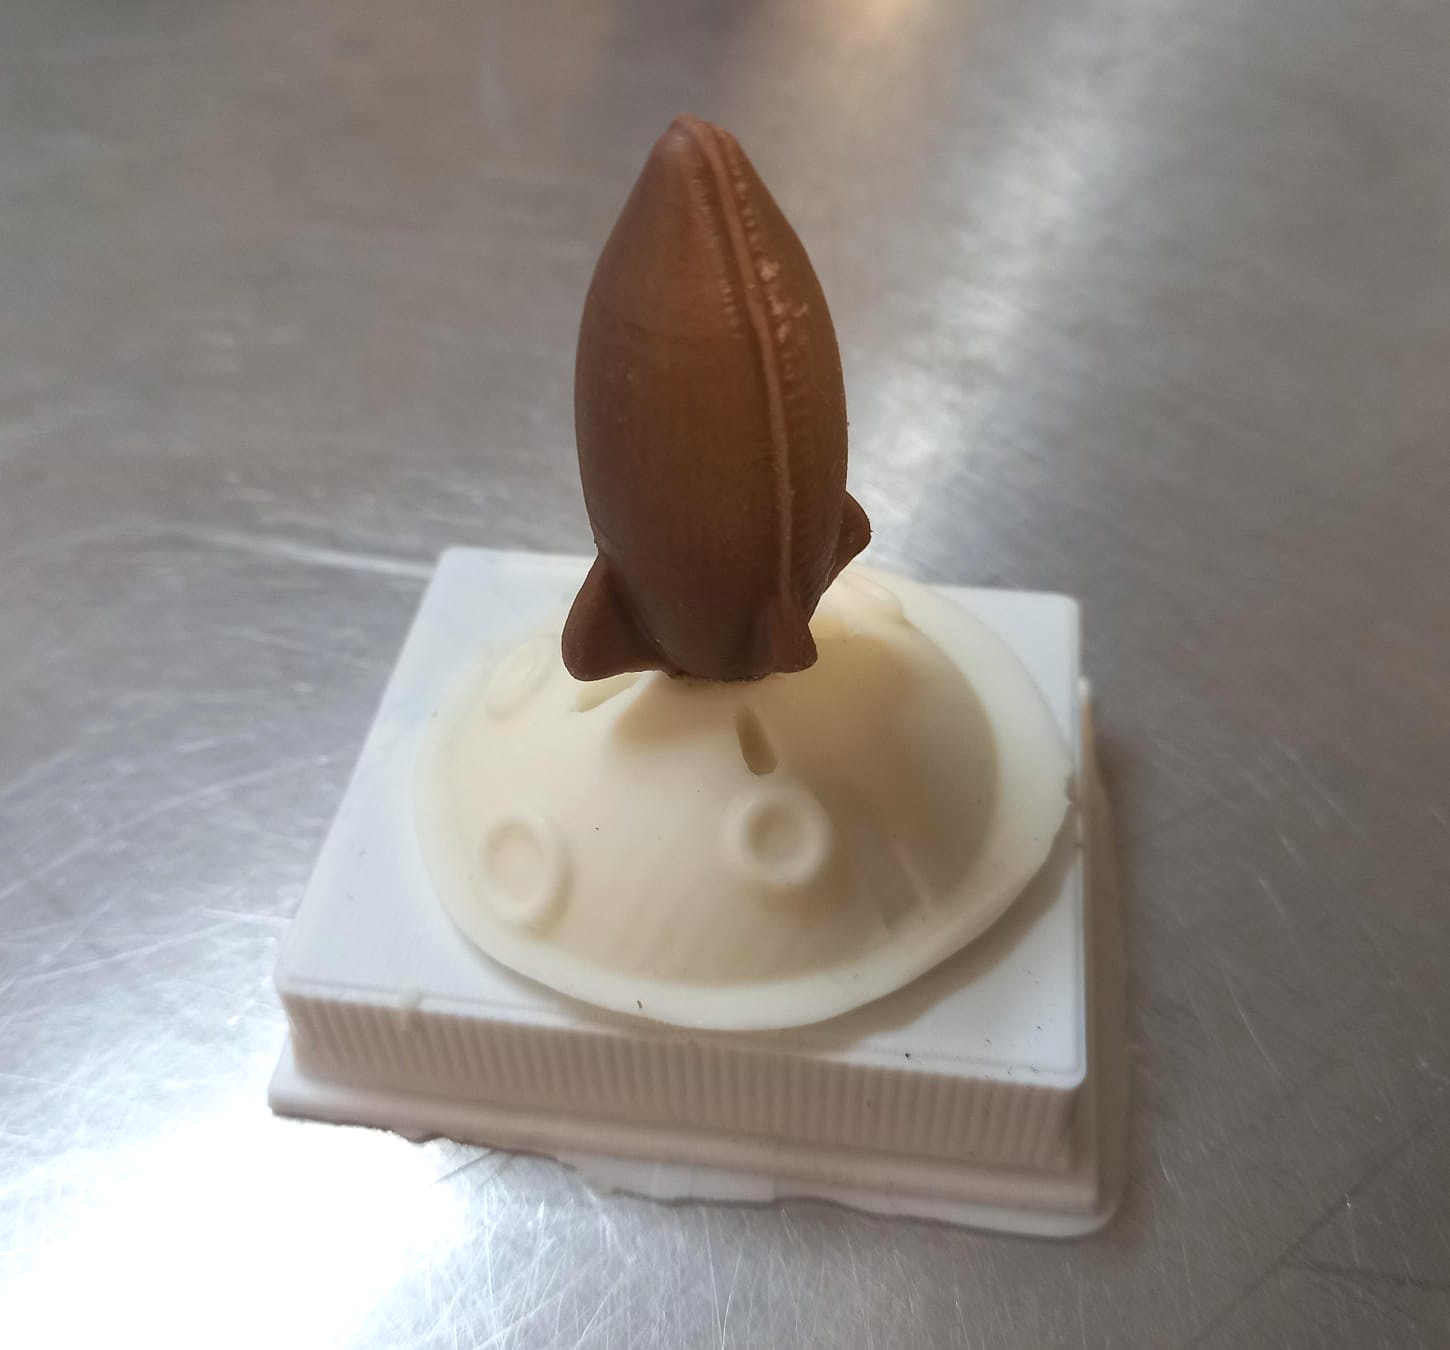
The rocket has made a successful landing!
Files
Here is a zip file with all the 3D models and Vcarve files.