1. Project management
This week I worked on designing my page to documentate all my ideas and their processes. So the first step is dowload Visual Studio Code and Git.
Basics
Here you can find many git commands to begin your repository.
All the followings are preceded by the word git. For example: git init, git clone, etc.
- init -> initialize repository
- clone -> copy repository
- add . -> add all documents untracked
- commit -m "message" -> package
- push -> upload to cloud
- status -> review pendient actions
- git config --global user.email "you@example.com"
- git config --global user.name "Your Name"
Furthermore, there are commands for CMD git:
- cd "folder name" -> open folder
- mkdir "folder name" -> create folder
- dir -> show directory
- type nul -> create file
- cd .. -> back
- If you push enter key, you will go back to home CMD
We can start to create our web page.
My computer has two hard drives, so we access each one with its respective drive letter, typing C: or D: depending on where we want to save.
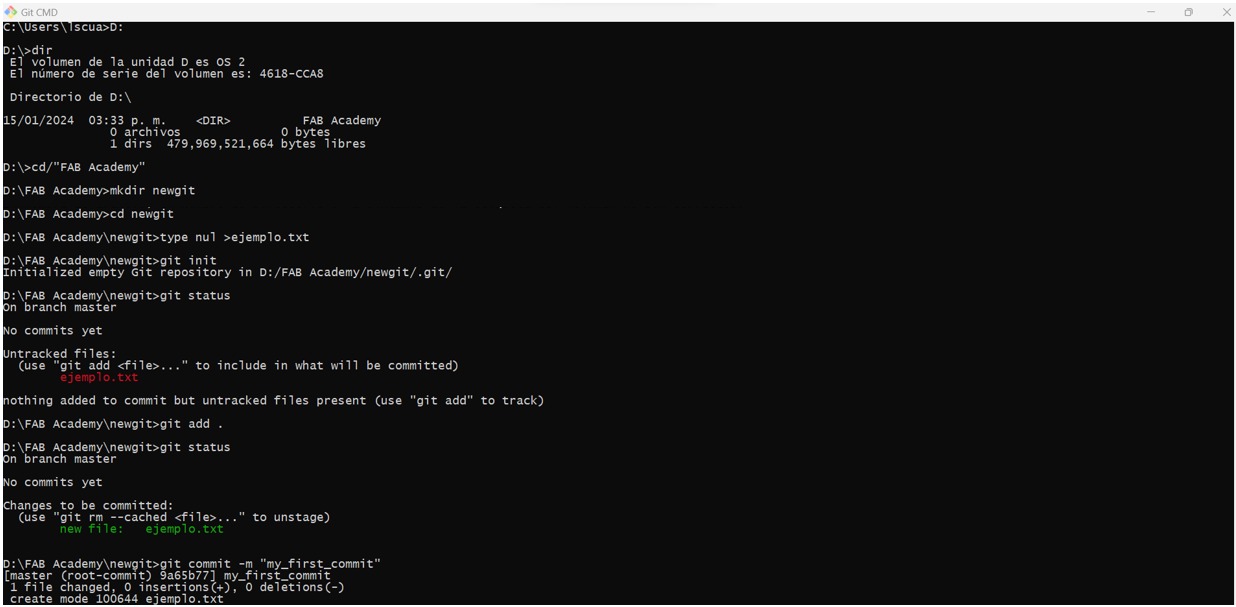
- First, we use the dir command in CMD to display our folders.
- Next, we type the cd/ command and in quotes the folder we want to access (we can also use the TAB key).
- We enter the mkdir "name" command to create a folder.
- We type the cd "name" command for the newly created folder.
- Then, we create a "file name".txt file using the type nul > command.
- We initialize the repository with the git init command.
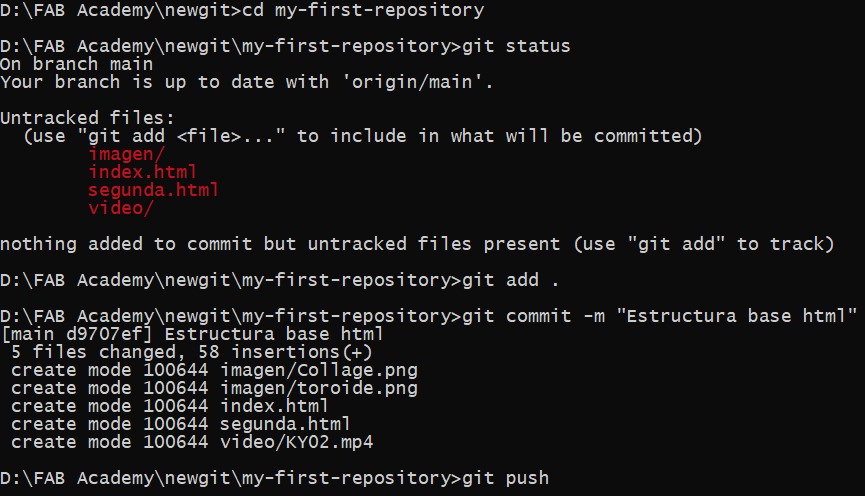
- We check our actions with git status to see what actions we can take next. We observe that we haven't added anything to our repository yet, so we are suggested to use the git add . command.
- We check the status again and notice that it is still unpackaged, so we use git commit -m "my_first_commit", where the text in quotes is the name of our commit.
NOTE: This is useful to create a text file and signed our student agreement.
In this image, we can visualize all the above steps one by one:
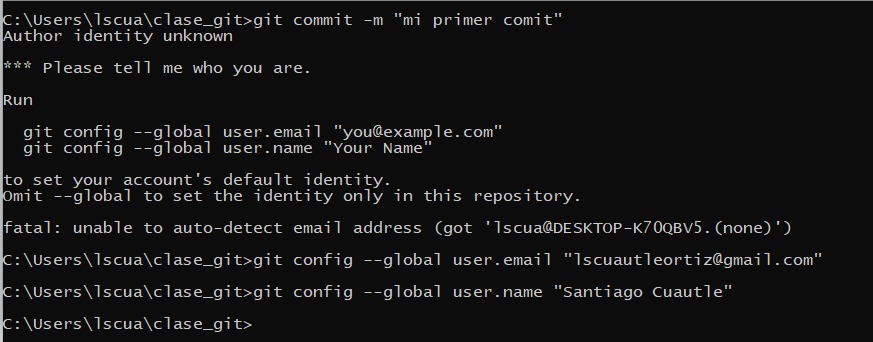
In case you encounter the following message after committing, you can resolve it by registering with the following commands:
- git config --global user.email "user@emailaddress.com"
- git config --global user.name "Your Name"
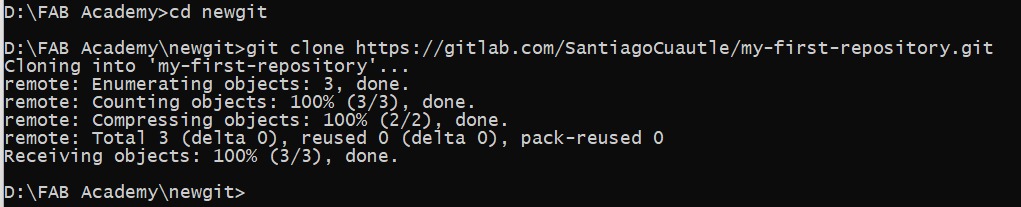
Your fablabs.io account details (email and password) and the link to your Git documentation repository on Fabcloud will be provided in an email. Use your Fablabs account to log in to GitLab. In our repository, click the blue "Code" button, and copy the URL from the "Clone with HTTPS" section.

Returning to Git CMD and making sure we're in our documents folder, we enter the command git clone followed by the URL of our repository.
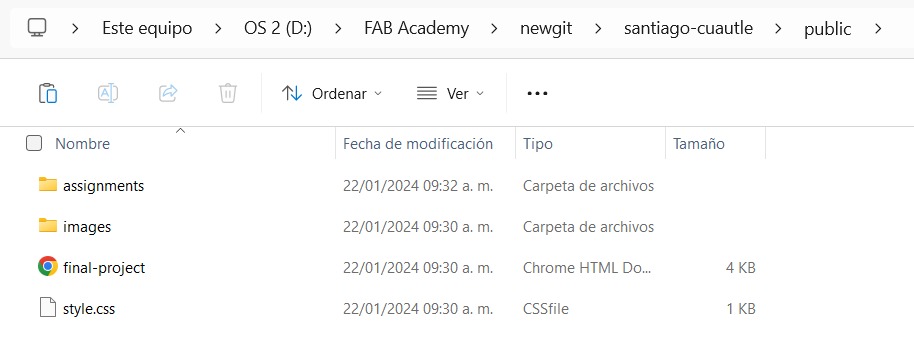
Navigate to the folder containing our repositories using the file explorer. In my case, I already have a template. (If you want to create your own page from scratch, you can find valuable information in the APPENDIX) prepared for FAB Academy, and we copy the documents from this folder, except license and READ ME.
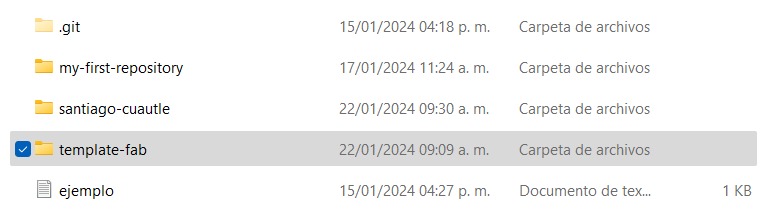
Navigate into the folder bearing our name, and then access the "public" folder (which is associated with our FAB Academy). Replace the existing files in this folder with the ones from our template.
Launch VS Code and access the "my first repository" folder to make edits to the information. (Refer to the APPENDIX for additional details). Input the command cd "repository folder". Execute the git status command in CMD to display all untracked files. Include them all using git add . and then consolidate everything with git commit -m "commit name".
Upload all the changes to GitLab by executing the git push command. Provide your username and password if GitLab requests it.
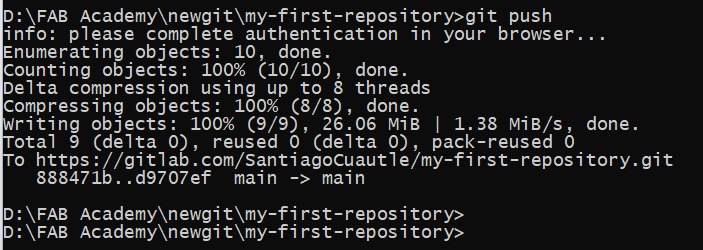
The files should be visible on the GitLab page, and clicking the link, you'll be able to view your page.
ABOUT ME
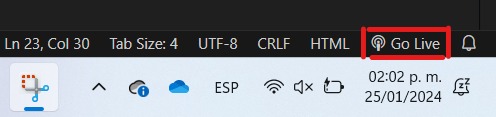
Advice: An useful tool for observing real-time changes on our webpage before pushing them to GitLab is utilizing the Live Server extension, which is available for download on VS Code.
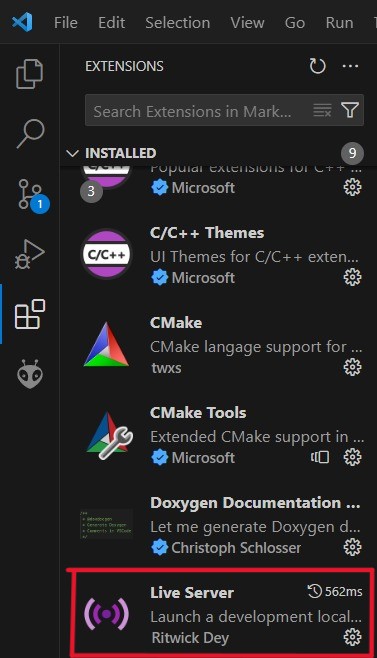
If you click Live Server icon you will be redirected to your web page.
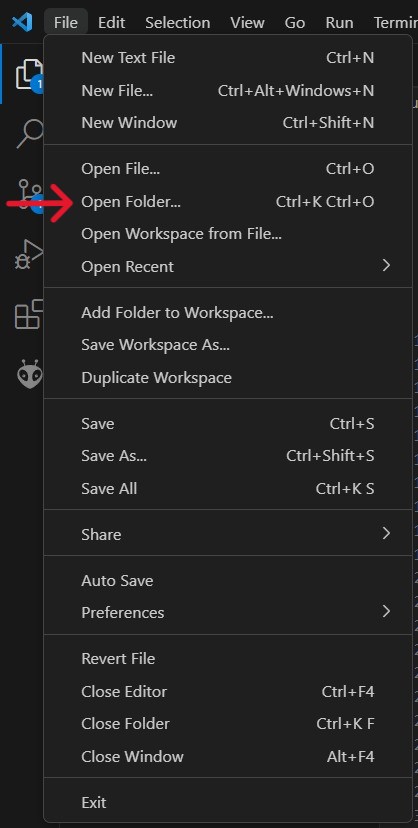
Select file -> Open folder and click on the repository folder
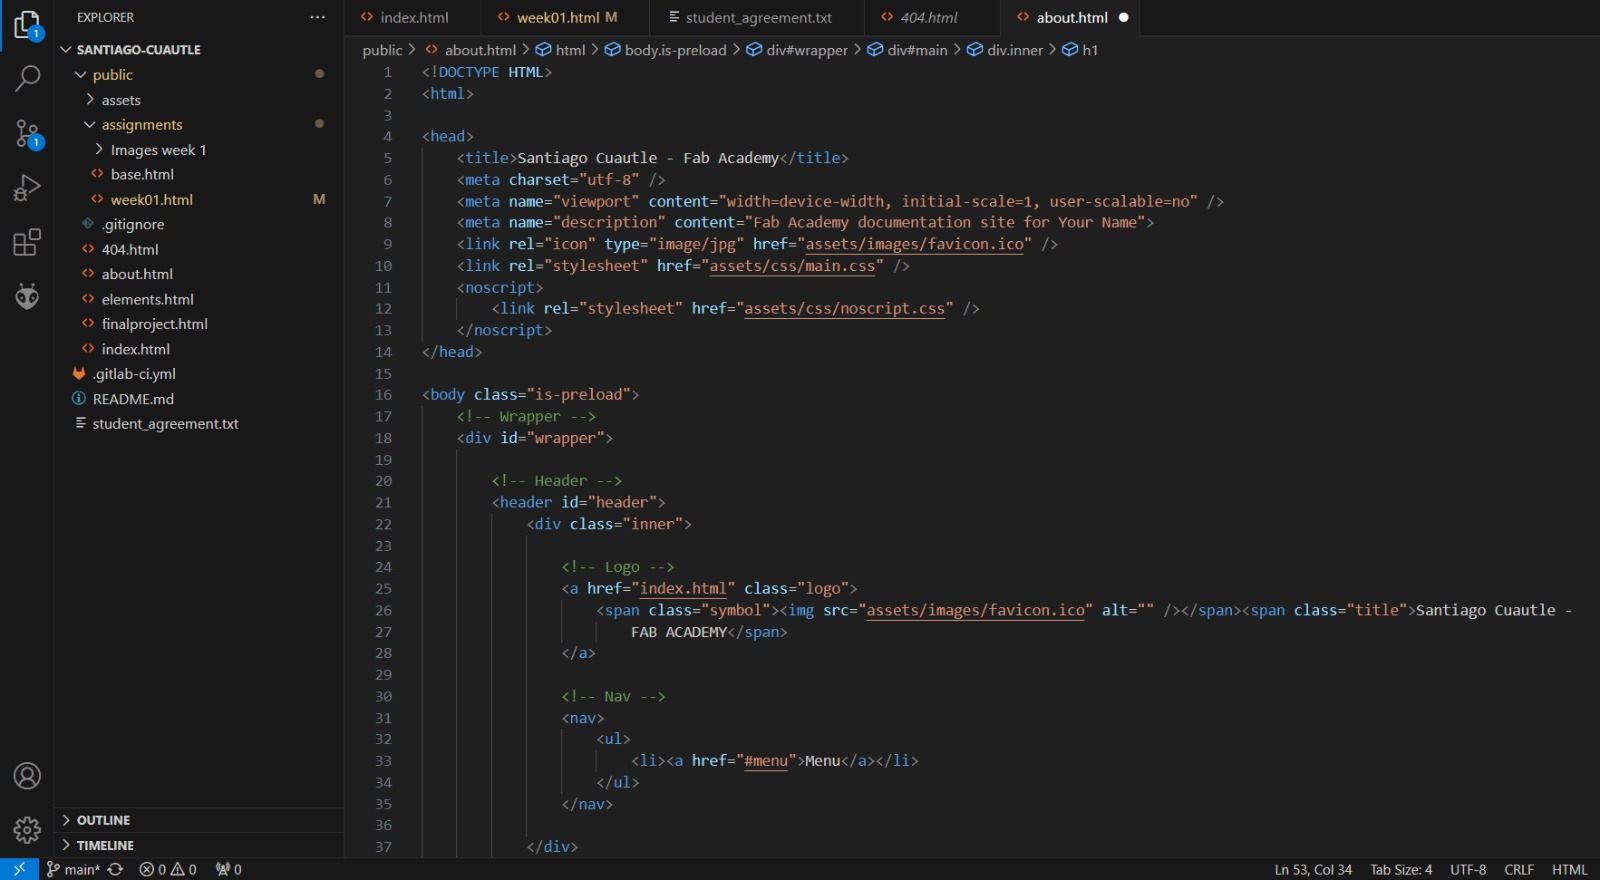
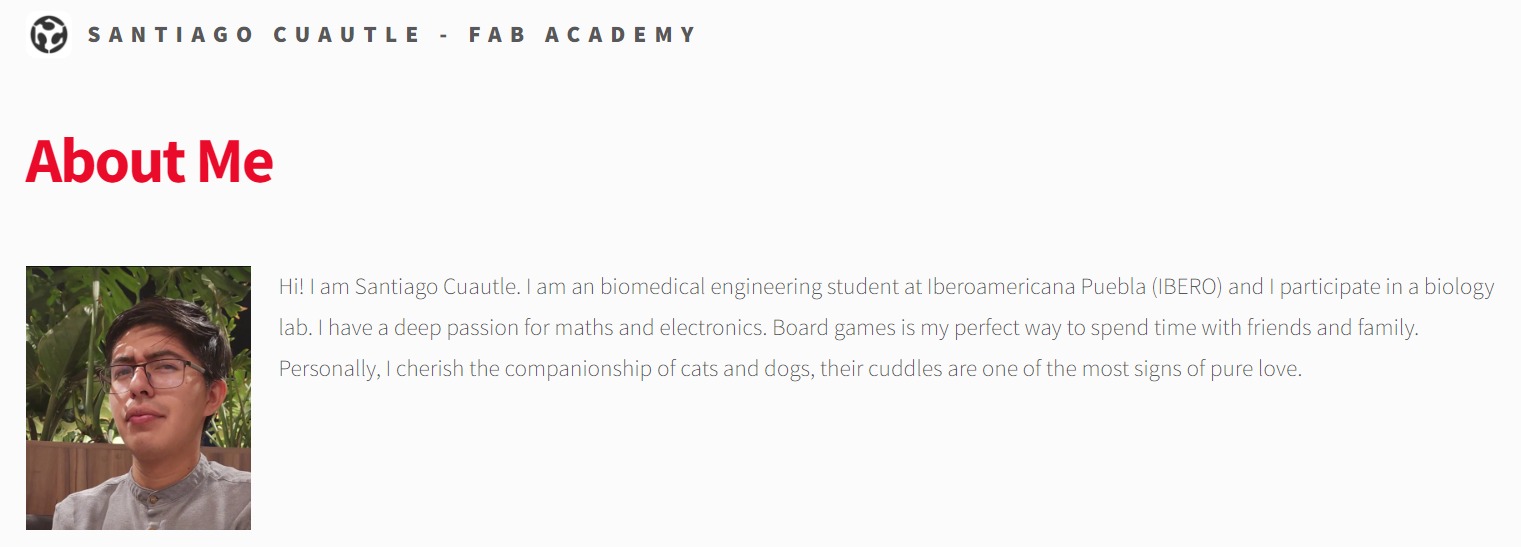
In Visual Studio Code, we will visualize all the HTML files that make up our page, and with the information provided in the appendix, we update the "About Me" section.
Once all the modifications are complete, we upload the information to GitLab. To view these updates, go to the hamburger menu on our website and enter the "About Me" section.
APPENDIX
First of all, these followings instructions in Visual Studio Code have many bold and italic words, if you want this styles in your web page just press letters b and i respectively.
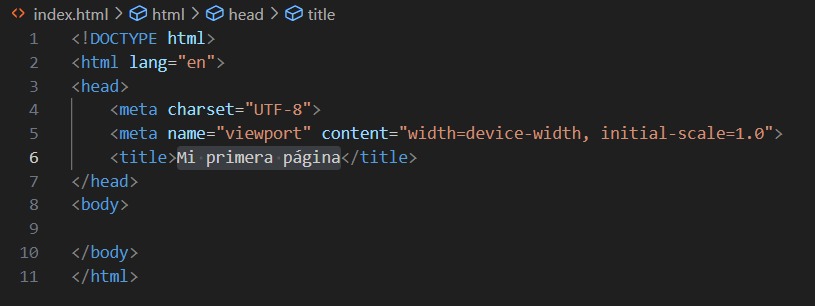
Type the html:5 command and press tab or enter key (these keys are useful to complete commands)

Press the Enter key, and in the highlighted area, type the name or title of our page.
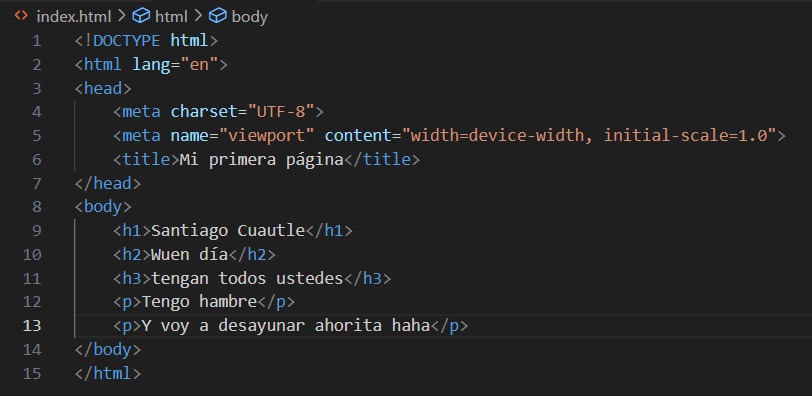
For titles, you can use the header (h) command, where the numbers 1-6 determines the font size from the largest to the smallest, respectively. To write in your page introduce paragraph (p) command.
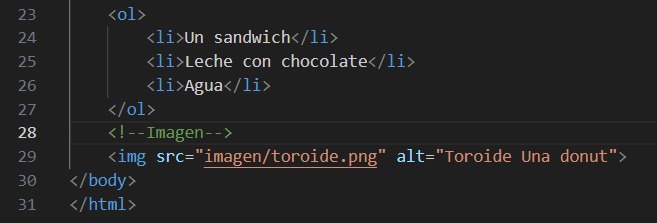
To make a list you can choose between using ul command for bullet points or ol command for a numbered list.

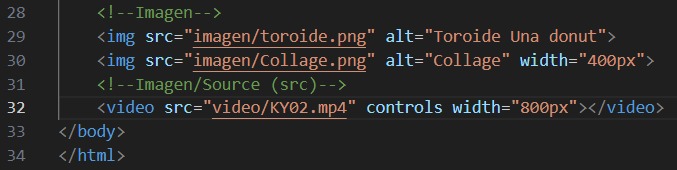
Write img command to add an image
To manage image size use Width command and next to it write the number of pixels (px)

To add a video, utilize the video command and include the term "controls" for playback settings. Additionaly, you can adjust the size using the width attribute.
Use the command button to add one and provide it a name.

To include a hyperlink, use the a command and specify the destination link within the quotation marks. It's important to note that the a blank command is employed to open the link in a new tab.
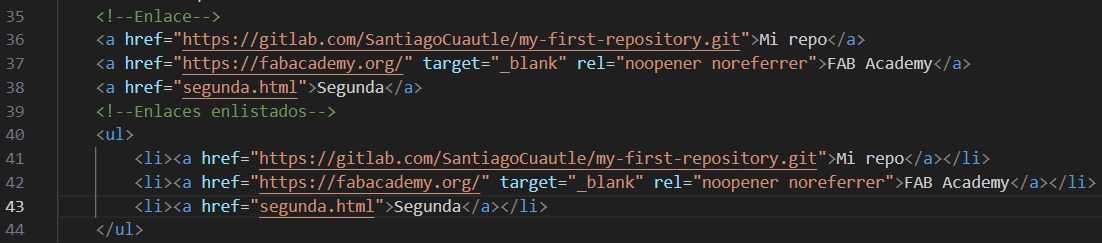
Create another HTML file, mirroring the structure and steps of the first one (index.html), and insert a link that navigates to our main web. This way, we can create multiple pages for each topic and redirect to main page whenever needed.
In the end, we will have something like this:
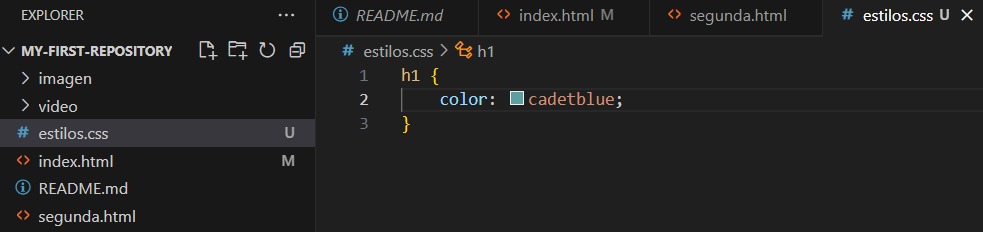
To incorporate colors, it's necessary to create a .css file. In our case, we name it "styles.css" and declare that headers of type 1 (h1) will be assigned the color: "color name";
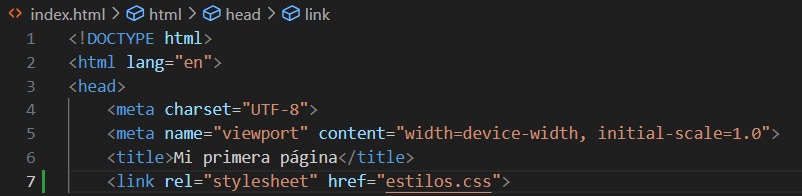
In our main web, we reference the new color for our h1 (header one) using the link command and specifying the file where we contain our color, "styles.css," within quotation marks (line 7)
The following commands are to add style: Center the title text-align and set a color for the letters color and a background-color
Now we have the basics to create a web page. So... Here we go!