14. Interface and application programming
Week asignments
1. Group assignment: compare as many tool options as possible
2.Individual assignment: write an application that interfaces a user with an input &/or output device that you made
Group asignment
Check out the Puebla FabLab repository: https://fabacademy.org/2024/labs/puebla/week15/
Individual asignment
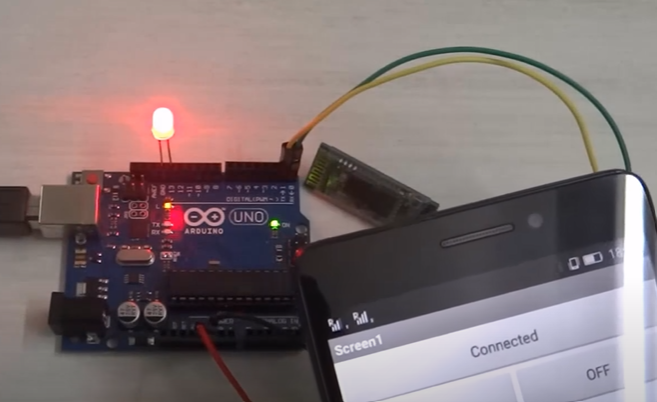
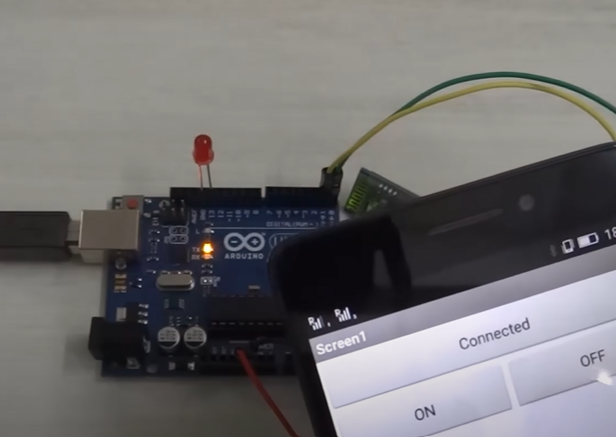
This application is a basic use of digital actuation via BT. Even when simple in appearance, its a big deal to control digital outputs remotely.
The overall steps are as follows:
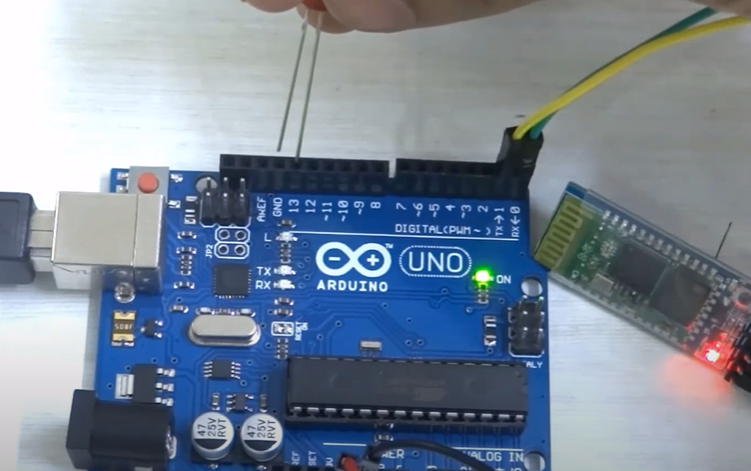
Create the electrical design by attaching a bluetooth module to the arduino. Dont forget to connext RX-TX and TX-RX
Create an MIT APP INVENTOR account


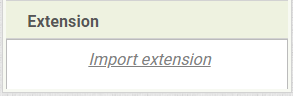
Copy the interface/elements or import the .aia file from the download section
Copy the block code for the button actions and BT function
Install the MIT APP Companion for debugging and testing
Deploy the app, scann the code, and give permisions to your new app
Enjoy and develop!
Hardware requirements
Use an Arduino Uno or your own board. Connect an LED with a 330 ohm resistor already included in the pin 13 (+), and the negative pin connect it to ground. Grab a HC05 or HC06 BT module and plug it to 3.3 or 5 vcd, then the important setup is for the serial communication. Connect the RX pin from the BT to the TX pin from the Arduino. Then plug the RX pin from the BT to the TX pin from the Arduino
The step by step tutorial goes like this:
BACKGROUND: MIT App Inventor is a web-based tool that allows you to create Android apps without coding.
1. Create an account or start a new project.
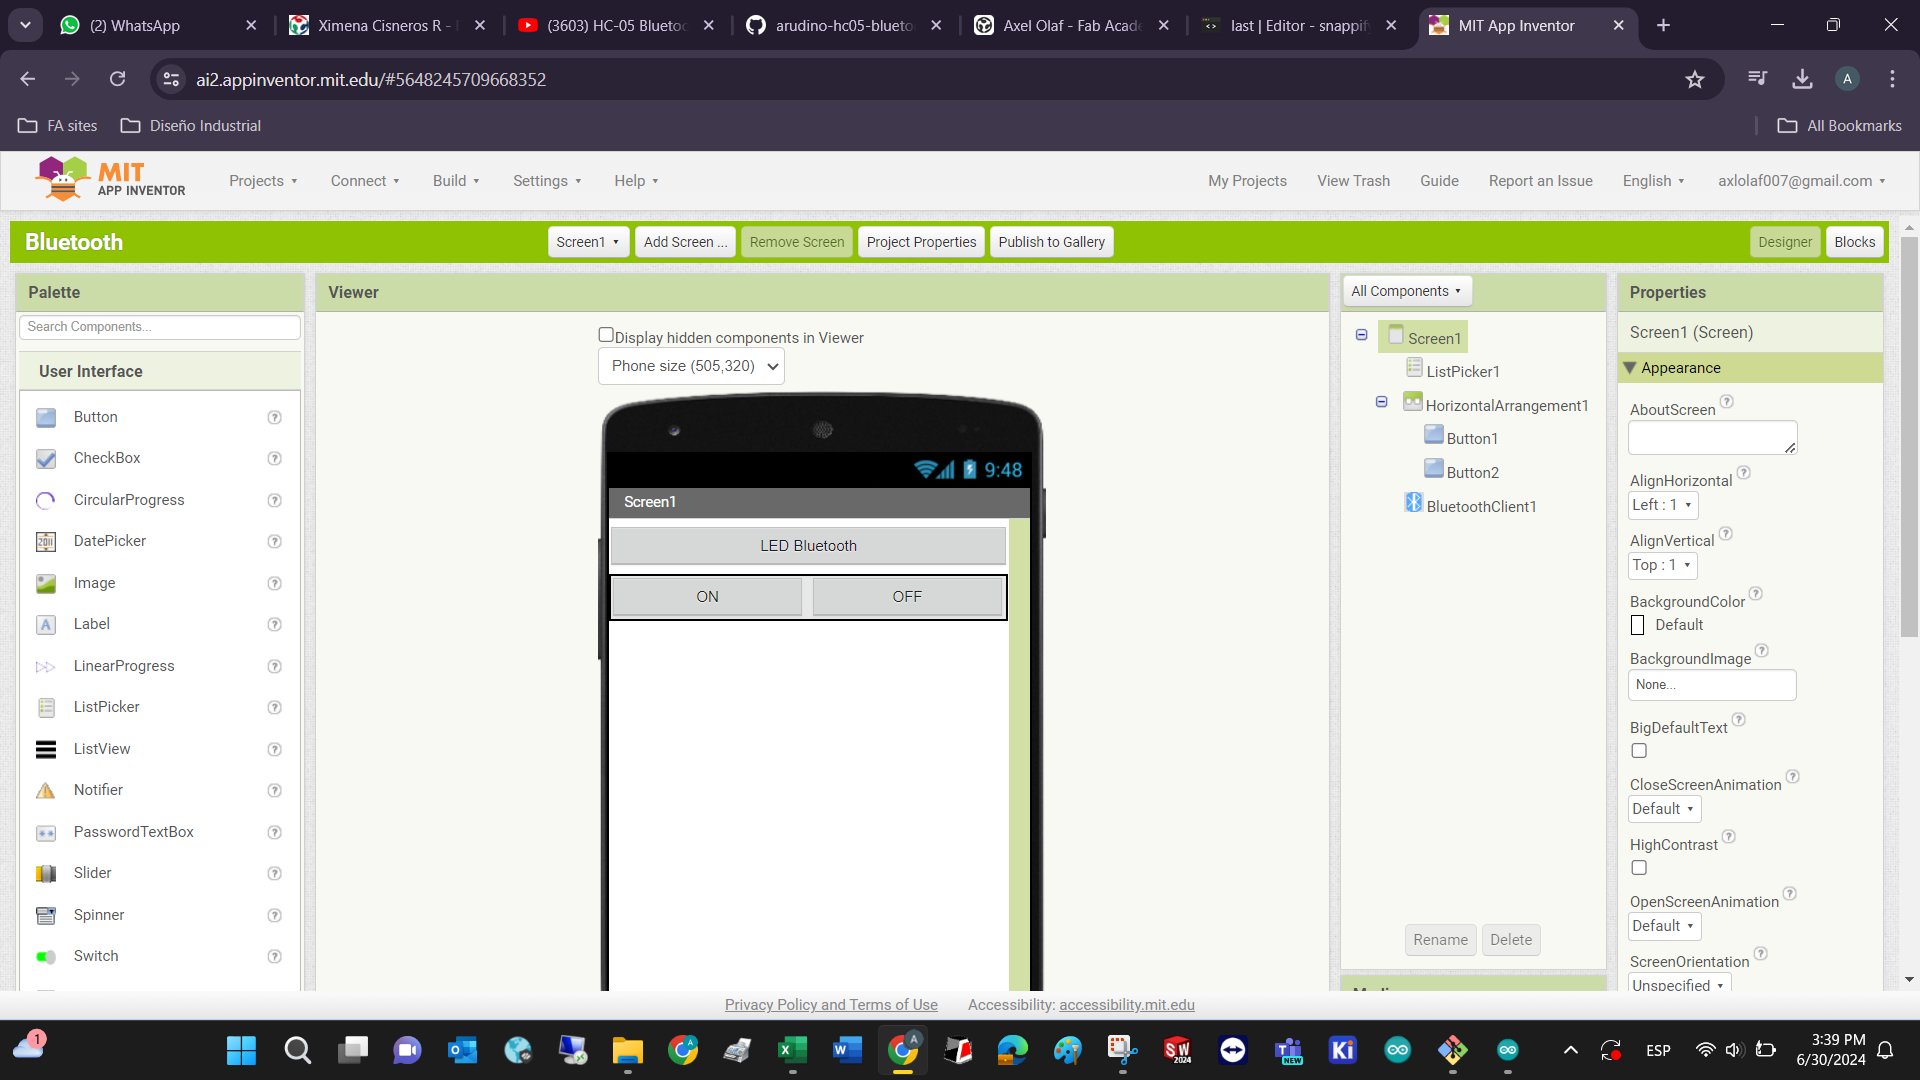
2. Go to the designer mode section (frontend design) to add components (like buttons, images, etc.) to your app screen and adjust their properties like size, position, color, text, shape, etc. You have all the options below! Explore them according to you needs:
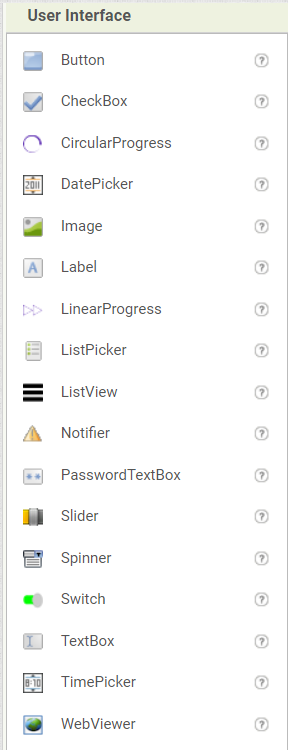
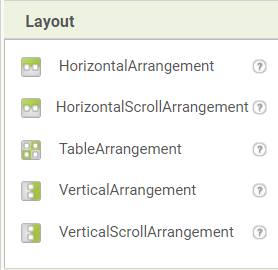
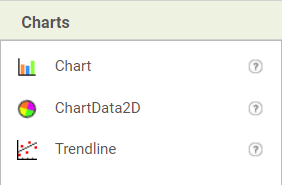
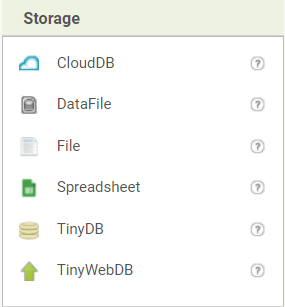
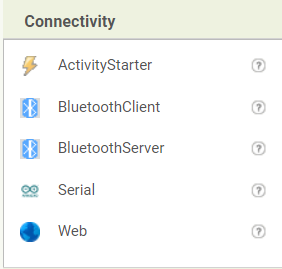


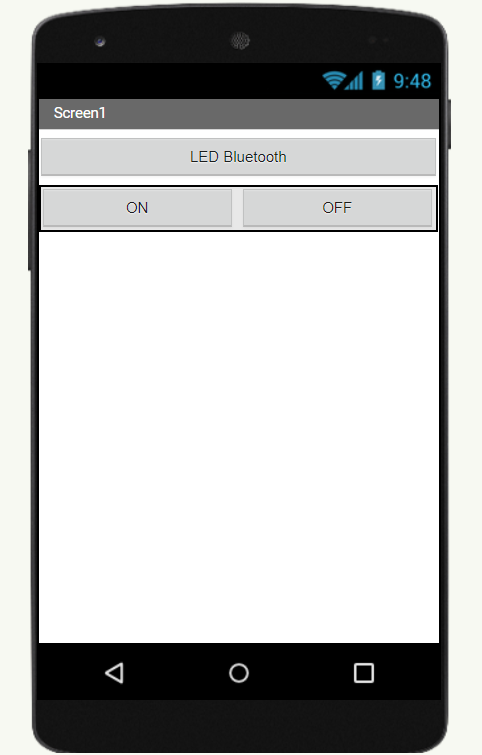
In this apps case, the used elements where the ones below:
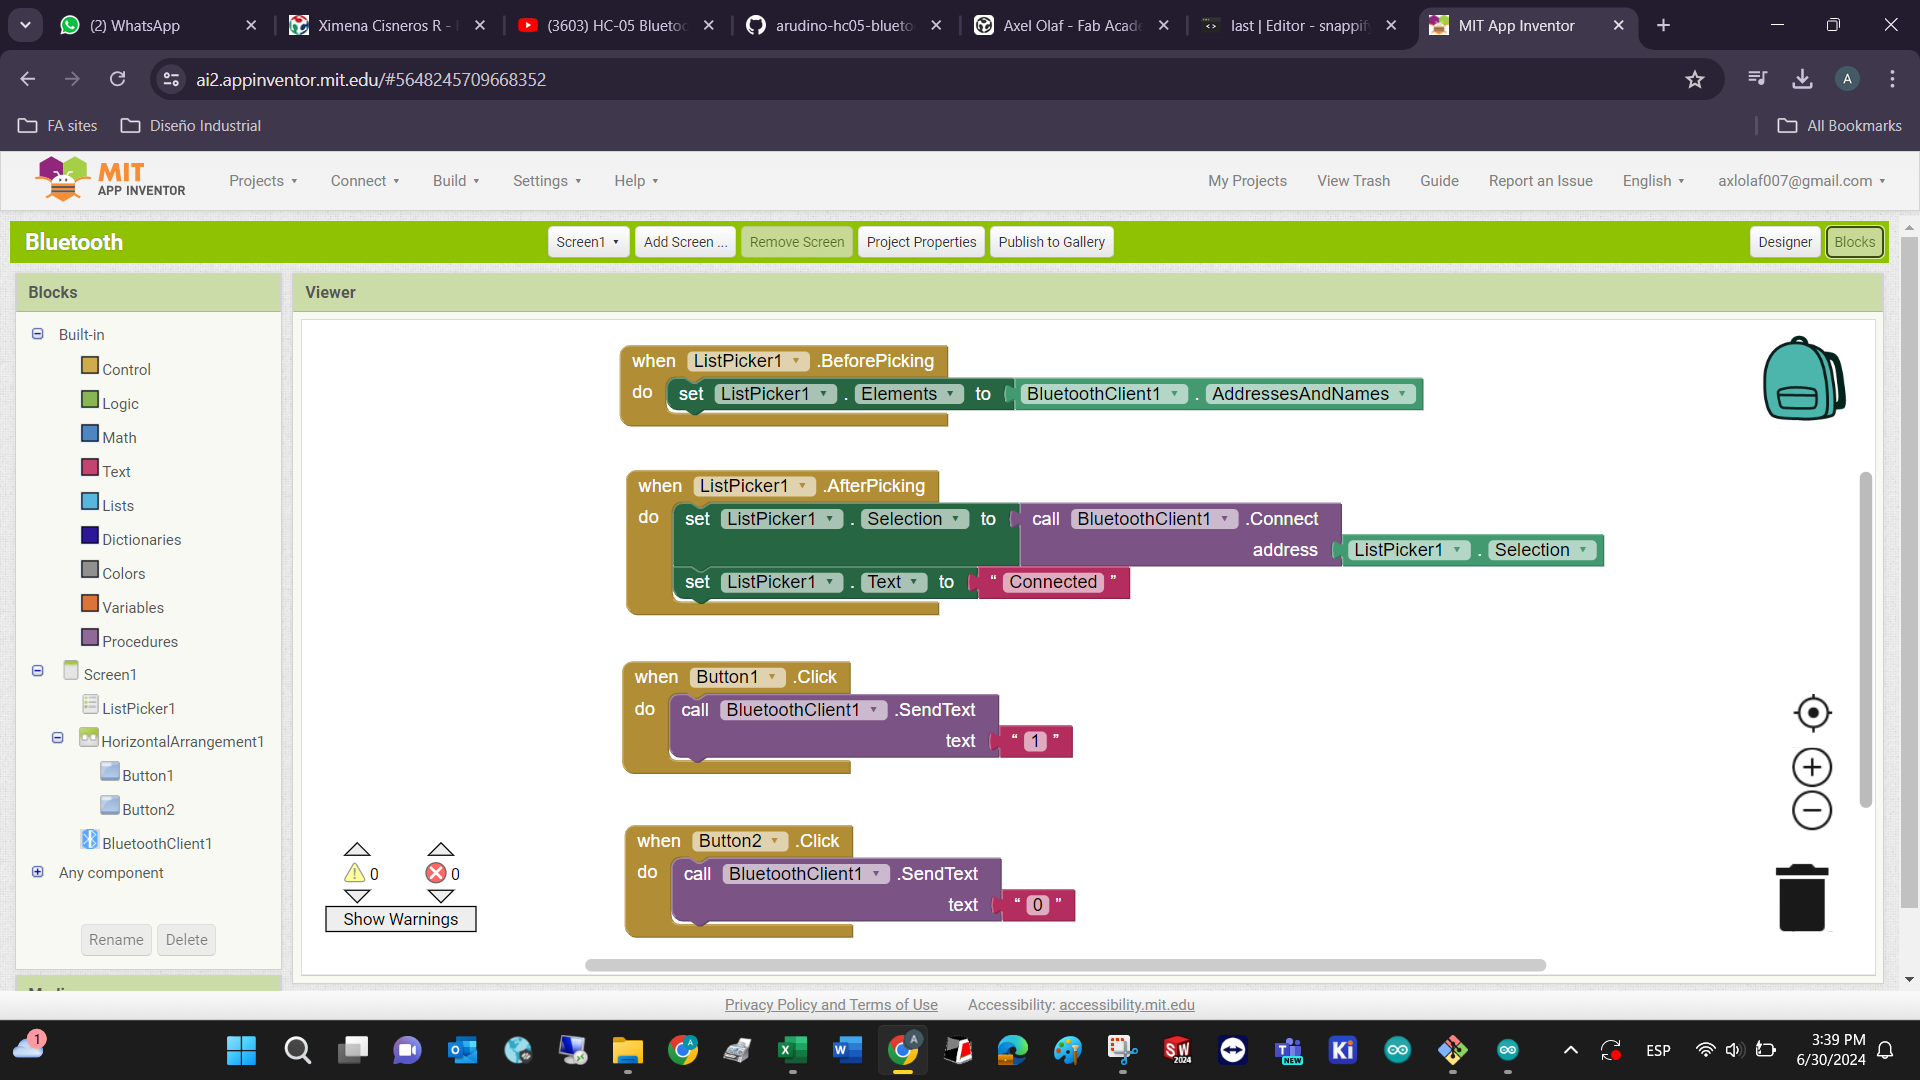
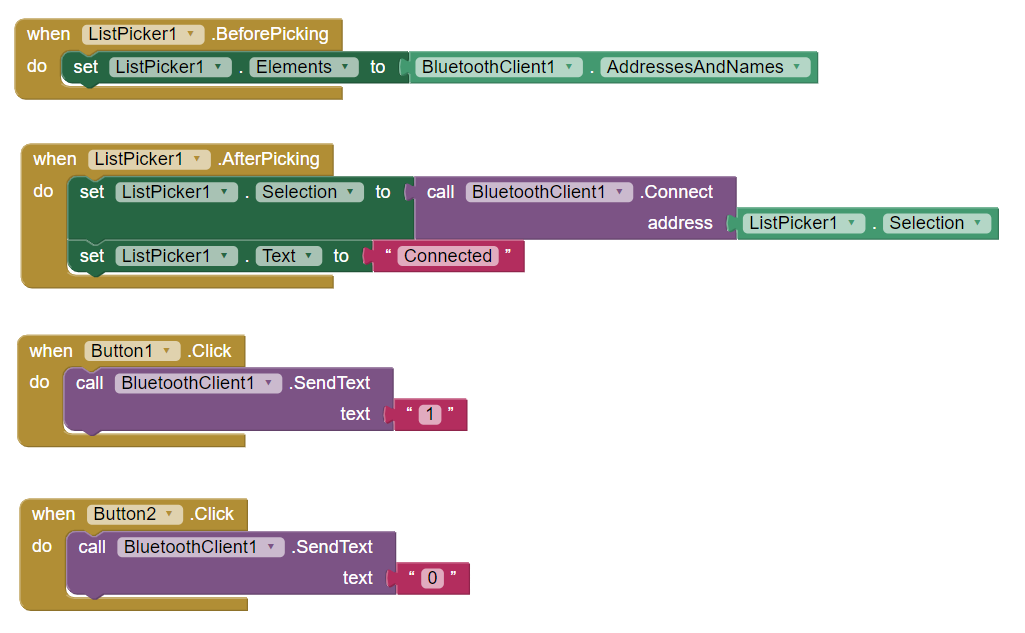
3. Go to the blocks mode to add the logic or actions performed when people interact with the front end. In this case the only interface input is a button that changes the logic state of an LED in an Arduino UNO.
-Control Blocks: These manage app flow, loops, and conditionals.-Logic Blocks: Use these for decision-making and boolean operations.
-Math Blocks: Perform mathematical calculations.
-Text Blocks: Manipulate text strings.
-Lists Blocks: Work with lists or arrays of data.
-Dictionaries Blocks: Handle key-value pairs.
-Colors Blocks: Set colors for components.
-Variables Blocks: Create and manage variables.
-Procedures Blocks: Define custom procedures or functions.
In this apps case, the used elements where the ones below:
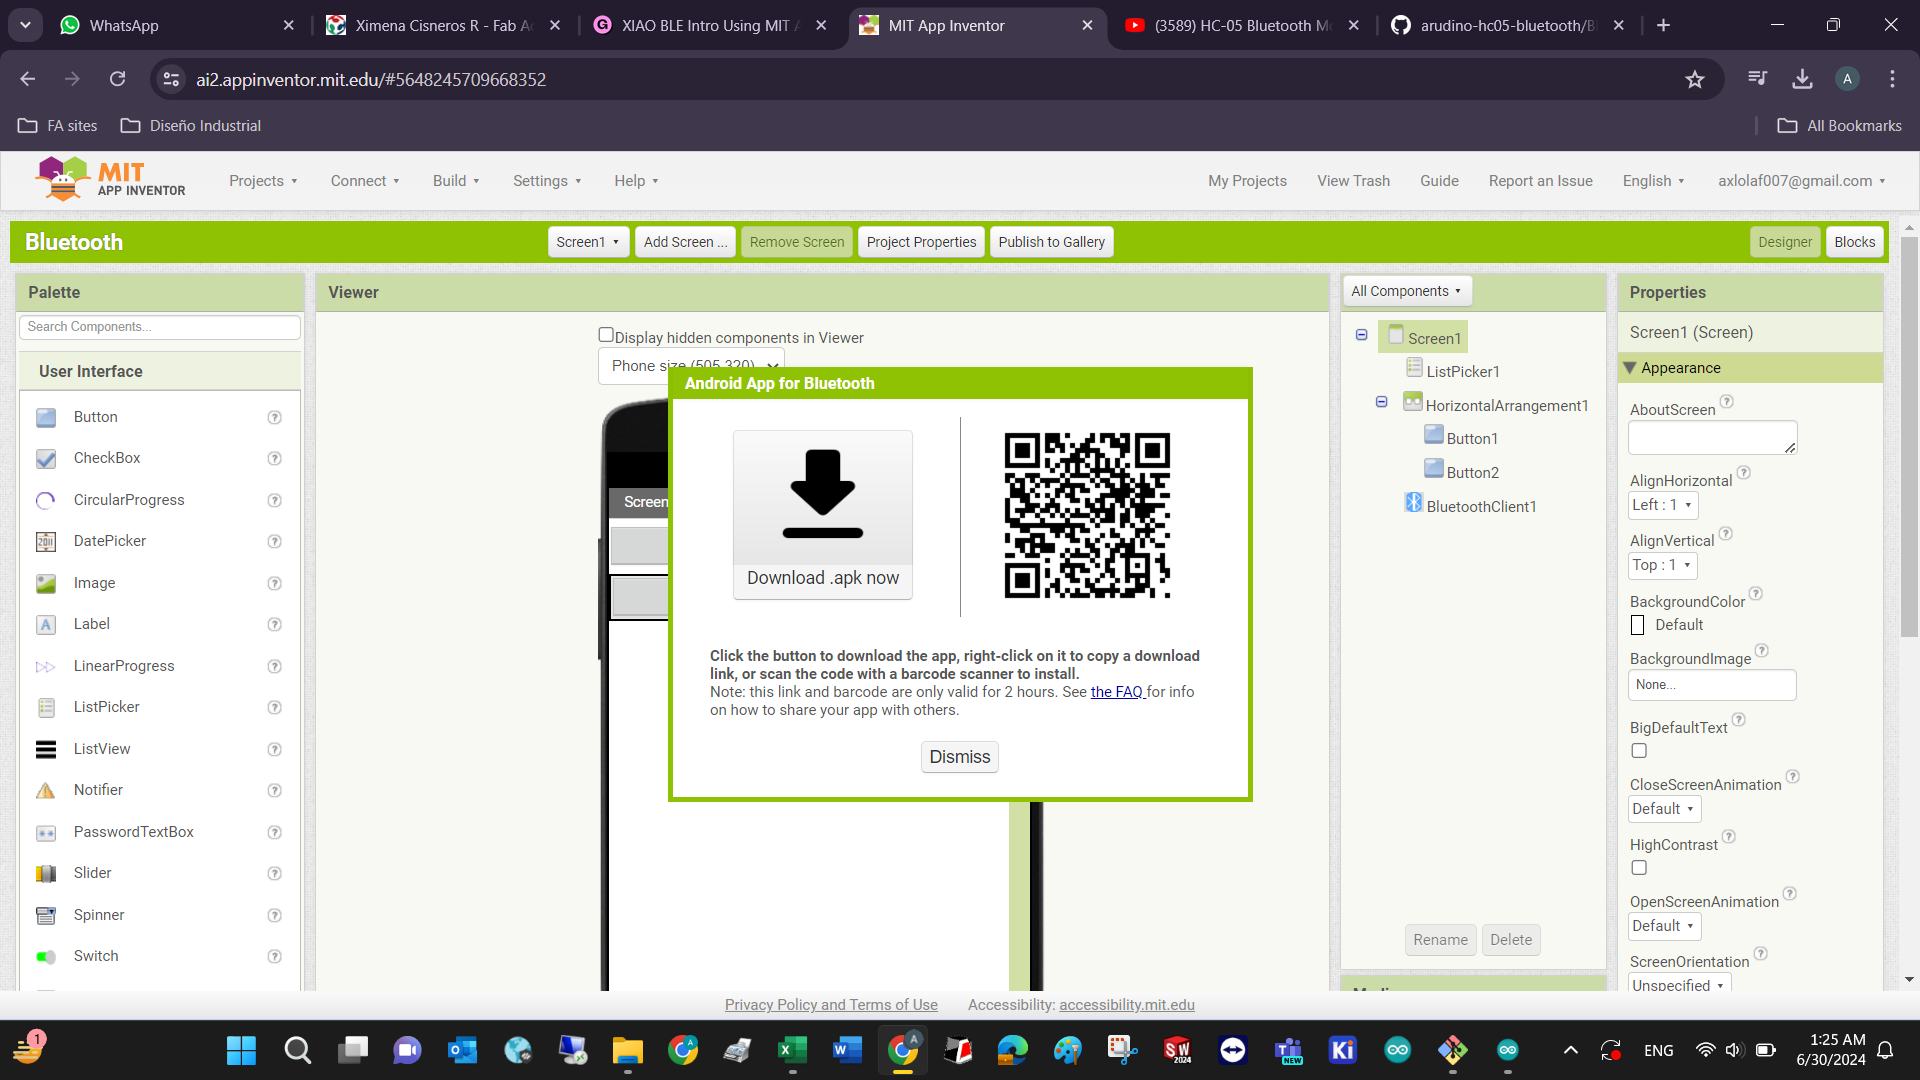
If you are programing an app for the Android OS, download the AI Companion app or scan the QR code to test your app on a mobile device.
Sometimes it’s a better option to install the app locally (in your smartphone). To do that, build your app as an APK file for installation on an Android phone or tablet. Most likely you will receive an alert about the risks of installing an app that isn’t authorized by the Google Play Store. Trust that your App wont crash Android, give the requested permissions and test your app!
If you want to replicate my experiment, just download the .aia and import it to your MIT App inventor interface. And your Arduino needs to be programmed with the .ino file