12. Molding and casting
Week asignments
1. Group assignment: review the safety data sheets for each of your molding and casting materials, then make and compare test casts with each of them.
2.Individual assignment: design a mold around the process you'll be using, produce it with a smooth surface finish, and use it to cast parts.
Group asignment
Check out the Puebla FabLab repository: https://fabacademy.org/2024/labs/puebla/week13/
Individual asignment: GEODESIC DOME
DESIGN
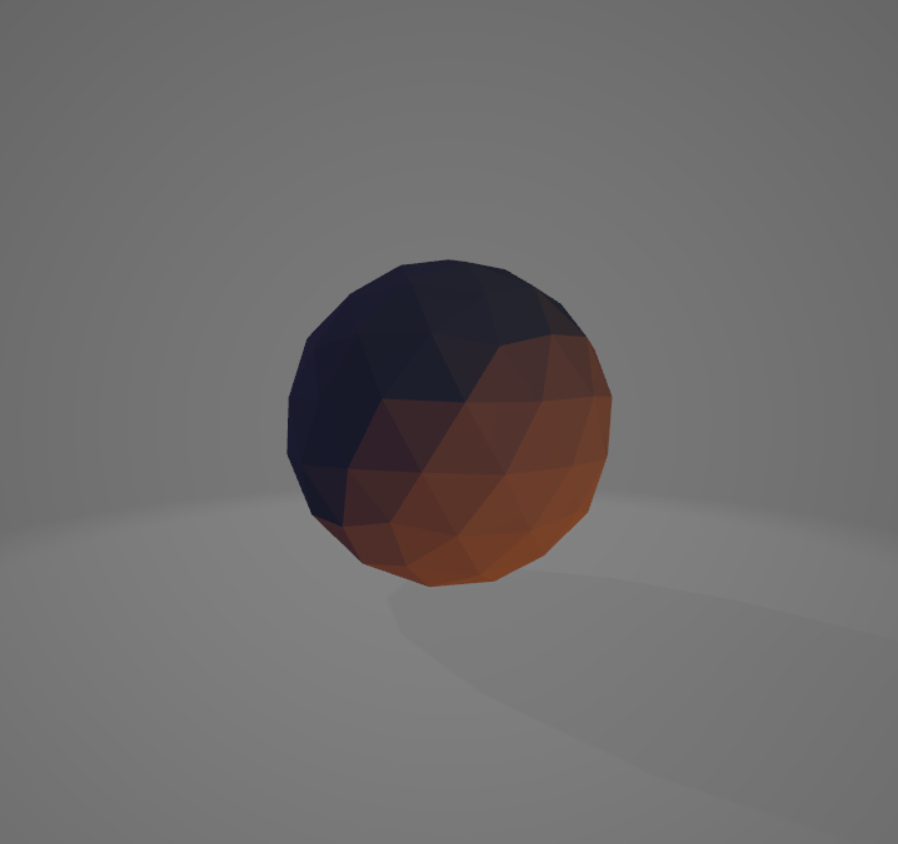
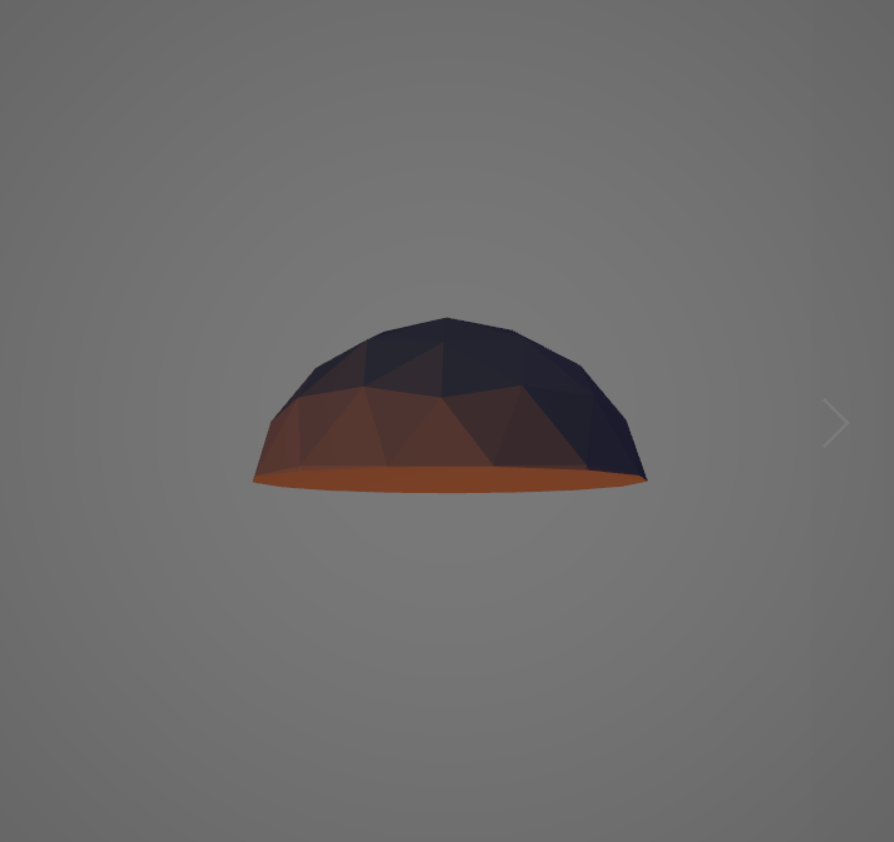
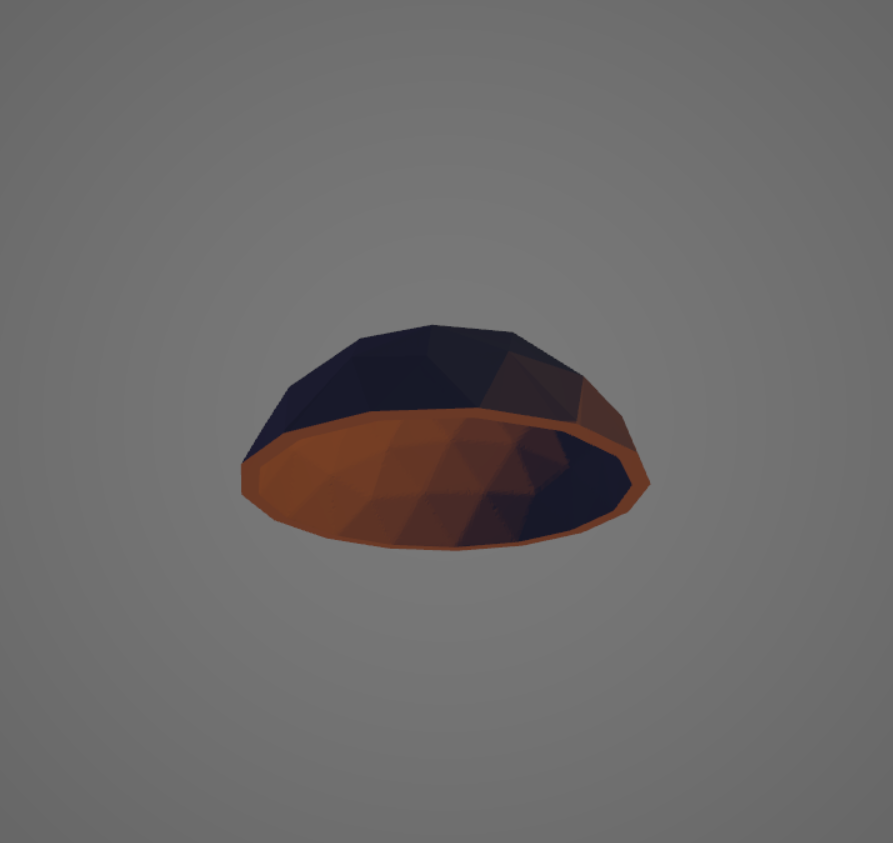
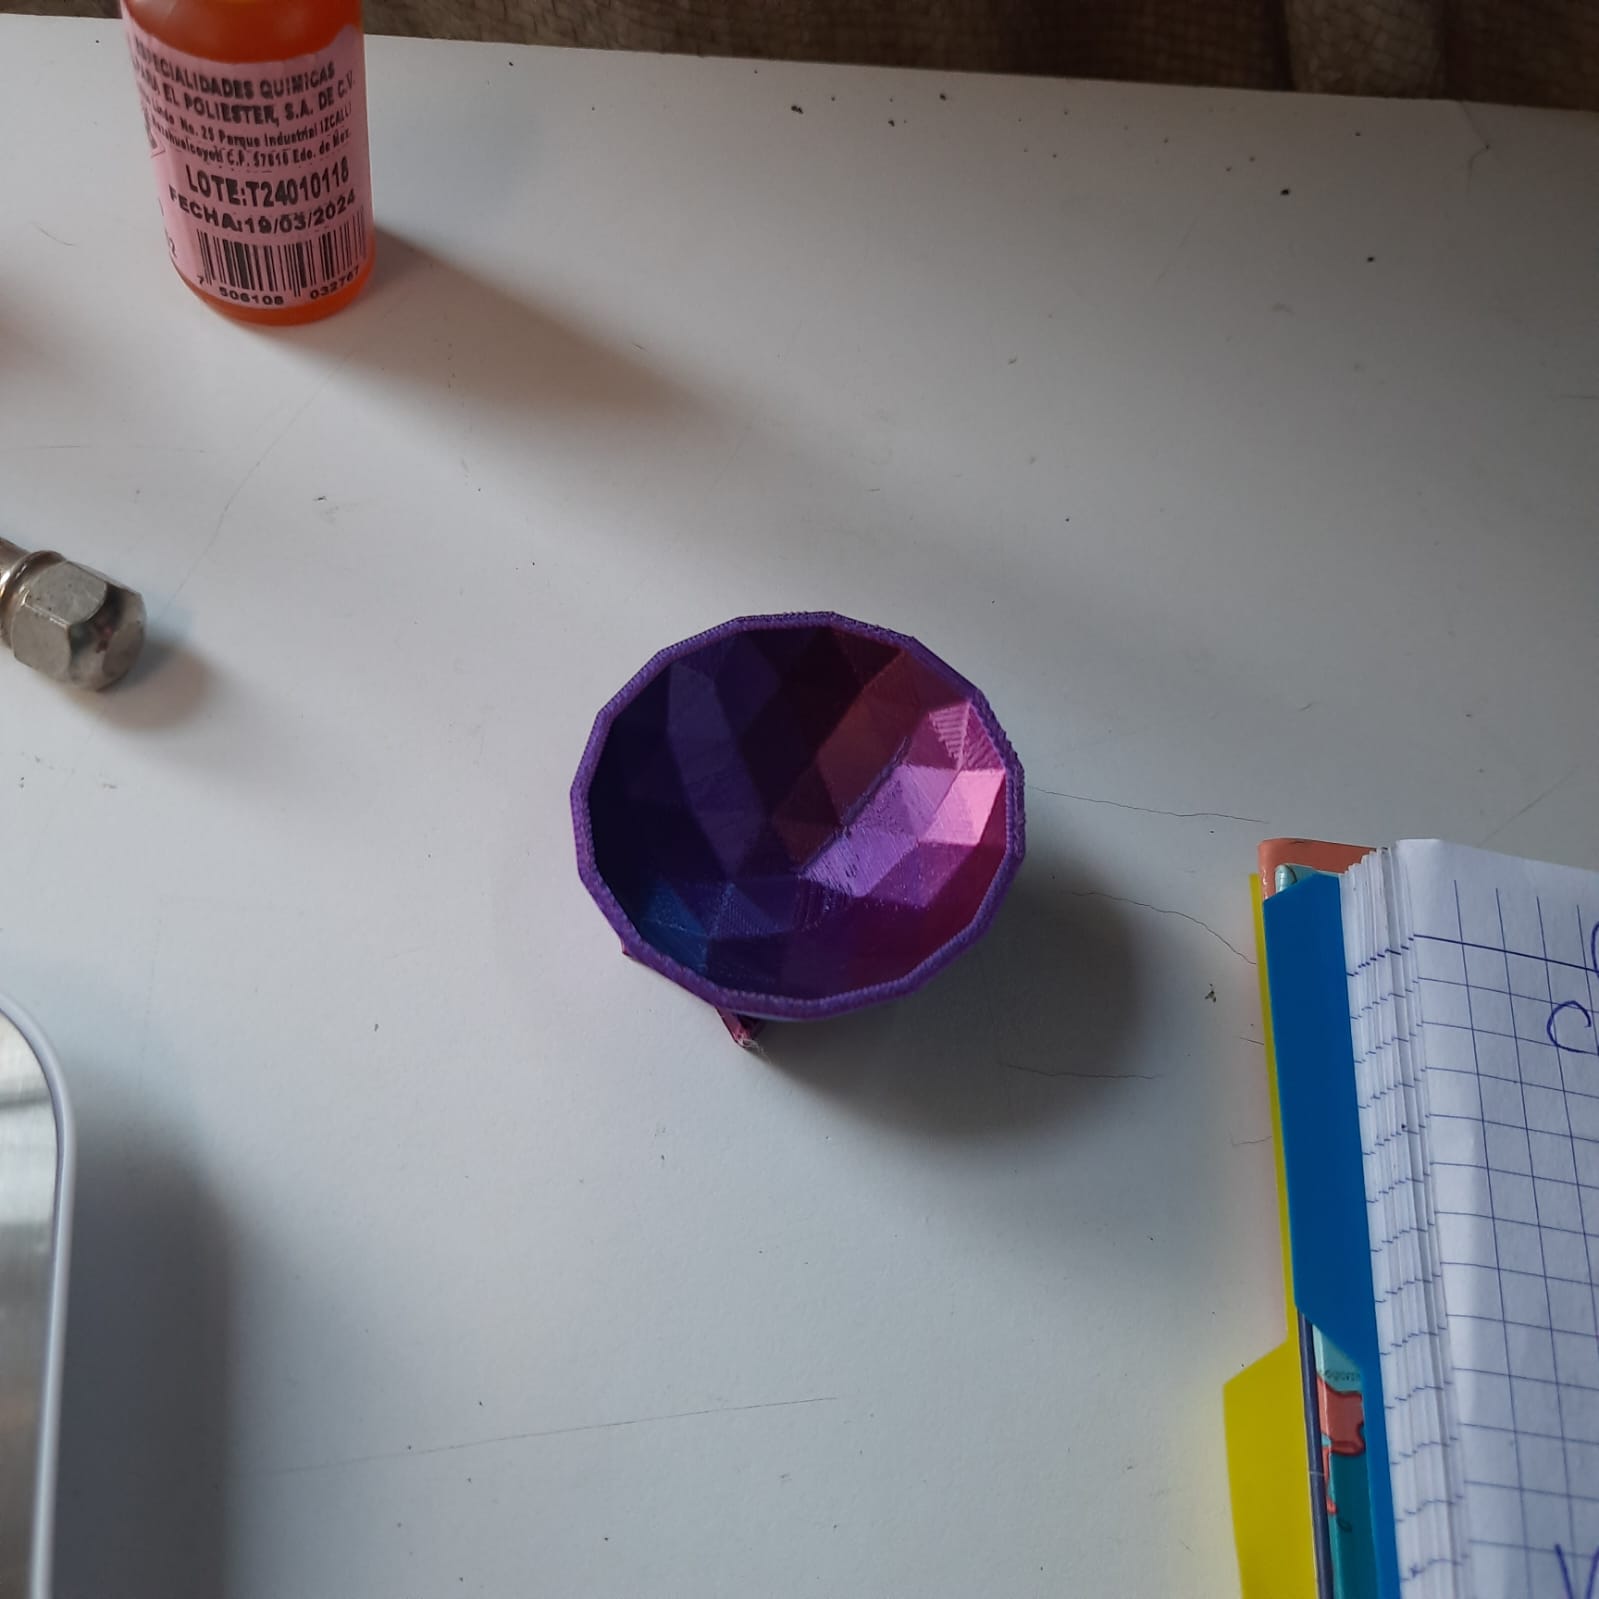
I’m attracted to geodesic domes (thanks Buckminster Fuller). So I decided to design one and make a mould out of it. For my surprise, SolidWorks already has a feature to create them and the export them as STL. Using Meshmixer, I made a shell out of the semi-geodesic dome.
3DP MOLD
The slicing process is already explained in the 3DP week, but basically the formula to success is slow printing, great bed adhesion, dry filament to avoid stringing, aligning one of the polyhedral faces to the bed, highest resolution: 0.15 mm/layer, and a lot of patience and testing. I couldn’t hack it with the IDIT printers, so my battle horse came to action one more time. The best part of the design, is that the external part of the shell is going to be in contact with the supports and not the inner region where the casting is being processed.
MILLED MOLD
The special part about this is that instead of cutting a 2D shape, we will be removing material in 3 dimensions layer by layer and even changing the tool to make the coarse and fine removal.
V Carve Pro has a feature to import the 3D model, but first you must define a 3D working space or body and its respective dimensions. In this case, the casting wax block was 14.8 x 8.8 x 3.7 cm3. Thank August for lending me the back part of your block!
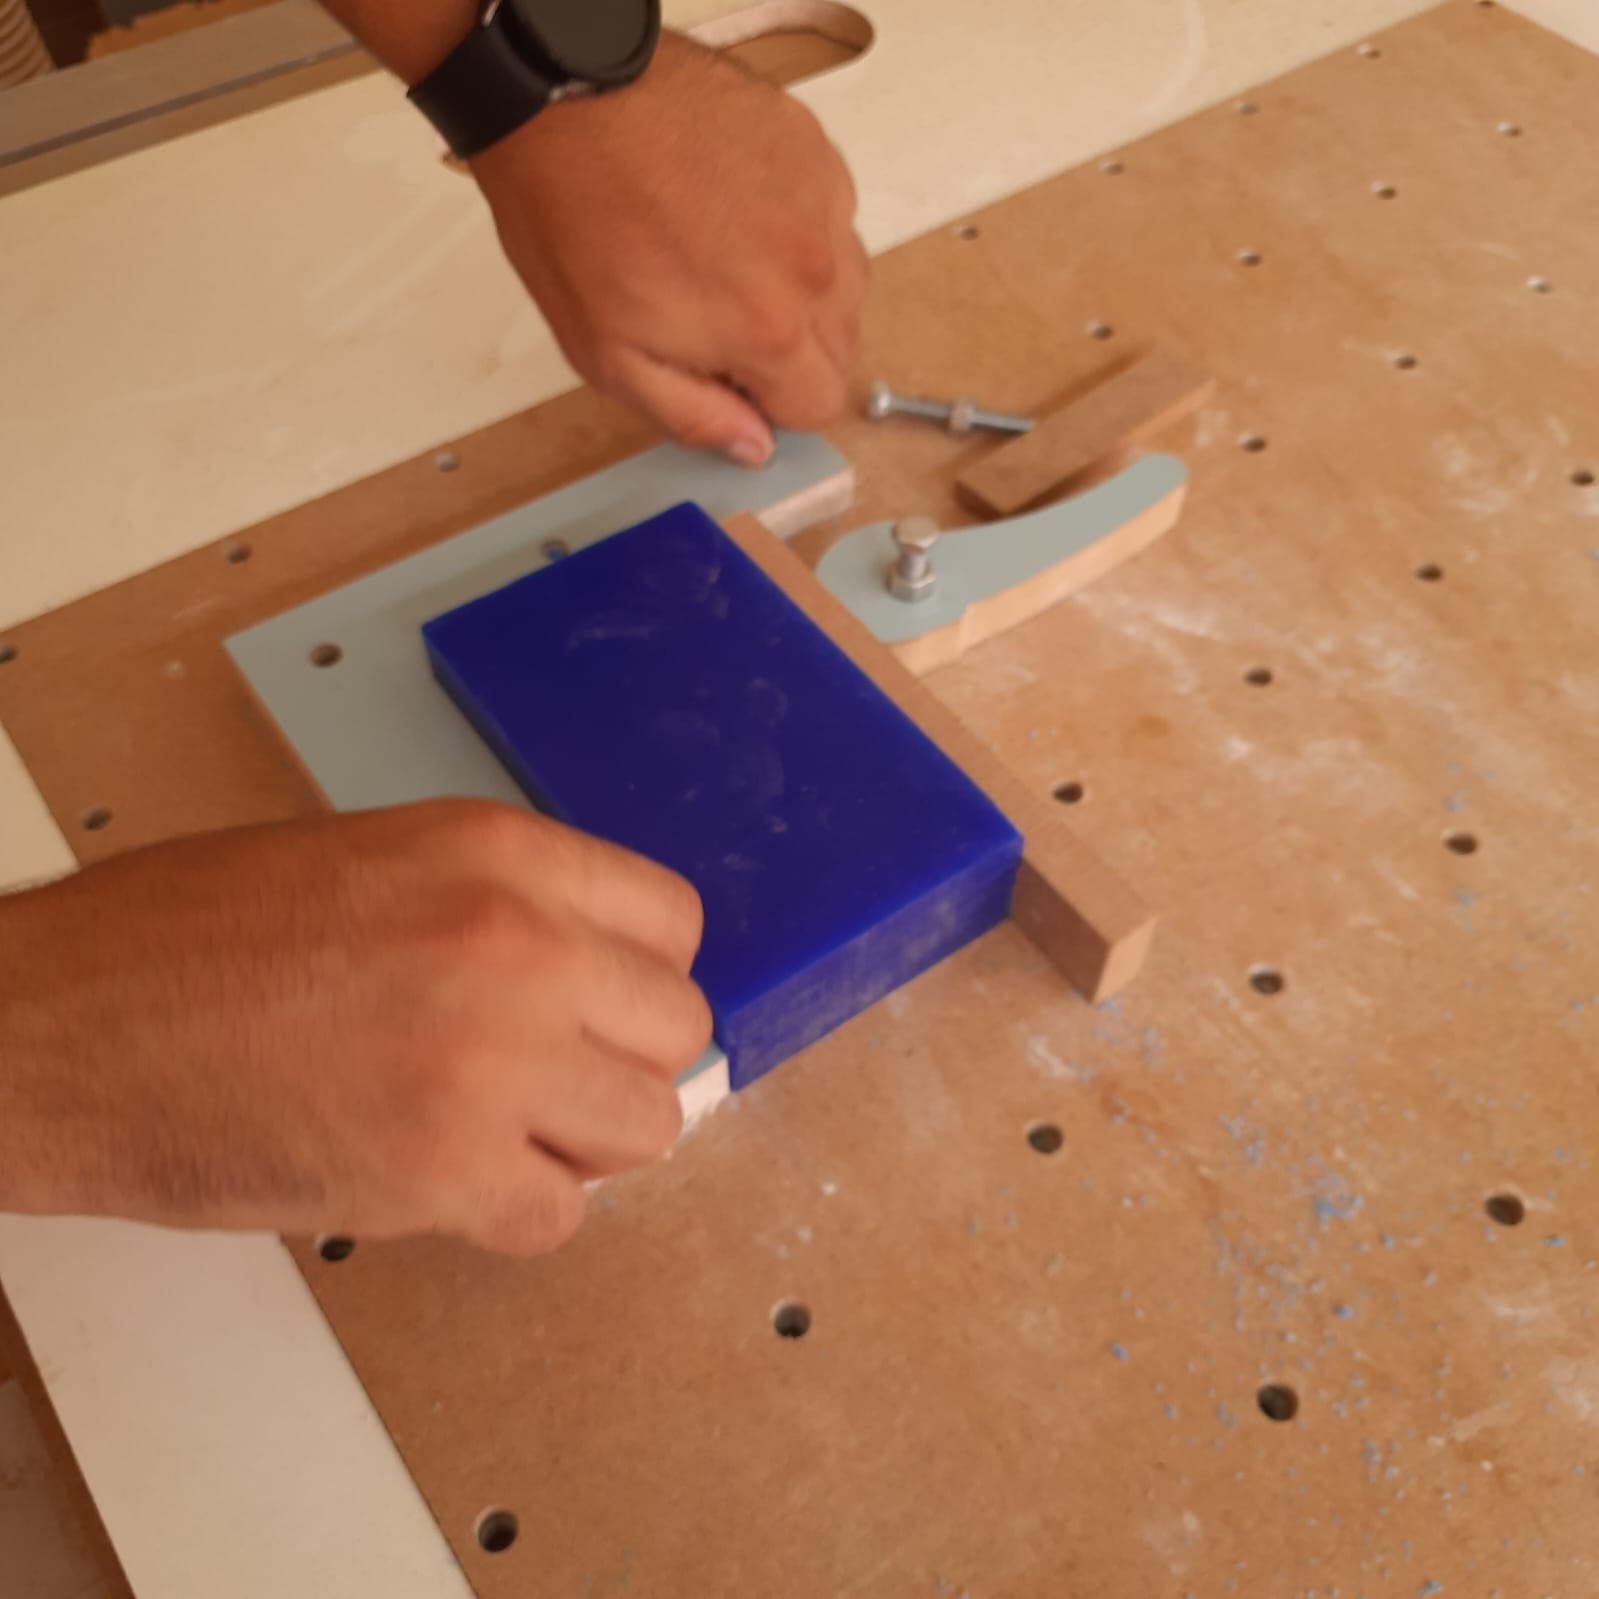
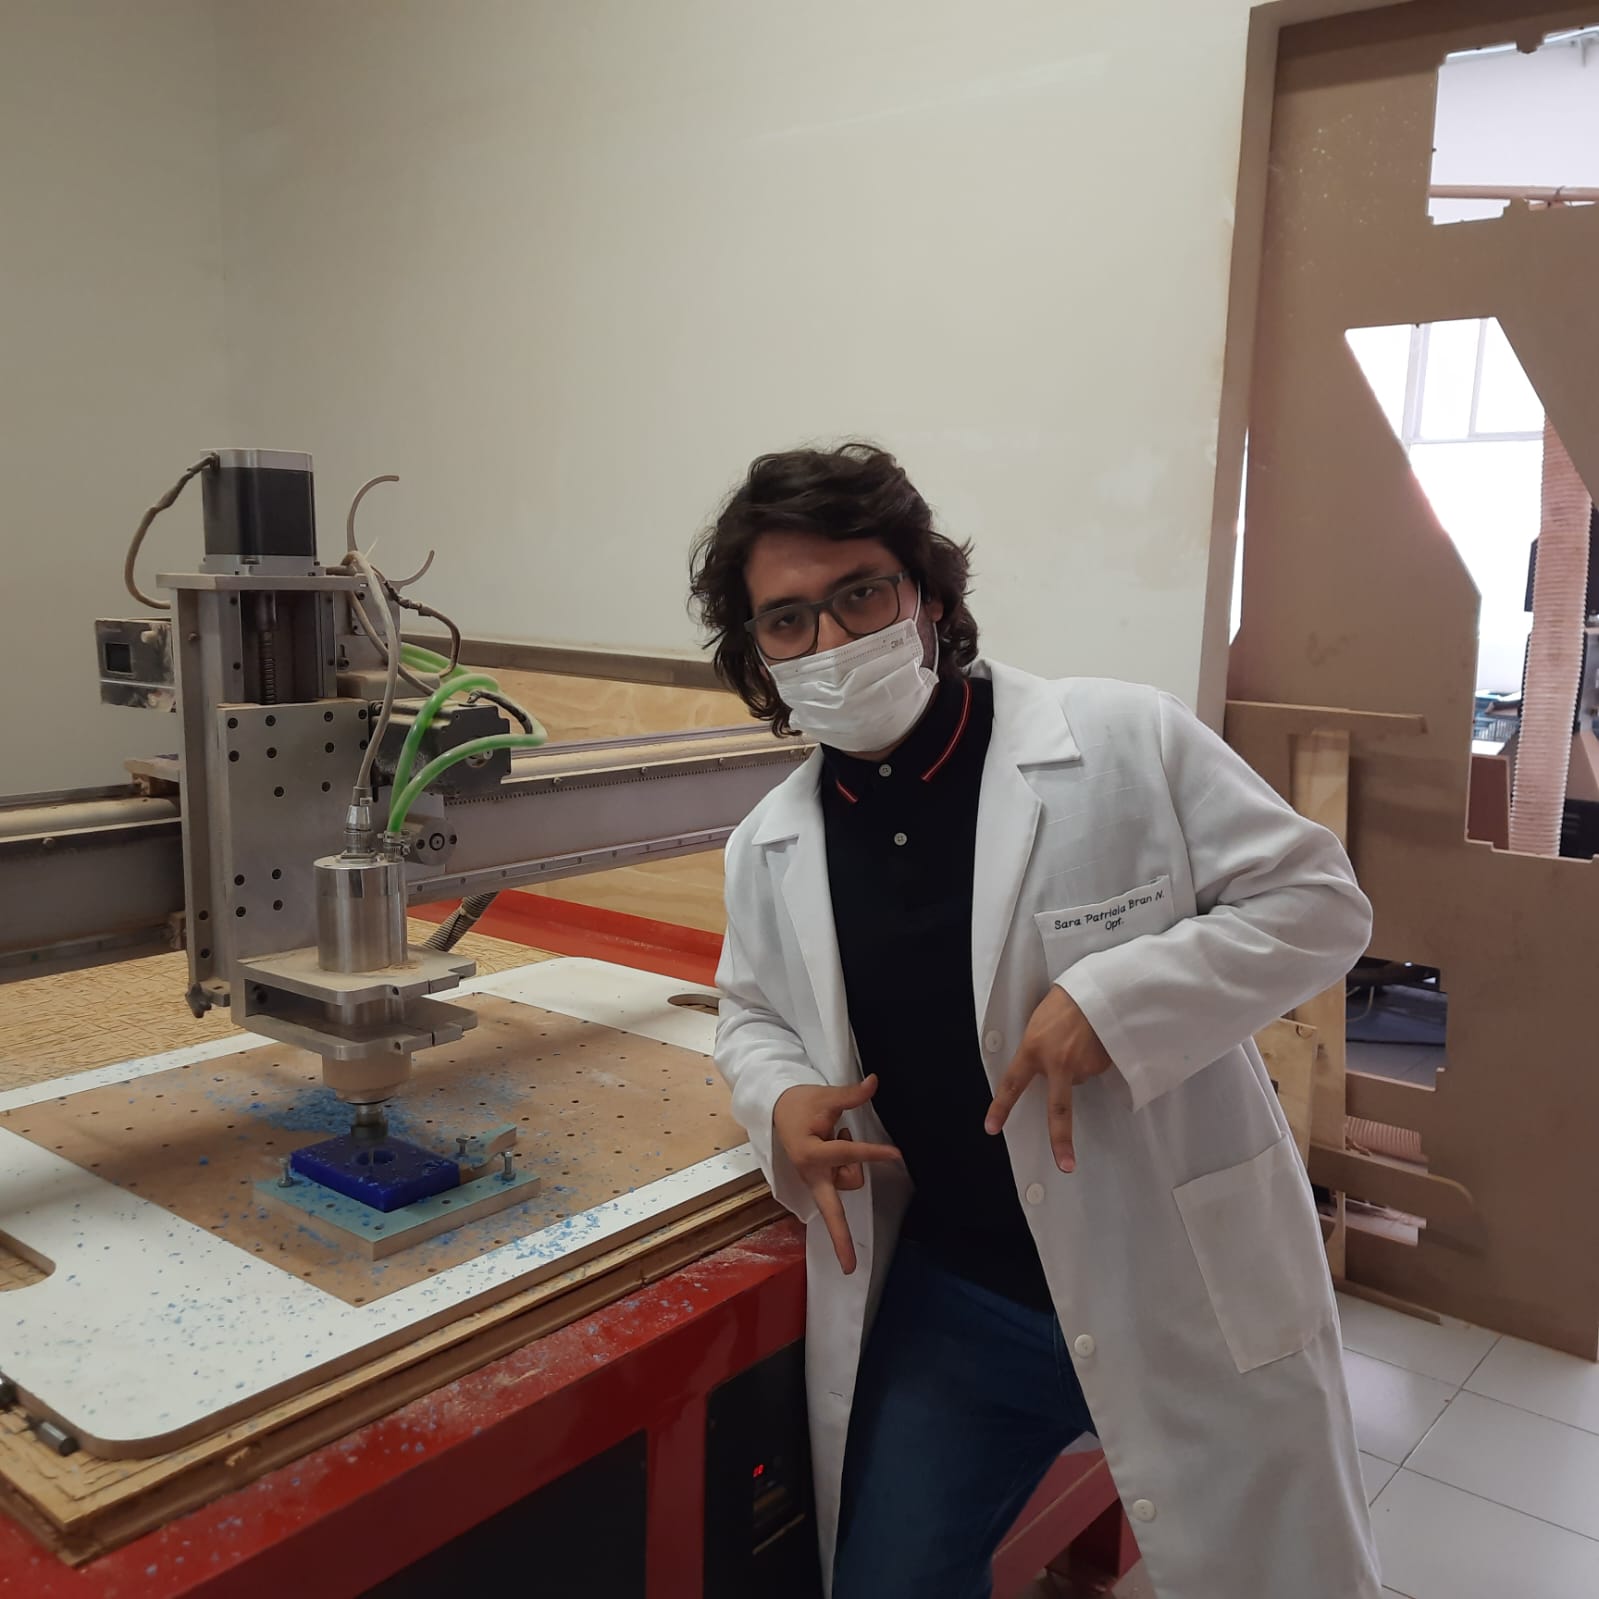
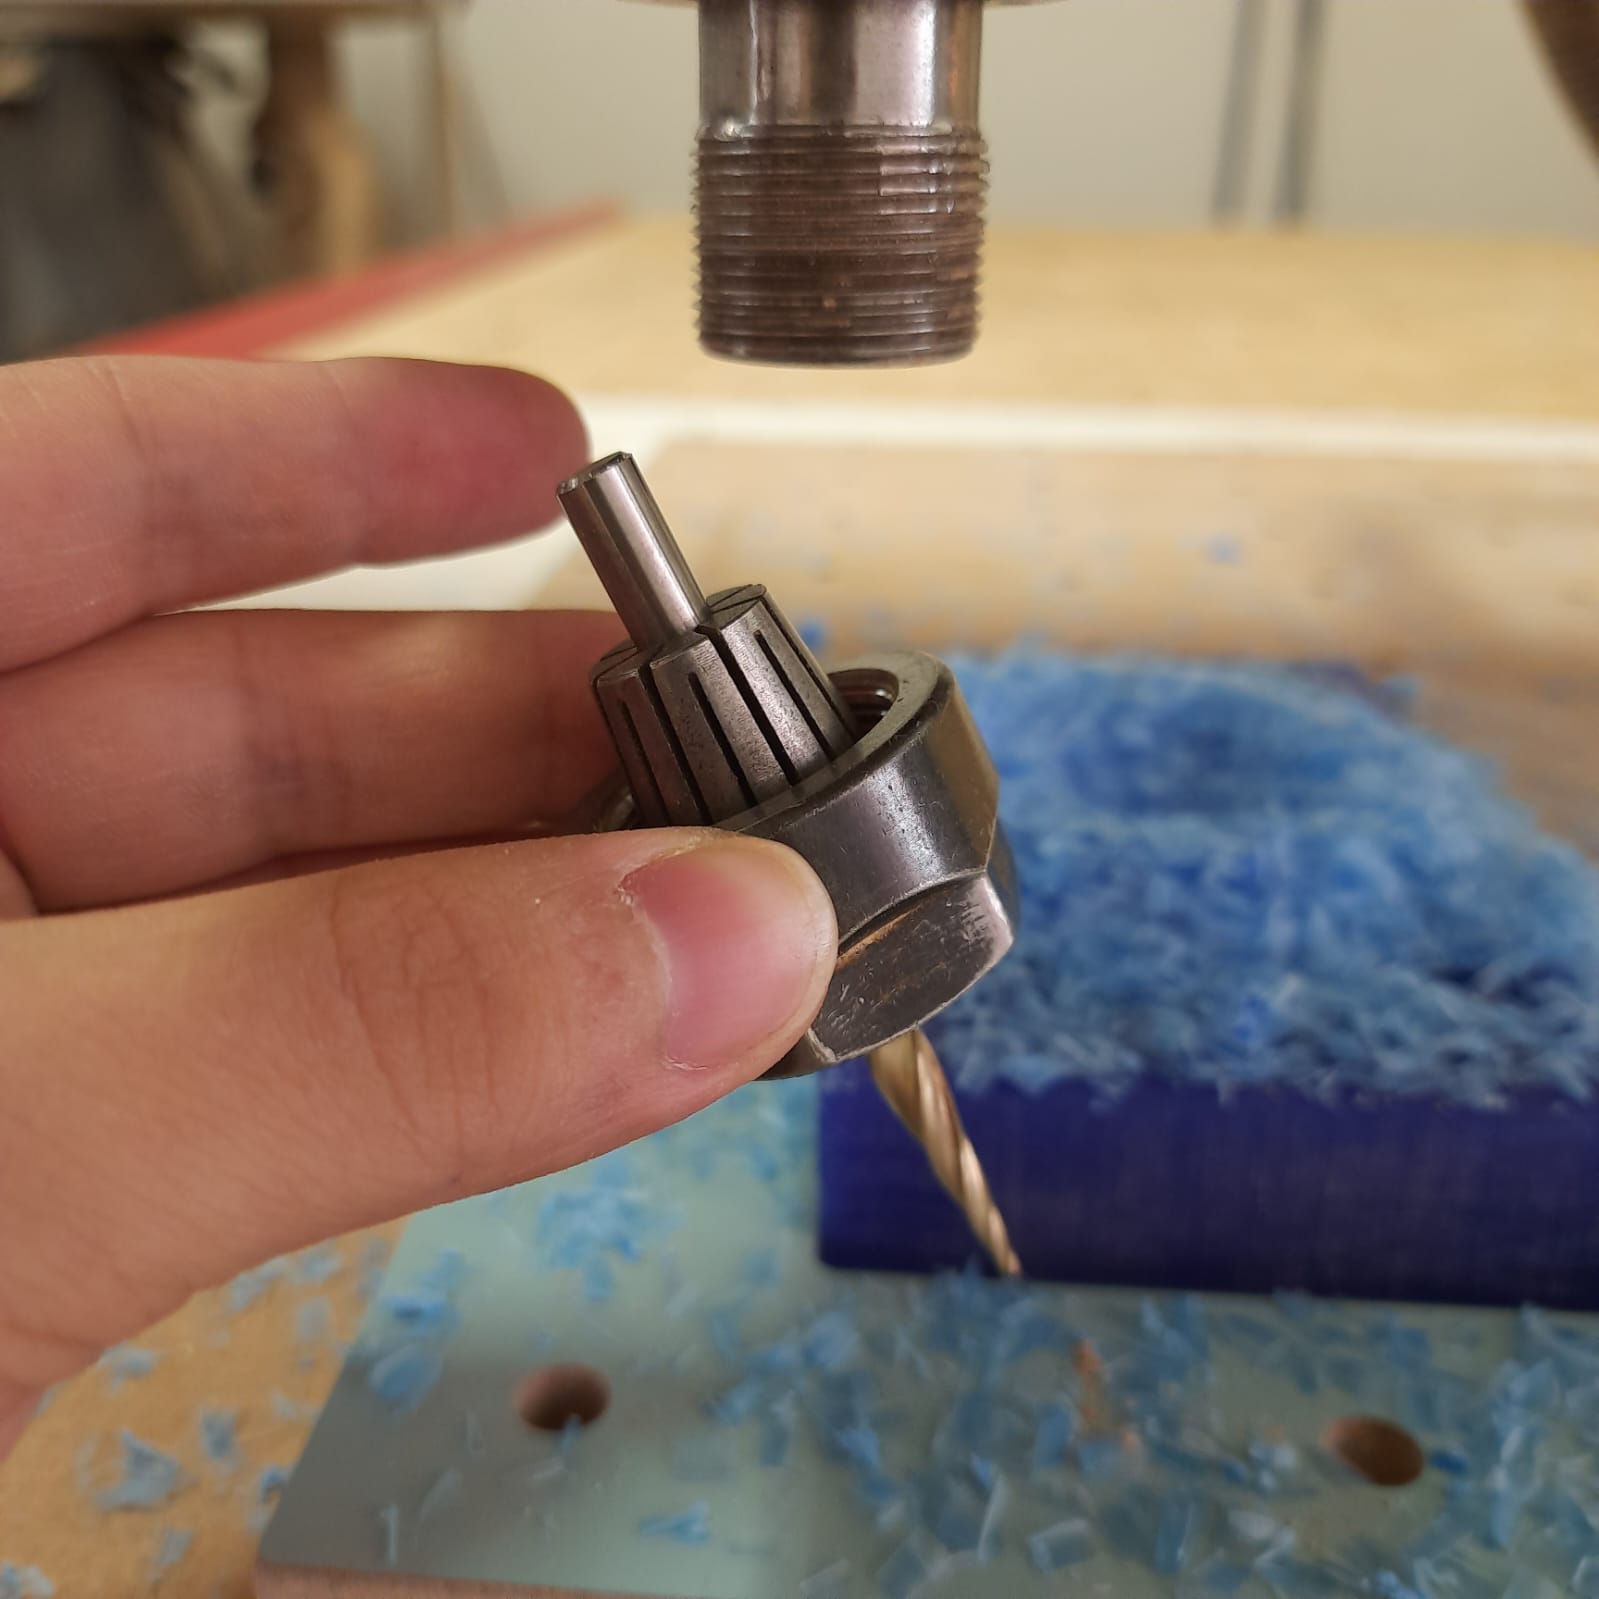
Once that the files from V Carve are generated, it’s time to go downstairs and mount the gear mechanism to hold the block in position, use the ¼ mill to make the coarse removal, and the 46282 mill to perform the fine removal. In this occasion the Red machine was used instead of the Asia Robots due to a software bug. Thank you August for teaching me how to use it.

CASTING
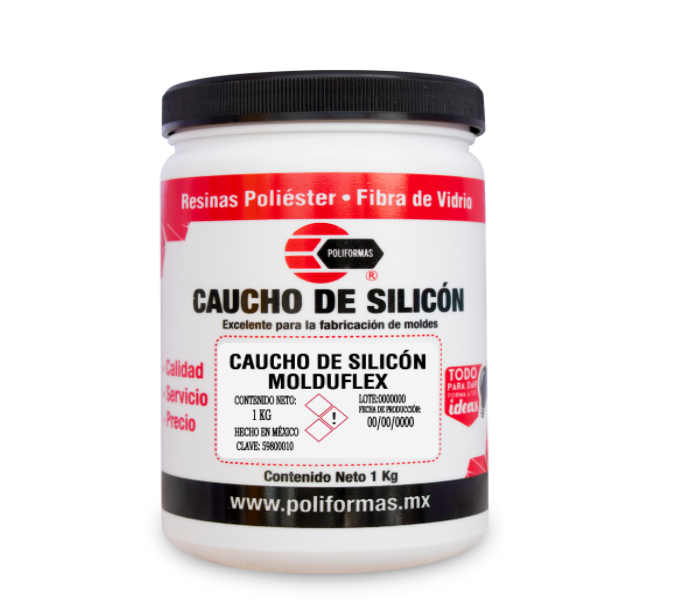
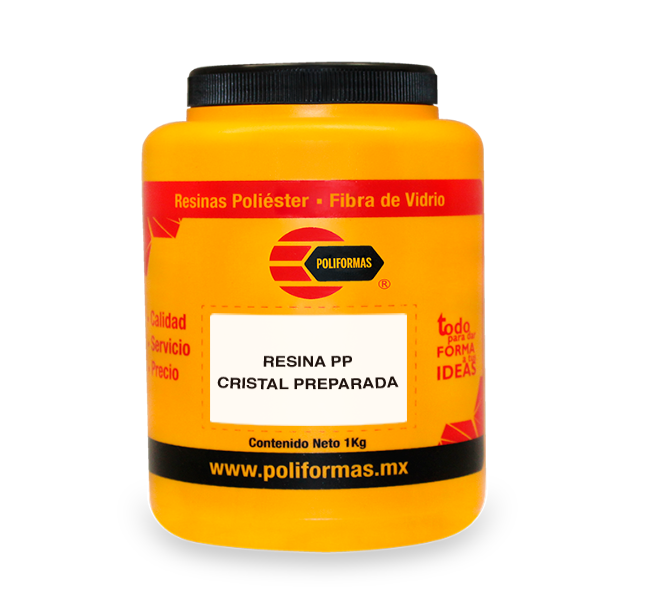
According to the manufacturers data sheet, this is not a carcinogen nor mutagen material, so lets assume they are speaking the truth.
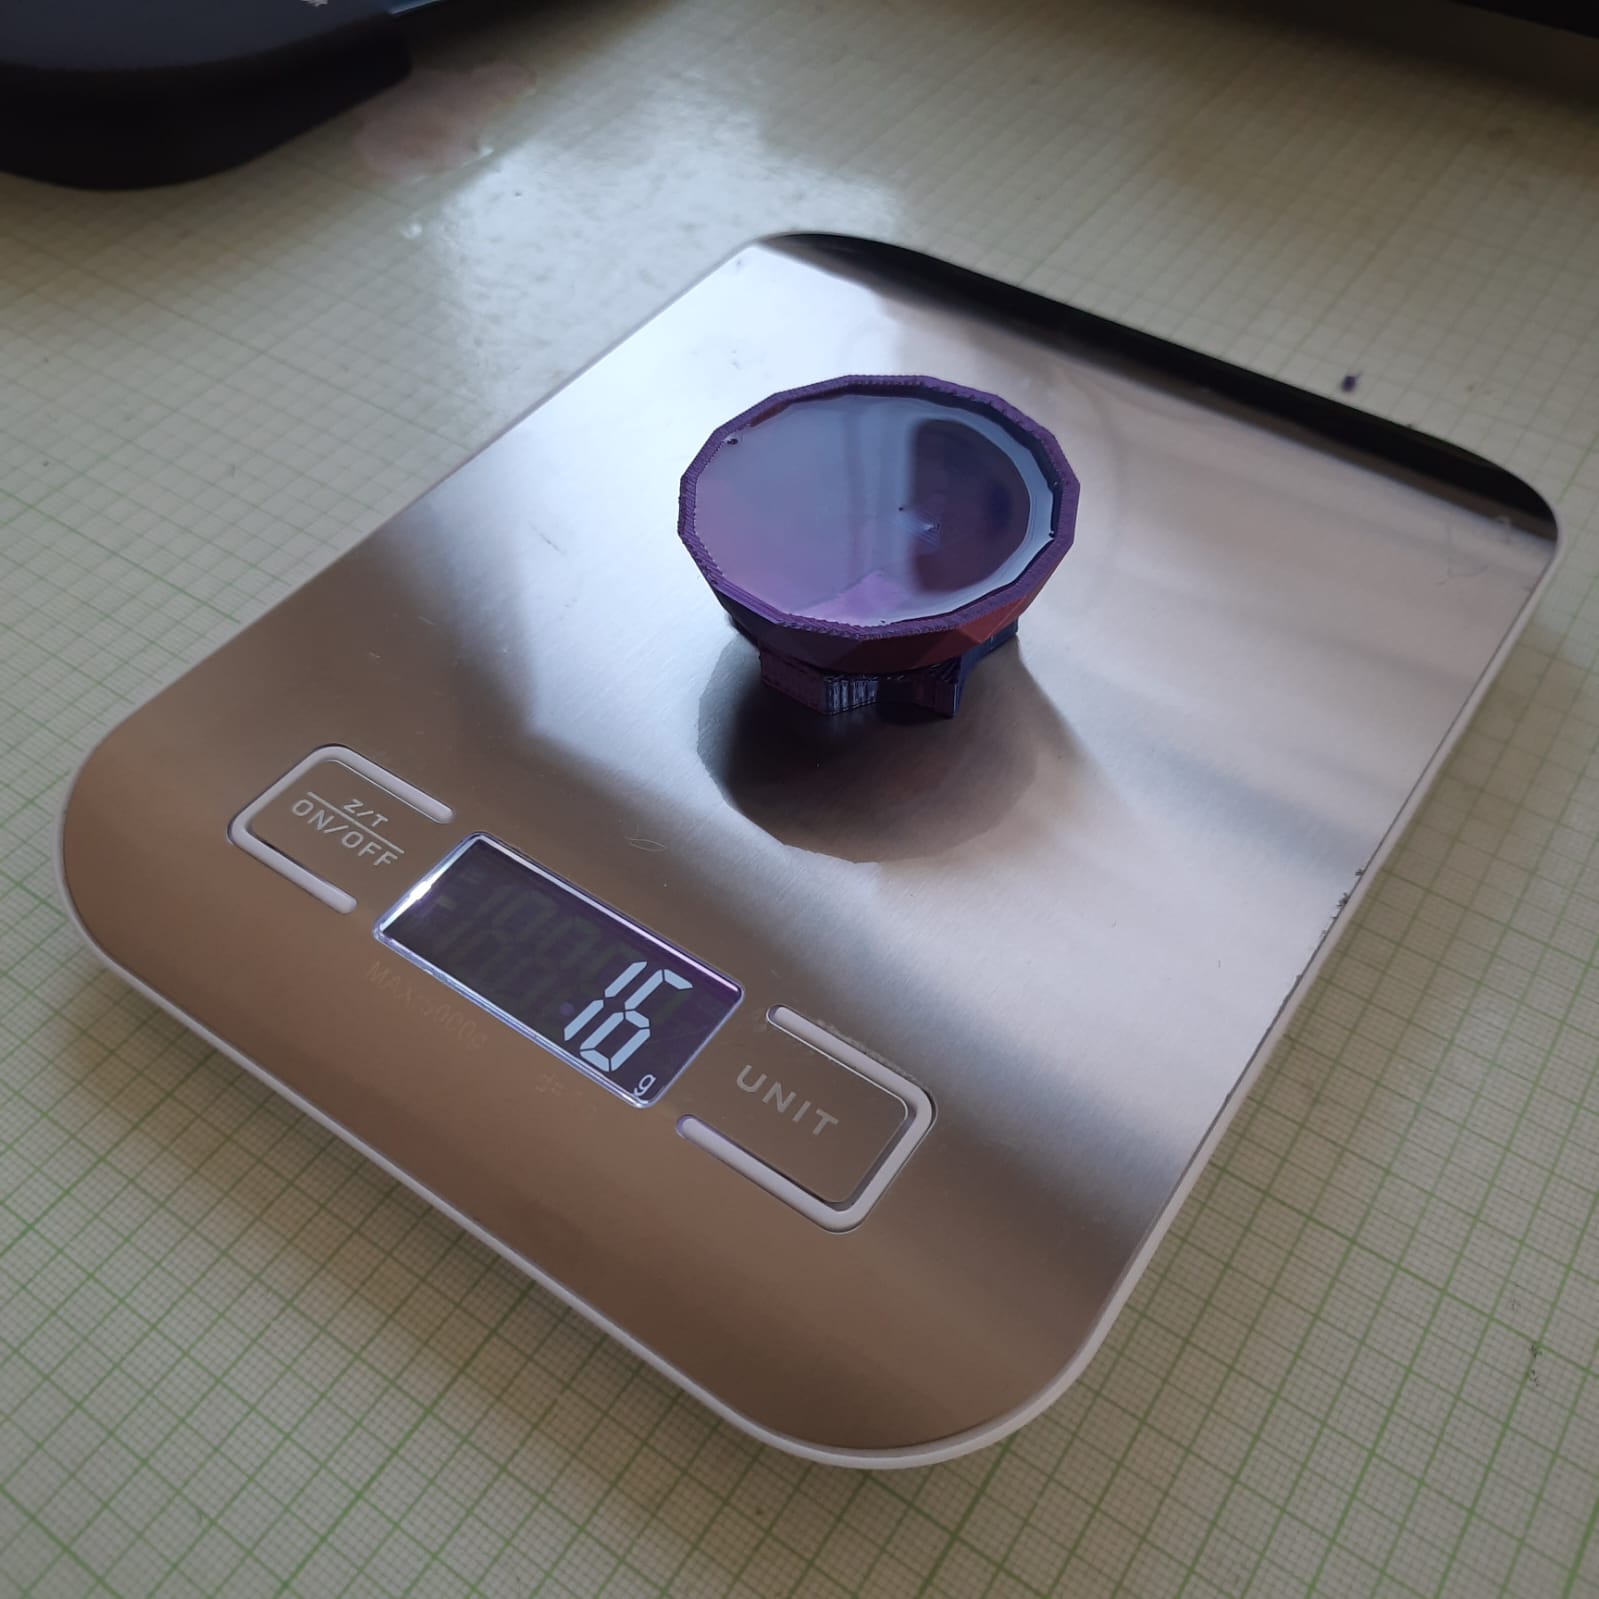
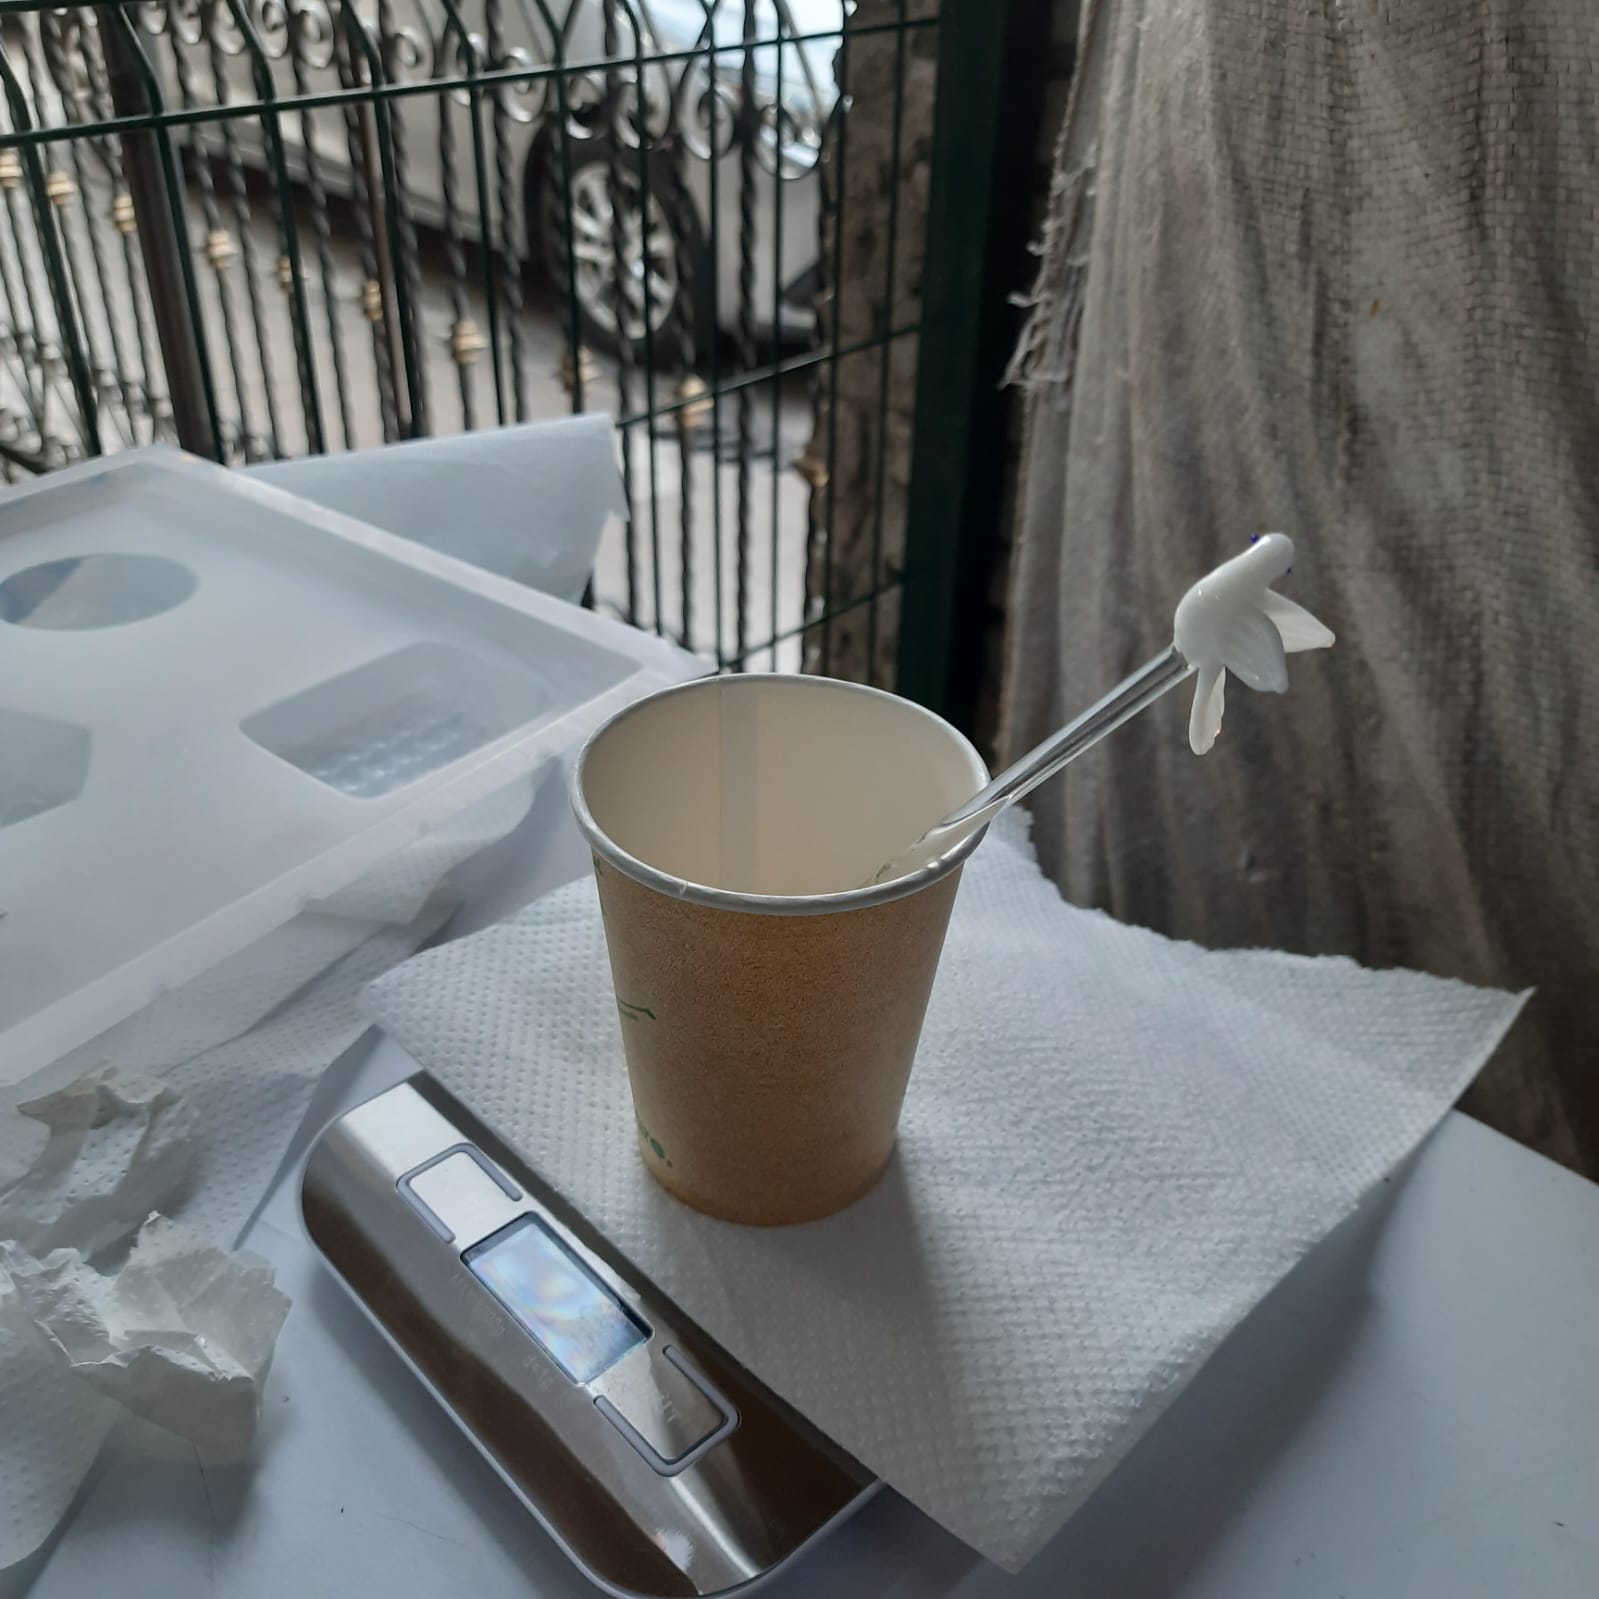
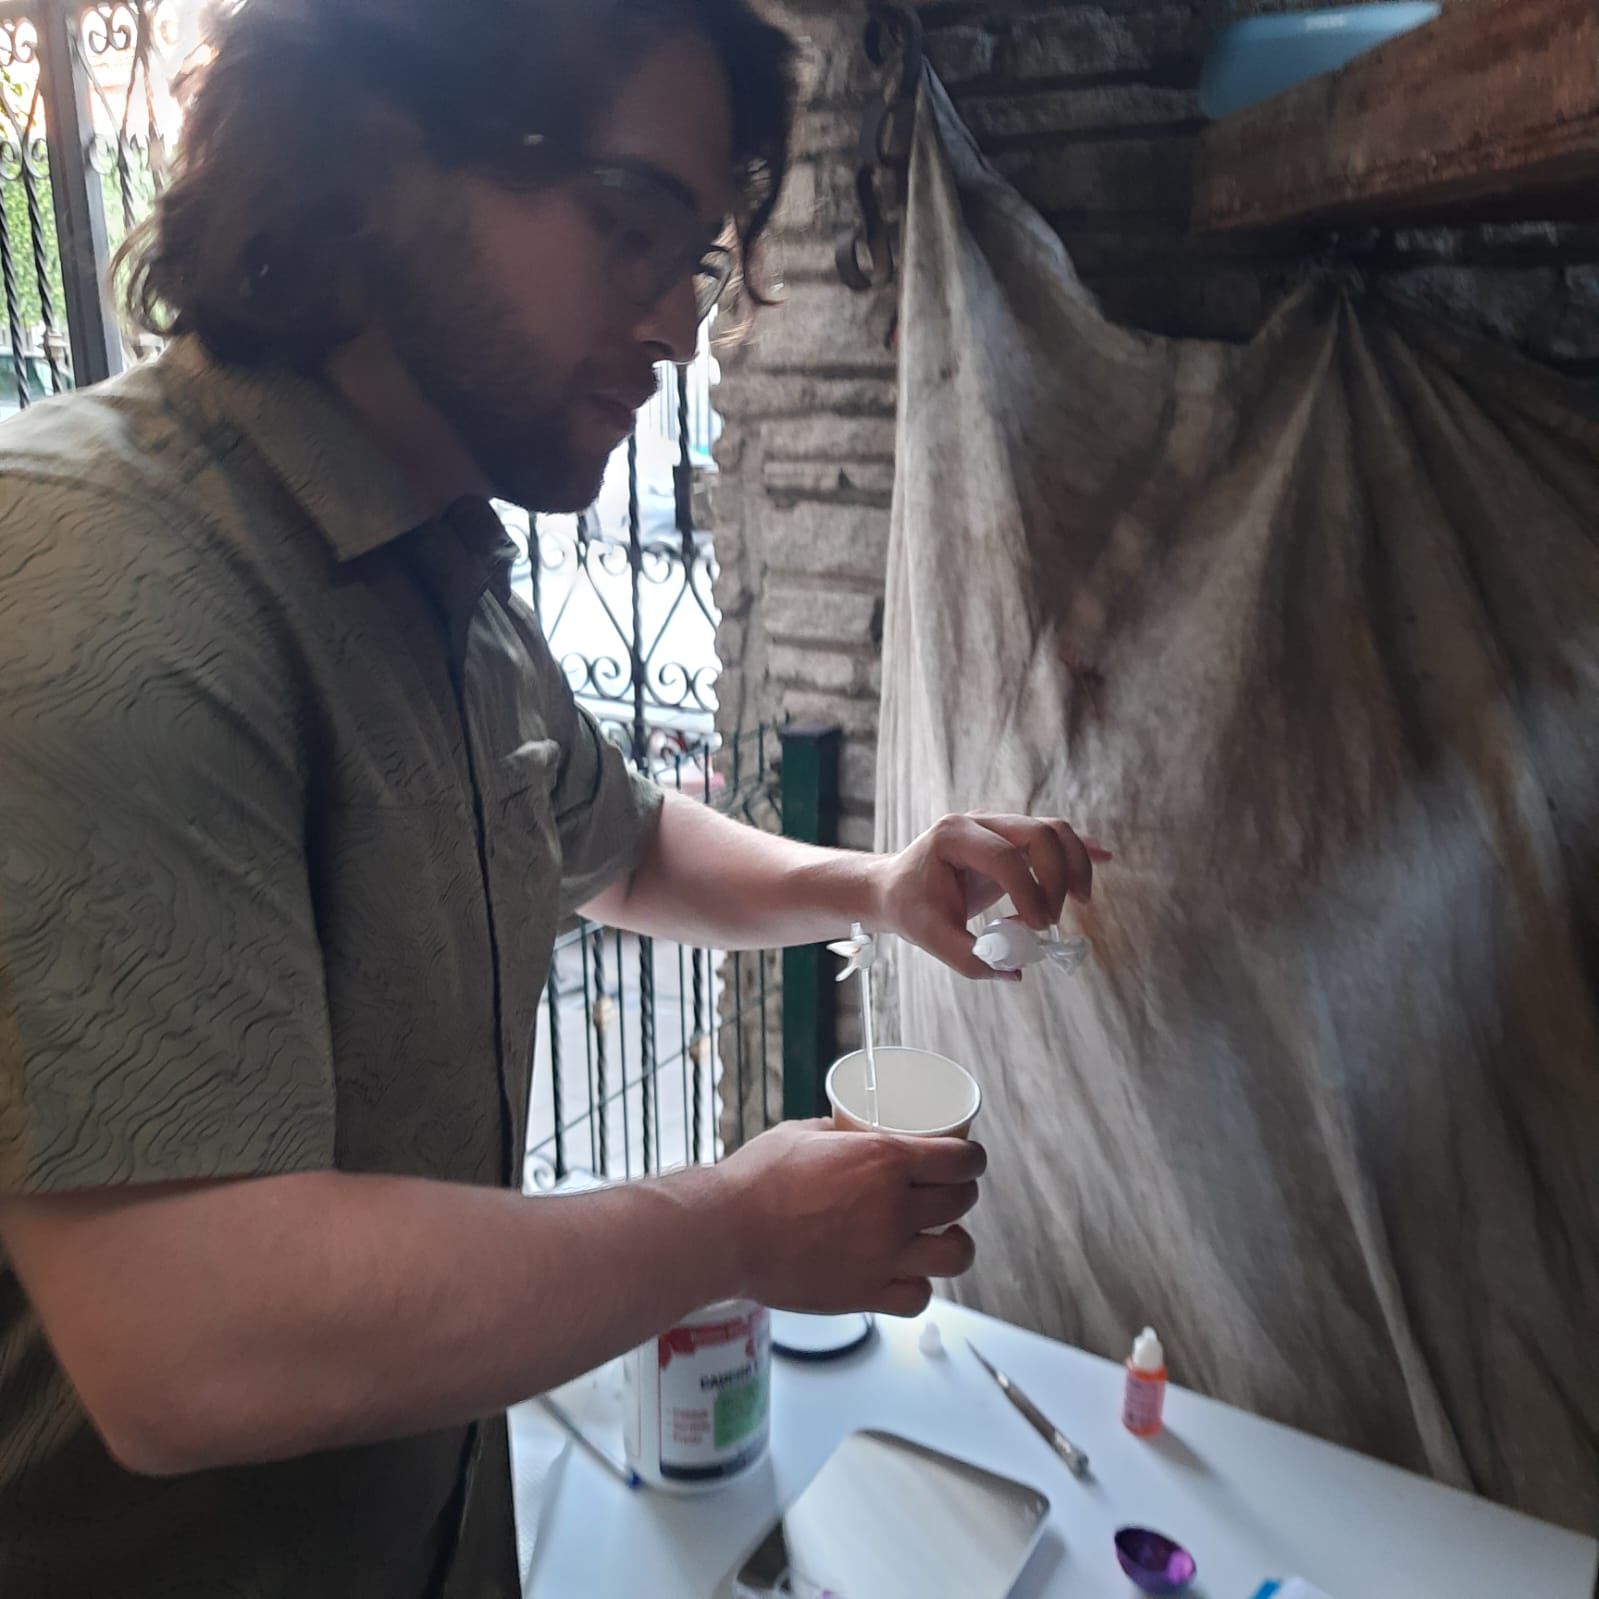
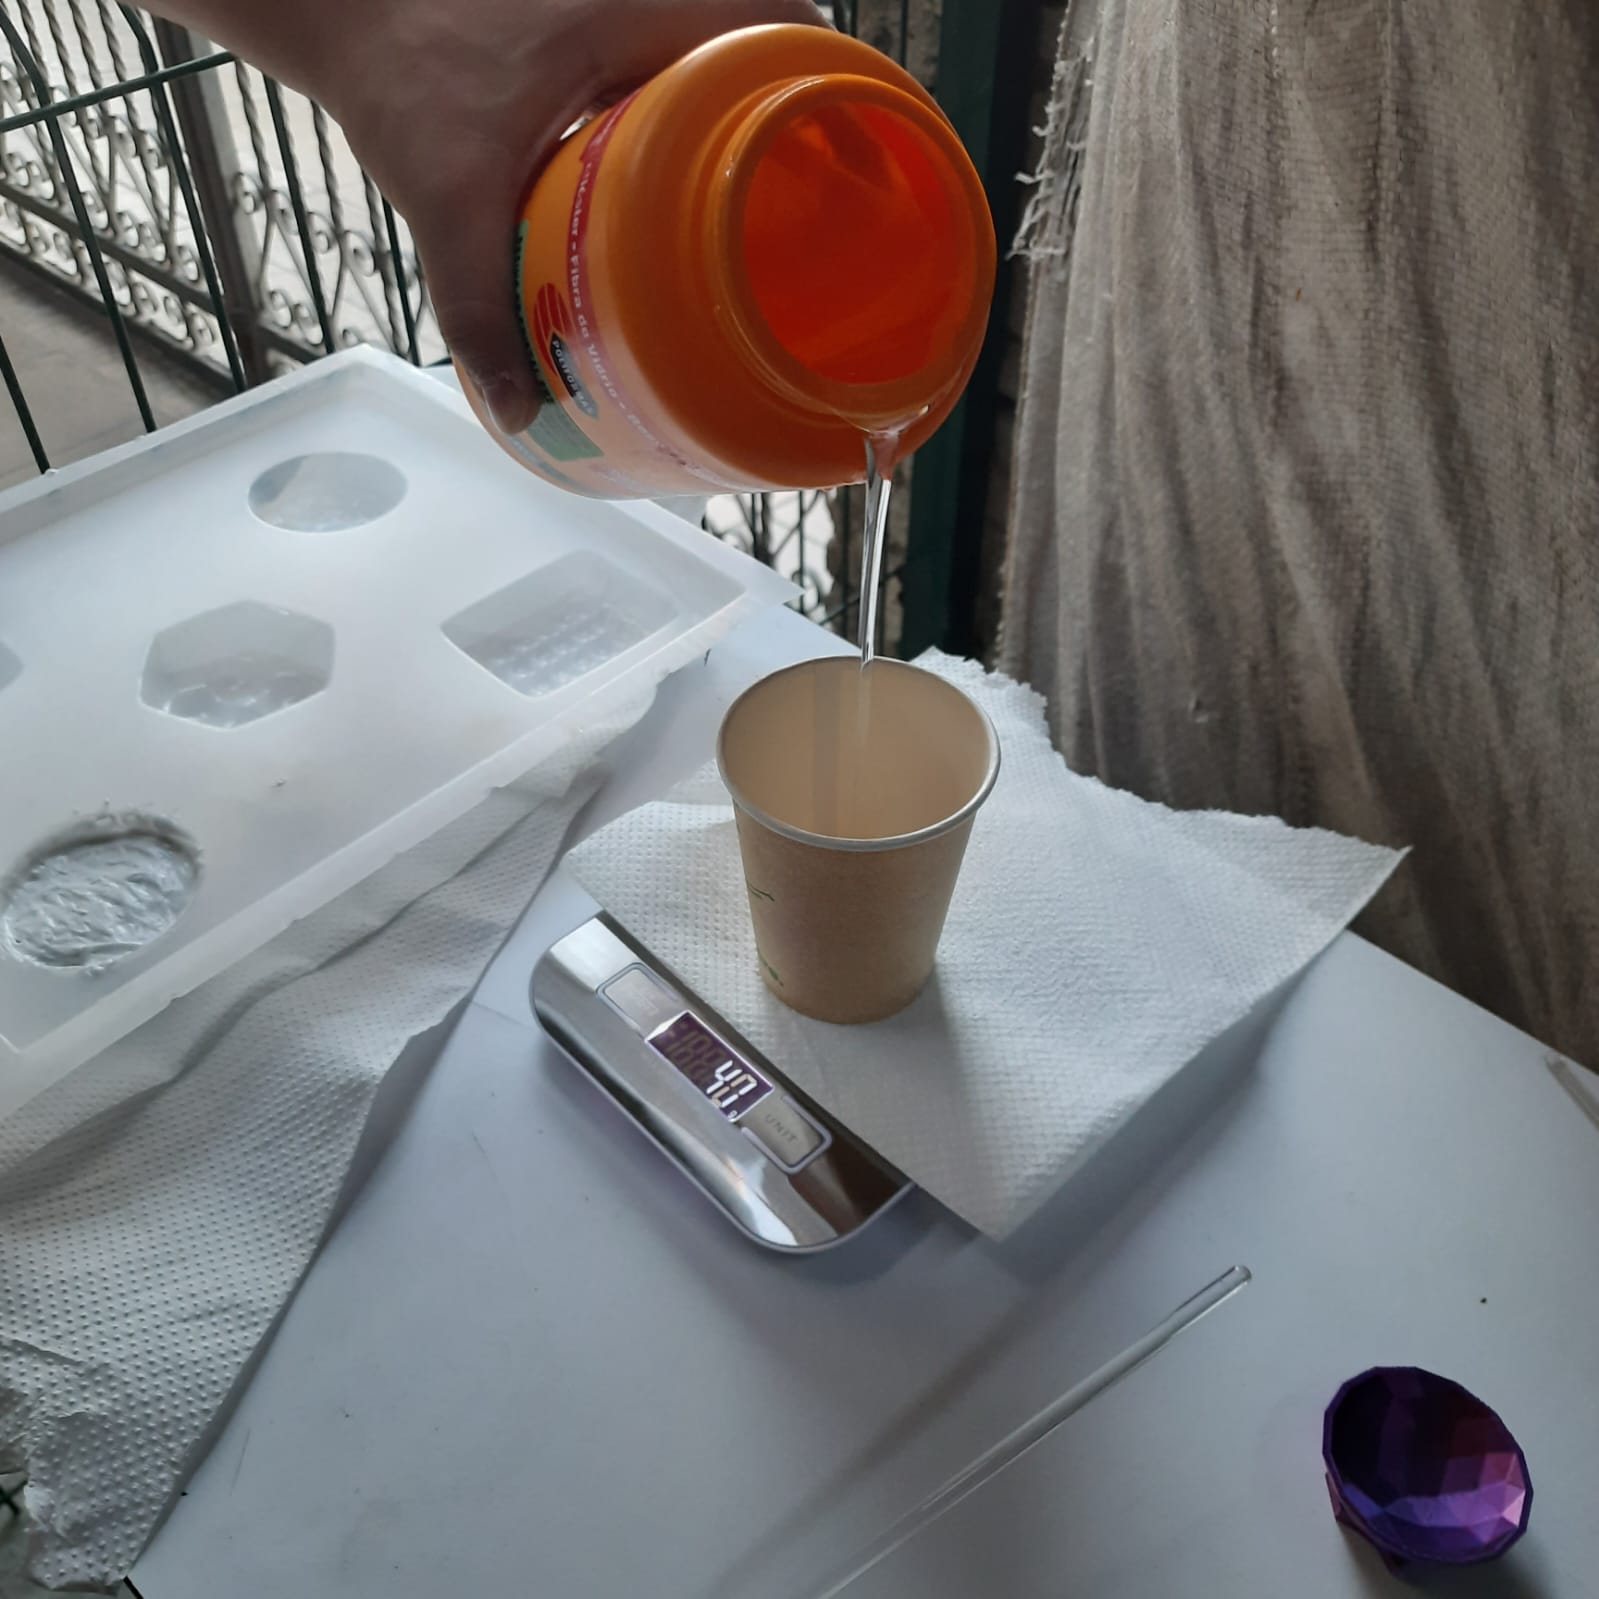
To prepare the materials, it’s necessary to calculate the weight of the material that is going to be used. The oldest trick in the book is to fill the mold with water, and assume that the liquids have the same density multiplied by a safety factor of 2 (it’s better to have an excess than a deficit of resources). The amount weight of the shell is 5 g and the weight of the water contained by it is 16 g.

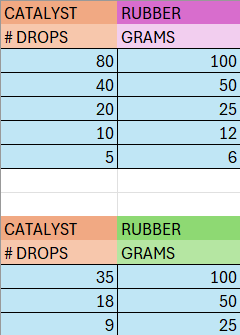
The manufacturer stated that for the rubber, you need 80 drops of the catalyst for 100 grams of material. At the same time, it states that 100 g of resin needs 35 drops. The previous information leaves us with the next table (assuming it has a linear behavior).
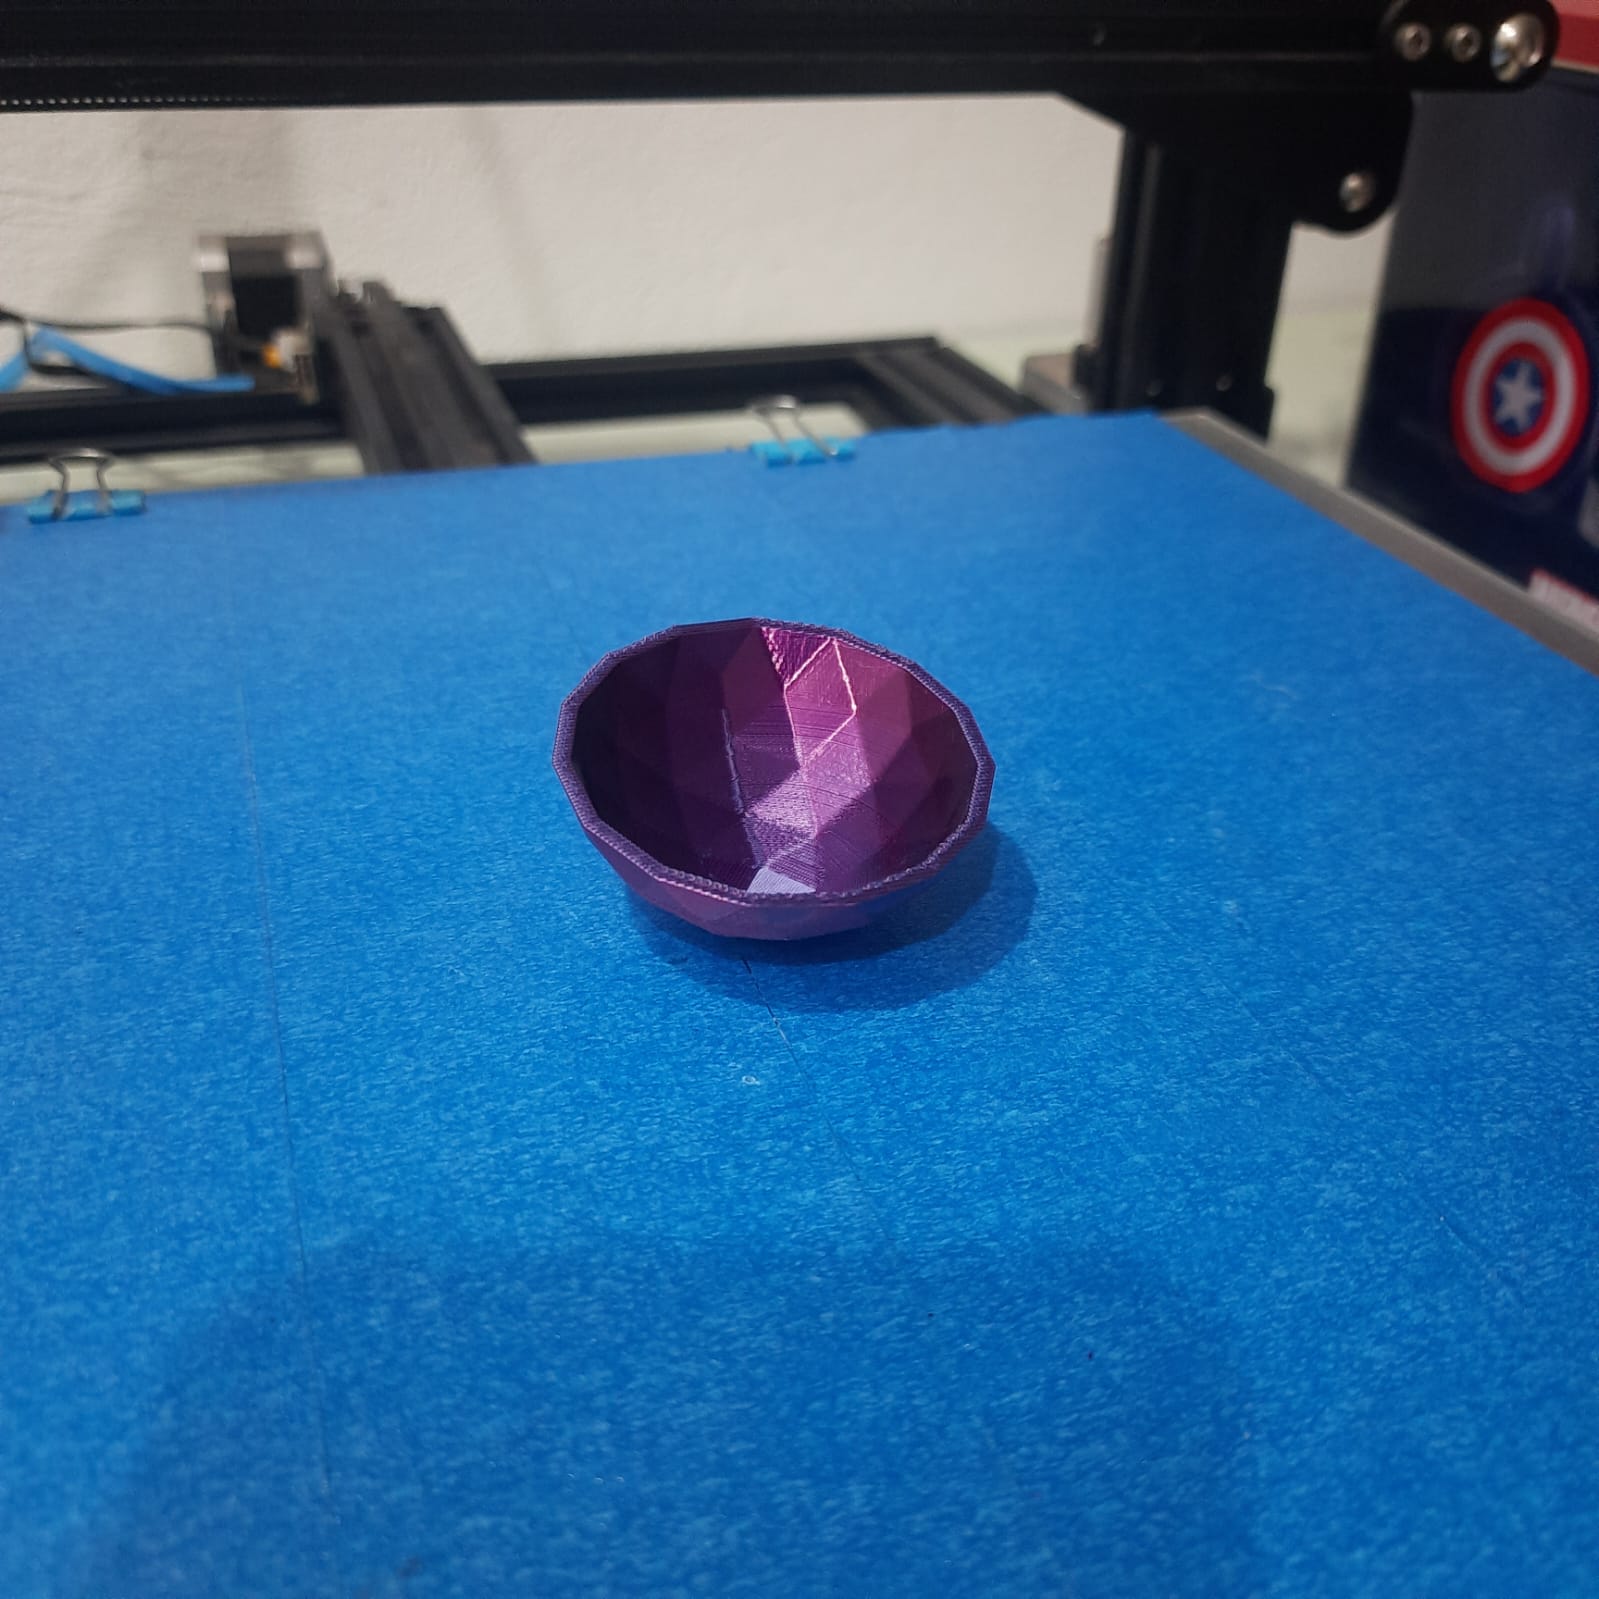
The materials were weighted, then mixed in cardboard cups, and mixed with glass rods to be finally poured into the molds
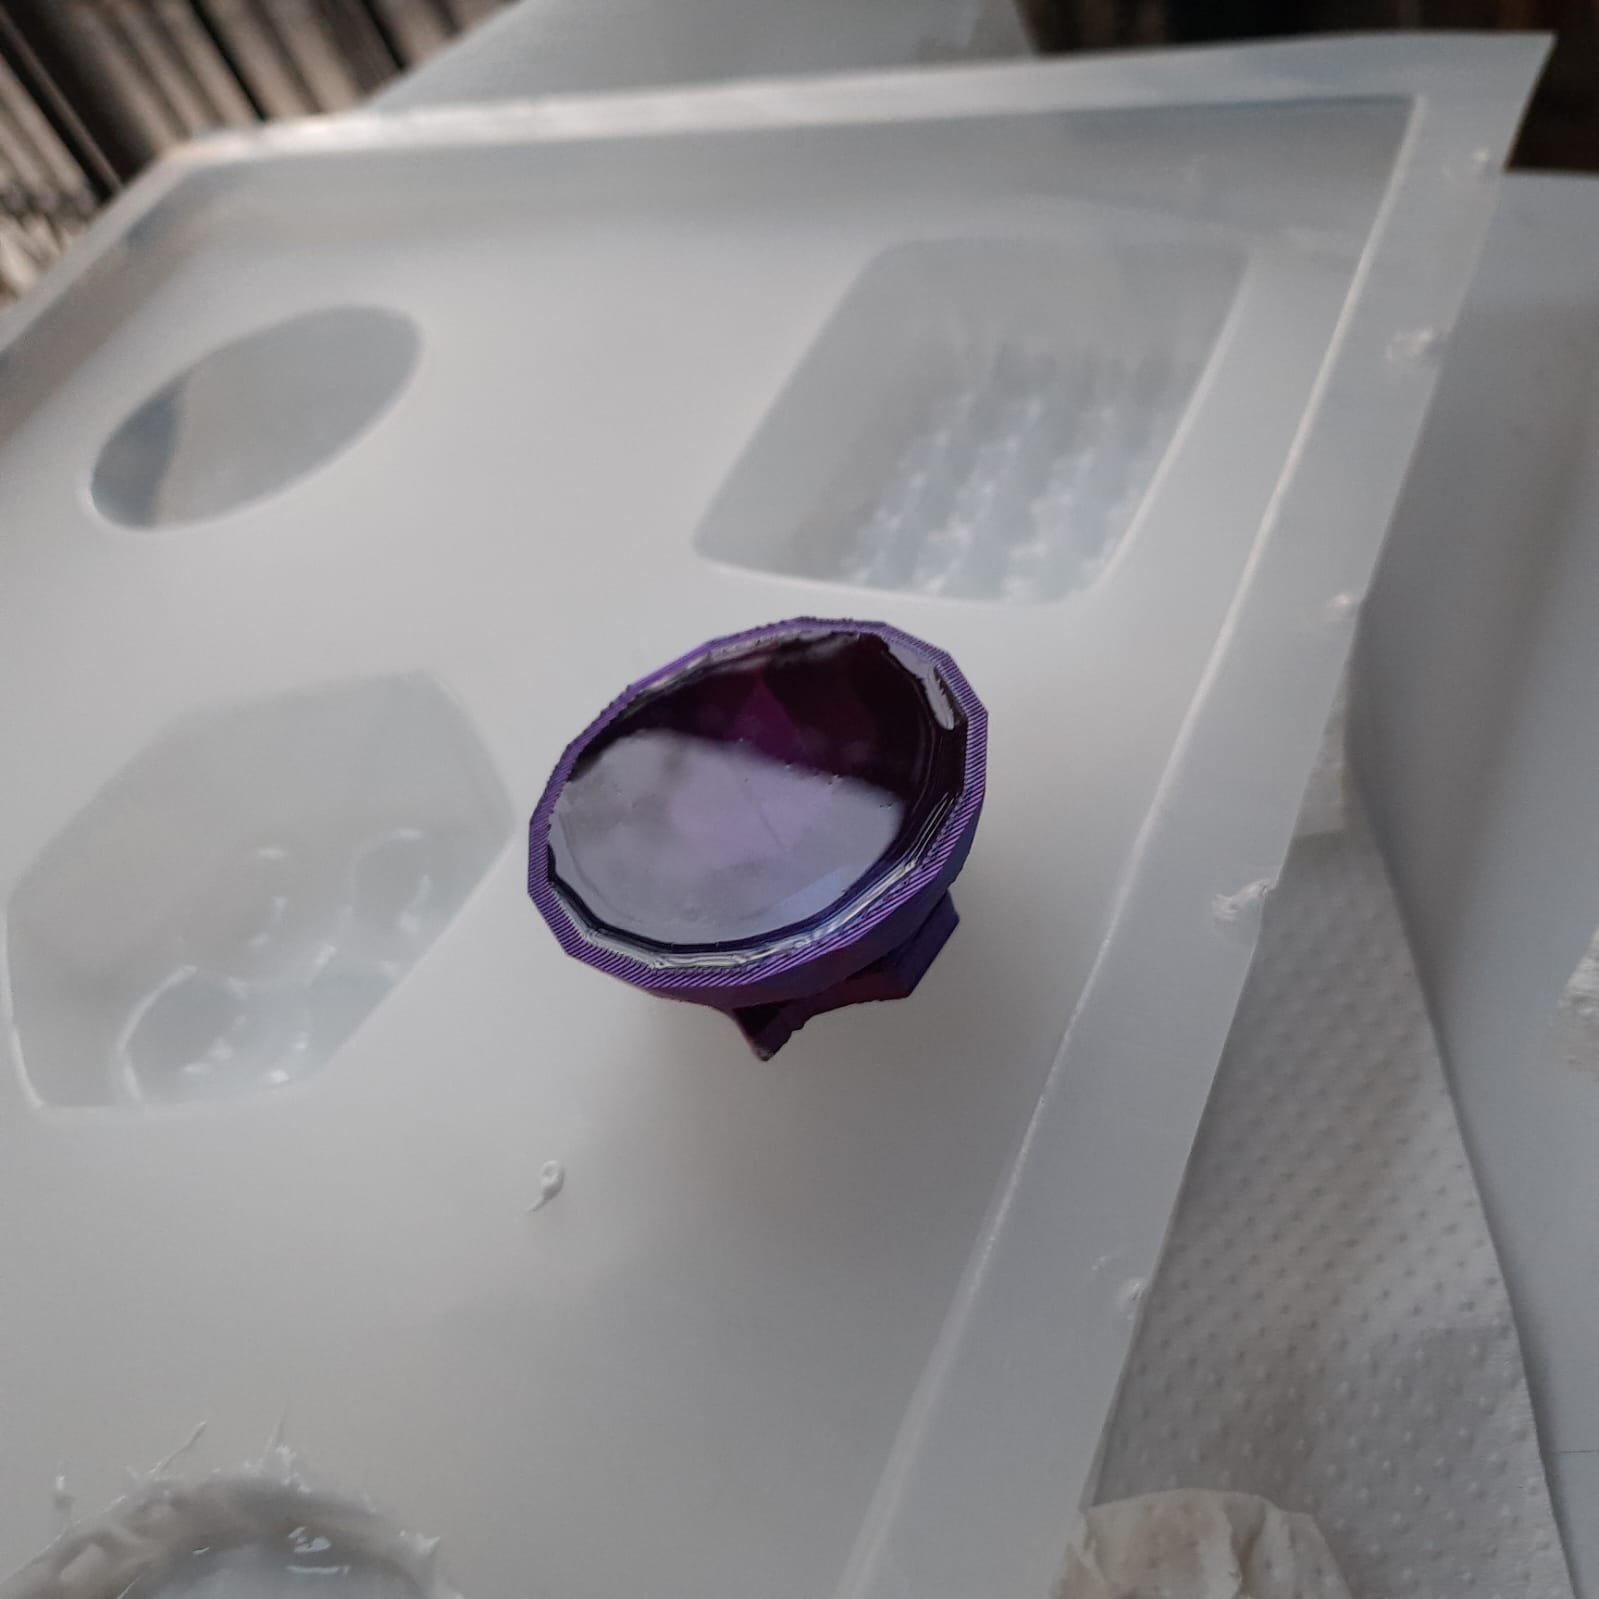
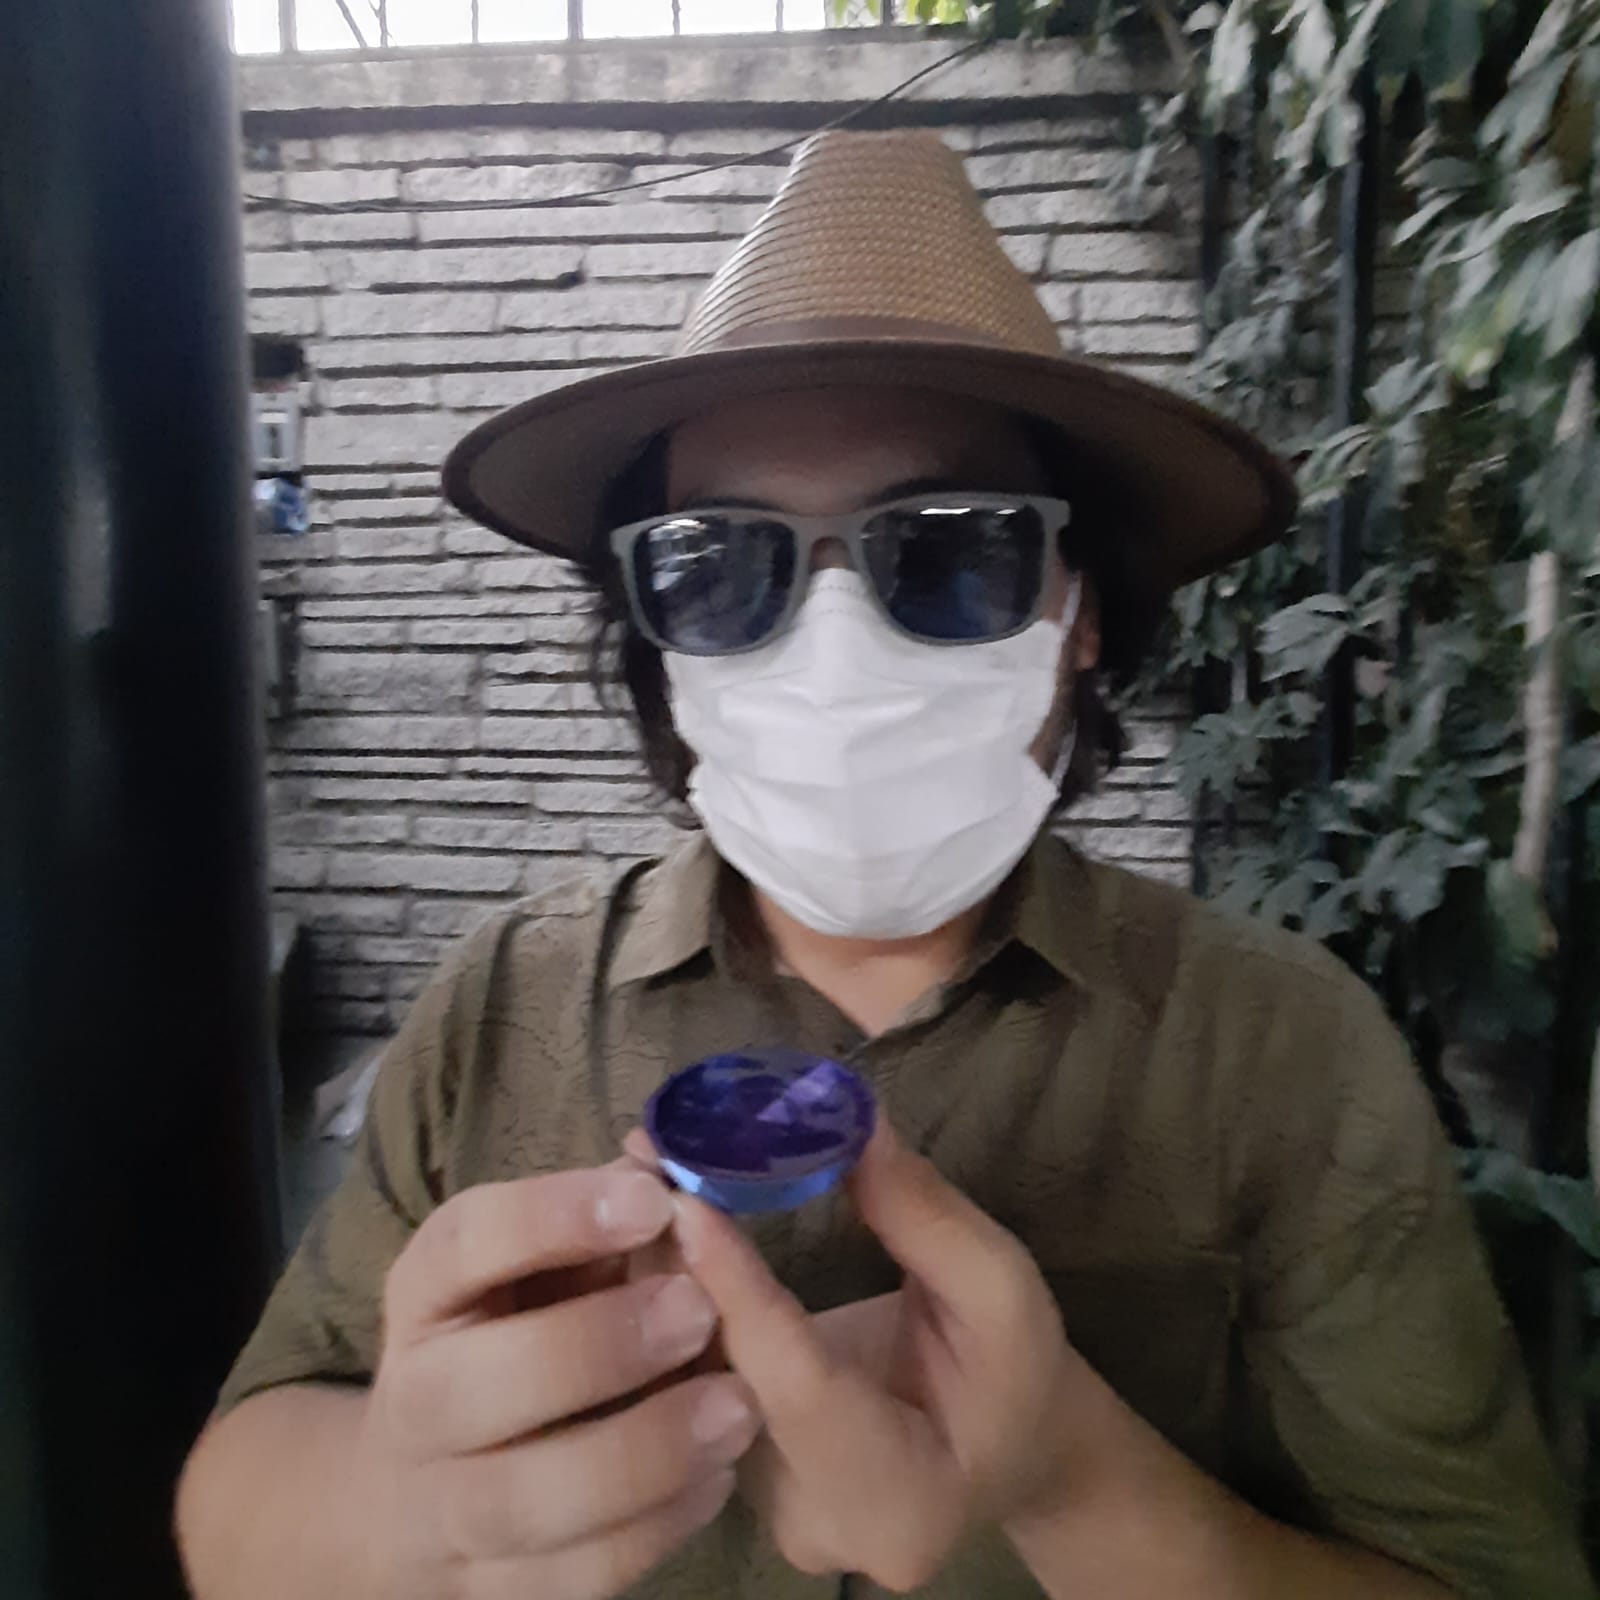
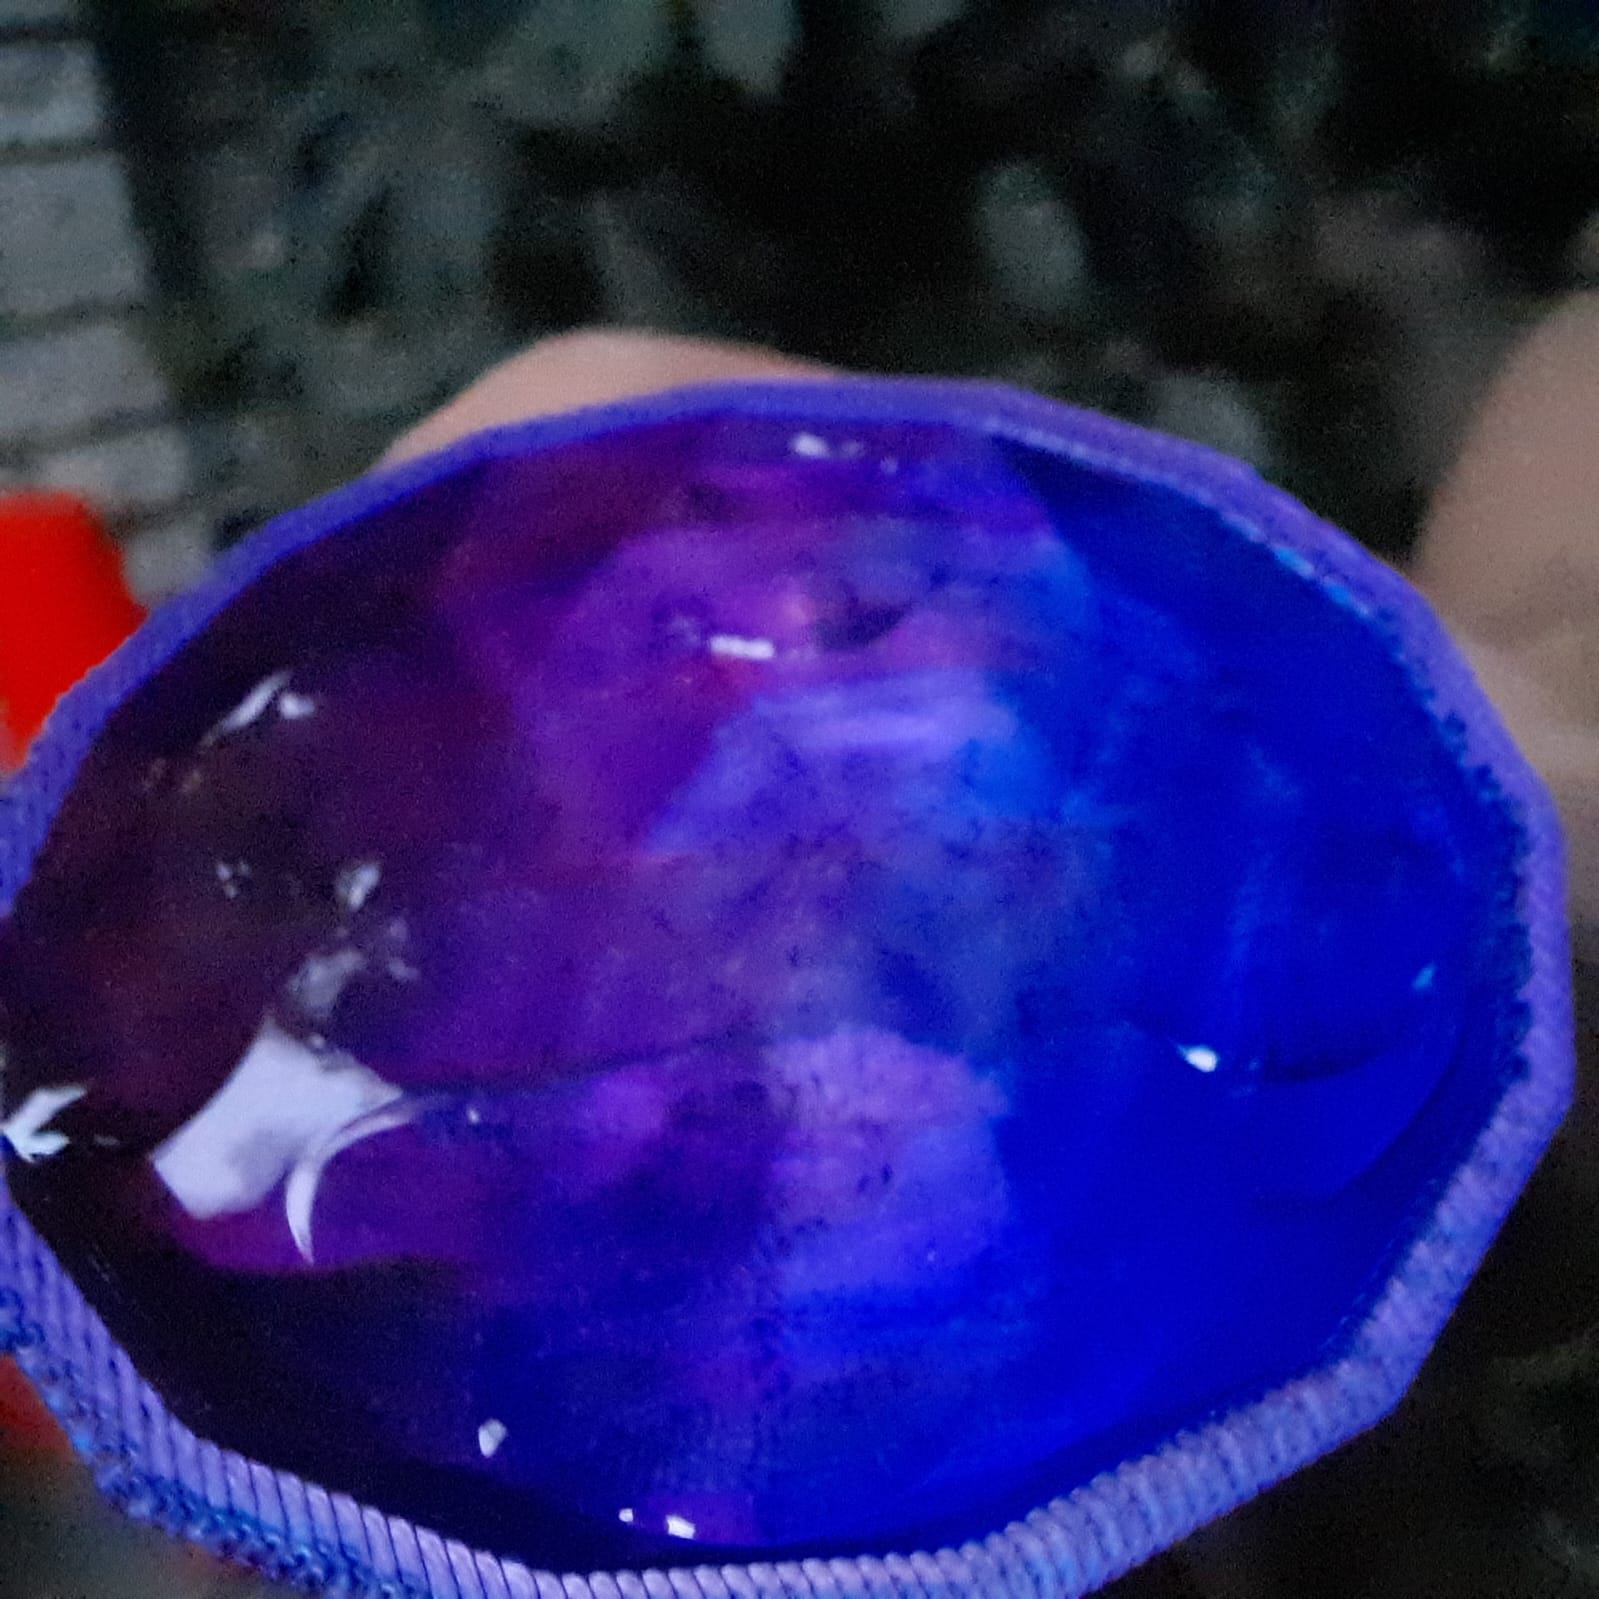
RESULTS
Using commercially available molds and self-made molds is a nice idea to make use of the excess material. The outside surface can improve.
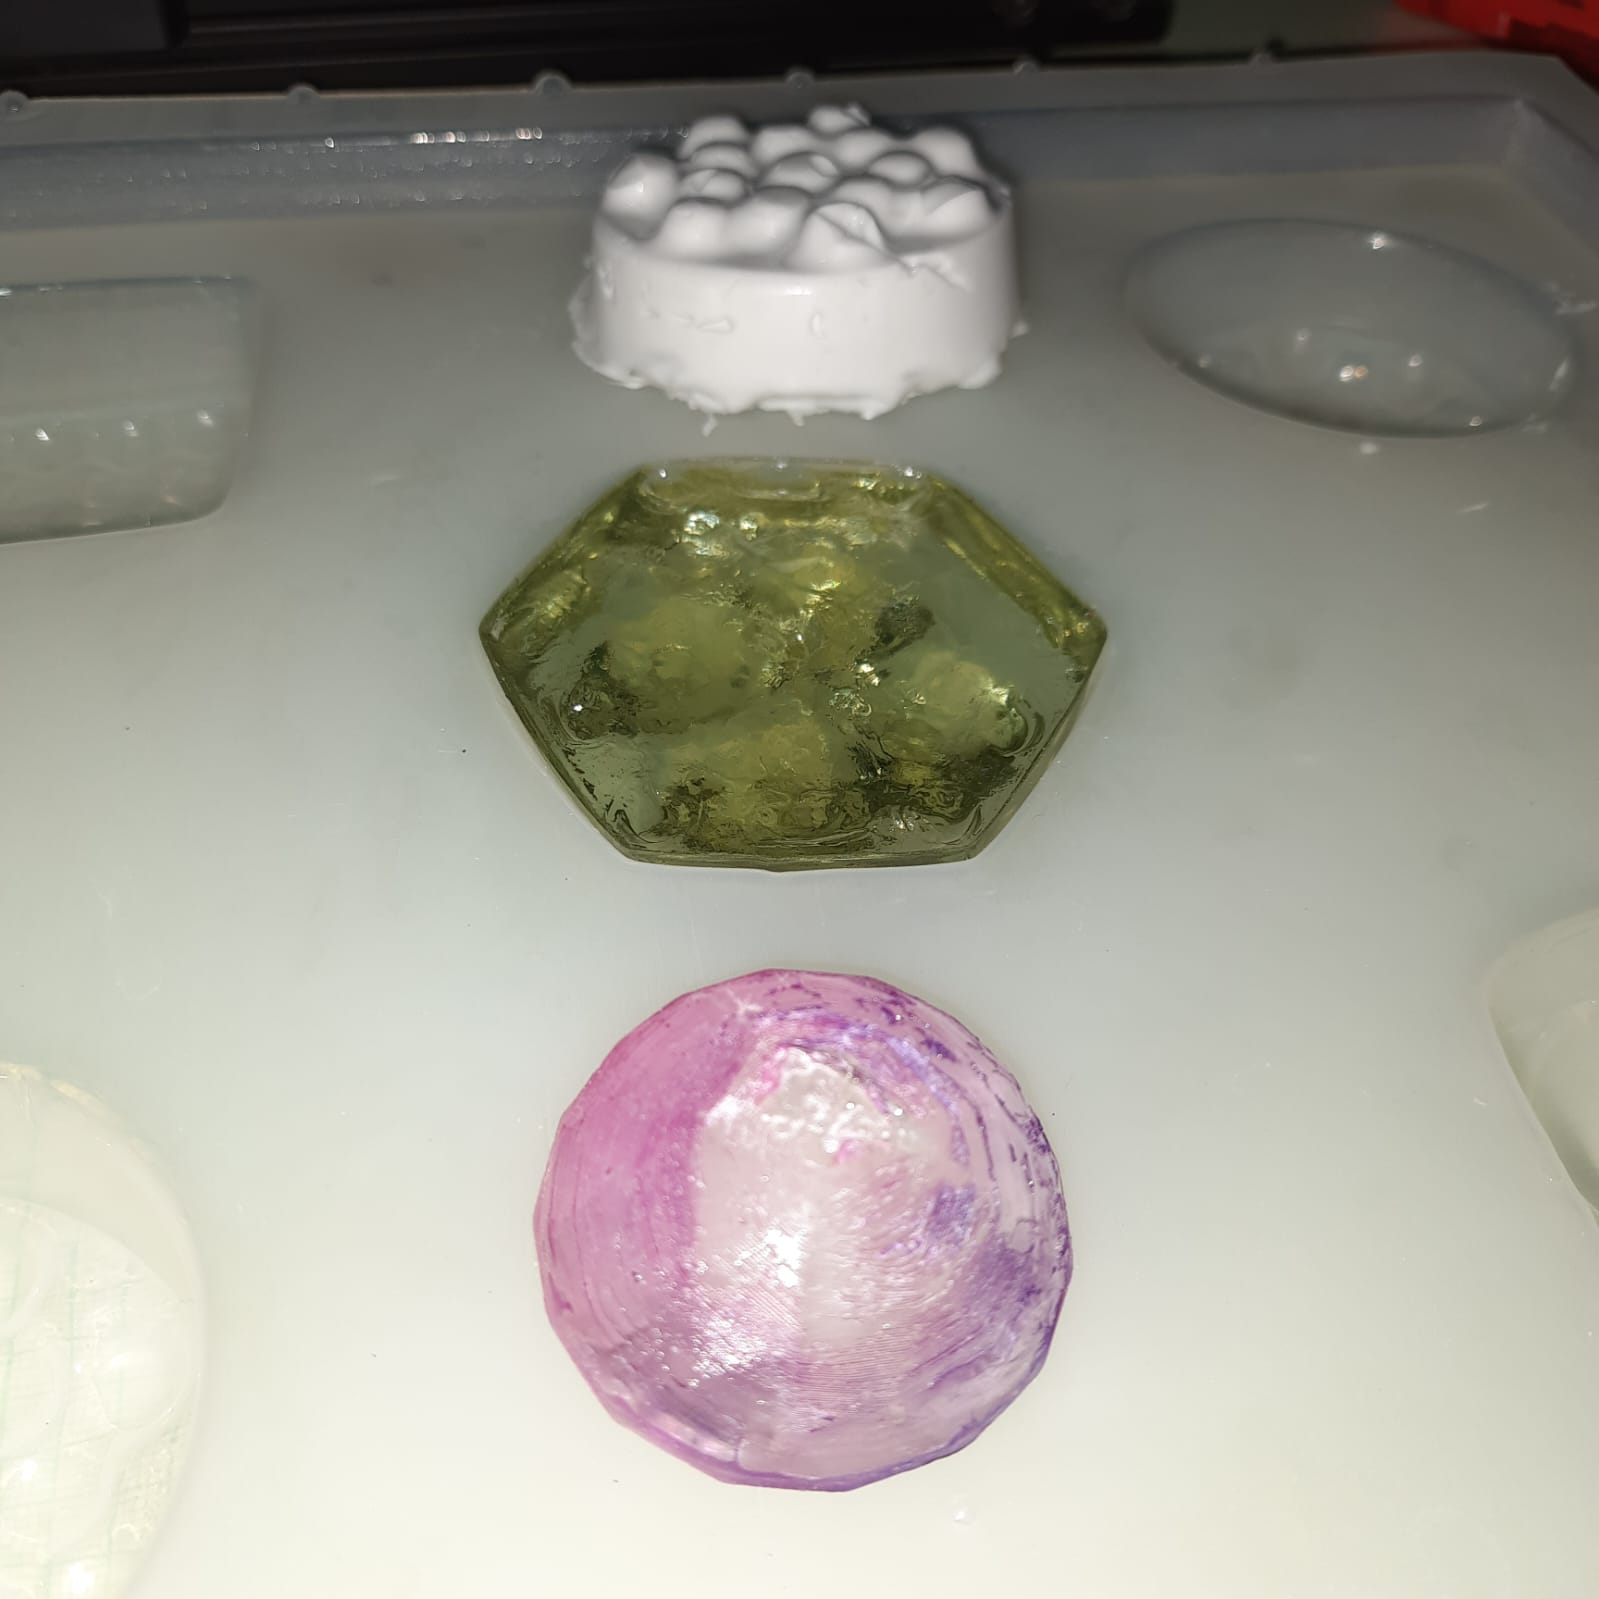
AREAS OF IMPROVEMENT
The milled mold should have more definition, next time I will scale the model to be bigger and avoid using the coarse mill, only the fine mill because it doesn’t take too long.
Regarding the curation of the materials, I should do it with more patience and avoid using more catalyst to accelerate the curating process, that caused shrinking where the drops were not properly mixed, an accelerated heat reaction, melting of the molds, and I should spend more time mixing them for fully curated results.