1. Project management
This week I worked on defining my final project idea and started to getting used to the documentation process (͡ ° ͜ʖ ͡ °)
Week asignments
1. Plan and sketch a final project.
2. Read and sign the Fab Academy agreement.
3. Build a personal site describing yourself and the final project.
4. Work through a Git tutorial.
GIT TUTORIAL
What is Git? Git is a distributed version control system (VCS) that tracks changes in any set of computer files. It is commonly used for coordinating work among programmers who collaboratively develop source code during software development.
In this case, the FAB Academy gives each student a place in the cloud to document the program progress. The staff at IBERO-IDIT recommend using GitBash to use commands to upload/update the repository. To be honest, I don’t feel comfortable using commands, so I’ll be using a different software.
What is GitHub? GitHub is a developer platform that empowers developers to create, manage, and collaborate on their code. Basically, it’s a interface that lets you synchronize the progress from your local repository (your PC) and the Git repository (cloud based) without the need for typing commands. FACT: OctoCat, the mascot from GitHub was designed by Simon Oxley; he designed the Twitter (Now X) logo.
Why do we use it? It’s a FAB Academy requirement. It’s a fantastic tool to keep track of progress and changes in your repo, something like an omnipresent notebook. It builds documenting habits that a lot of students struggle with (I’m first in line).
GIT BASH
Minutes before uploading my final presentation video and poster, I encountered an issue with GitHub desktop (explained below), basically it logged me out and then I had to learn how to use Git Bash, which is a console to link the fab repository with any local computer
Basically, a console or terminal is a primitive user interface that receive commands.
The steps for setting up your git repository in yout local computer are:
After downloading the Git Bash from its original webpage, install it with the default properties and open the terminal.
The terminal is a dark square that states in green who is the user and the PC name. Before cloning the repository, it's recomended to create a folder using the "mkdir" command. Please write "mkdir
For navigating towards a specific directory, type "cd
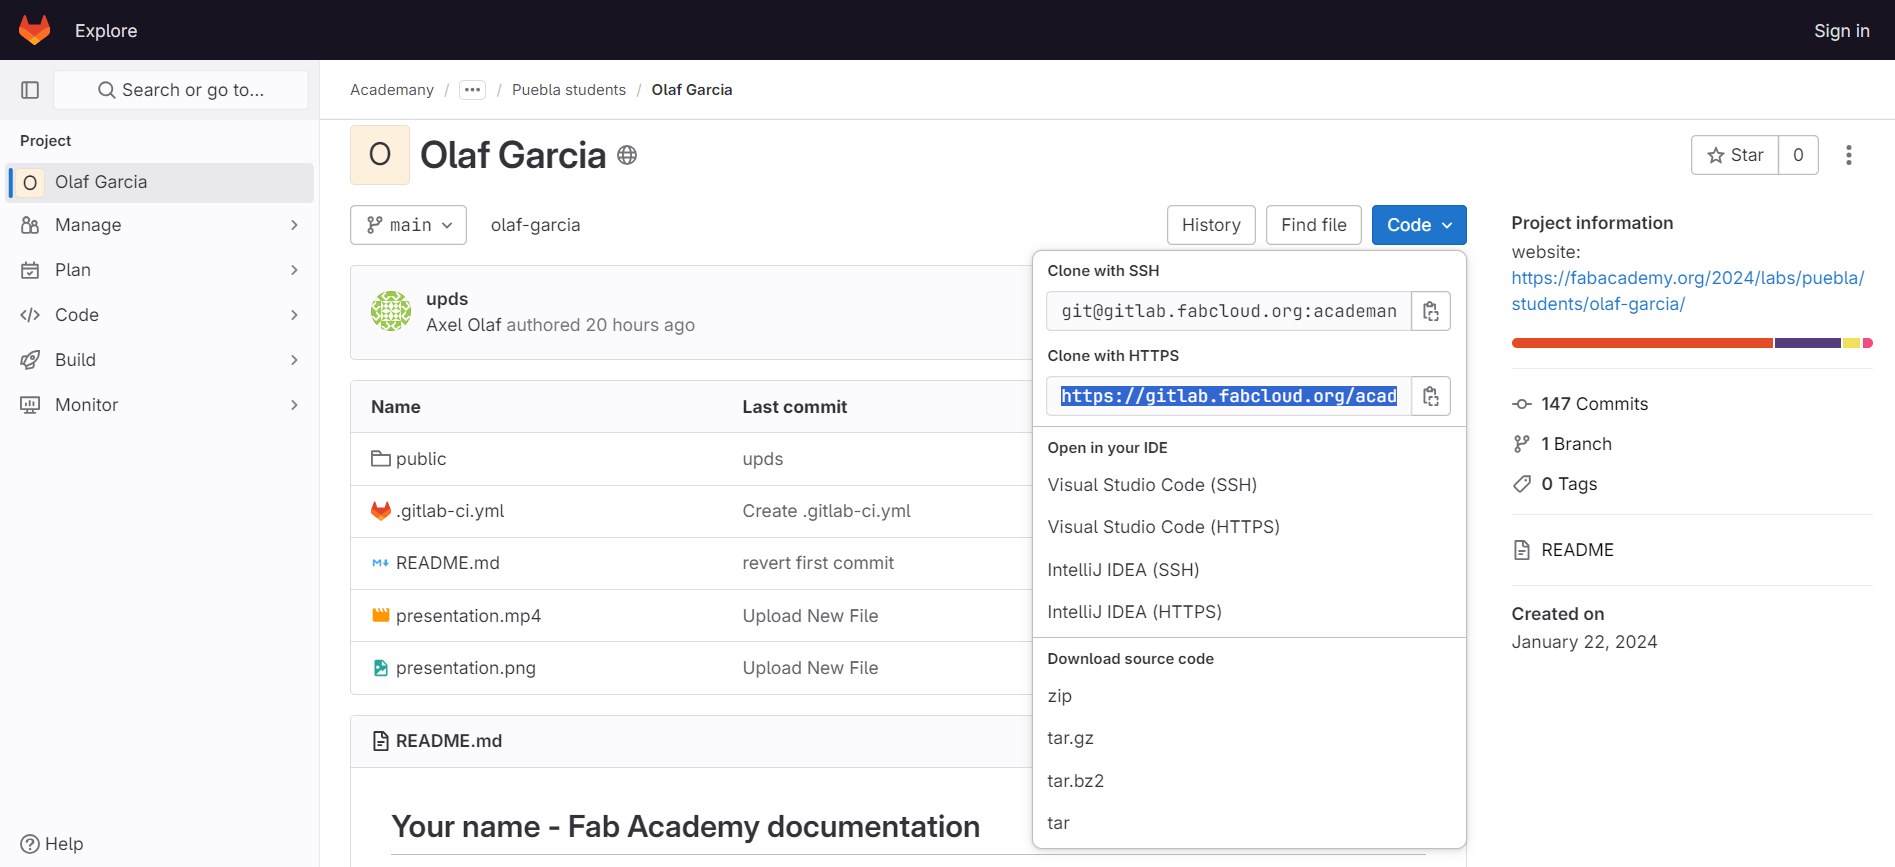
For cloning the repository, type "git clone https://gitlab.fabcloud.org/academany/fabacademy/2024/labs/puebla/students/olaf-garcia.git" of course you can replace my repository's URL for any repository of your interest
If you haven't noticed, while the commands are being executed, the terminal is not ready to receive another. Remember that the beauty of Git, is that you can track your modifications and go back to any version (commit name) in case something goes wrong or breaks. To start using this tool, you need to type "git init"
Once you have added or modified files in your local repository, then it is time to use the "git add" command by typing "git add ."
Since this is the first time uploading information, you have to log in with your repository credentials. Every concept explained so far is readable in the code below:
Finally, the 3 commands that you will use A LOT: add, commit, push. REMEMBER: all the files and changes should be heavier than 9 Megabytes
Type "git add ." to gather information about all the changes
Type "git commit - m
Type "git push" to reflect the changes in your repository
Finally, type "git status" to verify the stage of the process if you interrupt it by any reason
GITHUB DESKTOP
DOWNLOAD
You can install GitHub Desktop on any supported operating system. After you install the app, you will need to sign in and authenticate your account on GitHub or GitHub Enterprise before you can create and clone a tutorial repository.
AUTHENTICATE
Use the File menu, then click Options.In the "Options" window, on the Accounts pane, click the Sign In button next to "GitHub.com". In the "Sign in Using Your Browser" modal window, click Continue With Browser. GitHub Desktop will open your default browser.
To authenticate to GitHub, in the browser, type your GitHub.com credentials and click Sign in. If you have configured two-factor authentication (2FA) for GitHub, generate a 2FA code. Then enter your 2FA code in the prompt on GitHub and click Verify.
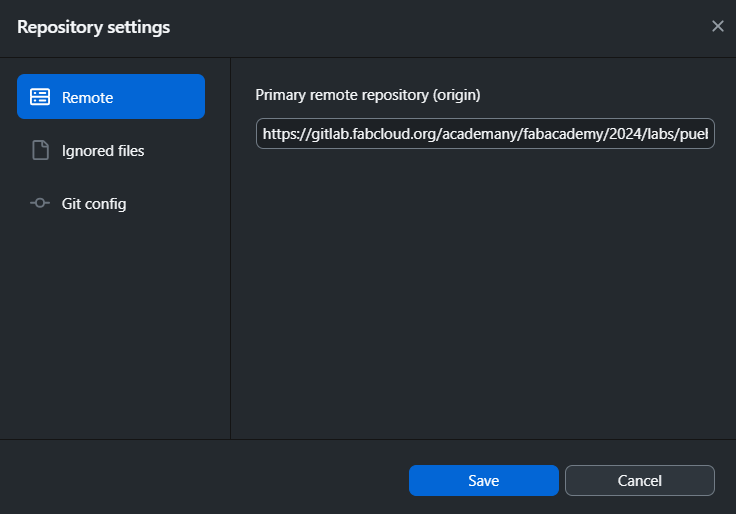
REPOSITORY VINCULATION
Shoutout to Rafael Pérez, local instructor Software Sensei for sharing a template for the FAB documentations, also special thanks to him for helping me make a rollback when I destroyed my repo by deleting an important file (.YML).
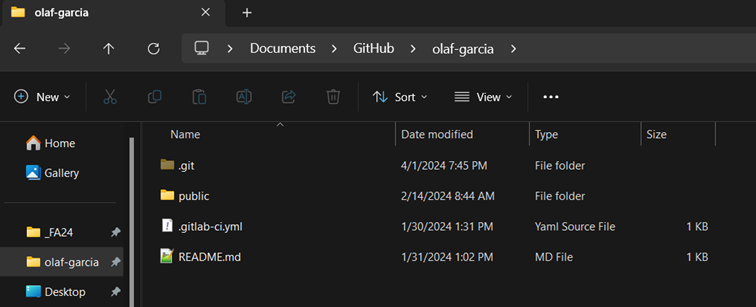
After downloading the template as a .zip, placing it in its local position, unzip it, and rename it, it was time to link it with my repo and deploy it. If you do not have any repositories associated with GitHub Desktop, you will see a "Let's get started!" view, where you can choose to create and clone a tutorial repository, clone an existing repository from the Internet, create a new repository, or add an existing repository from your hard drive. In this case I chose add an existing repository from the hard drive.
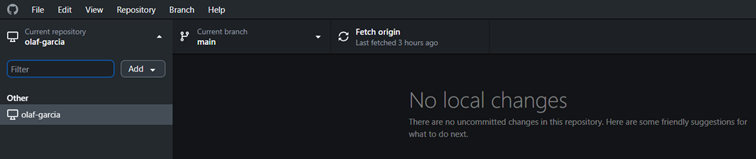
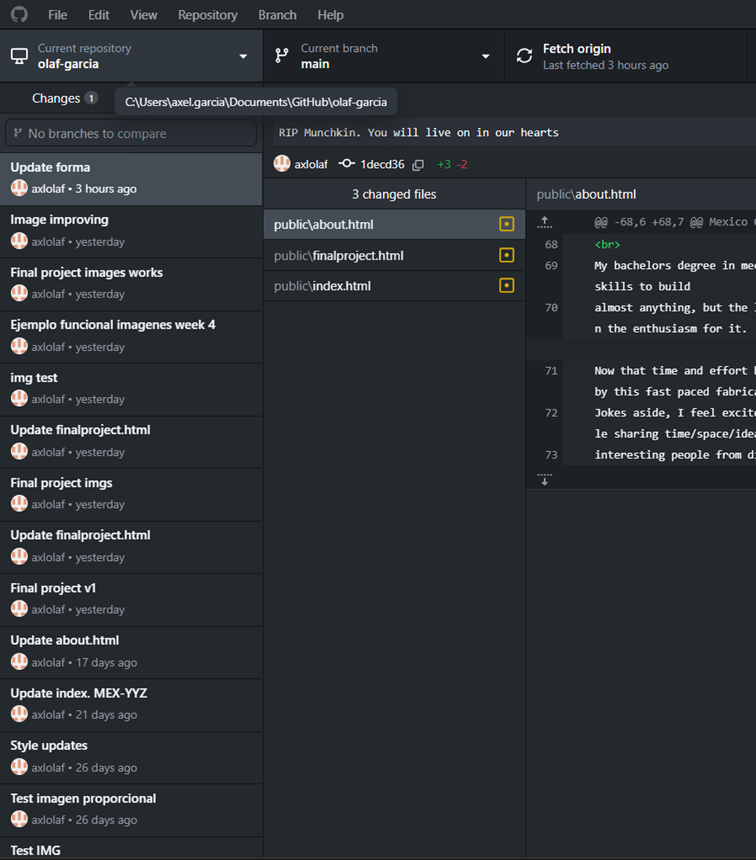
At the top of the GitHub Desktop app, you will see a bar that shows the current state of your repository.Current repository shows the name of the repository you're working on. You can click Current repository to switch to a different repository in GitHub Desktop.
Current branch shows the name of the branch you're working on. You can click Current branch to view all the branches in your repository, switch to a different branch, or create a new branch. Once you create pull requests in your repository, you can also view these by clicking on Current branch.
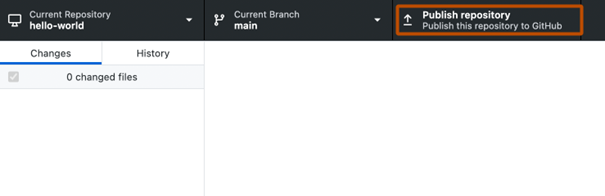
Publish repository appears because you haven't published your repository to GitHub yet, which you'll do later in the next step. This section of the bar will change based on the status of your current branch and repository. Different context dependent actions will be available that let you exchange data between your local and remote repositories.
In the left sidebar, you'll find the Changes and History views.The Changes view shows changes you've made to files in your current branch but haven't committed to your local repository. At the bottom, there is a box with "Summary" and "Description" text boxes and a Commit to BRANCH button. This is where you'll commit new changes. The Commit to BRANCH button is dynamic and will display which branch you're committing your changes to.
The History view shows the previous commits on the current branch of your repository. You should see an "Initial commit" that was created by GitHub Desktop when you created your repository. To the right of the commit, depending on the options you selected while creating your repository, you may see .gitattributes, .gitignore, LICENSE, or README files. You can click each file to see a diff for that file, which is the changes made to the file in that commit. The diff only shows the parts of the file that have changed, not the entire contents of the file.
PUBLISHING (Just for the first time)
When you create a new repository, it only exists on your computer and you are the only one who can access the repository. You can publish your repository to GitHub to keep it synchronized across multiple computers and allow other people to access it. To publish your repository, push your local changes to GitHub.
In the repository bar, click Publish repository. In the "Publish Repository" window, enter details for your new repository. GitHub Desktop automatically fills the "Name" and "Description" fields with the information you entered when you created the repository.
Keep this code private lets you control who can view your project. If you leave this option unselected, other users on GitHub will be able to view your code. If you select this option, your code will not be publicly available.The Organization drop-down menu, if present, lets you publish your repository to a specific organization that you belong to on GitHub.
Click Publish Repository. You can access the repository on GitHub.com from within GitHub Desktop. In the file menu, click Repository, then click View on GitHub. This will take you directly to the repository in your default browser.
COMMITTING AND PUSHING CHANGES
Now that you've created and published your repository, you're ready to make changes to your project and start crafting your first commit to your repository. In GitHub Desktop, navigate to the Changes view. In the file list, you should see your README.md. The checkbox to the left of the README.md file indicates that the changes you've made to the file will be part of the commit you make. In the future, you might make changes to multiple files but only want to commit the changes you've made to some of the files. If you click the checkbox next to a file, that file will not be included in the commit.

At the bottom of the Changes list, enter a commit message. To the right of your profile picture, type a short description of the commit. Since we're changing the README.md file, "Add information about purpose of project" would be a good commit summary. Below the summary, you'll see a "Description" text field where you can type a longer description of the changes in the commit, which is helpful when looking back at the history of a project and understanding why changes were made. Since you're making a basic update of a README.md file, you can skip the description.
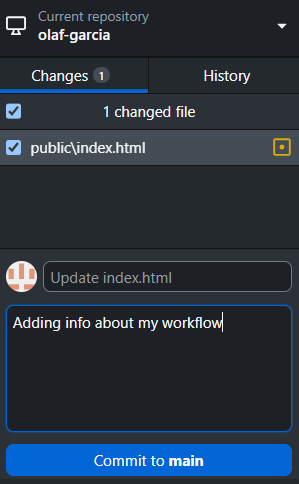
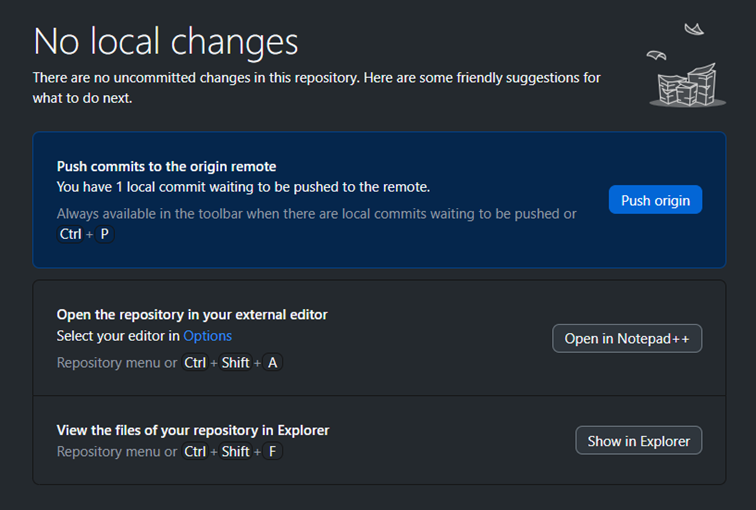
Below your commit message, click Commit to BRANCH NAME. The commit button shows your current branch so you can be sure to commit to the branch you want.Push your changes to the remote repository on GitHub, click Push origin.
The Push origin button is the same one that you clicked to publish your repository to GitHub. This button changes contextually based on where you are at in the Git workflow. It should now say Push origin with a 1 next to it, indicating that there is one commit that has not been pushed up to GitHub.
The "origin" in Push origin means that you are pushing changes to the remote called origin, which in this case is your project's repository on GitHub.com. Until you push any new commits to GitHub, there will be differences between your project's repository on your computer and your project's repository on GitHub.com. This allows you to work locally and only push your changes to GitHub.com when you're ready.
After pushing to origin, you can verify the push status in the Git FabCloud.
For more information please visit: https://docs.github.com/en/desktop/overview/creating-your-first-repository-using-github-desktop